Tomato Soup & Caramalized Onion Grilled Cheese Sandwich

Tomato Soup & Caramalized Onion Grilled Cheese Sandwich

Tomato Soup & Caramalized Onion Grilled Cheese Sandwich

Tomato Soup & Caramalized Onion Grilled Cheese Sandwich

October 6, 2024 by Kimberly

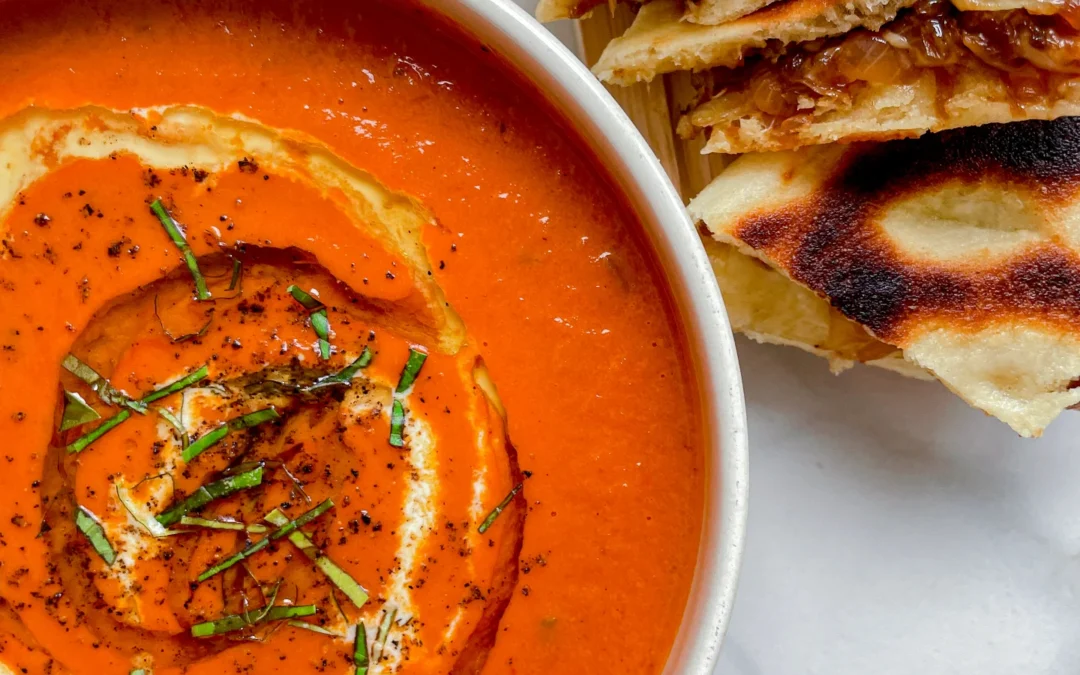
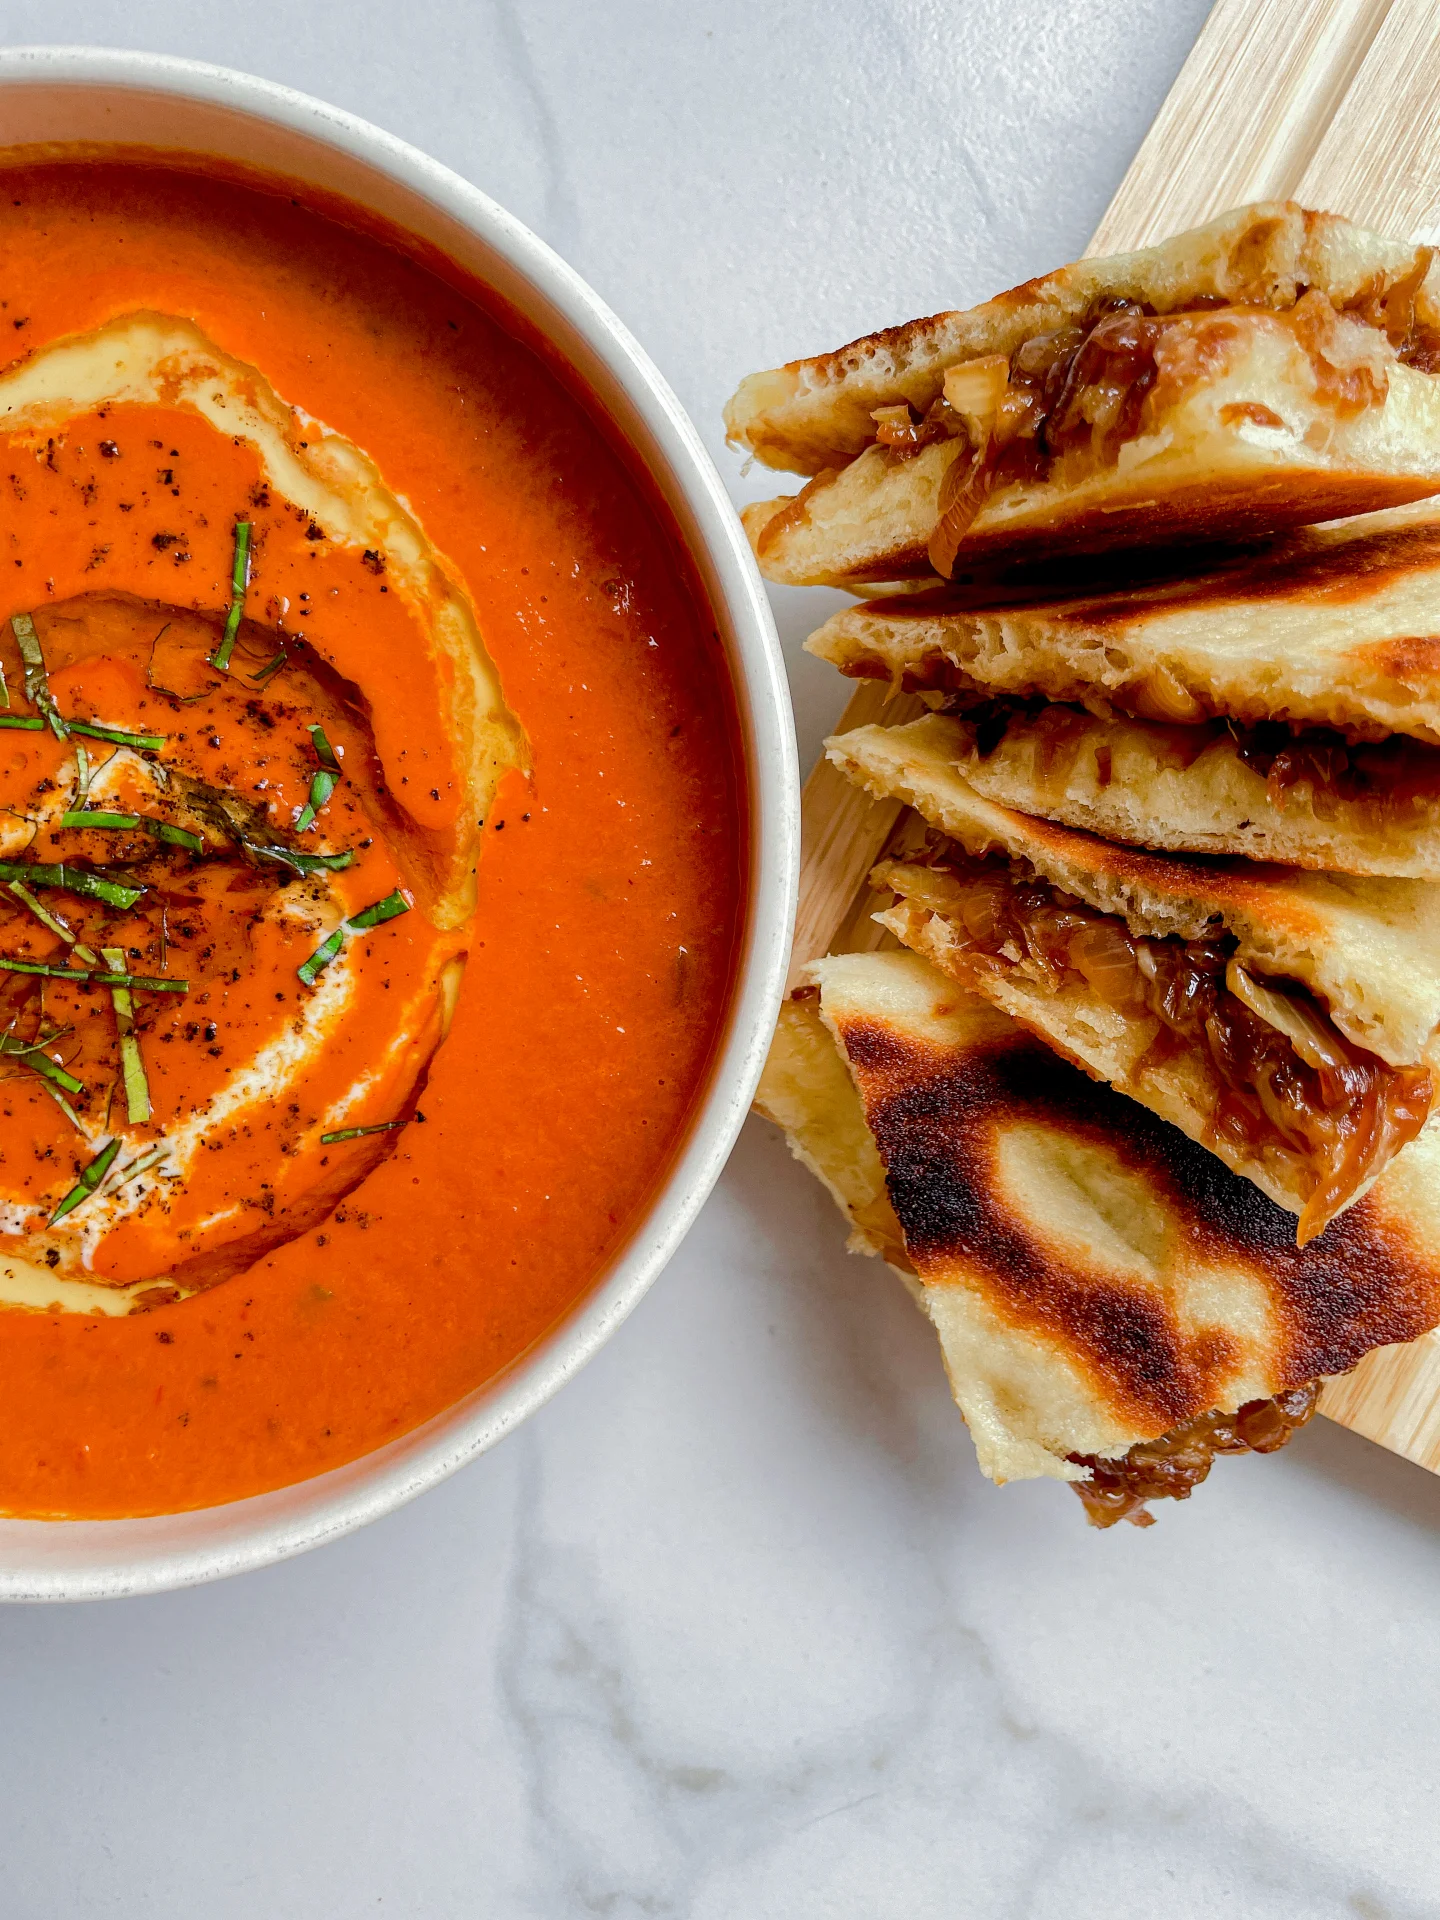
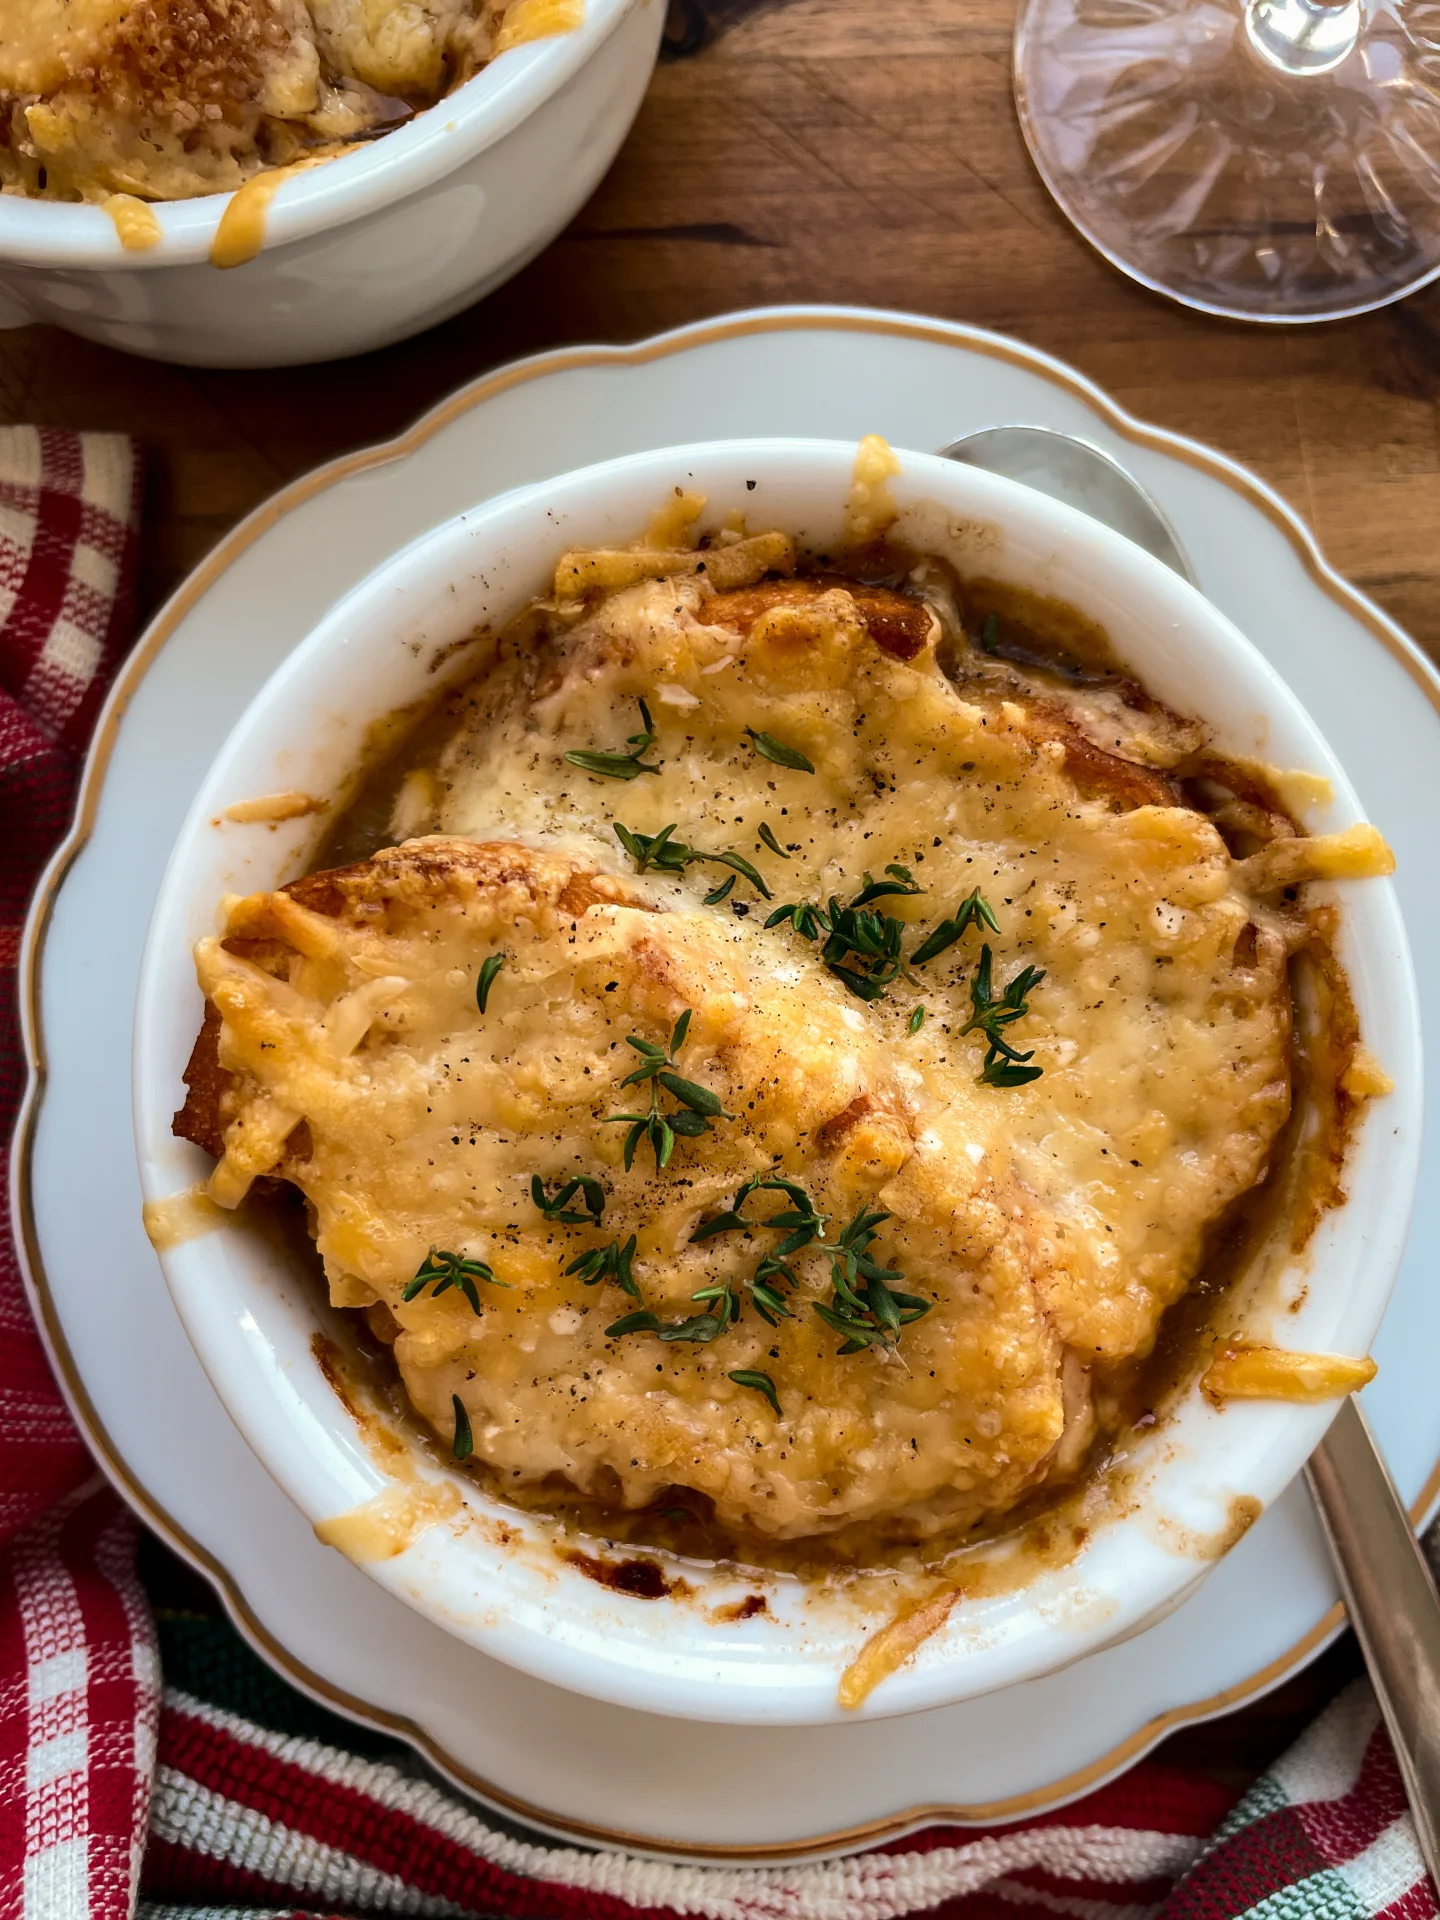
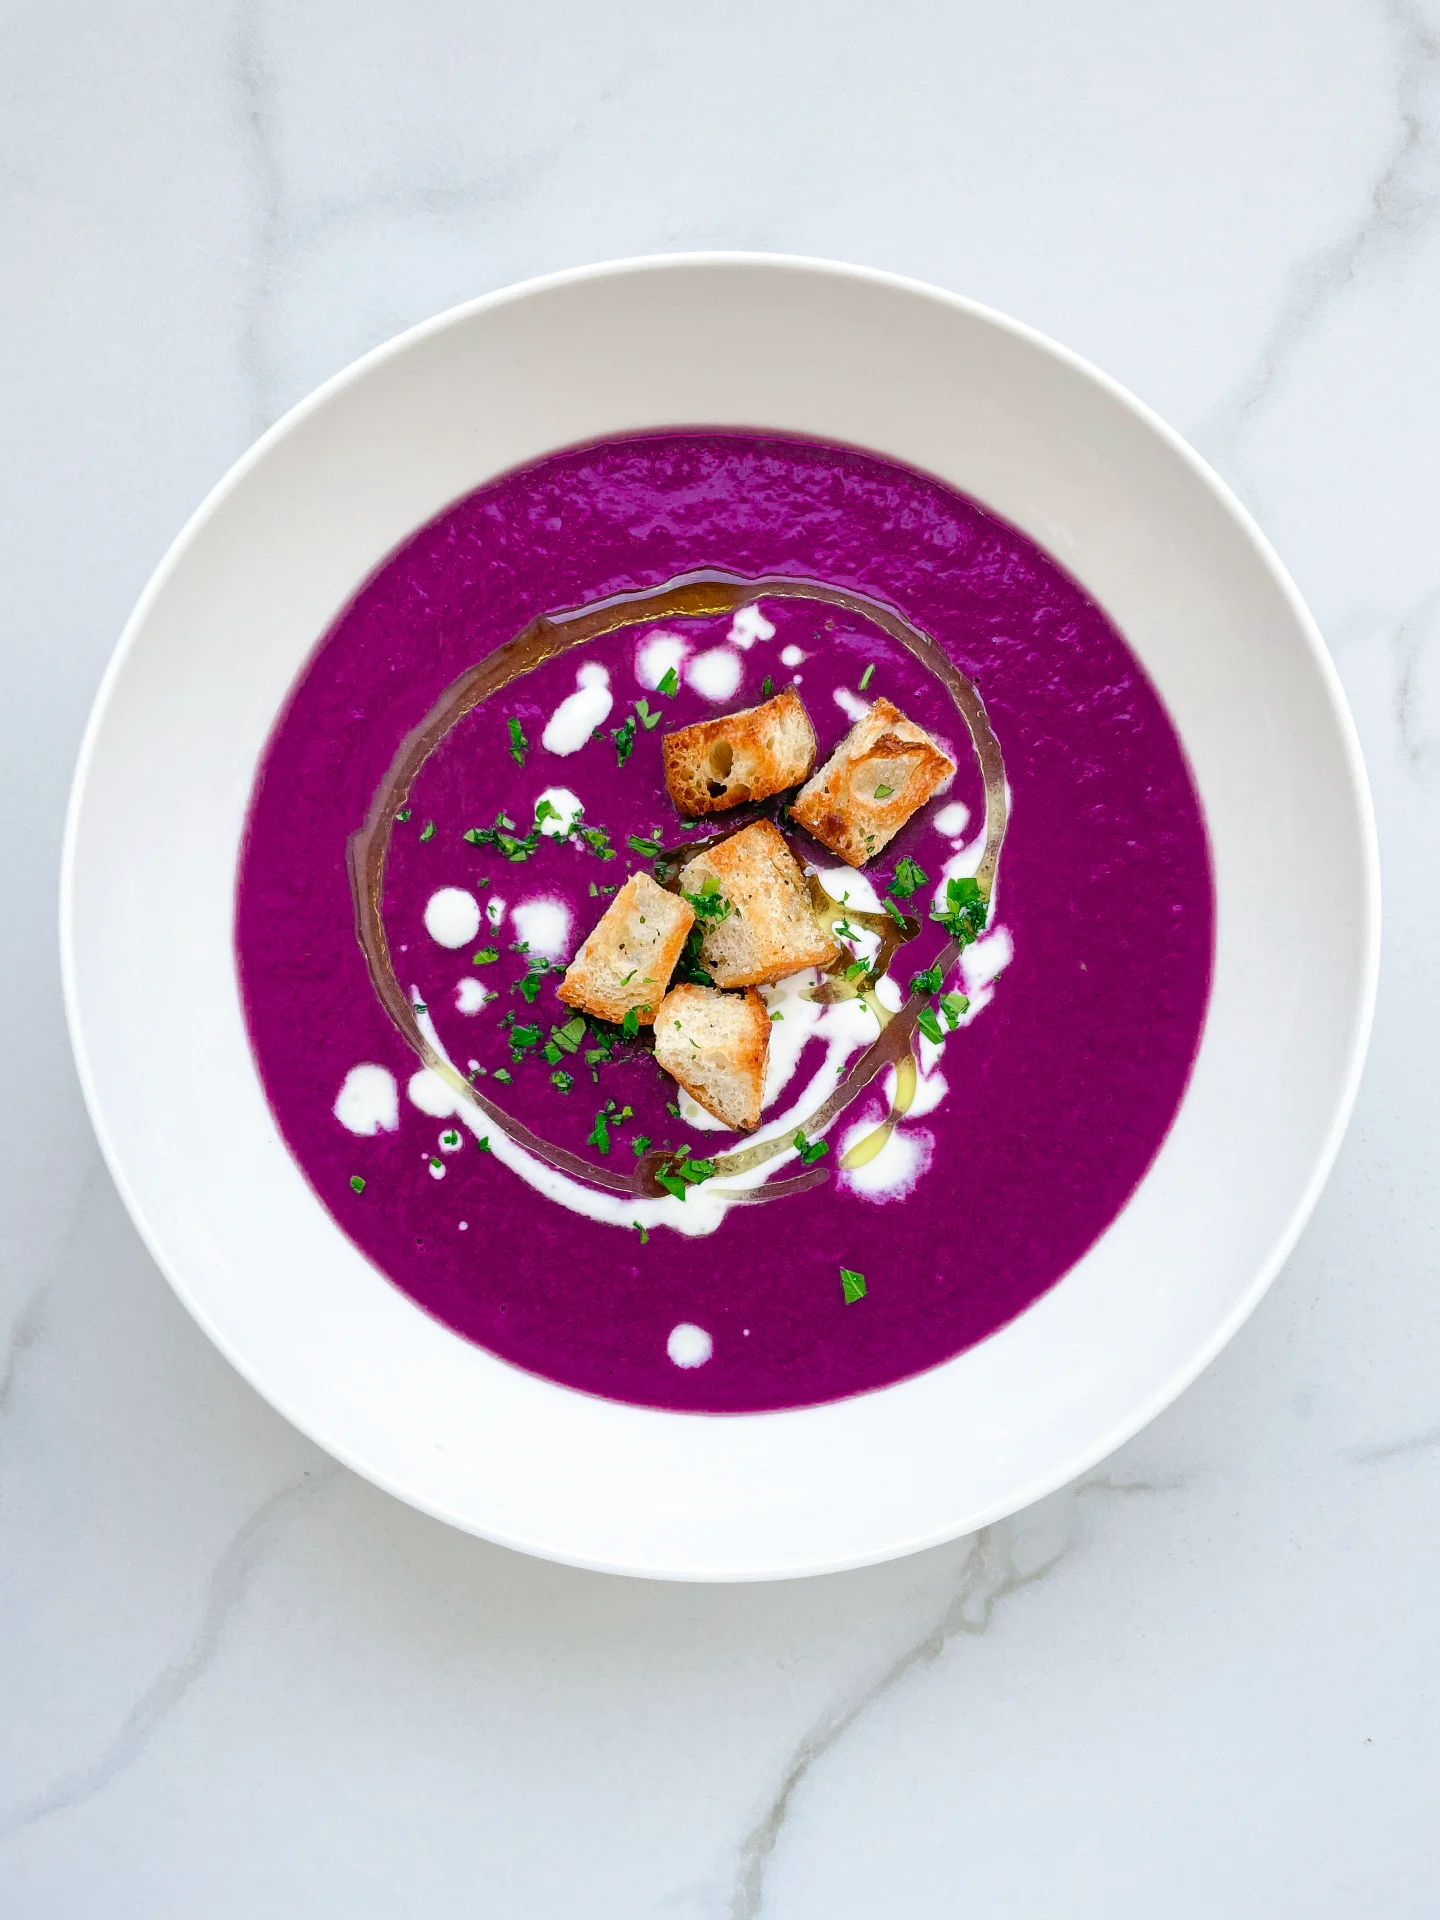
This is not your typical tomato soup…Imagine cozying up with a velvety, rich soup layered with additional bold flavors like carrots and red wine. Pair this with a gooey, melty onion-studded sandwich and you’ve got pure comfort with a gourmet twist.

80 MINUTES

EASY

VEGETARIAN

INT.

855 PER PORTION

COMFORT FOOD

CLASSICS

DINNER

AUTUMN
WINTER

INTRODUCTION

ABOUT THE RECIPE

There’s nothing like a comforting bowl of tomato soup – except when it’s taken to the next level! This version is bursting with extra flavors from sweet carrots, rich tomato paste, and a splash of red wine, making each spoonful deeply satisfying and a little more gourmet than your everyday soup. Paired with a gooey grilled cheese sandwich layered with caramelized onions, it’s the perfect cozy meal that will make you feel like you’re indulging in something truly special.

How to serve
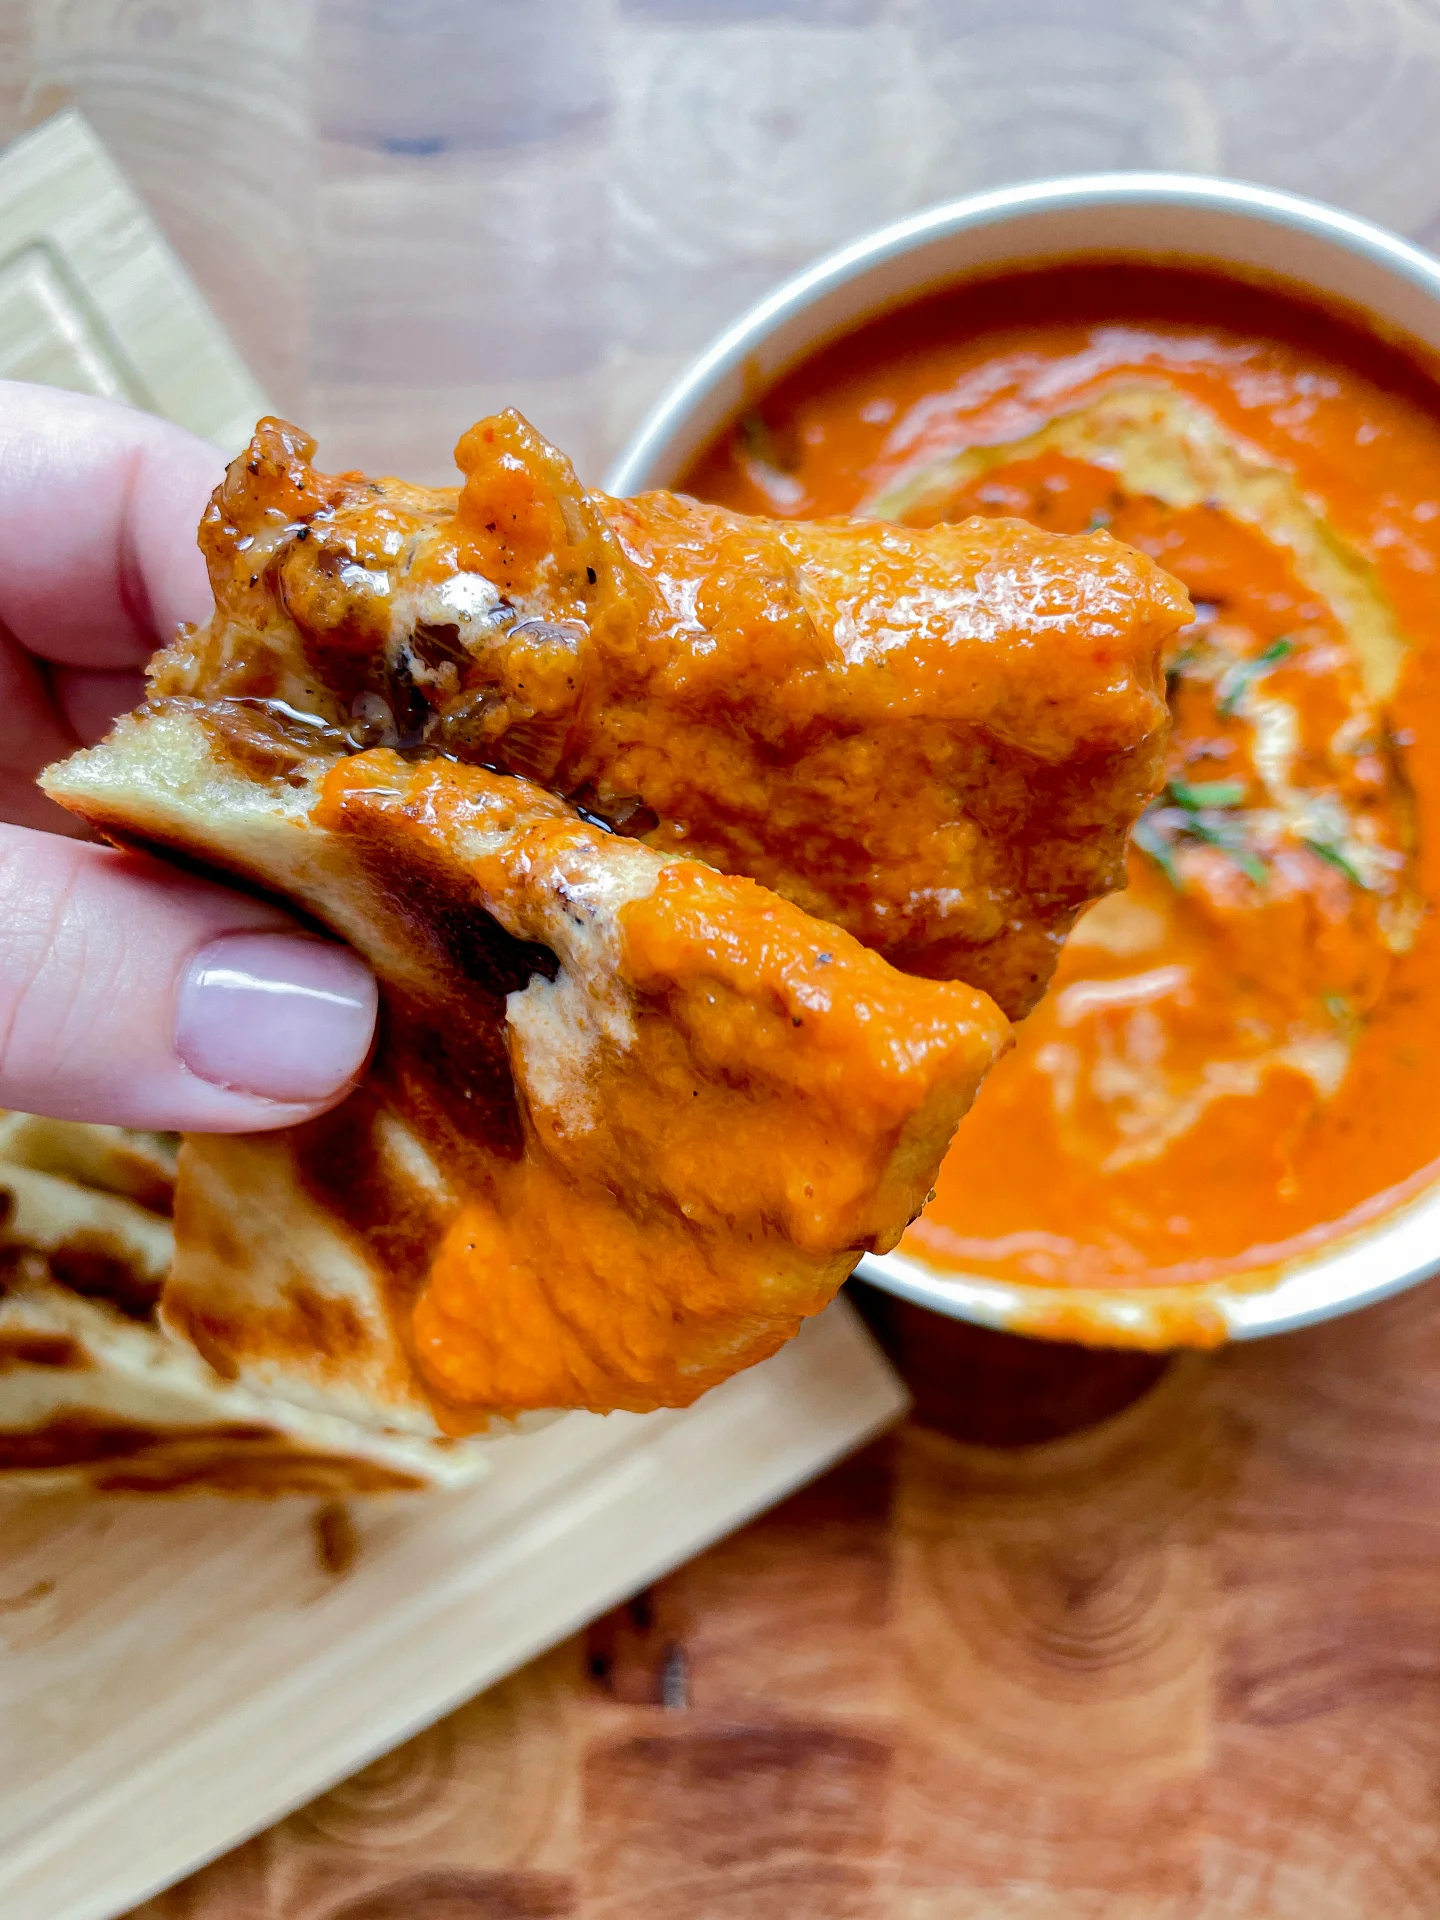
Serve this soup hot, with a side of crispy grilled cheese fresh from the pan. The soft caramelized onions in the sandwich bring a sweetness that balances perfectly with the rich, slightly tangy soup. For an added touch, top your soup with a drizzle of cream or olive oil, or even some fresh herbs for a pop of color and flavor. This combo is perfect for a chilly evening in, or a quick but luxurious lunch.

How to store
Leftovers? No problem! Keep the soup in an airtight container in the fridge for up to three days, and reheat gently on the stove to preserve its rich flavors. The grilled cheese is best fresh, but you can revive it in a hot pan for a quick crisp-up.

Hi, I'm Kimberly!

Hi, I'm Kimberly.

A passionate food lover who believes in the magic of homemade deliciousness that spreads love and warmth. Join me on this culinary adventure as I prepare wonderful dishes and let’s spread some happiness together!

Kimberly the Zett Signature

If you want to get to know me better, click here!


Tomato Soup & Caramalized Onion Grilled Cheese Sandwich
„Let’s make a piece of happiness“
Print
clock clock iconcutlery cutlery iconflag flag iconfolder folder iconinstagram instagram iconpinterest pinterest iconfacebook facebook iconprint print iconsquares squares iconheart heart iconheart solid heart solid icon
Tomato Soup & Caramalized Onion Grilled Cheese Sandwich

Tomato Soup & Caramalized Onion Grilled Cheese Sandwich


5 Stars 4 Stars 3 Stars 2 Stars 1 Star

No reviews

  • Author: Kimberly
  • Total Time: 1 hour 20 minutes
  • Yield: 4 1x

Description

Recommended Equipment

  • large baking dish
  • sharp knife
  • cutting board
  • large pan
  • peeler
  • large pot
  • immersion blender (or stand mixer)

Ingredients

Units Scale

OVEN VEGGIES

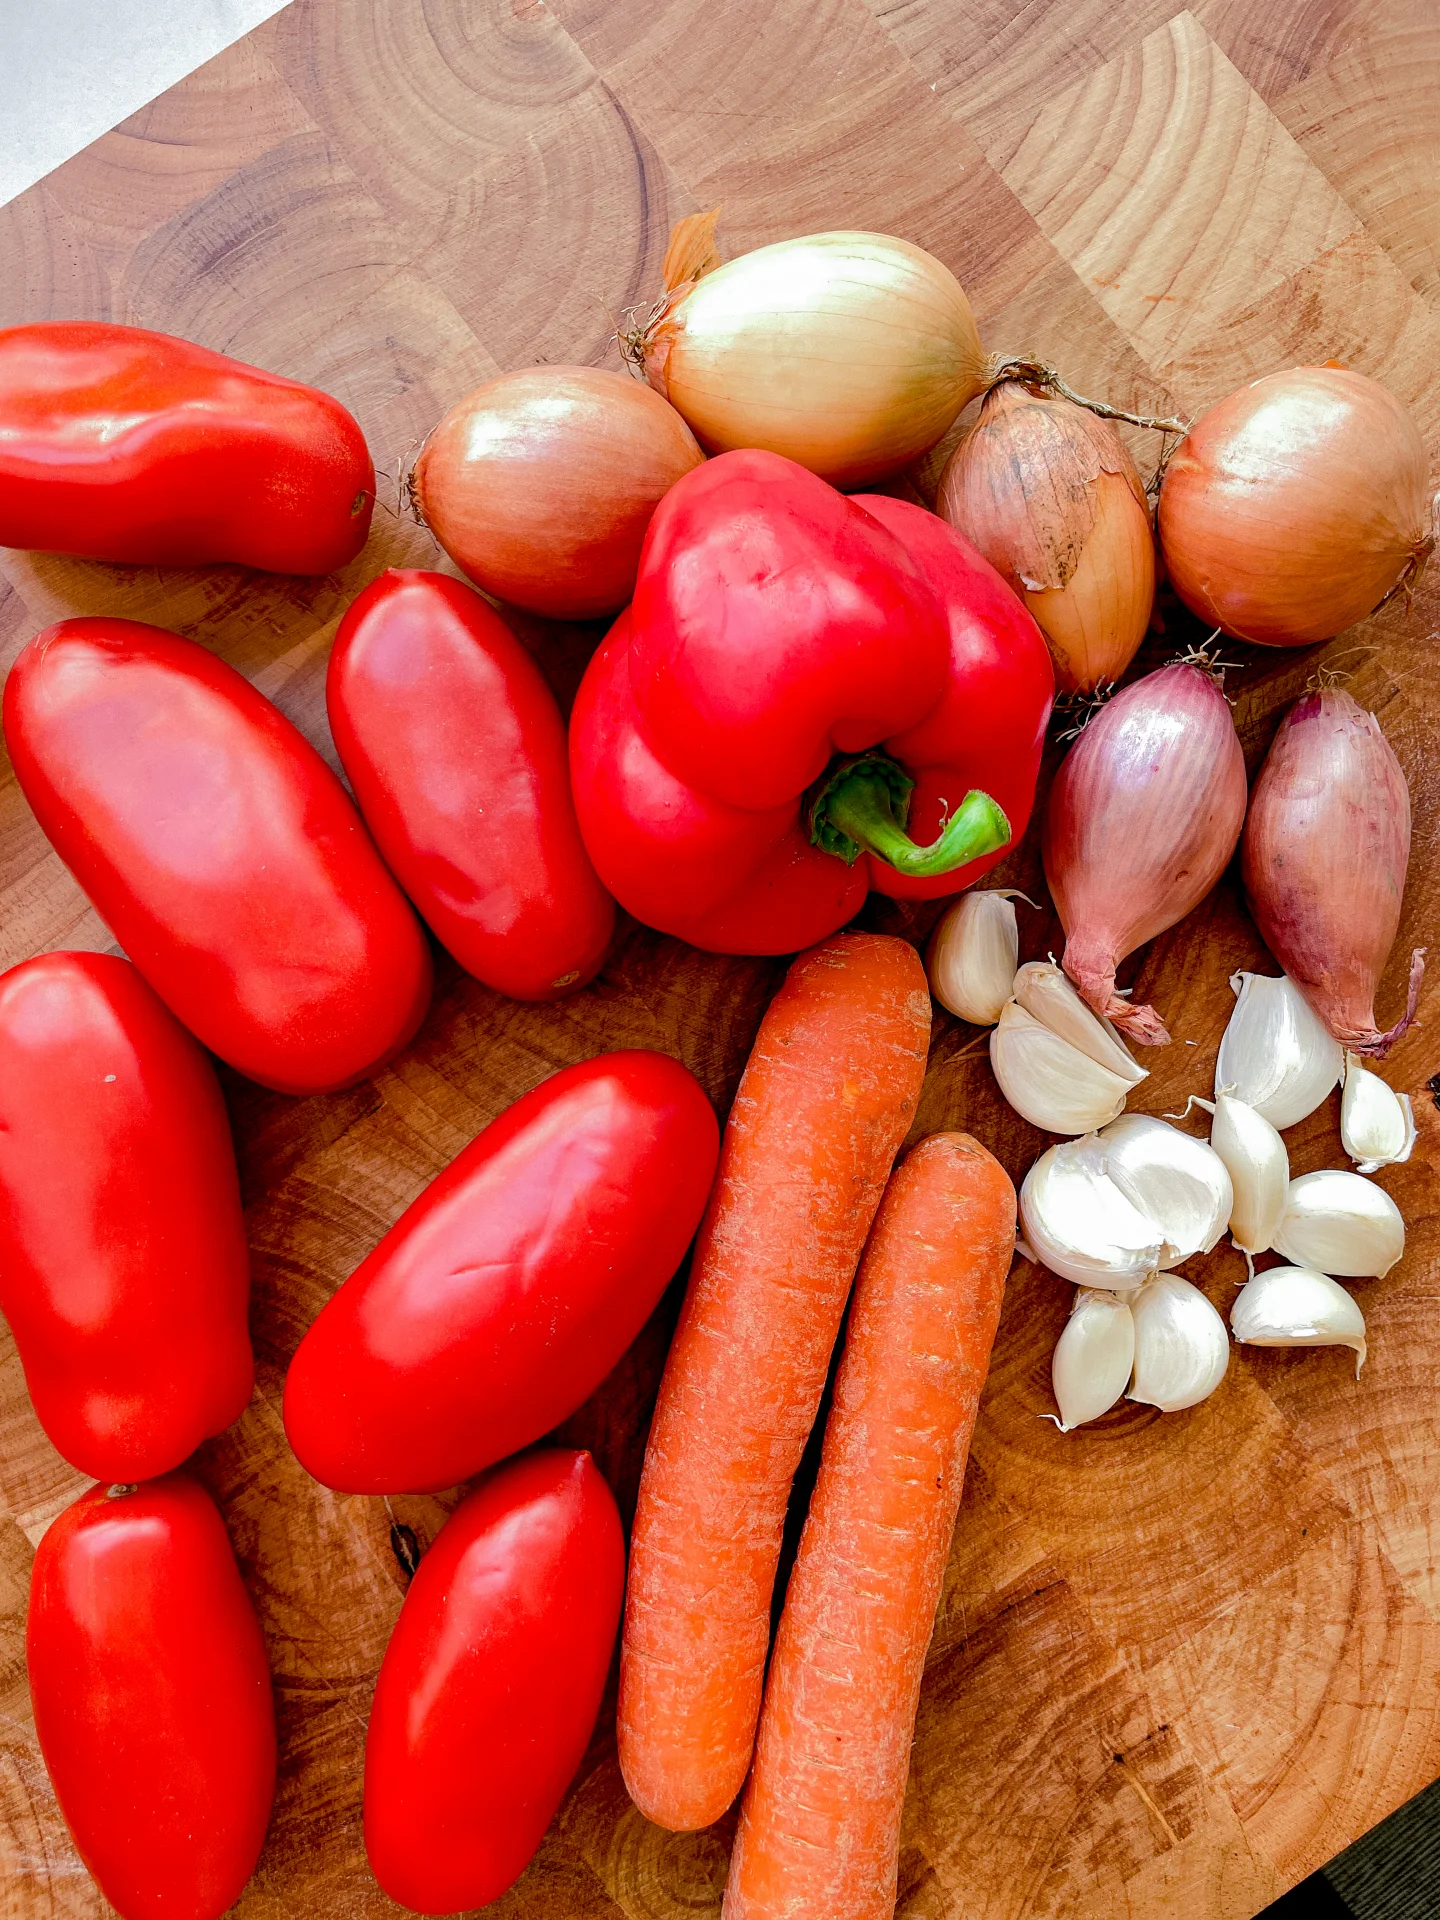
  • 1 kilogram tomatoes (I used San Marzano)
  • 1 red bell pepper
  • 2 carrots
  • 2 shallots
  • 12 garlic cloves
  • 3 tbsp olive oil
  • salt

CARAMALIZED ONIONS FOR GRILLES CHEESE

  • 8 small white onions
  • 2 tsp butter
  • 1 tbsp balsamic vinegar
  • salt

SOUP BASE

  • 1 tsp butter
  • 4 small white onions
  • 1/2 tsp chili flakes
  • 2 tbsp tomato paste
  • 80 milliliters red wine

SOUP

  • 400 milliliters vegetable broth
  • 200 milliliters heavy cream (save some for garnish)
  • 10 grams fresh basil (save some for garnish)
  • salt, pepper & cayenne pepper to taste

GRILLED CHEESE

  • 8 slices bread of your choice (I used regular white flat breads)
  • 200 grams cheese of your choice (I used an cheddar & medium-aged gouda)
  • butter

Instructions

  1. Preheat your oven to 150°C / 300°F. Wash the tomatoes and bell peppers, then dry them well. Get a large baking dish ready. Quarter the tomatoes, remove the seeds from the bell peppers, and roughly chop them. Peel the carrots and cut them into large chunks too. Peel the shallots and garlic. Now, put everything in the baking dish, drizzle with a little olive oil and sprinkle some salt over the veggies. Toss them to coat evenly, then place the baking dish in the oven for 40 minutes. After 40 minutes, increase the temperature to 210°C / 410°F and roast for another 15 minutes.
  2. While the veggies are roasting, you can prepare the caramelized onions for the grilled cheese sandwiches. Peel the onions and slice them thinly. Add 1 teaspoon of butter to a large pan and let it melt. Add the onion slices, sprinkle a bit of salt on top, and cook on low heat, stirring regularly for about 10-15 minutes.
  3. Now, peel the onions for the soup base and cut them roughly. Set them aside. Pick the basil leaves from their stems, wash them, and dry them well. Set them aside too.
  4. After 10-15 minutes, the onions in the pan will have left some fond (browned bits) at the bottom. This is the time to add another teaspoon of butter and cook the onions for another 10-15 minutes. Once the onions are soft and golden brown, add a splash of balsamic vinegar and cook for another 1-2 minutes. Transfer the caramalized onions to a bowl and set the pan back on the stove to make the soup base.
  5. Add another teaspoon of butter to the pan and sauté the roughly chopped onions over medium heat. After a few minutes, add the chili flakes and stir well. After a few more minutes, stir in the tomato paste so that all the onions are coated evenly. Let it cook for a few minutes. Then, deglaze with the red wine and let it simmer until it reduces to a thick, creamy paste. Set the pan aside.
  6. Grab a large pot and transfer the roasted vegetables (along with any juices) into it once they’re done. Add the soup base from the pan, the vegetable broth, and the basil leaves. Use an immersion blender to blend everything until you reach the desired consistency. Finally, stir in the cream. Season the soup with salt, pepper, and cayenne to taste. Keep the soup on low heat and bring it to a simmer.
  7. Meanwhile, make the grilled cheese sandwiches. Heat a pan over low-medium heat. While the pan heats up, spread a thin layer of butter on the outside of each slice of bread. Grate the cheese. Place half of the buttered bread (butter side down) in the pan, then evenly distribute the cheese and caramelized onions on top. Cover the pan with a lid and wait for the cheese to start melting. Once it does, place the remaining slices of bread (butter side up) on top. Use a spatula to flip the sandwiches so they can brown on the other side.
  8. While the sandwiches are finishing, ladle the soup into bowls and optionally garnish with a drizzle of walnut oil, some cream, and fresh basil. Once the other side of the grilled cheese is crispy, take them out of the pan and cut them however you like – halves, triangles, strips, or small squares – depending on how you prefer them with your soup.
  • Cook Time: 80 min
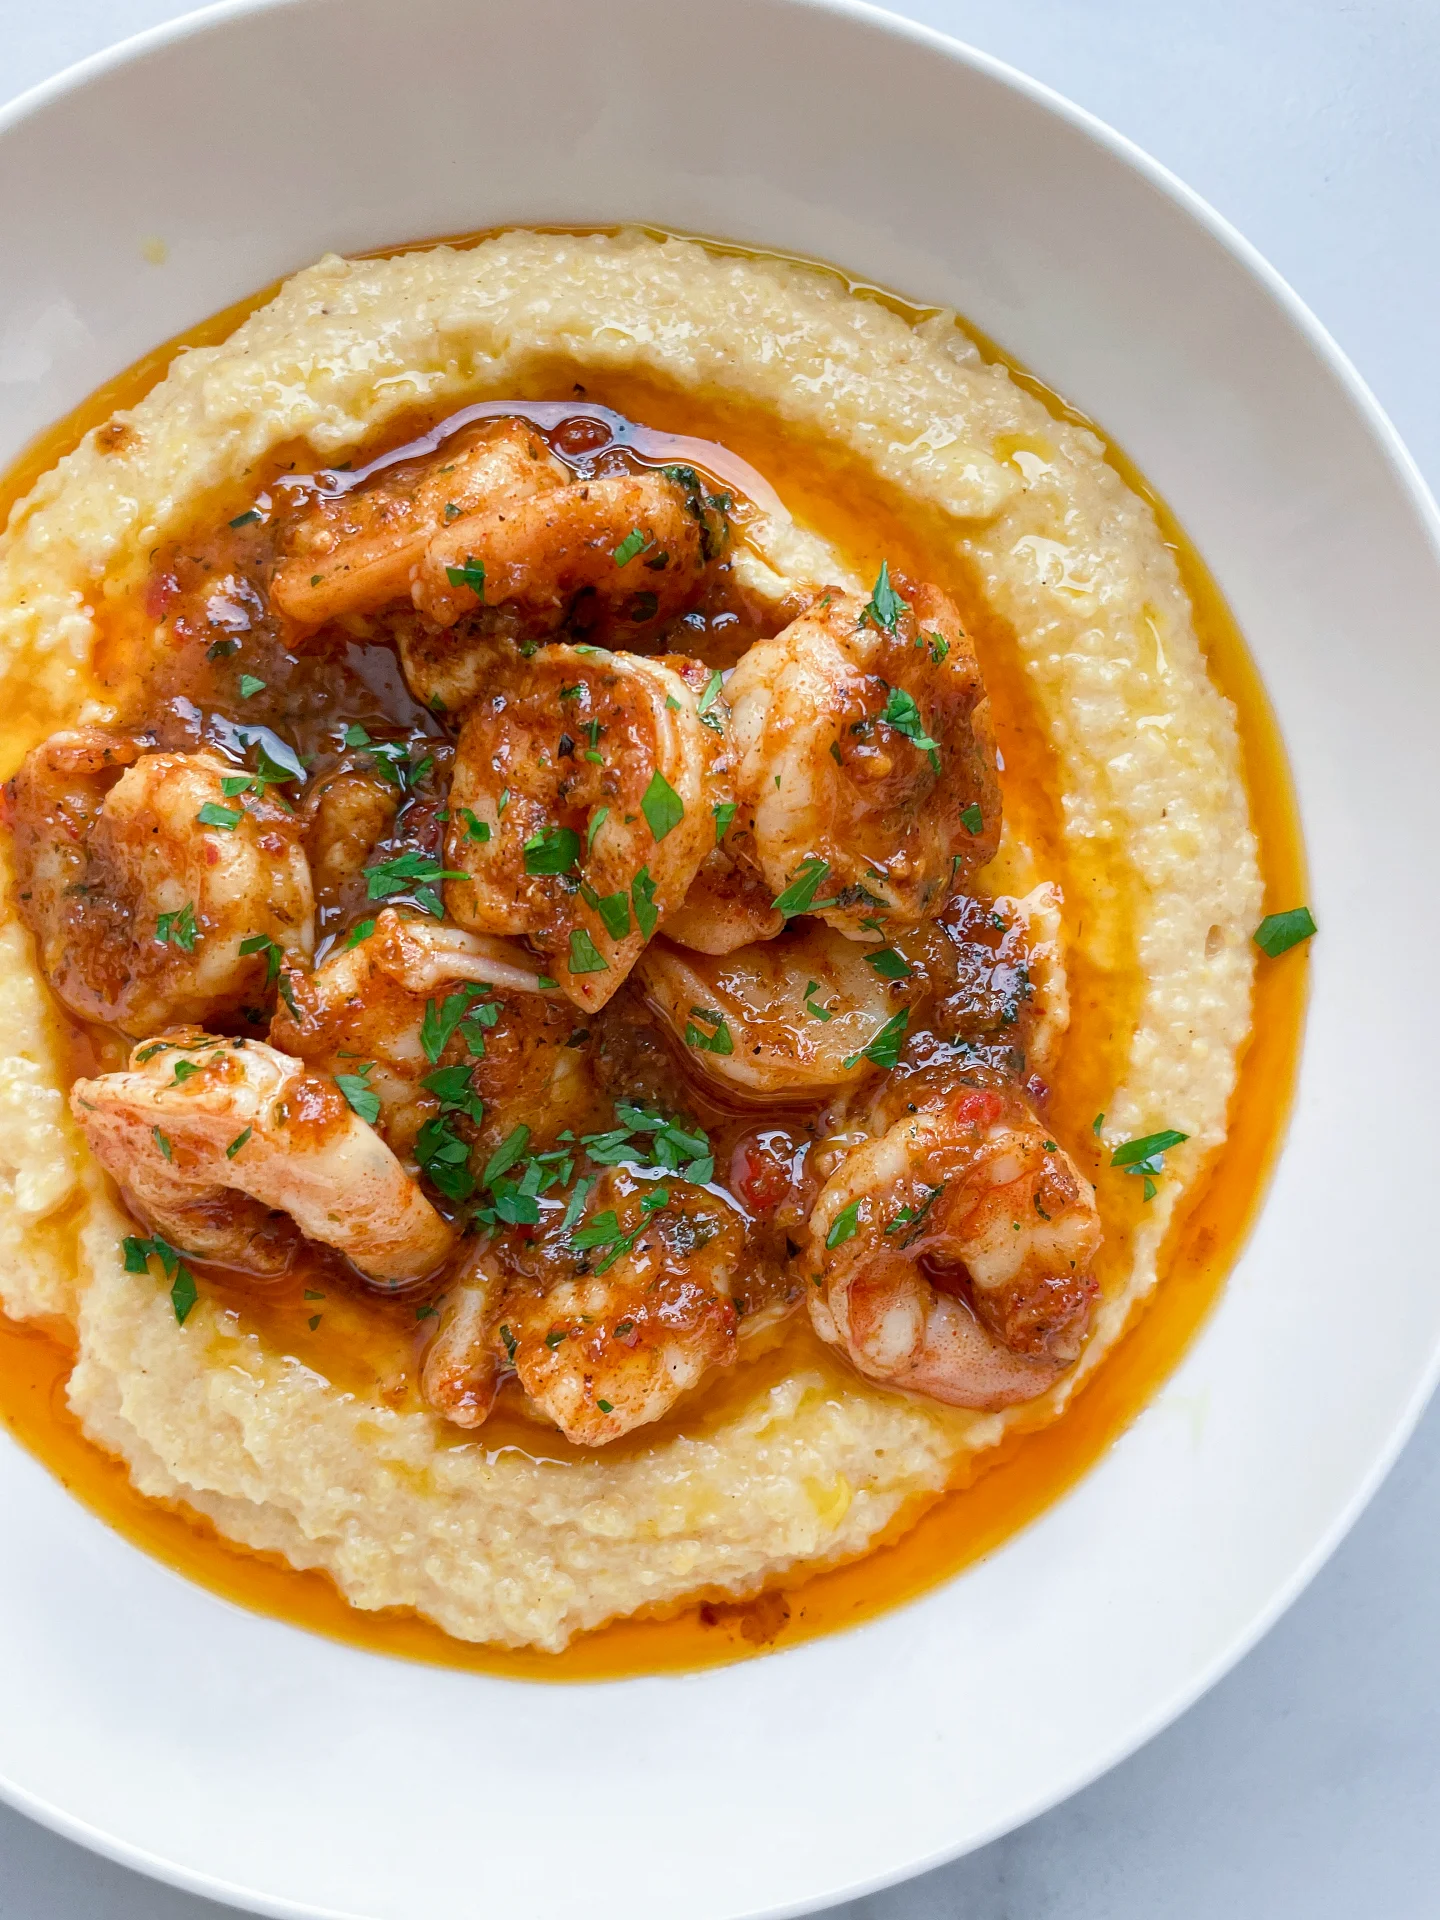
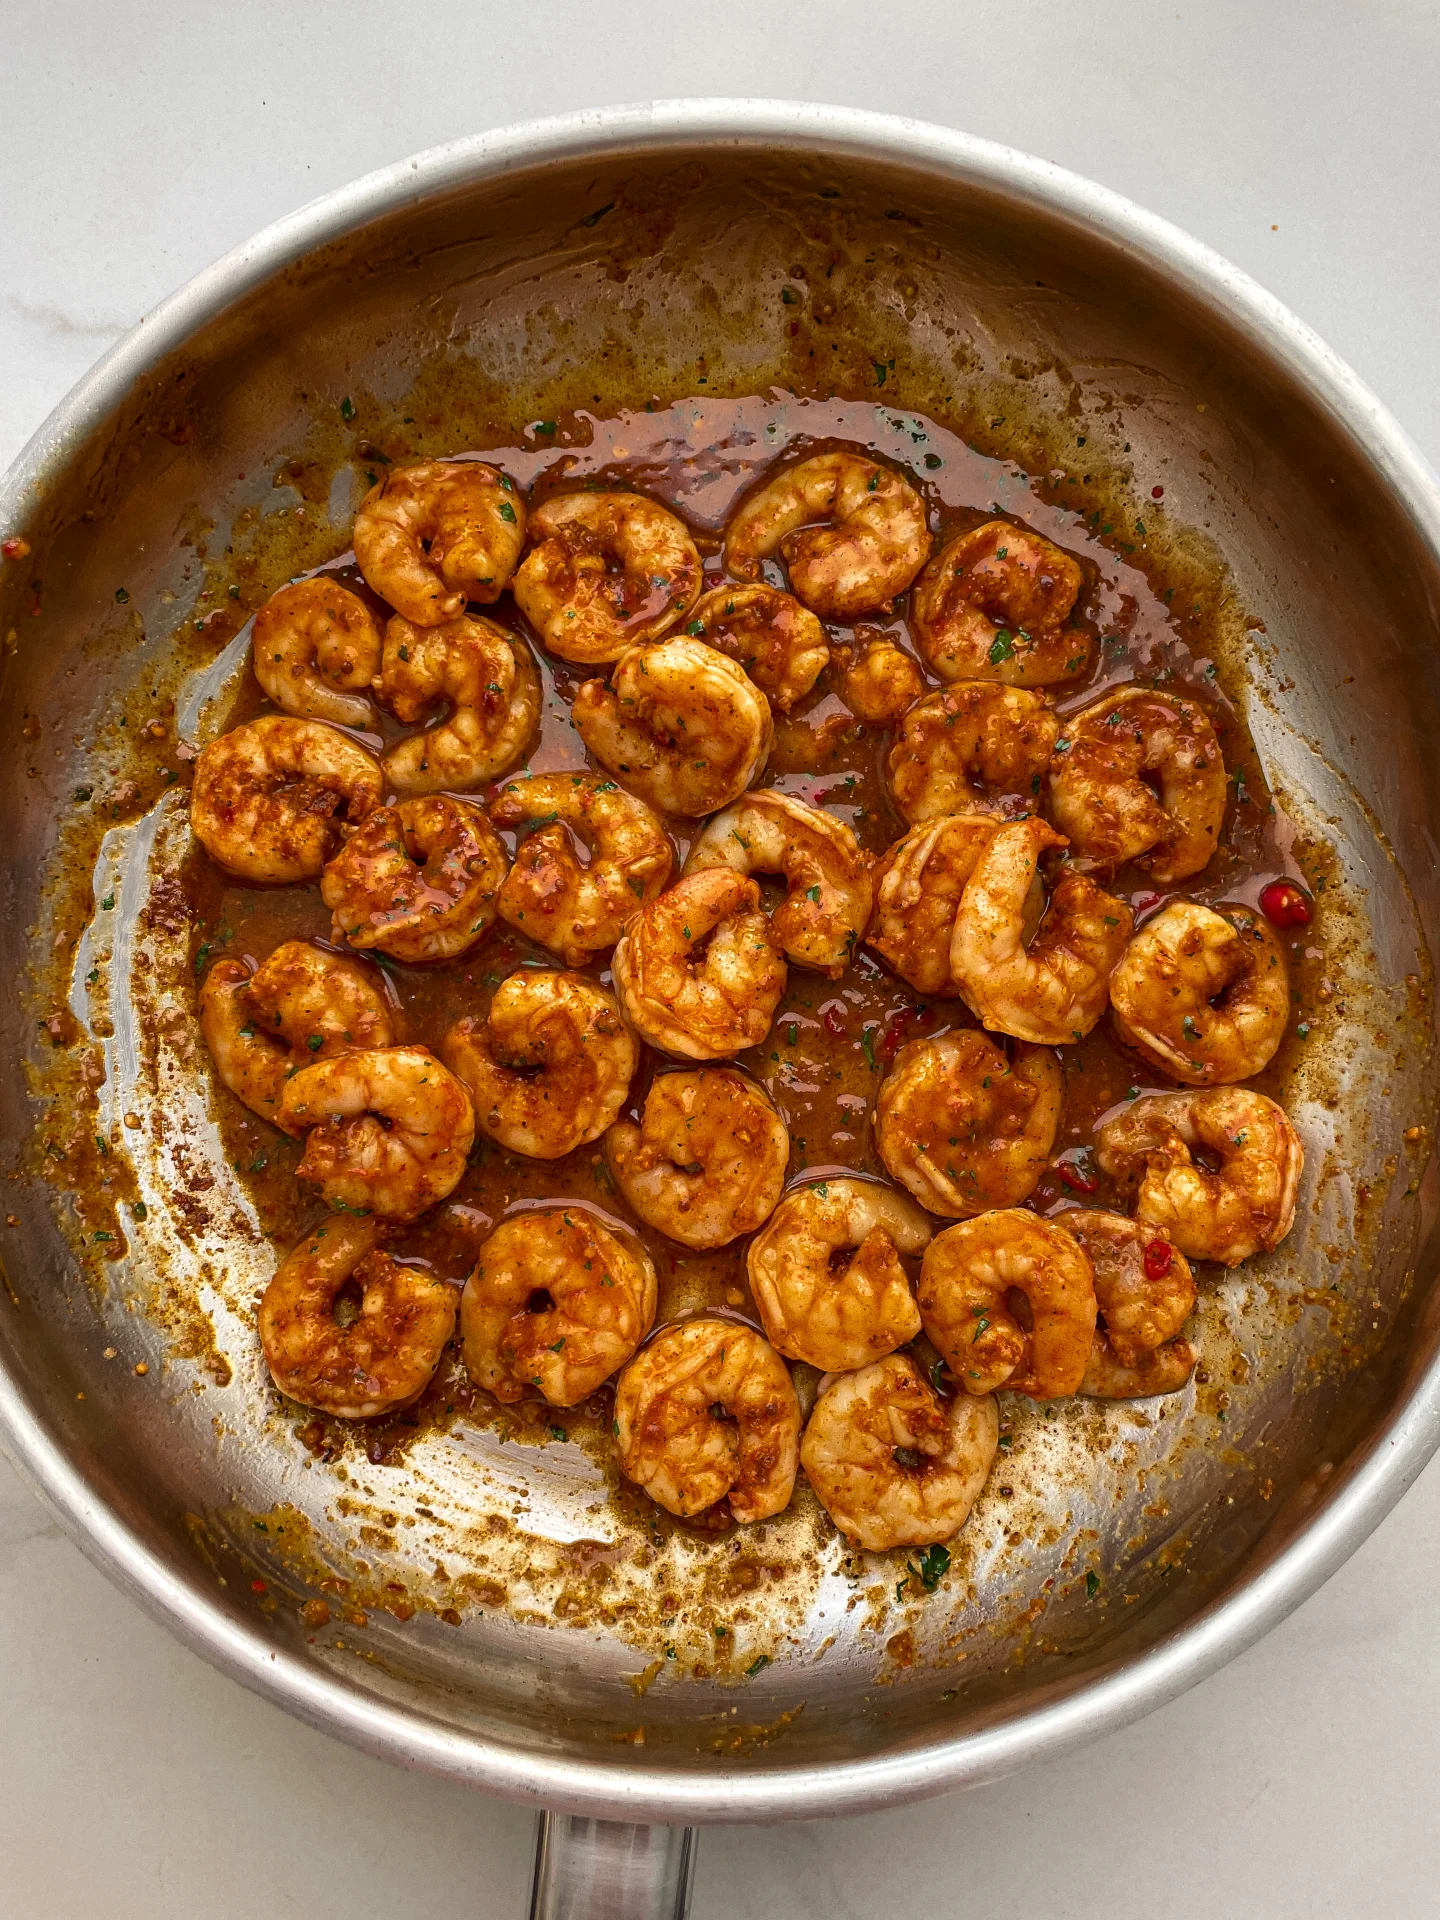
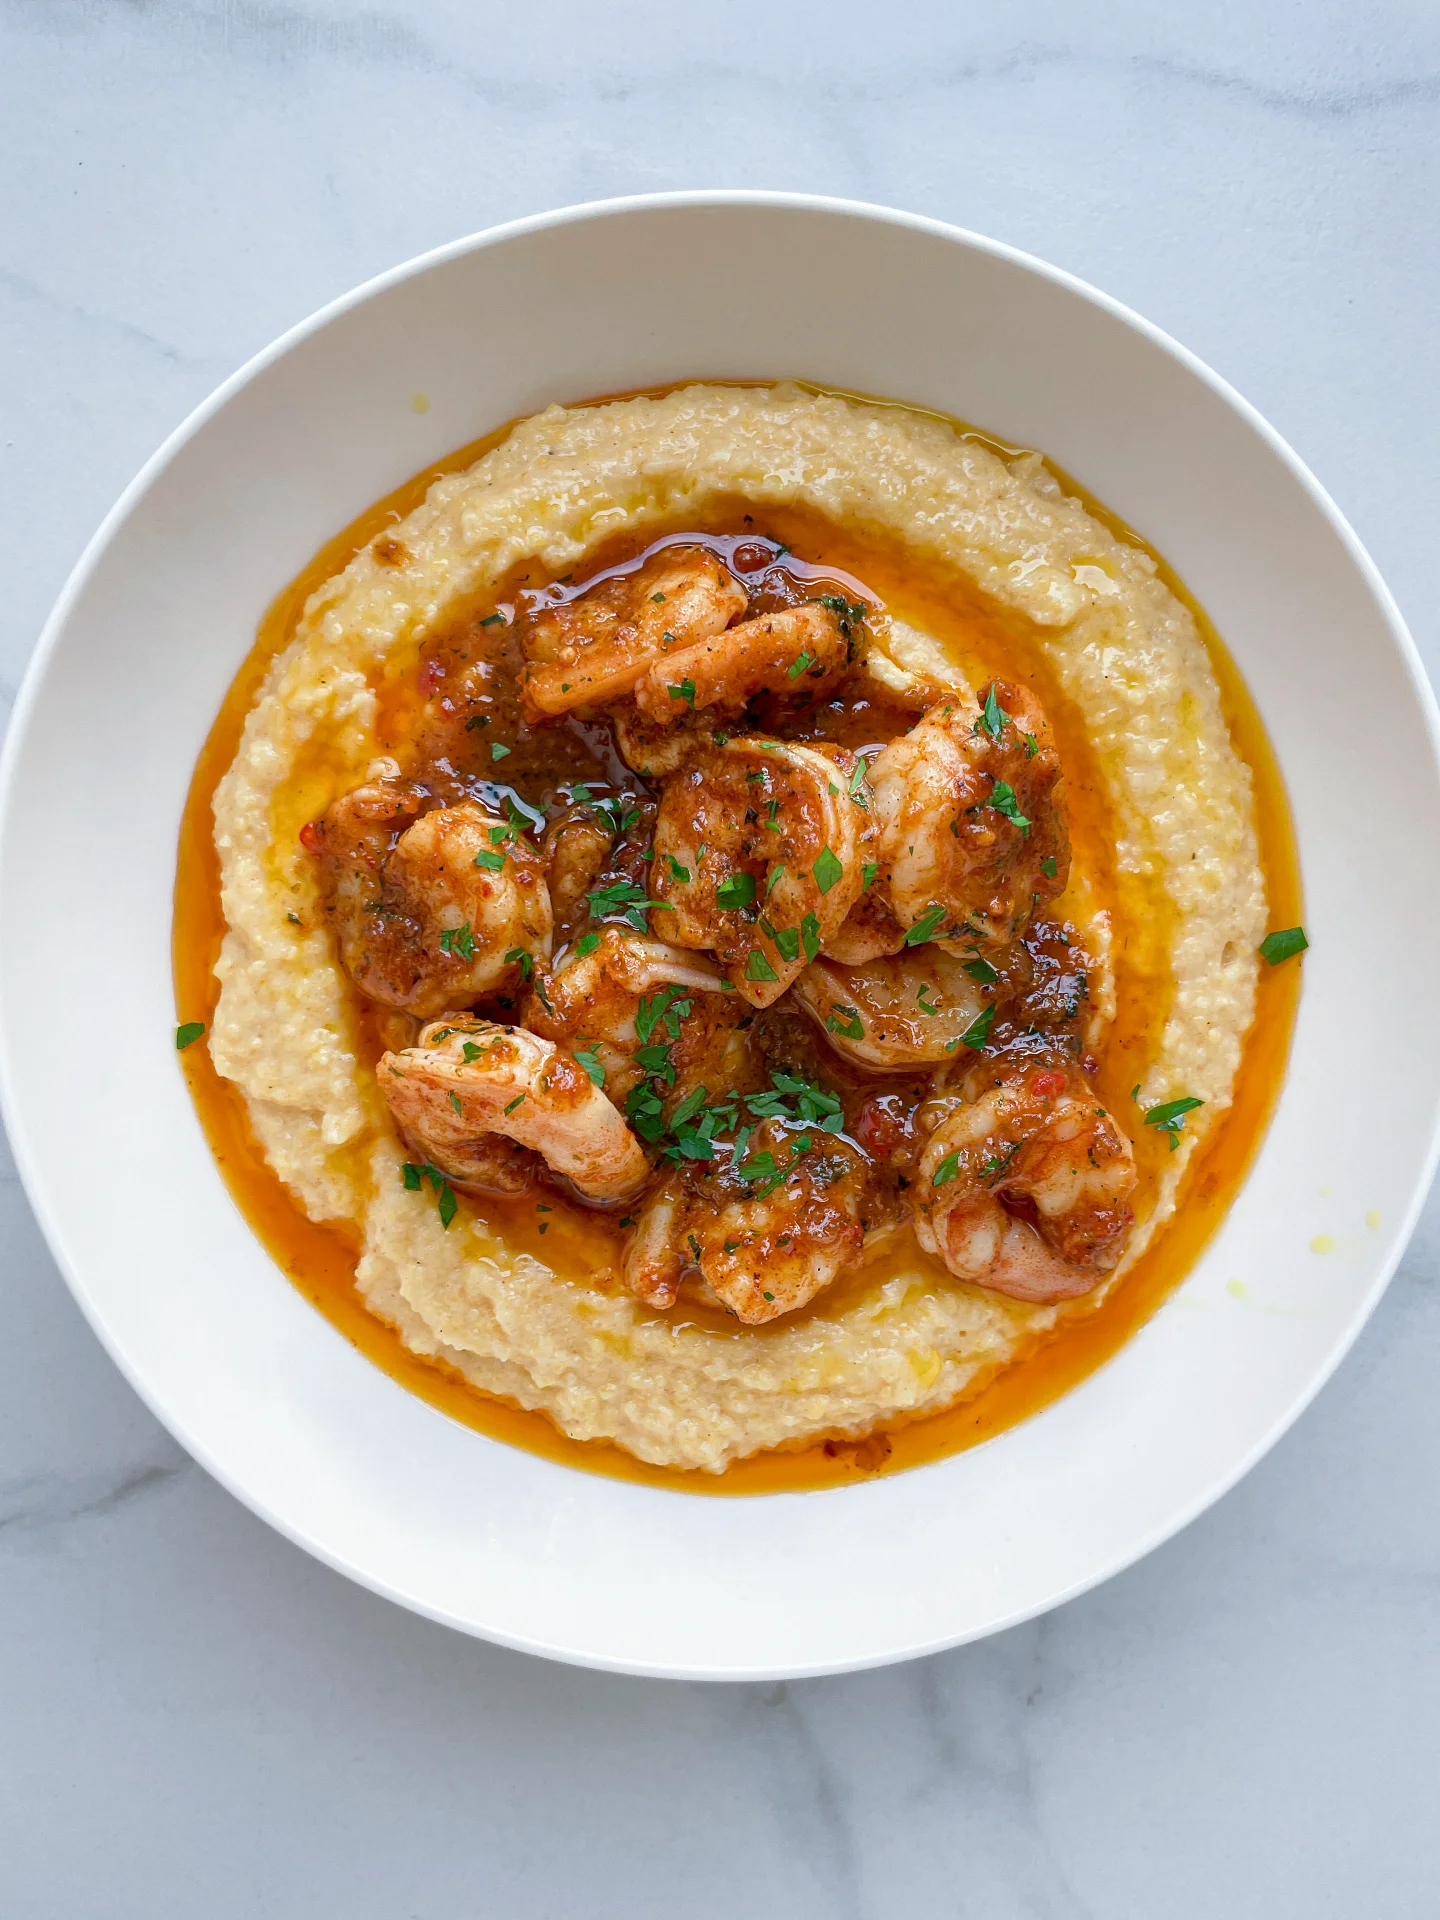
Cajun Shrimps with Honey Glaze & Cheesy Polenta

Cajun Shrimps with Honey Glaze & Cheesy Polenta

Cajun Shrimps with Honey Glaze & Cheesy Polenta

Cajun Shrimps with Honey Glaze & Cheesy Polenta

August 17, 2024 by Kimberly

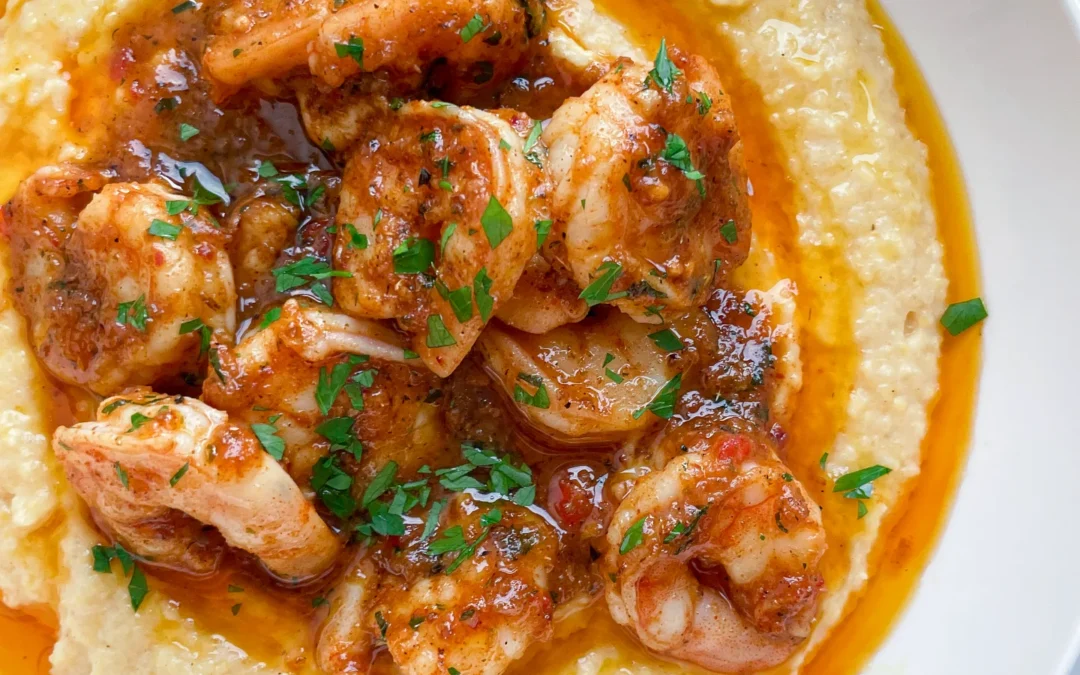
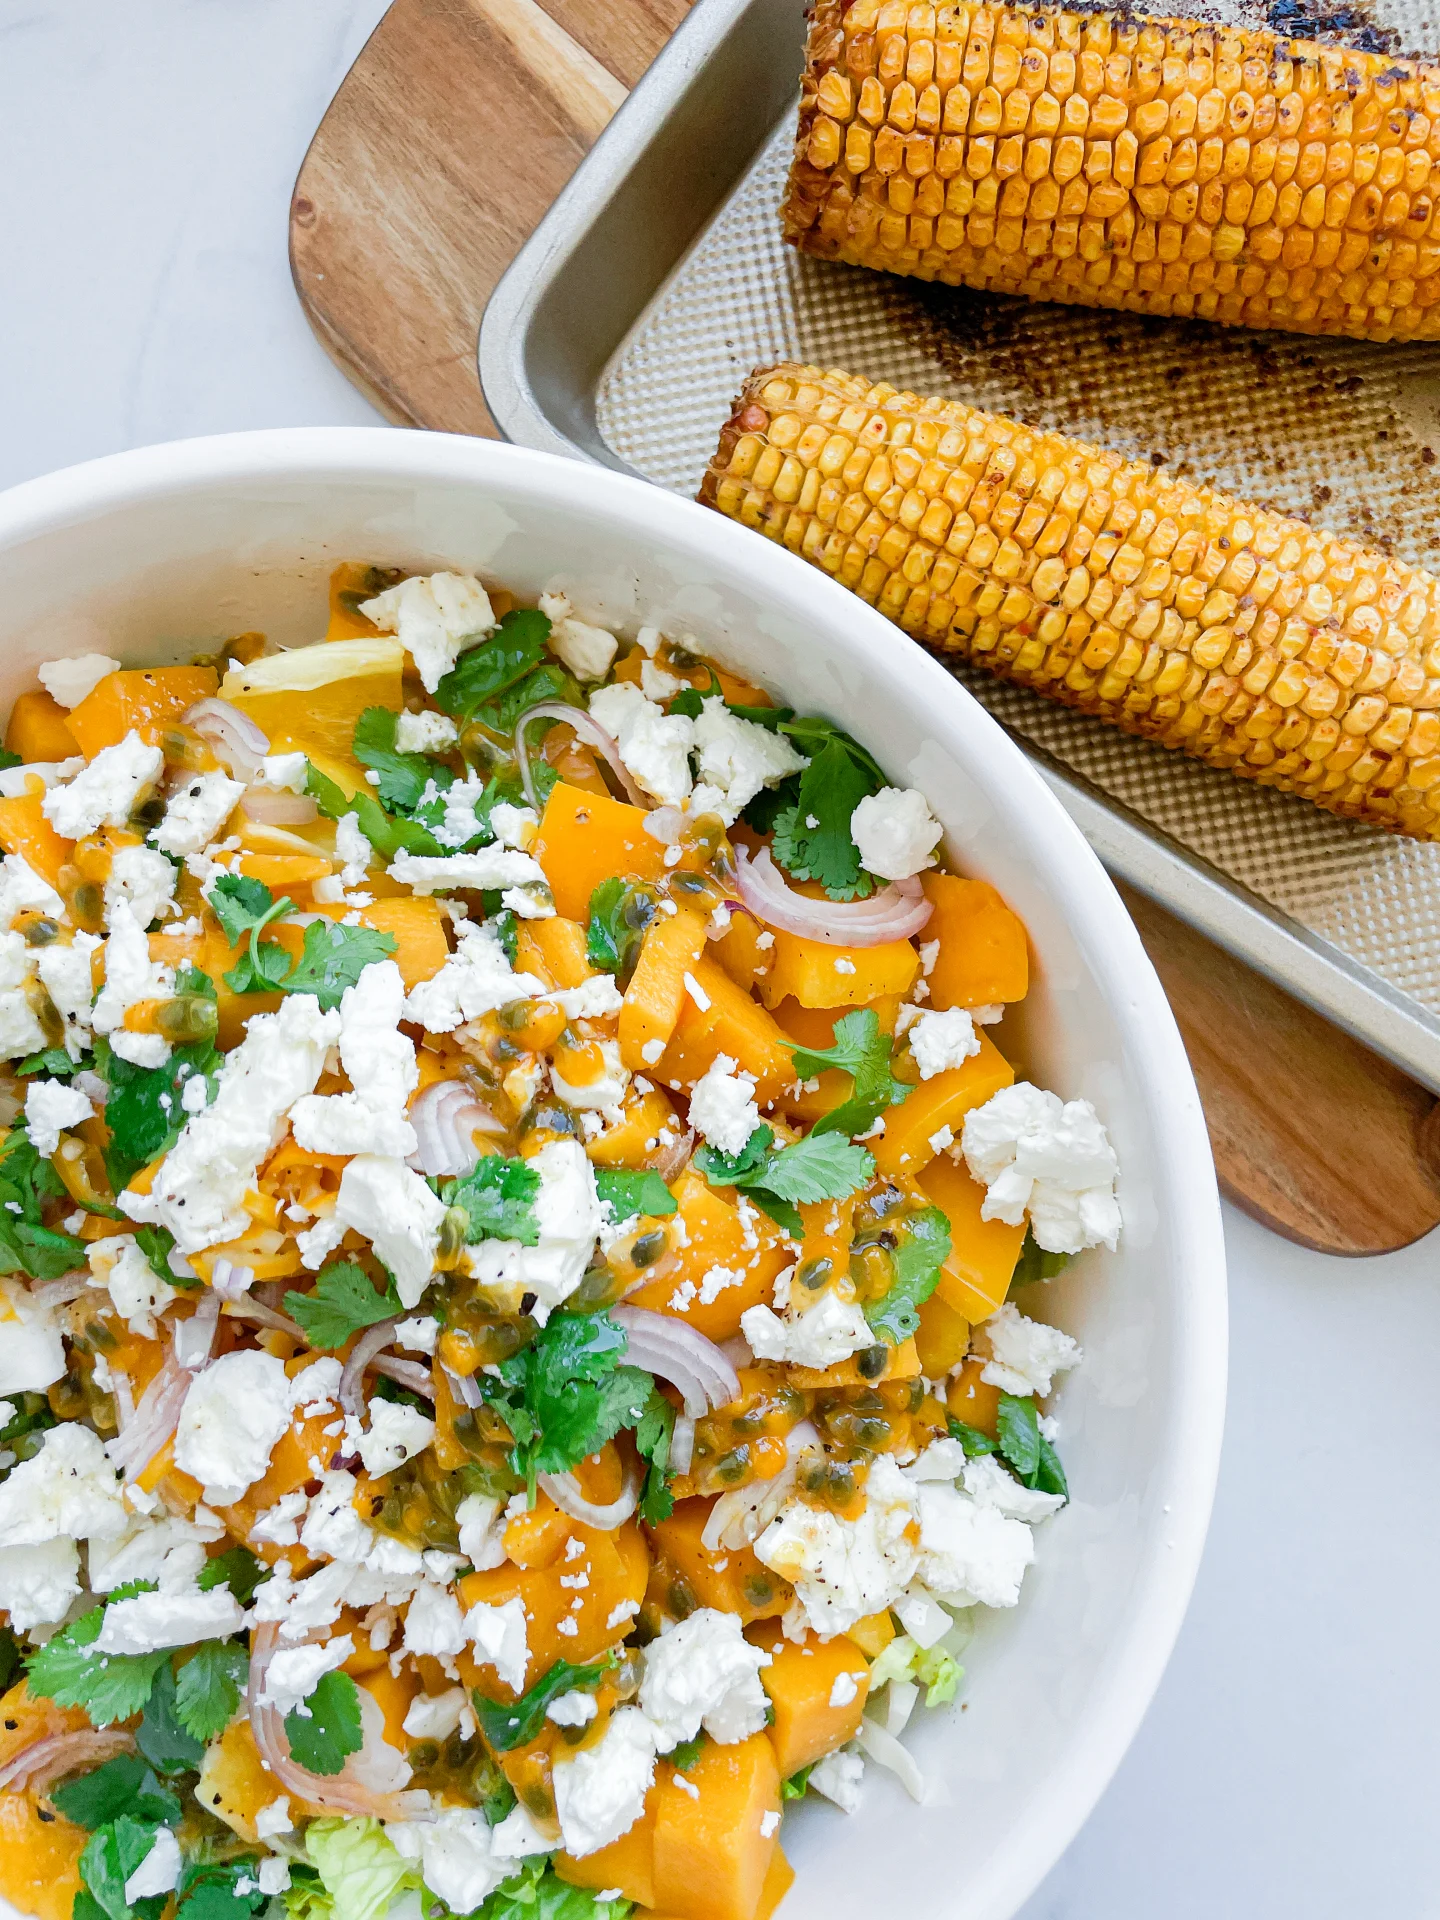
Indulge in a cozy, Southern-inspired meal that’s all about comfort. Juicy shrimp, sweet honey glaze, and creamy, cheesy polenta come together for a dish that feels like a warm hug.

40 MINUTES

EASY

OMNIVORE

US AMERICAN

969 PER PORTION

COMFORT FOOD

EVERYDAY

DINNER

AUTUMN
WINTER

INTRODUCTION

ABOUT THE RECIPE

Get ready to treat yourself to a deliciously comforting meal that’s sure to become a favorite in your home. This dish brings together tender cajun shrimp with a sweet and spicy honey glaze, paired perfectly with creamy, cheesy polenta. It’s the kind of meal that feels fancy, but it’s surprisingly easy to make. Whether you’re cooking for a special occasion or just a cozy night in, this dish hits all the right notes.

How to serve
Serve this dish fresh out of the pan, with the shrimp nestled on top of a generous scoop of polenta. For a little extra flair, garnish with fresh herbs like parsley or cilantro, and a wedge of lemon on the side to squeeze over the shrimp. It’s great as a stand-alone meal, but you can also pair it with a crisp salad or some sautéed greens for a complete dinner experience.

How to store
If you’ve got leftovers (lucky you!), store them in an airtight container in the fridge for up to 3 days. Reheat the shrimp and polenta separately in the microwave or on the stovetop, adding a splash of water or broth to keep the polenta creamy.

Hi, I'm Kimberly!

Hi, I'm Kimberly.

A passionate food lover who believes in the magic of homemade deliciousness that spreads love and warmth. Join me on this culinary adventure as I prepare wonderful dishes and let’s spread some happiness together!

Kimberly the Zett Signature

If you want to get to know me better, click here!


Cajun Shrimps with Honey Glaze & Cheesy Polenta
„Let’s make a piece of happiness“
Print
clock clock iconcutlery cutlery iconflag flag iconfolder folder iconinstagram instagram iconpinterest pinterest iconfacebook facebook iconprint print iconsquares squares iconheart heart iconheart solid heart solid icon
Cajun Shrimps with Honey Glaze & Cheesy Polenta

Cajun Shrimps with Honey Glaze & Cheesy Polenta


  • Author: Kimberly
  • Total Time: 40 min
  • Yield: 4 1x

Description

Recommended Equipment

  • medium-sized pot
  • bowl
  • small bowl
  • grater
  • sharp knife
  • cutting board
  • large pan

Ingredients

Units Scale

SHRIMPS

  • 800 grams jumbo (21/25 count) shrimp, peeled and deveined, thawed if frozen
  • 4 tbsp cajun seasoning

HONEY GLAZE

  • 4 tbsp honey
  • 1.5 tsp Dijon mustard
  • 4 tbsp mango oil
  • 3 garlic cloves
  • 1 red chili
  • 1/2 tsp cayenne pepper
  • 1/2 tsp oregano
  • 2 tbsp butter
  • 2 tbsp parsley

CHEESY POLENTA

  • 200 grams polenta
  • 750 milliliters beef stock
  • 250 milliliters full-fat milk
  • 50 grams butter
  • 200 grams heavy cream
  • 100 grams cheddar
  • 100 grams parmesan
  • 1 tsp garlic powder
  • 1/2 tsp white pepper
  • pinch nutmeg
  • juice of half a lemon
  • 1/2 tsp salt

TOPPINGS


Instructions

  1. In a medium-sized pot, bring the beef broth and milk to a simmer over medium heat. Add the polenta and stir well. Reduce the heat to low and let it simmer for about 15 minutes.
  2. Rub the shrimp with Cajun seasoning in a bowl and set aside at room temperature.
  3. For the honey glaze, melt the butter in a small bowl. Peel the garlic cloves and grate them into the butter. Slice the chili into thin rings and add them to the garlic butter. Chop the parsley and add it to the bowl along with all the other glaze ingredients. Set aside.
  4. Remove the polenta from the heat and add the cream and milk, stirring until everything is well combined. Next, add the butter, salt, grated cheddar, grated parmesan, garlic powder, white pepper, nutmeg, and lemon juice. Stir until the cheese has melted and the mixture is smooth and creamy. Cover the pot with a lid and set it aside on the turned-off stove.
  5. Now, heat a large pan and sear the shrimp with a bit of mango oil for 1 minute on each side. Pour the honey glaze into the pan and let it simmer with the shrimp for 2-3 minutes. Remove the pan from the heat.
  6. To serve, first spoon the polenta into deep plates, then place the shrimp in the center. Top with a bit of mango oil and fresh parsley.
  • Cook Time: 40 min
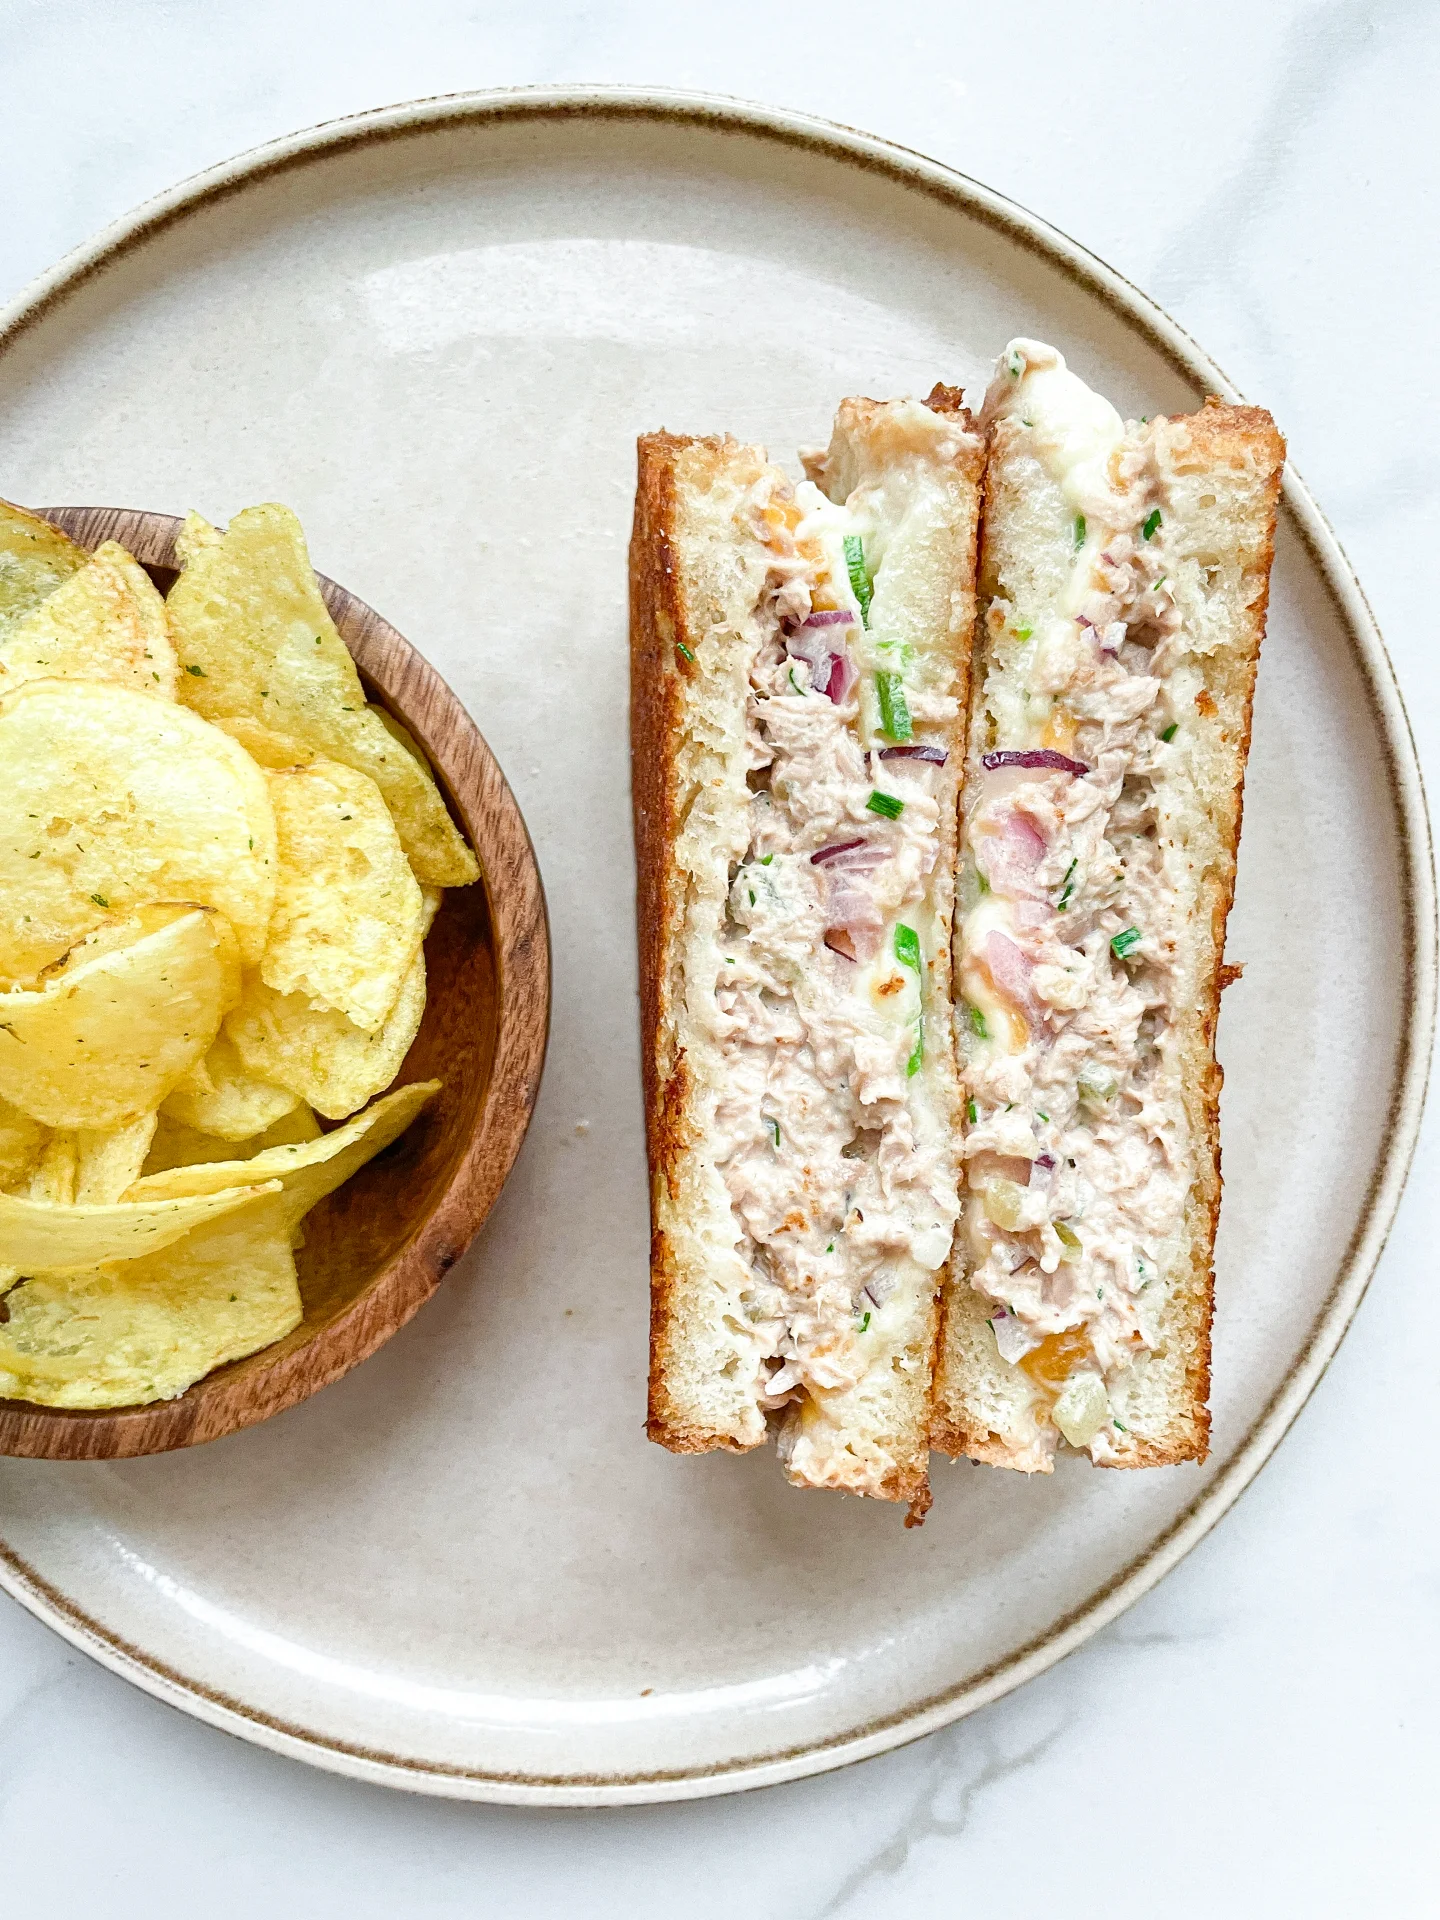
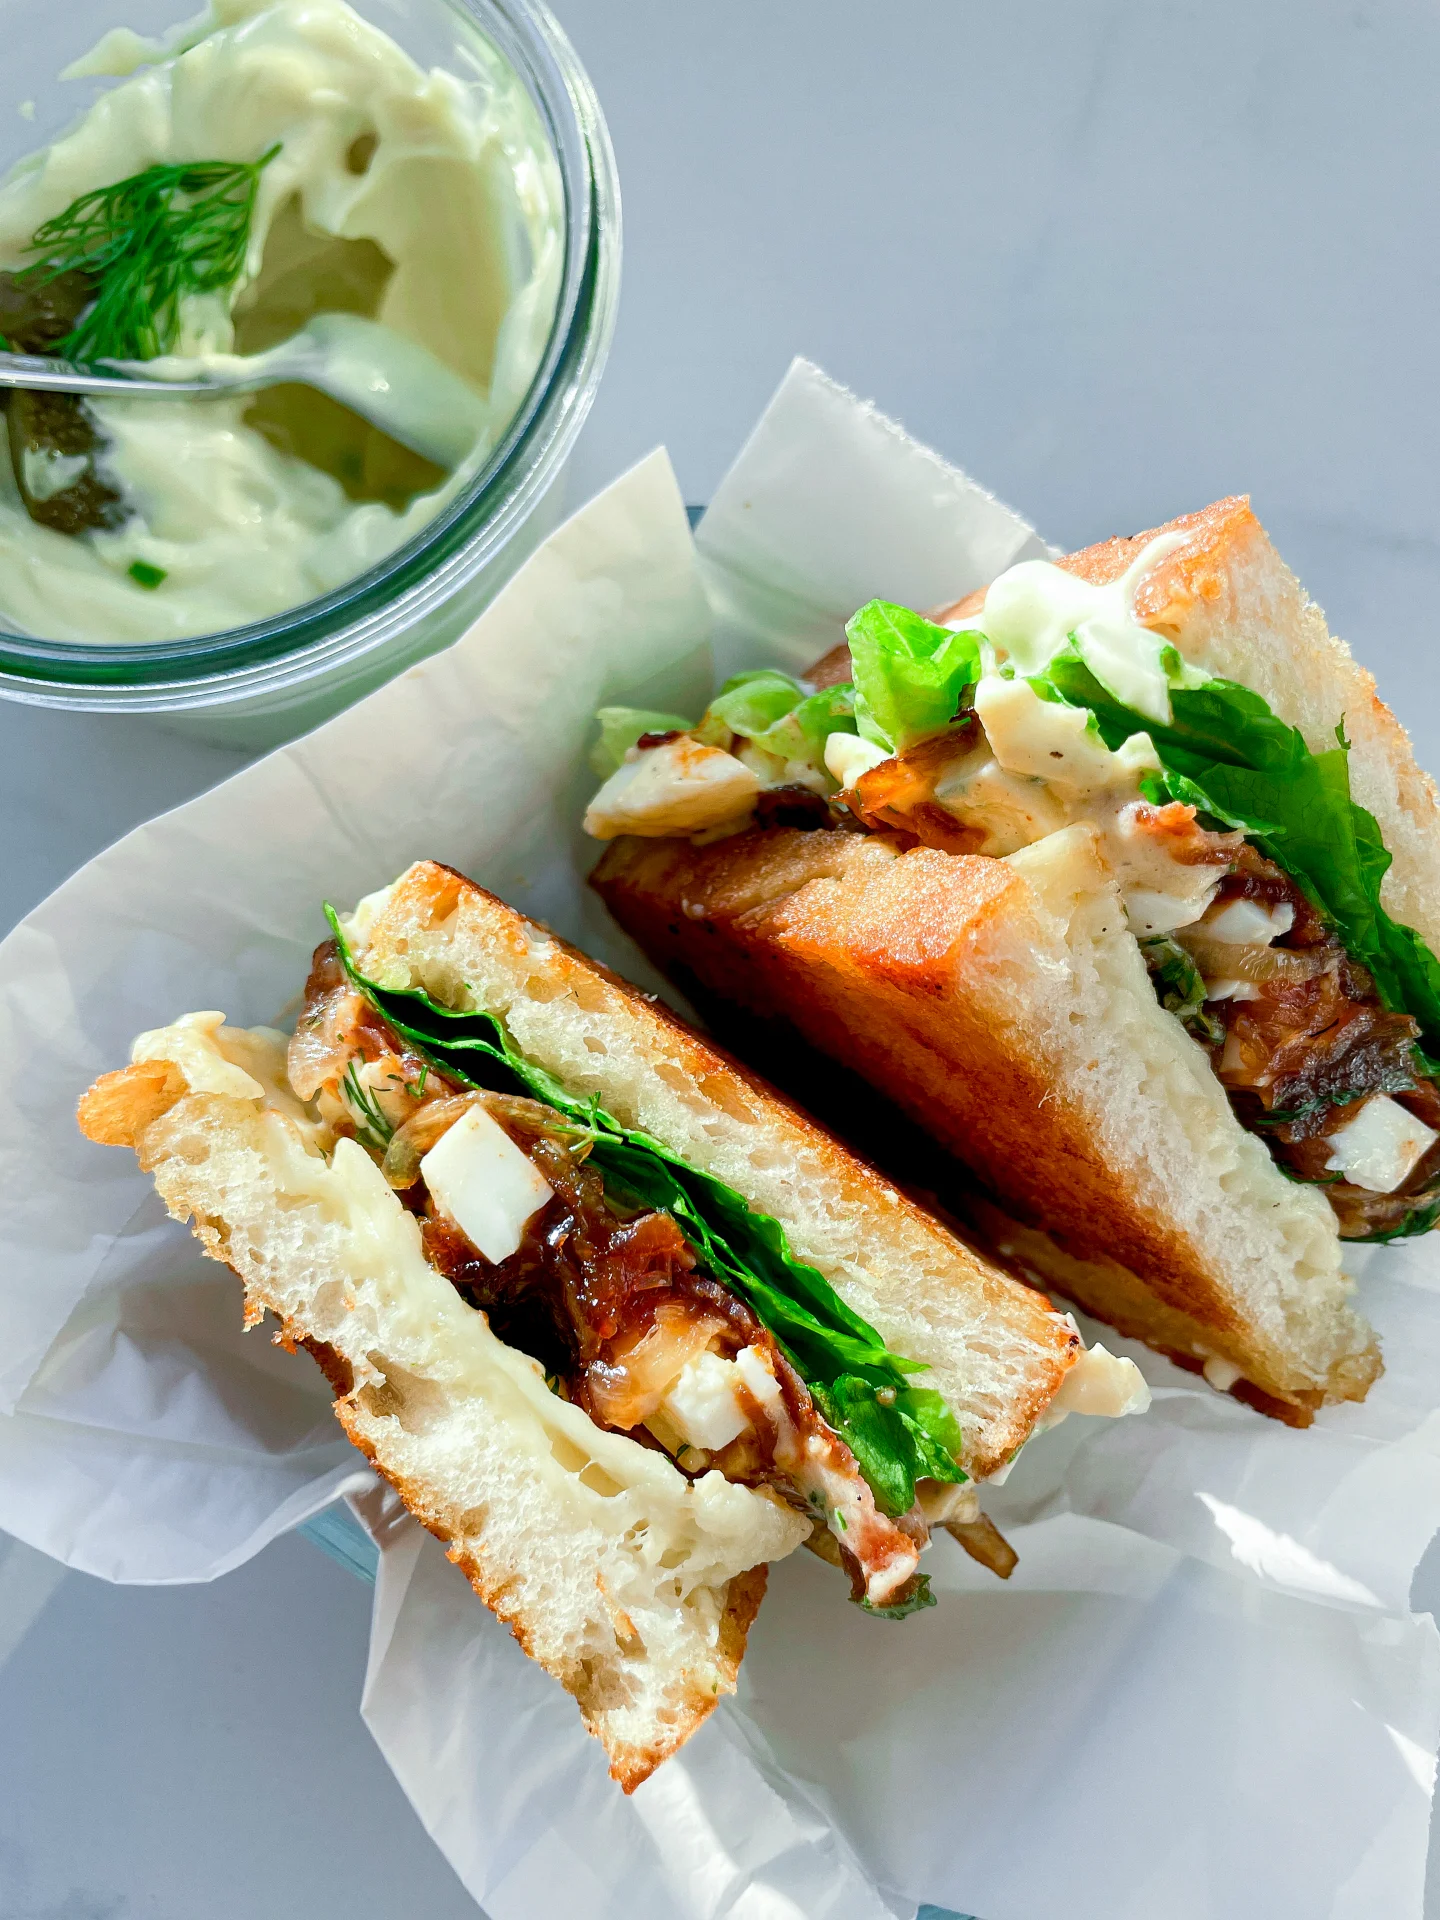
Tuna Melt

Tuna Melt

Tuna Melt

Tuna Melt

April 29, 2024 by Kimberly

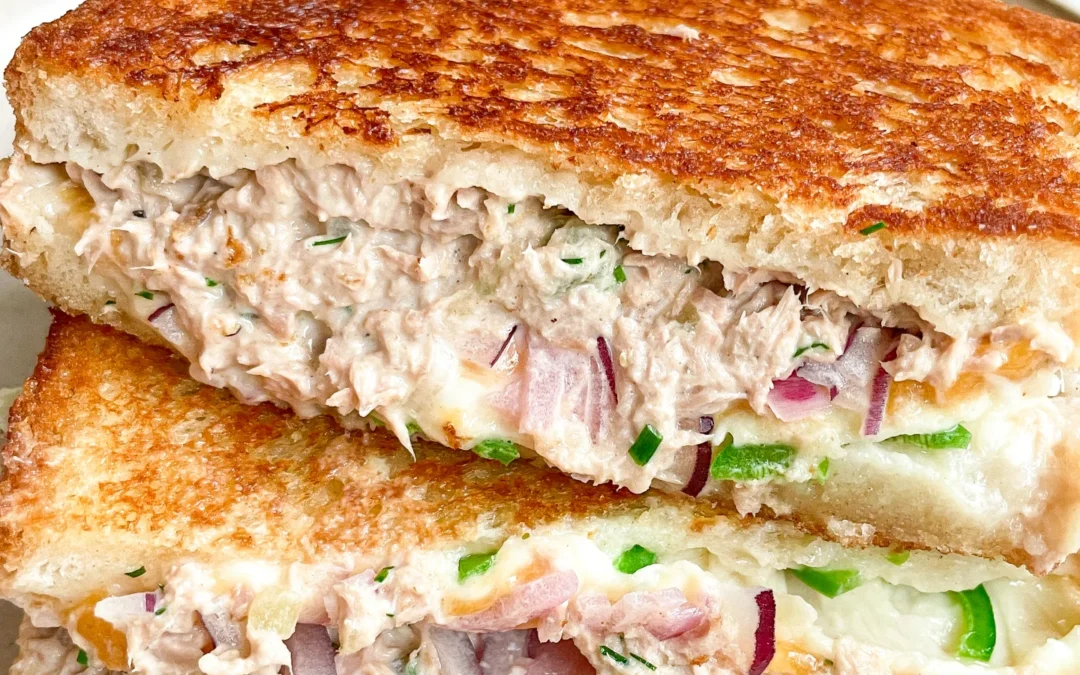
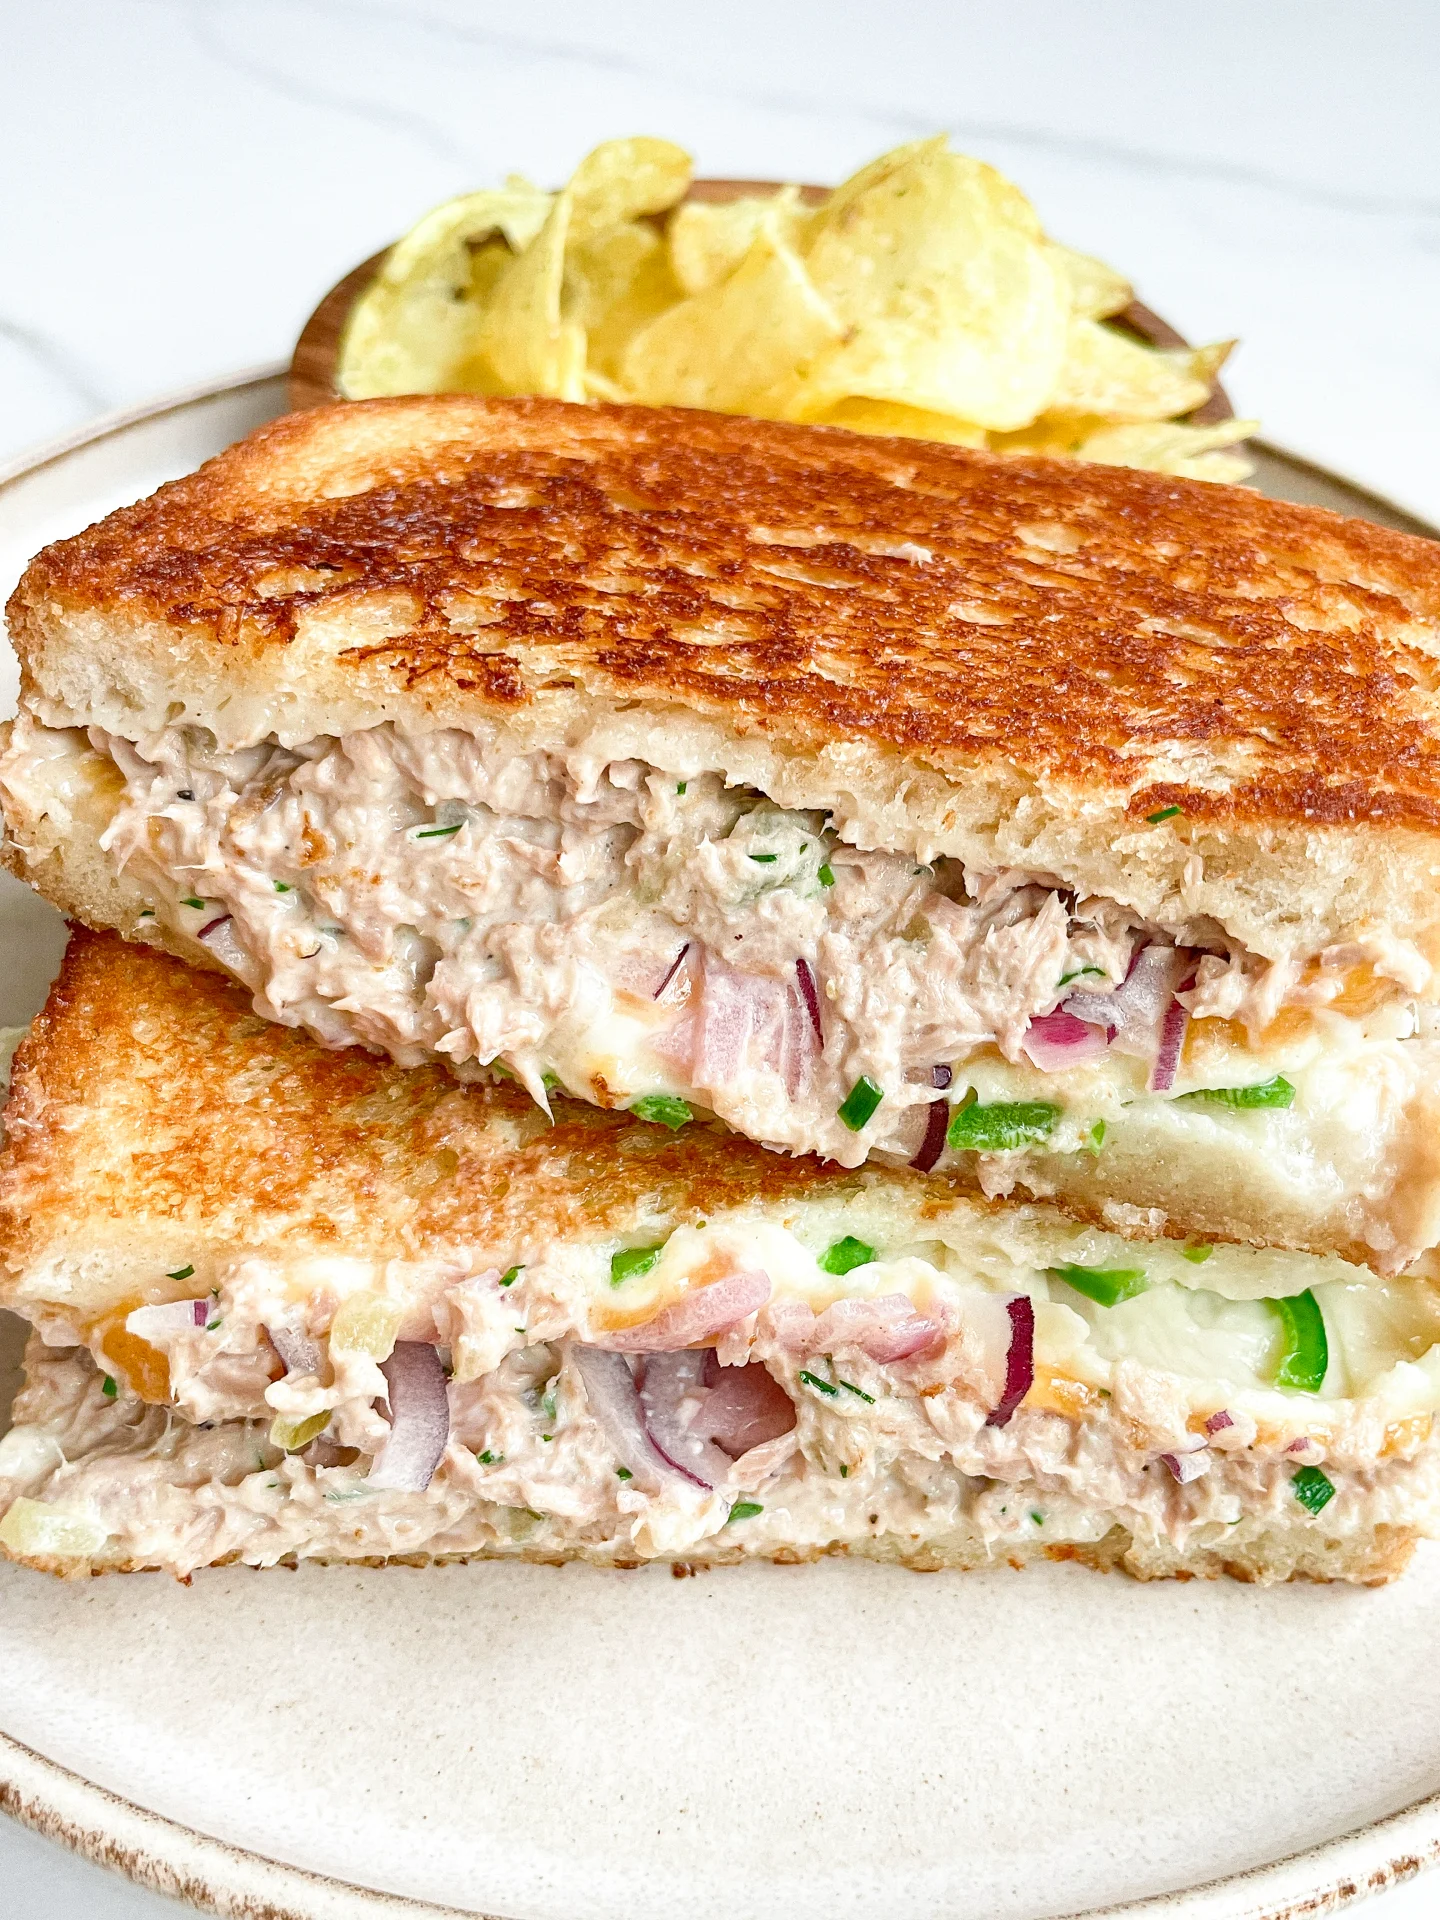
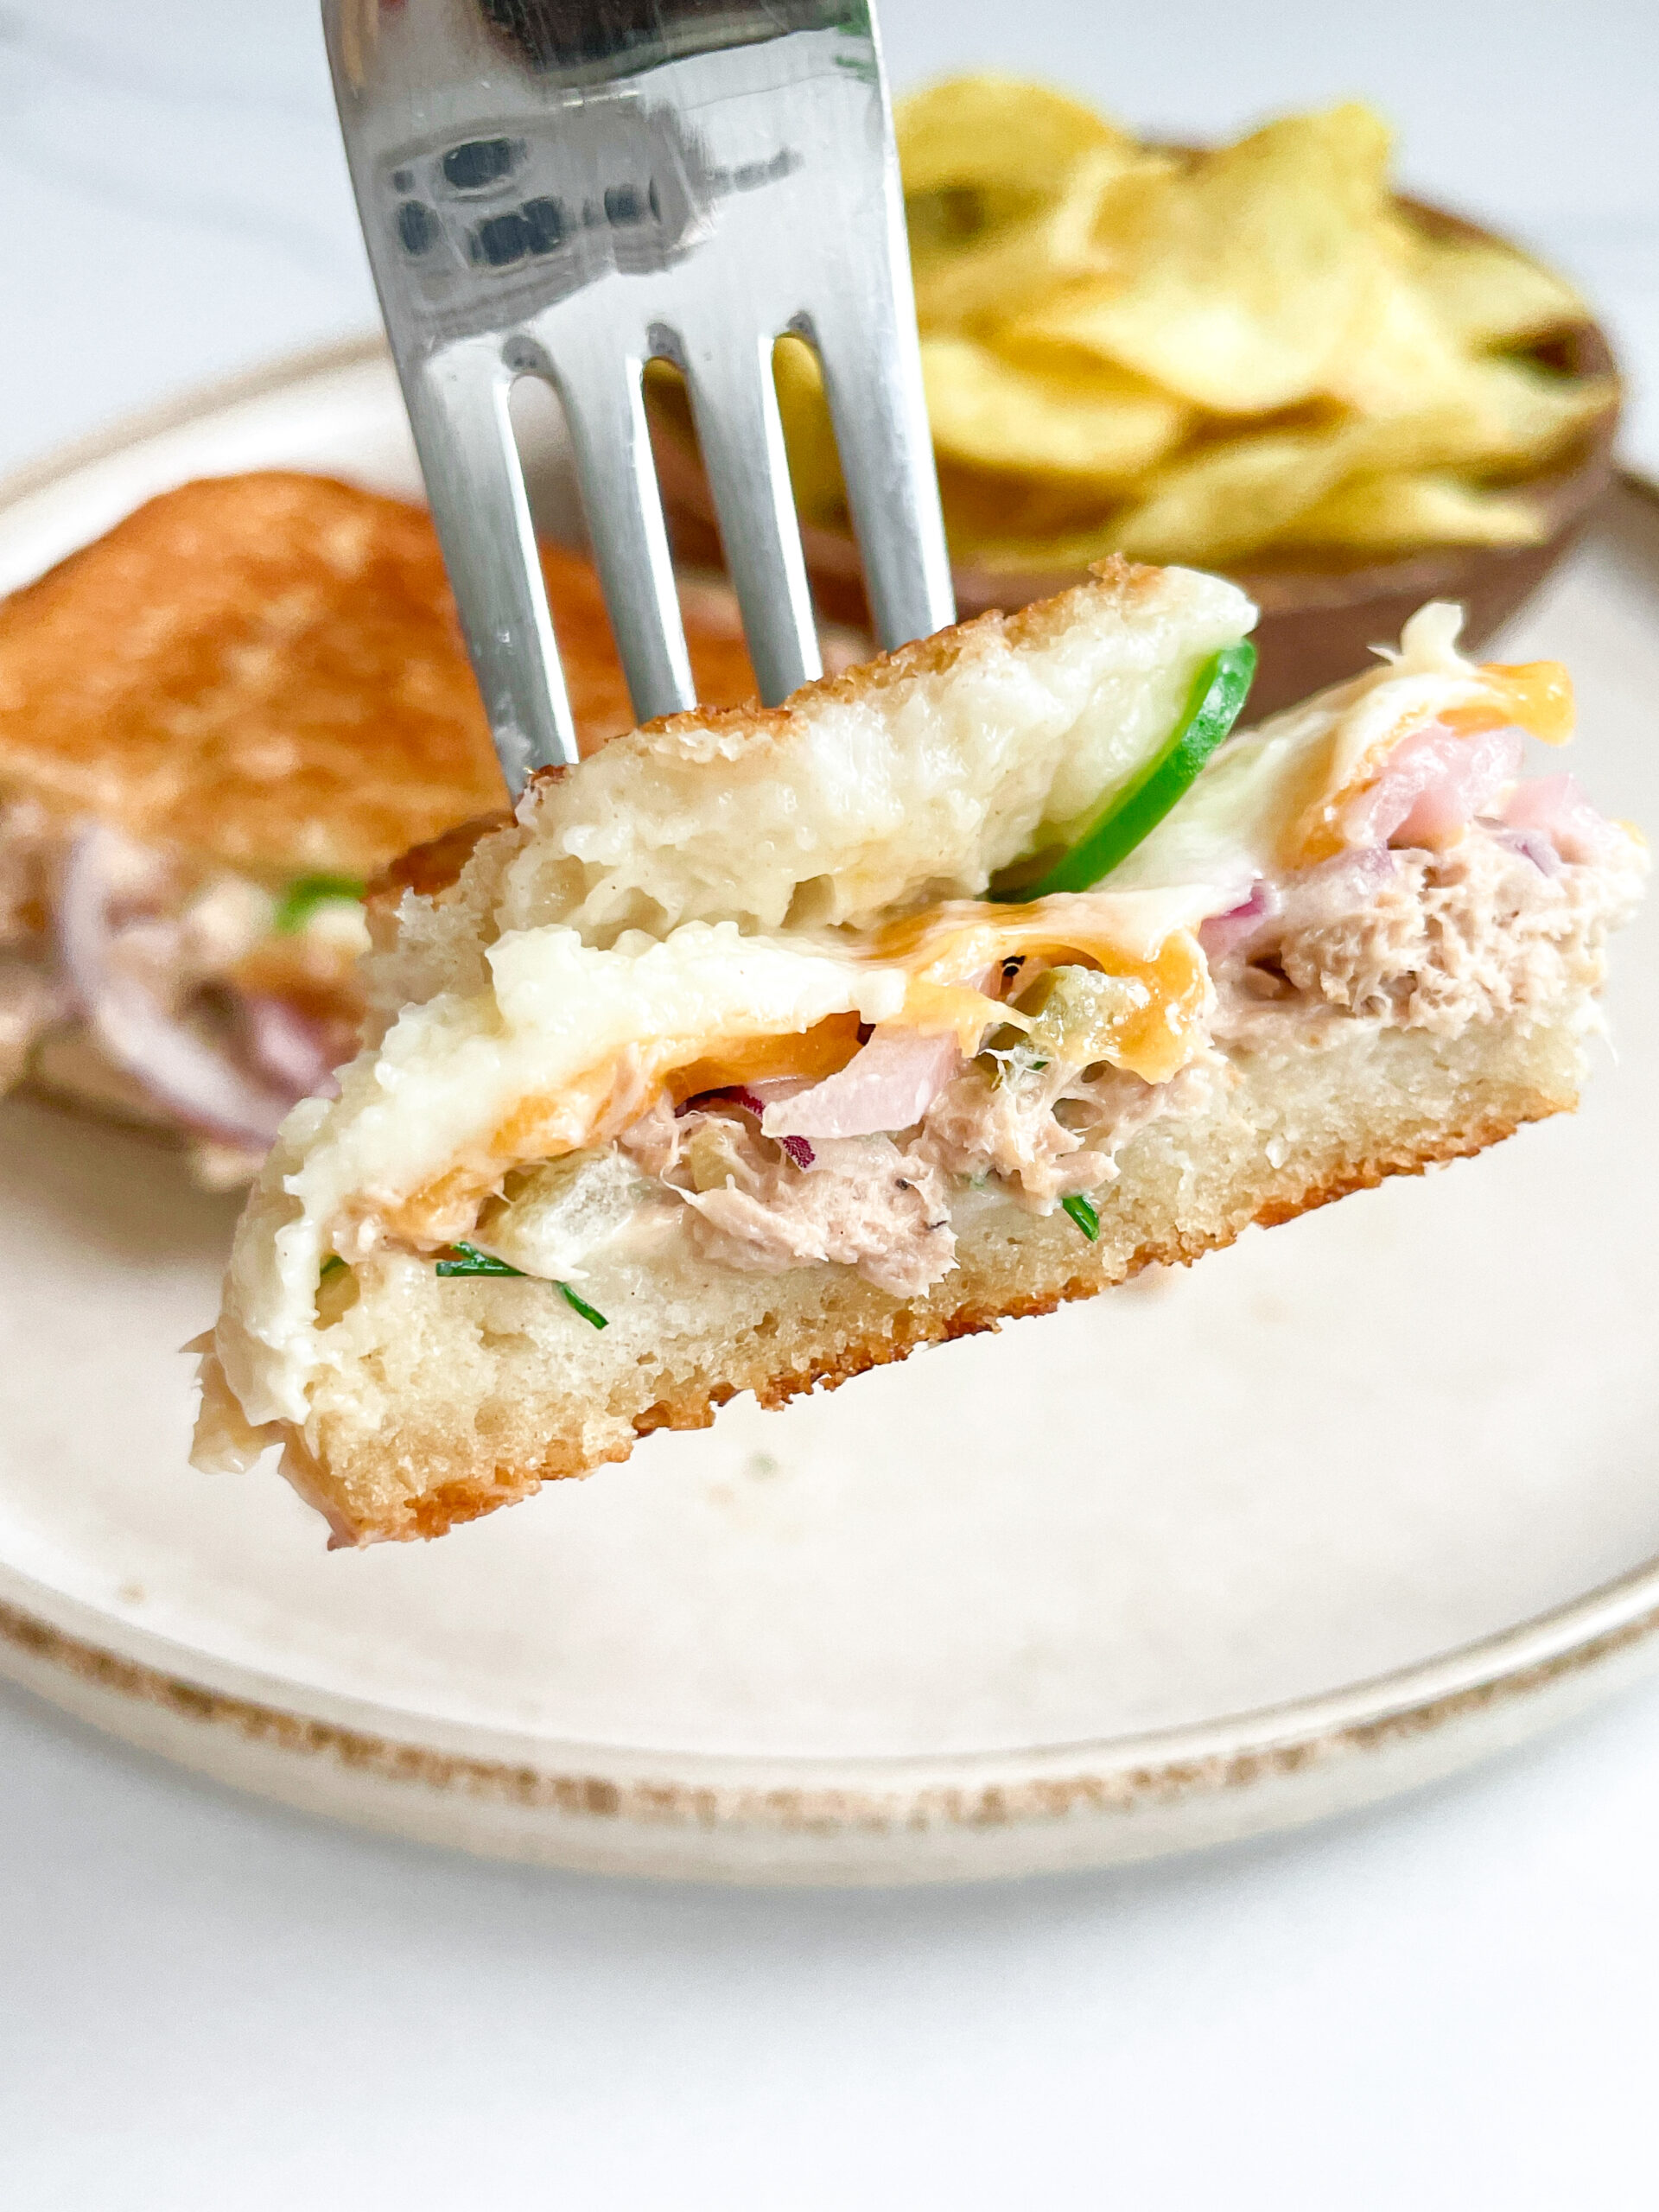
Experience the ultimate comfort with this tuna melt – crispy bread, creamy tuna salad, melted cheese, and a little heat combine for a mouthwatering lunch you can’t resist!

20 MINUTES

EASY

OMNIVORE

US AMERICAN

617 PER SANDWICH

CRISPY
CHEESY
CREAMY

EVERYDAY

SANDWICH
LUNCH

ALL YEAR

INTRODUCTION

ABOUT THE RECIPE

Craving a quick and satisfying meal? Look no further than the classic Tuna Melt with a twist! It’s the perfect blend of creamy tuna, gooey melted cheese, and toasted bread – a true comfort food staple.

HOW TO SERVE
The best way to enjoy a Tuna Melt is freshly made and hot off the pan. Serve with a side of crispy potato chips or a light salad for a balanced meal. It’s ideal for a quick lunch or a casual dinner, guaranteed to please both kids and adults alike!

HOW TO STORE
For best results, consume your Tuna Melt fresh. However, if you need to store it, keep the unassembled tuna salad in the refrigerator in an airtight container for up to two days, and assemble before reheating to maintain the best quality.

Hi, I'm Kimberly!

Hi, I'm Kimberly.

A passionate food lover who believes in the magic of homemade deliciousness that spreads love and warmth. Join me on this culinary adventure as I prepare wonderful dishes and let’s spread some happiness together!

Kimberly the Zett Signature

If you want to get to know me better, click here!


Tuna Melt
Tuna Melt
Tuna Melt
„Let’s make a piece of happiness“
Print
clock clock iconcutlery cutlery iconflag flag iconfolder folder iconinstagram instagram iconpinterest pinterest iconfacebook facebook iconprint print iconsquares squares iconheart heart iconheart solid heart solid icon
Tuna Melt

Tuna Melt


  • Author: Kimberly
  • Total Time: 20 min
  • Yield: 2 sandwiches 1x

Description

RECOMMENDED EQUIPMENT

  • sharp knife
  • cutting board
  • medium-sized bowl
  • medium-sized frying pan
  • spatula

Ingredients

Units Scale

TUNA CREME

  • 150 grams canned tuna in water (drained)
  • 50 grams mayonnaise
  • 1 pickled cucumber
  • 1 tsp lemon juice
  • 1 garlic clove
  • 1/2 tsp dijon mustard
  • dill
  • chives
  • salt & pepper to taste

OTHER INGREDIENTS

  • 1/2 red onion
  • 4 slices bread of your choice
  • 2 slices cheddar cheese
  • 80 grams mozzarella cheese
  • 1 jalapeno
  • butter
  • Tabasco (optional)

Instructions

PREPARATIONS

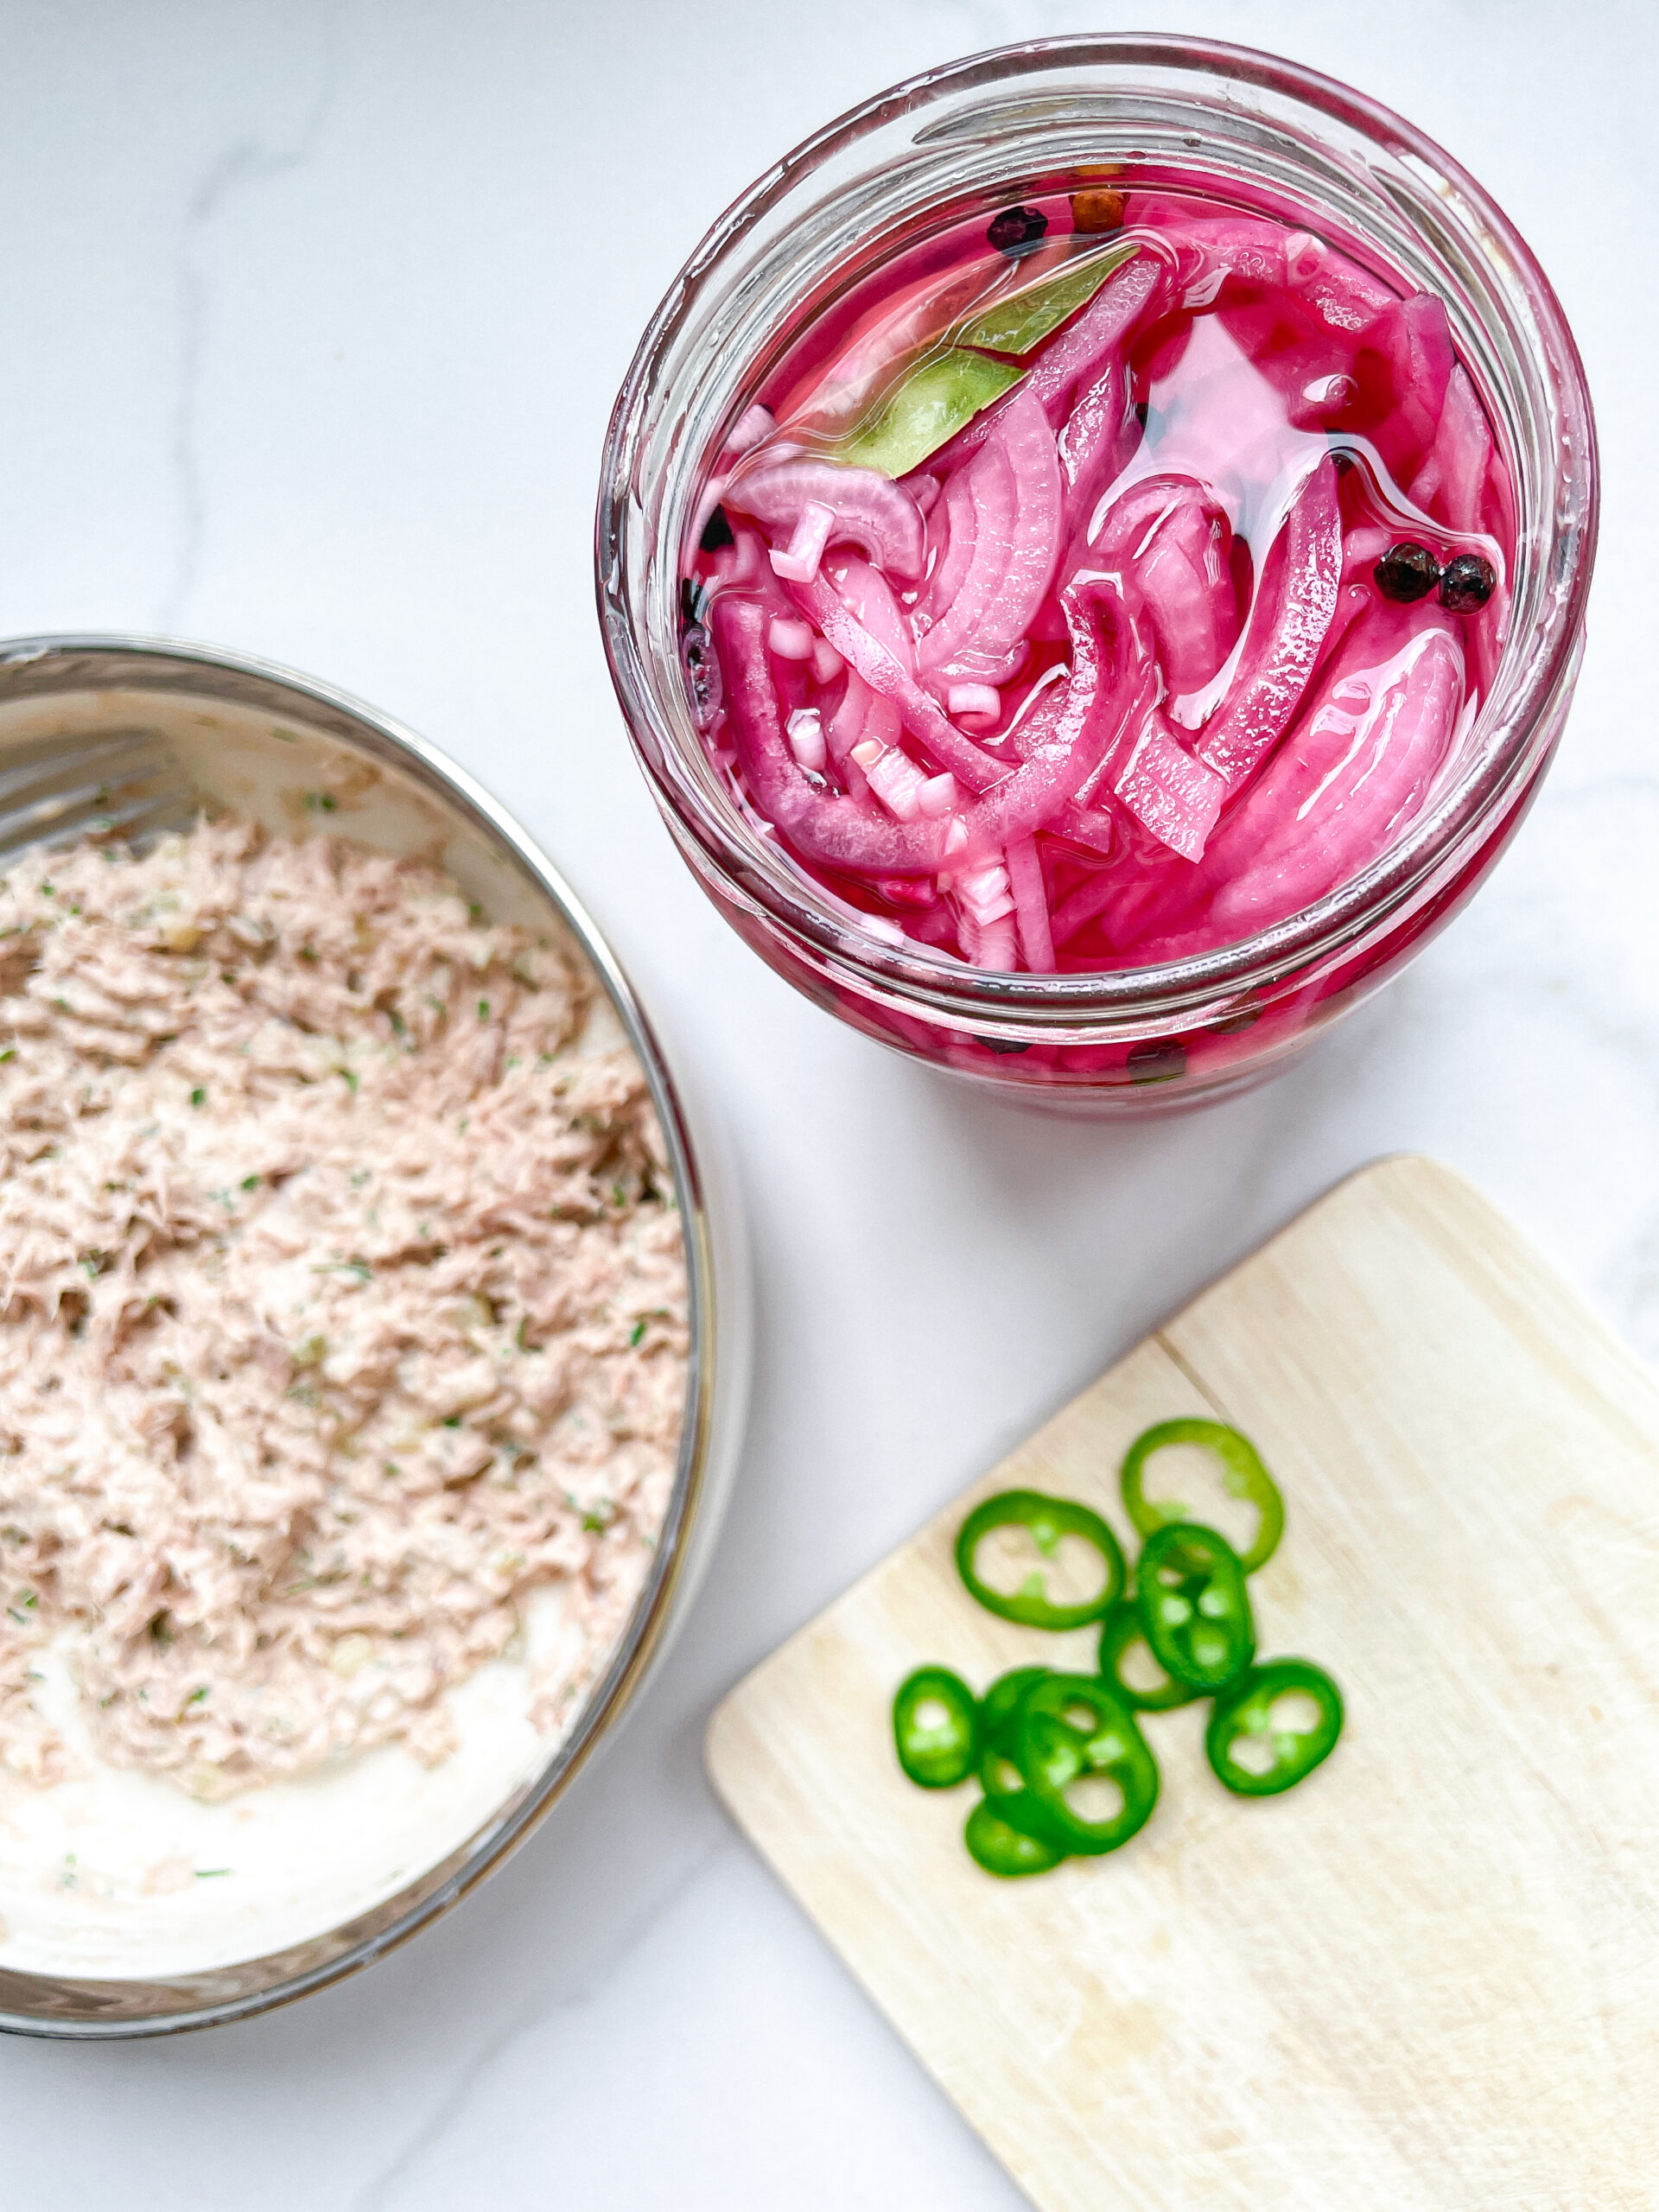
  1. Peel the onion, halve it, and slice it into fine half circles. Set aside.
  2. Wash the jalapeño and slice it into thin rings. Set aside.
  3. Squeeze the mozzarella in paper towels to remove as much moisture as possible, then slice it thinly. Set aside.

COOKING

  1. For the tuna cream: Drain the can of tuna so there’s no water left. Place the tuna in a medium-sized bowl. Mix it with mayonnaise, lemon juice, Dijon mustard, salt, and pepper. Now chop the pickle into small pieces and add it to the bowl. Finely chop the dill and chives and add them to the bowl as well. Peel and finely chop the garlic clove, or press it into the bowl. Mix everything together. Season to taste and set aside.
  2. Heat a pan over medium heat without adding any additional fat. Meanwhile, spread a little butter on two slices of bread. Place the bread slices in the pan, buttered side down. Spread each with half of the tuna cream, then top with the red onions. Add half of the mozzarella and a slice of cheddar cheese to each. Top with the jalapeño slices. Let it all cook for a few minutes on low to medium heat.
  3. Meanwhile butter the other two bread slices. Once the bottom of the bread in the pan is golden brown and crispy, place the other bread slices, buttered side up, on top of the sandwiches in the pan. Use a spatula to lift the sandwich and quickly flip it, so it can brown on the other side.
  4. Let everything cook for another 5-8 minutes on low heat, allowing the cheese to melt and the bread slice to become crispy.
  5. Remove from the pan and cut in half. Serve immediately, drizzle with Tabasco to taste and enjoy your pieces of happiness.

Notes

The calorie information may vary depending on the product used, country and region.

  • Prep Time: 5 min
  • Cook Time: 15 min

Roasted Parmesan Carrots

Roasted Parmesan Carrots

Roasted Parmesan Carrots

Roasted Parmesan Carrots

March 29, 2024 by Kimberly

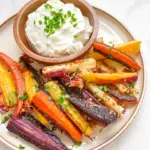
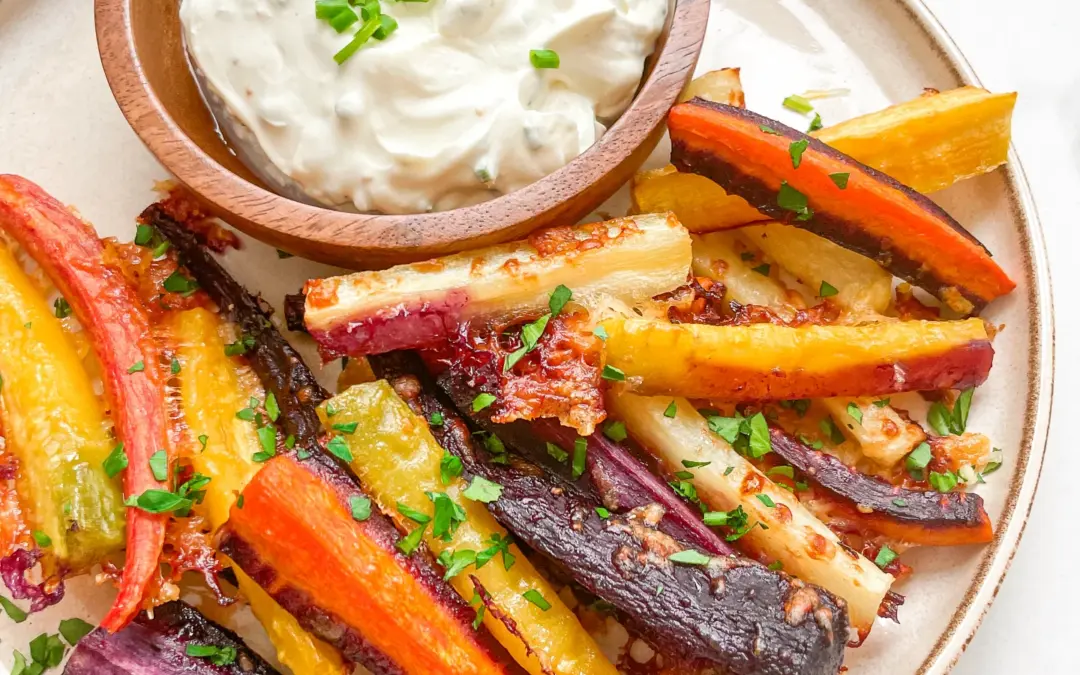
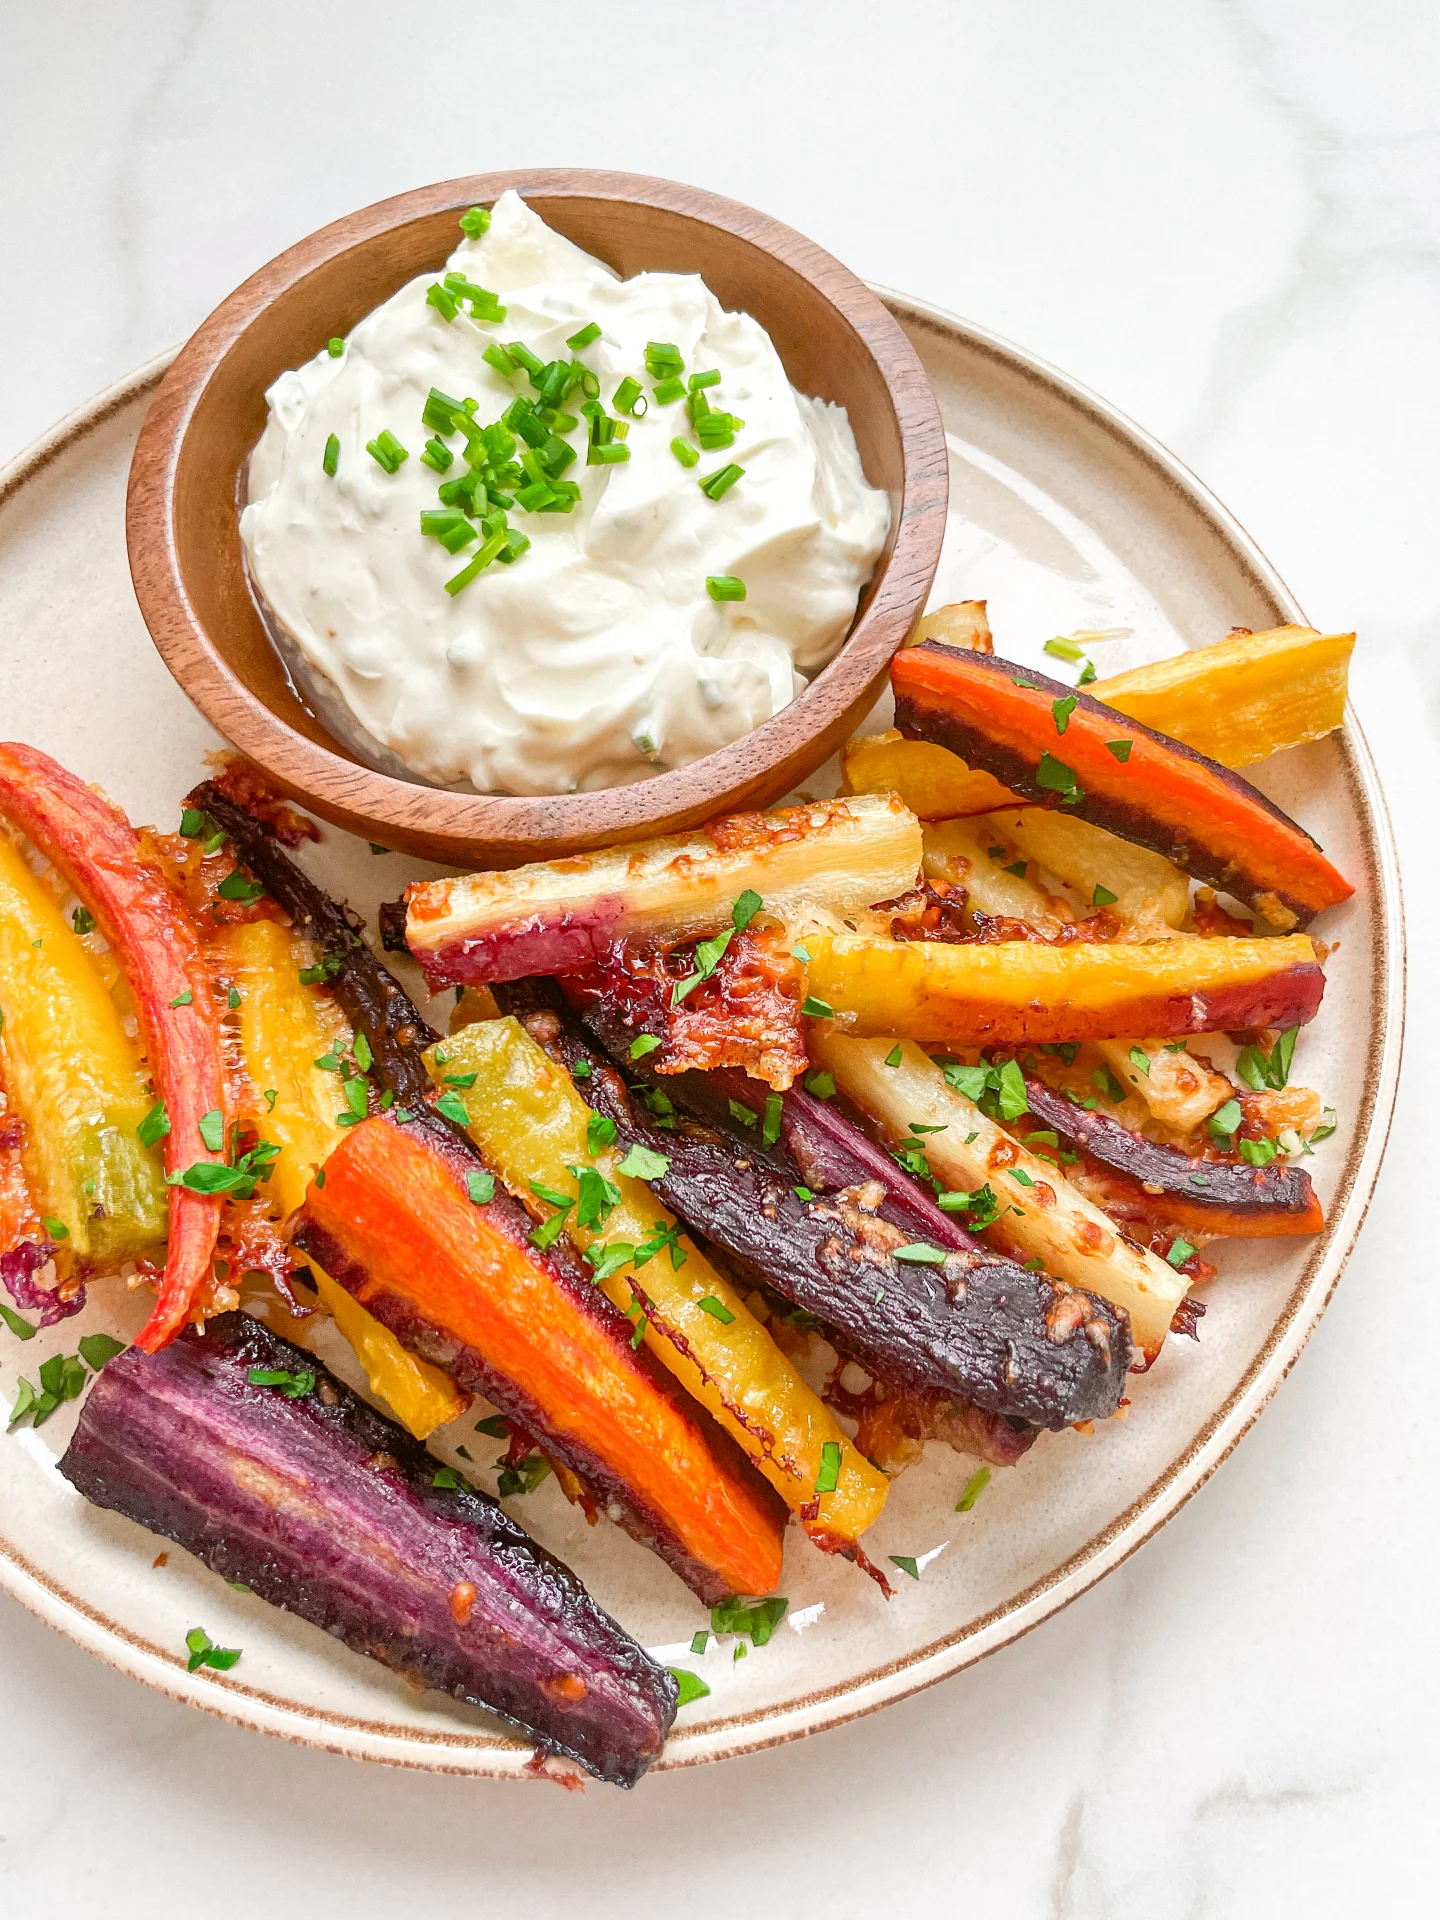
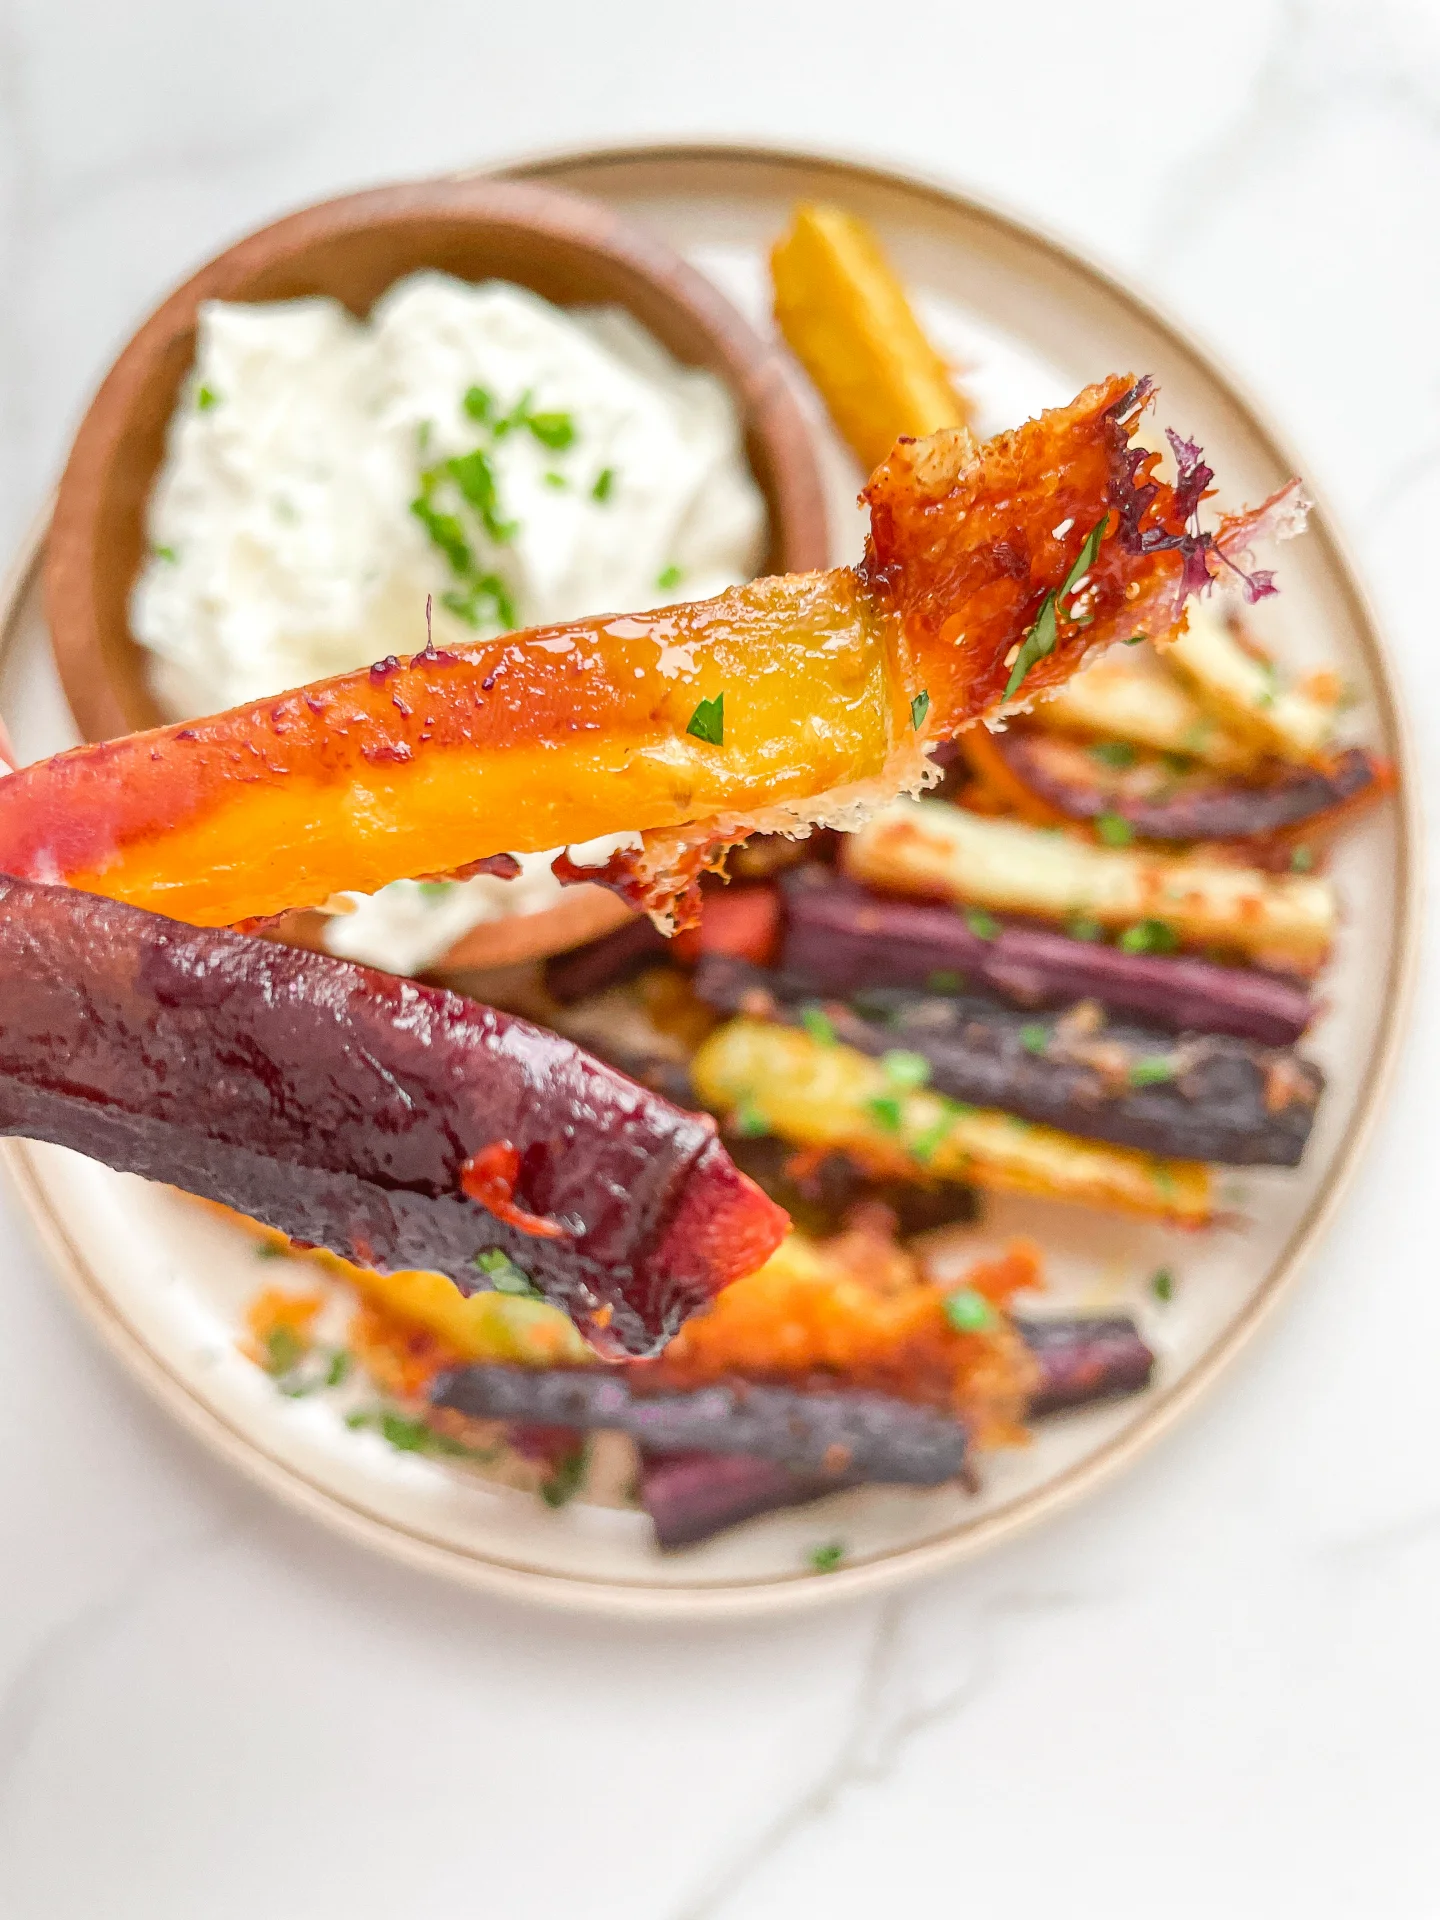
Get ready for Roasted Parmesan Carrots: a game-changer in the kitchen! These cheesy, golden beauties will steal the show at any meal, guaranteed to delight.

40 MINUTES

EASY

VEGETARIAN

INT.

228 PER PORTION

COMFORT FOODEVERYDAY

LUNCH

SPRING
SUMMER

INTRODUCTION

ABOUT THE RECIPE

Dive into the world of flavors with this roasted Parmesan carrots! A simple yet sophisticated dish that combines the natural sweetness of carrots with the rich, savory taste of Parmesan cheese. It’s a side dish that promises to elevate any meal, from your weeknight dinners to special holiday feasts. Quick to prepare and packed with flavor, these carrots are a surefire way to impress your guests and family alike.

How to serve:
Serve these golden, cheese-crisped carrots straight from the oven to capture their best texture and warmth. They pair beautifully with grilled meats, roasted chicken, or as a vibrant addition to your vegetarian feast. For an extra touch, sprinkle fresh herbs like parsley or dill over the top before serving.

How to store:
Leftover roasted Parmesan carrots can be stored in an airtight container in the fridge for up to 3 days. Reheat in the oven or in a skillet over medium heat to revive their crispy exterior and warm center.

Hi, I'm Kimberly!

Hi, I'm Kimberly.

A passionate food lover who believes in the magic of homemade deliciousness that spreads love and warmth. Join me on this culinary adventure as I prepare wonderful dishes and let’s spread some happiness together!

Kimberly the Zett Signature

If you want to get to know me better, click here!


Roasted Parmesan Carrots
„Let’s make a piece of happiness“

INGREDIENTS

FOR 4 PORTIONS AS SIDE

CARROTS

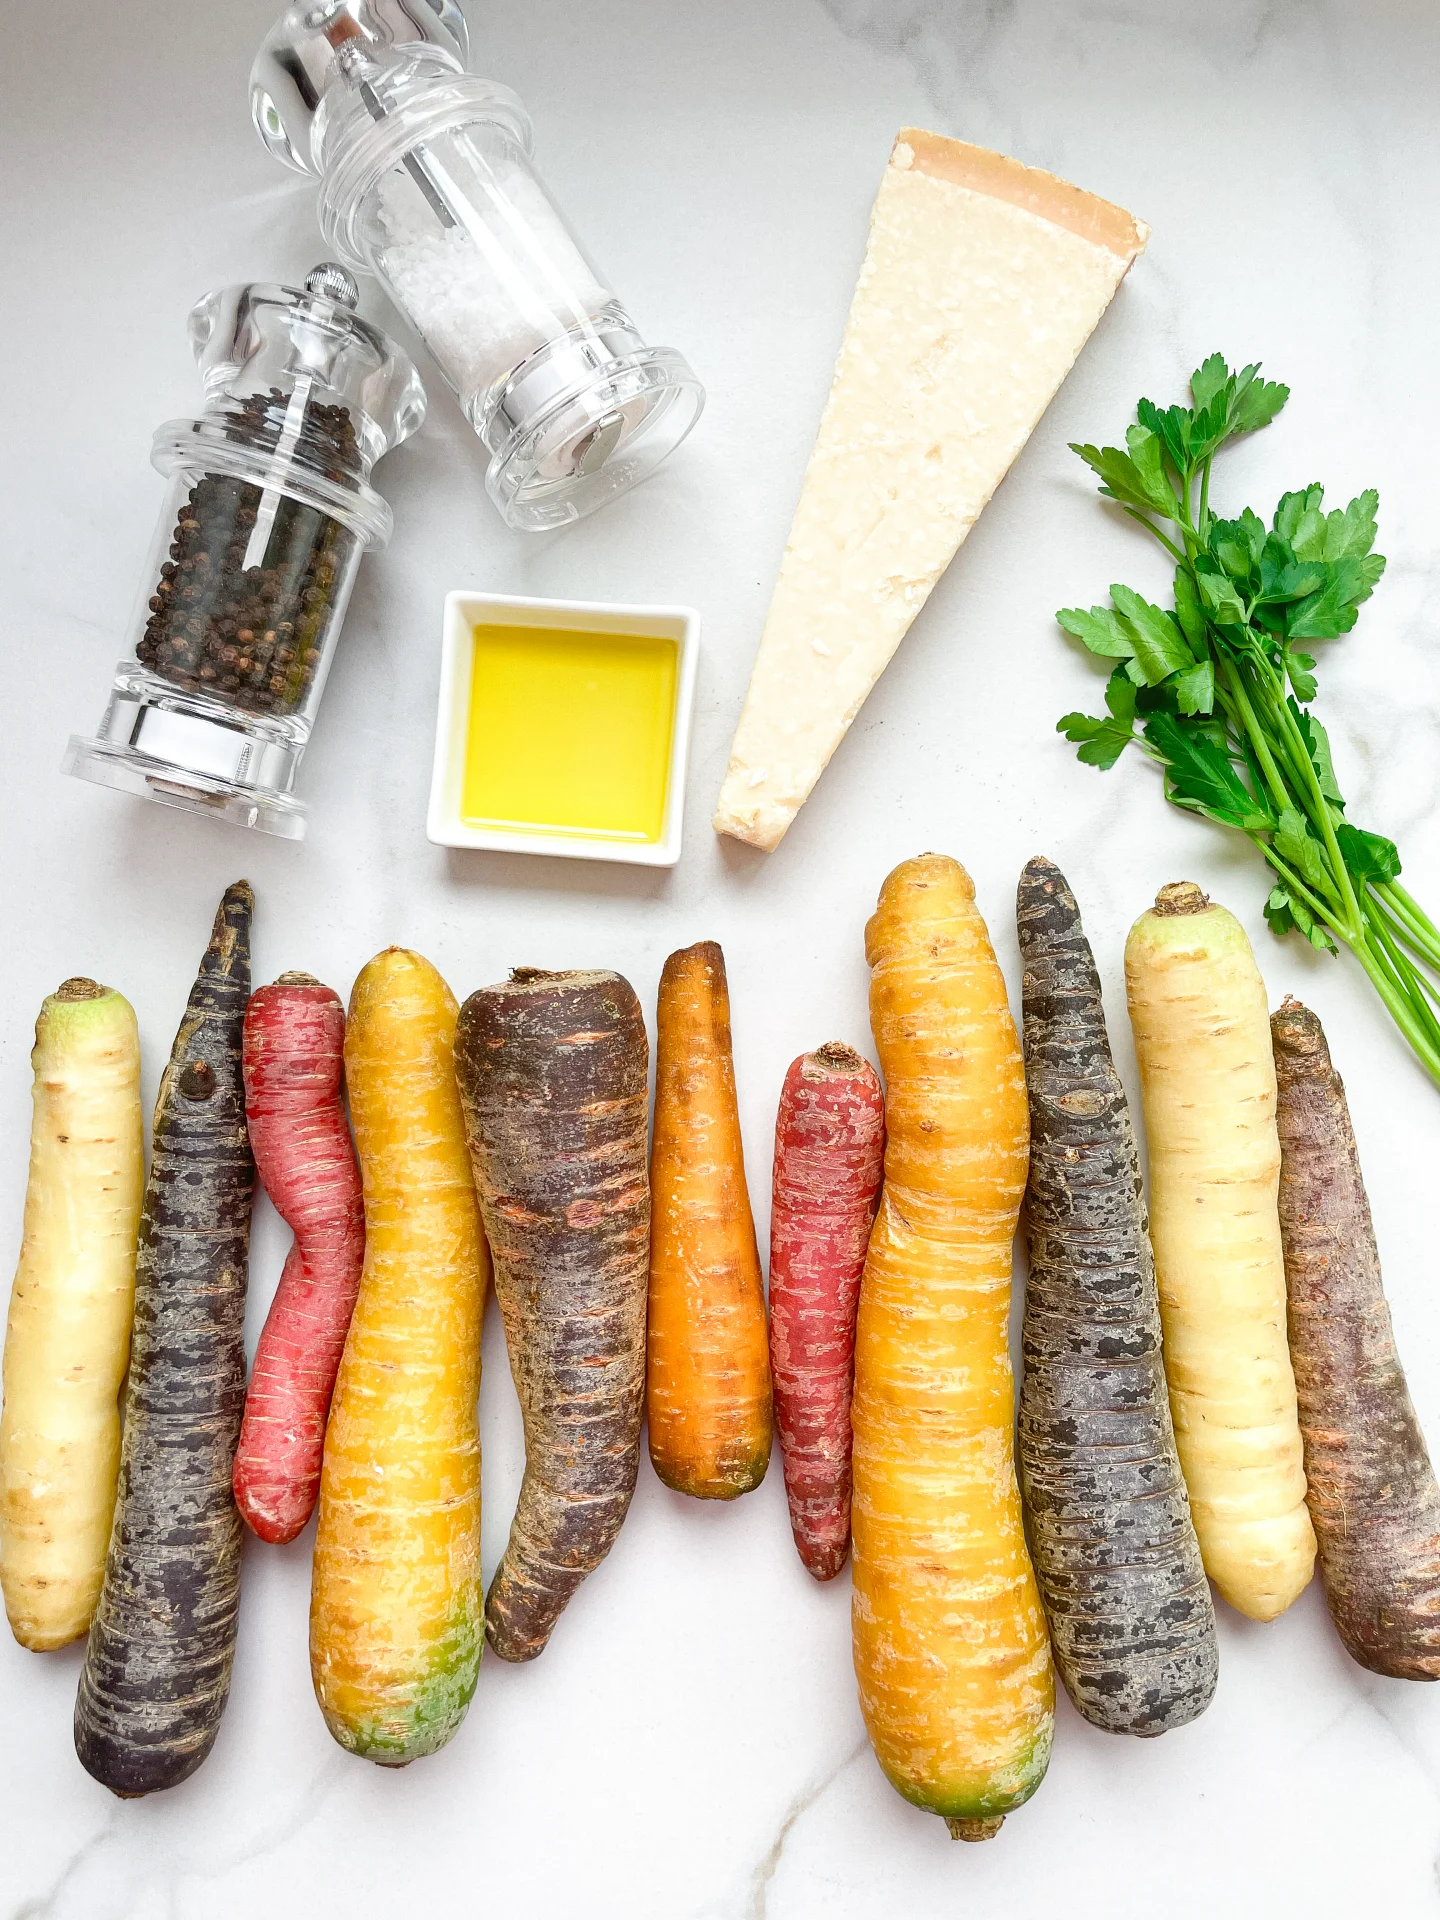
  • 500g mixed carrots (1 lbs)
  • 1-2 tbsp olive oil
  • 1 tsp garlic powder
  • 40g parmesan (1/2 cup)
  • salt & pepper to taste
  • parsley

DIP

  • 150g creme fraiche (5 oz)
  • 2 garlic cloves
  • salt & pepper to taste
Roasted Parmesan Carrots
}

ACTIVE: 5 min

PASSIVE: –

PREPARATIONS

Recommended Equipment
  • peeler
  • sharp knife
  • cutting board
  • oven
  • small bowl
  • grater
  • Preheat the oven to 220°C (430°F)
  • Grate the Parmesan cheese into coarse shavings. Set aside.
  • Line a baking sheet with parchment paper.
}

ACTIVE: 10 min

PASSIVE: 25 min

COOKING

1. Peel the carrots and cut them into long sticks. Don’t throw the peels in the trash – instead put them in a plastic bag to your other veggie scraps in the freezer to cook vegetable stock from scratch. Place the sticks on the baking sheet, drizzle with olive oil, sprinkle with salt and pepper, and mix well.

2. Spread the carrot sticks in a single layer on the sheet, making sure they don’t overlap or stack on top of each other. Then, distribute the grated Parmesan over the carrots and put the sheet in the oven to roast for 25-30 minutes.

3. In the meantime, prepare the dip. Peel and finely chop the garlic or press it with a garlic press. In a small bowl, mix crème fraîche with salt, pepper, and the garlic. Next, chop the parsley and set it aside.

4. The carrots are done when the Parmesan has spread among them and become crispy. The carrots should have some brown spots but still be firm to the bite. Now, remove the carrots from the oven. Serve them on plates, garnished with parsley and the dip.

NOTE: The calorie information may vary depending on the product used, country and region.

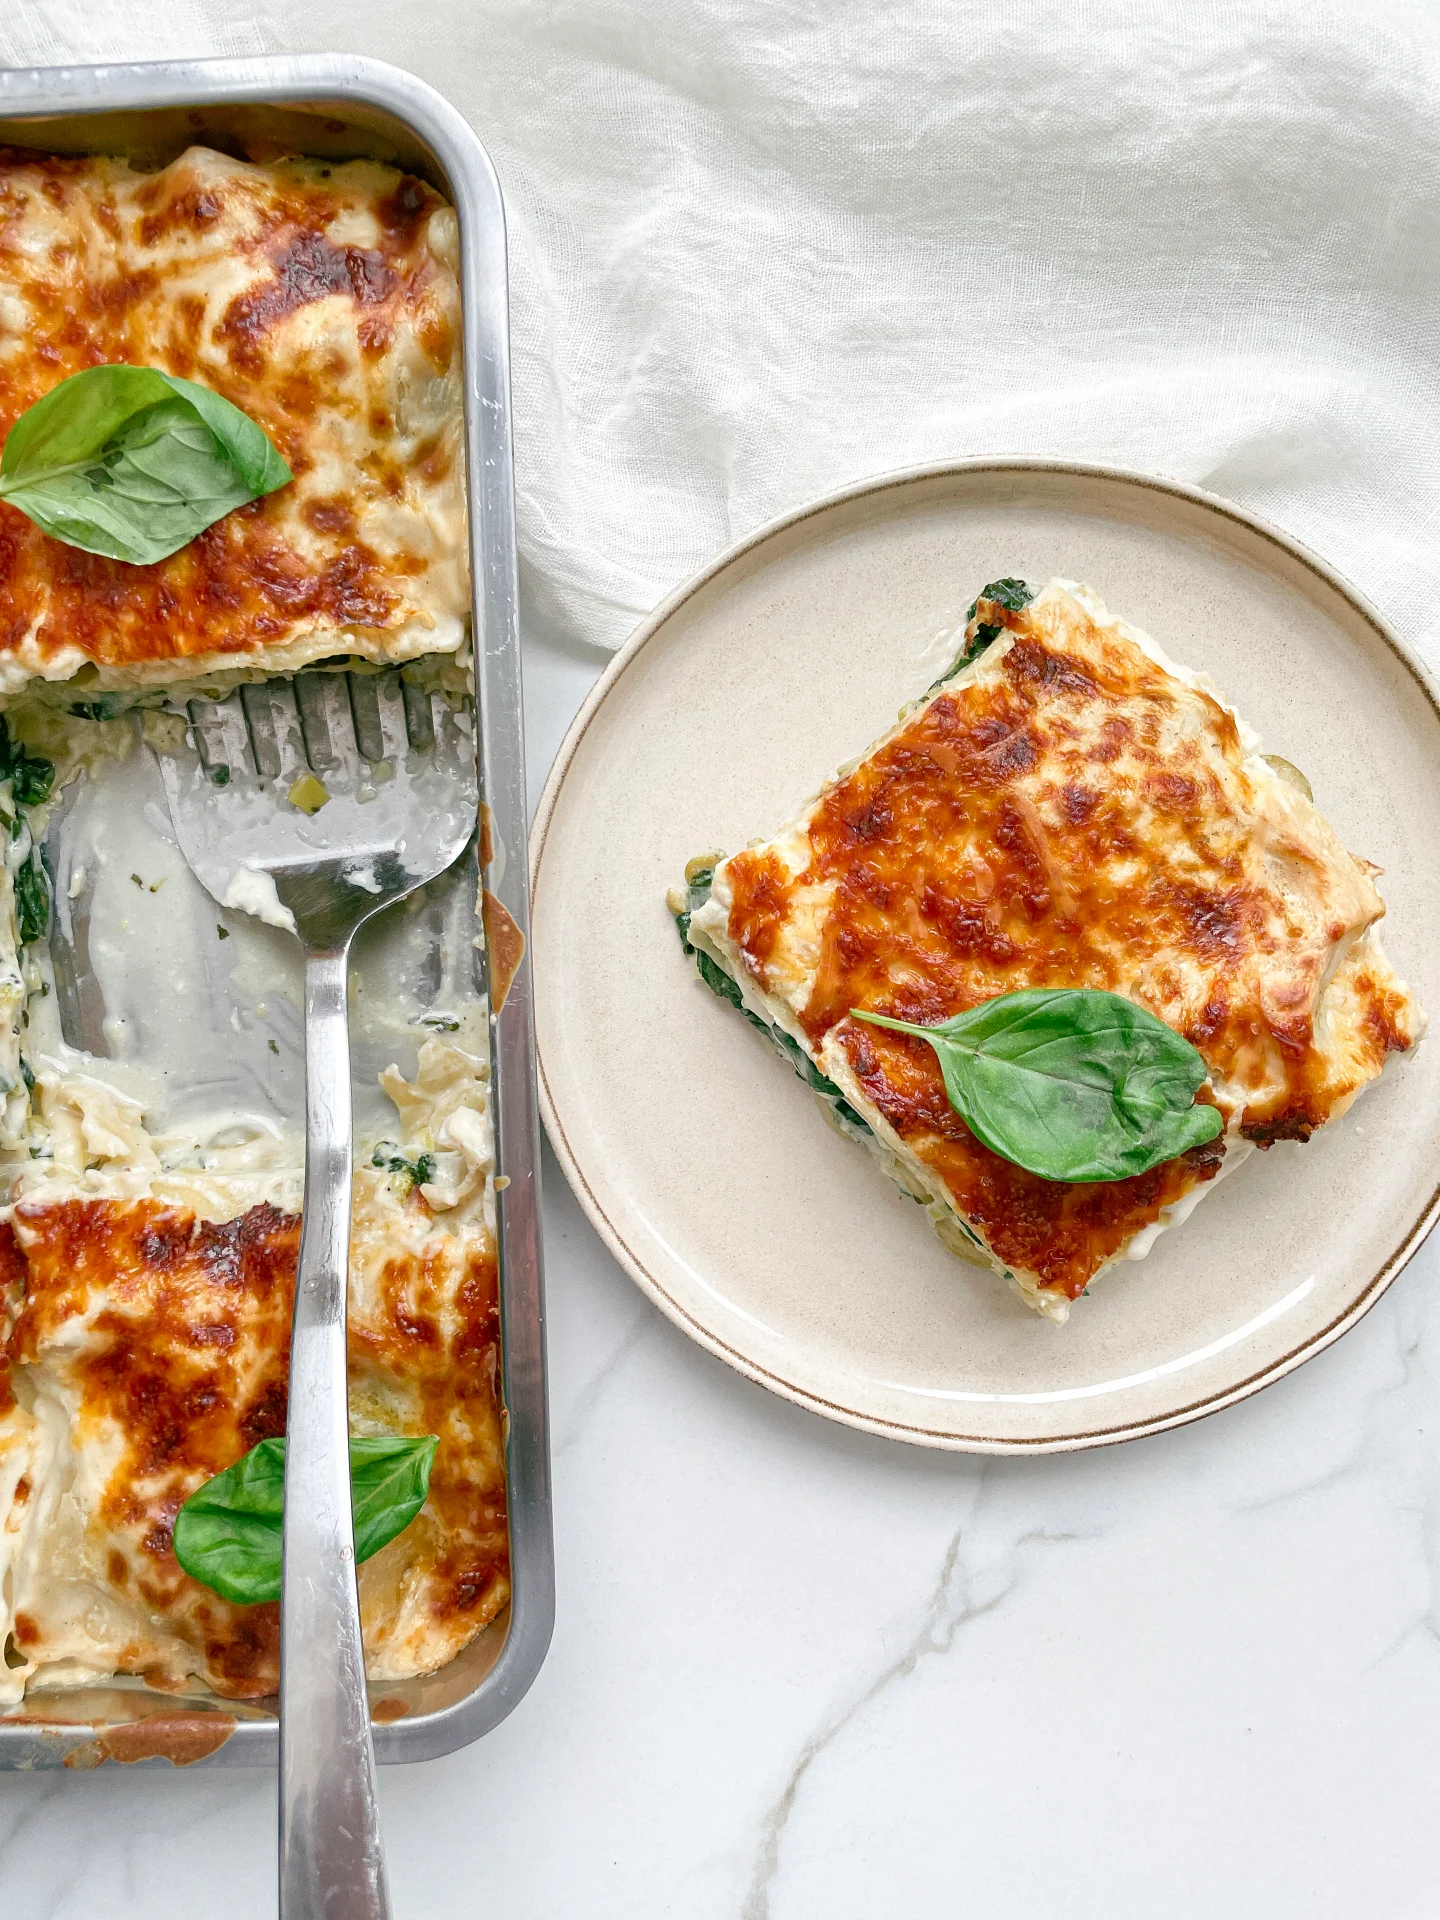
Green Vegetable Lasagna

Green Vegetable Lasagna

Green Vegetable Lasagna

Green Vegetable Lasagna

March 19, 2024 by Kimberly

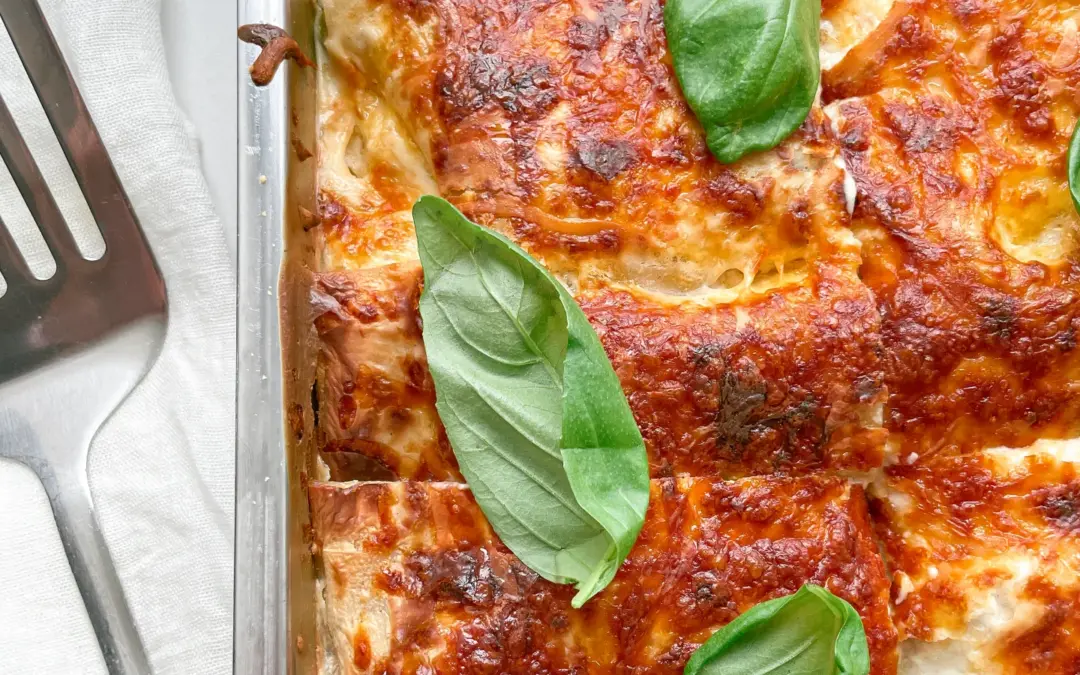
Savor the burst of freshness with Green Vegetable Lasagna! Packed with everything green, it’s a delicious twist on the classic comfort food.

110 MINUTES

EASY

VEGETARIAN

INT.

691 PER PORTION

COMFORT FOODEVERYDAY

DINNER

ALL YEAR

INTRODUCTION

ABOUT THE RECIPE

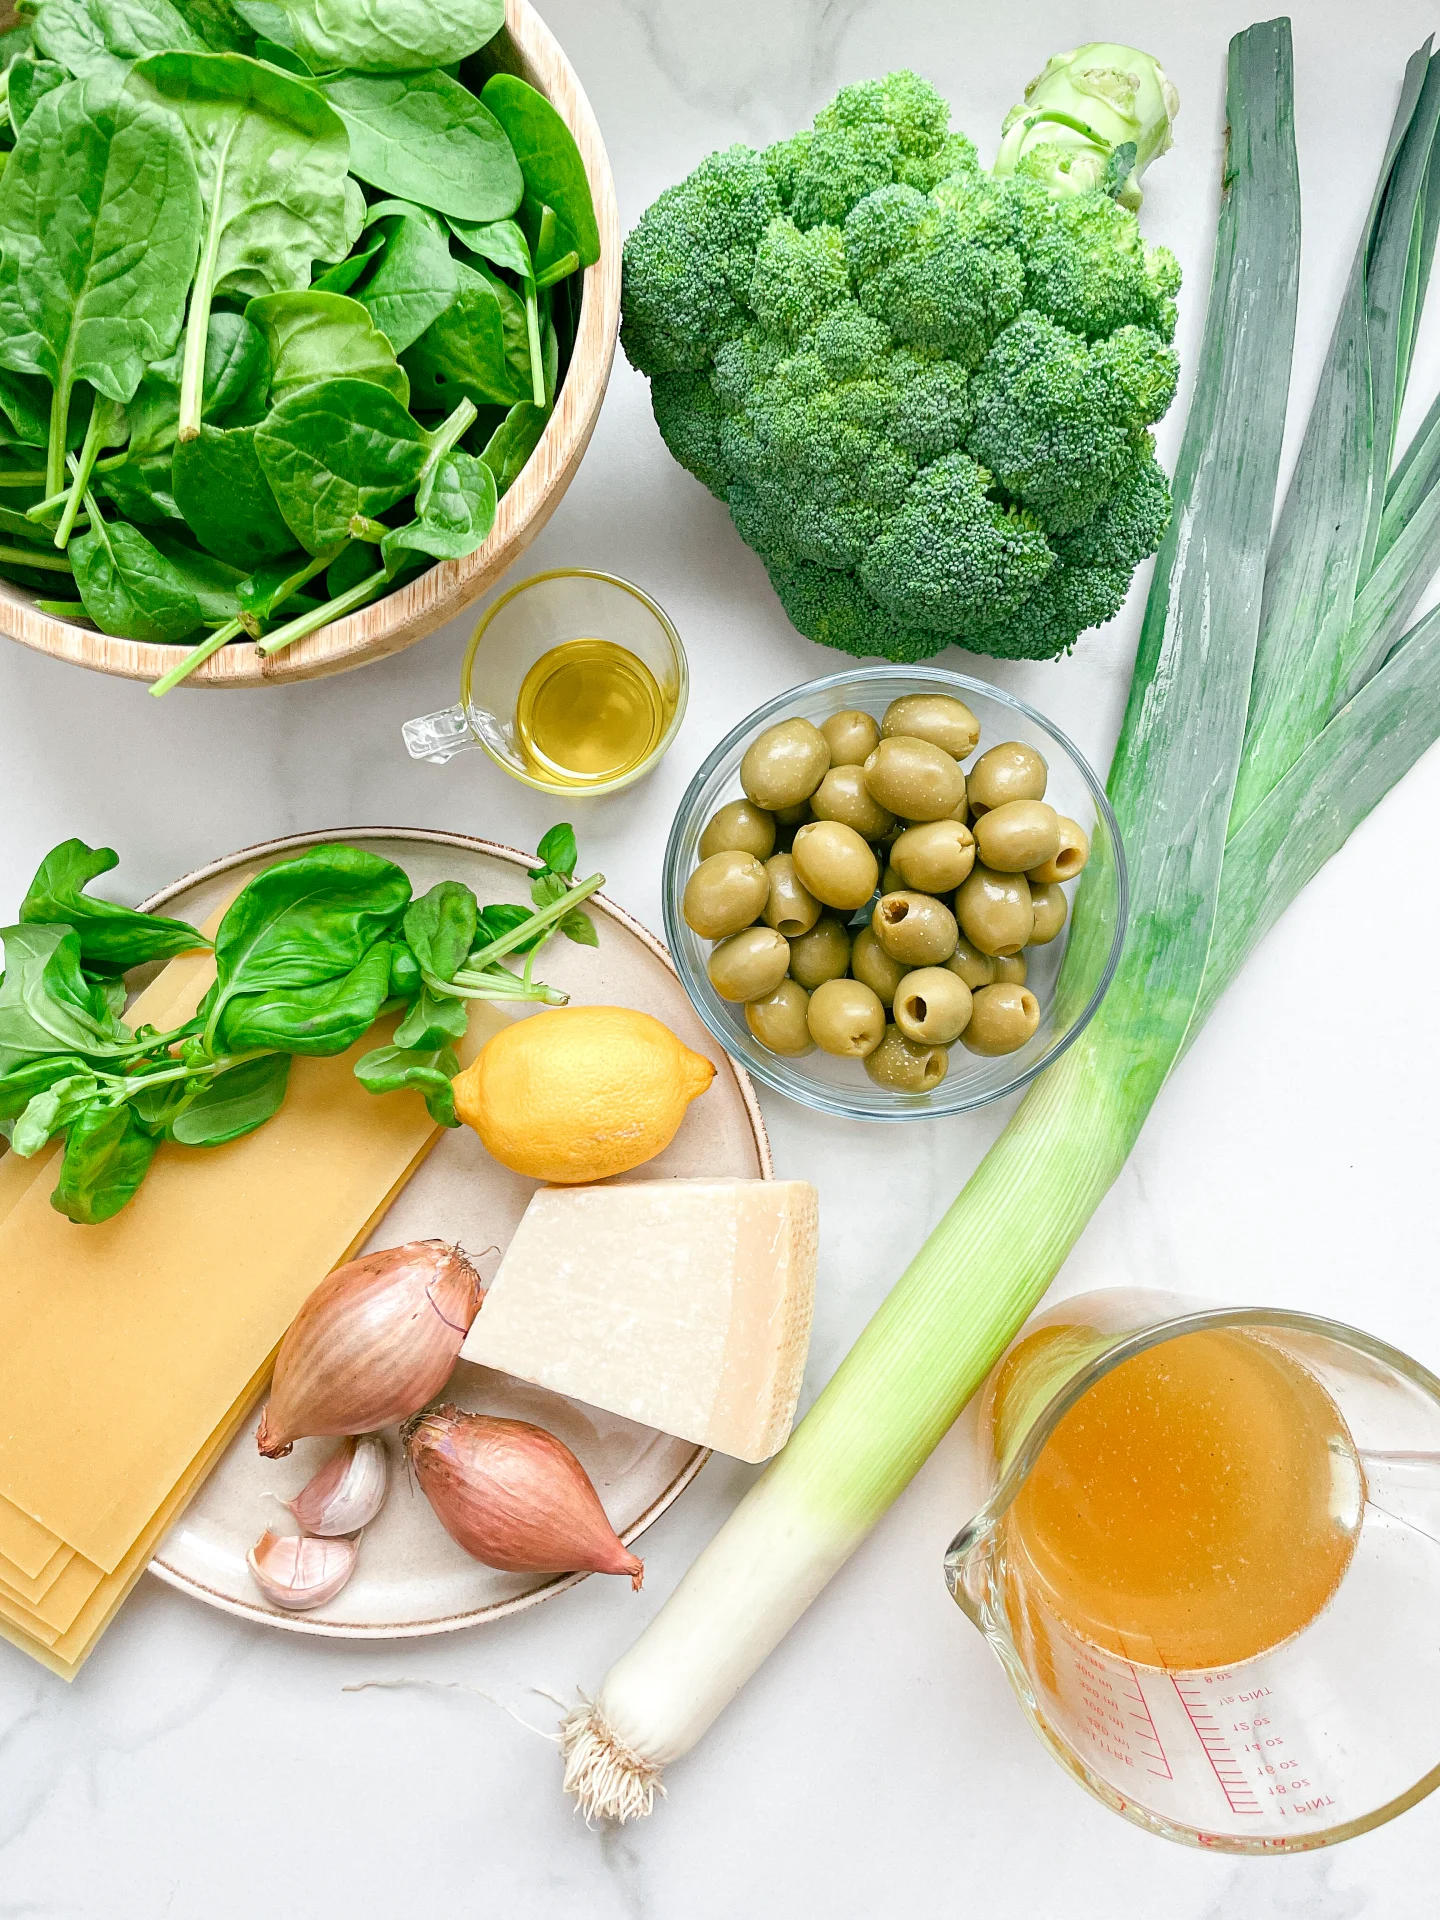
Dive into the vibrant layers of my green veggie lasagna, a wholesome twist on the traditional dish that’s as nourishing as it is delicious. This lasagna is a true celebration of green veggies, featuring broccoli, spinach, olives, basil, and leek, all coming together in perfect harmony for a meal that’s sure to impress.

How to serve:
Perfect for any occasion, from weeknight dinners to special gatherings, serve this lasagna hot, with a side of garlic bread or a crisp salad. Its rich, verdant flavors can be beautifully complemented by a light, zesty white wine, making every bite a delightful experience.

How to store:
Keep leftovers fresh by storing them in an airtight container in the refrigerator, where they will remain perfect for up to three days. For longer storage, freeze individual portions for a quick and easy reheatable meal that retains all the flavors and textures of the freshly baked dish.

Hi, I'm Kimberly!

Hi, I'm Kimberly.

A passionate food lover who believes in the magic of homemade deliciousness that spreads love and warmth. Join me on this culinary adventure as I prepare wonderful dishes and let’s spread some happiness together!

Kimberly the Zett Signature

If you want to get to know me better, click here!


Green Vegetable Lasagna
„Let’s make a piece of happiness“

INGREDIENTS

FOR 6 PORTIONS

LASAGNA

  • 1 liter Béchamel sauce
    (but use 70g butter (2.5 oz), 70g flour (2.5 oz) & 1 liter (4 cups) milk)
  • 20 lasagna sheets
  • 100g parmesan, grated (1 cup)
  • 50g cheddar cheese, grated (1/2 cup)

VEGETABLES

  • 1 brokkoli (230g / 8 oz)
  • 200g baby spinach (7 oz)
  • 2 leeks (250g / 8 oz)
  • 180g green olives (6 oz)
  • 200ml vegetable stock (1 cup)
  • 1 bunch basil
  • 2 shallots
  • 2 garlic cloves
  • 2 tbsp olive oil
  • juice of 1 lemon
  • salt & pepper to taste
Green Vegetable Lasagna
}

ACTIVE: 45 min.

PASSIVE: –

PREPARATIONS

Recommended Equipment
  • sharp knife
  • cutting board
  • medium-sized pot
  • baking dish (my used measurements were 20x26cm (8×10 inch))
  • aluminum foil
  • Peel shallots, halve them, and slice thinly.
  • Peel garlic cloves and either press or finely chop them.
  • Halve the leek, wash, and cut into fine strips.
  • Cut the broccoli florets, wash, and if necessary, chop into bite-sized pieces.
  • Slice the olives.
  • Cut the basil into fine strips.
  • Grate the Parmesan and Cheddar cheese.
  • Prepare the béchamel sauce. I used 70g (2.5 oz) butter, 70g (2.5 oz) flour, and 1 liter (4 cups) milk, since lasagna needs a more liquidy sauce to ensure the pasta sheets soften in the oven.
}

ACTIVE: 20 min

PASSIVE: 45 min

COOKING

1. Heat 2 tablespoons of olive oil in a medium-sized pot over medium heat. Cook the shallots until soft. Then add the leek and garlic. Mix well and cook until soft for a few minutes.

2. Add broccoli, olives, and basil, then pour in the vegetable broth. Cover and let it cook for 5-10 minutes, so the broccoli becomes tender but still has a bit of a bite.

3. Remove the lid and add the spinach and lemon juice. Stir everything once and let the spinach wilt slightly. Season with salt and pepper.

4. Preheat the oven to 200°C (400°F).

5. Now it’s time to layer the lasagna. Start with two large ladles of sauce at the bottom of your baking dish. Spread the sauce evenly. Then add a layer of pasta sheets. Next, spread a portion of the vegetables evenly. Follow with a layer of finely grated Parmesan. Continue in the following order: pasta sheets, béchamel, vegetables, Parmesan until all the vegetables (including the liquid in the pot) are used up. Finish with a final layer of pasta sheets and spread the remaining béchamel sauce over them completely. Finally, sprinkle 50g of grated Cheddar on top.

Here’s the entire sequence more efficiently: Sauce, pasta sheets, vegetables, Parmesan, pasta sheets, sauce, vegetables, Parmesan, pasta sheets, sauce, vegetables, Parmesan, pasta sheets, sauce, Cheddar.

6. Cover the dish with a layer of aluminum foil and bake in the oven for 25 minutes. After 25 minutes, remove the foil and bake for another 20 minutes, or until the cheese is crispy and golden brown.

7. Let the lasagna rest for 10 minutes, then enjoy.

NOTE: The calorie information may vary depending on the product used, country and region.