Roasted Eggplant with Tahini Yogurt Sauce

Roasted Eggplant with Tahini Yogurt Sauce

Roasted Eggplant with Tahini Yogurt Sauce

Roasted Eggplant with Tahini Yogurt Sauce

January 18, 2024 by Kimberly

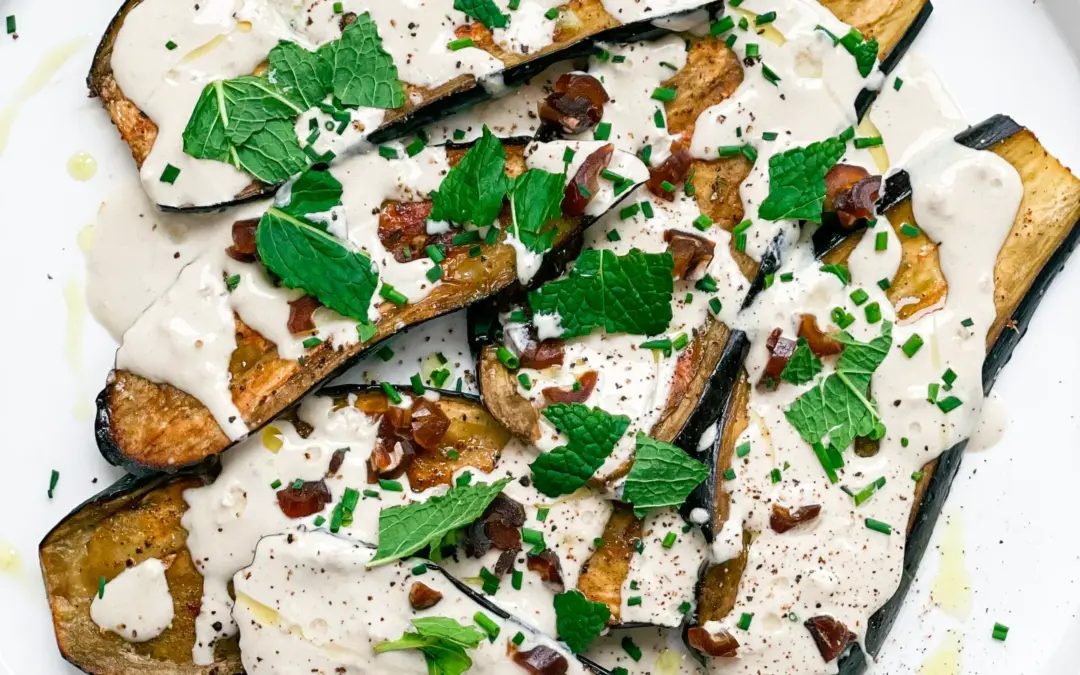
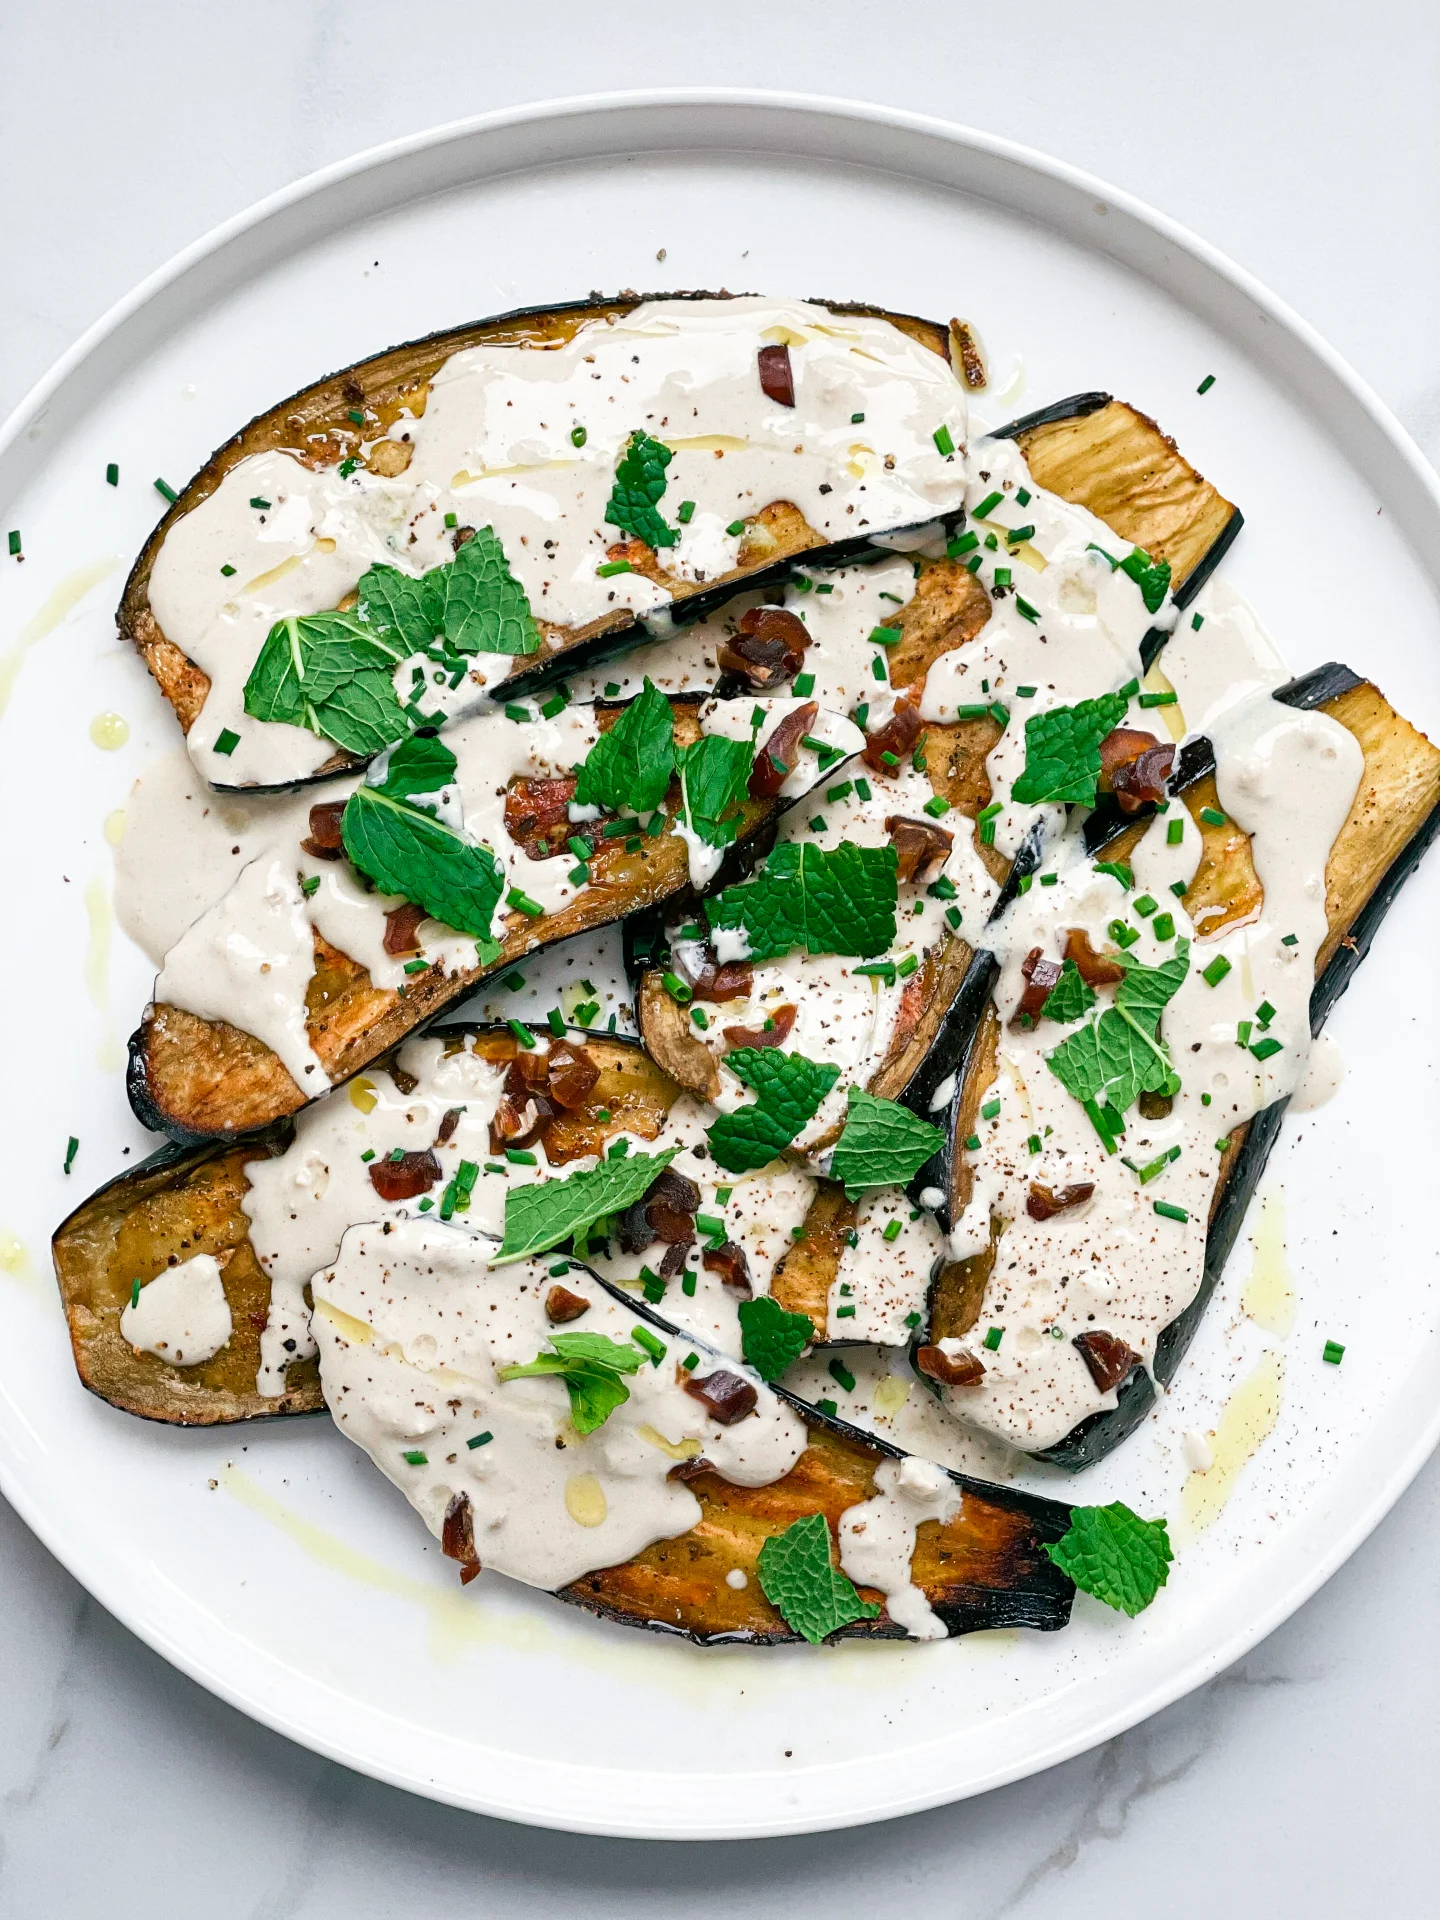
Indulge in Roasted Eggplant with Tahini Yogurt Sauce, a tantalizing, easy-to-prepare dish that promises a burst of exquisite flavors in every bite!

25 MINUTES

EASY

VEGETARIAN

ARABIC

372 PER PORTION

NUTTY / CREAMY

EVERYDAY

LUNCH / DINNER

AUTUMN / WINTER

INTRODUCTION

ABOUT THE RECIPE

Embark on a culinary journey with this Roasted Eggplant with Tahini Yogurt Sauce, a dish that masterfully combines simplicity with exotic flavors. Perfect for those who adore vegetarian recipes, this easy-to-prepare entrée is a gourmet treat. Made with succulent roasted eggplant and draped in a homemade tahini yogurt sauce, it’s a delicious addition to any meal or a highlight on its own.

How to serve:
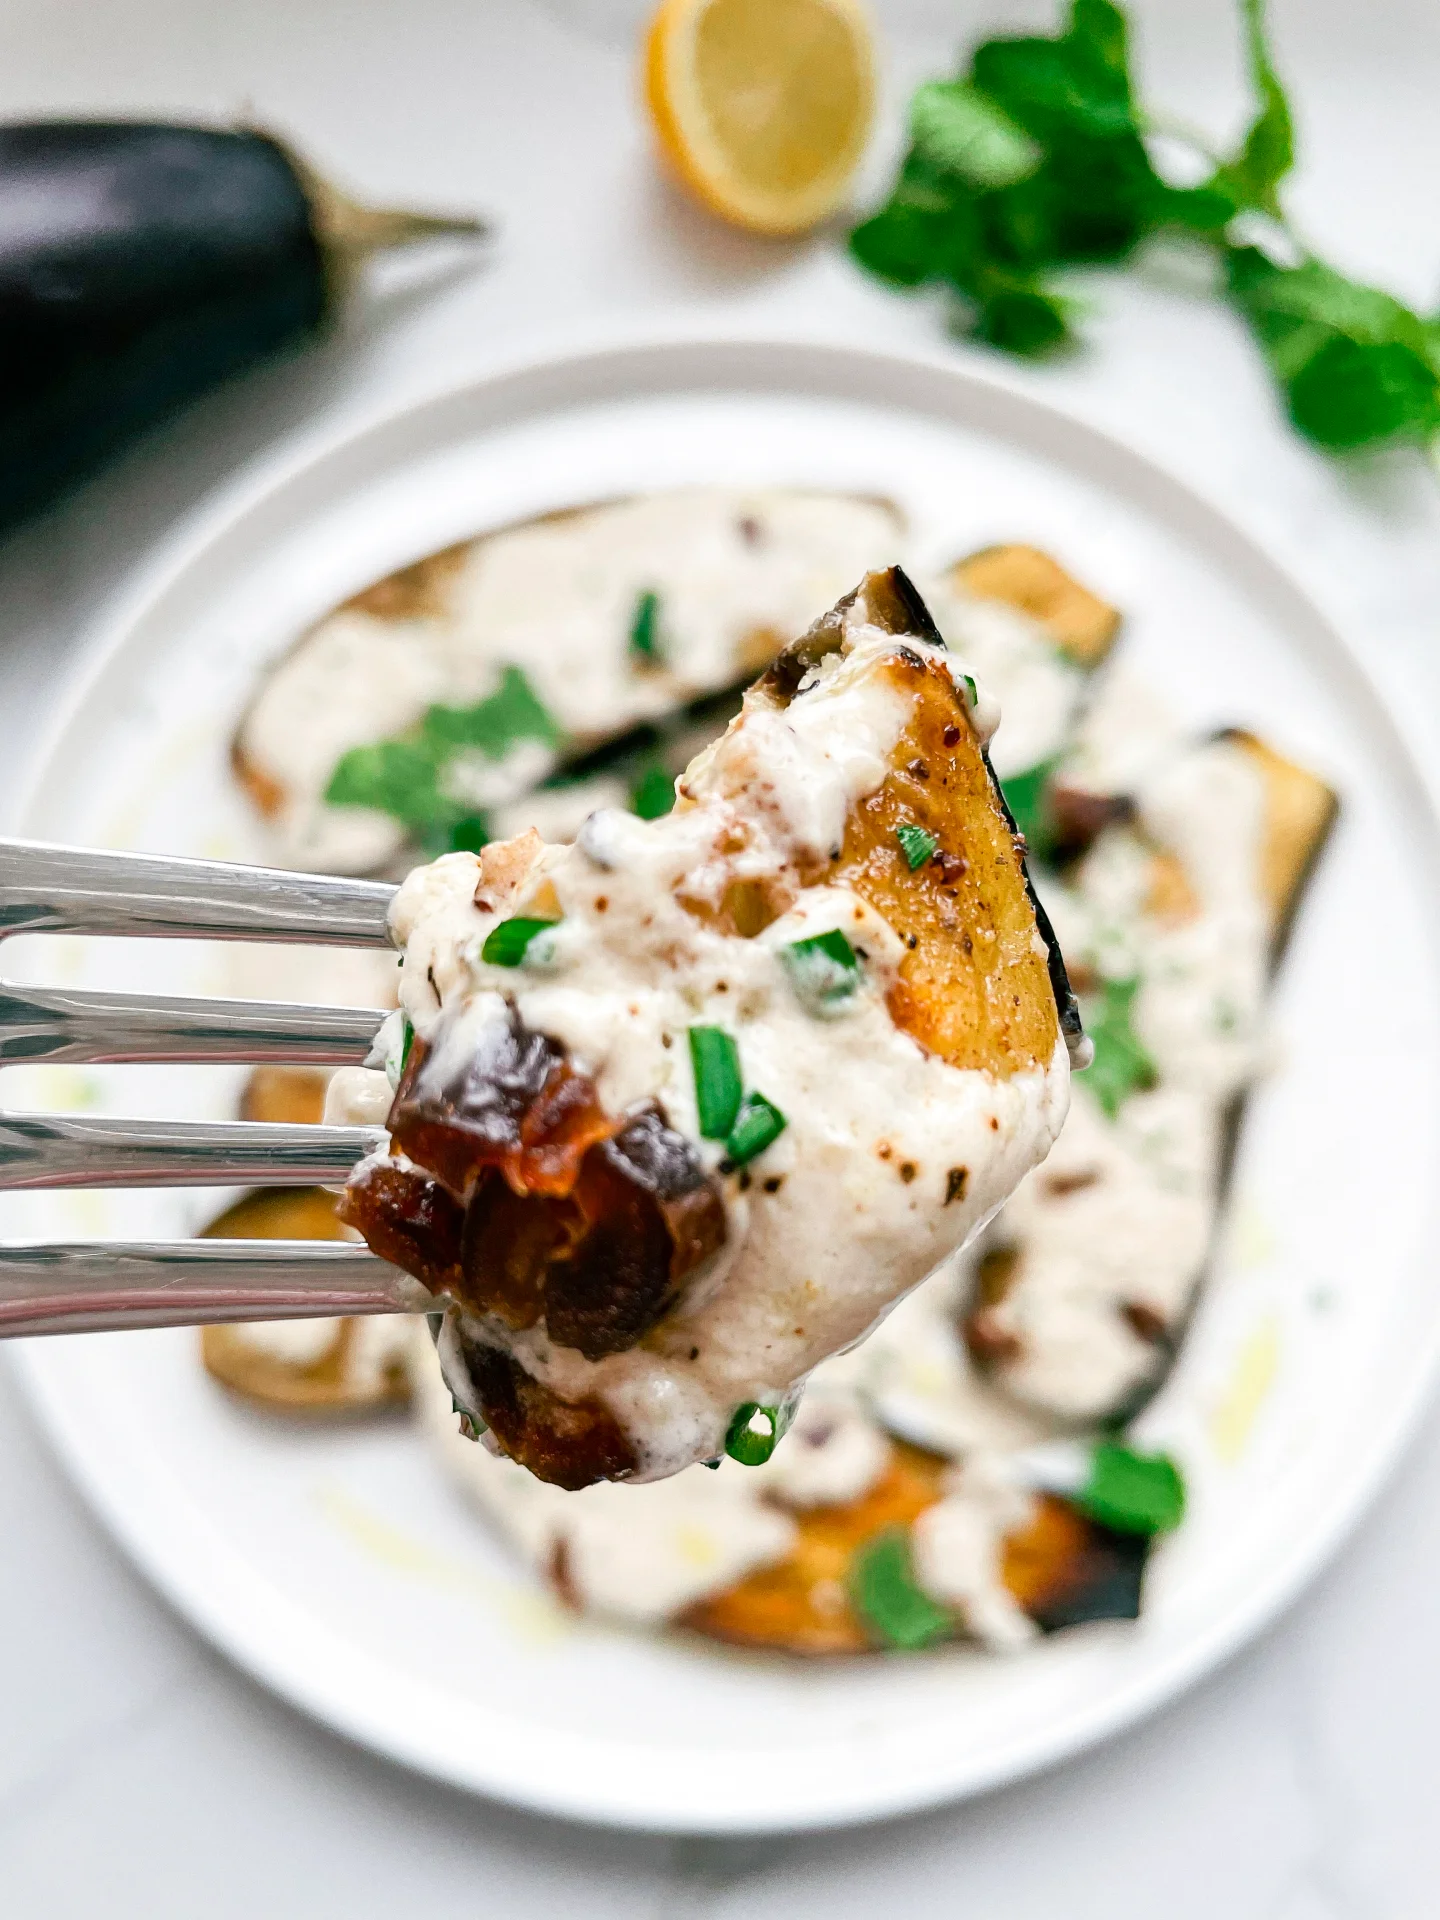
Serving this dish is a breeze and it’s incredibly versatile. Present it as a stunning centerpiece for a family-friendly vegetarian meal or as a side dish that complements a variety of mains. The creamy tahini yogurt sauce adds a savory richness, making it an instant hit. To elevate the experience, garnish with fresh herbs or a sprinkle of toasted sesame seeds. Pair with crusty bread or a light salad for a complete, flavorful eggplant dinner idea.

How to store:
Refrigerate any leftovers in an airtight container, ensuring it stays fresh and delicious. Enjoy it within the next 2 days. The flavors often deepen, making the reheated dish even more delicious.

Hi, I'm Kimberly!

Hi, I'm Kimberly.

A passionate food lover who believes in the magic of homemade deliciousness that spreads love and warmth. Join me on this culinary adventure as I prepare wonderful dishes and let’s spread some happiness together!

Kimberly the Zett Signature

If you want to get to know me better, click here!


Roasted Eggplant with Tahini Yogurt Sauce

„Let’s make a piece of happiness“

INGREDIENTS

FOR 2 PORTIONS

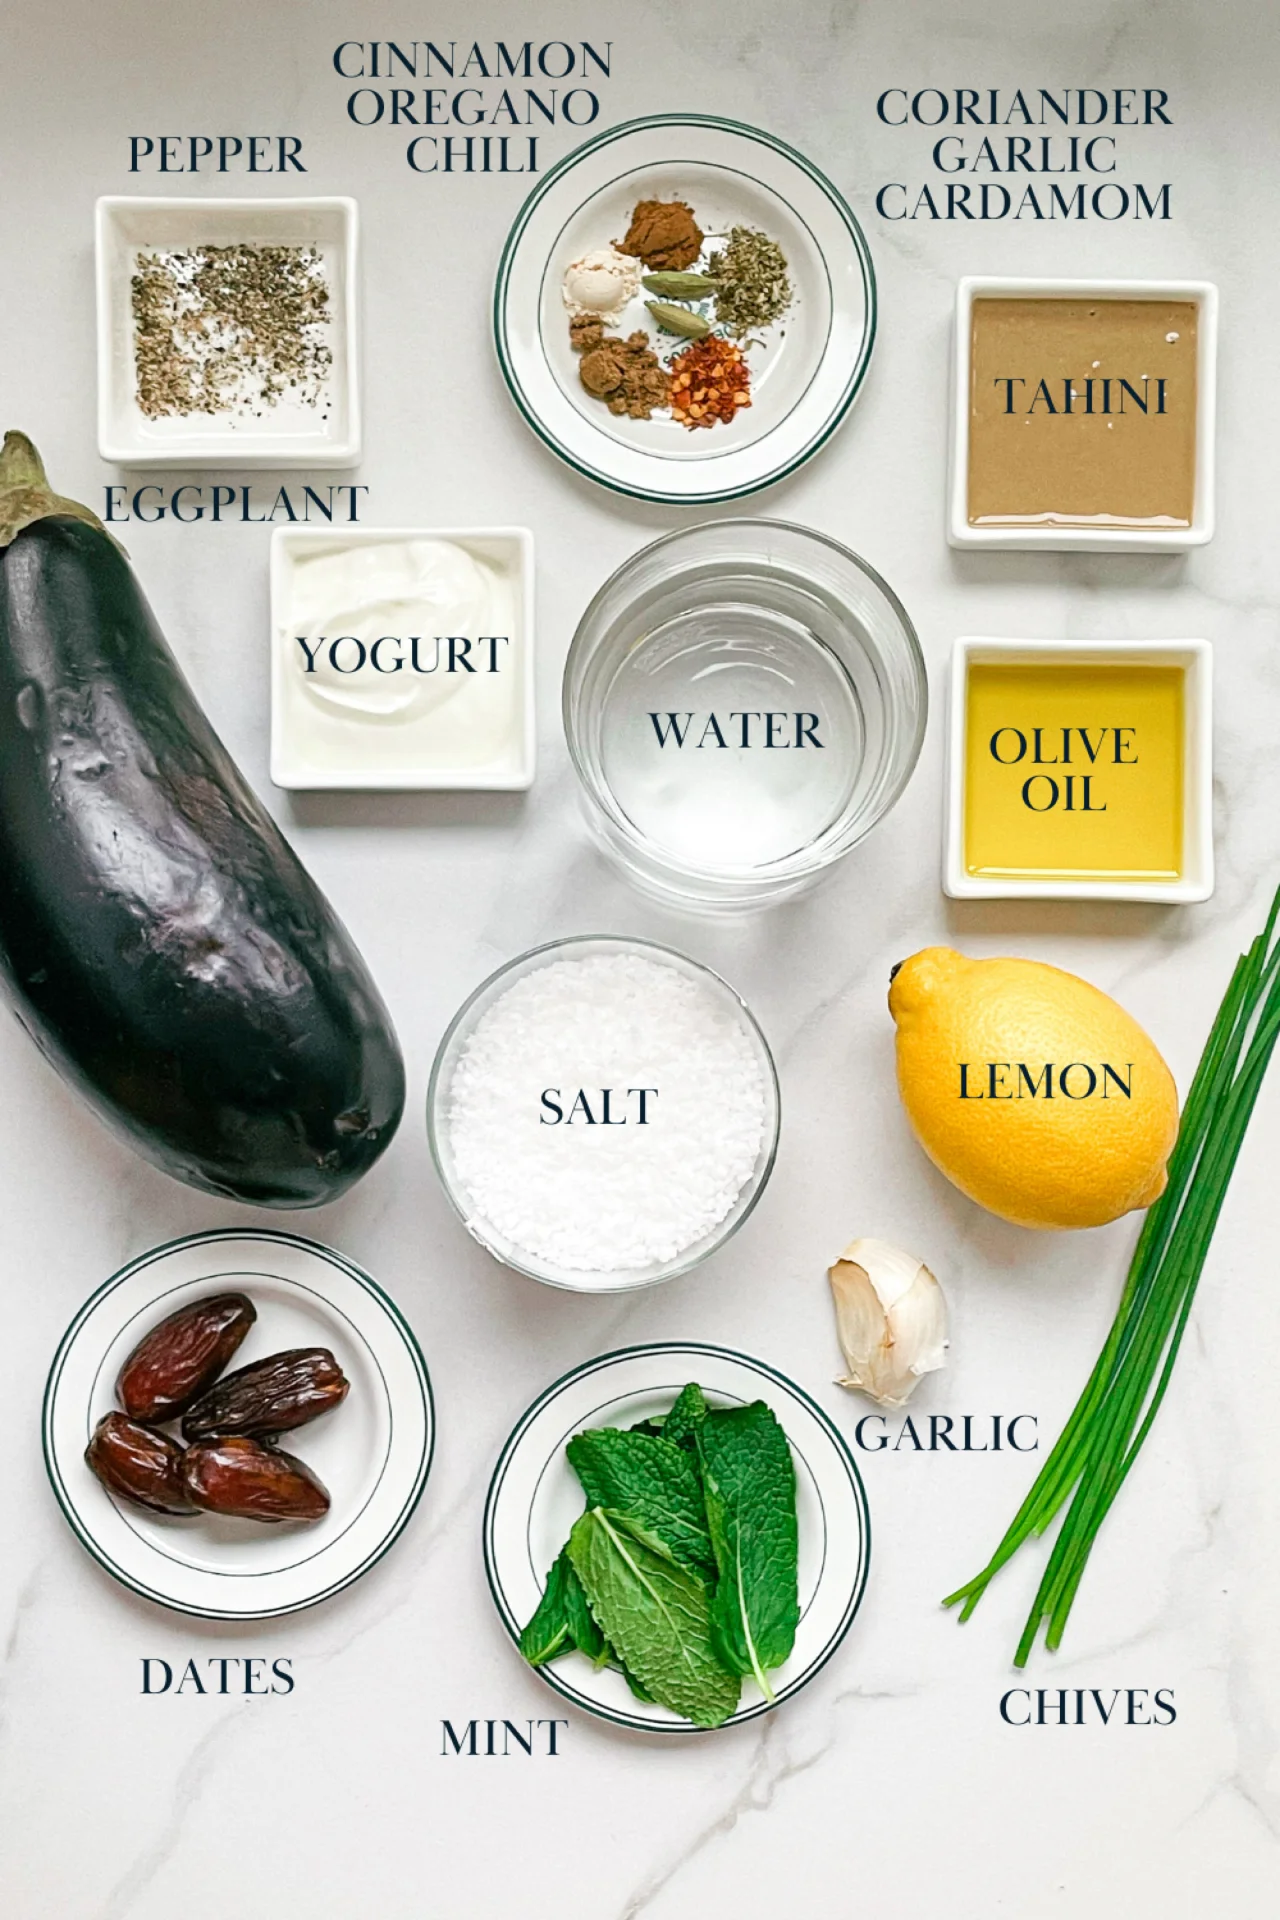
EGGPLANT

  • 1 eggplant
  • 4 tbsp olive oil
  • 1/4 tsp salt
  • 1/8 tsp ground pepper
  • 1/8 tsp dried coriander powder
  • 1/8 tsp cinnamon
  • 1/8 tsp oregano
  • 1/8 tsp garlic powder
  • 1/8 tsp chili flakes
  • 2 cardamom capsules

TAHINI YOGURT SAUCE

  • 2 tbsp tahini
  • 4 tbsp cold water
  • 2 tbsp yogurt
  • 1 tbsp olive oil
  • 1 tbsp lemon juice
  • 1 garlic clove
  • 1/8 tsp salt

    TOPPINGS

    • dates
    • chives
    • mint
    • lemon juice
    • olive oil
    Roasted Eggplant with Tahini Yogurt Sauce
    }

    ACTIVE: 5 min

    PASSIVE: –

    PREPARATIONS

    Recommended Equipment
    • sharp knife
    • cutting board
    • small bowl
    • medium bowl
    • mortar
    • Preheat the oven to 230°C (450°F)
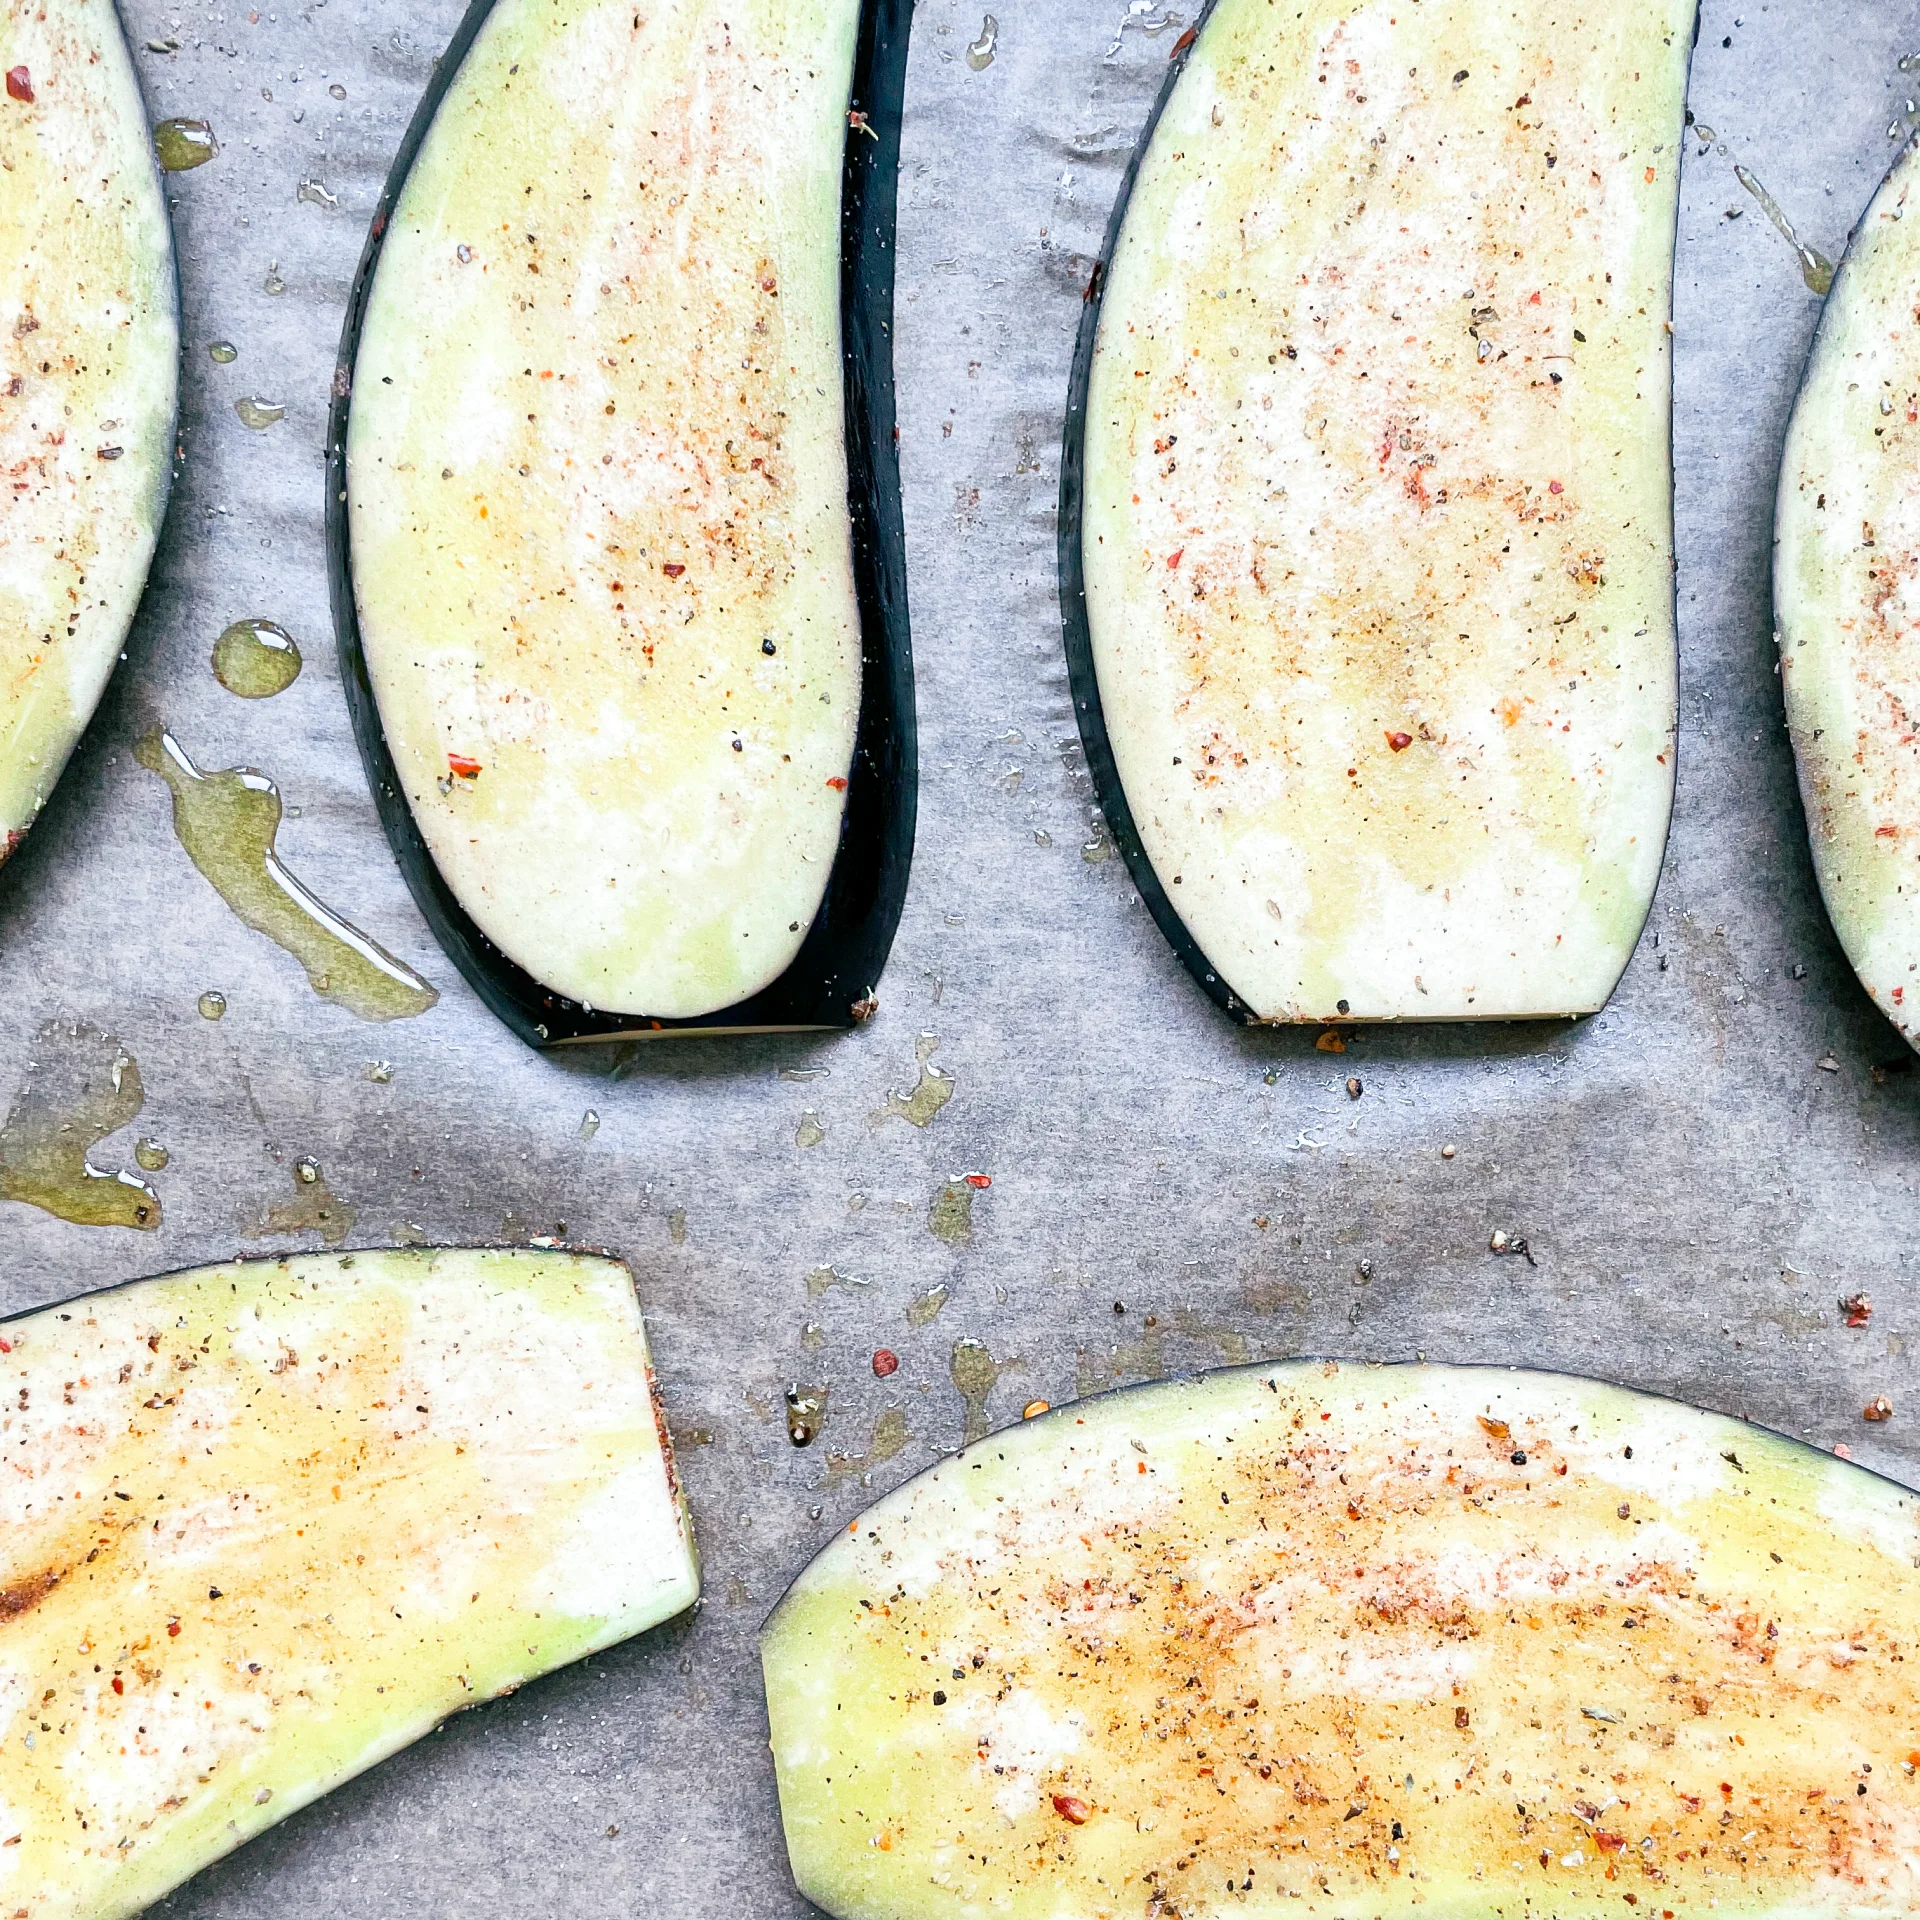
    • Wash the eggplant and cut into 1 cm (1/2 inch) thick slices.
    • Peel the garlic clove.
    • Cut the chives into fine rolls.
    • Roughly chop the mint.
    • Cut the dates into small pieces.
    • Crush the contents of the cardamom pods with a mortar.
      }

      ACTIVE: 10 min

      PASSIVE: 10 min

      COOKING

      1. Mix spices together in a small bowl: 1/4 tsp salt and 1/8 tsp each of the ground pepper, coriander, cinnamon, oregano, garlic, chilli and the contents of two cardamom pods. Stir everything together and set aside.

      2. Place the eggplant slices on a baking tray lined with baking paper, spread 4 tablespoons of olive oil and the spice mixture over them. Rub all the slices with your hands and spread the oil and spices evenly. Now place the tray in the oven and bake the eggplant for 20 minutes.

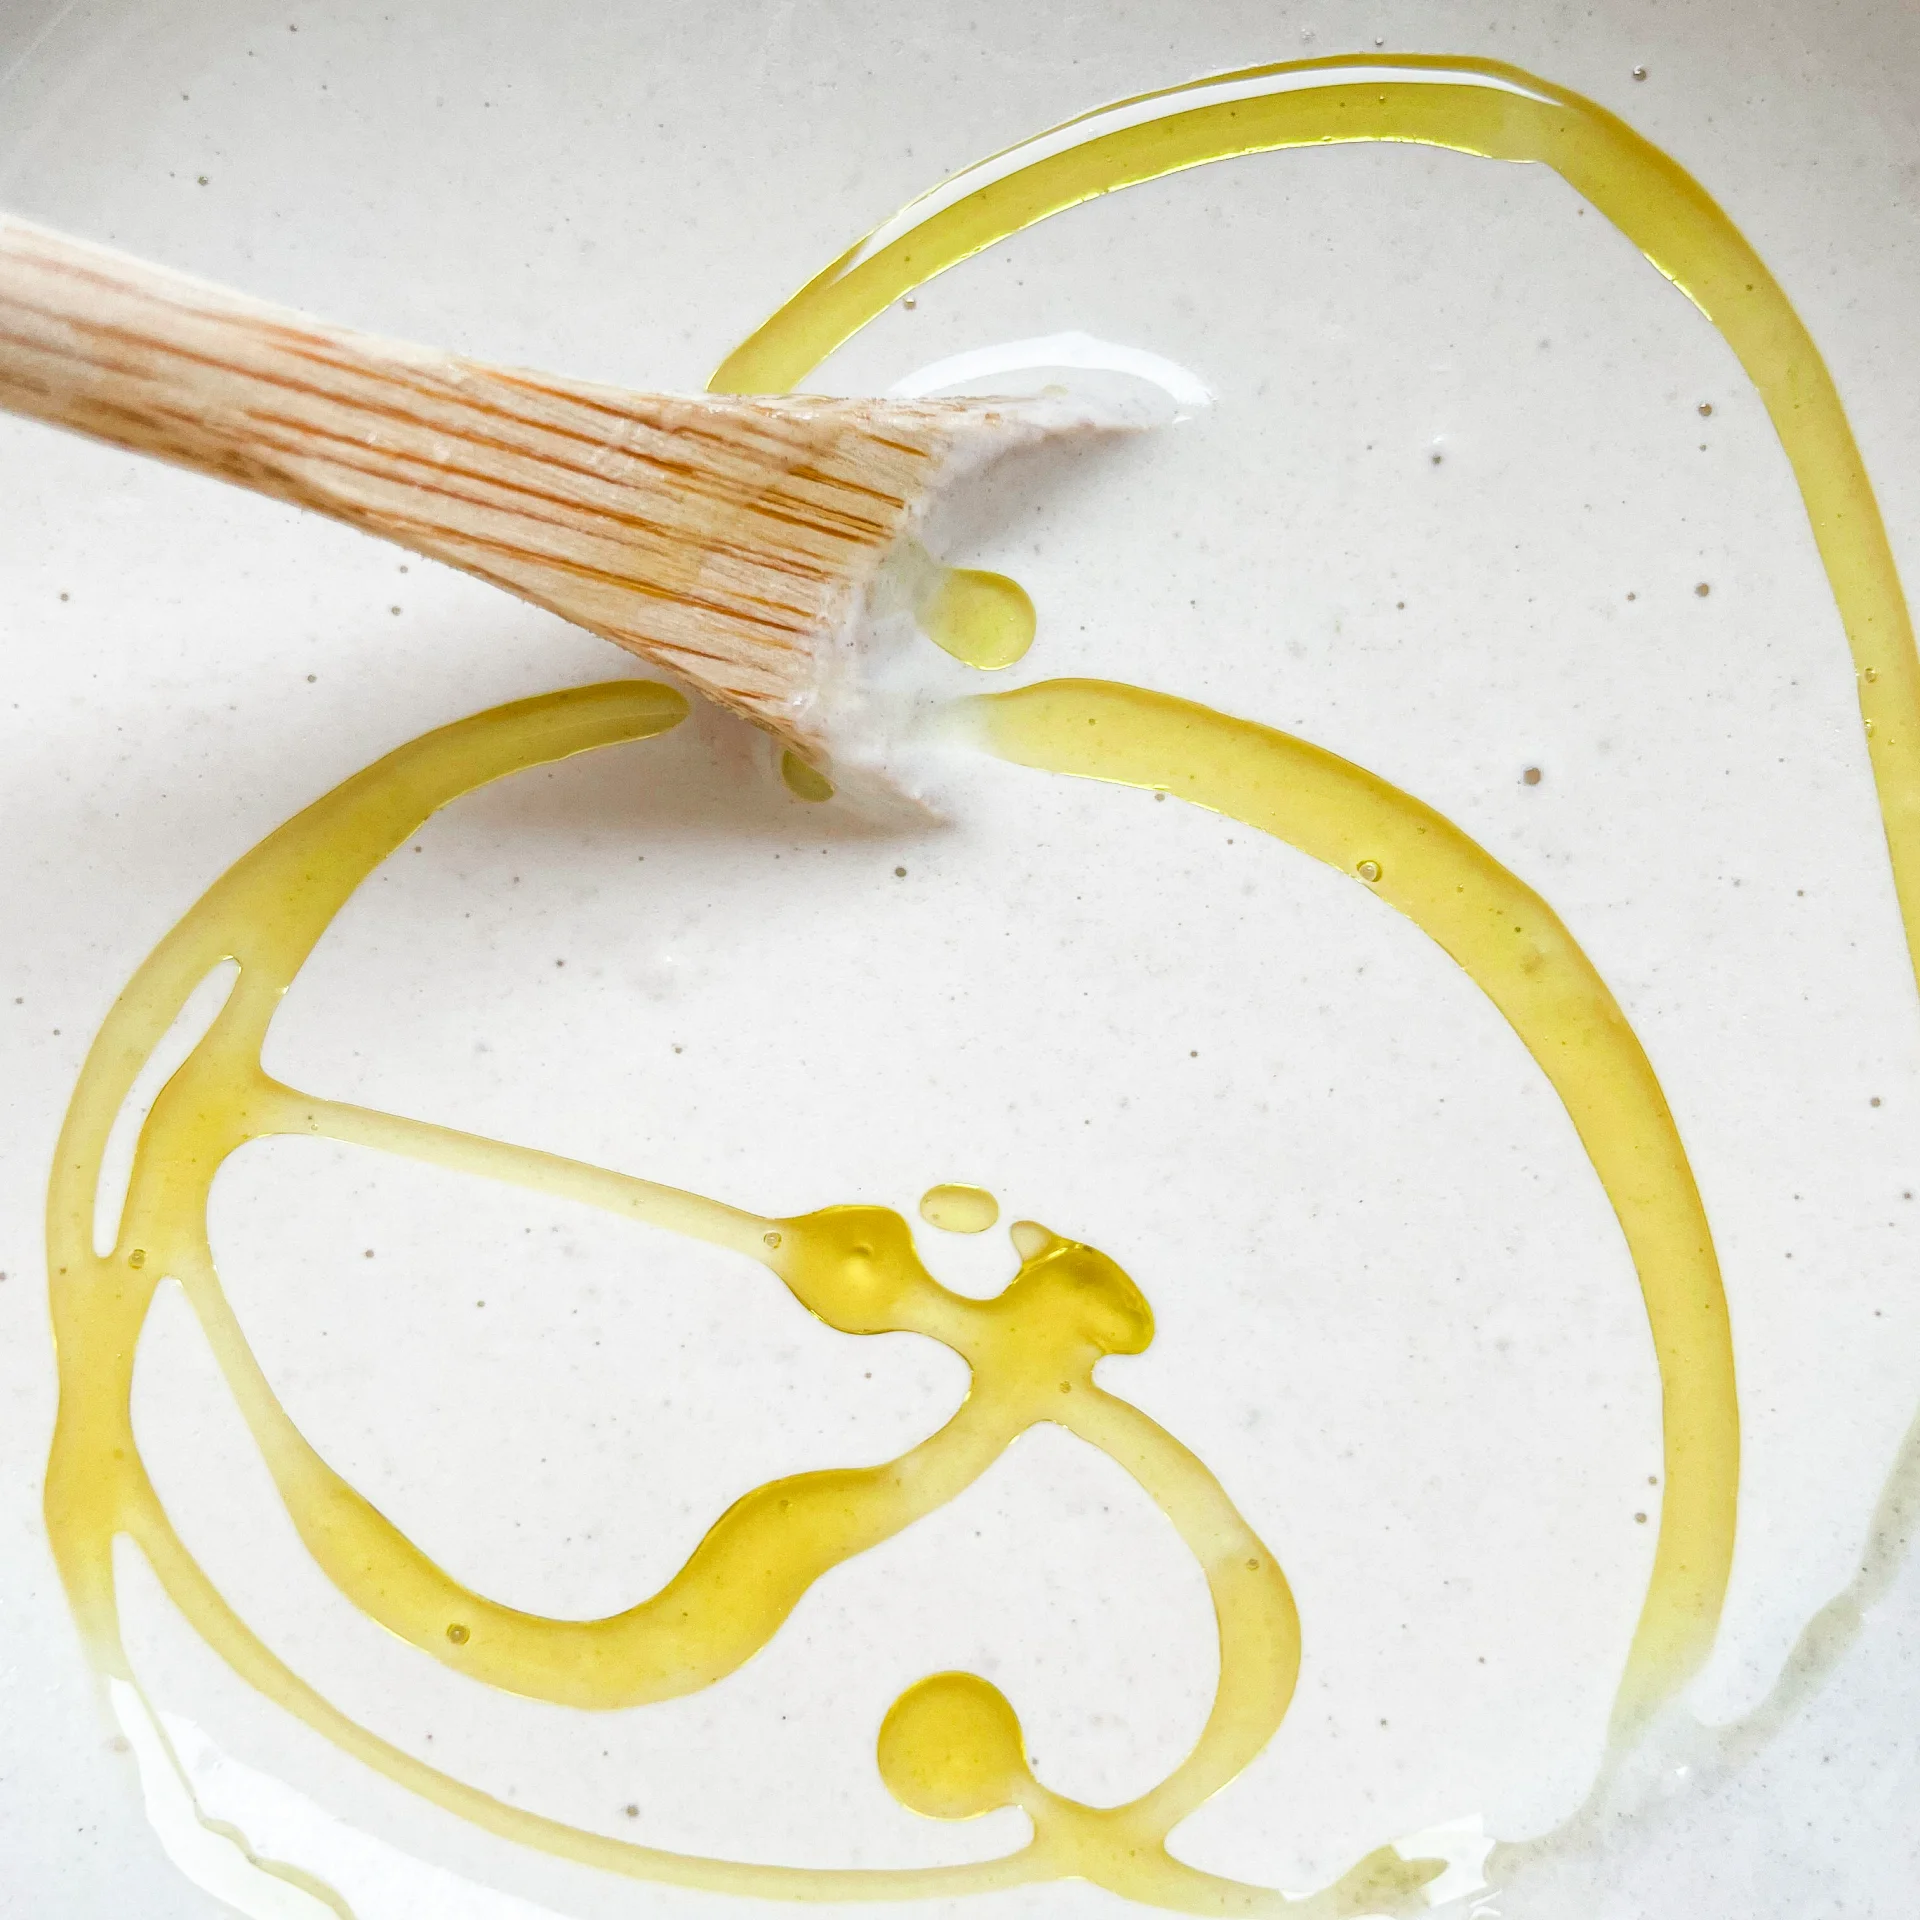
      3. In the meantime, mix the tahini-yoghurt sauce in a medium-sized bowl. Mix 2 tbsp tahini with 4 tbsp water until smooth. Then add 2 tbsp yogurt, 1 tbsp lemon juice, 1 tbsp olive oil, 1 clove of garlic and 1/8 tsp salt and mix well.

      4. Remove the eggplant slices from the oven and arrange them on a large plate. Pour over the tahini-yoghurt sauce and serve with freshly ground pepper, the date pieces, chives, mint and a few sprinkles of olive oil and lemon juice.

      NOTE: The calorie information may vary depending on the product used, country and region.

      White Chocolate Macadamia Peanut Caramel Bites

      White Chocolate Macadamia Peanut Caramel Bites

      White Chocolate Macadamia Peanut Caramel Bites

      White Chocolate Macadamia Peanut Caramel Bites

      November 27, 2023 by Kimberly

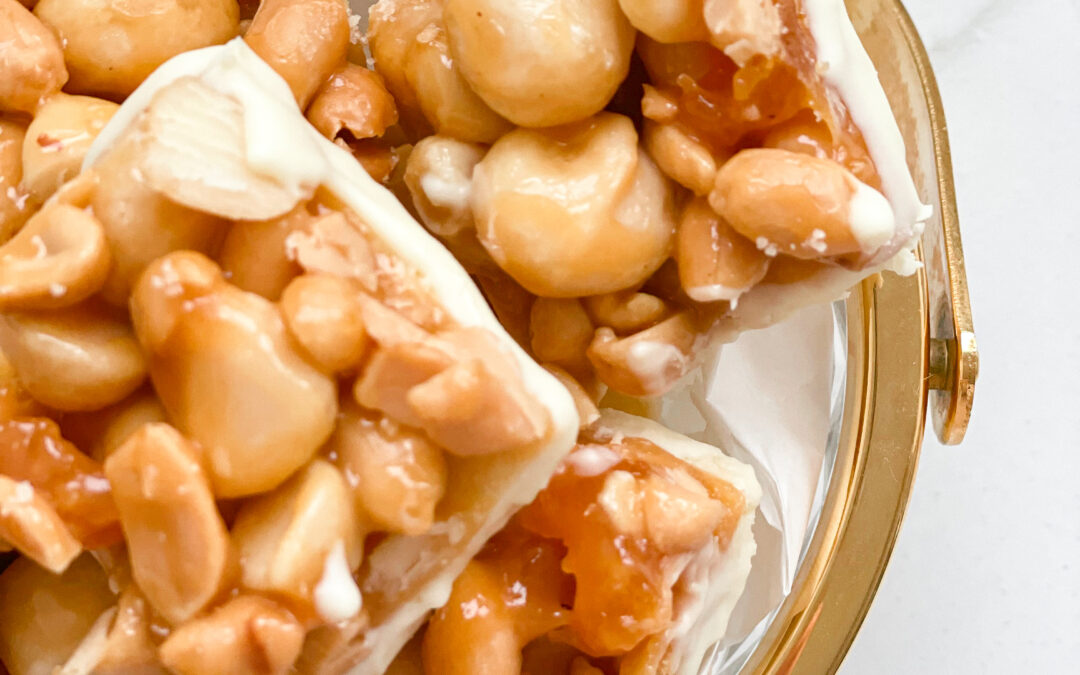
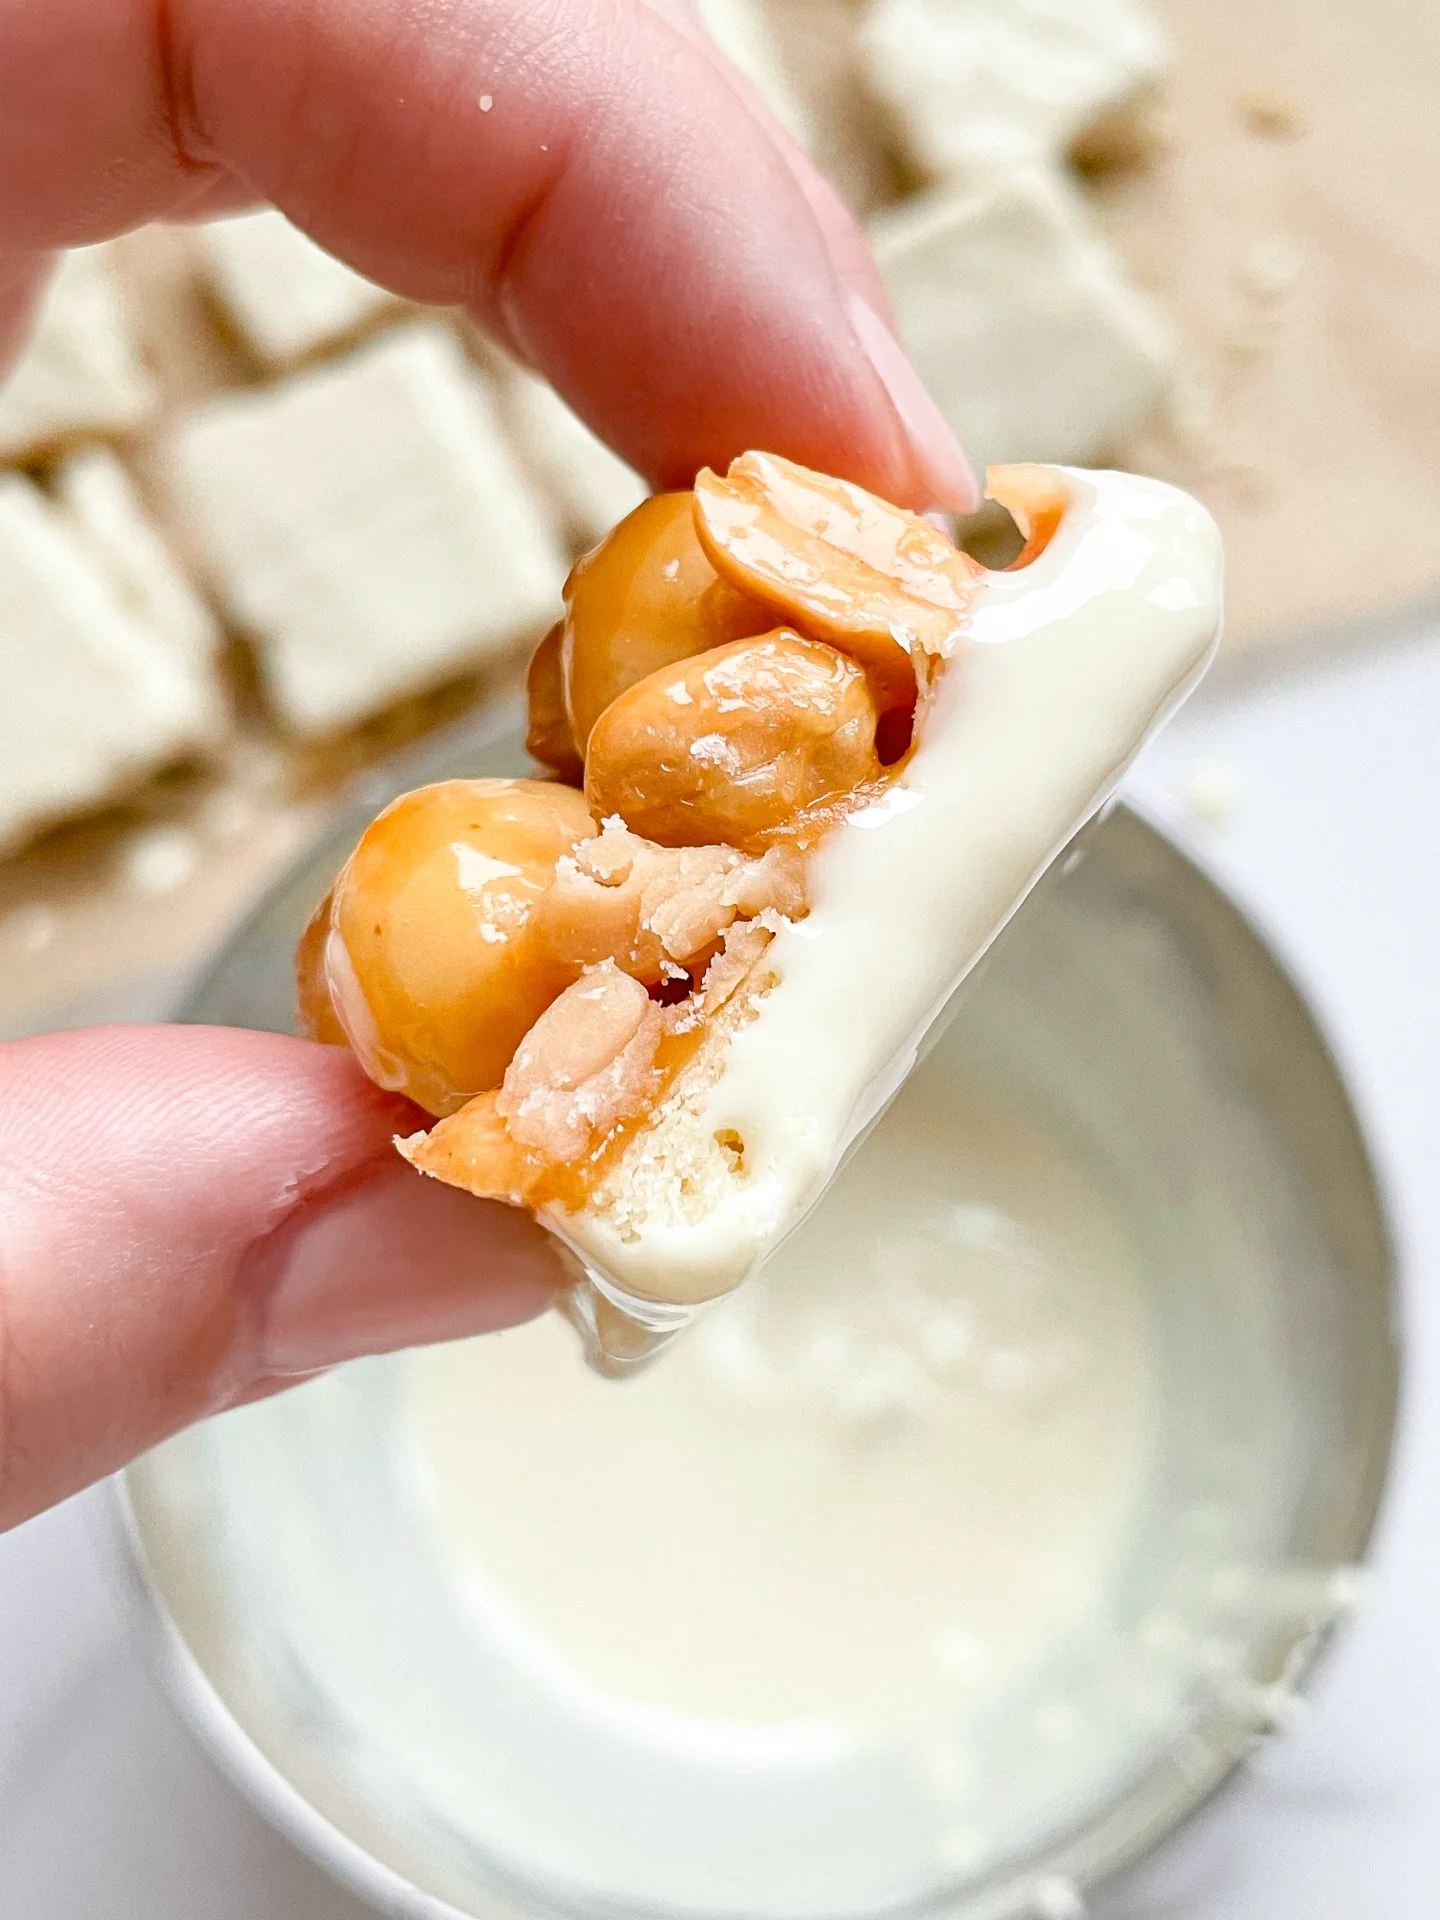
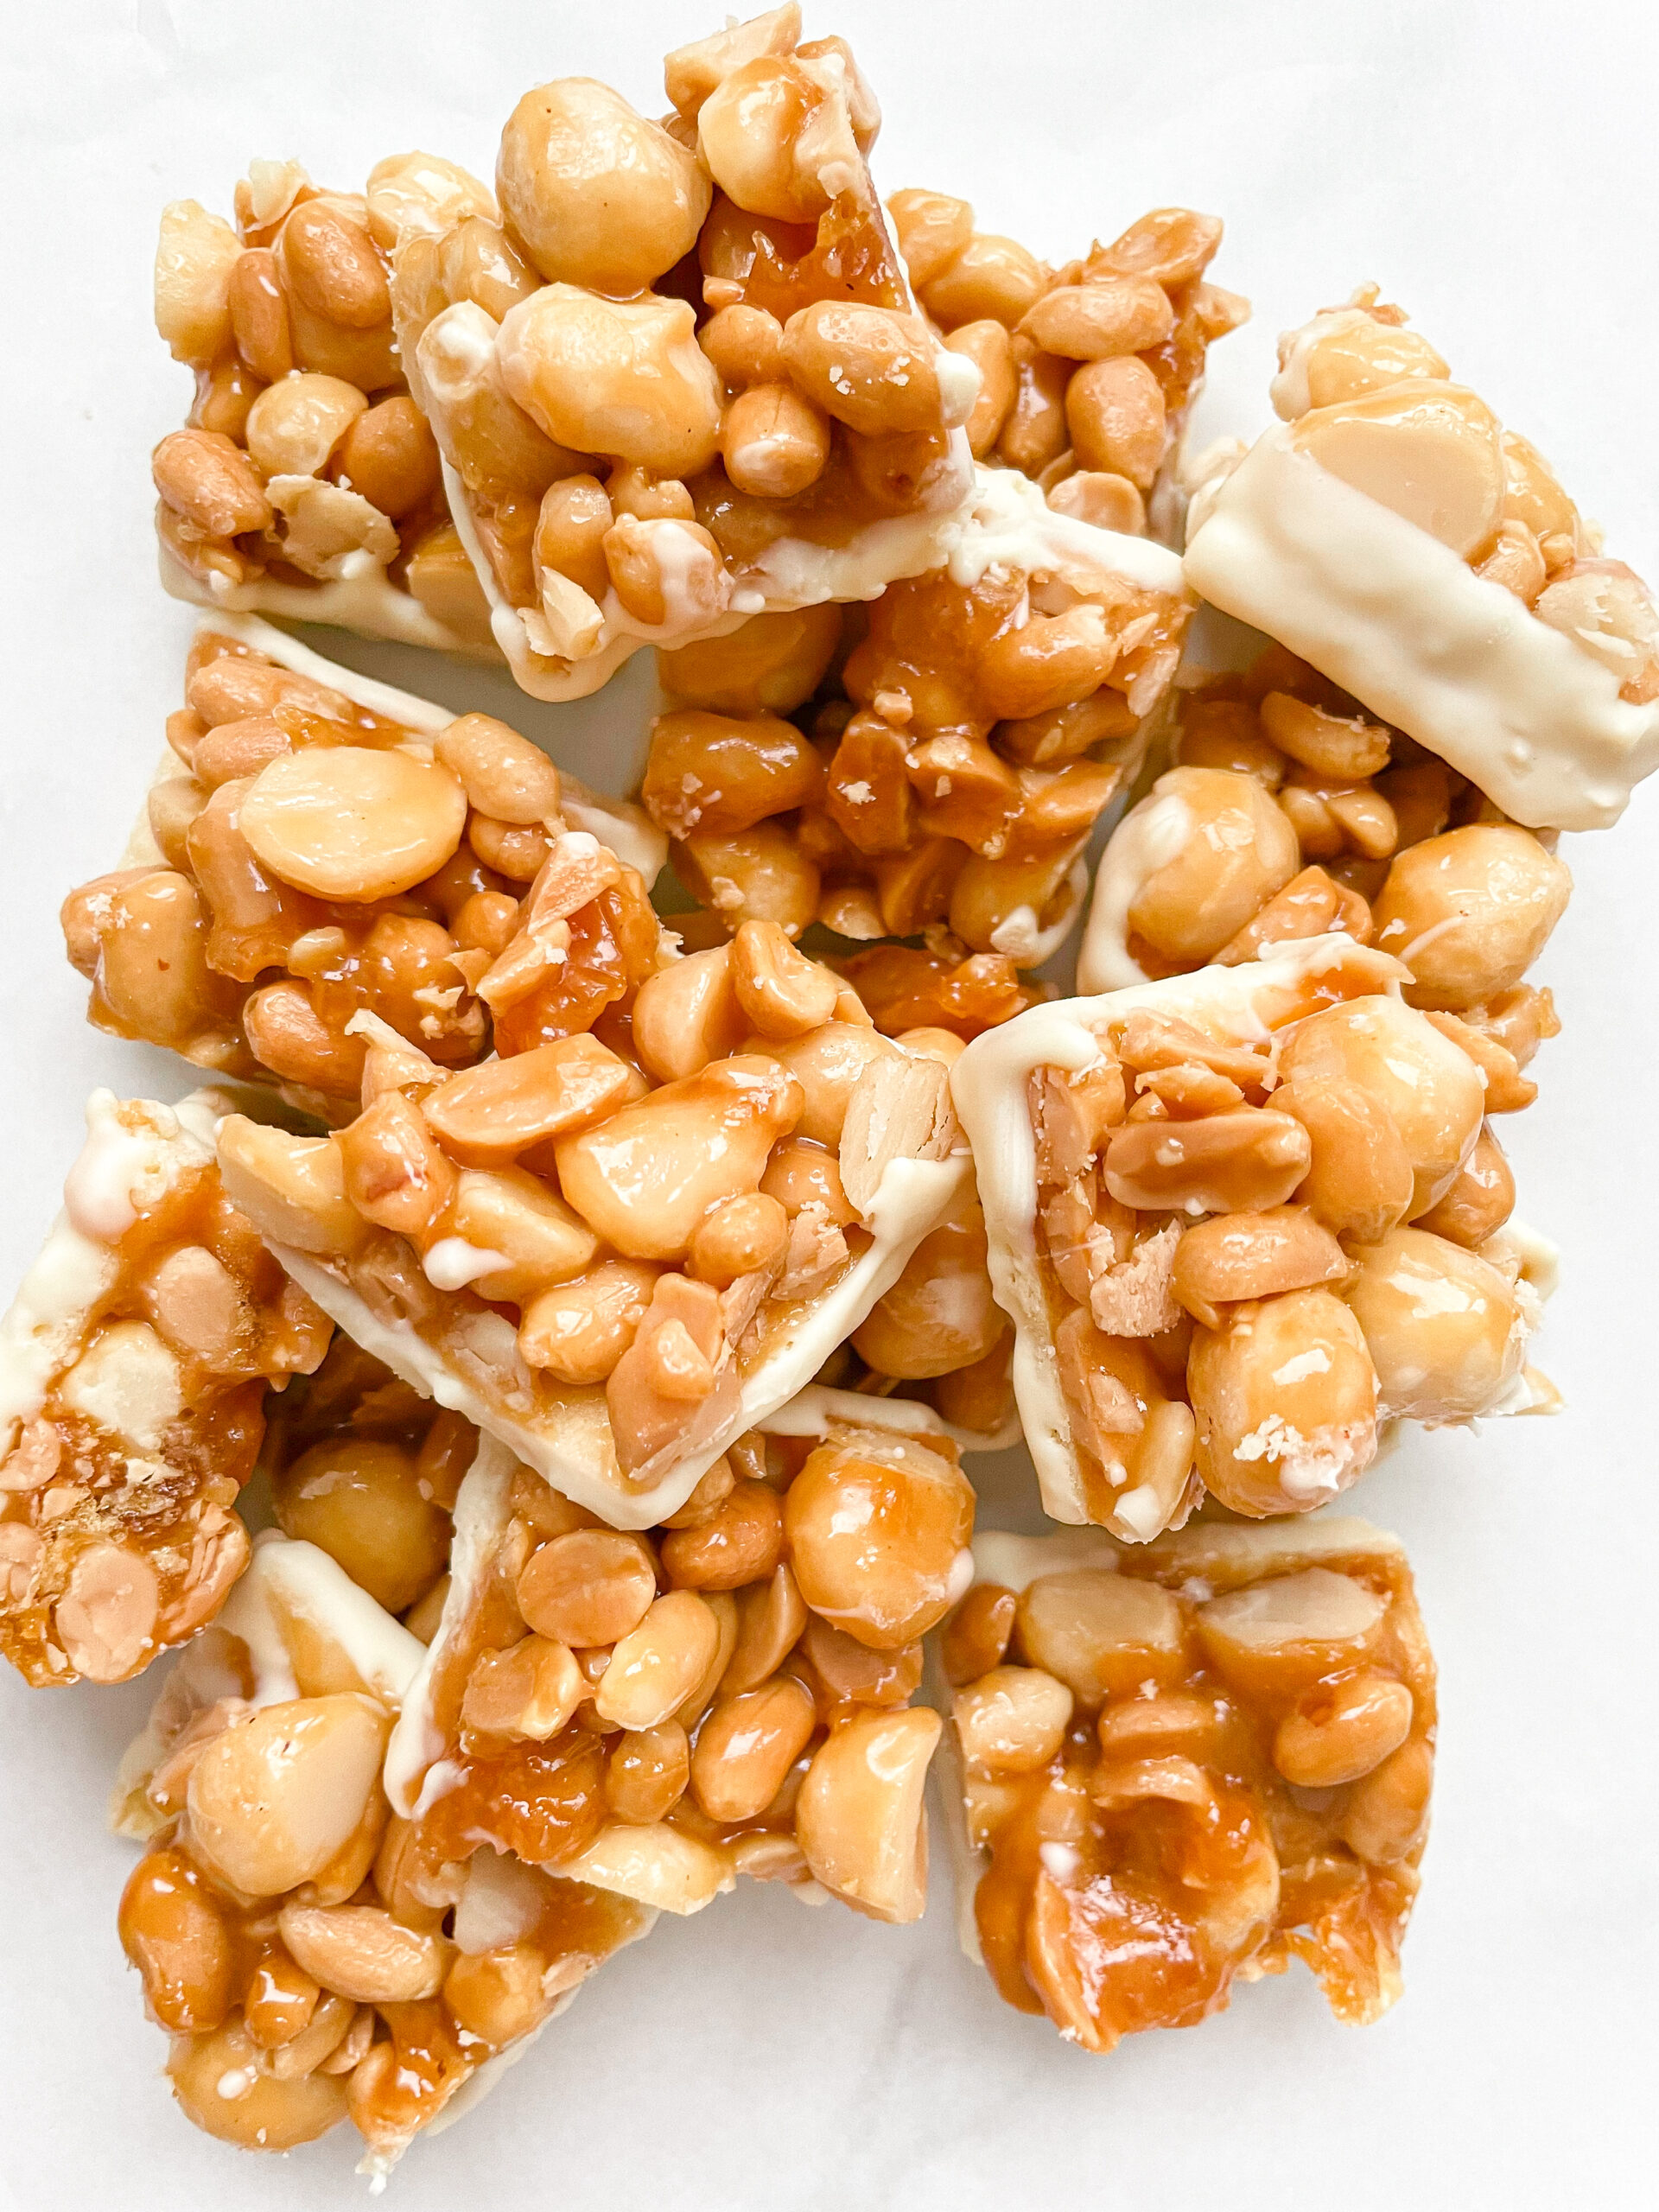
      Savor the festive season with these dreamy, creamy bites loaded with smooth caramel and crunchy nutty goodness. Christmas bliss in every delightful bite.

      100 MINUTES

      INTERMEDIATE

      VEGETARIAN

      INT.

      152 PER PIECE

      SWEET
      NUTTY

      CHRISTMAS

      COOKIES

      WINTER

      INTRODUCTION

      ABOUT THE RECIPE

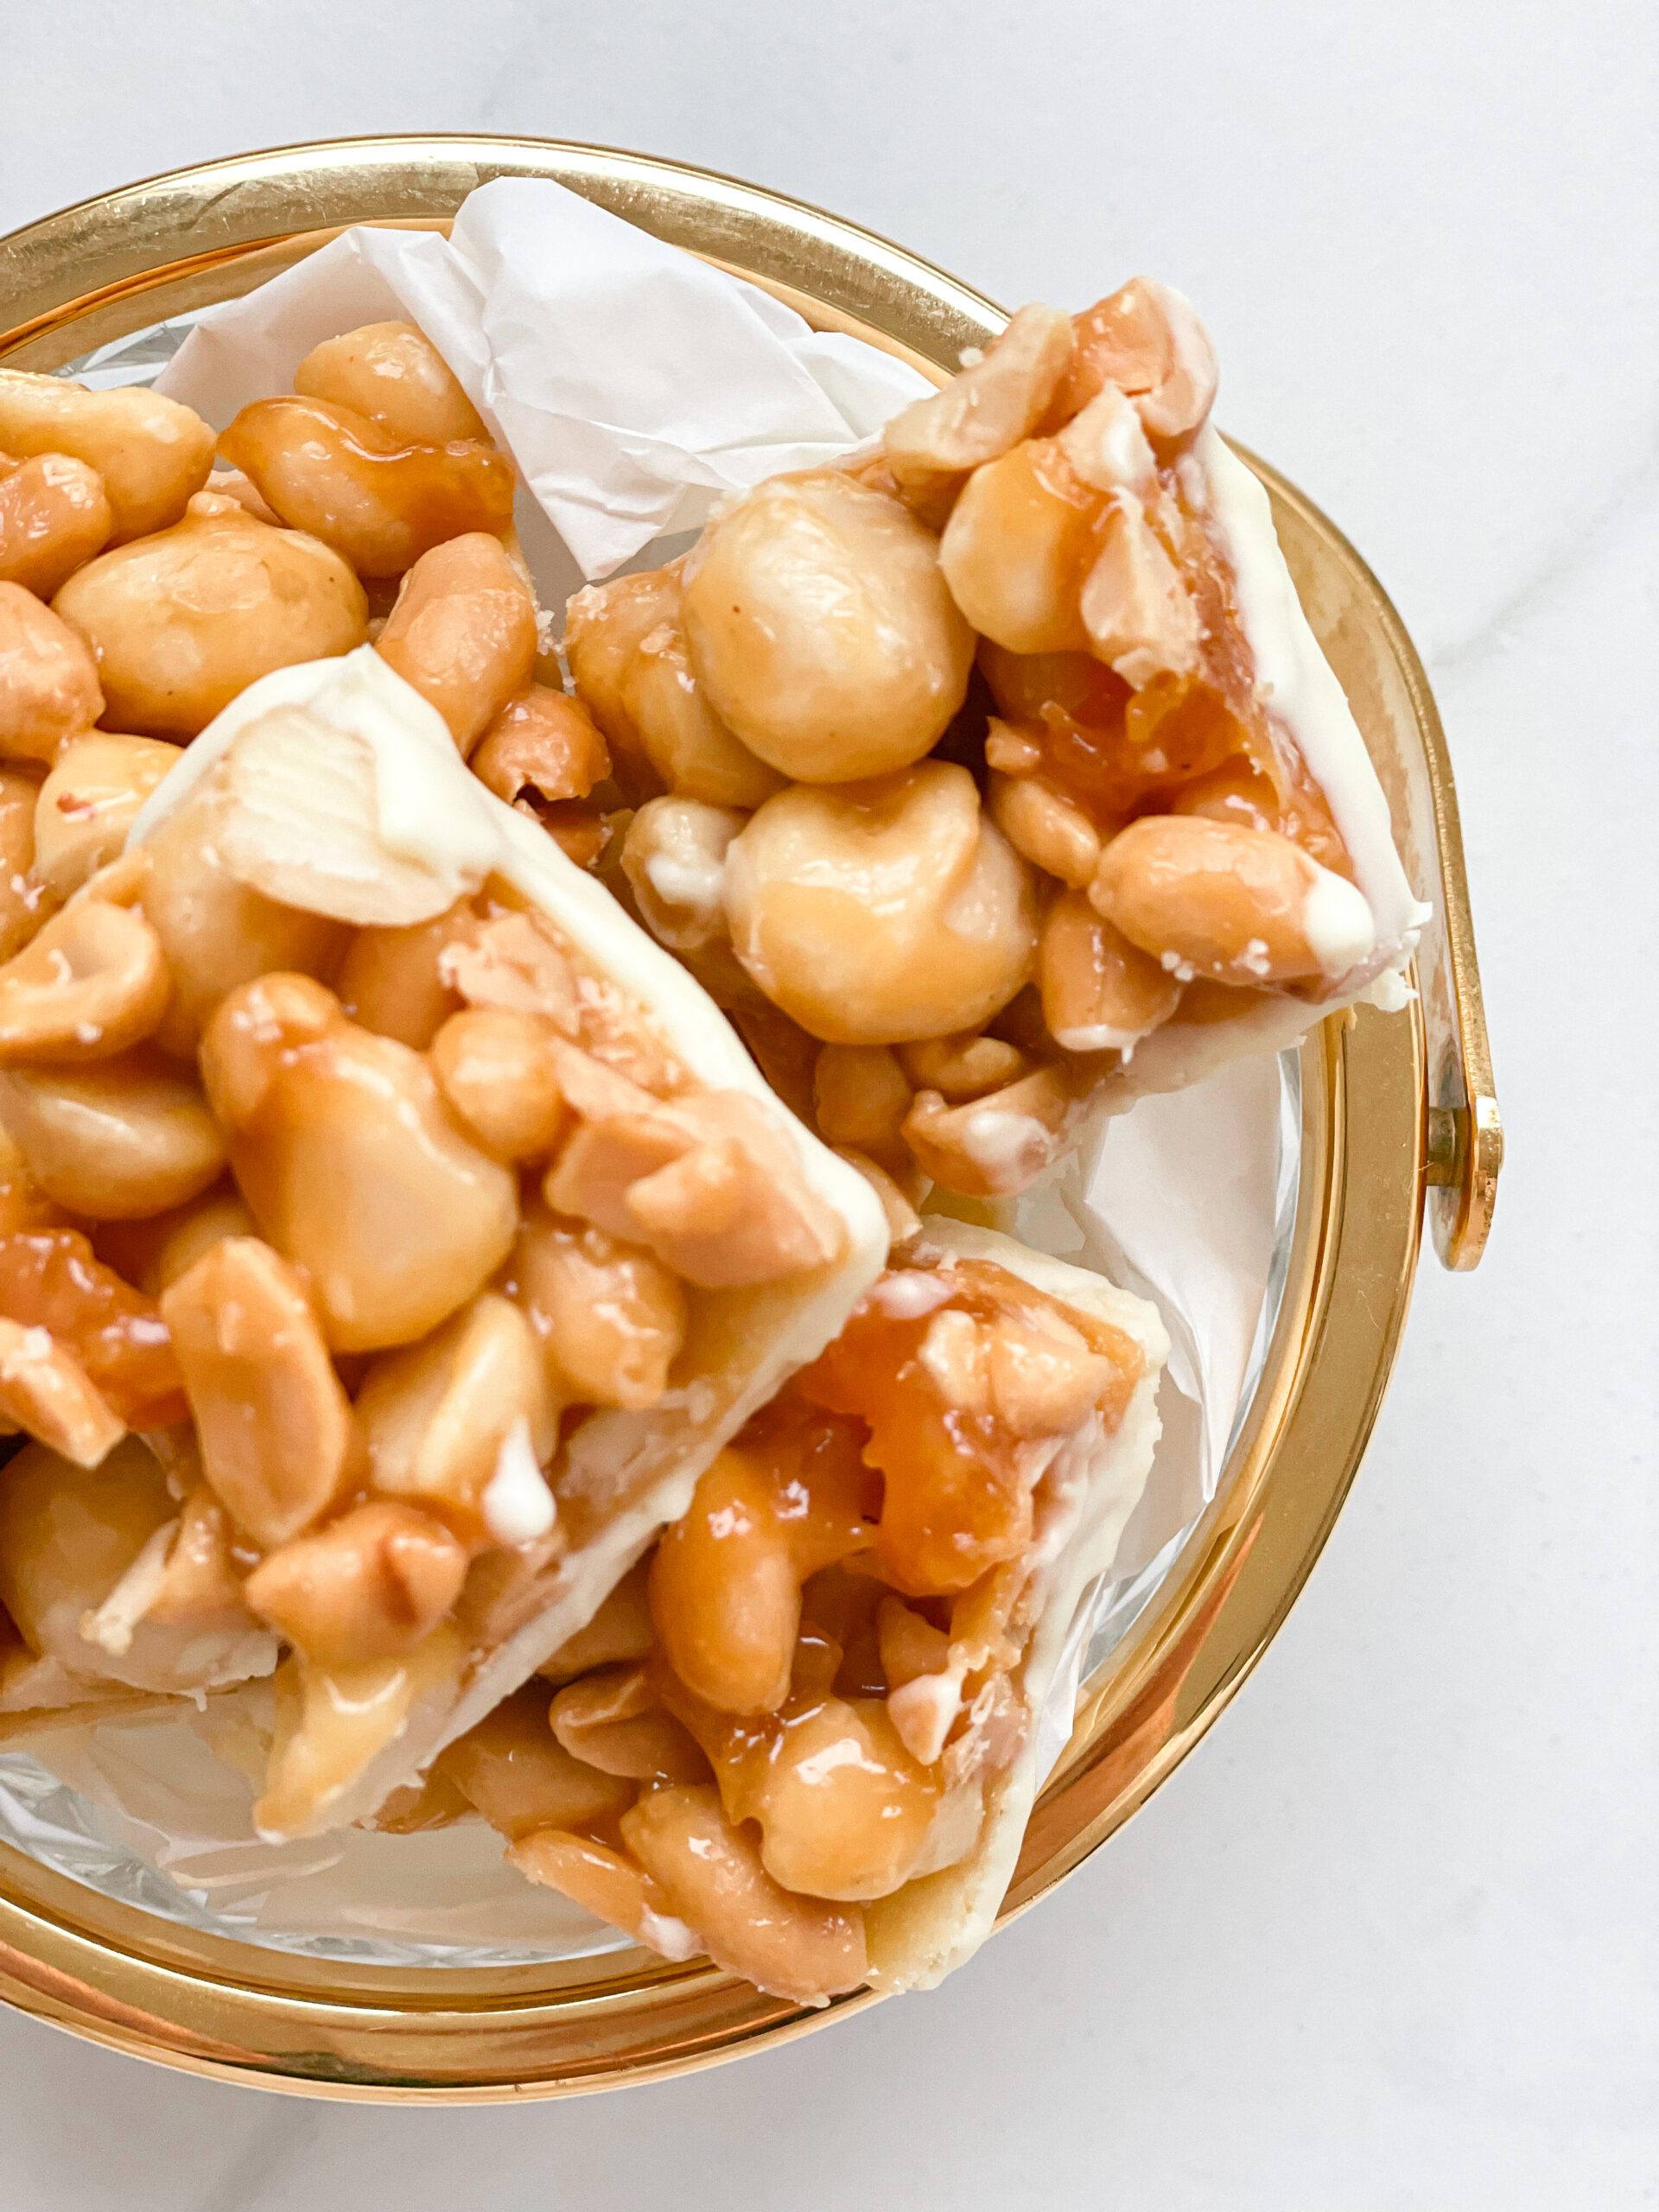
      Imagine that moment when you want a treat that’s just the right mix of creamy, crunchy, and rich in flavor—these caramel and nutty bites deliver exactly that! Each little piece is packed with macadamias, peanuts, caramel and smooth white chocolate, making it the ultimate indulgence without the hassle of a big dessert. They’re perfect for holiday spreads, cozy evenings, or anytime you want something sweet and satisfying in your life. Whether you’re a caramel lover, a white chocolate fan, or just need a no-fuss recipe, these bites will steal your heart.

      How to serve
      Arrange them on a dessert platter for holiday gatherings or family movie nights. If you want to keep things casual, just pop them in a bowl and let everyone grab a few. They’re also perfect for gift-giving: pack them up in a cute box or jar for friends and family.

      How to store
      Store any leftovers in an airtight container at room temperature for up to 10 days. If you prefer a firmer texture, keep them in the fridge – they’ll stay fresh and delicious!

      Hi, I'm Kimberly!

      Hi, I'm Kimberly.

      A passionate food lover who believes in the magic of homemade deliciousness that spreads love and warmth. Join me on this culinary adventure as I prepare wonderful dishes and let’s spread some happiness together!

      Kimberly the Zett Signature

      If you want to get to know me better, click here!


      White Chocolate Macadamia Peanut Caramel Bites
      White Chocolate Macadamia Peanut Caramel Bites
      White Chocolate Macadamia Peanut Caramel Bites
      White Chocolate Macadamia Peanut Caramel Bites
      White Chocolate Macadamia Peanut Caramel Bites
      White Chocolate Macadamia Peanut Caramel Bites

      „Let’s make a piece of happiness“

      Print
      clock clock iconcutlery cutlery iconflag flag iconfolder folder iconinstagram instagram iconpinterest pinterest iconfacebook facebook iconprint print iconsquares squares iconheart heart iconheart solid heart solid icon
      White Chocolate Macadamia Peanut Caramel Bites

      White Chocolate Macadamia Peanut Caramel Bites


      • Author: Kimberly
      • Total Time: 105 min
      • Yield: 50 squares 1x

      Description

      RECOMMENDED EQUIPMENT
      • medium bowl
      • cling film
      • small pot
      • sharp knife
      • cutting board
      • small bowl that fits the small pot

      Ingredients

      Units Scale

      DOUGH

      • 125 grams butter, room-temperature
      • 75 grams white sugar
      • 250 grams all-purpose flour
      • 8g vanilla sugar
      • pinch of salt
      • 1 egg

      CARAMEL

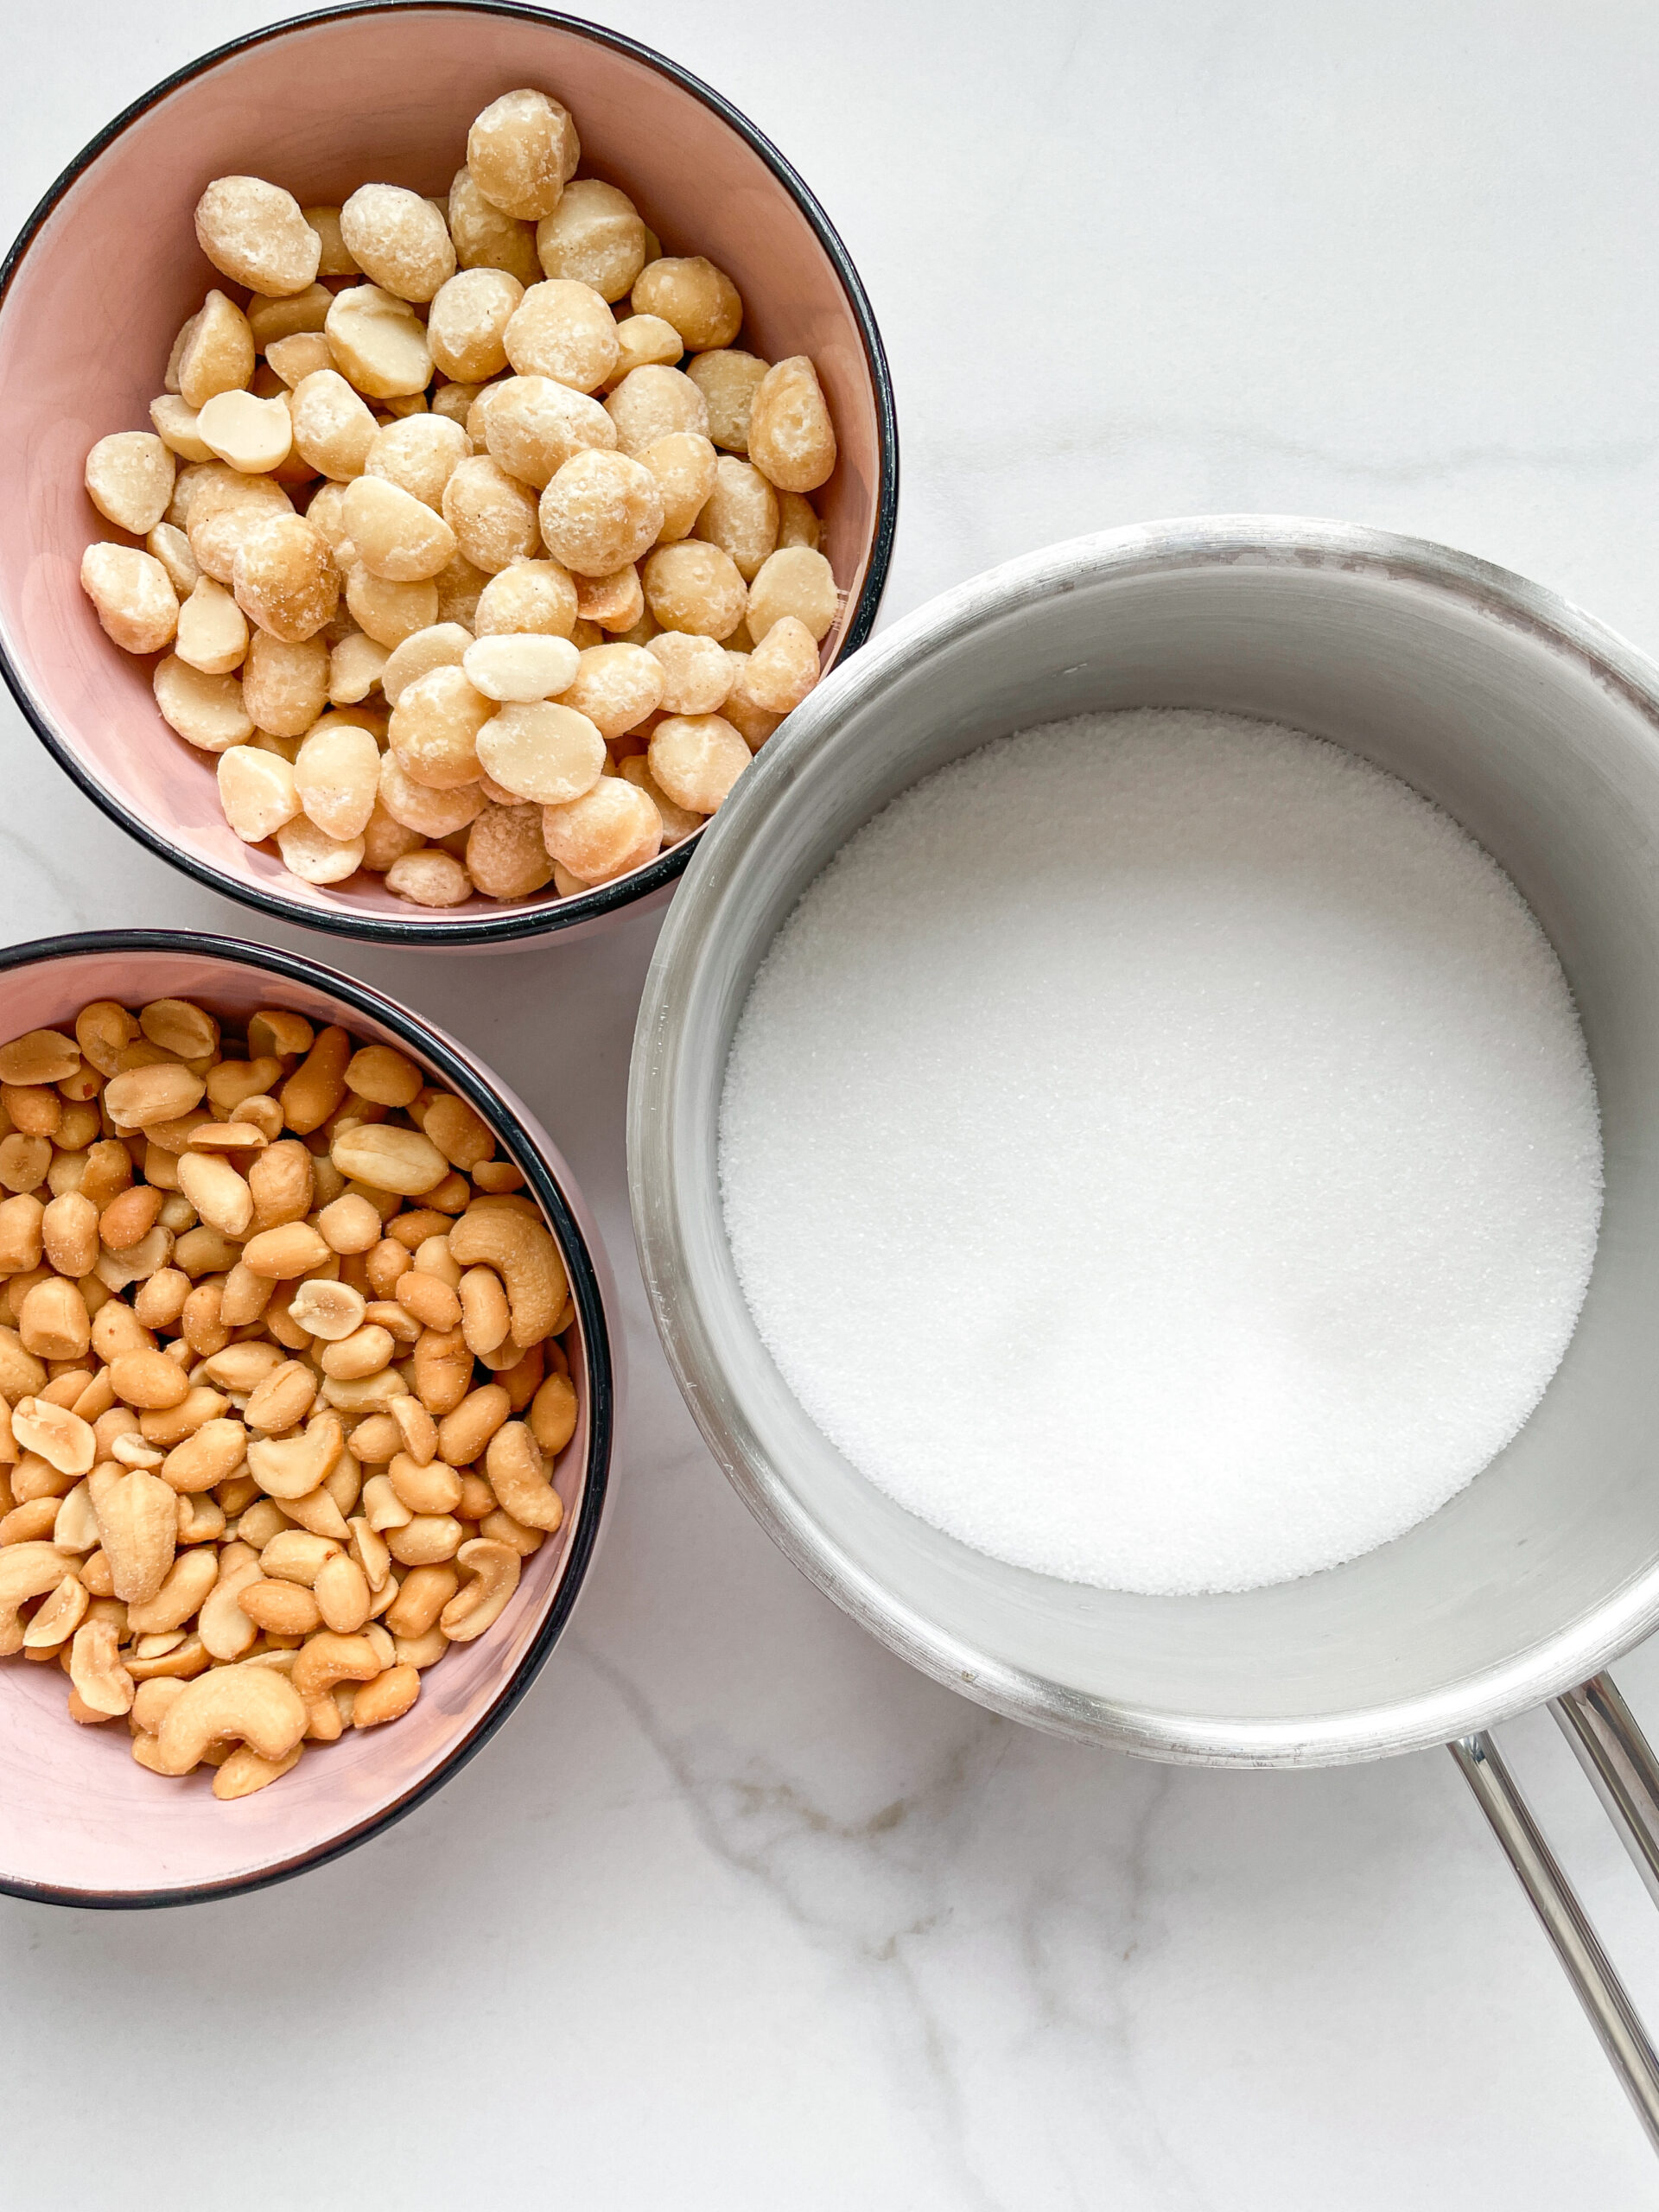
      • 225 grams white sugar
      • 250 grams macadamia nuts
      • 200 grams peanuts
      • 2 tbsp butter
      • 50 grams heavy cream

      TOPPING

      • 300 grams white chocolate
      • 1.5 tsp coconut oil

      Instructions

      PREPARATIONS

      • Weigh out all the ingredients beforehand and have them ready. Make sure you have the right amount of nuts to hand, as you need to prepare the caramel quickly.

      INSTRUCTIONS

      1. Place butter, sugar, all-purpose flour, vanilla sugar, a pinch of salt and an egg in a medium-sized bowl. Knead into a shortcrust pastry. Wrap the ball of dough in cling film and place in the fridge for 30 minutes.
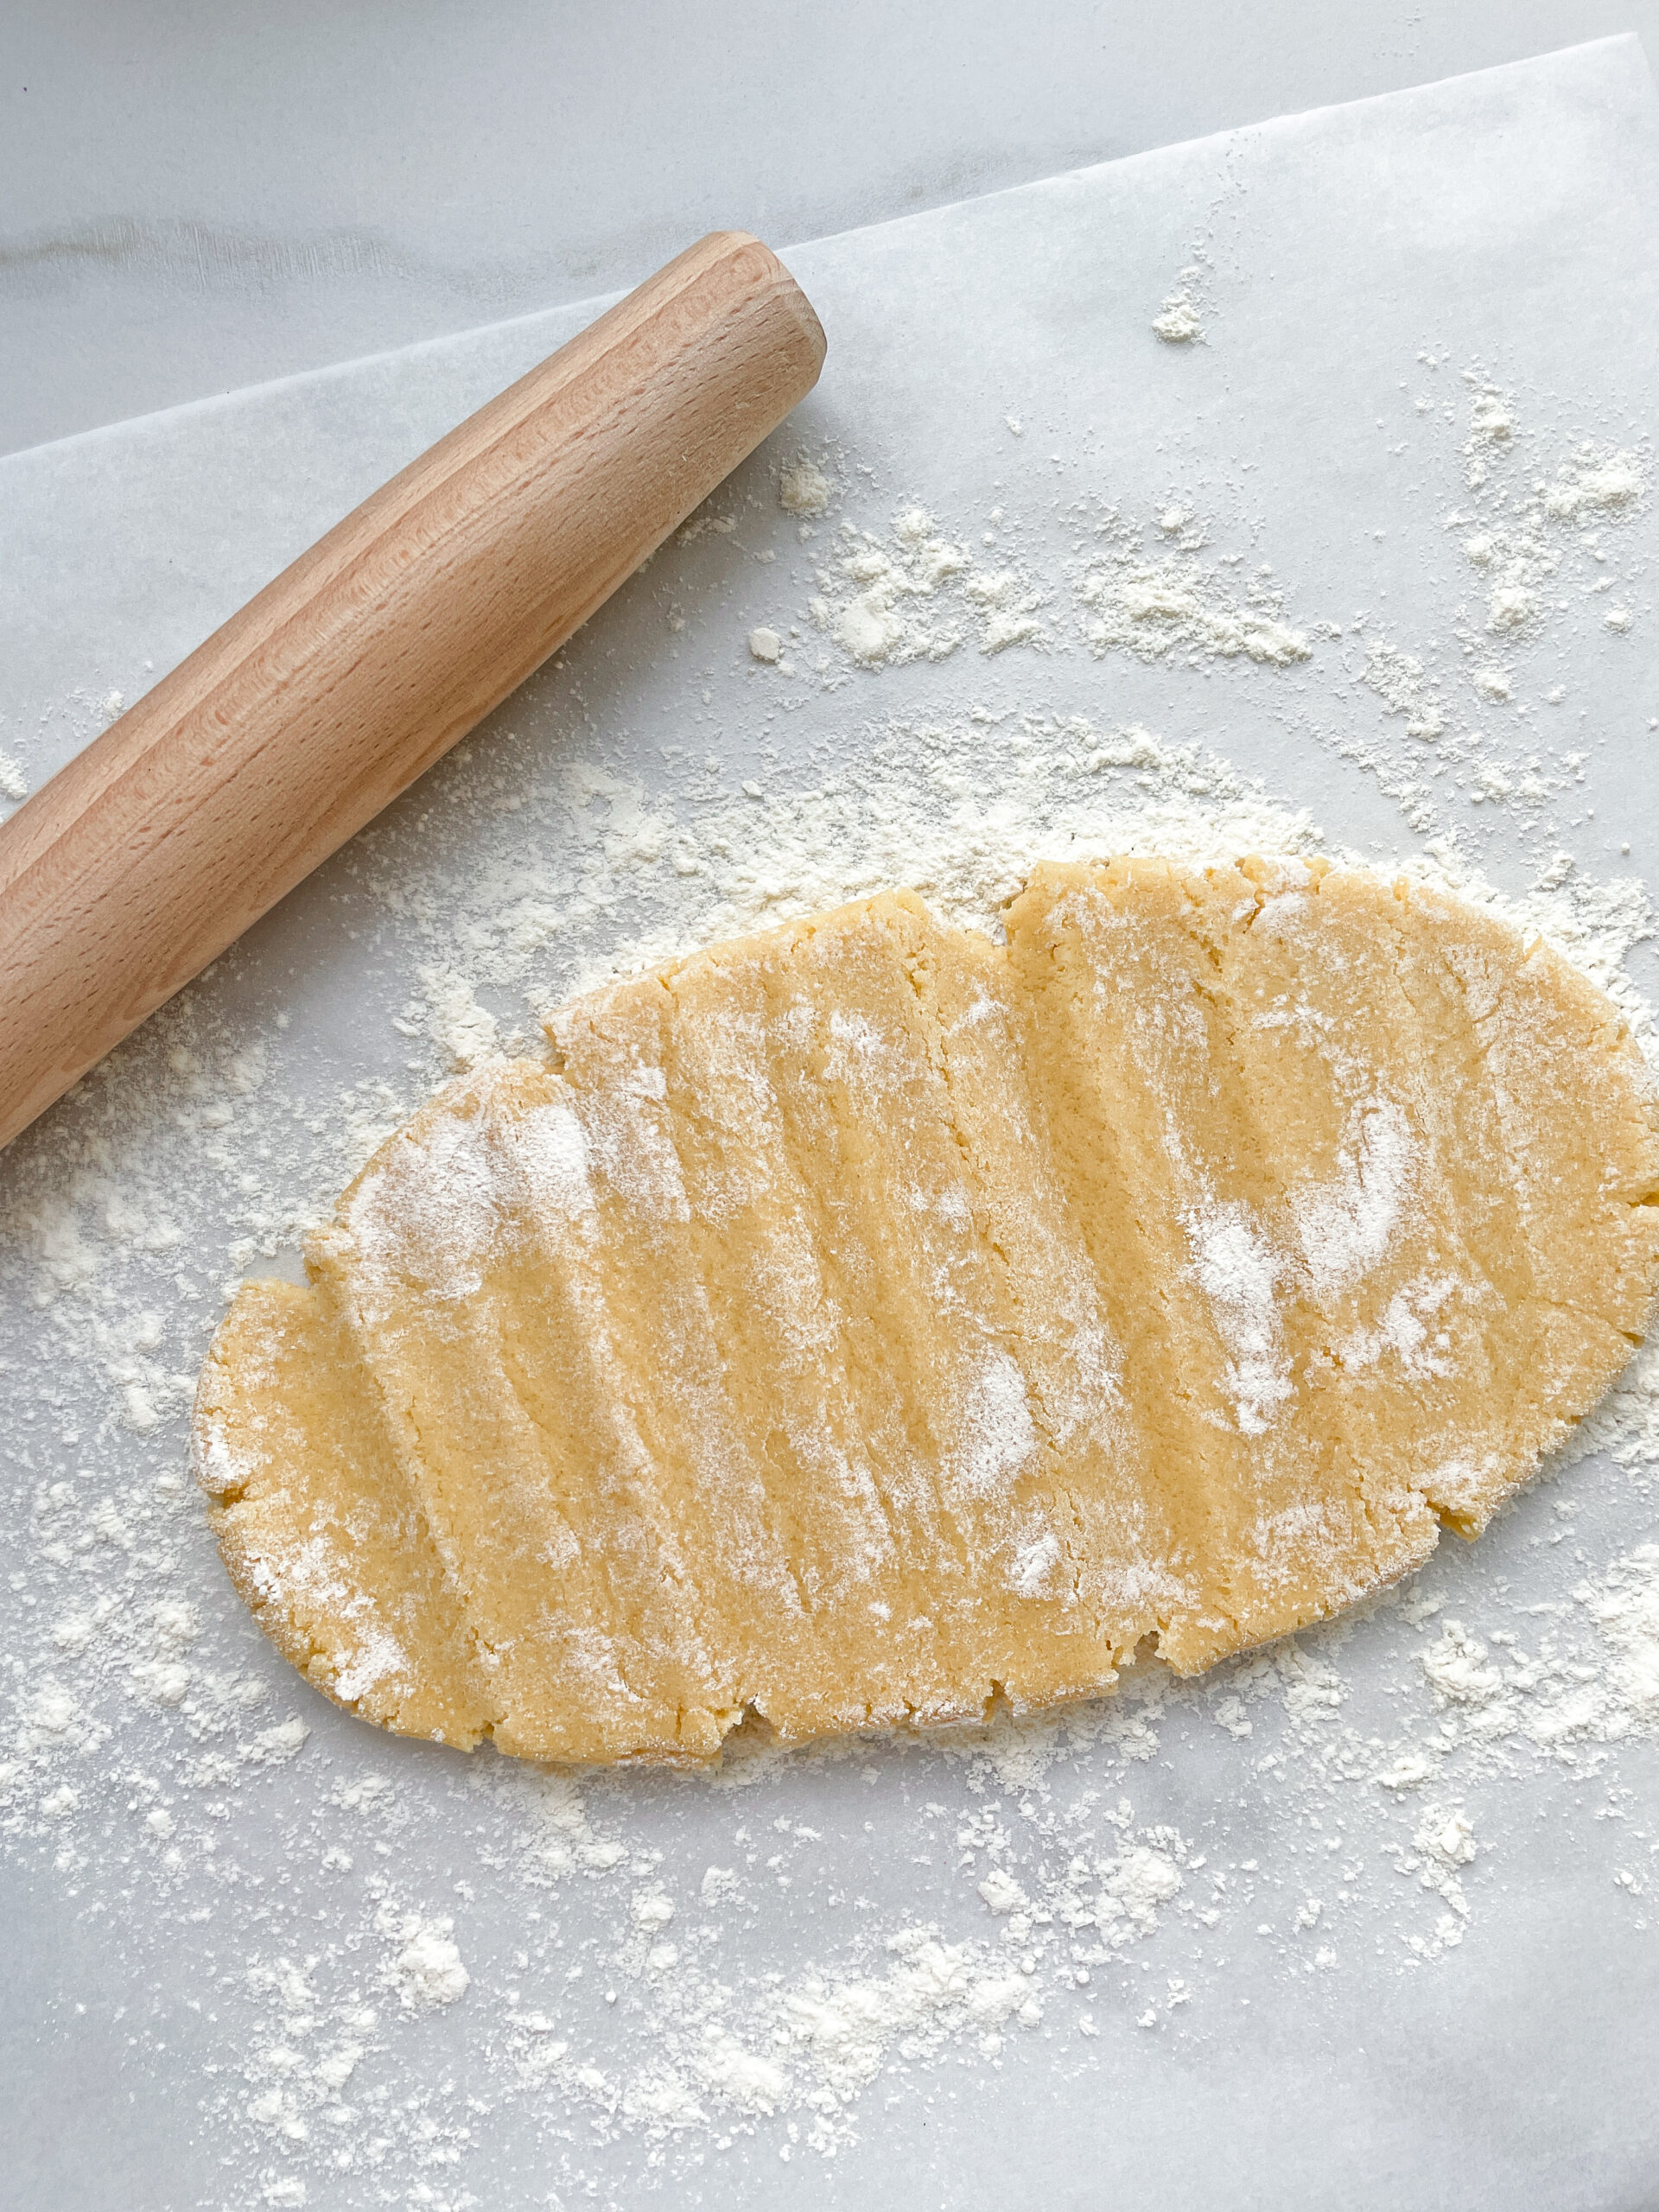
      2. After 30 minutes, preheat the oven to 200°C / 390°F and spread a layer of baking paper on a work surface. Sprinkle with a little flour and roll out the dough ball from the fridge to a size of about 31×24 cm (approximately 12×9 inches). Now place the baking paper with the dough on a baking tray and bake in the oven for around 12-13 minutes. The dough should be light in color when it comes out of the oven and at most slightly brown at the edges. Then remove the dough from the oven and leave to cool.
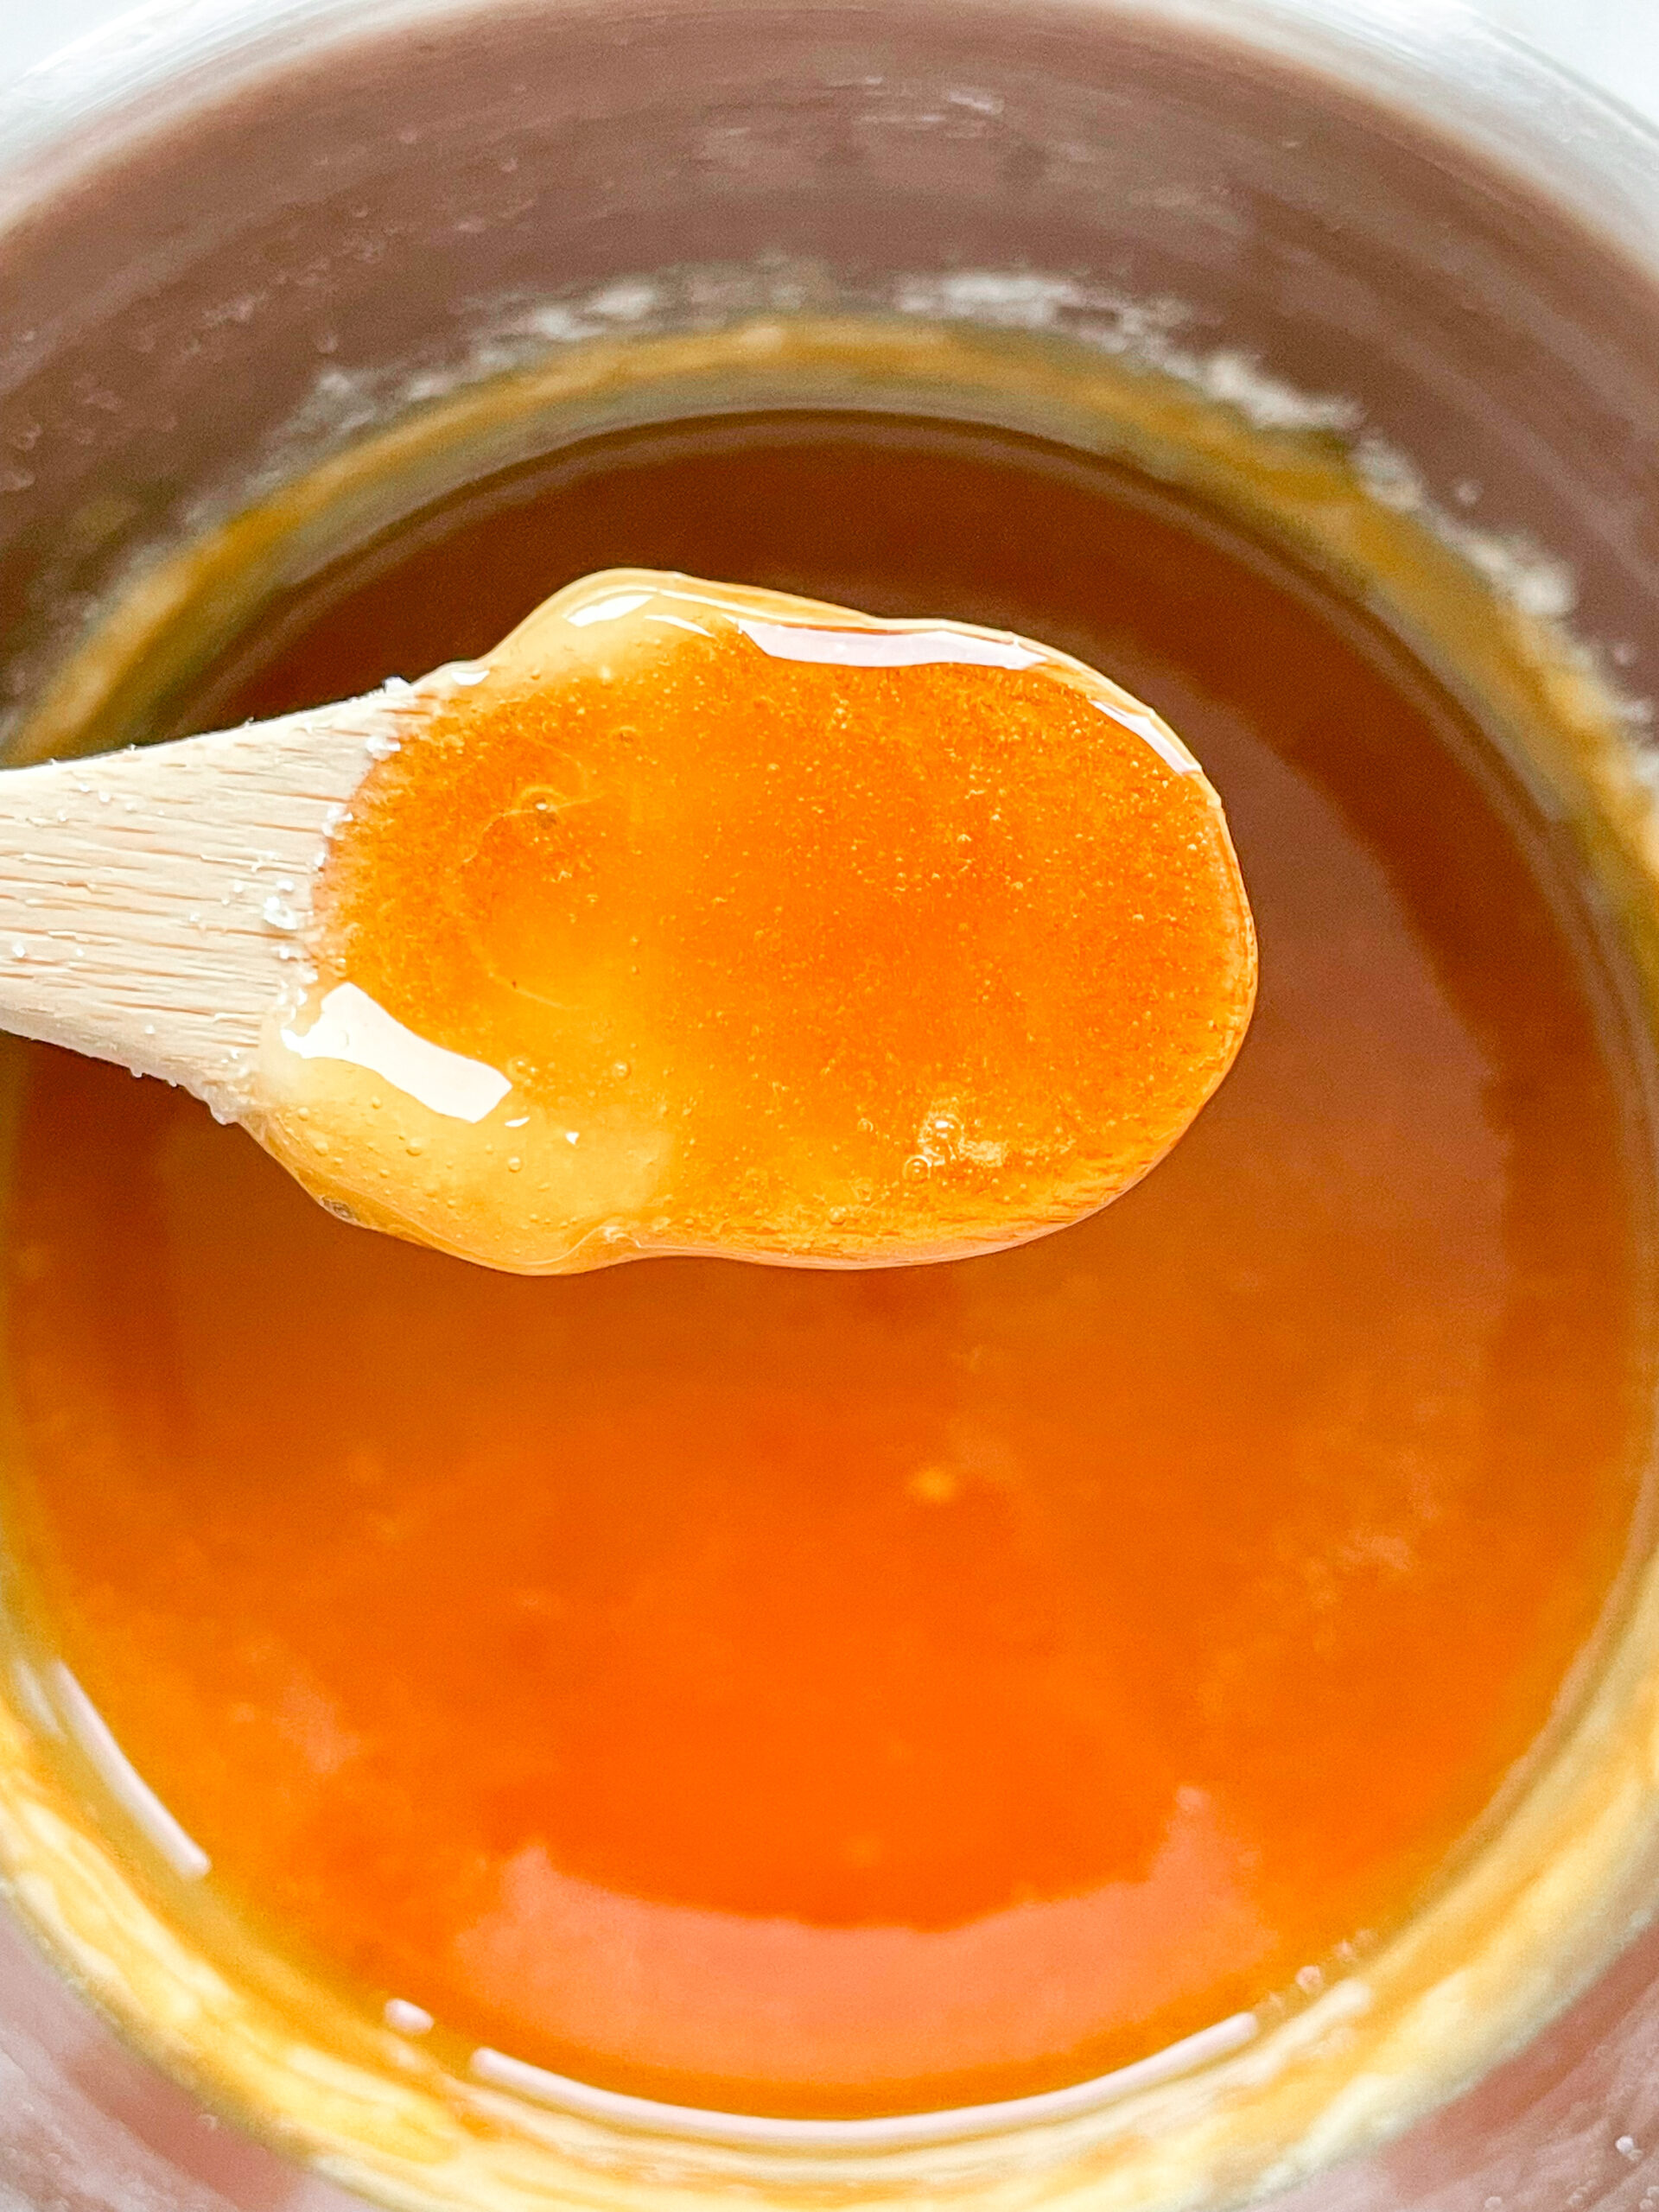
      3. Meanwhile make the caramel in a small pot. To do this, melt sugar over a low to medium heat, stirring constantly. As soon as the sugar has completely melted and turned amber, remove from the heat and stir in butter and heavy cream, one at a time. Don’t panic it’s normal that it gets bubbly just keep stirring, but be careful not to burn yourself. While stirring let it simmer for a minute or so on a low heat.
      4. Once the mixture has become a smooth caramel, stir in whole macadamia nuts and peanuts. Now quickly spread the nut-caramel mixture evenly over the cooled dough and press lightly onto the dough so that the caramel and the dough can combine, and leave to stand for around 45-60 minutes so that the caramel can harden.
      5. In the meantime, place the chocolate and coconut oil in a small heatproof glass or stainless steel bowl and fill the pot in which you prepared the caramel with water and bring to the boil over a medium heat on the stove. This not only makes it very easy to remove the caramel residue but also melts the chocolate for the next step. Do not pour the water away, but hang the bowl with the chocolate in the pot. But it shouldn’t touch the water. White chocolate is a little diva and only needs the steam to melt. Leave it to stand for approx. 10-15 minutes. Stir the chocolate from time to time and make sure no water gets in the bowl.
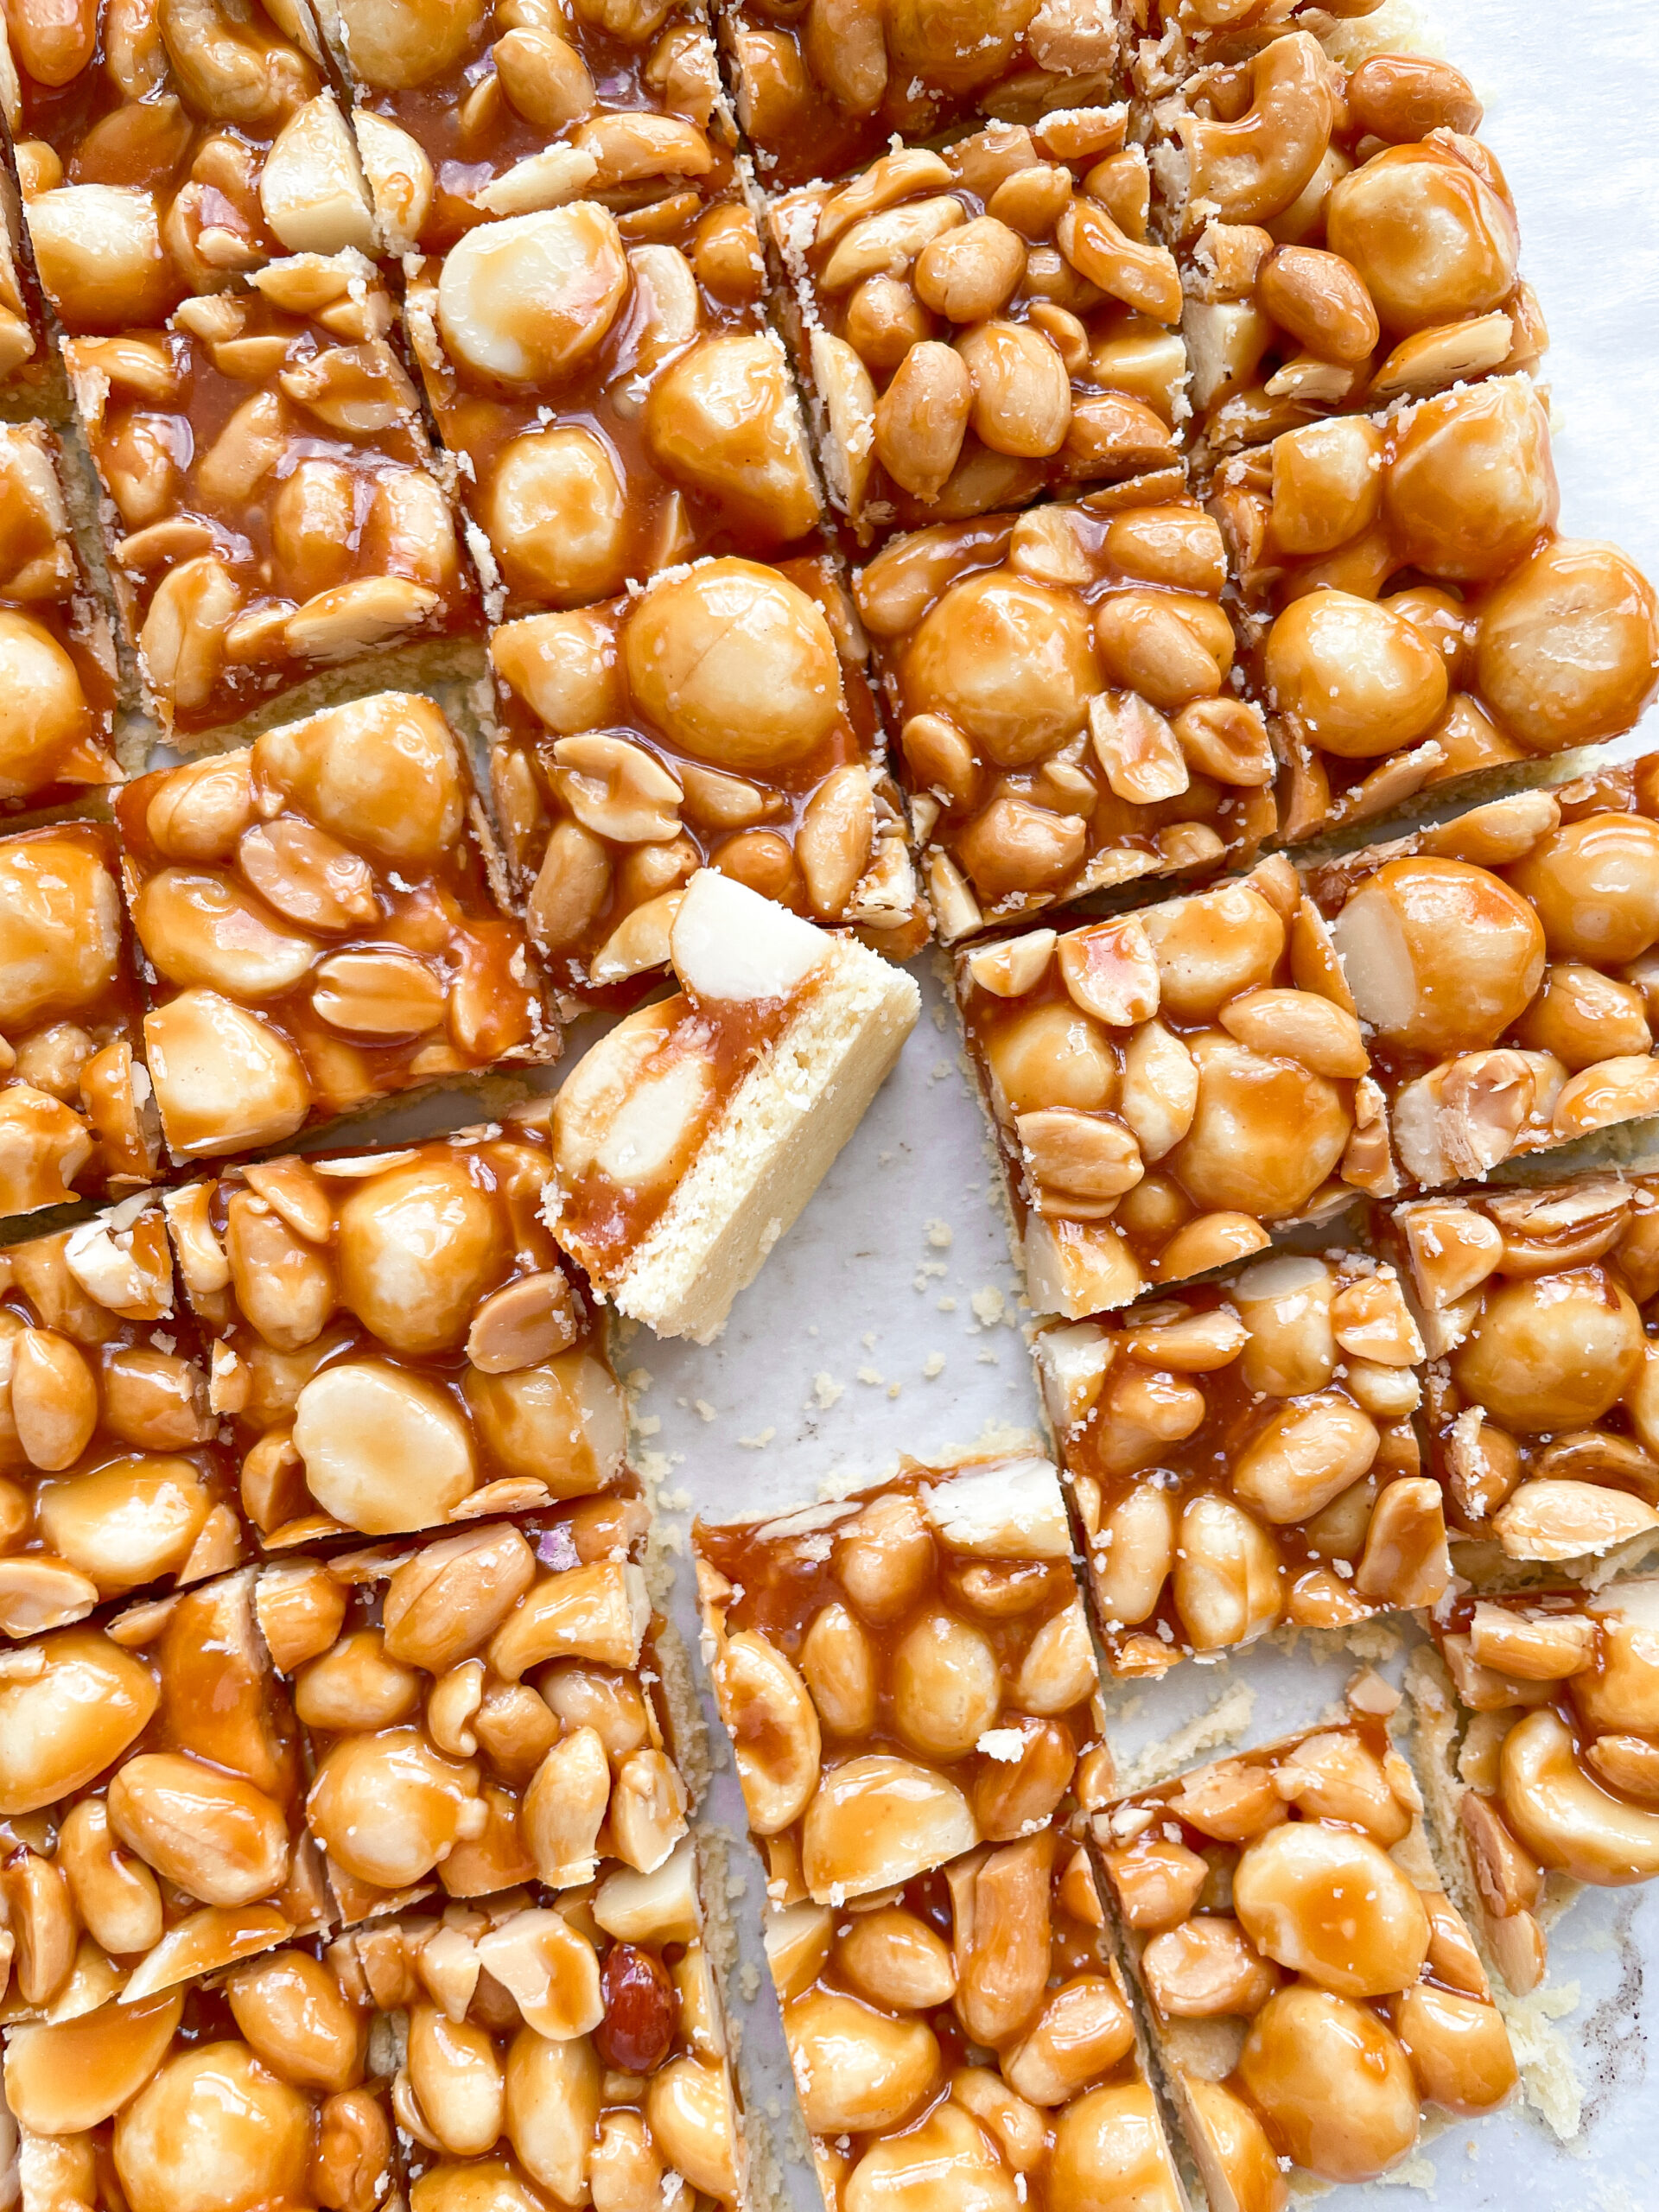
      6. As soon as the caramel hardened, use a sharp knife to cut the nut caramel sheet as desired. I opted for squares. Now hold the squares by the nut-caramel layer and dip them with the dough layer into the melted chocolate and allow to drip off well. Leave the squares to dry on the nut-caramel layer. For quicker drying, place the squares in the fridge.
      7. Enjoy 🙂
      • Prep Time: 5 min
      • Passive Time: 40 min
      • Cook Time: 60 min
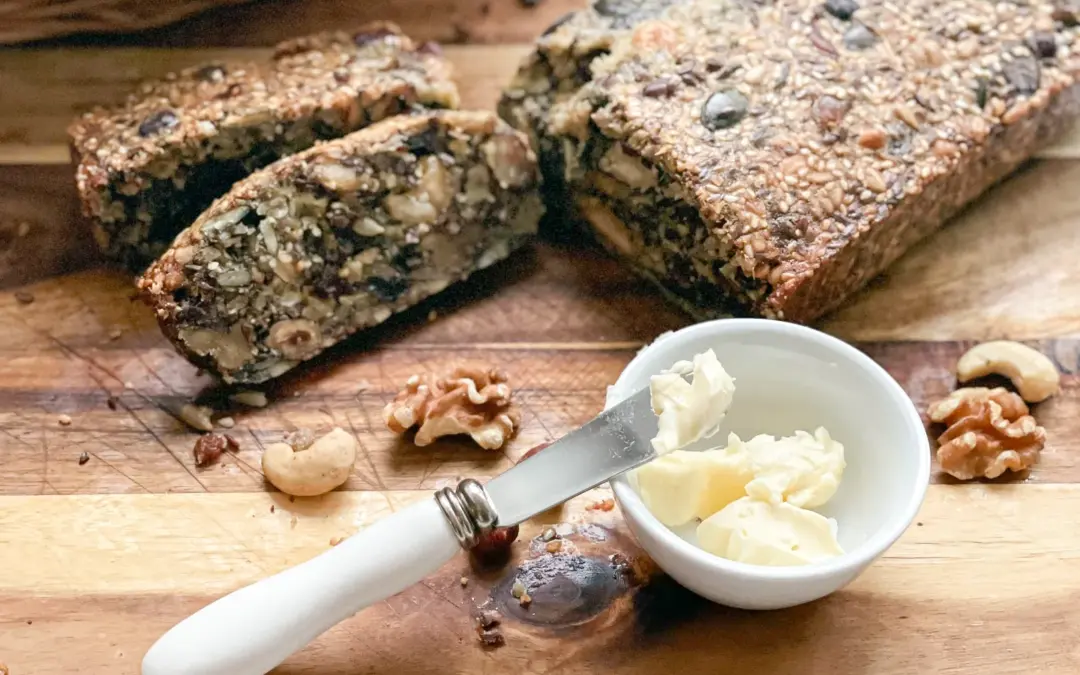
      Gluten-Free Bread From Nuts & Seeds

      Gluten-Free Bread From Nuts & Seeds

      Gluten-Free Bread From Nuts & Seeds

      Gluten-Free Bread From Nuts & Seeds

      November 20, 2023 by Kimberly

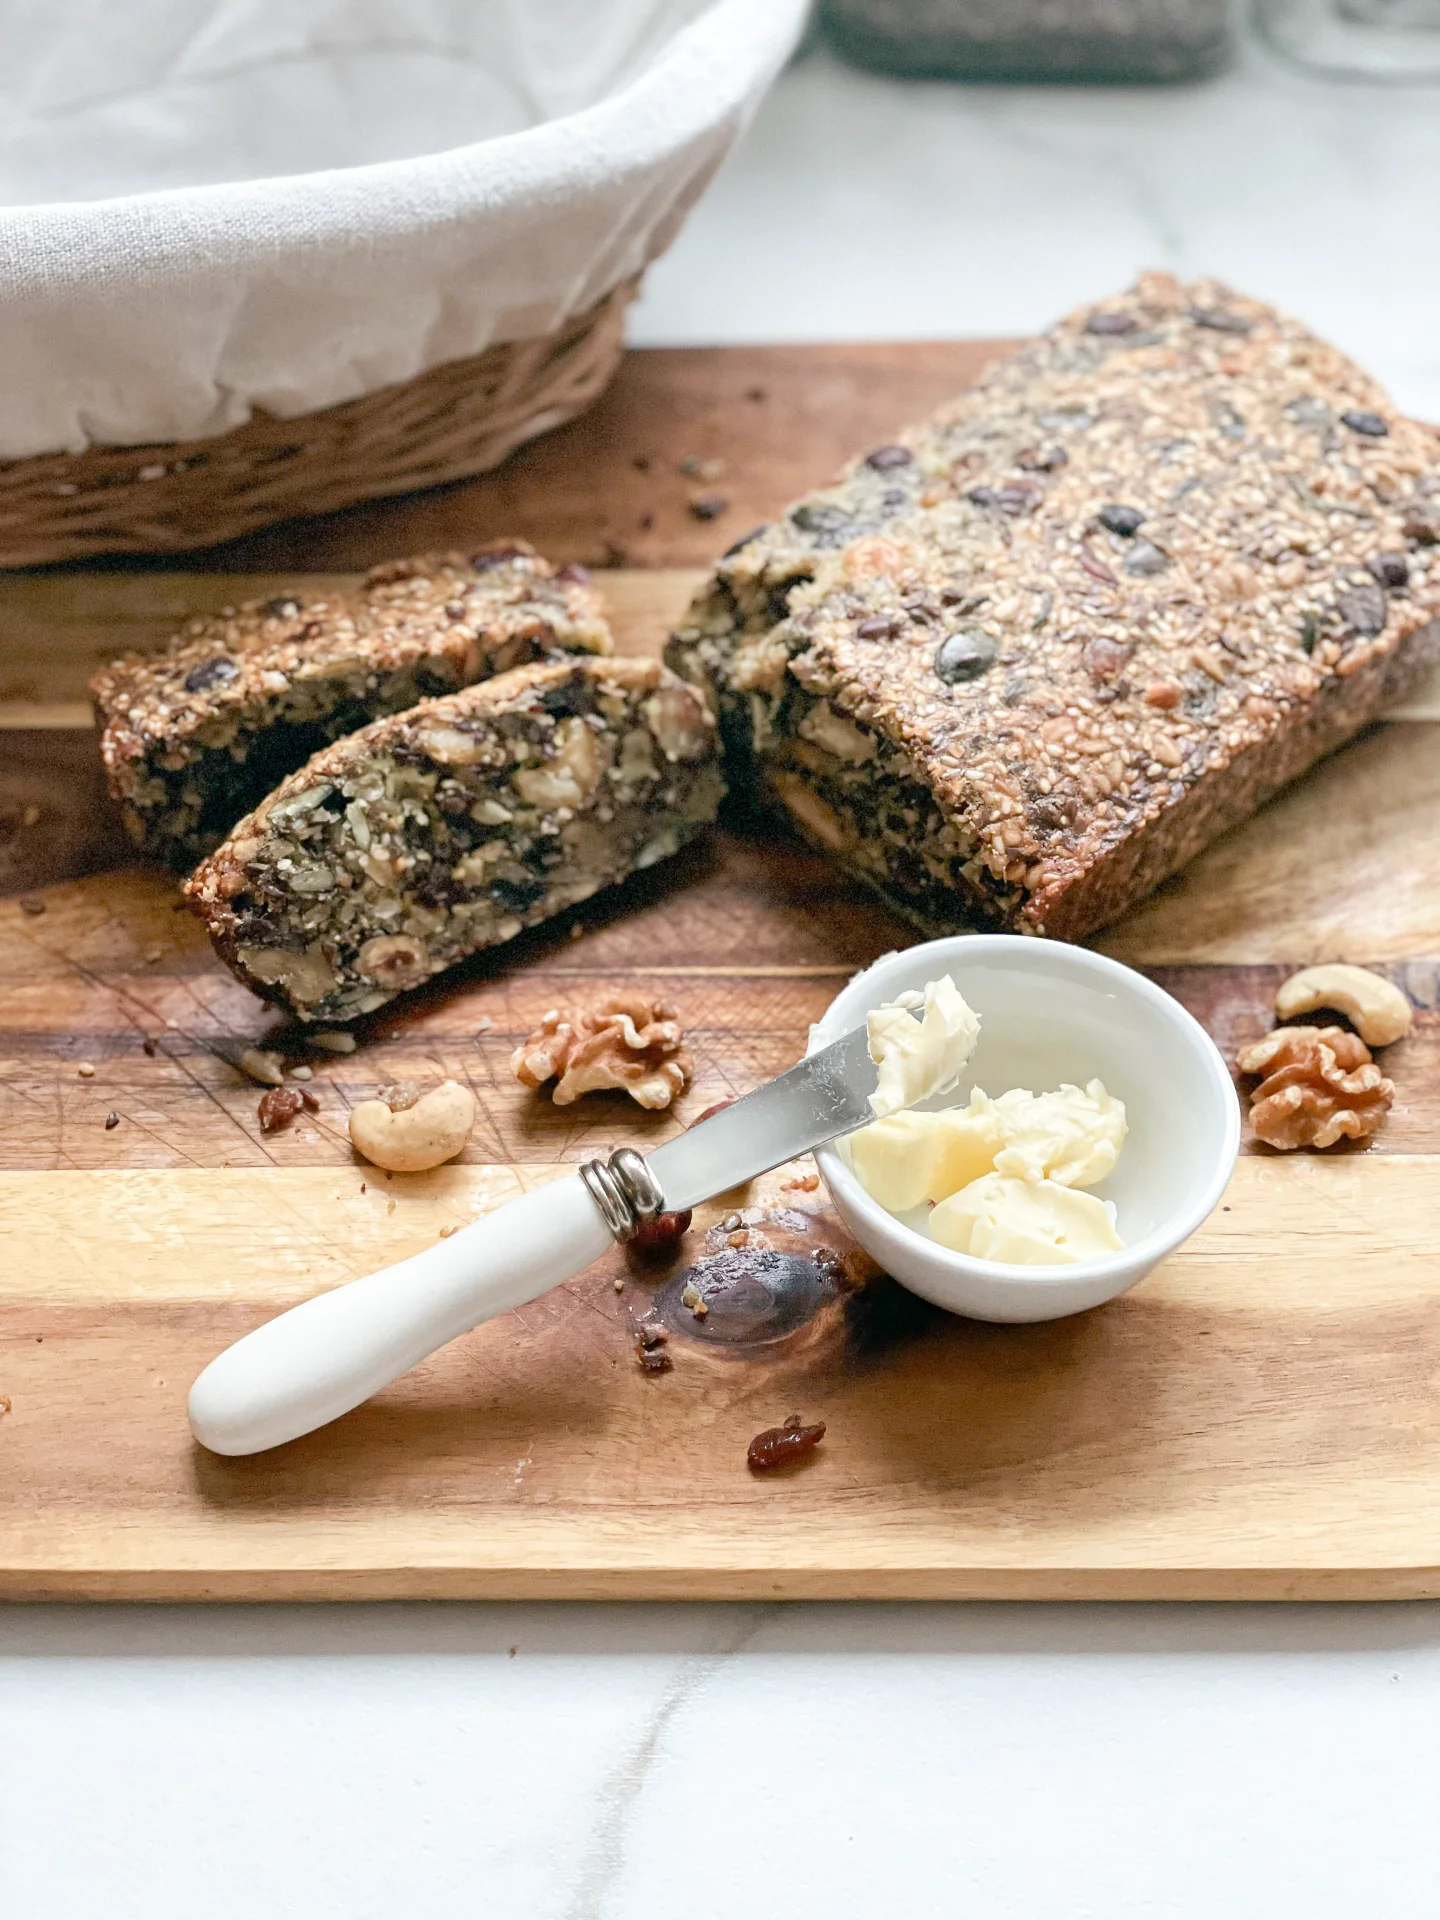
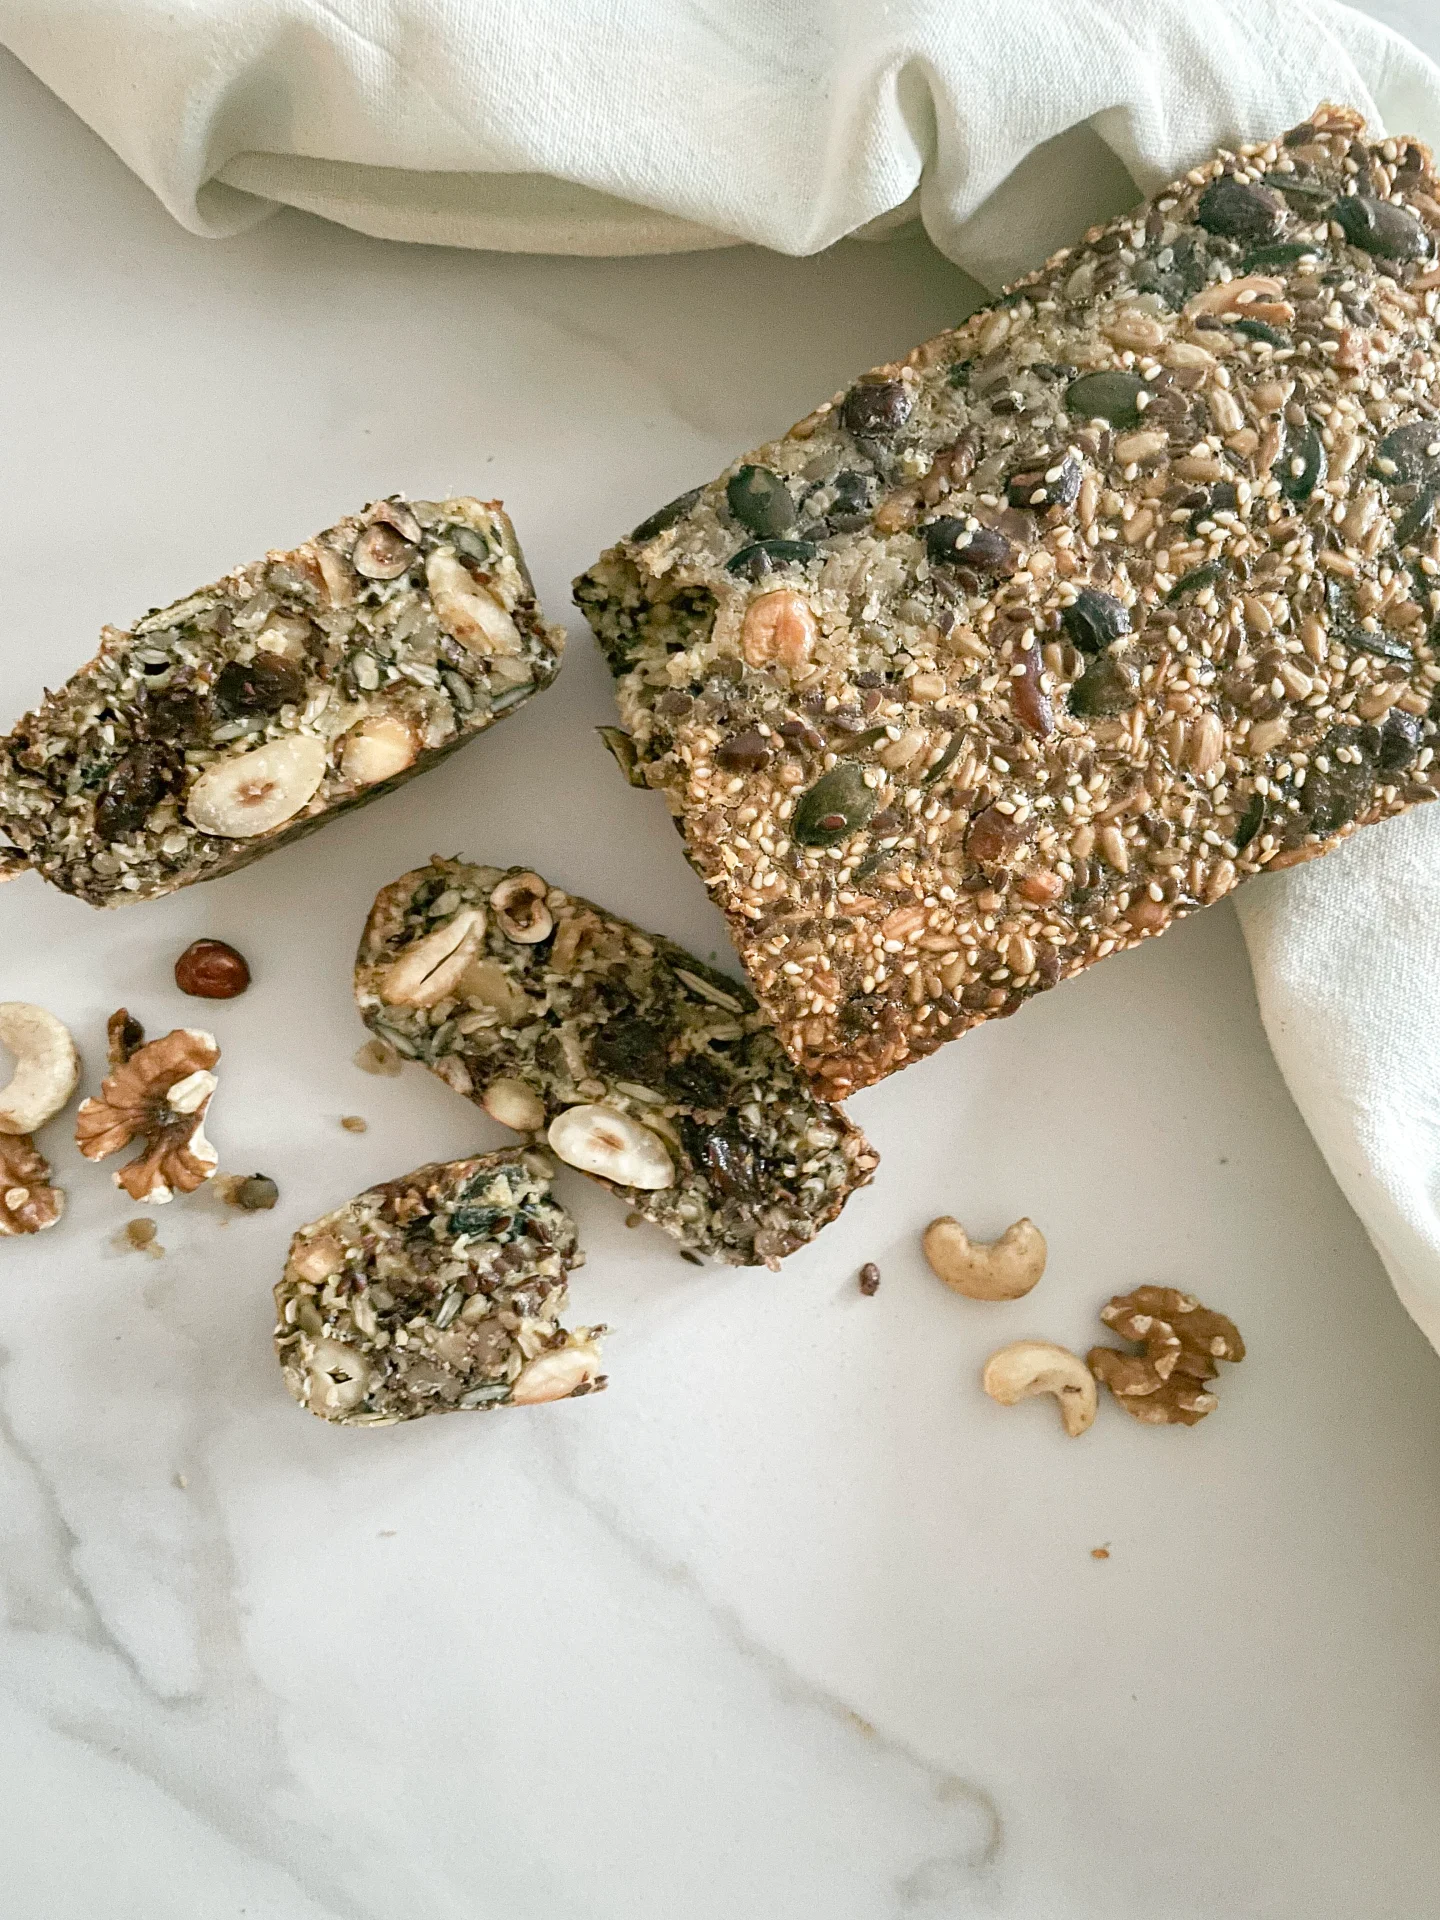
      Enjoy a nutty, seedy bread made with just nuts, seeds, salt, oil, and eggs. Each bite is rich and hearty, providing a delicious and wholesome flavor experience. And I promise: you can’t taste the egg at all!

      70 MINUTES

      EASY

      VEGETARIAN

      INT.

      225 PER SLICE

      NUTTY

      EVERYDAY

      BREAD

      ALL YEAR

      INTRODUCTION

      ABOUT THE RECIPE

      Experience a nutritious bread crafted solely from nuts, seeds, salt, oil, and eggs. This wholesome blend delivers a rich and hearty flavor, providing a satisfying, protein-packed option for those seeking a gluten-free and flavorful bread. Simple yet nutritious, it ensures a fulfilling treat without compromising on taste. And the best is: you can’t taste the egg at all!

      How to serve:
      Enjoy this nutritious bread in different ways! Toast it with simple butter for breakfast or pair it with cheese and fruits for a tasty snack. The rich, nutty flavor also goes well with soups and salads, adding a satisfying crunch. Whether on its own or part of a snack spread, this bread suits everyone’s taste, making it a yummy addition to any meal.

      How to store:
      Store this nutritious bread in a bread box, preferably wrapped in parchment paper to prevent moisture buildup. For extended freshness, freeze it in slices with parchment paper between layers. Thaw in the refrigerator and toast for a delicious experience whenever you’re ready to enjoy.

      Hi, I'm Kimberly!

      Hi, I'm Kimberly.

      A passionate food lover who believes in the magic of homemade deliciousness that spreads love and warmth. Join me on this culinary adventure as I prepare wonderful dishes and let’s spread some happiness together!

      Kimberly the Zett Signature

      If you want to get to know me better, click here!


      Gluten-Free Bread From Nuts & Seeds
      Gluten-Free Bread From Nuts & Seeds
      Gluten-Free Bread From Nuts & Seeds

      „Let’s make a piece of happiness“

      INGREDIENTS

      FOR 18 SLICES

      BATTER

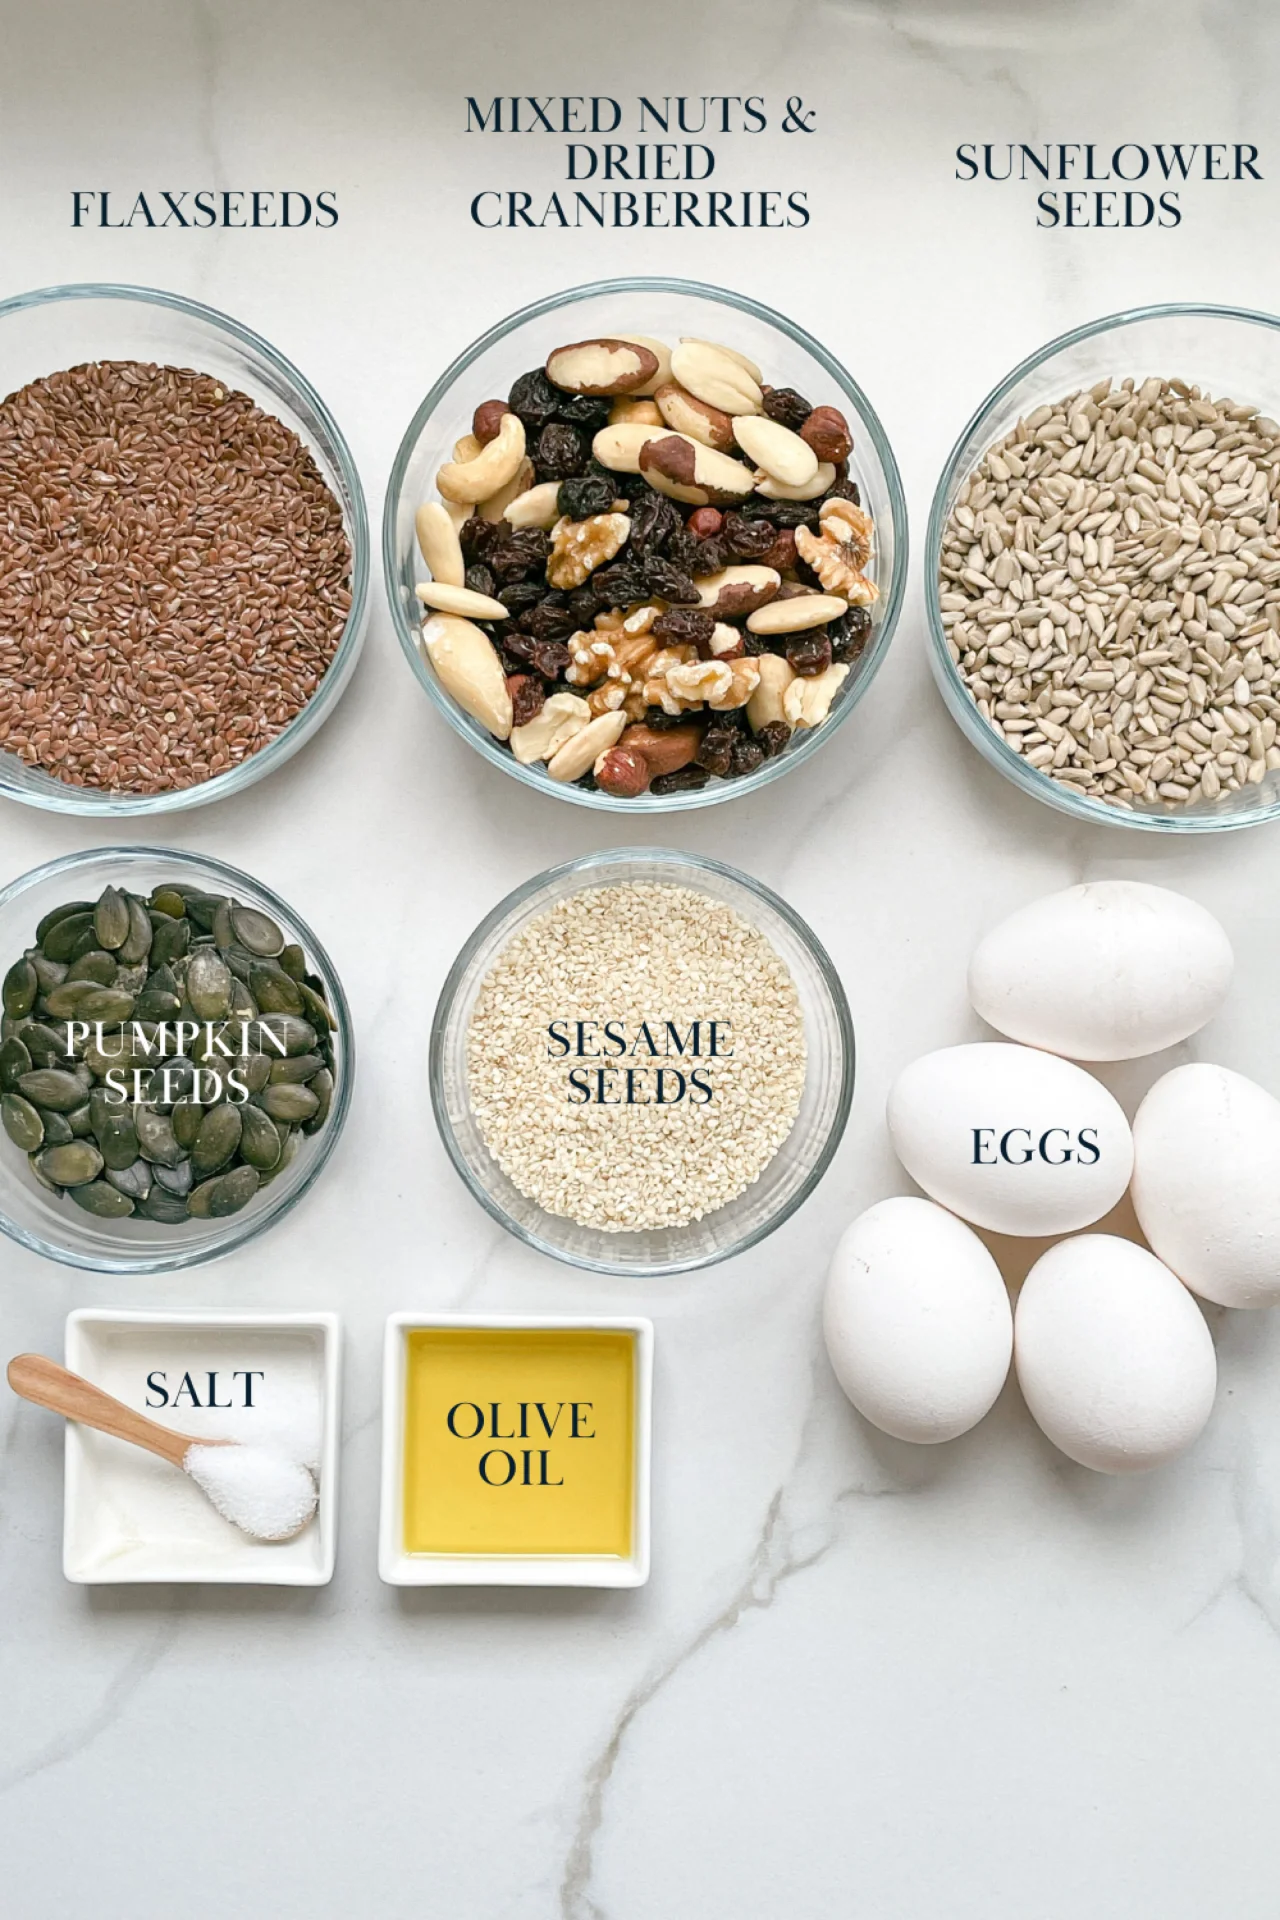
      • 5 eggs
      • 1/2 tsp salt
      • 50ml olive oil (10 tsp)
      • 100g flaxseeds (1/2 cup + 2 tbsp)
      • 200g mixes nuts (1 cup + 1/3 cup)
      • 100g sunflower seeds (1/2 cup + 1/4 cup)
      • 50g pumpkin seeds (1/4 cup)
      • 50g white sesame (1/3 cup + 2 tsp)
      Gluten-Free Bread From Nuts & Seeds
      }

      ACTIVE: 2 min

      PASSIVE: 0 min

      PREPARATIONS

      Recommended Equipment
      • medium sized bowl
      • ovenproof dish – I used a loaf pan 25x10cm (10×4 inch)
      • Preheat the oven to 160°C (320°F).
      • Line the loaf tin with baking paper.
      }

      ACTIVE: 5 min

      PASSIVE: 60 min

      COOKING

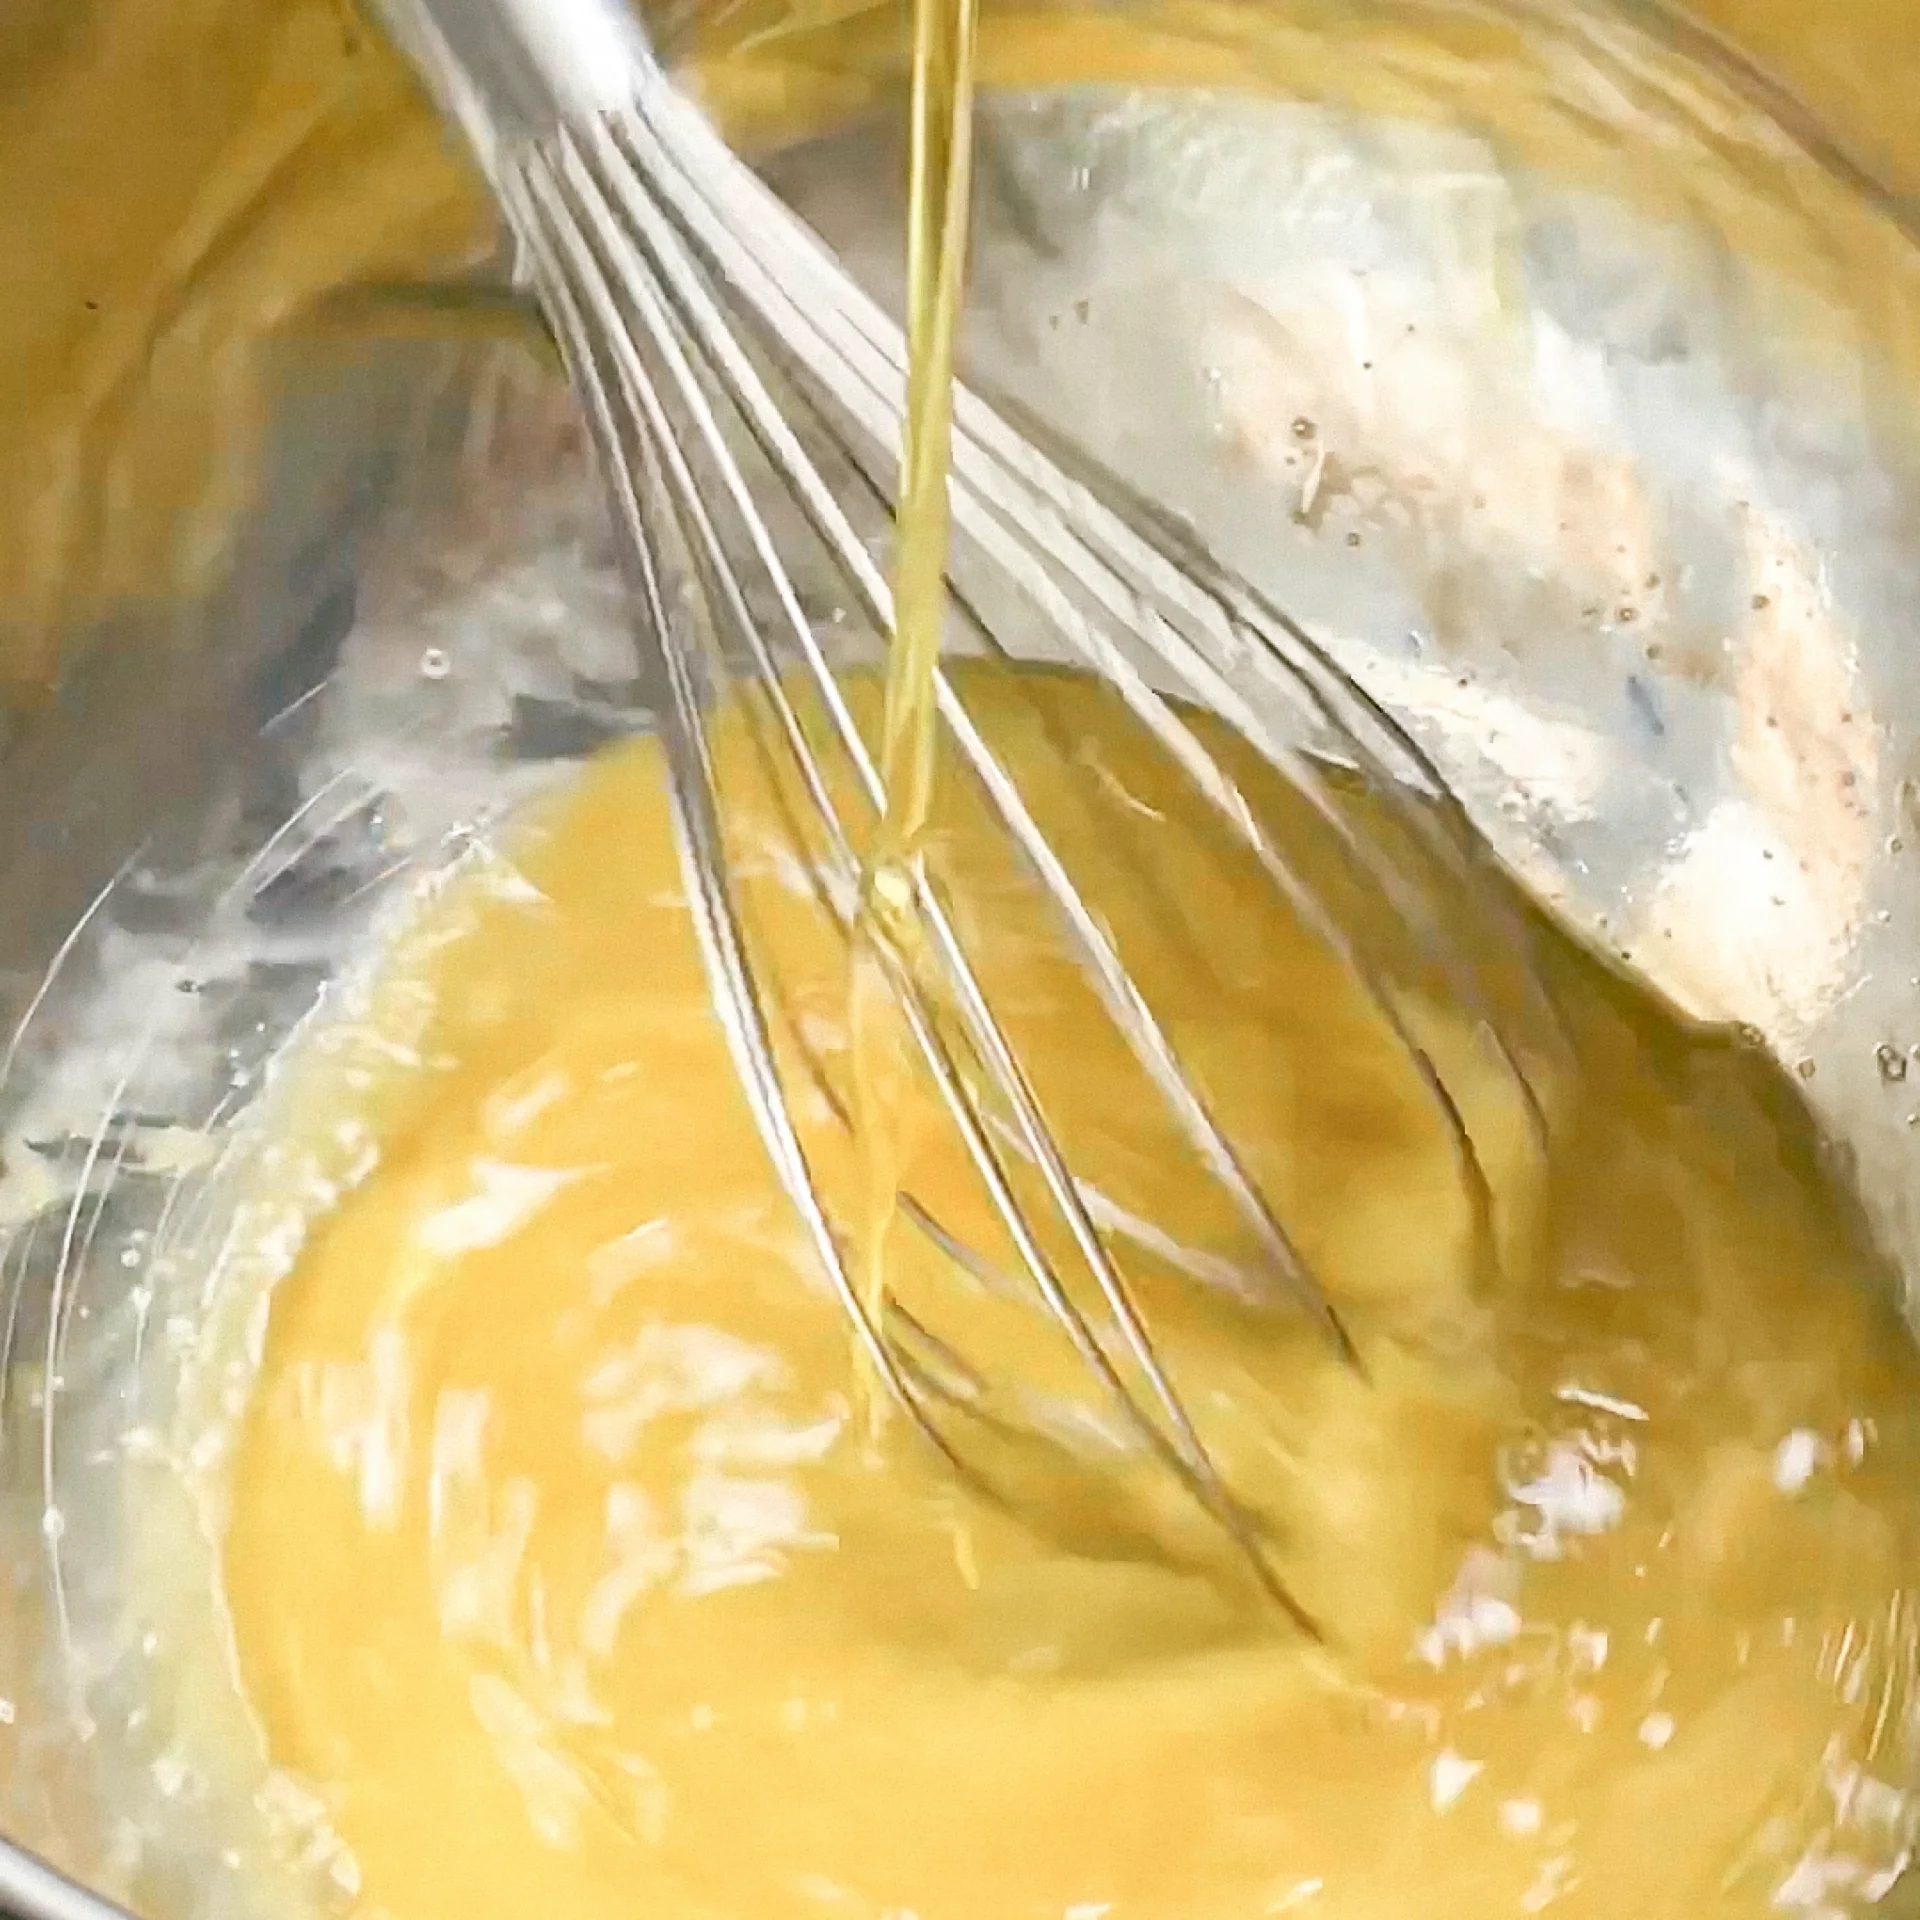
      1. Whisk the 5 eggs with 1/2 tsp salt in a bowl. Meanwhile, add the 50ml (10 tsp) olive oil and mix well.

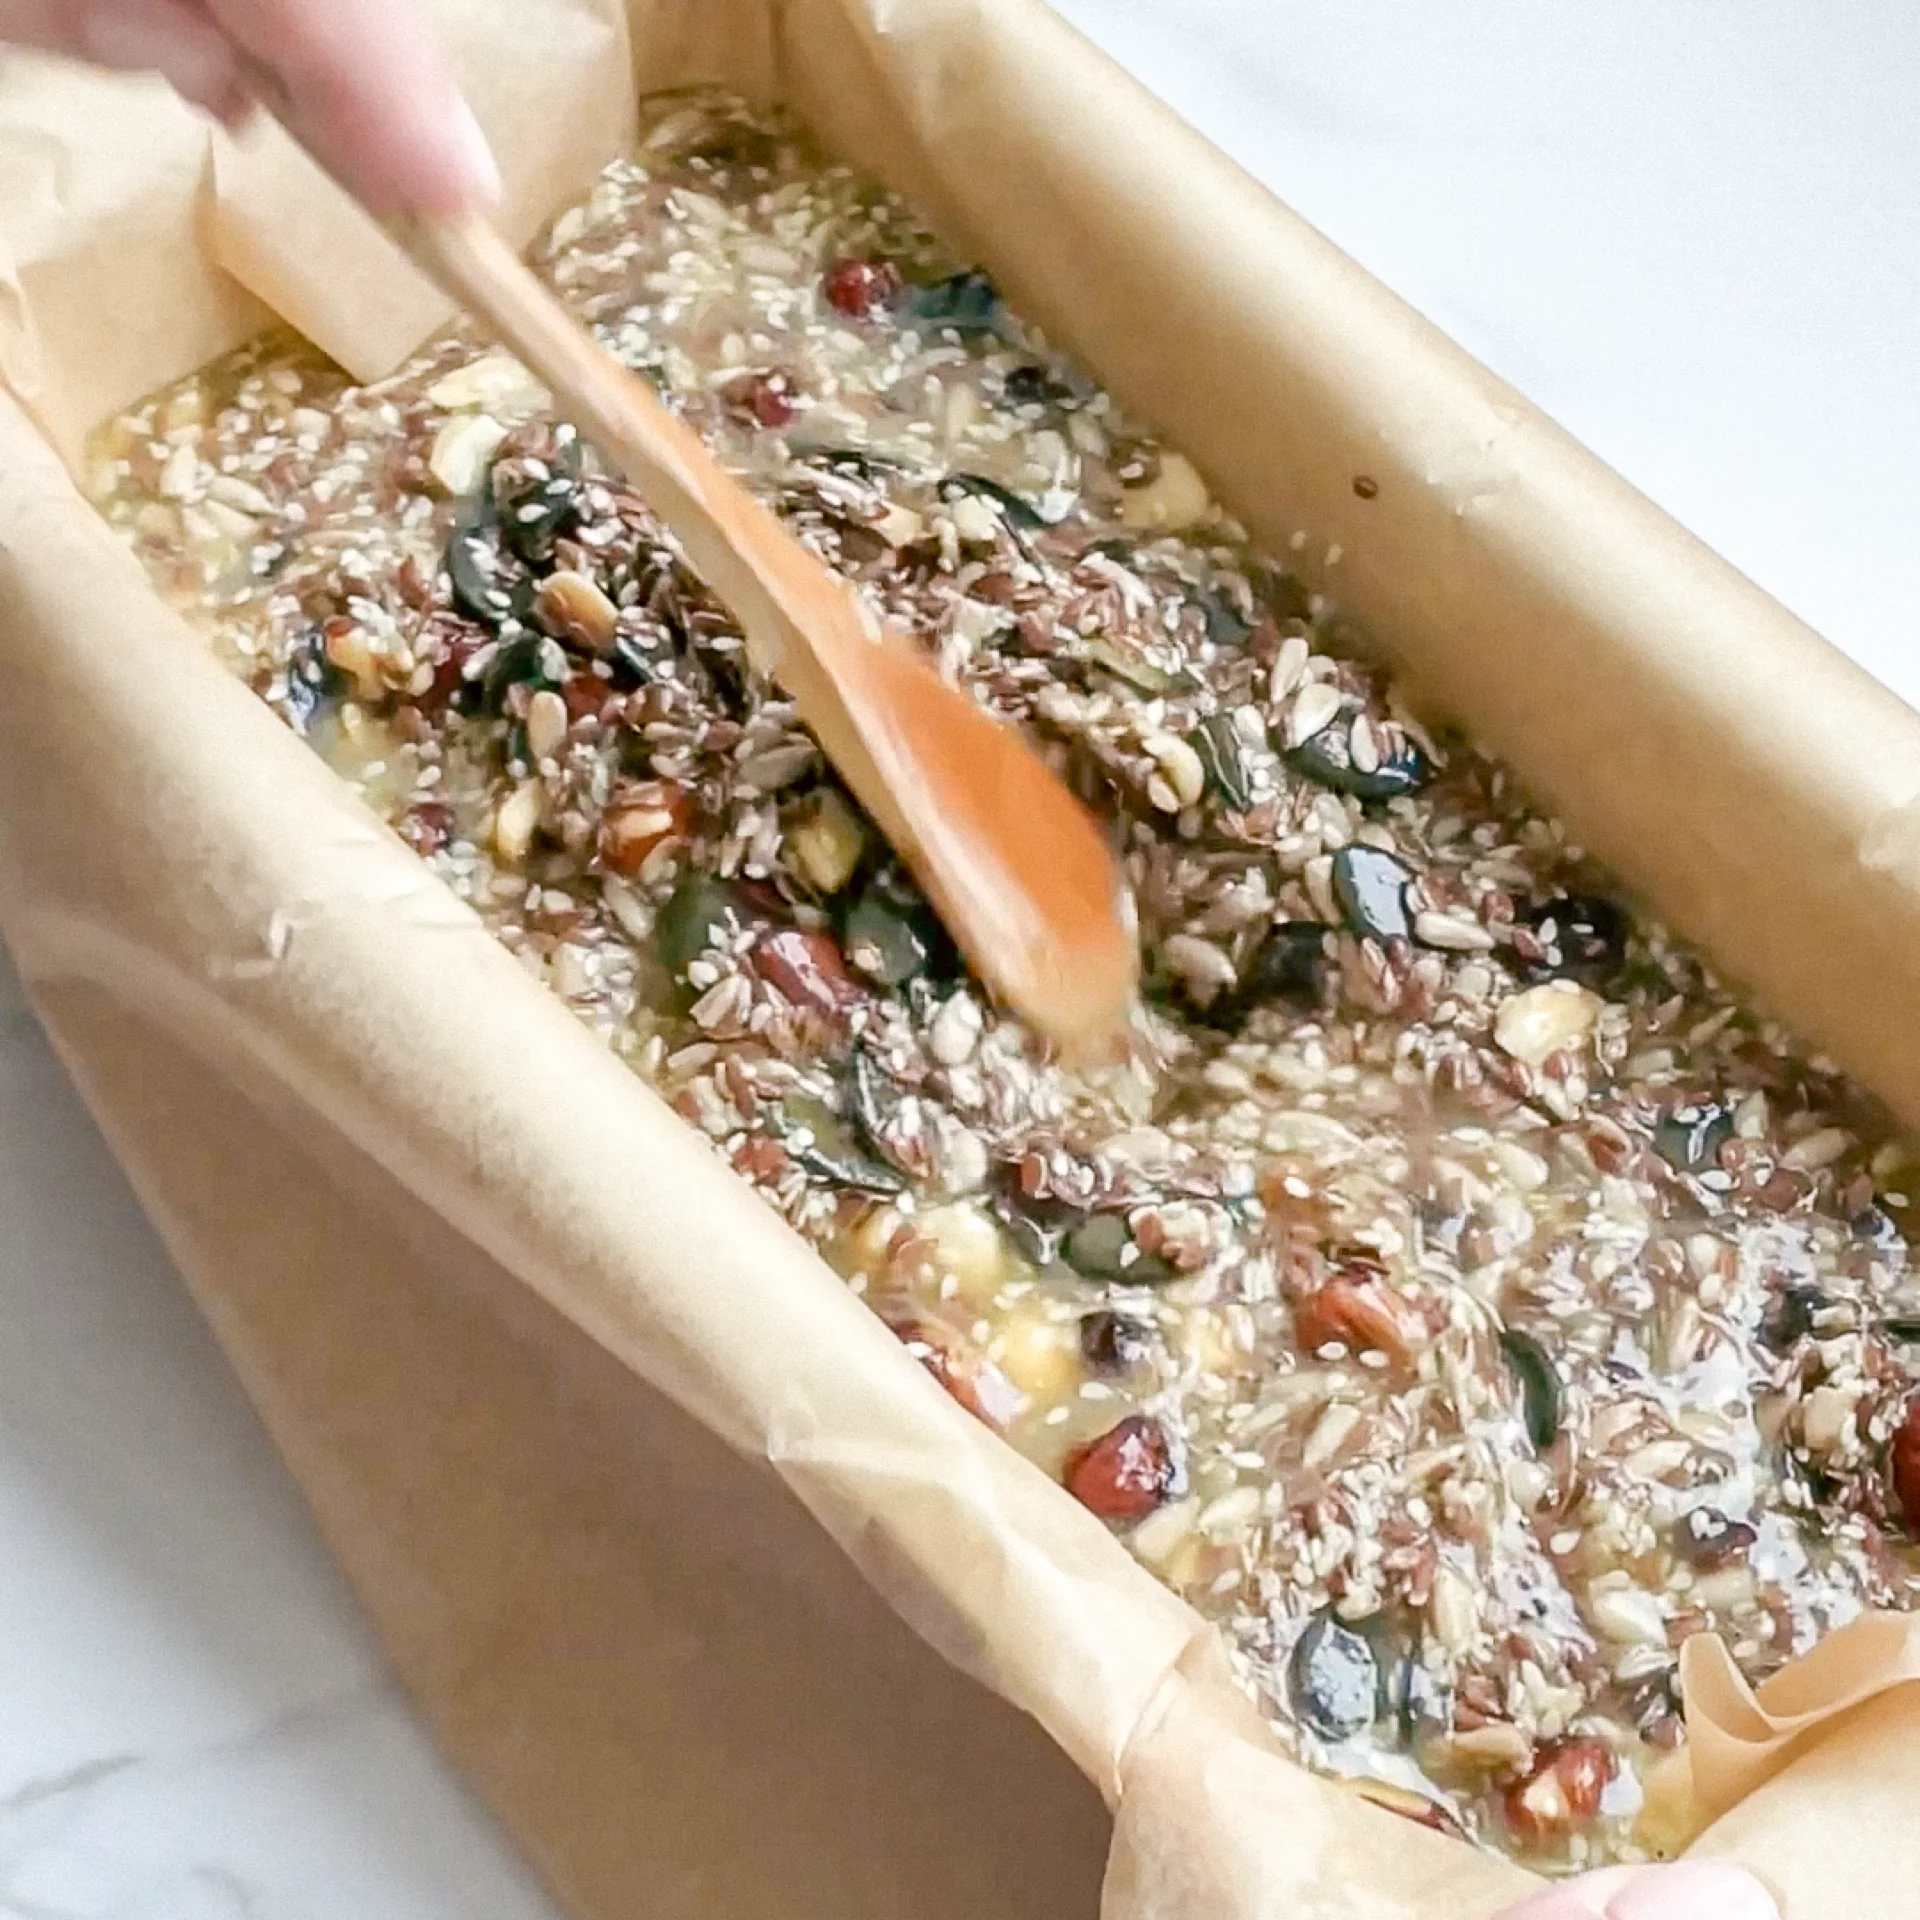
      2. Pour 100g (1/2 cup + 2 tbsp) flaxseeds , 200g (1 cup + 1/3 cup) mixed nuts, 100g (1/2 cup + 1/4 cup) sunflower seeds, 50g (1/4 cup) pumpkin seeds and 50g (1/3 cup + 2 tsp) white sesame seeds into the bowl with the egg mixture and mix everything together.

      3. Pour the entire mixture onto the baking paper in the loaf tin and spread evenly.

      4. Bake in the oven on the middle shelf for 60 minutes. The bread can be eaten warm, but make sure that the slices are not cut too thinly. Once the bread has cooled, thin slices can also be cut.

      NOTE: The calorie information may vary depending on the product used, country and region.