


Description
GOOD TO HAVE ON HAND
- small bowl
- grater
- medium-sized bowl
- sharp knife
- cutting board
- tall container
- immersion blender (or food processor)
- large skillet
- oven (or toaster)
Ingredients
Units Scale
- 500 grams salmon filet
- 4 flatbreads
- 1 tbsp olive oil
- 1/4 tsp smoked paprika
- 1/4 tsp salt
- 1/4 tsp garlic powder
- 1/4 tsp oregano
- 1/8 tsp grounded pepper
- 1/8 tsp chili flakes
- 200 grams red cabbage
- 1/2 cucumber
- 1 tbsp lemon juice
- 1 tbsp olive oil
- salt & pepper to taste
- 20 grams cilantro
- 2 tbsp lime juice
- 2 tbsp olive oil
- 100 grams yogurt
- 2 tbsp cold water
- 1/2 avocado
- 2 garlic cloves
- salt & pepper to taste
Instructions
- In a small bowl, mix 1 tablespoon of olive oil with 1/4 teaspoon each of smoked paprika, salt, garlic powder, dried oregano, and 1/8 teaspoon each of ground pepper and chili powder into a paste. Spread this paste over the salmon fillet and rub it in well. Refrigerate the salmon until further use.
- For the coleslaw, finely shred the red cabbage and place it in a medium-sized bowl. Quarter the cucumber, slice it, and add to the cabbage. Add olive oil, lime juice, salt, and pepper to the bowl, mix well, and set aside.
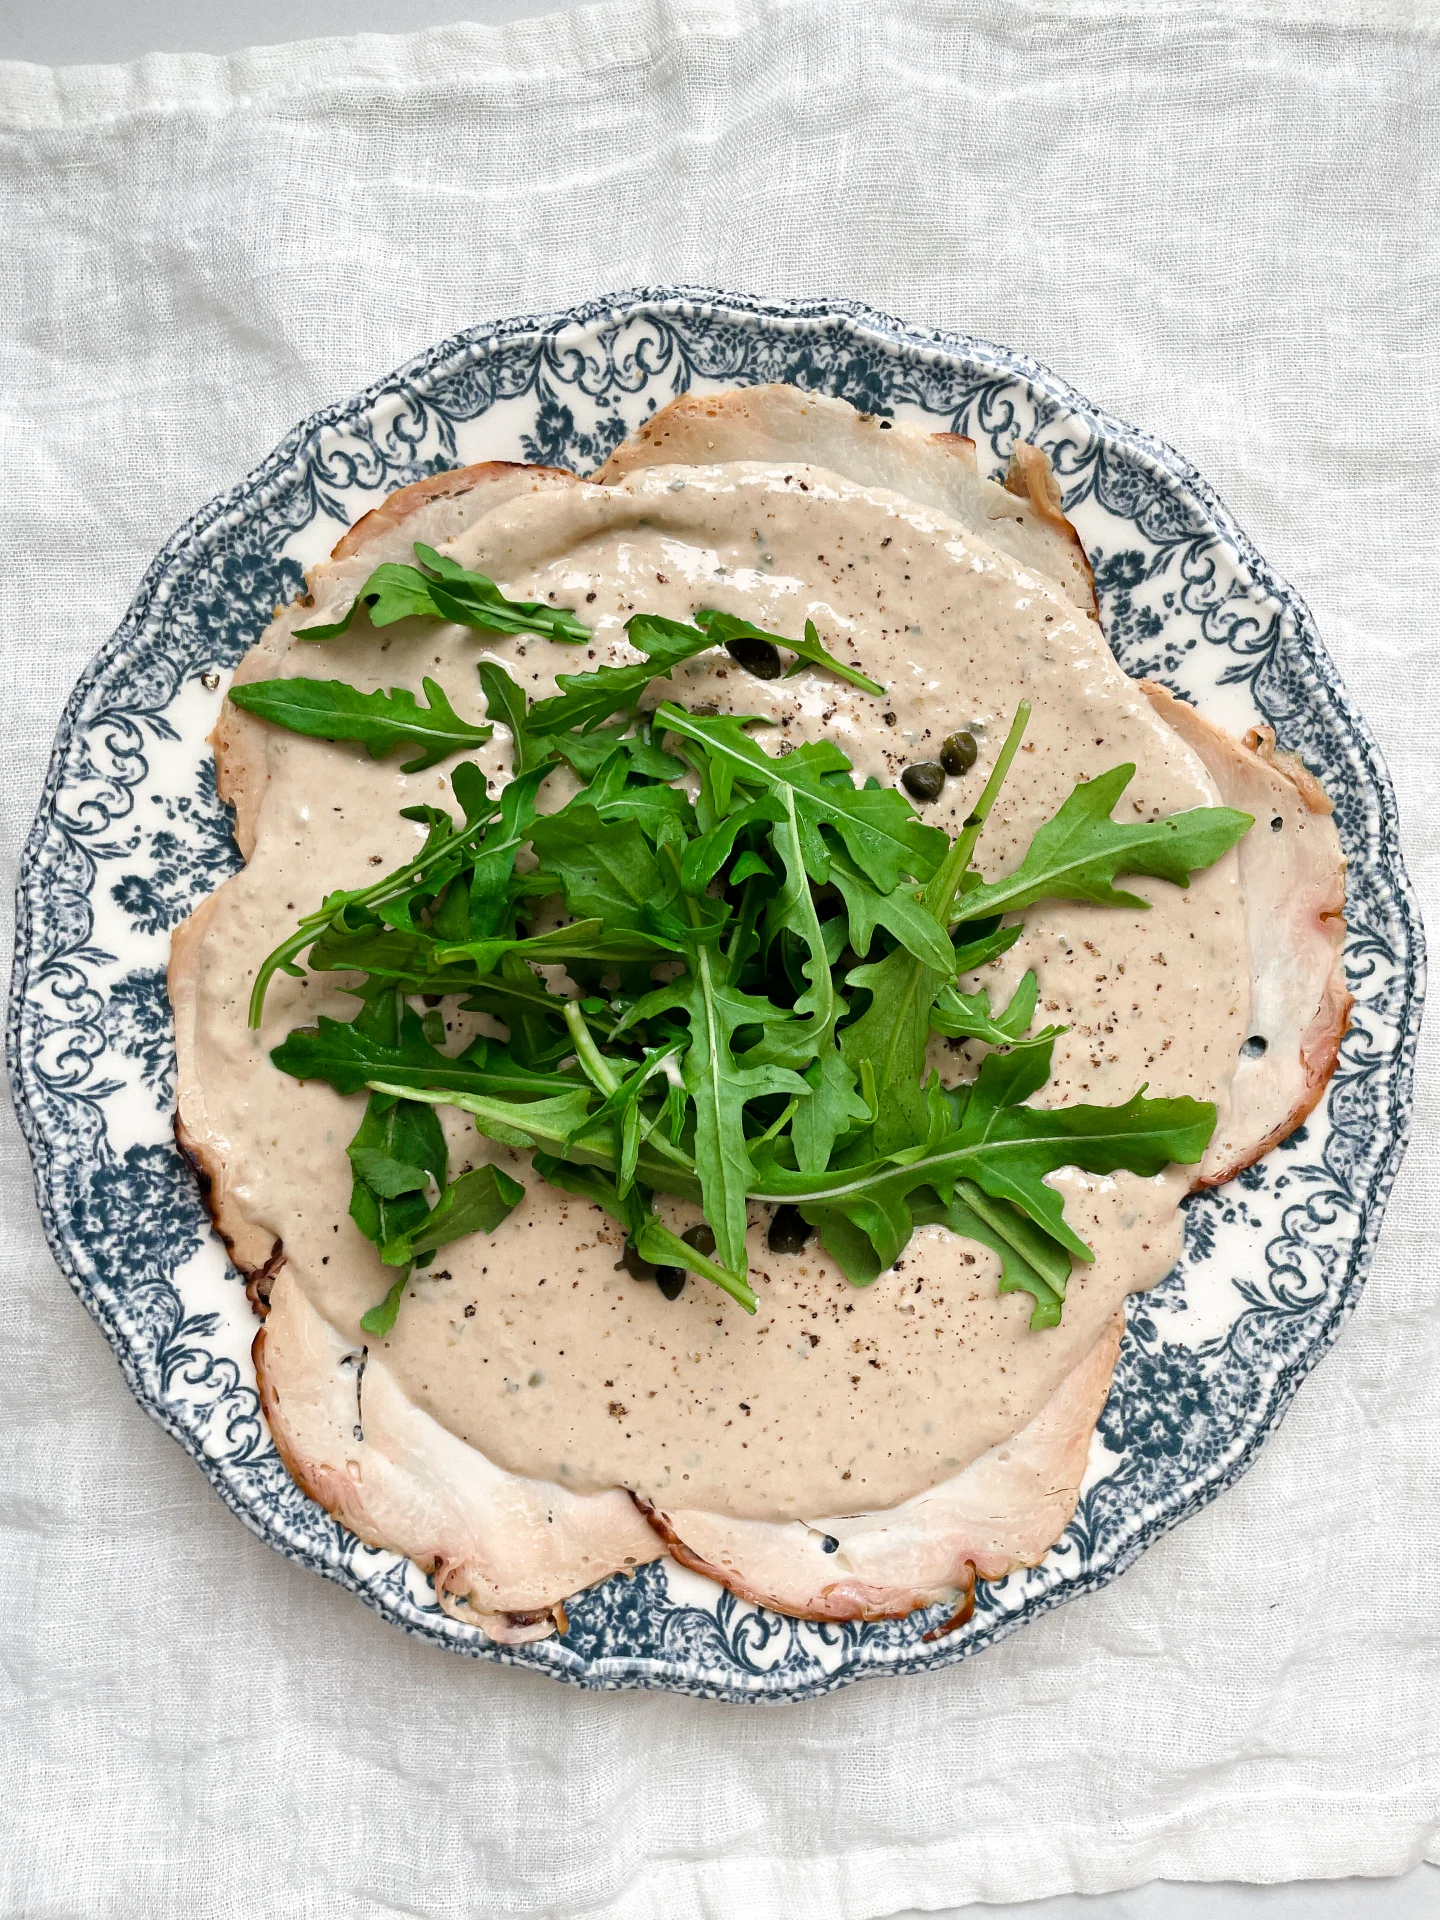
- For the cilantro yogurt sauce, in a tall container, blend cilantro (leave some leaves for garnish), lime juice, olive oil, 2 tablespoons of water, yogurt, avocado, and peeled garlic cloves into a cream using an immersion blender. Add salt and pepper to taste. Set aside.
- In a large skillet, sear the salmon on both sides for 2-4 minutes, depending on thickness, until slightly translucent inside. Remove the salmon from the skillet and place it on a plate to rest for a bit.
- Meanwhile, warm the flatbreads in the oven or on the toaster for a few minutes.
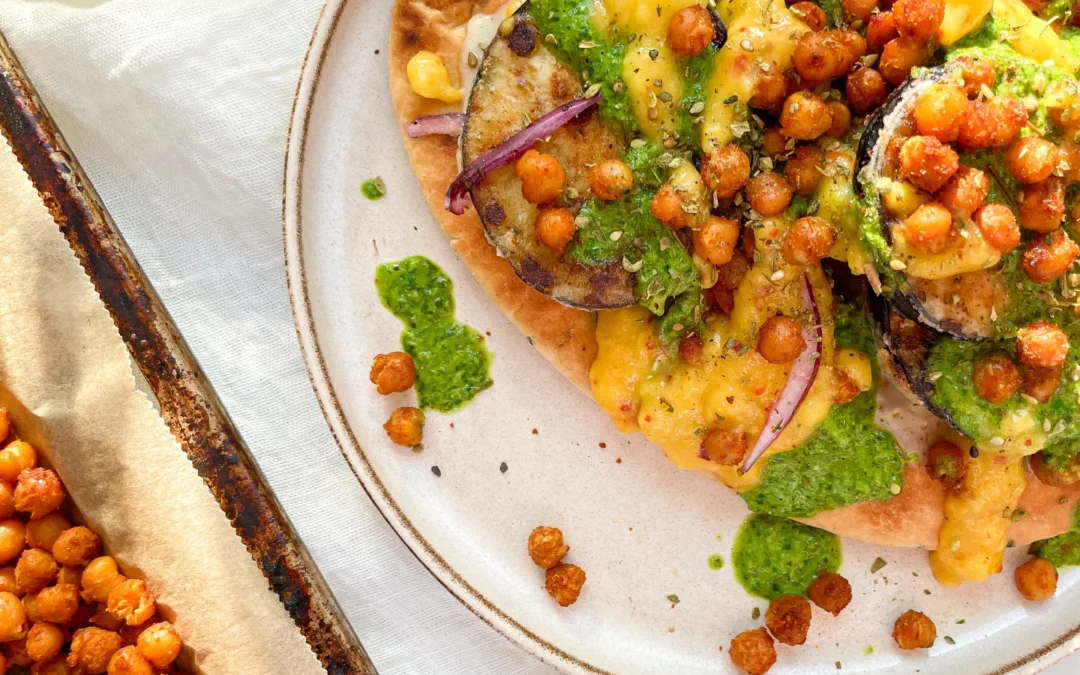
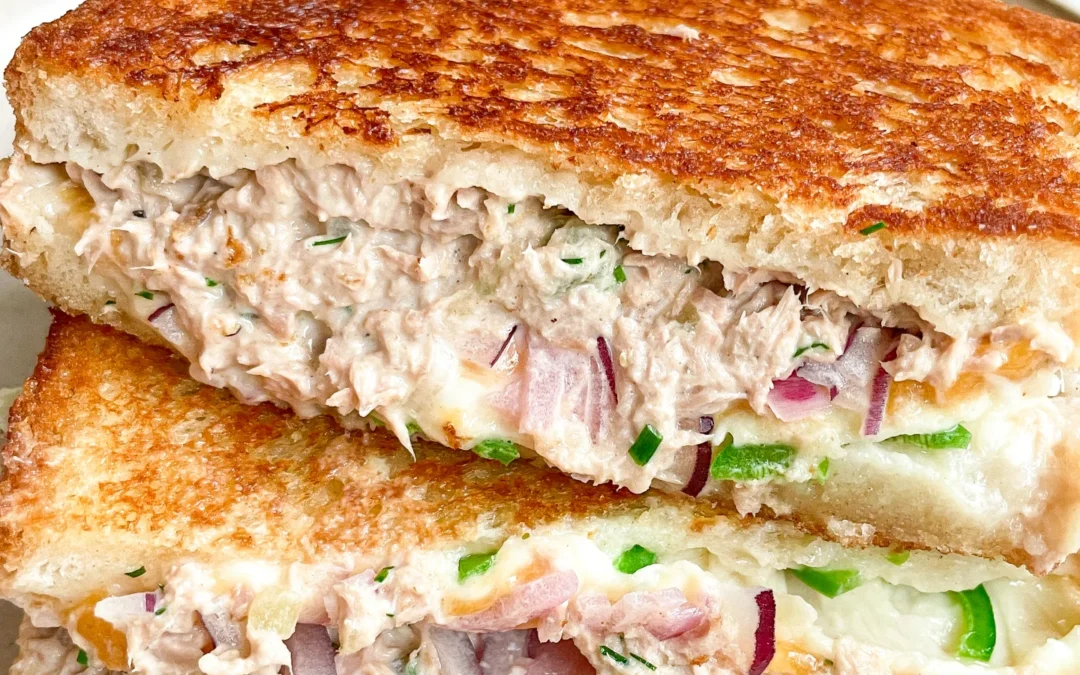
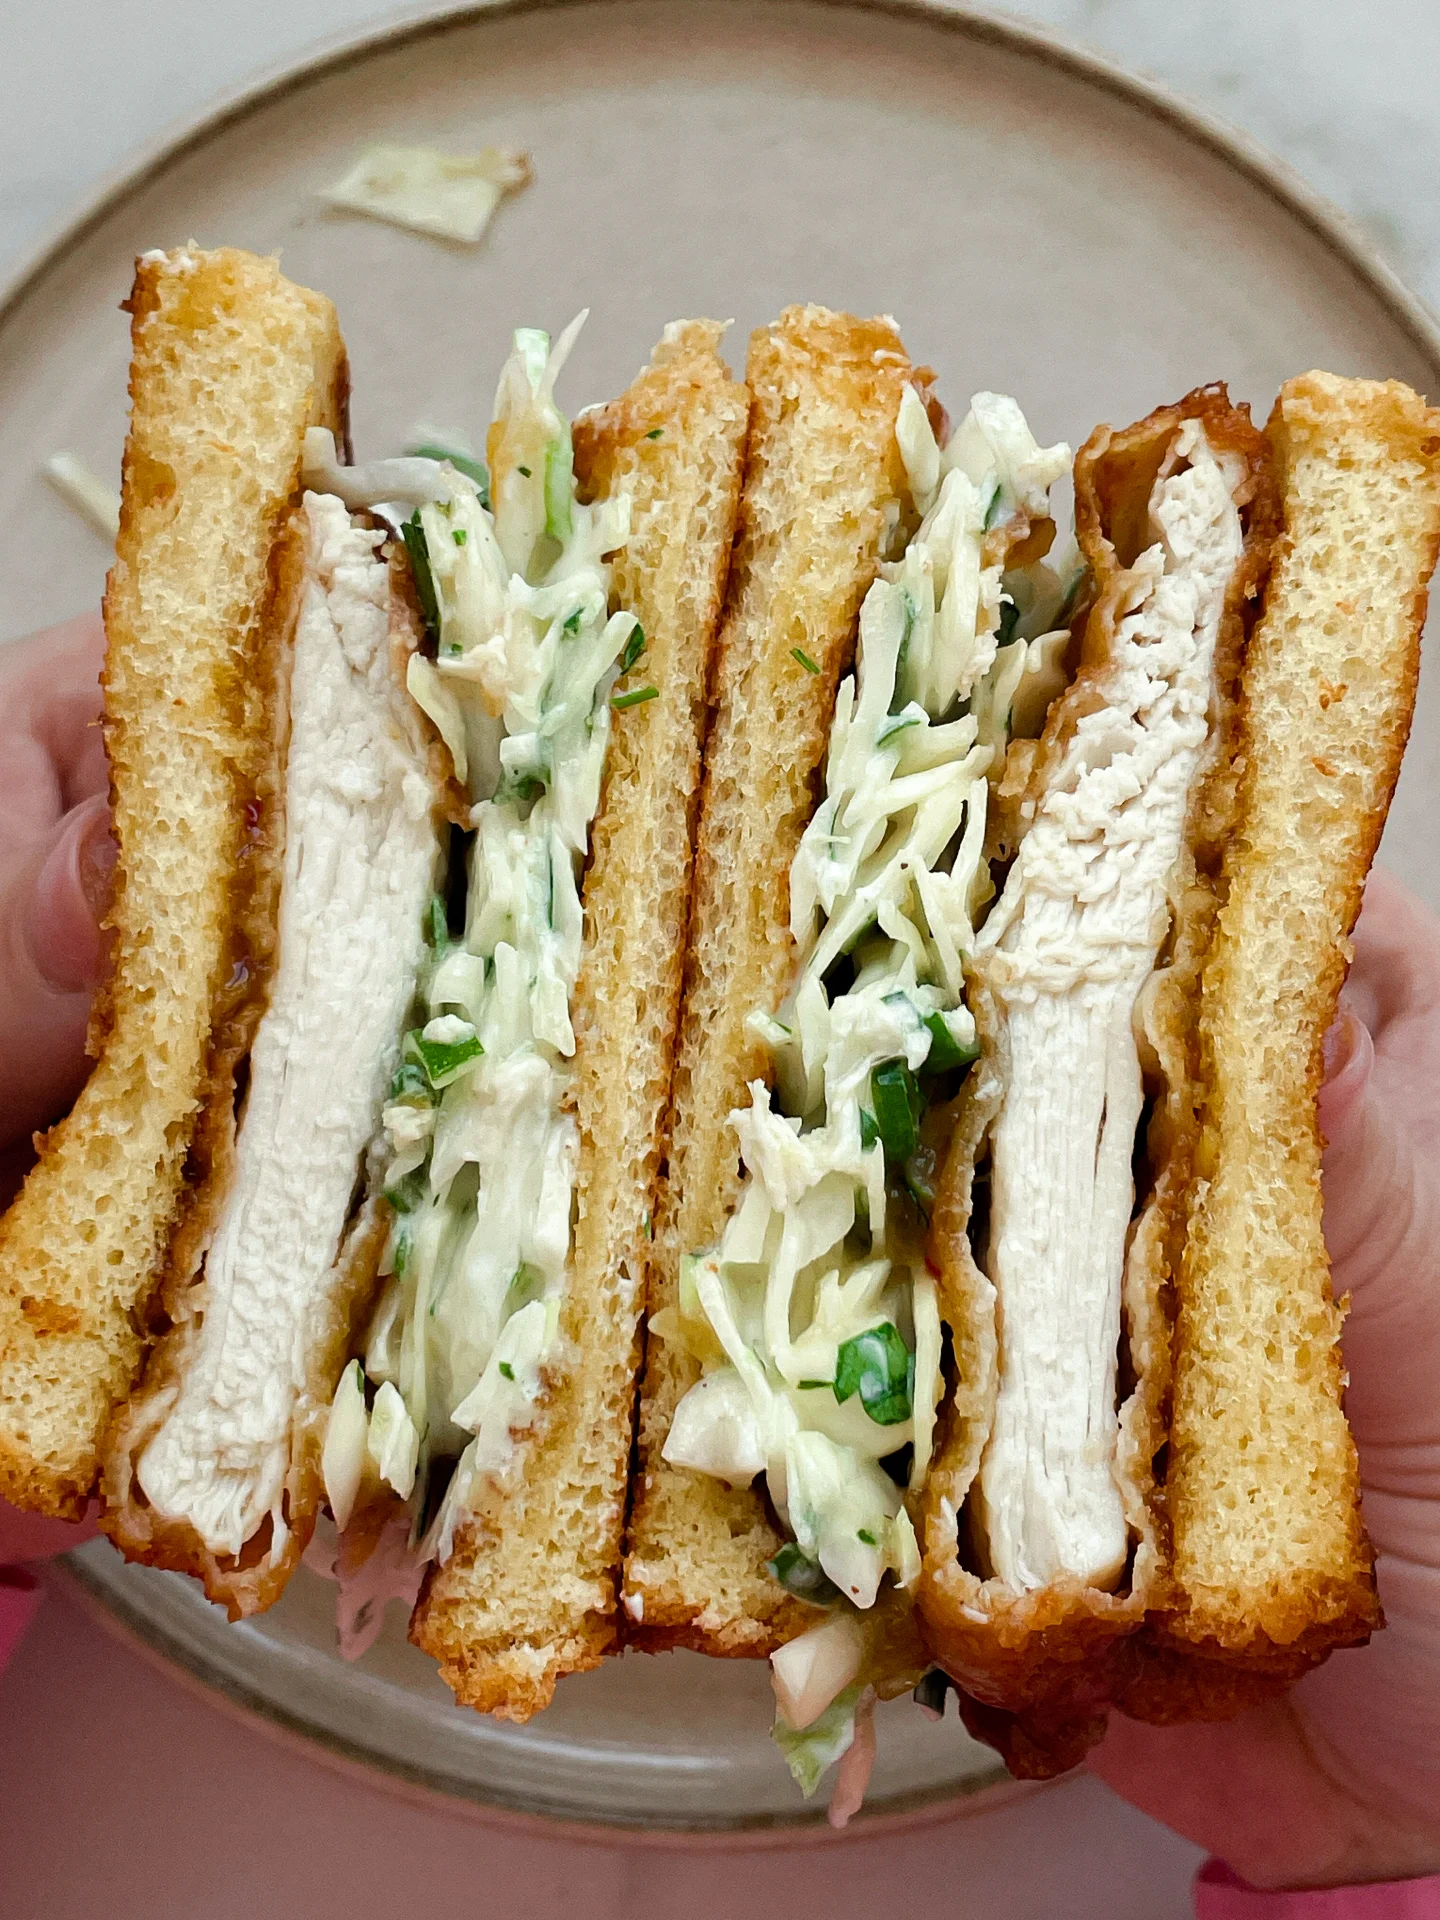
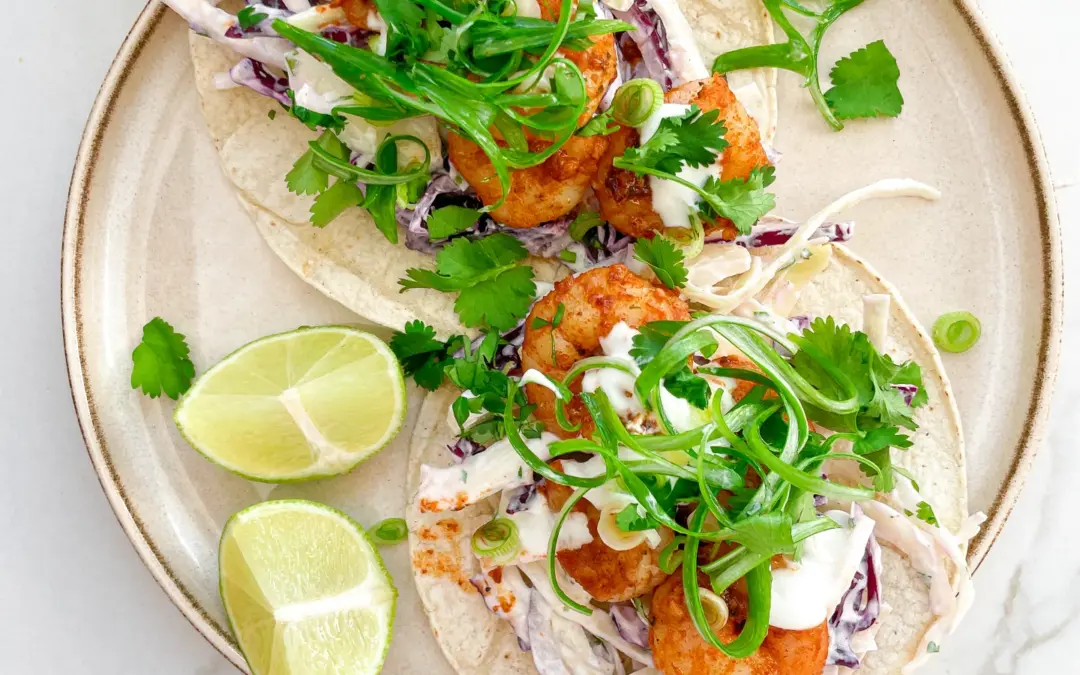
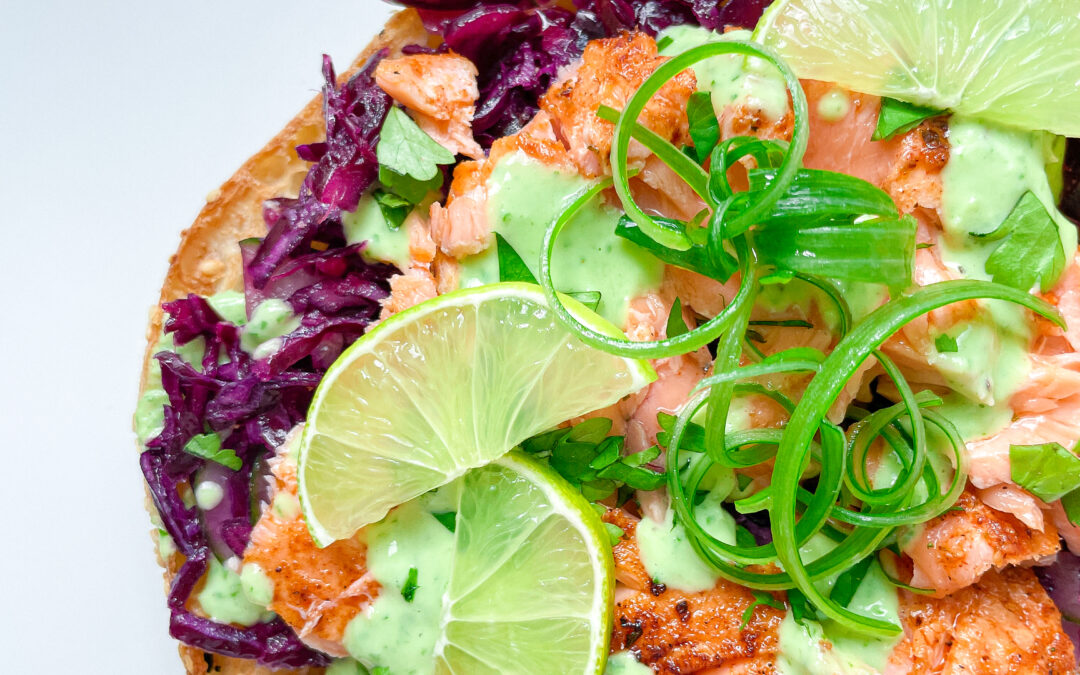
- Spread 1-2 tablespoons of sauce on the warm bread, add the coleslaw, then place a salmon fillet on top and slightly shred it. Garnish with some sauce, fresh cilantro leaves, green onions, and lime slices.
Notes
The calorie information may vary depending on the product used, country and region.
- Cook Time: 30 min