


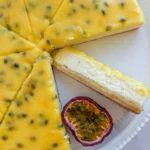
Description
RECOMMENDED EQUIPMENT
- oven
- 28 cm / 11” cake pan
- deep baking tray or dish larger than the cake pan
- food processor
- large mixing bowl
- whisk
- aluminum foil
- small pot
Ingredients
Units Scale
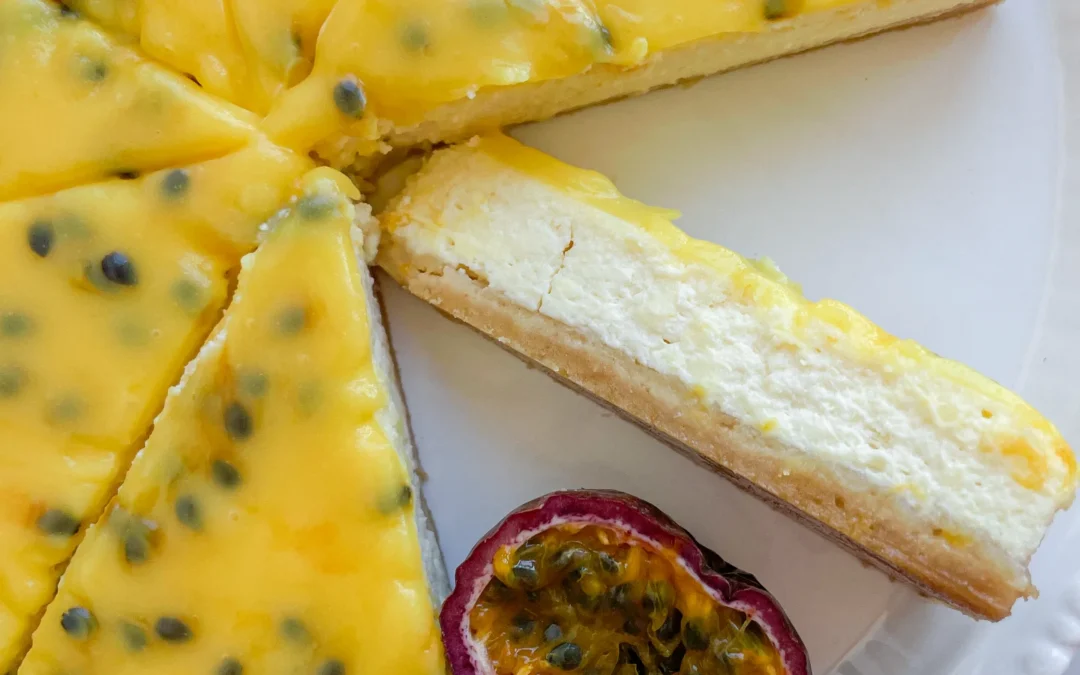
CRUST
- 200 grams golden Oreo cookies (without cream filling)
- 100 grams butter
- 600 grams cream cheese
- 130 grams white sugar
- 160 grams creme fraiche
- 1 tsp vanilla extract
- 2 eggs
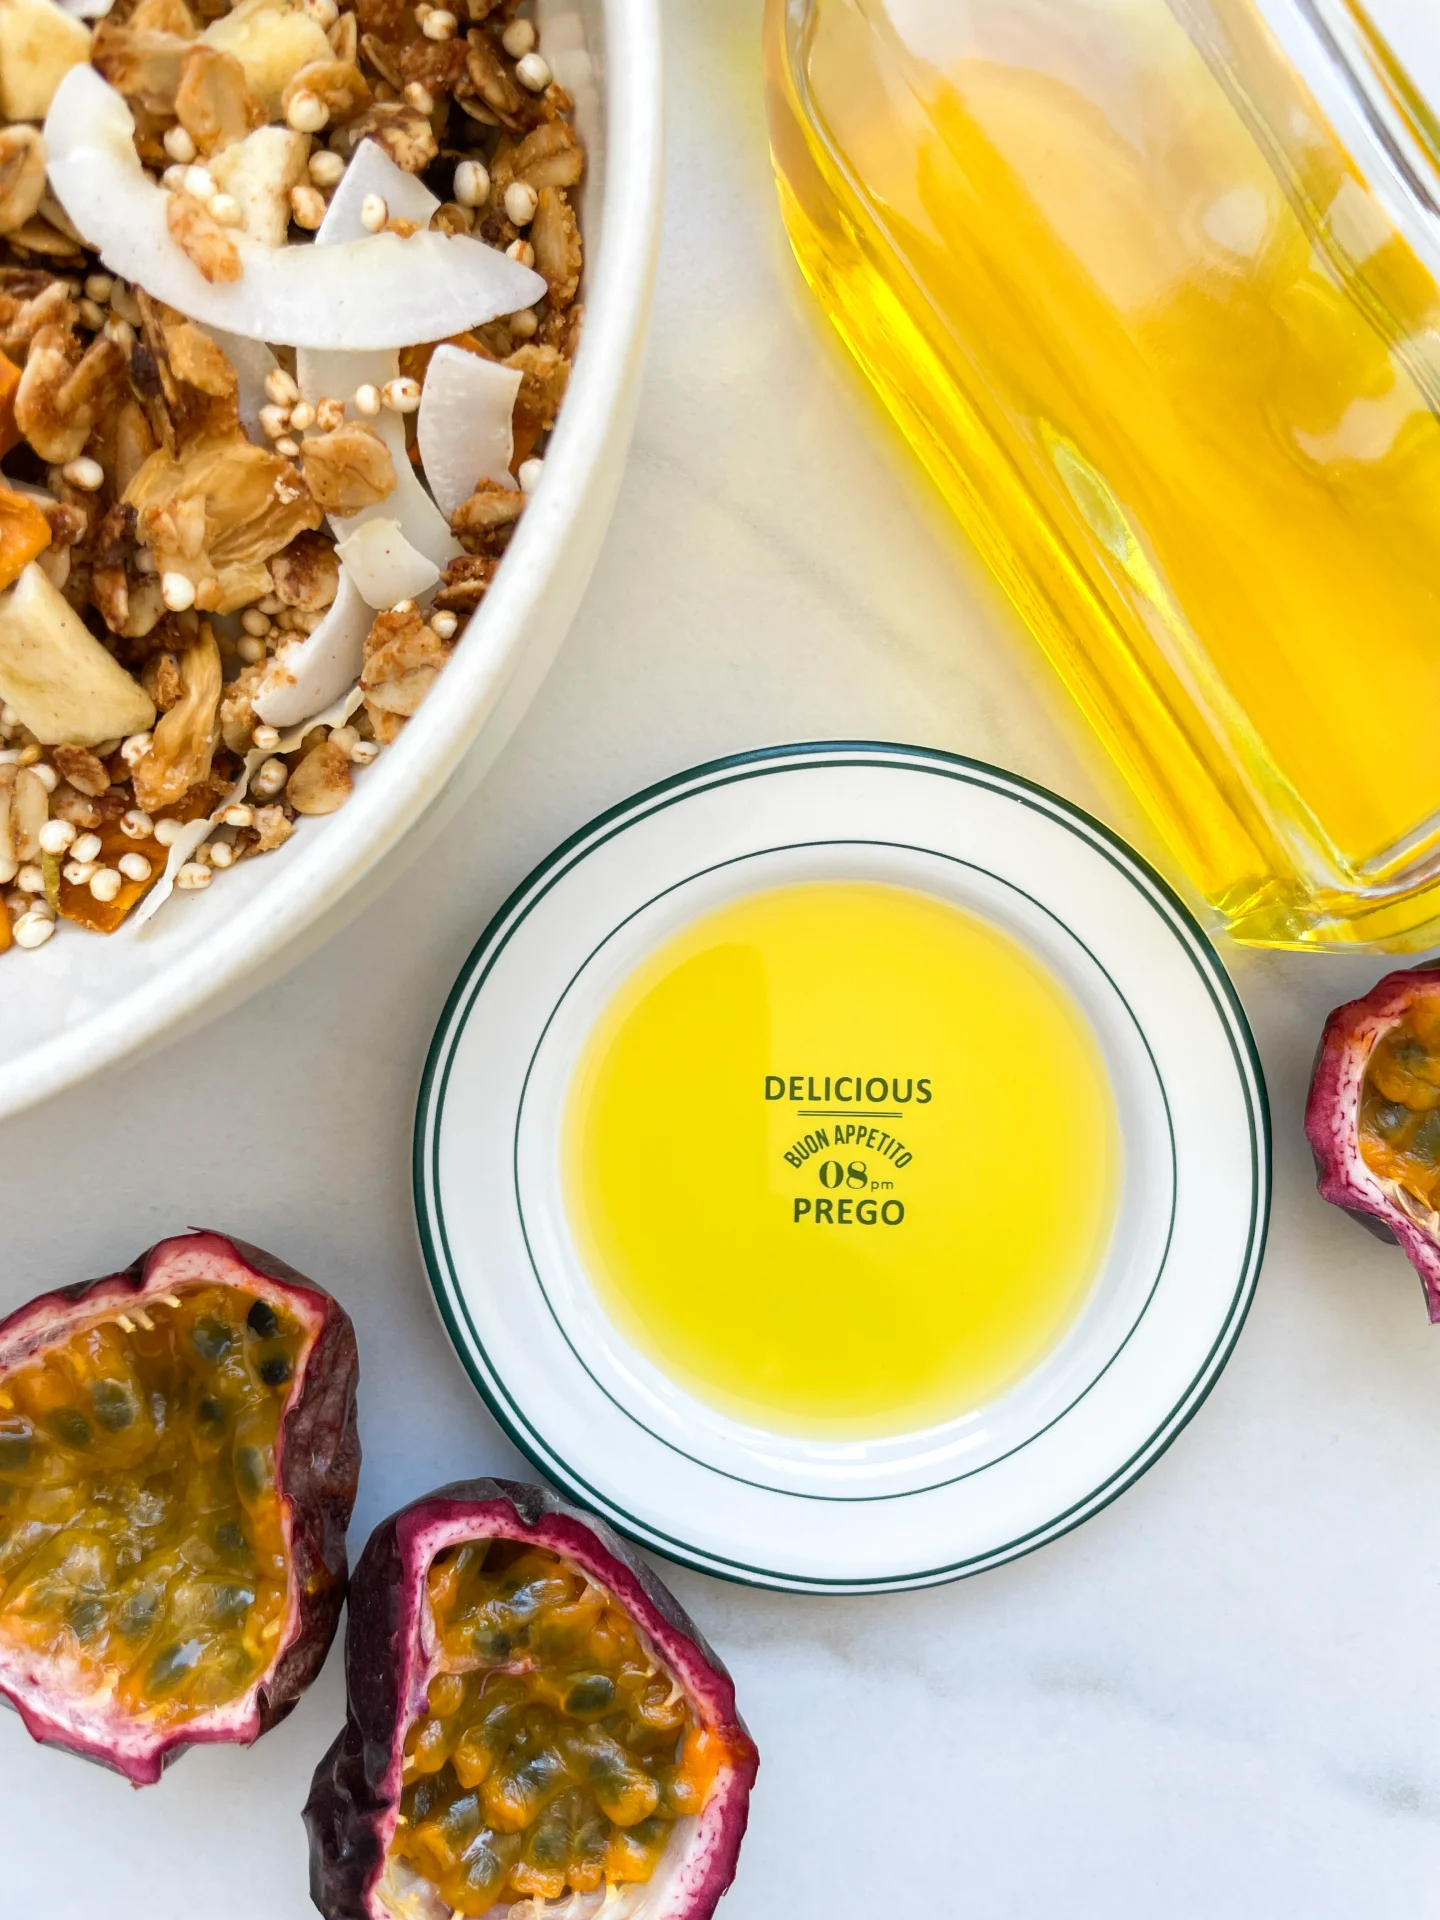
- 2 passionfruits
- 85 grams white sugar
- 40 grams butter
- 50 grams heavy cream
- 1 tbsp cornstarch
- cold water
Instructions
- Passive Time: overnight
- Cook Time: 60 min