Mulled Wine Oil

Mulled Wine Oil

Mulled Wine Oil

Mulled Wine Oil

December 17, 2024 by Kimberly

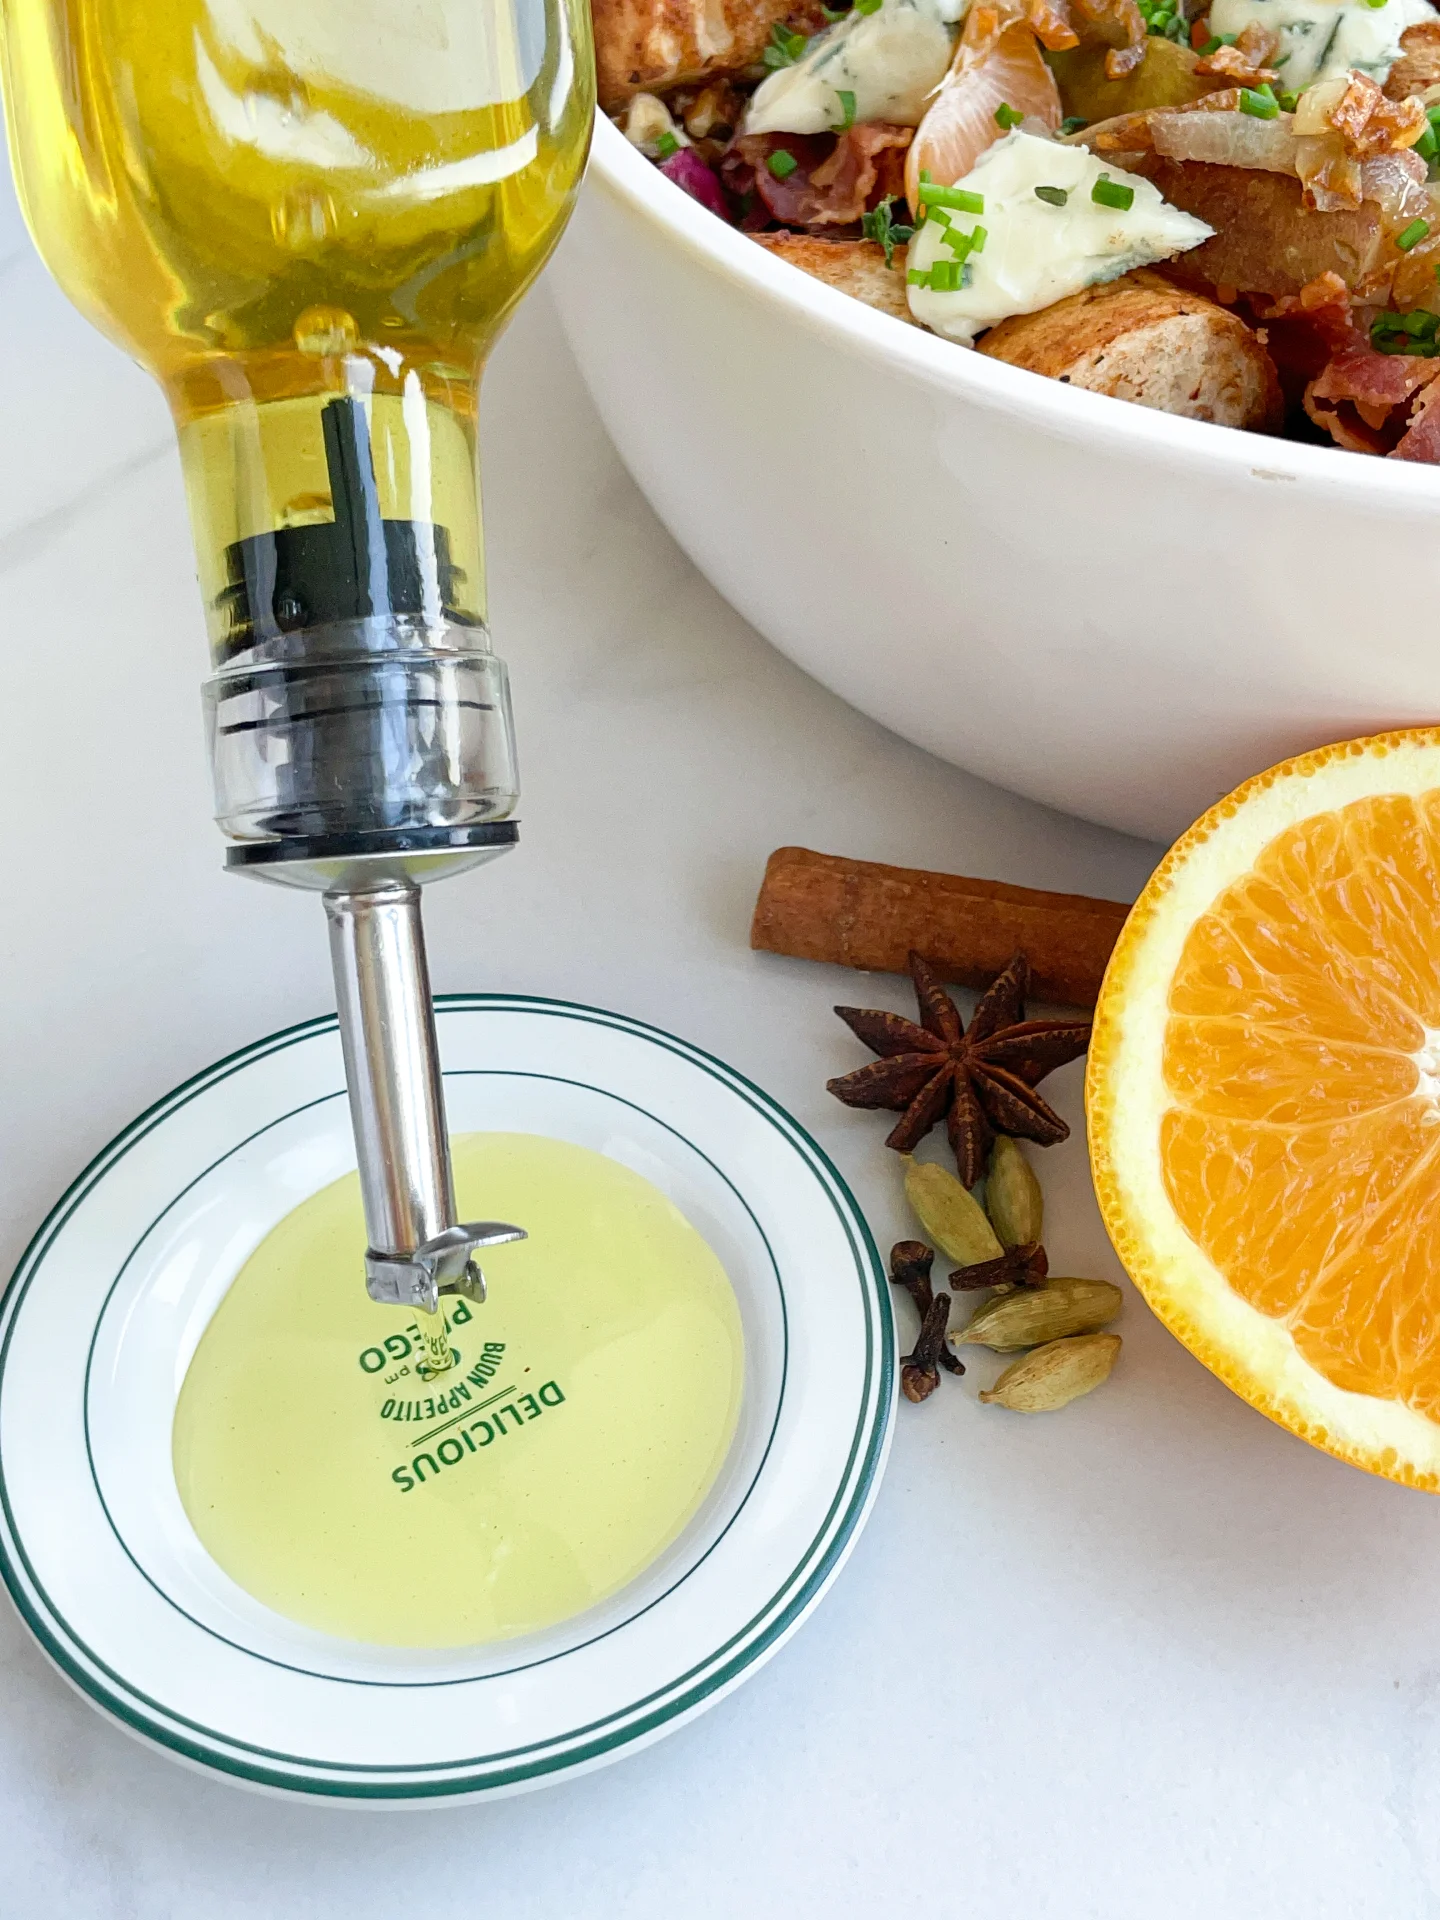
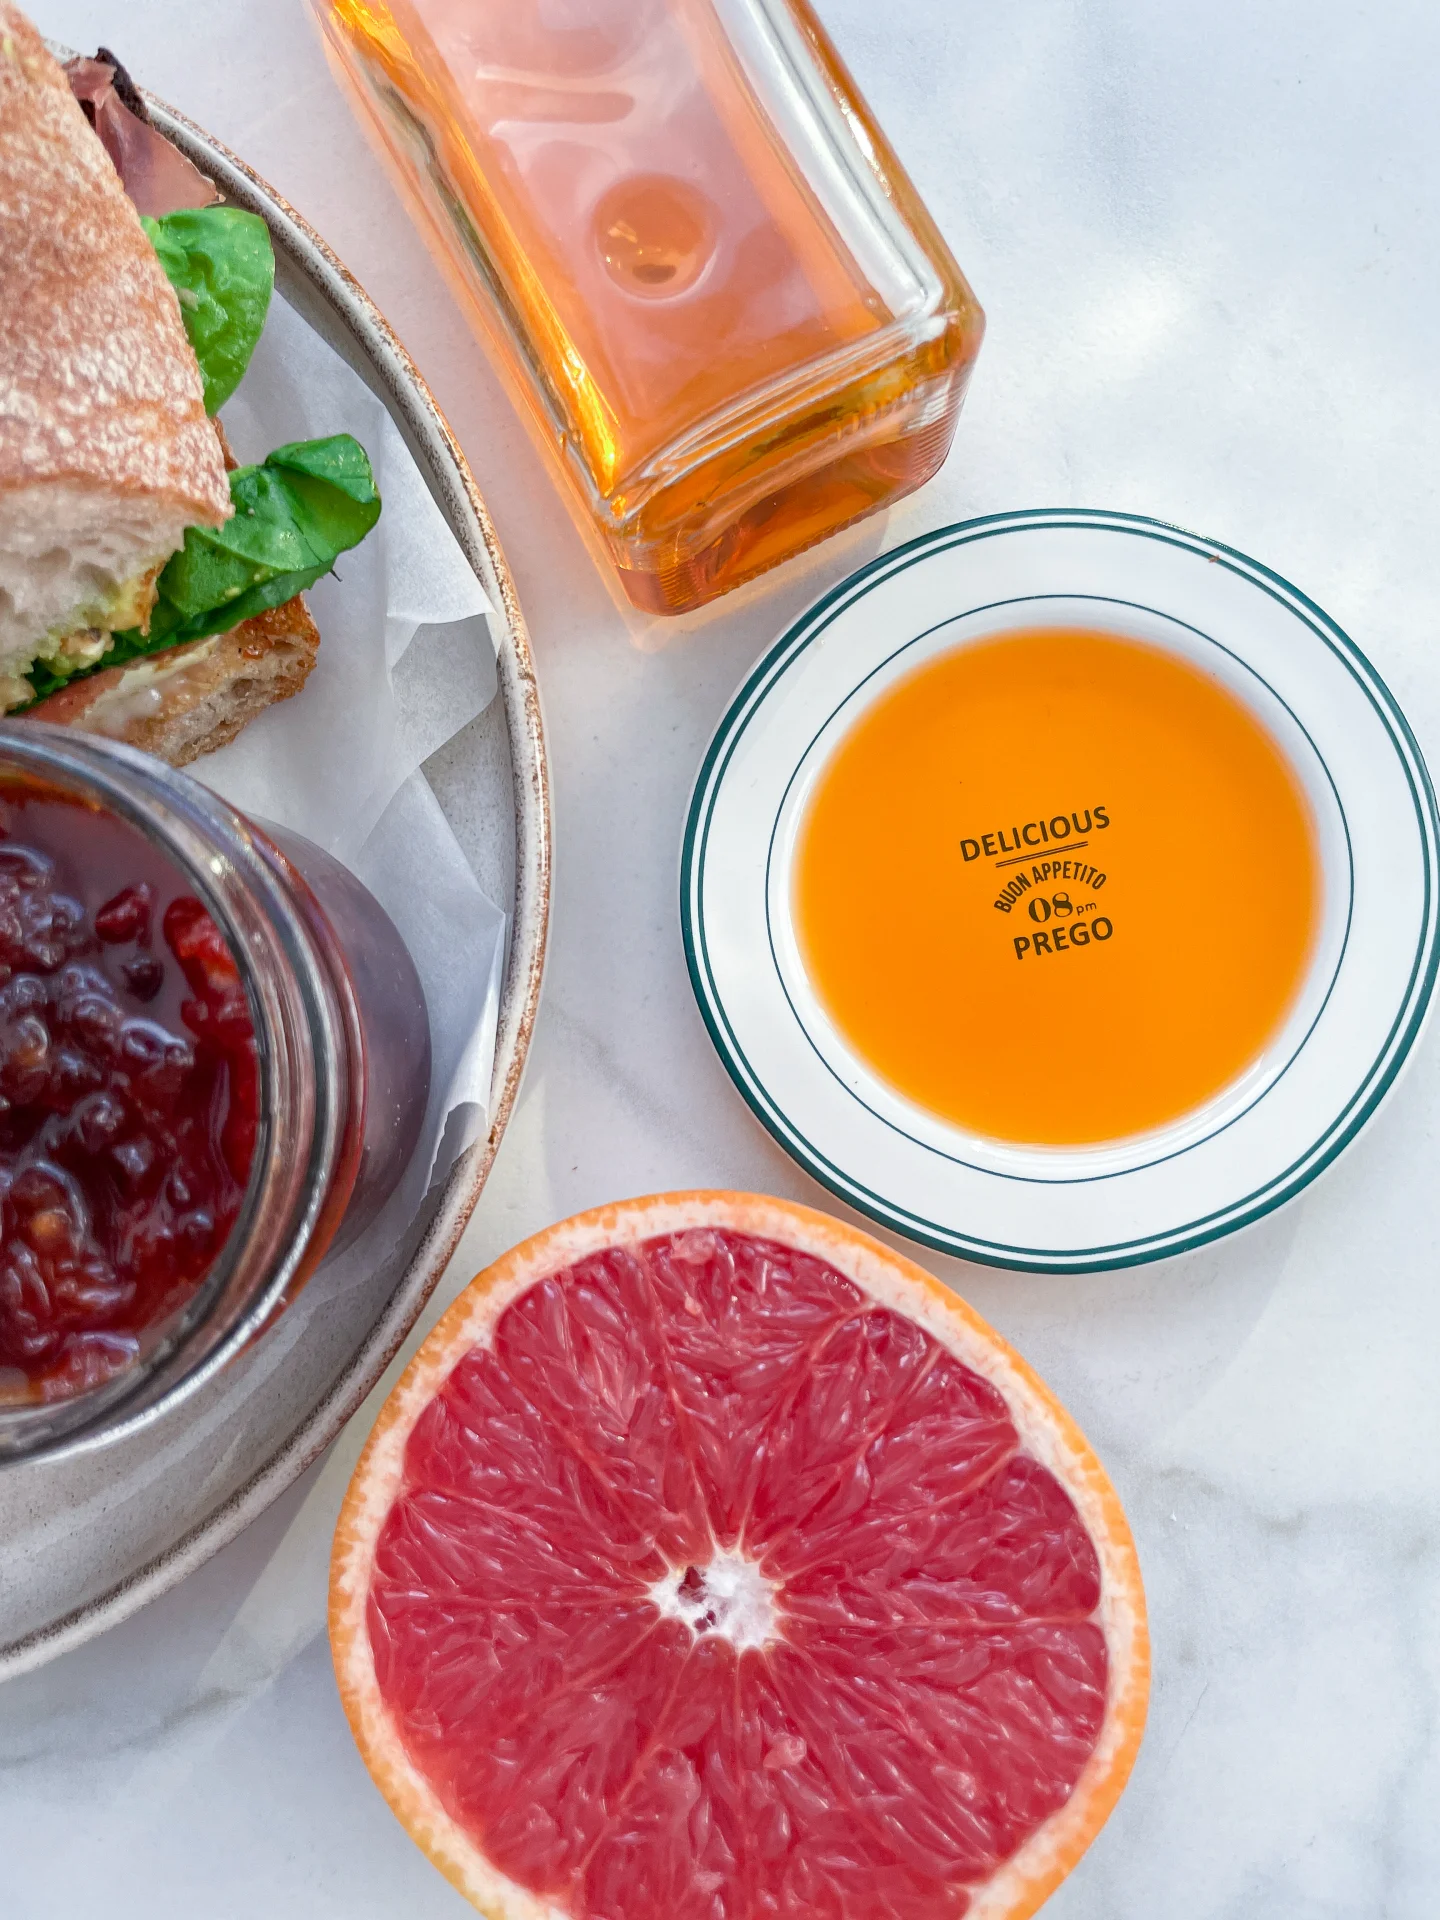
This spiced oil is like a hug in a drizzle. Think rich, warm, and aromatic vibes that make every dish feel festive and fancy. Perfect for cozy dinners and holiday magic.

45 MINUTES

ADVANCED

VEGAN

INT.

40 PER TSP

SPICY

MICHELIN

OIL

WINTER

INTRODUCTION

ABOUT THE RECIPE

This cozy spiced oil brings holiday magic to your plate. Infused with citrusy orange, cinnamon, cloves, star anise, and cardamom, it’s a flavorful hug in every drizzle. Perfect for elevating roasted veggies, hearty salads, or even as a bread dip, this oil is simple yet sophisticated. Whether you’re hosting or gifting, it’s a warm, festive twist that feels like Christmas in a bottle. Easy to make and impossible not to love!

How to serve
Drizzle this aromatic oil over roasted vegetables for a cozy finish, or mix it into salad dressings for a warm, festive twist. Pair it with fresh, crusty bread as a dip, or spoon it over warm risottos and soups to add a layer of spiced goodness. Feeling adventurous? Try it over roasted sweet potatoes or even desserts like baked pears for a gourmet touch. This oil fits wherever cozy, holiday vibes are needed. You absolutely have to try the oil with this Brussels Sprout Salad!

How to store
Store your infused oil in a sealed glass jar at room temperature for up to one week. Keep it in a cool, dark place to preserve its aromatic magic.

Hi, I'm Kimberly!

Hi, I'm Kimberly.
A passionate food lover who believes in the magic of homemade deliciousness that spreads love and warmth. Join me on this culinary adventure as I prepare wonderful dishes and let’s spread some happiness together!

Kimberly the Zett Signature

If you want to get to know me better, click here!


Mulled Wine Oil
Mulled Wine Oil
Mulled Wine Oil
„Let’s make a piece of happiness“
Print
clock clock iconcutlery cutlery iconflag flag iconfolder folder iconinstagram instagram iconpinterest pinterest iconfacebook facebook iconprint print iconsquares squares iconheart heart iconheart solid heart solid icon
Mulled Wine Oil

Mulled Wine Oil


5 Stars 4 Stars 3 Stars 2 Stars 1 Star

No reviews

  • Author: Kimberly
  • Total Time: 45 min

Description

RECOMMENDED EQUIPMENT

  • blender
  • medium-sized saucepan
  • whisk
  • a bowl which the medium saucepan fits into
  • 2 medium-sized bowls
  • 2 fine mesh strainers
  • oil bottle
  • ice cubes
  • coffee filter

Ingredients

Units Scale
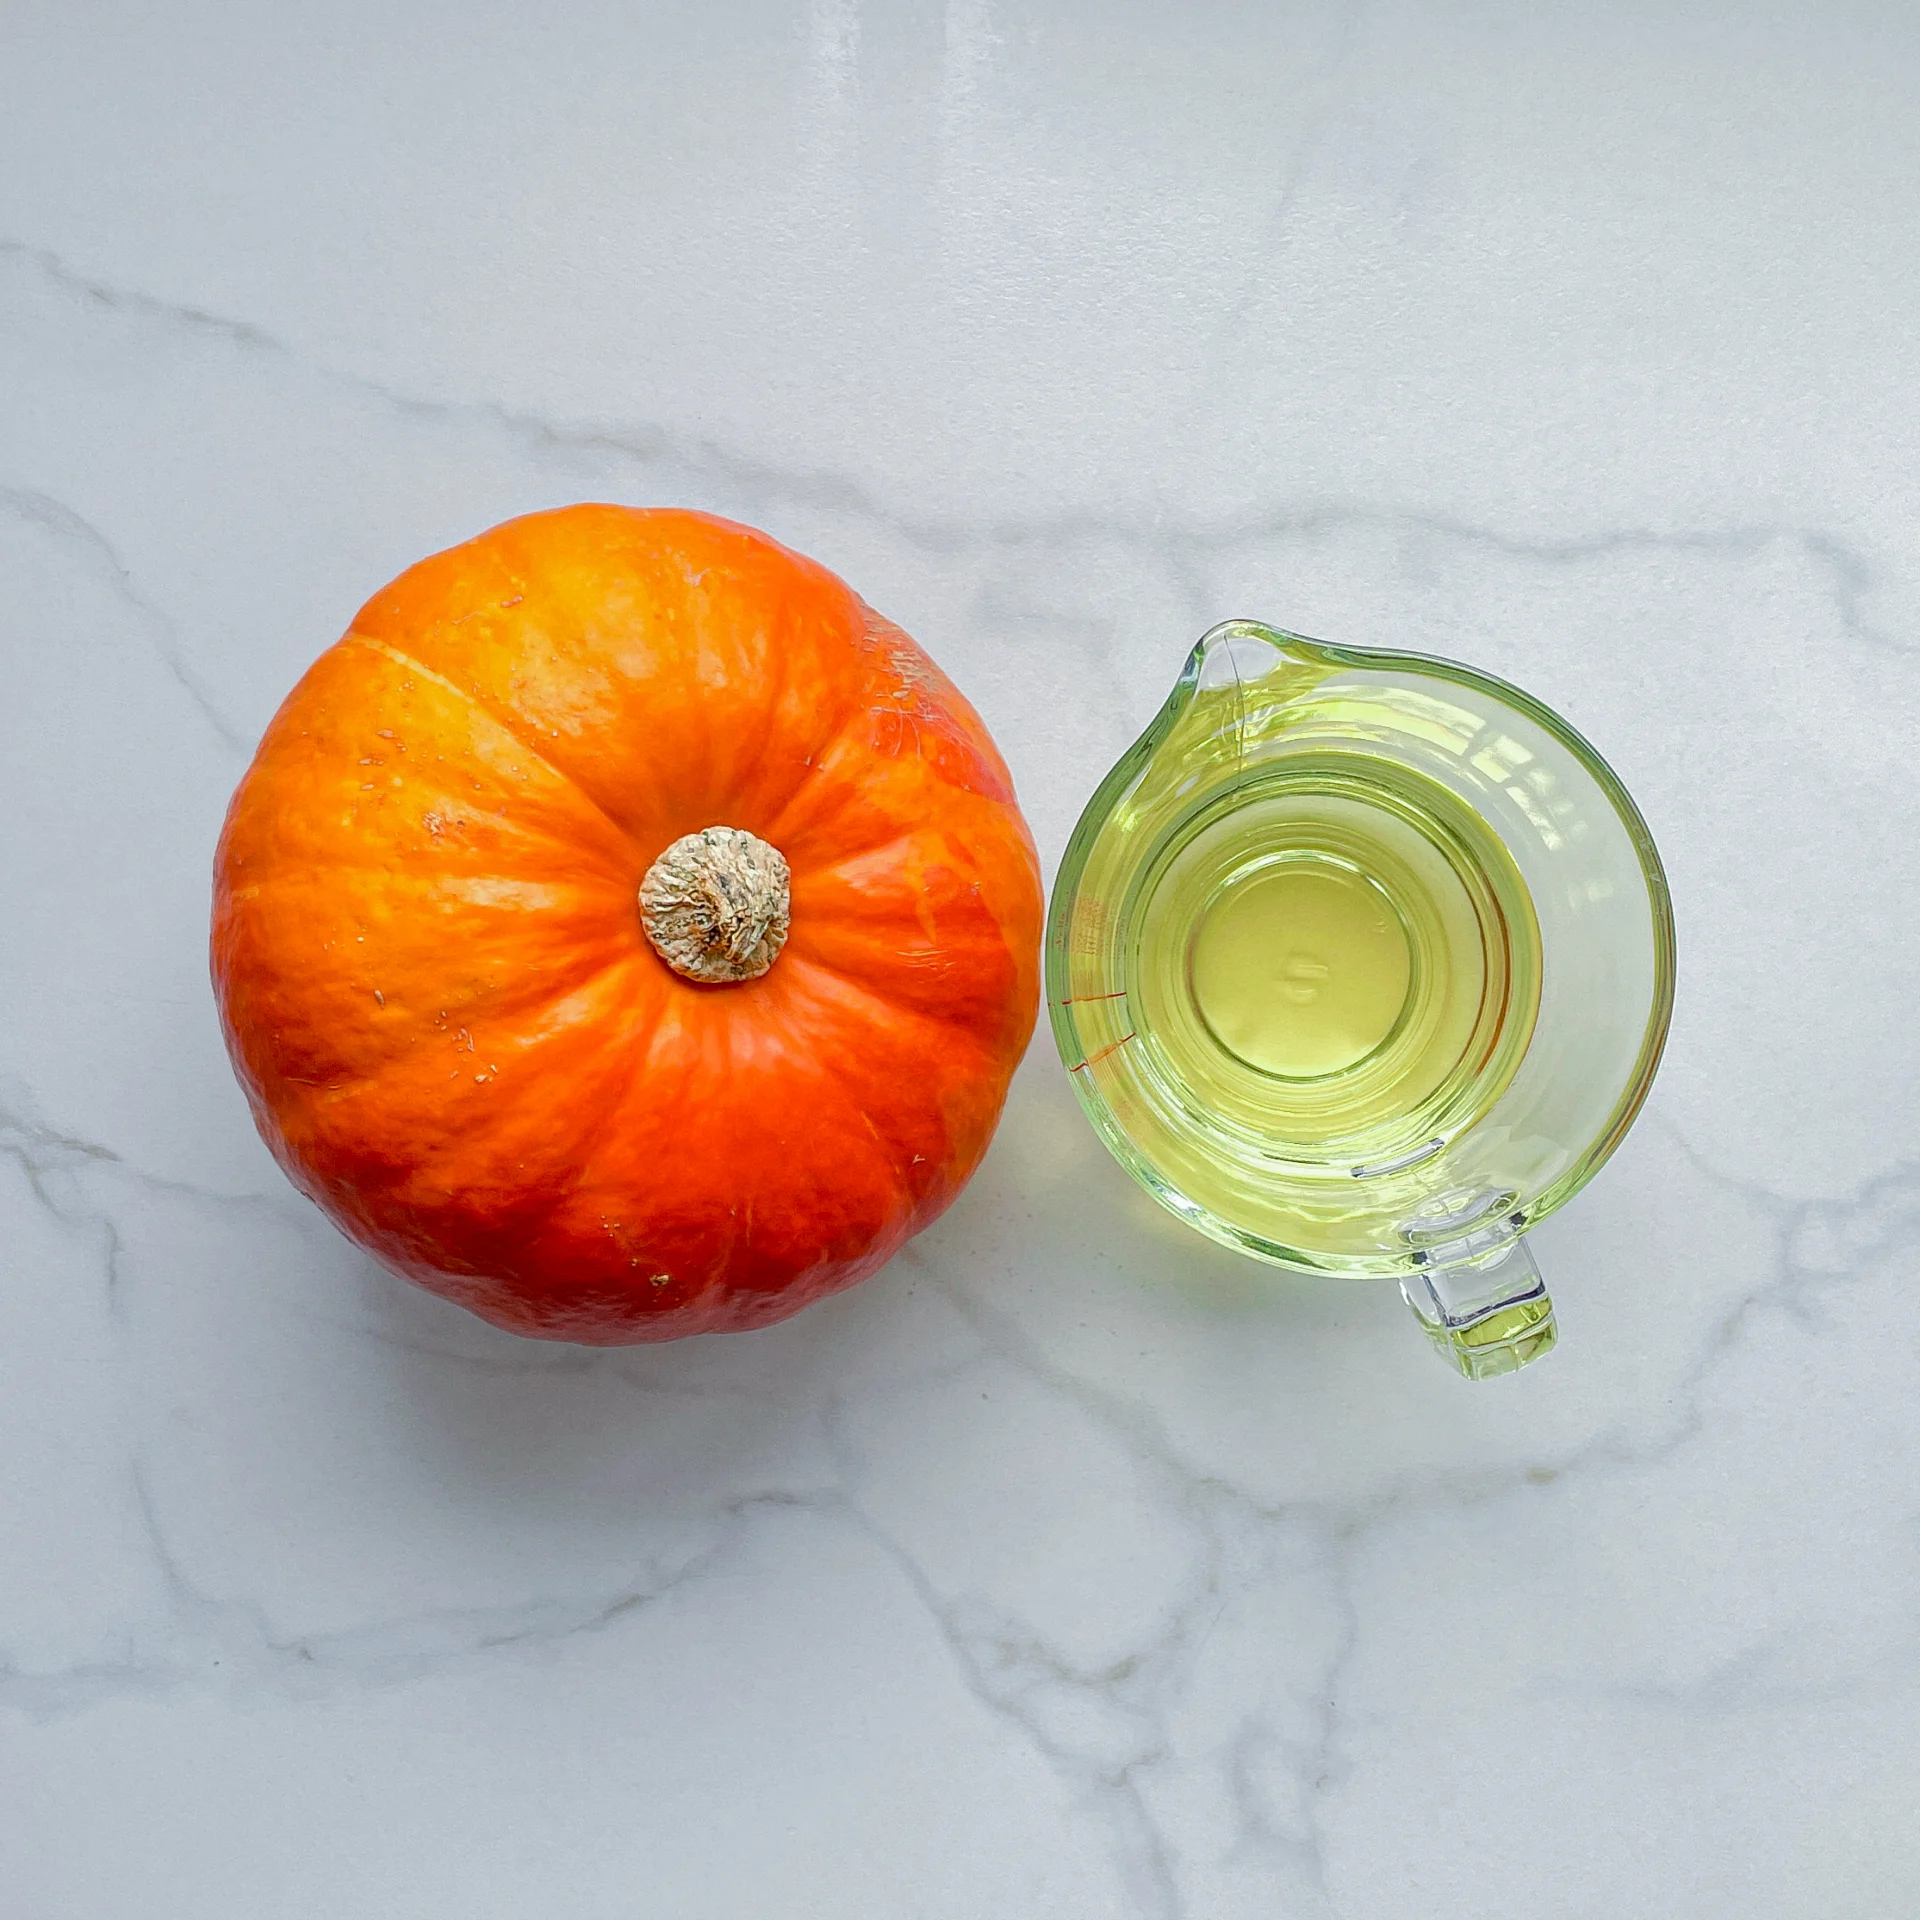
  • 1 orange
  • 1/4 tsp cinnamon
  • 8 cloves
  • 1 star anise
  • 1/4 tsp ground cardamom
  • 250 milliliter rapeseed oil

Instructions

  1. Zest the orange and put it along with the cloves, cinnamon, cardamom and star anise into the blender. Pour in the oil. Blend on the highest setting until it no coarse pieces are longer visible.
  2. Pour the mixture from the blender into a medium-sized pot and heat it over medium heat, constantly stirring, to a temperature of about 102°-103°C (215°-217°F). Then, let the oil simmer with the lid partially on for the next 10 minutes. Stir only occasionally, making sure the temperature remains steady and nothing gets burned.
  3. At the end of the cooking process, prepare a bowl large enough to fit the medium-sized pot, filled with cold water and a handful of ice cubes. Also, hang a fine mesh sieve strainer over a medium-sized bowl.
  4. Now, place the pot in the ice water and stir to stop the cooking process. Once the oil is almost cold, remove the pot from the water and pour the oil into the first fine mesh sieve to catch the coarse particle.
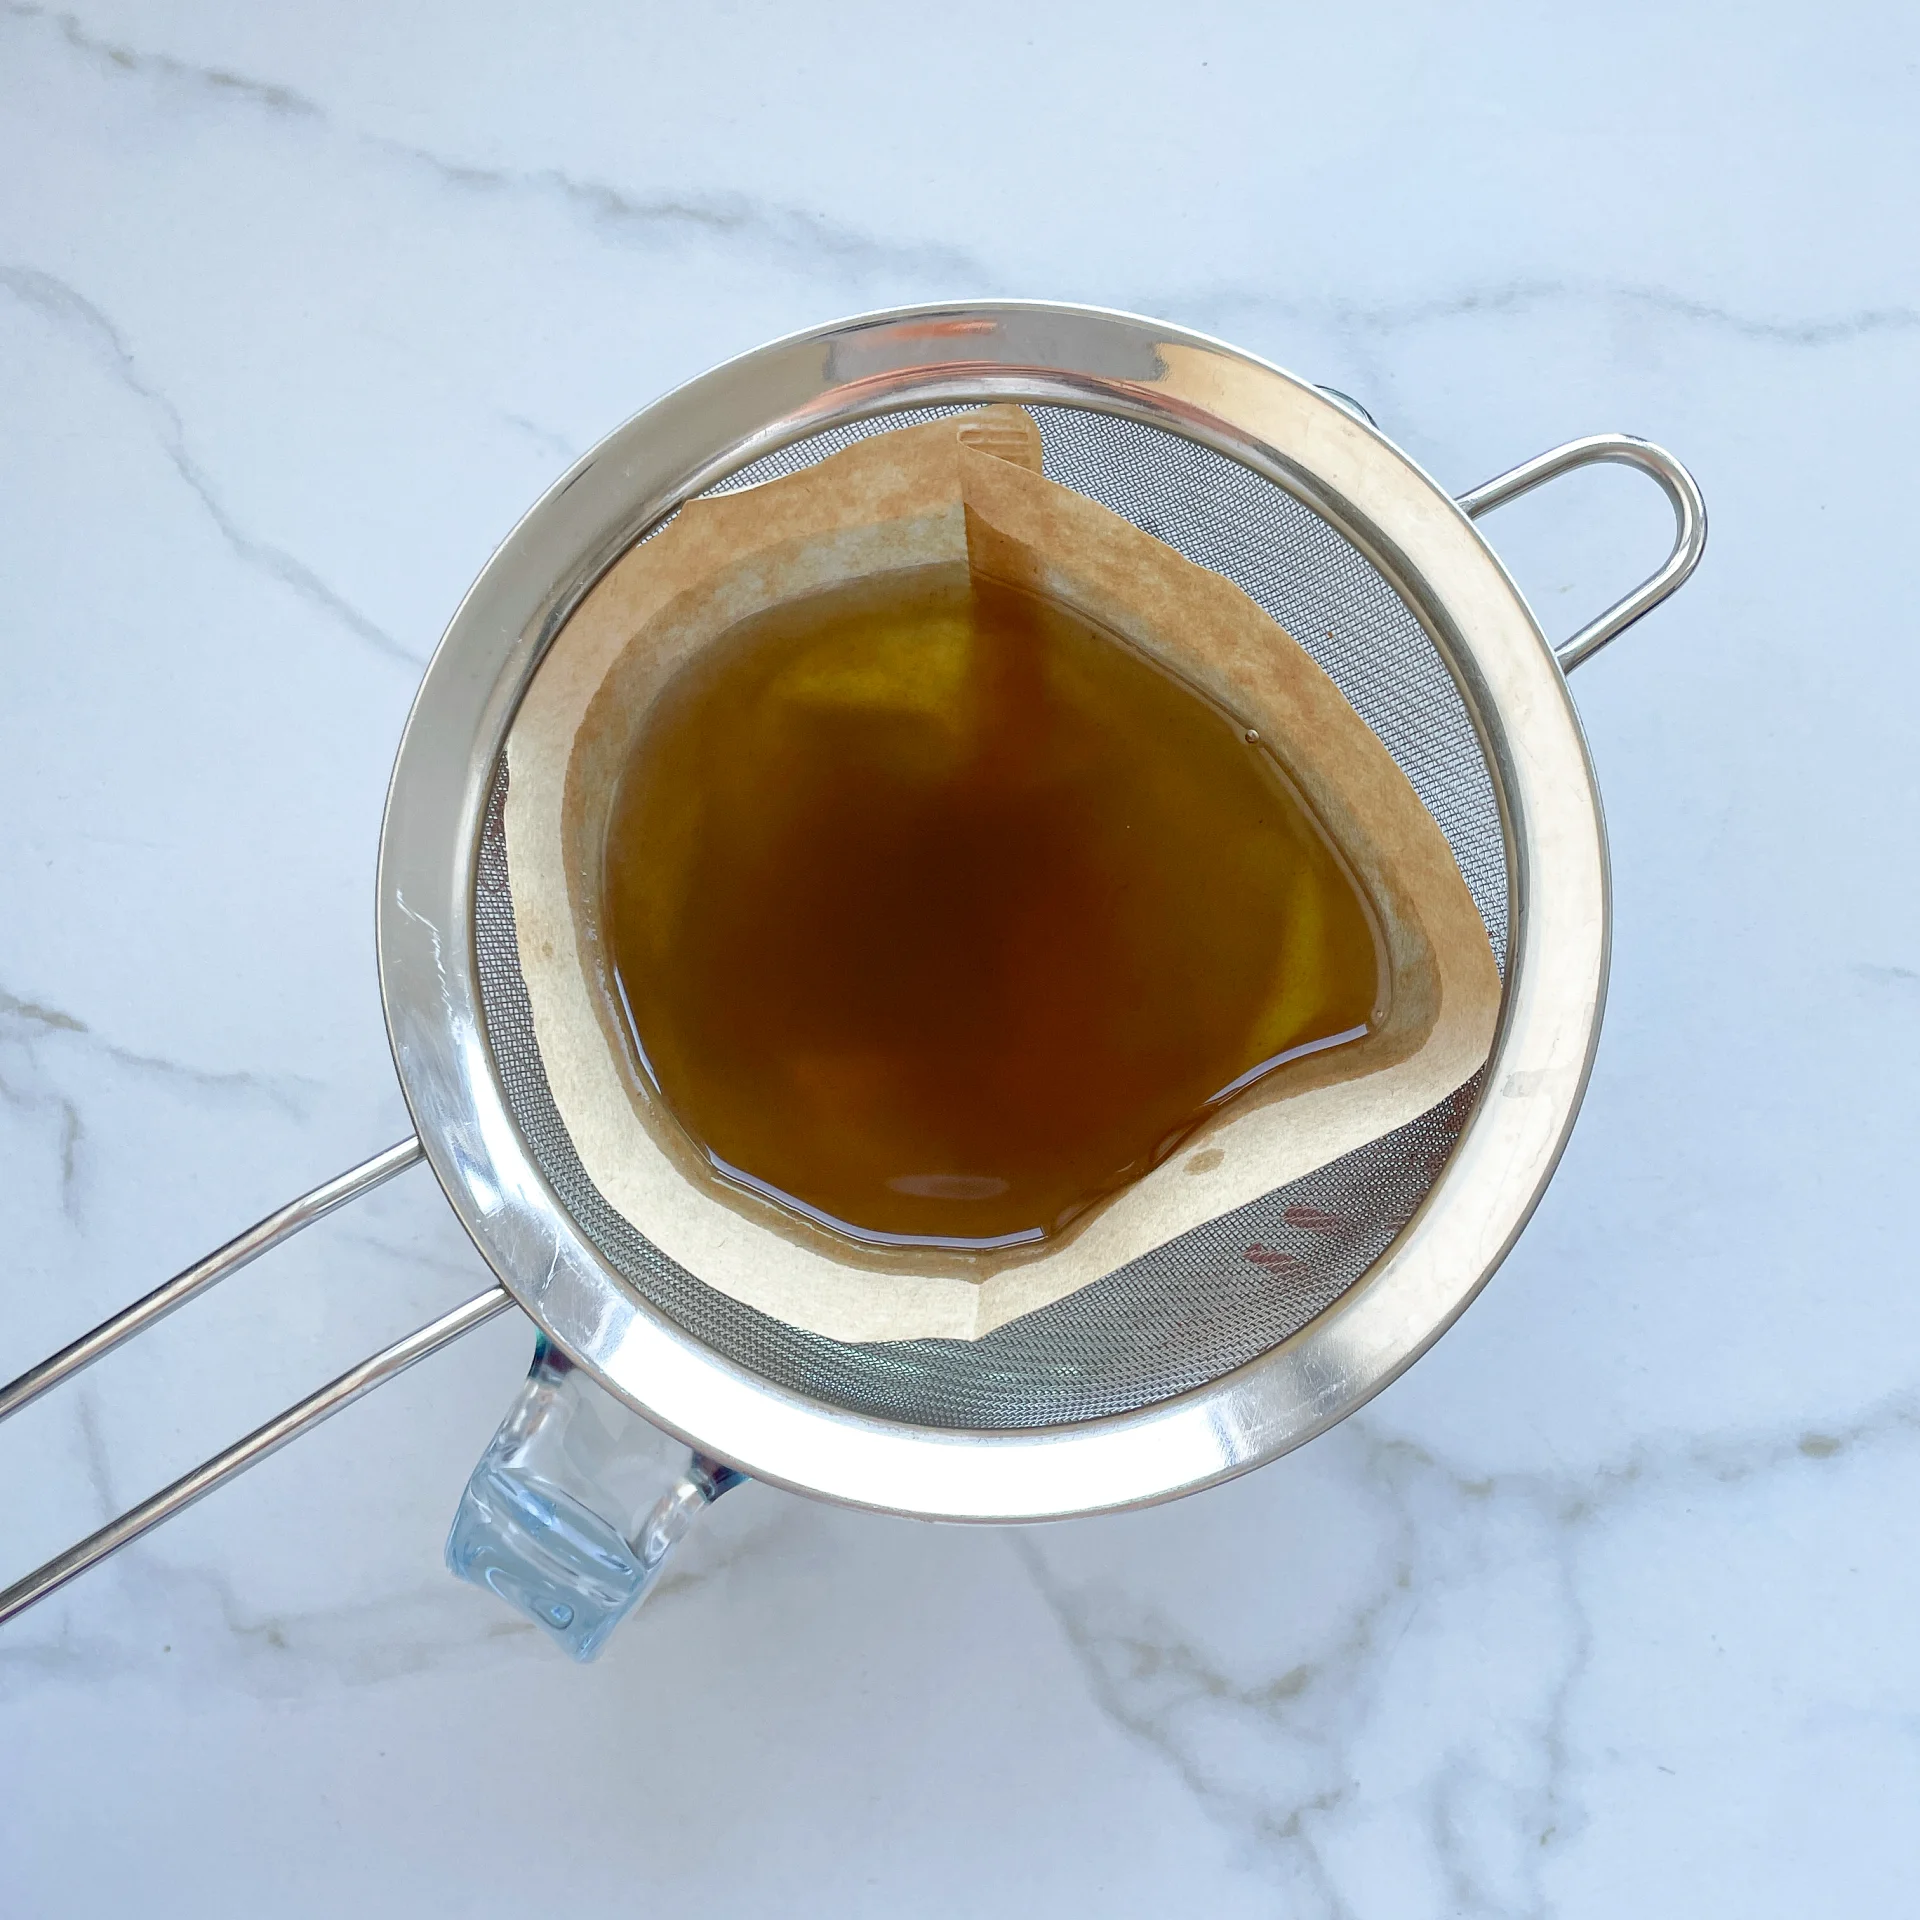
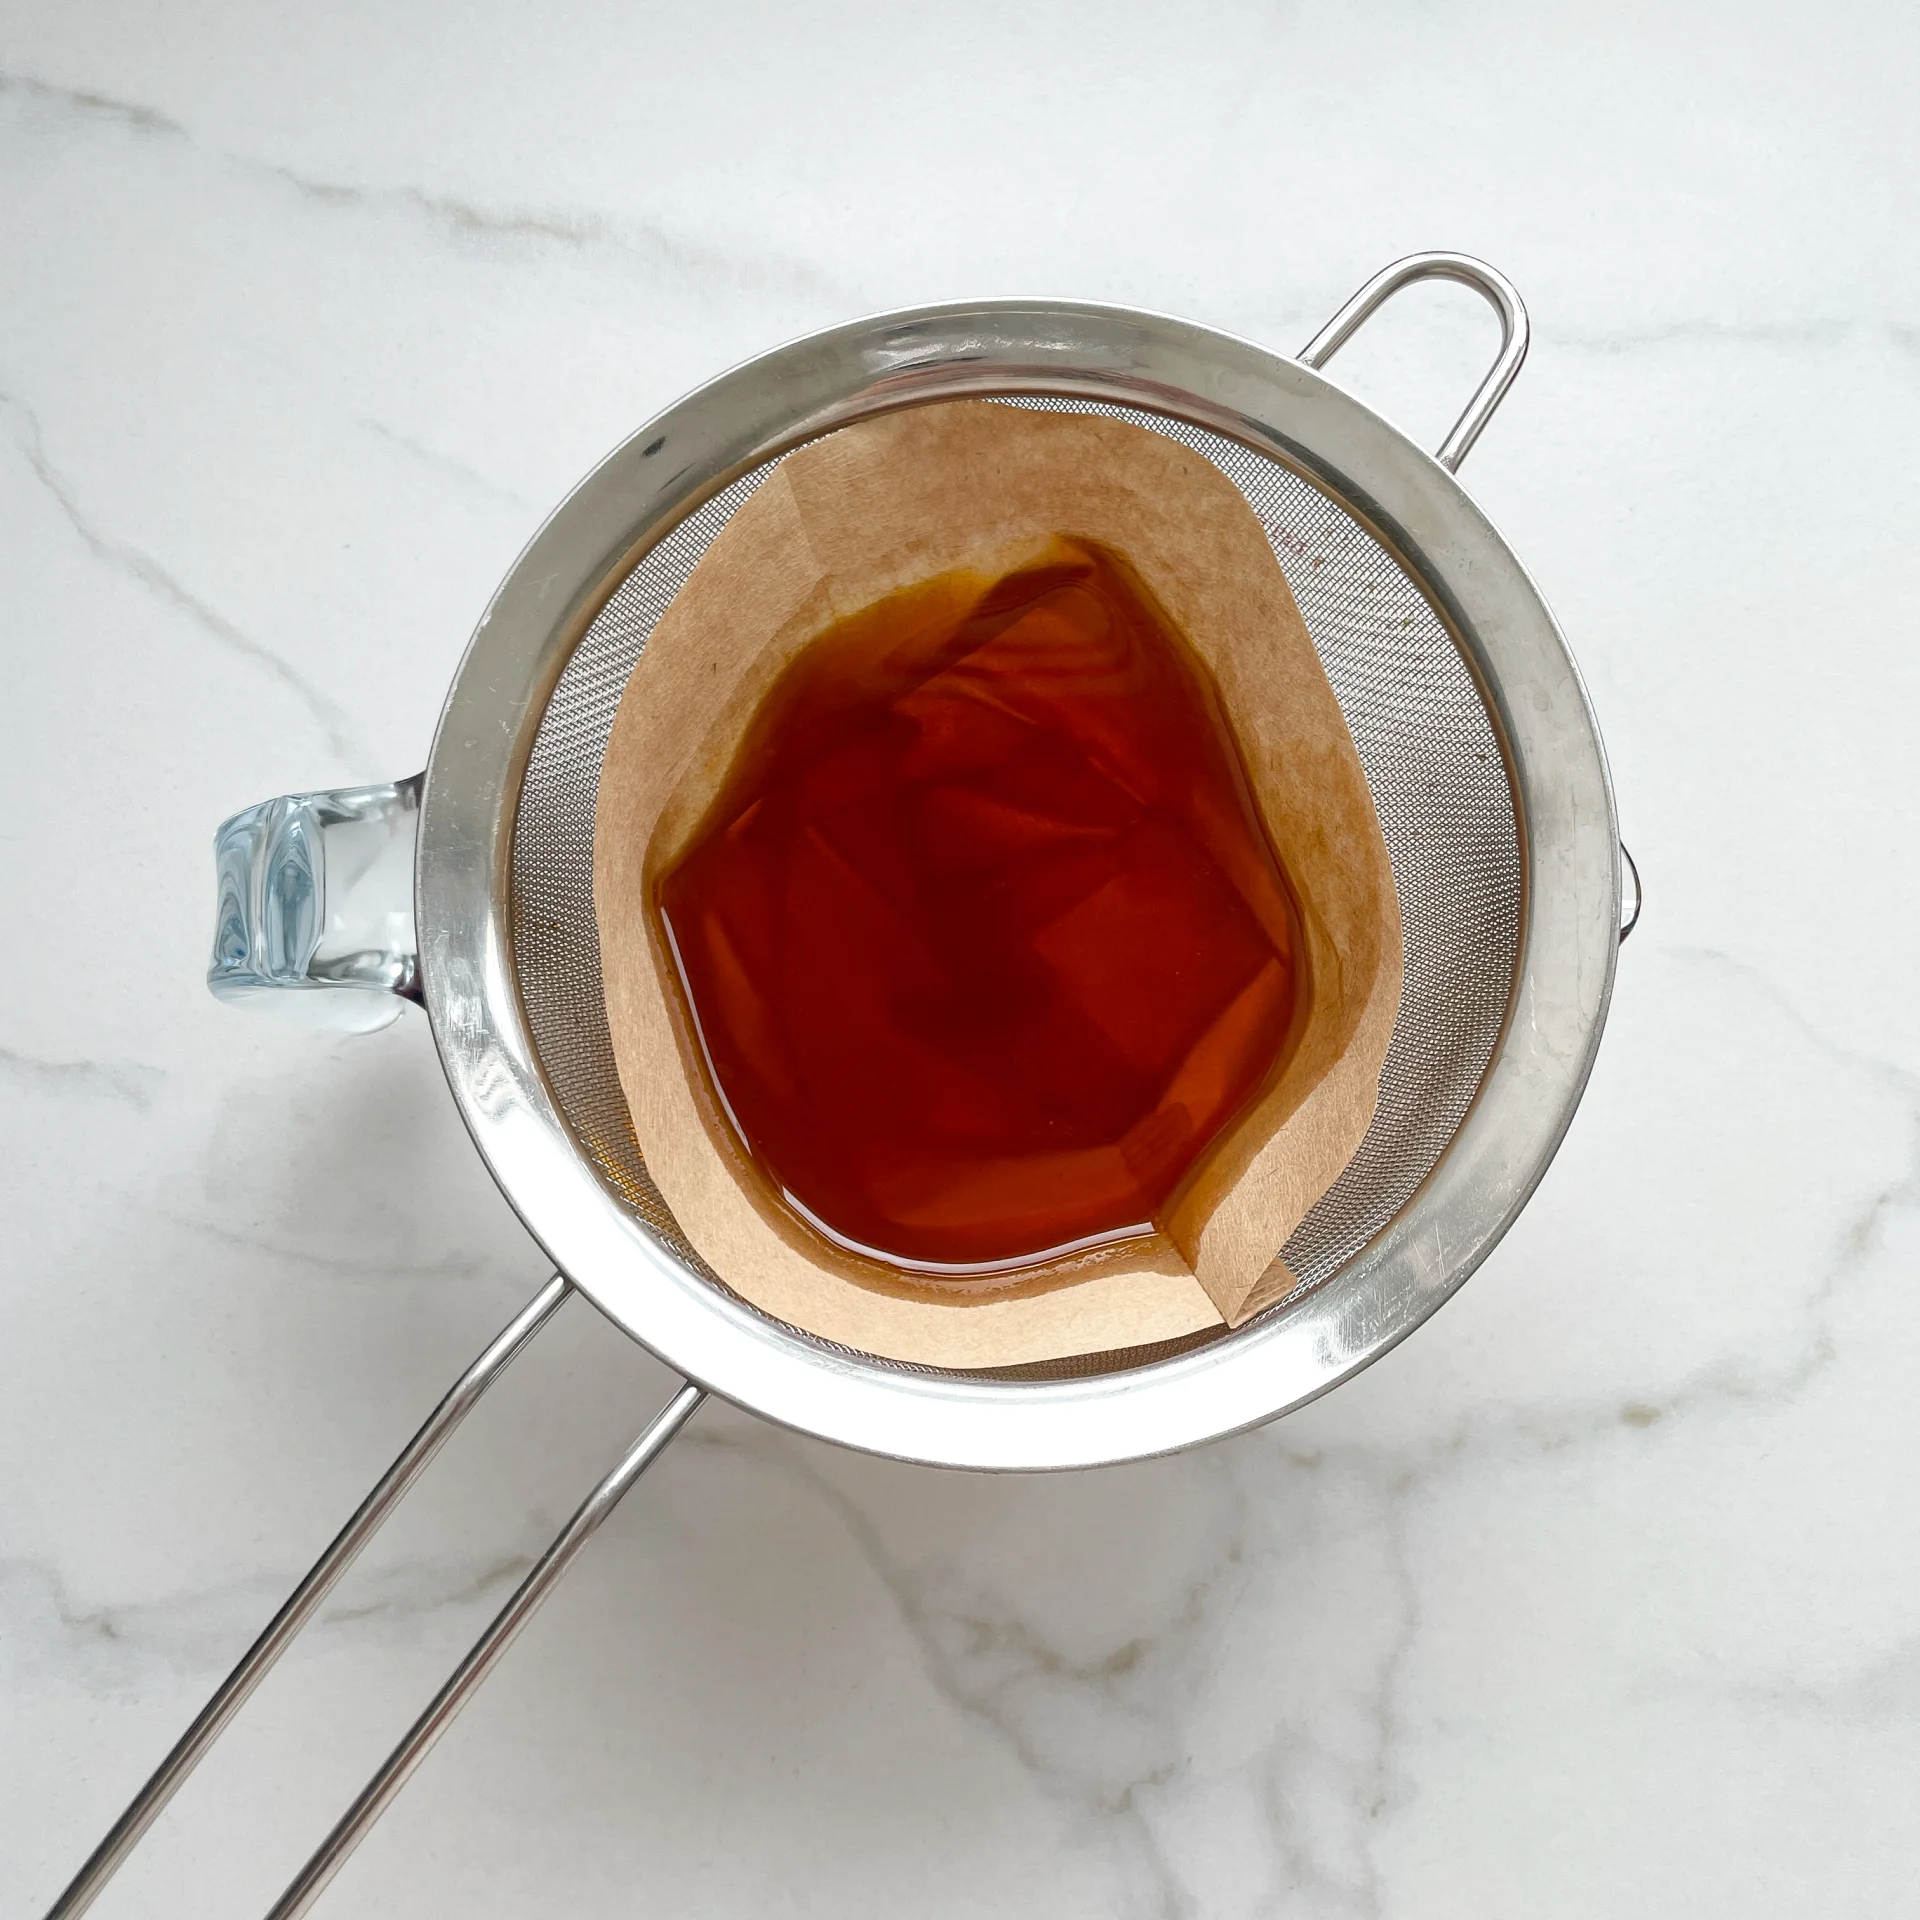
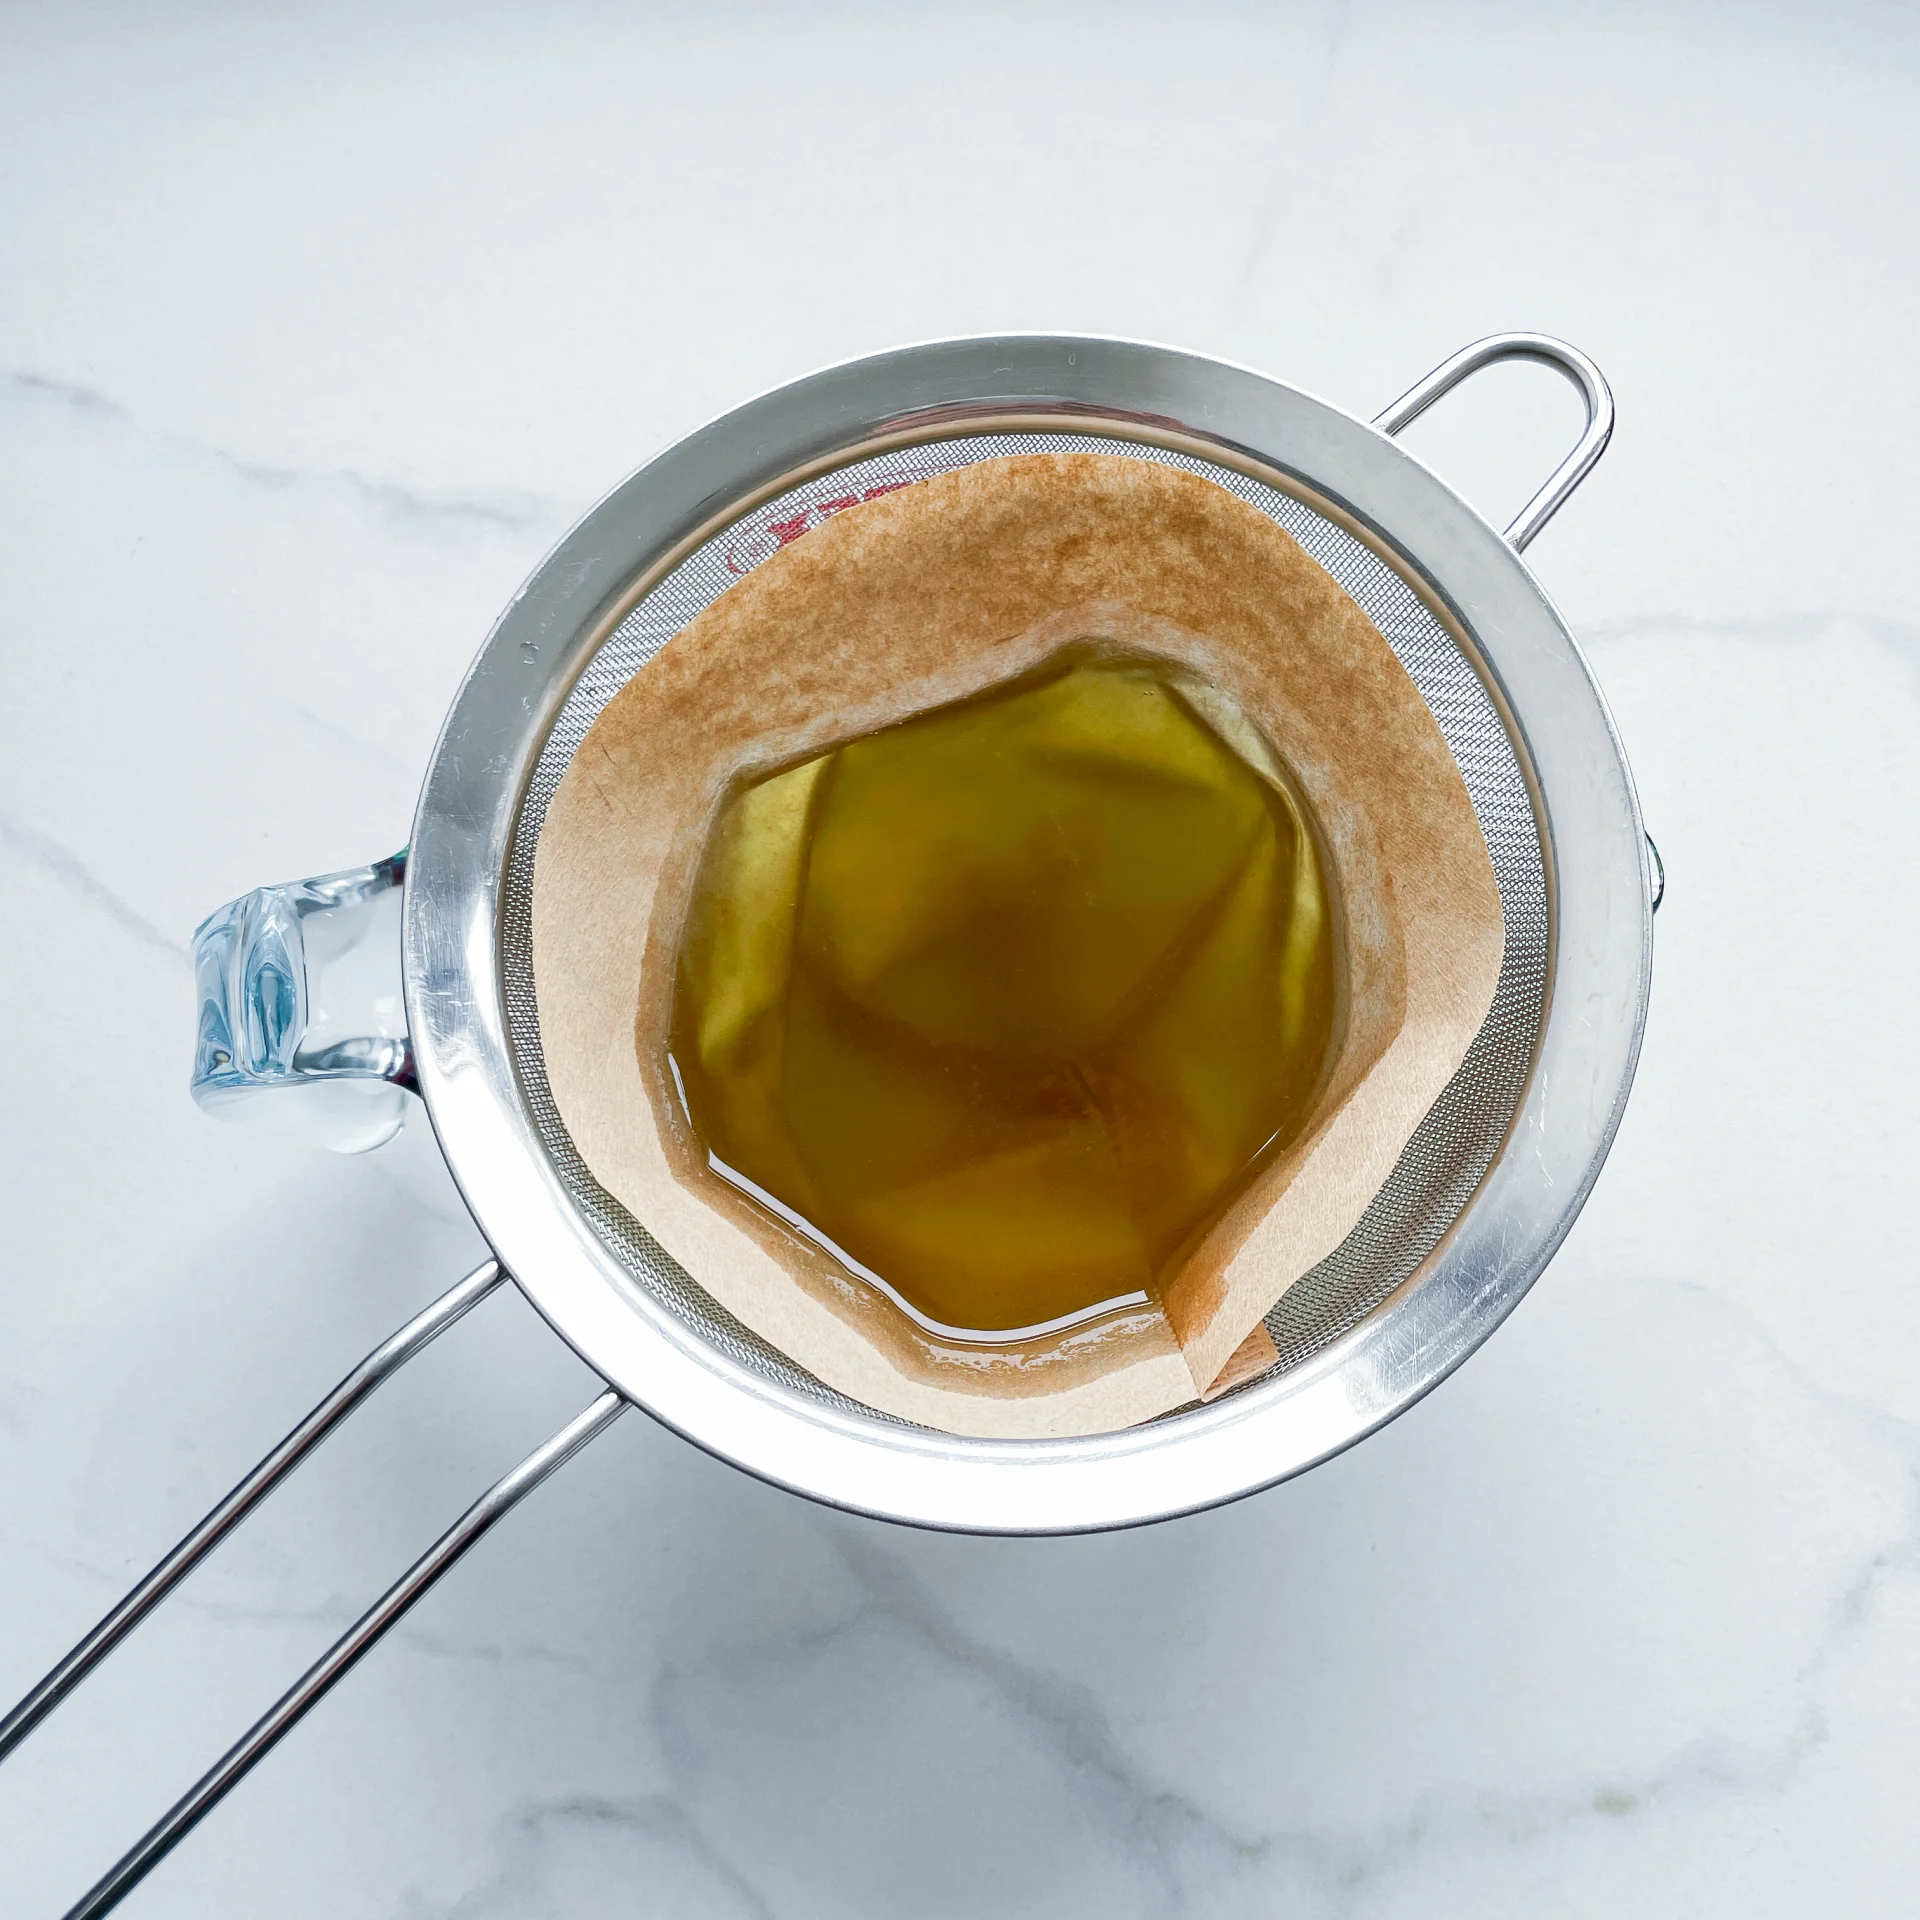
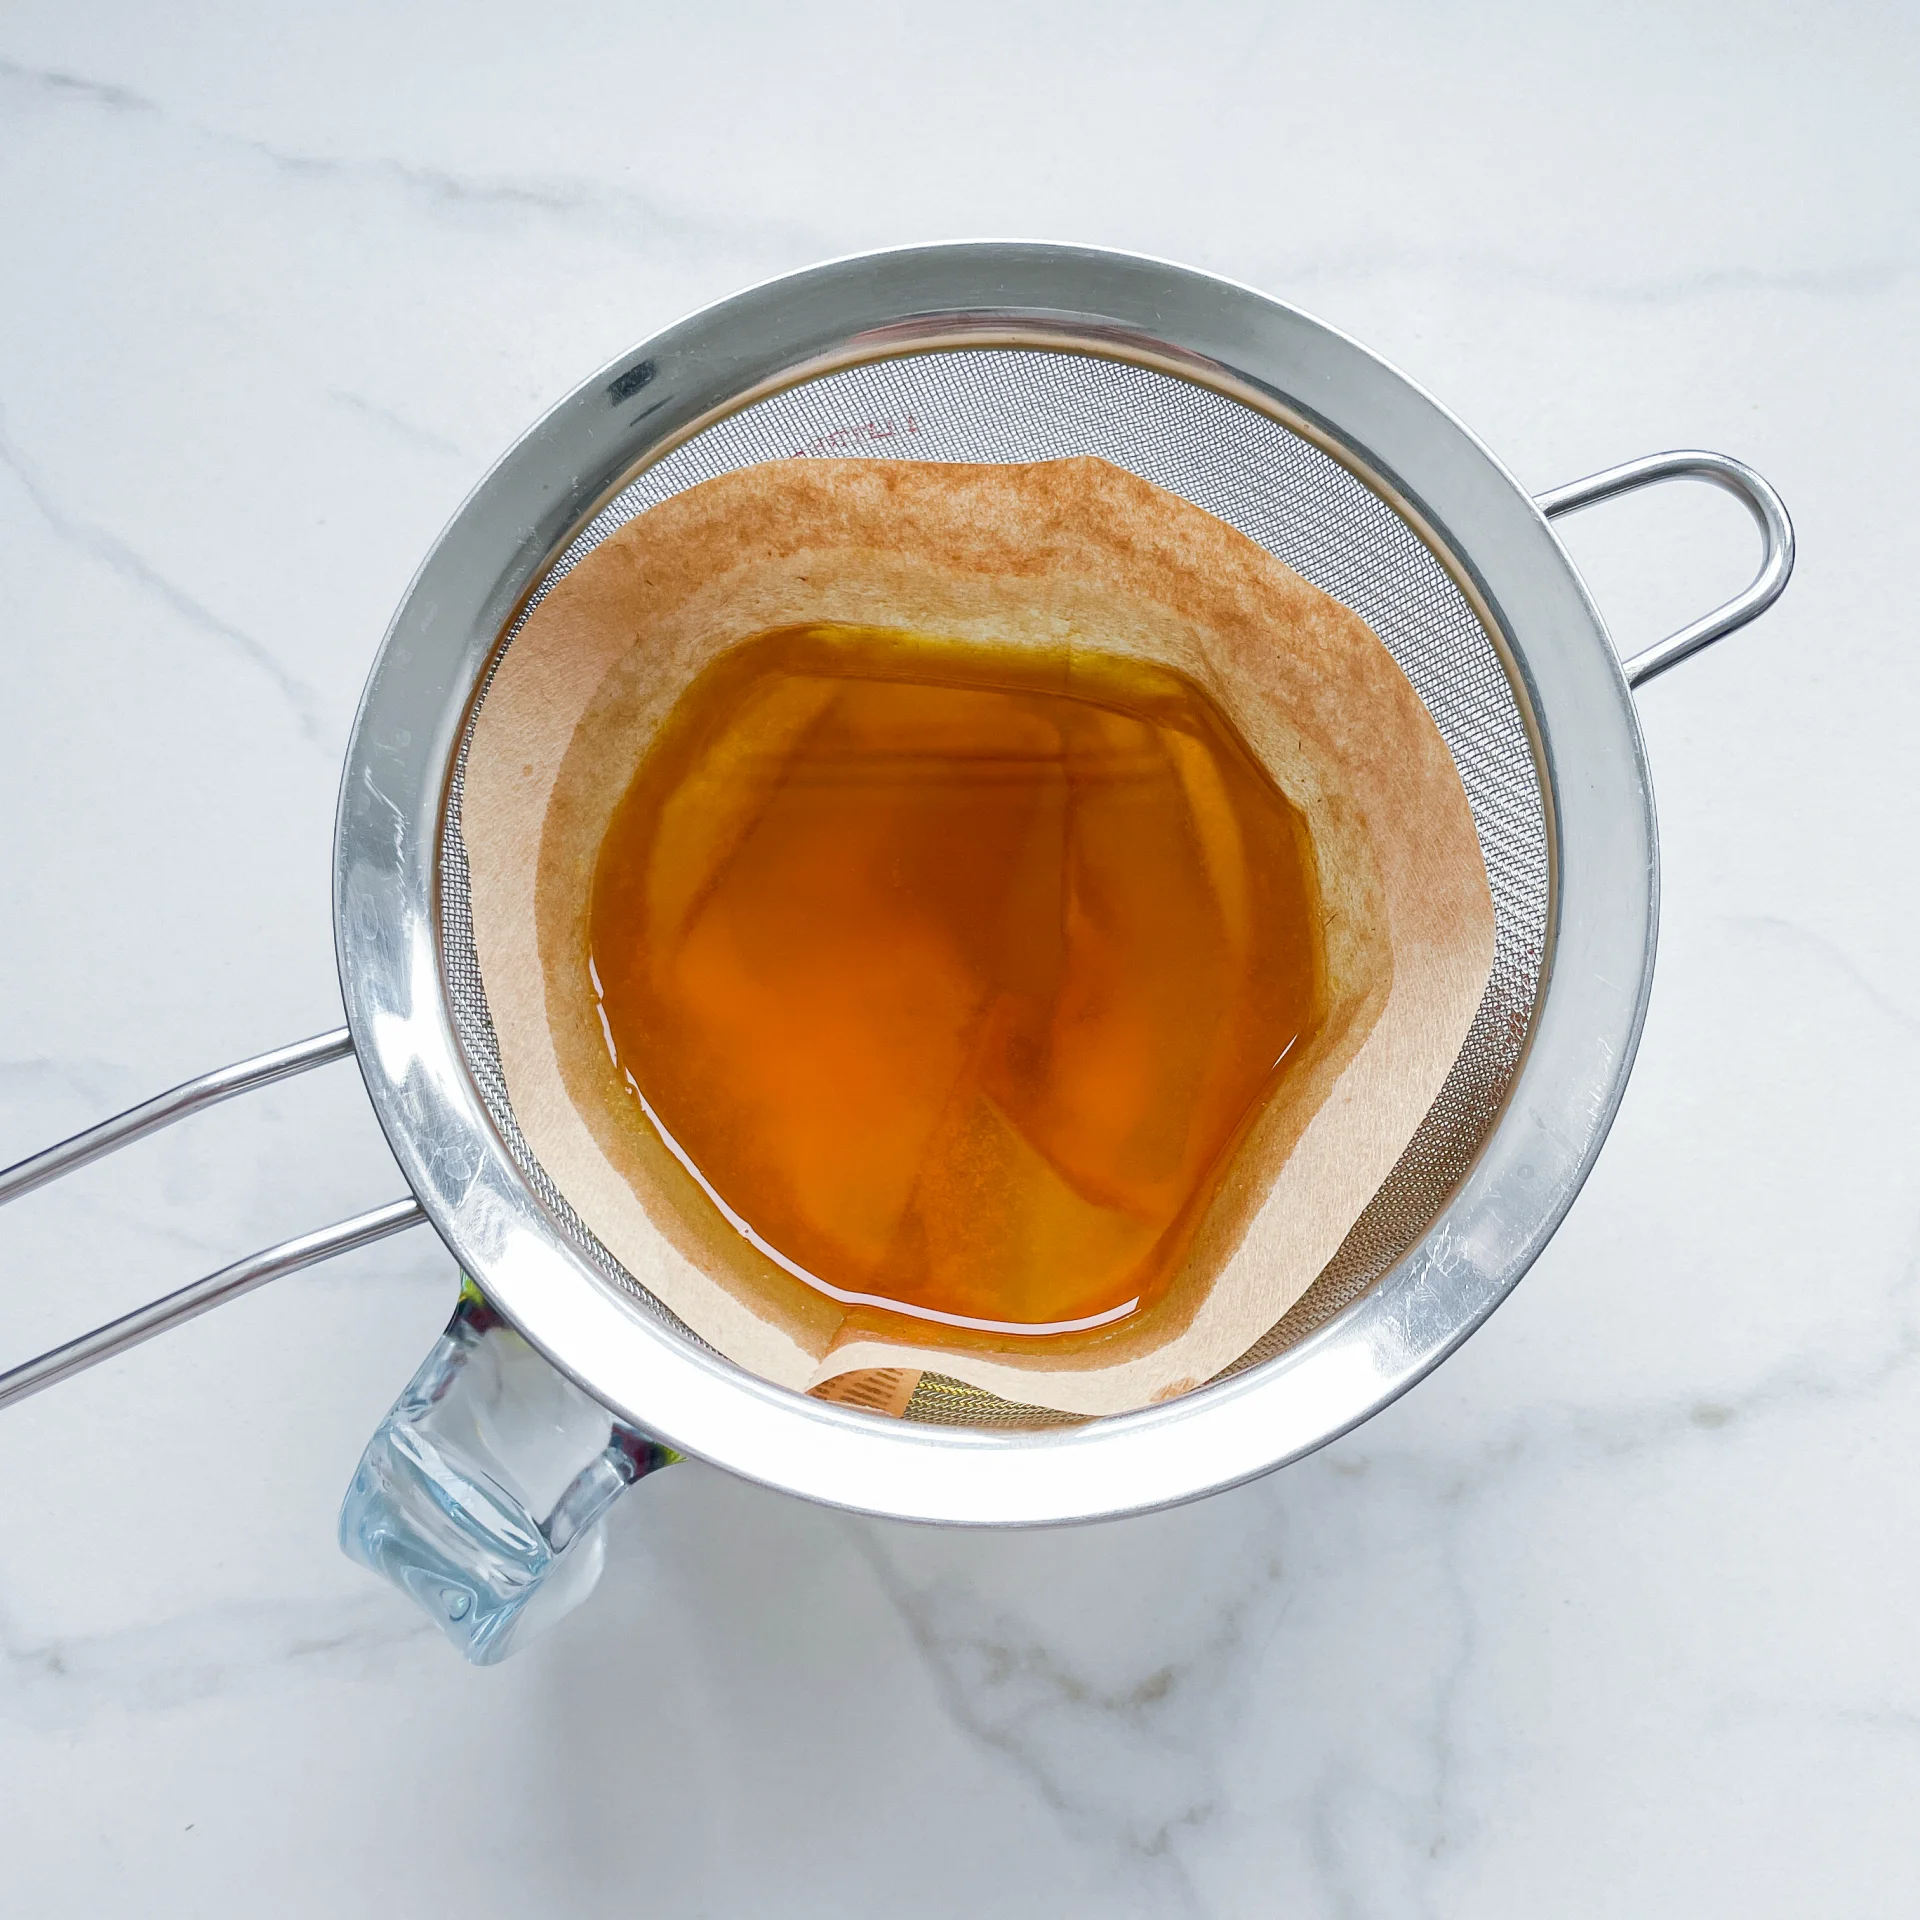
  5. Then, pour the oil into the second fine mesh sieve, which you before equipped with a coffee filter, to catch the remaining finer particles.
  6. Allow the oil to drip through for about 30 minutes or maybe less depending on how many remaining particles are in the coffee filter. Once all the oil has passed through the coffee filter, transfer the collected amount of oil into an oil bottle. Store in the refrigerator for up to 1 week.
  • Prep Time: 5 min
  • Passive Time: 30 min
  • Cook Time: 10 min

Candied Bacon Oil

Candied Bacon Oil

Candied Bacon Oil

Candied Bacon Oil

December 15, 2024 by Kimberly

Smoky, sweet, and a little experimental. This infused oil started bold, mellowed out after filtering, and left me wondering: was it worth it? Fun to try, but not essential!

45 MINUTES

ADVANCED

VEGAN

INT.

40 PER TSP

MICHELIN

OIL

ALL YEAR

INTRODUCTION

ABOUT THE RECIPE

This recipe is one part experiment, one part “Wait, what just happened?” Infusing oil with bacon, dates, brown sugar, and smoked paprika sounded like a genius idea – and at first, it totally was. Before filtering, the oil was bursting with smoky, sweet, and savory vibes, like a liquid dream. But after straining, the flavors mellowed… a lot. While it didn’t pack the punch I hoped for, the process was a fun little kitchen adventure. Worth trying? Maybe. Fun? Absolutely.

How to serve
This oil might have a neutral flavor, but the color? Stunning. It’s perfect for adding a red, glossy finish to your dishes. Use it in everyday cooking. It’s subtle enough to not overpower anything. Plus, let’s be real: anything that looks this good in your kitchen is already a win. But if you want to experiment with bold, flavorful oils, then you absolutely have to try these blini appetizers!


How to store
Store the oil in a clean, airtight bottle or jar in a cool, dark spot like your pantry. Use it within a week, as the subtle flavors fade quickly.

Hi, I'm Kimberly!

Hi, I'm Kimberly.

A passionate food lover who believes in the magic of homemade deliciousness that spreads love and warmth. Join me on this culinary adventure as I prepare wonderful dishes and let’s spread some happiness together!

Kimberly the Zett Signature

If you want to get to know me better, click here!


Candied Bacon Oil
Candied Bacon Oil
Candied Bacon Oil
„Let’s make a piece of happiness“
Print
clock clock iconcutlery cutlery iconflag flag iconfolder folder iconinstagram instagram iconpinterest pinterest iconfacebook facebook iconprint print iconsquares squares iconheart heart iconheart solid heart solid icon
Candied Bacon Oil

Candied Bacon Oil


  • Author: Kimberly
  • Total Time: 35 min
  • Yield: 1 cup / 250 ml 1x

Description

RECOMMENDED EQUIPMENT

  • blender
  • medium-sized saucepan
  • whisk
  • a bowl which the medium saucepan fits into
  • 2 medium-sized bowls
  • 2 fine sieves
  • sealable container (oil bottle)
  • ice cubes
  • coffee filter

Ingredients

Units Scale
  • 40 grams bacon
  • 5 dates
  • 1 tbsp brown sugar
  • 1 tsp smoked paprika powder
  • 250 milliliter canola oil

Instructions

  1. Cut the bacon into strips, pit and halve the dates, and add everything to the blender along with the sugar and smoked paprika powder.
  2. Pour the mixture from the blender into a medium-sized pot and heat it over medium heat to a temperature of about 101°-104°C (213°-219°F), and maintain this temperature for the next 10 minutes. Stir occasionally, making sure the temperature remains steady and nothing gets burned.
  3. Prepare a bowl large enough to fit a medium-sized pot, and fill it with cold water and a handful of ice cubes. Also, hang a fine sieve strainer over one medium-sized bowl and another fine sieve strainer, with a coffee filter inside it, over another medium-sized bowl.
  4. Now, place the pot in the ice water and stir to cool the oil quickly. Once the oil is almost cold, remove the pot from the water and pour the oil into the prepared fine sieve to catch the coarse particles.
  5. Then, pour the oil into the second sieve, which is equipped with a coffee filter, to catch the remaining finer particles.
  6. Allow the oil to drip through for about 20 minutes or maybe less depending on how many remaining particles are in the coffee filter. Once all the oil has passed through the coffee filter, transfer the collected amount of oil into a sealable container or directly into an oil bottle. Store in the refrigerator for up to one week.
  • Prep Time: 5 min
  • Passive Time: 20 min
  • Cook Time: 10 min

Love Apple Oil

Love Apple Oil

Love Apple Oil

Love Apple Oil

December 14, 2024 by Kimberly

A creative kitchen experiment infusing oil with red apples and butter toffee candy. The flavor didn’t deliver, but the laughs and lessons were worth every drop.

45 MINUTES

ADVANCED

VEGETARIAN

INT.

40 PER TSP

MICHELIN

OIL

ALL YEAR

INTRODUCTION

ABOUT THE RECIPE

You know that moment when a creative food idea feels like pure genius? That was me, infusing oil with red apples and butter toffee candies. The result? Let’s just say it didn’t taste as magical as I imagined. But hey, not every experiment is a win, and this one definitely brought some laughs. Whether you’re here for the curiosity or to avoid making the same mistake, welcome to the quirky world of kitchen experiments!

How to serve
If this oil had worked, I’d have drizzled it over ice cream, pancakes, or even a bowl of vanilla yogurt for a caramel apple vibe. Instead, consider using plain oil as a reminder that simplicity sometimes wins! Pair it with recipes where the natural oil flavor can shine, like salads or marinades – without the apple-toffee detour. But if you’re still craving apples and caramel, you’ve got to try one of my favorite desserts: my Apple Pie Rolls with Vanilla & Caramel Sauce & Milk Crumble!

How to store
Keep infused oils (successful or not) in a clean, airtight container in a cool, dark place for up to a week. Label it clearly to avoid any surprises in the kitchen!

Hi, I'm Kimberly!

Hi, I'm Kimberly.

A passionate food lover who believes in the magic of homemade deliciousness that spreads love and warmth. Join me on this culinary adventure as I prepare wonderful dishes and let’s spread some happiness together!

Kimberly the Zett Signature

If you want to get to know me better, click here!


Love Apple Oil
Love Apple Oil
Love Apple Oil
„Let’s make a piece of happiness“
Print
clock clock iconcutlery cutlery iconflag flag iconfolder folder iconinstagram instagram iconpinterest pinterest iconfacebook facebook iconprint print iconsquares squares iconheart heart iconheart solid heart solid icon
Love Apple Oil

Love Apple Oil


  • Author: Kimberly
  • Total Time: 45 min
  • Yield: 1 cup / 250 ml 1x

Description

RECOMMENDED EQUIPMENT

  • blender
  • medium-sized saucepan
  • whisk
  • a bowl which the medium saucepan fits into
  • 2 medium-sized bowls
  • 2 fine mesh strainers
  • oil bottle
  • ice cubes
  • coffee filter

Ingredients

Units Scale
  • 1/2 red apple
  • 100 grams butter toffee
  • 250 milliliter oil

Instructions

  1. Cut the apple into large chunks, remove the core and put it into the blender along with the butter toffee. Pour in the oil. Blend on the highest setting until no coarse pieces are longer visible.
  2. Pour the mixture from the blender into a medium-sized pot and heat it over medium heat, constantly stirring, to a temperature of about 102°-103°C (215°-217°F). Then, let the oil simmer with the lid partially on for the next 20 minutes. Stir only occasionally, making sure the temperature remains steady and nothing gets burned. The cooking time is essential for all the water to evaporate. You’ll know all the water has evaporated when the oil in the pot barely bubbles anymore – so if it’s still bubbling vigorously, keep it simmering.
  3. At the end of the cooking process, prepare a bowl large enough to fit the medium-sized pot, filled with cold water and a handful of ice cubes. Also, hang a fine mesh sieve strainer over a medium-sized bowl. Now, place the pot in the ice water and stir to stop the cooking process. Once the oil is almost cold, remove the pot from the water and pour the oil into the first fine mesh sieve to catch the coarse particle.
  4. Then, pour the oil into the second fine mesh sieve, which you before equipped with a coffee filter, to catch the remaining finer particles. Allow the oil to drip through for about 20 minutes or maybe less depending on how many remaining particles are in the coffee filter. Once all the oil has passed through the coffee filter, transfer the collected amount of oil into an oil bottle. Store in the refrigerator for up to 1 week.
  • Prep Time: 5 min
  • Passive Time: 20 min
  • Cook Time: 20 min

Tomato Chili Garlic Oil

Tomato Chili Garlic Oil

Tomato Chili Garlic Oil

Tomato Chili Garlic Oil

November 25, 2024 by Kimberly

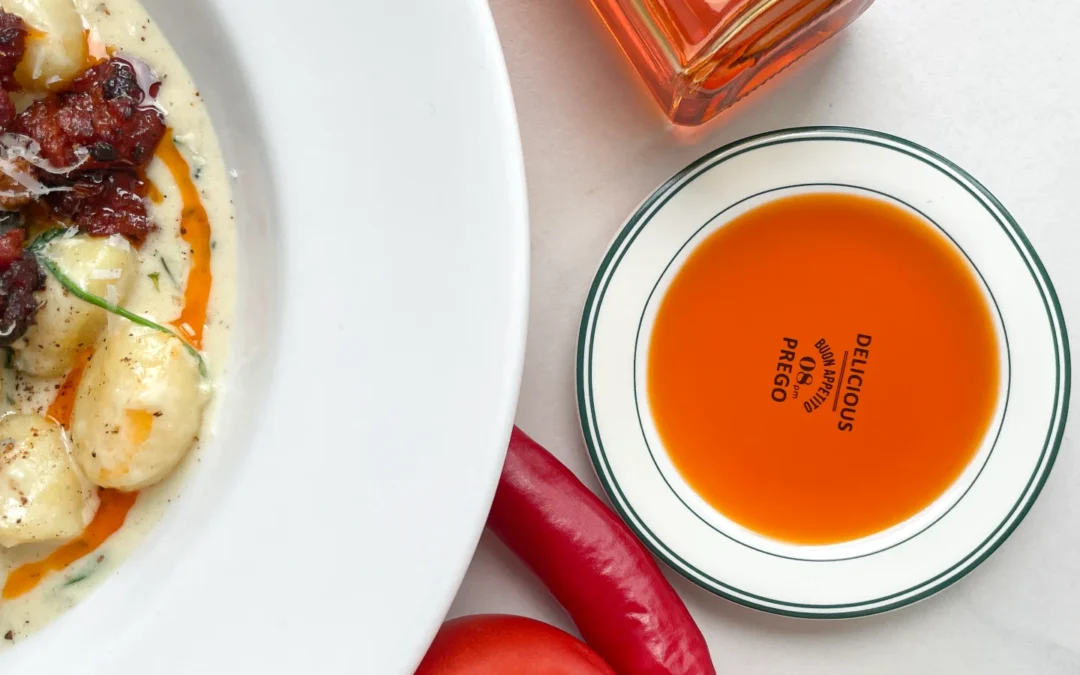
Transform your meals with this rich, spicy oil infused with, bold tomatoes, roasted garlic and fiery chili. A drizzle adds warmth, depth, and a kick to anything from pasta to bread.

65 MINUTES

ADVANCED

VEGAN

INT.

40 PER TSP

SPICY
UMAMI

MICHELIN

OIL

ALL YEAR

INTRODUCTION

ABOUT THE RECIPE

Ready to elevate your meals with a fiery twist? This rich, aromatic oil infused with bold tomatoes, roasted garlic and spicy chili brings an irresistible warmth and depth to every bite. Perfect for drizzling over pasta or pizza, dipping crusty bread, or adding a spicy edge to your pizza. It’s not just a topping – it’s a mood. Think cozy, flavorful dinners with that extra kick of spice – effortless but unforgettable. Warning: one drizzle, and you’ll be hooked.

How to serve
This oil shines when drizzled over freshly cooked pasta, adding an instant depth of flavor. It’s also the perfect pairing for warm, crusty bread – just pour it into a small dish and dip away! Try it on pizza to give each slice a bold kick, or even as a finishing touch on roasted vegetables for a gourmet vibe. Honestly, it’s your go-to for making any meal feel a little extra without the extra effort.

How to store
Store your infused oil in a clean, airtight glass jar or bottle. Keep it in a cool, dark spot, like a pantry or cupboard, for up to one week.

Hi, I'm Kimberly!

Hi, I'm Kimberly.

A passionate food lover who believes in the magic of homemade deliciousness that spreads love and warmth. Join me on this culinary adventure as I prepare wonderful dishes and let’s spread some happiness together!

Kimberly the Zett Signature

If you want to get to know me better, click here!


Tomato Chili Garlic Oil
„Let’s make a piece of happiness“
Print
clock clock iconcutlery cutlery iconflag flag iconfolder folder iconinstagram instagram iconpinterest pinterest iconfacebook facebook iconprint print iconsquares squares iconheart heart iconheart solid heart solid icon
Tomato Chili Garlic Oil

Tomato Chili Garlic Oil


  • Author: Kimberly
  • Total Time: 65 min
  • Yield: 1 cup / 250 ml 1x

Description

RECOMMENDED EQUIPMENT

  • blender
  • medium-sized saucepan
  • whisk
  • a bowl which the medium saucepan fits into
  • 2 medium-sized bowls
  • 2 fine sieves
  • sealable container (oil bottle)
  • ice cubes
  • coffee filter

Ingredients

Units Scale
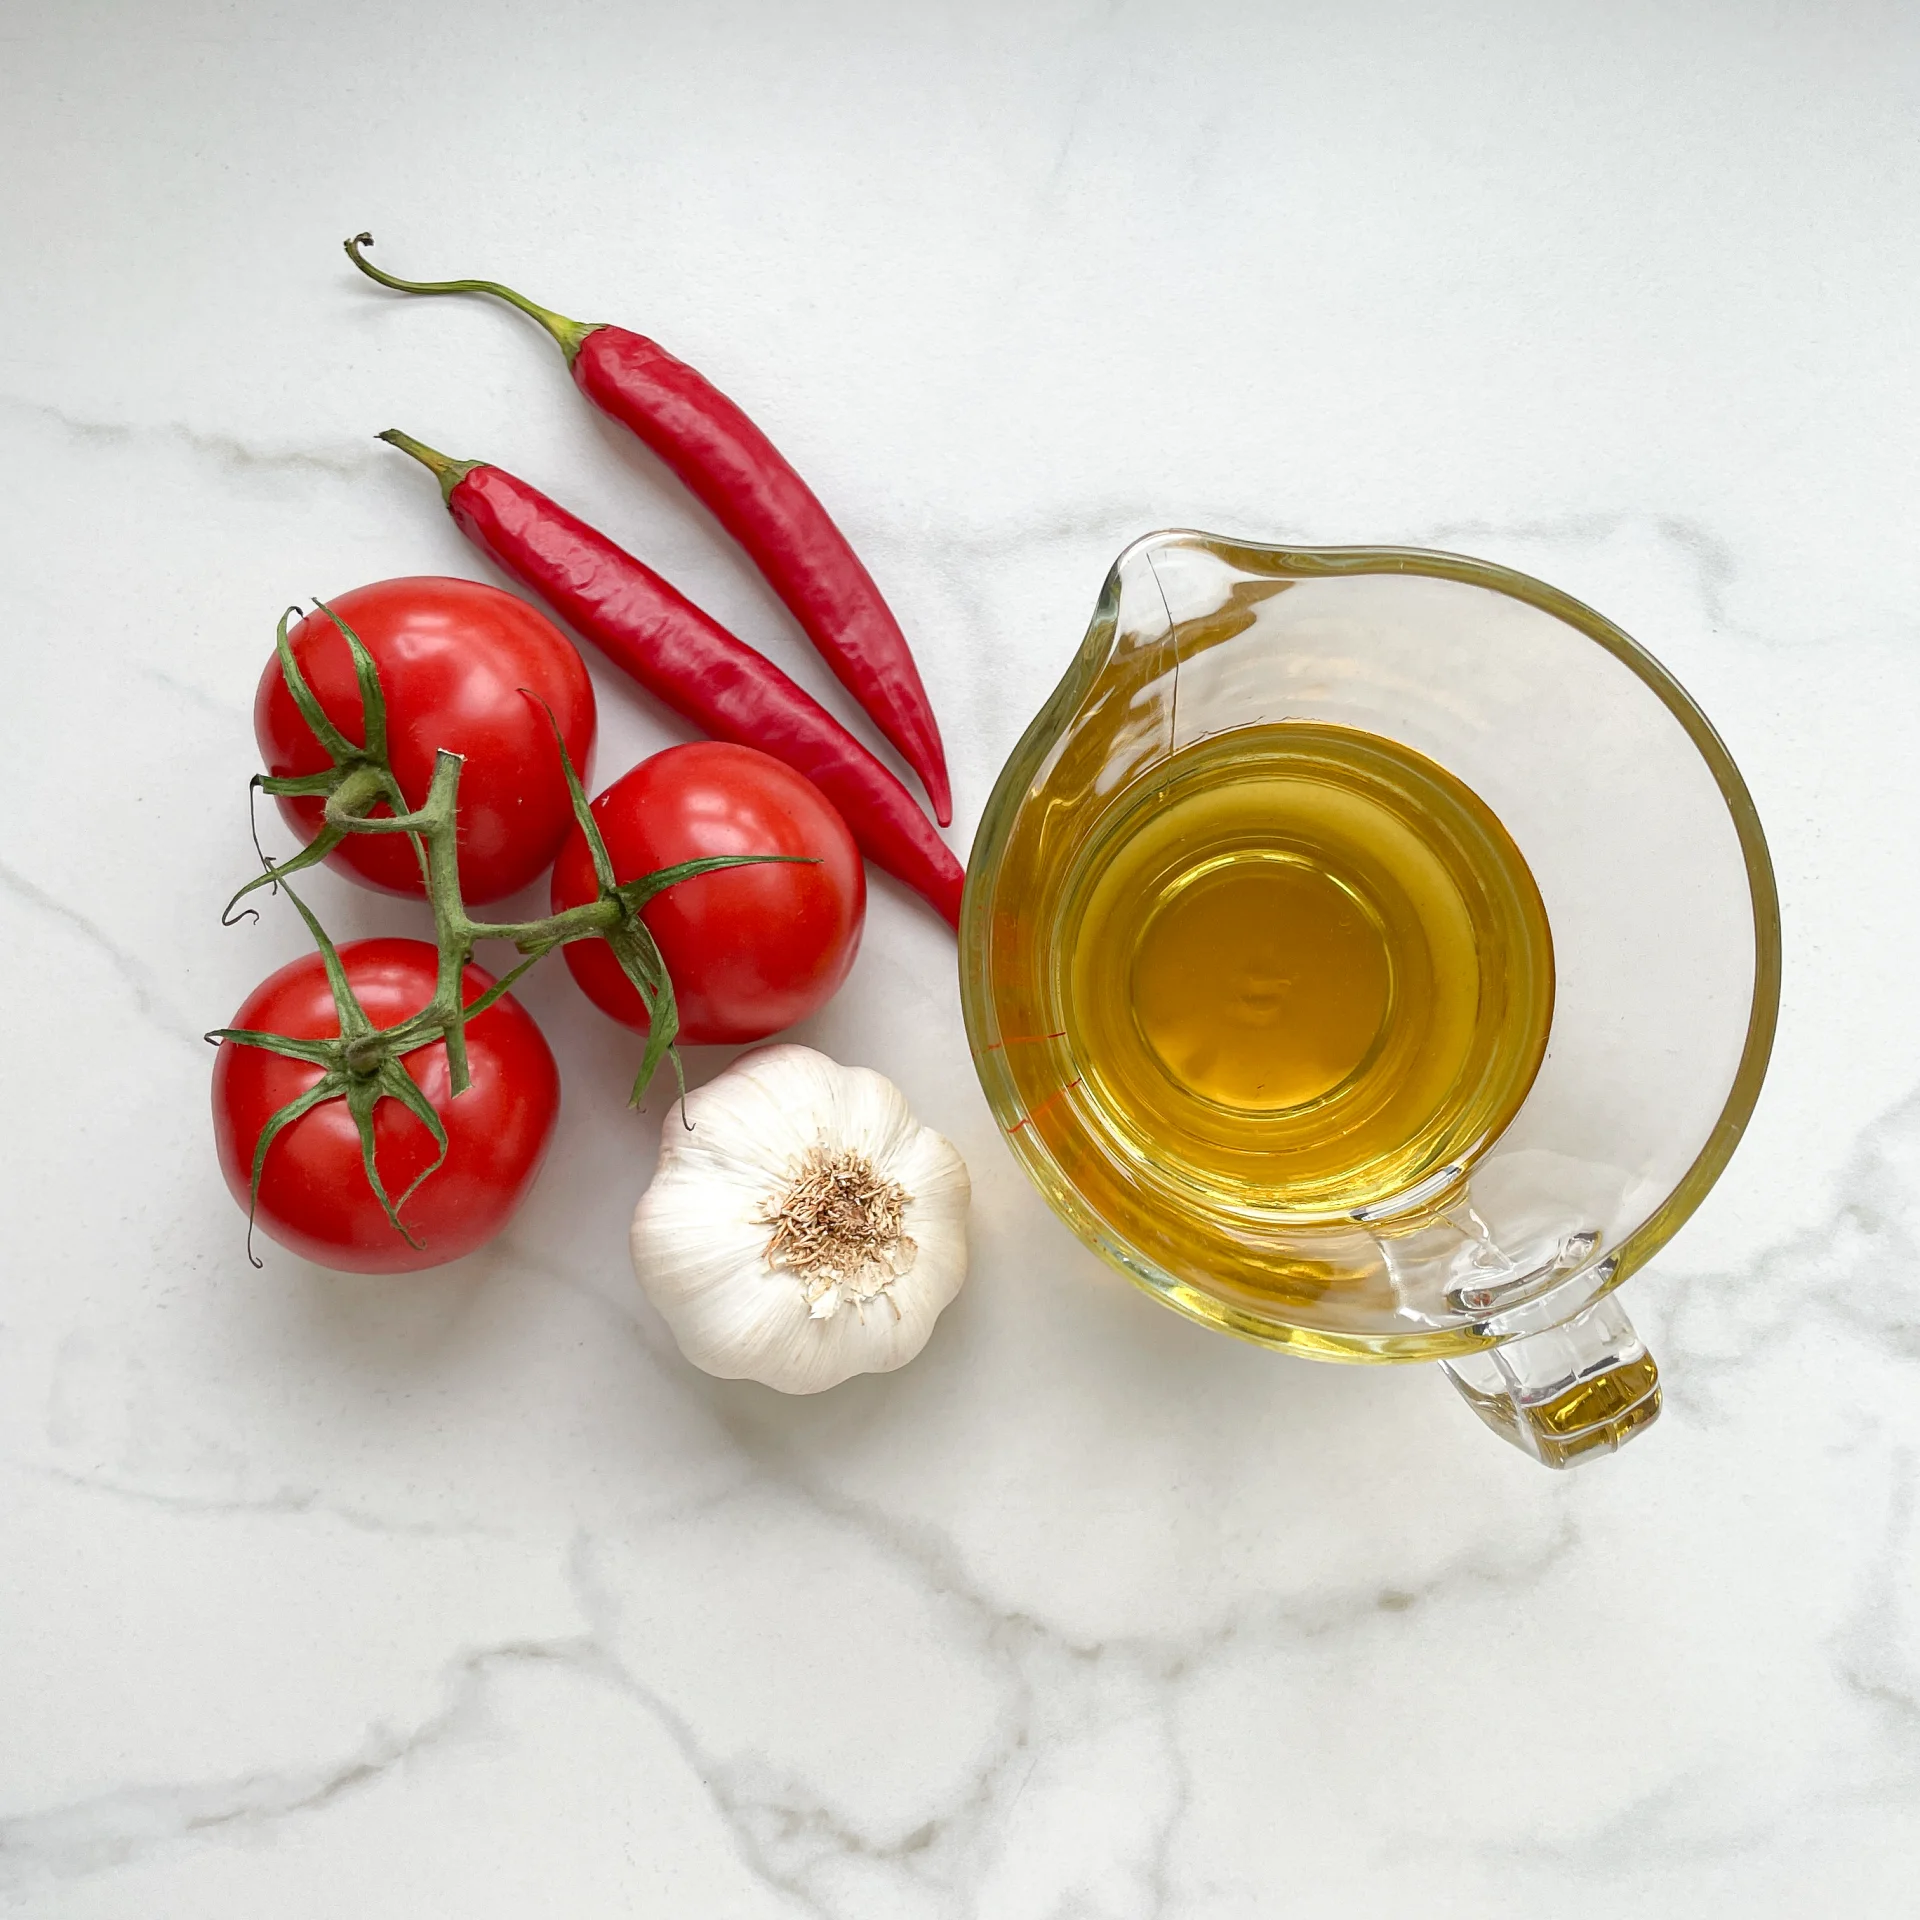
  • 200 grams tomato
  • 6 garlic cloves
  • 1 fresh chili pepper
  • 250 milliliter avocado oil

Instructions

  1. Wash the tomatoes and chili, peel the garlic, and trim the green stem off the chili. Toss everything into the blender.
  2. Pour the mixture from the blender into a medium-sized pot and heat it over medium heat to a temperature of about 101°-104°C (213°-219°F), and maintain this temperature for the next 30 minutes. Stir occasionally, making sure the temperature remains steady and nothing gets burned.
  3. Prepare a bowl large enough to fit a medium-sized pot, and fill it with cold water and a handful of ice cubes. Also, hang a fine sieve strainer over one medium-sized bowl and another fine sieve strainer, with a coffee filter inside it, over another medium-sized bowl.
  4. Now, place the pot in the ice water and stir to cool the oil quickly. Once the oil is almost cold, remove the pot from the water and pour the oil into the prepared fine sieve to catch the coarse particles.
  5. Then, pour the oil into the second sieve, which is equipped with a coffee filter, to catch the remaining finer particles.
  6. Allow the oil to drip through for about 20 minutes or maybe less depending on how many remaining particles are in the coffee filter. Once all the oil has passed through the coffee filter, transfer the collected amount of oil into a sealable container or directly into an oil bottle. Store in the refrigerator for up to one week.
  • Prep Time: 5 min
  • Passive Time: 30 min
  • Cook Time: 30 min

Banana Oil

Banana Oil

Banana Oil

Banana Oil

November 19, 2024 by Kimberly

Ever tried to make banana-infused oil and ended up with, well…oil? Sometimes experiments don’t work out, but hey, it’s all about the fun and laughs in the kitchen, right?

40 MINUTES

ADVANCED

VEGAN

INT.

40 PER TSP

MICHELIN

OIL

ALL YEAR

INTRODUCTION

ABOUT THE RECIPE

Here’s a tale of an adventurous kitchen experiment – I set out to make banana-infused oil, dreaming of drizzling a sweet, tropical essence over everything. But guess what? This one didn’t go as planned! Despite all my efforts, the oil ended up just…oil. Yep, no banana flavor to be found. Sometimes, the kitchen surprises you, and it’s just as fun to share what didn’t work as what does!

How to serve
While banana-infused oil may not be gracing our tables today, this experience reminded me that cooking is all about experimentation and joy. You may not want to serve it (unless you like regular oil!), but if you’re feeling bold, give it a try and use it as a neutral base in a salad dressing. Or just laugh it off and move on to your next kitchen adventure!

How to store
If you decide to keep your flavorless banana oil, store it as you would any other oil in a cool, dark place. Just remember, the next time you open it, there’s no hint of banana waiting for you – just a fun memory of a cooking experiment!

Hi, I'm Kimberly!

Hi, I'm Kimberly.

A passionate food lover who believes in the magic of homemade deliciousness that spreads love and warmth. Join me on this culinary adventure as I prepare wonderful dishes and let’s spread some happiness together!

Kimberly the Zett Signature

If you want to get to know me better, click here!


Banana Oil
Banana Oil
Banana Oil
„Let’s make a piece of happiness“
Print
clock clock iconcutlery cutlery iconflag flag iconfolder folder iconinstagram instagram iconpinterest pinterest iconfacebook facebook iconprint print iconsquares squares iconheart heart iconheart solid heart solid icon
Banana Oil

Banana Oil


  • Author: Kimberly
  • Total Time: 40 min
  • Yield: 1 cup / 250 ml 1x

Description

RECOMMENDED EQUIPMENT

  • blender
  • medium-sized saucepan
  • whisk
  • a bowl which the medium saucepan fits into
  • 2 medium-sized bowls
  • 2 fine sieves
  • sealable container (oil bottle)
  • ice cubes
  • coffee filter

Ingredients

Units Scale
  • 1 banana
  • 250 milliliters cold-pressed rapeseed oil

Instructions

  1. Peel the banana and put it into the blender. Pour in the oil. Blend on the highest setting until there are only tiny pieces of the banana left.
  2. Pour the mixture from the blender into a medium-sized pot and heat it over medium heat to a temperature of about 101°-104°C (213°-219°F), and maintain this temperature for the next 20 minutes. Stir occasionally, making sure the temperature remains steady and nothing gets burned.
  3. Prepare a bowl large enough to fit a medium-sized pot, and fill it with cold water and a handful of ice cubes. Also, hang a fine sieve strainer over one medium-sized bowl and another fine sieve strainer, with a coffee filter inside it, over another medium-sized bowl.
  4. Now, place the pot in the ice water and stir to cool the oil quickly. Once the oil is almost cold, remove the pot from the water and pour the oil into the prepared fine sieve to catch the coarse particles.
  5. Then, pour the oil into the second sieve, which is equipped with a coffee filter, to catch the remaining finer particles.
  6. Allow the oil to drip through for about 20 minutes or maybe less depending on how many remaining particles are in the coffee filter. Once all the oil has passed through the coffee filter, transfer the collected amount of oil into a sealable container or directly into an oil bottle. Store in the refrigerator for up to one week.
  • Passive Time: 20 min
  • Cook Time: 20 min

Leek Oil

Leek Oil

Leeks Oil

Leek Oil

November 7, 2024 by Kimberly

Add a pop of flavor with this vibrant, earthy oil! Drizzle over soups, salads, or grilled veggies for a fresh twist that’s as tasty as it is gorgeous. Pure liquid green goodness.

65 MINUTES

ADVANCED

VEGAN

INT.

40 PER TSP

UMAMI

MICHELIN

OIL

ALL YEAR

INTRODUCTION

ABOUT THE RECIPE

Leek oil is a game-changer for adding vibrant color and savory flavor to just about any dish! With its green hue and subtle, earthy taste, this oil is a simple yet elegant way to elevate soups, salads, or roasted veggies. Making it at home is easy and gives you an infusion that’s fresher and more flavorful than store-bought options. It’s a little something special for your kitchen arsenal that brings a gorgeous finish to whatever you’re cooking!

How to serve
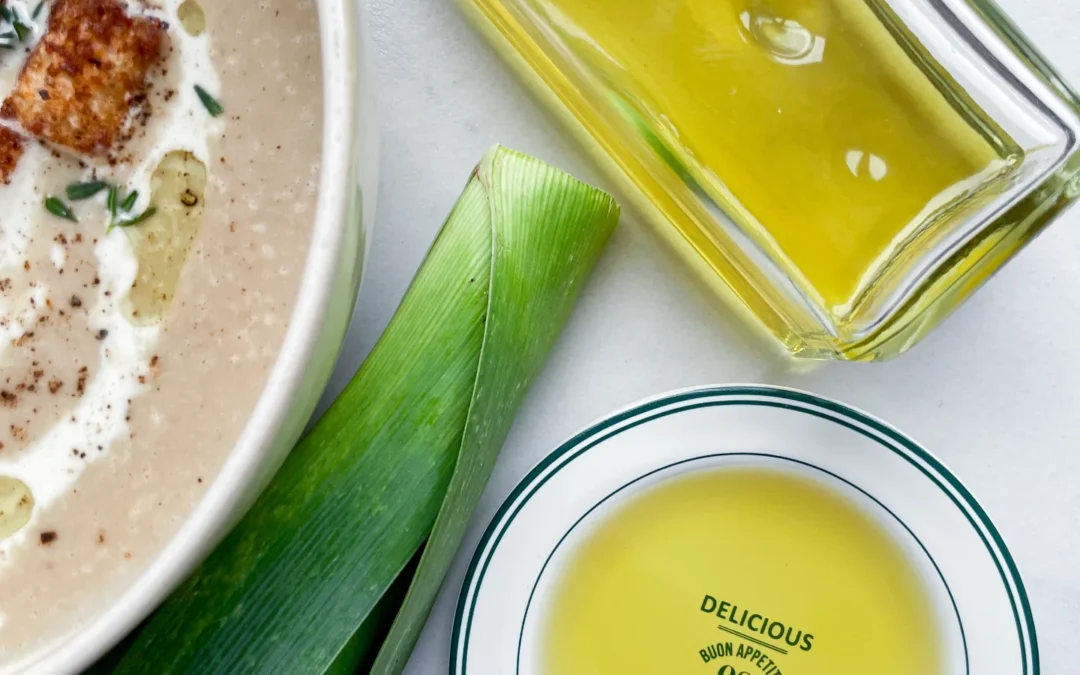
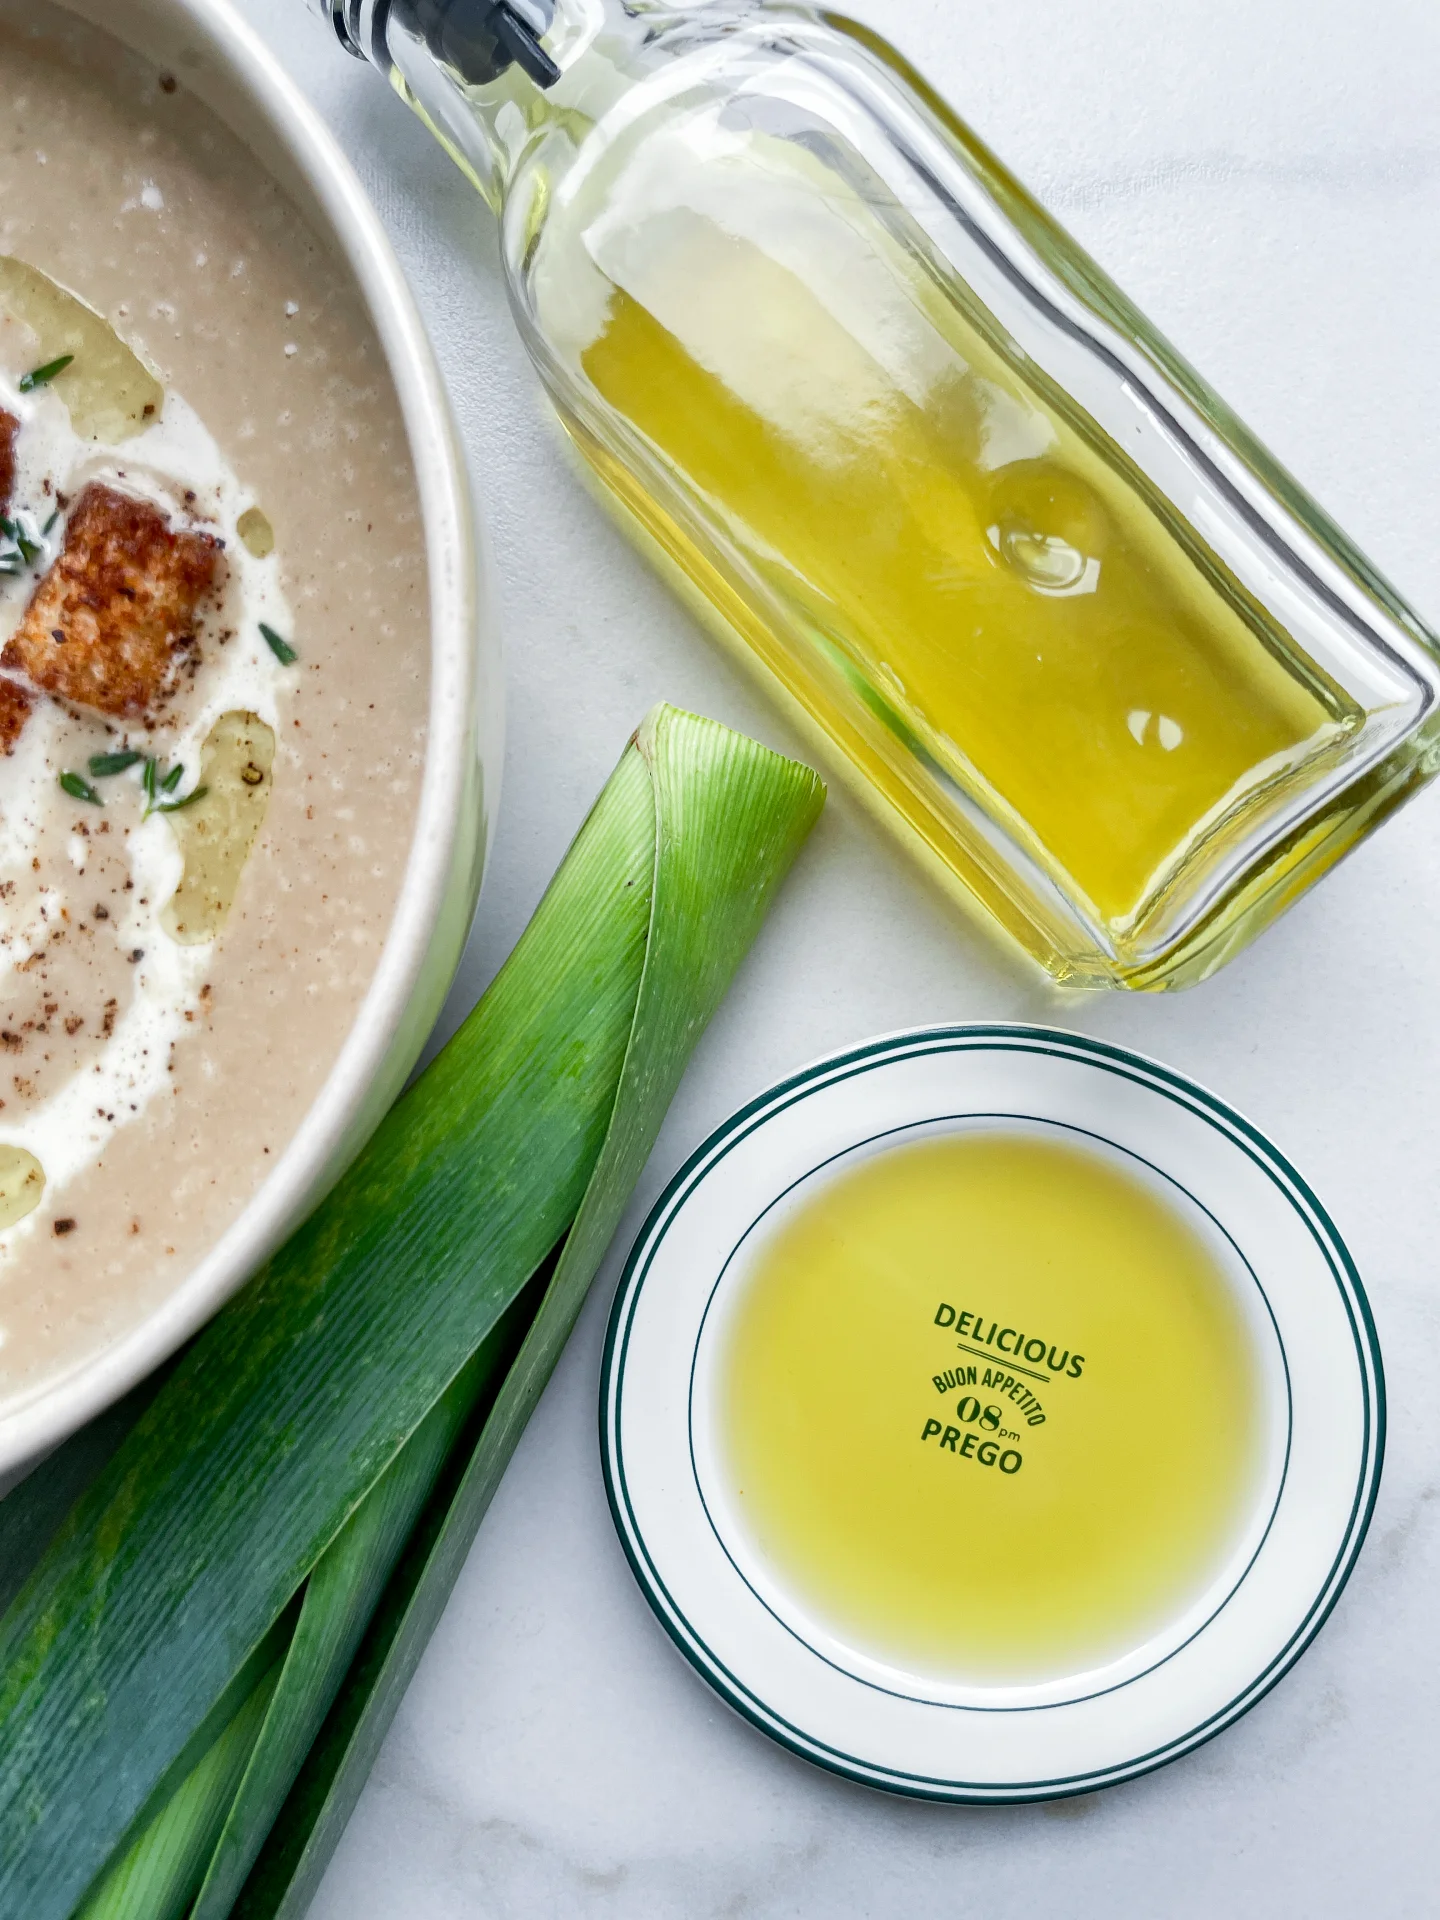
Drizzle this leek oil over your favorite creamy soups, like potato or pumpkin, for a beautiful green swirl and an extra depth of flavor. It’s also amazing on salads – especially when paired with citrus or other fresh veggies – and makes a fantastic finishing touch on roasted or grilled vegetables. A little goes a long way, so use it as a garnish to let the green color and savory notes shine. This is the kind of touch that makes any dish feel a little more gourmet! Don’t miss out on trying it with this Chestnut Soup & Chili Cinnamon Croutons!

How to store
Store leek oil in a clean, airtight glass bottle in the fridge for up to a week. Give it a little shake before each use to keep the flavor evenly distributed. It’s best to use it fresh to enjoy the full flavor and color!

Hi, I'm Kimberly!

Hi, I'm Kimberly.

A passionate food lover who believes in the magic of homemade deliciousness that spreads love and warmth. Join me on this culinary adventure as I prepare wonderful dishes and let’s spread some happiness together!

Kimberly the Zett Signature

If you want to get to know me better, click here!


Leeks Oil
Leeks Oil
Leeks Oil
„Let’s make a piece of happiness“
Print
clock clock iconcutlery cutlery iconflag flag iconfolder folder iconinstagram instagram iconpinterest pinterest iconfacebook facebook iconprint print iconsquares squares iconheart heart iconheart solid heart solid icon
Leek Oil

Leek Oil


  • Author: Kimberly
  • Total Time: 65min
  • Yield: 1 cup / 250 ml 1x

Description

RECOMMENDED EQUIPMENT

  • blender
  • medium-sized saucepan
  • whisk
  • a bowl which the medium saucepan fits into
  • 2 medium-sized bowls
  • 2 fine sieves
  • sealable container (oil bottle)
  • ice cubes
  • coffee filter

Ingredients

Units Scale
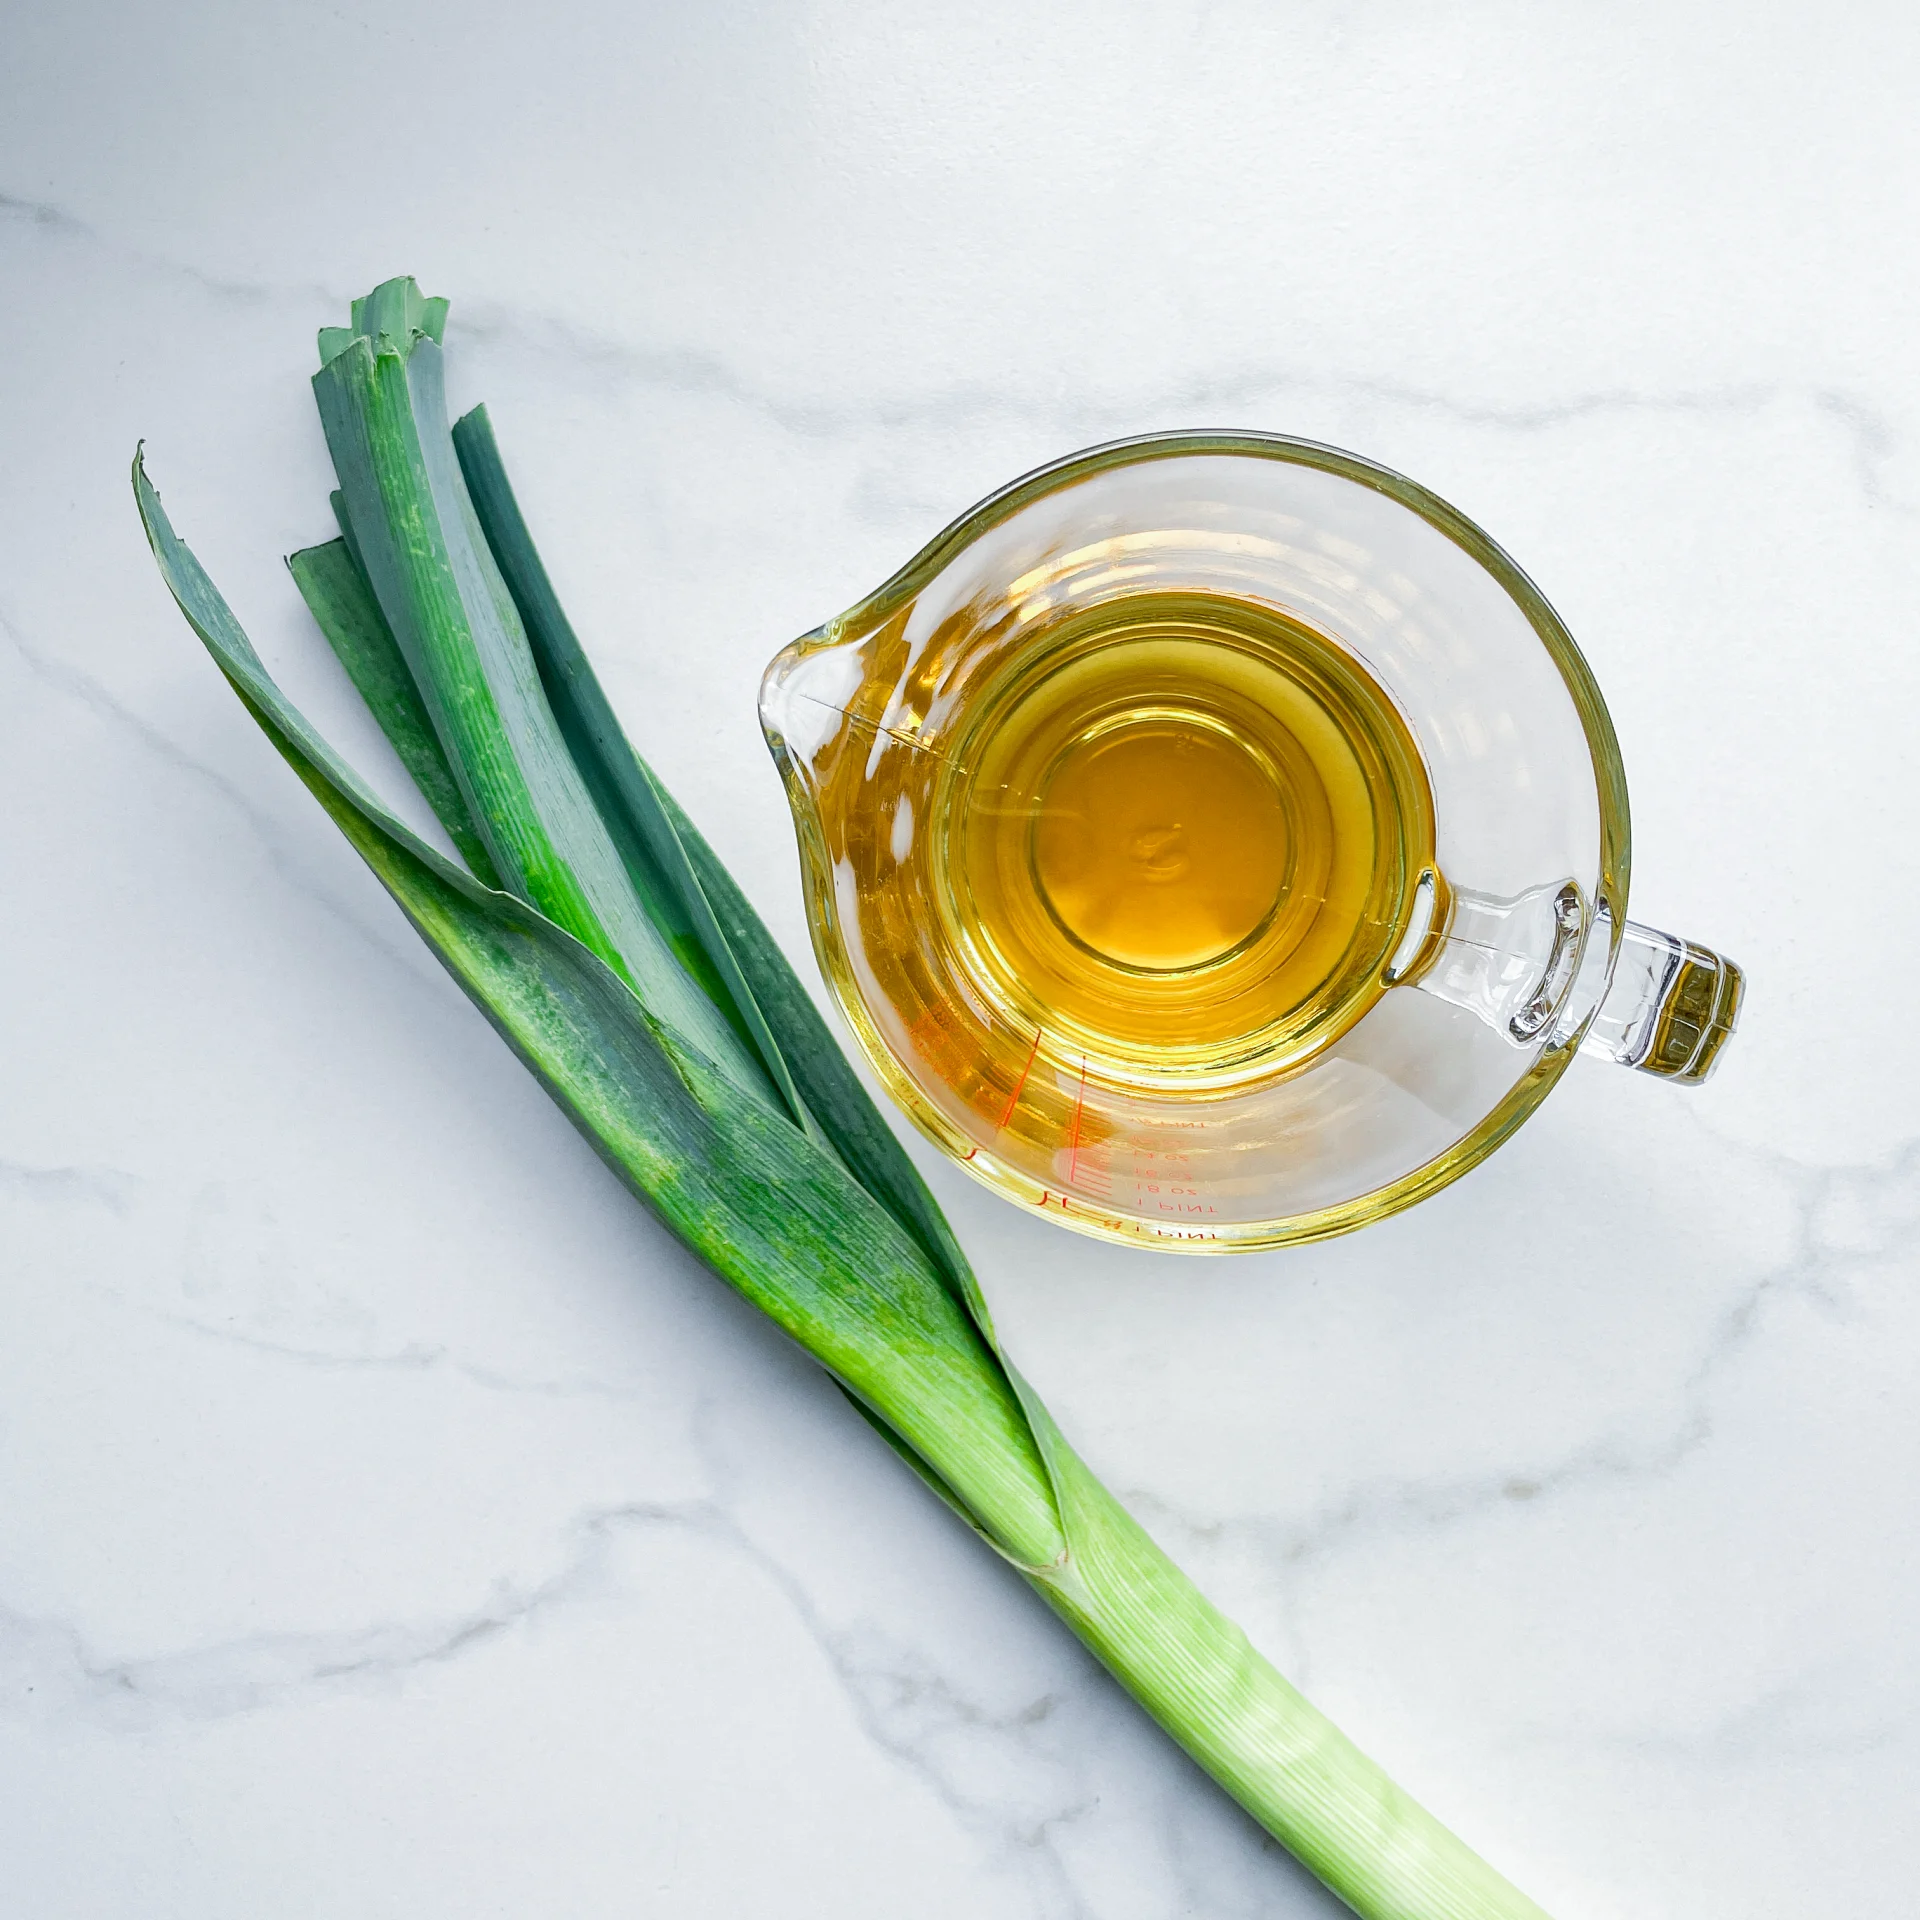
  • 1 stalk of leek (the white part)
  • 250 milliliters oil of your choice (I’ve used avocado oil)

Instructions

  1. Roughly chop the leek, wash it and put it into the blender. Pour in the oil. Blend on the highest setting until there are only tiny pieces of the leek left.
  2. Pour the mixture from the blender into a medium-sized pot and heat it over medium heat to a temperature of about 101°-104°C (213°-219°F), and maintain this temperature for the next 30 minutes. Stir occasionally, making sure the temperature remains steady and nothing gets burned.
  3. Prepare a bowl large enough to fit a medium-sized pot, and fill it with cold water and a handful of ice cubes. Also, hang a fine sieve strainer over one medium-sized bowl and another fine sieve strainer, with a coffee filter inside it, over another medium-sized bowl.
  4. Now, place the pot in the ice water and stir to cool the oil quickly. Once the oil is almost cold, remove the pot from the water and pour the oil into the prepared fine sieve to catch the coarse particles.
  5. Then, pour the oil into the second sieve, which is equipped with a coffee filter, to catch the remaining finer particles.
  6. Allow the oil to drip through for about 20 minutes or maybe less depending on how many remaining particles are in the coffee filter. Once all the oil has passed through the coffee filter, transfer the collected amount of oil into a sealable container or directly into an oil bottle. Store in the refrigerator for up to one week.
  • Prep Time: 5 min
  • Cook Time: 30 min