


Description
RECOMMENDED EQUIPMENT
- large pan
- sharp knife
- cutting board
- small pot
- plastic wrap
- meat mallet
- three shallow bowls
Ingredients
Units Scale
CHICKEN
- 200 grams chicken breast
- 1 tbsp all-purpose flour
- 1 egg
- 4 tbsp panko bread crumbs
- salt & pepper
- avocado oil, for frying
- 40 grams passionfruit purée
- juice from half a lemon
- 2 garlic cloves
- 1 tbsp olive oil
- 1 small yellow onion
- 1 tsp ginger
- 45 grams white sugar
- 1/2 fresh chili
- 1/4 tsp salt
- 1/8 tsp sesame oil
- 75 grams white cabbage
- 1 scallion
- a few leaves fresh parsley
- juice from half a lemon
- salt & pepper
- 4 slices brioche bread
- 1 tbsp butter
Instructions
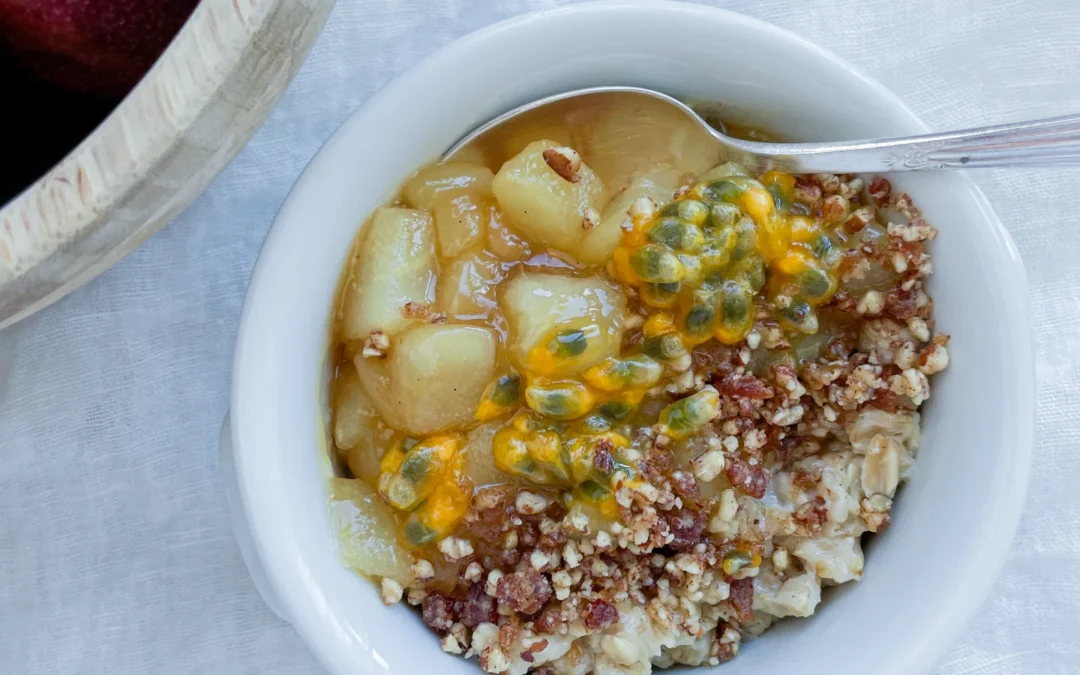
- Prepare the passionfruit chutney first. Add passionfruit purée, lime juice, two pressed garlic cloves, olive oil, half a finely chopped onion, finely chopped ginger, white sugar, half a chopped fresh chili, salt, and sesame oil to a small pot. Stir well and let it simmer over medium heat for about 10-15 minutes, until thickened.
- While the chutney simmers, make the slaw. Thinly slice the white cabbage, slice the scallions, and finely chop the parsley. Add everything to a large salad bowl and mix with yogurt, lime juice, salt, and pepper.
- Prepare the coating for the chicken. Set up three shallow bowls: Fill one with flour, crack an egg into the second and whisk with some ground pepper, and mix breadcrumbs, panko, and salt in the third. Place the chicken breasts between two layers of plastic wrap and pound them thin. Dredge each piece in flour, dip in the egg, and coat well with the panko mixture, pressing firmly so the breading sticks. Set aside on a plate.
- Before frying the chicken, toast the brioche. Spread a thin layer of butter on one side of each brioche slice and toast in a pan until golden and crispy on both sides. Remove from the pan and set aside.
- Heat about a finger’s depth of oil in the same pan to 180°C / 356°F. Fry the breaded chicken fillets for 3-4 minutes per side until golden brown and crispy. Transfer to a wire rack to drain excess oil.
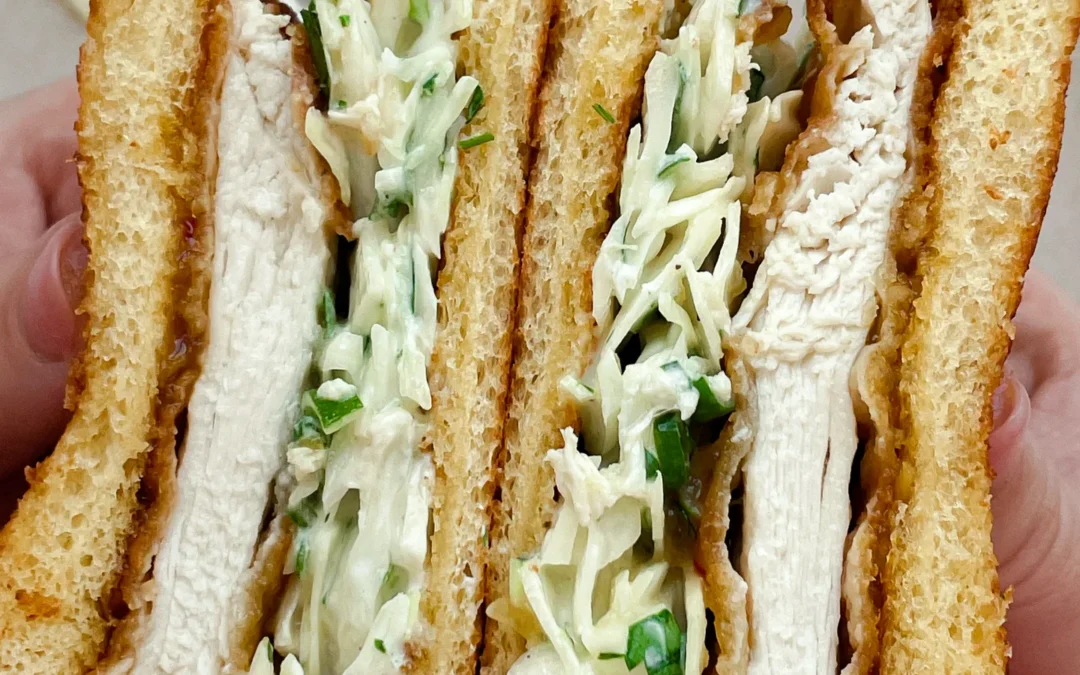
- Assemble the sandwiches. Spread the prepared slaw onto two slices of toasted brioche.
- Pour the passionfruit chutney into a shallow bowl. Dip the crispy fried chicken fillets in the chutney, coating both sides completely, then place them on top of the slaw. Finish with the second slice of brioche. Cut the sandwiches in half and enjoy!
- Cook Time: 30 min