


Description
Empfohlenes Equipment
- medium-sized bowl
- blender
- fine mesh strainer
- bottle
Zutaten
EINHEITEN MENGE
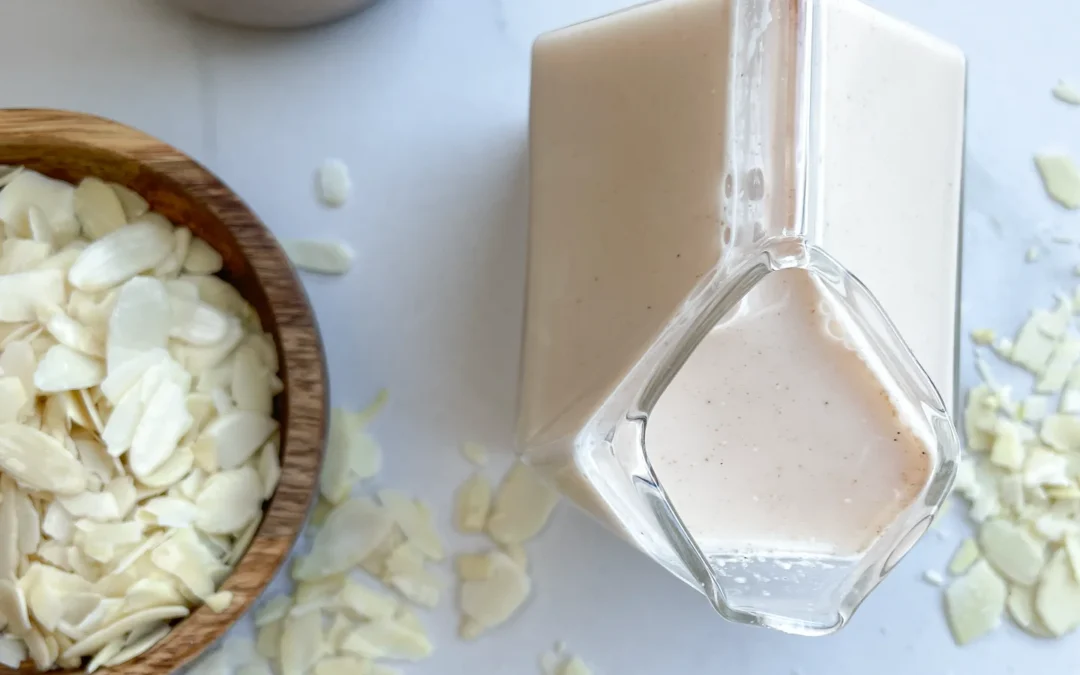
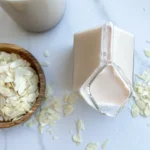
- 200 g raw almonds
- 1000 milliliters cold, filtered water
- 3 dates, pitted
- 1 tsp vanilla extract
- pinch of salt
ZUBEREITUNG
PREPARATIONS THE NIGHT BEFORE
- Soak the almonds and dates in cold water overnight.
INSTRUCTIONS
- Drain the almonds and dates using a strainer, and discard the soaking water.
- Add the almonds and dates to a blender, then pour in 1 liter of cold water. Blend on the highest setting for about 1 minute, until the liquid turns white and frothy.
- Add flavoring to taste. I used a pinch of salt and 1 teaspoon of vanilla extract, but 1 teaspoon of cinnamon would be a fantastic choice for the holiday season.
- Set up a fine mesh strainer over a bowl and pour the blended mixture through it. Press the pulp firmly to squeeze out as much liquid as possible. If you want, you can filter the milk again by pouring it through a cheesecloth. You can also put the pulp into the cheesecloth and squeeze it further by hand.
- Transfer the strained milk into a bottle and enjoy! It will keep in the fridge for about 4–5 days. Be sure to shake it before using, as the solids naturally separate from the water over time—this is completely normal.
- Prep Time: 2 min
- Passive Time: 8 hrs
- Cook Time: 15 min


")