Classic Risotto
November 9, 2023 by Kimberly
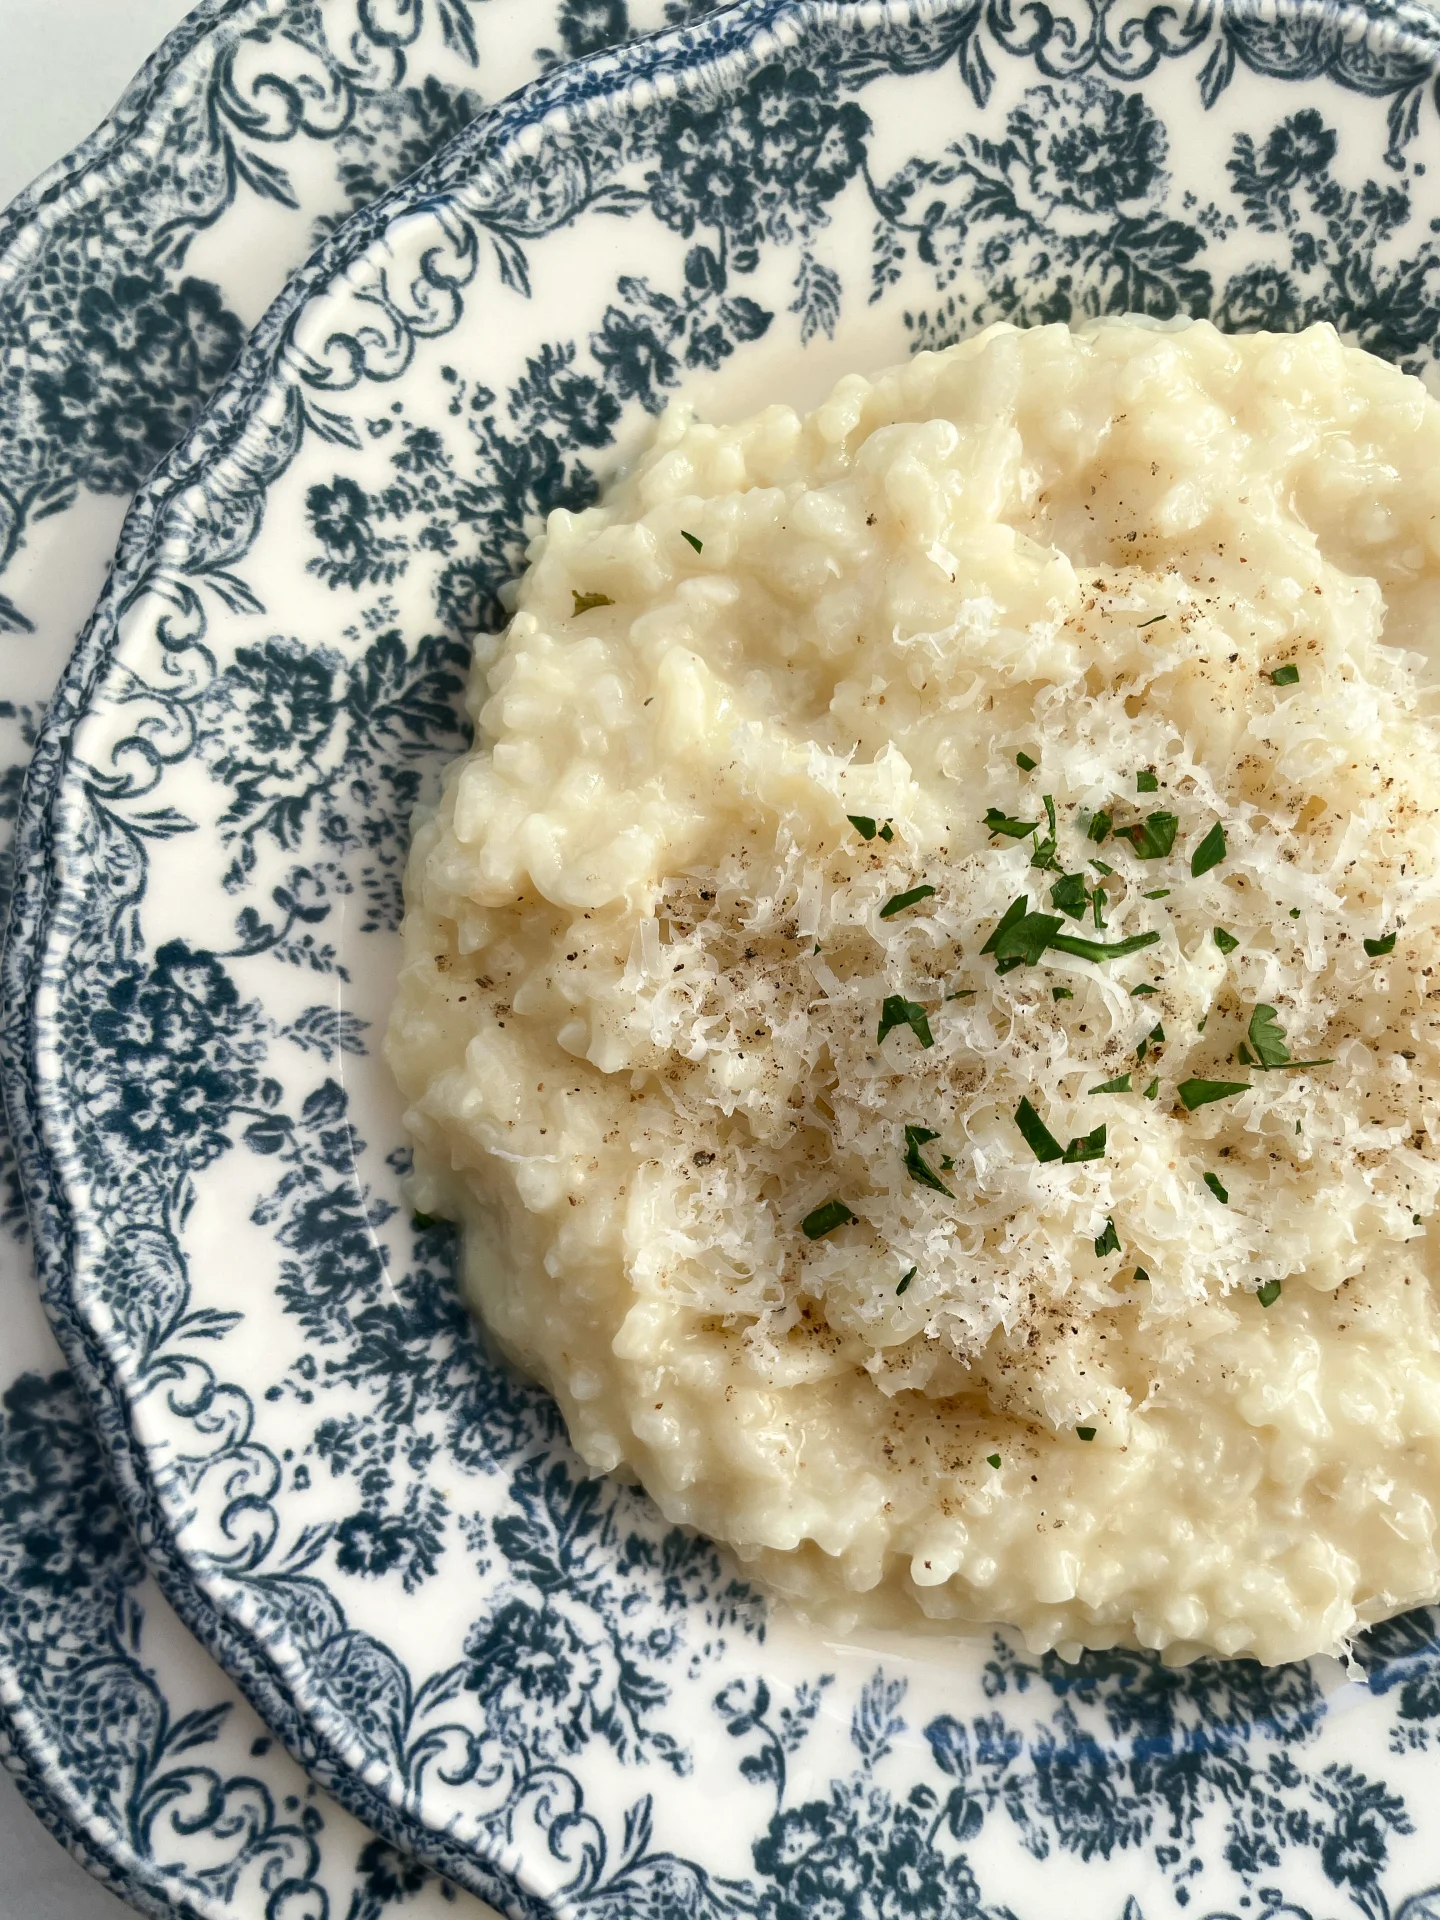
Creamy, dreamy, and cozy, this Parmesan and white wine risotto is pure comfort in a bowl. It’s that no-fuss, indulgent dish perfect for when you crave a warm, savory hug.
45 MINUTES
EINFACH
VEGETARISCH
ITALIENISCH
722 PER PORTION
CREMIGES
KLASSIKER
ABENDESSEN
GANZJÄHRIG
INFORMATIONEN
ÜBER DIESES REZEPT
Imagine a creamy, warm risotto made with Parmesan and white wine, bringing pure comfort to your plate. This easy recipe is approachable, yet delivers an indulgent result that feels like a special treat. With simple steps and bold flavors, it’s perfect for any night you want to relax with something delicious. Ideal as a base for endless variations, this risotto keeps things cozy and straightforward while packing in all the richness and creaminess you crave. If you’re not so confident with preparing a risotto yet, read on for a full guide and get the best tips for achieving THE Perfect Risotto.
How to serve
Serve your risotto steaming hot in a wide bowl to showcase that lovely creamy texture. Garnish with fresh herbs like parsley or basil and a generous shave of extra Parmesan for an extra touch of umami. You could also add a drizzle of truffle oil or crispy pancetta for a sophisticated twist. Pair with a light side salad or a crisp white wine to complement the dish’s creamy, savory flavors.
How to store
If there are leftovers, place the risotto in an airtight container and refrigerate for up to three days. To reheat, add a splash of broth or water, and warm on the stove, stirring to bring back the creamy consistency.

Hi, ich bin Kimberly.
Meine Rezepte sind für alle, die an den Zauber von selbstgemachtem Essen glauben. An Butter, die auf warmem Brot schmilzt. An Lieblingsrezepte, die man weiterschenken möchte. Und an das stille Glück, das in einem einfachen, gut gemachten Gericht steckt. Willkommen an meinem Tisch,

Wenn du mehr über mich erfahren möchtest, klicke hier!


“Let’s make a piece of happiness”

Classic Risotto
- Dauer: 45 min
- Portionen: 2
Description
Empfohlenes Equipment
- scharfes Messer
- Schneidebrett
- medium-sized pot
- measuring cup
- grater
Zutaten
- 200 g risotto rice
- 400 milliliter vegetable broth
- 200 milliliter dry white wine
- 300 milliliter water
- 100 g parmesan
- 1 shallot
- 1 tbsp olive oil
- 1 tsp butter
- salt & pepper to taste
- parsley for garnish
ZUBEREITUNG
PREPARATIONS
- Finely grate the Parmesan.
- Cut the shallot into small pieces.
INSTRUCTIONS
- Heat 1 tbsp of olive oil in a pot over medium heat. Sauté the shallot until translucent. Add the butter and risotto rice, stirring everything well, and sauté for 1-2 minutes.
- Deglaze with the first 100ml (1/2 cup) of white wine, letting it reduce over medium heat until no liquid remains in the pot.
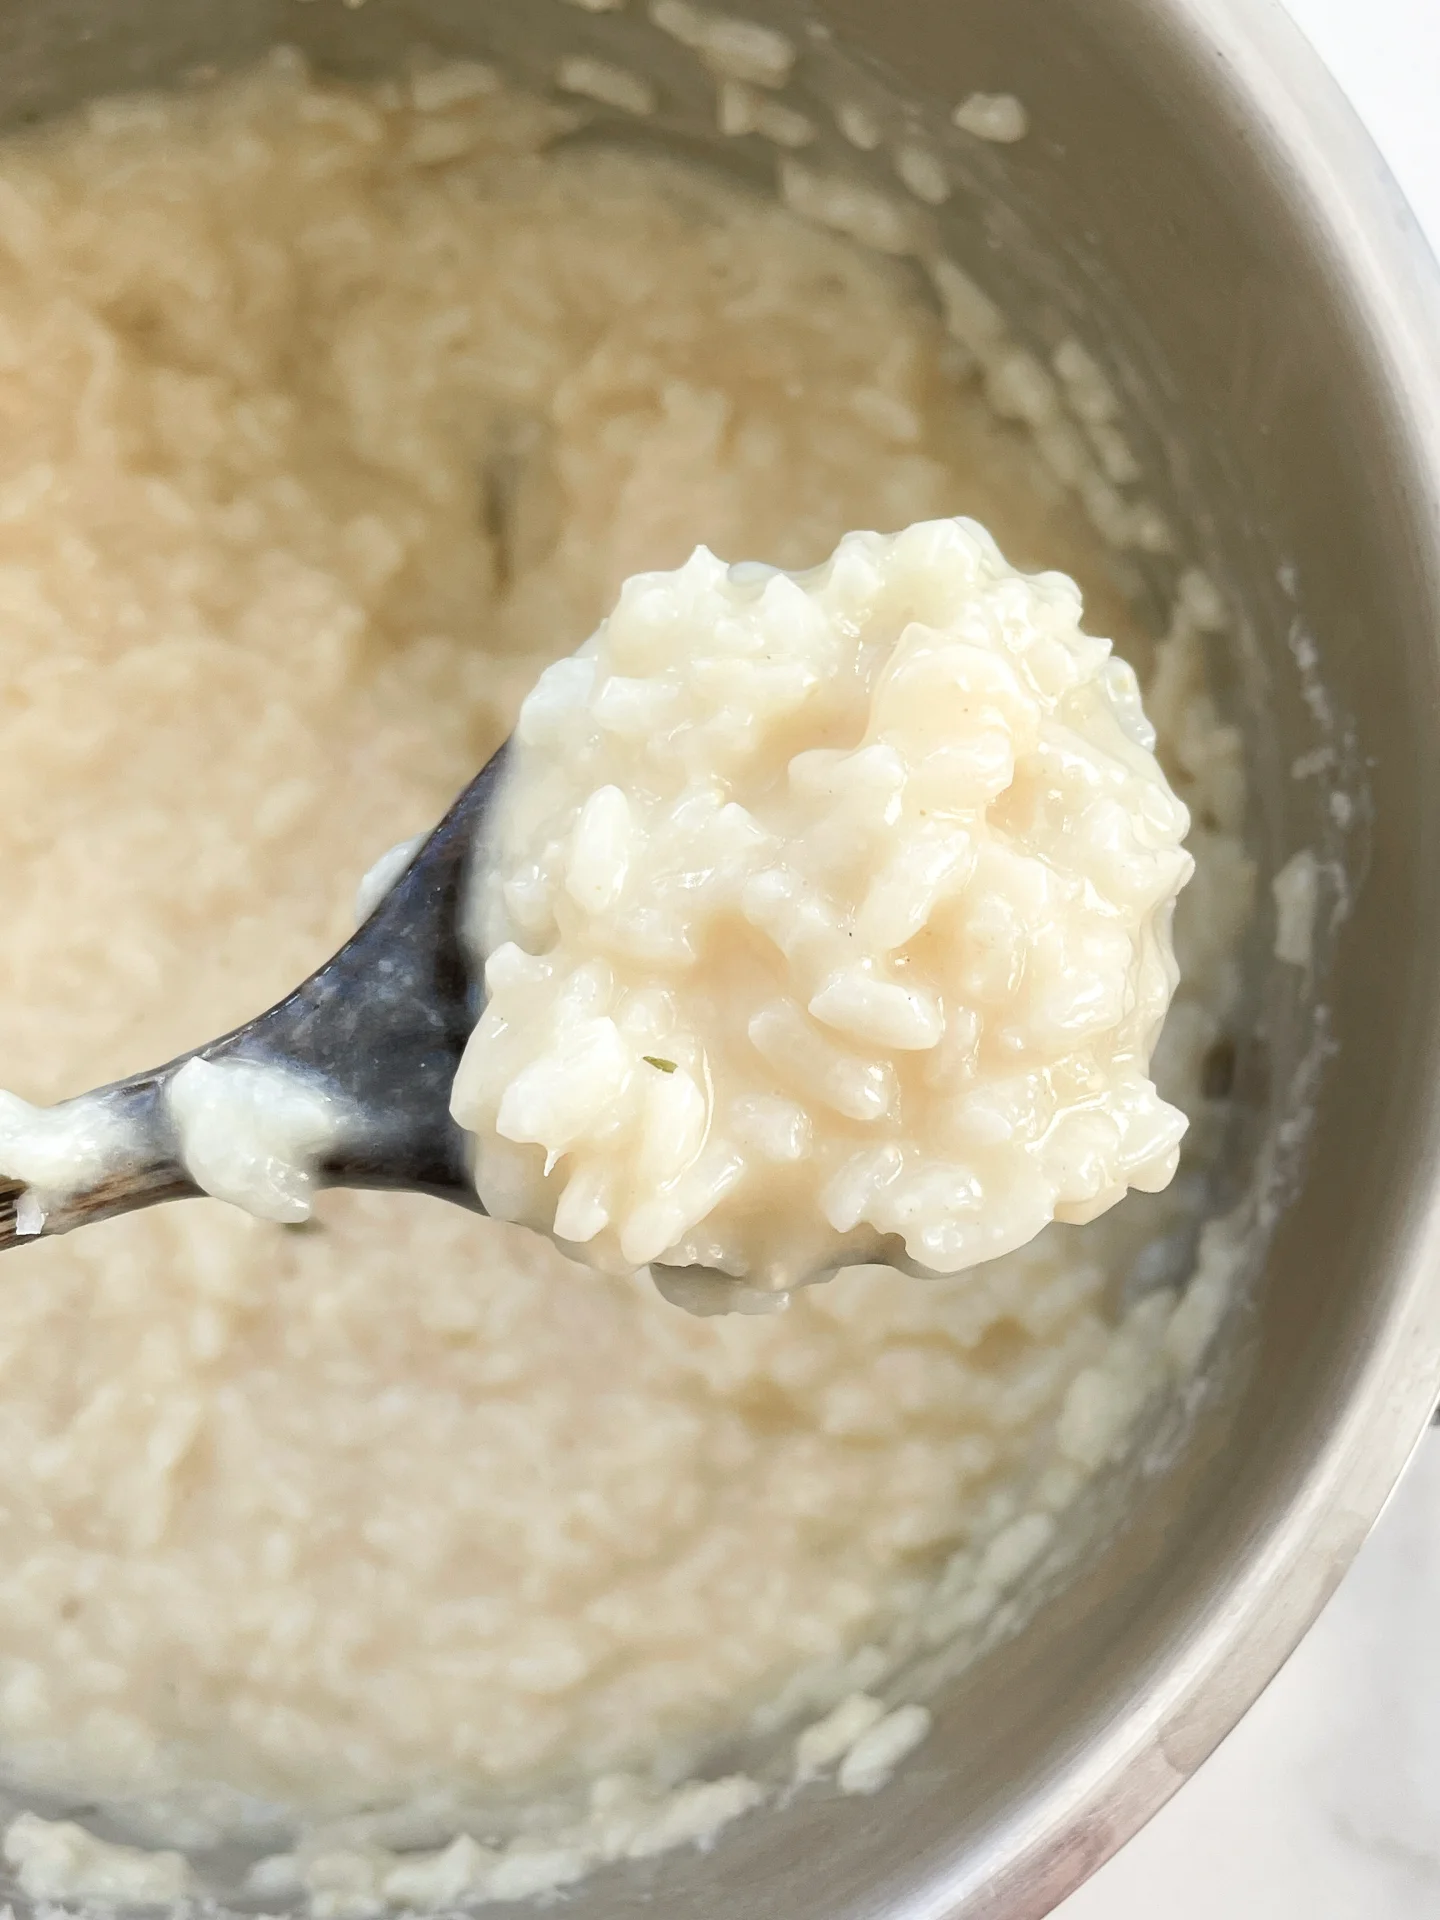
- Next, add 100ml (1/2 cup) of stock and let it simmer, stirring occasionally, until the liquid has mostly evaporated. Continue adding stock 100ml (1/2 cup) at a time, letting it simmer and be absorbed by the rice before each addition, until the remaining 200ml (1 cup) of stock has been used.
- Afterward, add 150ml (1/2 cup) of water, allowing the rice to absorb it as it cooks. Follow with another 100ml (1/2 cup) of white wine, then add the final 150ml (1/2 cup) of water, stirring as it cooks. The whole process should take around 40 minutes.
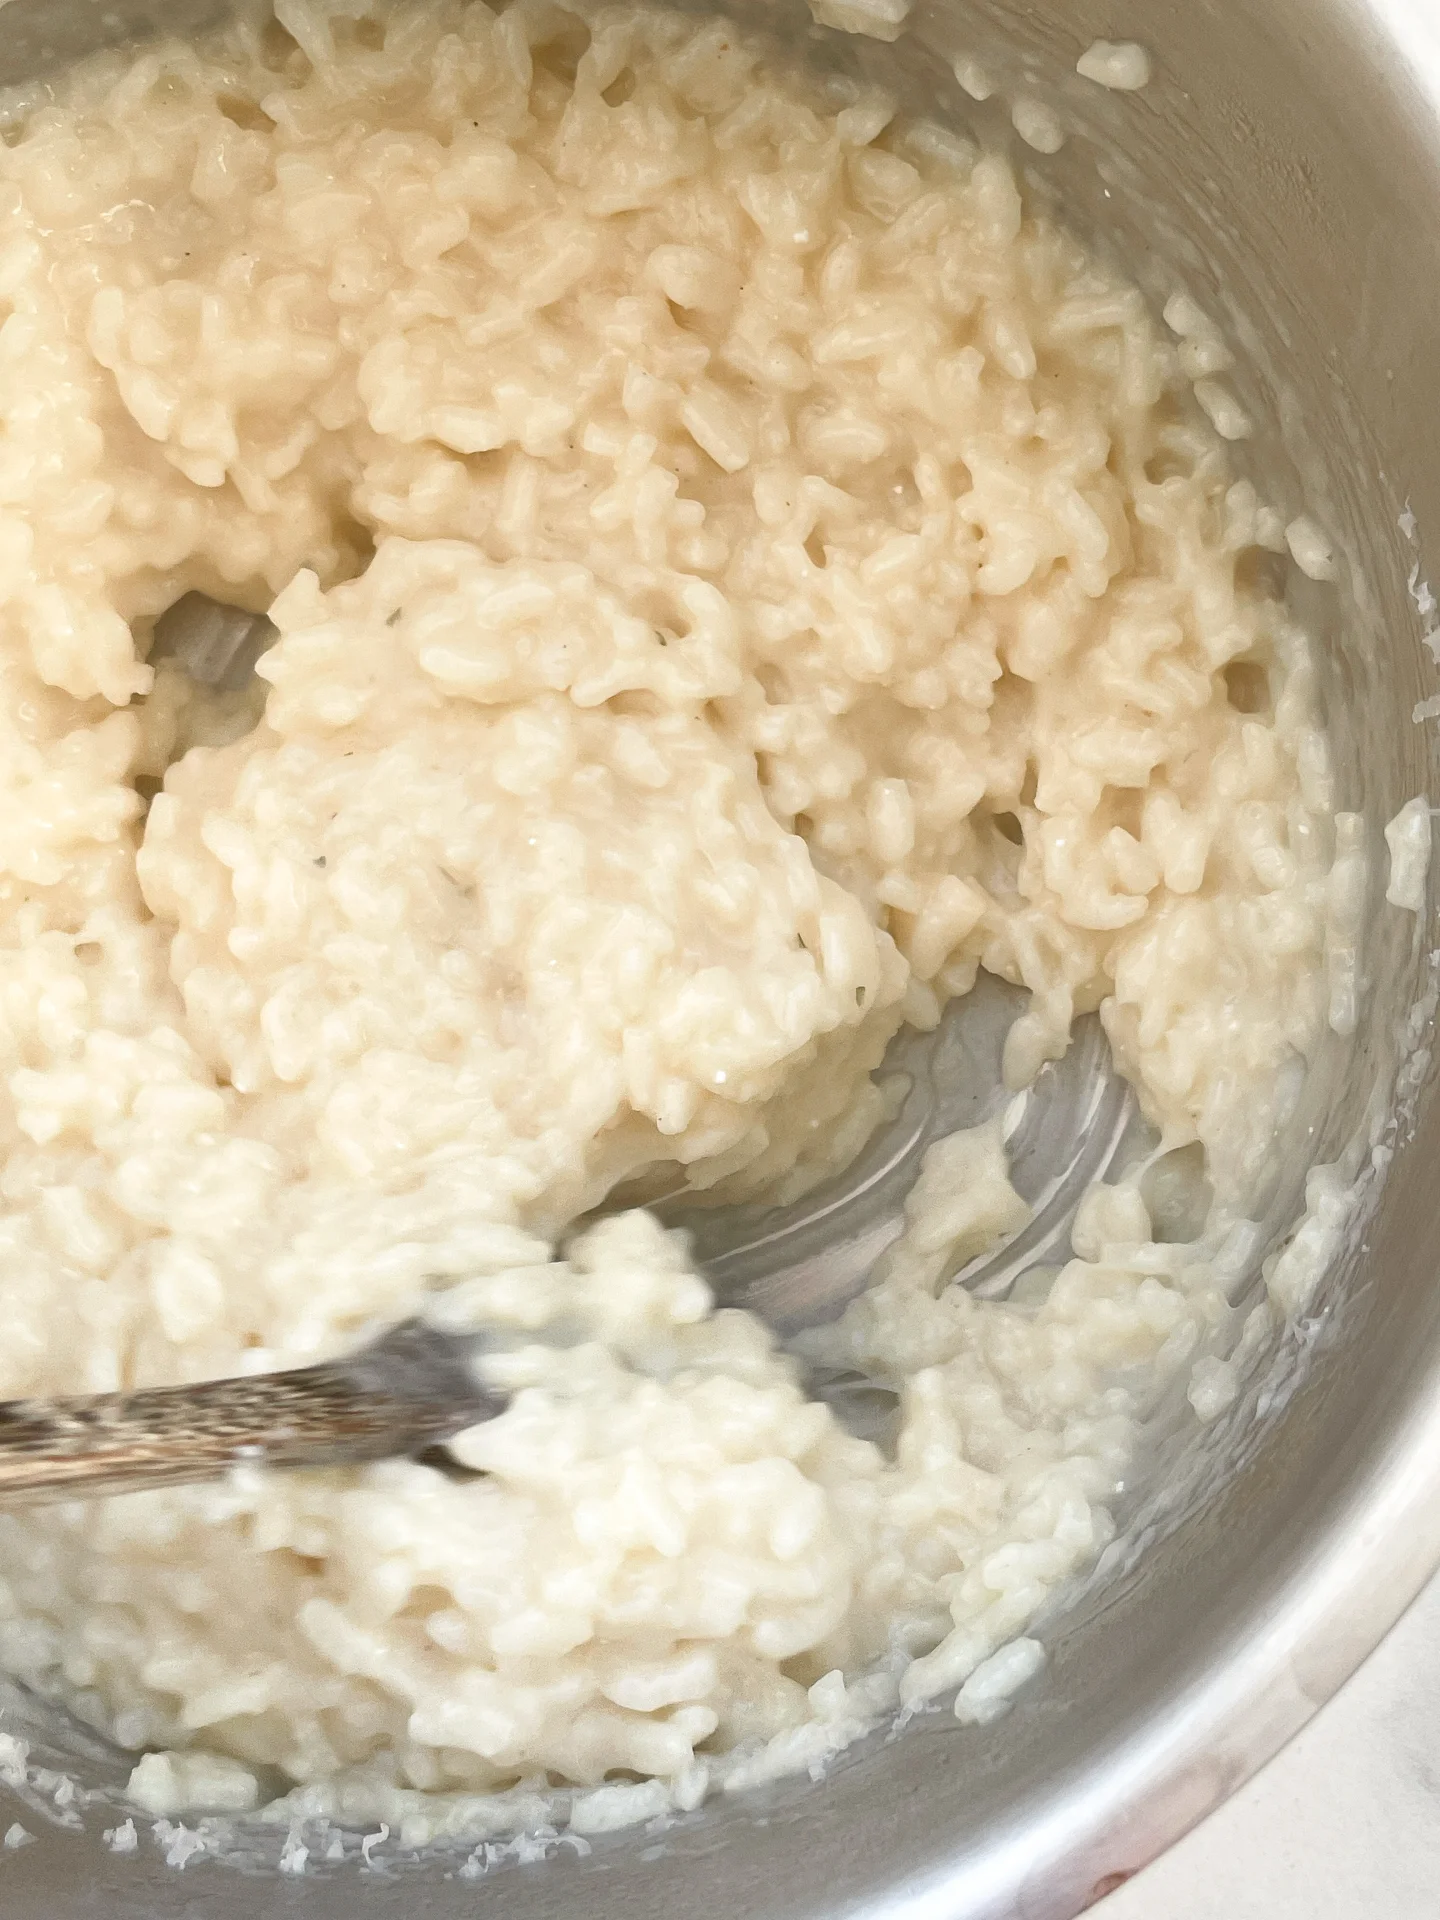
- Remove the pot from the heat and stir in the Parmesan until it melts. Season with salt and white pepper to taste.
- Divide the risotto between plates and top with additional grated Parmesan, freshly ground pepper, and parsley.
- Prep Time: 5 min
- Cook Time: 40 min
YOU MIGHT ALSO LIKE


Einfach perfekt. Mehr kann man nicht sagen. Vor allem die Schritt für schritt Angabe wann man wie viel Flüssigkeit dazugeben muss. Danke dafür!
Aah wie schön zu hören, dass das geholfen hat! Freut mich sehr, dass es geklappt hat.