HOW TO GUIDE
Quick & Easy –
The Best Focaccia Recipe
Here’s the ultimate step-by-step guide to making perfect Focaccia in just 3.5 hours. Already a pro? Simply click the button to jump straight to my recipe!
OVERVIEW
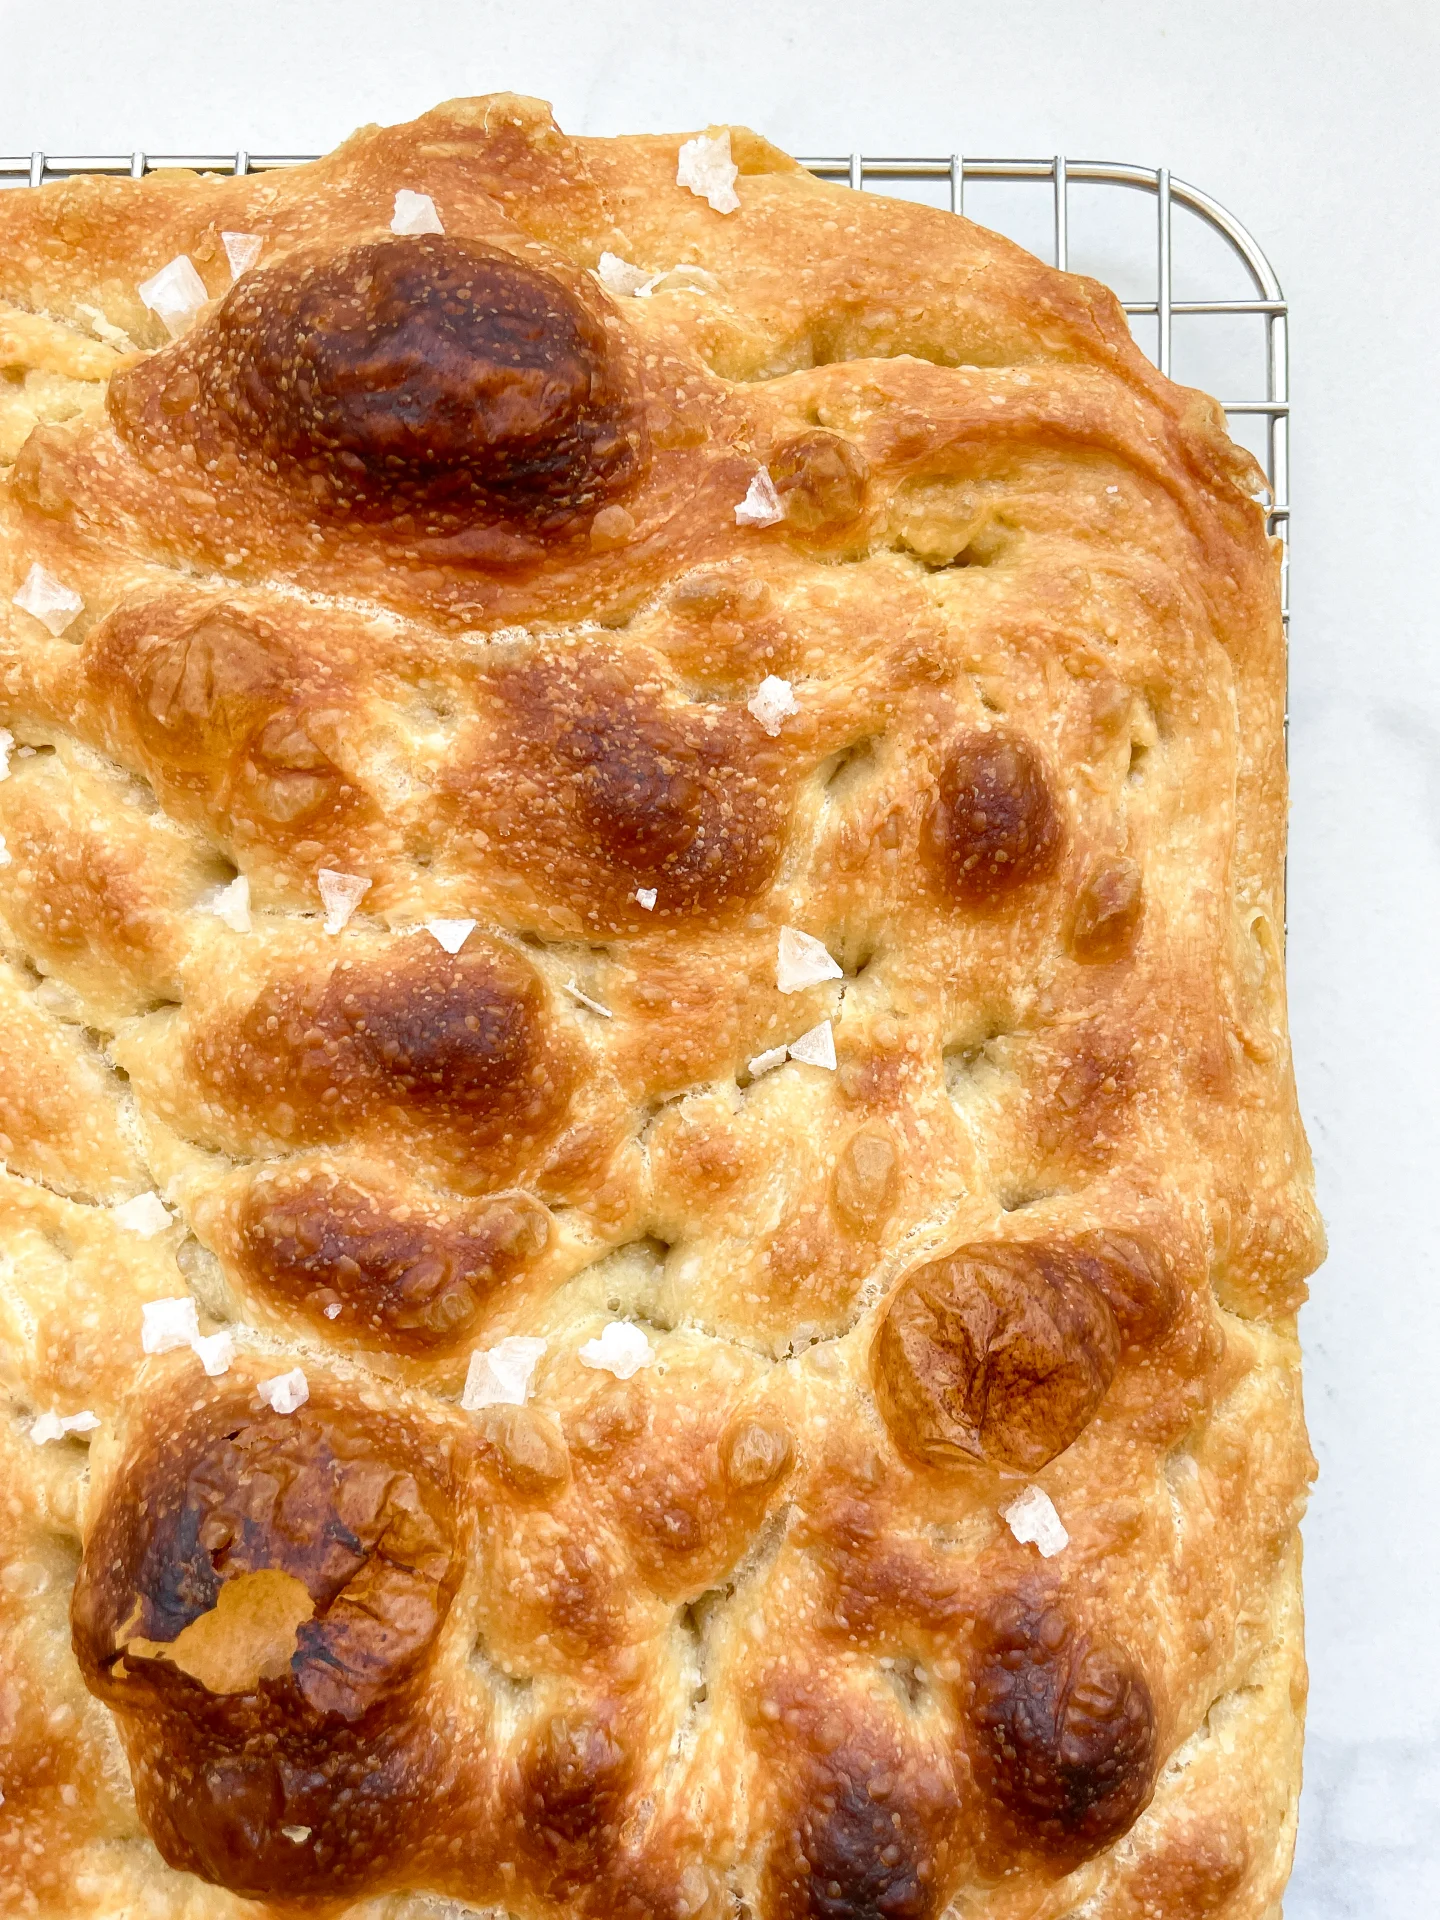
A TASTE OF WHAT’S TO COME
1. MOST IMPORTANT QUESTIONS
2. WHAT YOU NEED TO KNOW
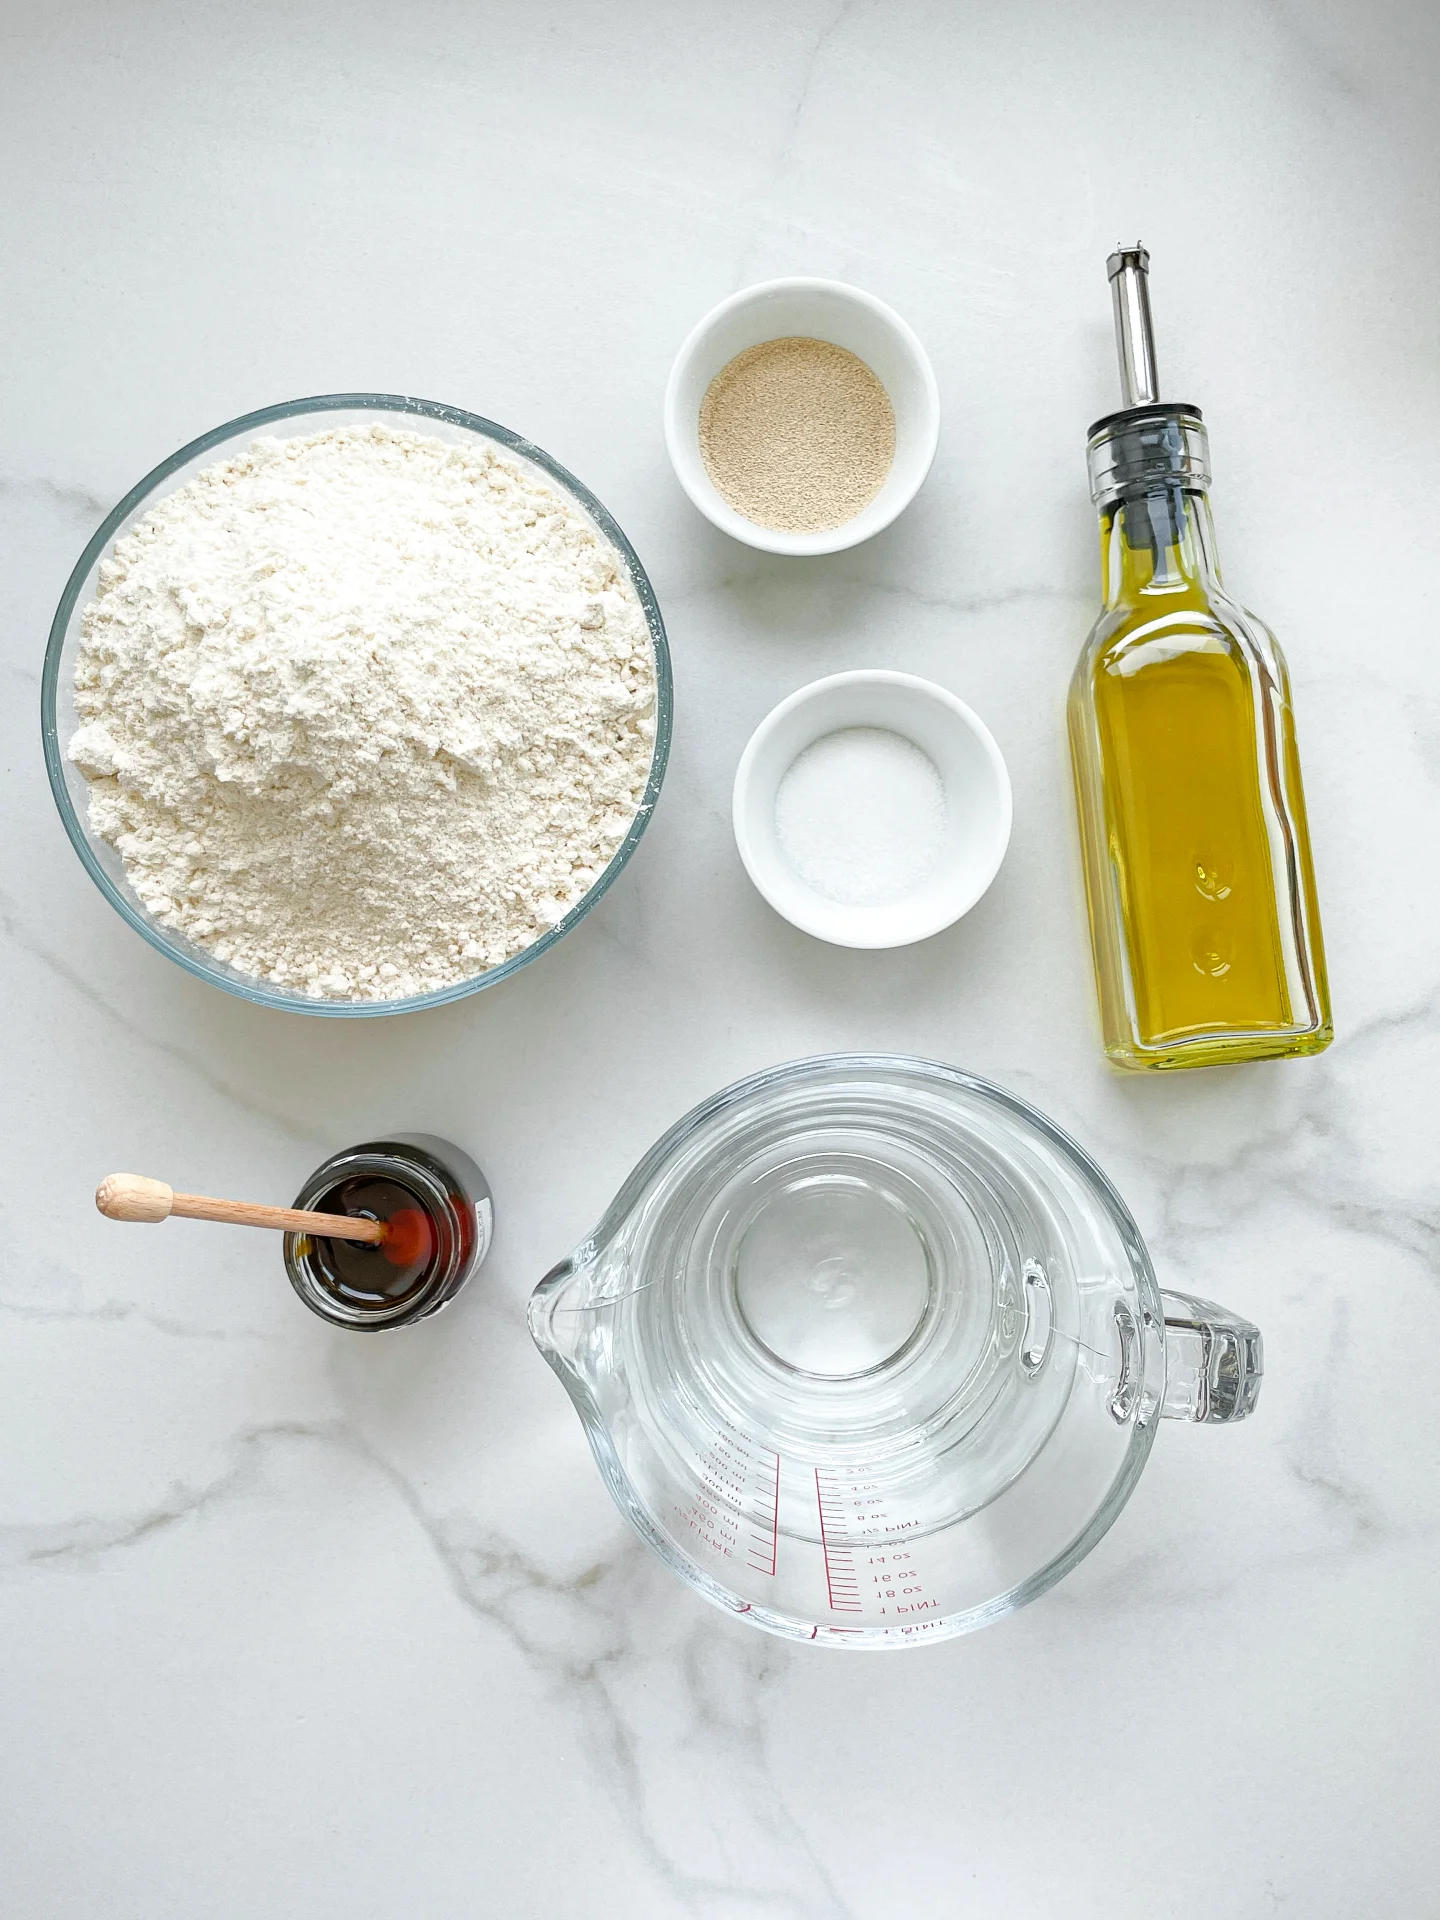
3. KEY INGREDIENTS EXPLAINED
4. STEP BY STEP INSTRUCTION
5. MORE RECIPES YOU MIGHT LIKE

Hi, I'm Kimberly!
A passionate food lover who believes in the magic of homemade deliciousness that spreads love and warmth. Join me on this culinary adventure and let’s spread some happiness together! If you want to get to know me better, click here!

Let’s connect!
MOST IMPORTANT QUESTIONS
LET’S CLEAR THINGS UP
HOW MUCH TIME DO I NEED IN TOTAL?
This focaccia recipe is quicker than most and gives you the best result in the shortest amount of time. It takes about 3.5 hours in total, with only 10 minutes of active work. While the dough rests for 3 hours, the more time you give it, the better the result. So, while this is quick for focaccia, if you have extra time, letting the dough rise longer will make it even fluffier and more delicious!
HOW LONG DOES FOCACCIA NEED TO RISE?
Focaccia needs around 3 hours of total resting time. The longer it rests, the fluffier it will be, so don’t rush it!
WHY IS MY FOCACCIA DENSE AND NOT FLUFFY?
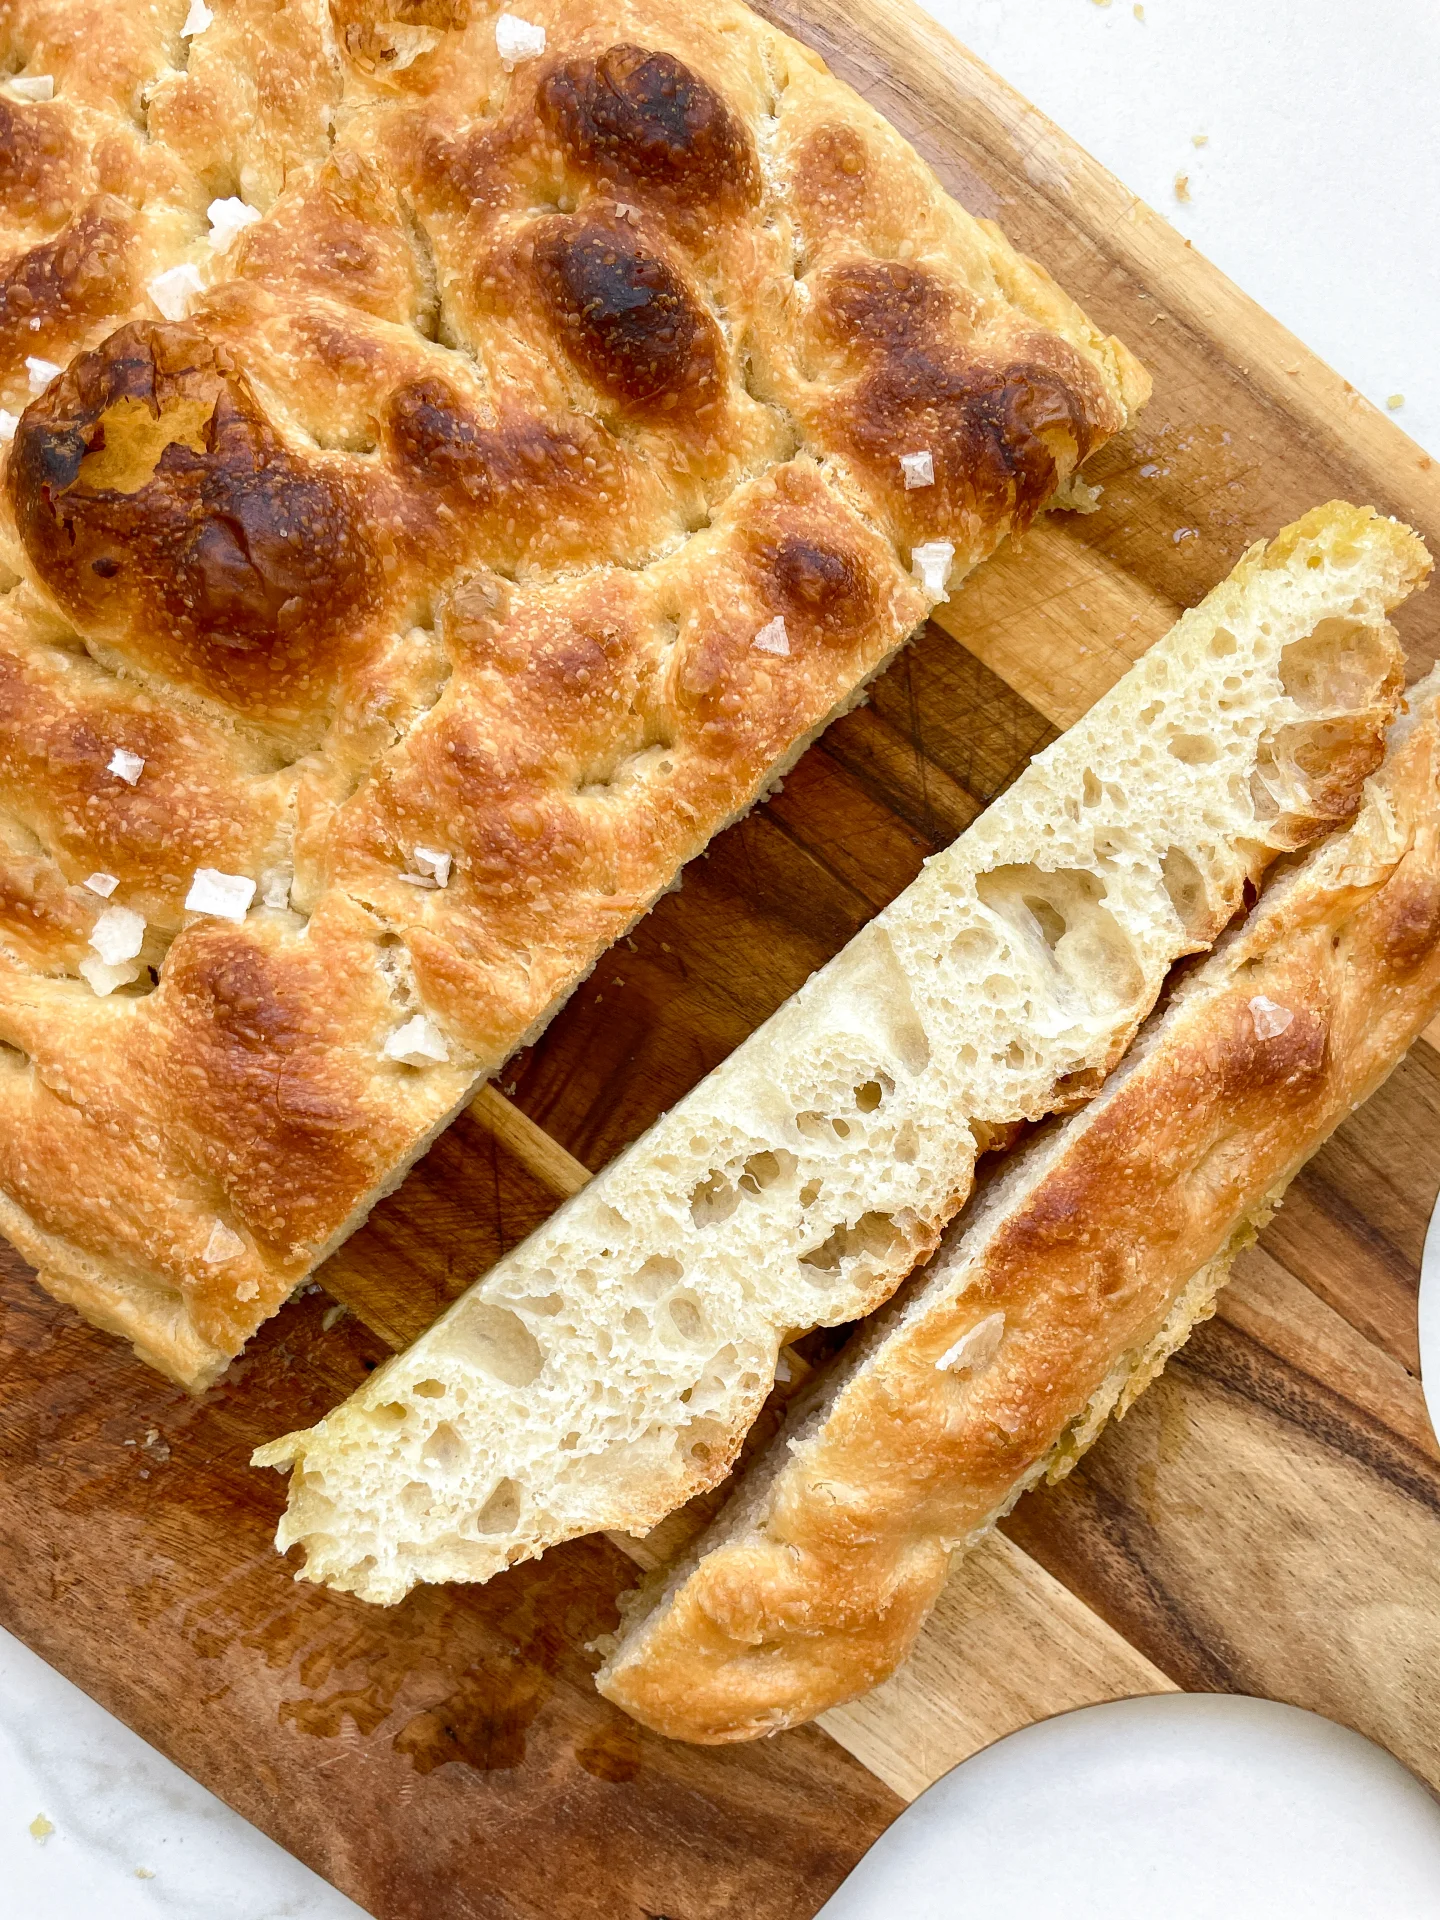
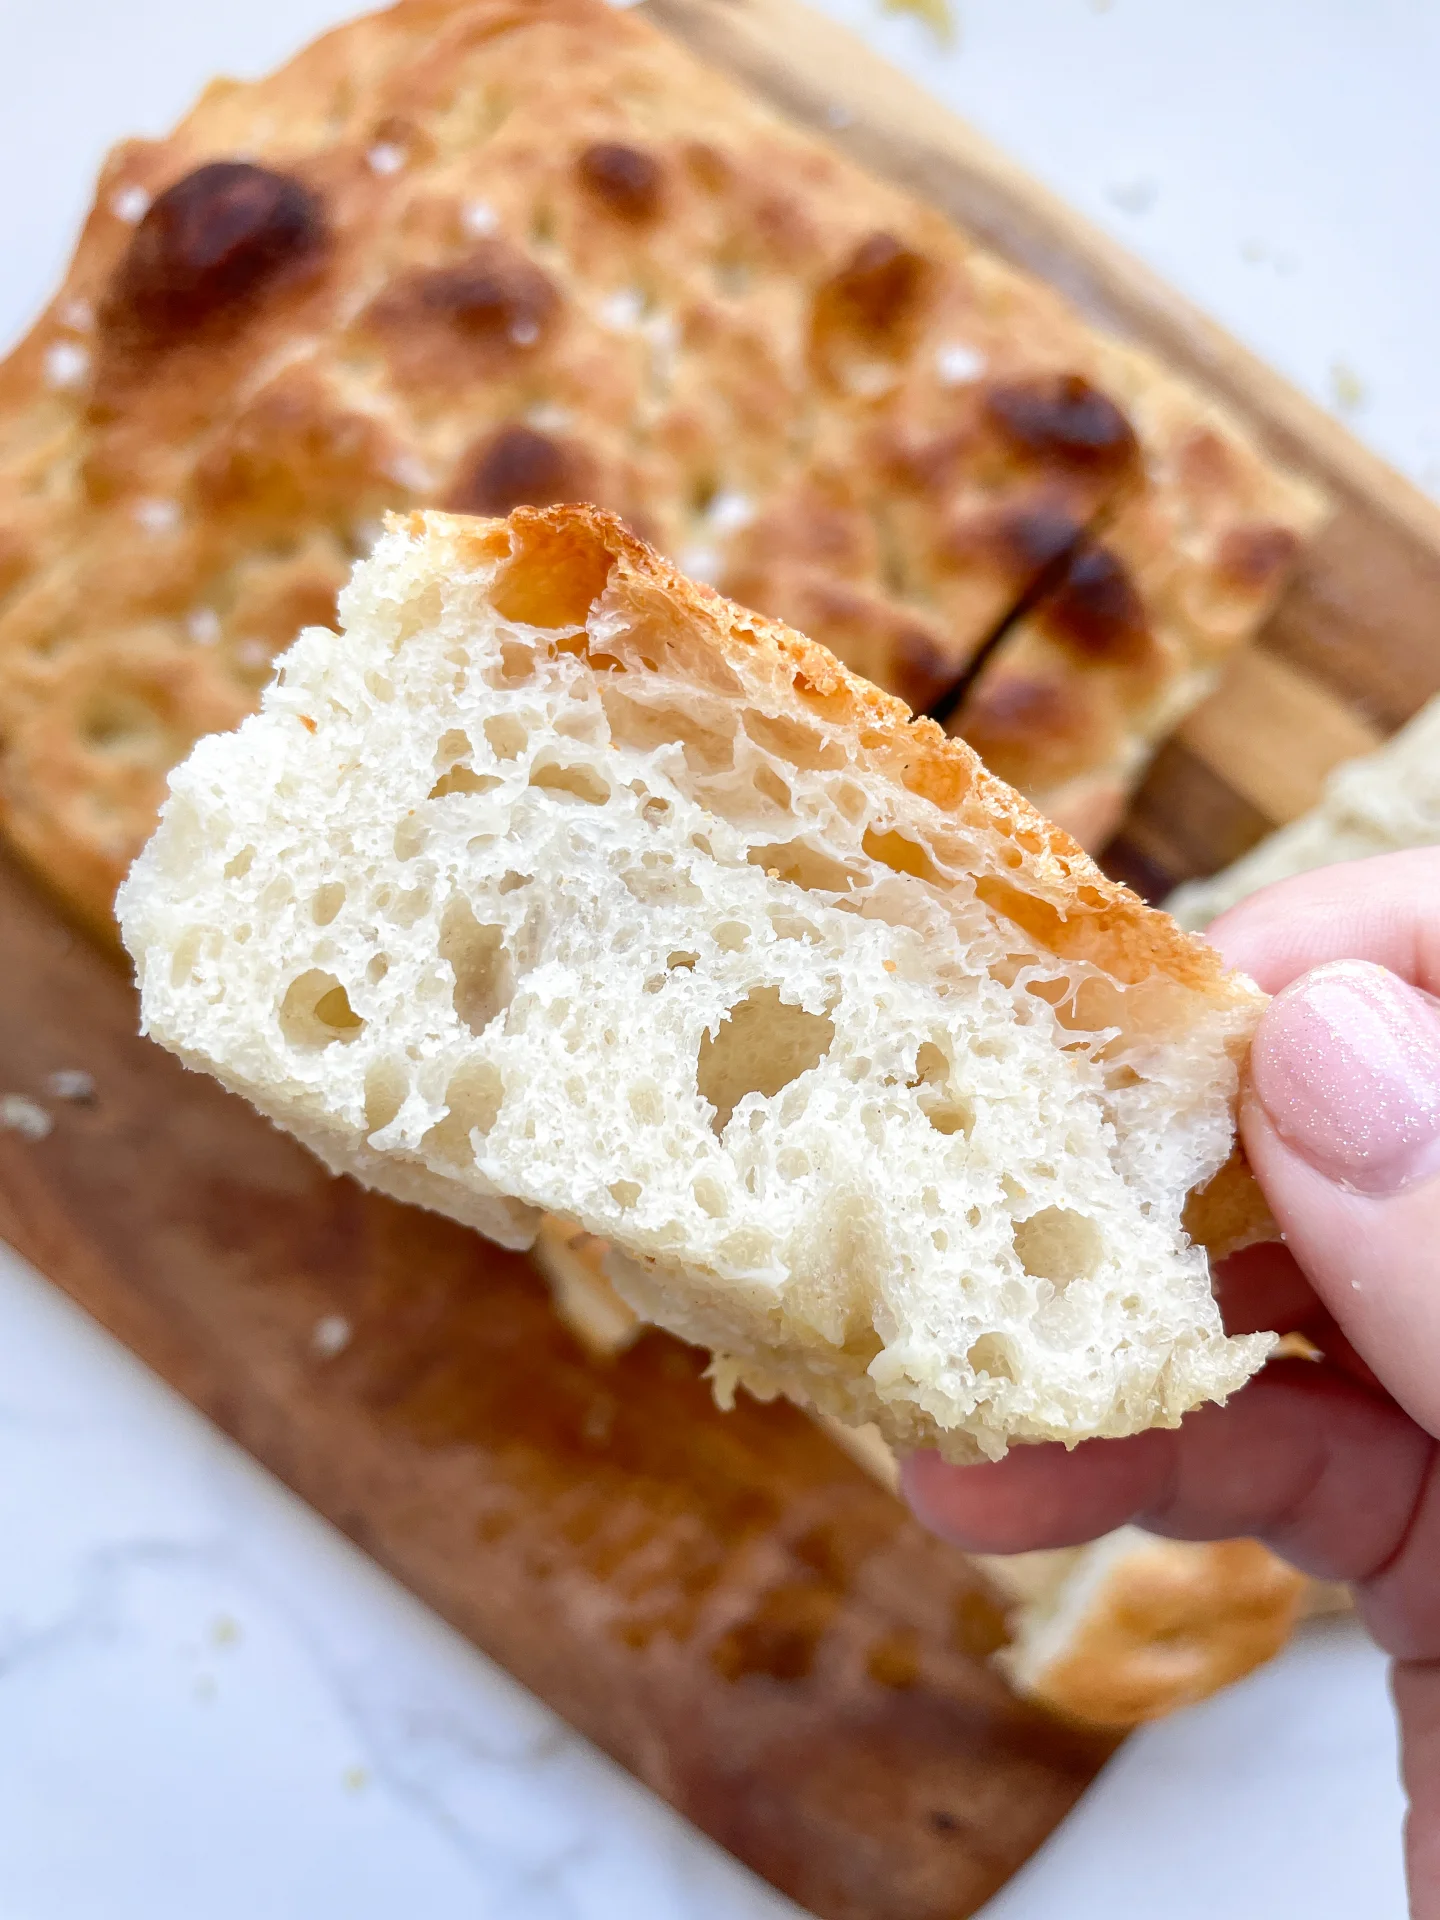
If your focaccia is dense, it likely didn’t rise long enough, or you might be using a different type of flour. Make sure you’re using pizza flour, specifically Type 00, for that soft, airy texture.
WHY DOES MY FOCACCIA NOT HAVE MANY BUBBLES?
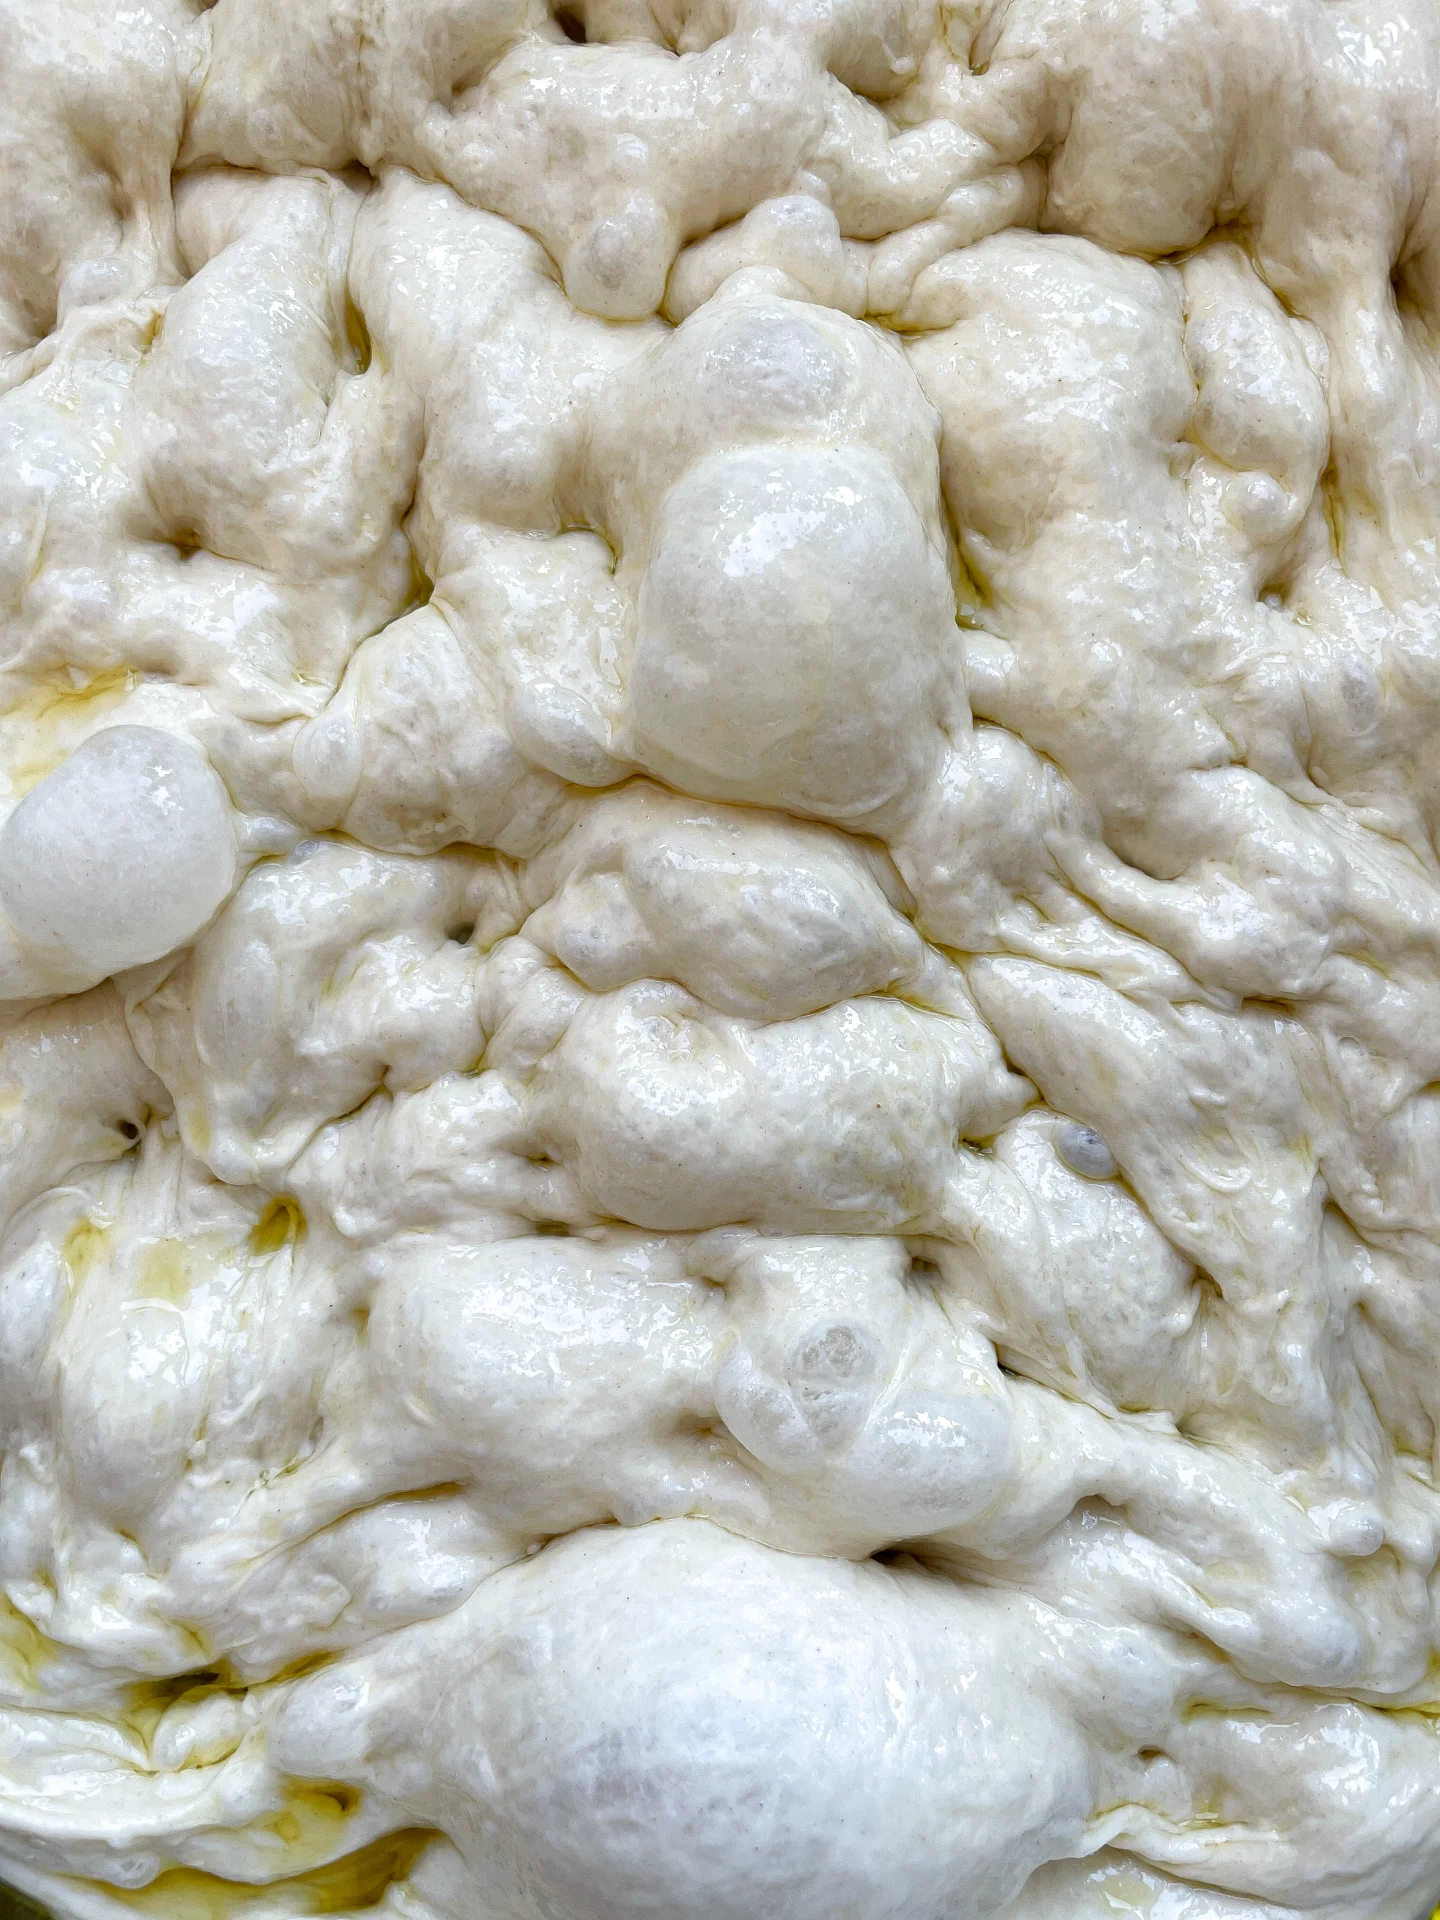
Fewer bubbles could mean the dough didn’t rise long enough, or you might not be using the right flour. Type 00 pizza flour is ideal for light and bubbly focaccia. The longer the dough rests, the more bubbles you’ll see!
DO I NEED SPECIAL EQUIPMENT?
Nope! You can make this focaccia with basic kitchen tools. Here’s what you’ll need, but feel free to improvise: large bowl, kitchen scale, thermometer (even a medicine one works), measuring cup, wooden spoon, cling film, beeswax wrap, or a shower cap, baking dish or tray, oven
WHAT YOU NEED TO KNOW
KIMBERLY’S SECRET TIPS
PRECISION PAYS OFF
I recommend weighing and measuring everything before you start. Precision is key for that perfect focaccia texture!
HYDRATION FOR BEGINNERS & PRO
You can experiment with different hydration levels in this recipe. For beginners, I suggest sticking to around 70% hydration – that means 70ml of water for every 100g of flour. I use 80% hydration here, and because it’s a no-knead dough, it’s super easy to handle!
PATIENCE FOR FLUFFY GOODNESS
This recipe is a simplified version, but don’t skip on resting time! While traditional focaccia doughs often need up to 24 hours to rise, here, you’ll still get those airy pockets and fluffy texture with a shorter rest.
GET CREATIVE WITH TOPPINGS
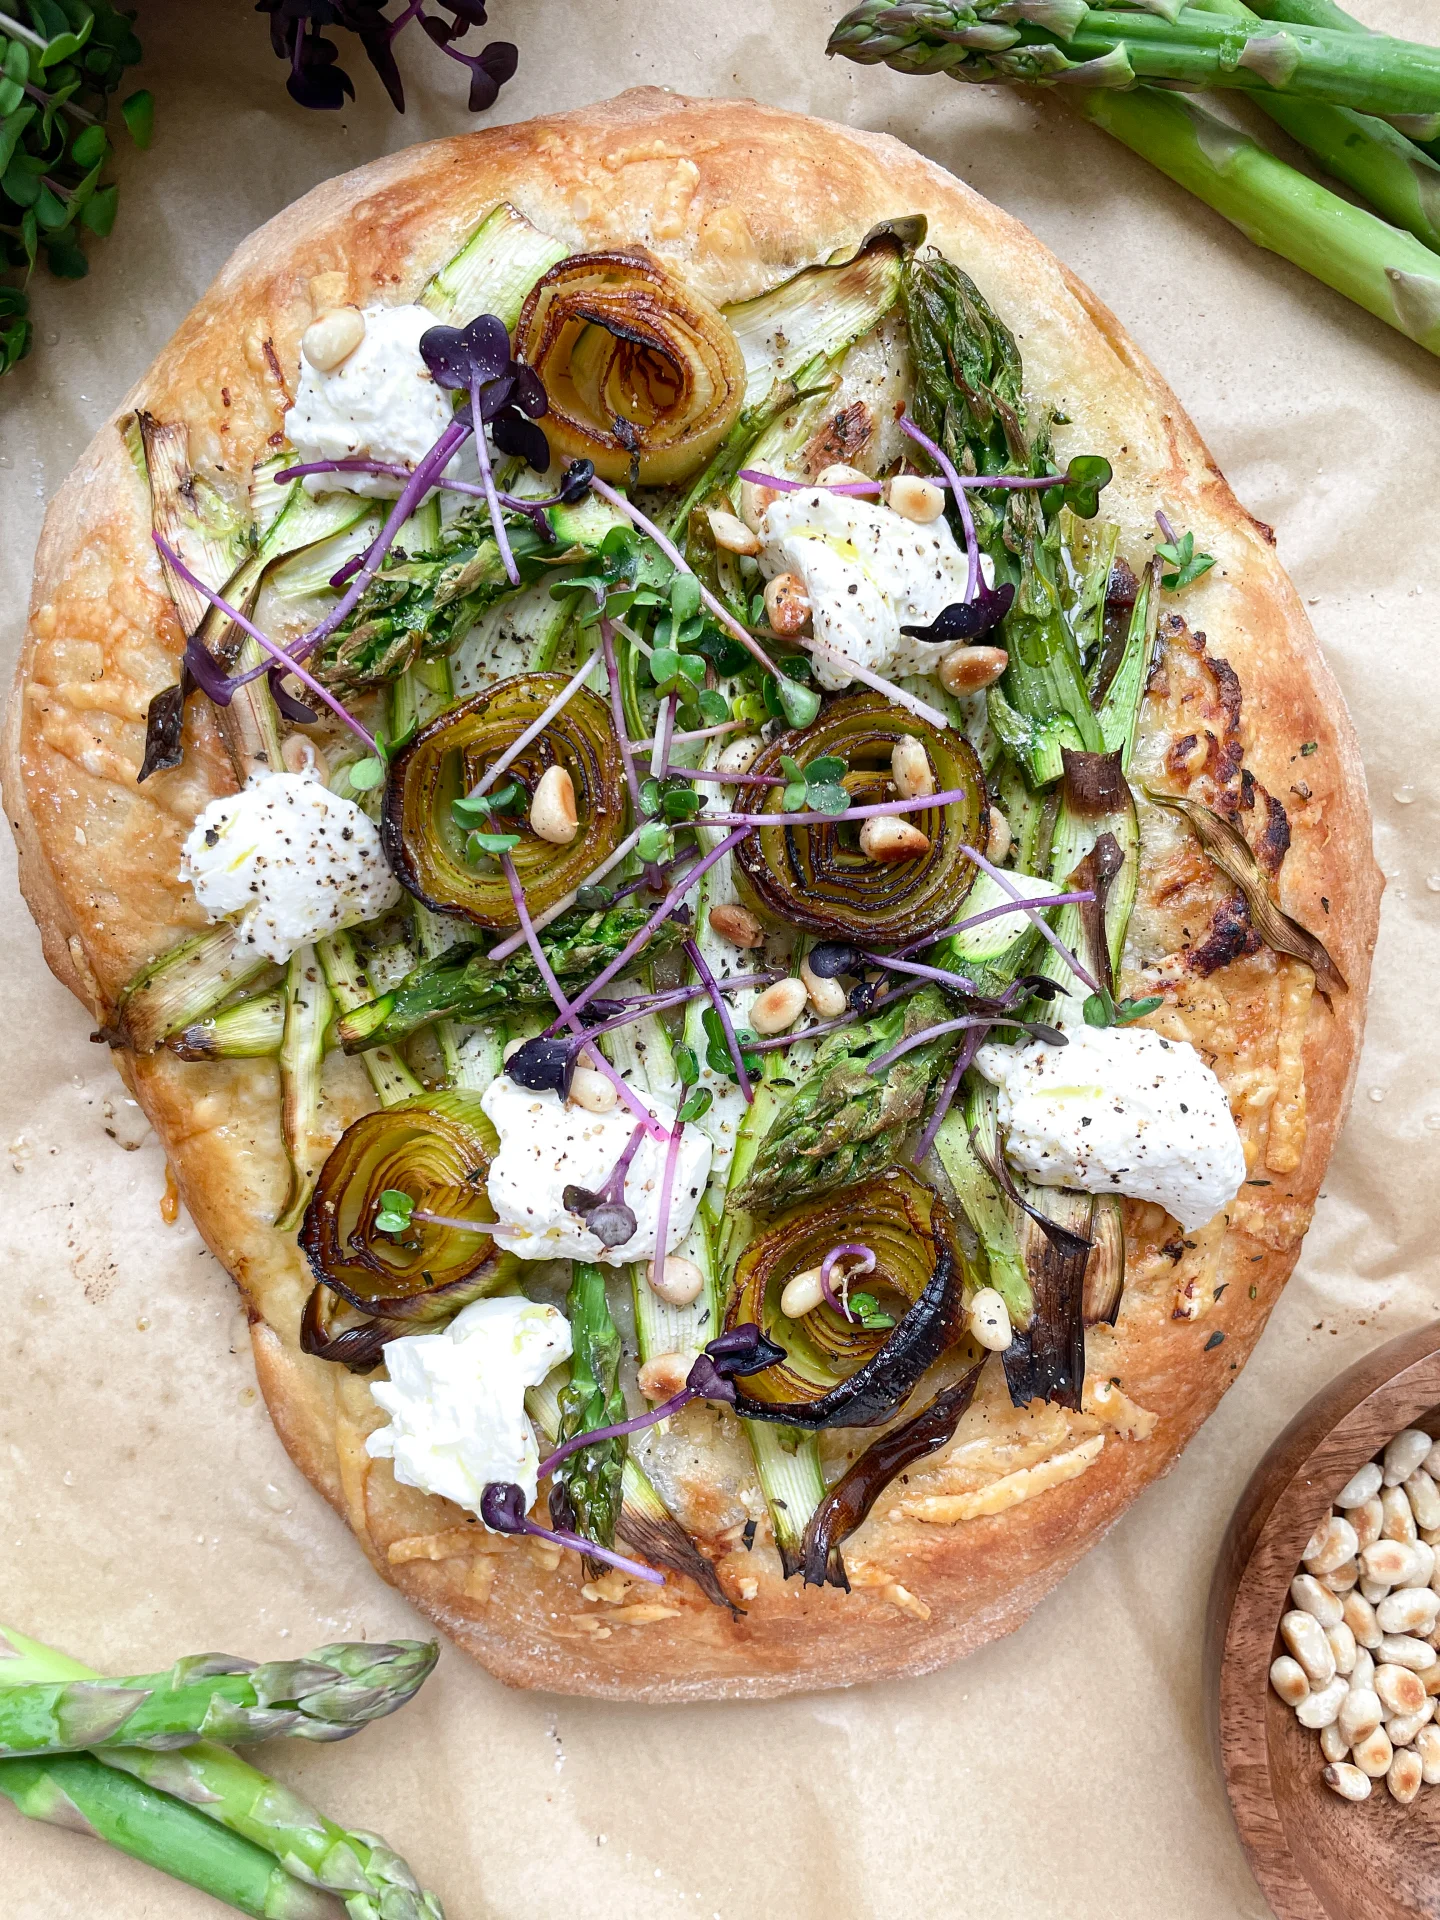
This is a basic, plain focaccia recipe, but you can totally customize it! Feel free to add your favorite toppings like rosemary, cherry tomatoes, olives, or even caramelized onions before baking for a unique twist. The possibilities are endless!
INFUSED OILS FOR EXTRA FLAVOR
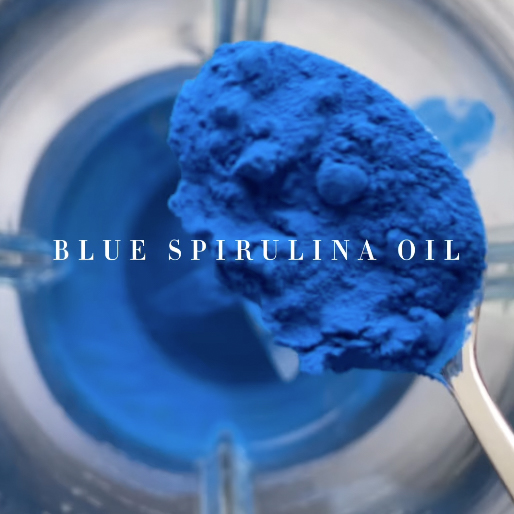
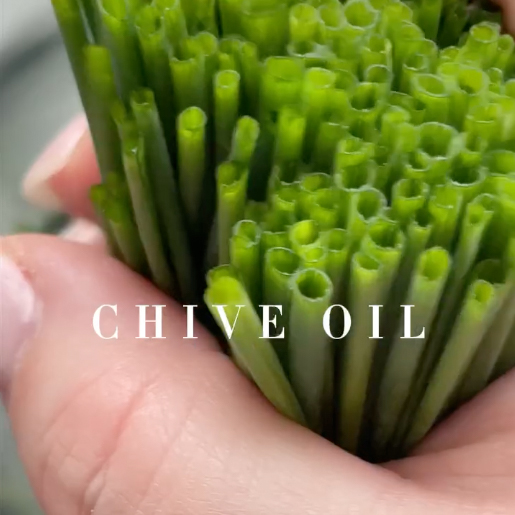
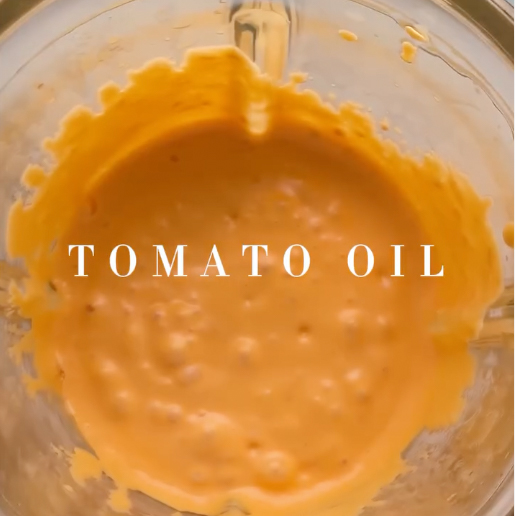
While I recommend using high-quality olive oil, you can definitely switch things up with one of my infused oils for a fun twist. Try Jalapeno oil for a spicy kick or Tomato oil for a warm, earthy flavor – both are great ways to make your focaccia stand out!
KEY INGREDIENTS EXPLAINED
GET TO KNOW THE STARS
FLOUR
I used pizza flour, specifically Type 00, which is super popular in Italy and gives your focaccia that light, fluffy texture. If you’re in Germany, this flour is easy to find! Just make sure it has at least 12g of protein per 100g for the best rise. Of course, you can use flour with less protein, but be prepared for a denser, flatter result — totally up to you.
YEAST
I went with active-dry yeast, which needs a little wake-up call before it gets to work. You activate it with warm water and honey (or sugar if you’re vegan), and then it’s all set to make your dough rise beautifully.
WATER
The water’s temperature is key — it should be between 34-38°C (93-100°F). Too cold or too hot, and your yeast won’t get the chance to work its magic, leaving you with sad, flat dough.
OIL
When it comes to olive oil, go for something high-quality. It really makes a difference, giving your focaccia that rich, buttery texture and flavor.
HONEY
You don’t need any specific type of honey for this recipe — as long as it’s liquid, you’re good to go! It helps activate the yeast and adds a subtle sweetness that enhances the overall flavor. Just keep it simple and use whatever liquid honey you have on hand!
SALT
Any type of salt will do the job! Whether it’s sea salt, kosher salt, or regular table salt, just use what you have in your kitchen. It’s all about bringing out the flavors in your focaccia.
STEP BY STEP INSTRUCTION
THE HOW TO OF IT ALL
STEP 1 Activate the yeast & prepare the other ingredients
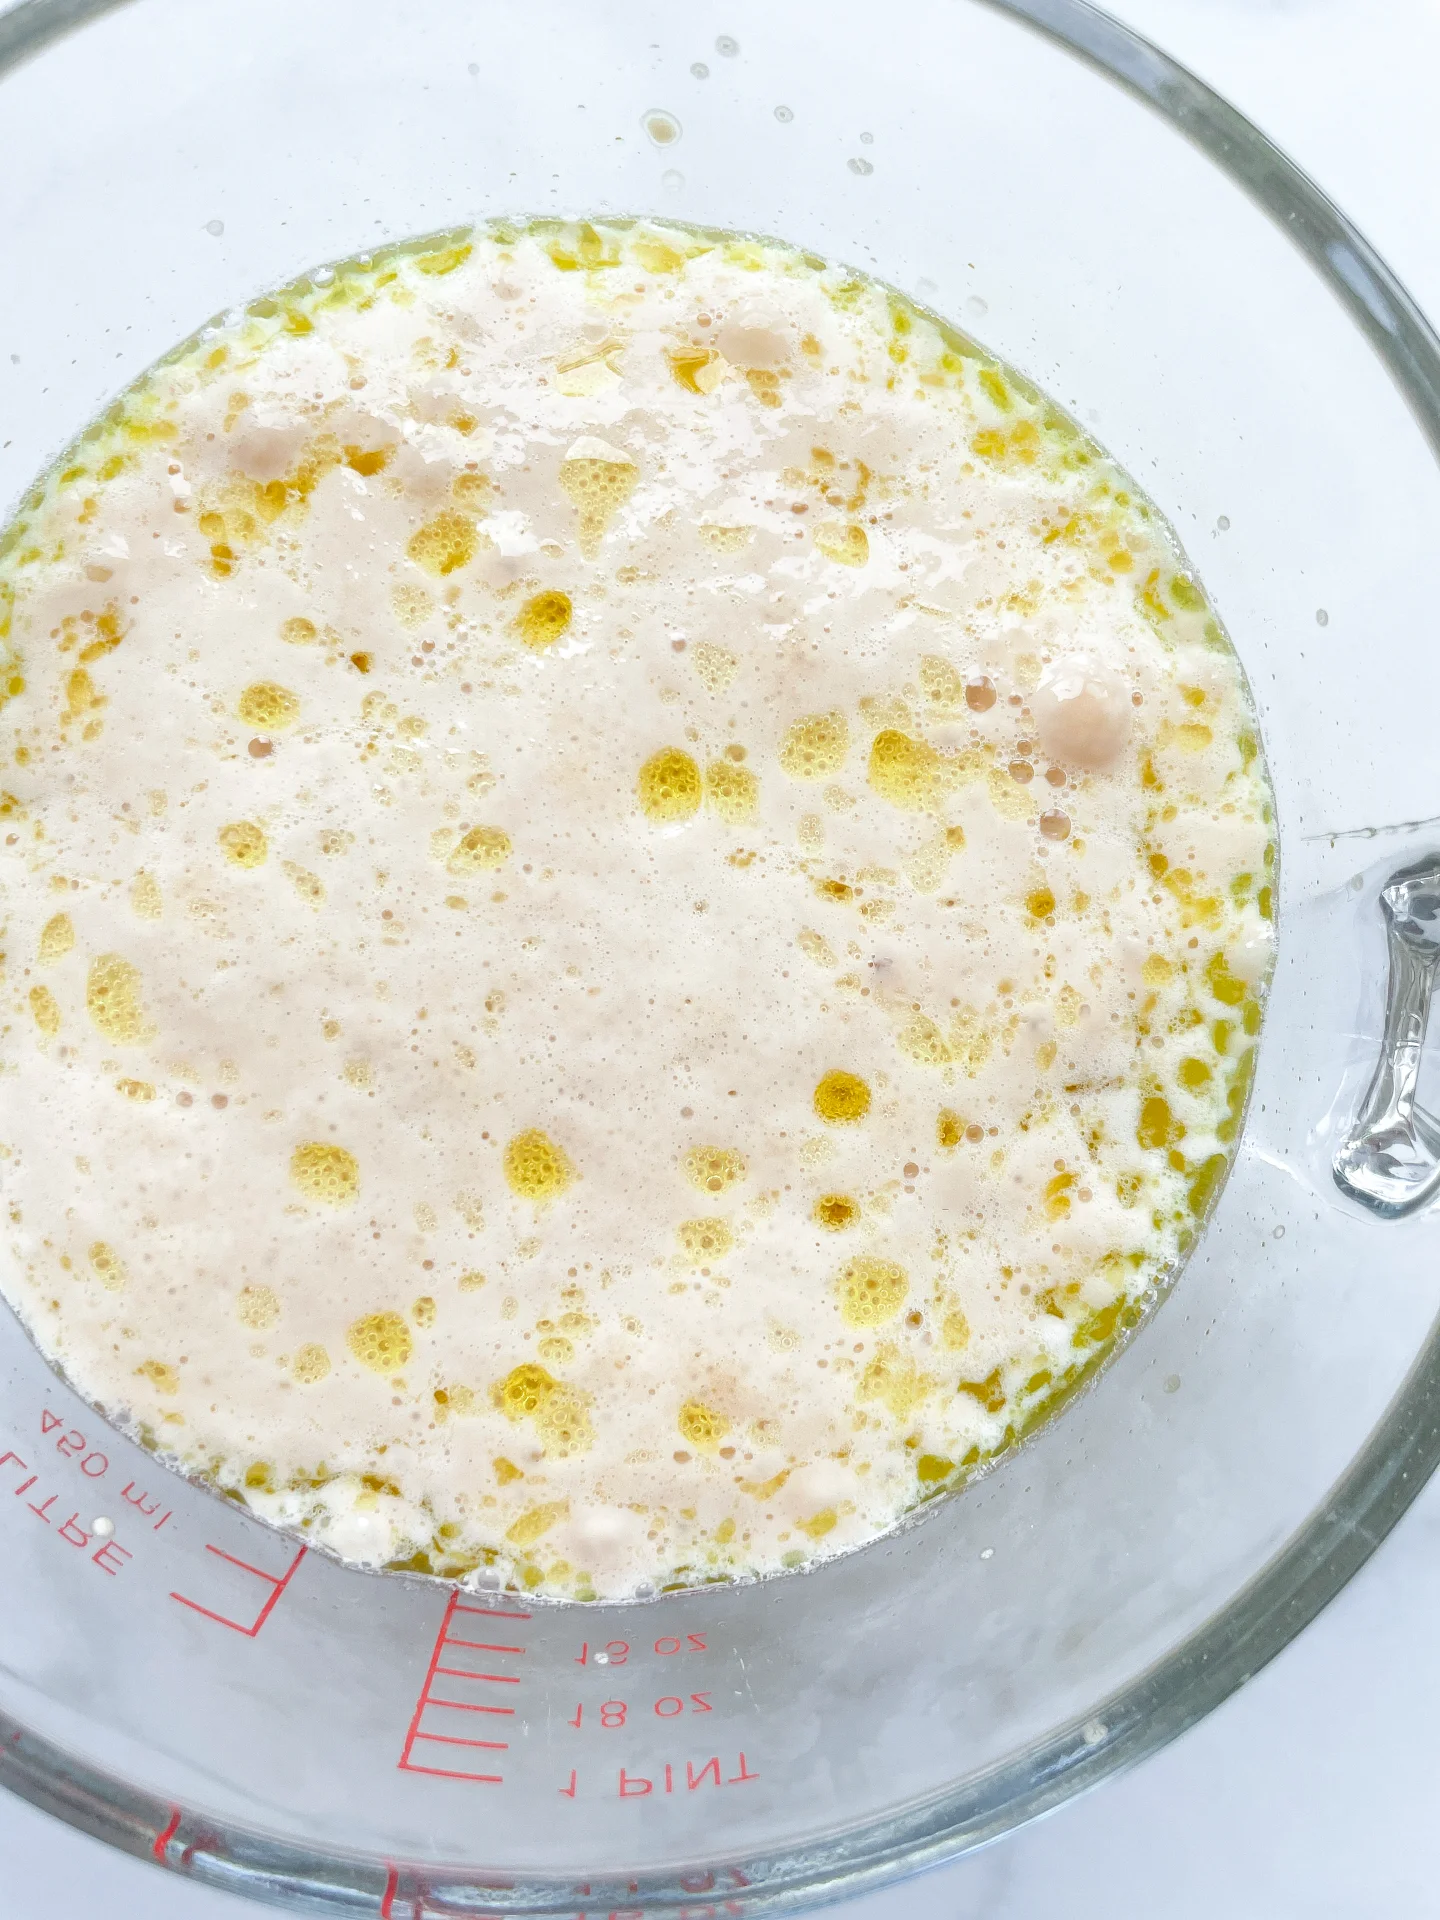
Combine the active-dry yeast with warm water (between 34-38°C / 93-100°F), olive oil, and a teaspoon of honey to get things started. Let it sit for about 10 minutes until it becomes bubbly and the oil floats on top with the activated yeast. Meanwhile, in a large bowl, mix your flour with the salt.
STEP 2 Mixing the ingredients to form a dough
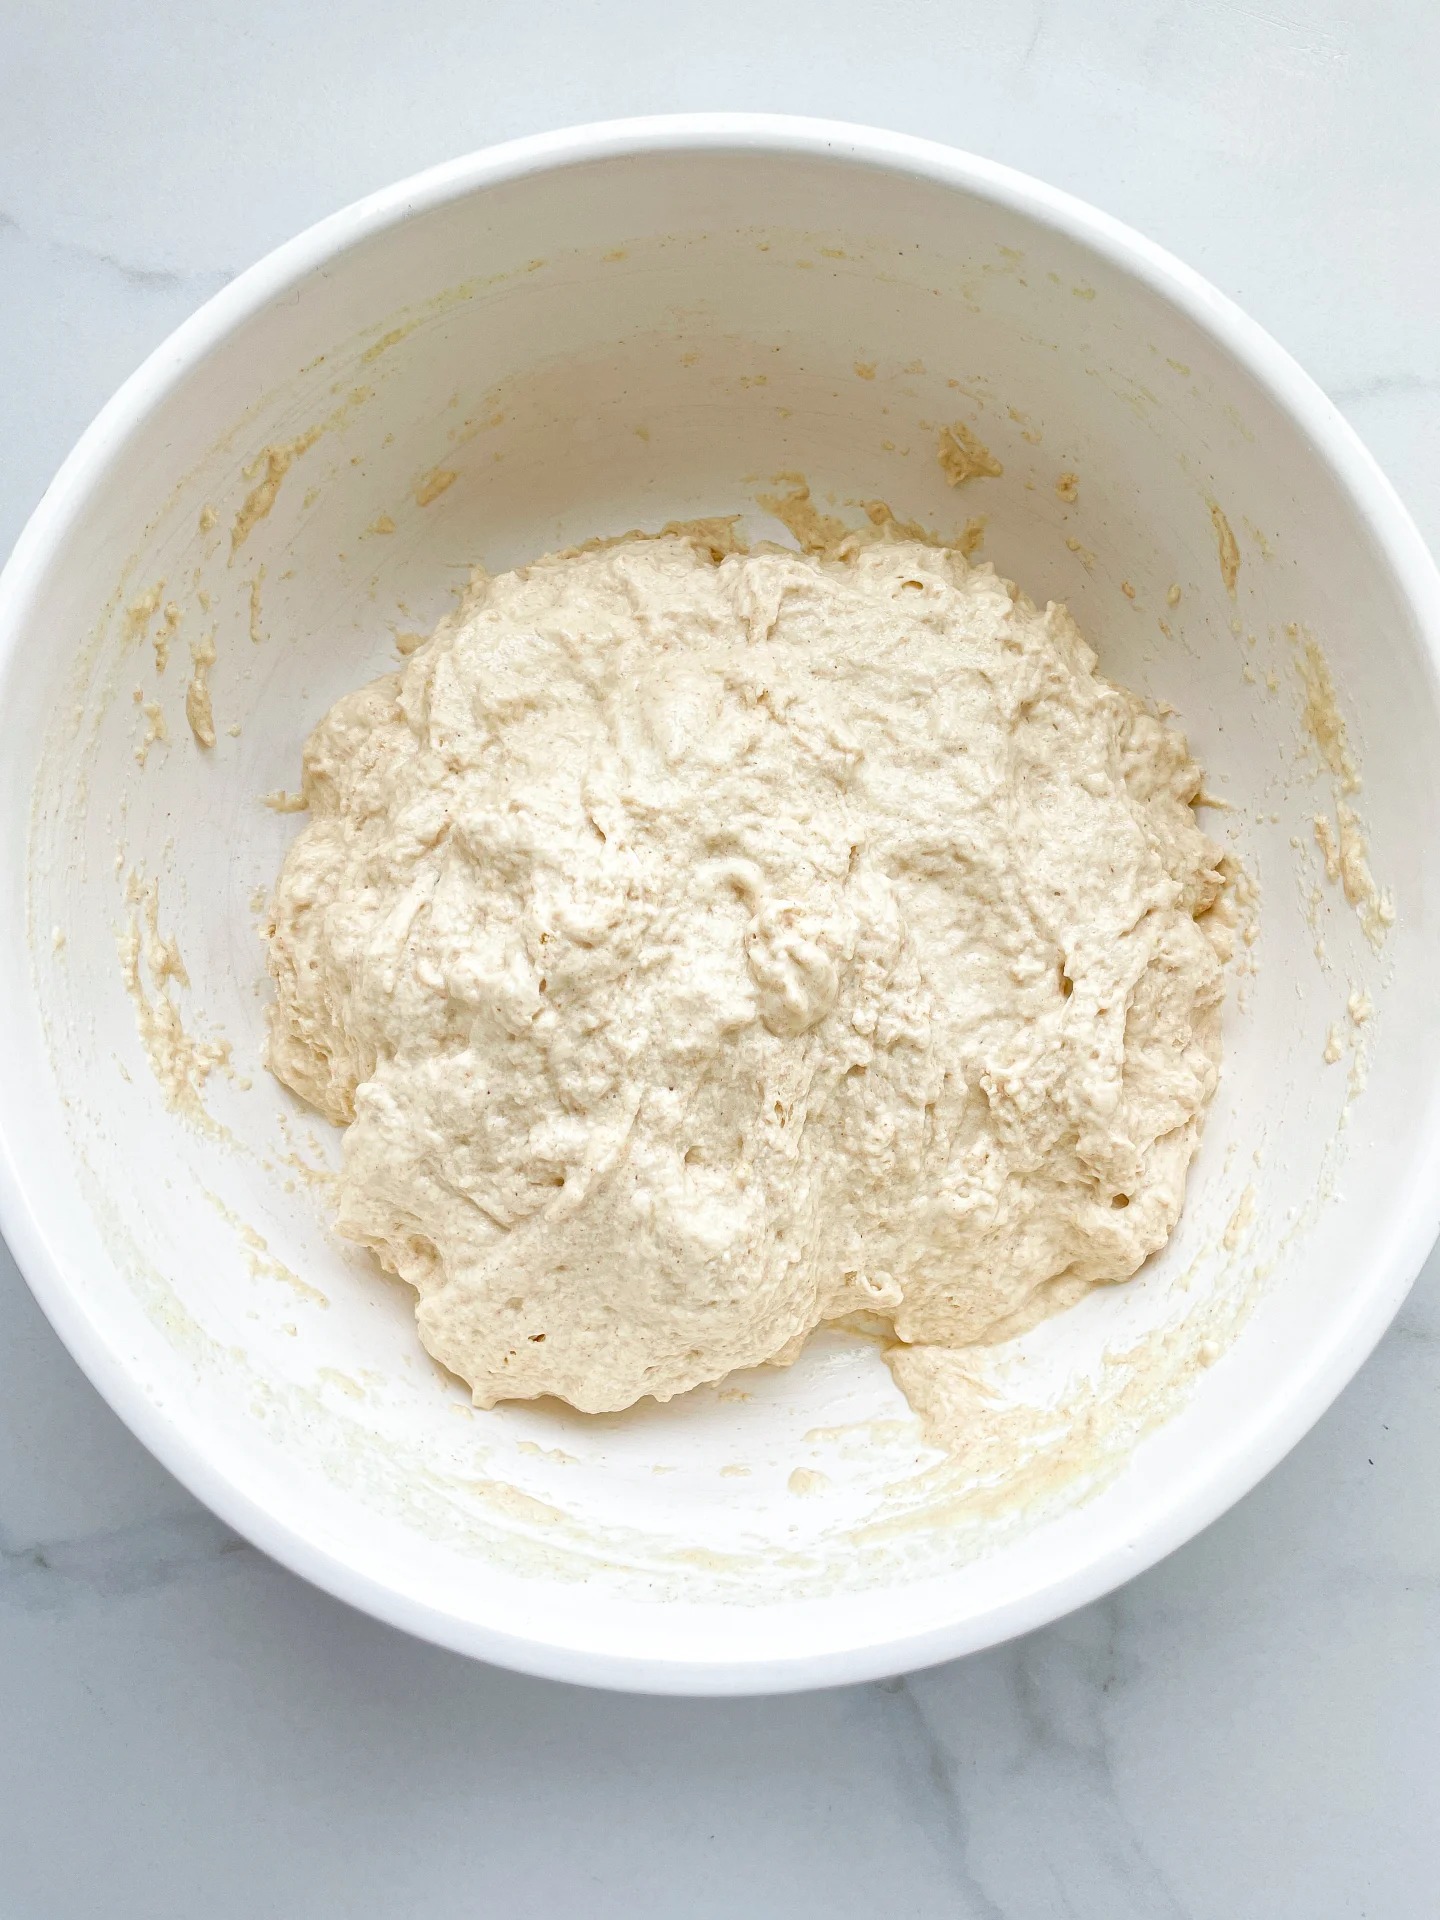
Pour the activated yeast mixture into the flour. Using a wooden spoon, mix everything together until it forms a dough and no dry flour is left. It might look a bit shaggy at first, but that’s totally fine! Scrape down any dough stuck to the sides and cover the bowl with cling film, a beeswax towel, or a shower cap. Let it sit for 20 minutes to allow the flour to hydrate and the dough to start developing elasticity.
STEP 3 Three rounds of stretch & fold
After 20 minutes, uncover the dough and prepare a small bowl of warm water to dip your hands in for the stretch & fold process. This technique helps develop the gluten without kneading. To do it, gently pull one side of the dough up, stretch it, and fold it over the center. Rotate the bowl a quarter turn and repeat on all four sides. You’ll do this about three times, letting the dough rest in between. This method strengthens the dough and helps create that light, airy texture!
Here’s the routine:
First stretch & fold, then let the dough rest for 20 minutes.
Second stretch & fold, then rest another 20 minutes.
Third stretch & fold, then let it rest for 60 minutes.
Cover the dough after each round and let it rise.
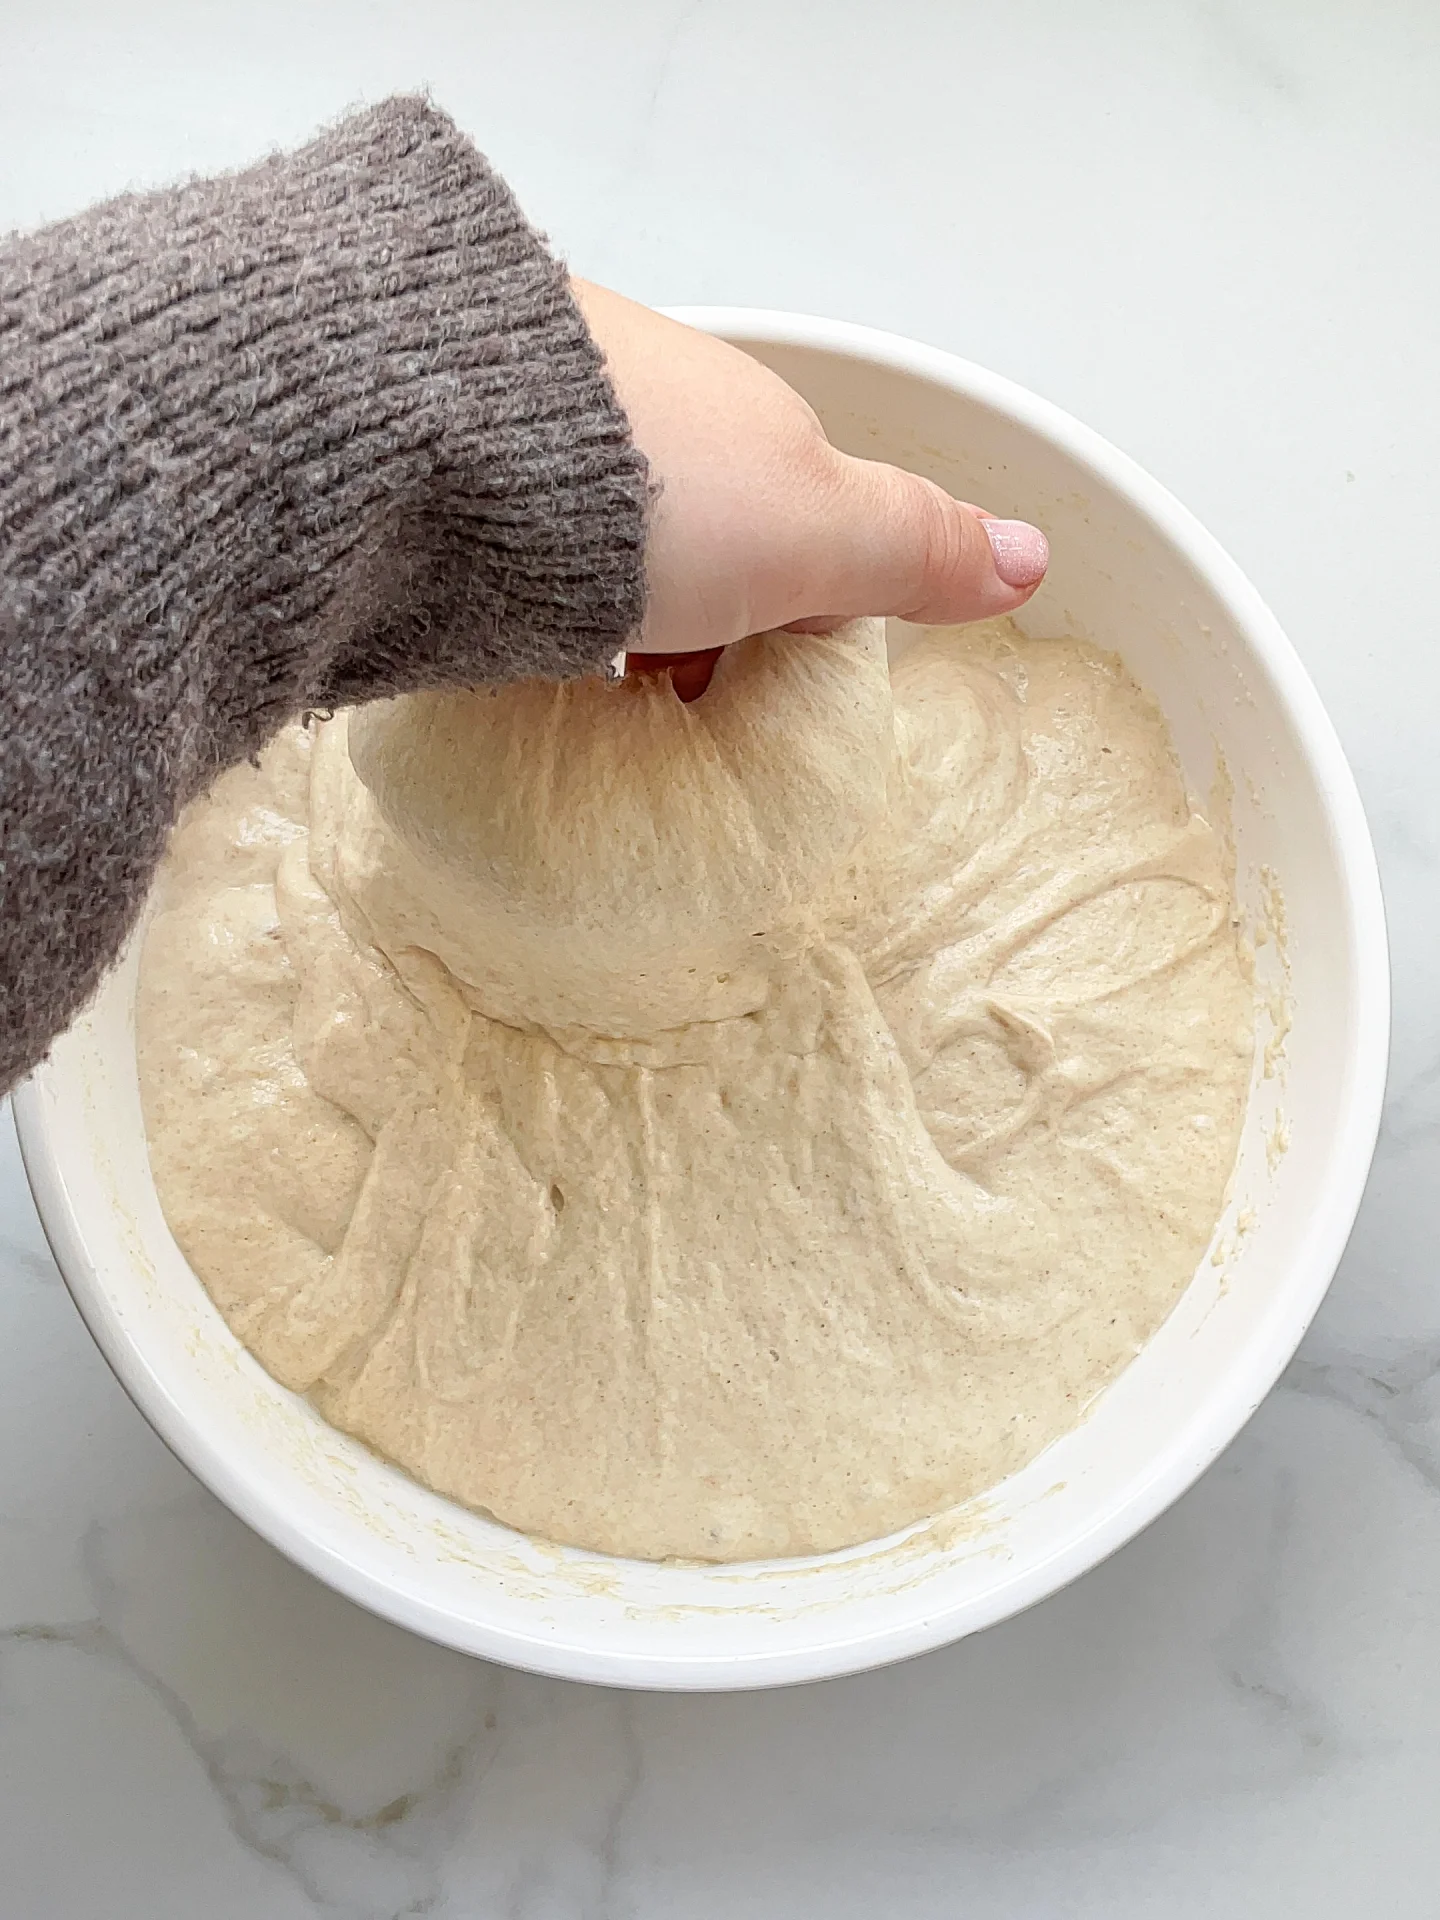
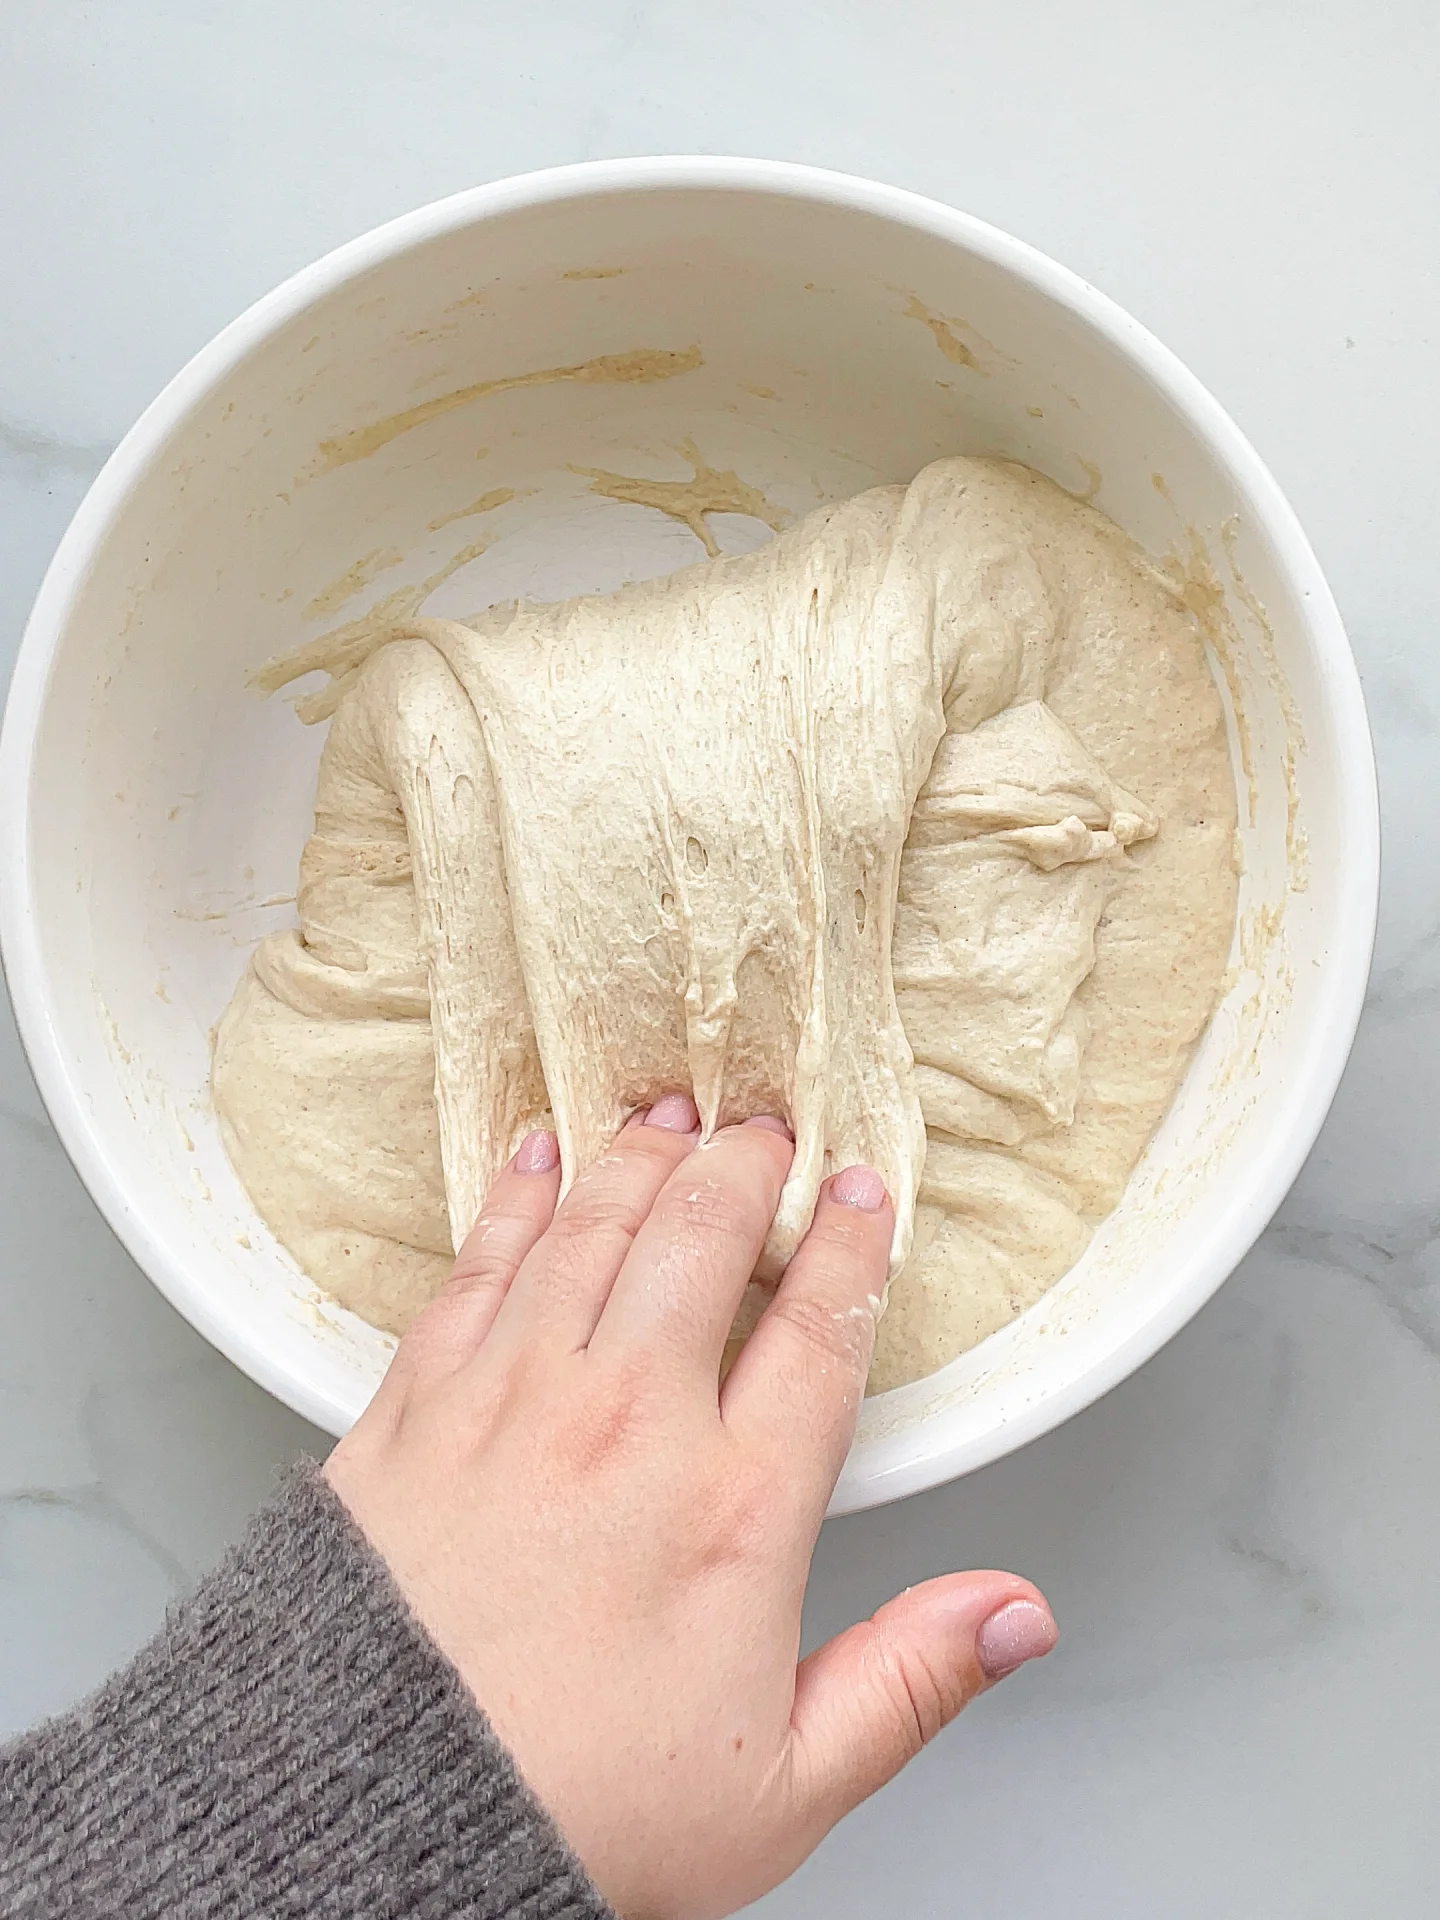
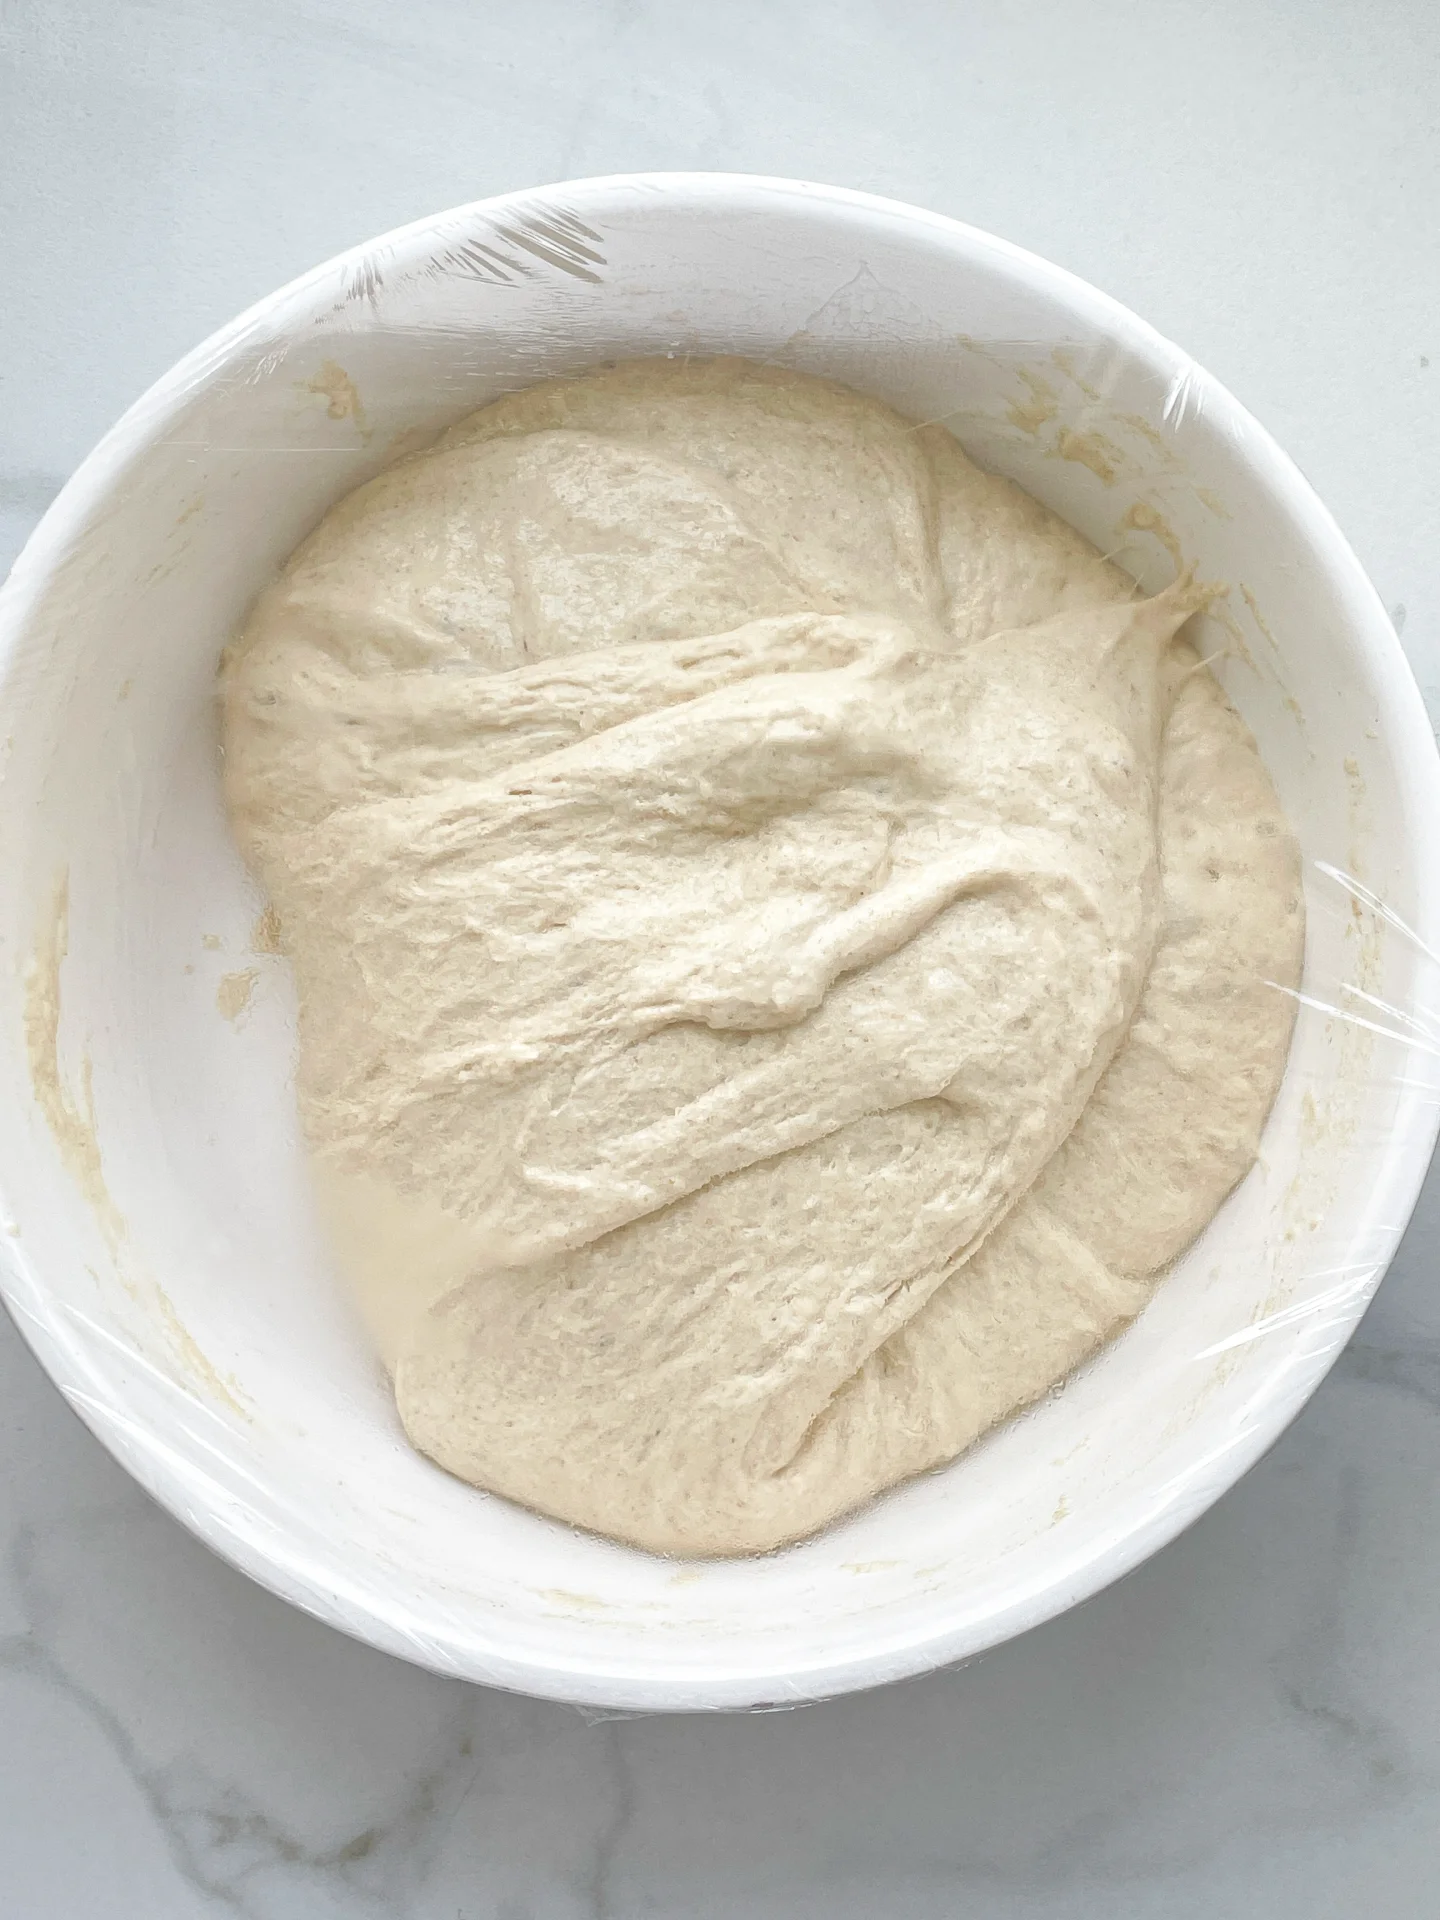
STEP 4 Transfer the dough into greased oven dish
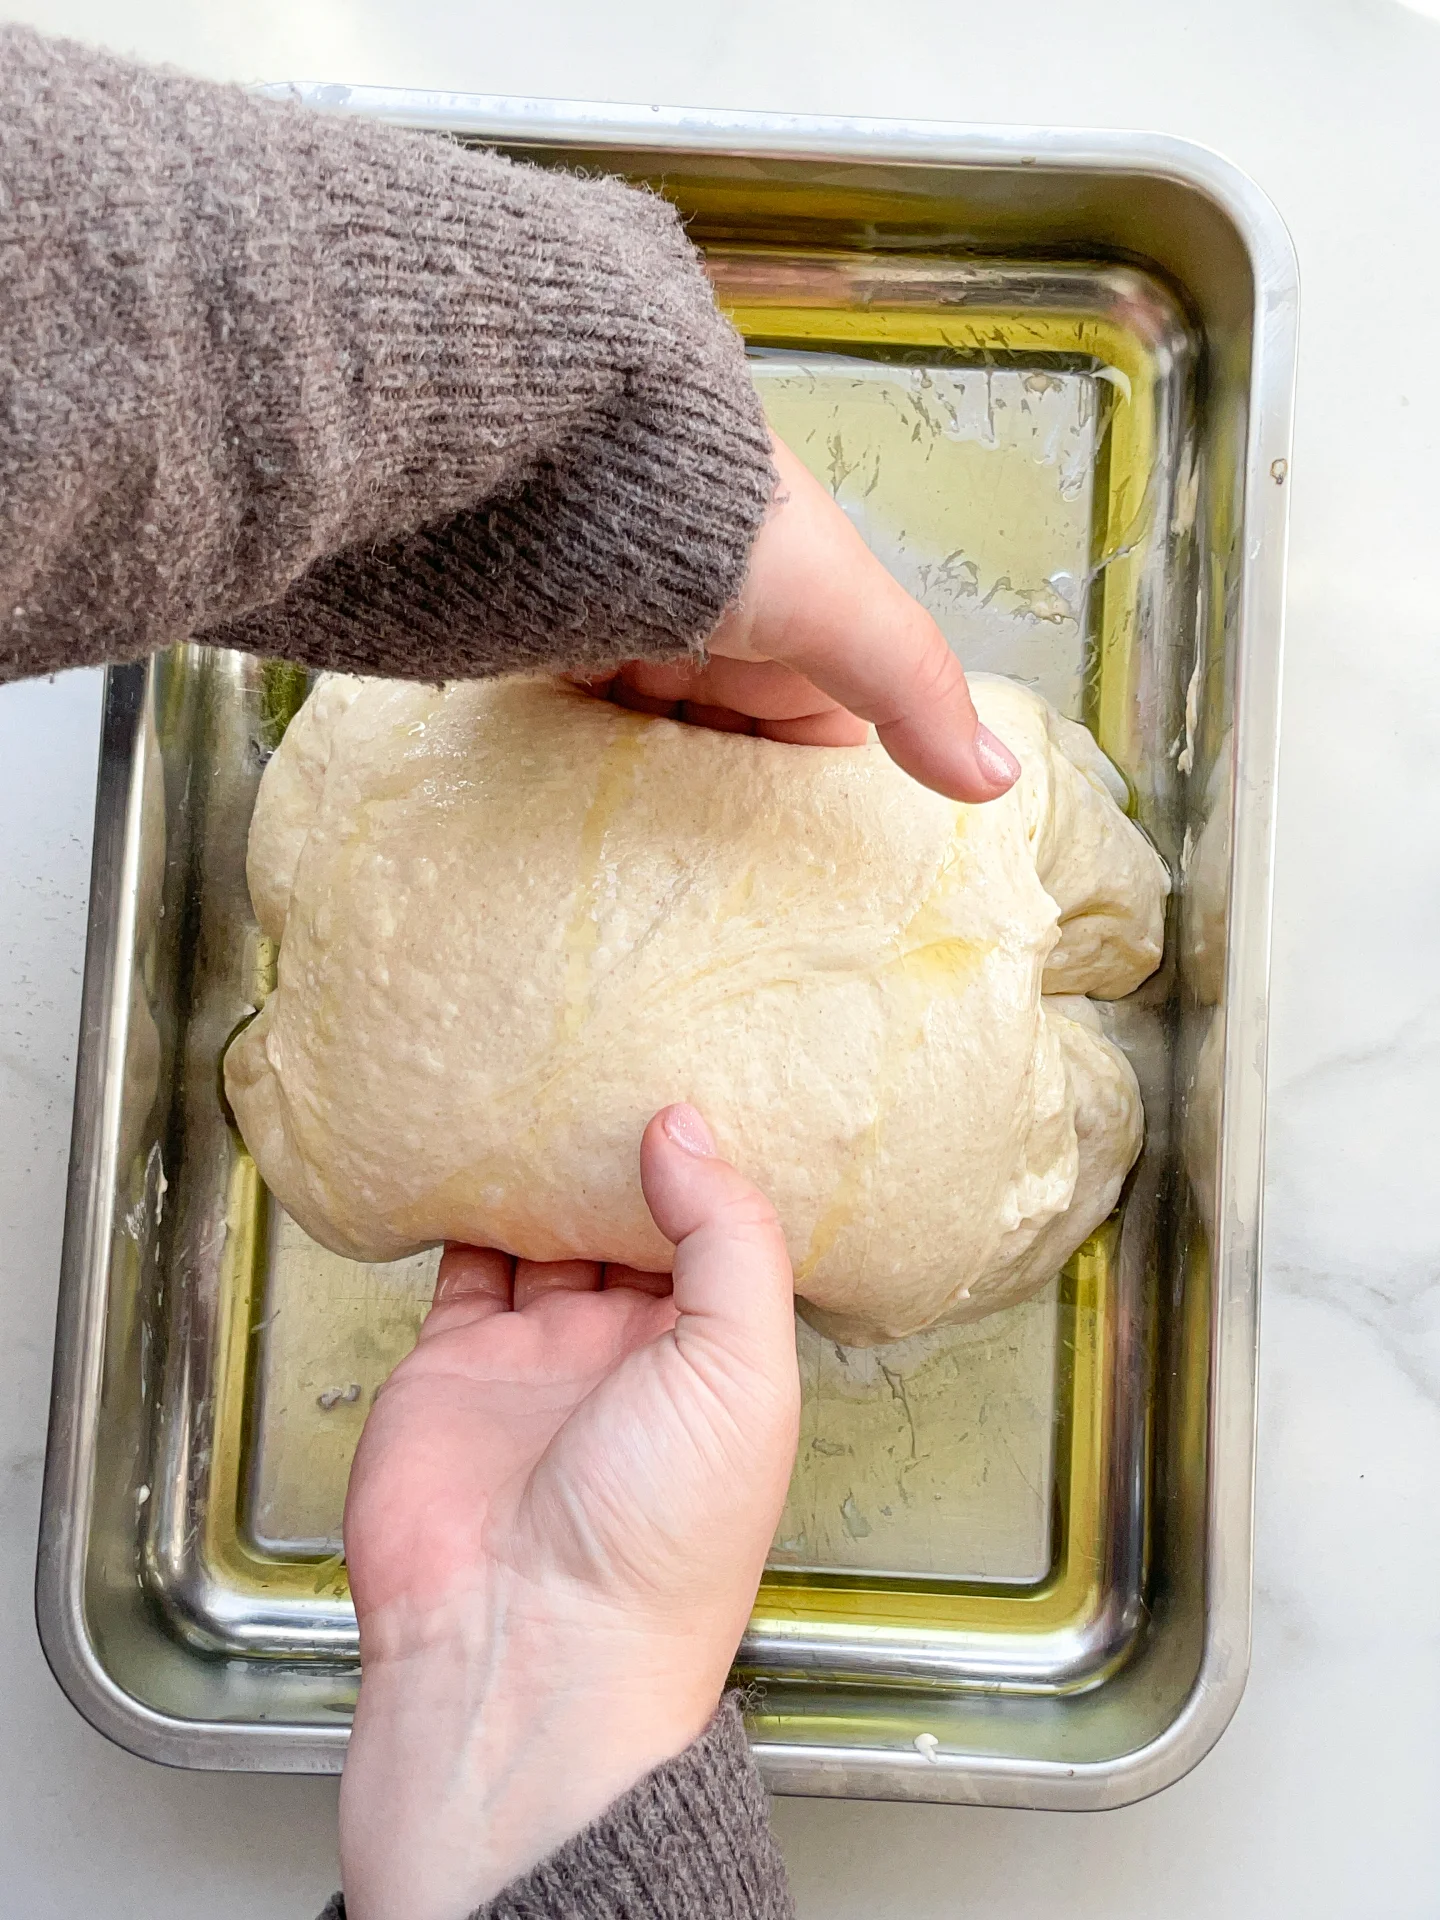
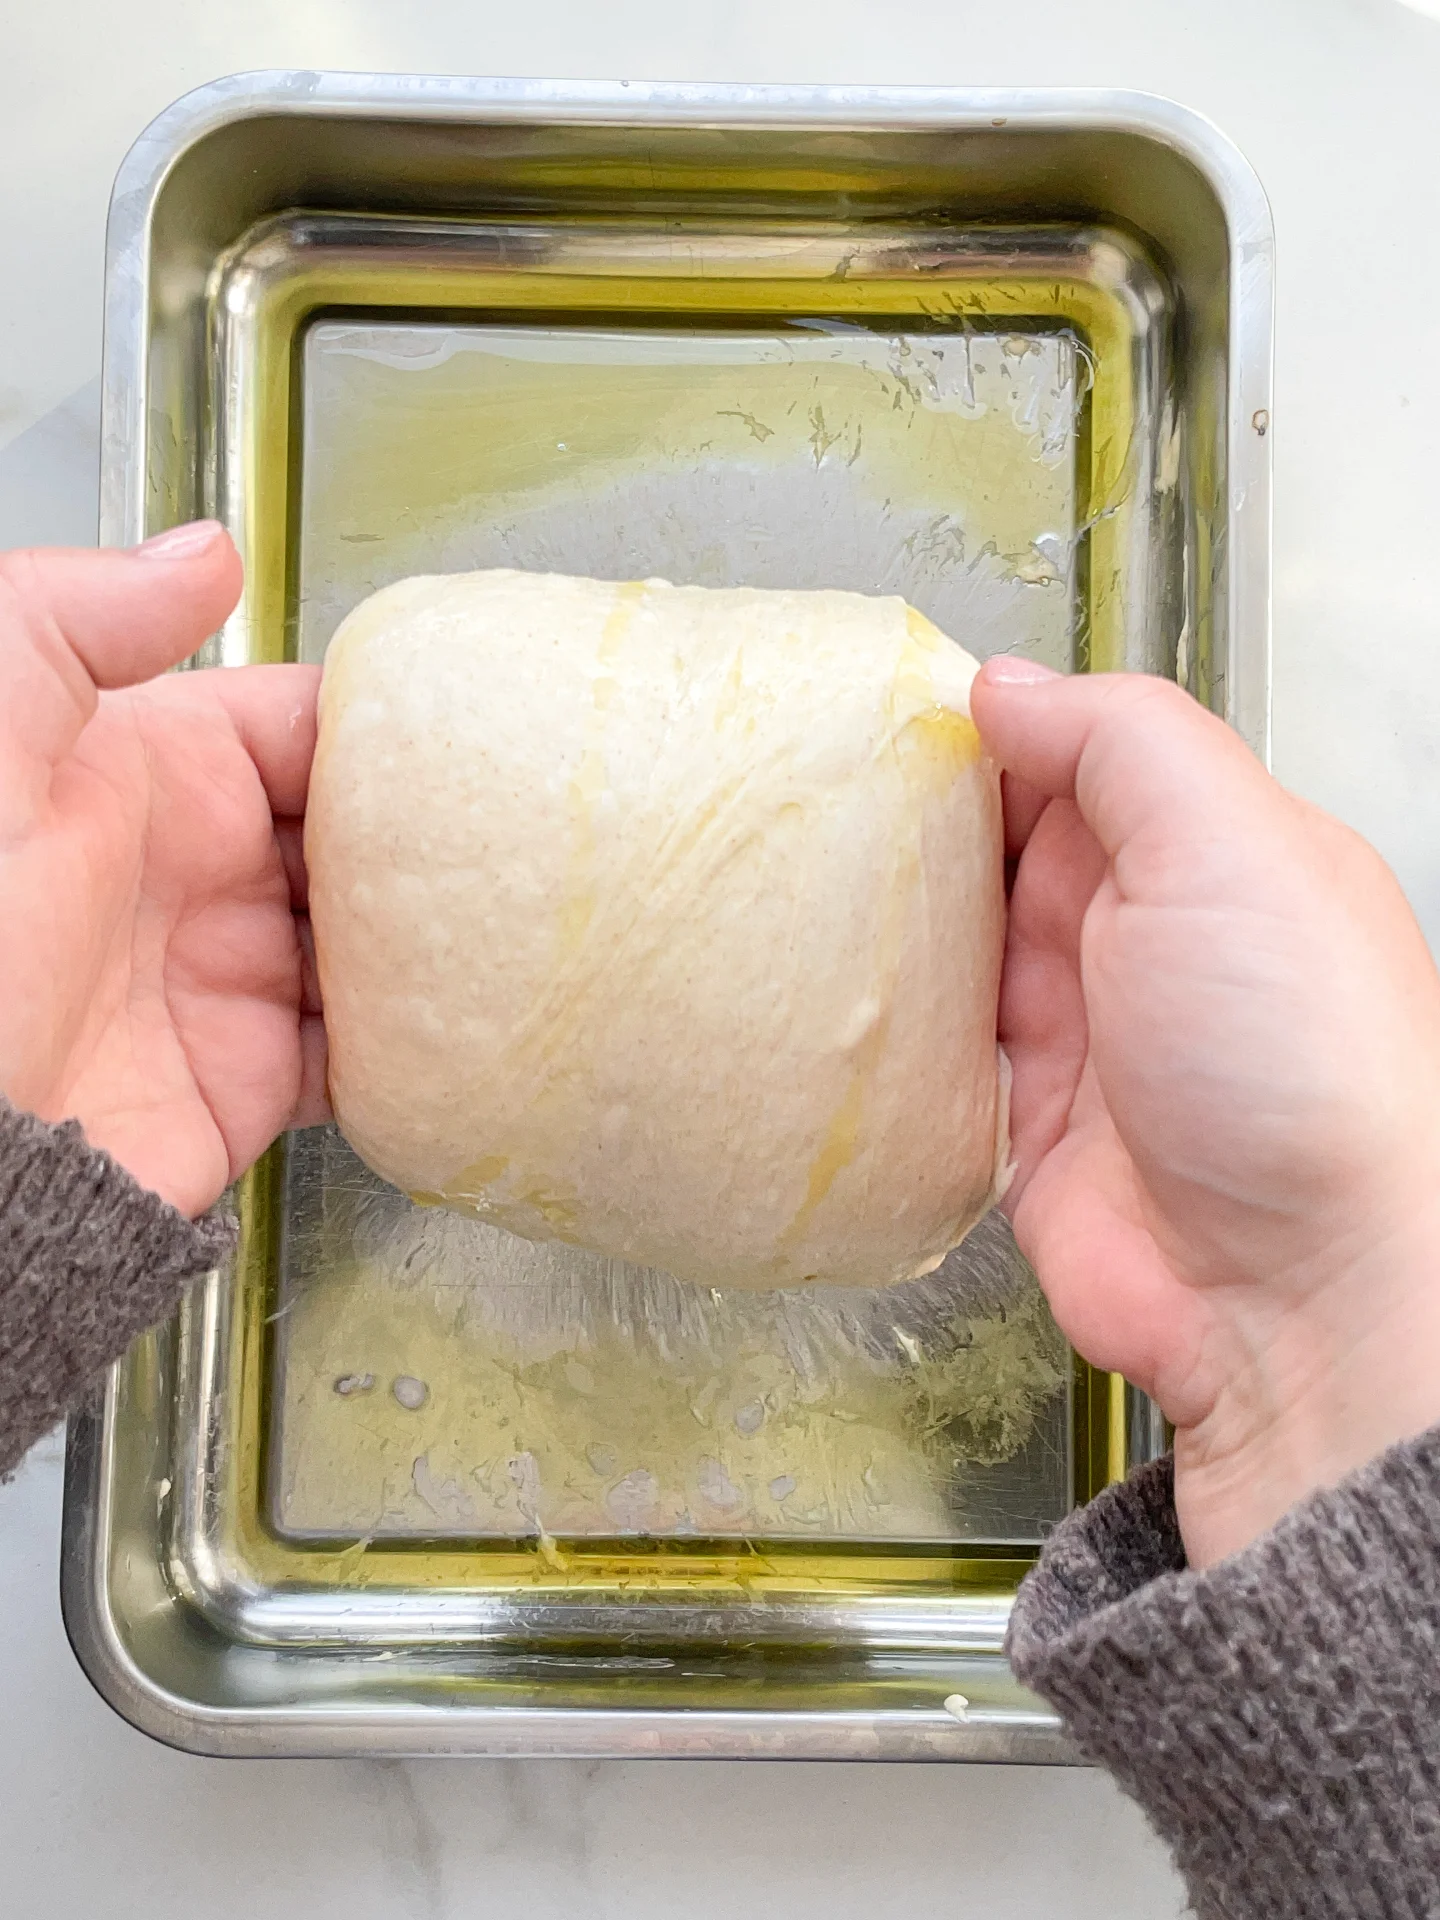
After the final 60-minute rest, grab your oven dish and drizzle 2-3 tablespoons of olive oil to coat it generously. Carefully transfer the dough to the dish, lifting it gently with both hands. Place it back in the dish, folding any hanging dough underneath itself to give it structure and elasticity.
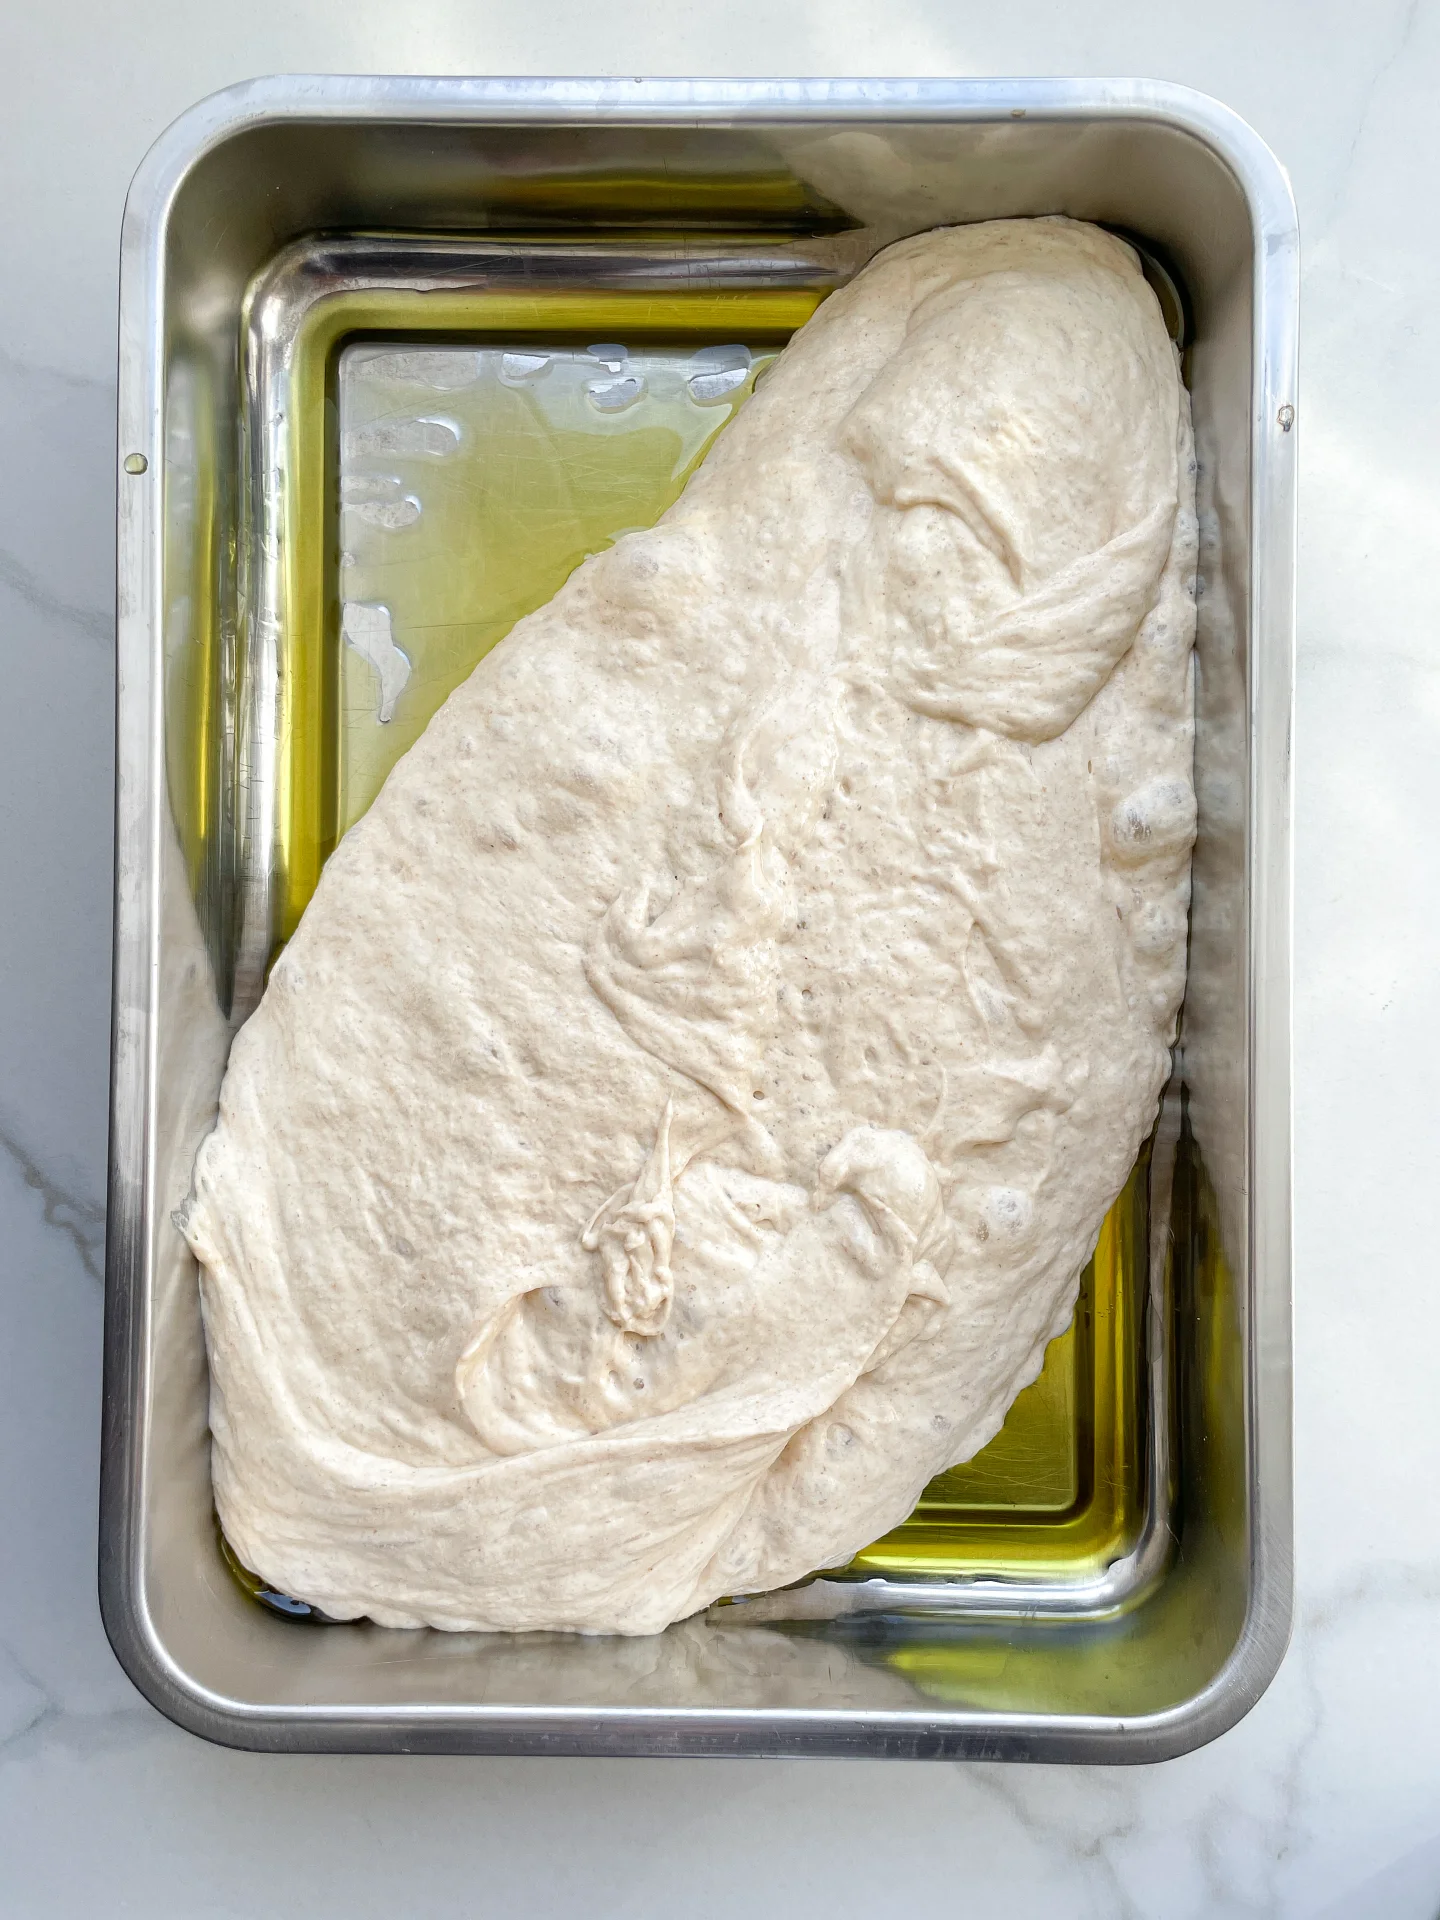
STEP 5 60 minutes rest in oven dish
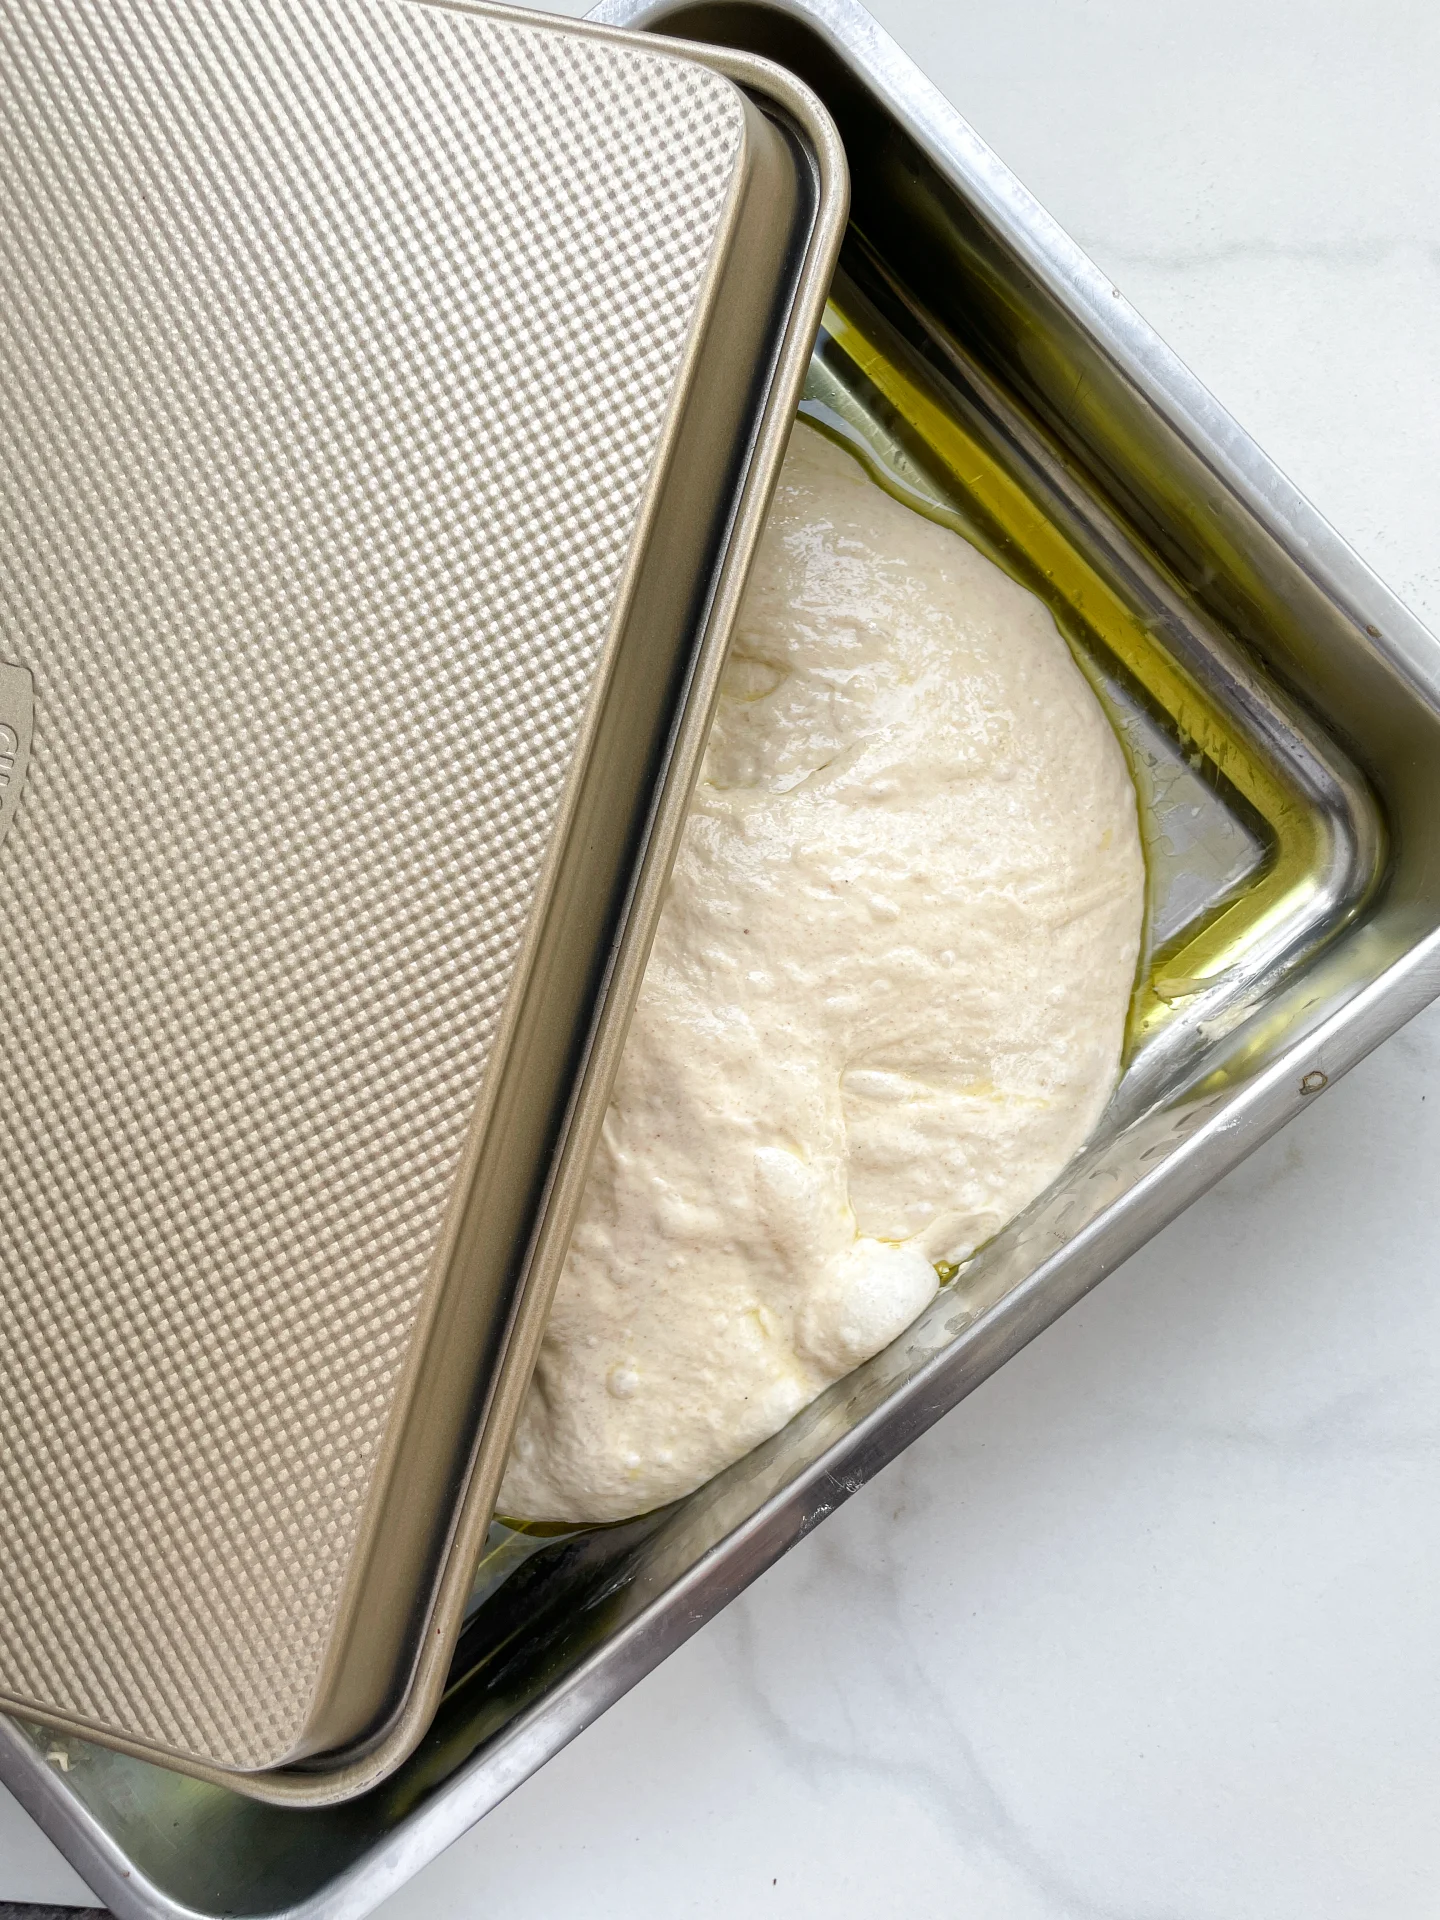
Cover the dish and let the dough rest for another 60 minutes. During this time, the dough will rise and settle into the dish, preparing for its final transformation.
STEP 6 Forming Bubbles
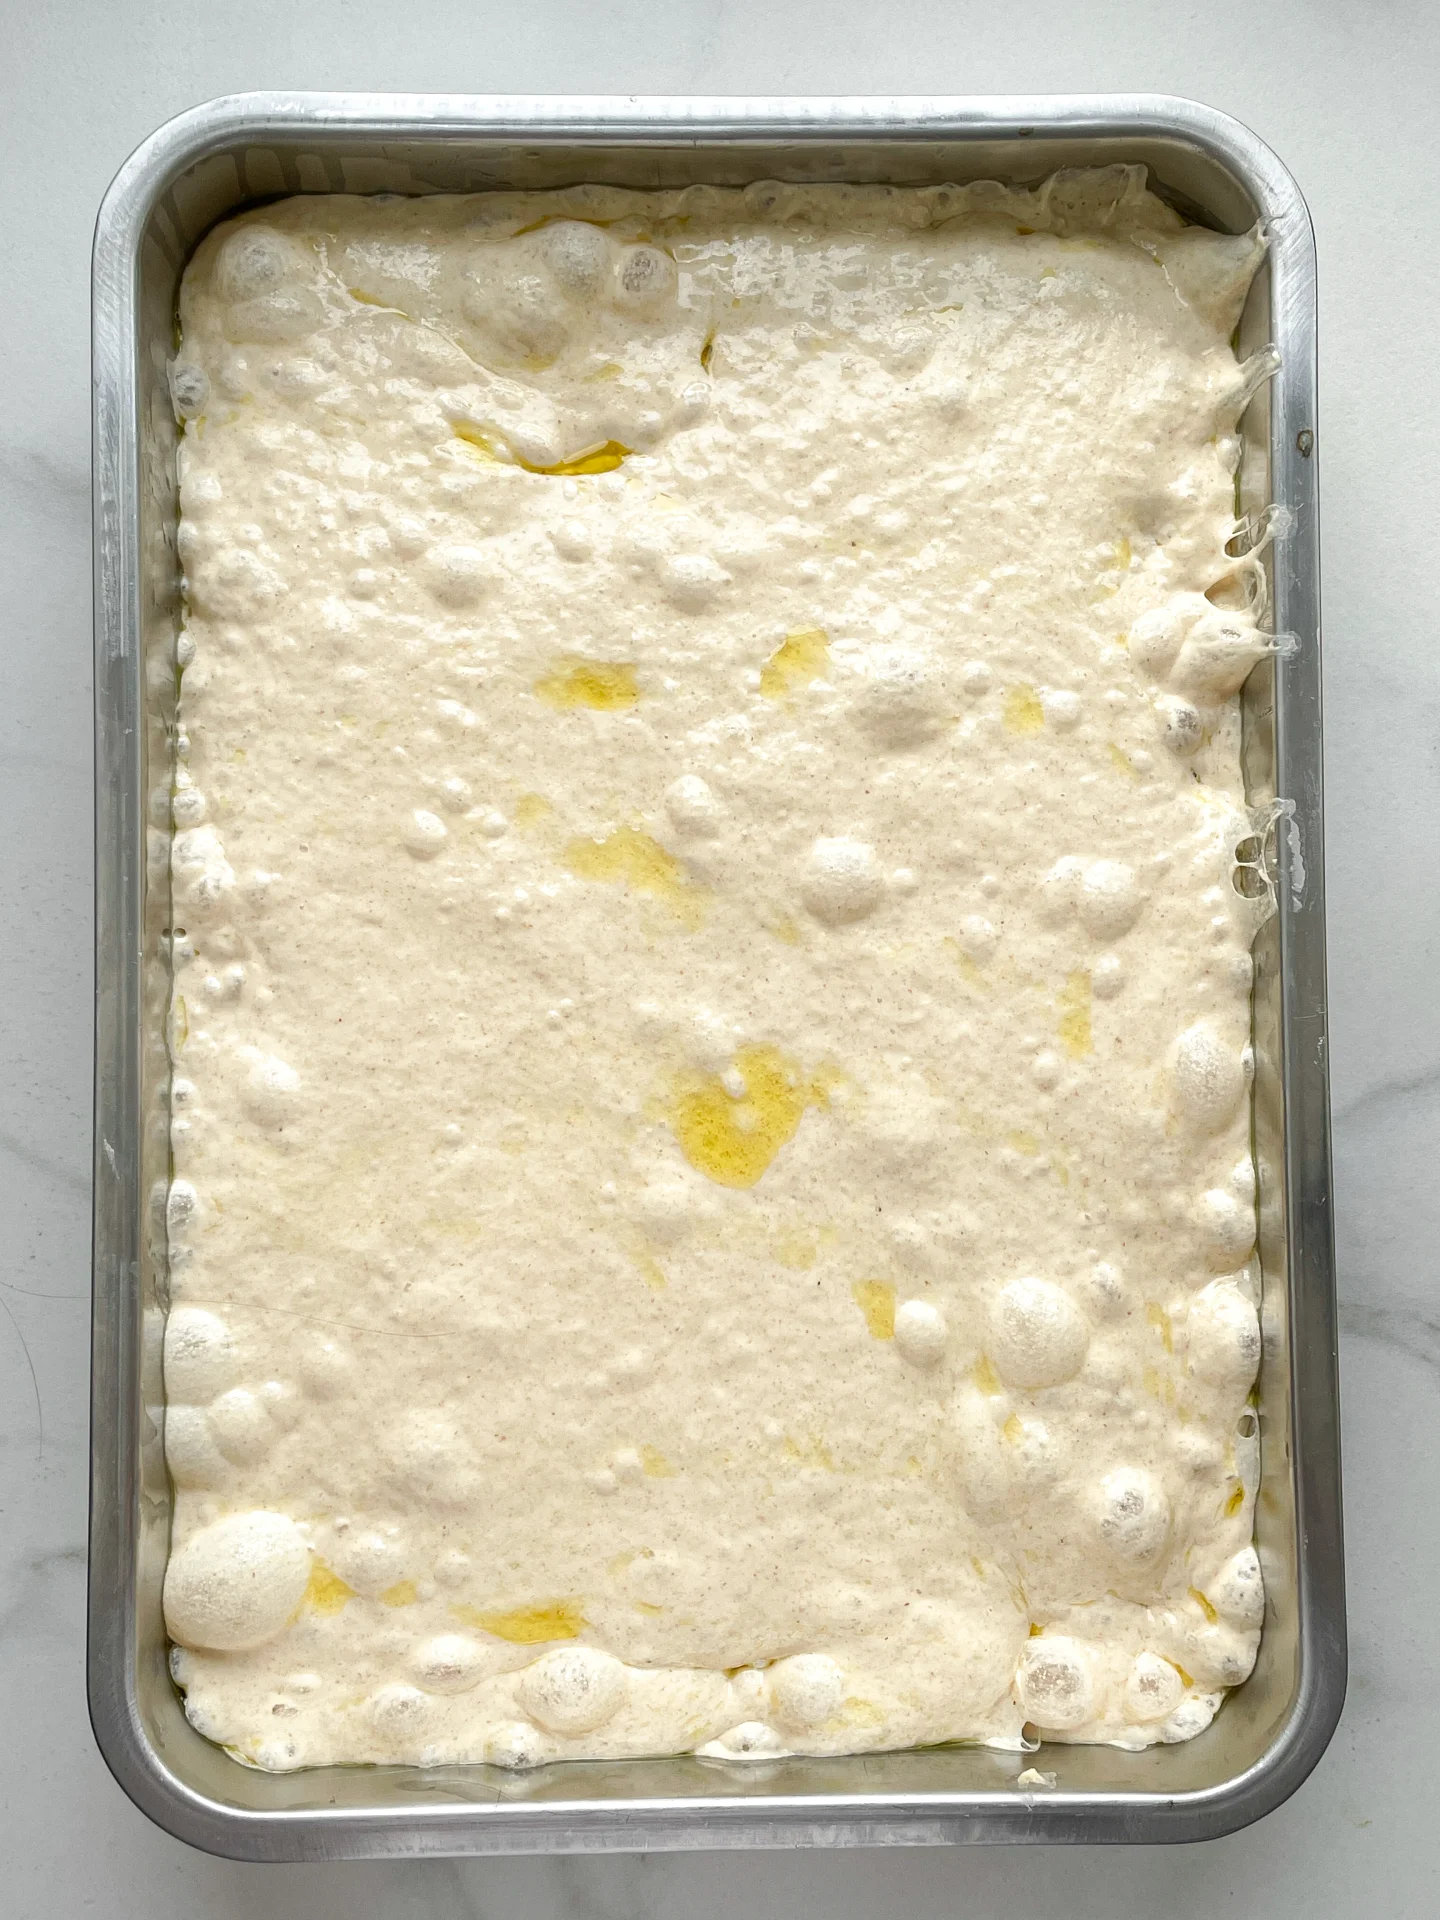
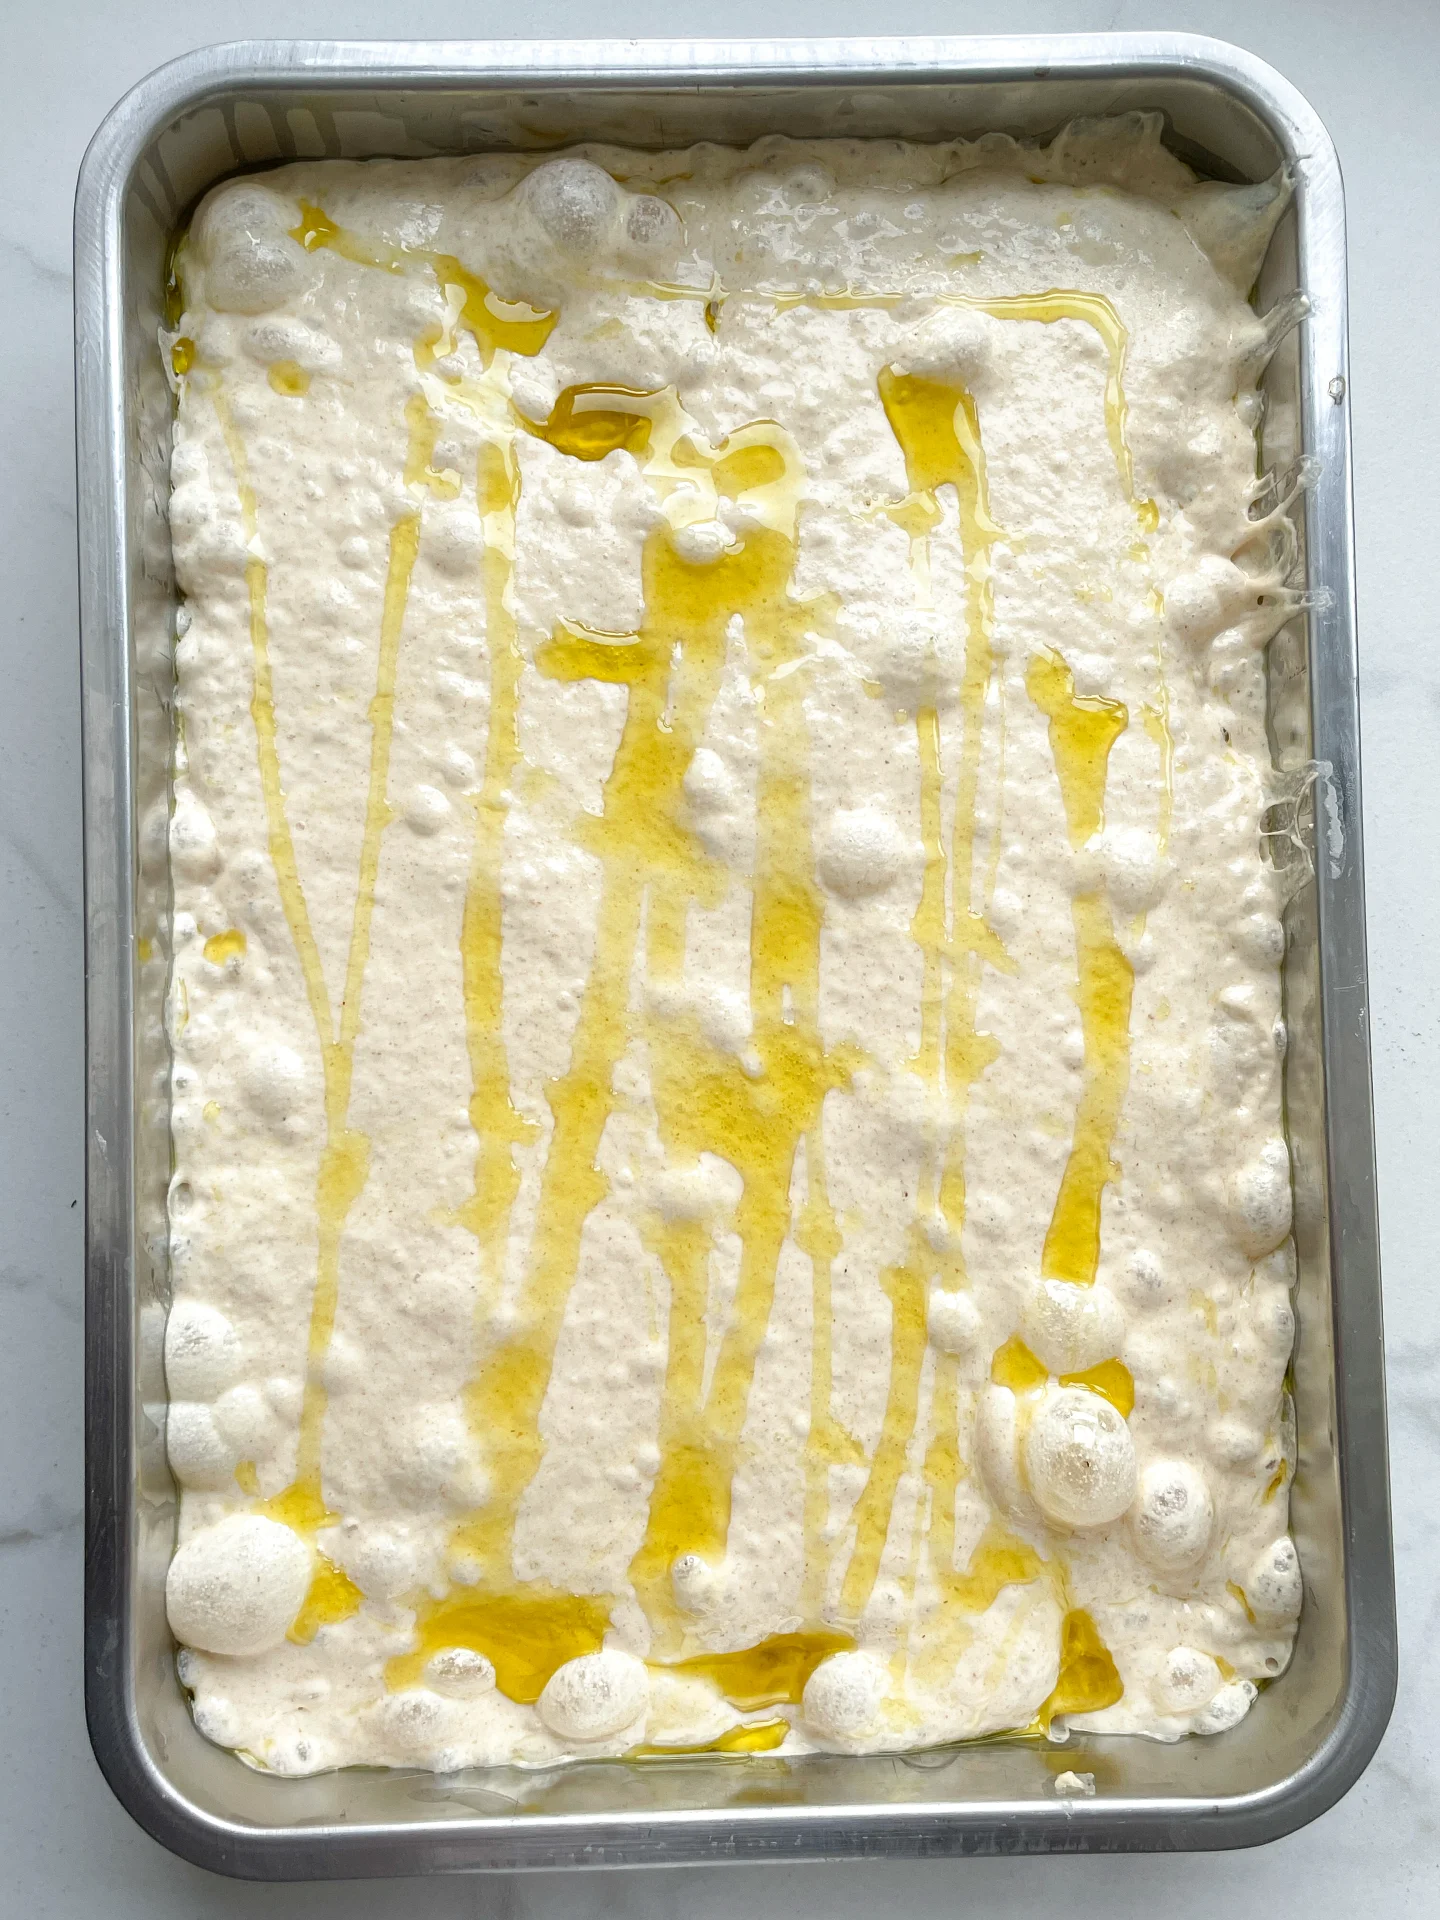
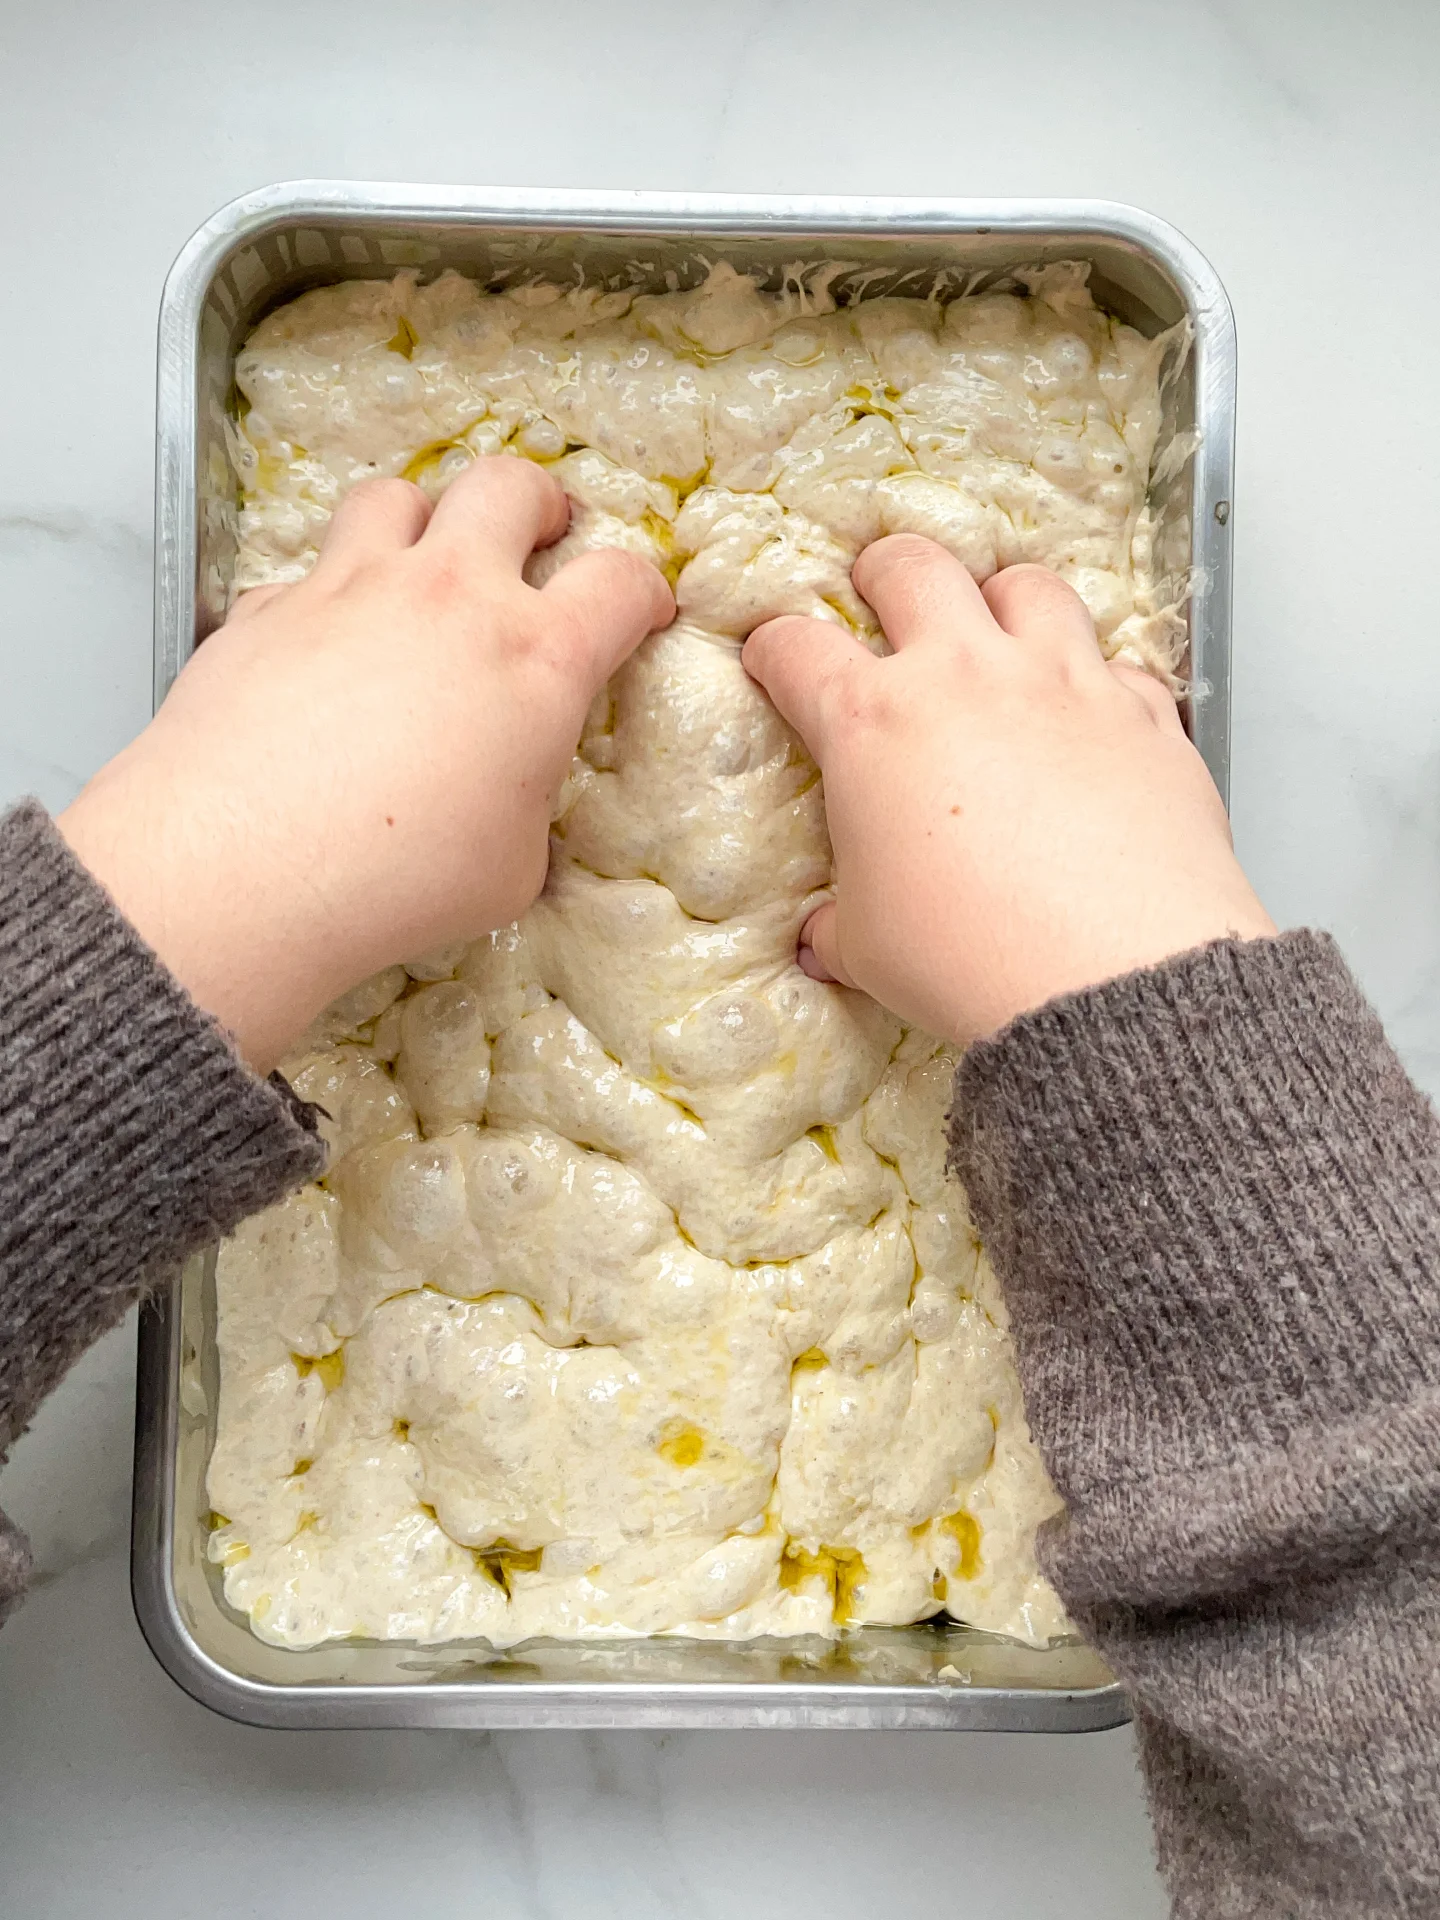
Preheat the oven to 220°C (430°F). After the dough’s last rest, uncover it and drizzle a little extra olive oil over the top. Use your fingers to gently press into the dough, forming dimples. This will encourage those signature bubbles to form during baking.
STEP 7 Bake in the oven
Bake the focaccia for 20-25 minutes, or until it’s golden and crisp. Enjoy your freshly baked focaccia!

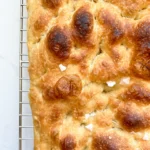
Easy Same Day Basic Focaccia
- Total Time: 3 hrs + 30 min
Description
Recommended Equipment
- large bowl
- kitchen scale
- thermometer (even a medicine one works)
- measuring cup
- wooden spoon
- cling film, beeswax wrap, or a shower cap
- baking dish or tray (mine is 20x26cm / 8×10 inch)
- oven
Ingredients
- 500 grams pizza flour (type 00 in Germany)
- 400 grams luke-warm water
- 1.5 tsp active dry-yeast
- 1 tbsp olive oil
- 1 tsp honey
- 1.5 tsp salt
- 50 milliliters olive oil for greasing and dipping
Instructions
- Combine the active-dry yeast with warm water (between 34-38°C / 93-100°F), olive oil, and a teaspoon of honey to get things started. Let it sit for about 10 minutes until it becomes bubbly and the oil floats on top with the activated yeast. Meanwhile, in a large bowl, mix your flour with the salt.
- Pour the activated yeast mixture into the flour. Using a wooden spoon, mix everything together until it forms a dough and no dry flour is left. It might look a bit shaggy at first, but that’s totally fine! Scrape down any dough stuck to the sides and cover the bowl with cling film, a beeswax towel, or a shower cap. Let it sit for 20 minutes to allow the flour to hydrate and the dough to start developing elasticity.
- After 20 minutes, uncover the dough and prepare a small bowl of warm water to dip your hands in for the stretch & fold process. This technique helps develop the gluten without kneading. To do it, gently pull one side of the dough up, stretch it, and fold it over the center. Rotate the bowl a quarter turn and repeat on all four sides. You’ll do this about three times, letting the dough rest in between. This method strengthens the dough and helps create that light, airy texture! Follow these steps:
- First stretch & fold, then let the dough rest for 20 minutes covered
- Second stretch & fold, then rest another 20 minutes covered
- Third stretch & fold, then let it rest for 60 minutes covered
- After the final 60-minute rest, grab your oven dish and drizzle 2-3 tablespoons of olive oil to coat it generously. Carefully transfer the dough to the dish, lifting it gently with both hands. Place it back in the dish, folding any hanging dough underneath itself to give it structure and elasticity.
- Cover the dish and let the dough rest for another 60 minutes. During this time, the dough will rise and settle into the dish, preparing for its final transformation.
- Preheat the oven to 220°C / 430°F. After the dough’s last rest, uncover it and drizzle a little extra olive oil over the top. Use your fingers to gently press into the dough, forming dimples. This will encourage those signature bubbles to form during baking.
- Bake the focaccia for 20-25 minutes, or until it’s golden and crisp. Enjoy your freshly baked focaccia! Let the focaccia cool to room temperature. If you cut it while it’s still hot, it might tear apart. But honestly, it tastes sooo good when it’s warm. Just tear it up and dip it into your favorite dips!
- Passive Time: 3 hrs + 20 min
- Cook Time: 10 min
MORE RECIPES YOU MIGHT LIKE


