Easy Homemade Dumpling Wrapper
April 19, 2024 by Kimberly
Create your own dumpling wrappers at home! Simple, fun, and perfect for holding all your delicious fillings—get ready for a truly customized dining experience!
This website uses affiliate links which may earn commission for purchases made at no additional cost to you.
TOTAL TIME
2 hrs + 20 min
SERVES
60 wrappers
DIET
vegan
EVERY RECIPE DESERVES
A Little Love Letter
Dive into the delightful world of homemade dumpling wrappers, your first step to authentic, scrumptious dumplings. Crafting these wrappers at home is not only simple, but it also allows you to infuse a personal touch into every bite, making each dumpling truly your own.
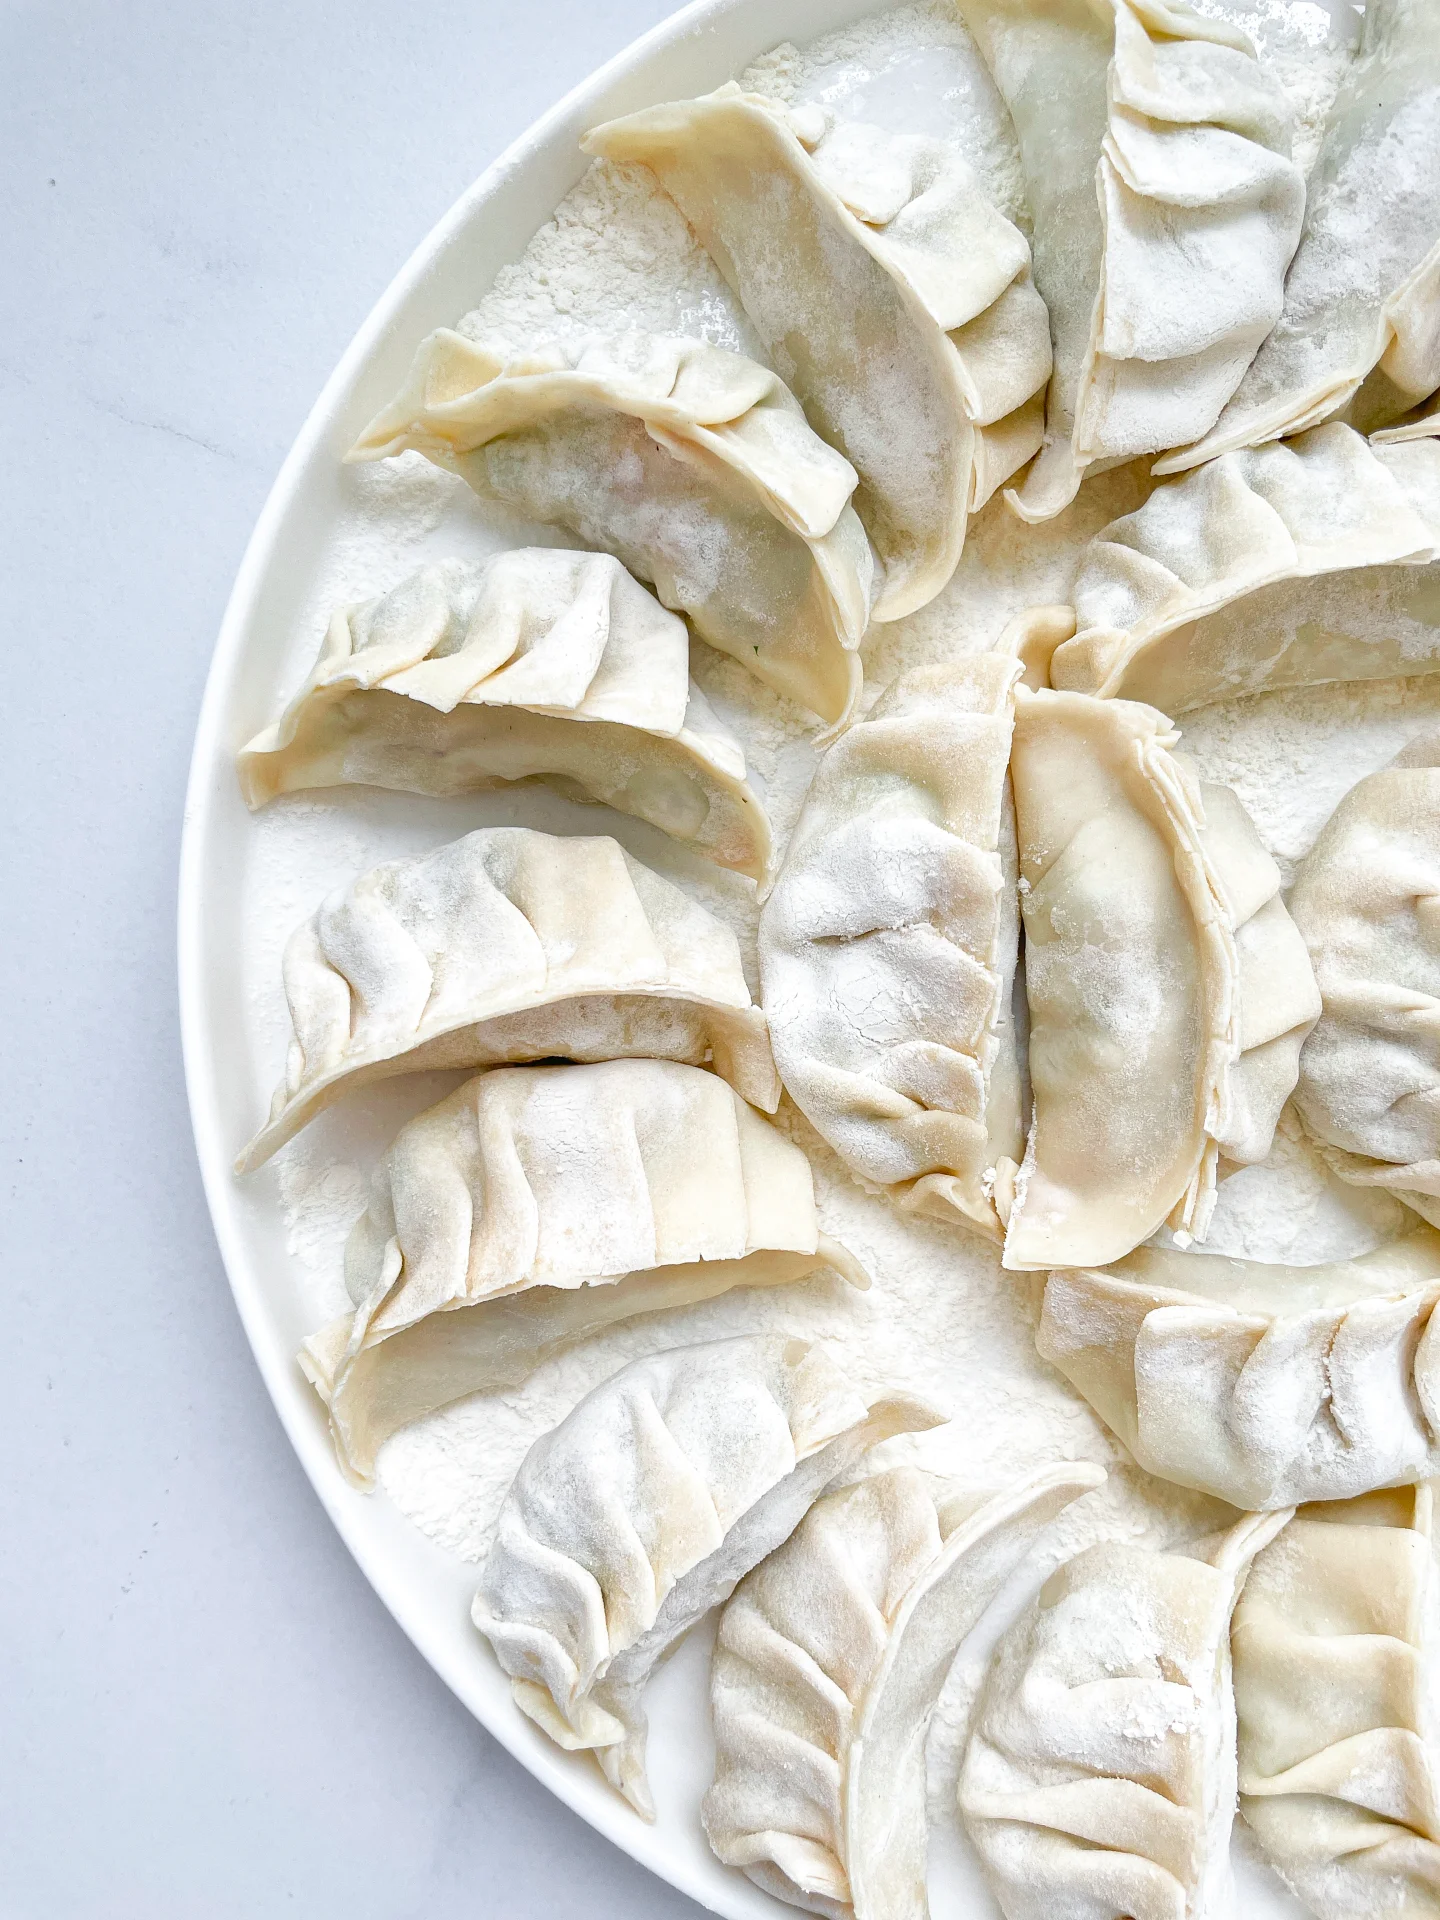
Fill these pliable wrappers with anything from seasoned pork to mixed vegetables, seal, and then steam, boil, or fry. Serve them hot with a side of soy sauce, vinegar, or a spicy dipping sauce for a perfect snack or meal. They’re a fantastic addition to any gathering, allowing guests to discover the joys of fresh, homemade dumplings.
Store your dumpling wrappers by layering them with parchment paper and keeping them in an airtight container. They’ll stay fresh in the refrigerator for up to one day or can be frozen for extended use.

Hi, I'm Kimberly.
A hopeless romantic when it comes to food. Every recipe I share is a love letter to food itself. I’m so glad you’re here. Make yourself at home and stay a while.
Love,
Kimberly

If you want to get to know me better,
click here!


LET’S MAKE A PIECE OF HAPPINESS

Easy Homemade Dumpling Wrapper
- Total Time: 2 hrs + 20 min
- Yield: 60
Description
GOOD TO HAVE ON HAND
- medium-sized bowl
- plastic wrap
- two medium-sized Tupperware containers with lids
- small rolling pin
- parchment paper
- two chopsticks
- dough cutter (or the dull side of a knife)
- round dough cutter, about 11 cm in diameter (4” to 4.5”)
Ingredients
- 400 grams all-purpose flour
- 1 tsp salt
- 220 milliliters very hot water
Instructions
- Cut the parchment paper into 60 squares, each with sides measuring 12 cm (5″)
- In a bowl, mix the flour with 1 tsp of salt. Then pour the very warm (not boiling) water into the center and stir with two chopsticks until the dough no longer combines easily. You’ll have larger flakes of dough and still quite a bit of loose flour in the bowl.
- Now, continue with your hands and knead the dough until all the flour is incorporated and the dough has a smooth texture. It should be as soft as an earlobe, which will take about 5-8 minutes.
- Form the dough into a ball and place it back in the bowl. Stretch plastic wrap tightly over the bowl to prevent the dough from drying out. Let the dough rest for at least 30 minutes, though 60 minutes is better, as the longer it rests, the easier it will be to work with later.
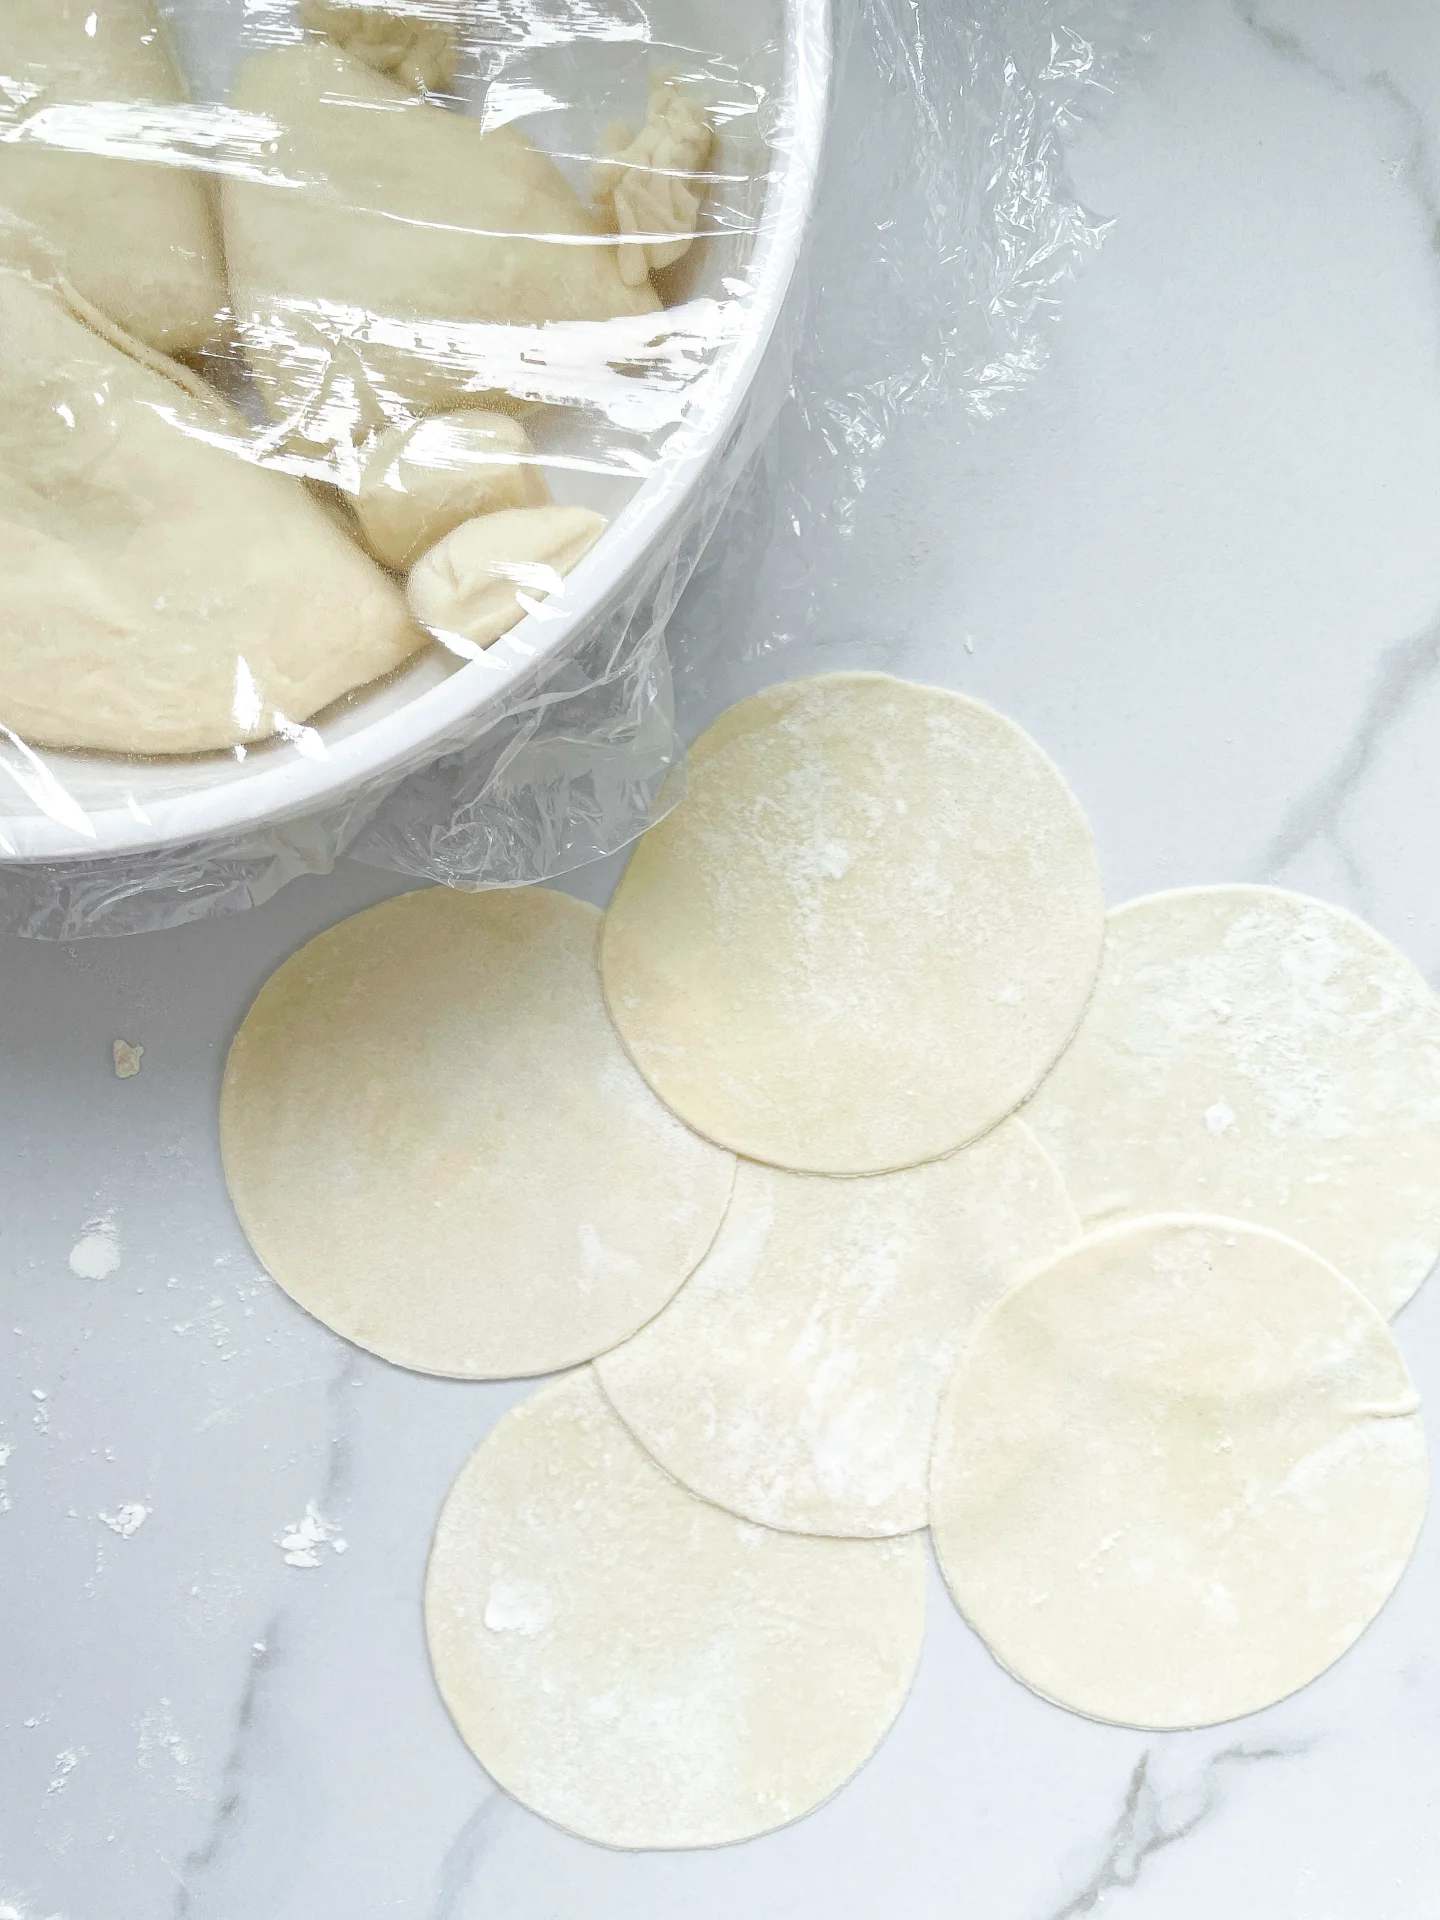
- Once the resting time is up, remove the plastic wrap and place the dough on a clean work surface. Quarter the dough and then halve each quarter, and then cut those halves into four equal pieces, resulting in a total of 32 small dough pieces. Each piece will eventually make about 2 dumpling wrappers, so you’ll end up with around 58-64 pieces in total.
- To keep the dough soft and pliable throughout the rolling process and prevent it from drying out, place all the unrolled dough pieces into one of the Tupperware containers. Lay the lid loosely on top so you can easily grab a new piece to roll out. Now, take the first piece of dough from the container.
- Dust a little flour on your work surface and on your piece of dough. Roll out the dough with a rolling pin until it’s big enough for the 11cm (4″ to 4.5″) dough cutter to fit over it with a little edge showing, and cut out the shape. Of course, pros can roll the dough directly into rounds without a cutter 😉 Then, take your second Tupperware container and place a square of parchment paper in it. Place the cut-out wrapper on the parchment and cover it with another piece of parchment. Replace the lid loosely. Any dough scraps from cutting should be placed back in the container with the other unrolled pieces.
- Continue this process with each piece of dough until all the dough is used up. Knead the dough scraps back into a ball, divide it into 26-32 small pieces, and start the process over.
- It’s worth noting that the number of wrappers can vary depending on how thin you roll the dough and the size of your cutter. Each rolled and cut wrapper weigh about 10g (1/3 oz).
- You should process the rolled wrappers as soon as possible, as the dough becomes stickier the longer it is stored. To freeze, you can either place the whole Tupperware container with the wrappers into the freezer or portion them into Ziploc bags. Make sure to keep parchment paper between the wrapper. The wrappers should be at room temperature for easy filling. You can use the dough for frying, boiling, or steaming.
- Passive Time: 60 min
- Cook Time: 80 min
CRAVING MORE?
Follow along here & don’t forget to subscribe to my substack!
MORE PIECES OF HAPPINESS


0 Kommentare