Bakery Style Vanilla Caramel Cookies

Bakery Style Vanilla Caramel Cookies

Bakery Style Vanilla Caramel Cookies

Bakery Style Vanilla Caramel Cookies

May 14, 2026 by Kimberly

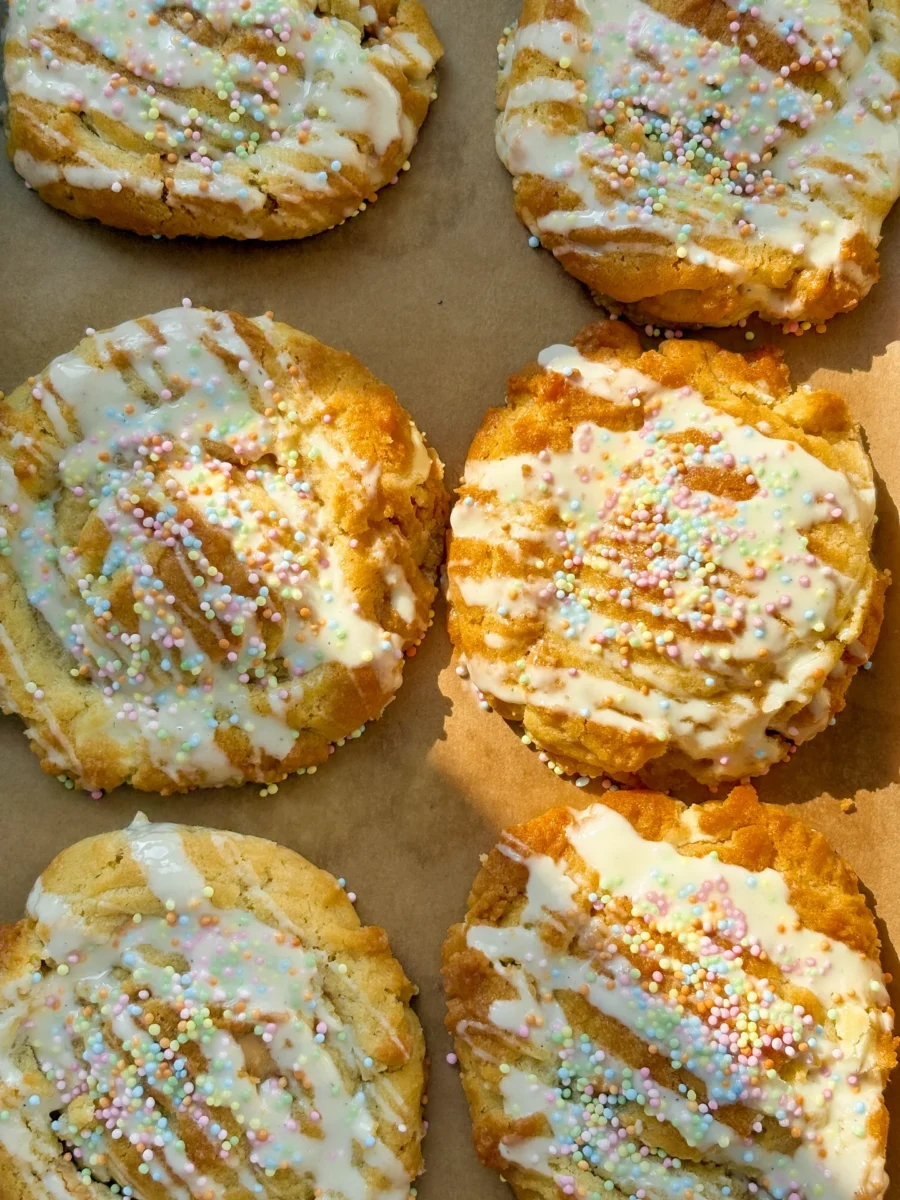
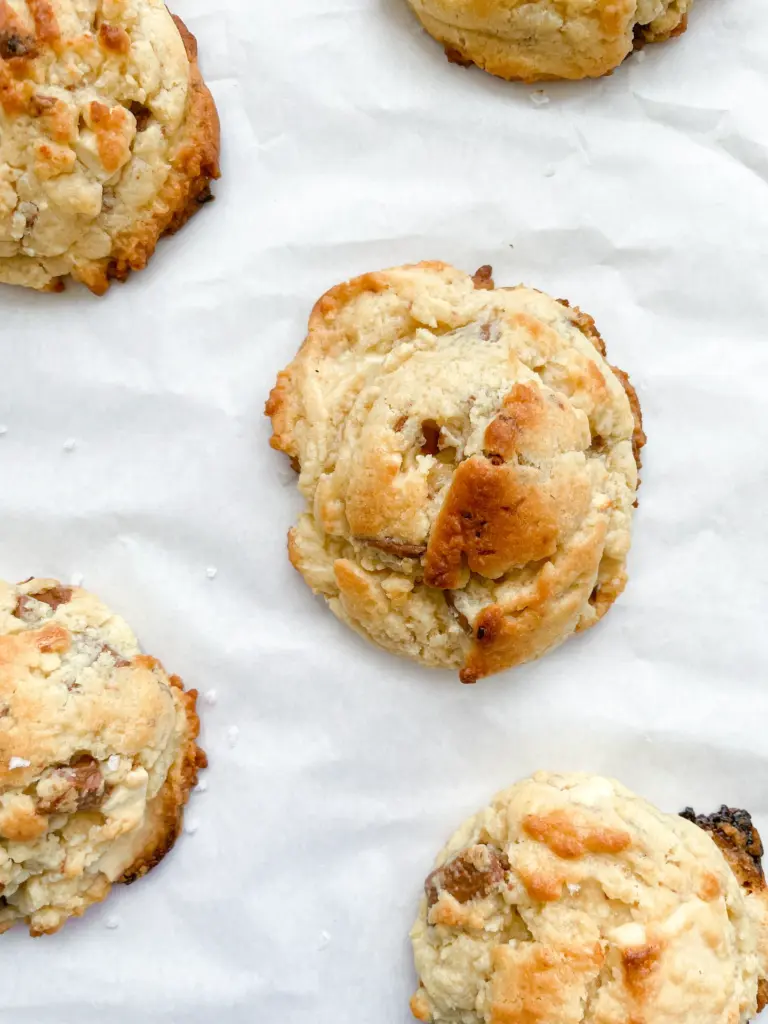
These bakery style cookies with vanilla and caramel chocolate are slightly crisp on the outside, soft on the inside, and perfectly chewy. Thanks to a little trick with butter flavoring, they taste like they came fresh from a really good bakery, only homemade. The cookie dough is perfect for making ahead and can be frozen for up to 3 months, so you can enjoy warm, thick chocolate chip cookies straight from the oven whenever you like.

This website uses affiliate links which may earn commission for purchases made at no additional cost to you.

TOTAL TIME

30 minutes + chill time

SERVES

10 cookies

DIET

vegetarian

EVERY RECIPE DESERVES

A Little Love Letter

Out of a million cookie recipes, this is the one I would bake again and again. Truly. Some recipes are good, some are even really good, and then there are these cookies. These thick, soft, slightly chewy bakery style cookies that look like you did not simply bake them in your own kitchen, but like they came from a small, very good bakery where everything is a little too expensive, but you still fall for it every single time.

I have tried so many cookie recipes over the past few years. Some were beautifully crisp like these White Chocolate Coconut Lime Cookies and some wonderfully soft like these White Chocolate Blueberry Cookies & Blueberry Icing. But this recipe feels like another level to me. And the little trick that makes the flavor so special is almost too simple: butter flavoring. Just a few drops and suddenly the dough no longer tastes like regular homemade cookies, but like those really good bakery cookies where you wonder why they taste so much better.

After baking, you can of course decorate the cookies however you like. I drizzled a little more vanilla chocolate on top and used colorful sprinkle pearls.

And the best part is: you can freeze the cookie dough balls for up to 3 months. That means you can have warm, freshly baked bakery style cookies at home whenever you like, almost instantly.

Hi, I'm Kimberly!

Hi, I'm Kimberly.

A hopeless romantic when it comes to food. Every recipe I share is a love letter to food itself. I’m so glad you’re here. Make yourself at home and stay a while.

Love,
Kimberly

Kimberly the Zett Signature

If you want to get to know me better,
click here!


Bakery Style Vanilla Caramel Cookies
LET’S MAKE A PIECE OF HAPPINESS
Print
clock clock iconcutlery cutlery iconflag flag iconfolder folder iconinstagram instagram iconpinterest pinterest iconfacebook facebook iconprint print iconsquares squares iconheart heart iconheart solid heart solid icon
Bakery Style Vanilla Caramel Cookies

Bakery Style Vanilla Caramel Cookies


5 Stars 4 Stars 3 Stars 2 Stars 1 Star

No reviews

  • Author: Kimberly
  • Total Time: 30 min
  • Yield: 10 cookies 1x

Description

These bakery style cookies with vanilla and caramel chocolate are slightly crisp on the outside, soft on the inside, and perfectly chewy. Thanks to a little trick with butter flavoring, they taste like they came fresh from a really good bakery, only homemade. The cookie dough is perfect for making ahead and can be frozen for up to 3 months, so you can enjoy warm, thick chocolate chip cookies straight from the oven whenever you like.

GOOD TO HAVE ON HAND


Ingredients

Units Scale
  • 115 grams soft butter
  • 90 grams brown sugar
  • 40 grams white sugar
  • 1 egg
  • 1 tsp vanilla extract
  • a few drops butter aroma
  • 240 grams all-purpose flour
  • 1 tsp corn starch
  • 1/2 tsp baking soda
  • 1/2 tsp salt
  • 100 grams caramel chocolate
  • 50 grams white vanilla chocolate
OPTIONAL TOPPINGS
  • 50 grams white vanilla chocolate for drizzle
  • sprinkles

Instructions

  1. Add the butter to a mixing bowl and beat for about 3 minutes, until pale and fluffy. Add the brown sugar and white sugar and beat for another 1–2 minutes, until creamy.
  2. Add the egg, vanilla extract, and butter flavoring, and mix just until everything is combined. Do not overmix.
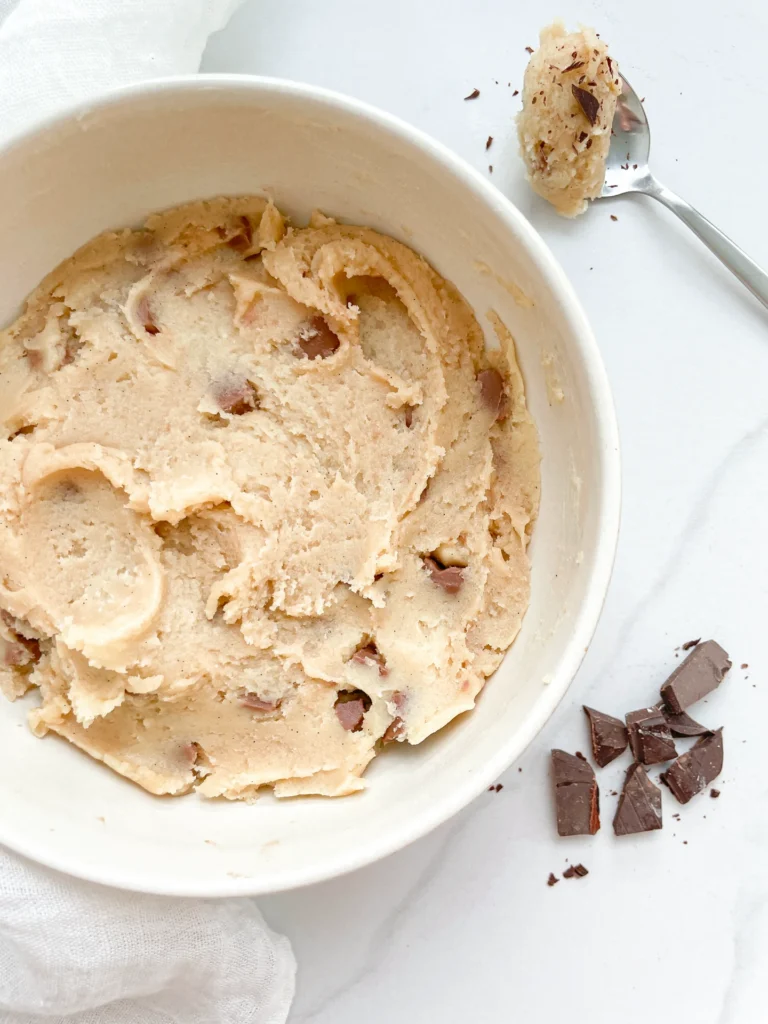
  3. Add the flour, cornstarch, baking soda, and salt, and mix briefly until the dough has almost come together. Add the chocolate and mix just until no streaks of flour remain and everything is evenly incorporated.
  4. Line a small baking sheet with parchment paper. Using a small cookie scoop, scoop one ball of dough and place it onto the baking sheet. Then scoop a second ball of dough, place it on top of the first one, and press down firmly so the cookies form into little ice cream scoop shapes. Depending on the size, the dough should make about 9–10 cookies.
  5. Place the shaped cookie dough balls in the freezer for at least 3 hours.
  6. Before baking, fully preheat the oven to 190°C / 375°F. Place the frozen cookie dough balls on a baking sheet with enough space between them so they do not spread into each other. I bake 6 cookies per tray.
  7. Bake the cookies for about 12–14 minutes, depending on how browned you like them. Let them cool on the baking sheet for at least 30 minutes.
  8. The cookies can be eaten once they have cooled, but they are especially good if you let them rest in the fridge for a few hours after they have cooled completely. That is when they get that real bakery-style texture.
  • Prep Time: 15 min
  • Cook Time: 13 min
  • Category: Dessert
  • Method: Baking
  • Cuisine: American
CRAVING MORE?
Follow along here & don’t forget to subscribe to my substack!

White Chocolate Cookies with Blue Spirulina Butter Cream Frosting

White Chocolate Cookies with Blue Spirulina Butter Cream Frosting

White Chocolate Cookies with Blue Spirulina Butter Cream Frosting

White Chocolate Cookies with Blue Spirulina Butter Cream Frosting

October 22, 2024 by Kimberly

Imagine biting into soft, buttery cookies with creamy frosting that’s as vibrant as the sky. These dreamy bites combine sweet indulgence with a fun, colorful twist that feels like pure joy!

This website uses affiliate links which may earn commission for purchases made at no additional cost to you.

TOTAL TIME

1 hr + 30 min

SERVES

12 cookies

DIET

vegetarian

EVERY RECIPE DESERVES

A Little Love Letter

Ready to level up your cookie game? These soft, melt-in-your-mouth treats bring together creamy white chocolate and a frosting that’s as eye-catching as it is delicious. The vibrant blue spirulina frosting not only adds a pop of color but also gives a playful, natural twist to the classic buttercream. Perfect for making an impression at parties or just when you’re craving something special, these cookies are the kind of treat that feels like a celebration with every bite.

These cookies are best served at room temperature, giving that perfect balance between a tender bite and creamy frosting. They’re ideal for a dessert table or as a show-stopping treat for a special occasion. You can serve them alongside a cup of tea, coffee, or even milk for the ultimate comfort experience. And let’s be real, they make for a pretty impressive addition to any cookie swap or holiday gathering.

To keep these cookies fresh, store them in an airtight container in the fridge for up to a 5 days. You can also freeze them (without the frosting) for up to a month and just whip up the buttercream fresh when you’re ready to serve.

Hi, I'm Kimberly!

Hi, I'm Kimberly.

A hopeless romantic when it comes to food. Every recipe I share is a love letter to food itself. I’m so glad you’re here. Make yourself at home and stay a while.

Love,
Kimberly

Kimberly the Zett Signature

If you want to get to know me better,
click here!


White Chocolate Cookies with Blue Spirulina Butter Cream Frosting

LET’S MAKE A PIECE OF HAPPINESS

Print
clock clock iconcutlery cutlery iconflag flag iconfolder folder iconinstagram instagram iconpinterest pinterest iconfacebook facebook iconprint print iconsquares squares iconheart heart iconheart solid heart solid icon
White Chocolate Cookies with Blue Spirulina Butter Cream Frosting

White Chocolate Cookies with Blue Spirulina Butter Cream Frosting


  • Author: Kimberly
  • Total Time: 1 hr + 30 min
  • Yield: 12 1x

Description

Recommended Equipment

  • small pot (or microwave)
  • two medium-sized bowls
  • whisk
  • spatula
  • sharp knife
  • cutting board
  • cookie scoop
  • parchment paper

Ingredients

Units Scale
COOKIE DOUGH
  • 120 grams butter
  • 100 grams brown sugar
  • 100 grams white sugar
  • 2 tsp vanilla extract
  • 1 egg
  • 220 grams all-purpose flour
  • 1/2 tsp salt
  • 1/2 tsp baking soda
  • 150 grams white chocolate
BUTTERCREAM
  • 200 grams butter
  • 300 grams powdered sugar
  • 1 tbsp heavy cream
  • 1 tsp blue spirulina powder

Instructions

  1. Melt the butter in a small pot or microwave. In a medium-sized bowl, whisk together the melted butter, brown and white sugar, and vanilla extract for a few minutes. Then add the egg and mix again. Set aside.
  2. In another bowl, mix together the flour, baking soda, and salt. Set aside.
  3. Roughly chop the white chocolate and add it to the wet ingredients as well as the dry ingredients. Then mix with a spatula until there are no more visible streaks of flour.
  4. Use a medium-sized cookie scoop to form 12 evenly sized dough balls and place them on parchment paper. Chill the dough balls in the fridge for at least 1 hour.
  5. A few minutes before baking, preheat the oven to 150°C / 302°F. Place the cookies on a parchment-lined baking sheet, leaving enough space between them, and bake for 12-13 minutes or until the edges are lightly golden. Take them out of the oven and let them cool on a rack for about 10 minutes.
  6. Now, make the frosting. I recommend preparing it once the cookies have reached room temperature so the buttercream doesn’t melt when adding to the cookies. In a mixing bowl, beat the softened butter with an electric mixer until smooth and nearly white.
  7. Gradually add the powdered sugar, starting on low speed and then increasing to medium, mixing for 1 to 2 minutes until fully combined.
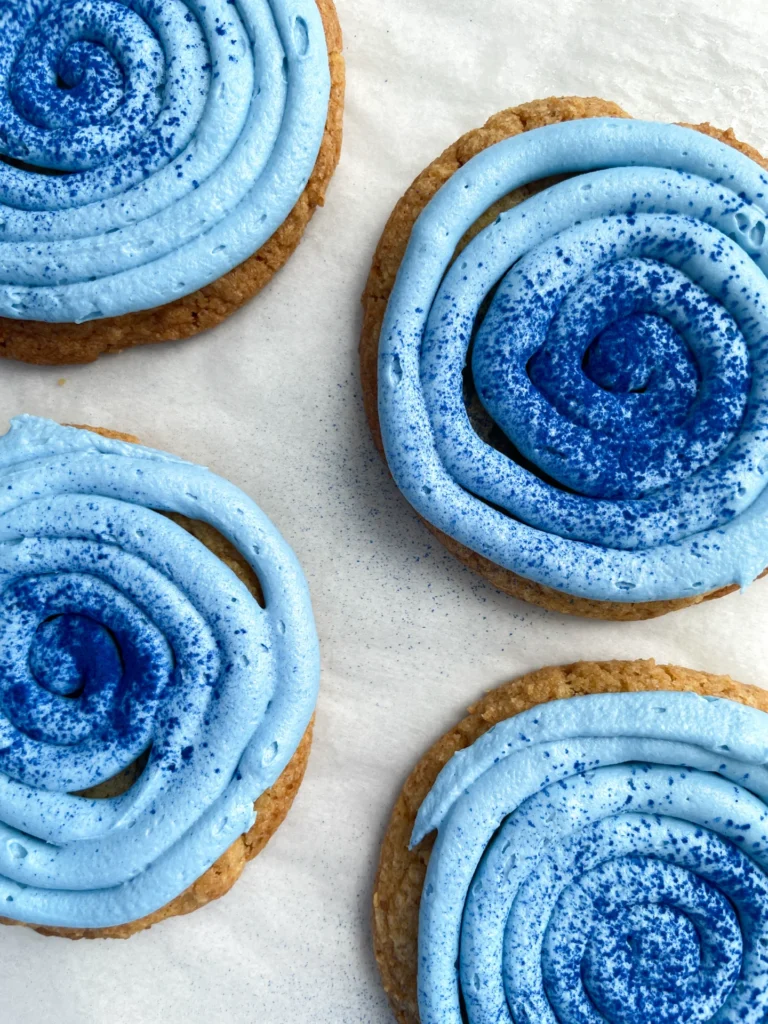
  8. Mix the cream with the spirulina powder and add it to the buttercream. Stir everything together until you get a vibrant blue color. Fill a piping bag with the buttercream, and once the cookies have cooled to room temperature, decorate them. Alternatively, you can spread the buttercream with a knife. Optionally, sprinkle a bit of spirulina powder on top of the frosting.
  • Passive Time: 1 hr + 20 min
  • Cook Time: 12 min

CRAVING MORE?

Follow along here & don’t forget to subscribe to my substack!

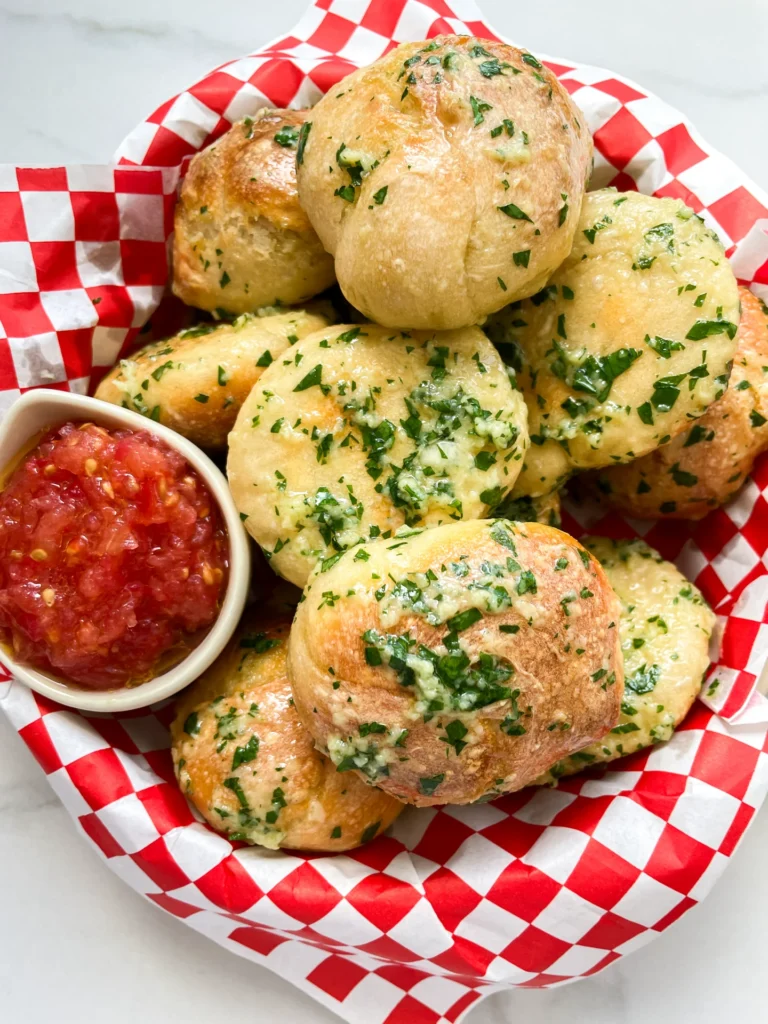
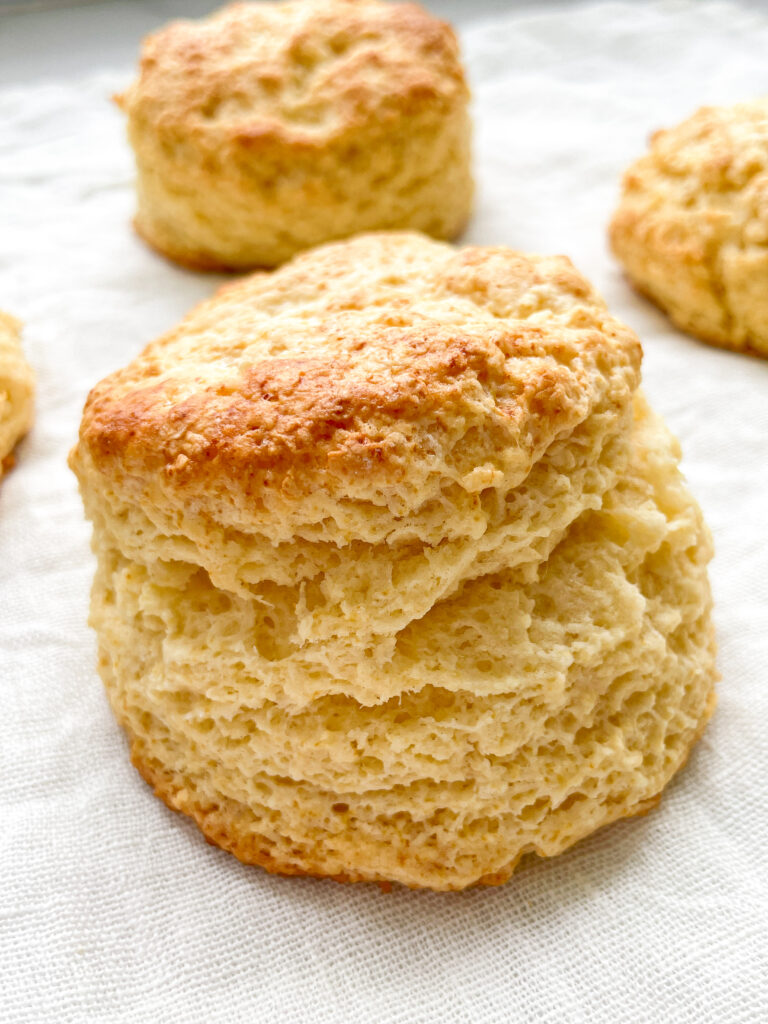
Turkish Flatbread (Bazlama)

Turkish Flatbread (Bazlama)

Turkish Flatbread (Bazlama)

Turkish Flatbread (Bazlama)

August 20, 2024 by Kimberly

Imagine the warmth of freshly made Turkish flatbread, delightfully fluffy and perfect for any meal. This cozy, homemade treat brings a touch of comfort and joy to your table.

This website uses affiliate links which may earn commission for purchases made at no additional cost to you.

TOTAL TIME

90 min

SERVES

4 flatbreads

DIET

vegetarian

EVERY RECIPE DESERVES

A Little Love Letter

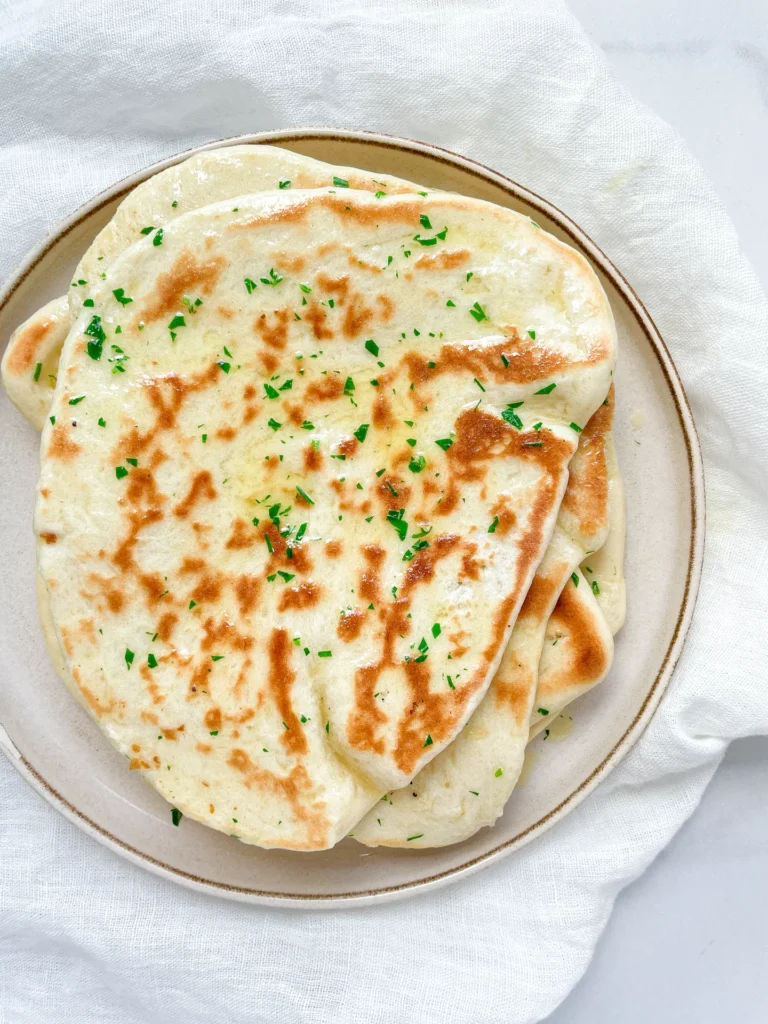
If you’re craving something warm, fluffy, and straight out of your cozy food dreams, you’re in for a treat. This traditional Turkish flatbread, known as Bazlama, is super easy to whip up and is perfect for any meal. Imagine the delight of pulling apart a piece of this soft, pillowy bread, fresh from the pan. This recipe will become your go-to favorite. Let’s dive into the comforting world of Turkish cuisine with this delightful bread.

Pair it with a spread of hummus, baba ganoush, or tzatziki. It’s also fantastic as a side with soups, stews, or your favorite salads. For a quick and satisfying snack, enjoy it warm with a generous pat of butter or your preferred cheese. I like to serve it with this Spicy Turkish Vegetable Spread (Ezme) and Mint Yogurt & Cucumber Dill Salad (Cacik inspired) as a Meze variation.

Simply let it cool completely, then wrap it tightly in plastic wrap or store in an airtight container. It stays fresh at room temperature for up to two days. For longer storage, pop it in the freezer for up to a month. When you’re ready to enjoy it again, just reheat it in a warm oven or toaster, and it’ll be as good as new.

Hi, I'm Kimberly!

Hi, I'm Kimberly.

A hopeless romantic when it comes to food. Every recipe I share is a love letter to food itself. I’m so glad you’re here. Make yourself at home and stay a while.

Love,
Kimberly

Kimberly the Zett Signature

If you want to get to know me better,
click here!


Turkish Flatbread (Bazlama)

LET’S MAKE A PIECE OF HAPPINESS

Print
clock clock iconcutlery cutlery iconflag flag iconfolder folder iconinstagram instagram iconpinterest pinterest iconfacebook facebook iconprint print iconsquares squares iconheart heart iconheart solid heart solid icon
Flatbread serving ideas

Turkish Flatbread (Bazlama)


  • Author: Kimberly
  • Total Time: 90 min
  • Yield: 4-8 1x

Description

Recommended Equipment

  • measuring cup
  • large bowl
  • plastic wrap
  • pan
  • rolling pin
  • small bowl
  • kitchen brush
  • sharp knife
  • cutting board

Ingredients

Units Scale
DOUGH
  • 250 grams all-purpose flour
  • 80 milliliters warm water
  • 80 milliliters warm full-fat milk
  • 3/4 tsp active dry yeast
  • 1/2 tbsp white sugar
  • 1/2 tsp salt
TOPPING
  • 1 tbsp butter
  • 1 tbsp chopped parsley

Instructions

  1. In a measuring cup, mix warm water and warm milk with sugar and dry yeast, and let it sit for 10 minutes. Meanwhile, combine flour and salt in a bowl.
  2. Add the yeast mixture to the flour and stir with a spoon until it becomes crumbly.
  3. Place the dough on a clean surface and knead by hand until it is smooth and no longer sticky. Shape the dough into a ball, place it back in the bowl, cover well with plastic wrap, and let it rise for at least 1 hour.
  4. Divide the dough into 4 pieces (for larger flatbreads) or 8 pieces (for smaller flatbreads). Keep the individual pieces in the bowl and loosely cover with plastic wrap.
  5. Heat a pan over medium heat without adding any fat.
  6. Roll each piece of dough into a very thin, round flatbread using a rolling pin. If the dough is too sticky, sprinkle a little flour on the surface.
  7. Cook the flatbreads one at a time in the pan without adding any fat. Once you see several bubbles, flip the flatbread to the other side. Remove from the pan and keep warm under a cloth.
  8. While the first flatbread is cooking, melt the butter and chop the parsley. Mix the parsley with the melted butter and brush each flatbread with the butter mixture.
  9. Serve the bread immediately for the best taste.
  • Passive Time: 60 min
  • Cook Time: 30 min

CRAVING MORE?

Follow along here & don’t forget to subscribe to my substack!

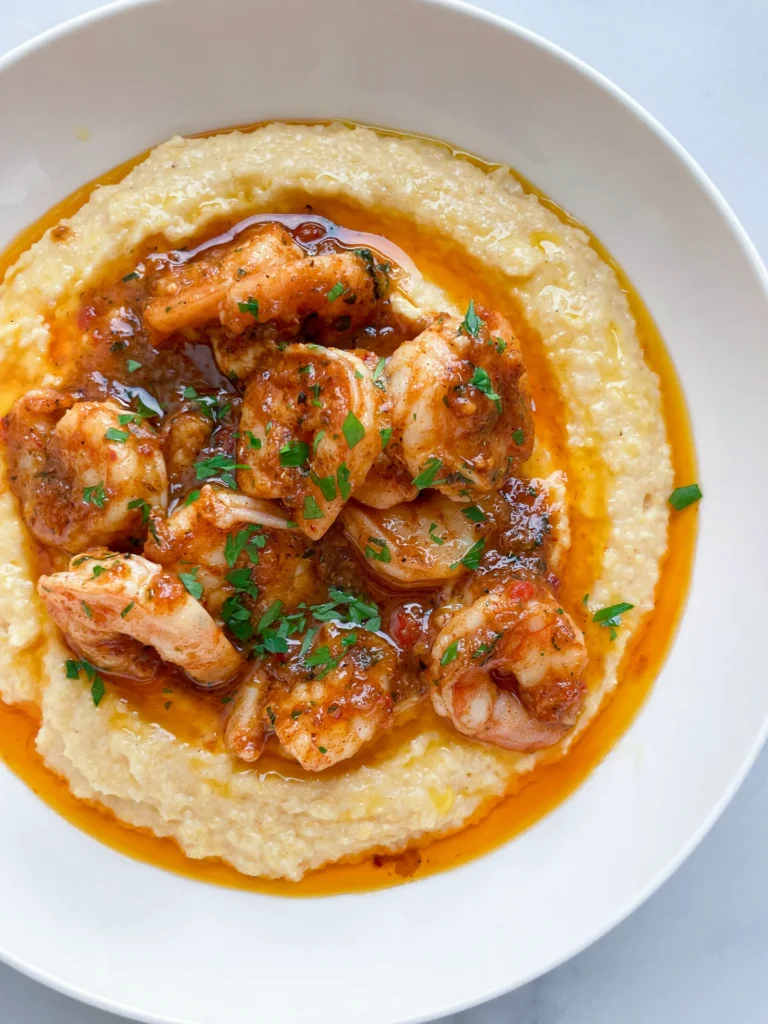
Cajun Shrimps with Honey Glaze & Cheesy Polenta

Cajun Shrimps with Honey Glaze & Cheesy Polenta

Cajun Shrimps with Honey Glaze & Cheesy Polenta

Cajun Shrimps with Honey Glaze & Cheesy Polenta

August 17, 2024 by Kimberly

Indulge in a cozy, Southern-inspired meal that’s all about comfort. Juicy shrimp, sweet honey glaze, and creamy, cheesy polenta come together for a dish that feels like a warm hug.

This website uses affiliate links which may earn commission for purchases made at no additional cost to you.

TOTAL TIME

40 min

SERVES

4 portions

DIET

omnivore

EVERY RECIPE DESERVES

A Little Love Letter

Get ready to treat yourself to a deliciously comforting meal that’s sure to become a favorite in your home. This dish brings together tender cajun shrimp with a sweet and spicy honey glaze, paired perfectly with creamy, cheesy polenta. It’s the kind of meal that feels fancy, but it’s surprisingly easy to make. Whether you’re cooking for a special occasion or just a cozy night in, this dish hits all the right notes.

Serve this dish fresh out of the pan, with the shrimp nestled on top of a generous scoop of polenta. For a little extra flair, garnish with fresh herbs like parsley or cilantro, and a wedge of lemon on the side to squeeze over the shrimp. It’s great as a stand-alone meal, but you can also pair it with a crisp salad or some sautéed greens for a complete dinner experience.

If you’ve got leftovers (lucky you!), store them in an airtight container in the fridge for up to 3 days. Reheat the shrimp and polenta separately in the microwave or on the stovetop, adding a splash of water or broth to keep the polenta creamy.

Hi, I'm Kimberly!

Hi, I'm Kimberly.

A hopeless romantic when it comes to food. Every recipe I share is a love letter to food itself. I’m so glad you’re here. Make yourself at home and stay a while.

Love,
Kimberly

Kimberly the Zett Signature

If you want to get to know me better,
click here!


Cajun Shrimps with Honey Glaze & Cheesy Polenta

LET’S MAKE A PIECE OF HAPPINESS

Print
clock clock iconcutlery cutlery iconflag flag iconfolder folder iconinstagram instagram iconpinterest pinterest iconfacebook facebook iconprint print iconsquares squares iconheart heart iconheart solid heart solid icon
Cajun Shrimps with Honey Glaze & Cheesy Polenta

Cajun Shrimps with Honey Glaze & Cheesy Polenta


  • Author: Kimberly
  • Total Time: 40 min
  • Yield: 4 1x

Description

Recommended Equipment

  • medium-sized pot
  • bowl
  • small bowl
  • grater
  • sharp knife
  • cutting board
  • large pan

Ingredients

Units Scale
SHRIMPS
  • 800 grams jumbo (21/25 count) shrimp, peeled and deveined, thawed if frozen
  • 4 tbsp cajun seasoning
HONEY GLAZE
  • 4 tbsp honey
  • 1.5 tsp Dijon mustard
  • 4 tbsp mango oil
  • 3 garlic cloves
  • 1 red chili
  • 1/2 tsp cayenne pepper
  • 1/2 tsp oregano
  • 2 tbsp butter
  • 2 tbsp parsley
CHEESY POLENTA
  • 200 grams polenta
  • 750 milliliters beef stock
  • 250 milliliters full-fat milk
  • 50 grams butter
  • 200 grams heavy cream
  • 100 grams cheddar
  • 100 grams parmesan
  • 1 tsp garlic powder
  • 1/2 tsp white pepper
  • pinch nutmeg
  • juice of half a lemon
  • 1/2 tsp salt
TOPPINGS

Instructions

  1. In a medium-sized pot, bring the beef broth and milk to a simmer over medium heat. Add the polenta and stir well. Reduce the heat to low and let it simmer for about 15 minutes.
  2. Rub the shrimp with Cajun seasoning in a bowl and set aside at room temperature.
  3. For the honey glaze, melt the butter in a small bowl. Peel the garlic cloves and grate them into the butter. Slice the chili into thin rings and add them to the garlic butter. Chop the parsley and add it to the bowl along with all the other glaze ingredients. Set aside.
  4. Remove the polenta from the heat and add the cream and milk, stirring until everything is well combined. Next, add the butter, salt, grated cheddar, grated parmesan, garlic powder, white pepper, nutmeg, and lemon juice. Stir until the cheese has melted and the mixture is smooth and creamy. Cover the pot with a lid and set it aside on the turned-off stove.
  5. Now, heat a large pan and sear the shrimp with a bit of mango oil for 1 minute on each side. Pour the honey glaze into the pan and let it simmer with the shrimp for 2-3 minutes. Remove the pan from the heat.
  6. To serve, first spoon the polenta into deep plates, then place the shrimp in the center. Top with a bit of mango oil and fresh parsley.
  • Cook Time: 40 min

CRAVING MORE?

Follow along here & don’t forget to subscribe to my substack!

White Chocolate Coconut Lime Cookies

White Chocolate Coconut Lime Cookies

White Chocolate Coconut Lime Cookies

White Chocolate Coconut Lime Cookies

July 27, 2024 by Kimberly

Indulge in a burst of tropical flavors with these scrumptious cookies, blending sweet white chocolate, refreshing lime, and a hint of coconut for the ultimate treat.

This website uses affiliate links which may earn commission for purchases made at no additional cost to you.

TOTAL TIME

2 hrs + 45 min

SERVES

9 cookies

DIET

vegetarian

EVERY RECIPE DESERVES

A Little Love Letter

Craving something sweet, tangy, and utterly irresistible? These white chocolate coconut lime cookies are the perfect tropical treat. With the zesty kick of lime, the creamy sweetness of white chocolate, and the nutty goodness of coconut, these cookies are sure to become a new favorite. They’re easy to make and perfect for any occasion, whether it’s a summer picnic or a cozy evening at home.

Serve these delightful cookies with a cold glass of milk or a cup of hot tea for a comforting snack. They also make a great addition to any dessert platter, paired with fresh fruit for a vibrant and refreshing twist. For a truly indulgent experience, try crumbling them over vanilla ice cream.

To keep your white chocolate coconut lime cookies fresh, store them in an airtight container at room temperature for up to a week. If you need to keep them longer, they freeze well too – just pop them into a freezer bag, and they’ll stay delicious for up to three months.

Hi, I'm Kimberly!

Hi, I'm Kimberly.

A hopeless romantic when it comes to food. Every recipe I share is a love letter to food itself. I’m so glad you’re here. Make yourself at home and stay a while.

Love,
Kimberly

Kimberly the Zett Signature

If you want to get to know me better,
click here!


White Chocolate Coconut Lime Cookies

LET’S MAKE A PIECE OF HAPPINESS

Print
clock clock iconcutlery cutlery iconflag flag iconfolder folder iconinstagram instagram iconpinterest pinterest iconfacebook facebook iconprint print iconsquares squares iconheart heart iconheart solid heart solid icon
White Chocolate Coconut Lime Cookies

White Chocolate Coconut Lime Cookies


5 from 1 review

  • Author: Kimberly
  • Total Time: 2 hrs 45 min
  • Yield: 9 big / 18 small 1x

Description

Recommended Equipment

  • sharp knife
  • cutting board
  • two small bowls
  • small pot (or microwave)
  • two medium bowls
  • whisk
  • spatula
  • zester

Ingredients

Units Scale
DOUGH
  • 200 grams all-purpose flour
  • 35 grams cornstarch
  • 1 tsp baking powder
  • 1/2 tsp salt
  • 140 grams butter
  • 150 grams brown sugar
  • 50 grams white sugar
  • 1 egg
  • 1 egg yolk
  • 100 grams white chocolate
  • zest from 1 lime
  • 1 tsp vanilla extract
  • 50 grams shredded coconut flakes
GLAZE
  • 125 grams powdered sugar
  • 1 tbsp - 1.5 tbsp coconut milk
  • 1 tsp lime juice
   

Instructions

PREPARATIONS

  • Chop the chocolate into coarse pieces.
  • Melt the butter in a pot or microwave.
  • Zest the lime.

INSTRUCTIONS

  1. In a medium bowl, mix together flour, cornstarch, baking powder, and salt. Set aside.
  2. In another medium bowl, combine brown and white sugar. Add the melted butter and vanilla extract, whisking for a few minutes until creamy.
  3. Add a whole egg and an egg yolk, whisking until the mixture becomes thicker. Then, mix in the lime zest.
  4. Gradually add the dry ingredients from the other bowl, stirring a little before adding the chocolate. Mix just until combined and no flour is visible.
  5. Form the dough into 9 equal-sized balls and place them in a container that fits in the fridge. Chill the cookie dough balls for at least 2 hours or up to 48 hours if preparing ahead.
  6. Preheat the oven to 220°C / 425°F. Fill a small bowl with coconut flakes and roll the cookie dough balls in the flakes. Once the oven is hot, place the cookies on a baking sheet lined with parchment paper and bake for 8-10 minutes.
  7. Remove the baking sheet from the oven and let the cookies cool for 15 minutes.
  8. Meanwhile, prepare the glaze. In a small bowl, mix powdered sugar, coconut milk, and lime juice until you get a creamy, thick consistency. Drizzle the glaze over the cookies in a zigzag pattern, sprinkle with a bit more lime zest, and enjoy!
  • Prep Time: 20 min
  • Passive Time: 2 hrs 25 min

CRAVING MORE?

Follow along here & don’t forget to subscribe to my substack!

Radish Cucumber Butter

Radish Cucumber Butter

Radish Cucumber Butter

Radish Cucumber Butter

June 24, 2024 by Kimberly

Whip up magic in your kitchen with this fresh, zesty butter blend! Perfect for giving a crunchy, creamy twist to any snack or sandwich.

This website uses affiliate links which may earn commission for purchases made at no additional cost to you.

TOTAL TIME

10 min

SERVES

4 portions

DIET

vegetarian

EVERY RECIPE DESERVES

A Little Love Letter

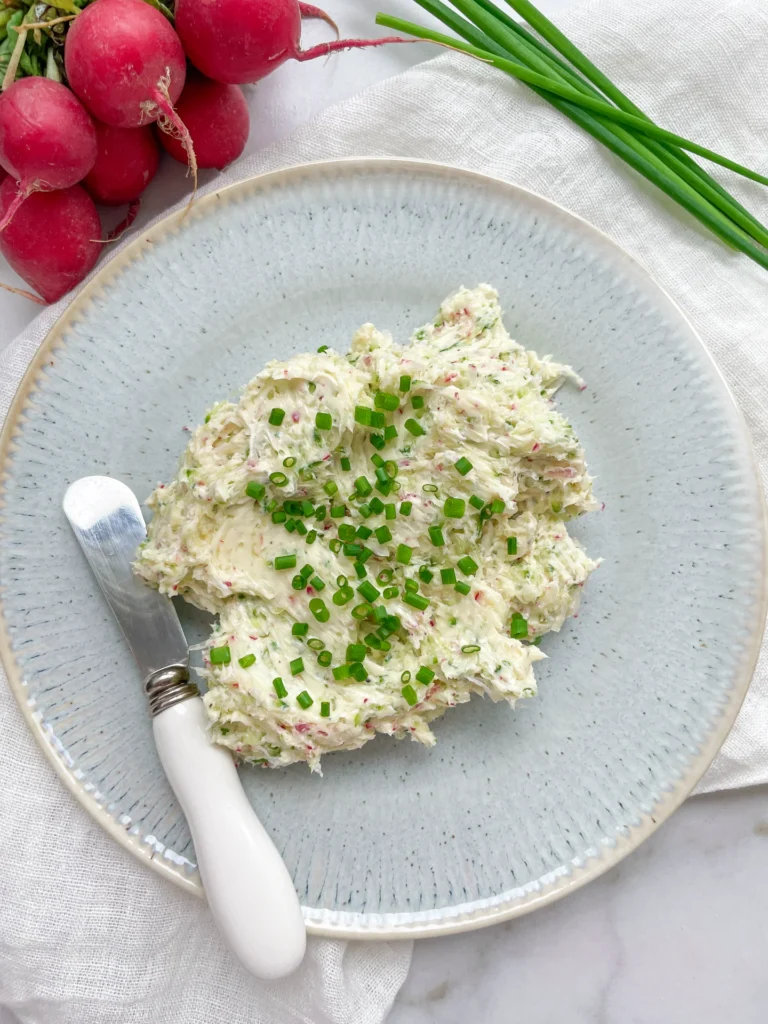
Radish cucumber butter combines the crisp freshness of radishes and cucumbers with creamy butter to create a spread that’s both light and invigorating. It’s a delightful way to add a burst of spring flavor to any dish.

This versatile butter is perfect slathered on warm bread, used as a savory topping for steamed vegetables, or as a refreshing twist in sandwiches. Its light, creamy texture and vibrant flavor profile make it an excellent complement to both casual and sophisticated culinary creations.

Keep the butter refrigerated in an airtight container. It maintains its best quality for up to 3 days, ensuring you can enjoy its fresh taste over several days.

Hi, I'm Kimberly!

Hi, I'm Kimberly.

A hopeless romantic when it comes to food. Every recipe I share is a love letter to food itself. I’m so glad you’re here. Make yourself at home and stay a while.

Love,
Kimberly

Kimberly the Zett Signature

If you want to get to know me better,
click here!


Radish Cucumber Butter

LET’S MAKE A PIECE OF HAPPINESS

Print
clock clock iconcutlery cutlery iconflag flag iconfolder folder iconinstagram instagram iconpinterest pinterest iconfacebook facebook iconprint print iconsquares squares iconheart heart iconheart solid heart solid icon
Radish Cucumber Butter

Radish Cucumber Butter


  • Author: Kimberly
  • Total Time: 10 minutes
  • Yield: 4 1x

Description

GOOD TO HAVE ON HAND

  • sharp knife
  • cutting board
  • deep plate
  • paper towels
  • grater


Ingredients

Units Scale
  • 4 radishes
  • 1/4 cucumber
  • 125 grams butter
  • chives
  • salt to taste

Instructions

  1. Thoroughly wash the radishes, cucumber, and chives. Set up a deep plate and finely grate the radishes into it. Squeeze out the excess moisture from the grated radishes using paper towels. Repeat the process with the cucumber.
  2. Finely slice the chives and set them aside.
  3. Dry the plate, then add the softened butter to it. Incorporate the grated radishes and cucumber, mixing well. Season with salt and sprinkle the sliced chives on top.

Notes

The calorie information may vary depending on the product used, country and region.

  • Cook Time: 10 min

CRAVING MORE?

Follow along here & don’t forget to subscribe to my substack!