

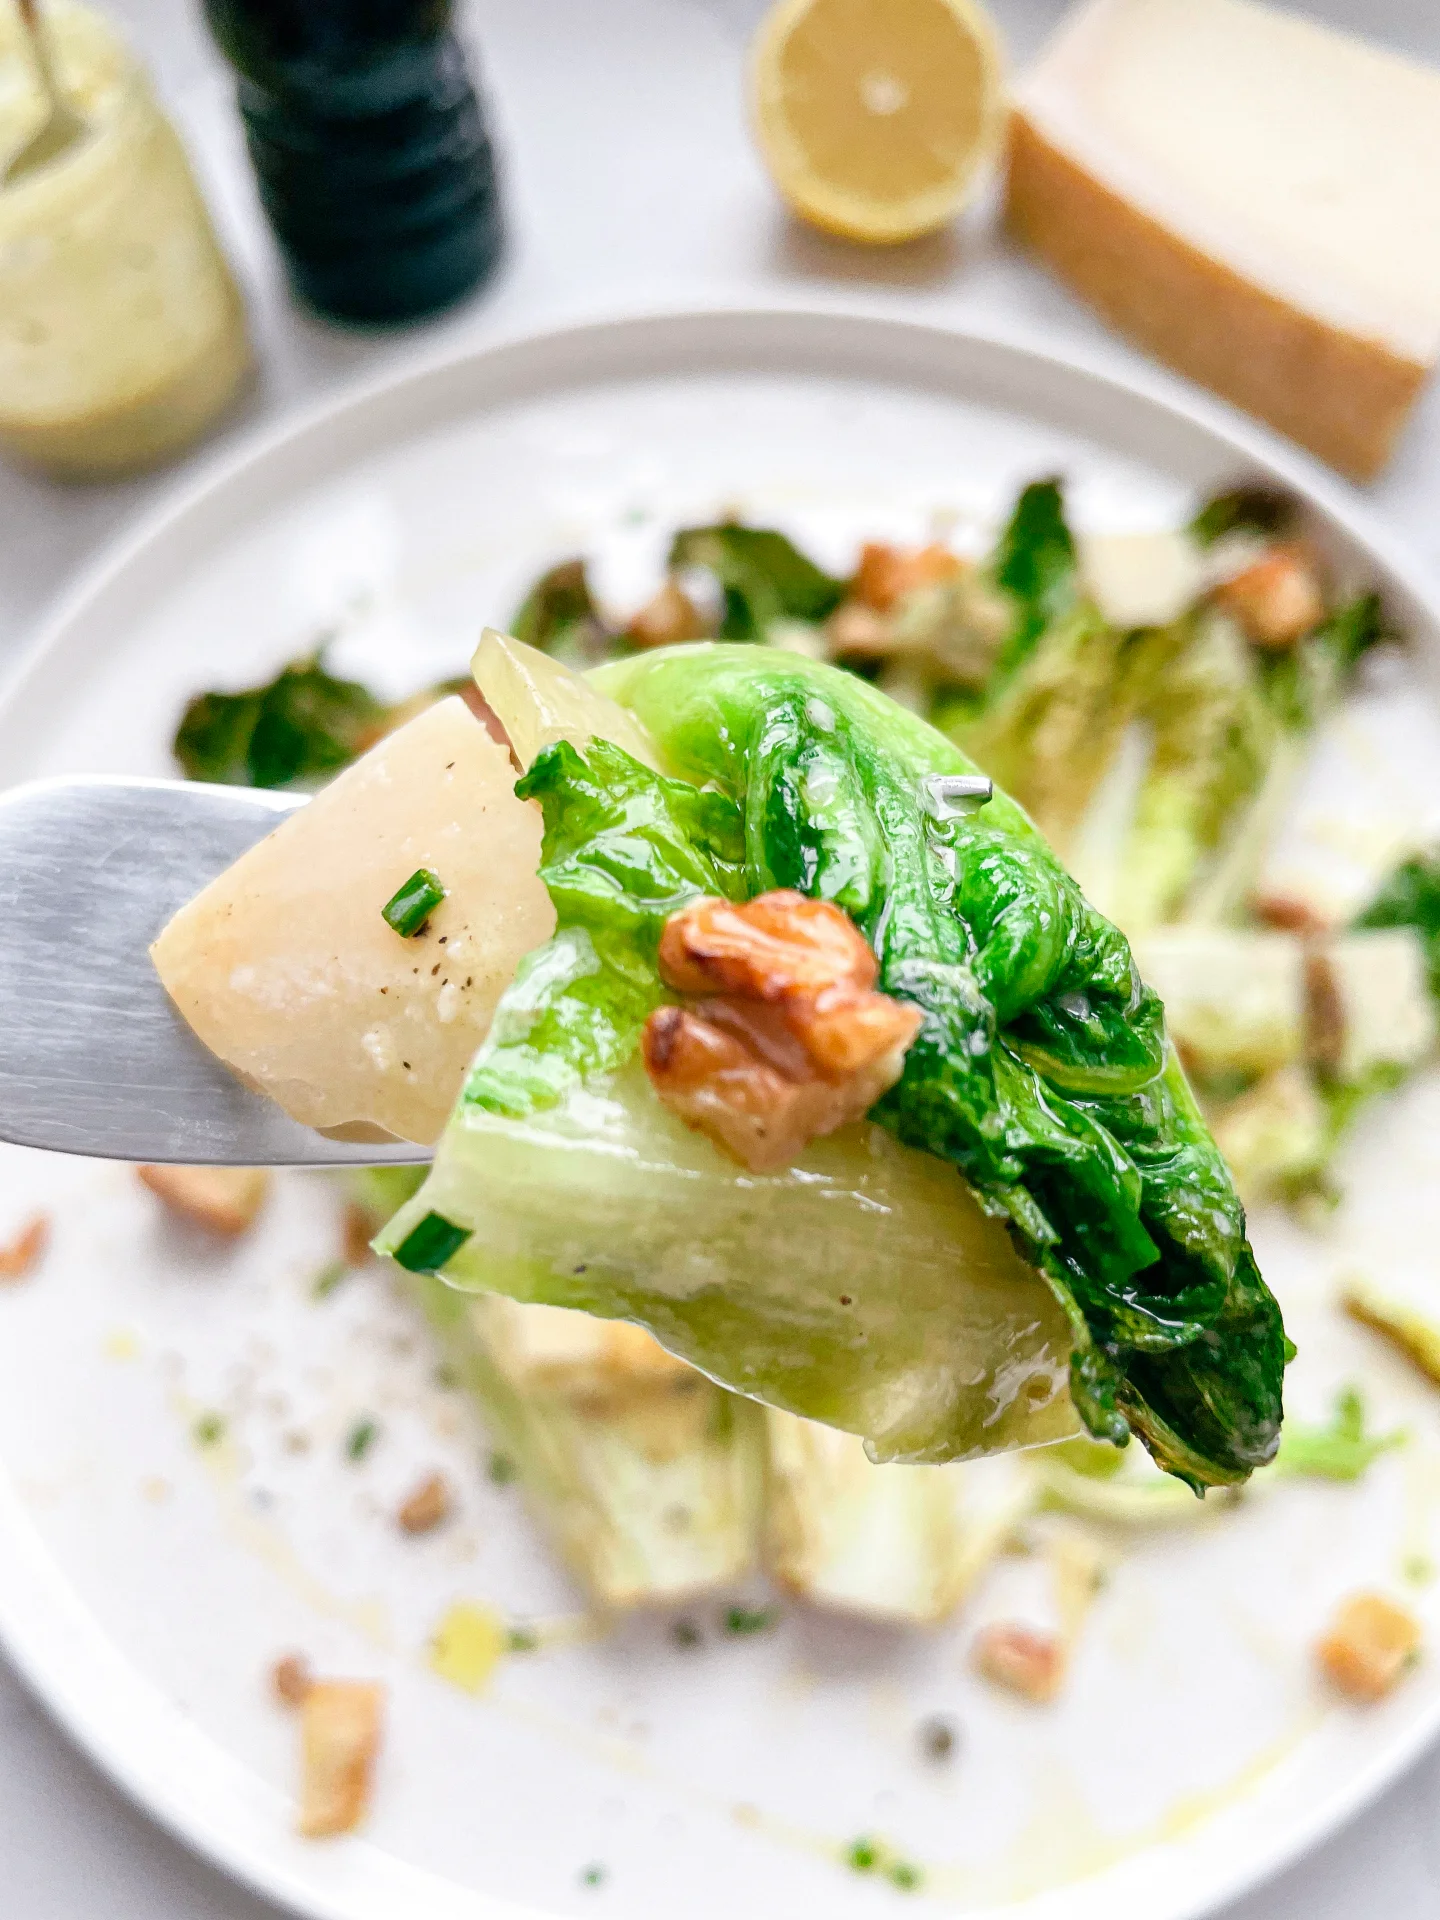

Grilled Romaine Salad with Lemon Yogurt Dressing & Garlic Croutons

Grilled Romaine Salad with Lemon Yogurt Dressing & Garlic Croutons

Grilled Romane Salad with Lemon Yogurt Dressing & Garlic Croutons

Grilled Romane Salad with Lemon Yogurt Dressing & Garlic Croutons

January 25, 2024 by Kimberly

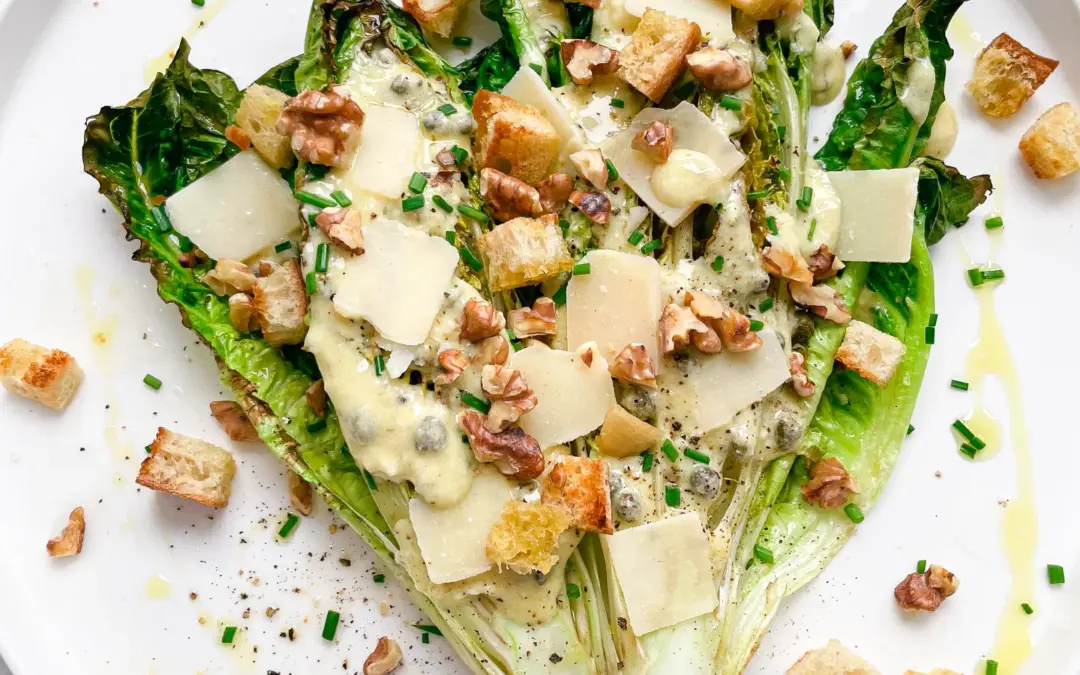
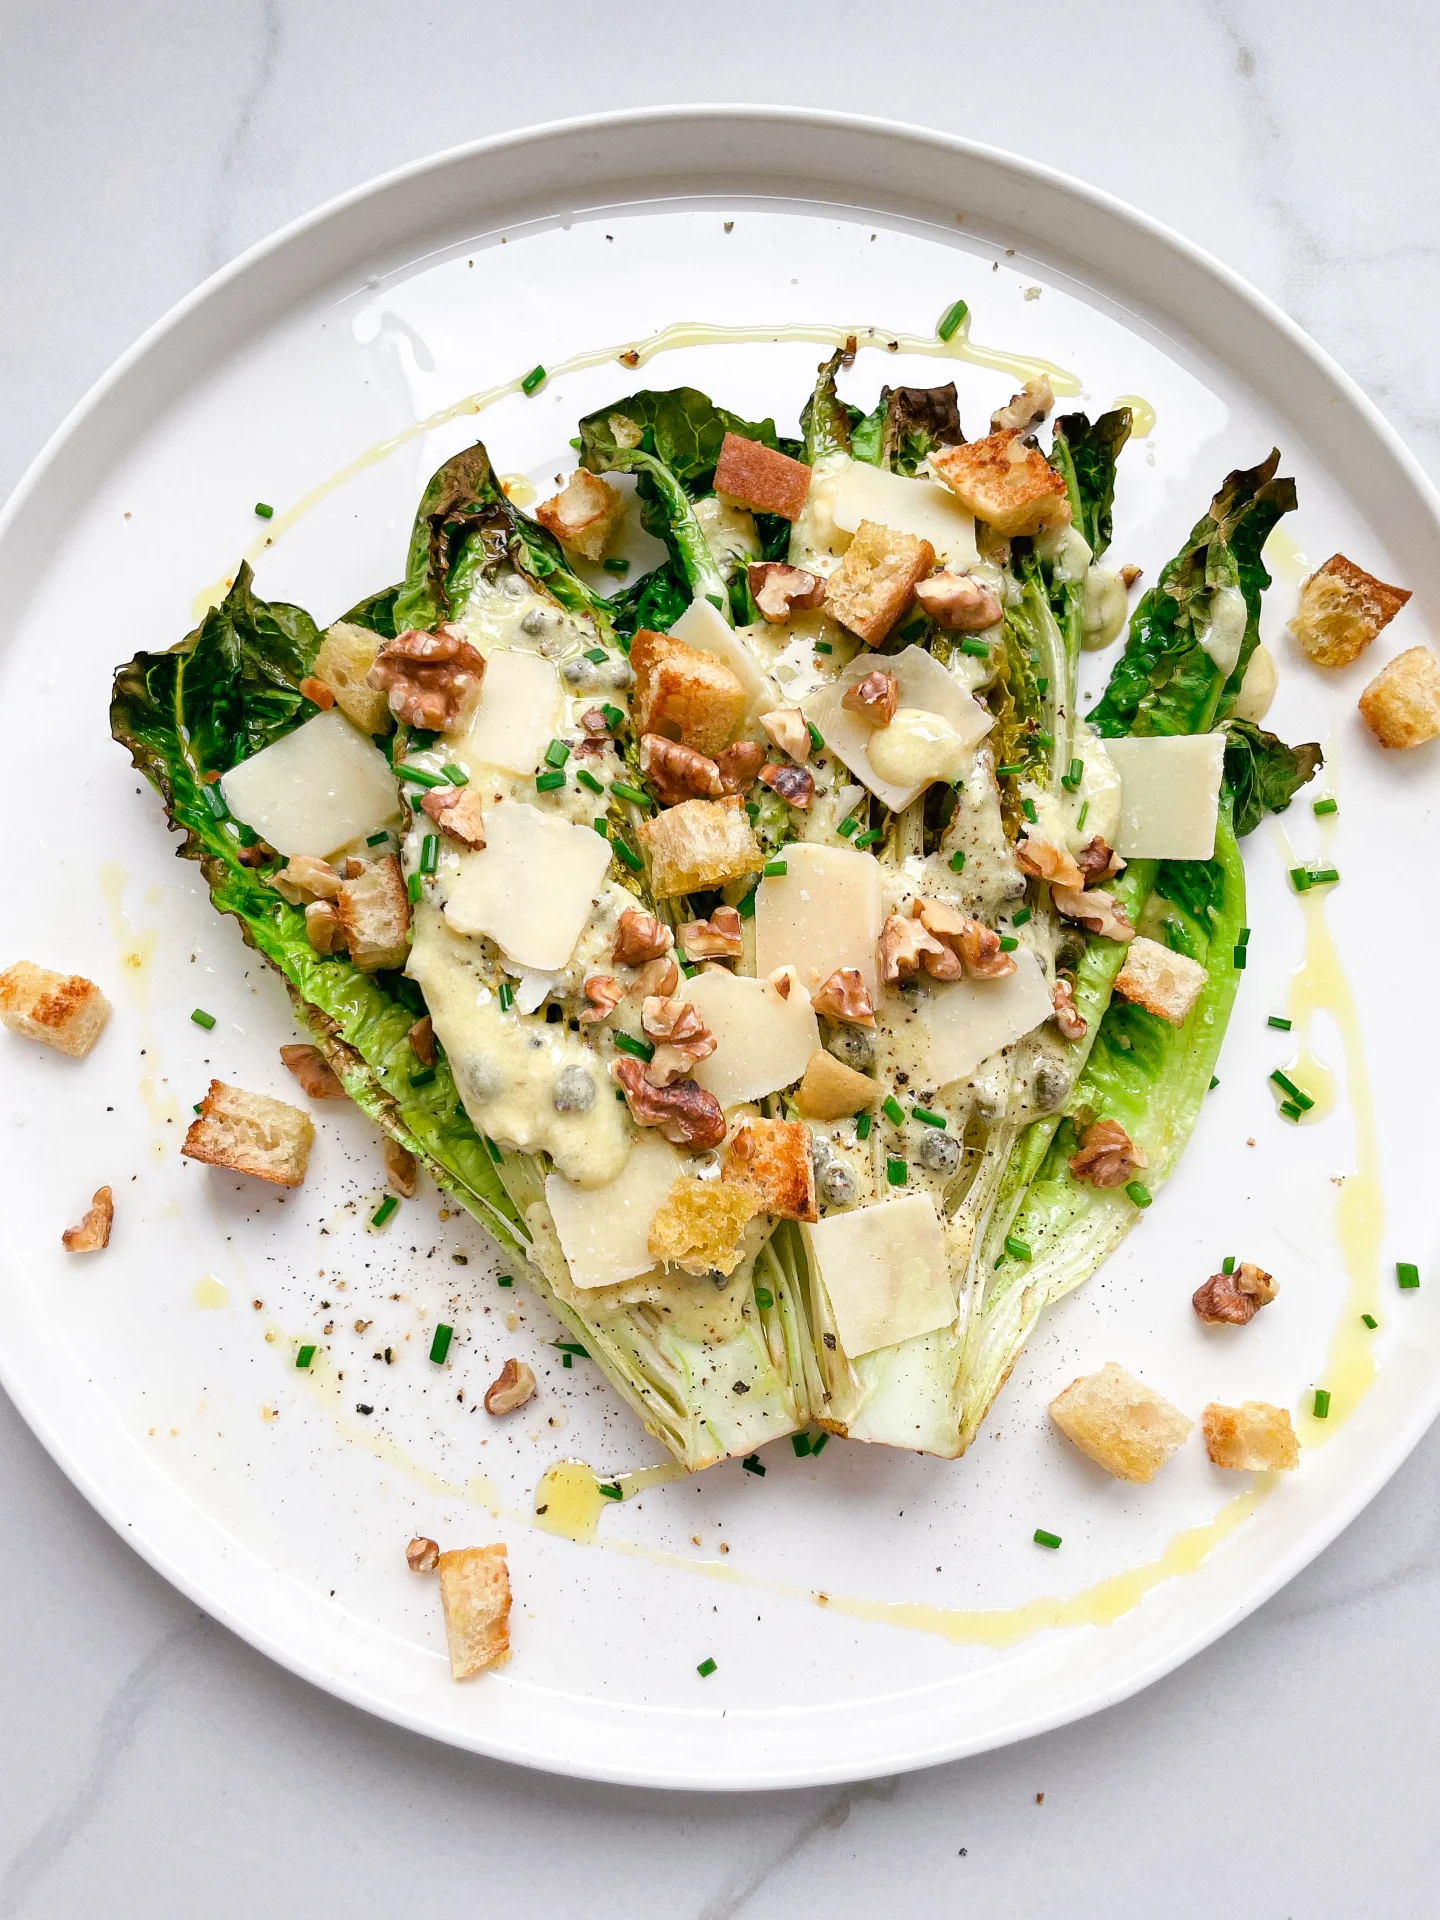
Indulge in the unique taste of Grilled Romaine Salad, drizzled with zesty Lemon Yogurt Dressing and sprinkled with homemade Garlic Croutons – a true garden delight!

This website uses affiliate links which may earn commission for purchases made at no additional cost to you.

TOTAL TIME

25 min

SERVES

4 portions

DIET

vegetarian

EVERY RECIPE DESERVES

A Little Love Letter

Step into a world of fresh and zesty flavors with this Grilled Romaine Salad, a perfect blend of smoky, tangy, and crunchy textures. This healthy salad recipe becomes a gastronomic delight when grilled, bringing out a delicious charred flavor. Drizzled with this easy yogurt dressing and topped with homemade garlic croutons, this dish is a refreshing departure from your usual salad routine, ideal for health-conscious gourmets and vegetarian salad enthusiasts alike.

Serving this dish is all about embracing the freshness and warmth. The grilled romaine leaves, with their slightly wilted yet crisp texture, make a perfect base for the zesty lemon flavor of the lemon yogurt dressing. The addition of crunchy, golden garlic croutons adds a delightful contrast, making every bite a perfect harmony of flavors. Serve it as a standalone light lunch or as a sophisticated side to your main course.

If you have leftovers, keep the grilled romaine, dressing, and croutons separate. The lettuce can be refrigerated for up to two days, while the lemon yogurt dressing and garlic croutons can be stored for longer. This separation ensures that the croutons remain crunchy, and the lettuce stays fresh, allowing you to enjoy this zesty and healthy grilled romaine salad whenever you desire.

Hi, I'm Kimberly!

Hi, I'm Kimberly.

A hopeless romantic when it comes to food. Every recipe I share is a love letter to food itself. I’m so glad you’re here. Make yourself at home and stay a while.

Love,
Kimberly

Kimberly the Zett Signature

If you want to get to know me better,
click here!


Grilled Romane Salad with Lemon Yogurt Dressing & Garlic Croutons

LET’S MAKE A PIECE OF HAPPINESS

Print
clock clock iconcutlery cutlery iconflag flag iconfolder folder iconinstagram instagram iconpinterest pinterest iconfacebook facebook iconprint print iconsquares squares iconheart heart iconheart solid heart solid icon
Grilled Romaine Salad with Lemon Yogurt Dressing & Garlic Croutons

Grilled Romaine Salad with Lemon Yogurt Dressing & Garlic Croutons


5 Stars 4 Stars 3 Stars 2 Stars 1 Star

No reviews

  • Author: Kimberly
  • Total Time: 25 min
  • Yield: 4 1x

Description

GOOD TO HAVE ON HAND

  • sharp knife
  • chopping board
  • cheese grater
  • sealable jar


Ingredients

Units Scale
SALAD
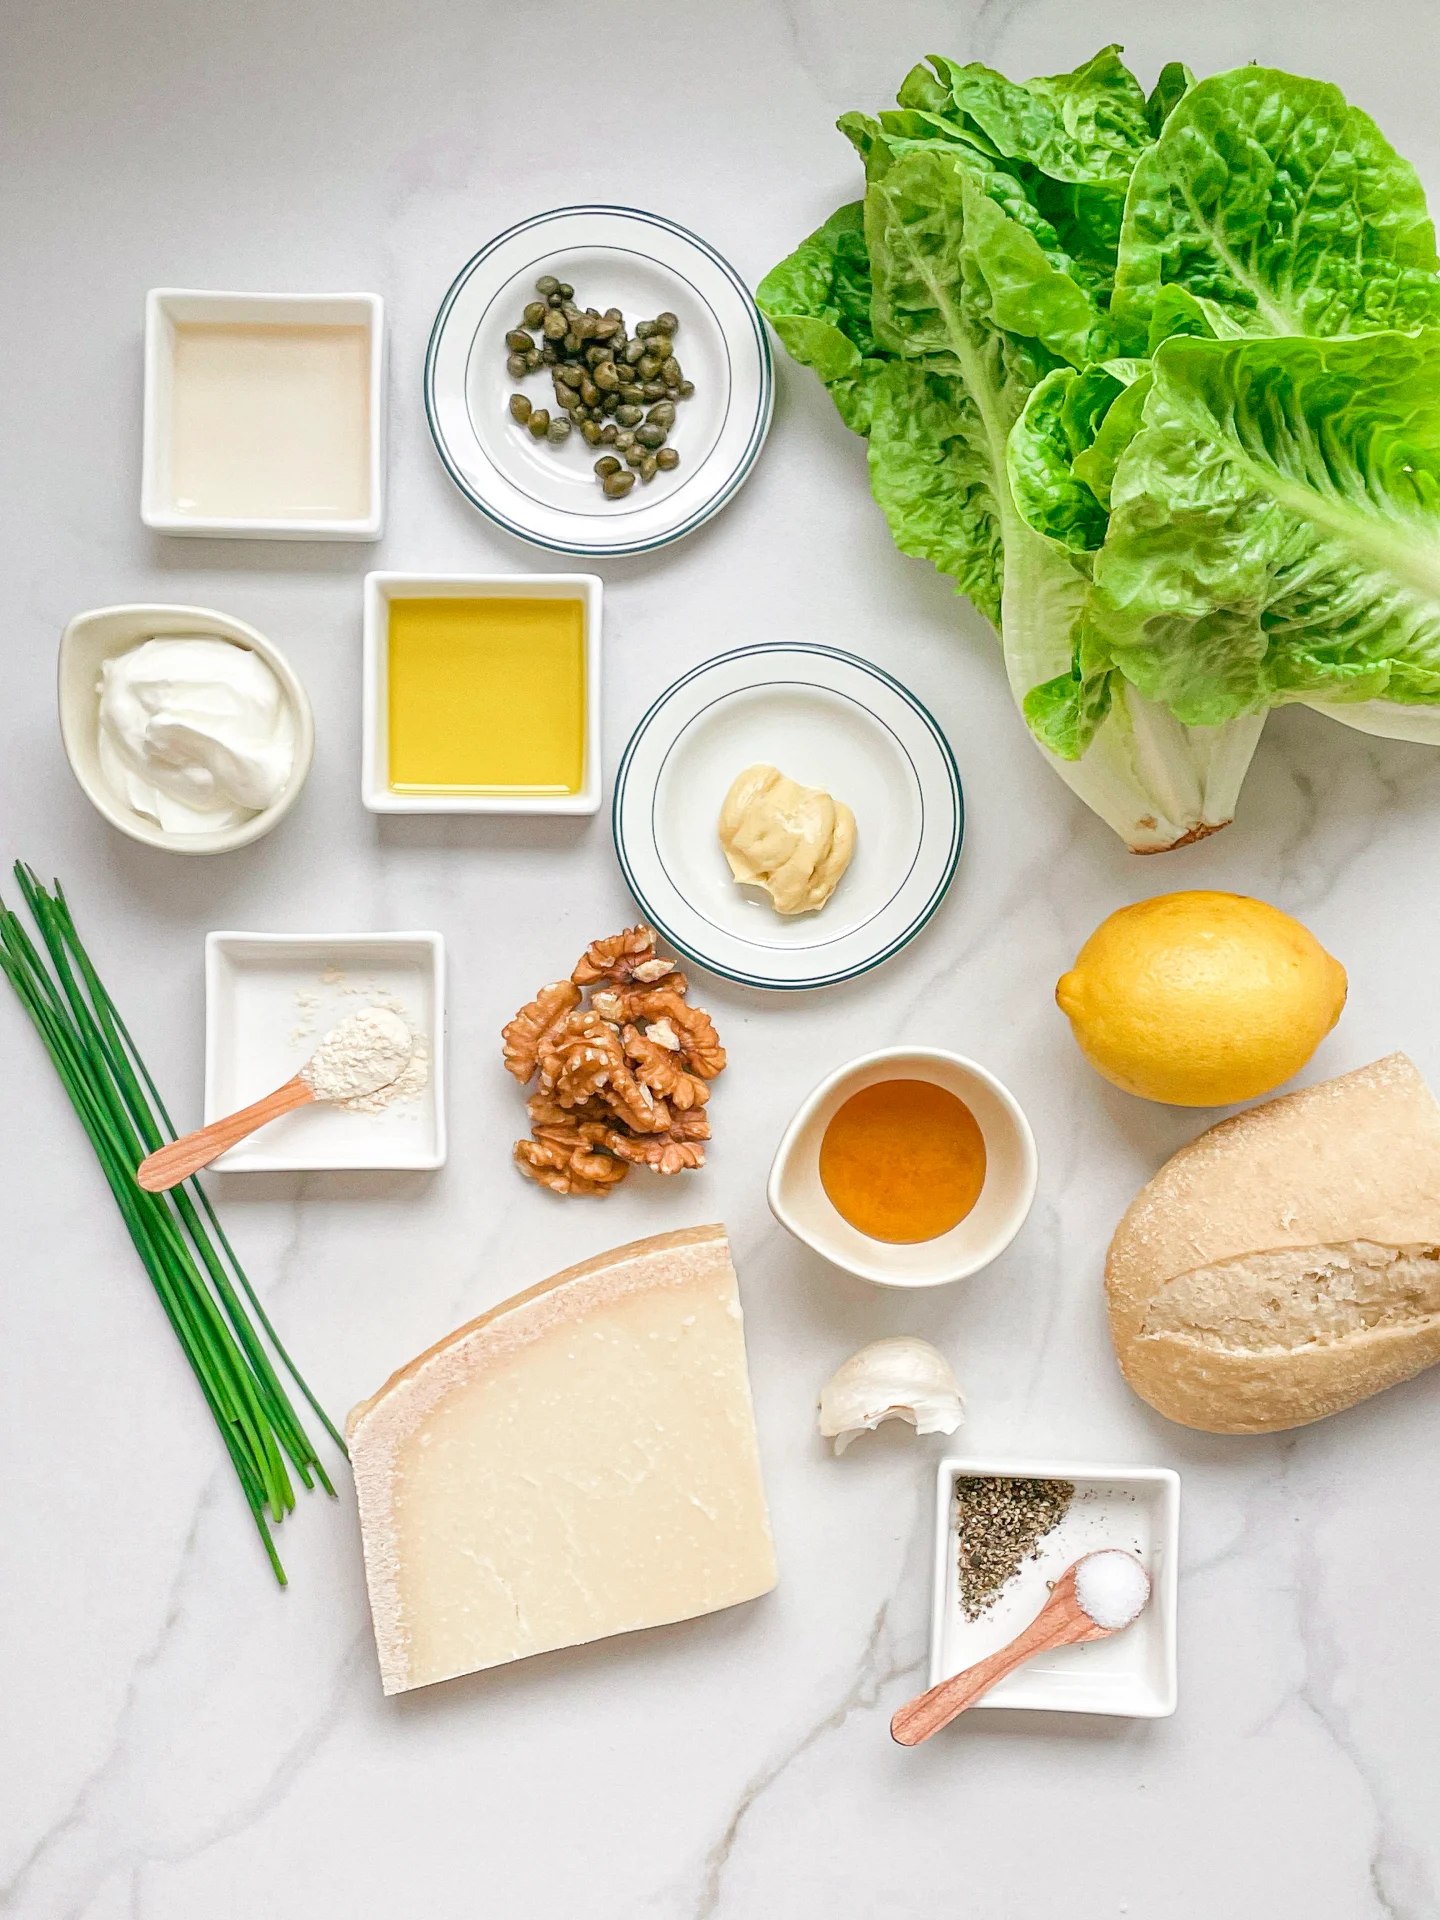
  • 2 romaine salads
  • 2 tbsp olive oil
  • pinch of salt
DRESSING
  • 4 tbsp olive oil
  • 1 tsp white wine vinegar
  • 1 tsp dijon mustard
  • 1 garlic clove
  • 3 tsp yogurt
  • 2 tbsp grated parmesan
  • 1 tsp lemon juice
  • 1 tsp capers
  • salt & pepper to taste
CROUTONS
  • 60 grams baguette
  • 2 tbsp olive oil
  • 1/8 tsp garlic powder
  • 1/8 tsp salt
  • 1/8 tsp pepper
TOPPINGS
  • chives
  • honey
  • 30 grams walnuts
  • 30 grams parmesan

Instructions

  1. Set the oven to the grill function at 250°C (480°F). Wash the romaine lettuce (leave as whole) thoroughly. Halve the lemon. Roughly chop the walnuts. Grate the parmesan. Cut the baguette into small cubes.
  2. For the dressing, place 1 tsp capers, 1 tsp Dijon mustard, 1 tsp lemon juice, 4 tbsp olive oil, 1 tsp white wine vinegar, 1 tbsp grated Parmesan, salt, pepper, 3 tsp yoghurt and 1 pressed garlic clove in a sealable jar. Shake everything well and set aside.
  3. Slice the romaine lettuce hearts lengthways into two halves. Place the hearts flat side up on one half of a baking tray. Spread 2 tablespoons of olive oil evenly over the lettuce, rub in well with your hands and season with a little salt.
  4. Place the diced baguette on the other side of the baking tray. Spread 2 tablespoons of olive oil and 1/8 teaspoon each of salt, ground pepper and garlic powder over the bread cubes. Mix well.
  5. Place the baking tray in the oven and grill for 5-7 minutes.
  6. Remove the baking tray from the oven and arrange the salad on large plates. Top with the croutons and drizzle with the dressing. Top with chopped walnuts, coarsely grated Parmesan slices, chives, a little honey and freshly ground black pepper.
  • Cook Time: 25 min
CRAVING MORE?

Follow along here & don’t forget to subscribe to my substack!

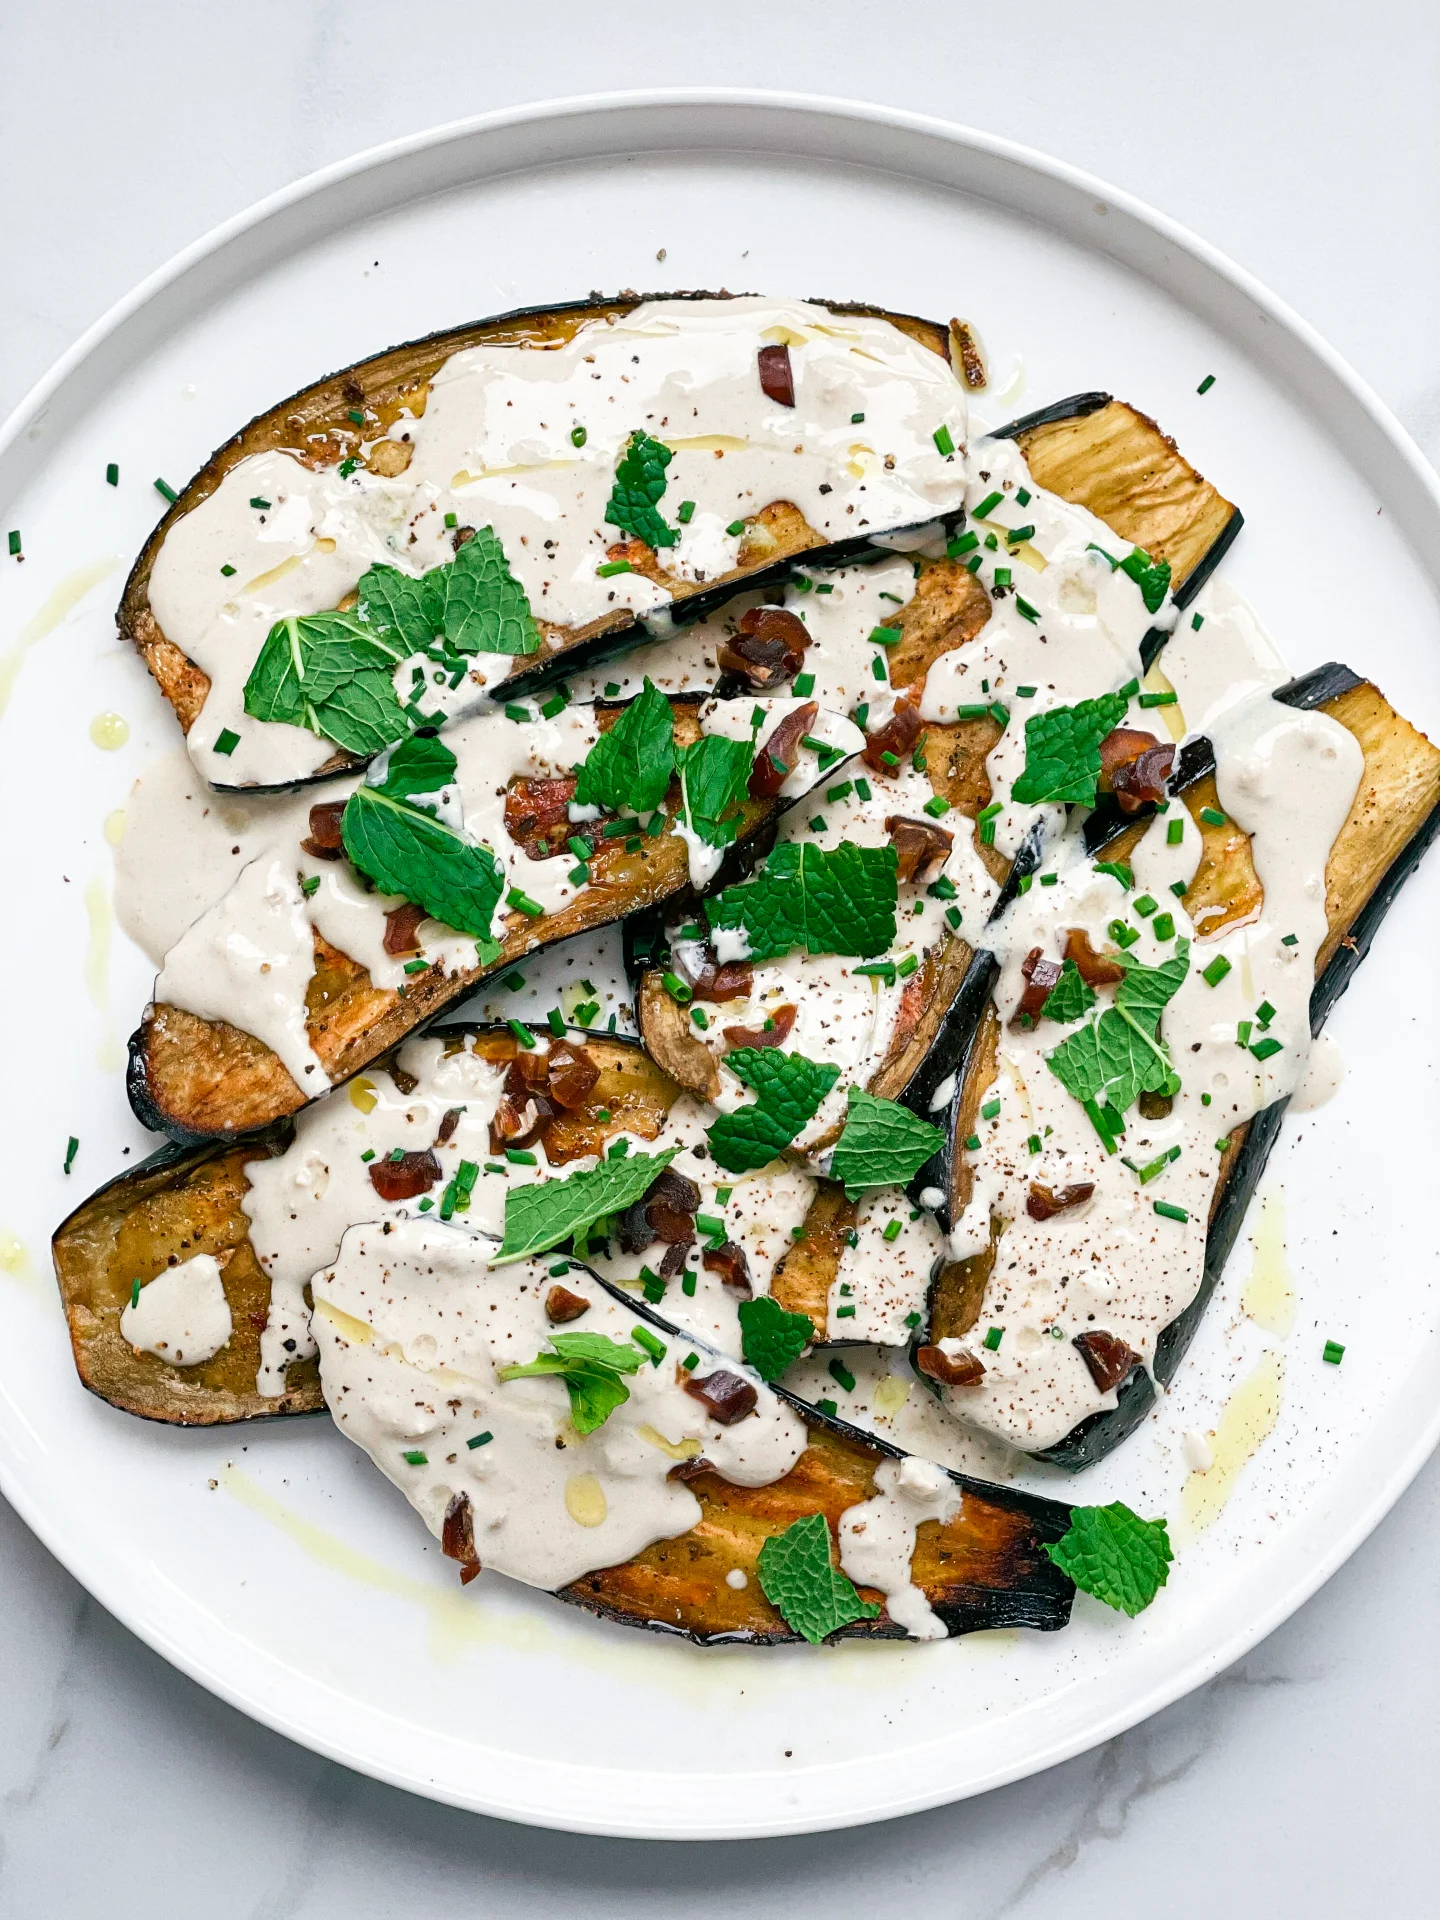
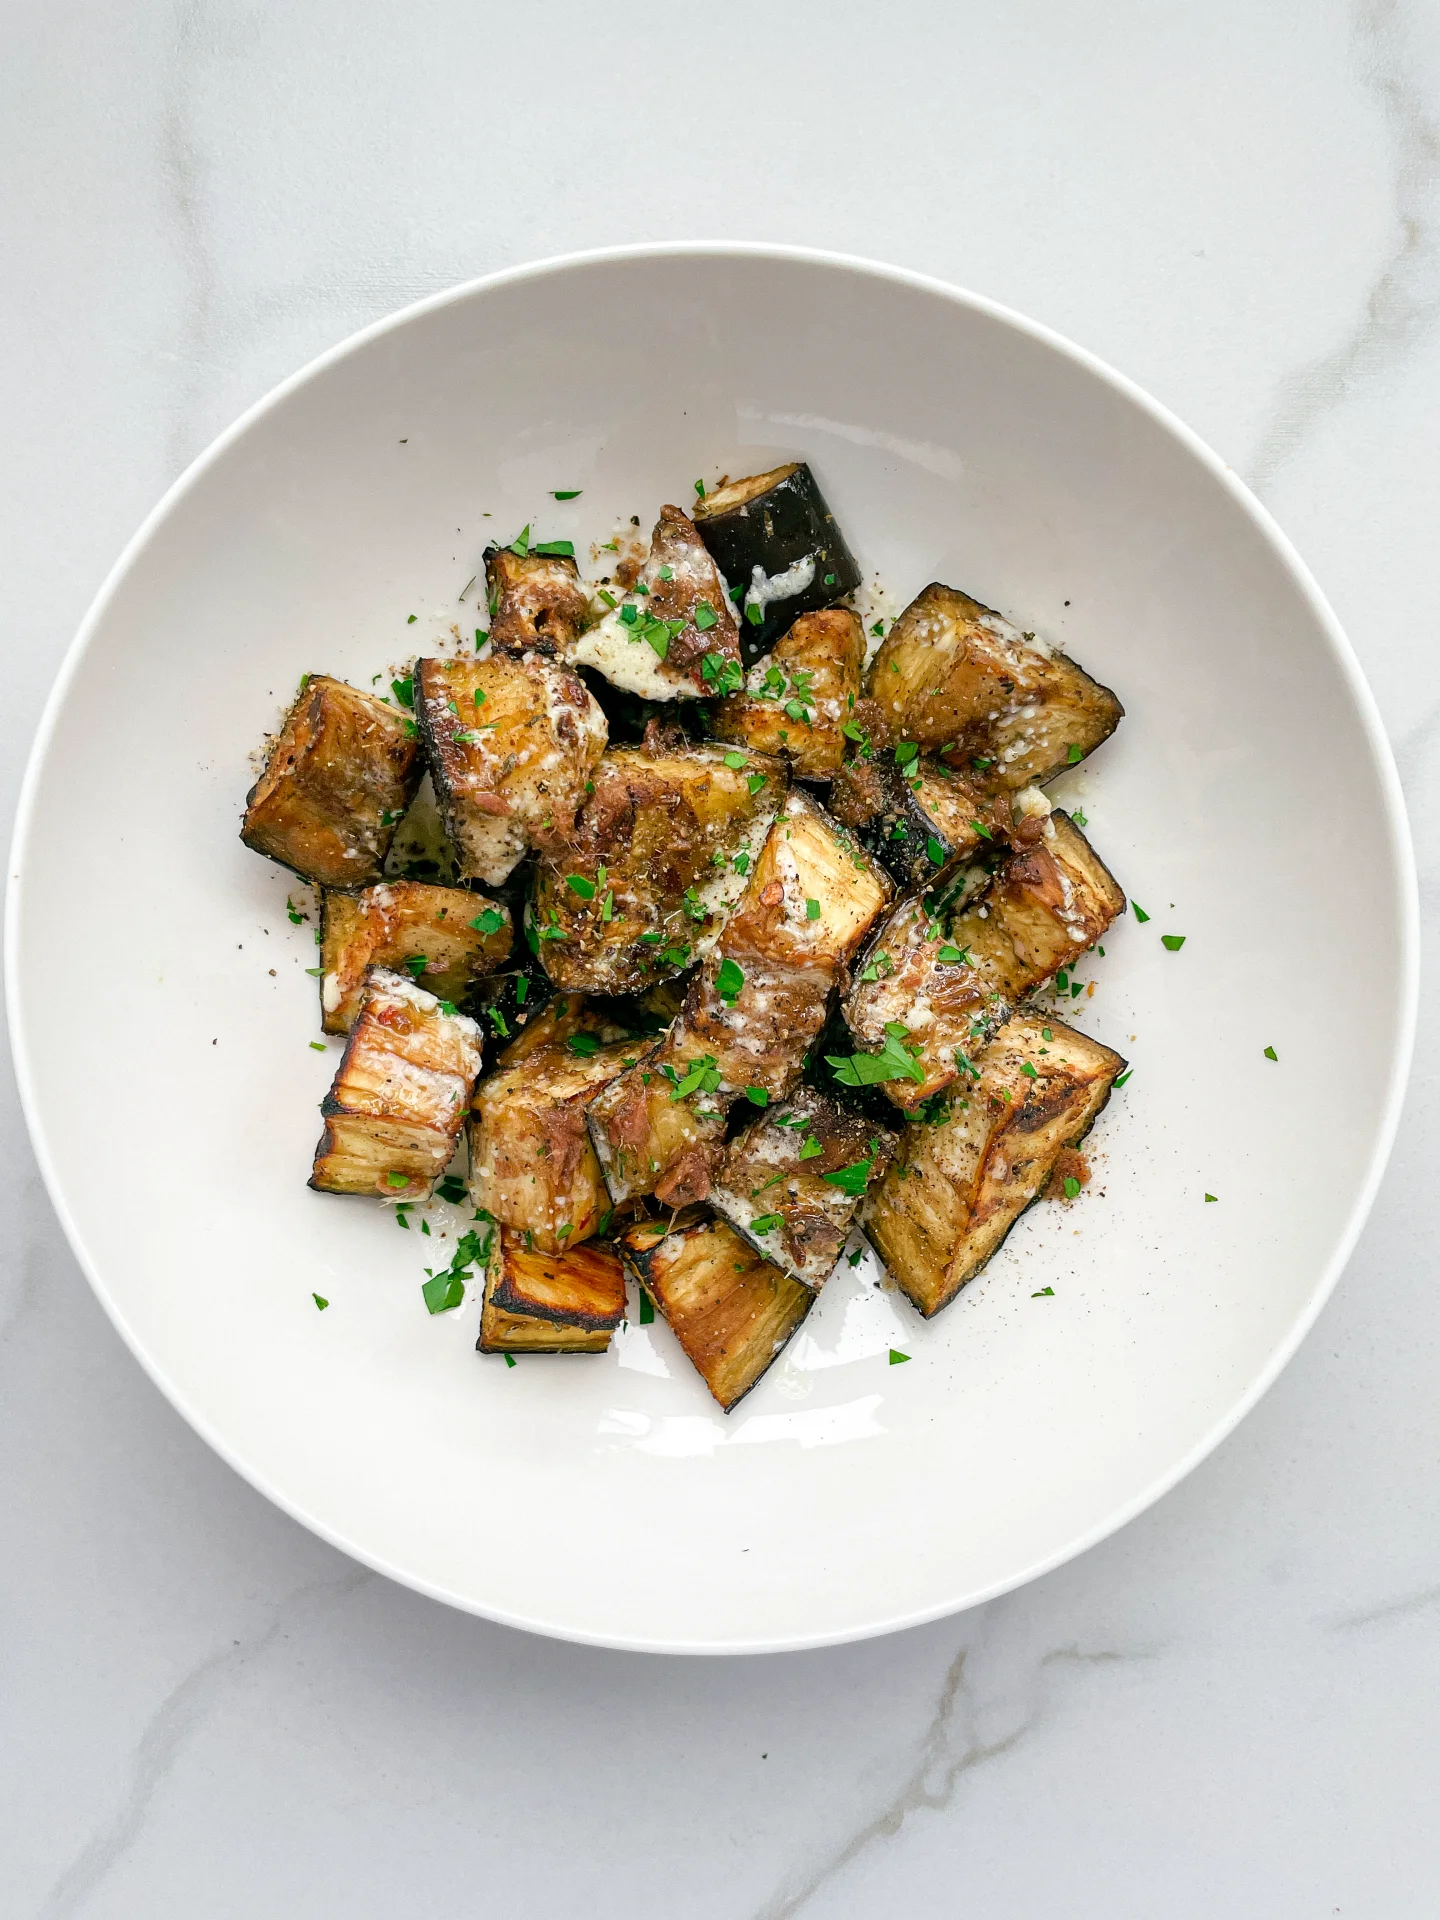
Roasted Eggplant with Tahini Yogurt Sauce

Roasted Eggplant with Tahini Yogurt Sauce

Roasted Eggplant with Tahini Yogurt Sauce

Roasted Eggplant with Tahini Yogurt Sauce

January 18, 2024 by Kimberly

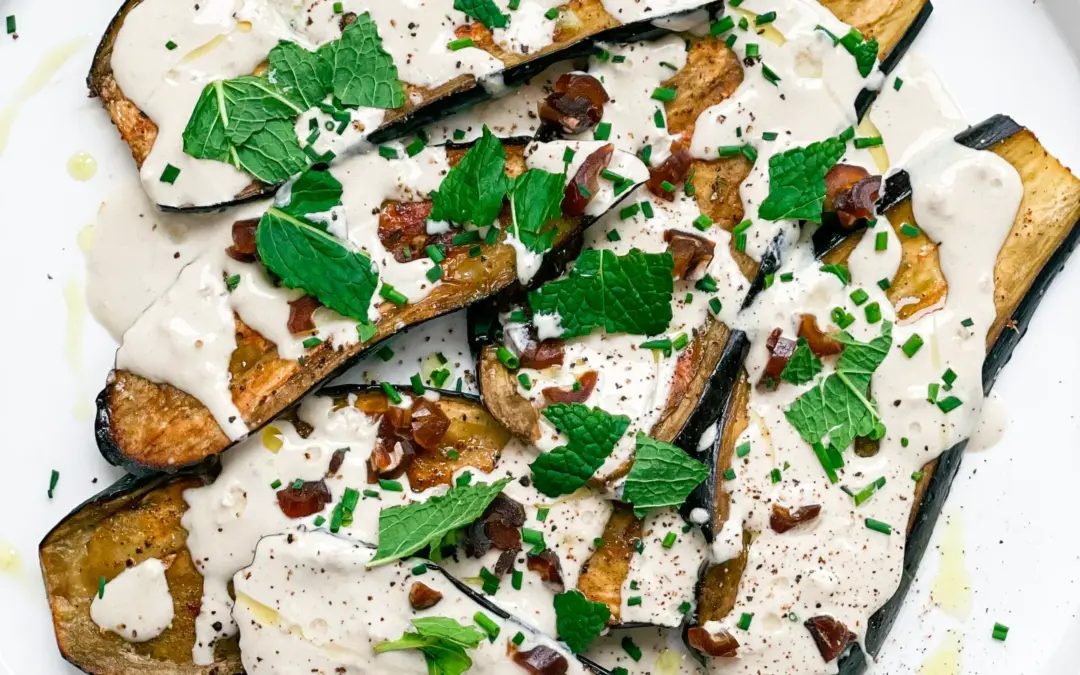
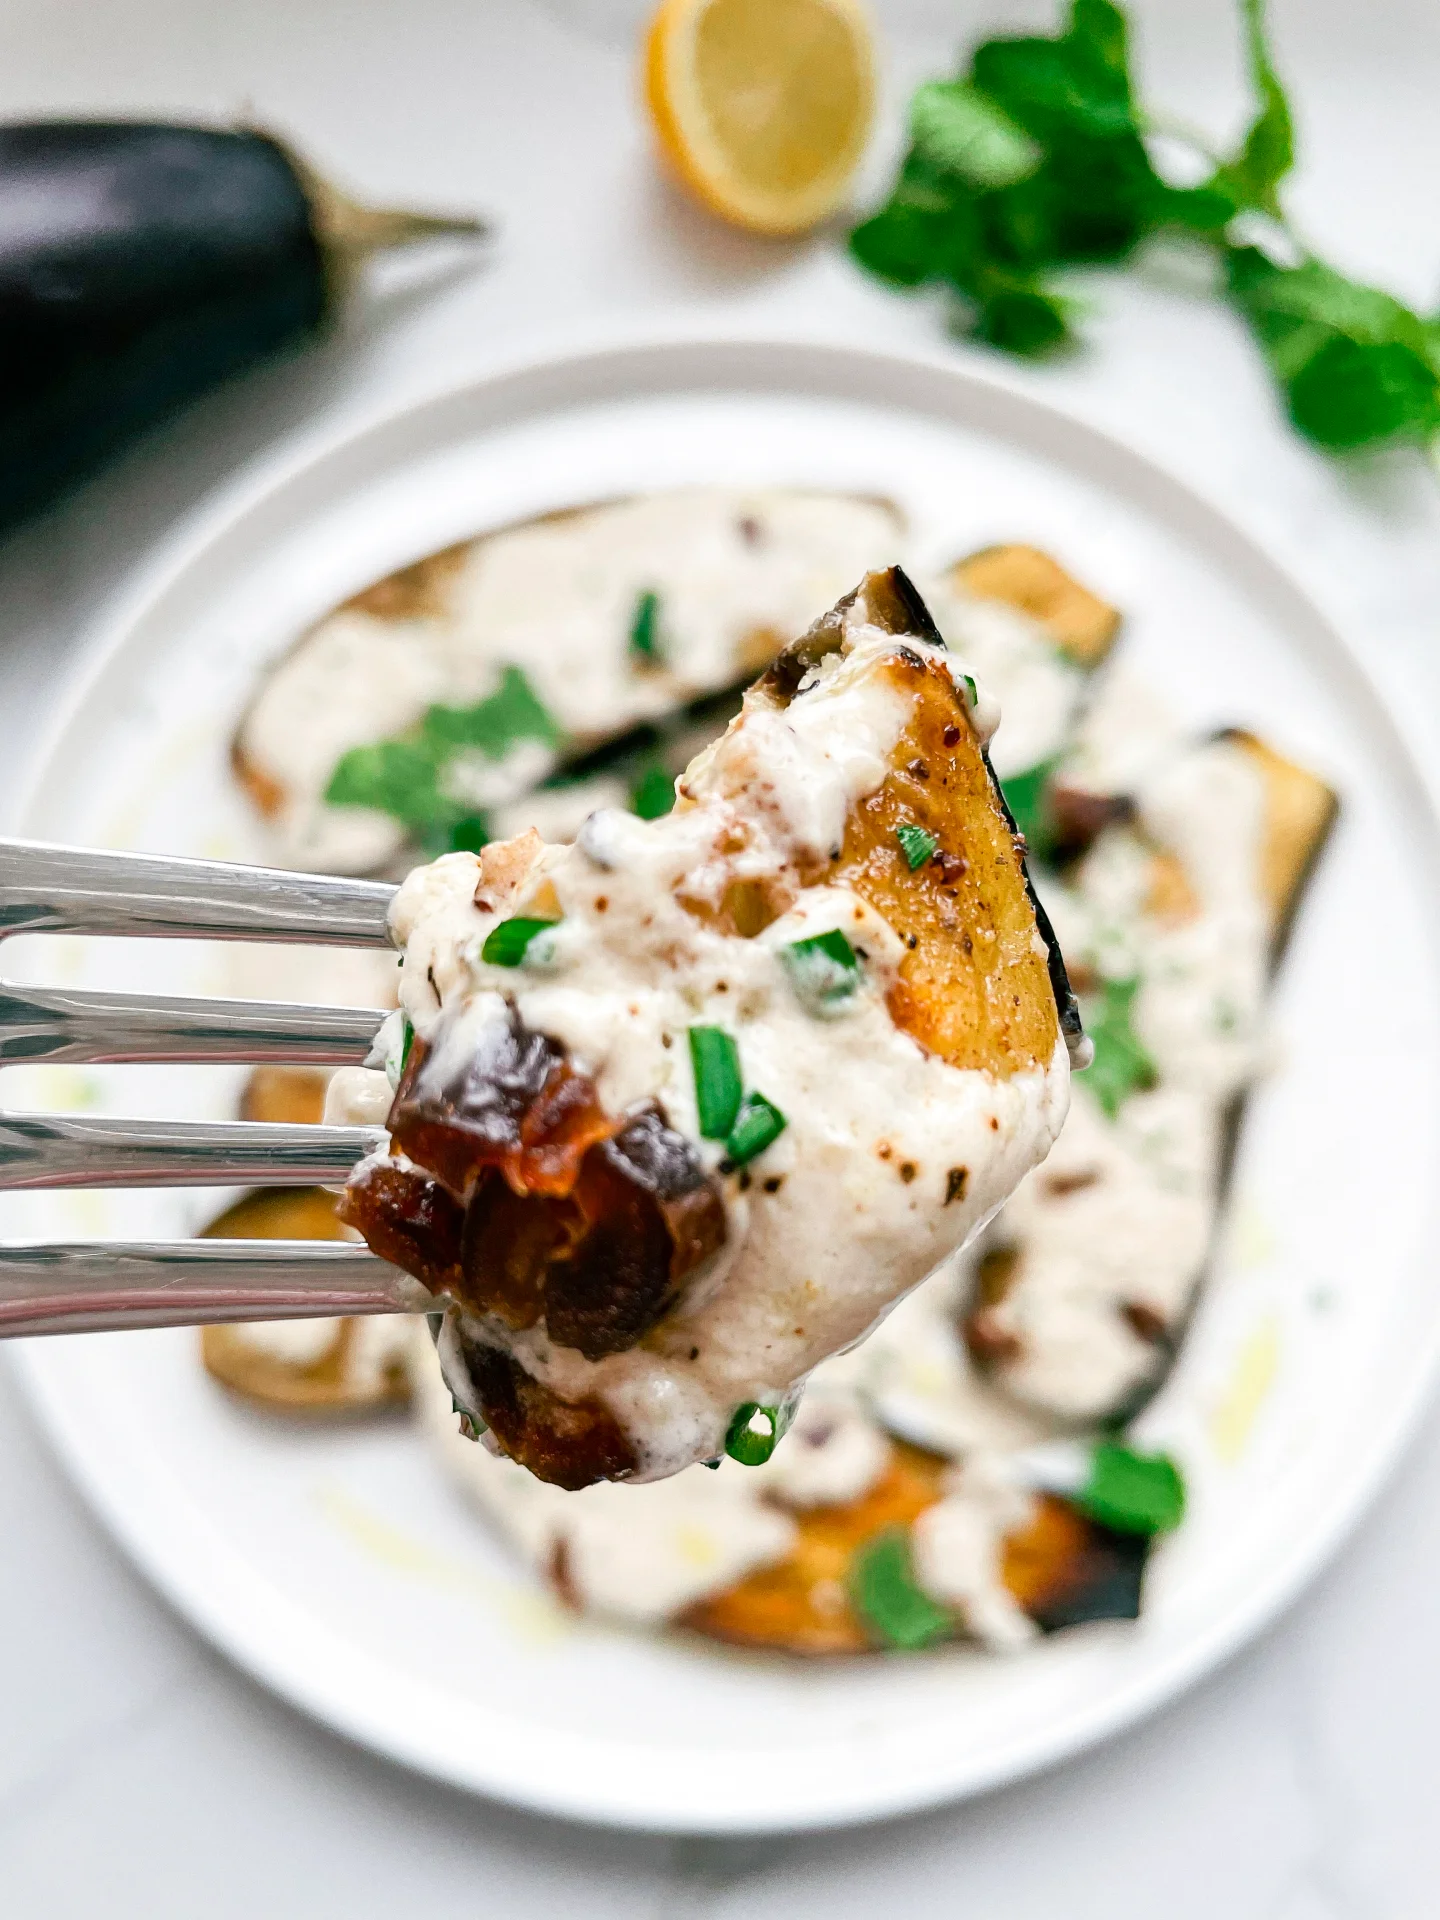
Indulge in Roasted Eggplant with Tahini Yogurt Sauce, a tantalizing, easy-to-prepare dish that promises a burst of exquisite flavors in every bite!

This website uses affiliate links which may earn commission for purchases made at no additional cost to you.

TOTAL TIME

25 min

SERVES

2 portions

DIET

vegetarian

EVERY RECIPE DESERVES

A Little Love Letter

Embark on a culinary journey with this Roasted Eggplant with Tahini Yogurt Sauce, a dish that masterfully combines simplicity with exotic flavors. Perfect for those who adore vegetarian recipes, this easy-to-prepare entrée is a gourmet treat. Made with succulent roasted eggplant and draped in a homemade tahini yogurt sauce, it’s a delicious addition to any meal or a highlight on its own.

Serving this dish is a breeze and it’s incredibly versatile. Present it as a stunning centerpiece for a family-friendly vegetarian meal or as a side dish that complements a variety of mains. The creamy tahini yogurt sauce adds a savory richness, making it an instant hit. To elevate the experience, garnish with fresh herbs or a sprinkle of toasted sesame seeds. Pair with crusty bread or a light salad for a complete, flavorful eggplant dinner idea.

Refrigerate any leftovers in an airtight container, ensuring it stays fresh and delicious. Enjoy it within the next 2 days. The flavors often deepen, making the reheated dish even more delicious.

Hi, I'm Kimberly!

Hi, I'm Kimberly.

A hopeless romantic when it comes to food. Every recipe I share is a love letter to food itself. I’m so glad you’re here. Make yourself at home and stay a while.

Love,
Kimberly

Kimberly the Zett Signature

If you want to get to know me better,
click here!


Roasted Eggplant with Tahini Yogurt Sauce

LET’S MAKE A PIECE OF HAPPINESS

Print
clock clock iconcutlery cutlery iconflag flag iconfolder folder iconinstagram instagram iconpinterest pinterest iconfacebook facebook iconprint print iconsquares squares iconheart heart iconheart solid heart solid icon
Roasted Eggplant with Tahini Yogurt Sauce

Roasted Eggplant with Tahini Yogurt Sauce


  • Author: Kimberly
  • Total Time: 25 min
  • Yield: 2 1x

Description

GOOD TO HAVE ON HAND

  • sharp knife
  • cutting board
  • small bowl
  • medium bowl
  • mortar


Ingredients

Scale
EGGPLANT
  • 1 eggplant
  • 4 tbsp olive oil
  • 1/4 tsp salt
  • 1/8 tsp ground pepper
  • 1/8 tsp dried coriander powder
  • 1/8 tsp cinnamon
  • 1/8 tsp oregano
  • 1/8 tsp garlic powder
  • 1/8 tsp chili flakes
  • 2 cardamom capsules
TAHINI YOGURT SAUCE
  • 2 tbsp tahini
  • 4 tbsp cold water
  • 2 tbsp yogurt
  • 1 tbsp olive oil
  • 1 tbsp lemon juice
  • 1 garlic clove
  • 1/8 tsp salt
TOPPINGS
  • dates
  • chives
  • mint
  • lemon juice
  • olive oil

Instructions

  1. Preheat the oven to 230°C (450°F).
  2. Wash the eggplant and cut into 1 cm (1/2 inch) thick slices. Cut the chives into fine rolls and roughly chop the mint.
  3. Cut the dates into small pieces and crush the contents of the cardamom pods with a mortar.
  4. Mix spices together in a small bowl: 1/4 tsp salt and 1/8 tsp each of the ground pepper, coriander, cinnamon, oregano, garlic, chilli and the contents of two cardamom pods. Stir everything together and set aside.
  5. Place the eggplant slices on a baking tray lined with baking paper, spread 4 tablespoons of olive oil and the spice mixture over them. Rub all the slices with your hands and spread the oil and spices evenly. Now place the tray in the oven and bake the eggplant for 20 minutes.
  6. In the meantime, mix the tahini-yoghurt sauce in a medium-sized bowl. Mix 2 tbsp tahini with 4 tbsp water until smooth. Then add 2 tbsp yogurt, 1 tbsp lemon juice, 1 tbsp olive oil, 1 clove of garlic and 1/8 tsp salt and mix well.
  7. Remove the eggplant slices from the oven and arrange them on a large plate. Pour over the tahini-yoghurt sauce and serve with freshly ground pepper, the date pieces, chives, mint and a few sprinkles of olive oil and lemon juice.
  • Cook Time: 25 min
CRAVING MORE?

Follow along here & don’t forget to subscribe to my substack!

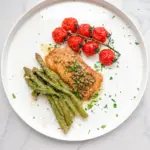
Cod with Caper Lemon Butter Baked Asparagus & Vine Tomatoes

Cod with Caper Lemon Butter Baked Asparagus & Vine Tomatoes

Cod with Caper Lemon Butter Baked Asparagus & Vine Tomatoes

Cod with Caper Lemon Butter Baked Asparagus & Vine Tomatoes

January 17, 2024 by Kimberly

Savor the zesty blend of Cod with Caper Lemon Butter, complemented by tender baked asparagus and juicy vine tomatoes. A delicious, wholesome dinner for any day!

This website uses affiliate links which may earn commission for purchases made at no additional cost to you.

TOTAL TIME

25 min

SERVES

2 portions

DIET

omnivore

EVERY RECIPE DESERVES

A Little Love Letter

Delight your taste buds with this exquisite Cod with Caper Lemon Butter, Baked Asparagus & Vine Tomatoes recipe. This dish is a perfect blend of flavors, combining the mild, flaky texture of cod with the zesty tang of caper lemon butter. Complemented by the earthy taste of baked asparagus and the sweetness of vine tomatoes, it’s a healthy seafood dish that’s both nutritious and indulgent. Ideal for a quick, yet elegant family dinner, this recipe brings gourmet home cooking to your table with simple, seasonal ingredients.

To serve this delightful meal, plate the perfectly cooked cod as the centerpiece. Drizzle it generously with the aromatic caper lemon butter sauce, ensuring each bite is infused with its rich flavor. Accompany the fish with a side of tender, oven-roasted asparagus and ripe, juicy baked vine tomatoes, enhancing the dish’s freshness and color. This combination not only offers a harmonious blend of tastes but also presents a visually appealing dish, perfect for any occasion. For a complete dining experience, pair this meal with a light, crisp white wine or a lemon-infused water.

Keep the cod and vegetables in separate airtight containers in the refrigerator. They will maintain their quality for up to one day. Reheat gently to preserve the texture of the fish and the crispness of the vegetables. Enjoy the convenience of a delicious, homemade meal, ready to be savored again.

Hi, I'm Kimberly!

Hi, I'm Kimberly.

A hopeless romantic when it comes to food. Every recipe I share is a love letter to food itself. I’m so glad you’re here. Make yourself at home and stay a while.

Love,
Kimberly

Kimberly the Zett Signature

If you want to get to know me better,
click here!


Cod with Caper Lemon Butter Baked Asparagus & Vine Tomatoes

LET’S MAKE A PIECE OF HAPPINESS

Print
clock clock iconcutlery cutlery iconflag flag iconfolder folder iconinstagram instagram iconpinterest pinterest iconfacebook facebook iconprint print iconsquares squares iconheart heart iconheart solid heart solid icon
Cod with Caper Lemon Butter Baked Asparagus & Vine Tomatoes

Cod with Caper Lemon Butter Baked Asparagus & Vine Tomatoes


  • Author: Kimberly
  • Total Time: 25 min
  • Yield: 2 1x

Description

GOOD TO HAVE ON HAND

  • sharp knife
  • cutting board
  • frying pan


Ingredients

Units Scale
COD
  • 300 grams cod filet
  • 2 tbsp all-purpose flour
  • 2 tbsp olive oil
  • 1 tbsp butter
SAUCE
  • 1 tbsp capers
  • 1 tsp butter
  • juice of half a lemon
VEGETABLES
  • 250 grams vine tomatoes
  • 250 grams green asparagus (fresh or frozen)
  • 2 tbsp olive oil
  • salt
  • pepper
TOPPINGS
  • parsley
  • the other half of the lemon

Instructions

  1. Preheat the oven to 200°C (400°F).
  2. Pluck the parsley leaves from the stalks and chop finely.
  3. Place the frozen asparagus and tomatoes on a baking tray lined with baking paper, drizzle with olive oil and season with salt and pepper. Roast the asparagus and tomatoes in the oven on the middle shelf for approx. 15 minutes until golden brown.
  4. Pat the cod dry and then roll in flour. Set aside.
  5. Heat 2 tbsp olive oil and 1 tbsp butter in a frying pan over a medium heat. Add the cod and fry on one side for approx. 5 minutes. Carefully flip the fish and fry for a further 1-3 minutes (depending on the thickness of the fish). At this point, the fat in the pan can be poured over the fish with a spoon so that the side that is facing up does not dry out.
  6. Remove the pan from the heat and arrange the fish on plates. Warm the plates in advance if you like. Put the pan back on the heat.
  7. Now pour the juice of half a lemon over the remaining oil and butter in the pan. Stir briefly and allow to warm. Now add the capers, toss well and deglaze whats on the bottom of the pan. Remove the pan from the heat and stir in 1 teaspoon of butter. The sauce can now be poured over the fish.
  8. Remove the vegetables from the oven and place on the plates next to the fish. Garnish with parsley and lemon slices.
  • Cook Time: 25 min

CRAVING MORE?

Follow along here & don’t forget to subscribe to my substack!

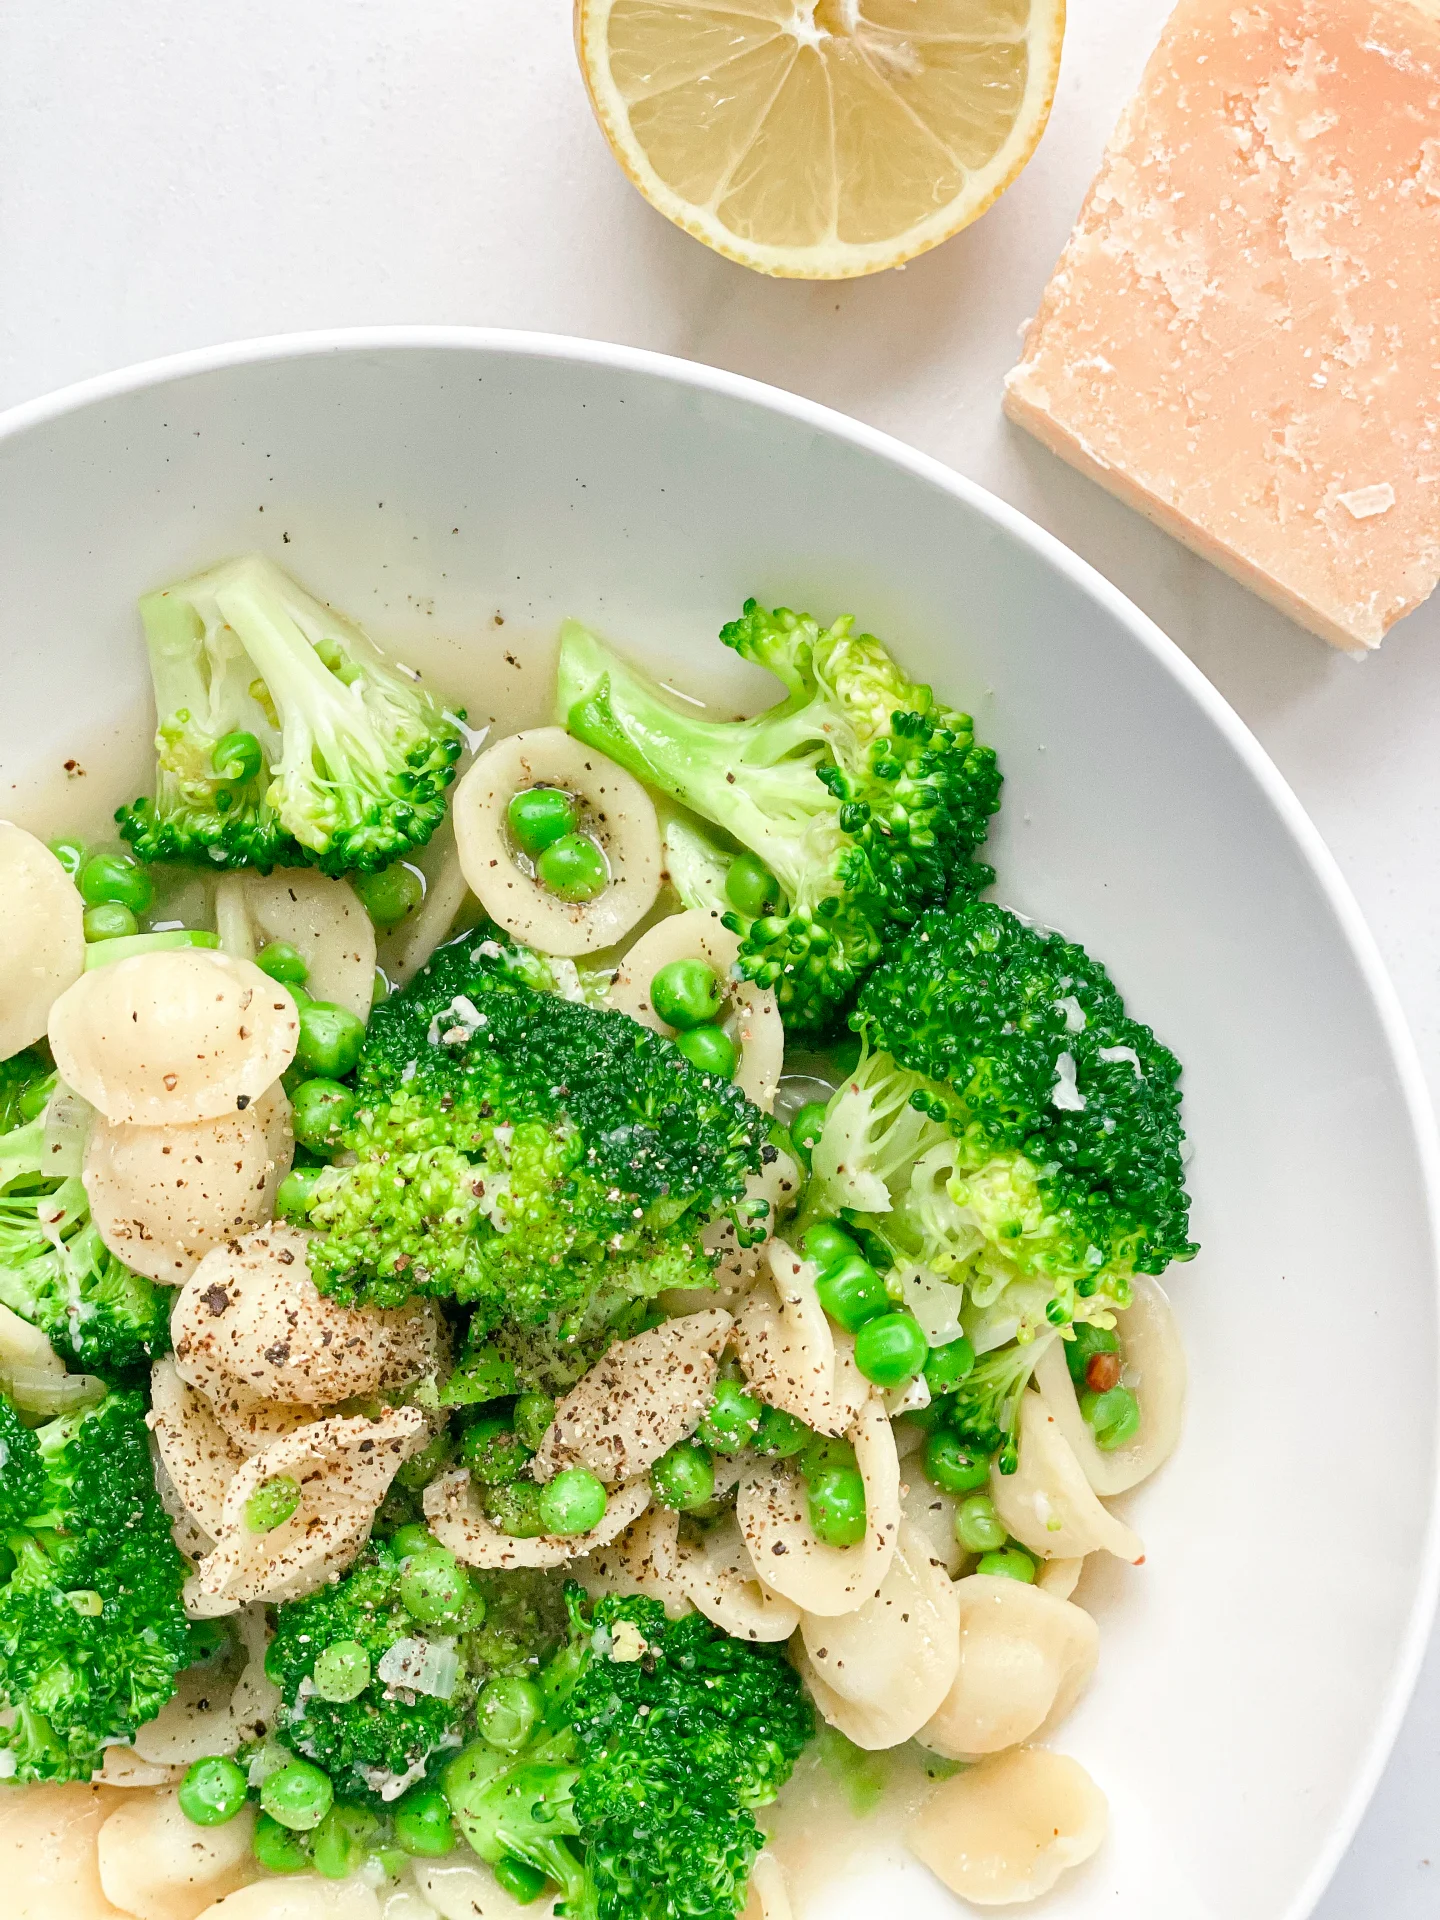
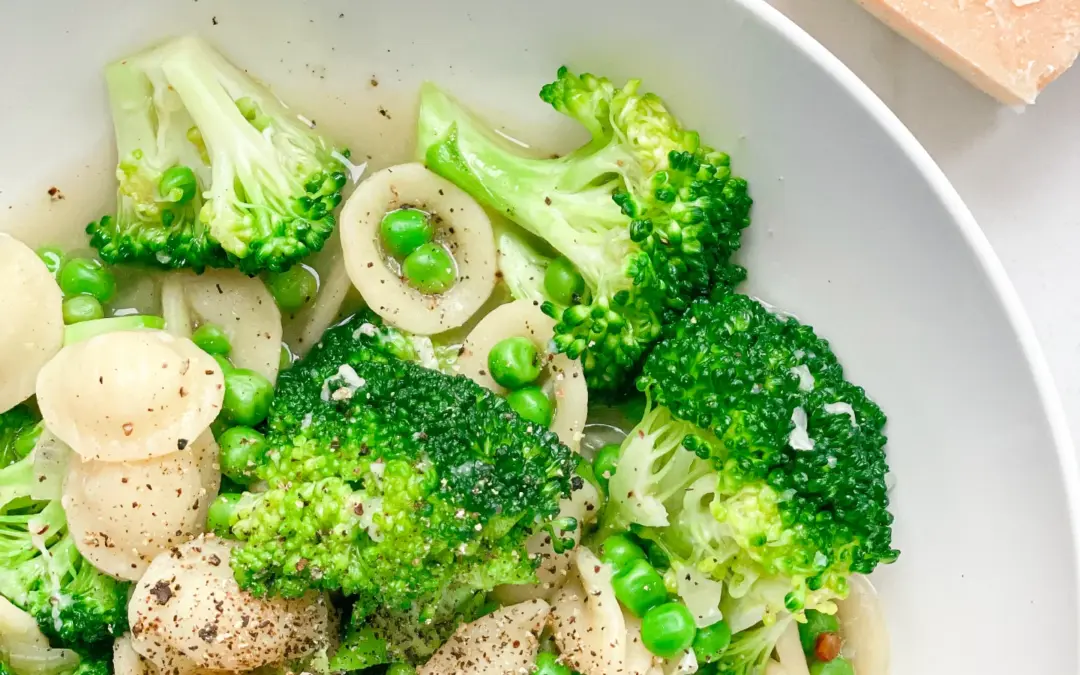
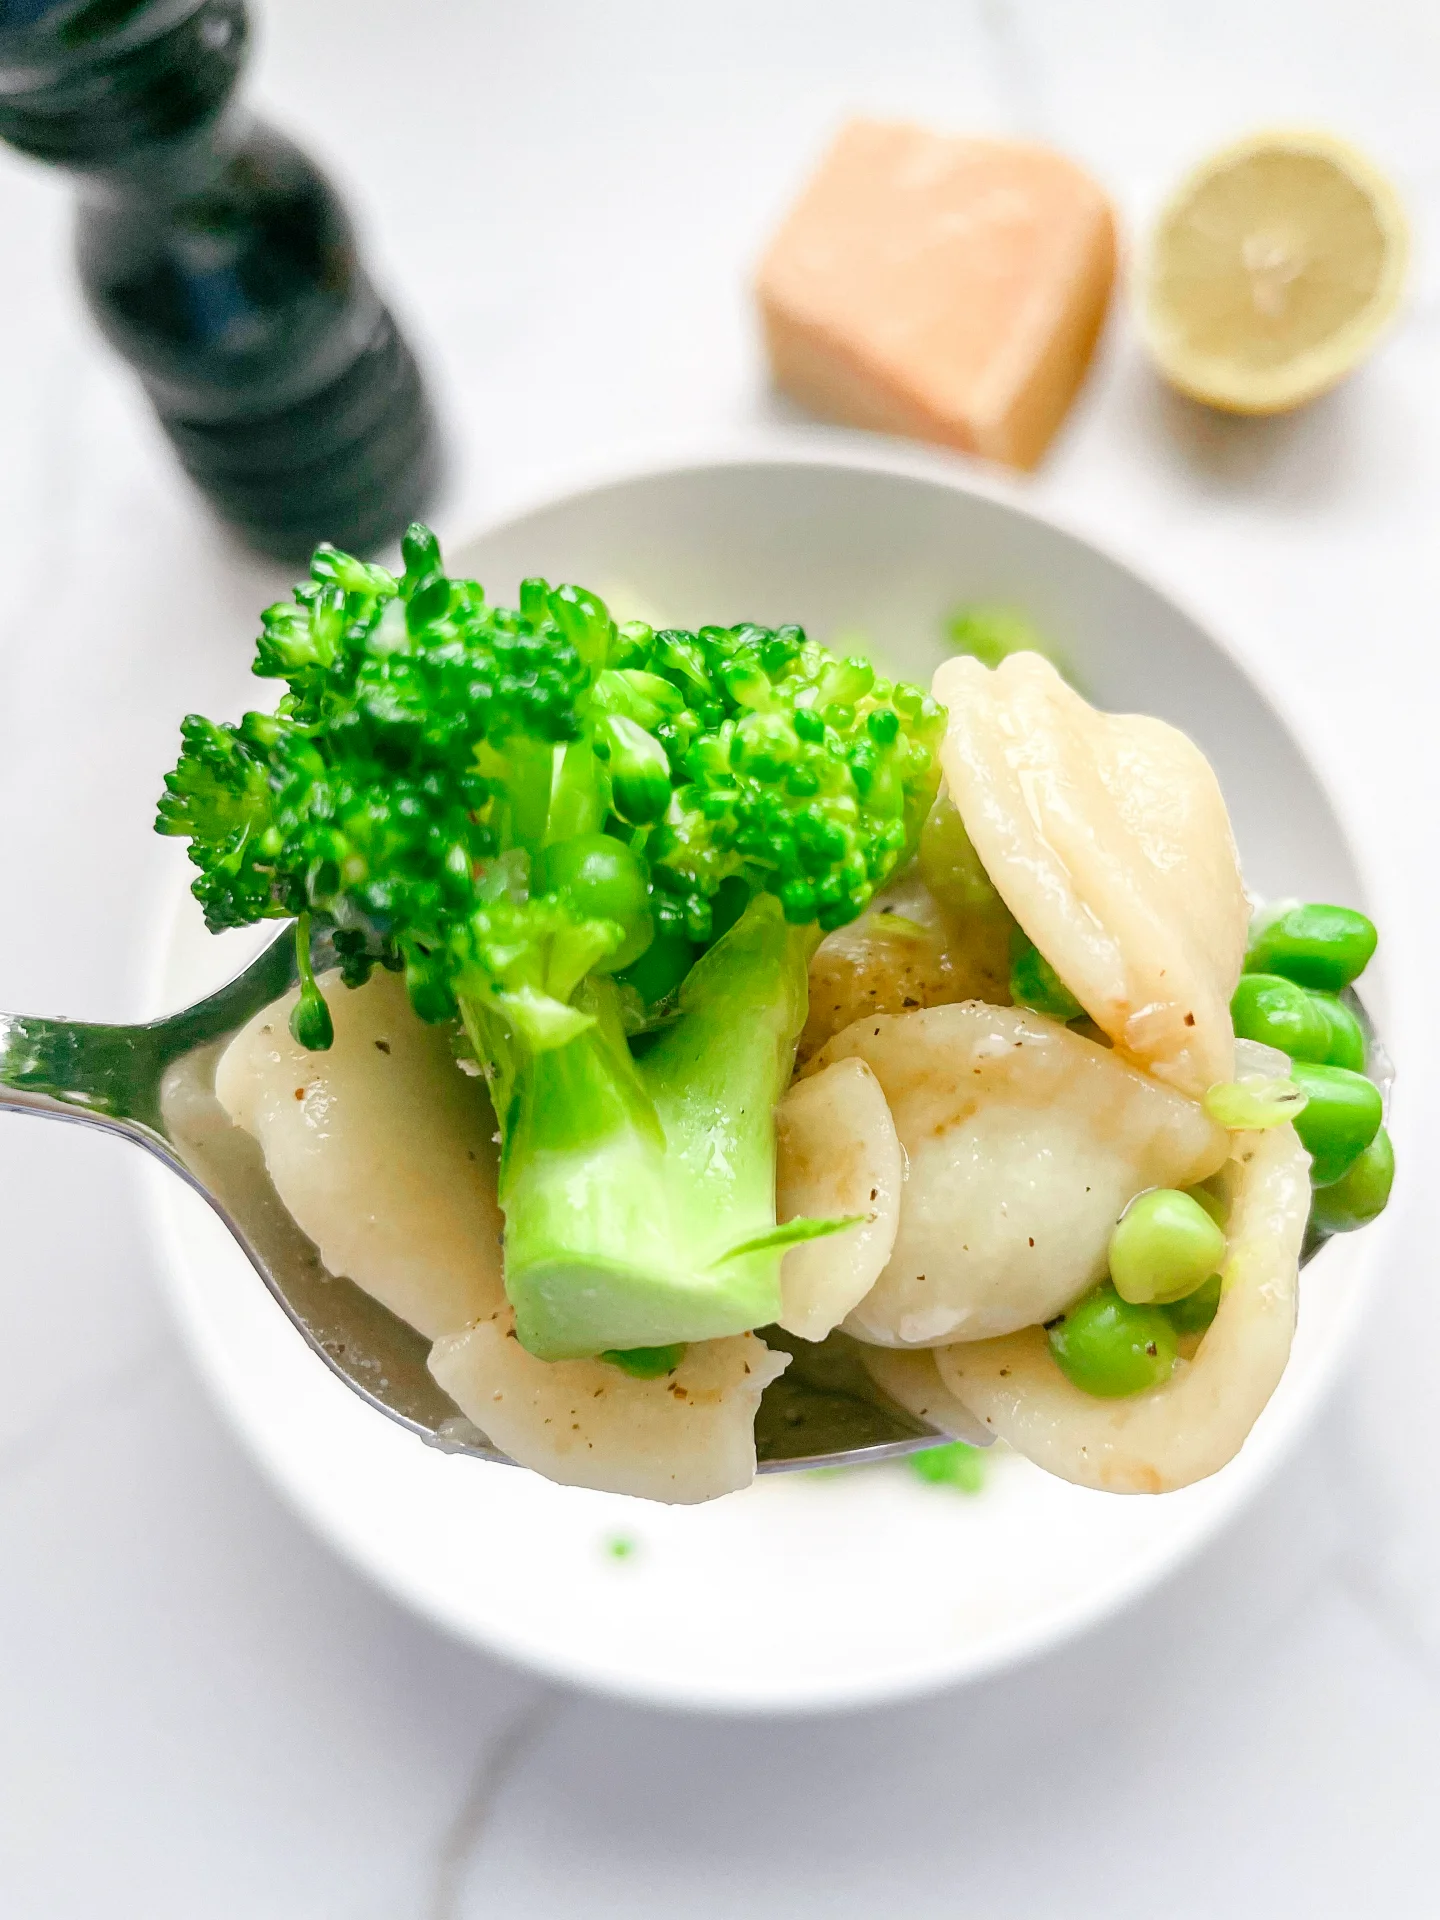
Lemon Broth with Pasta, Broccoli & Peas

Lemon Broth with Pasta, Broccoli & Peas

Lemon Broth with Pasta Broccoli & Peas

Lemon Broth with Pasta Broccoli & Peas

January 10, 2024 by Kimberly

Savor the tangy burst of Lemon Broth, mingled with tender Pasta, Broccoli, and Peas. Sprinkle Parmesan on top for a creamy finish. A delicious, nourishing delight!

This website uses affiliate links which may earn commission for purchases made at no additional cost to you.

TOTAL TIME

25 min

SERVES

2 bowls

DIET

omnivore

EVERY RECIPE DESERVES

A Little Love Letter

Embark on a culinary journey with this Lemon Broth with Pasta, Broccoli, and Peas, topped with Parmesan. This dish is a symphony of flavors, blending lemon juice with the wholesomeness of vegetables and pasta. Perfect for those seeking a meal that’s both nutritious and bursting with flavor, it’s an ideal comfort food for family dinners or a cozy night in.

Serve this vibrant dish hot, allowing the aromatic lemon broth to enhance the tender pasta, broccoli, and peas. The Parmesan cheese adds a creamy, indulgent touch, melting beautifully into the broth. For a perfect presentation, garnish with a sprinkle of lemon zest and fresh herbs. Pair it with a crisp white wine or a refreshing lemonade to complement the zesty flavors.

I don’t recommend making too much of the dish and keeping it in the fridge as the noodles will swell in the soup and it will become too thick.

Hi, I'm Kimberly!

Hi, I'm Kimberly.

A hopeless romantic when it comes to food. Every recipe I share is a love letter to food itself. I’m so glad you’re here. Make yourself at home and stay a while.

Love,
Kimberly

Kimberly the Zett Signature

If you want to get to know me better,
click here!


Lemon Broth with Pasta Broccoli & Peas

LET’S MAKE A PIECE OF HAPPINESS

Print
clock clock iconcutlery cutlery iconflag flag iconfolder folder iconinstagram instagram iconpinterest pinterest iconfacebook facebook iconprint print iconsquares squares iconheart heart iconheart solid heart solid icon
Lemon Broth with Pasta Broccoli & Peas

Lemon Broth with Pasta, Broccoli & Peas


  • Author: Kimberly
  • Total Time: 25 min
  • Yield: 2 1x

Description

GOOD TO HAVE ON HAND

  • sharp knife
  • cutting board
  • medium sized pot
  • cheese grater


Ingredients

Units Scale
  • 200 grams Orecchiette pasta
  • 1 tbsp olive oil
  • 1 shallot
  • 2 garlic cloves
  • chili flakes
  • 700 milliliters chicken broth
  • 200 grams broccoli (fresh or frozen)
  • 200 grams frozen peas
  • 2 tbsp parmigiano reggiano
  • juice of 1/2 to 1 lemon to taste
  • salt & pepper to taste

Instructions

  1. Peel the shallot and cut into small pieces. Finely grate the Parmesan and set it aside.
  2. Heat the olive oil in a medium saucepan and fry the shallot until translucent. Then add the garlic and chilli peppers and fry briefly until fragrant.
  3. Now add the dry pasta to the pan, stir briefly and then pour in the chicken broth. Allow to cook until the pasta is still firm to the bite.
  4. Then add the broccoli and peas and cook everything until the pasta is al dente and the vegetables are cooked soft, but not too soft, they should still have a little bite. The total cooking time is approx. 15 minutes.
  5. Remove the pan from the heat and season with lemon juice, salt and pepper. Now add the Parmesan. Serve the pasta and soup in two bowls and garnish with some extra Parmesan cheese and freshly ground pepper.
  • Passive Time: 15 min
  • Cook Time: 10 min

CRAVING MORE?

Follow along here & don’t forget to subscribe to my substack!

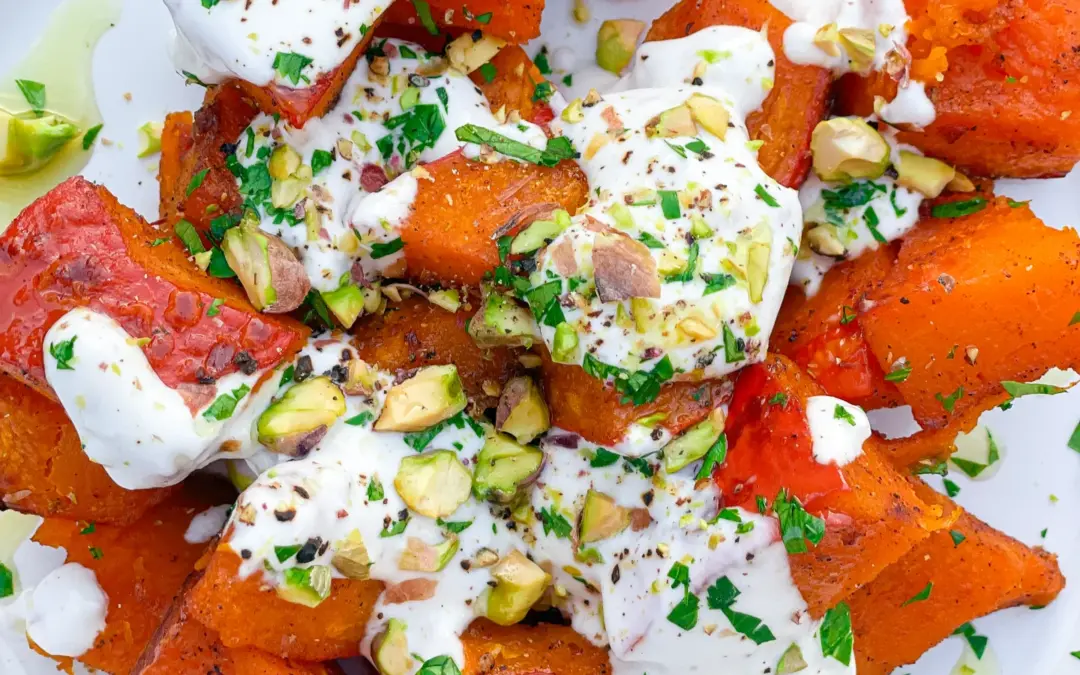
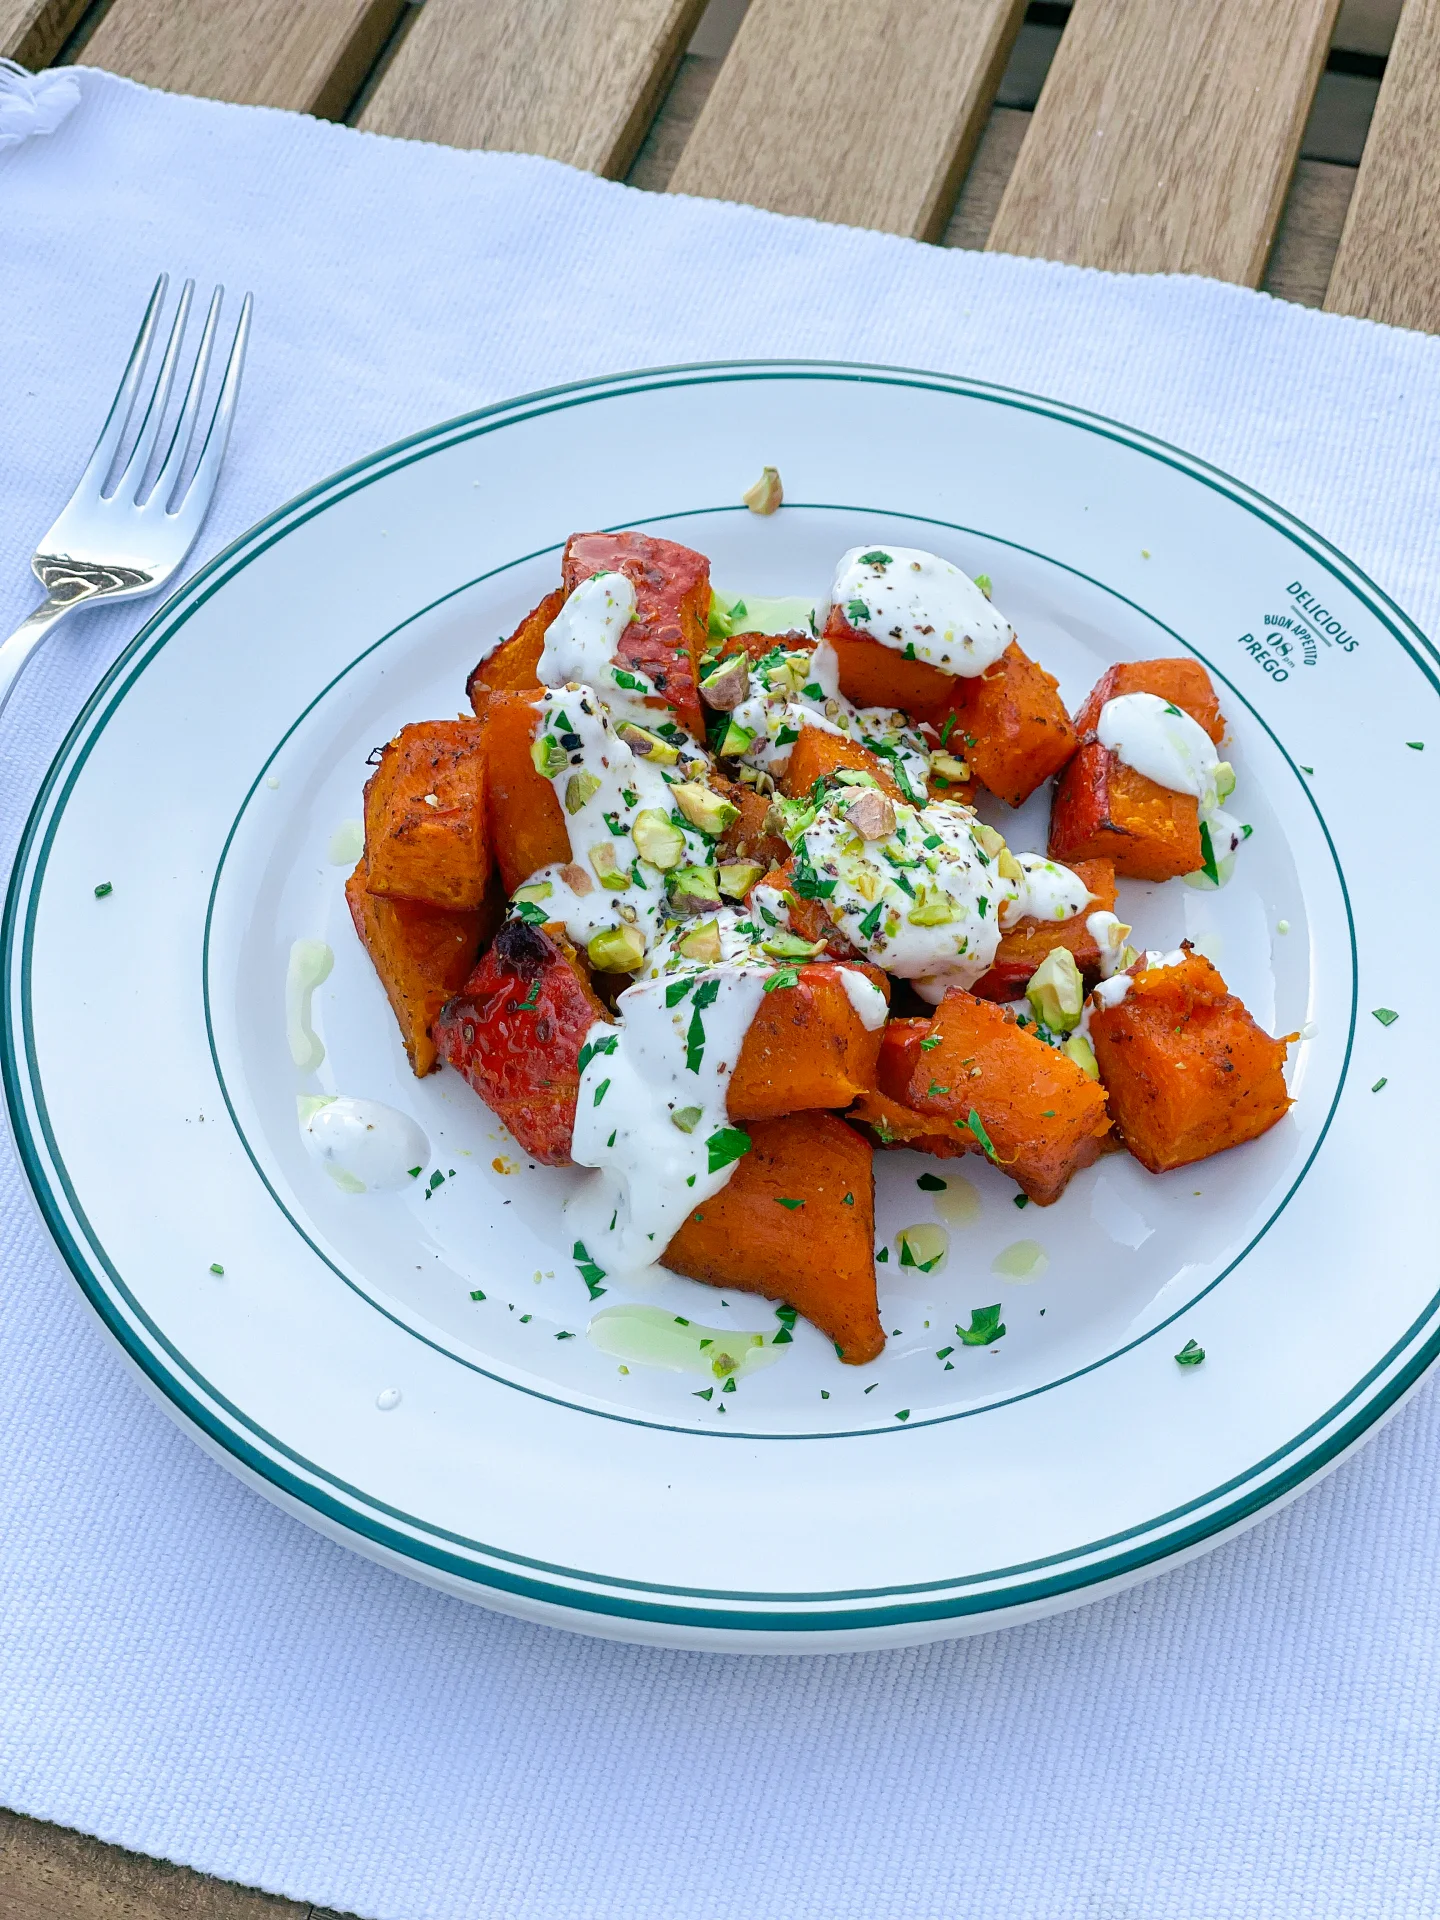
Roasted Pumpkin with Garlic Yogurt Sauce and Pistachios

Roasted Pumpkin with Garlic Yogurt Sauce and Pistachios

Roasted Pumpkin with Garlic Yogurt Sauce & Pistachios

Roasted Pumpkin with Garlic Yogurt Sauce & Pistachios

January 3, 2024 by Kimberly

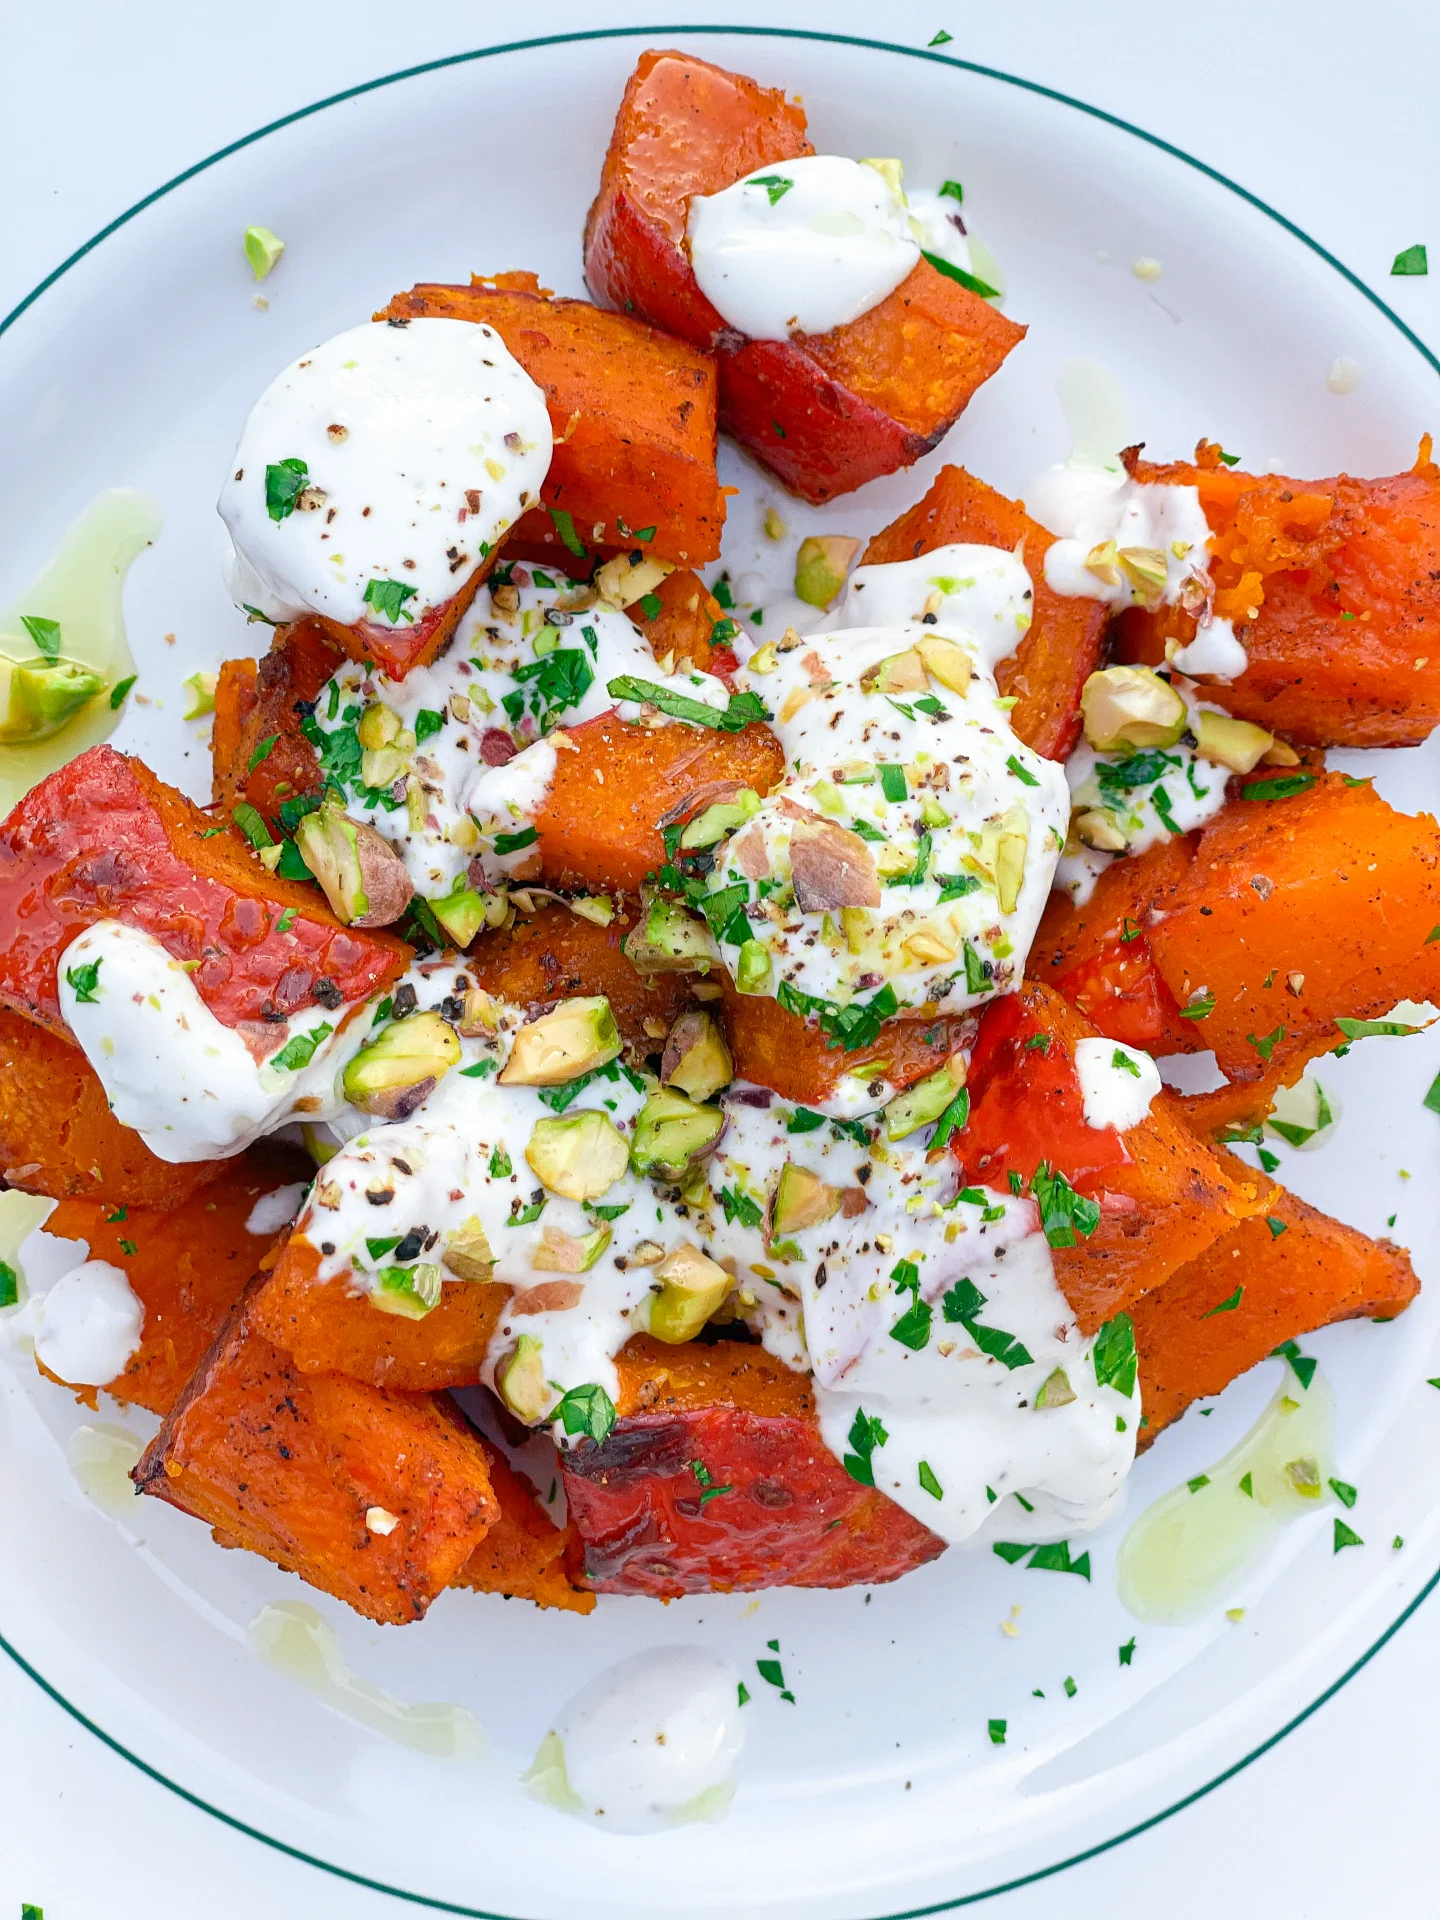
Indulge in this delectable Roasted Pumpkin, adorned with creamy Garlic Yogurt Sauce and crunchy Pistachios, offering a wholesome, flavorful, and aromatic delight with every savory, nutritious bite.

This website uses affiliate links which may earn commission for purchases made at no additional cost to you.

TOTAL TIME

30 min

SERVES

4 portions

DIET

vegetarian

EVERY RECIPE DESERVES

A Little Love Letter

Welcome to the delightful world of Roasted Pumpkin with Garlic Yogurt Sauce and Pistachios. This dish is a perfect amalgamation of sweet, earthy pumpkin, enriched with a tangy and creamy garlic yogurt sauce, and finished with a sprinkle of crunchy pistachios. It’s an ideal recipe for those seeking a nutritious yet indulgent addition to their meal, blending the warmth of winter flavors with a touch of elegance.

Serve this exquisite dish as a stunning side or a main course. It pairs beautifully with grilled meats or can stand alone for a satisfying vegetarian option. The creamy garlic yogurt sauce complements the soft, caramelized pumpkin, while the pistachios add a delightful crunch. Garnish with fresh parsley for a pop of color and flavor. It’s best enjoyed warm, making it a comforting choice for chilly evenings or festive gatherings.

Leftovers can be stored in an airtight container in the refrigerator for up to 3 days. Reheat in the oven or microwave until warm. It’s recommended to store the pumpkin and garlic yogurt sauce separately to maintain the best texture and flavor when enjoying it later.

Hi, I'm Kimberly!

Hi, I'm Kimberly.

A hopeless romantic when it comes to food. Every recipe I share is a love letter to food itself. I’m so glad you’re here. Make yourself at home and stay a while.

Love,
Kimberly

Kimberly the Zett Signature

If you want to get to know me better,
click here!


Roasted Pumpkin with Garlic Yogurt Sauce & Pistachios

LET’S MAKE A PIECE OF HAPPINESS

Print
clock clock iconcutlery cutlery iconflag flag iconfolder folder iconinstagram instagram iconpinterest pinterest iconfacebook facebook iconprint print iconsquares squares iconheart heart iconheart solid heart solid icon
Roasted Pumpkin with Garlic Yogurt Sauce & Pistachios

Roasted Pumpkin with Garlic Yogurt Sauce and Pistachios


  • Author: Kimberly
  • Total Time: 25 min
  • Yield: 4 1x

Description

GOOD TO HAVE ON HAND

  • sharp knife
  • cutting board
  • medium bowl
  • small bowl


Ingredients

Units Scale
PUMPKIN
  • 750 grams pumpkin (I used Hokkaido)
  • 2 tbsp olive oil
  • 1/4 tsp salt
  • 1/4 tsp black pepper
  • 1/4 tsp onion powder
  • 1/4 tsp garlic powder
  • 1/4 tsp cilantro powder
  • 1/4 tsp smoked paprika powder
GARLIC YOGURT SAUCE
  • 250 grams yogurt
  • 1 garlic clove
  • 1/8 tsp salt
  • 1/8 tsp black pepper
TOPPINGS
  • pistachios
  • parsley
  • olive oil

Instructions

  1. Preheat the oven to 230°C (450°F).
  2. Remove the seeds from the pumpkin and cut into bite-sized pieces. You do not need to peel the Hokkaido.
  3. Place the pumpkin pieces in a medium-sized bowl. Now pour the olive oil and 1/4 tsp each of salt, pepper, dried coriander, smoked paprika, garlic and onion over the pumpkin pieces and mix so that the pieces are evenly coated with everything. Place the pumpkin pieces on a baking tray lined with baking paper.
  4. Place the baking tray in the preheated oven and roast for 20 minutes.
  5. While the pumpkin is in the oven, mix the yoghurt, fresh garlic, salt and pepper together in a small bowl and season to taste.
  6. Remove the shells from the pistachios and chop them into small pieces. Pluck the parsley from the stalks and chop finely too.
  7. Now remove the tray from the oven. Pour the yoghurt sauce over the pumpkin and then top with olive oil, parsley and pistachios.
  • Cook Time: 25 min
CRAVING MORE?

Follow along here & don’t forget to subscribe to my substack!

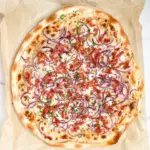
Tarte Flambée

Tarte Flambée

Tarte Flambée

Tarte Flambée

December 30, 2023 by Kimberly

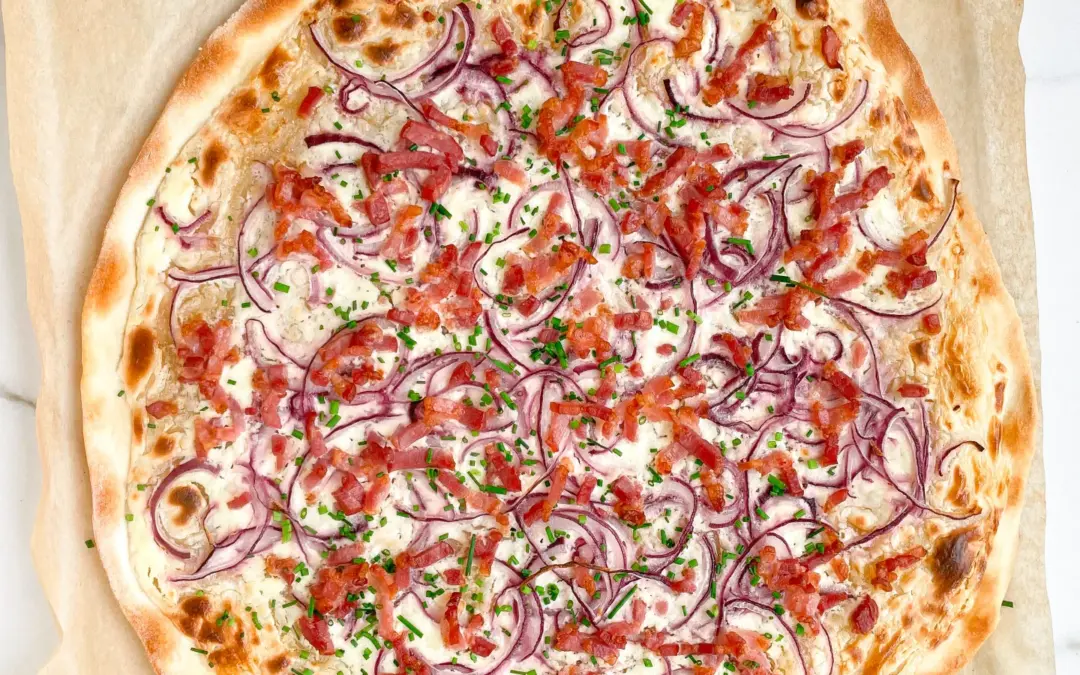
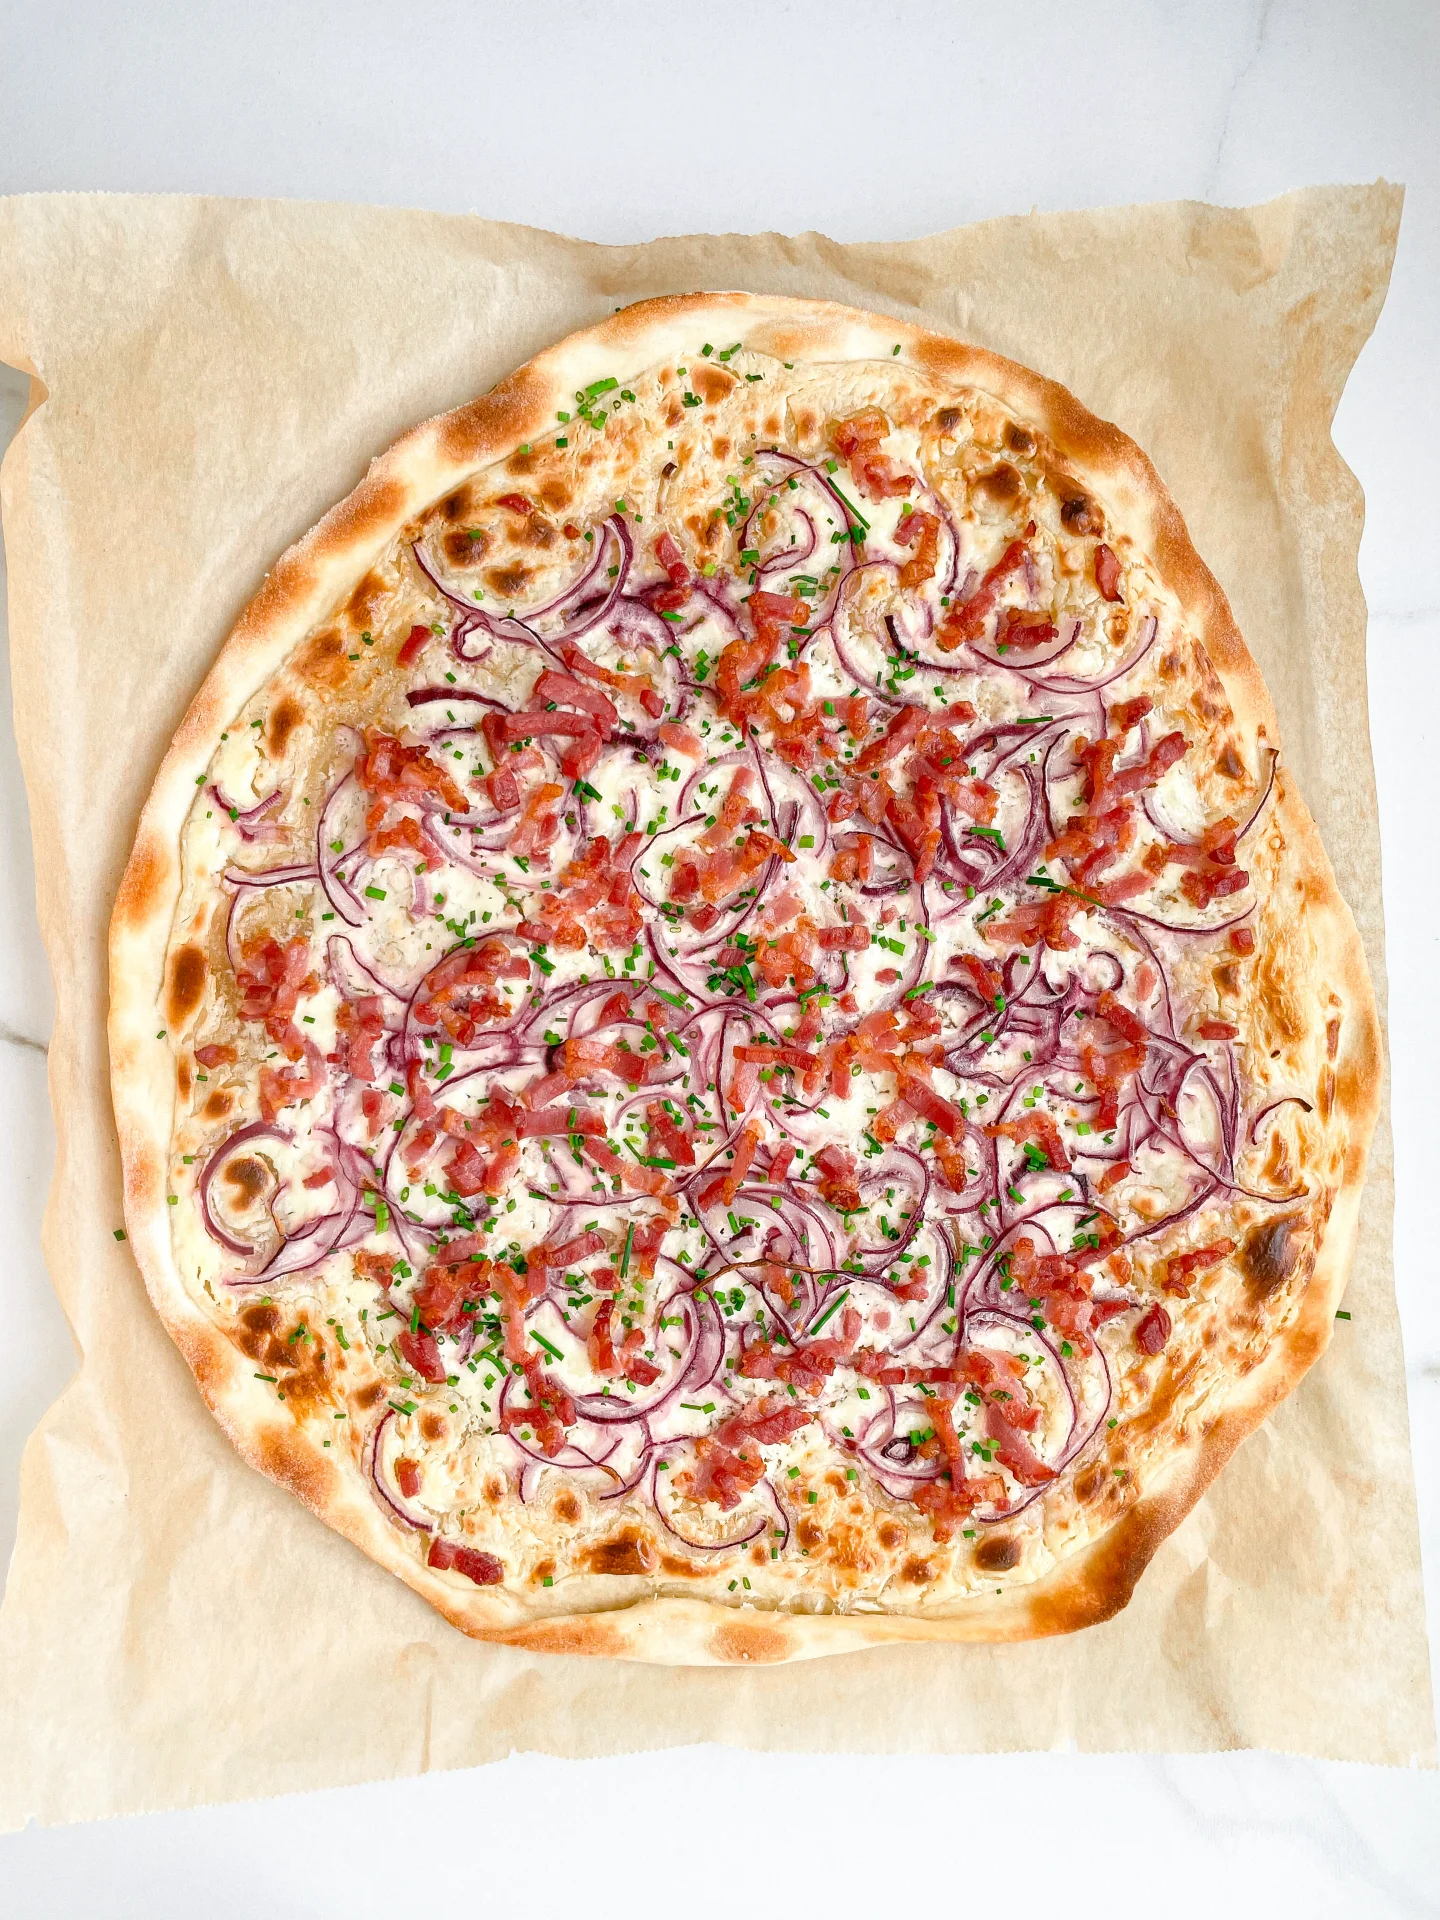
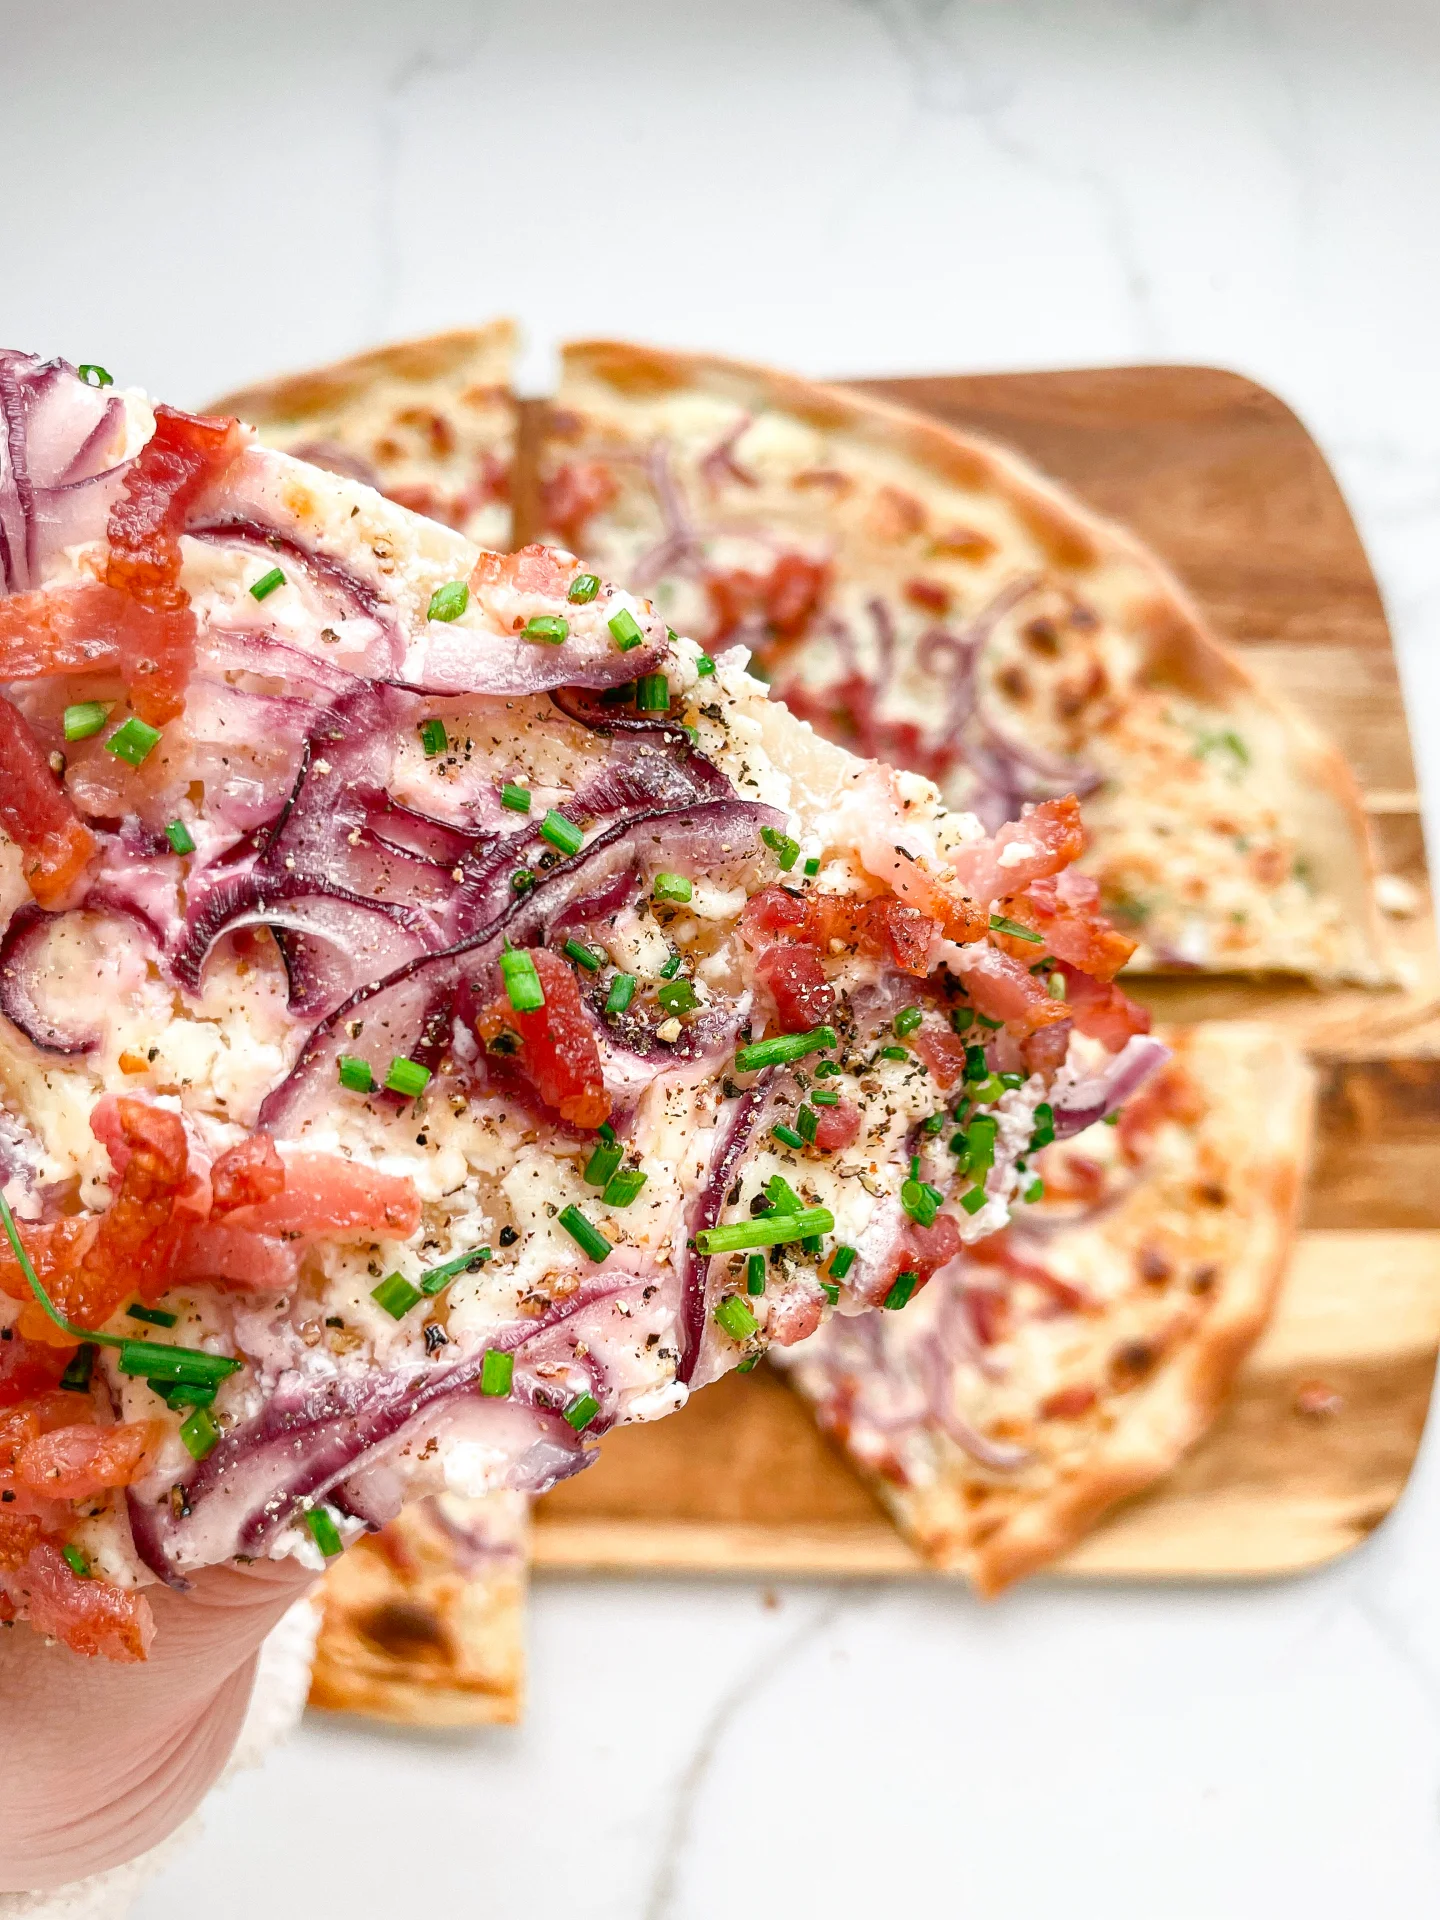
A thin crust, full-bodied crème fraîche, spicy bacon and savory onions – the classic Alsatian tarte flambée.

This website uses affiliate links which may earn commission for purchases made at no additional cost to you.

TOTAL TIME

60 min

SERVES

4 portions

DIET

omnivore

EVERY RECIPE DESERVES

A Little Love Letter

Indulge in the delectable charm of Tarte Flambée, a French classic celebrated for its crispy thin crust, creamy allure, and the delightful interplay of savory bacon and onions. Hailing from the picturesque Alsace region, this dish is a culinary masterpiece that elevates the dining experience with its unique blend of flavors.

This culinary delight pairs perfectly with a light salad or stands alone for a satisfying meal, bringing the essence of French cuisine to your table.

For later enjoyment, store any leftover Tarte Flambée in an airtight container in the refrigerator. Reheat slices in the oven. Avoid microwaving to maintain its crispy texture.

Hi, I'm Kimberly!

Hi, I'm Kimberly.

A hopeless romantic when it comes to food. Every recipe I share is a love letter to food itself. I’m so glad you’re here. Make yourself at home and stay a while.

Love,
Kimberly

Kimberly the Zett Signature

If you want to get to know me better,
click here!


Tarte Flambée
Tarte Flambée

LET’S MAKE A PIECE OF HAPPINESS

Print
clock clock iconcutlery cutlery iconflag flag iconfolder folder iconinstagram instagram iconpinterest pinterest iconfacebook facebook iconprint print iconsquares squares iconheart heart iconheart solid heart solid icon
Tarte Flambée

Tarte Flambée


  • Author: Kimberly
  • Total Time: 1 hr
  • Yield: 1 baking tray 1x

Description

GOOD TO HAVE ON HAND

  • large mixing bowl
  • sieve
  • sharp knife
  • cutting board


Ingredients

Units Scale
DOUGH
  • 250 grams all-purpose flour
  • 125 milliliters water
  • 2 tbsp olive oil
  • 2 tsp salt
TOPPINGS
  • 100 grams crème fraîche
  • 125 grams bacon
  • 1 red onion
  • salt
  • pepper
  • chives

Instructions

  1. Put the water, salt, olive oil and sifted flour in a bowl. Stir with a spoon until it is no longer sticky. Then remove everything from the bowl and work into a smooth dough with your hands for approx. 3 minutes. Do not add any more flour. Then wrap the dough in cling film and leave to rest at room temperature for approx. 30 minutes.
  2. Remove the skin from the onions and cut into thin stripes.
  3. Sprinkle a little flour on a work surface. Place the dough piece on top and also sprinkle with a little flour. Then use a rolling pin to roll out the dough to the size of a baking tray, approx. 40×30 cm (16×12 inches).
  4. Place the dough on a baking tray lined with baking paper and brush with crème fraîche. Season with salt. Then spread the onions and bacon evenly on top.
  5. Bake the pastry at 250°C (480°F) using the grill function for approx. 15 minutes. Take out and top with freshly cracked pepper and chives.
  • Passive Time: 45 min
  • Cook Time: 15 min

CRAVING MORE?

Follow along here & don’t forget to subscribe to my substack!