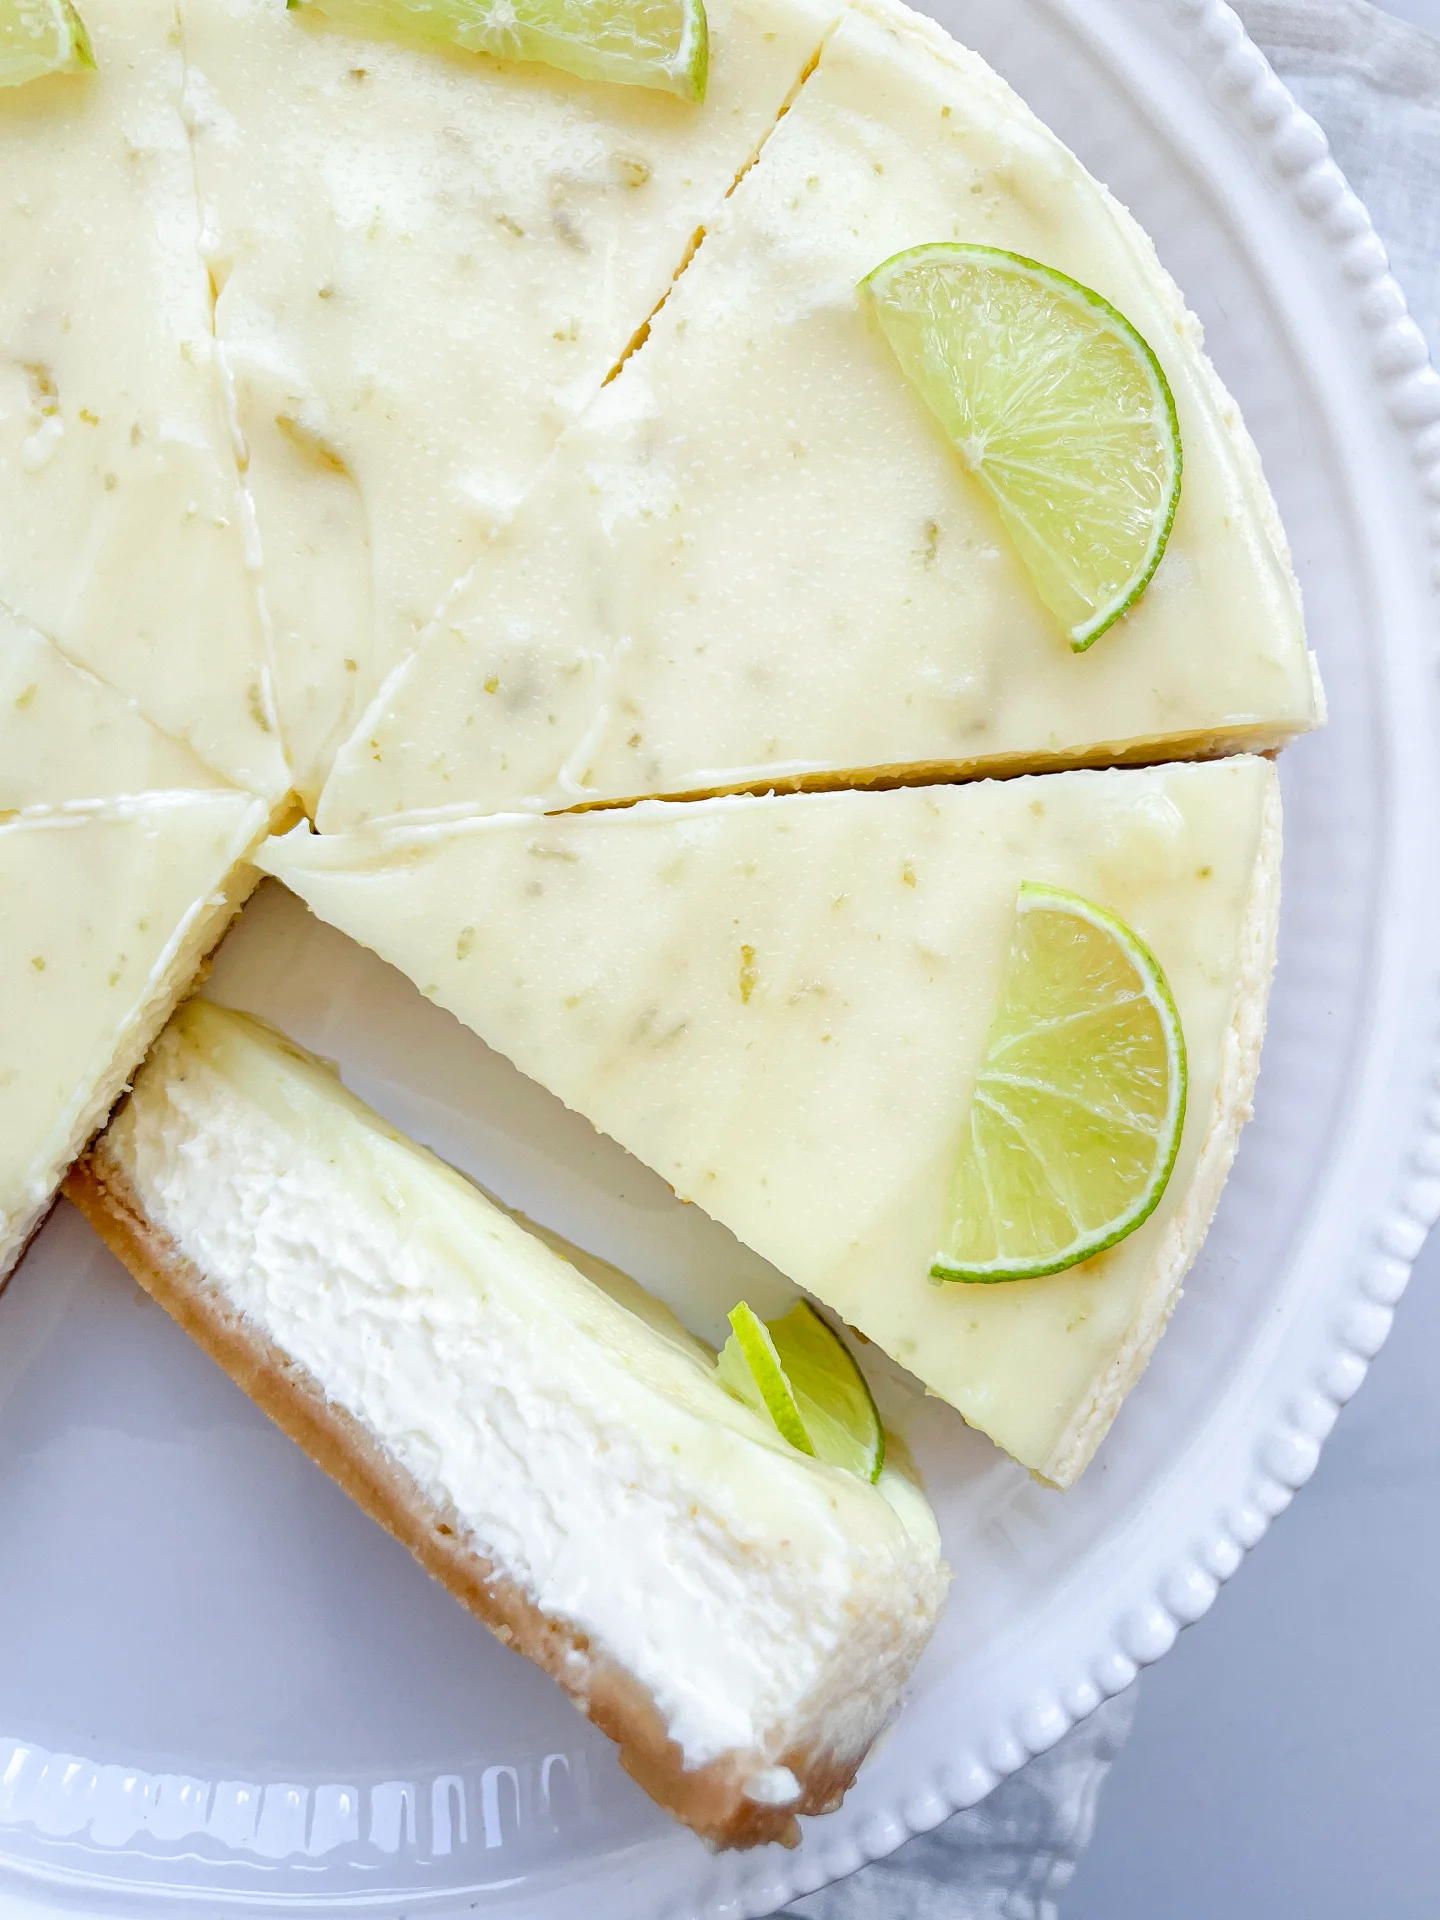


Creamy Passionfruit Curd Cheesecake

Creamy Passionfruit Curd Cheesecake

Creamy Passionfruit Curd Cheesecake

Creamy Passionfruit Curd Cheesecake

March 18, 2025 by Kimberly

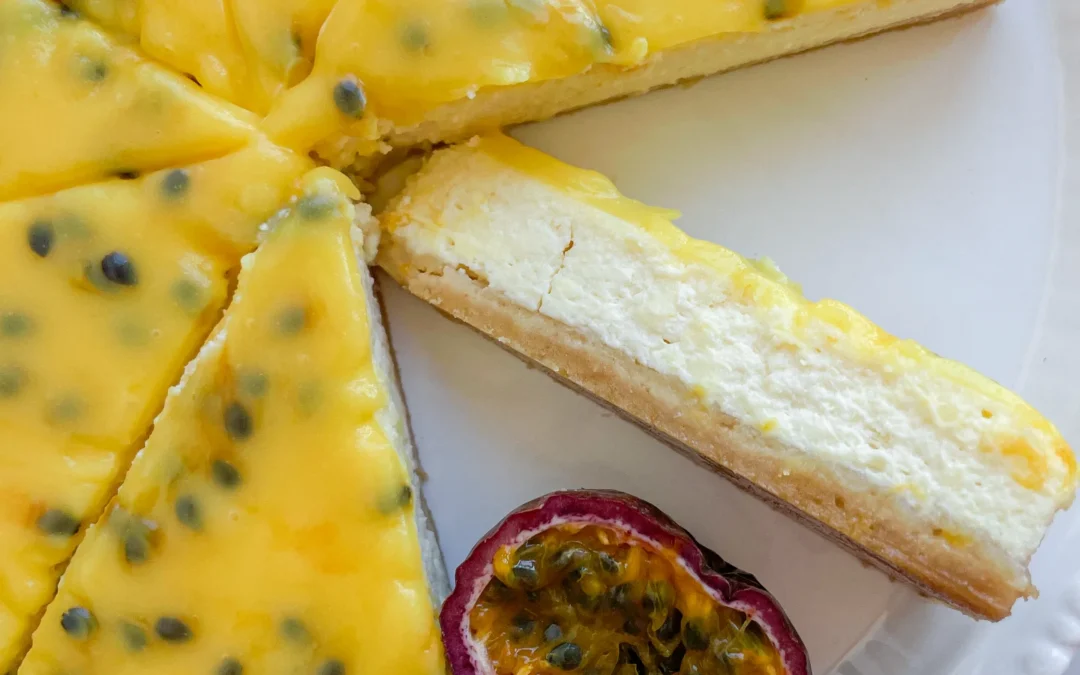
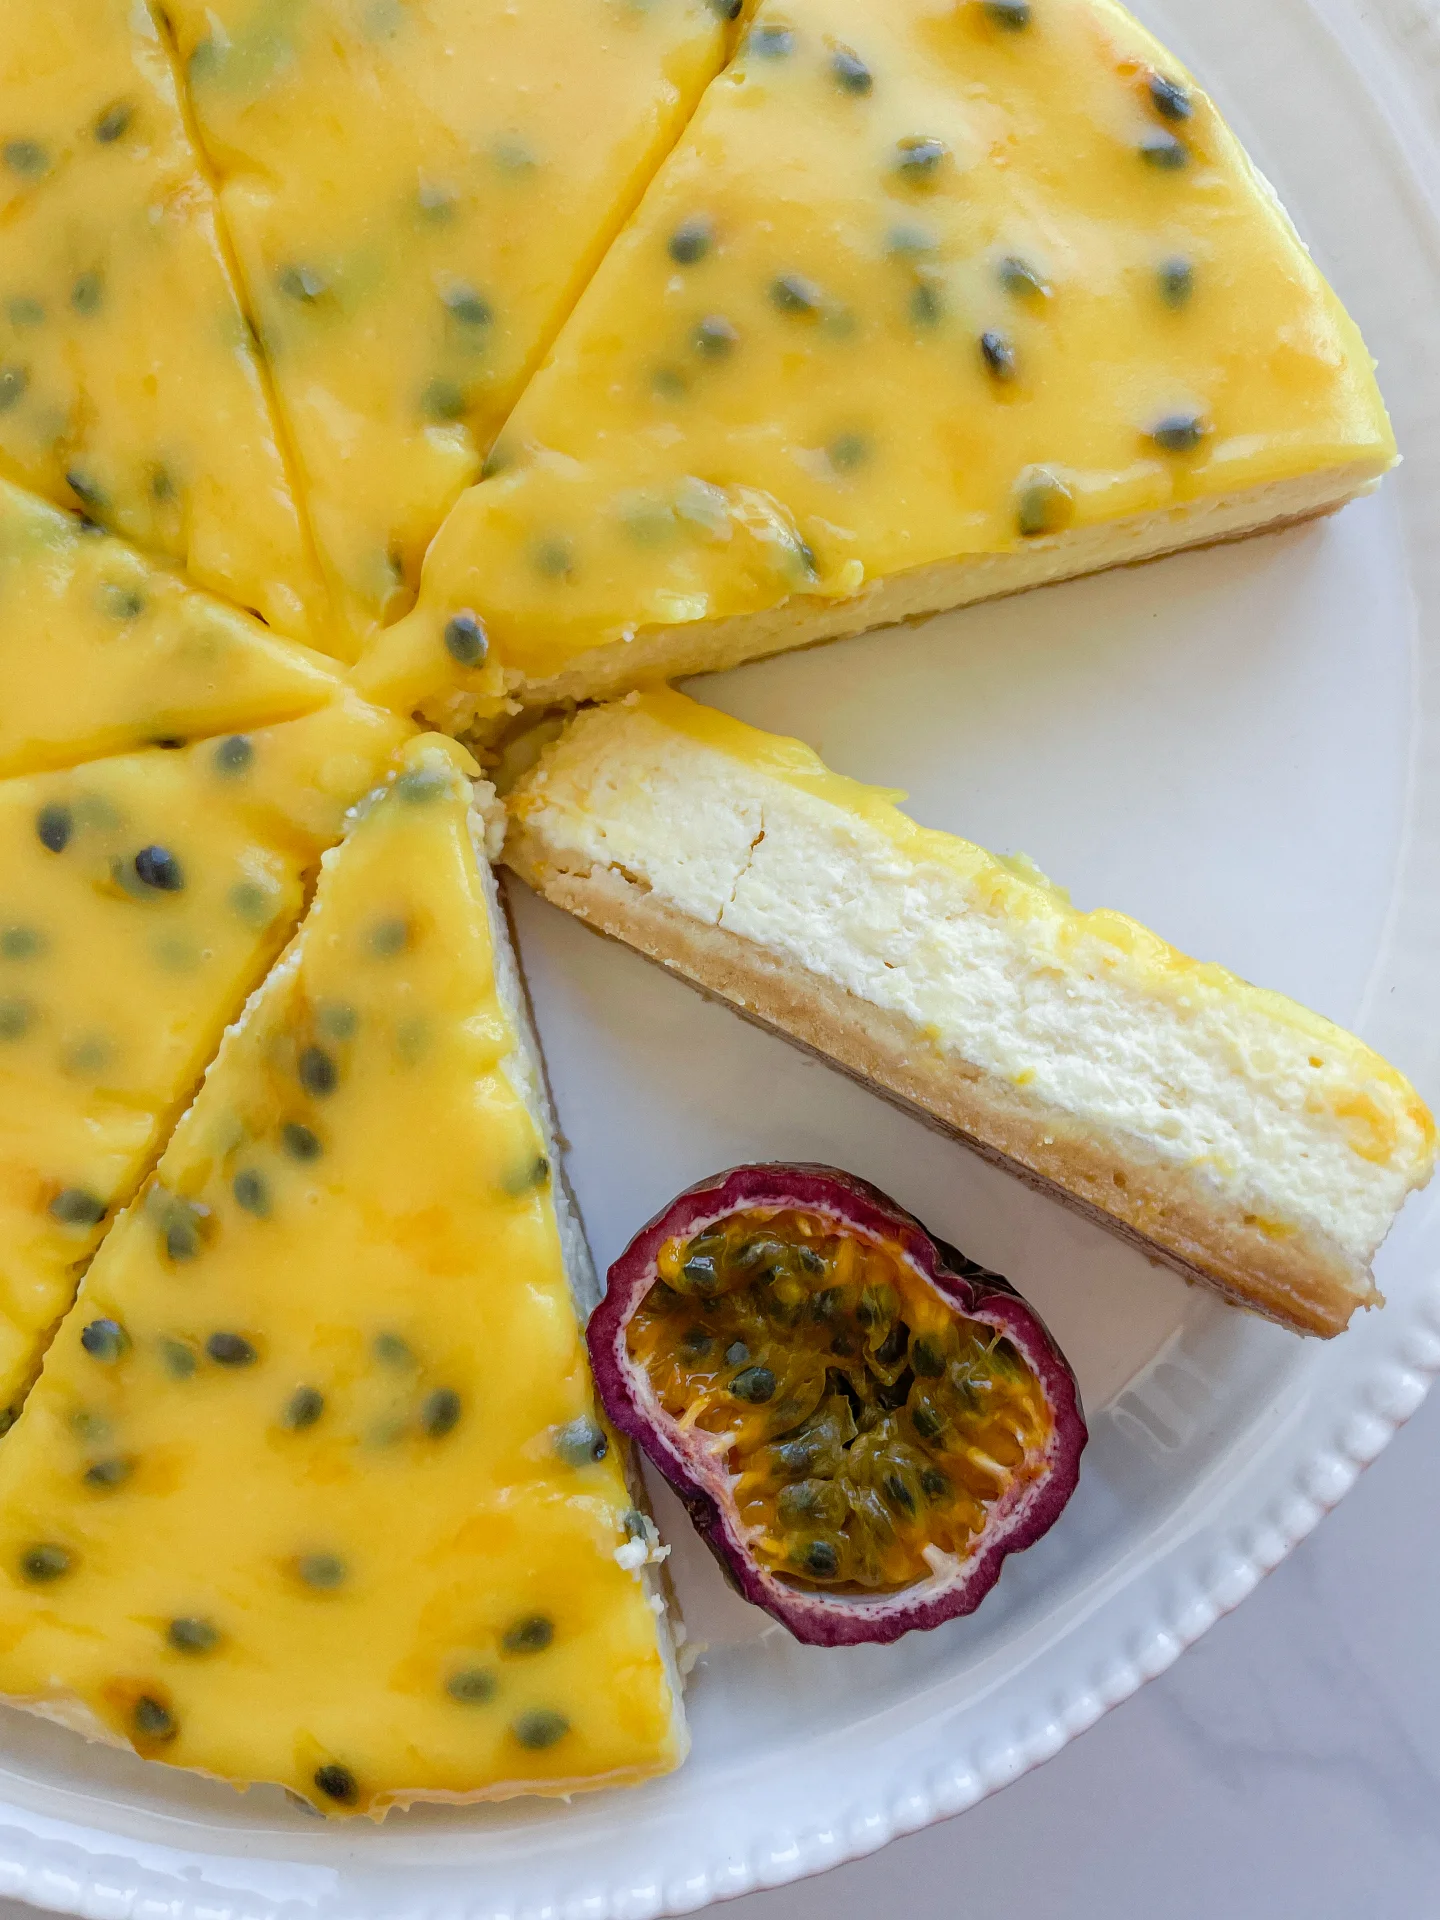
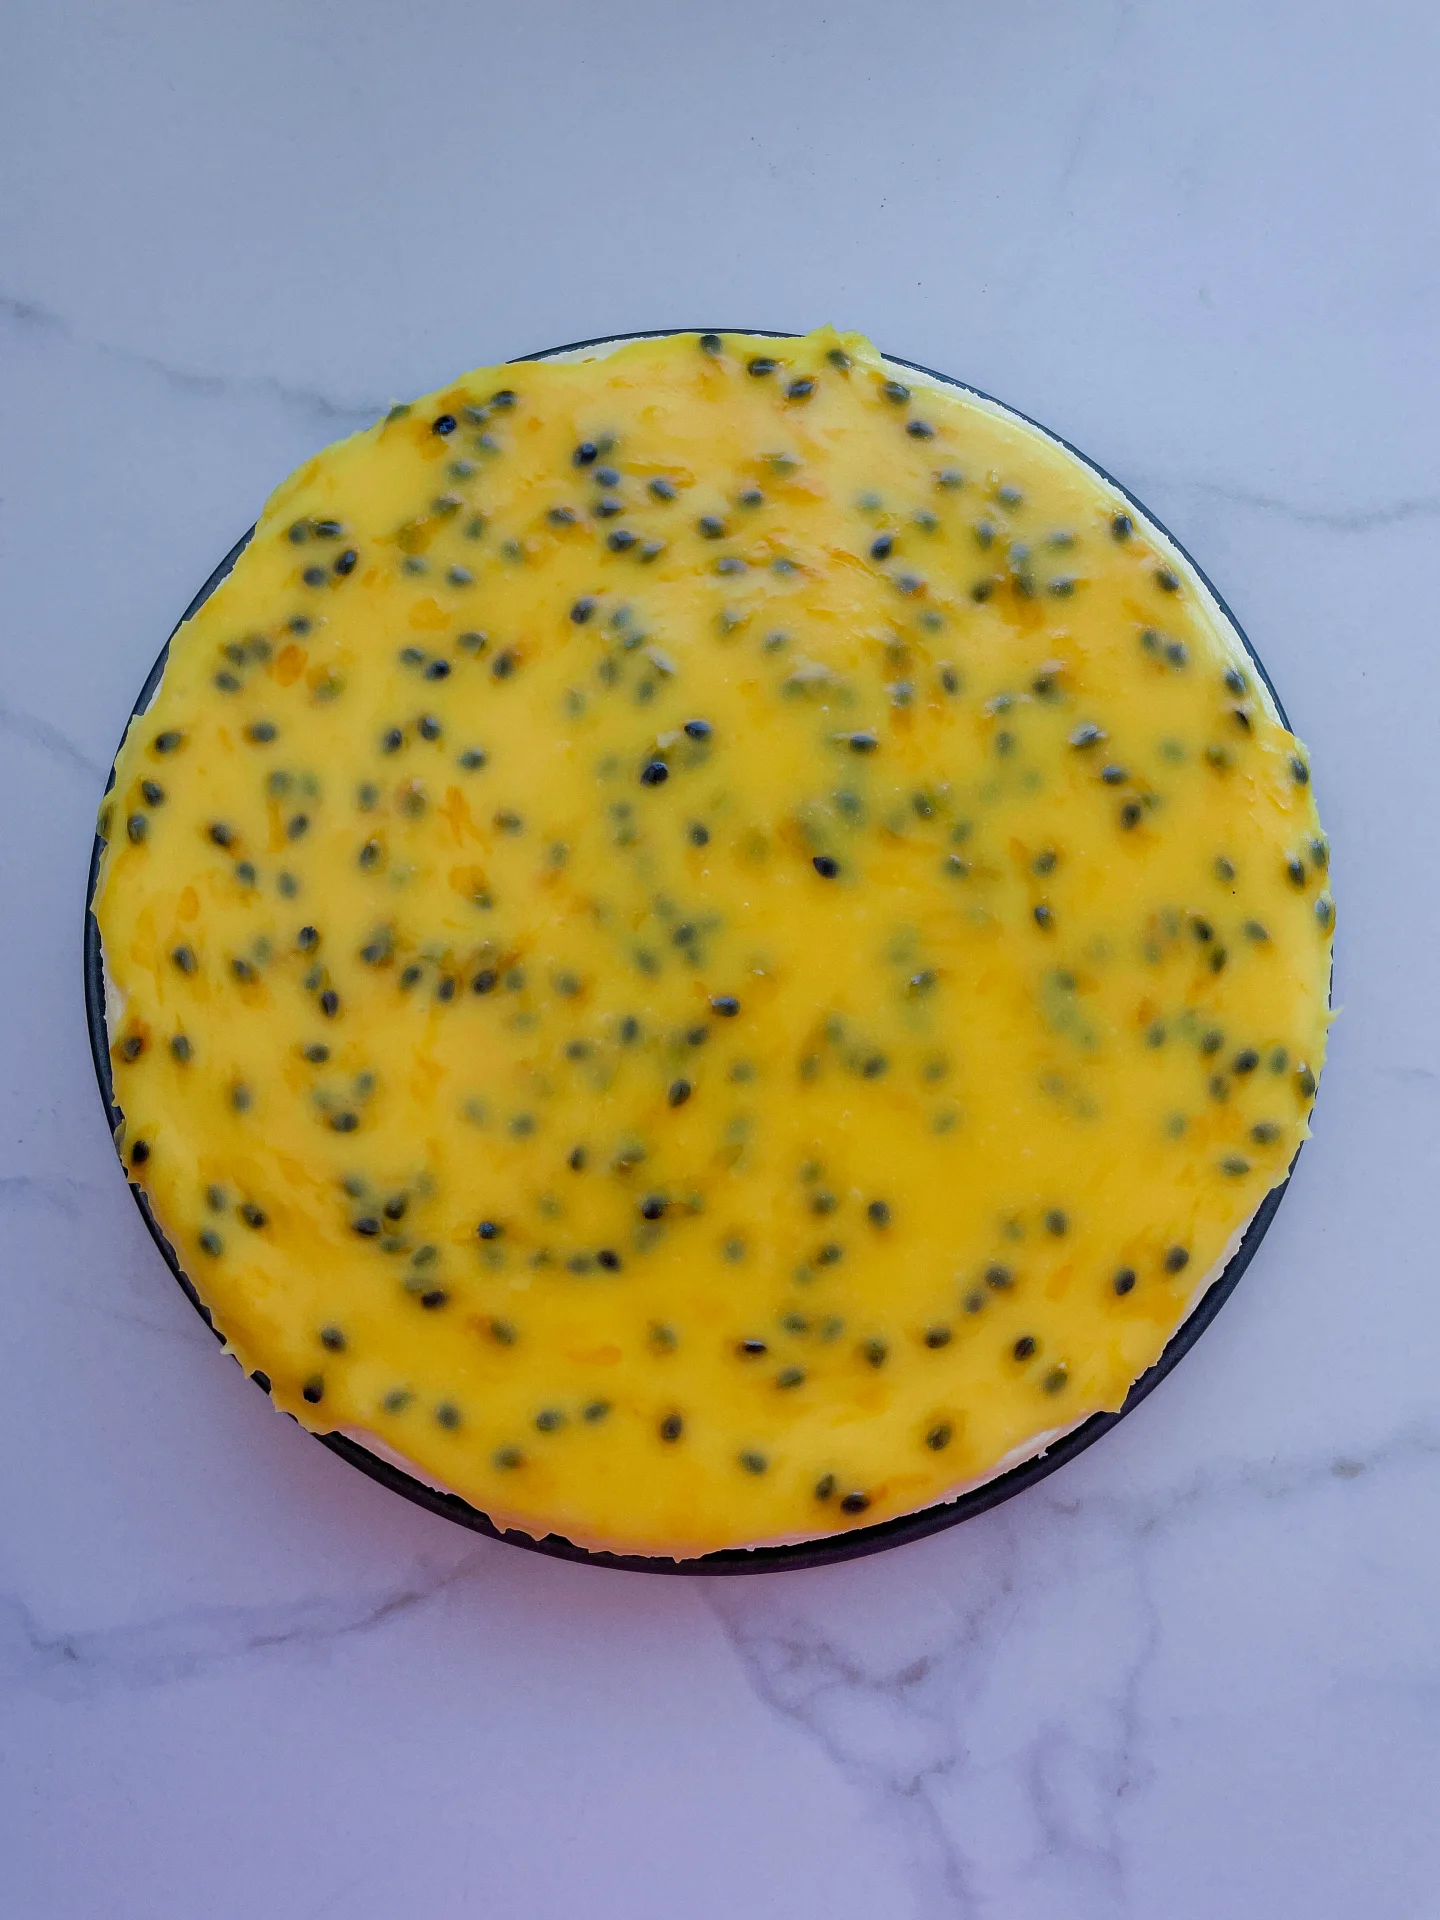
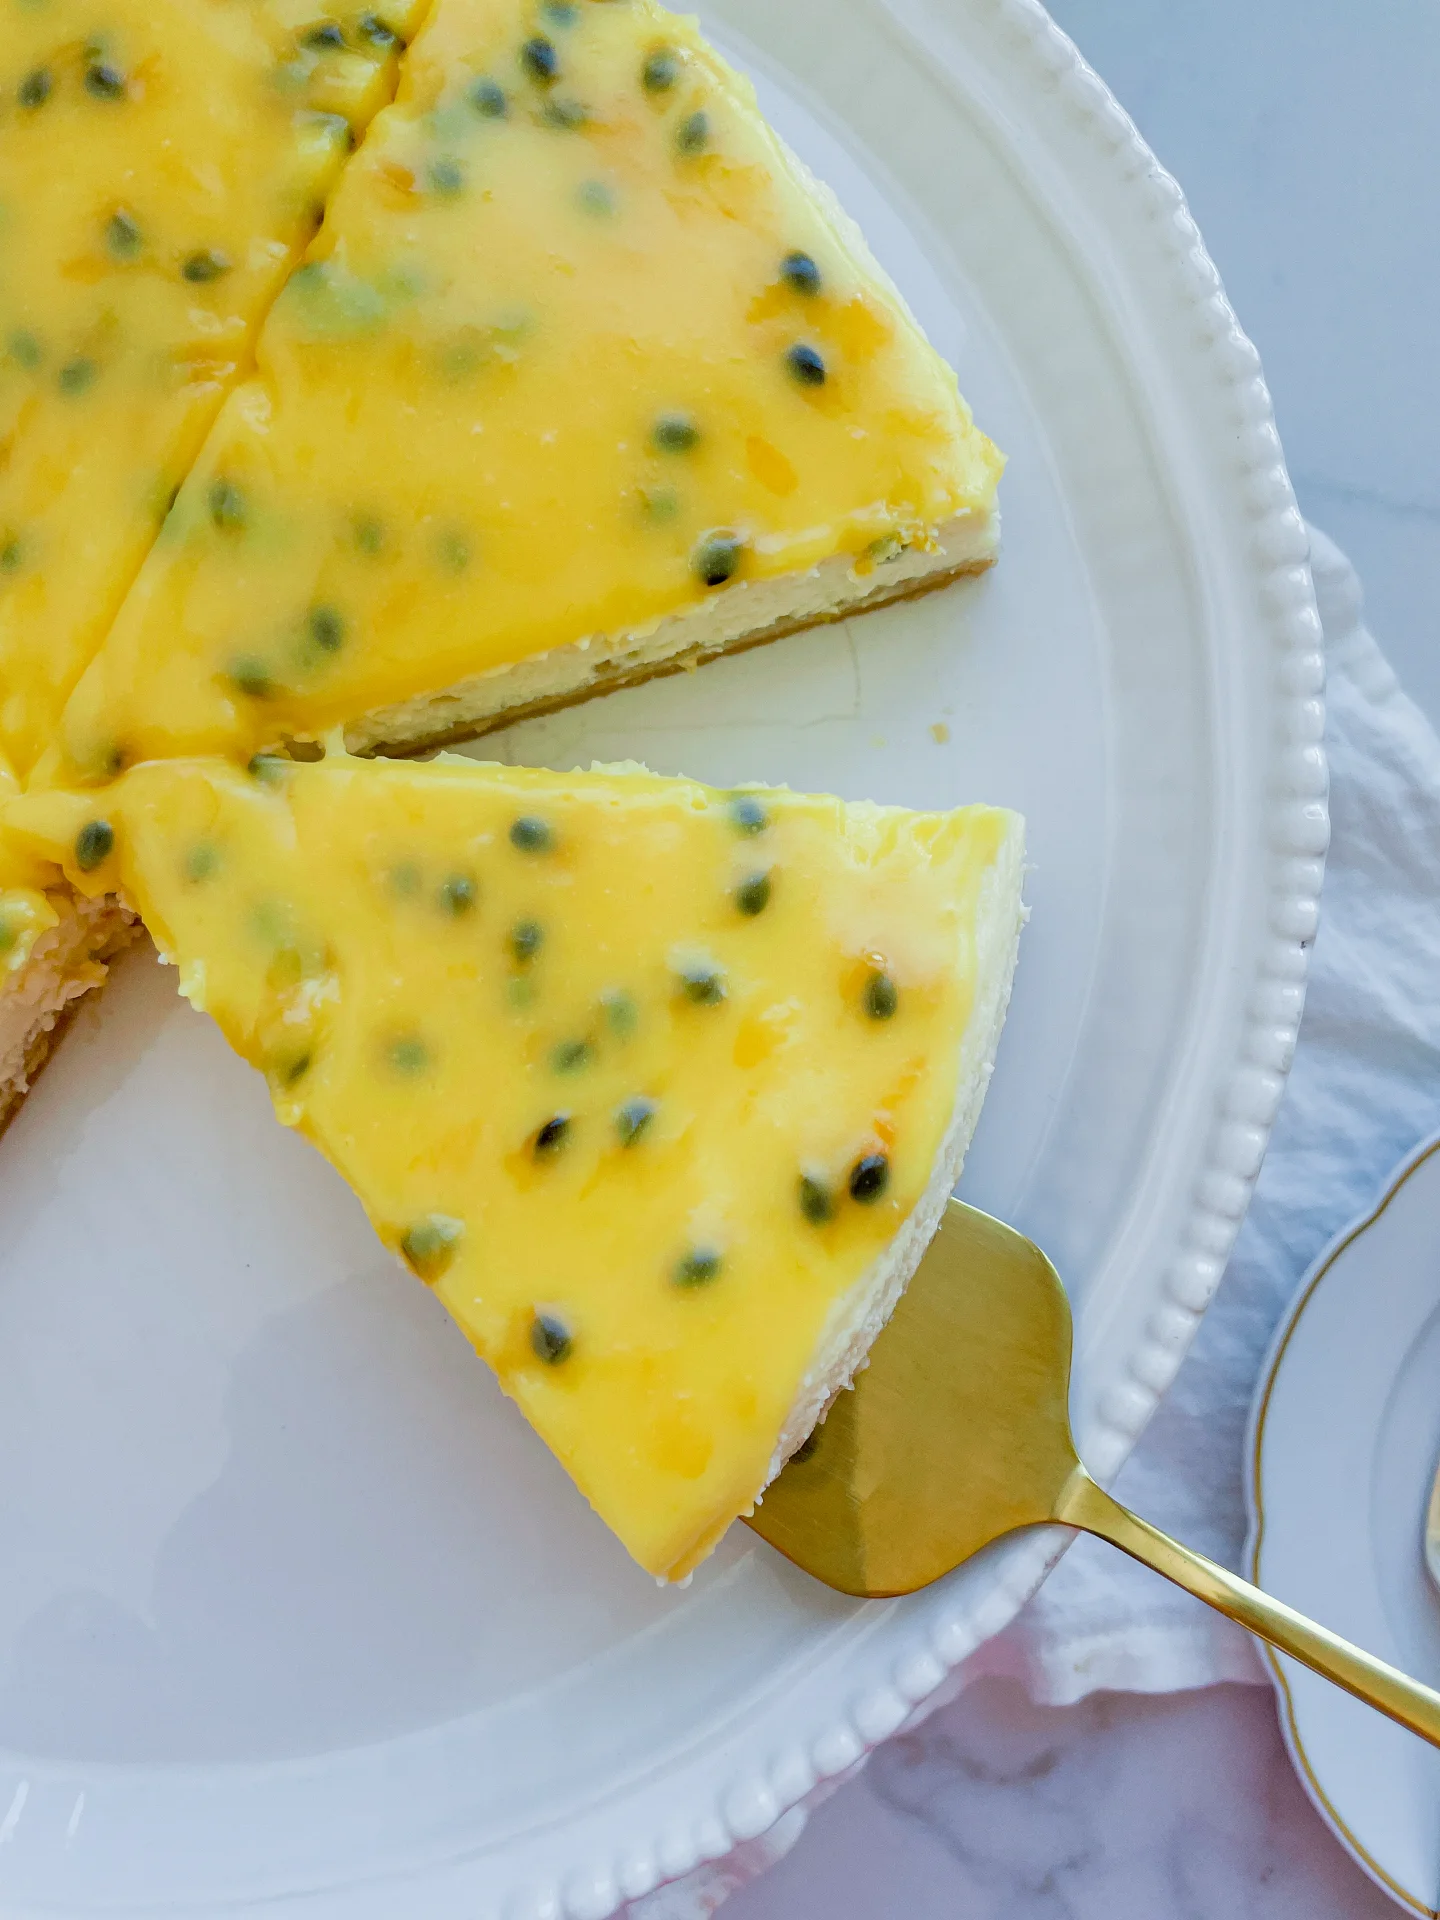
Rich, creamy cheesecake meets silky passionfruit curd on a buttery vanilla cookie crust. Sweet, tangy, smooth like sunshine in dessert form. Perfectly indulgent, slightly messy, and impossible to eat just one slice.

This website uses affiliate links which may earn commission for purchases made at no additional cost to you.

TOTAL TIME

60 min + overnight

SERVES

8 slices

DIET

vegetarian

EVERY RECIPE DESERVES

A Little Love Letter

This cheesecake is for those who love their desserts creamy, tangy, and just a little extra. A smooth, rich filling sits on a buttery vanilla cookie crust, finished with a silky passionfruit curd that’s sweet, tart, and totally addictive. It’s got just the right balance: light yet indulgent, classic yet tropical. Whether you’re making this for a special occasion or just because you need something incredible in your fridge, this is the kind of dessert that makes people stop mid-bite.

Serve this best chilled, straight from the fridge. It’s perfect on its own but also pairs well with a strong espresso, a glass of dessert wine, or, let’s be real, just a fork and five minutes of alone time.

Store leftovers in an airtight container in the fridge for up to 4 days. The texture stays beautifully creamy, and the curd keeps its glossy finish.

Hi, I'm Kimberly!

Hi, I'm Kimberly.

A hopeless romantic when it comes to food. Every recipe I share is a love letter to food itself. I’m so glad you’re here. Make yourself at home and stay a while.

Love,
Kimberly

Kimberly the Zett Signature

If you want to get to know me better,
click here!


Creamy Passionfruit Curd Cheesecake

LET’S MAKE A PIECE OF HAPPINESS

Print
clock clock iconcutlery cutlery iconflag flag iconfolder folder iconinstagram instagram iconpinterest pinterest iconfacebook facebook iconprint print iconsquares squares iconheart heart iconheart solid heart solid icon
Creamy Passionfruit Curd Cheesecake

Creamy Passionfruit Curd Cheesecake


5 Stars 4 Stars 3 Stars 2 Stars 1 Star

No reviews

  • Author: Kimberly
  • Total Time: 60 min + overnight
  • Yield: 8-16 slices 1x

Description

RECOMMENDED EQUIPMENT

  • oven
  • 28 cm / 11” cake pan
  • deep baking tray or dish larger than the cake pan
  • food processor
  • large mixing bowl
  • whisk
  • aluminum foil
  • small pot

Ingredients

Units Scale
CRUST
  • 200 grams golden Oreo cookies (without cream filling)
  • 100 grams butter
FILLING
  • 600 grams cream cheese
  • 130 grams white sugar
  • 160 grams creme fraiche
  • 1 tsp vanilla extract
  • 2 eggs
PASSIONFRUIT CURD
  • 2 passionfruits
  • 85 grams white sugar
  • 40 grams butter
  • 50 grams heavy cream
  • 1 tbsp cornstarch
  • cold water

Instructions

  1. Preheat the oven to 175°C / 347°F (convection). Fill a deep baking tray or a dish large enough to fit the cake pan with water. The water should reach about halfway up the sides of the cake pan. Set aside.
  2. Prepare the crust. Carefully twist apart the Oreo cookies and scrape off the cream filling. Add the cookies to a food processor and pulse briefly. Add the softened butter and mix for about 20 seconds until the mixture becomes crumbly and holds together. Press the mixture evenly into the bottom of a cake pan. Set aside.
  3. Make the filling. In a large mixing bowl, whisk the cream cheese until smooth and creamy. Add the sugar and whisk again until fully combined. Stir in the crème fraîche and vanilla extract. Add one egg and mix until just combined, then add the second egg, mixing only until incorporated. Be careful not to overmix to avoid incorporating too much air.
  4. Assemble the cheesecake. Pour the cheesecake filling over the crust and spread evenly. Lay two sheets of aluminum foil flat and place the cake pan in the center. Fold the foil up around the pan to prevent water from seeping in. Place the cake pan in the prepared water bath and transfer to the middle rack of the oven. Bake for about 40 minutes until the top is completely pale, the edges are set, and the center still jiggles slightly.
  5. Make the passionfruit curd. While the cheesecake bakes, scoop the passionfruit pulp into a small pot, add the sugar, and bring to a simmer over medium heat. Add the butter and let it melt. Finally, stir in the heavy cream and bring to a brief boil before removing from the heat. In a small bowl, whisk the cornstarch with 1 tablespoon of water until smooth, then pour it into the passionfruit mixture. Stir and bring to a boil once more. Let cool for about 30 minutes.
  6. Cool the cheesecake gradually. After 40 minutes, turn off the oven and open the door completely. Let the cheesecake sit inside for 20 minutes to prevent sudden temperature changes, which could cause cracks.
  7. Check the curd consistency. It should be creamy and spreadable, but not runny. If it’s too thick, mix in a small amount of water. Set aside and let it cool completely.
  8. Remove the cheesecake from the water bath. Take off the aluminum foil and run a sharp knife around the edges to loosen it, but leave the cake ring on. Let the cheesecake cool at room temperature.
  9. Finish and chill. Once the cheesecake has cooled to room temperature, carefully spread the passionfruit curd over the top. Transfer to the fridge and let set for at least 6 hours or overnight before serving.
  • Passive Time: overnight
  • Cook Time: 60 min
CRAVING MORE?

Follow along here & don’t forget to subscribe to my substack!

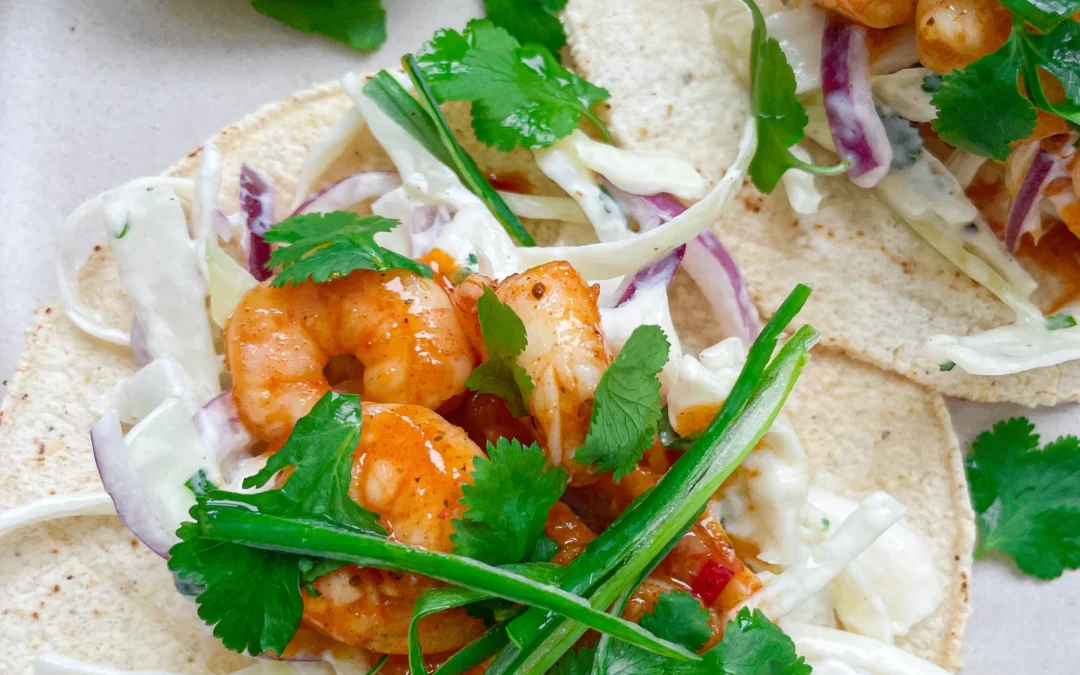
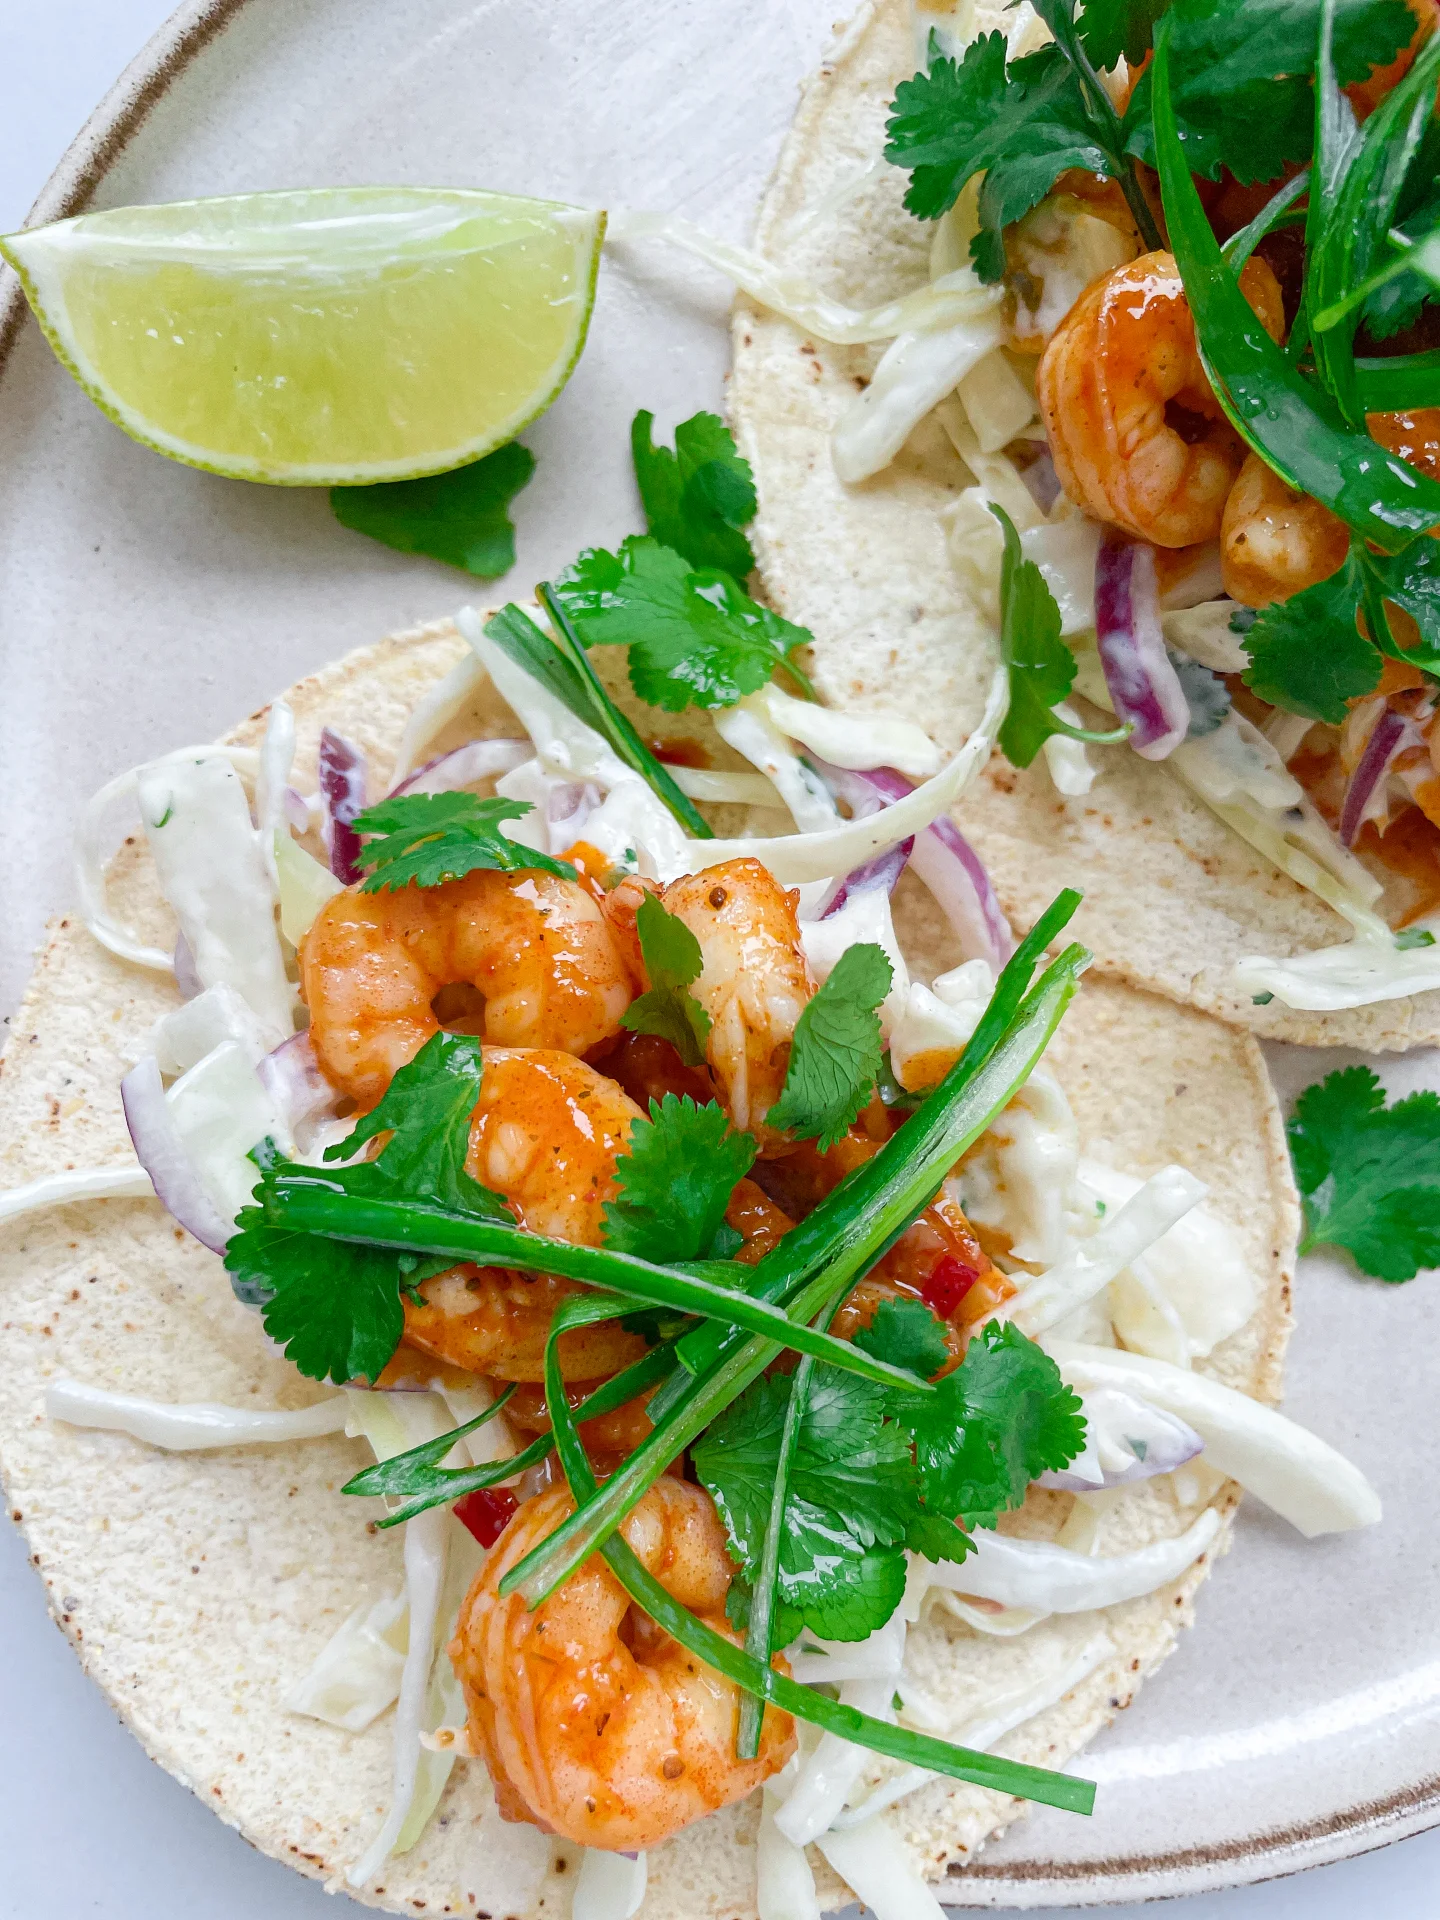
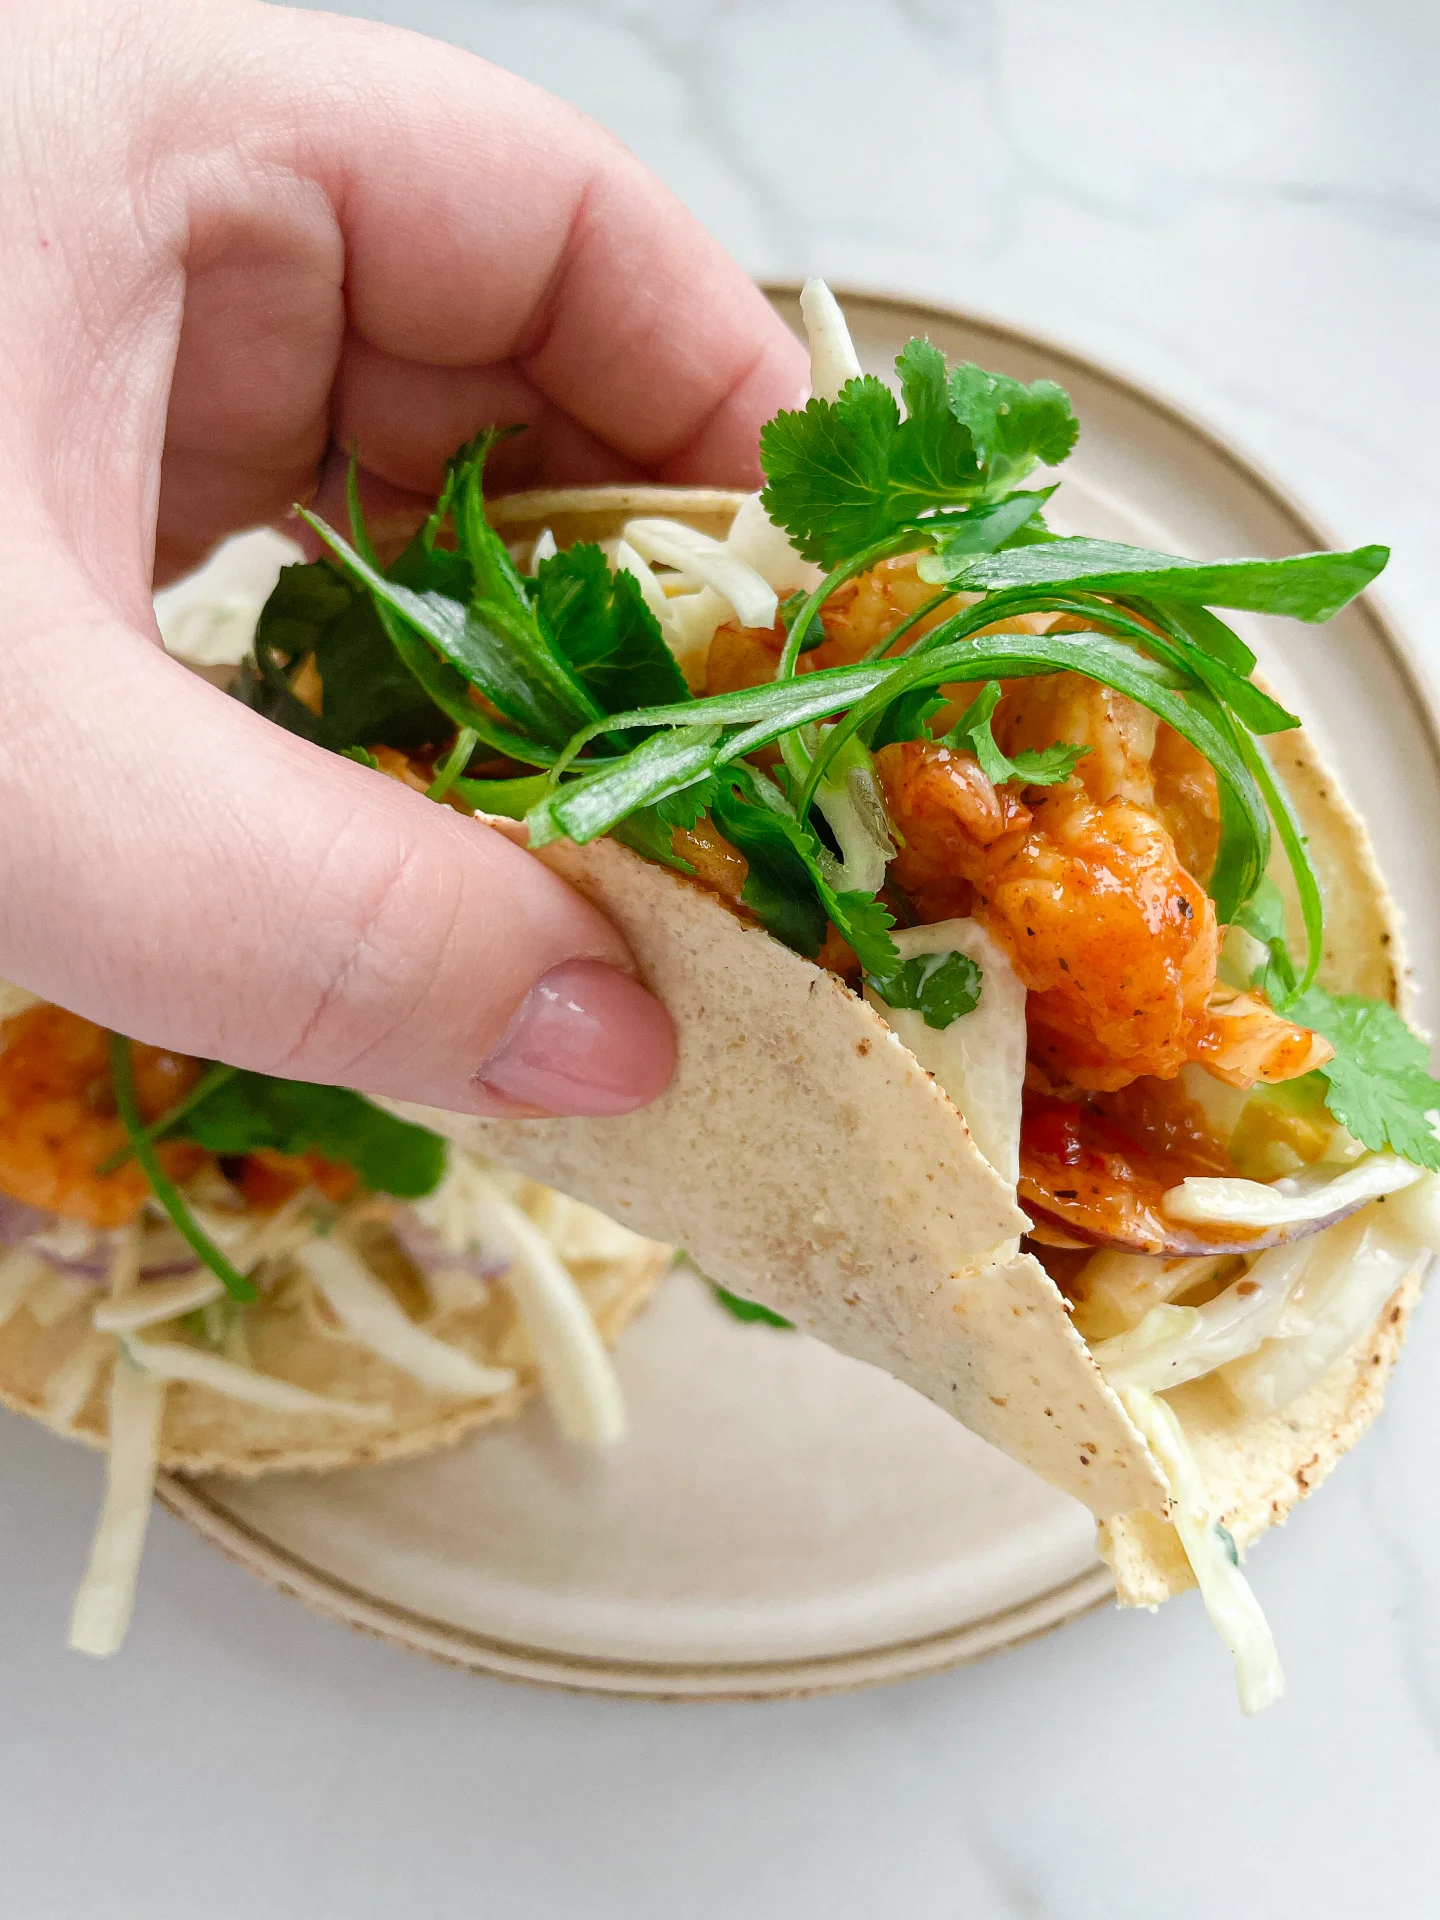
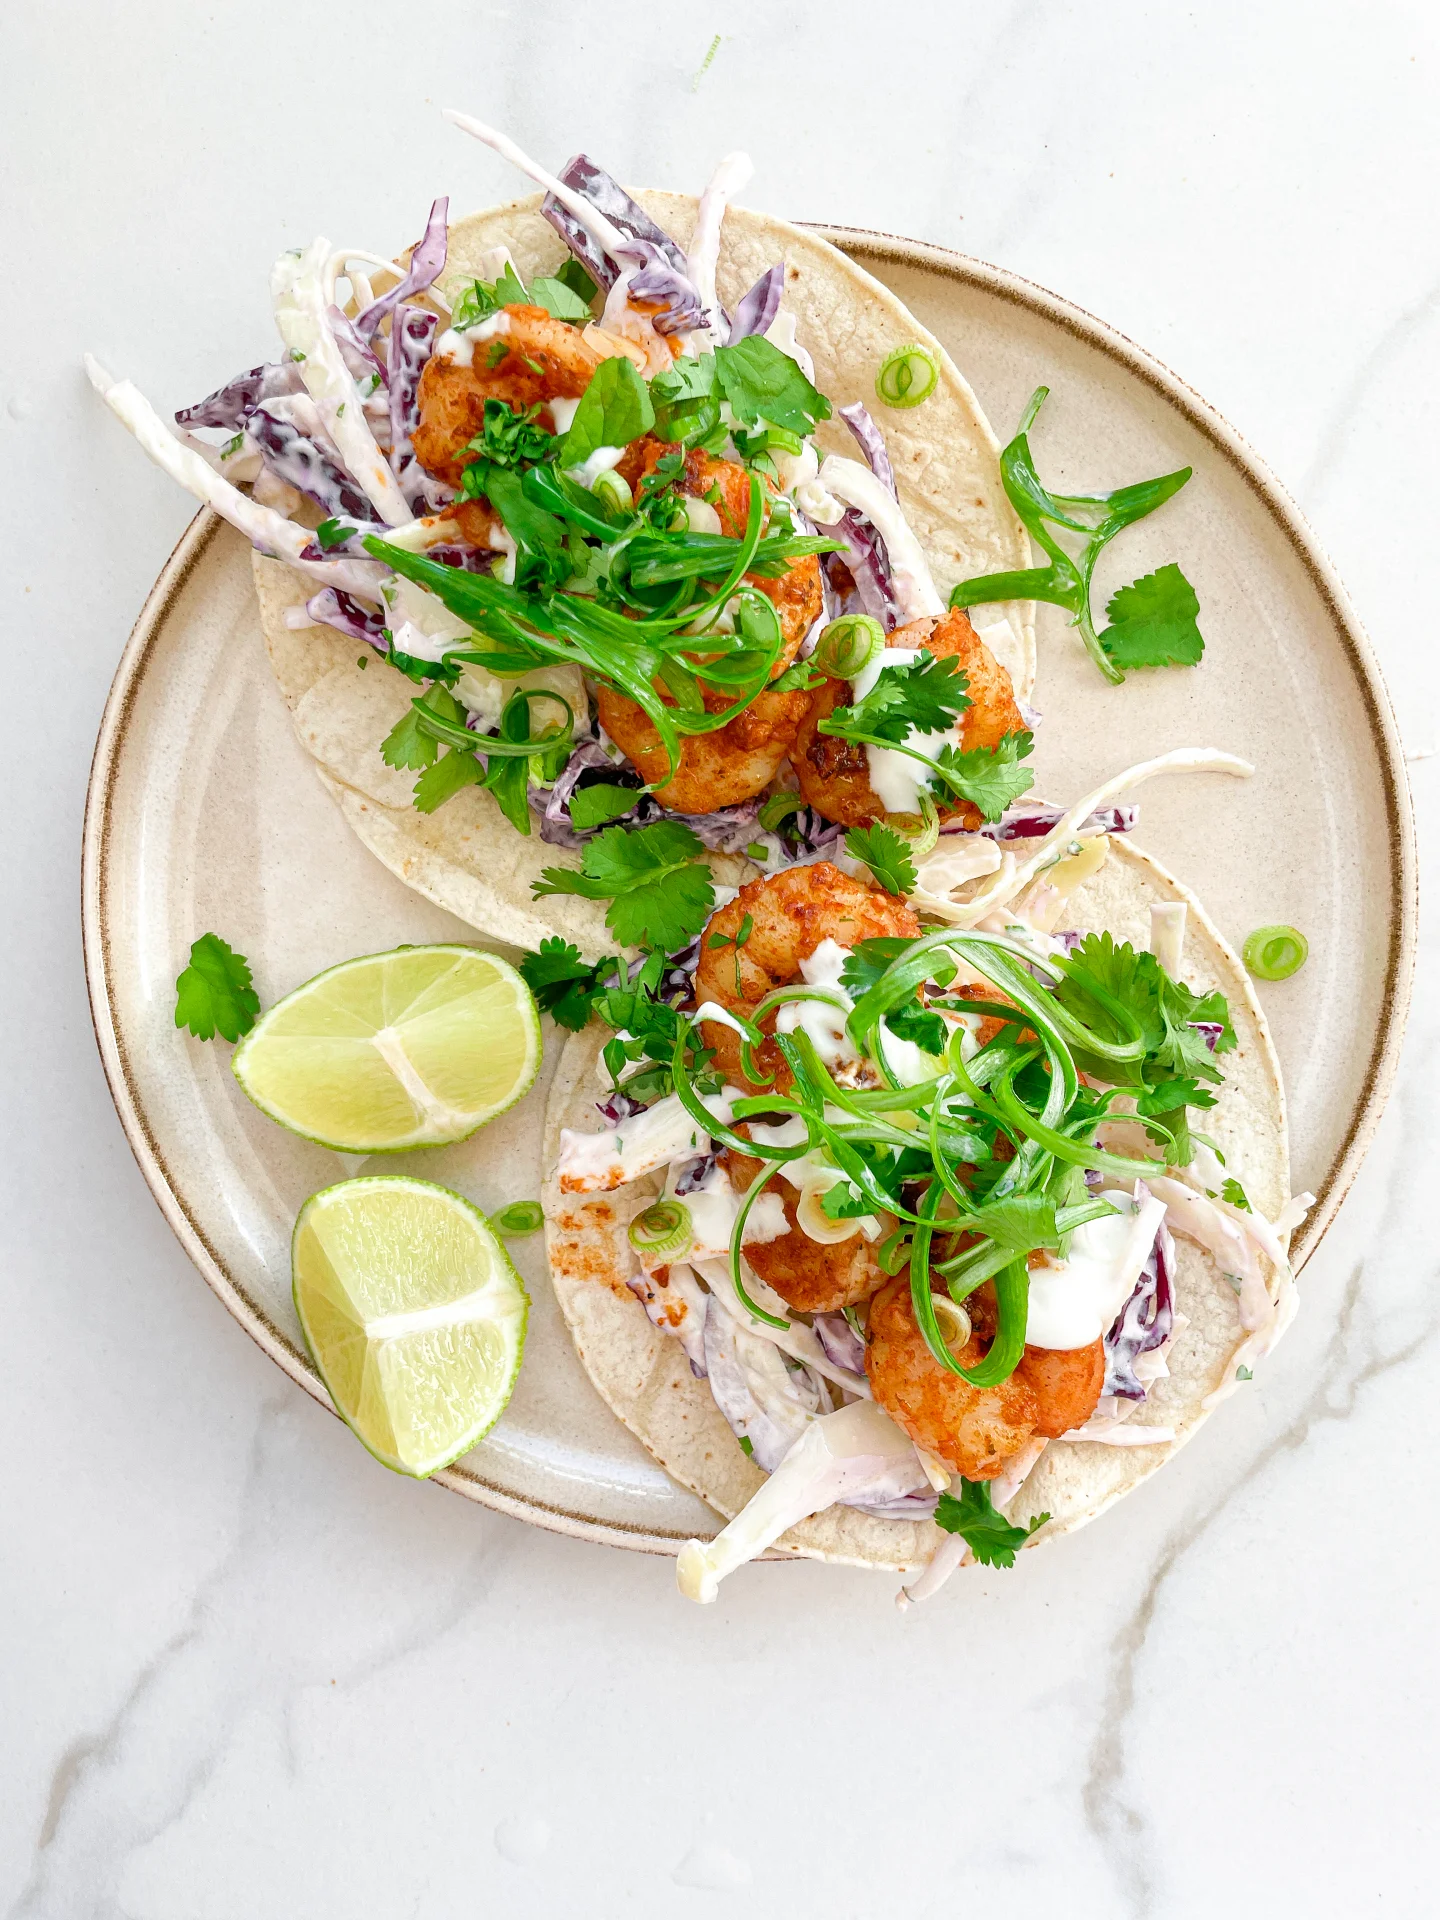
Cajun Shrimp Tacos with Passionfruit Lime Slaw

Cajun Shrimp Tacos with Passionfruit Lime Slaw

Cajun Shrimp Tacos with Passionfruit Lime Slaw

Cajun Shrimp Tacos with Passionfruit Lime Slaw

March 15, 2025 by Kimberly

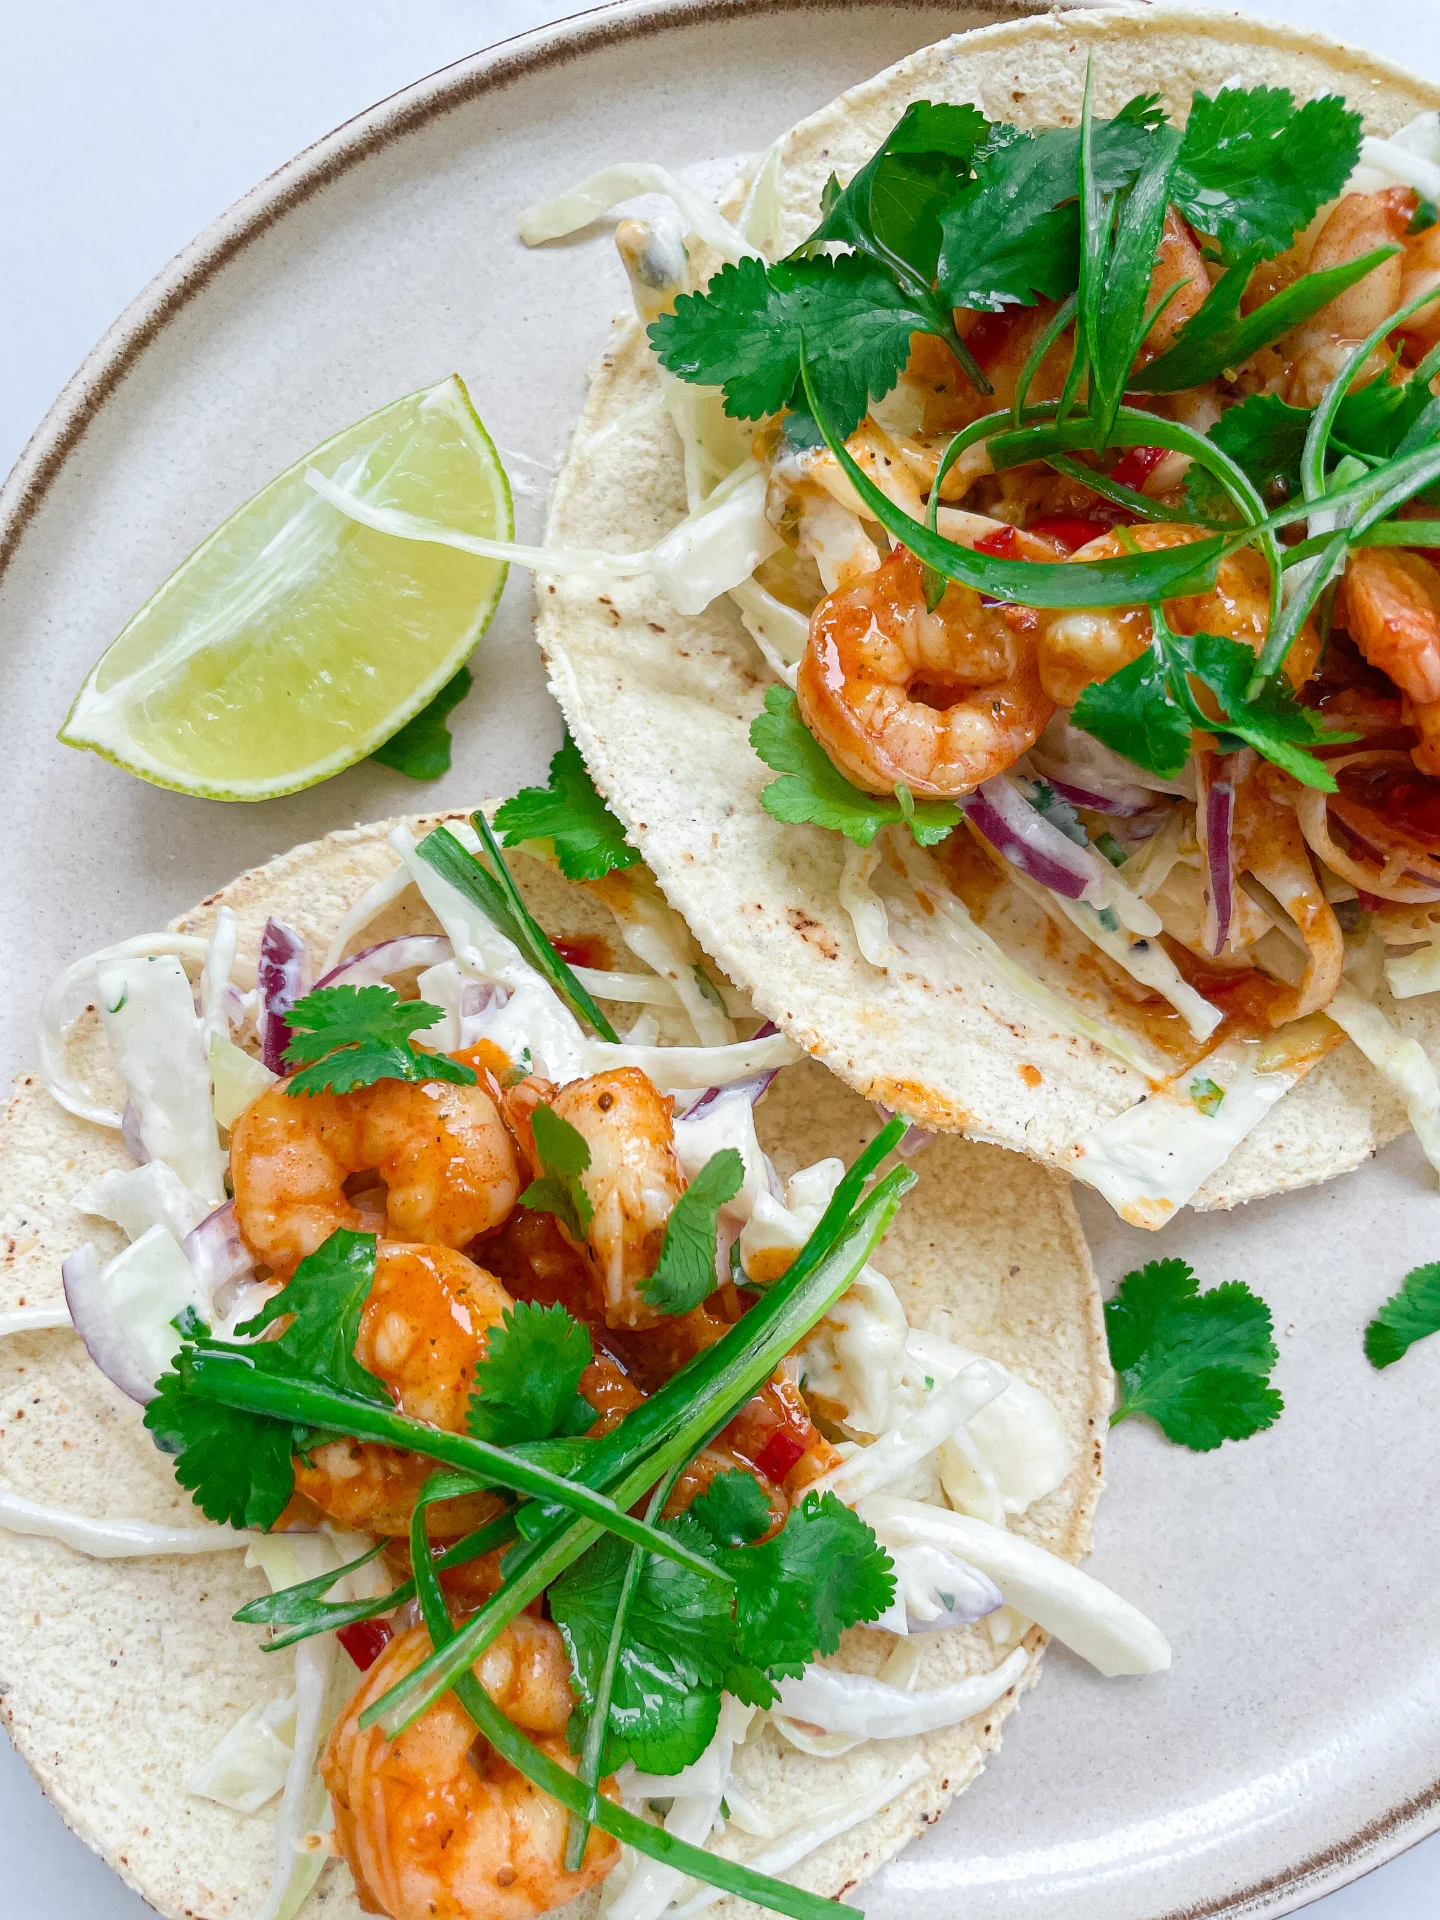
A little smoky, a little sweet, and a whole lot of flavor. Spiced shrimp, crispy slaw, and a punchy citrus glaze wrapped in warm tortillas. Every bite is giving peak summer energy.

This website uses affiliate links which may earn commission for purchases made at no additional cost to you.

TOTAL TIME

25 min

SERVES

4 tacos

DIET

omnivore

EVERY RECIPE DESERVES

A Little Love Letter

If you’re looking for tacos that actually hit to spot, this is the one. Smoky, spicy shrimp caramelized in a honey mustard butter glaze, crisp cabbage slaw tossed with fresh passionfruit and lime, all tucked into warm tortillas. It’s the perfect balance of heat, sweetness, and freshness. This is not your basic taco night, this is tropical and vibrant.

These tacos are best served fresh, straight off the pan, while the shrimp are still warm and juicy. A chilled margarita or a sparkling lime soda? Absolute game-changer. And if you’re feeling extra, a drizzle of extra honey mustard glaze over the top seals the deal. Tacos this good deserve to be the main event.

Shrimp are best eaten fresh, but if you have leftovers, store them separately in an airtight container in the fridge for up to one day. Reheat gently in a pan to keep them from drying out. The slaw can last a day, but keep the dressing separate until serving.

Hi, I'm Kimberly!

Hi, I'm Kimberly.

A hopeless romantic when it comes to food. Every recipe I share is a love letter to food itself. I’m so glad you’re here. Make yourself at home and stay a while.

Love,
Kimberly

Kimberly the Zett Signature

If you want to get to know me better,
click here!


Cajun Shrimp Tacos with Passionfruit Lime Slaw

LET’S MAKE A PIECE OF HAPPINESS

Print
clock clock iconcutlery cutlery iconflag flag iconfolder folder iconinstagram instagram iconpinterest pinterest iconfacebook facebook iconprint print iconsquares squares iconheart heart iconheart solid heart solid icon
Cajun Shrimp Tacos with Passionfruit Lime Slaw

Cajun Shrimp Tacos with Passionfruit Lime Slaw


  • Author: Kimberly
  • Total Time: 25 min
  • Yield: 4 tacos / 2 portions 1x

Description

RECOMMENDED EQUIPMENT

  • oven
  • aluminum foil
  • large pan
  • sharp knife
  • cutting board
  • small bowl

Ingredients

Units Scale
SHRIMPS SAUCE
  • 2 tbsp honey
  • 1 tsp Dijon mustard
  • 2 tbsp avocado oil
  • 2 garlic cloves
  • 1 fresh chili
  • 1/4 tsp cayenne pepper
  • 1 tbsp butter
PASSIONFRUIT LIME SLAW
  • 200 grams white cabbage
  • 5 grams fresh cilantro
  • 1 red onion
  • 100 grams yogurt
  • juice of 1 lime
  • 1 passionfruit
  • salt & pepper to taste
OTHER INGREDIENTS
  • 4 corn tortillas
  • fresh cilantro, for topping
  • scallions, for topping

Instructions

  • Preheat the oven to 200°C / 392°F. Stack the tortillas, wrap them tightly in aluminum foil, and place them in the oven to keep them warm and soft.
  • Prepare the Cajun seasoning. Toss the shrimp with the seasoning and set aside.
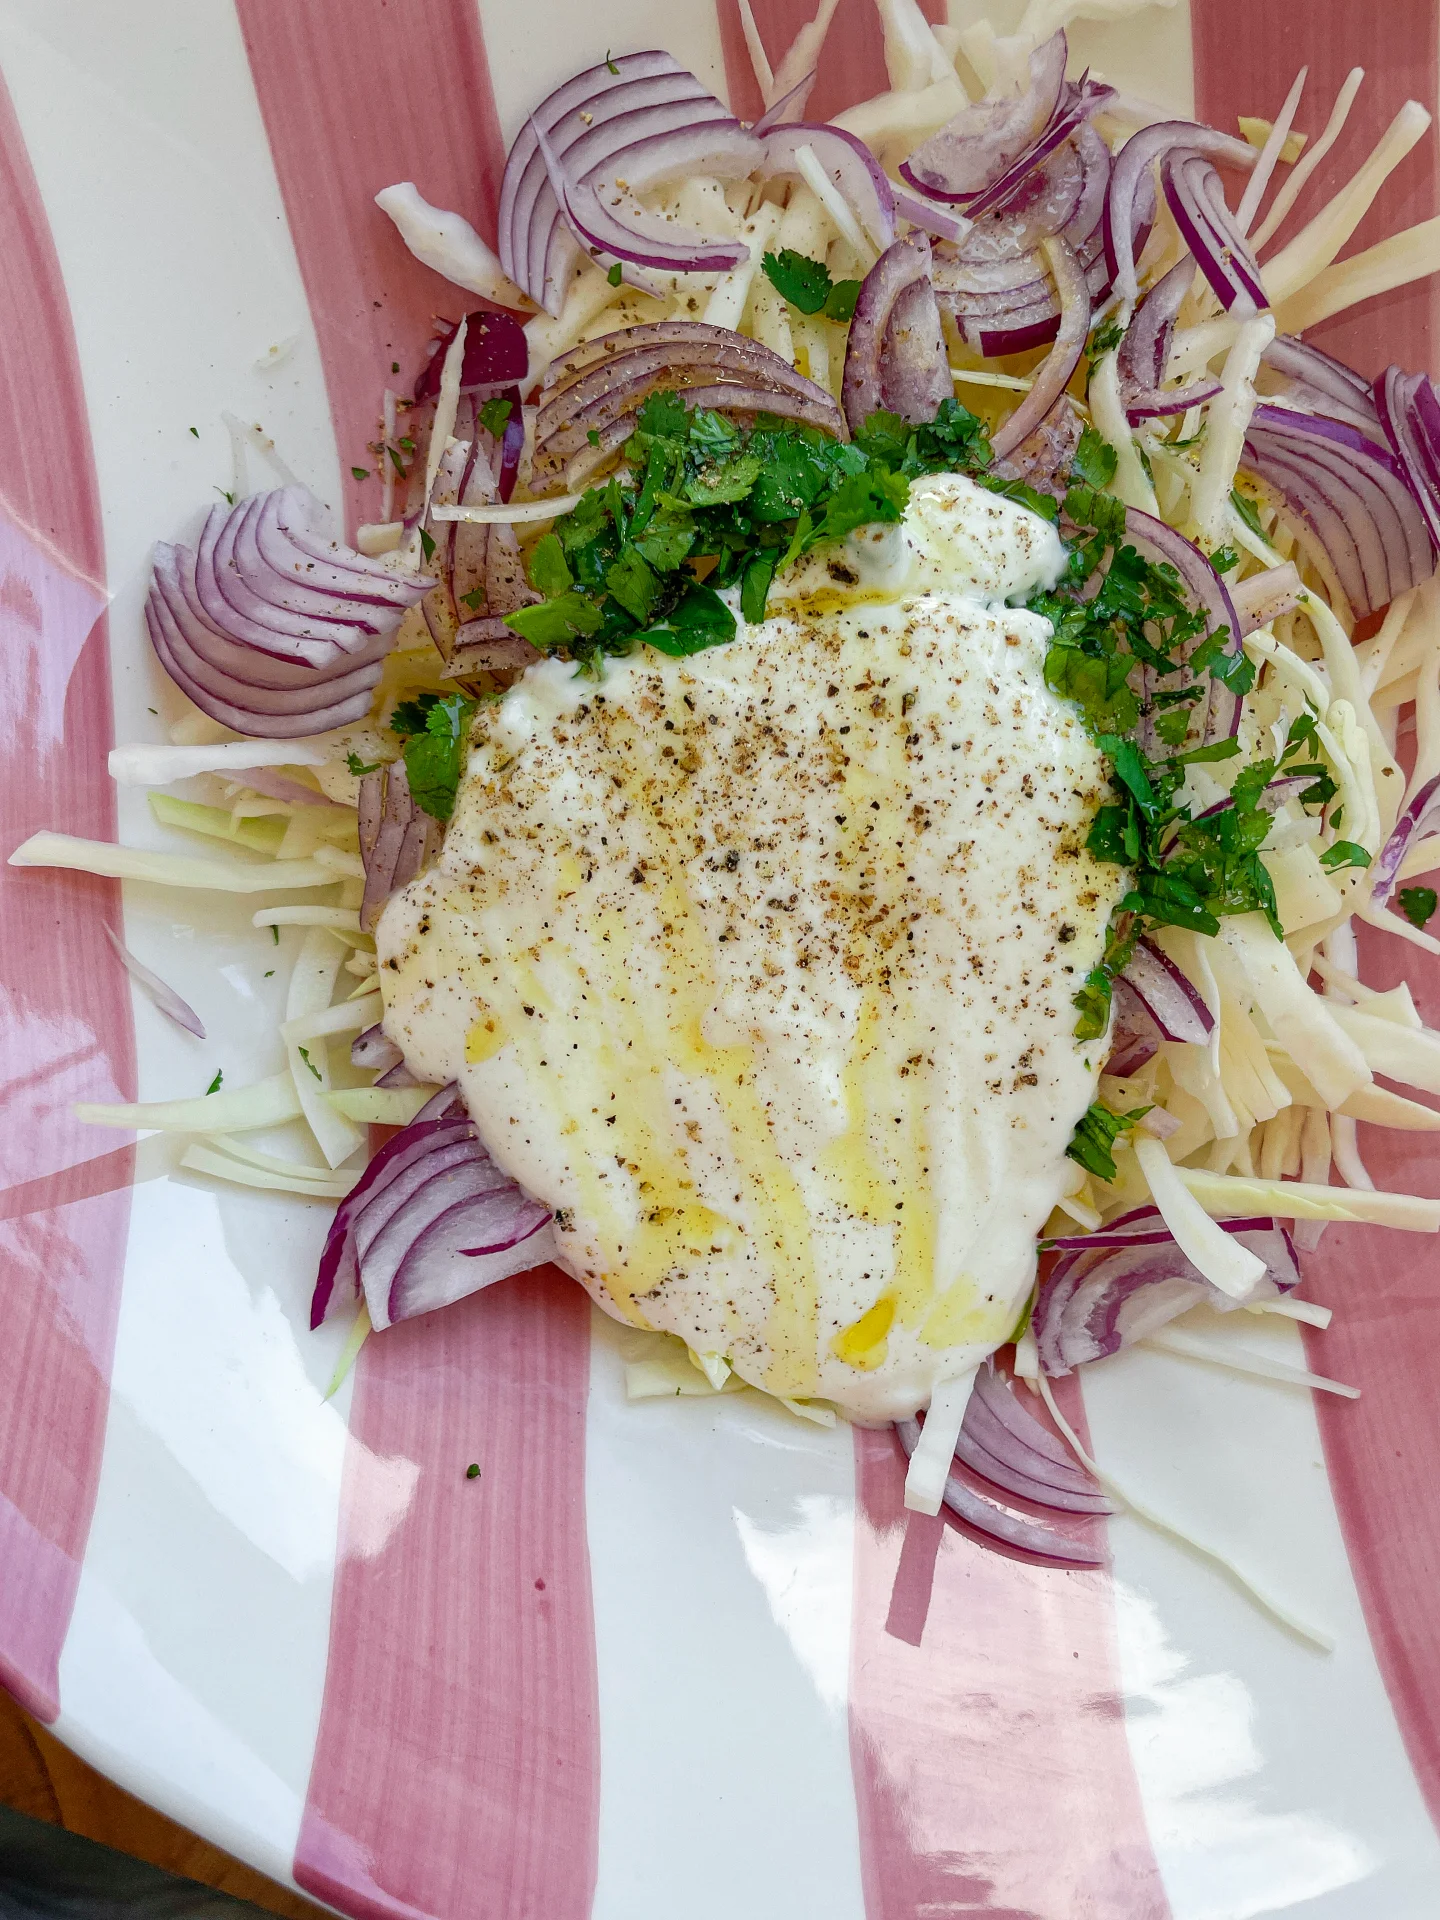
  • Make the Passionfruit Lime Slaw. Thinly slice the cabbage and red onion. Pick the cilantro leaves off the stems and add everything to a large bowl. Mix in yogurt, lime juice, salt, and pepper, and toss well. Cut open a passionfruit, scoop out the pulp and juice, and mix it into the slaw.
  • Prep the toppings. Thinly slice the green part of the scallions and pick some extra cilantro leaves. Set aside for later.
  • Make the glaze. In a small bowl, mix honey, Dijon mustard, avocado oil, pressed garlic, finely chopped fresh chili, cayenne pepper, and melted butter. Set aside.
  • Cook the shrimp. Heat a large pan over high heat. Once hot, add a little oil and sear the shrimp quickly. Pour in the prepared glaze and let it simmer over medium heat until it thickens into a creamy consistency.
  • Assemble the tacos. Remove the tortillas from the oven and place two on each plate. Layer with the slaw, then spoon the glazed shrimp (with sauce) on top. Finish with sliced scallions and fresh cilantro. Serve immediately.
  • Cook Time: 25 min

CRAVING MORE?

Follow along here & don’t forget to subscribe to my substack!

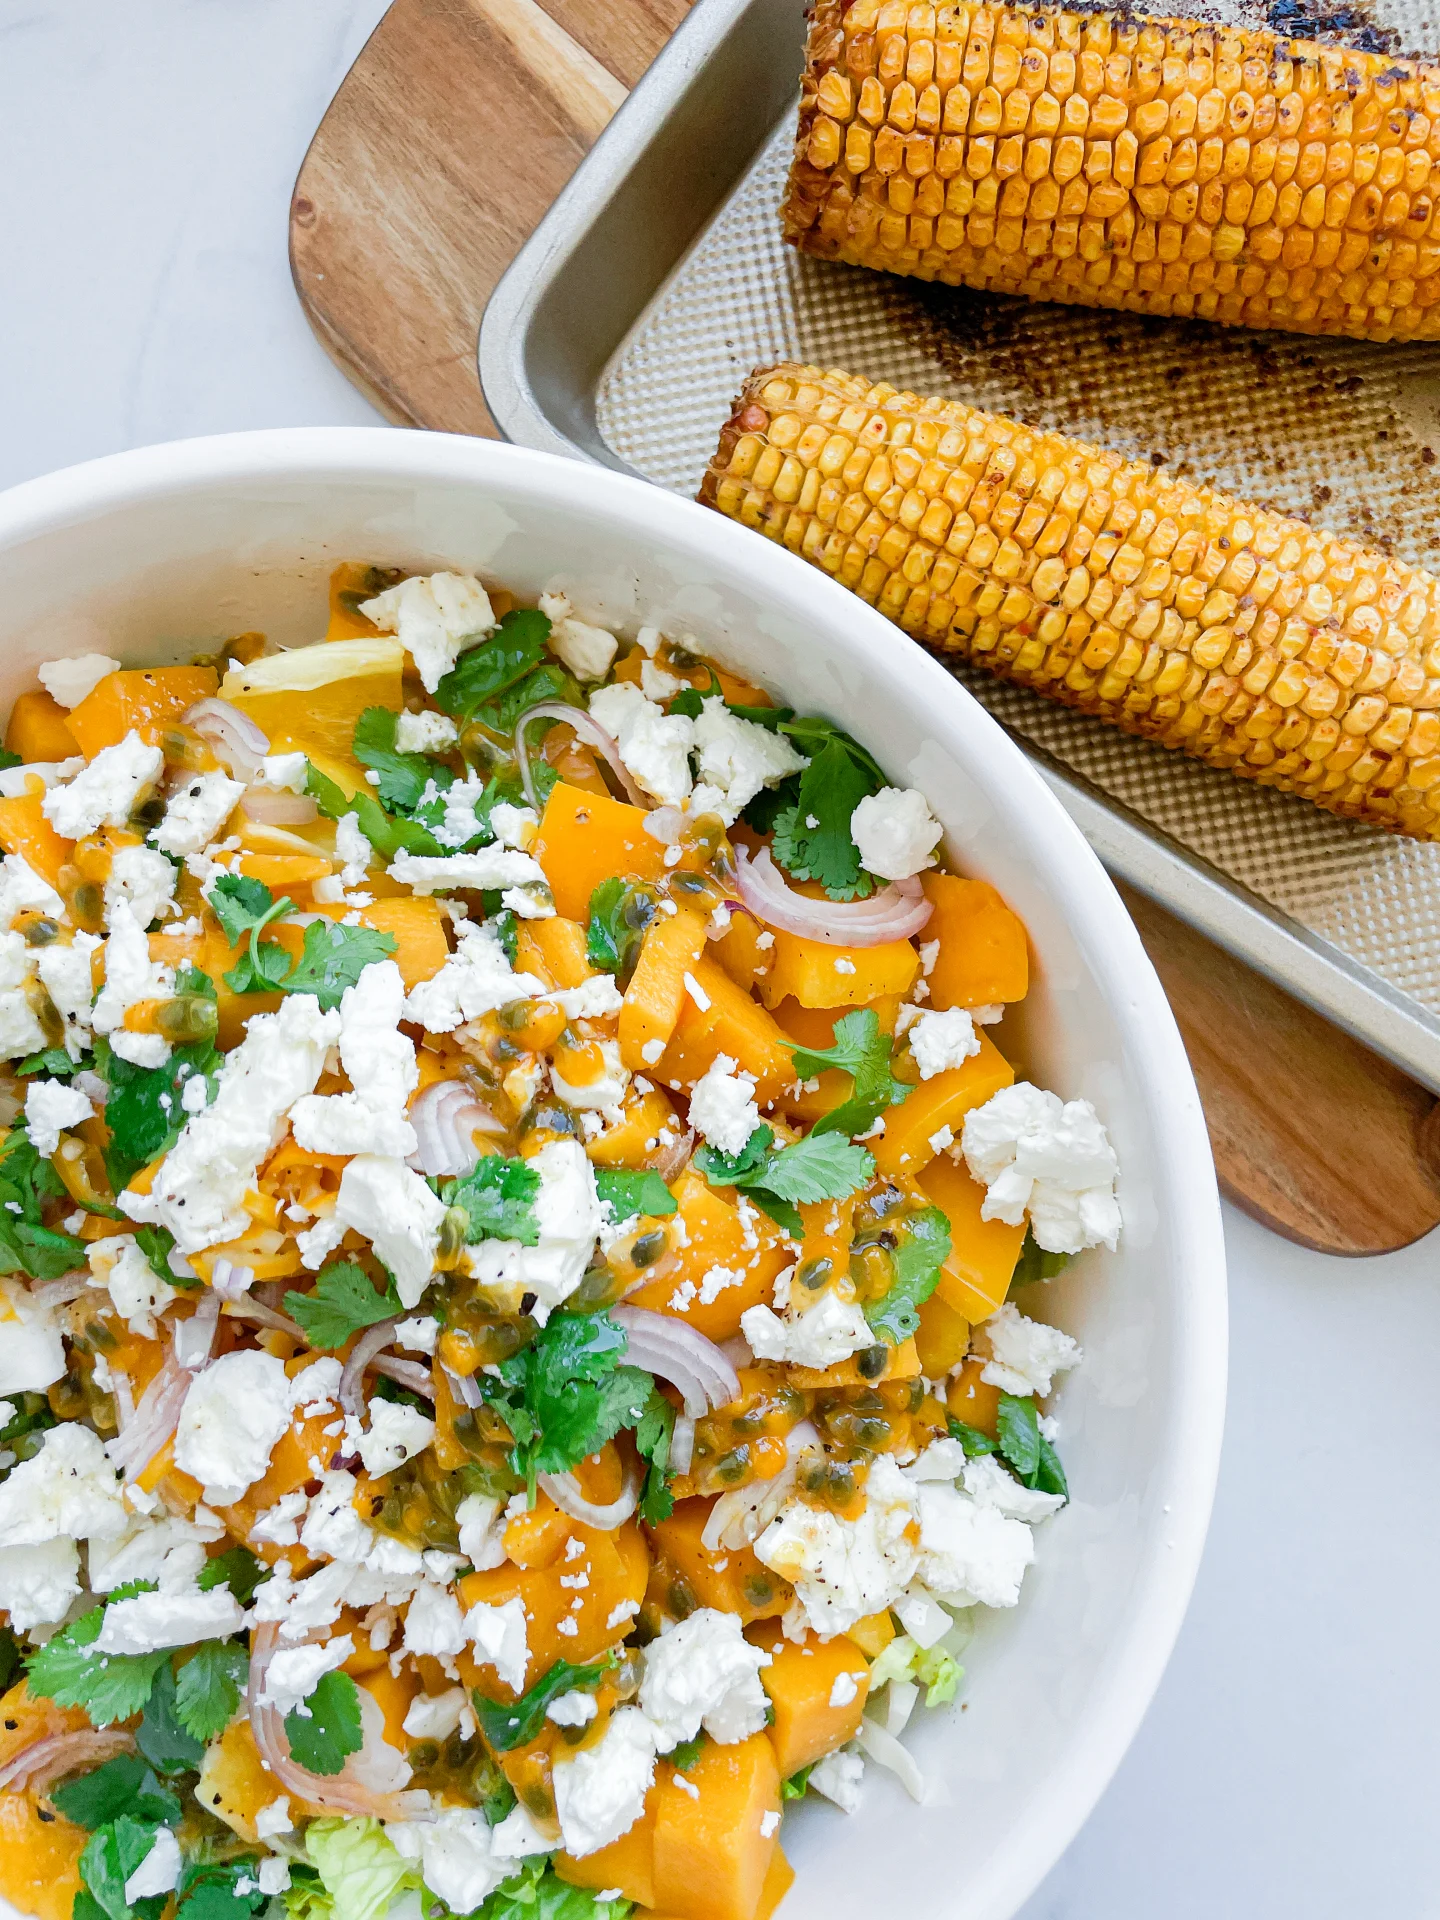
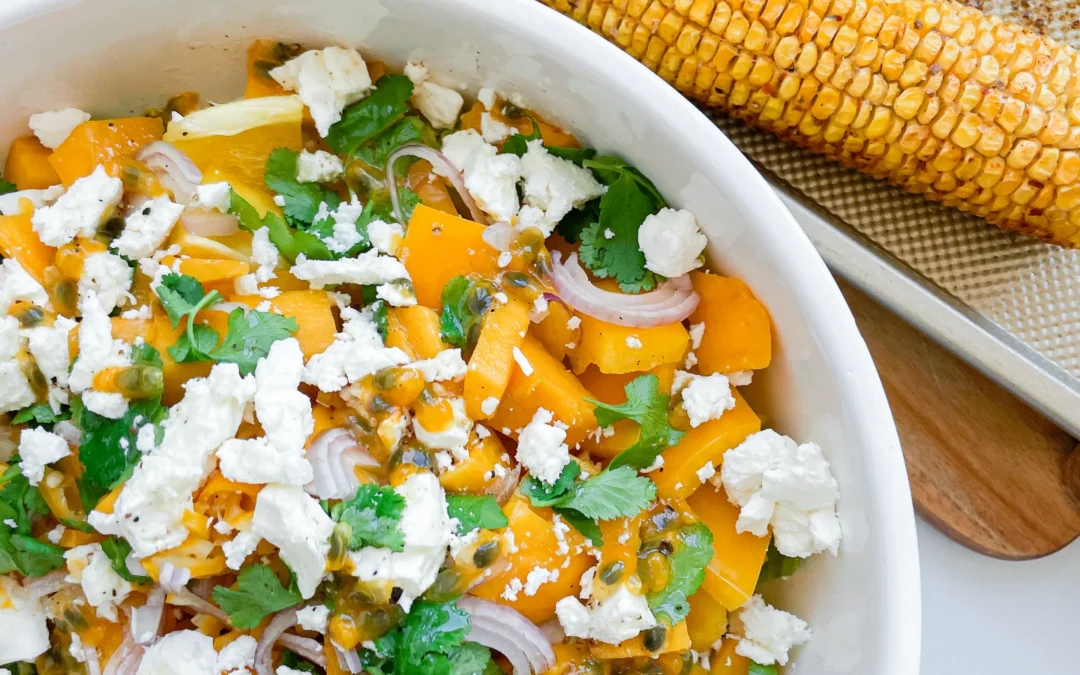
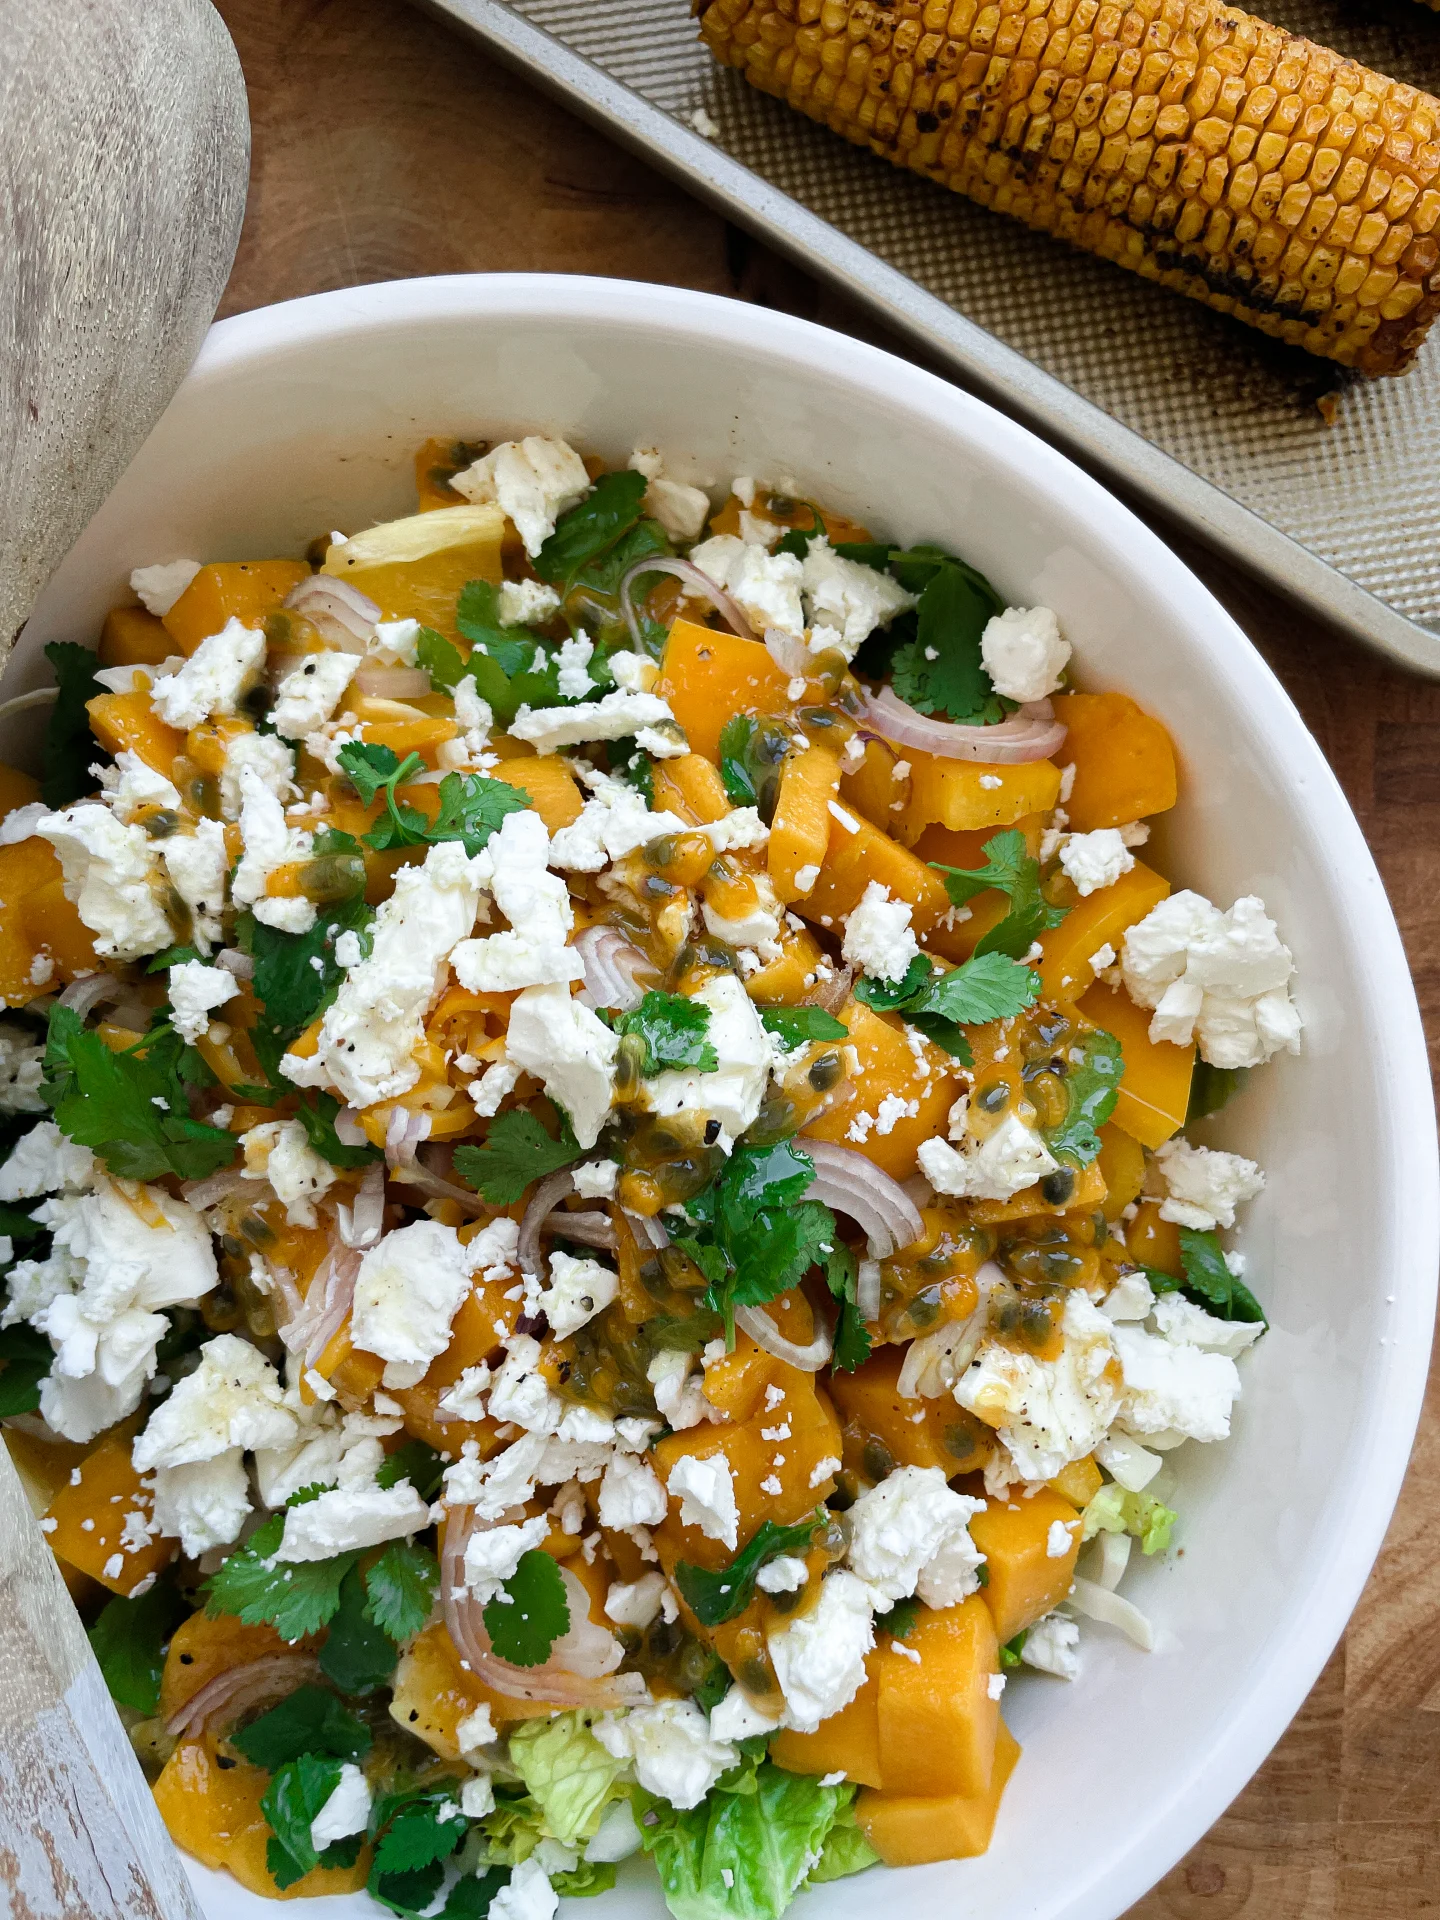
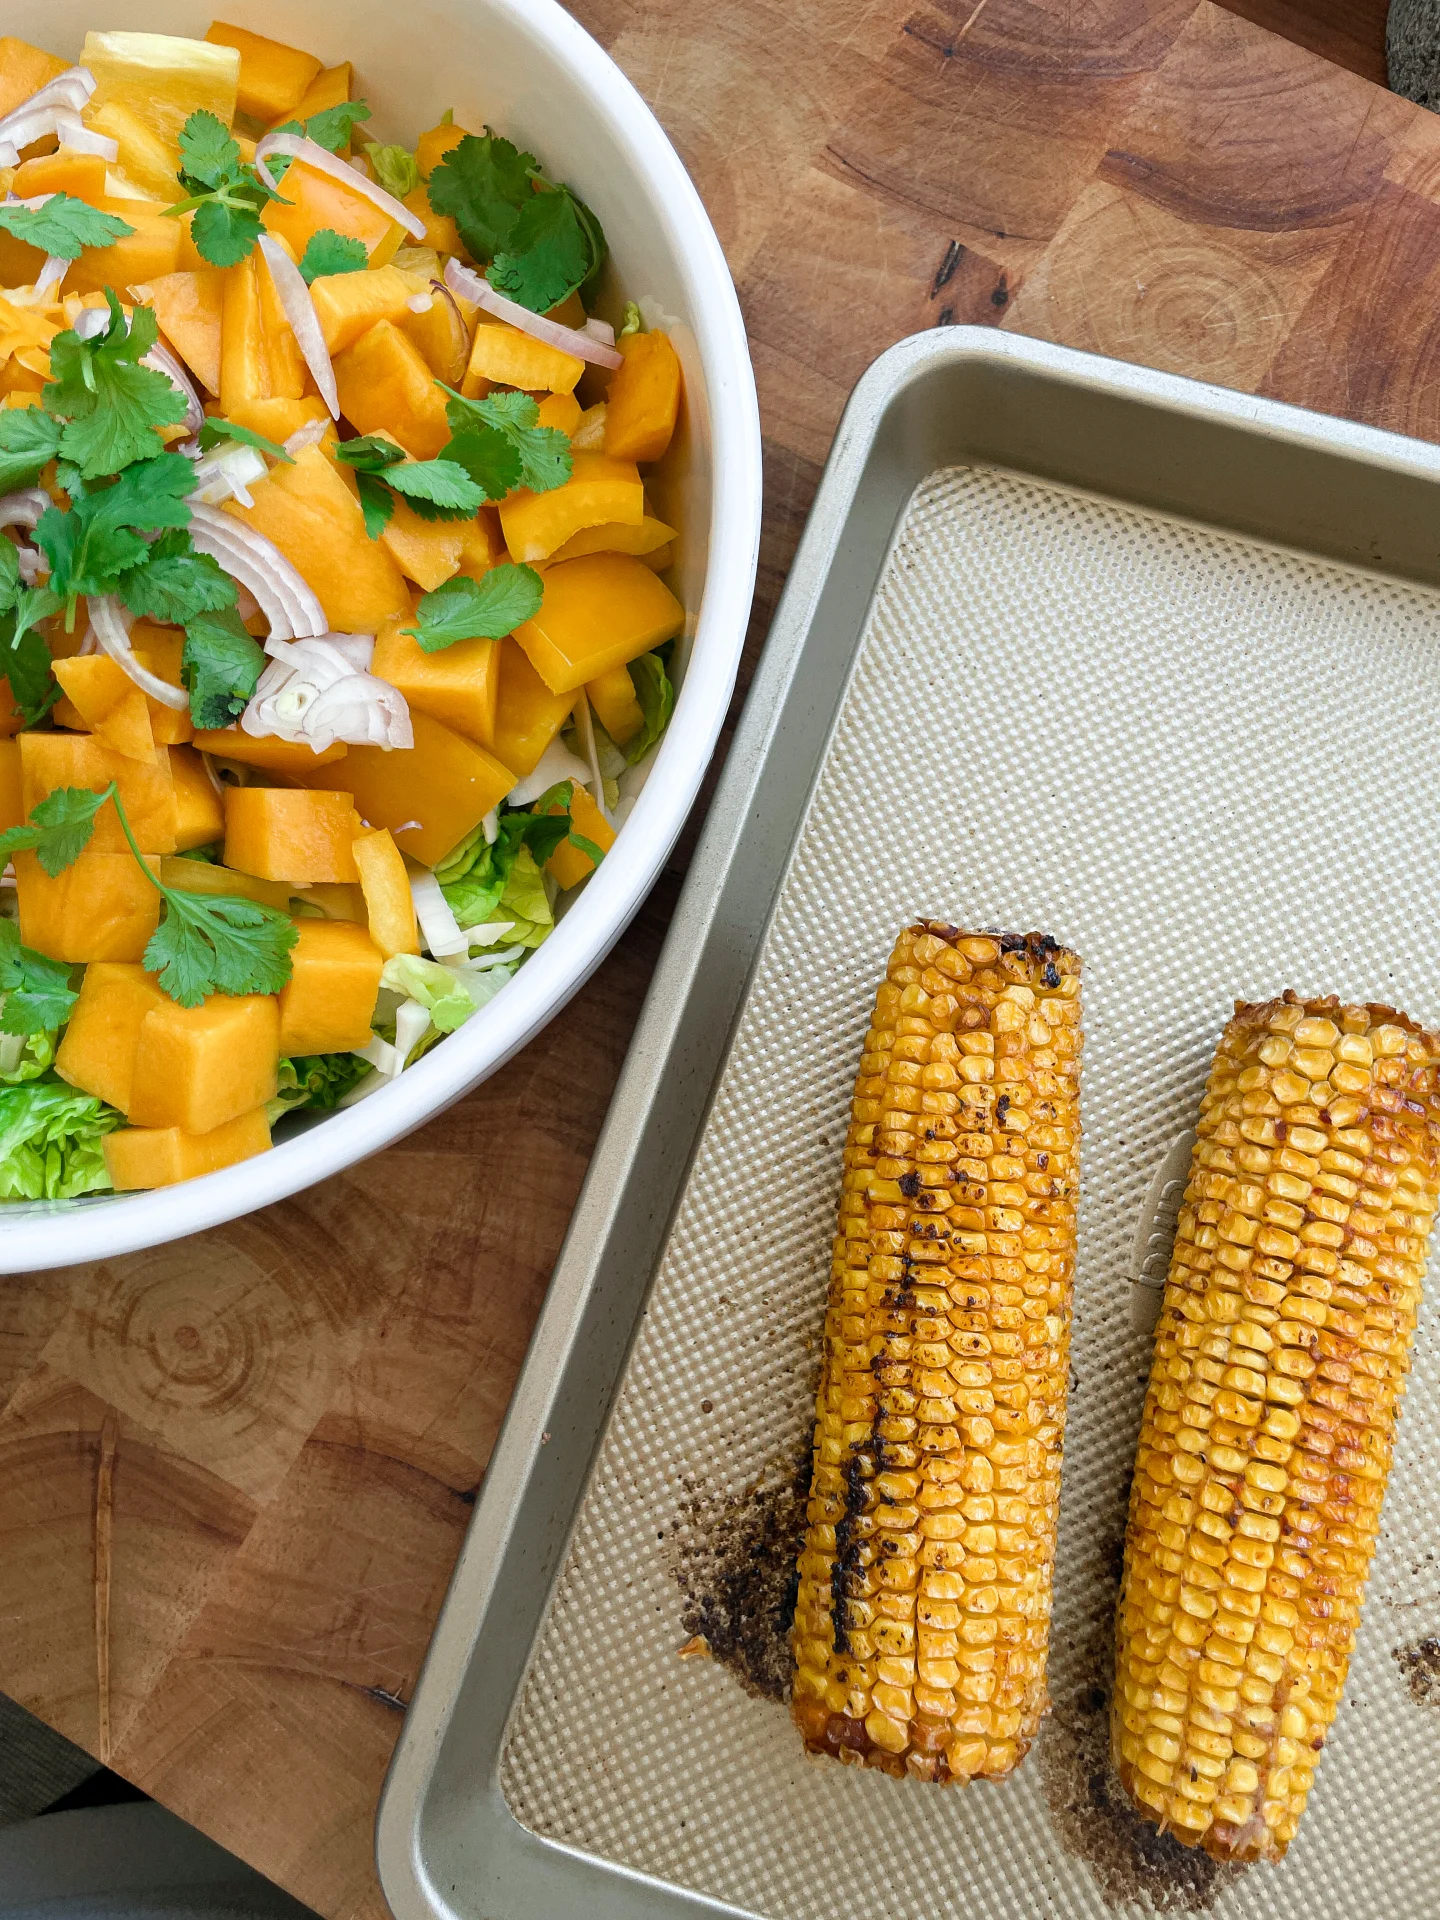
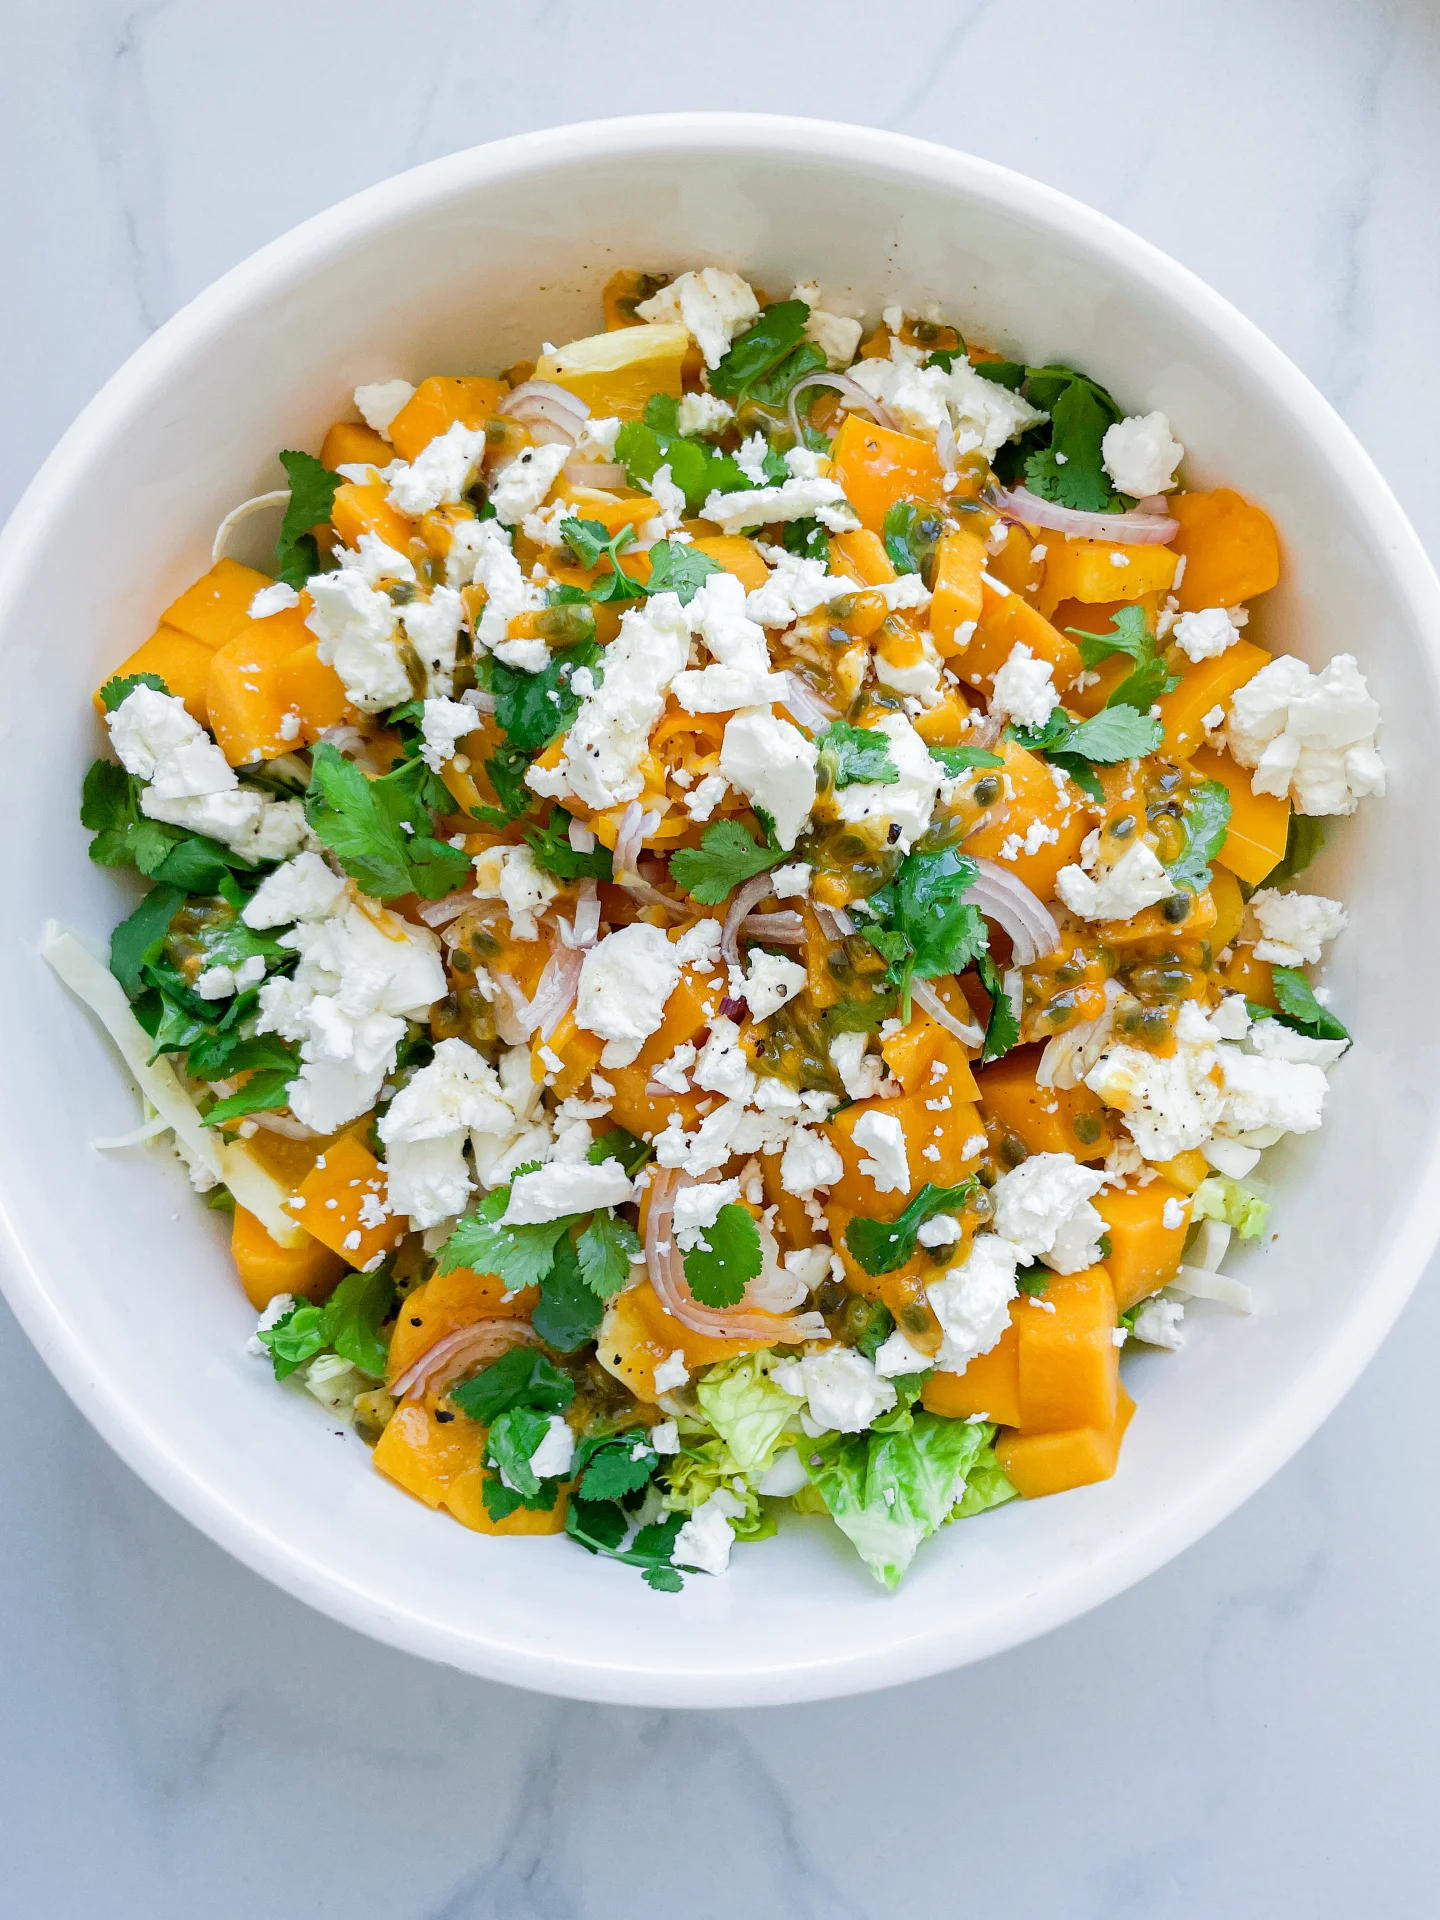
Mango Feta Salad with Passionfruit Cilantro Dressing & Oven-Roasted Corn on the Cob

Mango Feta Salad with Passionfruit Cilantro Dressing & Oven-Roasted Corn on the Cob

Mango Feta Salad with Passionfruit Cilantro Dressing & Oven-Roasted Corn on the Cob

Mango Feta Salad with Passionfruit Cilantro Dressing & Oven-Roasted Corn on the Cob

March 14, 2025 by Kimberly

Sweet, salty, tangy, and fresh!! This is the salad of the season. Juicy mango, creamy cheese, bright herbs, and a citrusy punch that’ll make your taste buds do a little happy dance.

This website uses affiliate links which may earn commission for purchases made at no additional cost to you.

TOTAL TIME

25 min

SERVES

2 portions

DIET

vegetarian

EVERY RECIPE DESERVES

A Little Love Letter

You know those salads that just hit different? This is one of them. It’s got all the good stuff. Juicy, sun-ripened fruit, salty creamy goodness, a punchy herb dressing, and golden roasted corn that adds the perfect sweet crunch. It’s bright, fresh, and so ridiculously flavorful that you might just eat it straight from the bowl (no judgment). Whether you need a no-fuss summer side or a feel-good meal that’s anything but boring, this one’s got you covered.

This salad is giving effortless brunch energy. Throw it on the table with a crusty baguette, maybe some grilled shrimp if you’re feeling fancy, and let everyone dig in. It’s just as good as a light lunch or a colorful side at your next barbecue. Bonus points if you serve it with a chilled glass of white wine.

Keep leftovers in an airtight container in the fridge for up to one day. Corn is best enjoyed fresh, but you do you.

Hi, I'm Kimberly!

Hi, I'm Kimberly.

A hopeless romantic when it comes to food. Every recipe I share is a love letter to food itself. I’m so glad you’re here. Make yourself at home and stay a while.

Love,
Kimberly

Kimberly the Zett Signature

If you want to get to know me better,
click here!


Mango Feta Salad with Passionfruit Cilantro Dressing & Oven-Roasted Corn on the Cob

LET’S MAKE A PIECE OF HAPPINESS

Print
clock clock iconcutlery cutlery iconflag flag iconfolder folder iconinstagram instagram iconpinterest pinterest iconfacebook facebook iconprint print iconsquares squares iconheart heart iconheart solid heart solid icon
Mango Feta Salad with Passionfruit Cilantro Dressing & Oven-Roasted Corn on the Cob

Mango Feta Salad with Passionfruit Cilantro Dressing & Oven-Roasted Corn on the Cob


  • Author: Kimberly
  • Total Time: 25 min
  • Yield: 2 1x

Description

RECOMMENDED EQUIPMENT

  • small bowl
  • kitchen brush
  • large bowl
  • sharp knife
  • cutting board

Ingredients

Units Scale
CORN ON THE COB SALAD
  • 150 grams white cabbage
  • 100 grams romaine lettuce
  • 1 mango
  • 1 yellow bell pepper
  • 1 shallot
  • 100 grams feta cheese
  • 1/2 fresh yellow chili
  • handful fresh cilantro
DRESSING
  • 3 tbsp olive oil
  • juice of 1 lime
  • 1 passionfruit
  • salt & pepper to taste

Instructions

  1. Prepare the corn first. Mix the butter with Cajun seasoning, rub it all over the corn, and place them on a baking sheet. Roast in a preheated oven at 210°C / 410°F for about 20 to 30 minutes until golden brown and fragrant.
  2. While the corn is roasting, make the salad. Thinly slice the cabbage and romaine lettuce, wash thoroughly, and place them in a large salad bowl.
  3. Peel and chop the mango into pieces. Cut the yellow bell pepper into chunks. Thinly slice the shallot and finely chop the yellow chili. Pick the cilantro leaves off the stems and tear them lightly. Add everything to the salad bowl, then crumble the feta over the top.
  4. Mix olive oil, lime juice, passionfruit pulp, salt, and pepper in a small bowl. Set aside.
  5. Once the corn is done, take it out of the oven. Drizzle the dressing over the salad and toss well. Divide the salad between two plates and serve each with a roasted corn cob.
  • Cook Time: 25 min

CRAVING MORE?

Follow along here & don’t forget to subscribe to my substack!

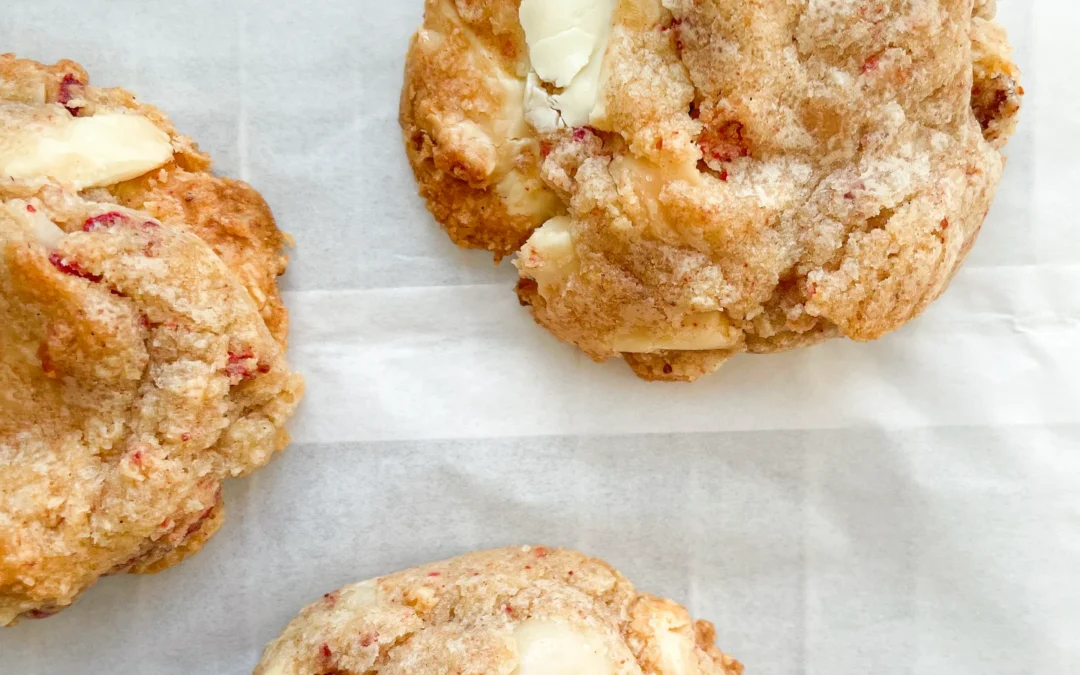
White Chocolate Strawberry Macadamia Cookies

White Chocolate Strawberry Macadamia Cookies

White Chocolate Strawberry Macadamia Cookies

White Chocolate Strawberry Macadamia Cookies

September 10, 2024 by Kimberly

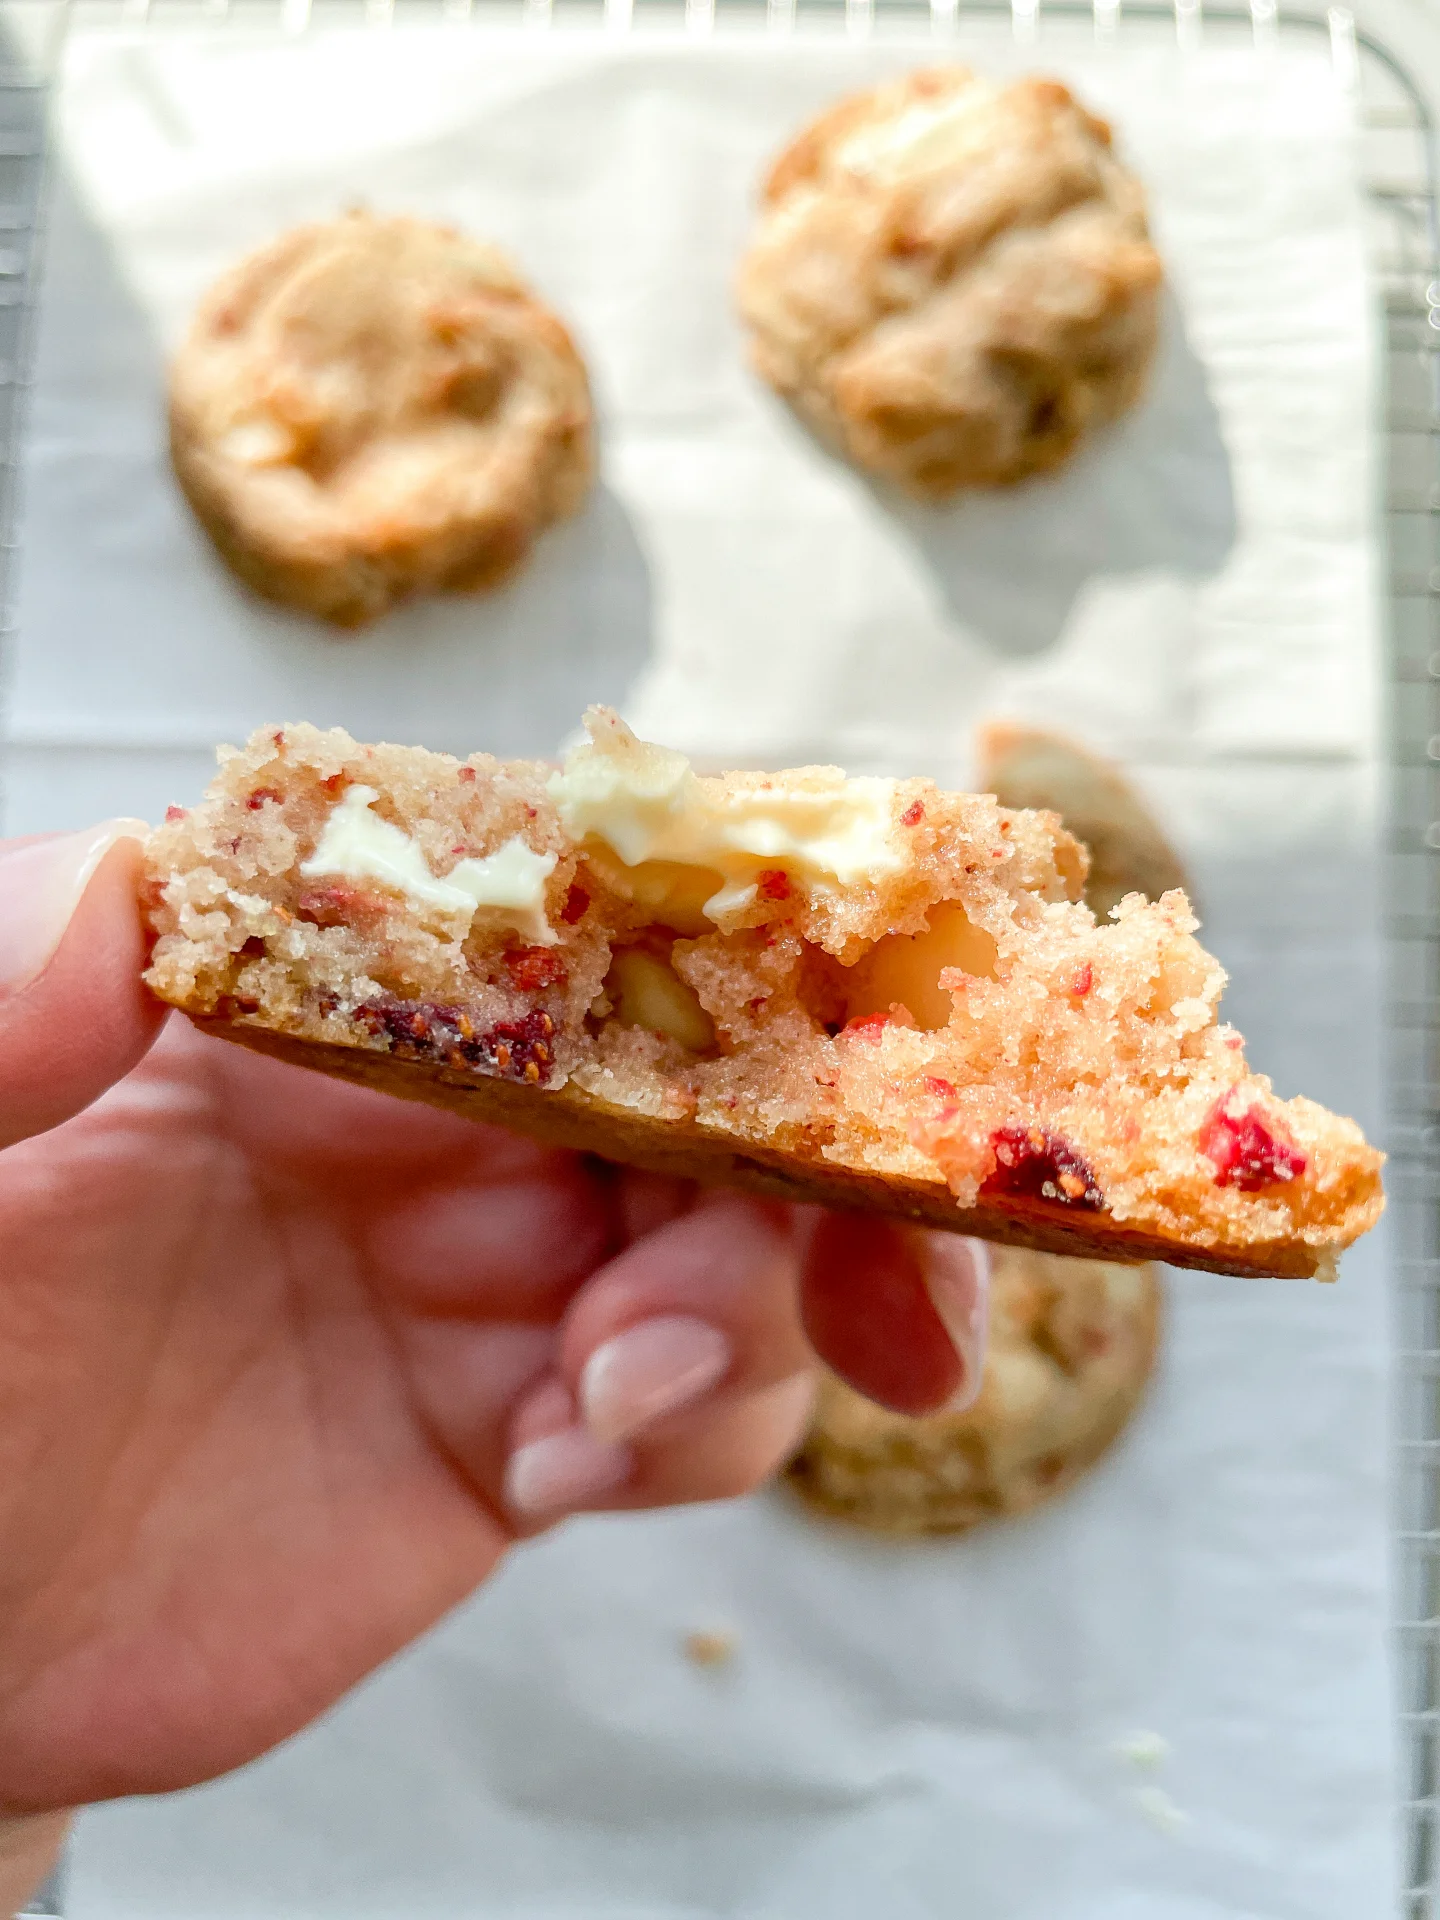
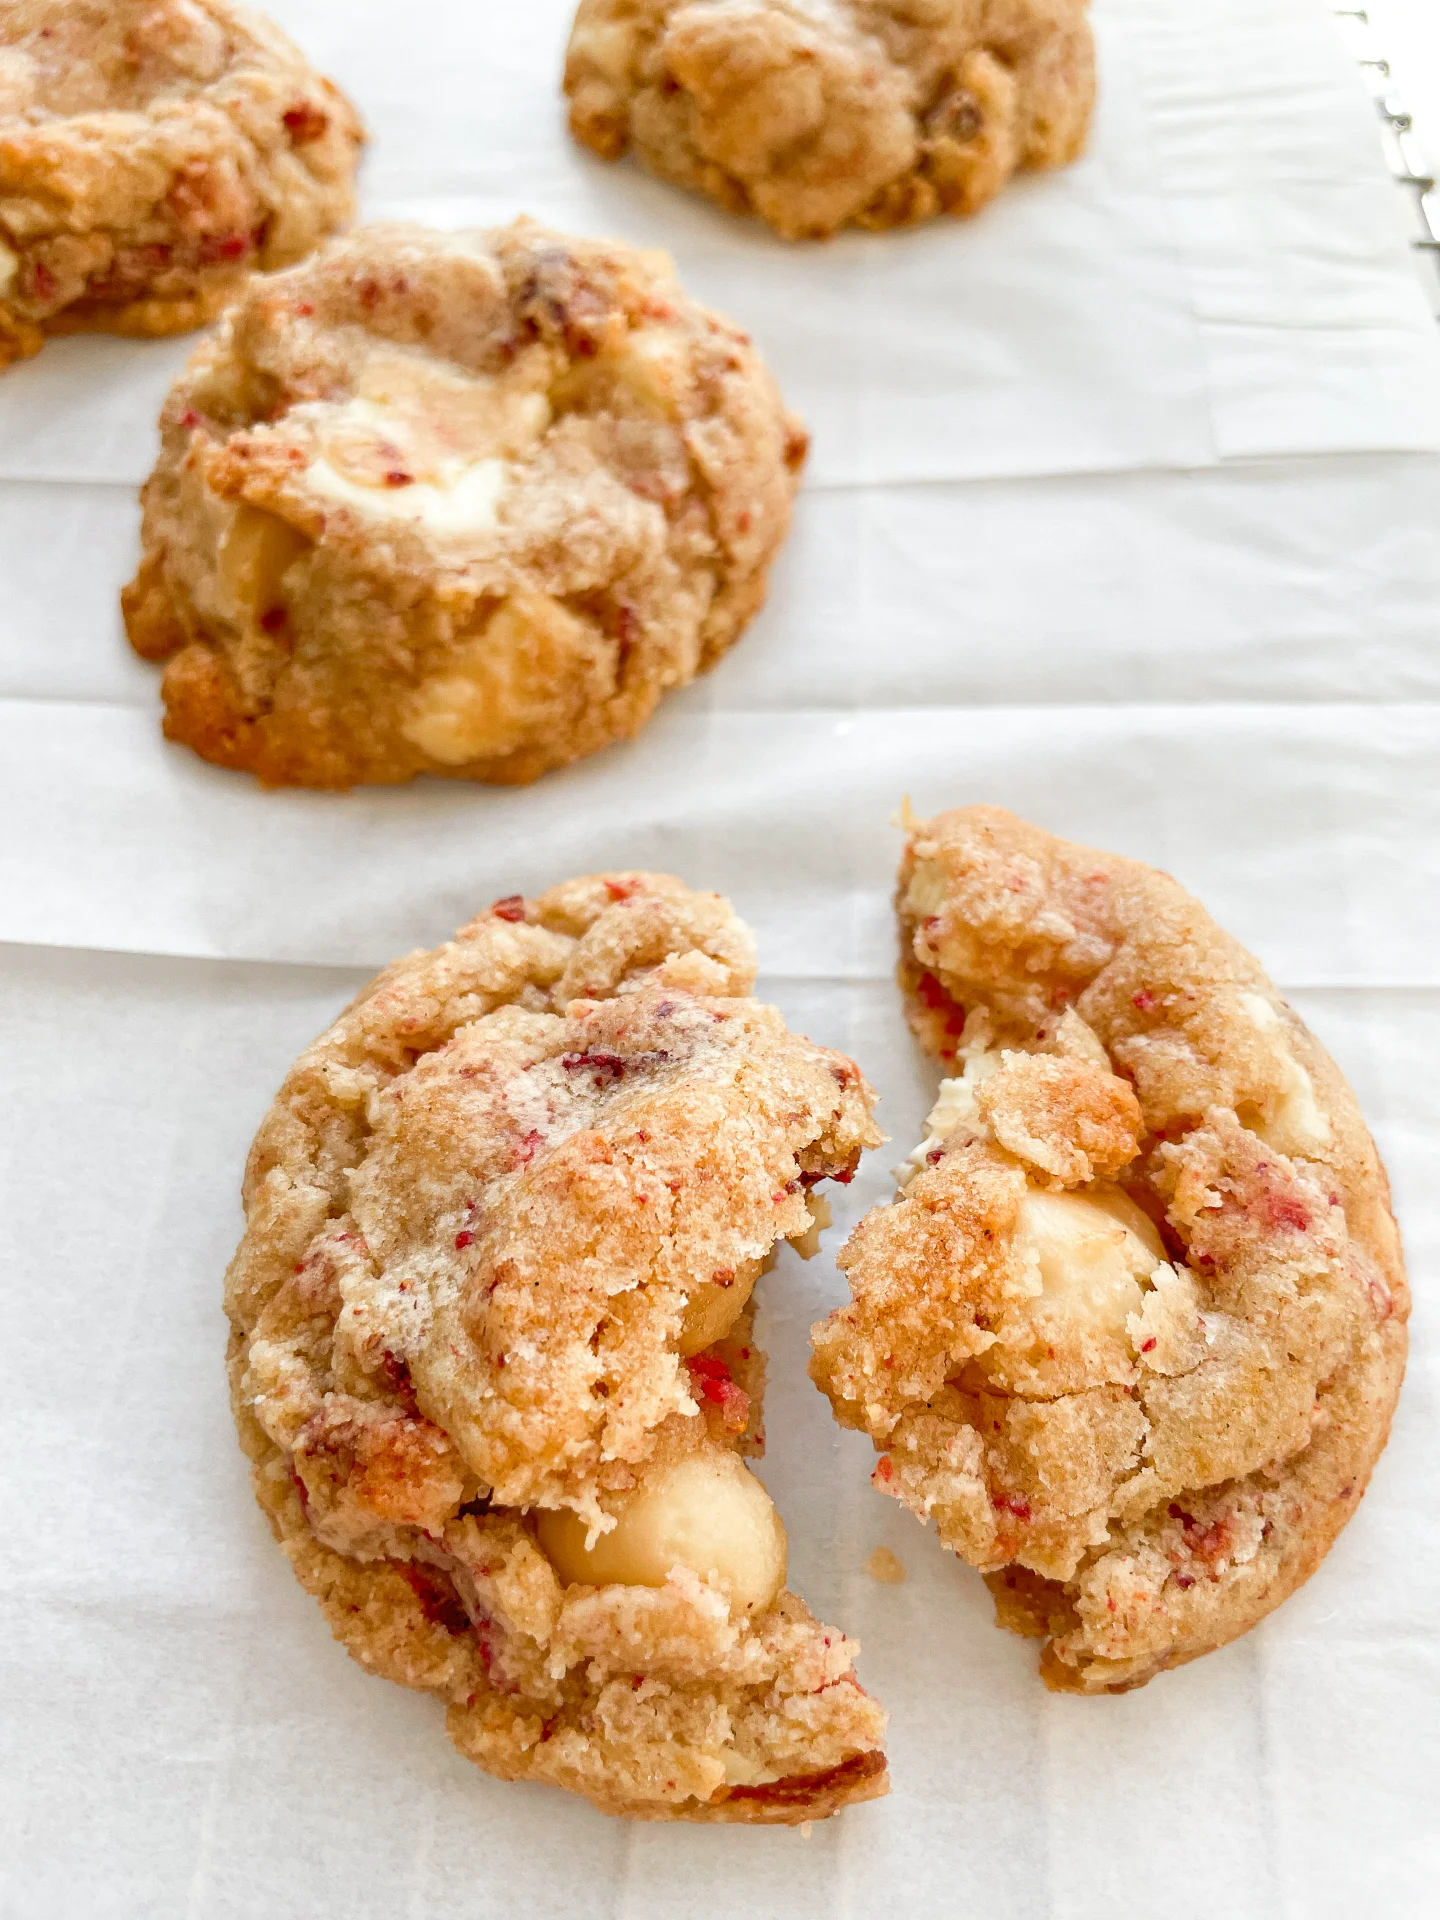
Imagine biting into buttery cookies with creamy white chocolate, crunchy macadamia nuts, and bursts of tangy-sweet freeze-dried strawberries. Every bite is a blissful moment of rich sweetness with a fruity twist.

This website uses affiliate links which may earn commission for purchases made at no additional cost to you.

TOTAL TIME

2 hrs + 20 min
SERVES

12 cookies

DIET

vegetarian

EVERY RECIPE DESERVES

A Little Love Letter

These cookies are the ultimate treat when you need a balance of sweetness and a little crunch. Picture soft, buttery bites with creamy white chocolate melting in your mouth, while macadamia nuts bring that irresistible crunch. And just when you think it couldn’t get better, you hit the tangy freeze-dried strawberry bursts. It’s like all your favorite things wrapped in one cozy, feel-good cookie. Trust me, these are going to be your new go-to sweet treat for every mood!

These cookies are perfect warm, straight out of the oven with the chocolate still gooey. Serve them with a glass of cold milk or alongside your favorite coffee or tea. They’re also a hit at parties or as an easy dessert for a laid-back weekend gathering. Want to take them up a notch? Try crumbling one over vanilla ice cream or serving them with a drizzle of strawberry sauce. You’re going to want to savor every bite!

To keep these cookies fresh, store them in an airtight container at room temperature for up to three days. If you want to make them last longer (if they aren’t devoured first!), freeze them for up to three months. Just bake them for 10 minutes at 150°C / 302°F in the oven before enjoying.

Hi, I'm Kimberly!

Hi, I'm Kimberly.

A hopeless romantic when it comes to food. Every recipe I share is a love letter to food itself. I’m so glad you’re here. Make yourself at home and stay a while.

Love,
Kimberly

Kimberly the Zett Signature

If you want to get to know me better,
click here!


White Chocolate Strawberry Macadamia Cookies

LET’S MAKE A PIECE OF HAPPINESS

Print
clock clock iconcutlery cutlery iconflag flag iconfolder folder iconinstagram instagram iconpinterest pinterest iconfacebook facebook iconprint print iconsquares squares iconheart heart iconheart solid heart solid icon
White Chocolate Strawberry Macadamia Cookies

White Chocolate Strawberry Macadamia Cookies


  • Author: Kimberly
  • Total Time: 2 hrs + 30 min
  • Yield: 12 cookies 1x

Description

Recommended Equipment

  • small pot
  • to medium bowls
  • whisk
  • sharp knife
  • cutting board
  • cookie scoop
  • parchment paper

Ingredients

Units Scale
  • 120 grams butter
  • 100 grams brown sugar
  • 100 grams white sugar
  • 1 tsp vanilla extract
  • 1 egg
  • 220 grams all-purpose flour
  • 1/2 tsp salt
  • 1/2 tsp baking soda
  • 150 grams white chocolate
  • 75 grams macadamia nuts
  • 25 grams freeze-dried strawberries

Instructions

  1. Melt the butter in a small pot or in the microwave. In a medium bowl, whisk the melted butter together with the brown and white sugar and vanilla extract for a few minutes. Then, add the egg and mix again. Set aside.
  2. In another bowl, mix the flour, baking soda, and salt. Set aside.
  3. Roughly chop or crumble the white chocolate, macadamia nuts, and freeze-dried strawberries. Set aside.
  4. Add everything to the butter-sugar-egg mixture and use a spatula to knead it all together until there’s no more loose flour.
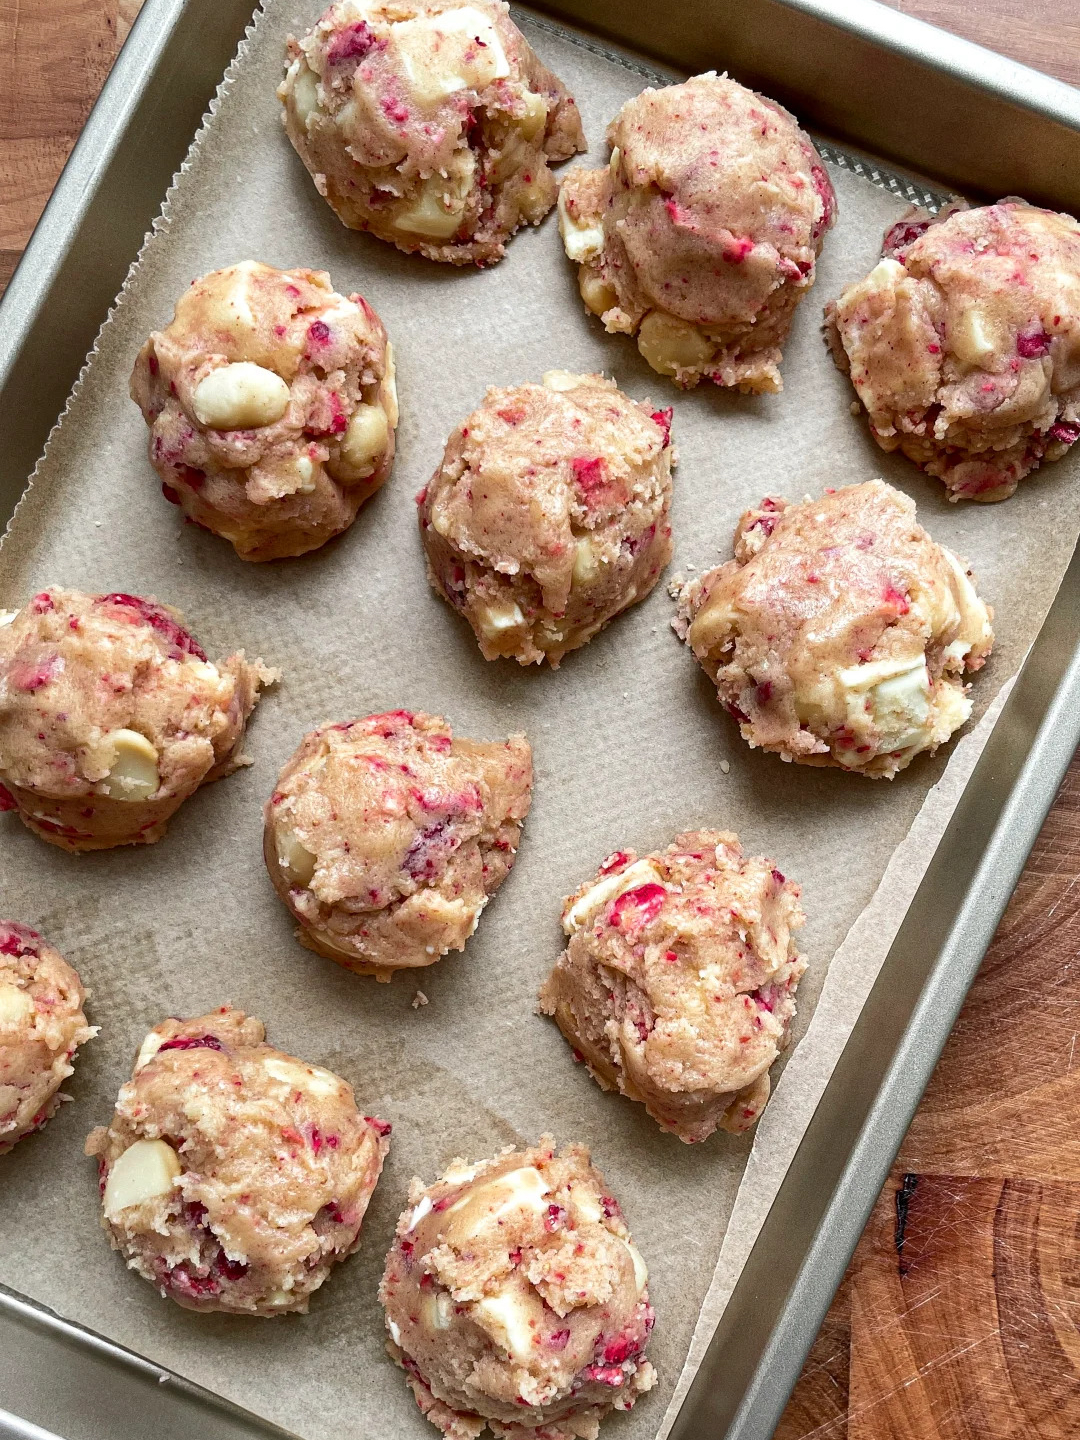
  5. Use a medium cookie scoop to form the dough into 12 evenly sized balls and place them on parchment paper. Put the dough balls in the fridge for at least 2 hours.
  6. A few minutes before baking, preheat the oven to 150°C / 302°F. Place the cookie dough balls on a parchment-lined baking sheet, leaving enough space between them, and bake for 10 minutes. Take them out of the oven and let them cool for another 10 minutes. The cookies will be very soft at this point. If you prefer them firmer, leave them in the oven for a few more minutes.
  • Passive Time: 2 hrs + 20 min
  • Cook Time: 10 min
CRAVING MORE?

Follow along here & don’t forget to subscribe to my substack!

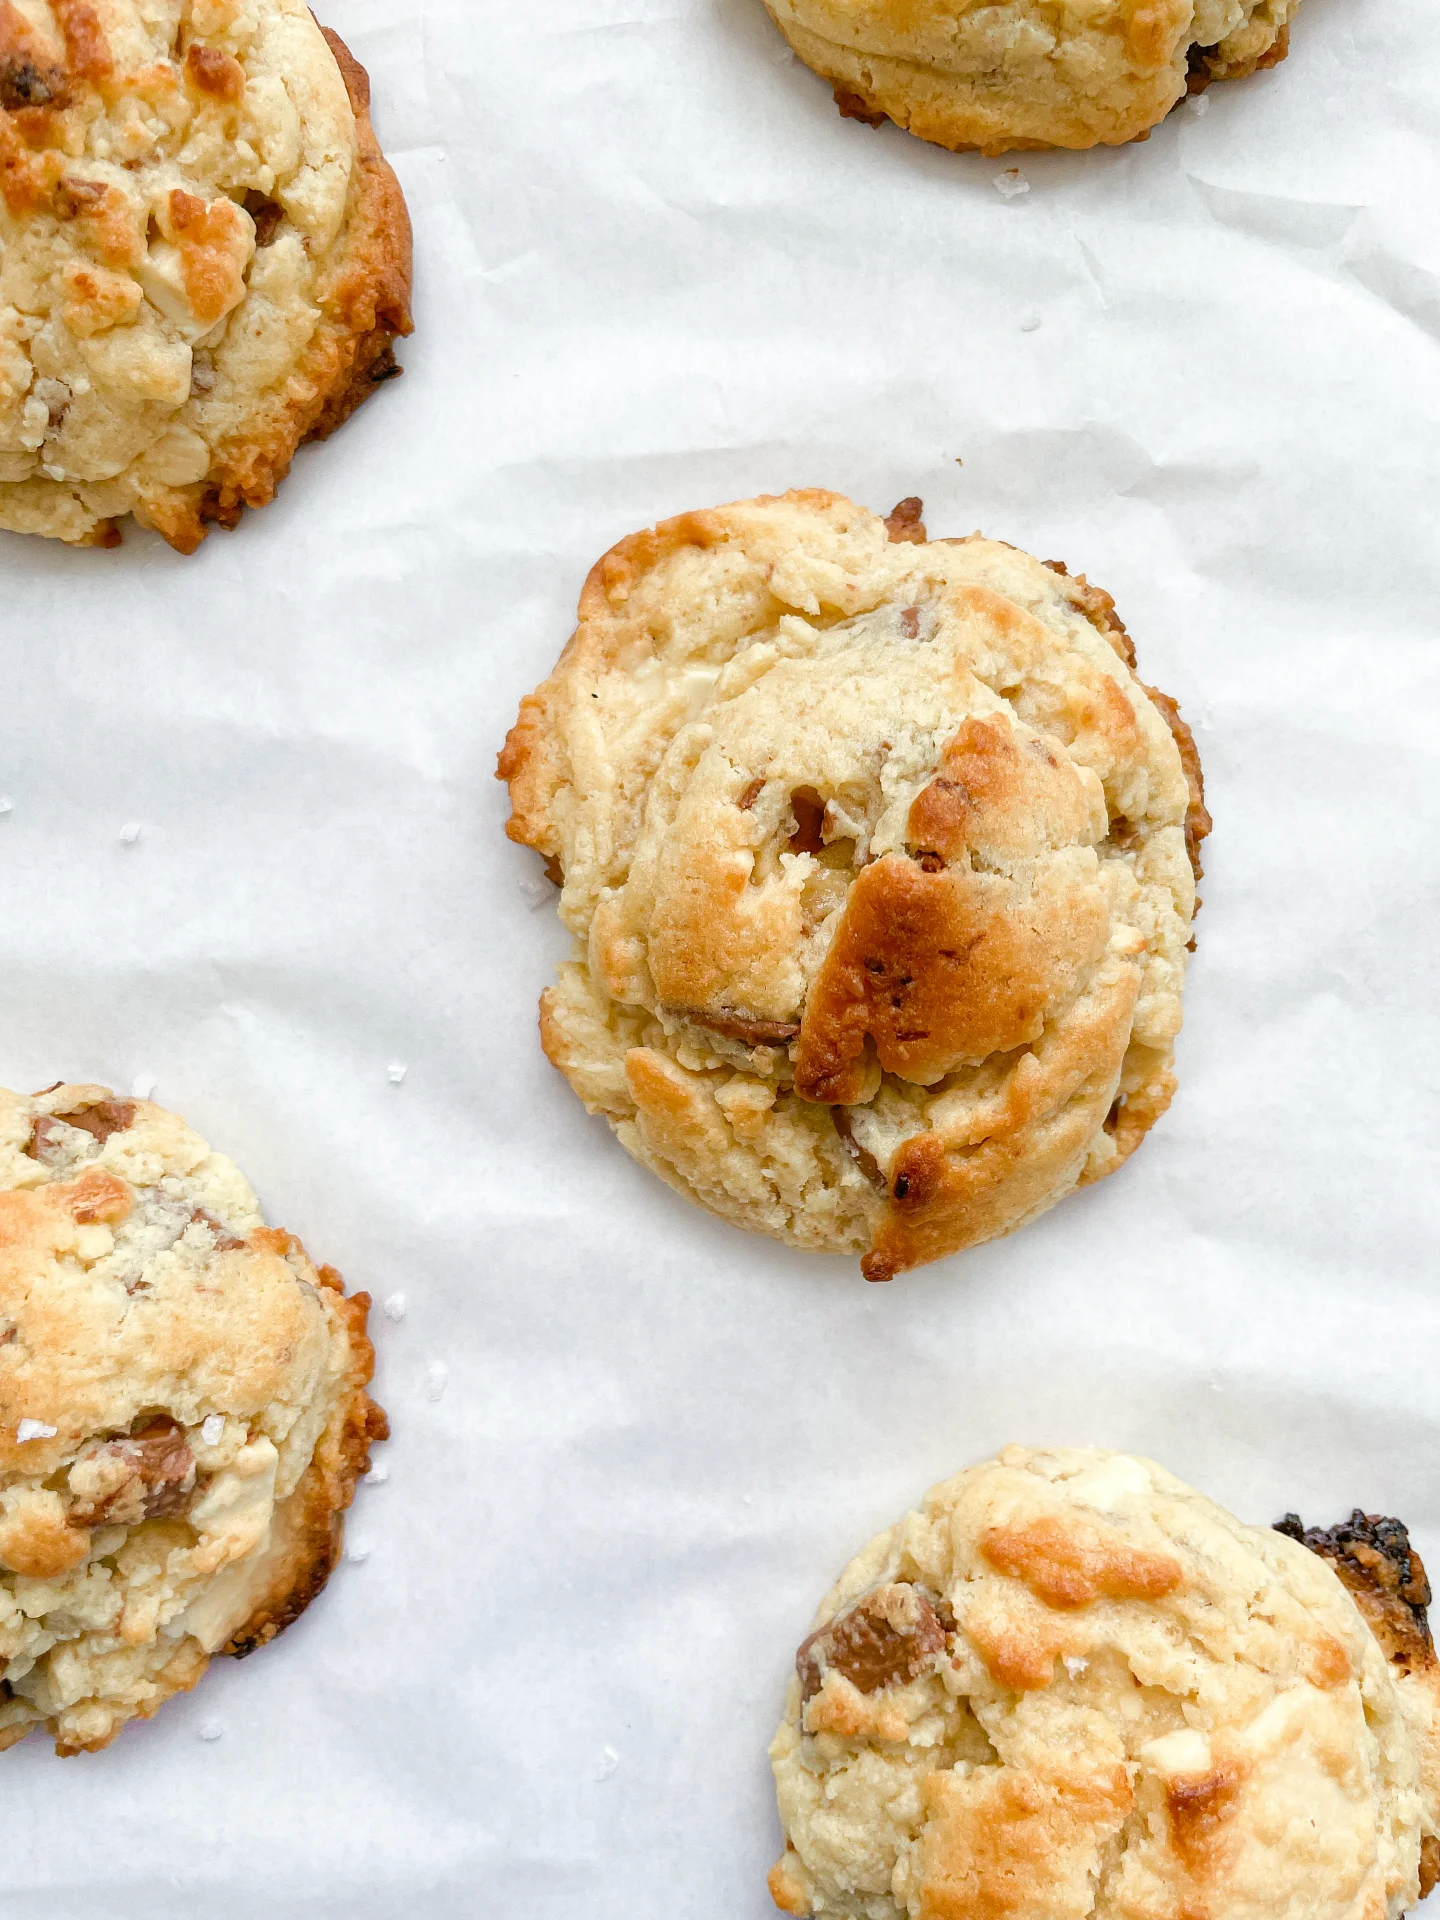
White Chocolate Blueberry Cookies & Blueberry Icing

White Chocolate Blueberry Cookies & Blueberry Icing

White Chocolate Blueberry Cookies & Blueberry Icing

White Chocolate Blueberry Cookies & Blueberry Icing

September 4, 2024 by Kimberly

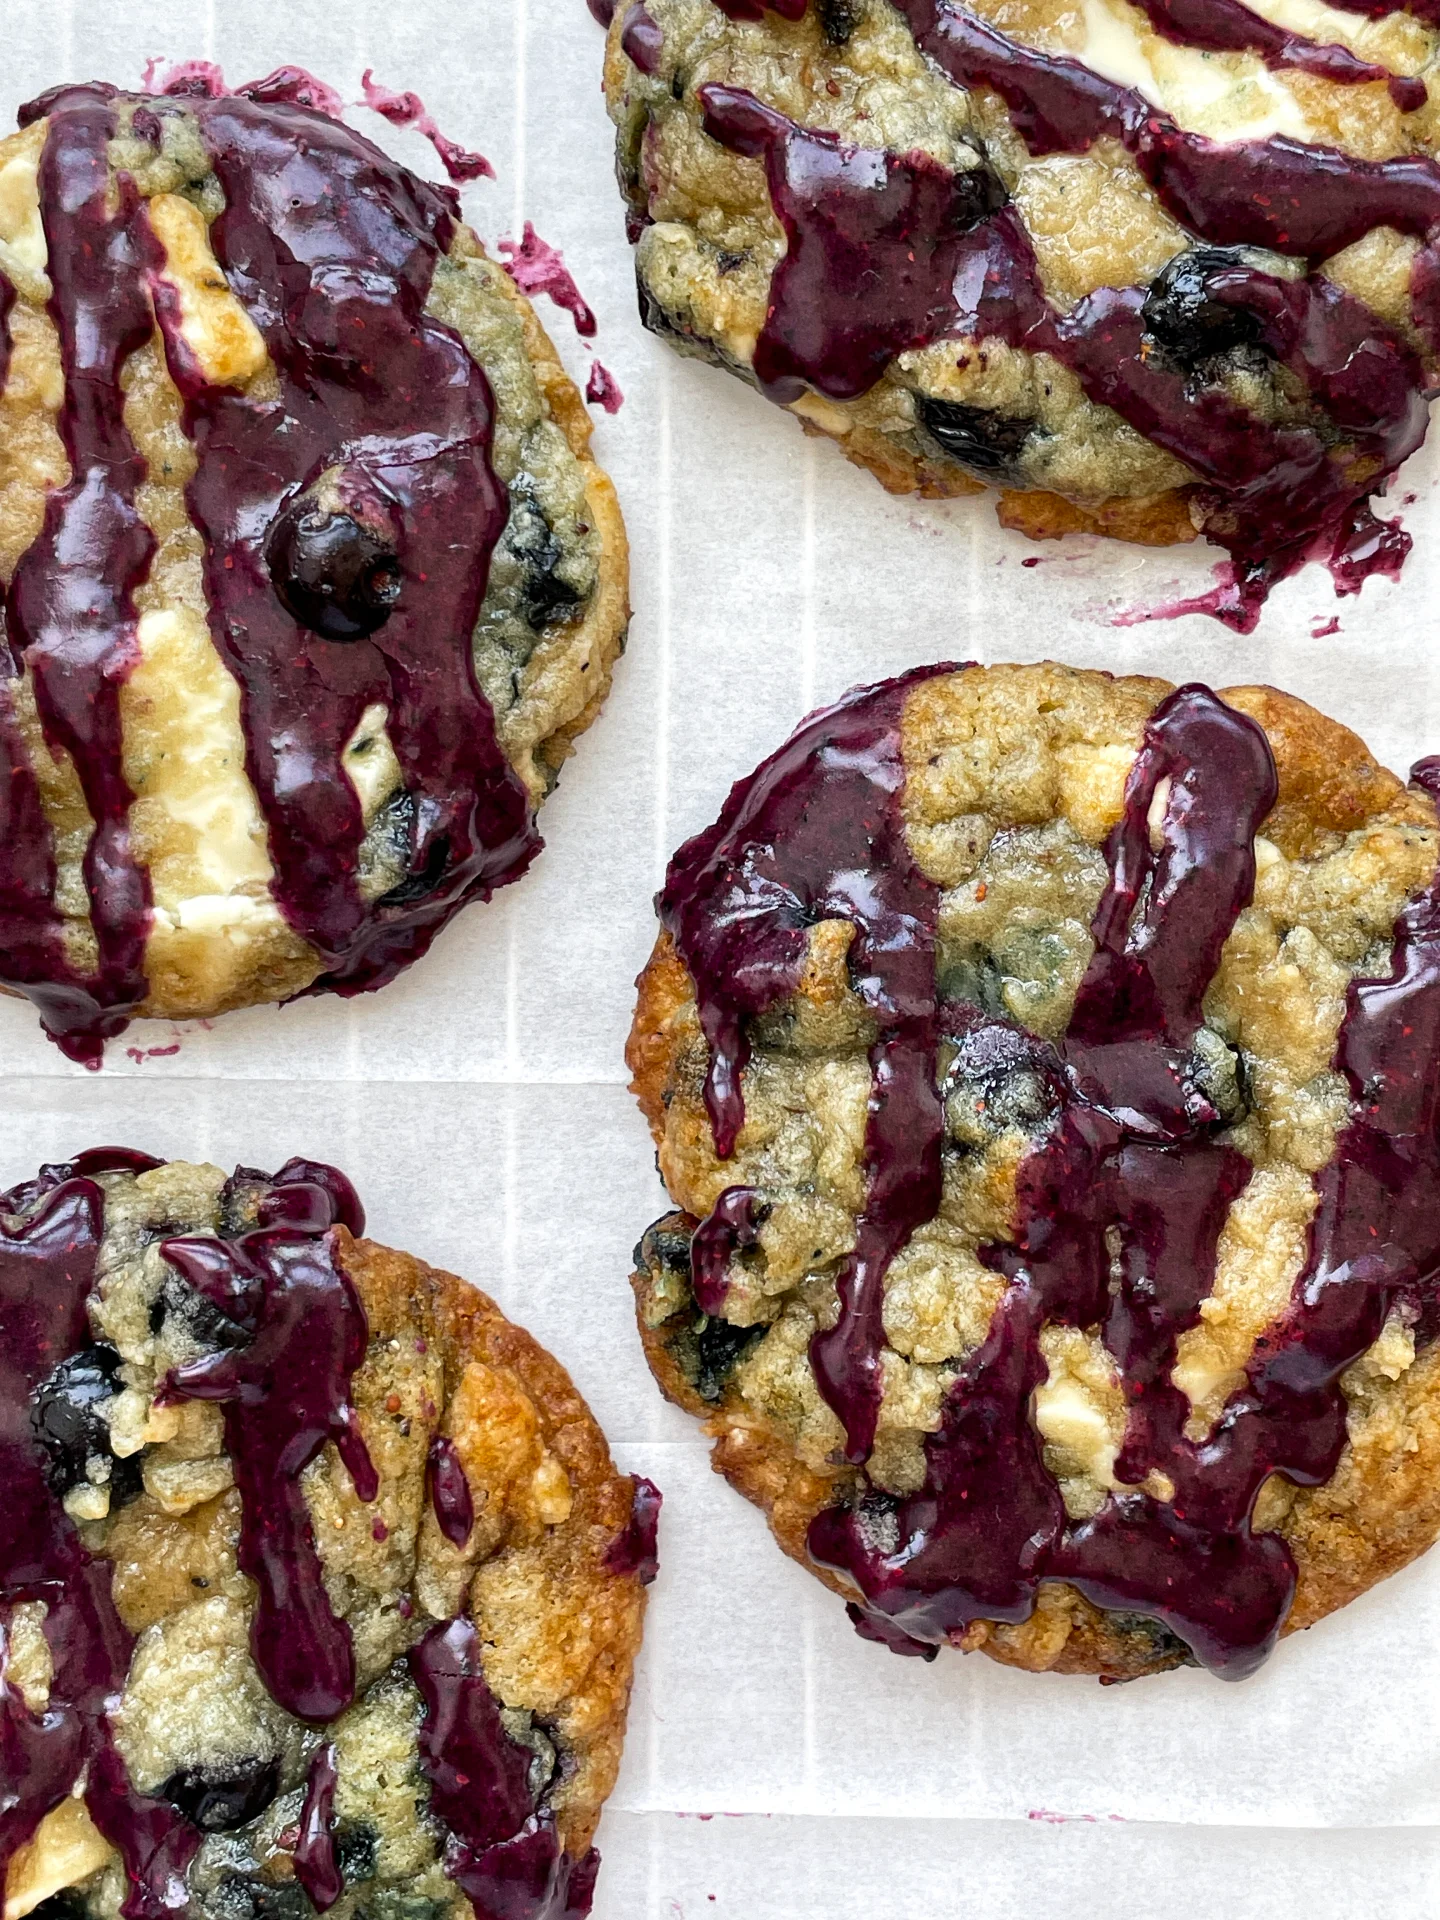
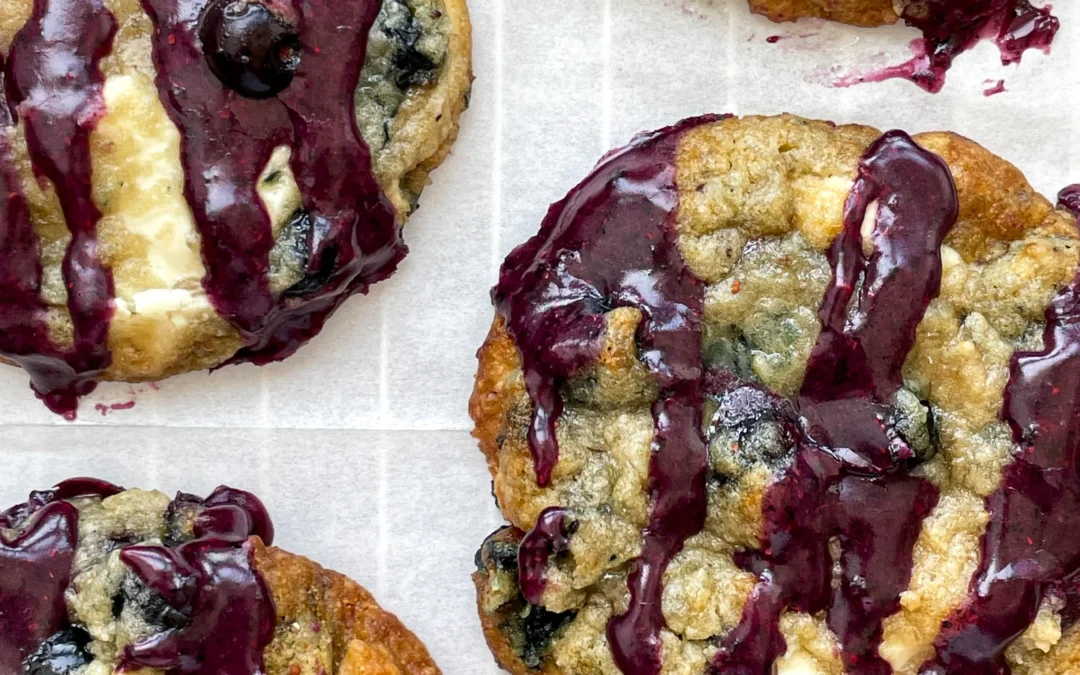
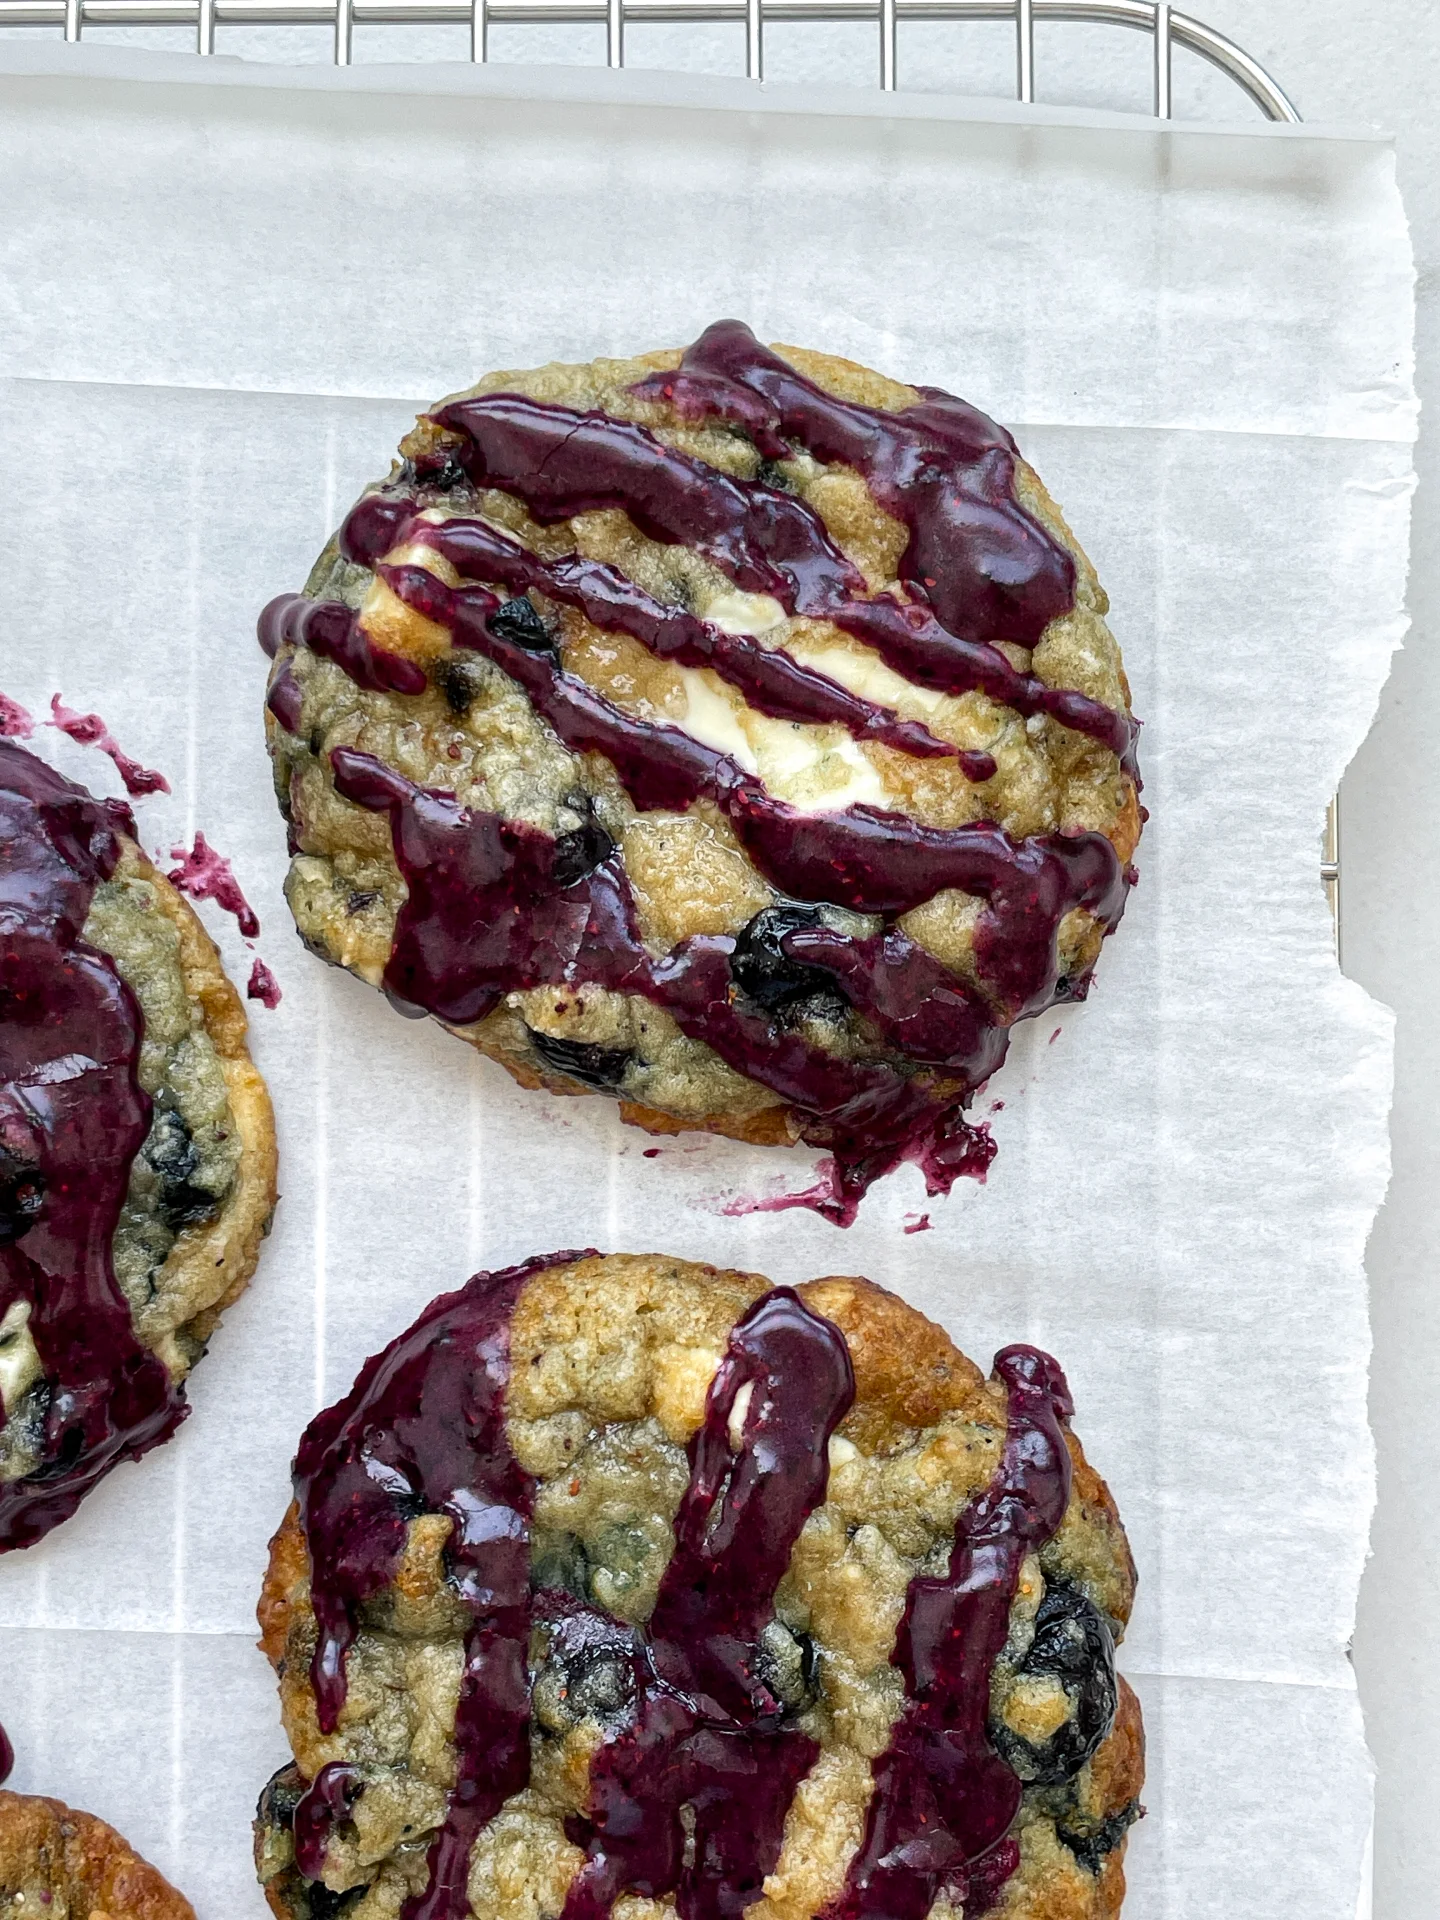
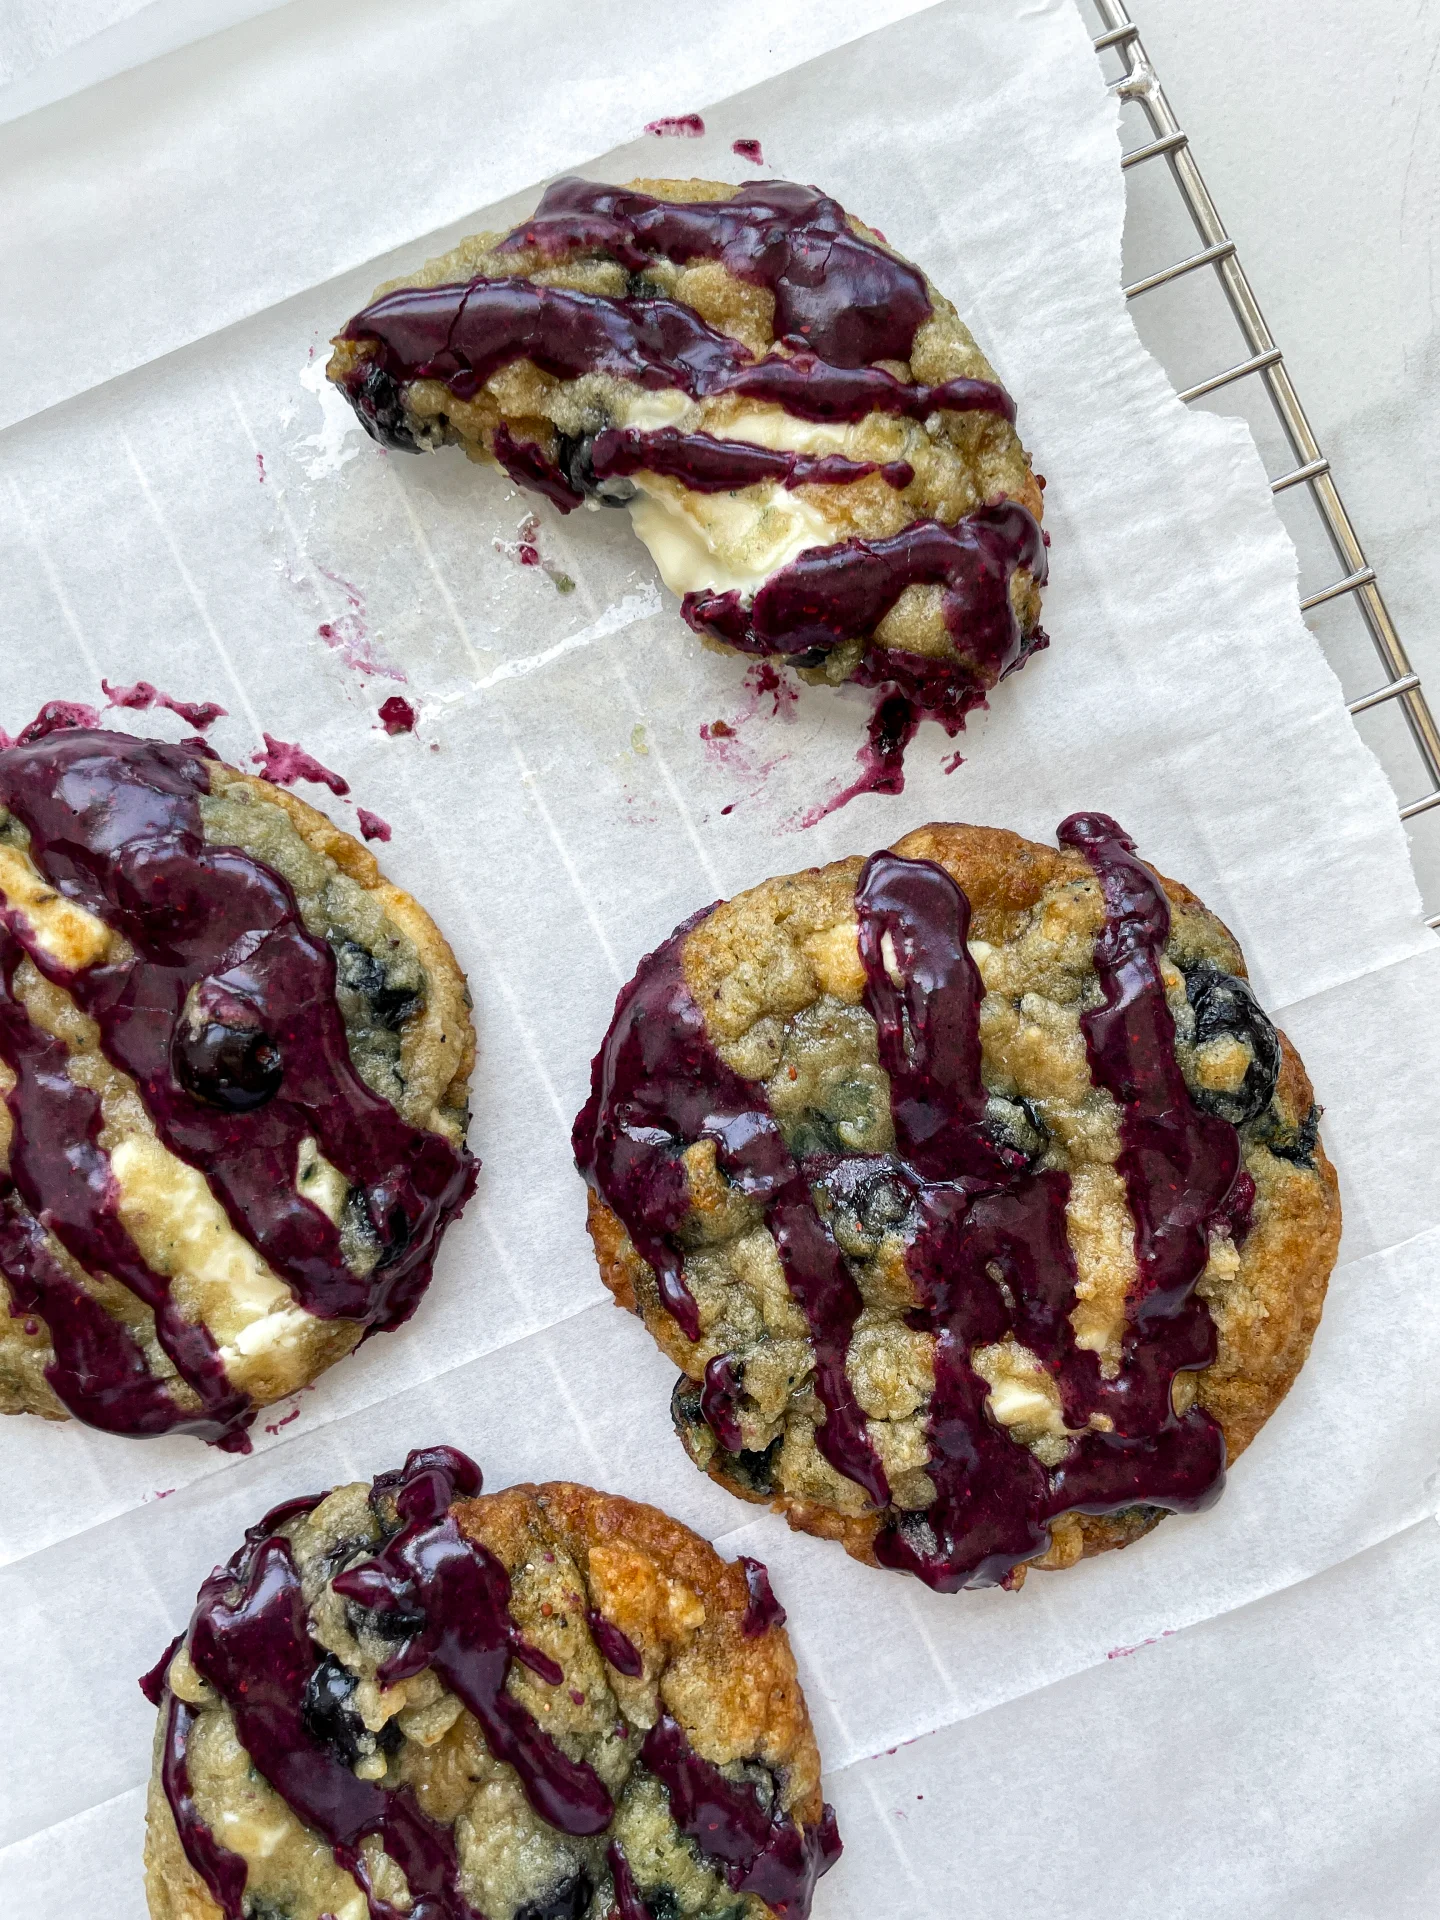
Indulge in soft, melt-in-your-mouth cookies bursting with juicy blueberries and creamy sweetness of white chocolate, topped with a vibrant blueberry drizzle – perfect for cozy afternoons and sweet tooth cravings.
This website uses affiliate links which may earn commission for purchases made at no additional cost to you.

TOTAL TIME

2 hrs + 25 min

SERVES

12 cookies

DIET

vegetarian

EVERY RECIPE DESERVES

A Little Love Letter

Get ready to treat yourself to a batch of cookies that’s the perfect blend of creamy and fruity goodness. These soft-baked cookies are packed with juicy berries and creamy sweetness, offering a delightful twist on your classic cookie. The vibrant, tangy drizzle on top adds just the right amount of zing, making these cookies a perfect choice for cozy afternoons or when you’re just craving something sweet and satisfying. Whether you’re a seasoned baker or just starting out, this recipe is a must-try for anyone who loves experimenting in the kitchen.

These cookies are best enjoyed fresh out of the oven, with the soft, warm centers giving way to pockets of melted sweetness and bursts of berry flavor. For an extra touch, drizzle the tangy icing over the top while the cookies are still slightly warm, letting it melt into the crevices for a truly indulgent experience. Pair them with a hot cup of tea or coffee, or even a cold glass of milk, and you’ve got the perfect treat for any time of day.

To keep these cookies fresh and delicious, store them in an airtight container at room temperature. They’ll stay soft and flavorful for up to four days. If you need to keep them longer, you can freeze them in a sealed bag or container for up to two months. Just thaw at room temperature and enjoy as if they were freshly baked!

Hi, I'm Kimberly!

Hi, I'm Kimberly.

A hopeless romantic when it comes to food. Every recipe I share is a love letter to food itself. I’m so glad you’re here. Make yourself at home and stay a while.

Love,
Kimberly

Kimberly the Zett Signature

If you want to get to know me better,
click here!


White Chocolate Blueberry Cookies & Blueberry Icing

LET’S MAKE A PIECE OF HAPPINESS

Print
clock clock iconcutlery cutlery iconflag flag iconfolder folder iconinstagram instagram iconpinterest pinterest iconfacebook facebook iconprint print iconsquares squares iconheart heart iconheart solid heart solid icon
White Chocolate Blueberry Cookies & Blueberry Icing

White Chocolate Blueberry Cookies & Blueberry Icing


  • Author: Kimberly
  • Total Time: 2 hrs + 25 min
  • Yield: 12 cookies 1x

Description

Recommended Equipment

  • two medium-sized bowls
  • whisk
  • sharp knife
  • cutting board
  • spatula
  • cookie scoop
  • small bowl
  • mortar and pestle

Ingredients

Units Scale
COOKIE DOUGH
  • 120 grams butter
  • 100 grams brown sugar
  • 100 grams white sugar
  • 2 tsp vanilla extract
  • 1 egg
  • 220 grams all-purpose flour
  • 1/2 tsp salt
  • 1/2 tsp baking soda
  • 150 grams white chocolate
  • 200 grams fresh blueberries
ICING
  • 1 tbsp freeze-dried blueberries
  • 75 grams powdered sugar
  • 2 tbsp milk

Instructions

  1. Melt the butter in the microwave or in a small pot. In a medium-sized bowl, combine the melted butter, brown sugar, white sugar, and vanilla extract until the mixture is smooth and the sugar is almost dissolved. Next, add the egg and mix everything together. Set aside.
  2. In another medium-sized bowl, mix together the flour, baking soda, and salt, then set it aside.
  3. On a cutting board, chop the chocolate into pieces. Weigh the blueberries.
  4. Now, add the flour mixture to the butter-sugar mixture, along with the chocolate and blueberries. Mix until just combined, with no streaks of flour visible. Don’t overmix. Use a cookie scoop to form 12 equally sized dough balls and place them on a sheet of parchment paper. Chill the dough balls in the refrigerator for at least 2 hours. If you’re very patient, you can leave them in the fridge for 24 hours—they’ll taste even better!
  5. When you’re ready to bake the cookies, preheat the oven to 150°C (300°F). Once the oven is hot, place the cookie dough balls on a parchment-lined baking sheet with enough space between them, and bake for 13 minutes. If you prefer thicker cookies, you can use a bowl that’s wider than the cookie to circle around it, shaping the cookie and making it thicker. Let the cookies cool slightly.
  6. Meanwhile, you can prepare the icing. For this, crush the freeze-dried blueberries into a powder using a mortar and pestle. Then, mix 1 tablespoon of this powder with powdered sugar and milk. Drizzle the icing over the cookies in a zigzag pattern, let it set for a few minutes, and then enjoy the cookies.
  • Passive Time: 180 min
  • Cook Time: 25 min

CRAVING MORE?

Follow along here & don’t forget to subscribe to my substack!

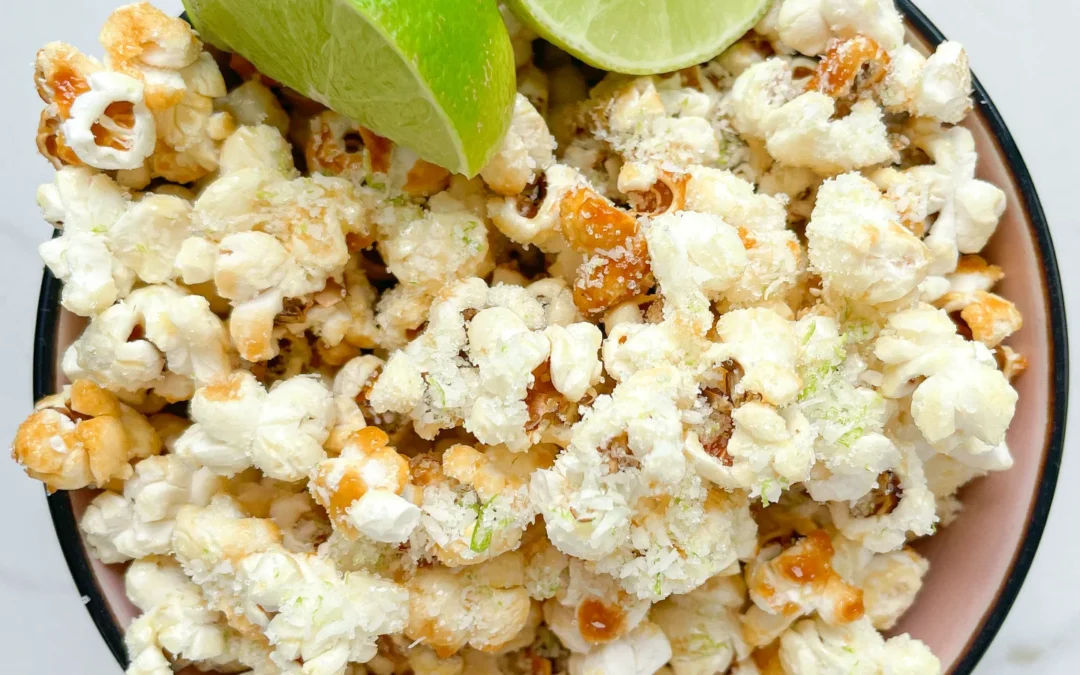
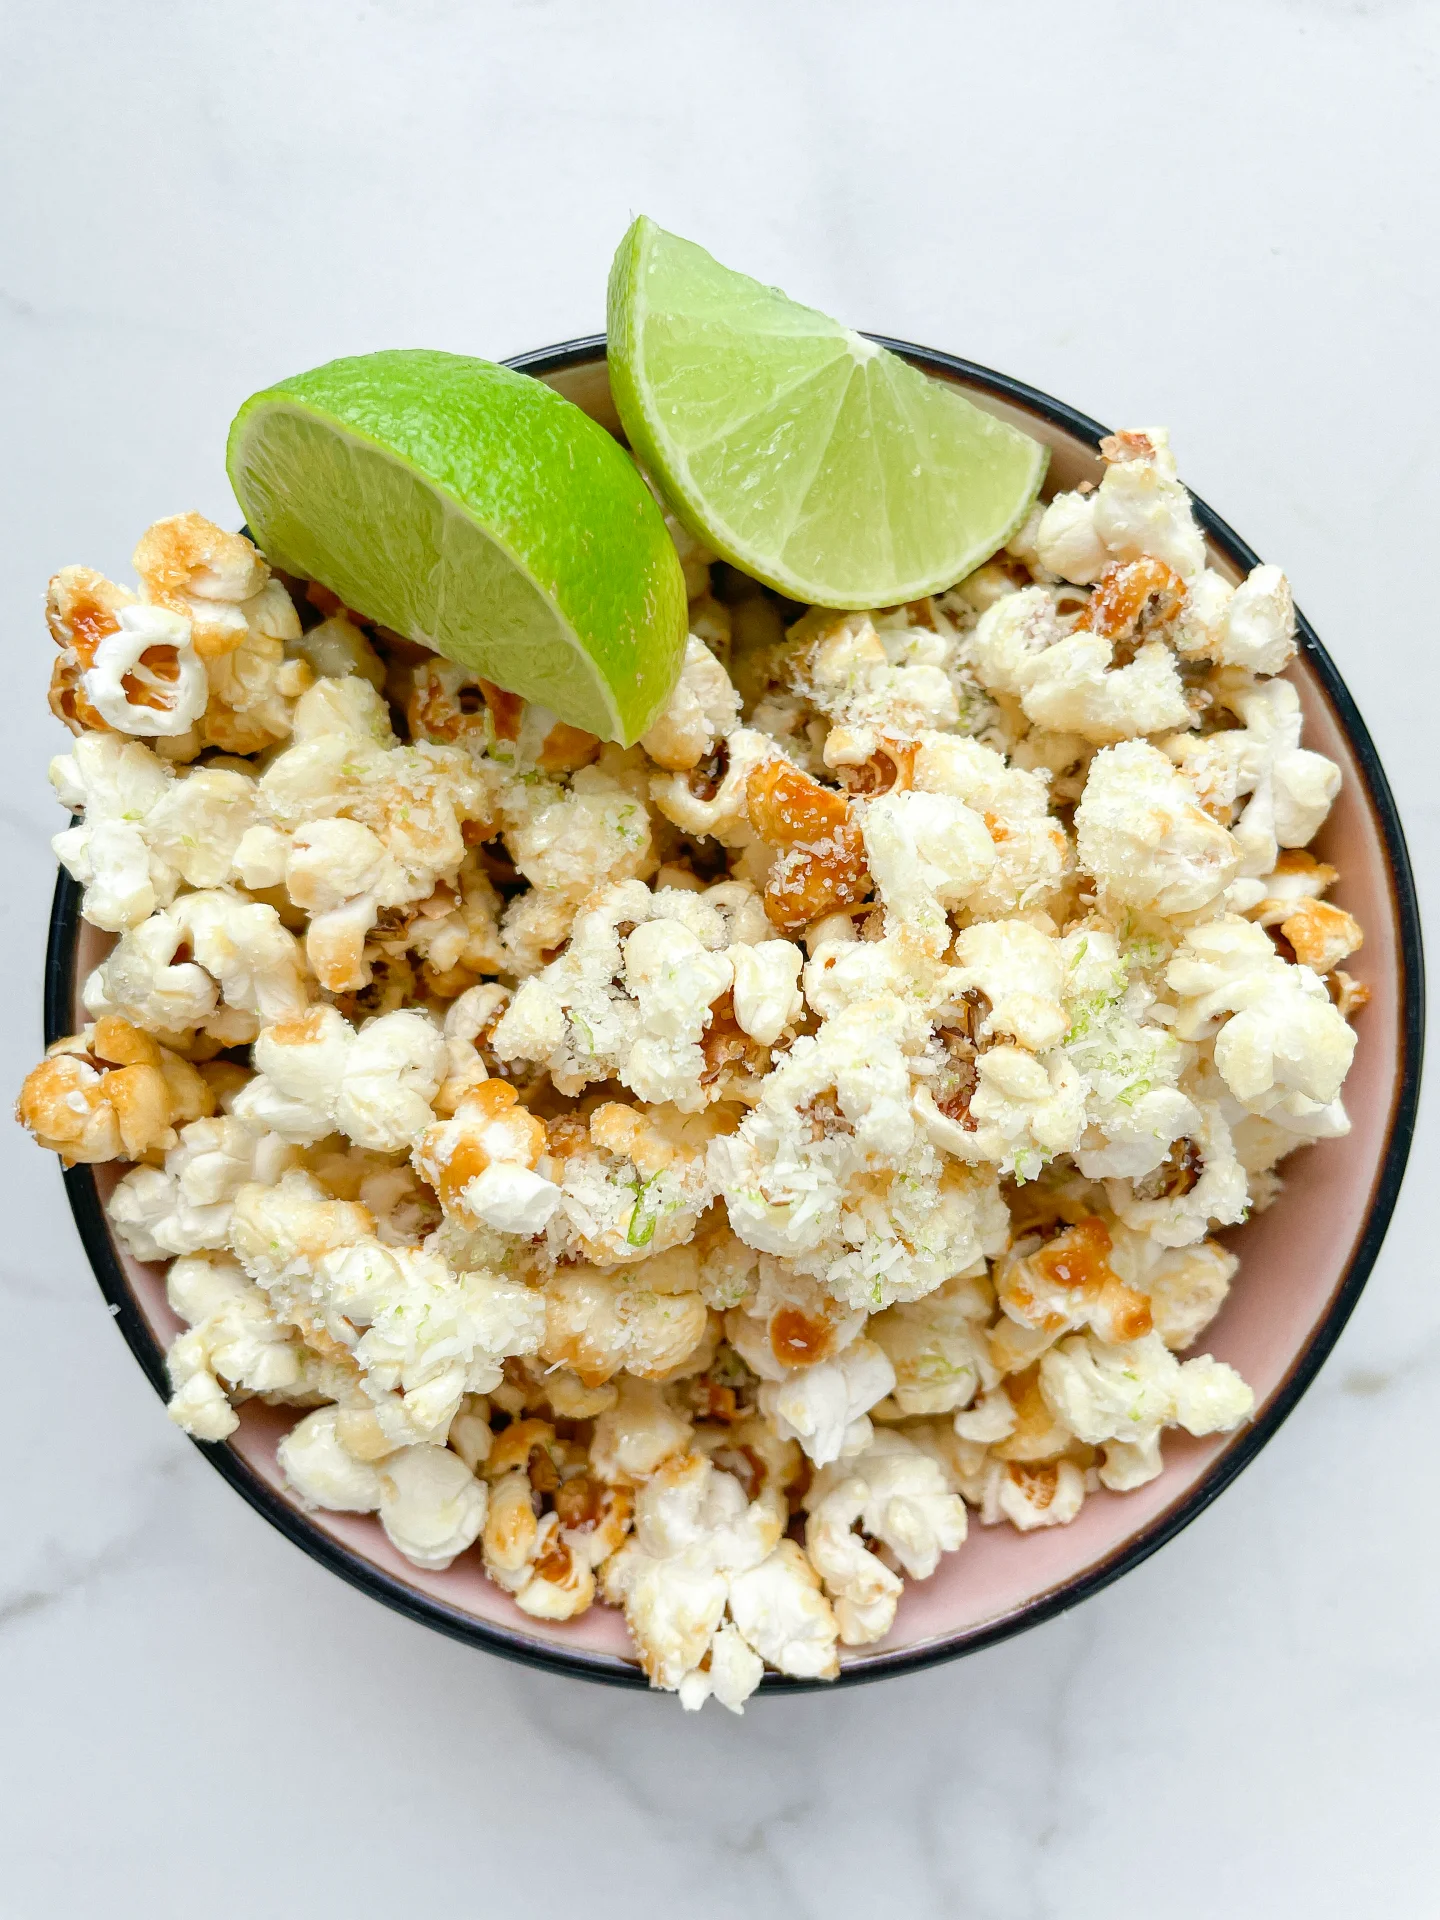
Coconut Lime Popcorn

Coconut Lime Popcorn

Coconut Lime Popcorn

Coconut Lime Popcorn

August 28, 2024 by Kimberly

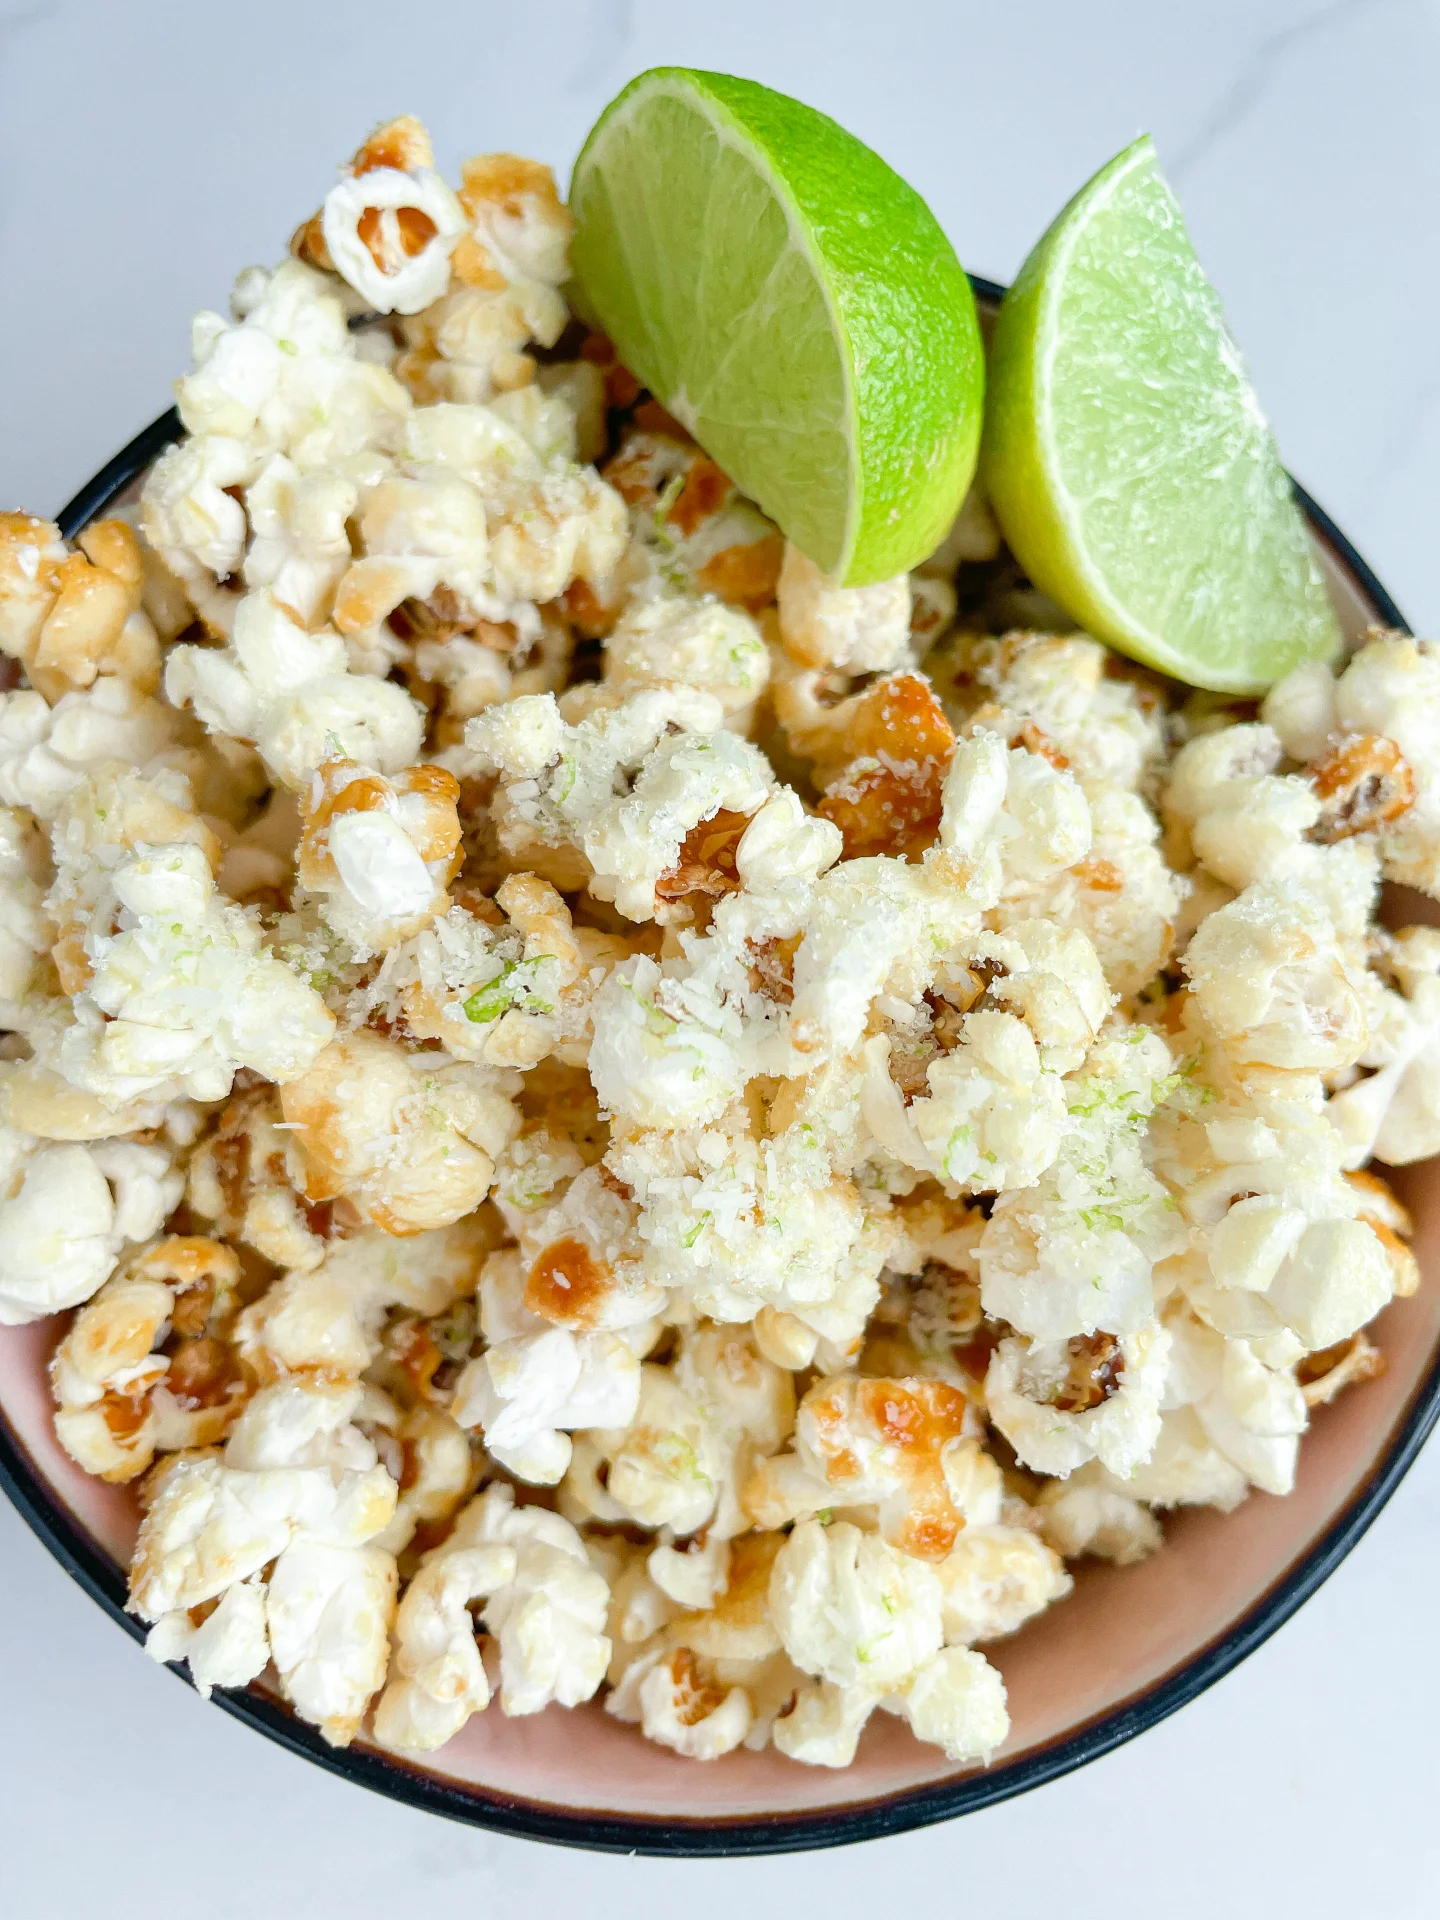
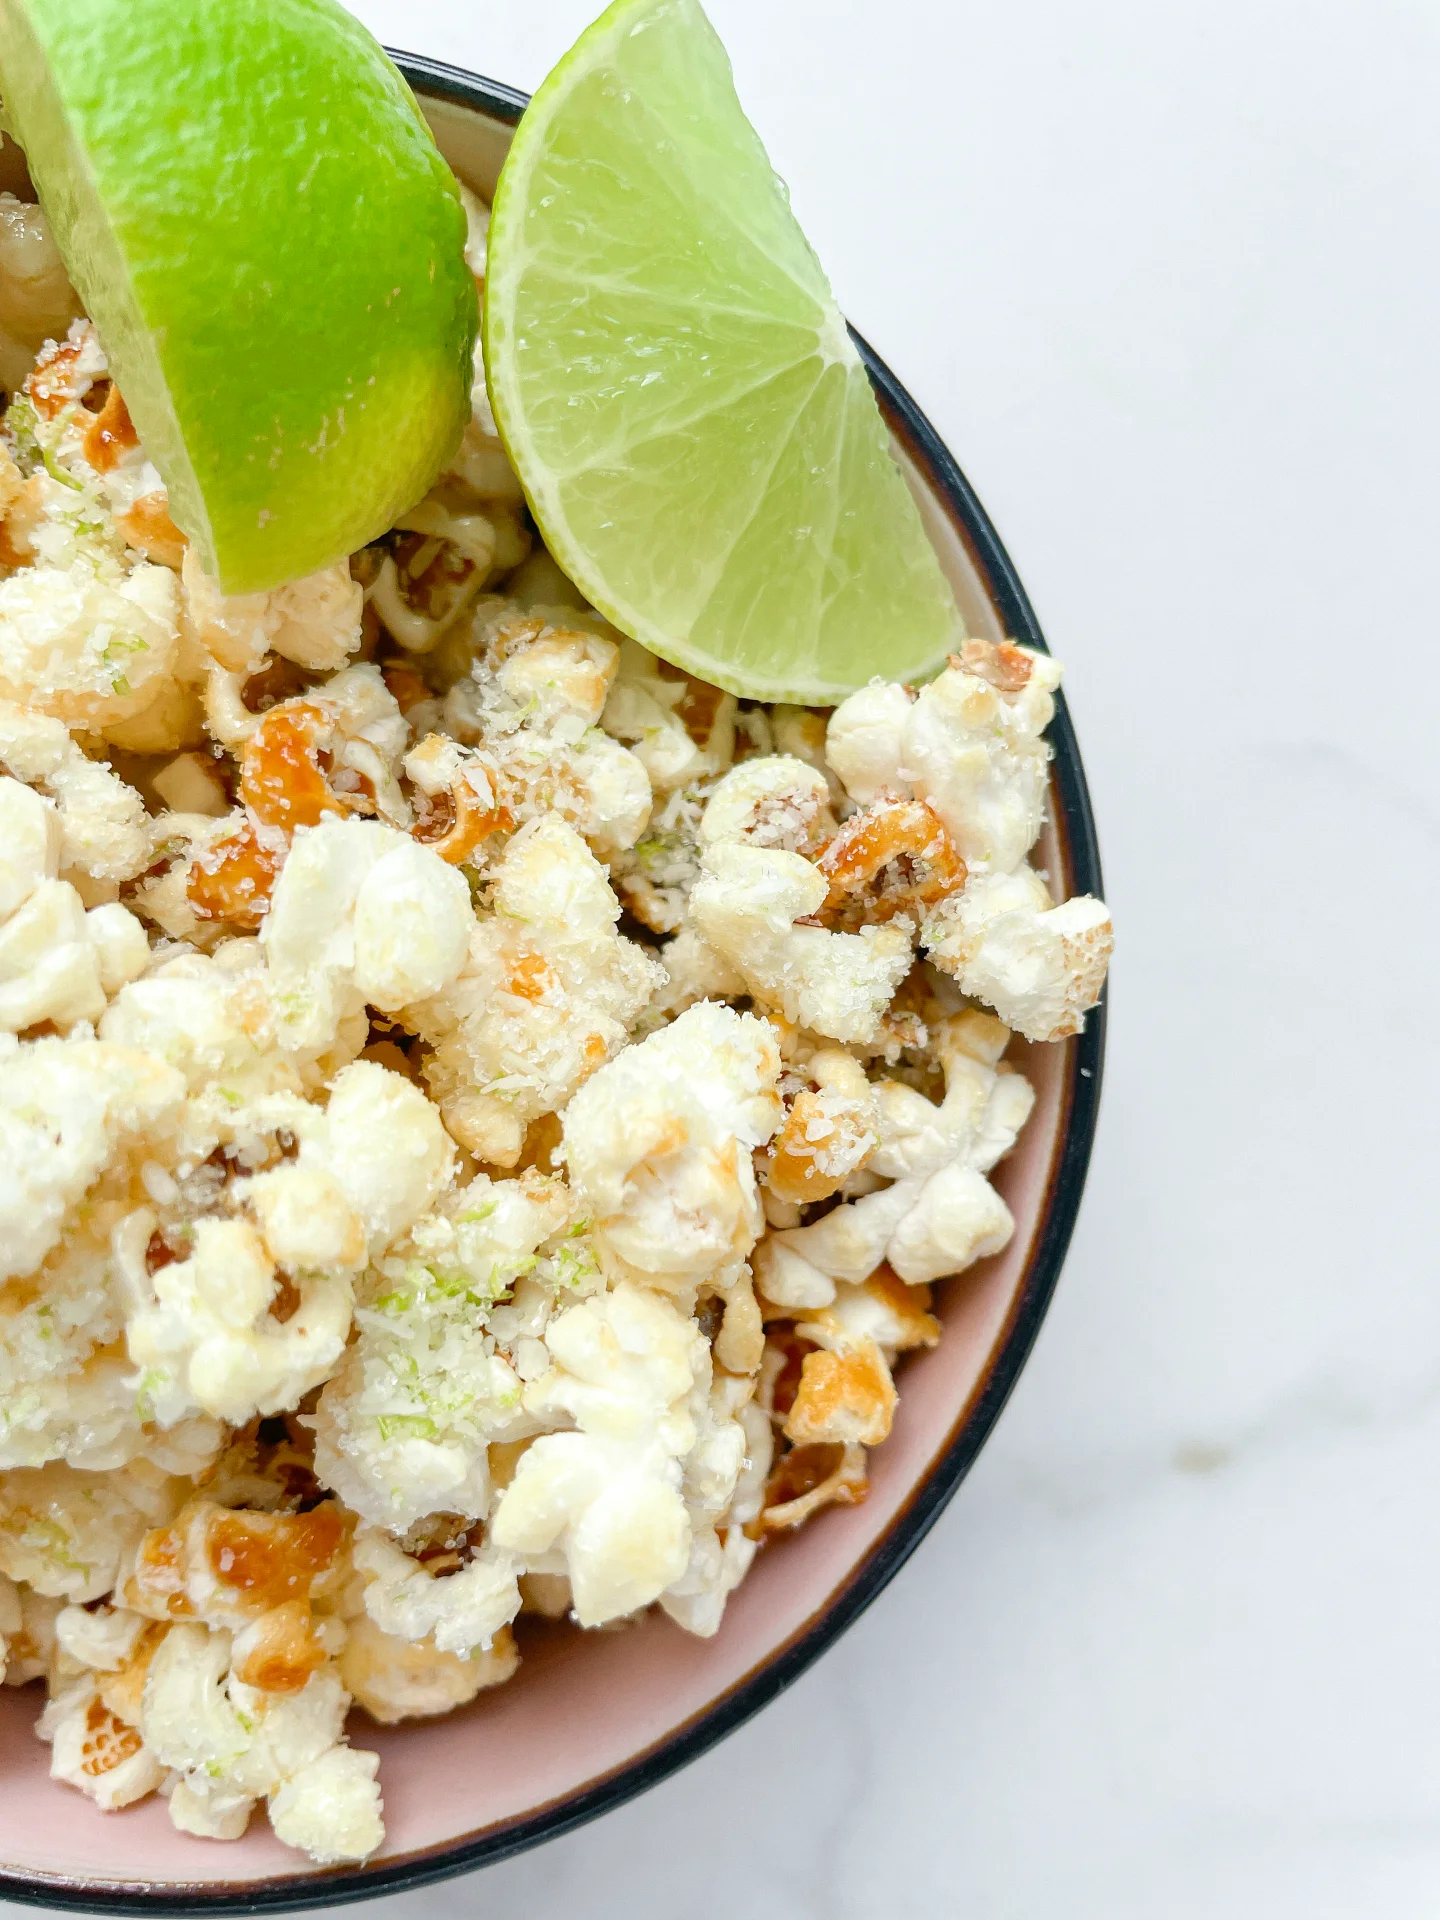
Indulge in this tropical popcorn treat! The refreshing burst of lime and the rich coconut flavor make every bite a mini vacation. Perfect for cozy movie nights or fun gatherings.

This website uses affiliate links which may earn commission for purchases made at no additional cost to you.

TOTAL TIME

20 min

SERVES

2 portions

DIET

vegan

EVERY RECIPE DESERVES

A Little Love Letter

Ready to take your snack game to the next level? This coconut and lime flavored popcorn is a game-changer. Imagine the zingy taste of lime combined with the rich, creamy flavor of coconut. It’s a tropical twist on your favorite snack that’s perfect for movie nights, parties, or just because. Quick to make and absolutely delicious, this popcorn will become your go-to treat for every occasion!

It’s perfect for a cozy movie night at home, adding a tropical vibe to your entertainment. For a party, place it in colorful bowls for a festive touch. You can also pack it into little snack bags for a sweet and tangy treat on the go. This popcorn pairs wonderfully with a cold drink, making it an ideal companion for both casual and special moments.

Simply let it cool completely before placing it in an airtight container. It stays fresh and crunchy for up to three days.

Hi, I'm Kimberly!

Hi, I'm Kimberly.

A hopeless romantic when it comes to food. Every recipe I share is a love letter to food itself. I’m so glad you’re here. Make yourself at home and stay a while.

Love,
Kimberly

Kimberly the Zett Signature

If you want to get to know me better,
click here!


Coconut Lime Popcorn

LET’S MAKE A PIECE OF HAPPINESS

Print
clock clock iconcutlery cutlery iconflag flag iconfolder folder iconinstagram instagram iconpinterest pinterest iconfacebook facebook iconprint print iconsquares squares iconheart heart iconheart solid heart solid icon
Coconut Lime Popcorn

Coconut Lime Popcorn


  • Author: Kimberly
  • Total Time: 20 min
  • Yield: 2 1x

Description

RECOMMENDED EQUIPMENT

  • medium pot with lid
  • grater
  • food processor
  • large bowl

Ingredients

Units Scale
  • 60 grams popcorn kernels
  • 30 grams lime coconut oil
  • 60 grams white sugar
TOPPING
  • zest from one lime
  • 1 tbsp shredded coconut
  • 1 tbsp white sugar

Instructions

PREPARATIONS

  • Here you can find the recipe for the lime coconut oil. You need 30g / 1 oz of the oil.
  1. In a medium pot, combine lime-coconut oil, sugar, and popcorn kernels, ensuring all kernels are coated with sugar and oil.
  2. Place the pot on the stove with the lid on and set to medium heat. Wait until the first kernel pops.
  3. While waiting, zest a lime and place the zest in a food processor. Add 1 tablespoon of sugar and 1 tablespoon of shredded coconut. Pulse a few times until the mixture is fragrant. Set aside.
  4. As the kernels start to pop, occasionally shake and gently swirl the pot to ensure even heating. After about 3-5 minutes, all kernels should be popped, and the sugar should have turned a light amber color.
  5. Carefully open the lid and pour the popcorn into a large bowl.
  6. Immediately sprinkle the topping over the popcorn and mix well to coat the popcorn evenly. Divide the popcorn into two bowls and enjoy!
  • Passive Time: 10 min
  • Cook Time: 10 min

CRAVING MORE?

Follow along here & don’t forget to subscribe to my substack!