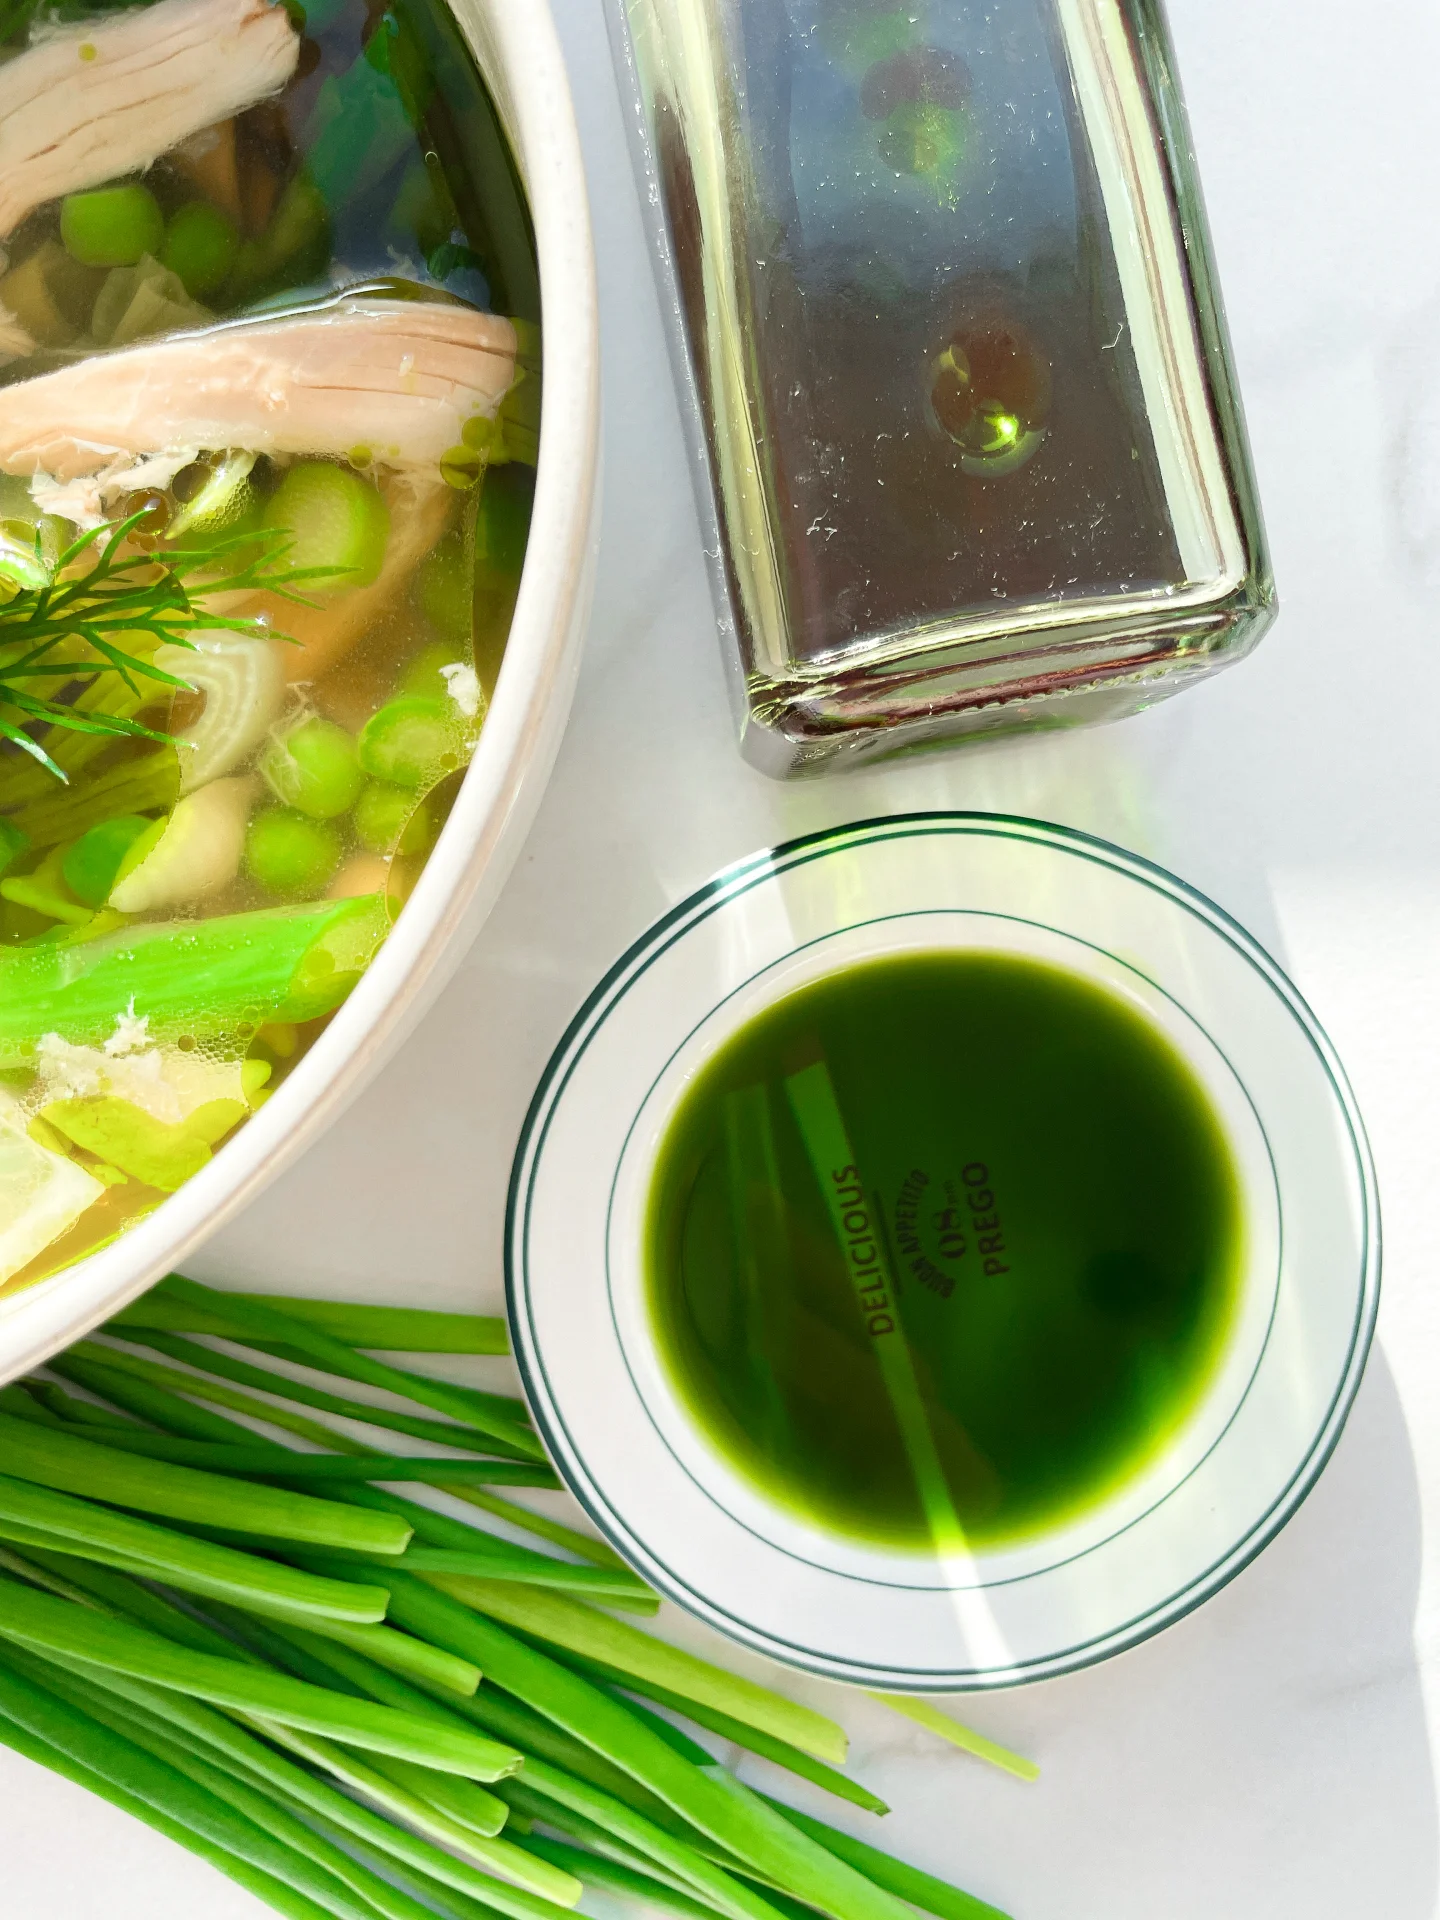
Chive Oil
March 3, 2024 by Kimberly
Elevate your dishes with homemade Chive Oil! Easy, flavorful, and vibrant, it’s the perfect finish to salads, soups, and meats. Fresh, herbal, and utterly delightful.
This website uses affiliate links which may earn commission for purchases made at no additional cost to you.
TOTAL TIME
40 min
SERVES
1 cup / 250 ml
DIET
vegan
EVERY RECIPE DESERVES
A Little Love Letter
Discover the simplicity and elegance of Homemade Chive Oil! This vibrant, flavorful oil adds a gourmet touch to any dish. With its fresh, herbal notes, this oil transforms ordinary meals into culinary masterpieces. Perfect for foodies and culinary enthusiasts alike, this easy-to-make infusion will become a staple in your kitchen. Let’s bring the essence of garden-fresh chives to your table!
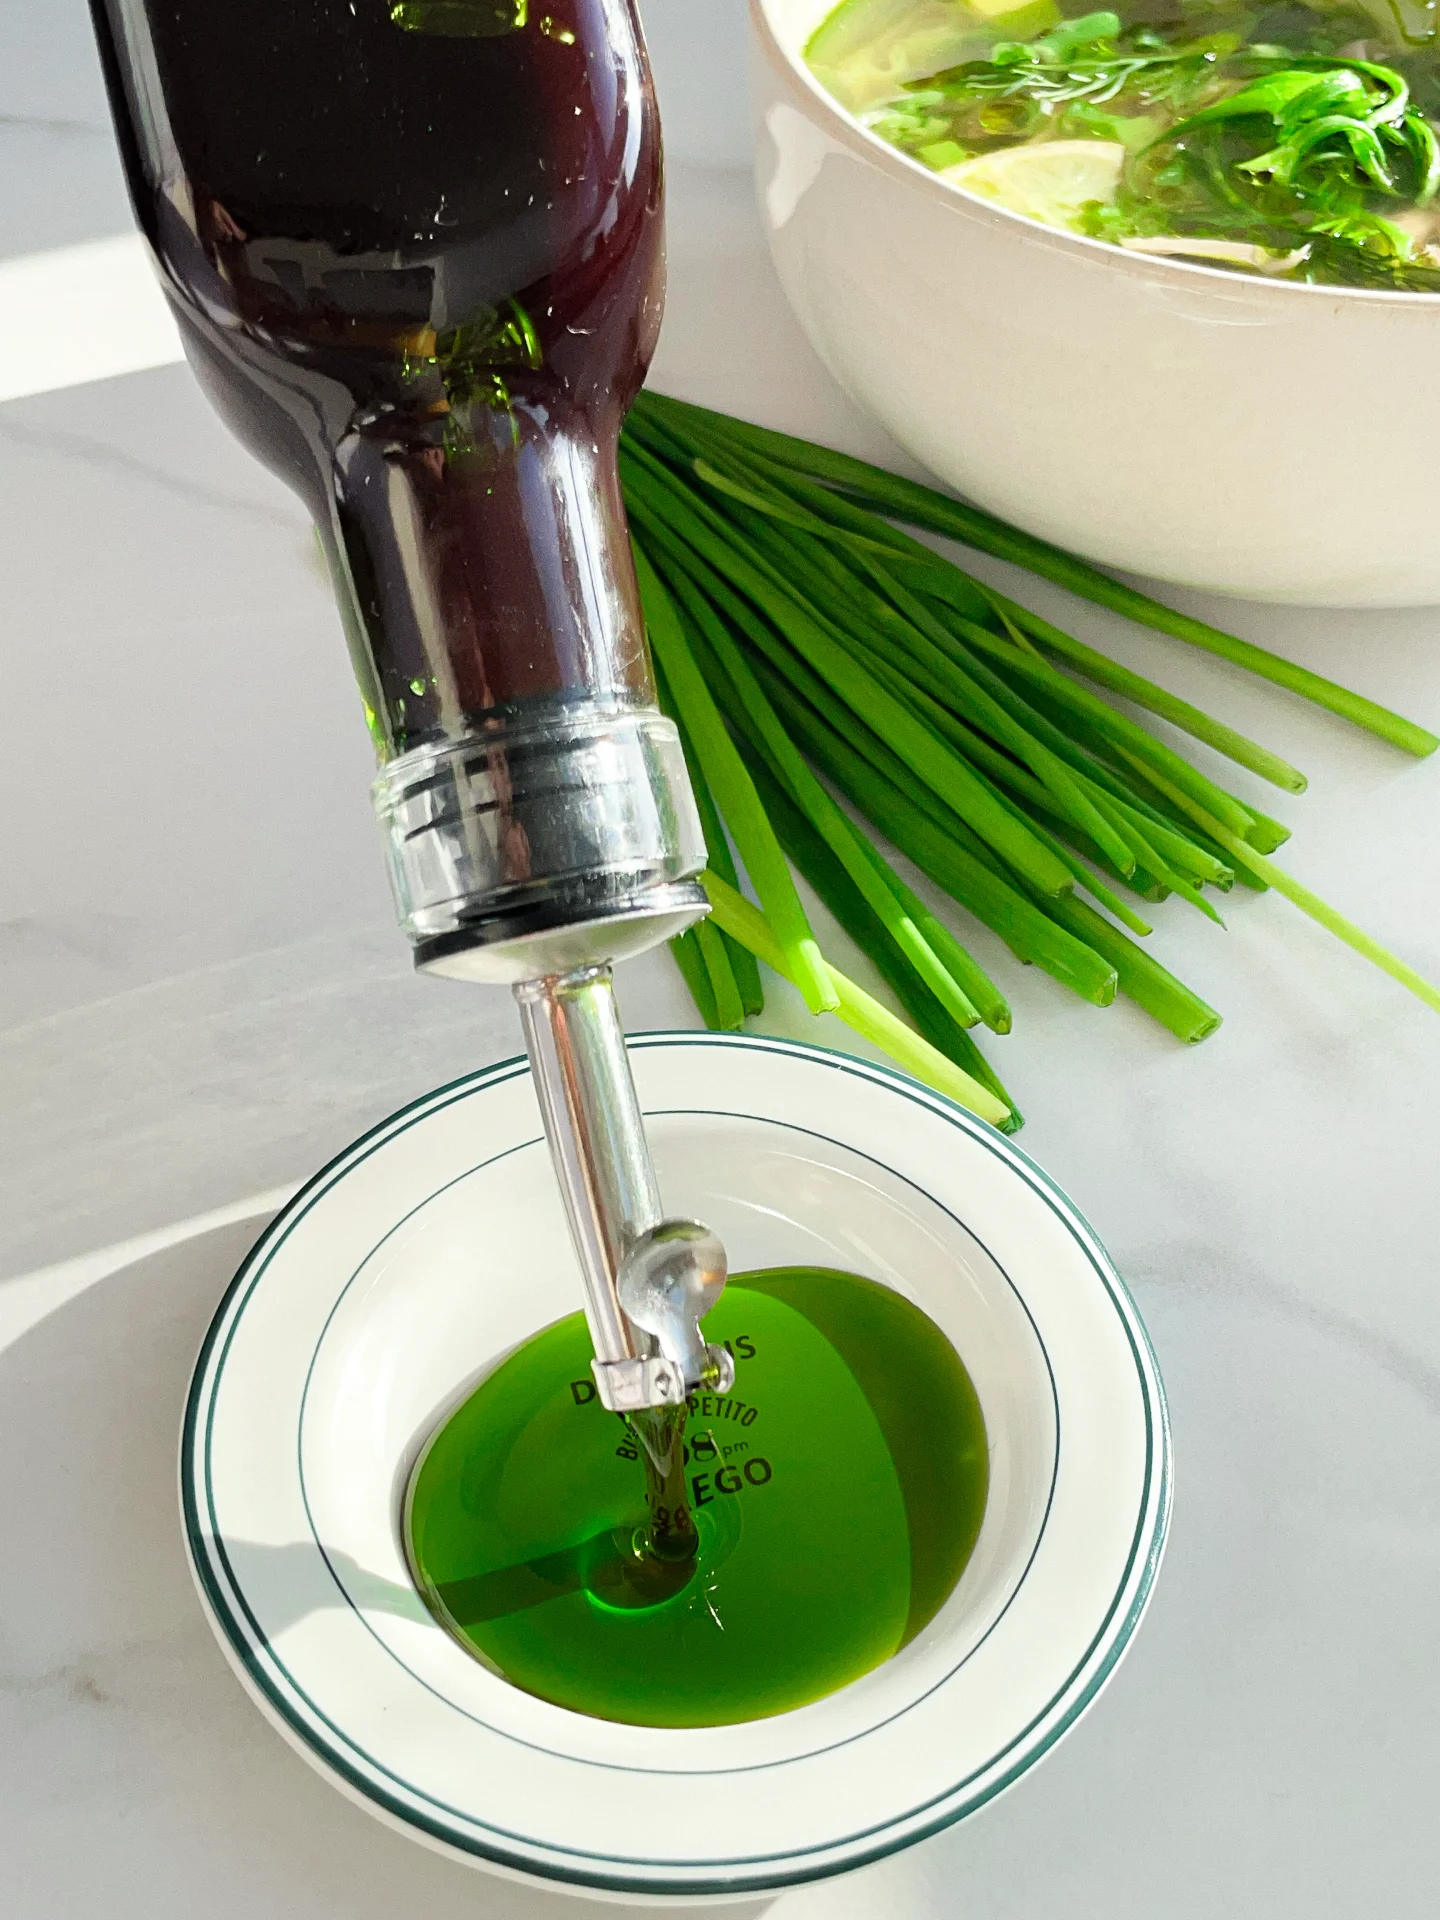
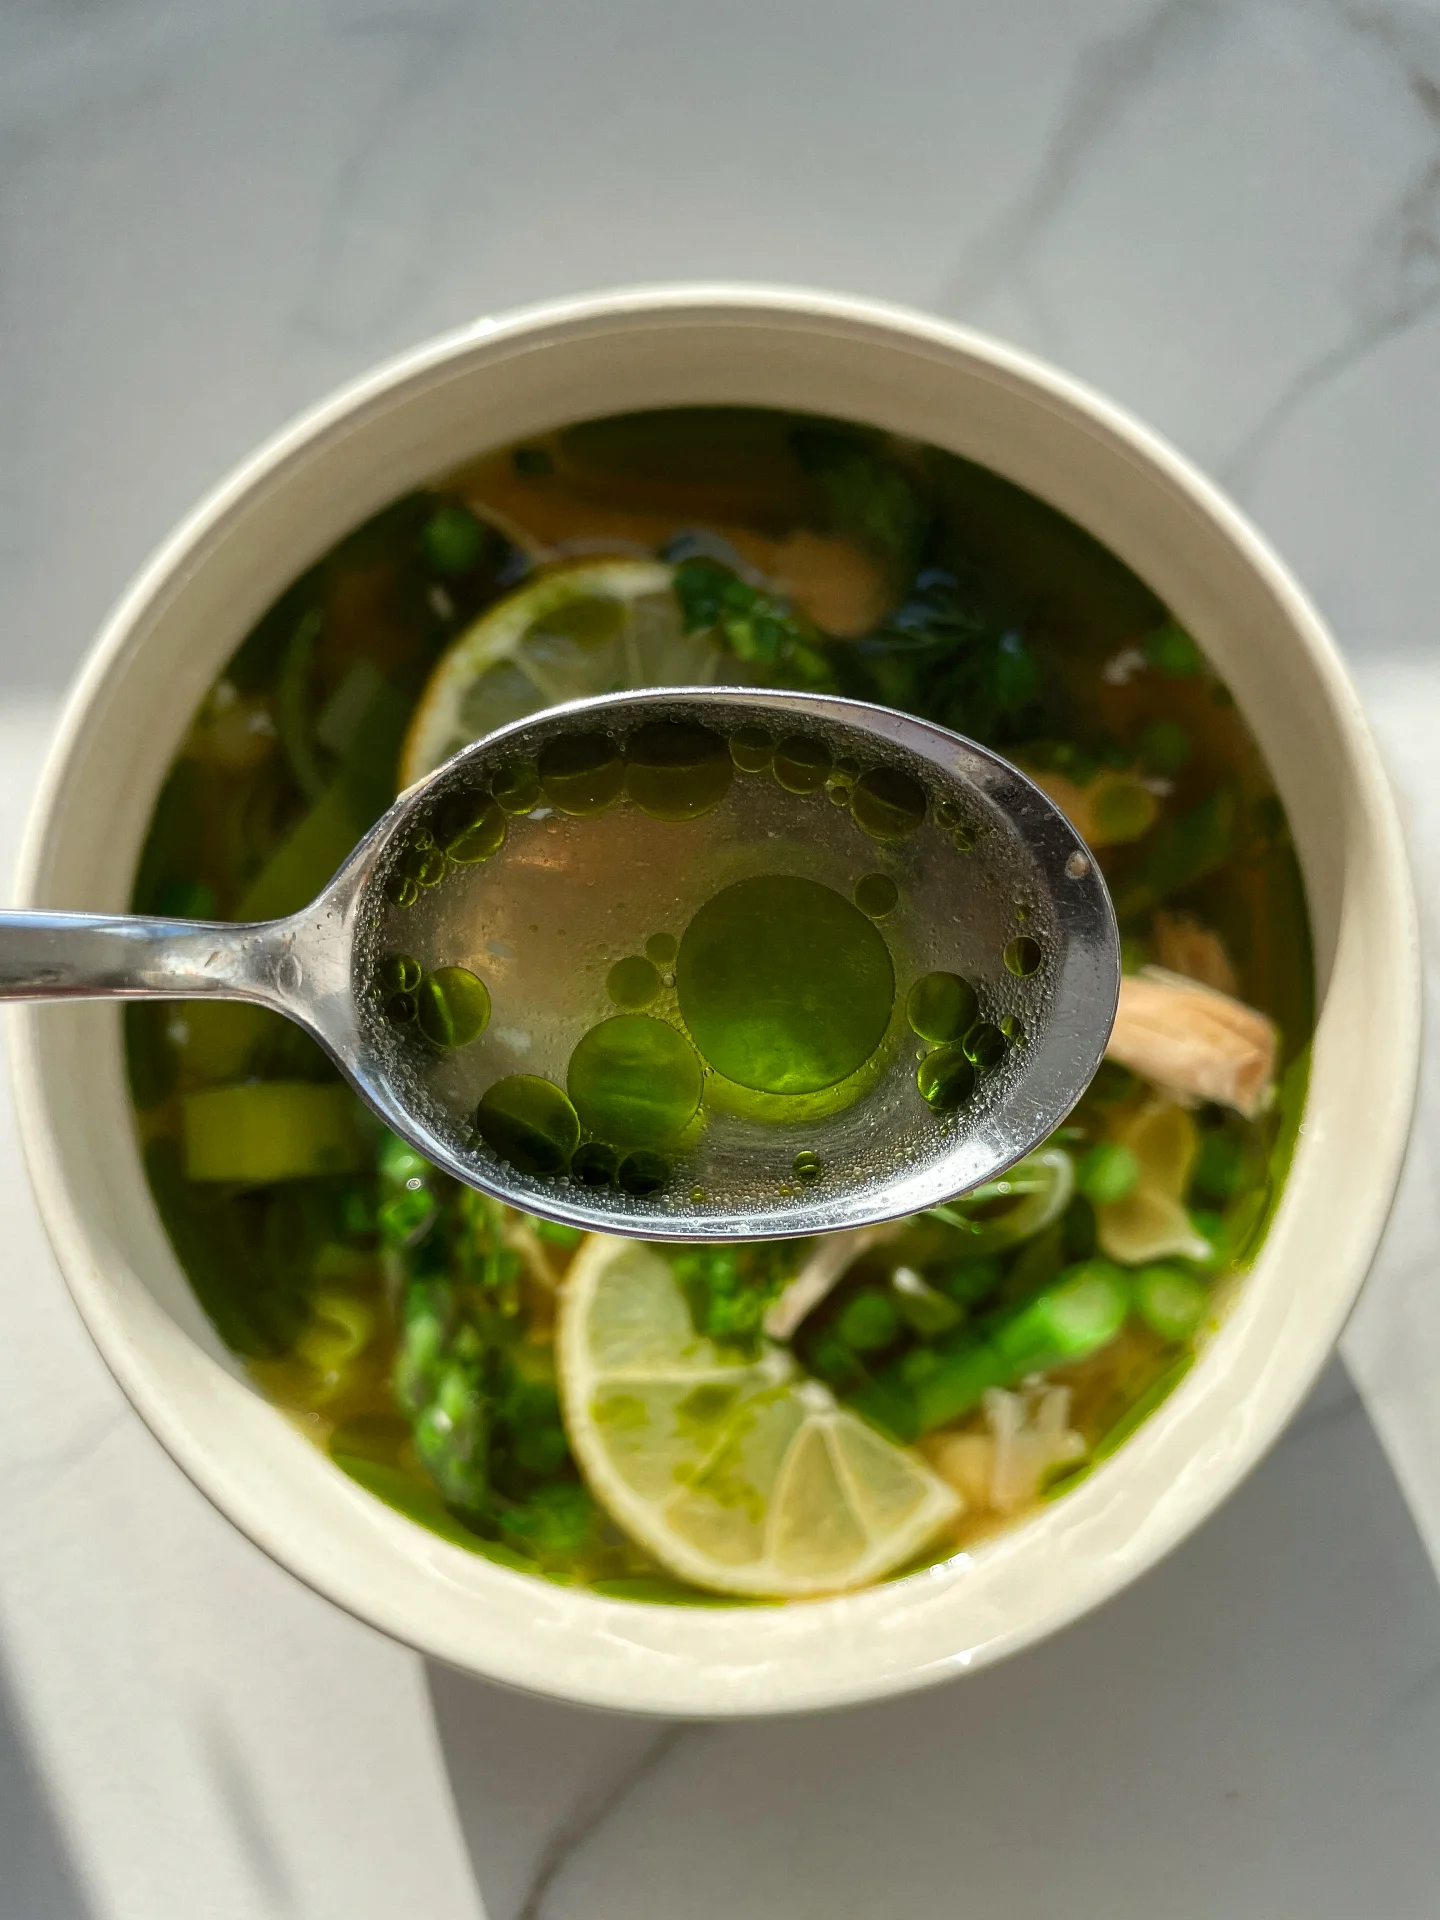
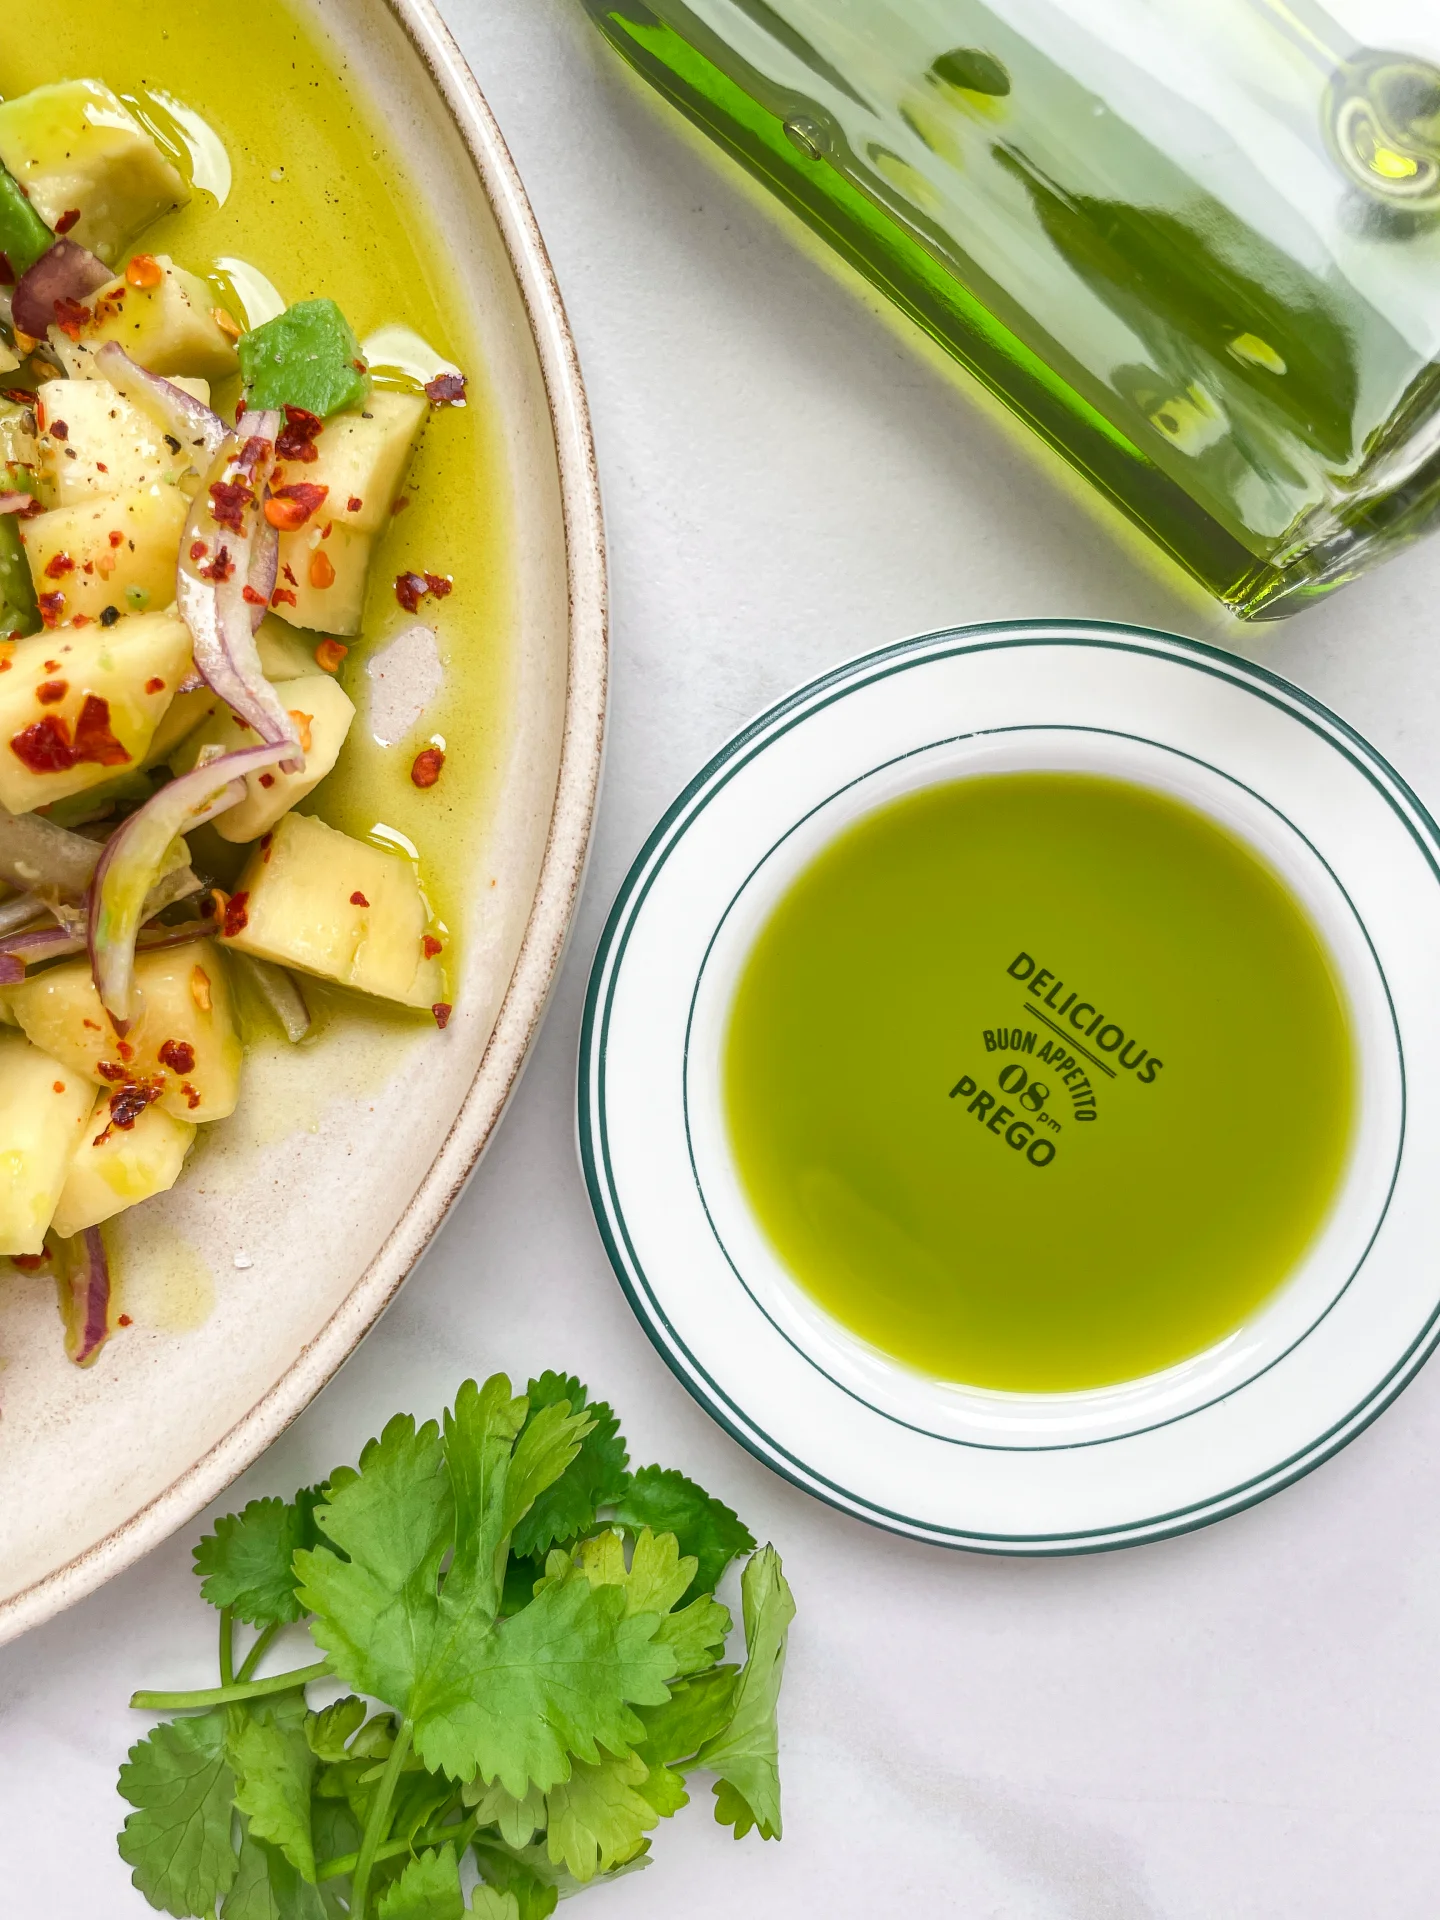
Drizzle this aromatic Chive Oil over roasted vegetables, fresh salads, or grilled fish to enhance flavor and presentation. It’s an excellent addition to potato dishes, scrambled eggs, or as a dip for crusty bread. Incorporate this versatile oil into vinaigrettes or use as a finishing touch on soups for a burst of color and taste.
Store your Chive Oil in an airtight glas in the refrigerator for several weeks. Keep it away from direct sunlight to maintain its vibrant color and fresh flavor.

Hi, I'm Kimberly.
A hopeless romantic when it comes to food. Every recipe I share is a love letter to food itself. I’m so glad you’re here. Make yourself at home and stay a while.
Love,
Kimberly

If you want to get to know me better,
click here!
LET’S MAKE A PIECE OF HAPPINESS
Chive Oil
- Total Time: 40 min
- Yield: 1 cup / 250 ml
Description
RECOMMENDED EQUIPMENT
- blender
- small saucepan
- whisk
- a bowl which the saucepan fits into
- 2 medium-sized bowls
- 2 fine mash strainer
- sealable container (oil bottle)
- ice cubes
- coffee filter
Ingredients
- 35 grams fresh chives
- 250 milliliter neutral cooking oil
Instructions
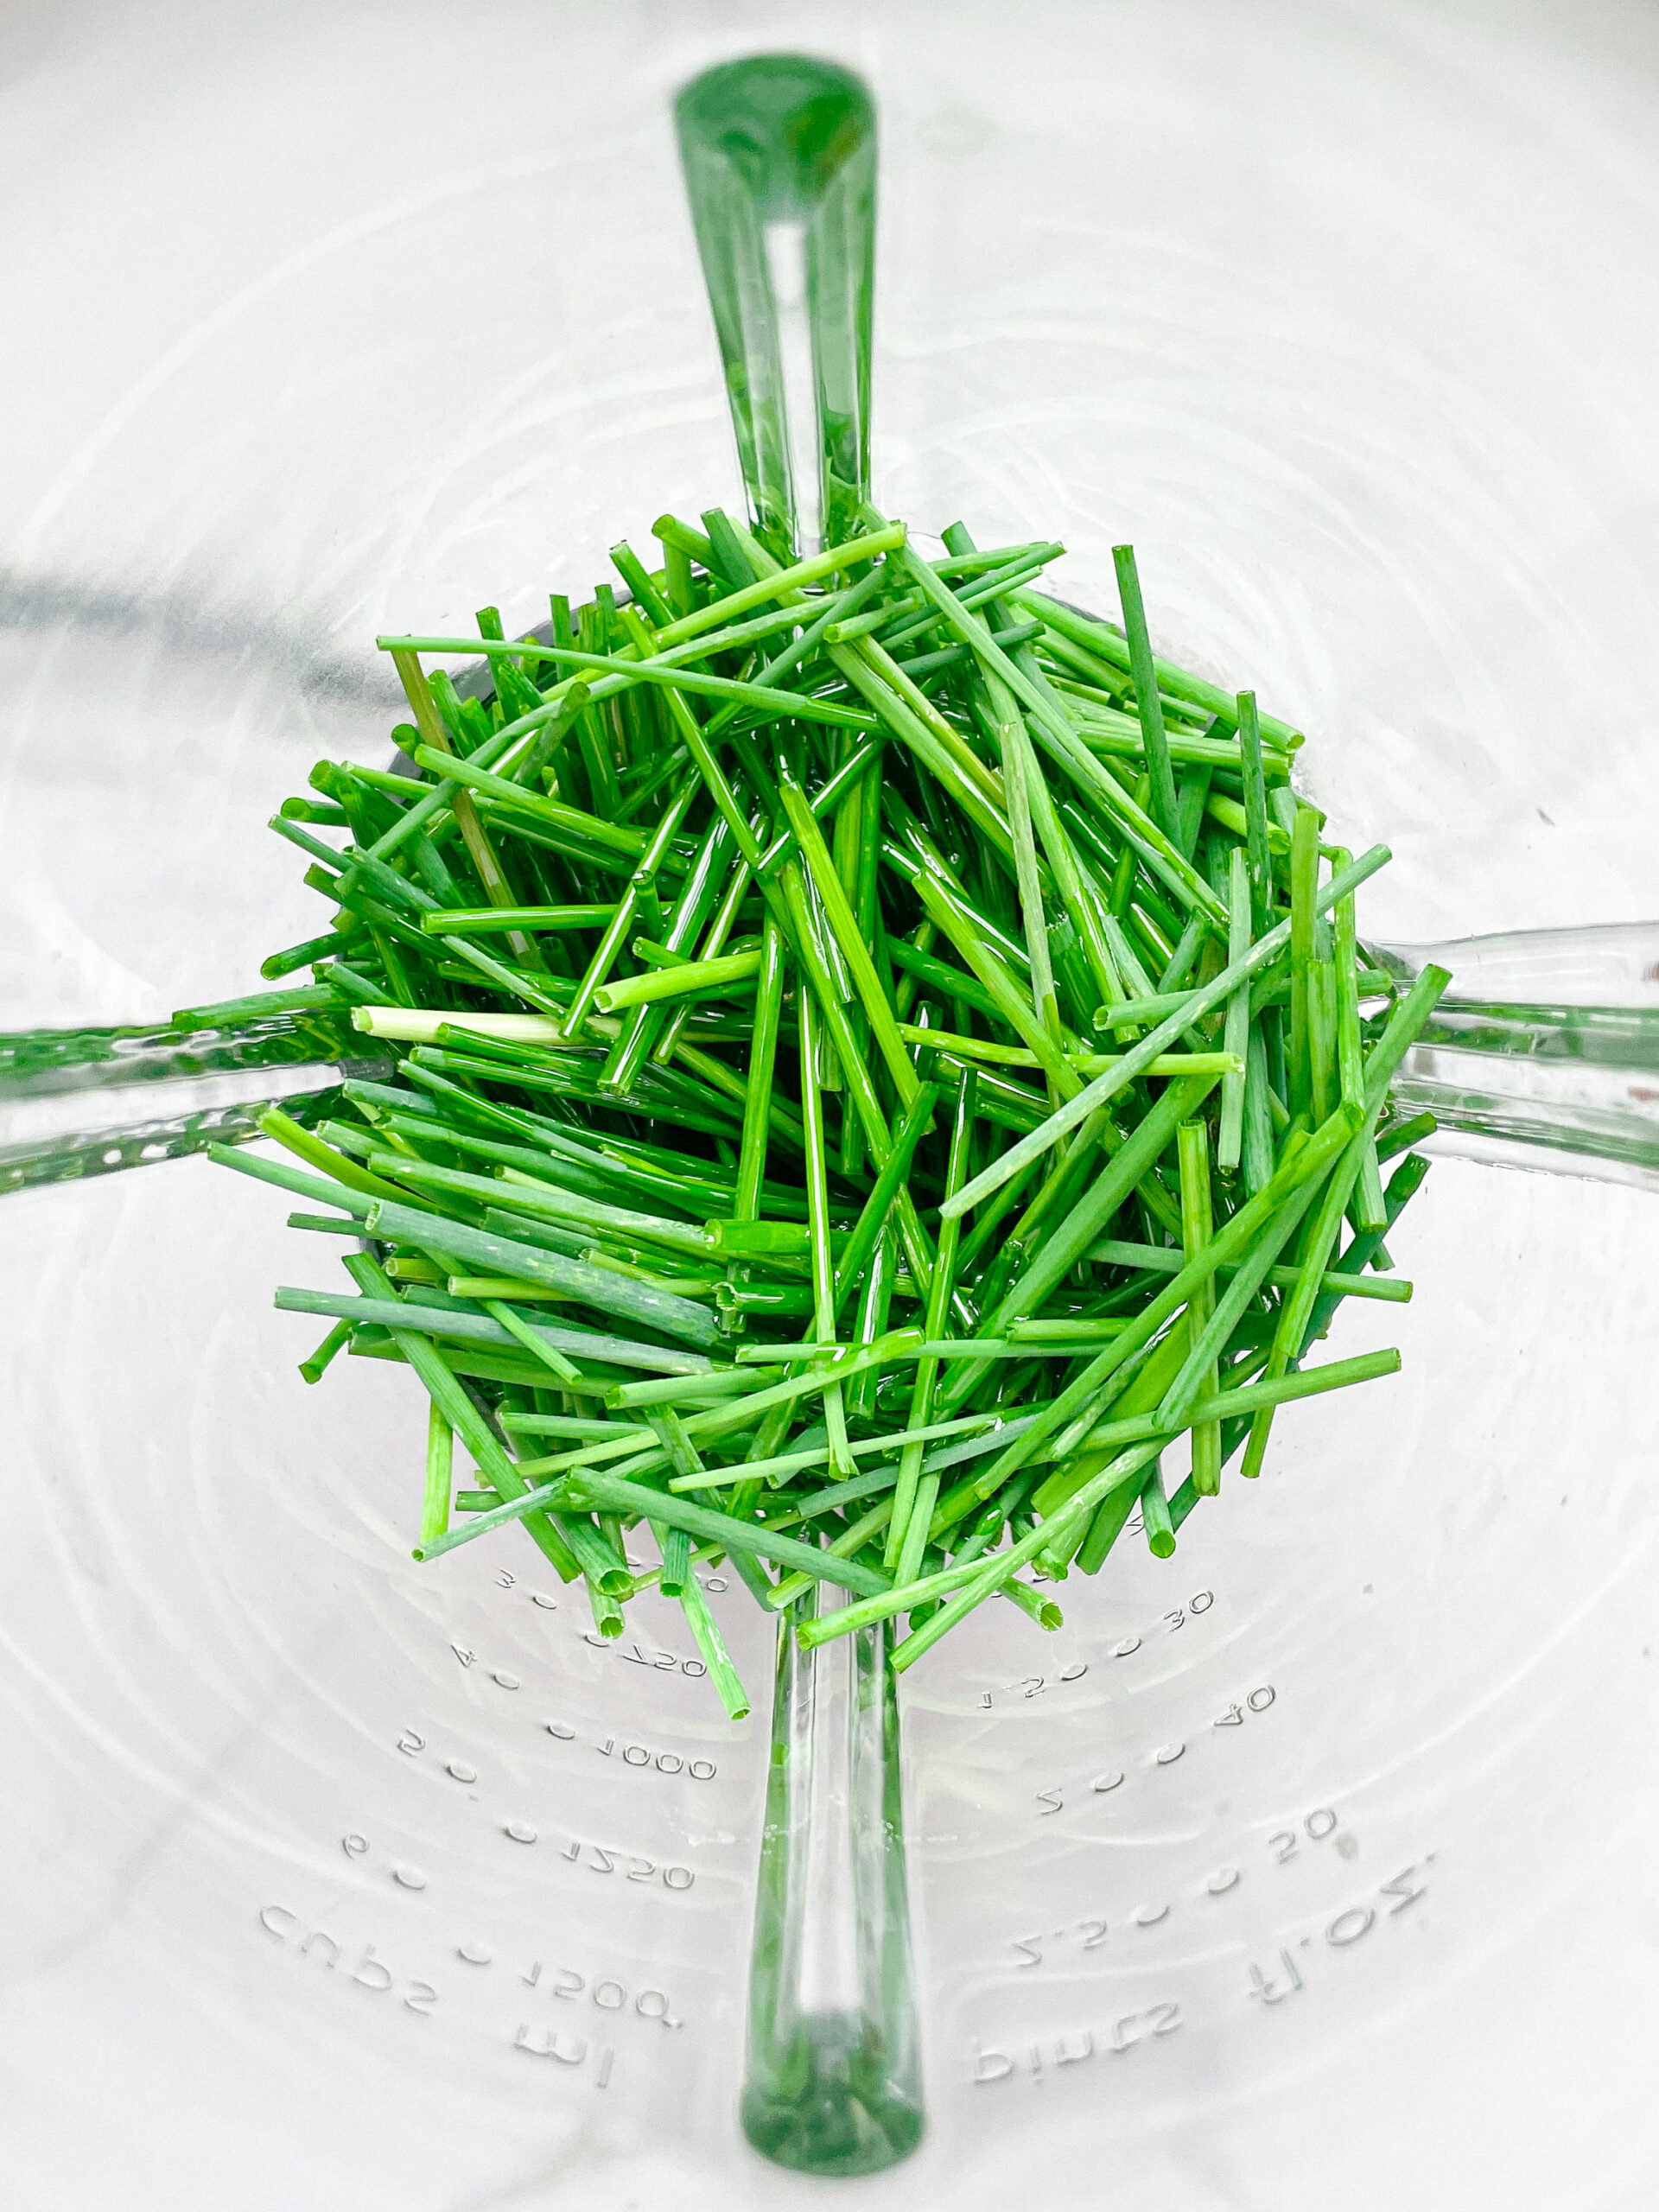
- Wash the chives and place them in a blender. Pour in the oil. Blend on the highest setting until only tiny pieces of the chives remain.
- Pour the mixture from the blender into a small pot and heat it over medium heat to about 100 °C (213 °F). Maintain this temperature for 5 minutes, stirring occasionally to ensure the temperature stays steady and nothing burns.
- Meanwhile prepare a bowl large enough to hold the pot and fill it with cold water and a handful of ice cubes. Place a fine-mesh strainer over one medium-sized bowl, and another fine-mesh strainer lined with a coffee filter over a second bowl.
- Next, set the pot in the ice water and stir to cool the oil quickly. Once the oil is almost cold, remove the pot from the water and pour the oil through the first strainer to catch the coarse particles.
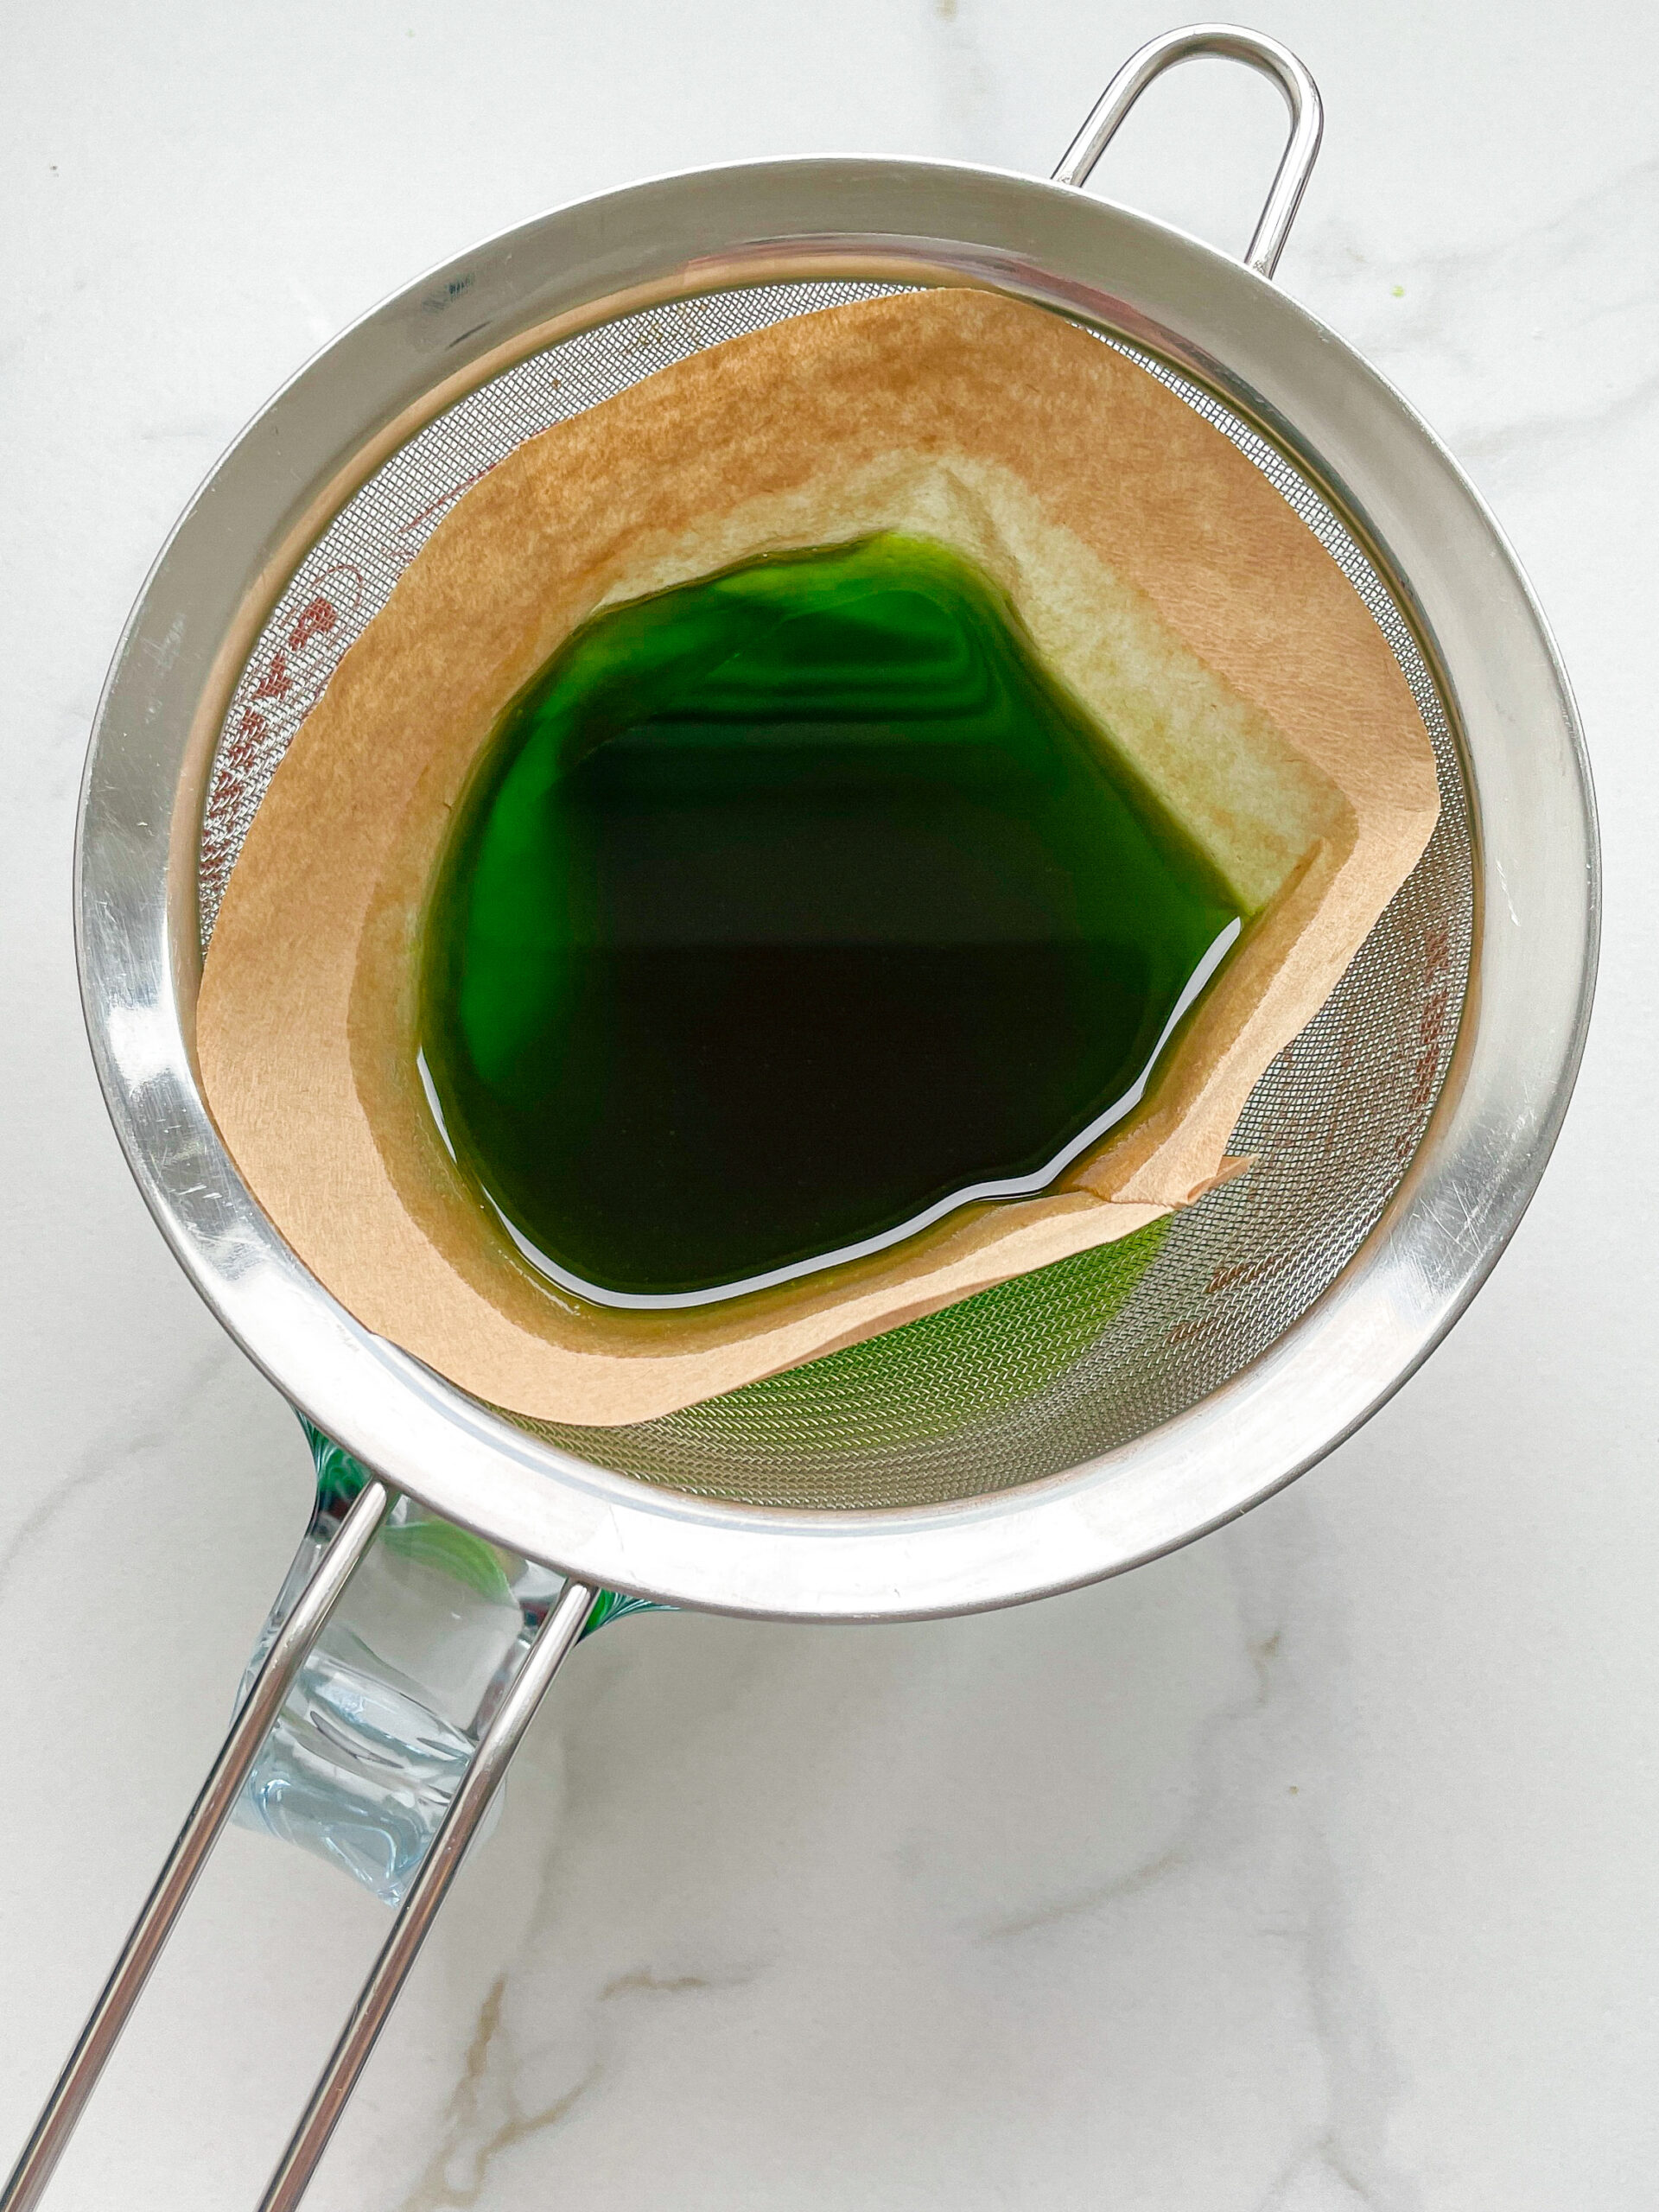
- Then, pour the strained oil through the second strainer lined with the coffee filter to remove any remaining fine particles. Allow the oil to drip through for about 30 minutes, or less depending on how many particles remain in the filter.
- Once all the oil has passed through, transfer it into a sealable container or directly into an oil bottle. Store in the refrigerator for up to one week.
- Prep Time: 5 min
- Passive Time: 30 min
- Cook Time: 5 min
CRAVING MORE?
Follow along here & don’t forget to subscribe to my substack!
MORE PIECES OF HAPPINESS


We need a printable recipe, please!
I love this but wish I could have a printable recipe to keep in my files. Otherwise, I forget it.