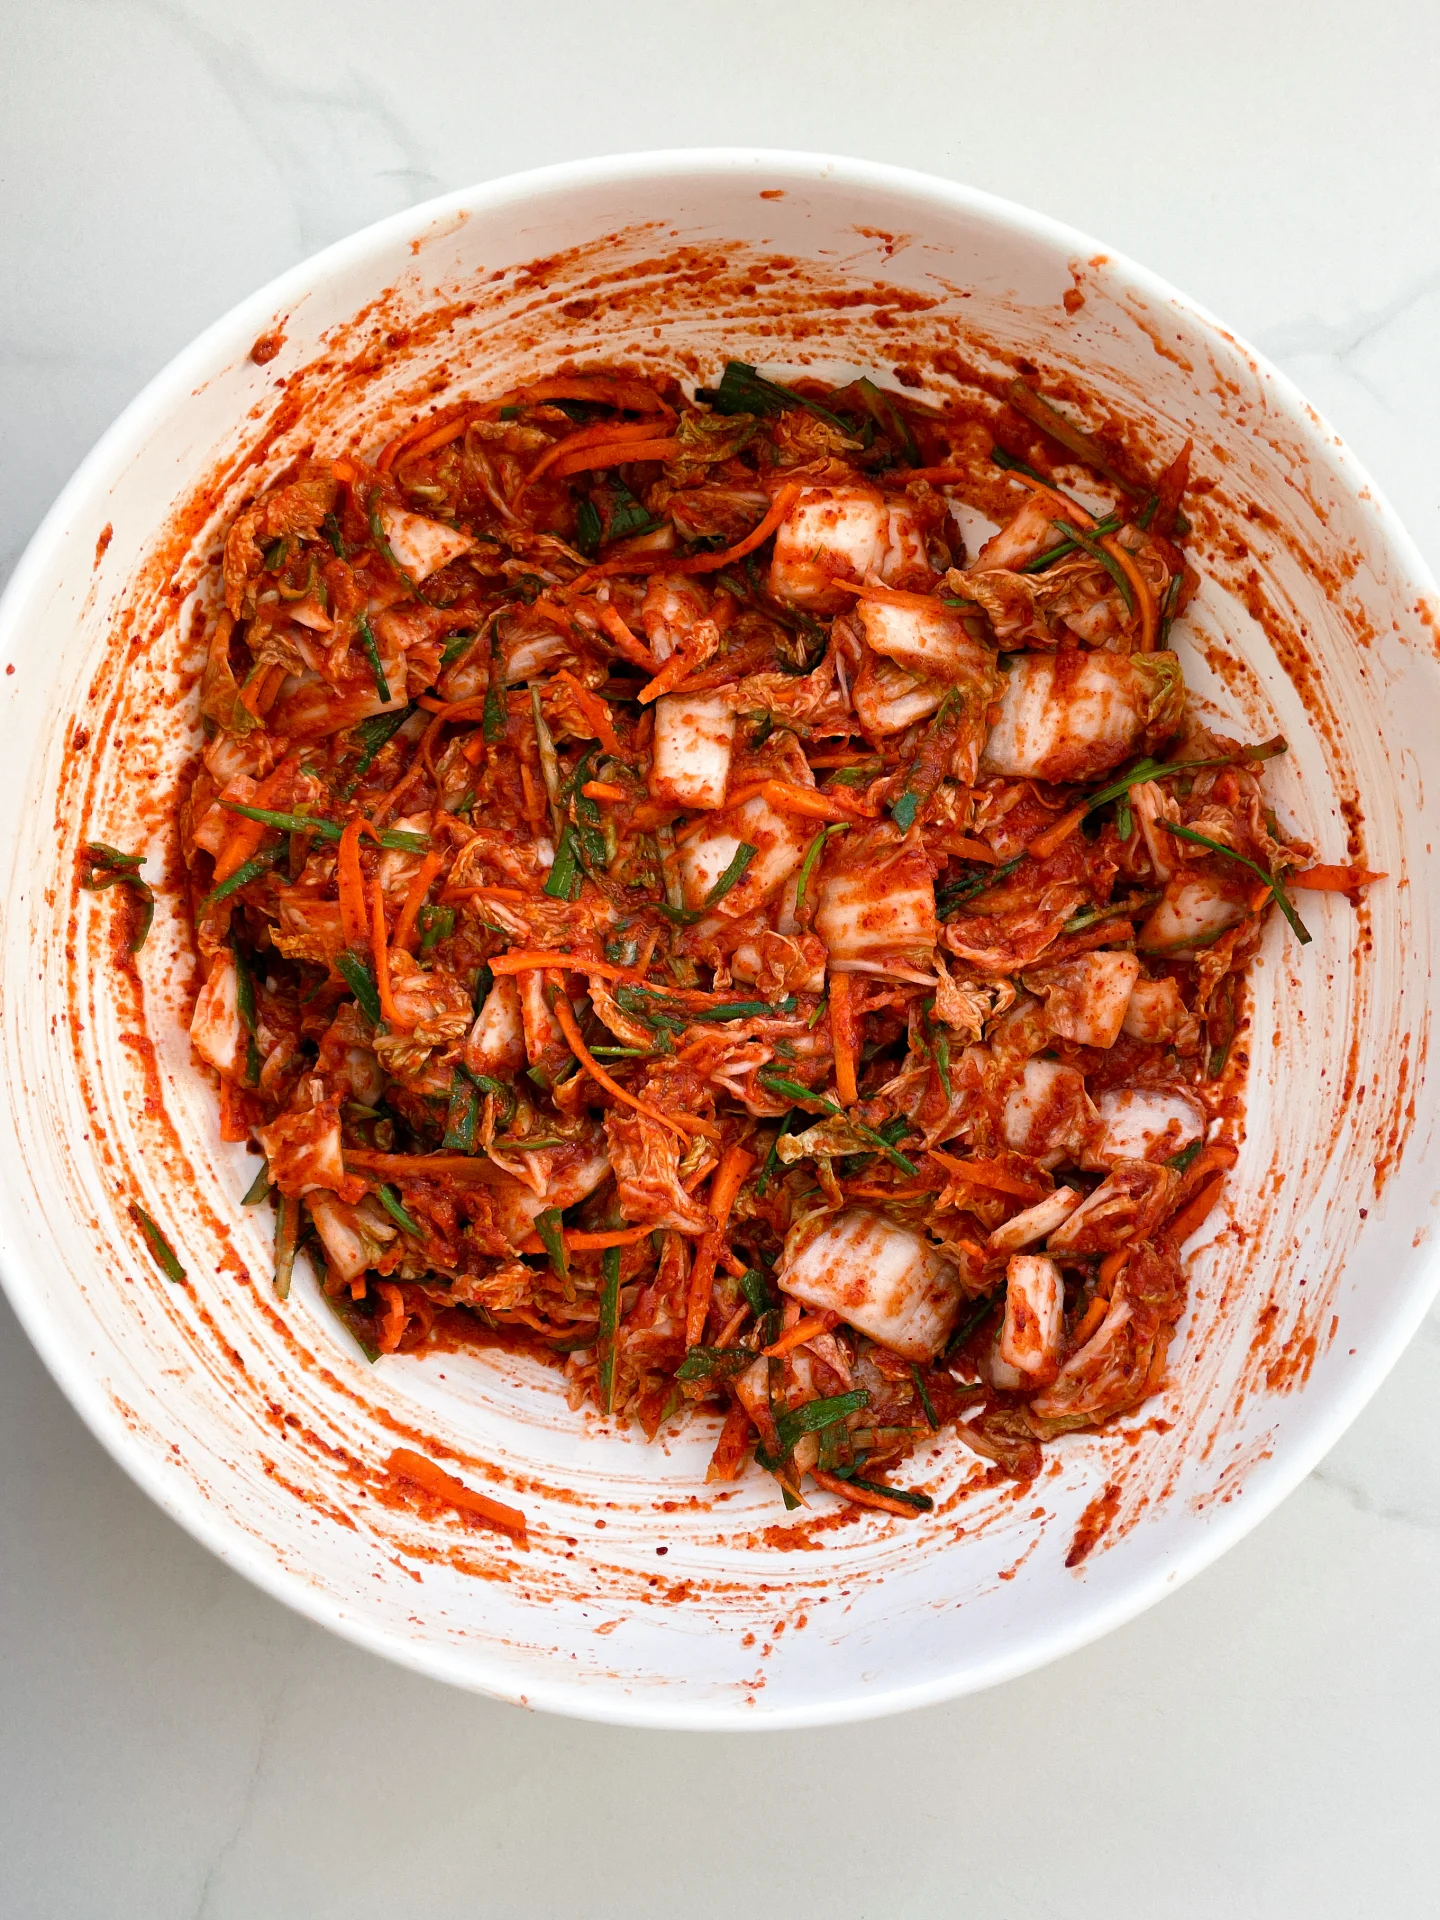
Homemade Kimchi
April 2, 2025 by Kimberly
Slightly chaotic, deeply flavorful, and kind of addictive. This spicy little side dish doesn’t ask for attention, it demands it. Make it once and suddenly you’re that person who ferments things.
This website uses affiliate links which may earn commission for purchases made at no additional cost to you.
TOTAL TIME
45 min + 2 days
SERVES
16 portions
DIET
vegan
EVERY RECIPE DESERVES
A Little Love Letter
This is one of those recipes that feels a little chaotic while you’re making it. You’re chopping cabbage, blending weird things together, your kitchen smells slightly suspicious, and then magic. A few days later, you have the tangy, spicy, crunchy goodness that is homemade kimchi. It’s bold, a little wild, and honestly kind of addictive. If you’ve never made fermented food before, this is your sign. It’s easier than it looks and way more fun.
Kimchi is one of the most iconic Korean staples for a reason. It’s a powerhouse of flavor and a probiotic dream that happens to be absolutely delicious with basically anything. My favorite way to eat this? Straight from the jar, if I’m being honest. But if we’re being civilized: layer it into rice bowls, stir into fried rice, top a savory pancake, or tuck it into sandwiches. Kimchi also loves melted cheese…trust me on this one. It’s the punchy, spicy friend that turns boring meals into actual moments. And once you start adding it to things, you won’t want to stop.
Store your kimchi in a clean, airtight container in the fridge once it’s done fermenting (after about 2–3 days). It’ll keep for weeks, actually, it gets more flavorful the longer it sits. Just make sure to use a clean fork every time, and you’re golden.

Hi, I'm Kimberly.
A hopeless romantic when it comes to food. Every recipe I share is a love letter to food itself. I’m so glad you’re here. Make yourself at home and stay a while.
Love,
Kimberly

If you want to get to know me better,
click here!


LET’S MAKE A PIECE OF HAPPINESS
Homemade Kimchi
- Total Time: 2 days + 45 min
Description
RECOMMENDED EQUIPMENT
- two large mixing bowls
- a sharp knife
- cutting board
- blender
- small saucepan
- airtight container for storage
Ingredients
- 1 napa cabbage
- 2 carrots
- 6 green onions
- 4 liter cold water
- 100 grams sea salt
- 2 yellow onions
- 1 apple or nashi pear
- 1 garlic bulb
- 1 thumb-sized piece of ginger
- 2 tbsp fish sauce
- 1 tbsp soy sauce
- 1 tbsp mini shrimp
- 4 tbsp water
- 8 tbsp gochugaru (Korean chili flakes)
- 3 tbsp rice flour
- 200 milliliter water
Instructions
- Quarter the napa cabbage lengthwise, then chop it into bite-sized pieces. Place it in one of the large bowls and cover completely with cold water. Add a generous amount of sea salt and mix well with your hands or a spoon. To keep the cabbage submerged, weigh it down with a plate and something heavy. Let it soak for 30–45 minutes.
- While the cabbage is soaking, peel and julienne the carrots. Thinly slice the green part of the scallions. Set both aside, they’ll be folded into the paste later.
- Peel the apple, onion, garlic, and ginger. Toss everything into a blender with a splash of water. If you’re using mini shrimp, add those now. Pour in the fish sauce and soy sauce, then blend until smooth and pulpy.
- Transfer the paste to your second large bowl. Stir in the gochugaru (Korean chili flakes) until the mixture is a vibrant, rich red and has a spreadable texture.
- In a small saucepan, combine water and rice flour to make the slurry. Heat gently, stirring constantly, until it thickens into a sticky, glue-like consistency. Let it cool for a few minutes, then stir it into the chili paste mixture.
- Add the sliced carrots and scallions to the paste. Stir well until everything is evenly coated and combined.
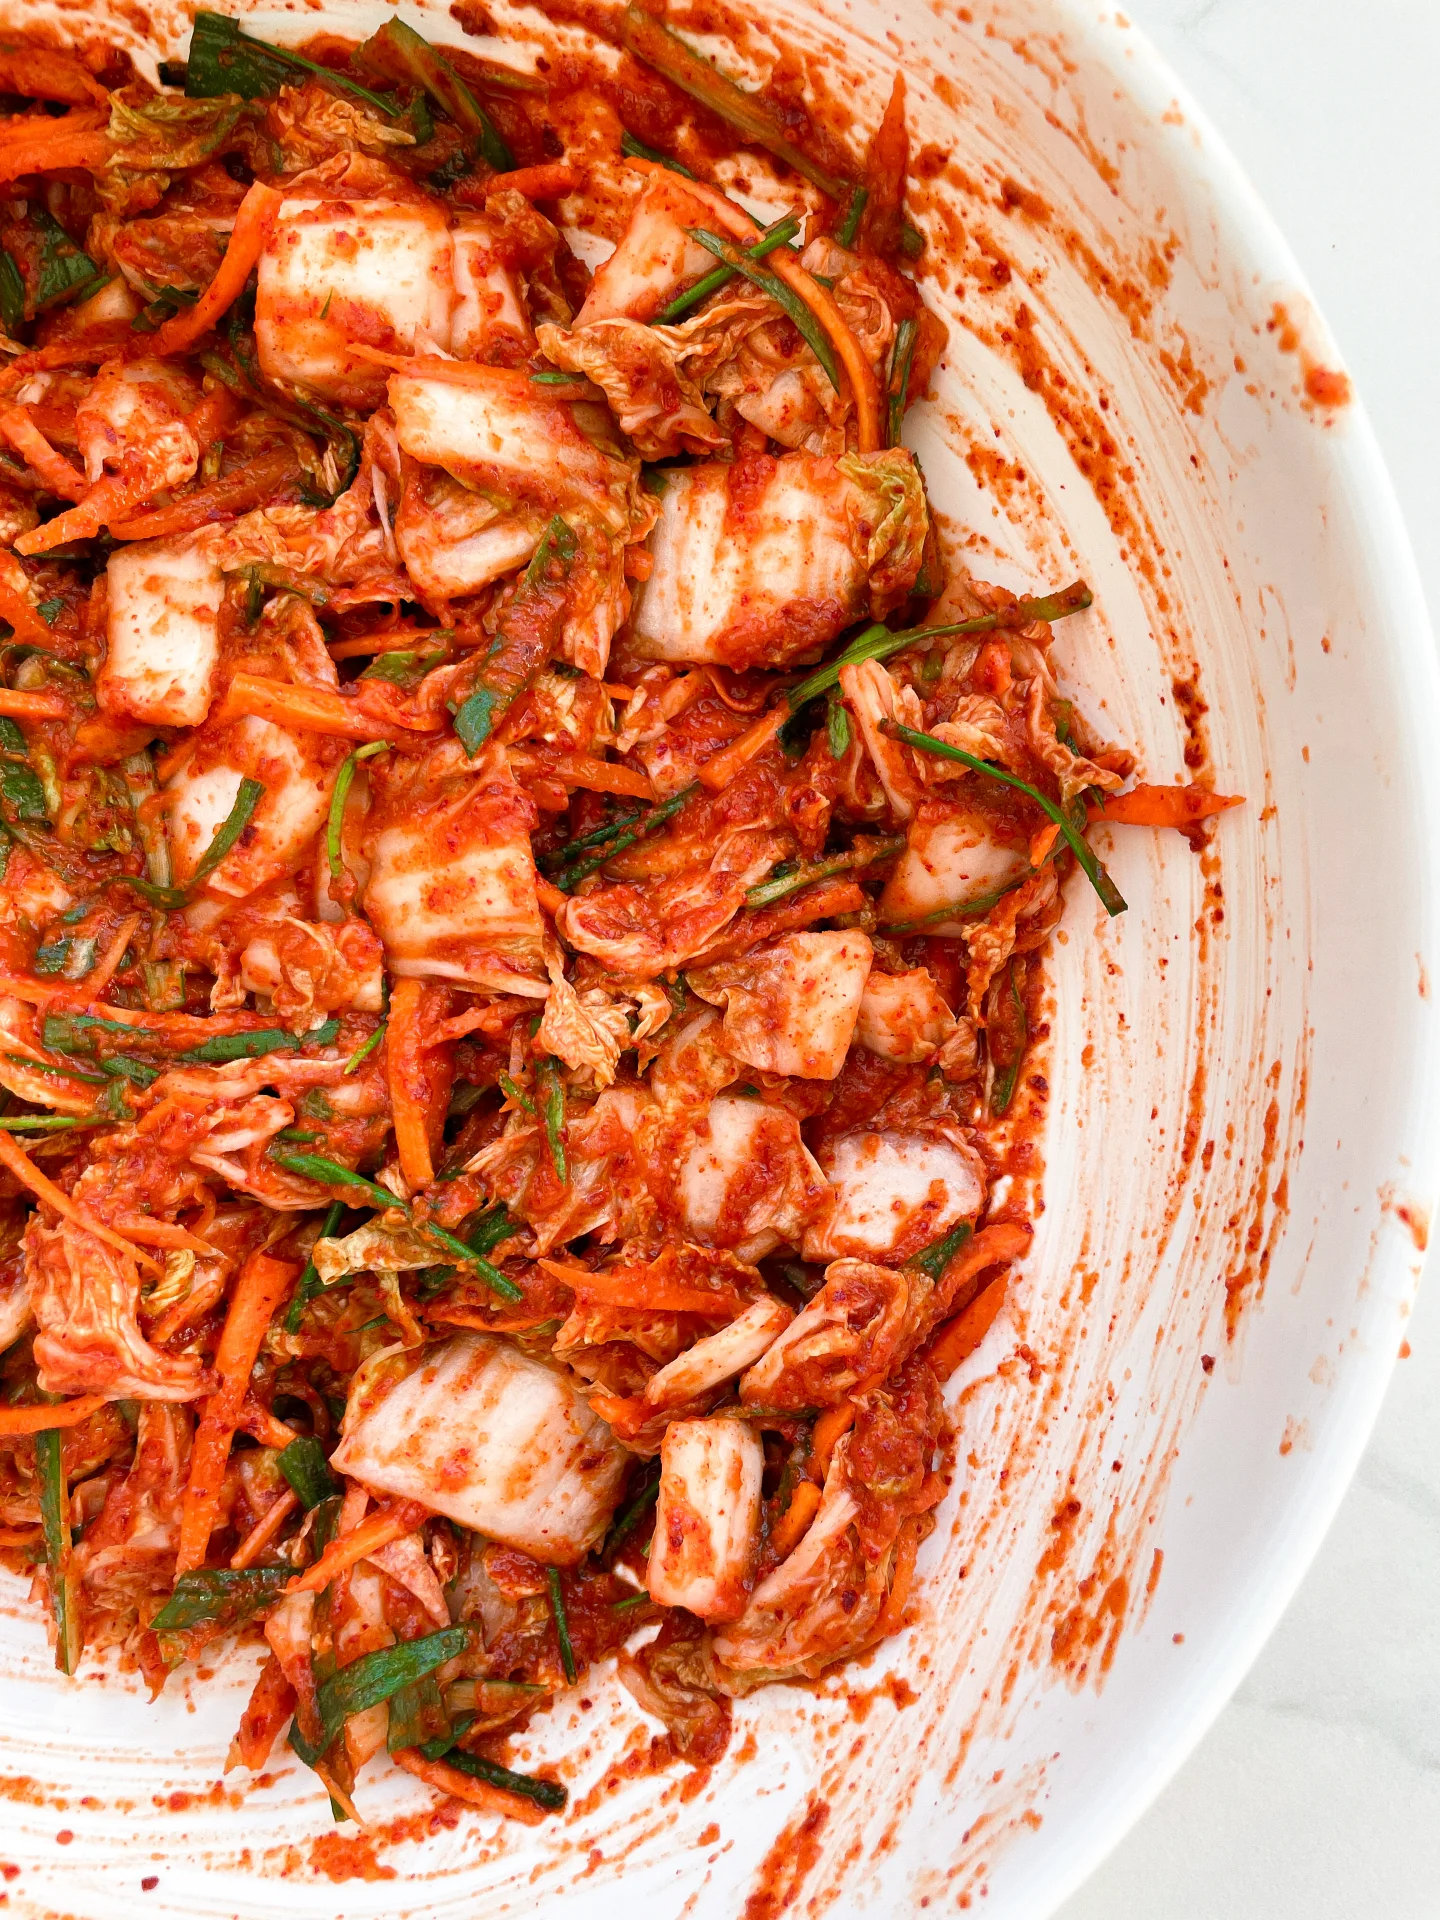
- Drain the soaked cabbage, rinse it under cold water, and gently squeeze out the excess liquid. Add it to the bowl with the red paste and (with gloves, highly recommended!) mix everything thoroughly until all the cabbage is coated.
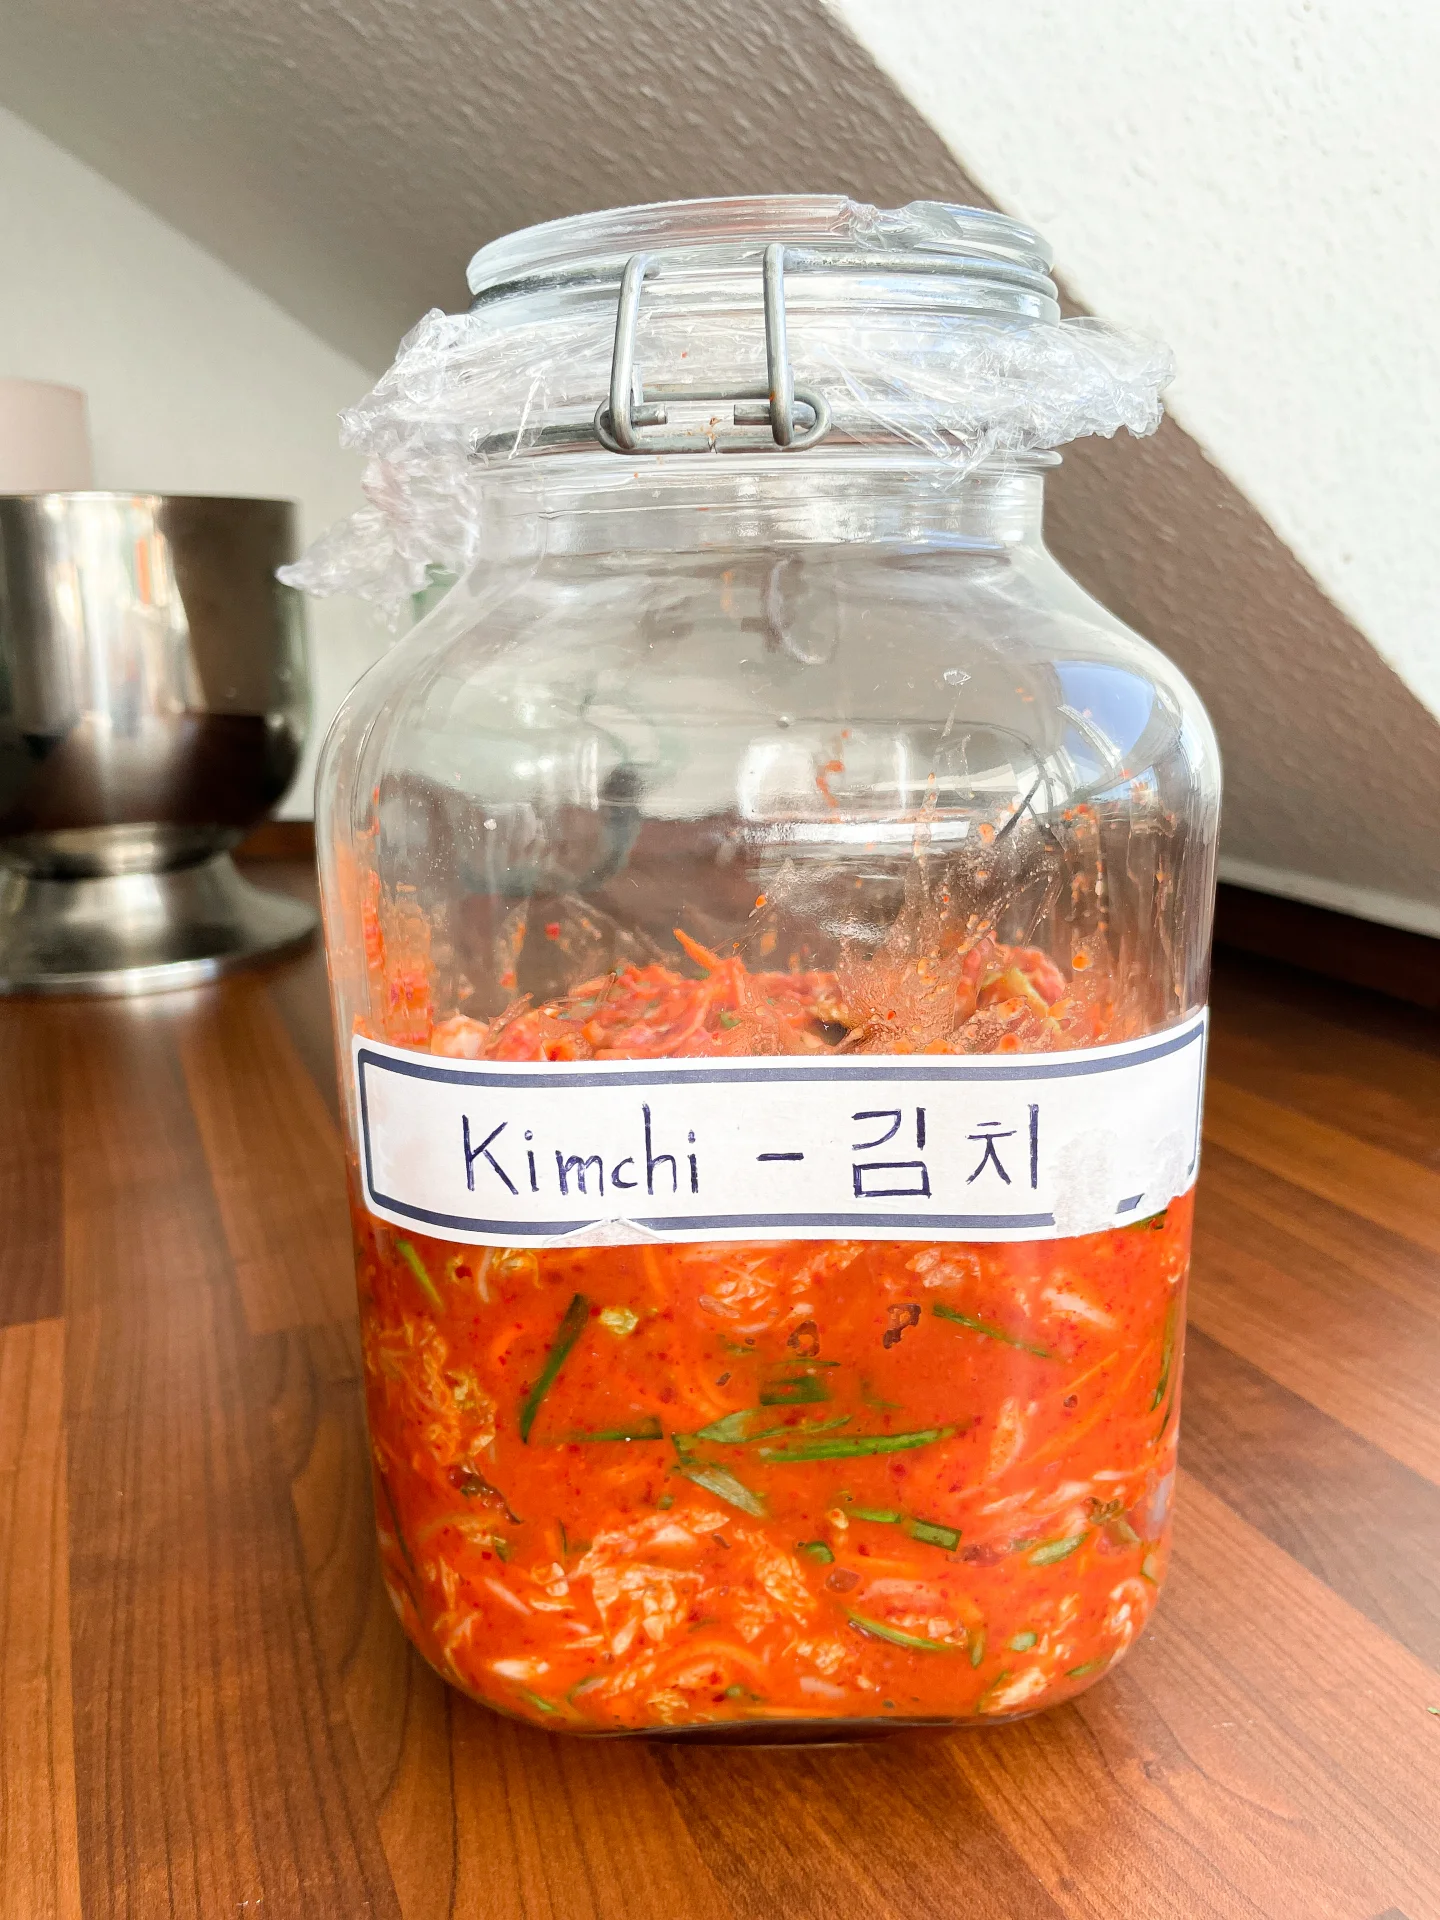
- Spoon the kimchi mixture into a clean, airtight container. Press it down firmly to eliminate air pockets. Wipe the edges, cover with plastic wrap, and seal tightly. Leave it at room temperature for about two days to ferment.
- After two days, your kimchi will be lightly fermented and ready to taste. If you like it funkier and more sour, give it another day on the counter. After that, pop it in the fridge, it’ll keep for several weeks and just keeps getting better.
- Passive Time: 2 days
- Cook Time: 45 min
CRAVING MORE?
Follow along here & don’t forget to subscribe to my substack!
MORE PIECES OF HAPPINESS




0 Kommentare