


Tomato Tarte Tatin

Tomato Tarte Tatin

Tomato Tarte Tatin

Tomato Tarte Tatin

June 15, 2024 by Kimberly

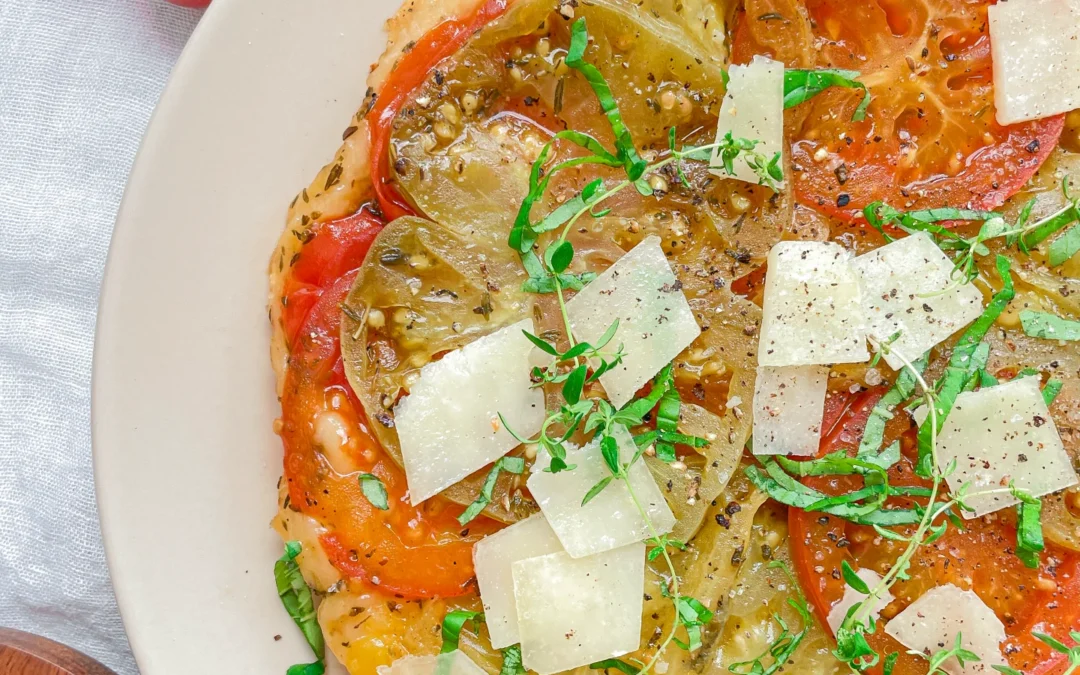
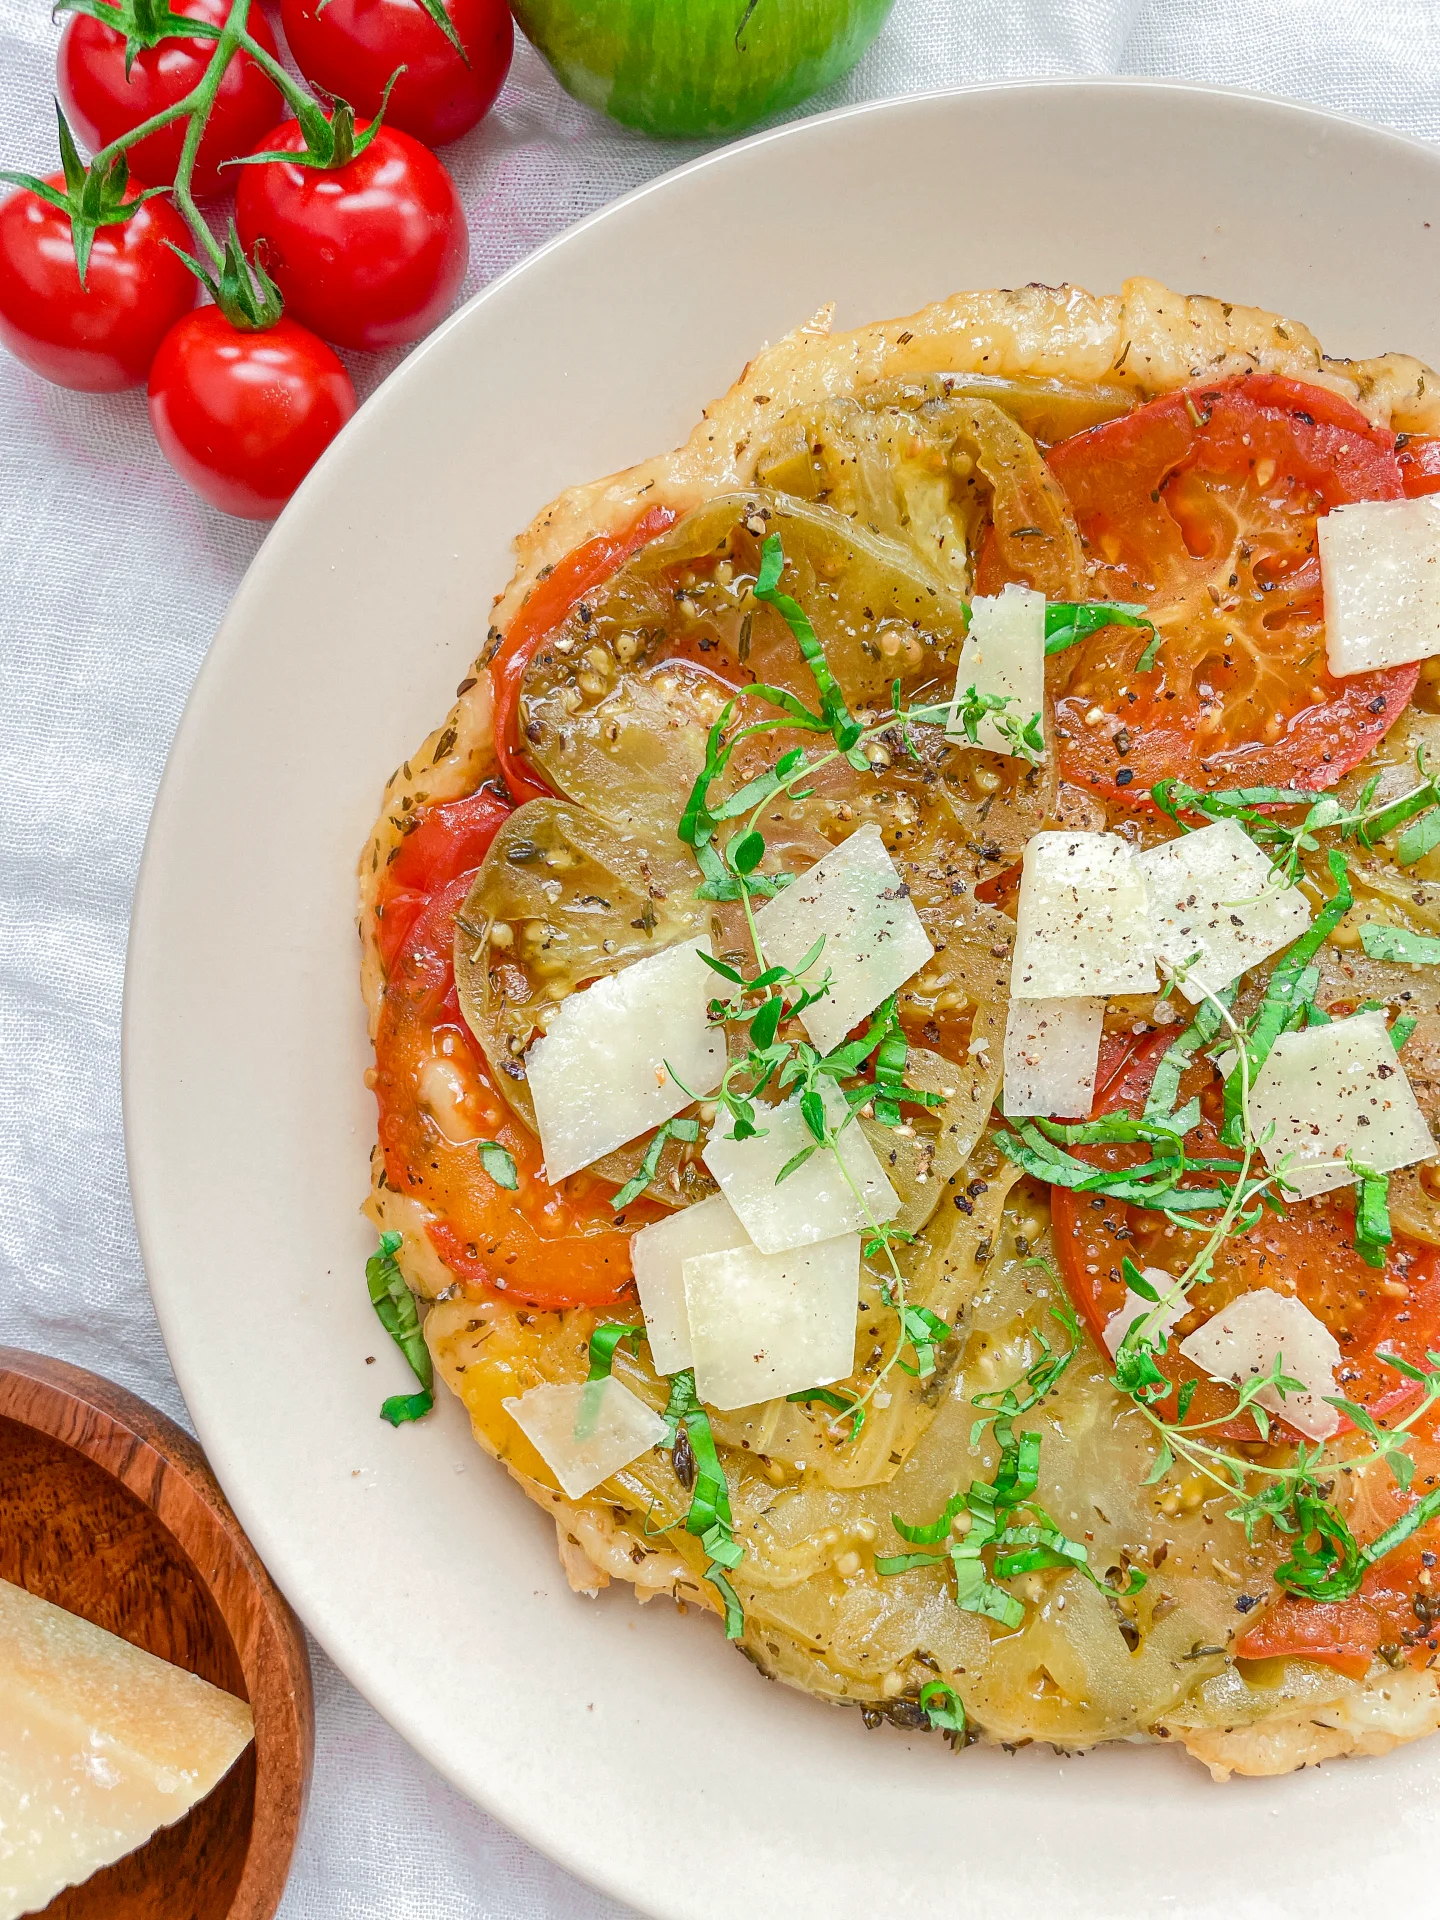
Flip your mealtime with a stunning Tomato Tarte Tatin! Sweet, savory, and beautifully caramelized, it’s a showstopper that turns any meal into a special occasion.

This website uses affiliate links which may earn commission for purchases made at no additional cost to you.

TOTAL TIME

45 min

SERVES

2 portions

DIET

vegetarian

EVERY RECIPE DESERVES

A Little Love Letter

Transform your table with the vibrant colors and lush flavors of a Tomato Tarte Tatin. This dish offers a delightful twist on the classic French dessert, turning tomatoes into the star of the show.

Serve this exquisite tart fresh out of the oven to enjoy its optimal flavor and texture. It pairs beautifully with a simple arugula salad dressed with balsamic vinegar and olive oil or a side of creamy goat cheese. Perfect for impressing guests at dinner parties or enjoying a luxurious weekend meal.

Cool any leftovers to room temperature before storing them in an airtight container in the refrigerator. This dish is best enjoyed within a couple of days to maintain its crisp pastry and juicy topping.

Hi, I'm Kimberly!

Hi, I'm Kimberly.

A hopeless romantic when it comes to food. Every recipe I share is a love letter to food itself. I’m so glad you’re here. Make yourself at home and stay a while.

Love,
Kimberly

Kimberly the Zett Signature

If you want to get to know me better,
click here!


Tomato Tarte Tatin
Tomato Tarte Tatin

LET’S MAKE A PIECE OF HAPPINESS

Print
clock clock iconcutlery cutlery iconflag flag iconfolder folder iconinstagram instagram iconpinterest pinterest iconfacebook facebook iconprint print iconsquares squares iconheart heart iconheart solid heart solid icon
Tomato Tarte Tatin

Tomato Tarte Tatin


5 Stars 4 Stars 3 Stars 2 Stars 1 Star

No reviews

  • Author: Kimberly
  • Total Time: 45 min
  • Yield: 2 1x

Description

GOOD TO HAVE ON HAND

  • sharp knife
  • cutting board
  • garlic press
  • oven-safe pan
  • large plate


Ingredients

Units Scale
  • 1 puff pastry dough
  • 4 big tomatoes
  • 2 garlic cloves
  • 1/2 tsp dried thyme
  • 3 tbsp olive oil
  • 1 tbsp honey
  • salt & pepper to taste
  • 1 tsp fresh thyme
  • 30 grams parmesan

Instructions

  1. Take the puff pastry out of the fridge. Set aside.
  2. Preheat the oven to 220°C (428°F).
  3. Wash the tomatoes and slice them finely from the bottom. Peel and finely chop or press the garlic and mix it into a small bowl with 1-2 tablespoons of olive oil. Set everything aside.
  4. Roll out the puff pastry and place the oven-safe pan on top. Trace a circle around the pan and cut out the puff pastry accordingly. Set the pastry circle aside. Don’t discard the remaining pastry. You can either make a second layer of pastry for the Tarte Tatin or cut it into squares, place a cube of feta in the middle, wrap it up, and bake until golden brown in the oven. Topped with a bit of honey, thyme, and salt, you quickly create a simple snack 🙂
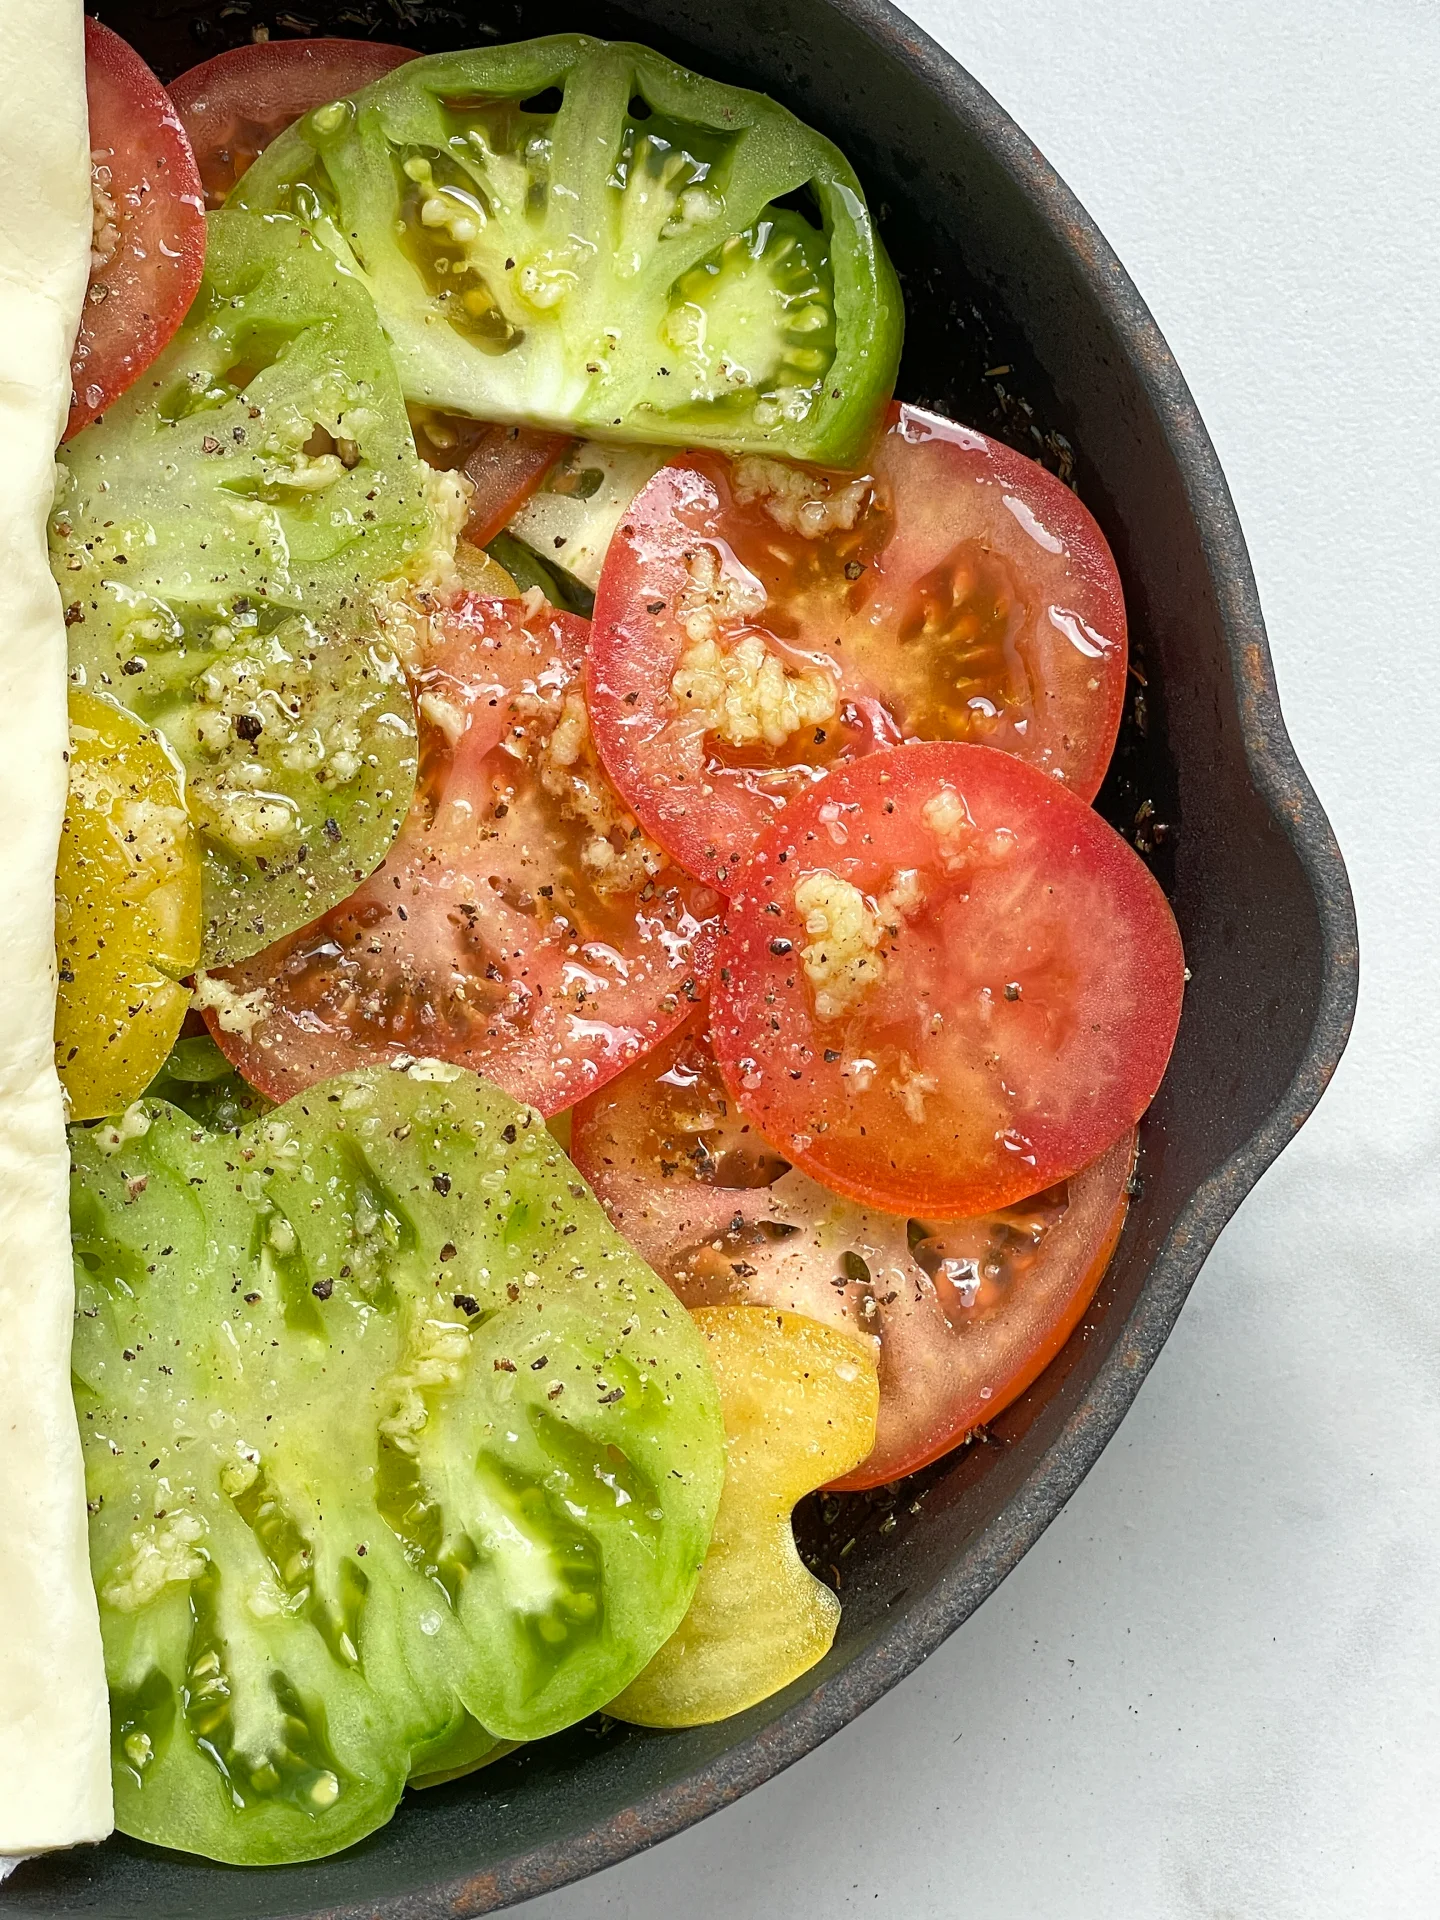
  5. Heat the pan and briefly sauté honey, olive oil, dried thyme, and salt until bubbles form. Then distribute the tomato slices in the pan, brush them with the garlic oil, and let them caramelize for about 1-2 minutes. Remove from the heat, top with freshly ground pepper, and lay the puff pastry circle on top. Tuck the edges slightly inward and press firmly. Prick a few holes in the pastry with a fork.
  6. Bake the pan in the oven on the bottom rack uncovered for about 25 minutes.
  7. In the meantime, coarsely grate or slice the Parmesan and pluck the fresh thyme leaves from their stems. Set aside.
  8. Remove the pan from the oven and let it cool for a few minutes. Then place a plate larger than the pan over the pan and quickly invert to turn out the Tarte Tatin onto the plate.
  9. Top the Tarte Tatin with Parmesan, fresh thyme, and pepper, and serve immediately. Enjoy your piece of happiness!

Notes

The calorie information may vary depending on the product used, country and region.

  • Passive Time: 25 min
  • Cook Time: 20 min
CRAVING MORE?

Follow along here & don’t forget to subscribe to my substack!

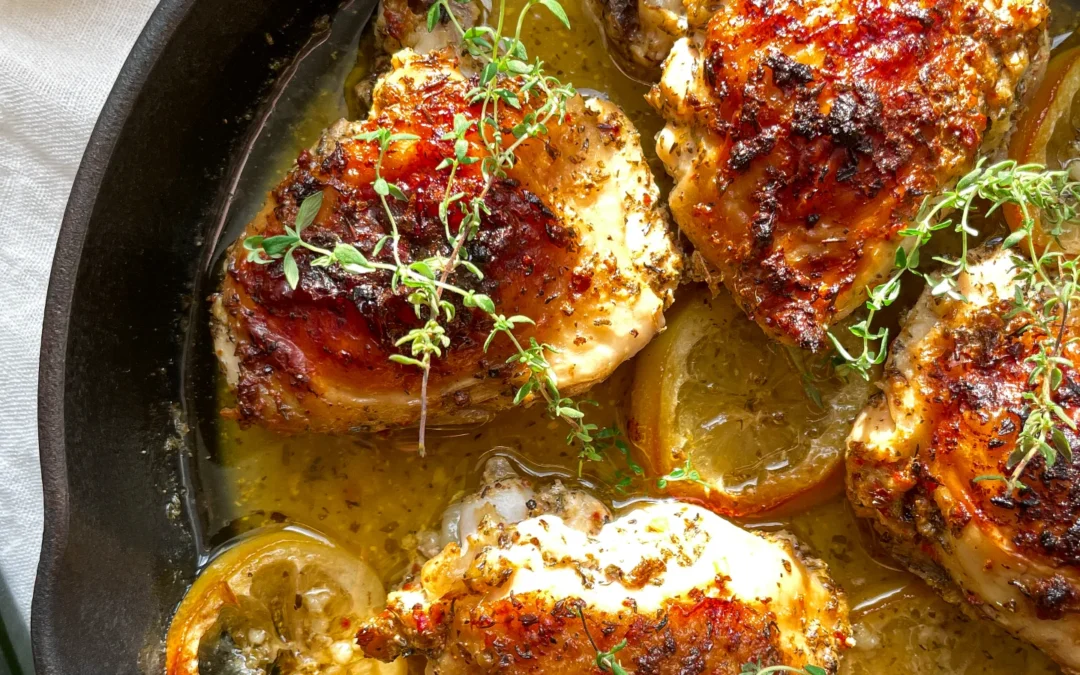
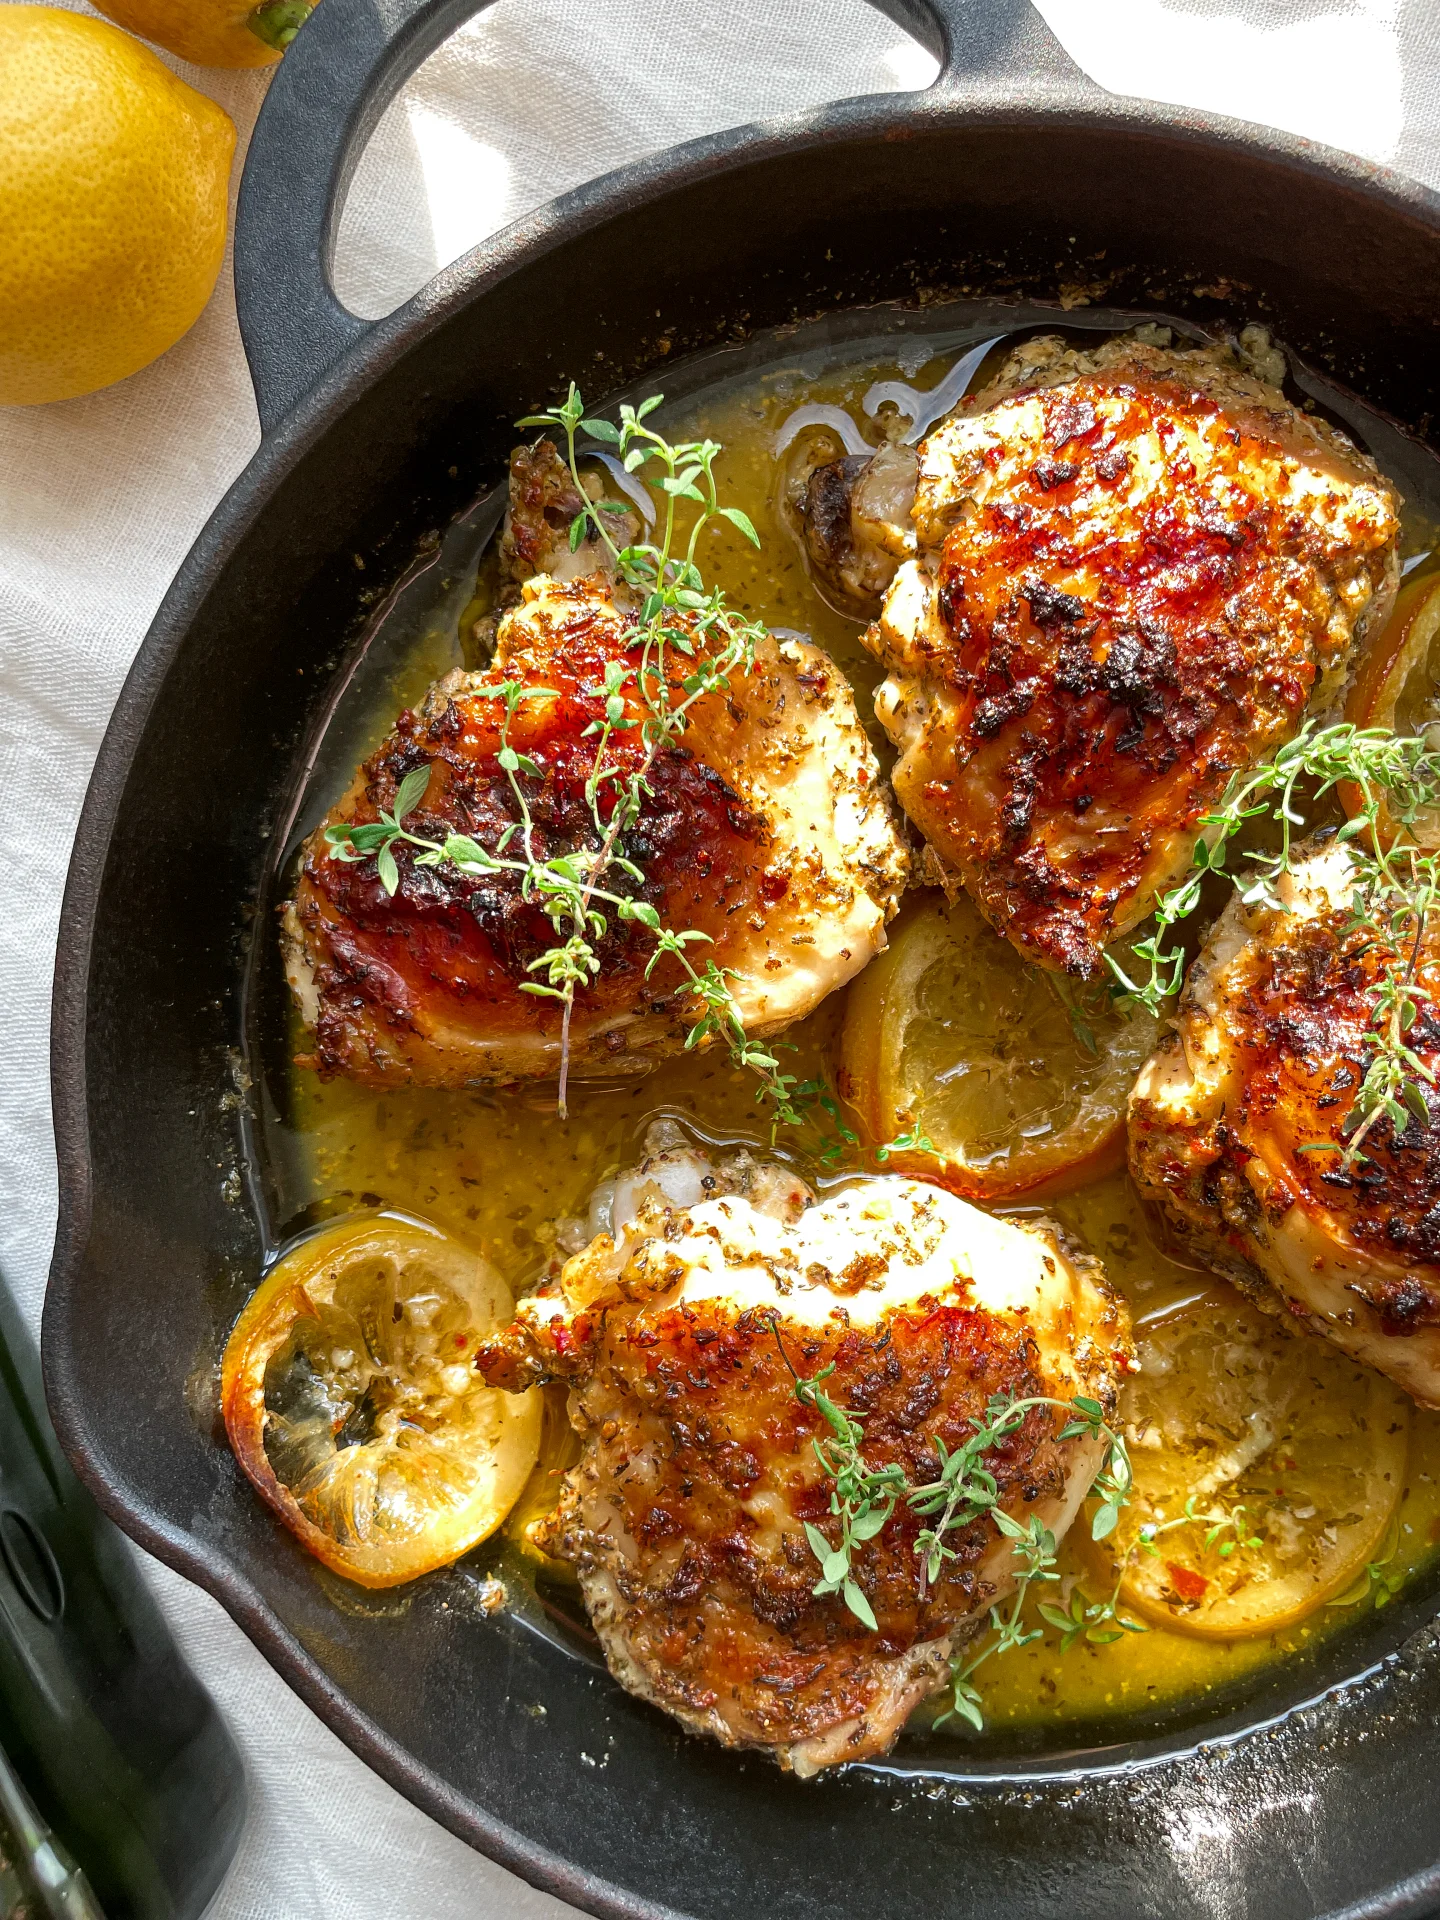
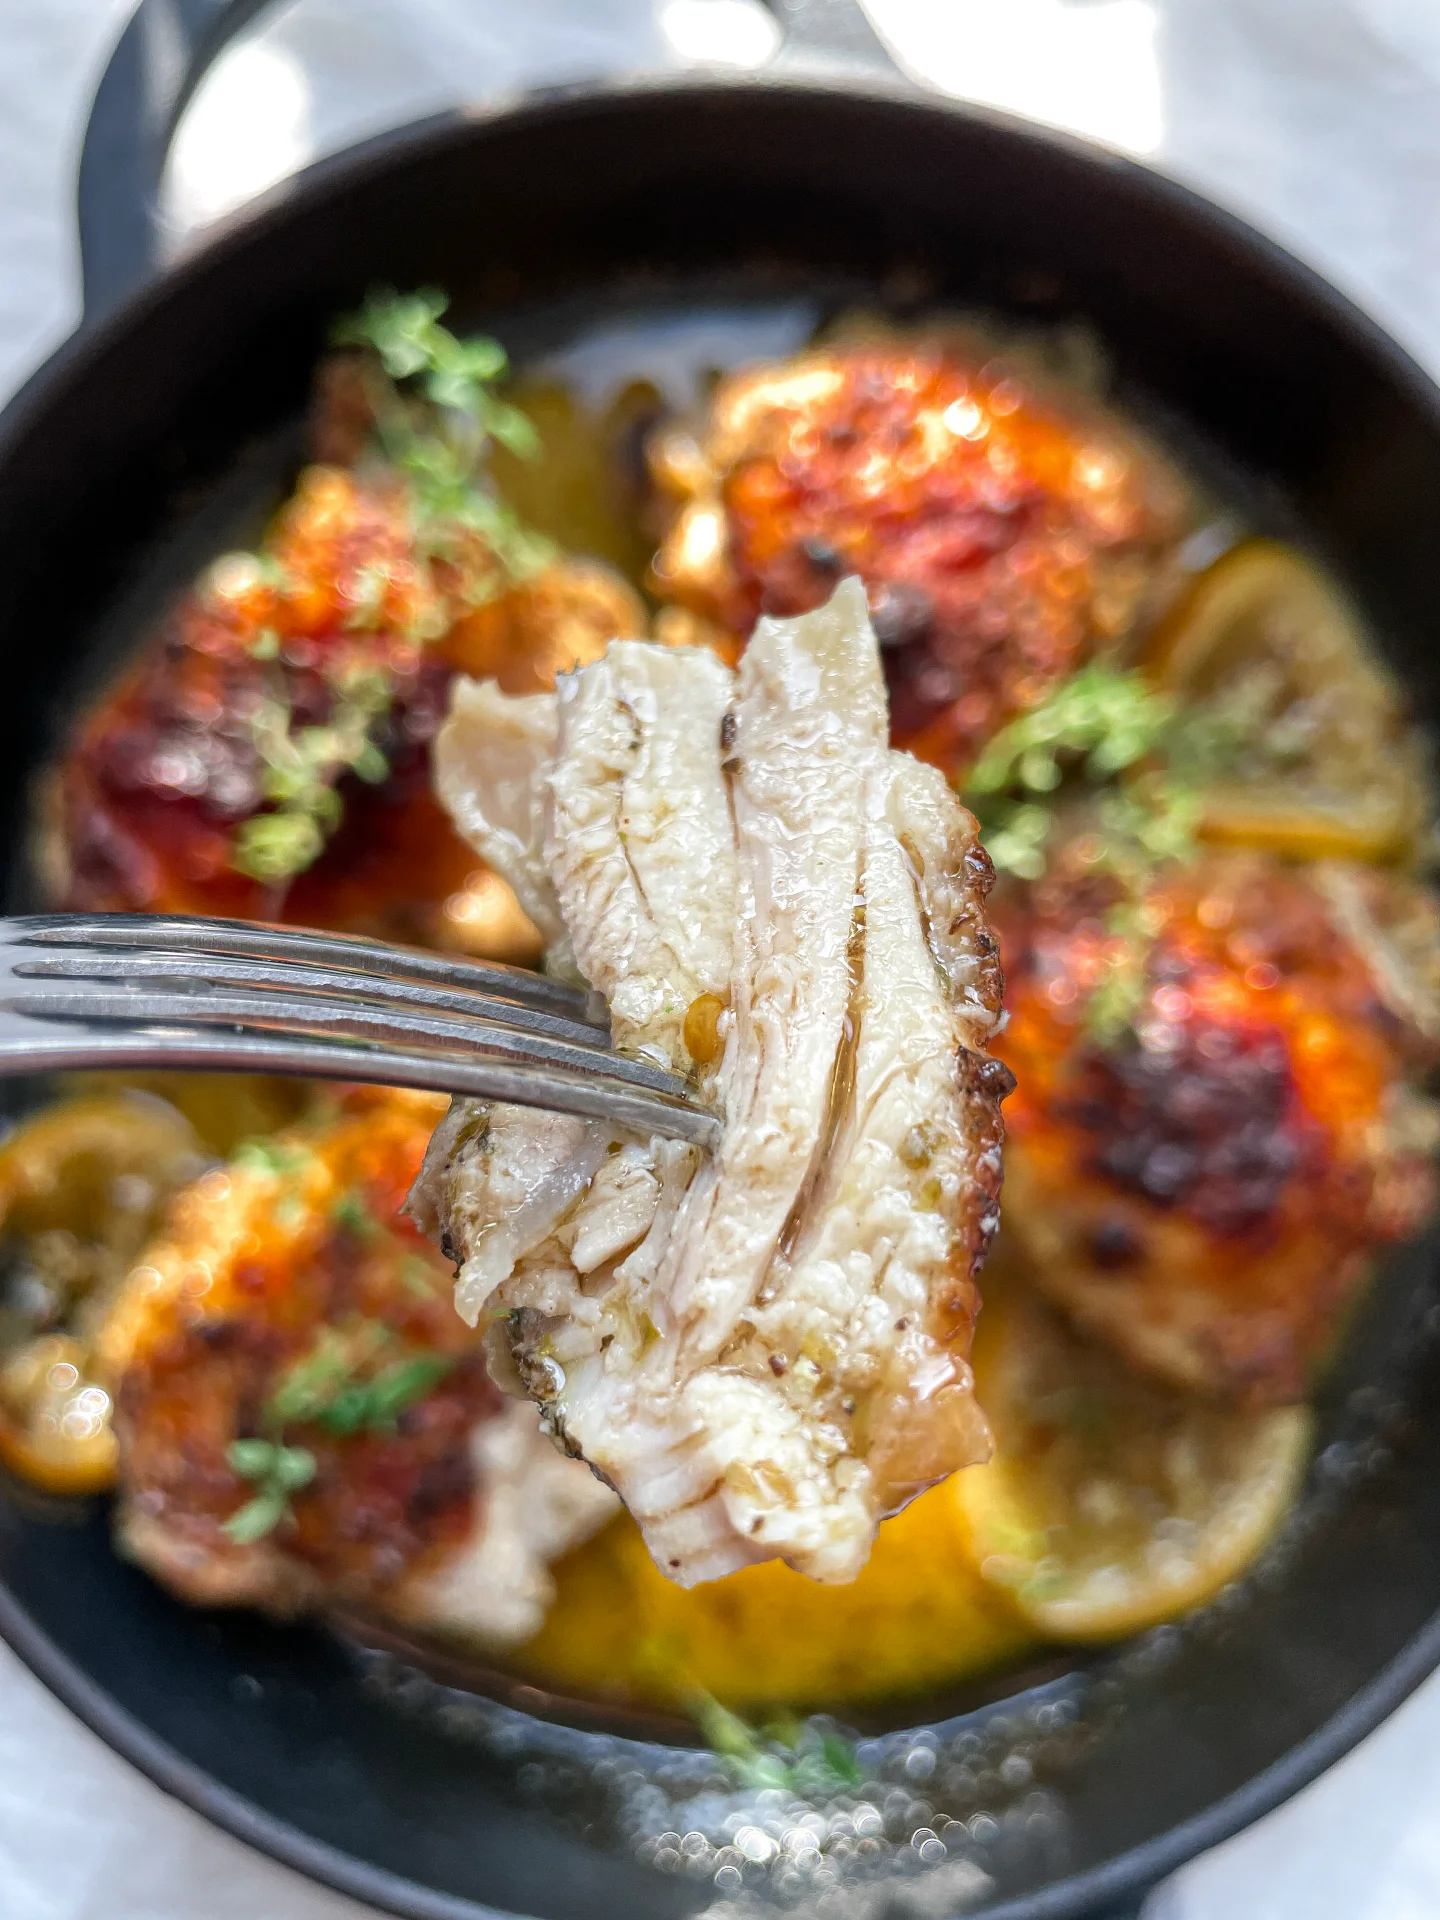
Lemon Yogurt Chicken Thighs

Lemon Yogurt Chicken Thighs

Lemon Yogurt Chicken Thighs

Lemon Yogurt Chicken Thighs

June 13, 2024 by Kimberly

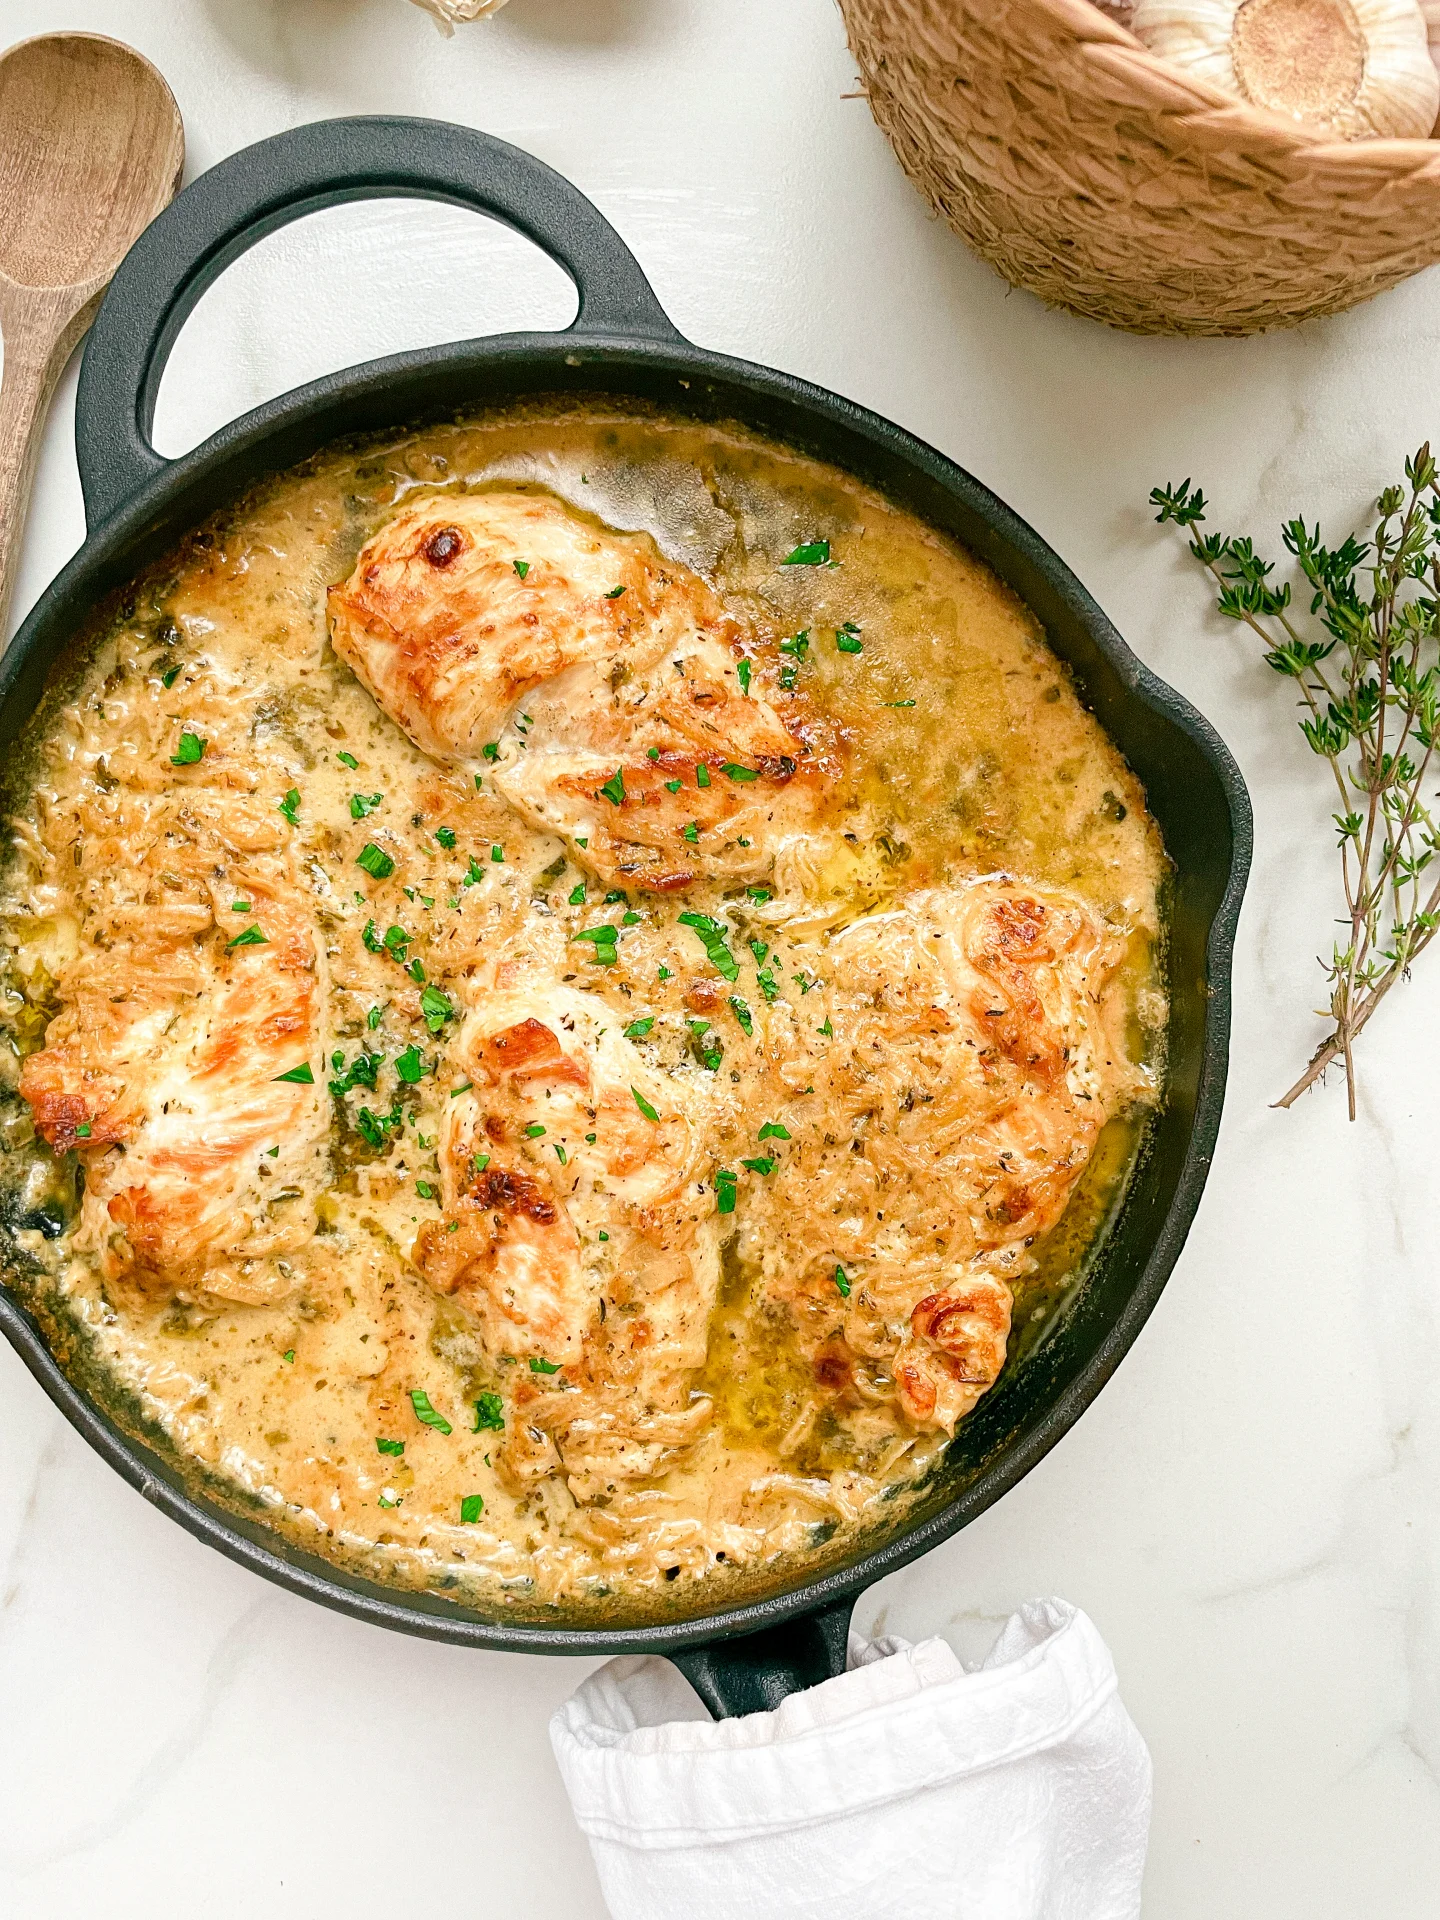
Get ready to savor Lemon Yogurt Chicken Thighs: tangy, tender, and irresistibly juicy! Perfect for spicing up weeknights or wowing guests at your next dinner.

This website uses affiliate links which may earn commission for purchases made at no additional cost to you.

TOTAL TIME

1 hr + 55 min

SERVES

4 portions

DIET

omnivore

EVERY RECIPE DESERVES

A Little Love Letter

Bring a zesty flair to your dinner table with these lemon yogurt marinated chicken thighs. They’re unbelievably tender and infused with the perfect balance of tangy and creamy flavors.

These chicken thighs are best served hot with sides of grilled vegetables and a cool cucumber salad to complement the tangy marinade. They’re perfect for a cozy family dinner. Add a squeeze of fresh lemon juice right before serving to enhance their citrusy punch.

Keep leftover chicken in an airtight container in the refrigerator. They’ll stay delicious for up to two days, making them a fantastic option for next-day lunches or quick protein additions to salads or wraps.

Hi, I'm Kimberly!

Hi, I'm Kimberly.

A hopeless romantic when it comes to food. Every recipe I share is a love letter to food itself. I’m so glad you’re here. Make yourself at home and stay a while.

Love,
Kimberly

Kimberly the Zett Signature

If you want to get to know me better,
click here!


Lemon Yogurt Chicken Thighs

LET’S MAKE A PIECE OF HAPPINESS

Print
clock clock iconcutlery cutlery iconflag flag iconfolder folder iconinstagram instagram iconpinterest pinterest iconfacebook facebook iconprint print iconsquares squares iconheart heart iconheart solid heart solid icon
Lemon Yogurt Chicken Thighs

Lemon Yogurt Chicken Thighs


  • Author: Kimberly
  • Total Time: 1 hr 55 min
  • Yield: 4 1x

Description

GOOD TO HAVE ON HAND

  • medium-sized bowl
  • oven-safe pan


Ingredients

Units Scale
  • 4 boneless chicken thighs
  • 1/4 cup greek yogurt
  • juice of 1 lemon
  • 1/2 tbsp dried oregano
  • 1/4 tsp salt
  • 1/4 tsp pepper
  • 1/8 - 1/4 tsp chili flakes
  • 2 tbsp olive oil
  • 1 tsp fresh thyme
  • 2 tsp butter

Instructions

PREPARATIONS

  • In a medium-sized bowl, mix the following ingredients into a marinade: yogurt, lemon juice, peeled and pressed garlic cloves, chili flakes, oregano, salt, and pepper.
  • Place the chicken thighs in the bowl and rub them thoroughly with the marinade. Let the thighs marinate in the refrigerator for at least 1 hour up to overnight.

INSTRUCTIONS

  1. Preheat the oven to 200°C / 392°F.
  2. Remove the chicken thighs from the refrigerator and place them skin-side up in an ovenproof pan. Slice a lemon and arrange the slices between the chicken thighs in the pan. Place about 1/2 teaspoon of butter on each thigh and drizzle 1-2 tablespoons of olive oil over everything.
  3. Bake the pan with the thighs in the oven for about 45 minutes uncovered. Depending on the size of the thighs, it might take a bit longer. Turn on the broiler 5-10 minutes before the end of cooking to get the chicken really crispy. A delicious sauce will naturally form in the pan while baking.
  4. Serve the hot thighs and the sauce immediately. They go best with salad, potatoes, or rice. Enjoy your piece of bliss!

Notes

The calorie information may vary depending on the product used, country and region.

  • Prep Time: 5 min
  • Passive Time: 1 hr 45 min
  • Cook Time: 5 min

CRAVING MORE?

Follow along here & don’t forget to subscribe to my substack!

Artichoke Chickpeas Salad

Artichoke Chickpeas Salad

Artichoke Chickpeas Salad

Artichoke Chickpeas Salad

June 8, 2024 by Kimberly

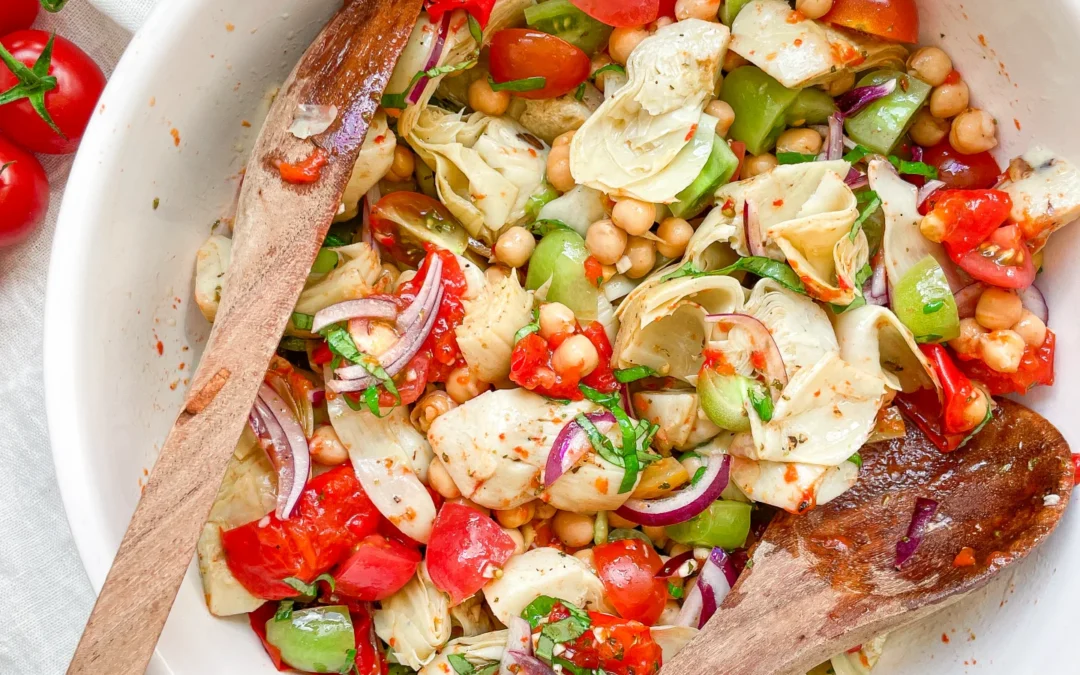
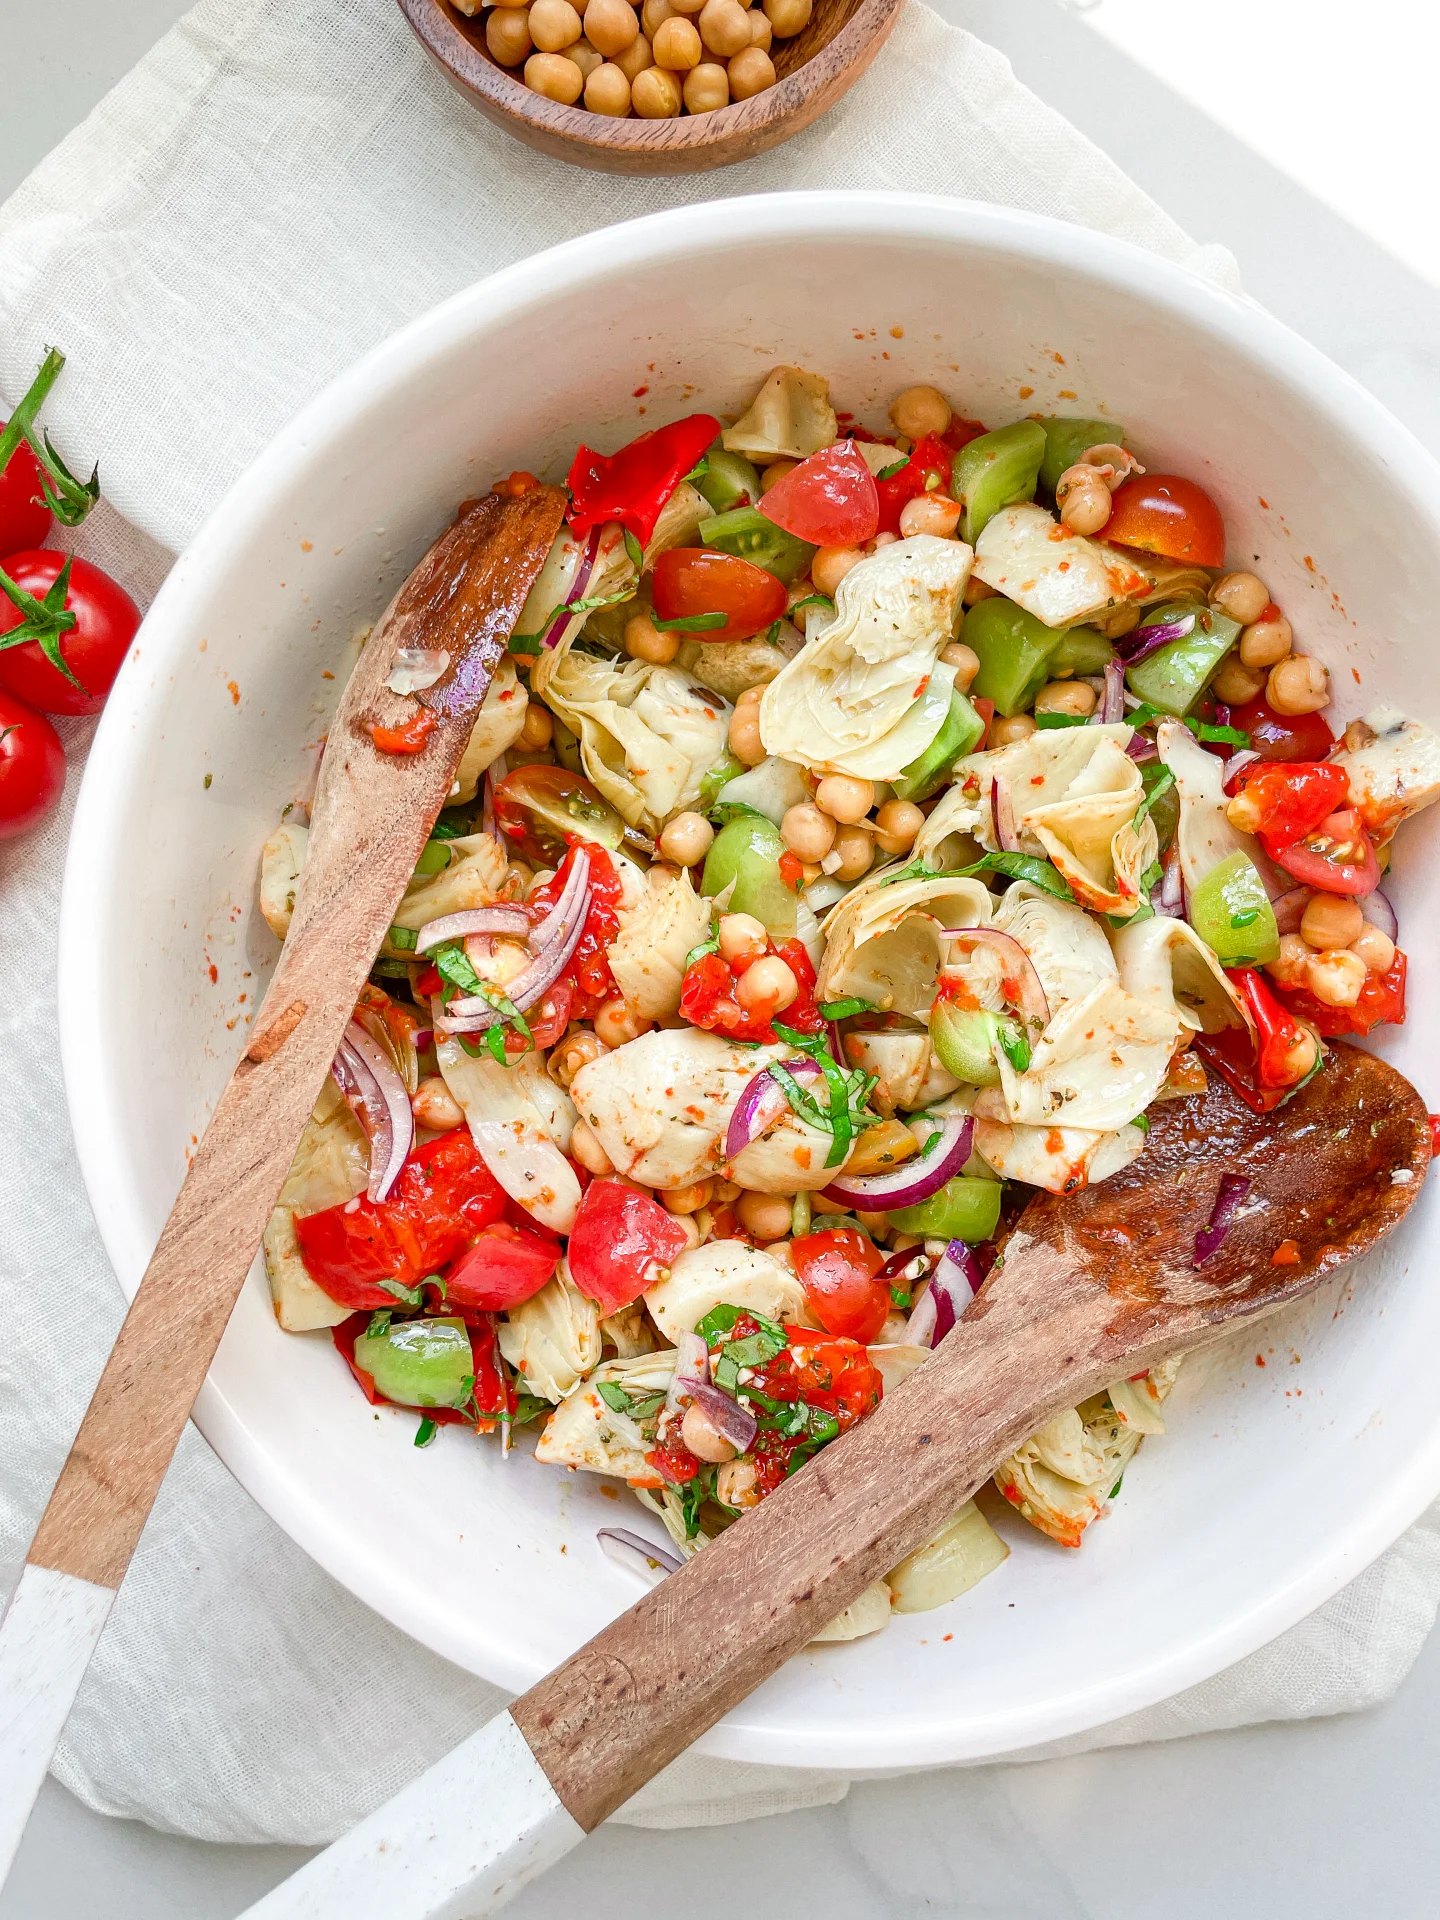
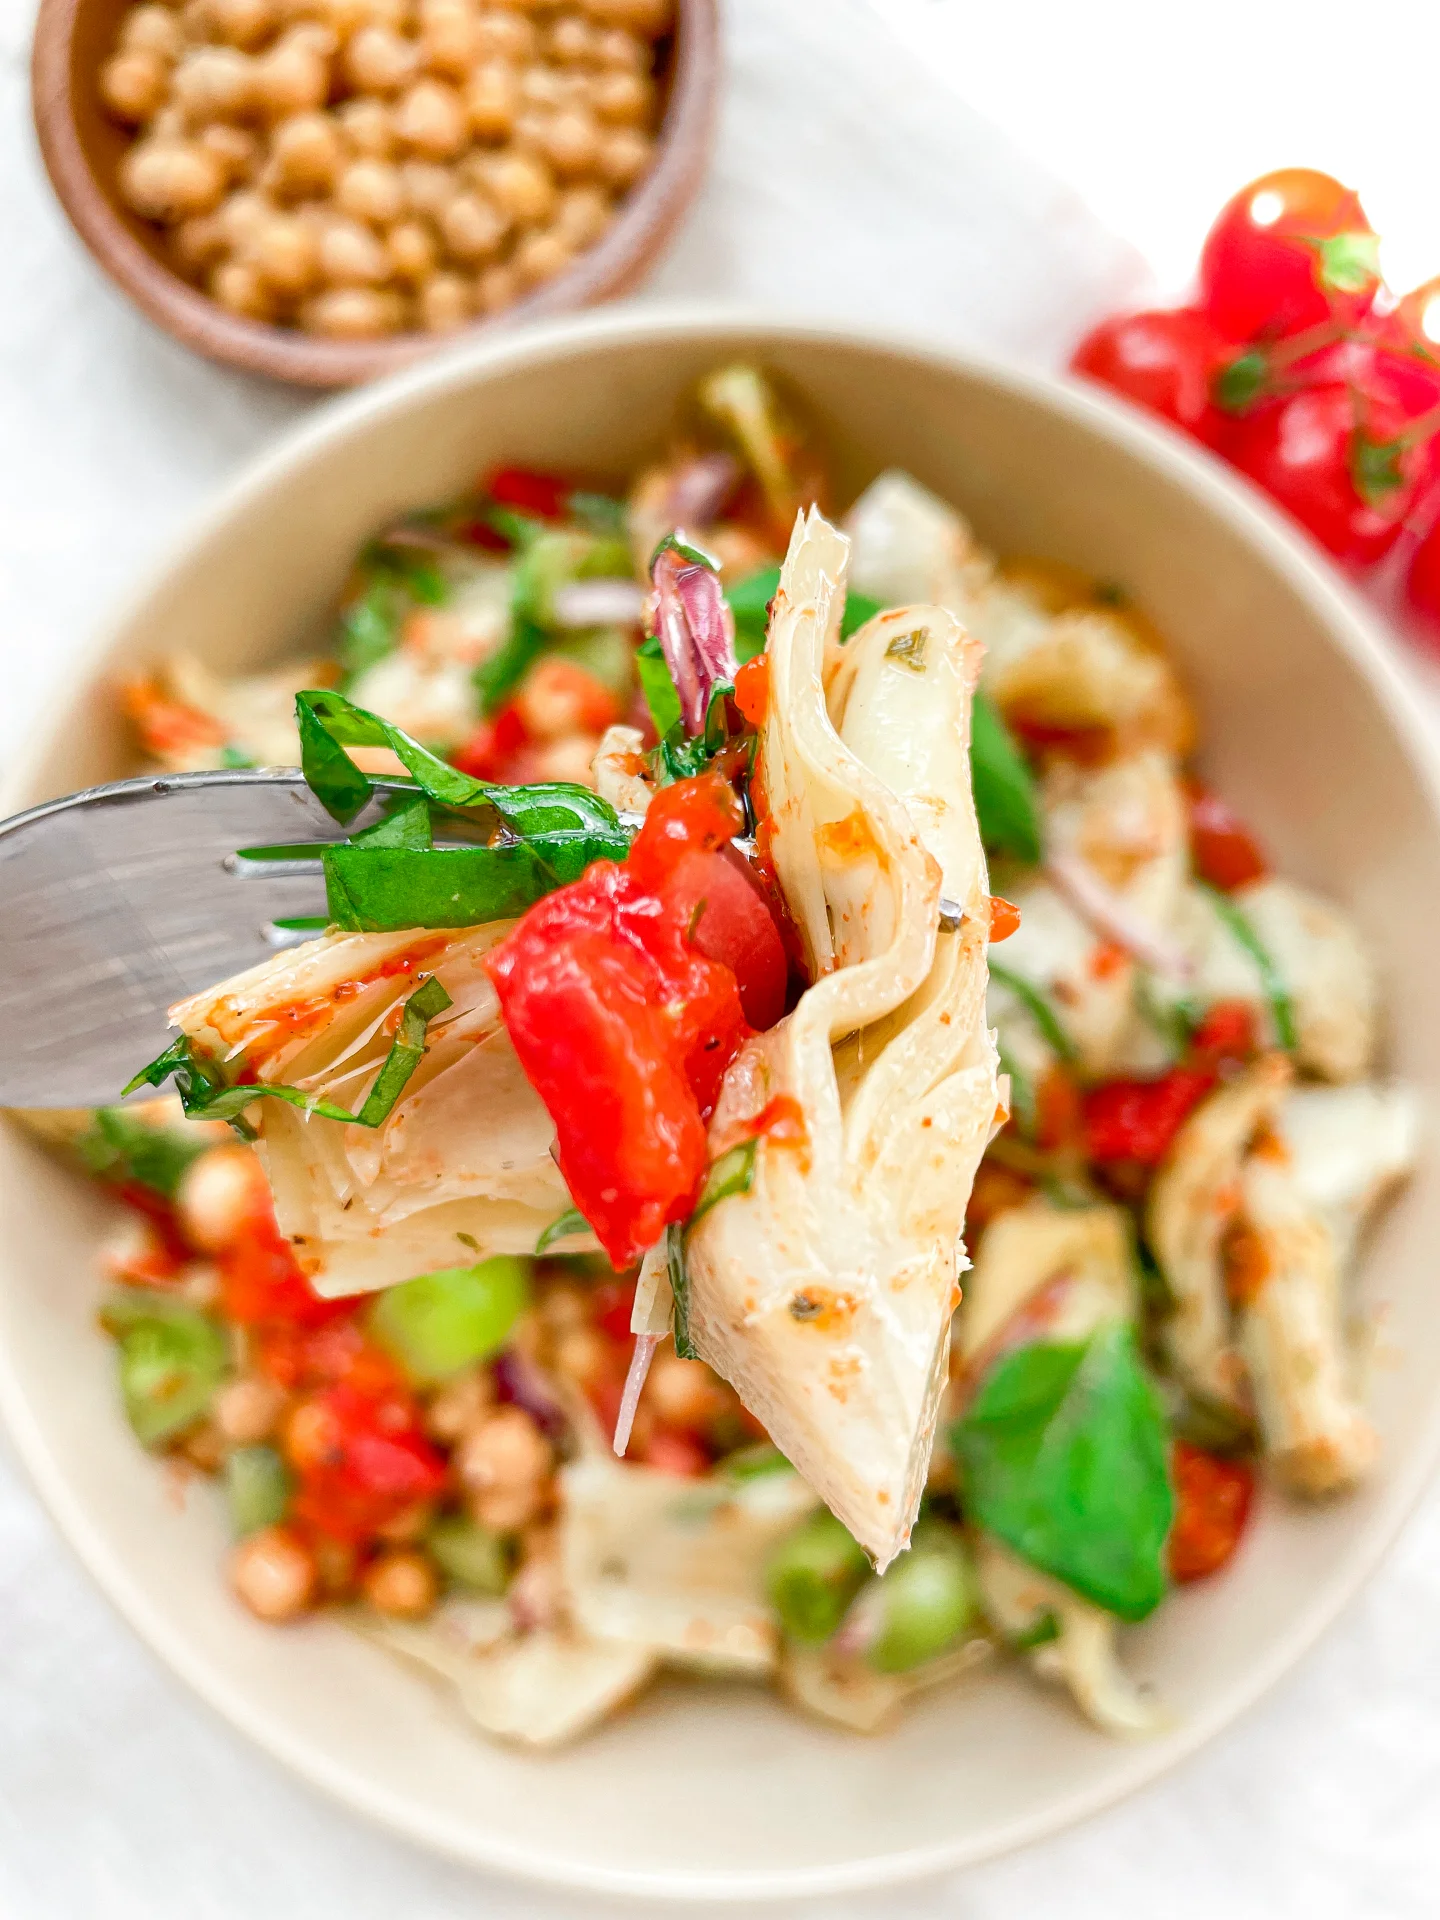
Fresh, zesty, and packed with flavor, this salad is a vibrant blend of artichokes and chickpeas, tossed in a light dressing—a refreshing twist to your meals!

This website uses affiliate links which may earn commission for purchases made at no additional cost to you.

TOTAL TIME

15 min

SERVES

4 portions

DIET

vegan

EVERY RECIPE DESERVES

A Little Love Letter

Revitalize your lunch routine with this bright and nutritious chickpea and artichoke salad. It’s a breeze to whip up, making it perfect for quick meal or a side salad for dinner.

This salad shines when served chilled, making it an excellent choice for picnics. Elevate it by topping with fresh herbs or a sprinkle of feta cheese for those who enjoy a creamy contrast. It pairs wonderfully with crusty bread or as a hearty side to grilled meats.

To keep the salad fresh, store it in an airtight container in the fridge. It tastefully holds up for about three days, with the flavors melding beautifully over time, making it even more delicious!

Hi, I'm Kimberly!

Hi, I'm Kimberly.

A hopeless romantic when it comes to food. Every recipe I share is a love letter to food itself. I’m so glad you’re here. Make yourself at home and stay a while.

Love,
Kimberly

Kimberly the Zett Signature

If you want to get to know me better,
click here!


Artichoke Chickpeas Salad

LET’S MAKE A PIECE OF HAPPINESS

Print
clock clock iconcutlery cutlery iconflag flag iconfolder folder iconinstagram instagram iconpinterest pinterest iconfacebook facebook iconprint print iconsquares squares iconheart heart iconheart solid heart solid icon
Artichoke Chickpeas Salad

Artichoke Chickpeas Salad


  • Author: Kimberly
  • Total Time: 15 minutes
  • Yield: 2 mains or 4 sides 1x

Description

GOOD TO HAVE ON HAND

  • sharp knife
  • cutting board
  • salad bowl
  • small bowl
  • small whisk
  • garlic press


Ingredients

Units Scale
SALAD
  • 450 grams canned artichoke hearts
  • 150 grams canned roasted bell pepper
  • 250 grams canned chickpeas
  • 200 grams cocktail tomatoes
  • 1 red onion
DRESSING
  • 4 tbsp olive oil
  • 2 tbsp red wine vinegar
  • 2 tbsp maple syrup or honey
  • 1 garlic clove
  • salt & pepper to taste
TOPPING
  • fresh basil
  • fresh oregano

Instructions

  1. Drain the artichoke hearts and let them drip off a bit. Then place them in the salad bowl.
  2. Next, drain the chickpeas and rinse with water until no more bubbles form. Dry the chickpeas with a clean towel and pick out any loose skins. Add them to the salad bowl as well.
  3. Cut the grilled peppers into small pieces and add to the other ingredients in the bowl.
  4. Next, chop the tomatoes and peel and slice the onion into fine strips. Add both to the bowl.
  5. In a small bowl, mix the dressing. For this, peel the garlic and press or finely chop it into the bowl, then add olive oil, red wine vinegar, honey (or maple syrup), and dried oregano. Season with salt and pepper. Stir well and pour over the salad.
  6. Gently mix everything so that it’s evenly coated with the dressing. Finally, chop fresh basil and fresh oregano and sprinkle over the salad. Now enjoy your piece of happiness!

Notes

The calorie information may vary depending on the product used, country and region.

  • Cook Time: 15 min

CRAVING MORE?

Follow along here & don’t forget to subscribe to my substack!

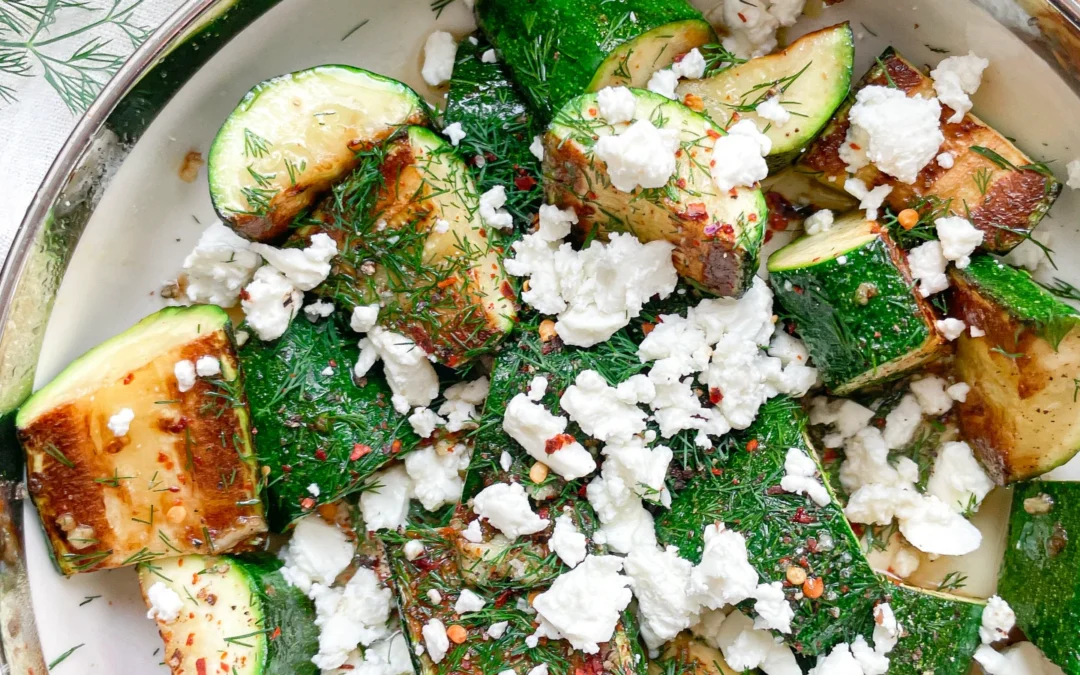
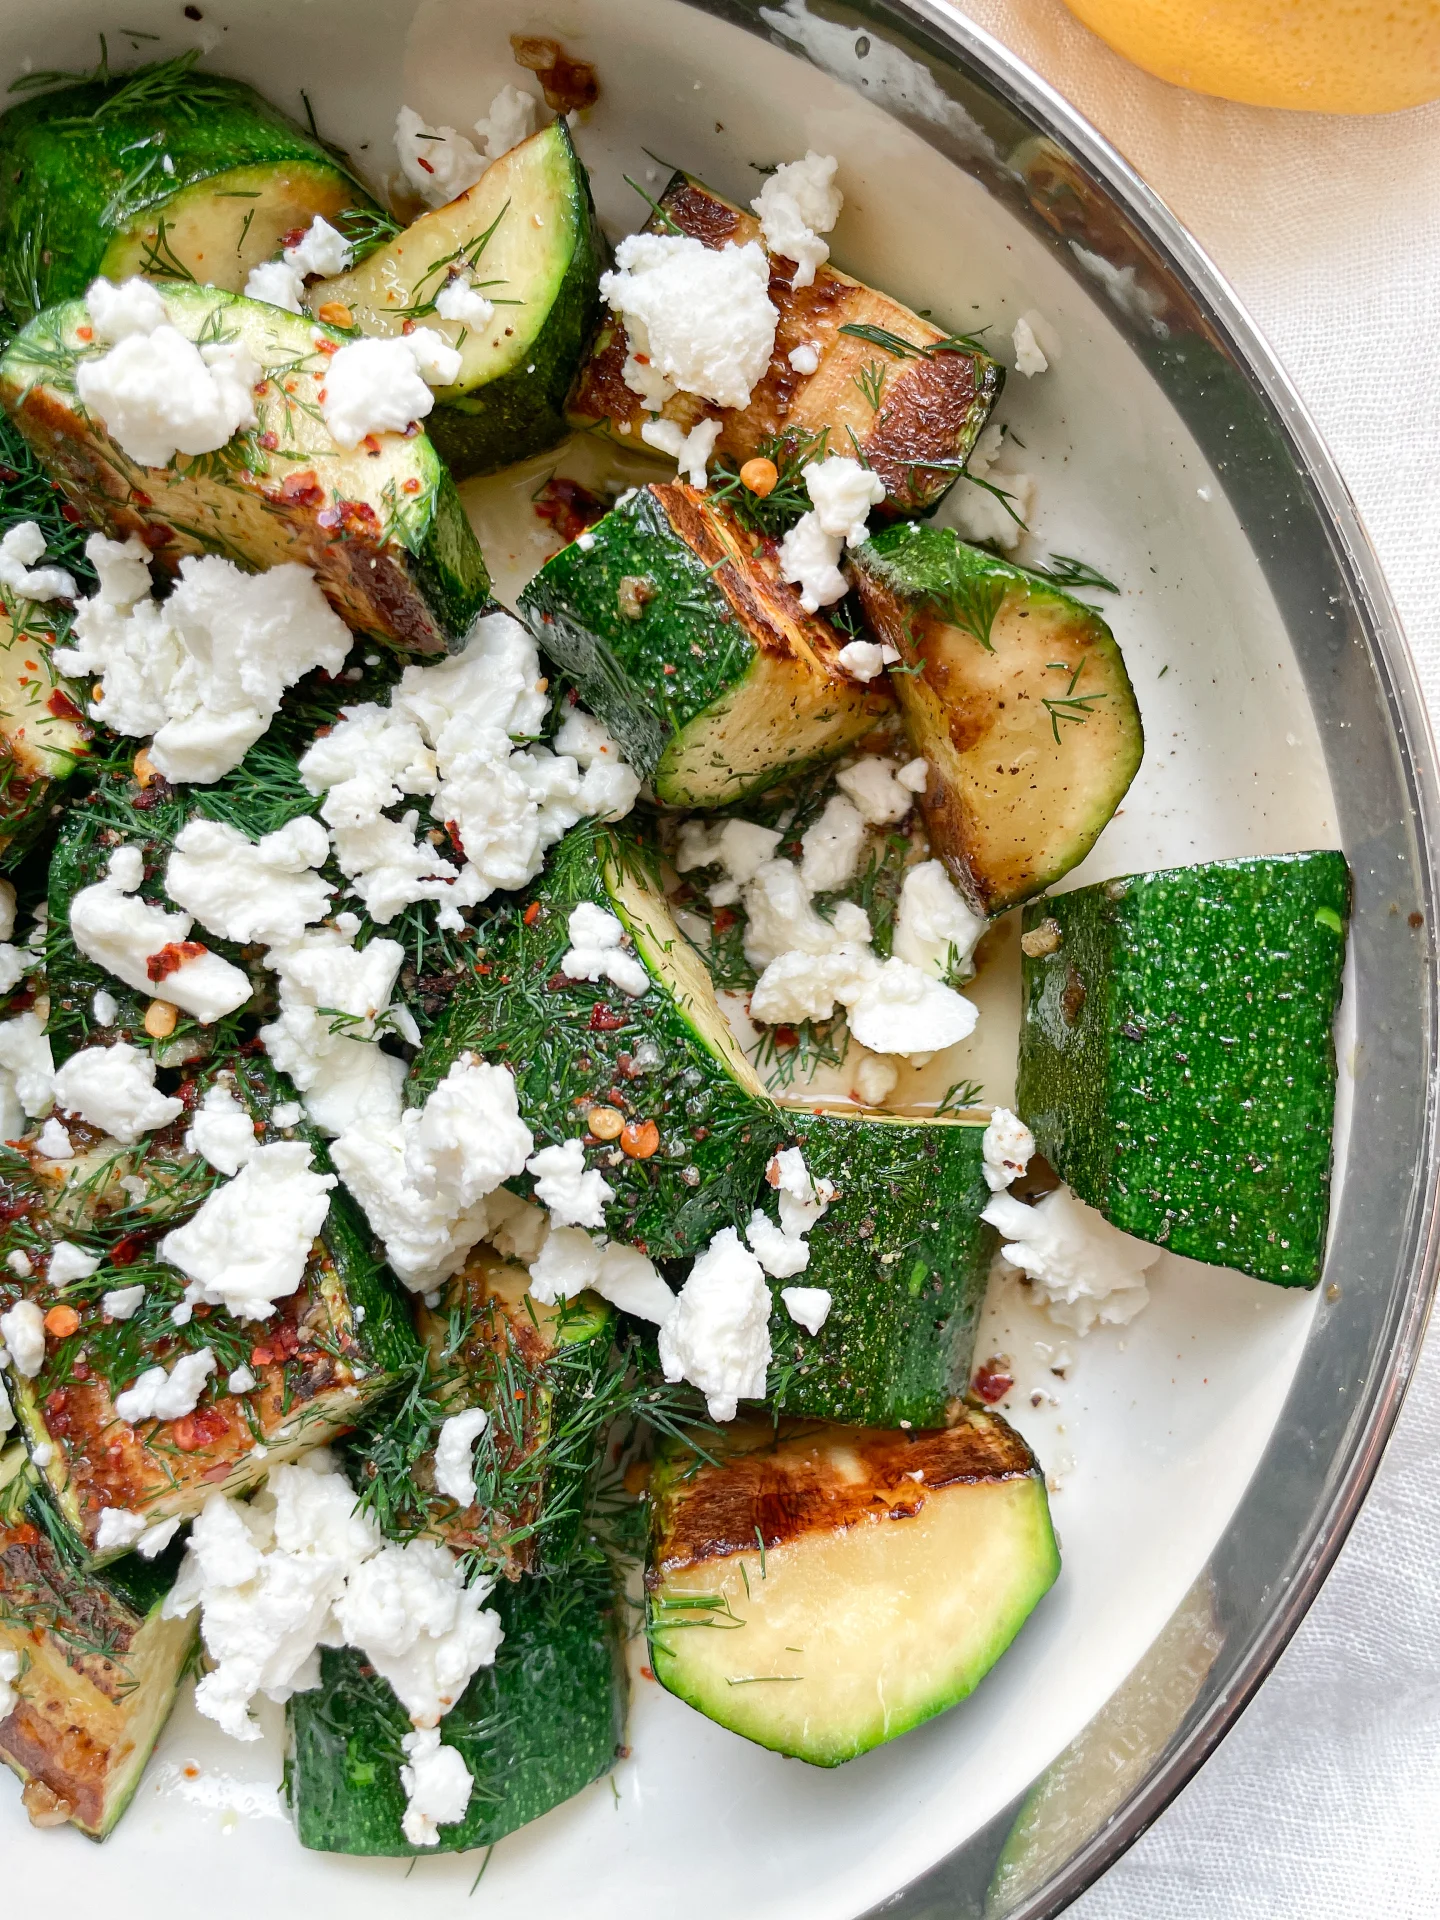
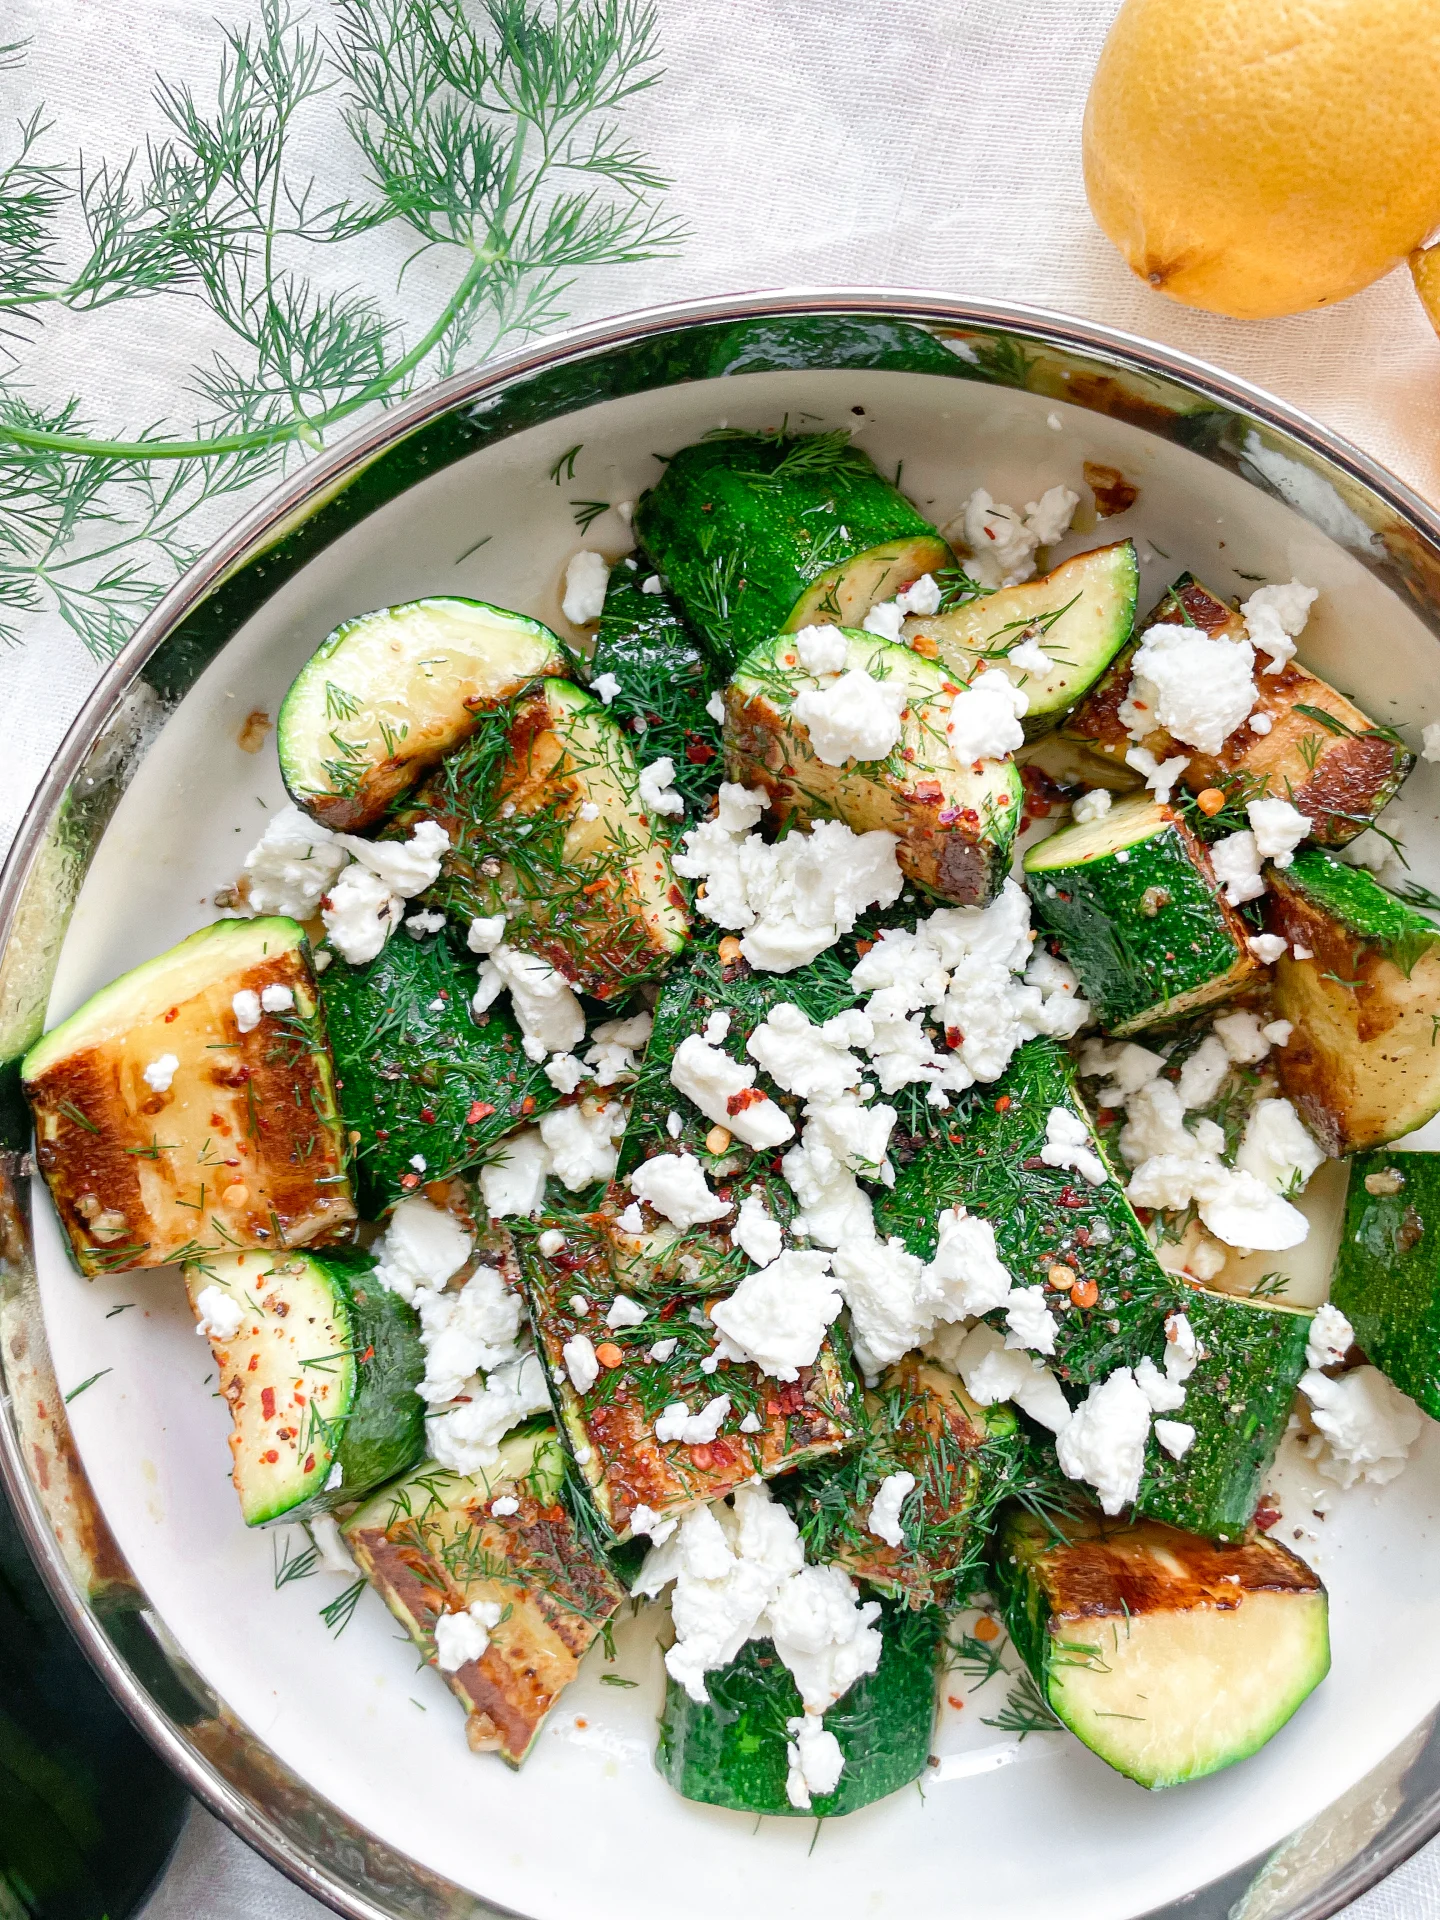
Roasted Honey Garlic Zucchini with Feta & Dill

Roasted Honey Garlic Zucchini with Feta & Dill

Roasted Honey Garlic Zucchini with Feta & Dill

Roasted Honey Garlic Zucchini with Feta & Dill

May 27, 2024 by Kimberly

Discover the perfect summer side dish with roasted zucchini, garlic, honey, feta, and dill. It’s tender, crispy, and irresistibly flavorful. Your taste buds will thank you!

This website uses affiliate links which may earn commission for purchases made at no additional cost to you.

TOTAL TIME

15 min

SERVES

2 portions

DIET

vegetarian

EVERY RECIPE DESERVES

A Little Love Letter

Roasted Honey Garlic Zucchini with Feta & Dill is a summer favorite that’s sure to impress. This dish combines tender zucchini, sweet honey, and savory garlic, all topped with tangy feta and fresh dill. It’s easy to prepare and packed with flavor, making it a go-to for any meal.

Serve this Roasted Honey Garlic Zucchini as a delightful side dish at your next BBQ or family dinner. It pairs wonderfully with grilled meats or can be enjoyed on its own as a light, healthy meal. The combination of sweet, savory, and tangy flavors will leave everyone wanting more.

To store, place any leftover zucchini in an airtight container and refrigerate. It will stay fresh for up to 2 days. Reheat in the oven to maintain its crispy texture, or enjoy it cold for a quick and tasty snack.

Hi, I'm Kimberly!

Hi, I'm Kimberly.

A hopeless romantic when it comes to food. Every recipe I share is a love letter to food itself. I’m so glad you’re here. Make yourself at home and stay a while.

Love,
Kimberly

Kimberly the Zett Signature

If you want to get to know me better,
click here!


Roasted Honey Garlic Zucchini with Feta & Dill

LET’S MAKE A PIECE OF HAPPINESS

Print
clock clock iconcutlery cutlery iconflag flag iconfolder folder iconinstagram instagram iconpinterest pinterest iconfacebook facebook iconprint print iconsquares squares iconheart heart iconheart solid heart solid icon
Roasted Honey Garlic Zucchini with Feta & Dill

Roasted Honey Garlic Zucchini with Feta & Dill


5 from 1 review

  • Author: Kimberly
  • Total Time: 13 minutes
  • Yield: 2 1x

Description

GOOD TO HAVE ON HAND

  • large pan
  • sharp knife
  • cutting board
  • garlic press


Ingredients

Units Scale
ZUCCHINIS
  • 2 zucchinis
  • 2 tbsp olive oil
  • 3 garlic cloves
  • 1/4 tsp to 1/2 tsp chili flakes (depending on your preferences)
TOPPINGS
  • 2 tsp honey
  • 100 grams feta cheese
  • 2 tbsp fresh dill
  • salt & pepper to taste

Instructions

PREPARATIONS

  • Peel the garlic cloves and finely chop them or use a garlic press.
  • Roughly chop the dill set aside.

INSTRUCTIONS

  1. Wash the zucchini and trim the ends. Then, halve the zucchini lengthwise and cut them into large chunks.
  2. Heat some olive oil in a pan over medium heat. Place the zucchini pieces cut side down in the pan and sauté for a few minutes until they are crispy and golden brown. Once they’re ready, add the garlic and chili flakes. Stir everything together and let it roast for 1-2 minutes.
  3. Transfer the zucchini to a bowl and drizzle with honey, then season with salt, pepper, dill, and sprinkle feta cheese on top. Serve immediately and enjoy this piece of happiness 🙂

Notes

The calorie information may vary depending on the product used, country and region.

  • Prep Time: 3 min
  • Cook Time: 10 min
  • Category: VEGETABLES

CRAVING MORE?

Follow along here & don’t forget to subscribe to my substack!

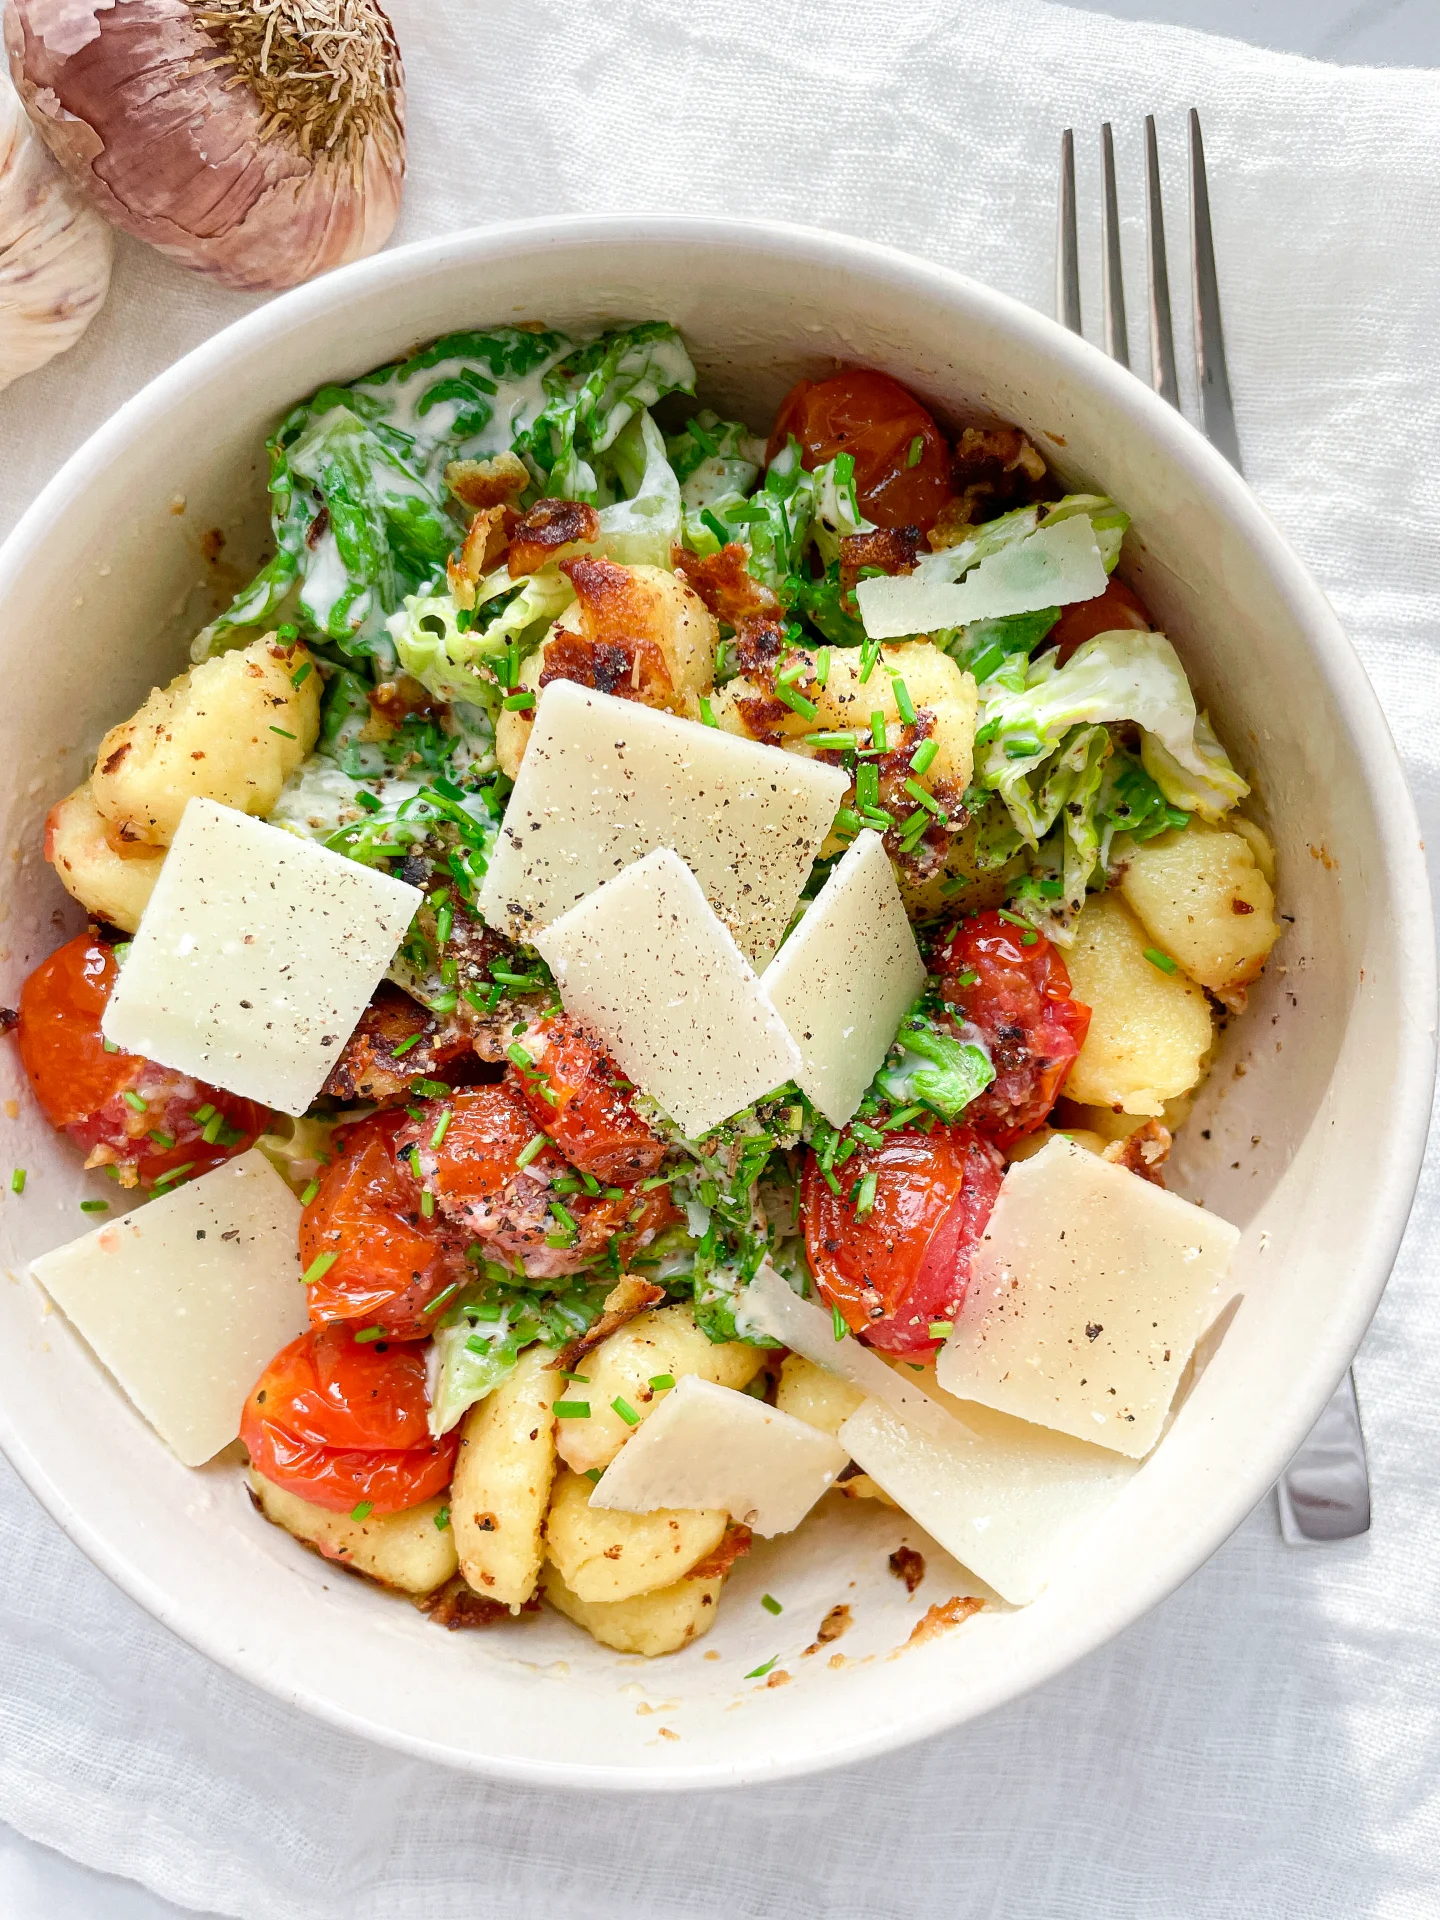
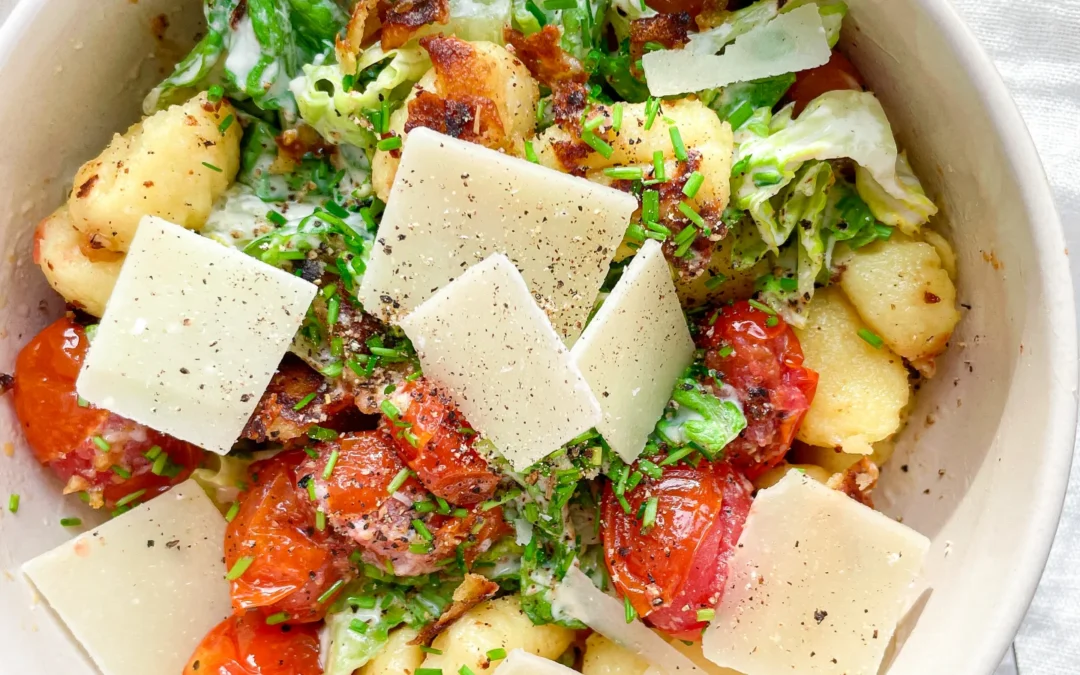
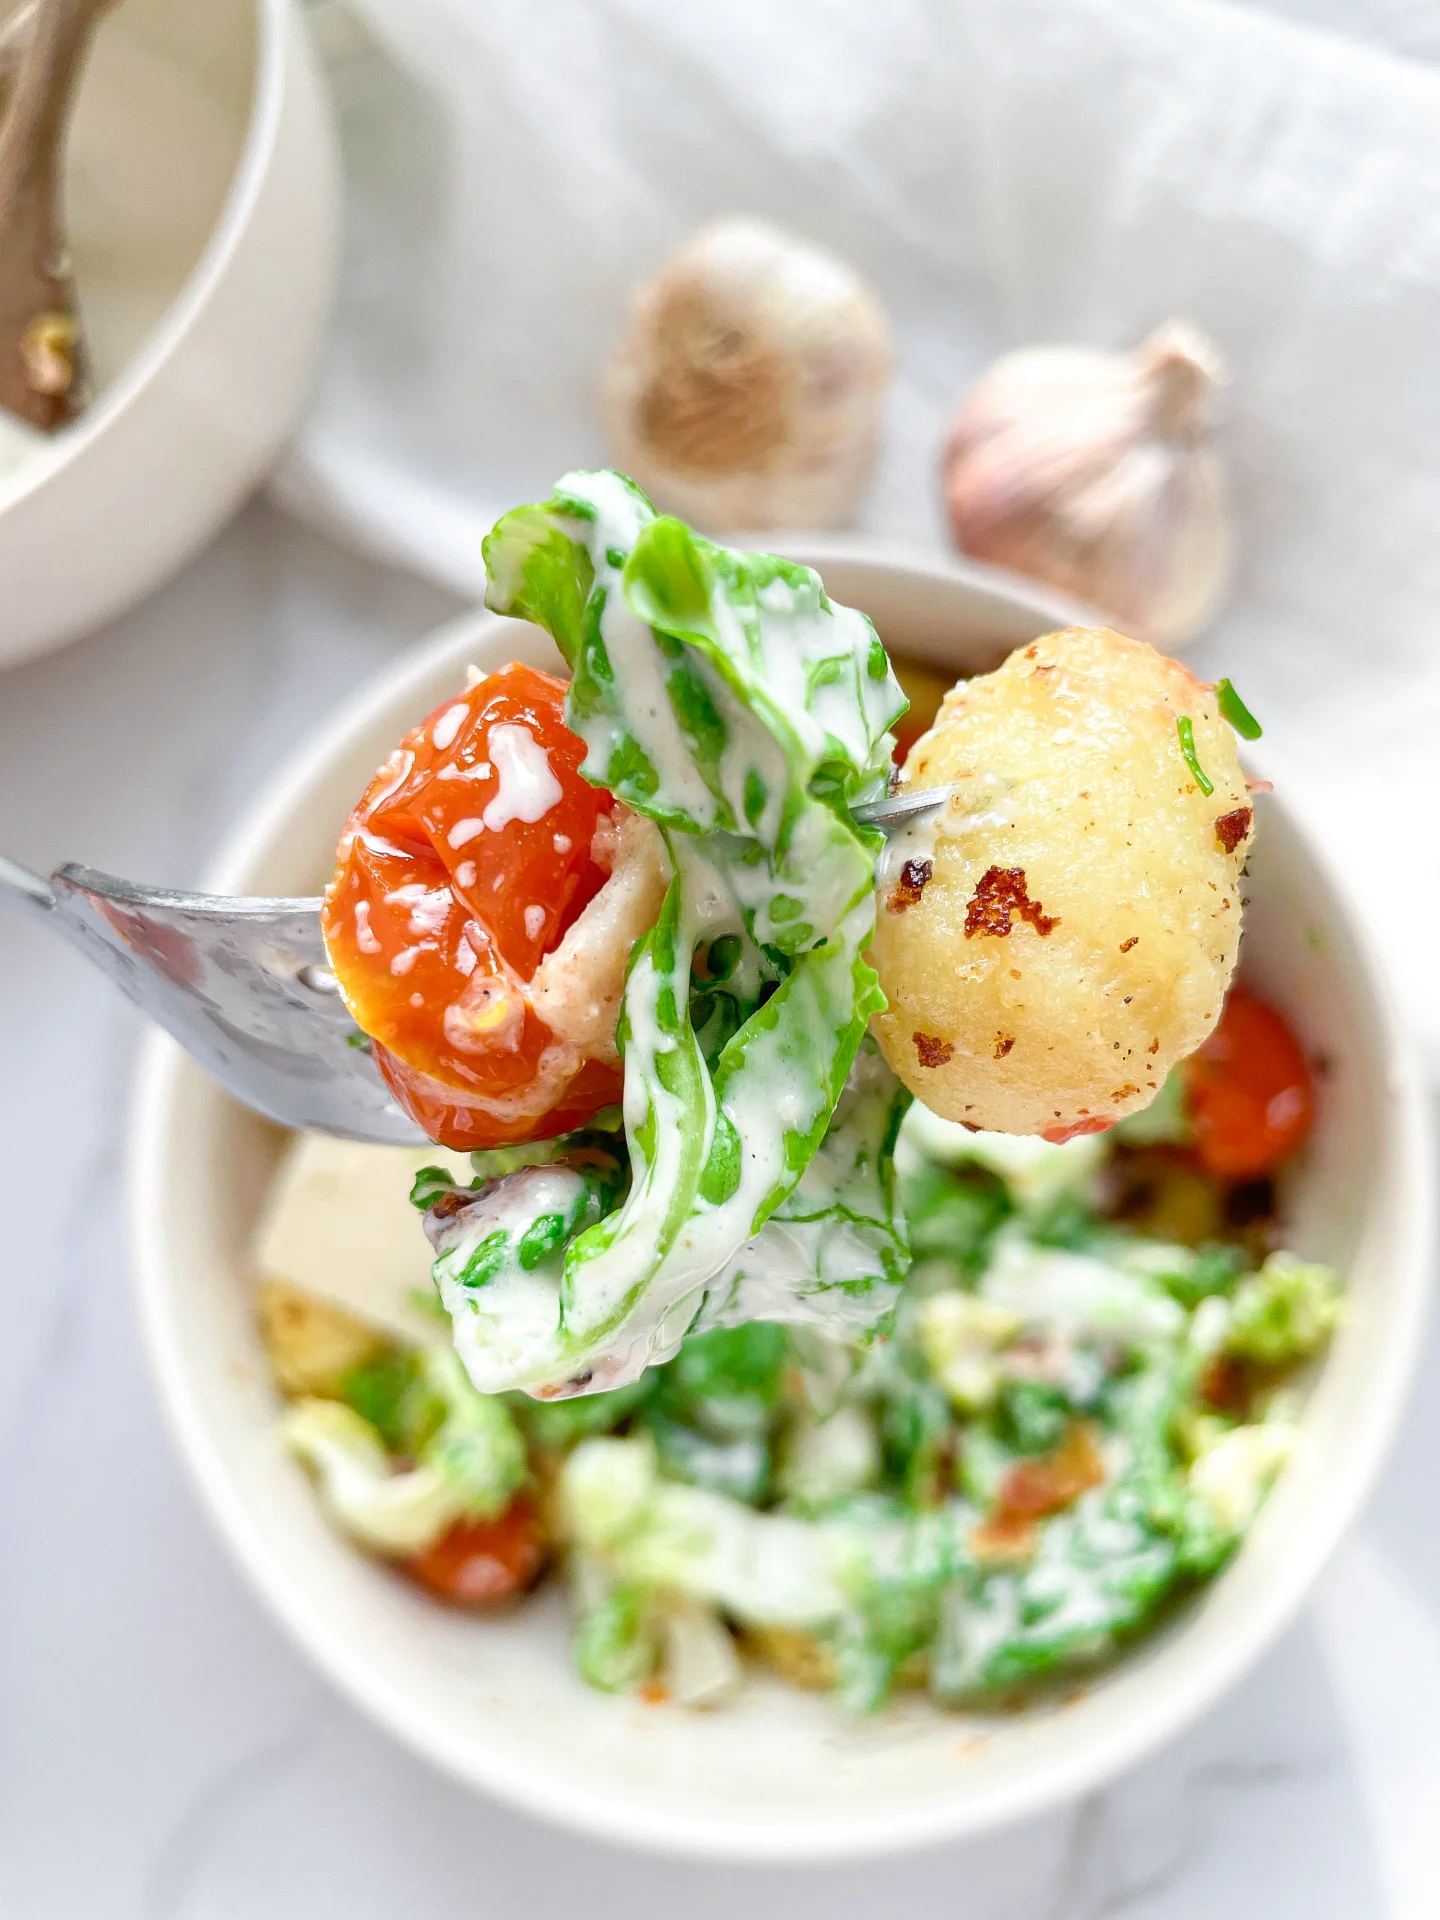
Gnocchi Romaine Salad with Oven-Roasted Tomatoes & Parmesan

Gnocchi Romaine Salad with Oven-Roasted Tomatoes & Parmesan

Gnocchi Romaine Salad with Oven-Roasted Tomatoes & Parmesan

Gnocchi Romaine Salad with Oven-Roasted Tomatoes & Parmesan

May 15, 2024 by Kimberly

Savor the charm of this gnocchi romaine salad combined with roasted tomatoes and parmesan in a creamy garlic-yogurt dressing – perfect for a refreshing, hearty meal!

This website uses affiliate links which may earn commission for purchases made at no additional cost to you.

TOTAL TIME

25 min

SERVES

2 bowls

DIET

vegetarian

EVERY RECIPE DESERVES

A Little Love Letter

Elevate your dining experience with this gnocchi romaine salad, featuring oven-roasted tomatoes and a sprinkle of parmesan, all tossed in a zesty garlic-vinegar yogurt dressing. A delightful twist on classic ingredients!

This salad shines whether served chilled or with tomatoes fresh out of the oven and gnocchi straight from the pan, making it a delightful choice for warm days. Pair it with red wine or a chilled rosé to complement the tangy yogurt dressing, along with a bit of baguette. Perfect for picnics or light lunches.

Keep the salad fresh by storing its components separately in sealed containers in the refrigerator. It’s best enjoyed within two days to ensure the flavors stay vibrant and the gnocchi retains its texture.

Hi, I'm Kimberly!

Hi, I'm Kimberly.

A hopeless romantic when it comes to food. Every recipe I share is a love letter to food itself. I’m so glad you’re here. Make yourself at home and stay a while.

Love,
Kimberly

Kimberly the Zett Signature

If you want to get to know me better,
click here!


Gnocchi Romaine Salad with Oven-Roasted Tomatoes & Parmesan

LET’S MAKE A PIECE OF HAPPINESS

Print
clock clock iconcutlery cutlery iconflag flag iconfolder folder iconinstagram instagram iconpinterest pinterest iconfacebook facebook iconprint print iconsquares squares iconheart heart iconheart solid heart solid icon
Gnocchi Romaine Salad with Oven-Roasted Tomatoes & Parmesan

Gnocchi Romaine Salad with Oven-Roasted Tomatoes & Parmesan


  • Author: Kimberly
  • Total Time: 25 minutes
  • Yield: 2 1x
  • Diet: Vegetarian

Description

GOOD TO HAVE ON HAND

  • sharp knife
  • cutting board
  • medium-sized frying pan
  • two salad bowls
  • small bowl


Ingredients

Units Scale
DRESSING & SALAD
  • 2 romaine lettuces
  • 1 garlic clove
  • 20 grams parmesan
  • 8 grams Worcestershire sauce
  • 1 tsp dijon mustard
  • 100 grams yogurt
  • 12 grams red wine vinegar
ROASTED TOMATOES
  • 250 grams cocktail tomatoes
  • 1 tbsp olive oil
  • 1 garlic clove
GNOCCHI
  • 400 grams soft gnocchi
  • 2 tbsp olive oil
TOPPINGS
  • chives
  • parmesan
  • black pepper

Instructions

PREPARATIONS

  • Wash tomatoes, lettuce, and chives.
  • Chop the chives into fine rolls and cut the lettuce into bite-sized pieces.
  • Peel the garlic cloves and finely chop or press them.
  • Grate the Parmesan finely.
  • Line a baking tray with parchment paper.
  • Preheat the oven to 200°C/392°F.

INSTRUCTIONS

  1. Place the tomatoes on the baking tray. Mix with 1 tablespoon of olive oil and a pressed garlic clove, and roast in the oven for about 15 minutes.
  2. Heat 2 tablespoons of olive oil in a medium frying pan and sauté the gnocchi until crispy.
  3. Meanwhile, divide the Romaine lettuce between two bowls. In a small bowl, thoroughly mix all the ingredients for the dressing. Evenly distribute the dressing over the lettuce in the two bowls, toss well to coat the lettuce with the dressing.
  4. Remove the tomatoes from the oven and distribute them and the gnocchi among the bowls. Toss briefly. Top everything with chives and Parmesan and serve immediately.

Notes

The calorie information may vary depending on the product used, country and region.

  • Prep Time: 10
  • Cook Time: 15
  • Category: SALAD
  • Cuisine: Italian

CRAVING MORE?

Follow along here & don’t forget to subscribe to my substack!

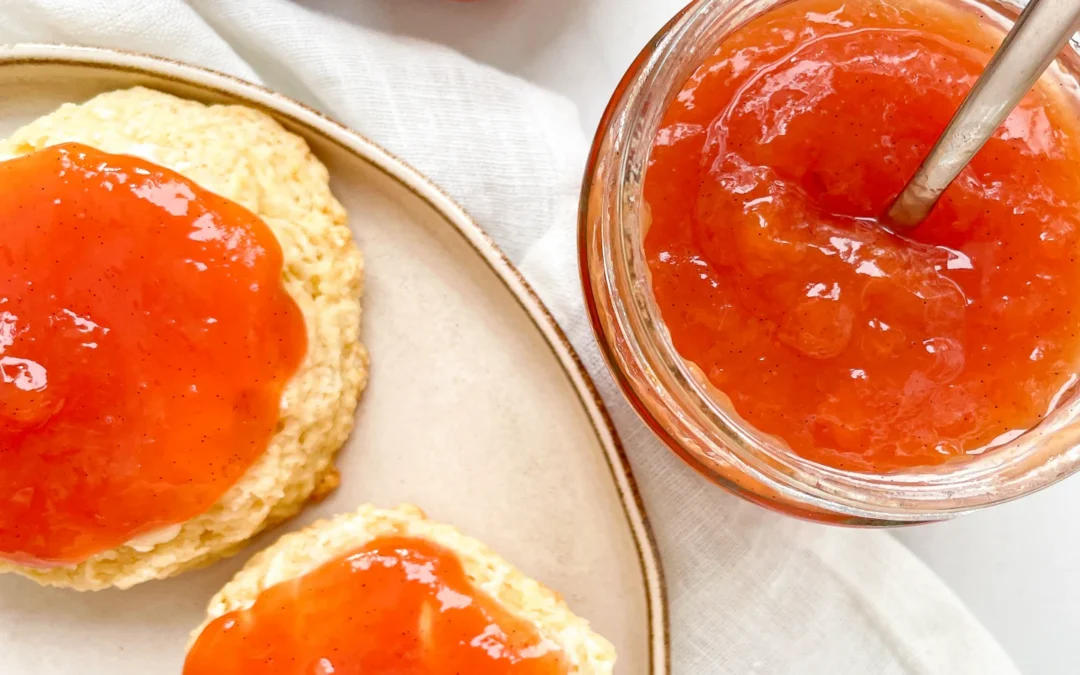
Peach Vanilla Jam

Peach Vanilla Jam

Peach Vanilla Jam

Peach Vanilla Jam

May 12, 2024 by Kimberly

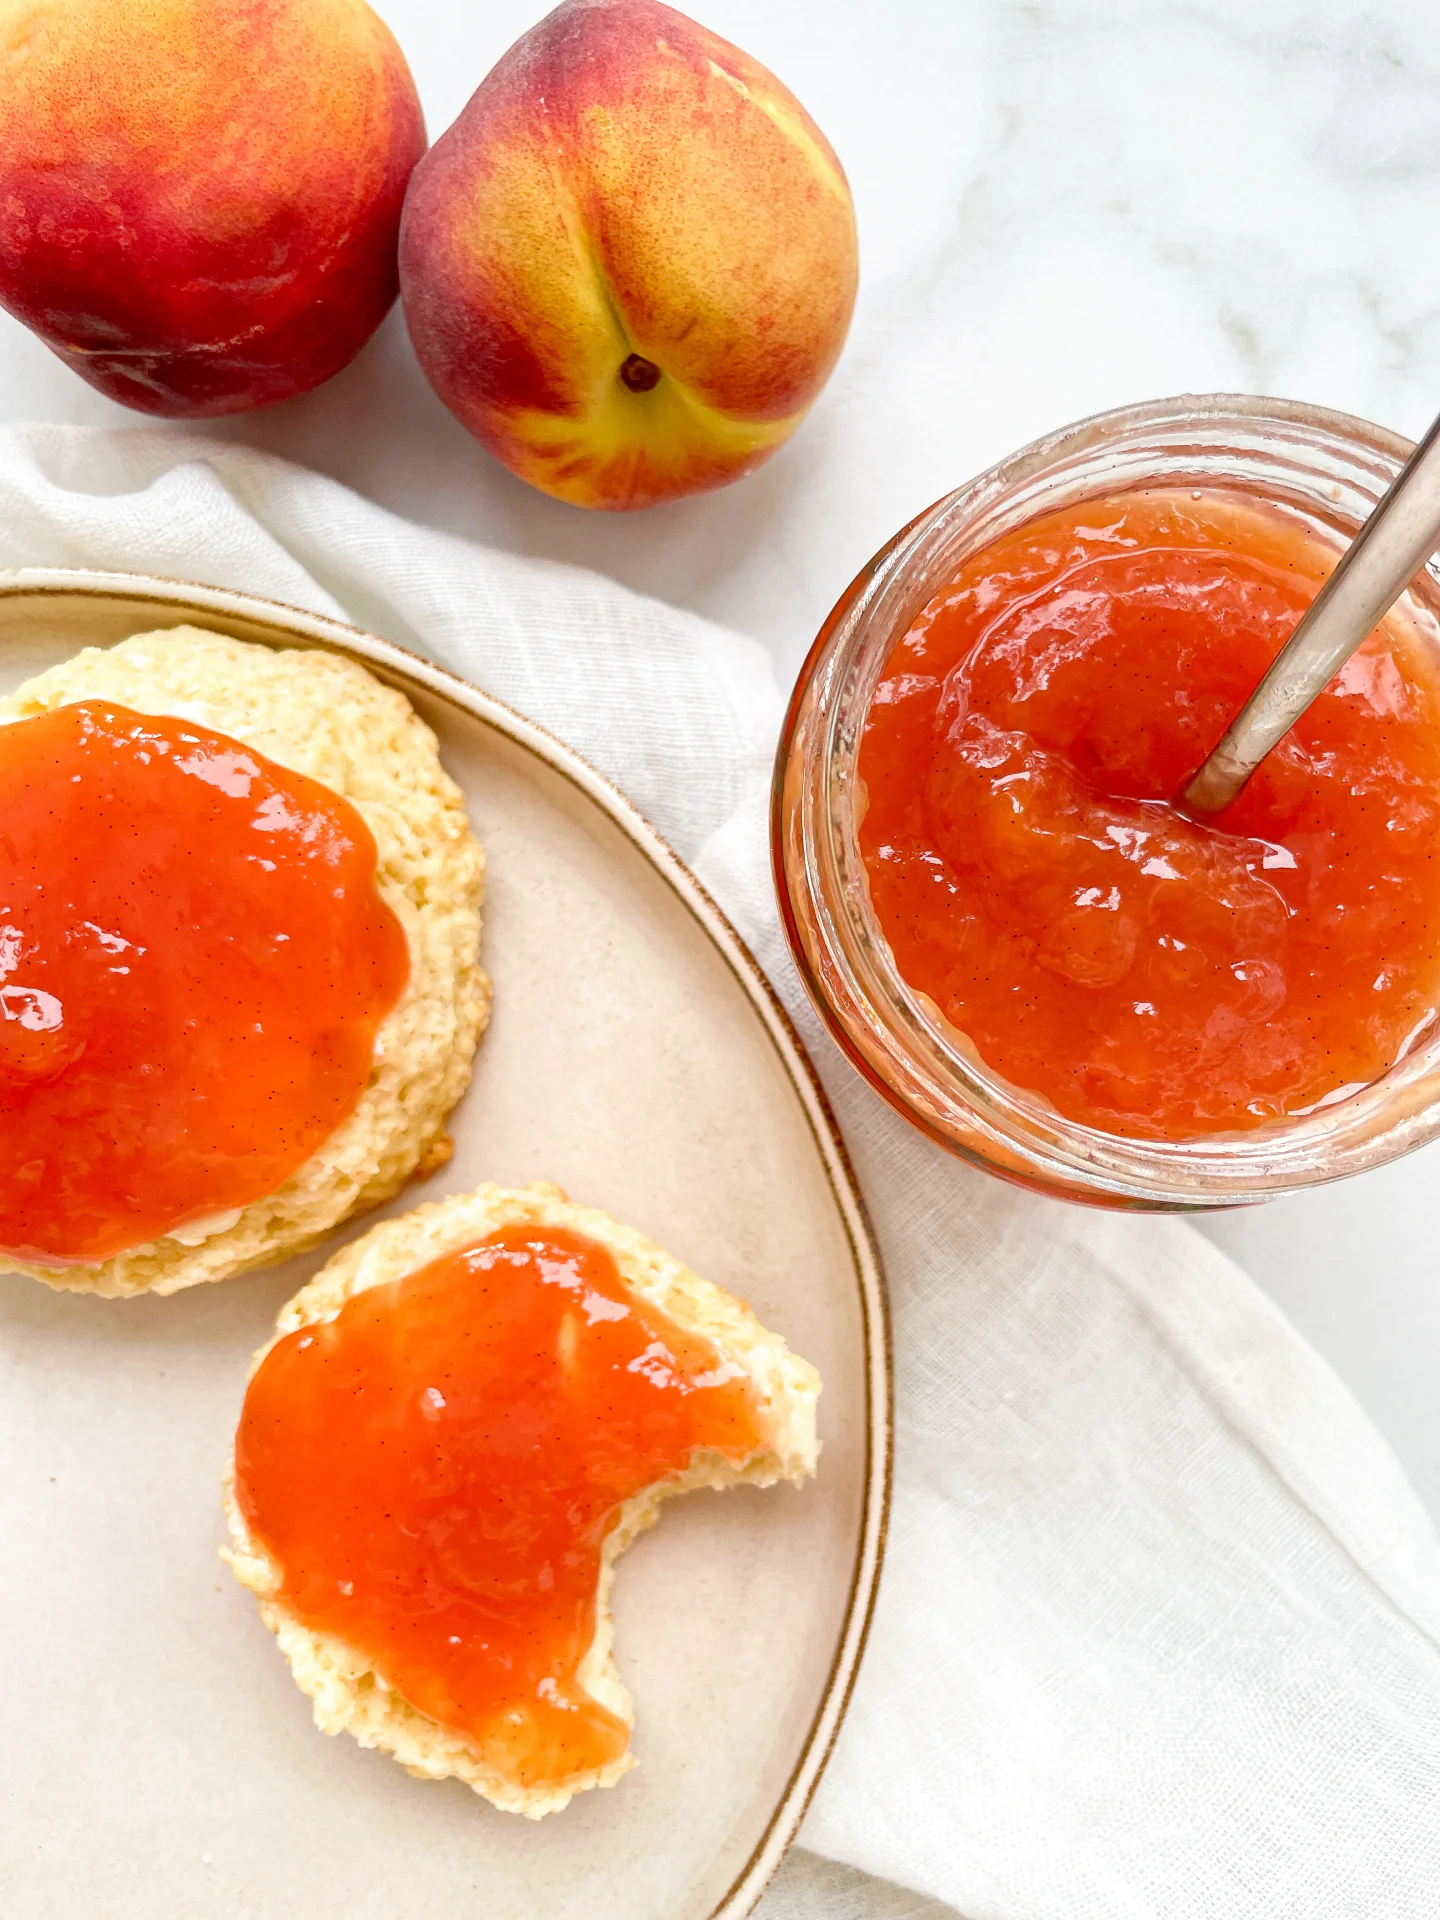
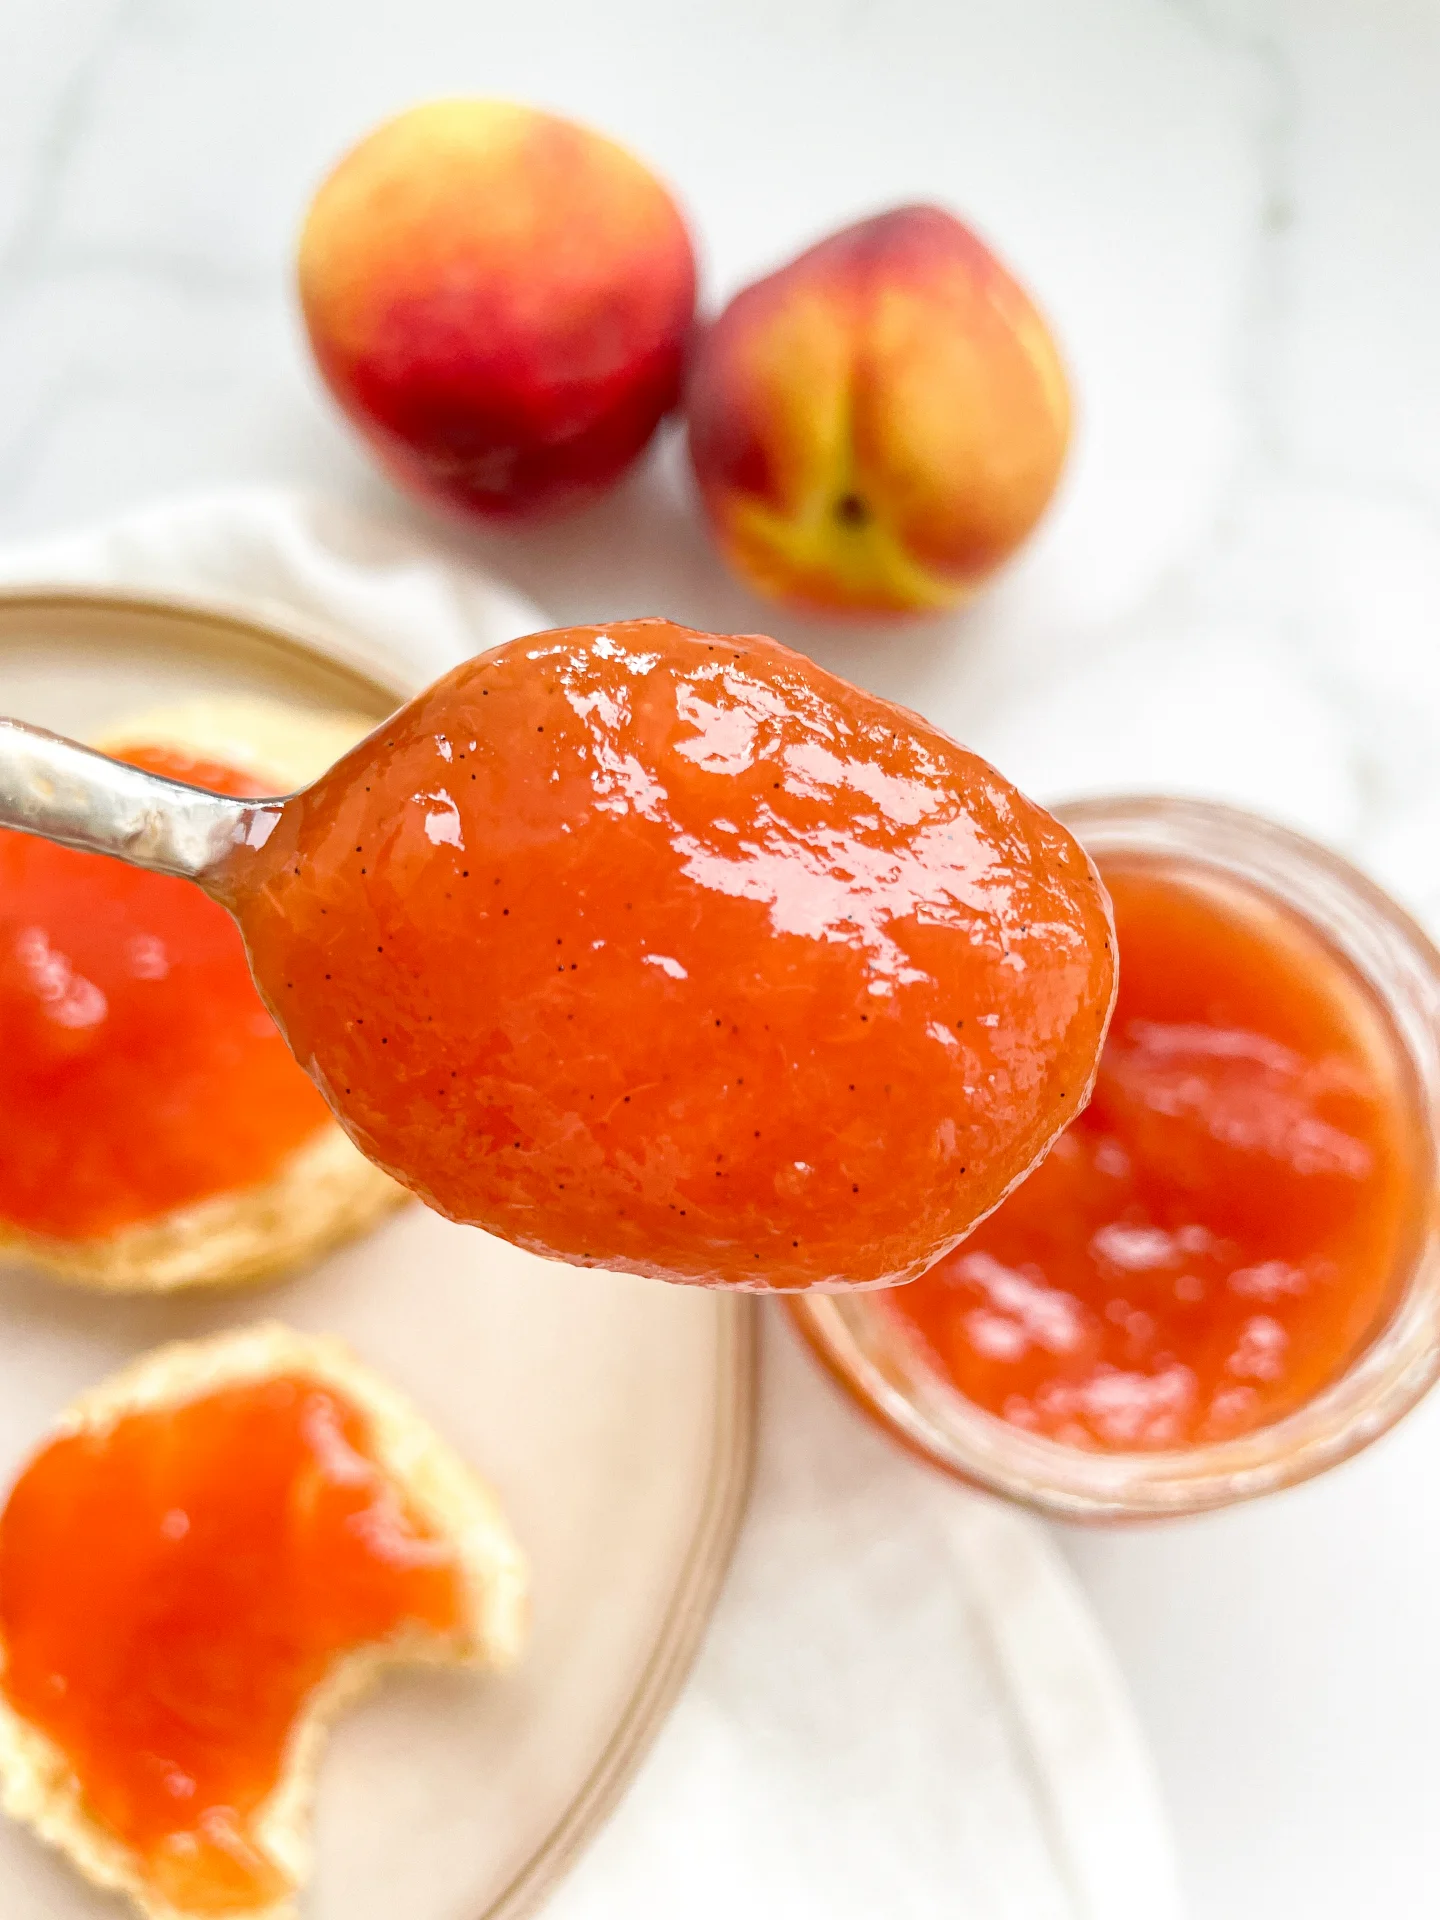
Discover the joy of homemade Peach Vanilla Jam! A sweet, fragrant blend perfect for breakfast spreads and desserts. Simple, delicious, and wonderfully aromatic.

This website uses affiliate links which may earn commission for purchases made at no additional cost to you.

TOTAL TIME

2 hrs + 25 min

SERVES

1.5 kg / 3.3 lbs

DIET

vegetarian

EVERY RECIPE DESERVES

A Little Love Letter

Dive into the delightful world of homemade jam with my peach vanilla jam recipe! This easy-to-follow recipe combines ripe peaches and fragrant vanilla for a heavenly spread.

Spread it over warm toast, swirl it into your morning yogurt, or dollop it on pancakes. It’s the perfect addition to enhance any breakfast or snack time with a touch of homemade sweetness.

To keep your jam fresh, store it in airtight containers in the refrigerator. Properly sealed, it can last as long as store-bought jam once opened.

Hi, I'm Kimberly!

Hi, I'm Kimberly.

A hopeless romantic when it comes to food. Every recipe I share is a love letter to food itself. I’m so glad you’re here. Make yourself at home and stay a while.

Love,
Kimberly

Kimberly the Zett Signature

If you want to get to know me better,
click here!


Peach Vanilla Jam
Peach Vanilla Jam

LET’S MAKE A PIECE OF HAPPINESS

Print
clock clock iconcutlery cutlery iconflag flag iconfolder folder iconinstagram instagram iconpinterest pinterest iconfacebook facebook iconprint print iconsquares squares iconheart heart iconheart solid heart solid icon
Peach Vanilla Jam

Peach Vanilla Jam


  • Author: Kimberly
  • Total Time: 145 min
  • Yield: 1.5 kg / 3.3 lbs 1x

Description

GOOD TO HAVE ON HAND

  • 4 screw-top jars
  • sharp knife
  • cutting board
  • medium-sized pot
  • immersion blender


Ingredients

Units Scale
  • 1 kilograms ripe peaches
  • 500 grams jam sugar 2:1
  • 1 vanilla pod

Instructions

  1. Rinse four screw-top jars with boiling hot water, dry them, and keep them open and ready to be filled.
  2. Wash and dry the peaches. Remove the pits and chop the peaches into rough pieces. Place all the pieces in a medium-sized pot.
  3. Slit a vanilla pod lengthwise and scrape out the seeds. Add the vanilla seeds, the pod, and the jam sugar to the peaches. Stir well and bring to a boil over medium heat.
  4. Let it boil for about 5 minutes. Stir occasionally. Remove the vanilla pod, then puree the mixture with an immersion blender until smooth and simmer for another 5 minutes and stir occasionally.
  5. Fill the jam hot into the washed jars and seal them. Let them cool completely. The jam can be stored unrefrigerated and unopened for several months, and once opened, it lasts in the fridge as long as store-bought jam.

Notes

The calorie information may vary depending on the product used, country and region.

  • Passive Time: 120 min

  • Cook Time: 25 min

CRAVING MORE?

Follow along here & don’t forget to subscribe to my substack!