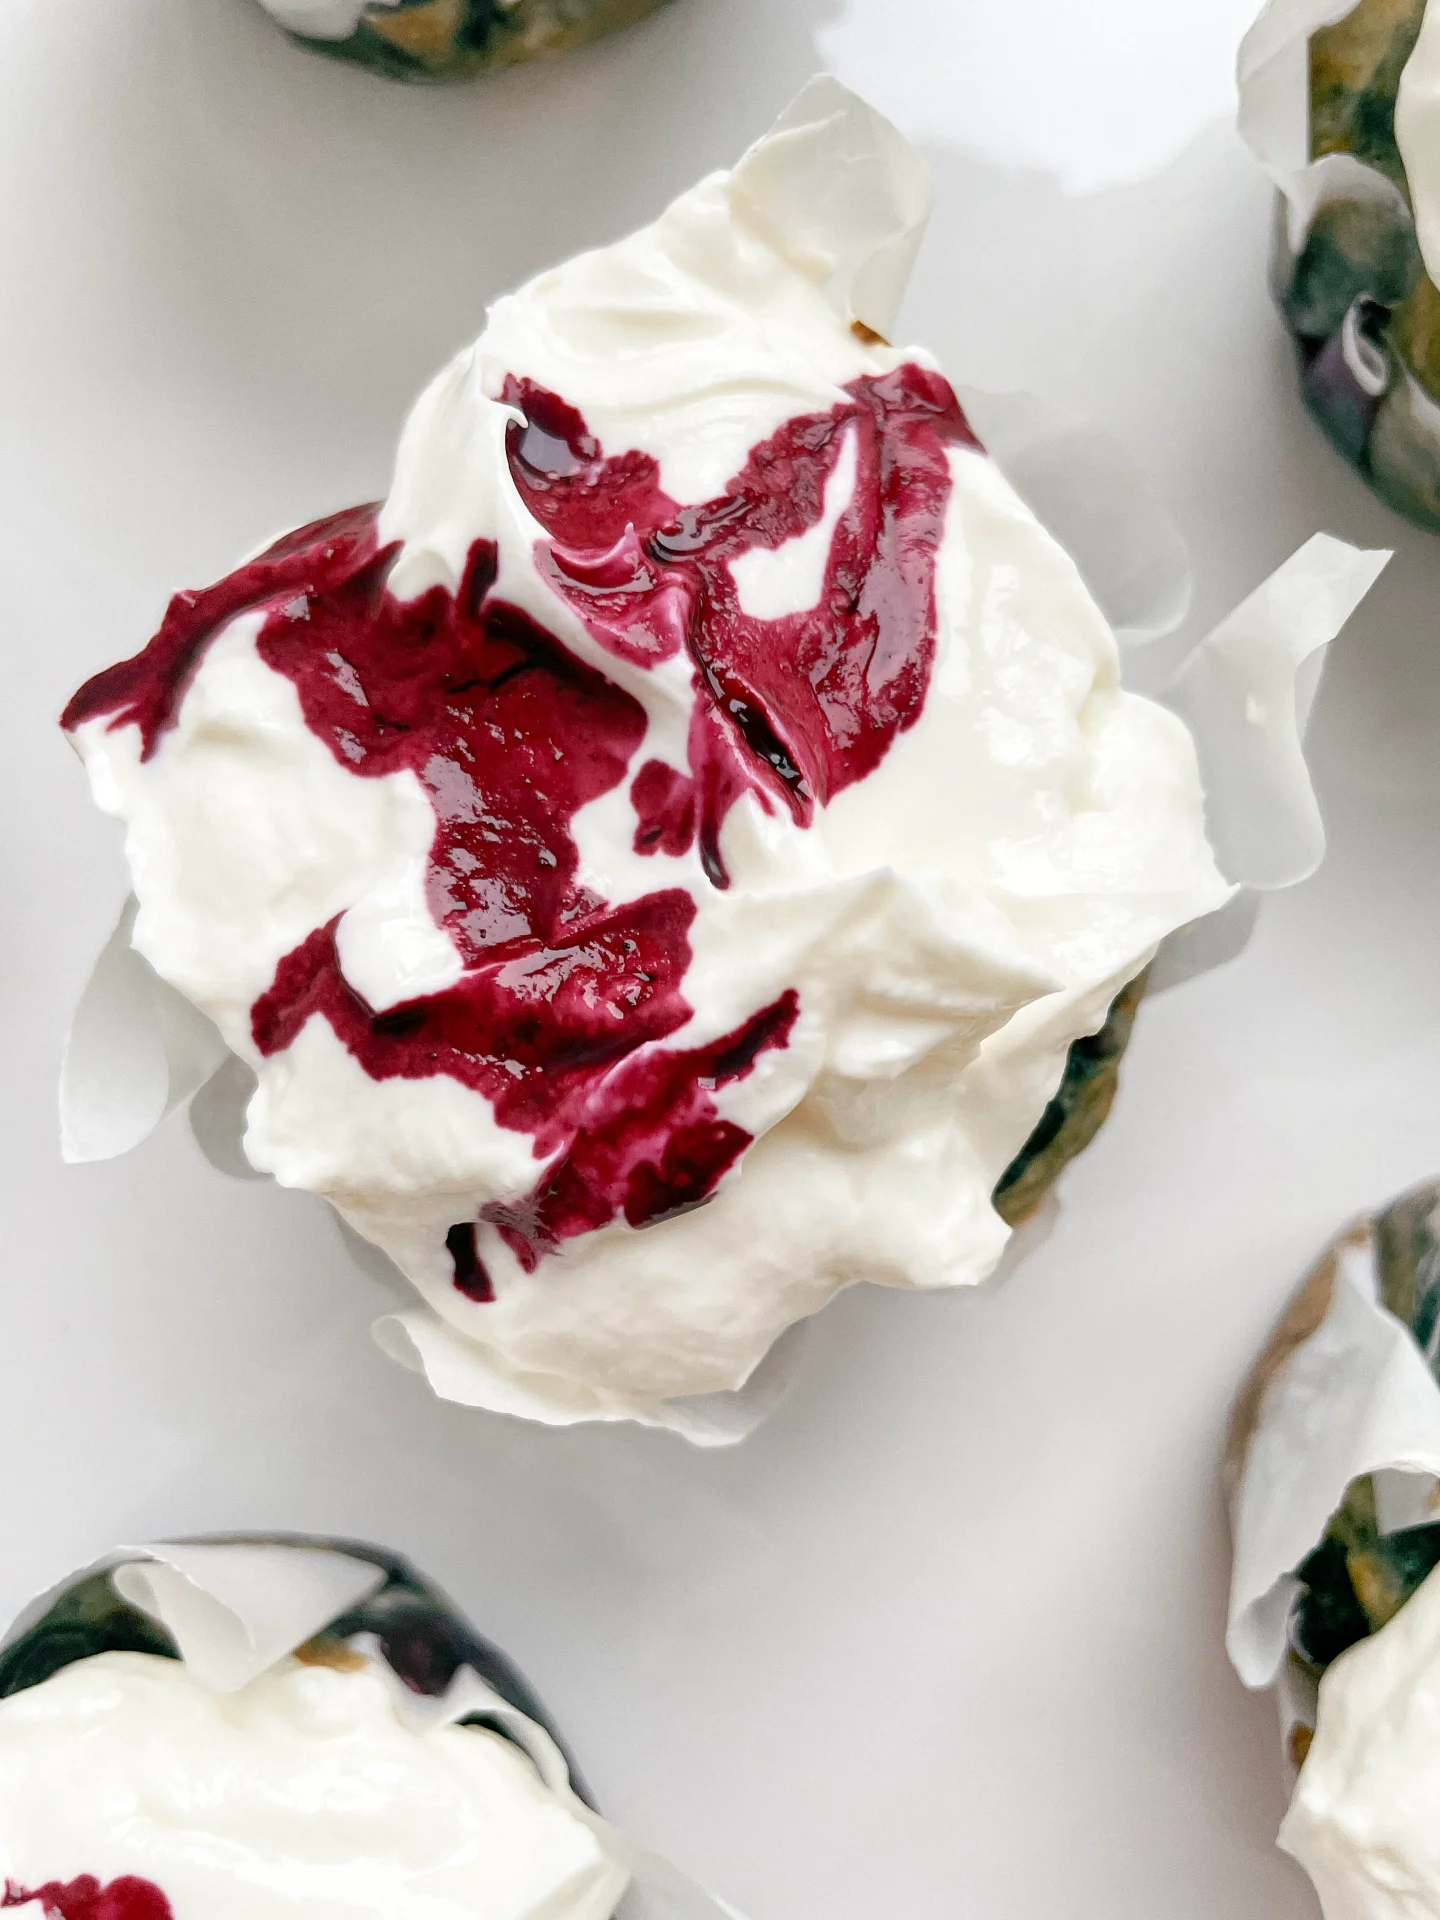


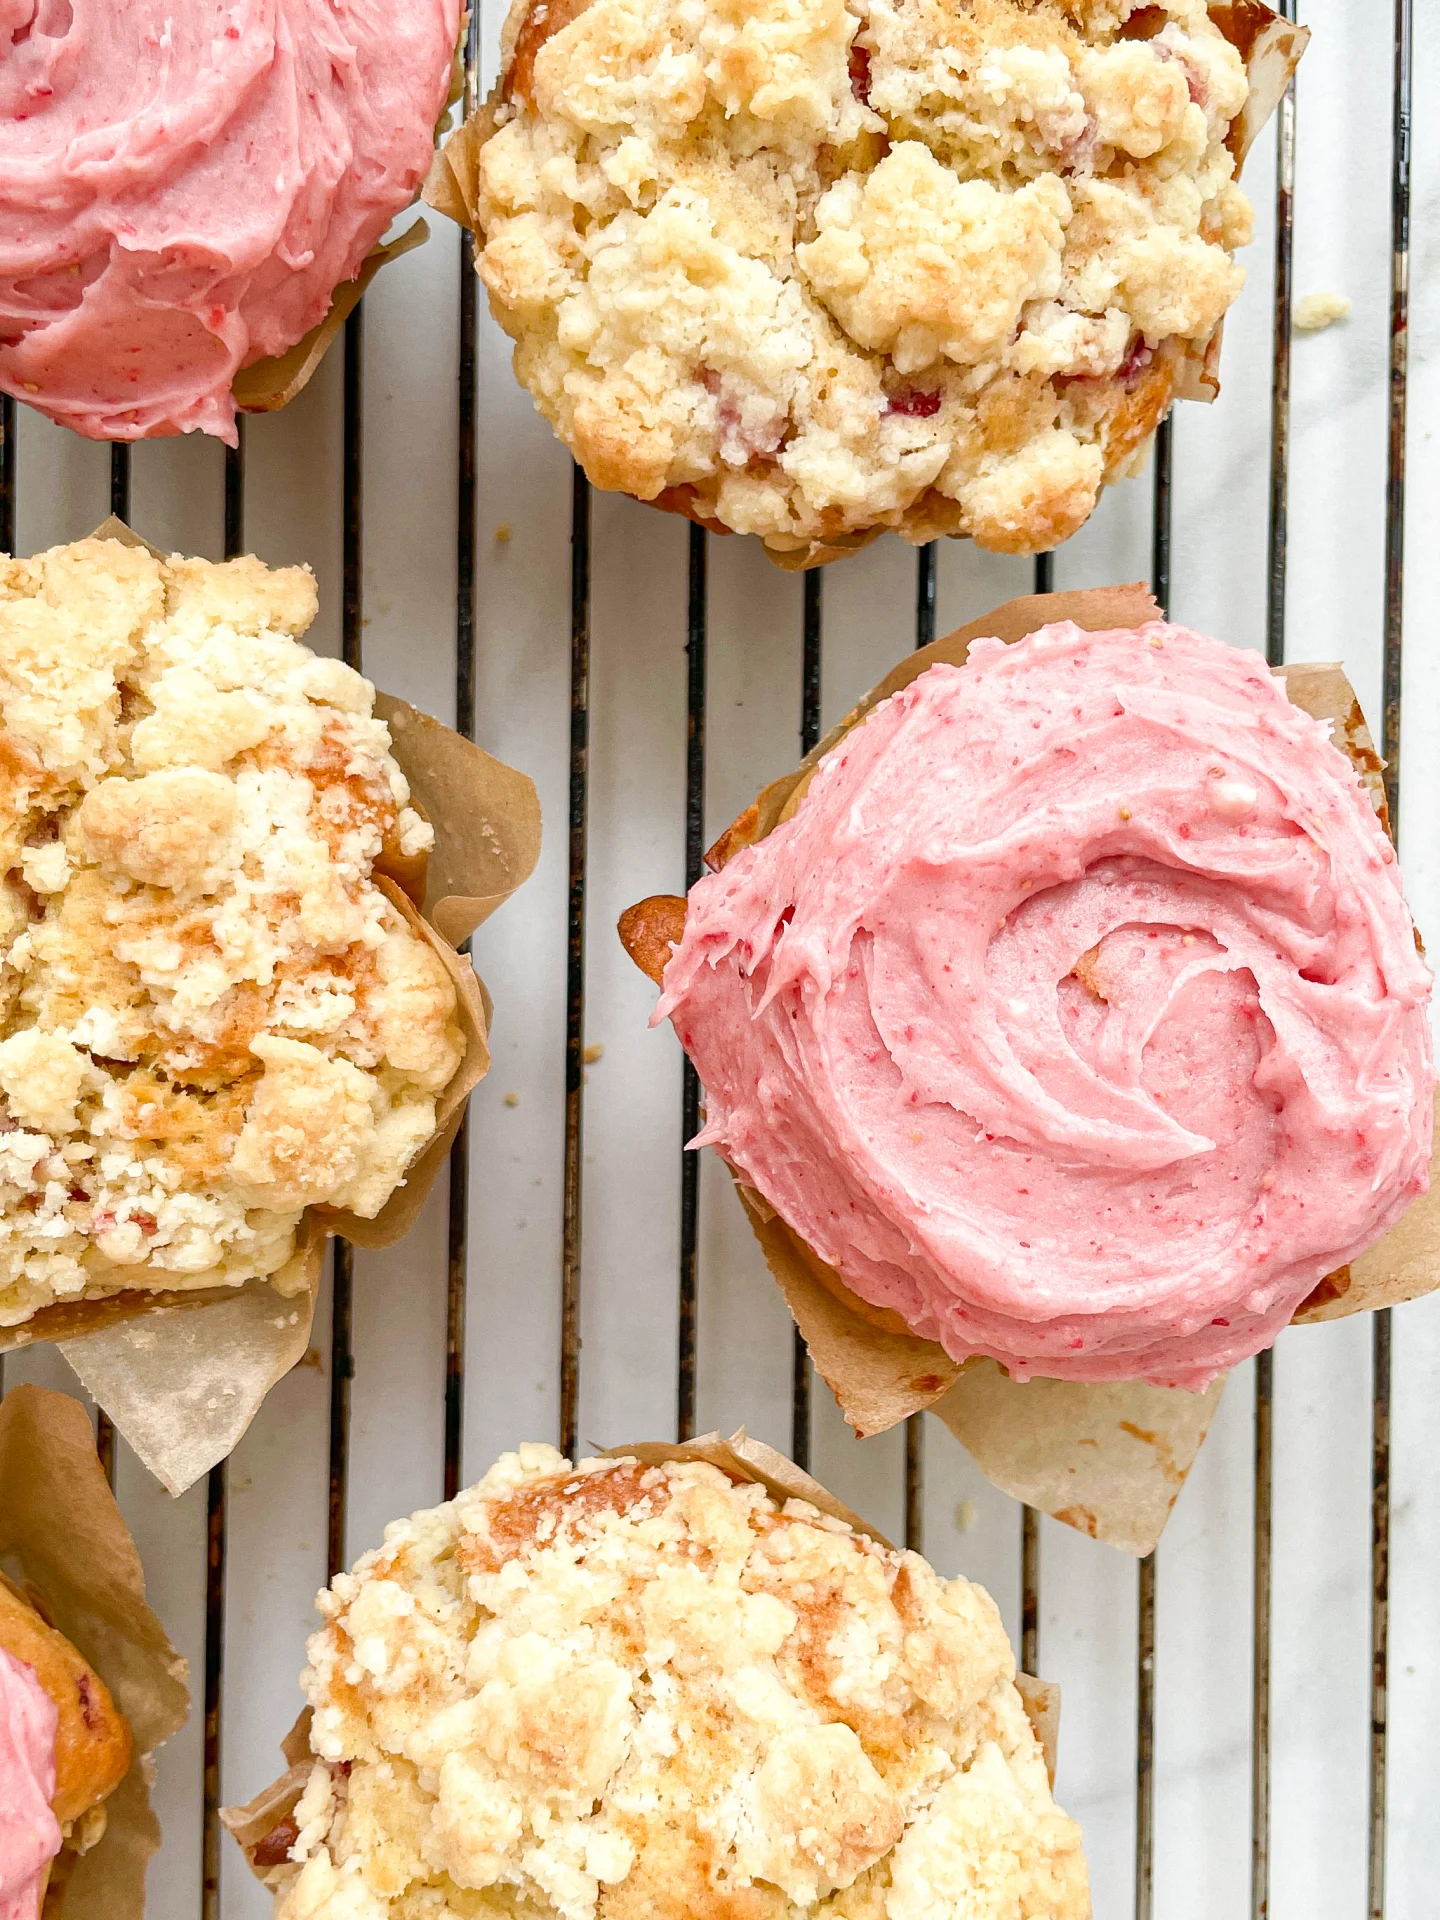
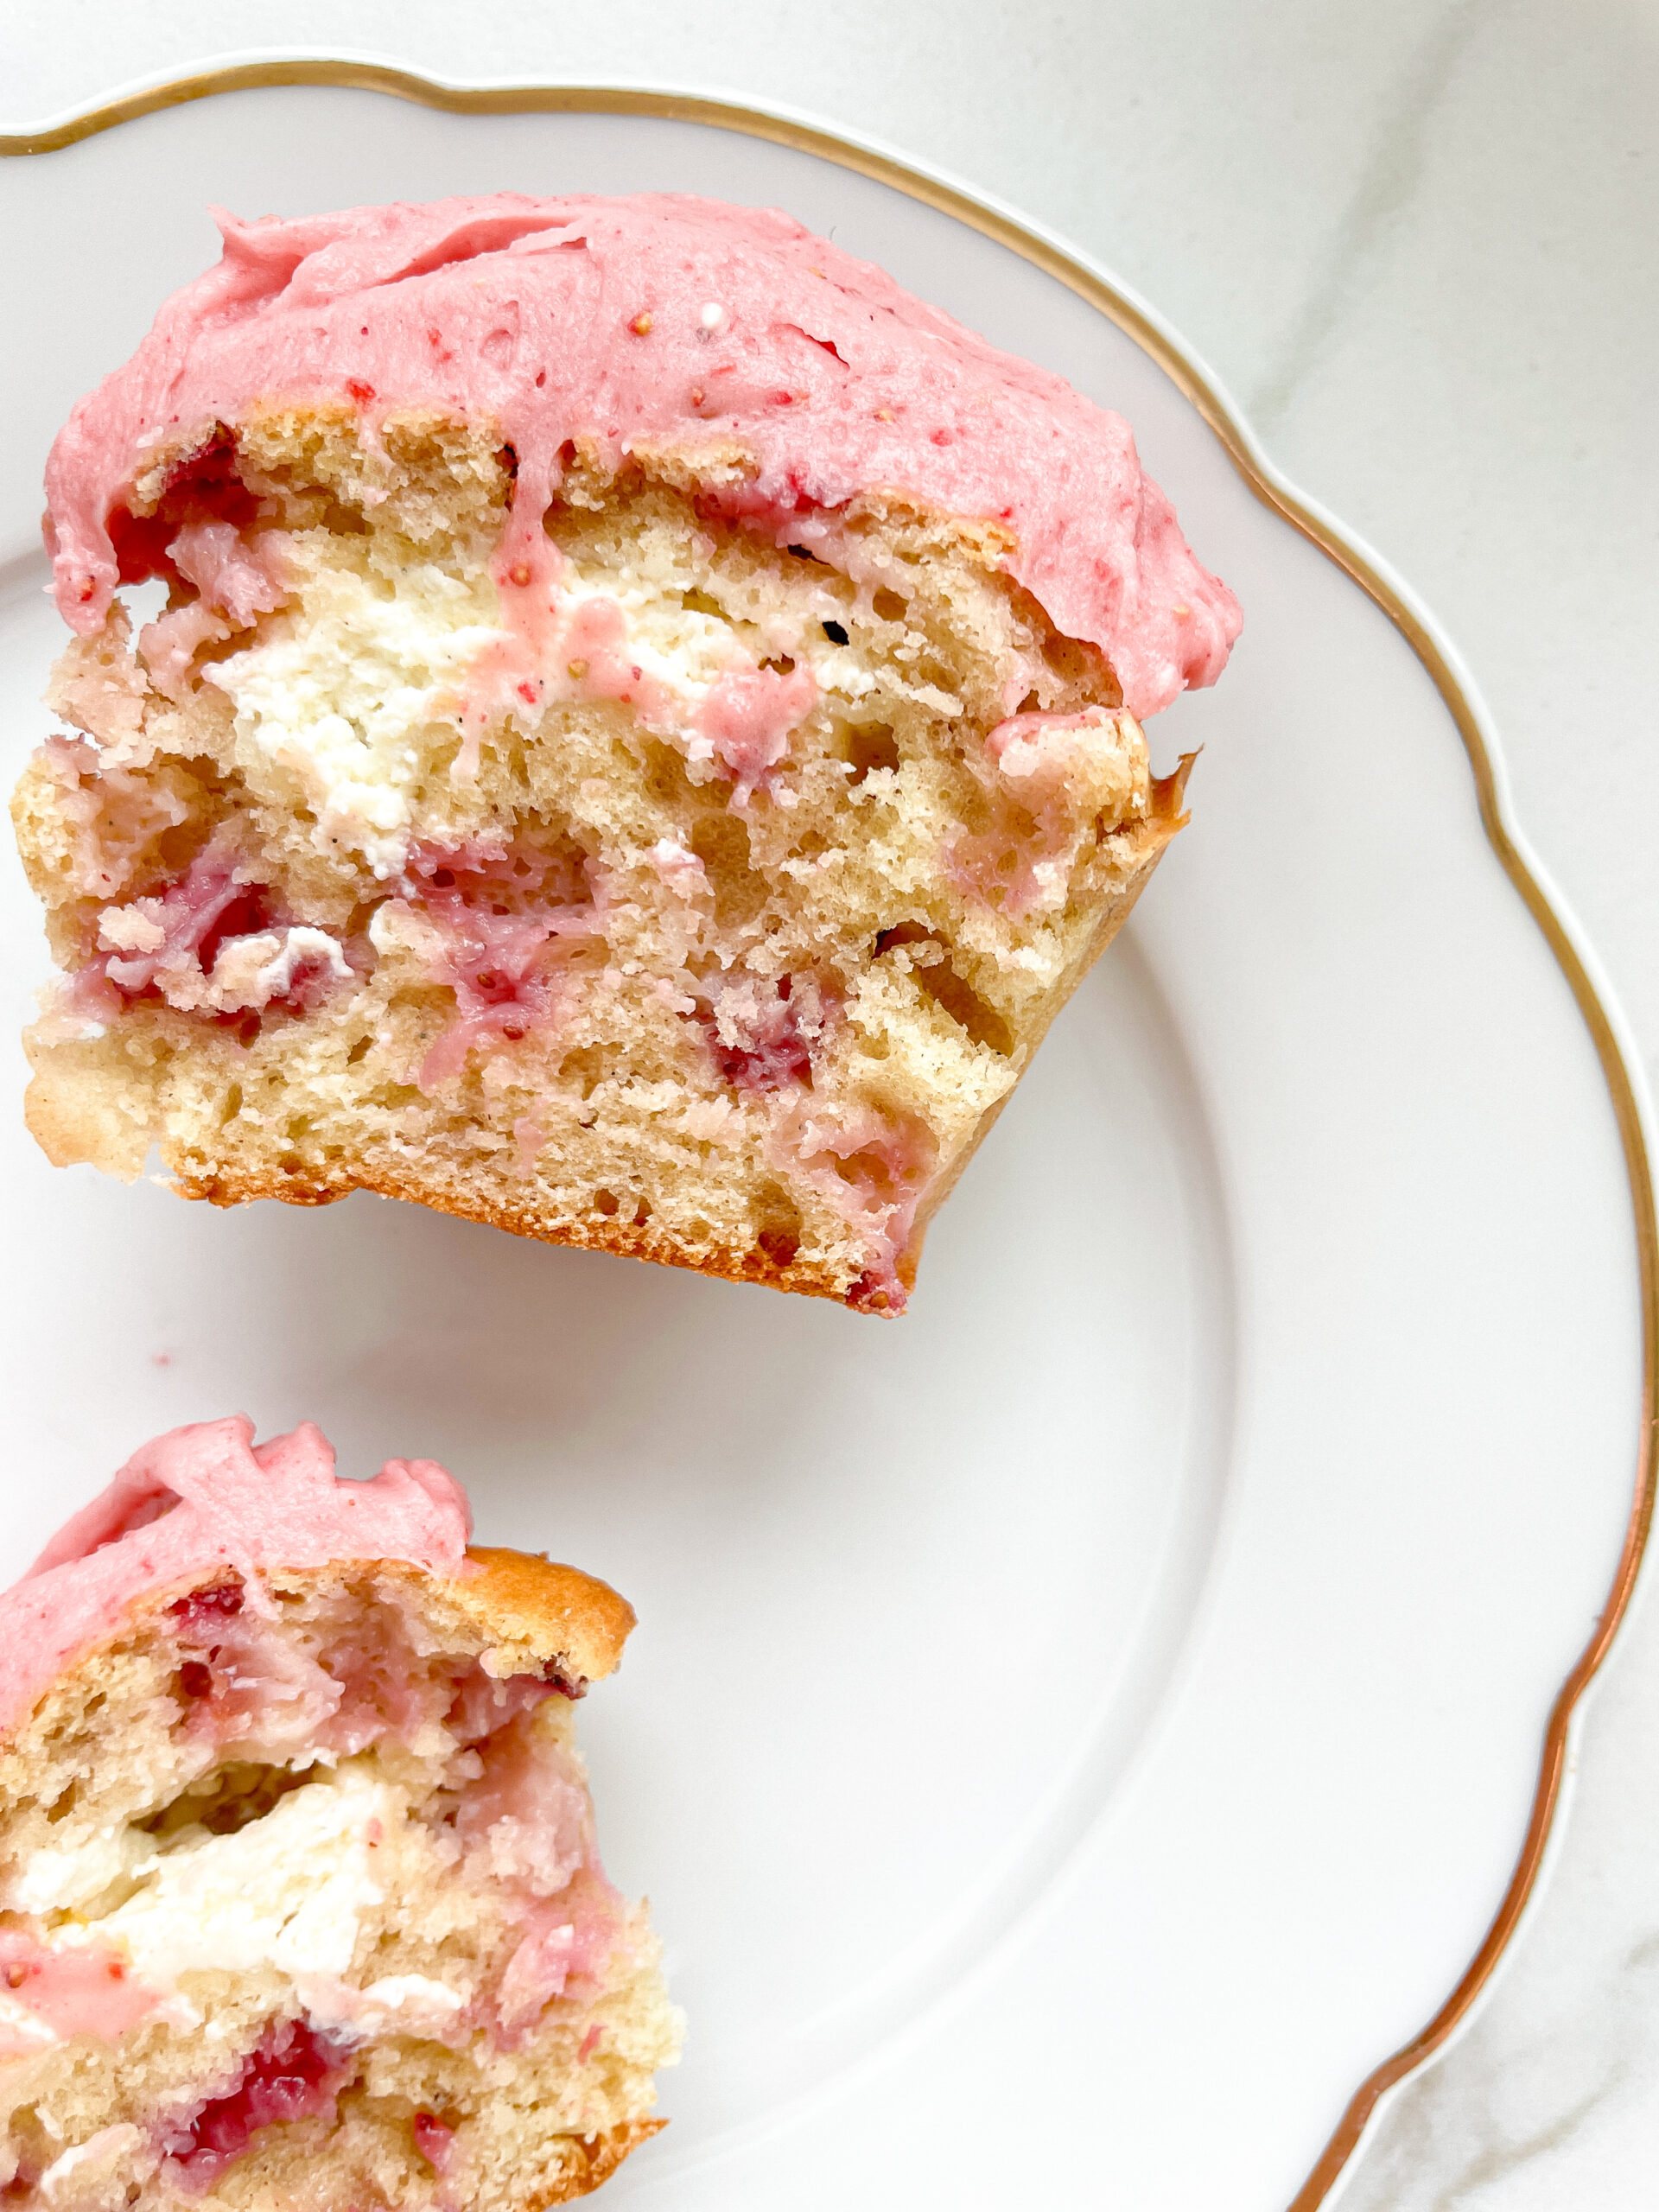

Strawberry Cupcakes with Cream Cheese Frosting & Cheesecake Filling

Strawberry Cupcakes with Cream Cheese Frosting & Cheesecake Filling

Strawberry Cupcakes with Cream Cheese Frosting & Cheesecake Filling

Strawberry Cupcakes with Cream Cheese Frosting & Cheesecake Filling

April 24, 2024 by Kimberly

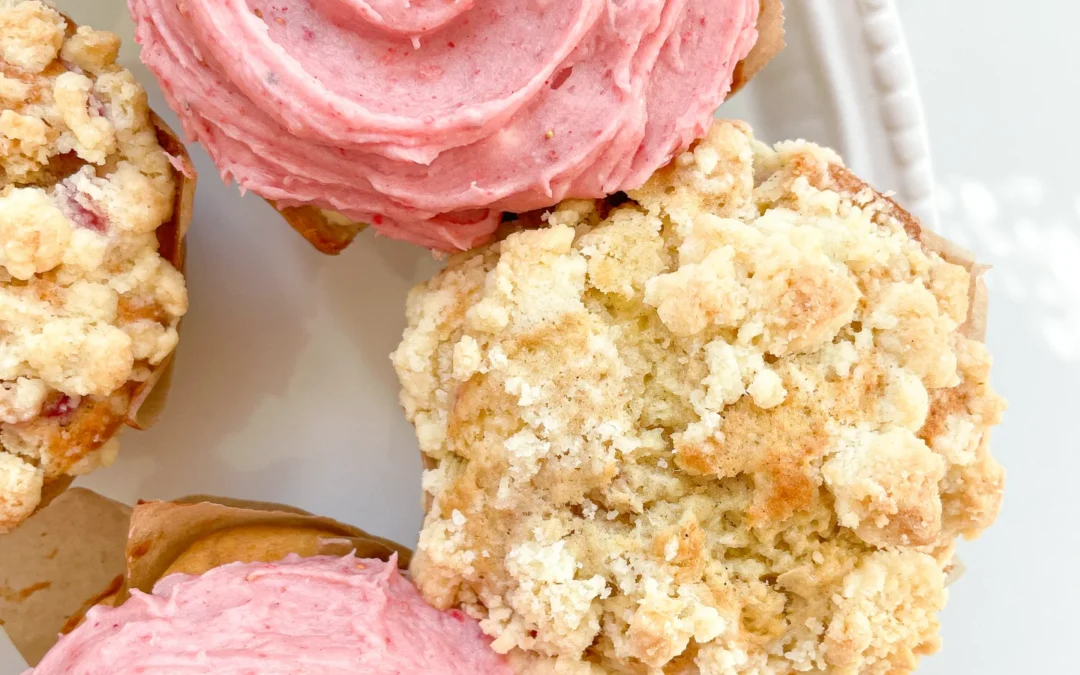
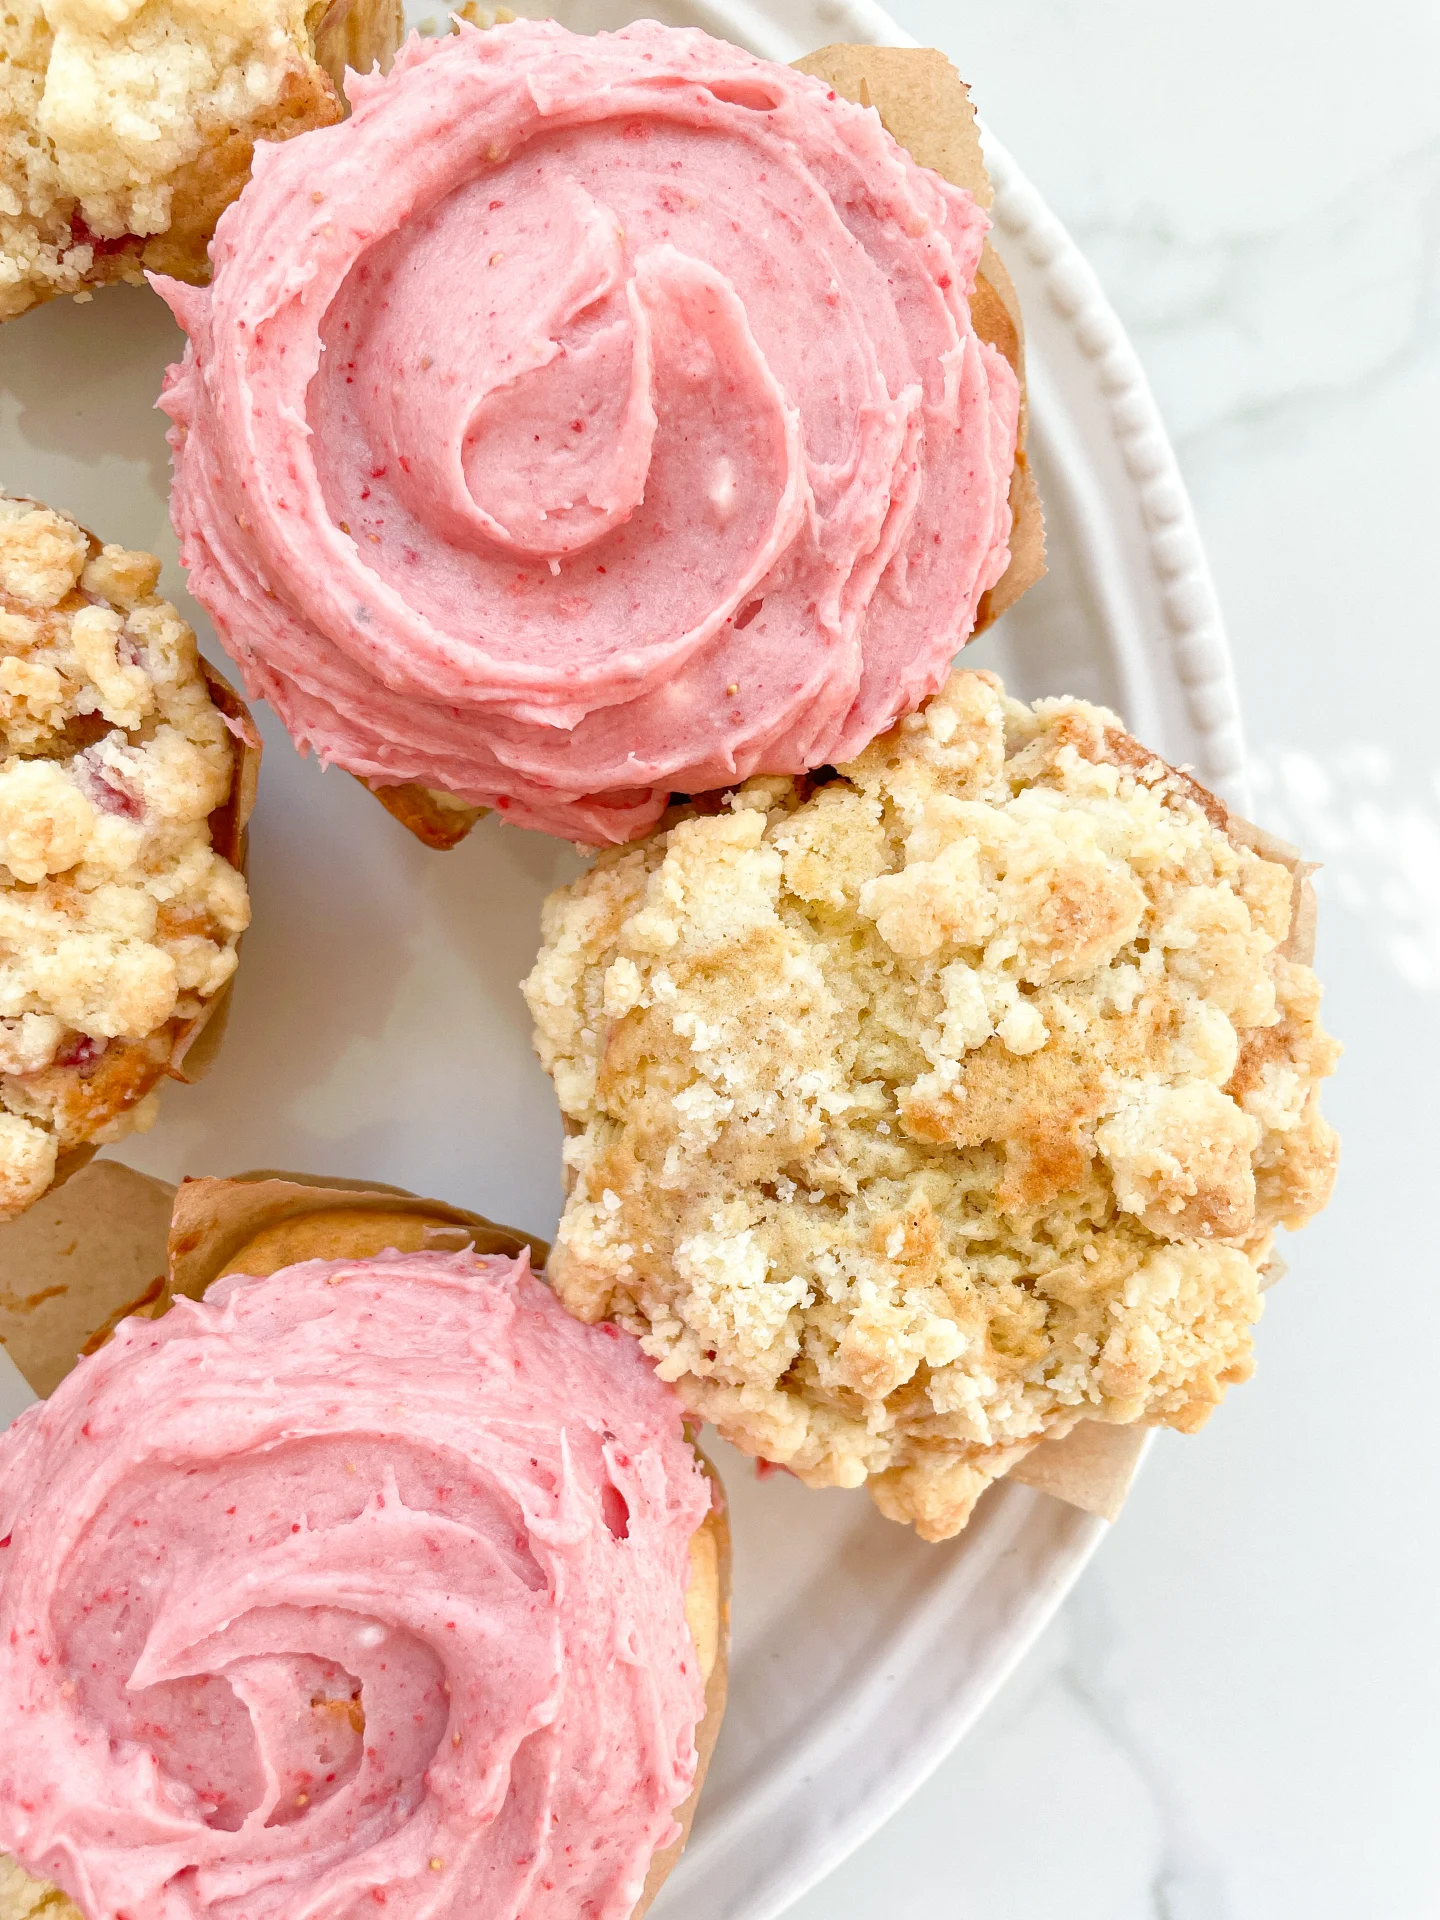
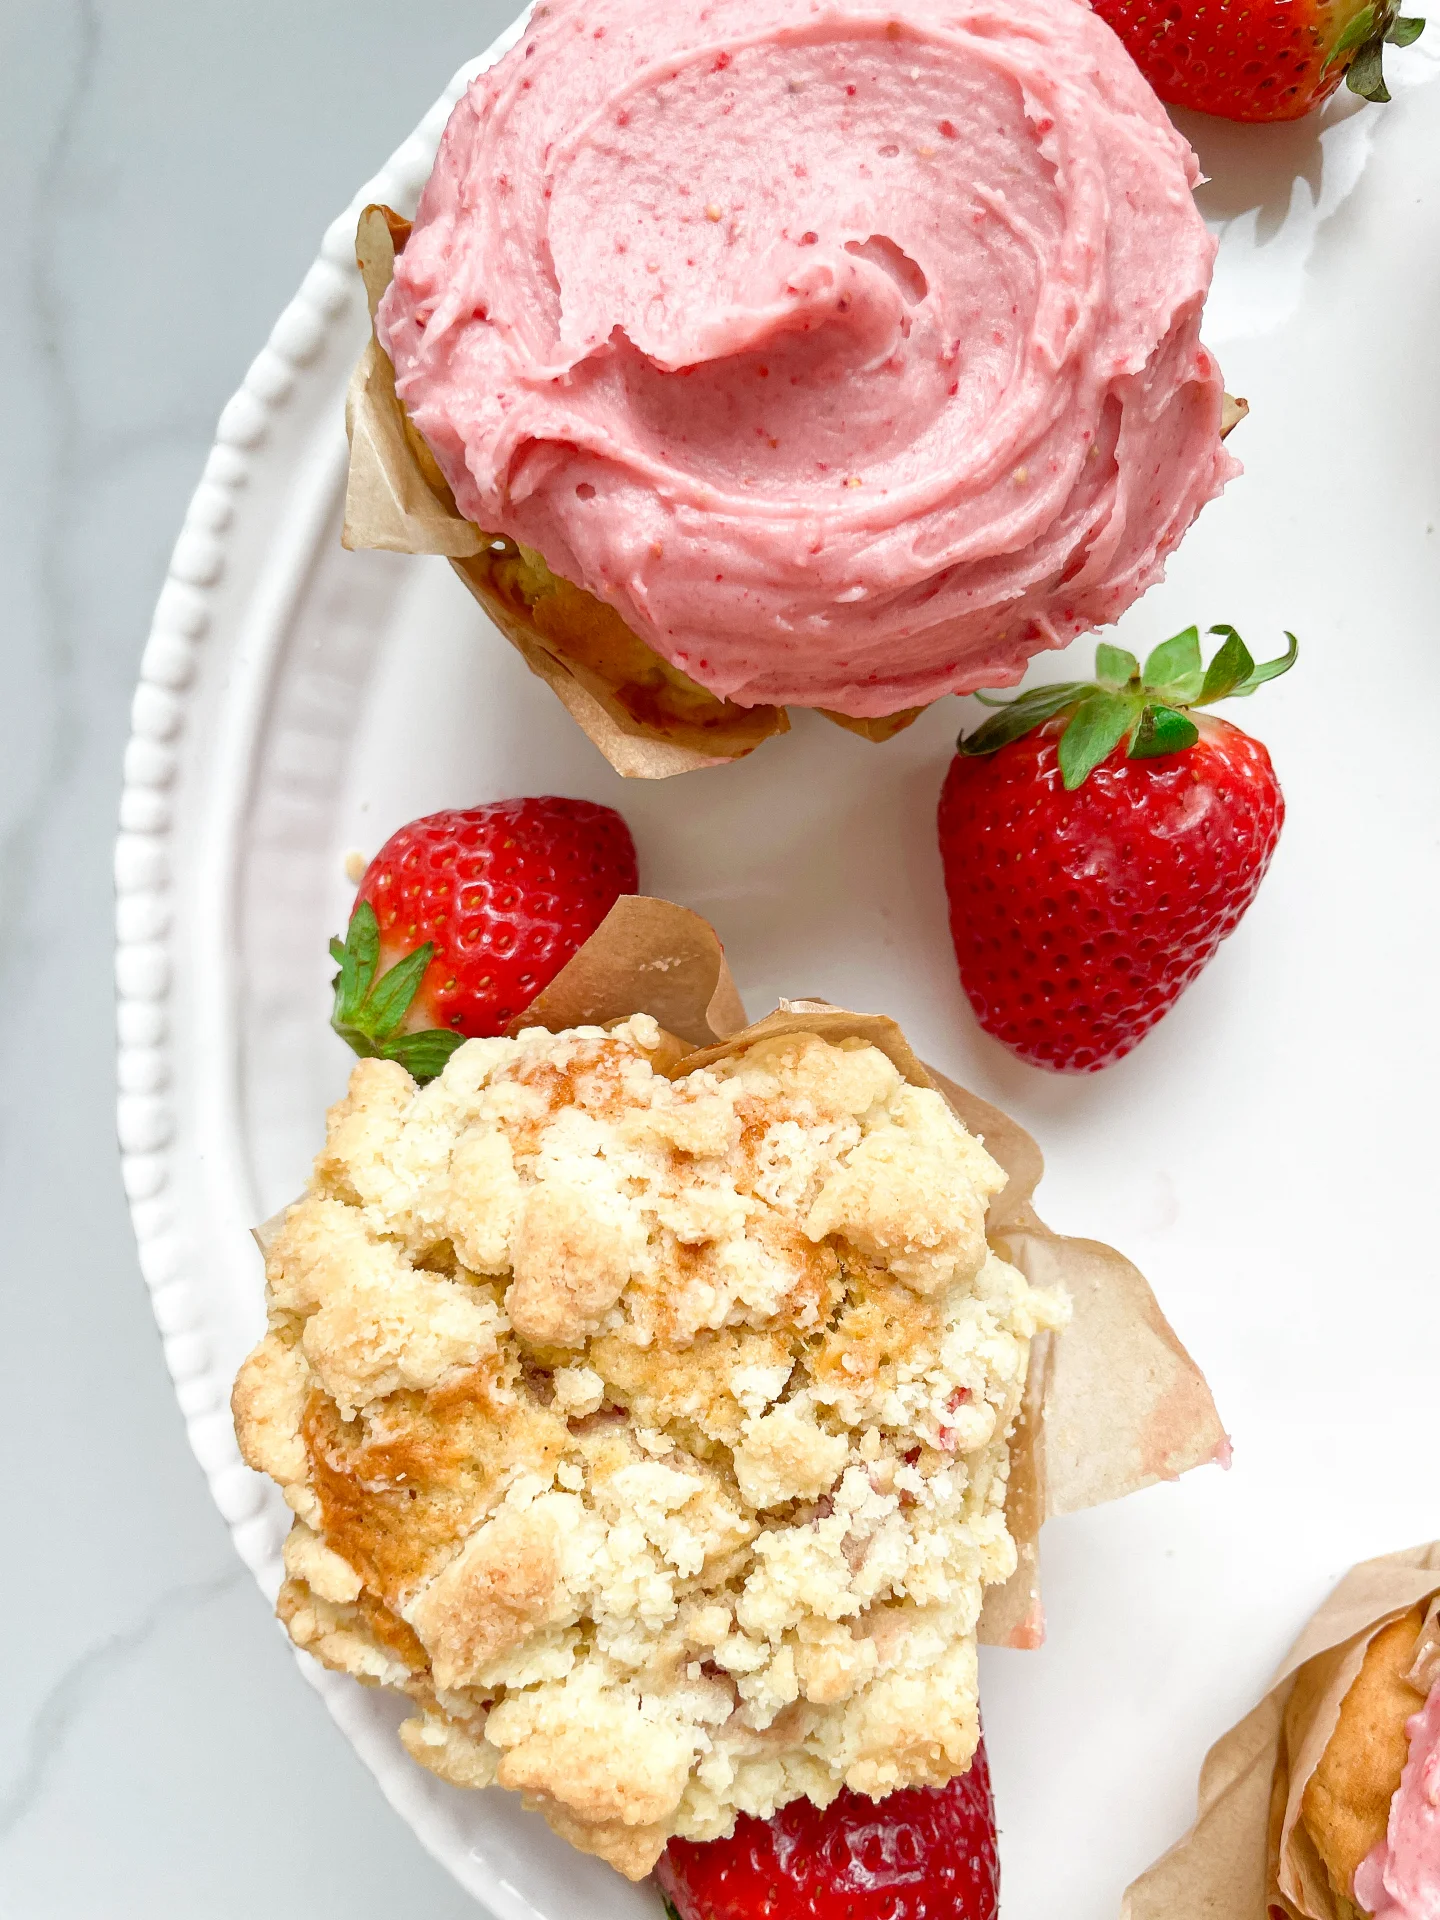
Savor the irresistible charm of these Strawberry Cupcakes, brimming with lush cheesecake filling and crowned with velvety cream cheese frosting—ideal for satisfying any dessert craving!

This website uses affiliate links which may earn commission for purchases made at no additional cost to you.

TOTAL TIME

1 hr + 40 min

SERVES

12 cupcakes

DIET

vegetarian

EVERY RECIPE DESERVES

A Little Love Letter

Dive into the delightful world of Strawberry Cupcakes with Cream Cheese Frosting and Cheesecake Filling! These heavenly cupcakes are a fusion of fruity, creamy, and utterly decadent flavors, making them the ultimate dessert for any occasion.

Serve these Strawberry Cupcakes chilled or at room temperature to let the flavors shine. They pair beautifully with a cup of coffee or a glass of cold milk. Perfect for celebrations or as a special treat, their gorgeous appearance and exquisite taste will impress any guest!

Keep the cupcakes in an airtight container in the refrigerator. They stay fresh and delicious for up to 3 days.

Hi, I'm Kimberly!

Hi, I'm Kimberly.

A hopeless romantic when it comes to food. Every recipe I share is a love letter to food itself. I’m so glad you’re here. Make yourself at home and stay a while.

Love,
Kimberly

Kimberly the Zett Signature

If you want to get to know me better,
click here!


Strawberry Cupcakes with Cream Cheese Frosting & Cheesecake Filling

LET’S MAKE A PIECE OF HAPPINESS

Print
clock clock iconcutlery cutlery iconflag flag iconfolder folder iconinstagram instagram iconpinterest pinterest iconfacebook facebook iconprint print iconsquares squares iconheart heart iconheart solid heart solid icon
Strawberry Cupcakes with Cream Cheese Frosting & Cheesecake Filling

Strawberry Cupcakes with Cream Cheese Frosting & Cheesecake Filling


5 Stars 4 Stars 3 Stars 2 Stars 1 Star

5 from 1 review

  • Author: Kimberly
  • Total Time: 100 min
  • Yield: 12 cupcakes 1x

Description

RECOMMENDED EQUIPMENT

  • sharp knife
  • cutting board
  • cupcake tin
  • parchment paper
  • two small bowls
  • three medium bowls
  • whisk
  • cookie scoop (or spoon)
  • spatula
  • fine mesh sieve
  • mortar and pestle
  • electric mixer

Ingredients

Units Scale
BATTER
  • 500 grams all-purpose flour
  • 2 tsp backing powder
  • 1/4 tsp baking soda
  • 100 grams white sugar
  • 100 grams unsalted butter
  • 2 eggs
  • 150 grams yogurt
  • 1 tsp vanilla extract
  • 200 grams strawberries
  • pinch of salt
FILLING
  • 150 grams cream cheese
  • 20 grams powdered sugar
  • zest of half a lemon
  • 1/2 tsp vanilla extract
FROSTING
  • 75 grams butter
  • 75 grams cream cheese
  • 175 grams powdered sugar
  • 20 grams freeze-dried strawberries
CRUMBLES
  • 100 grams all-purpose flour
  • 75 grams butter
  • 25 grams white sugar
  • pinch of salt

Instructions

PREPARATIONS

  1. Thoroughly wash the strawberries, dry them, and cut into small pieces. Set aside.
  2. Cut parchment paper into small squares and press two layers into every other cup of the cupcake tin. Alternatively, you can skip the parchment paper and use cupcake liners instead. Set the prepared tin aside.

COOKING

  1. For the crumbles: In a small bowl, knead together room temperature butter, flour, sugar, and a pinch of salt until combined, then break into large chunks. Store in the refrigerator until needed.
  2. For the filling: In a small bowl, mix together cream cheese, powdered sugar, zest from half a lemon, and 1/2 teaspoon vanilla extract until creamy. Store in the refrigerator until needed. Preheat the oven to 180°C (350°F).
  3. For the batter: In one of the medium bowls, mix together the dry ingredients – flour, 2 teaspoons baking powder, 1/4 teaspoon baking soda, sugar, and a pinch of salt. Set aside.
  4. In another medium bowl, combine the wet ingredients – melted butter, eggs, yogurt, milk, and 1 teaspoon vanilla extract using a whisk until smooth.
  5. Add the flour mixture to the wet ingredients and use a spatula to blend into a batter. Mix just until no flour streaks remain, then fold in the chopped strawberries.
  6. Grab the crumbles and cream cheese mix from the fridge.
  7. Place a scoop of batter into every second cup of the cupcake tin. Press a scoop in the center and add 1 teaspoon of the cream cheese filling. Cover with another scoop of batter. Distribute crumbles over 6 of the 12 cupcakes, pressing down firmly. Leave the other 6 plain for the strawberry frosting later.
  8. Bake the cupcakes for 20-25 minutes. Remove the tin from the oven and let cool briefly before removing them to a wire rack to cool completely. Prepare the next batch of cupcakes similarly, but without the crumbles. Let all cupcakes cool completely.
  9. Meanwhile, make the frosting: In a medium bowl, beat room temperature butter with an electric mixer until pale yellow and fluffy. Add cream cheese and mix again. Then, add sifted powdered sugar and mix for 1-2 minutes until creamy.
  10. Crush freeze-dried strawberries into a fine powder using a mortar and pestle (or a powerful food processor). Mix this strawberry powder into the frosting until evenly pink.
  11. Once the cupcakes are completely cool, evenly spread and smooth the frosting over the 6 plain cupcakes. And now enjoy your pieces of happiness!

Notes

The calorie information may vary depending on the product used, country and region.

  • Prep Time: 10 min
  • Passive Time: 60 min
  • Cook Time: 30 min
CRAVING MORE?

Follow along here & don’t forget to subscribe to my substack!

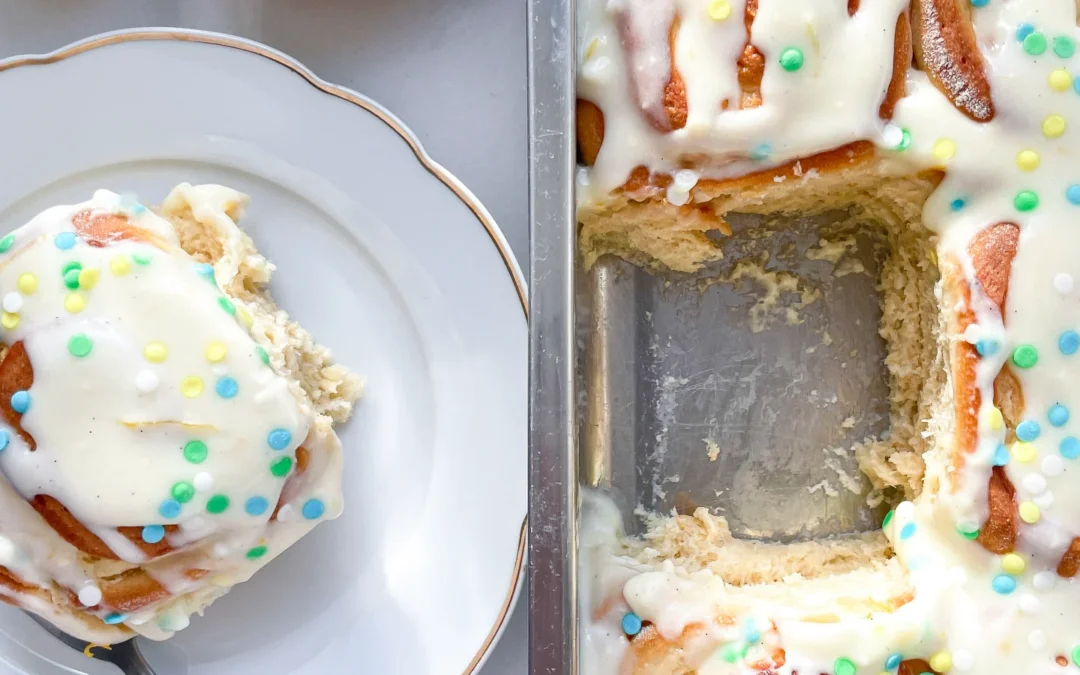
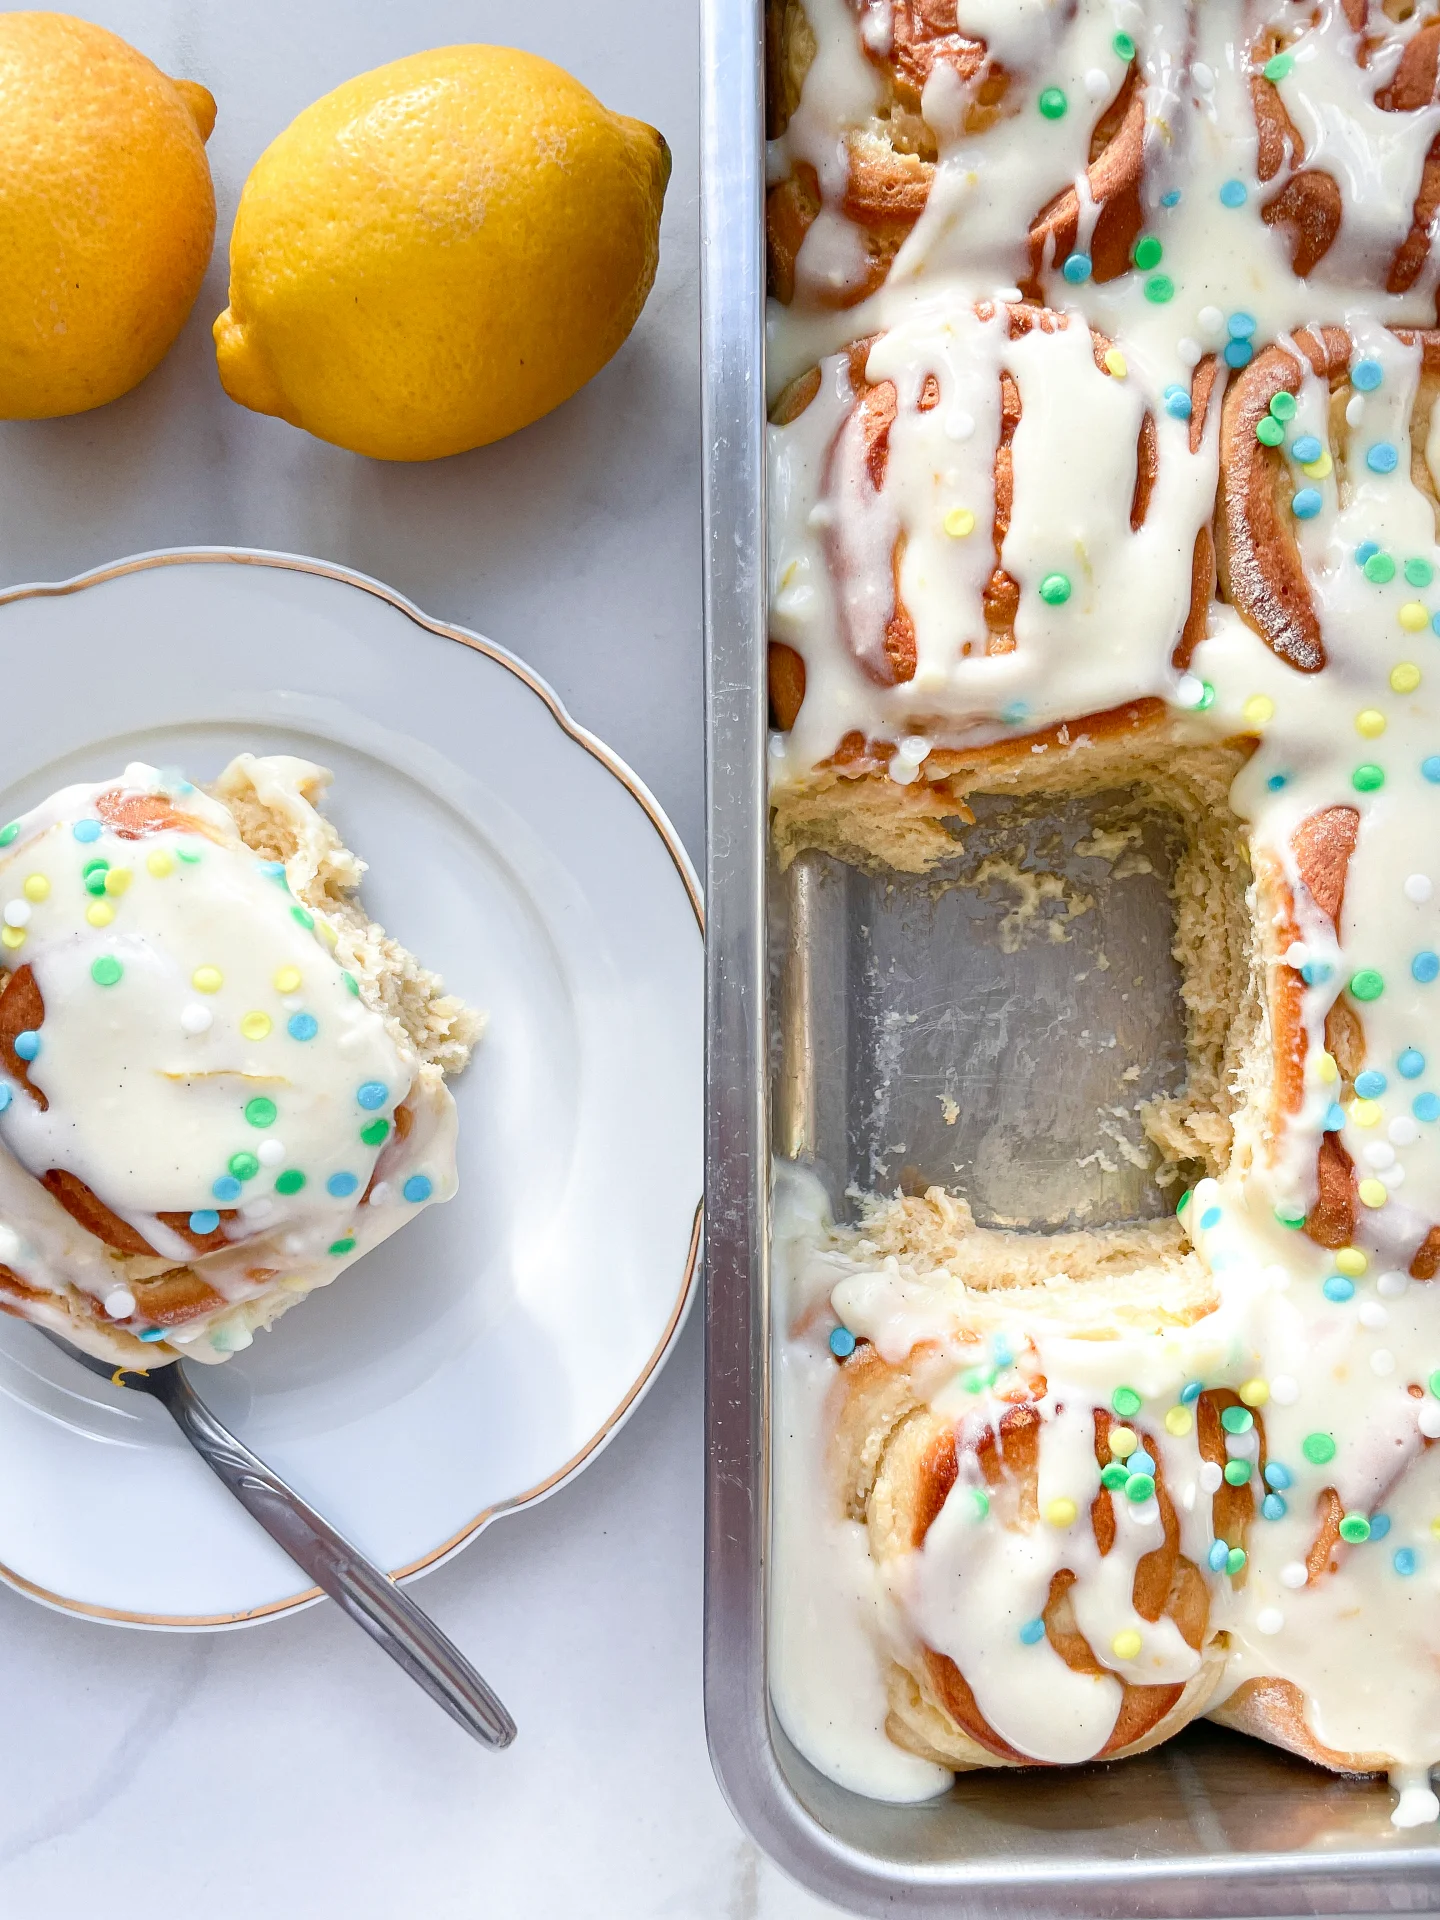
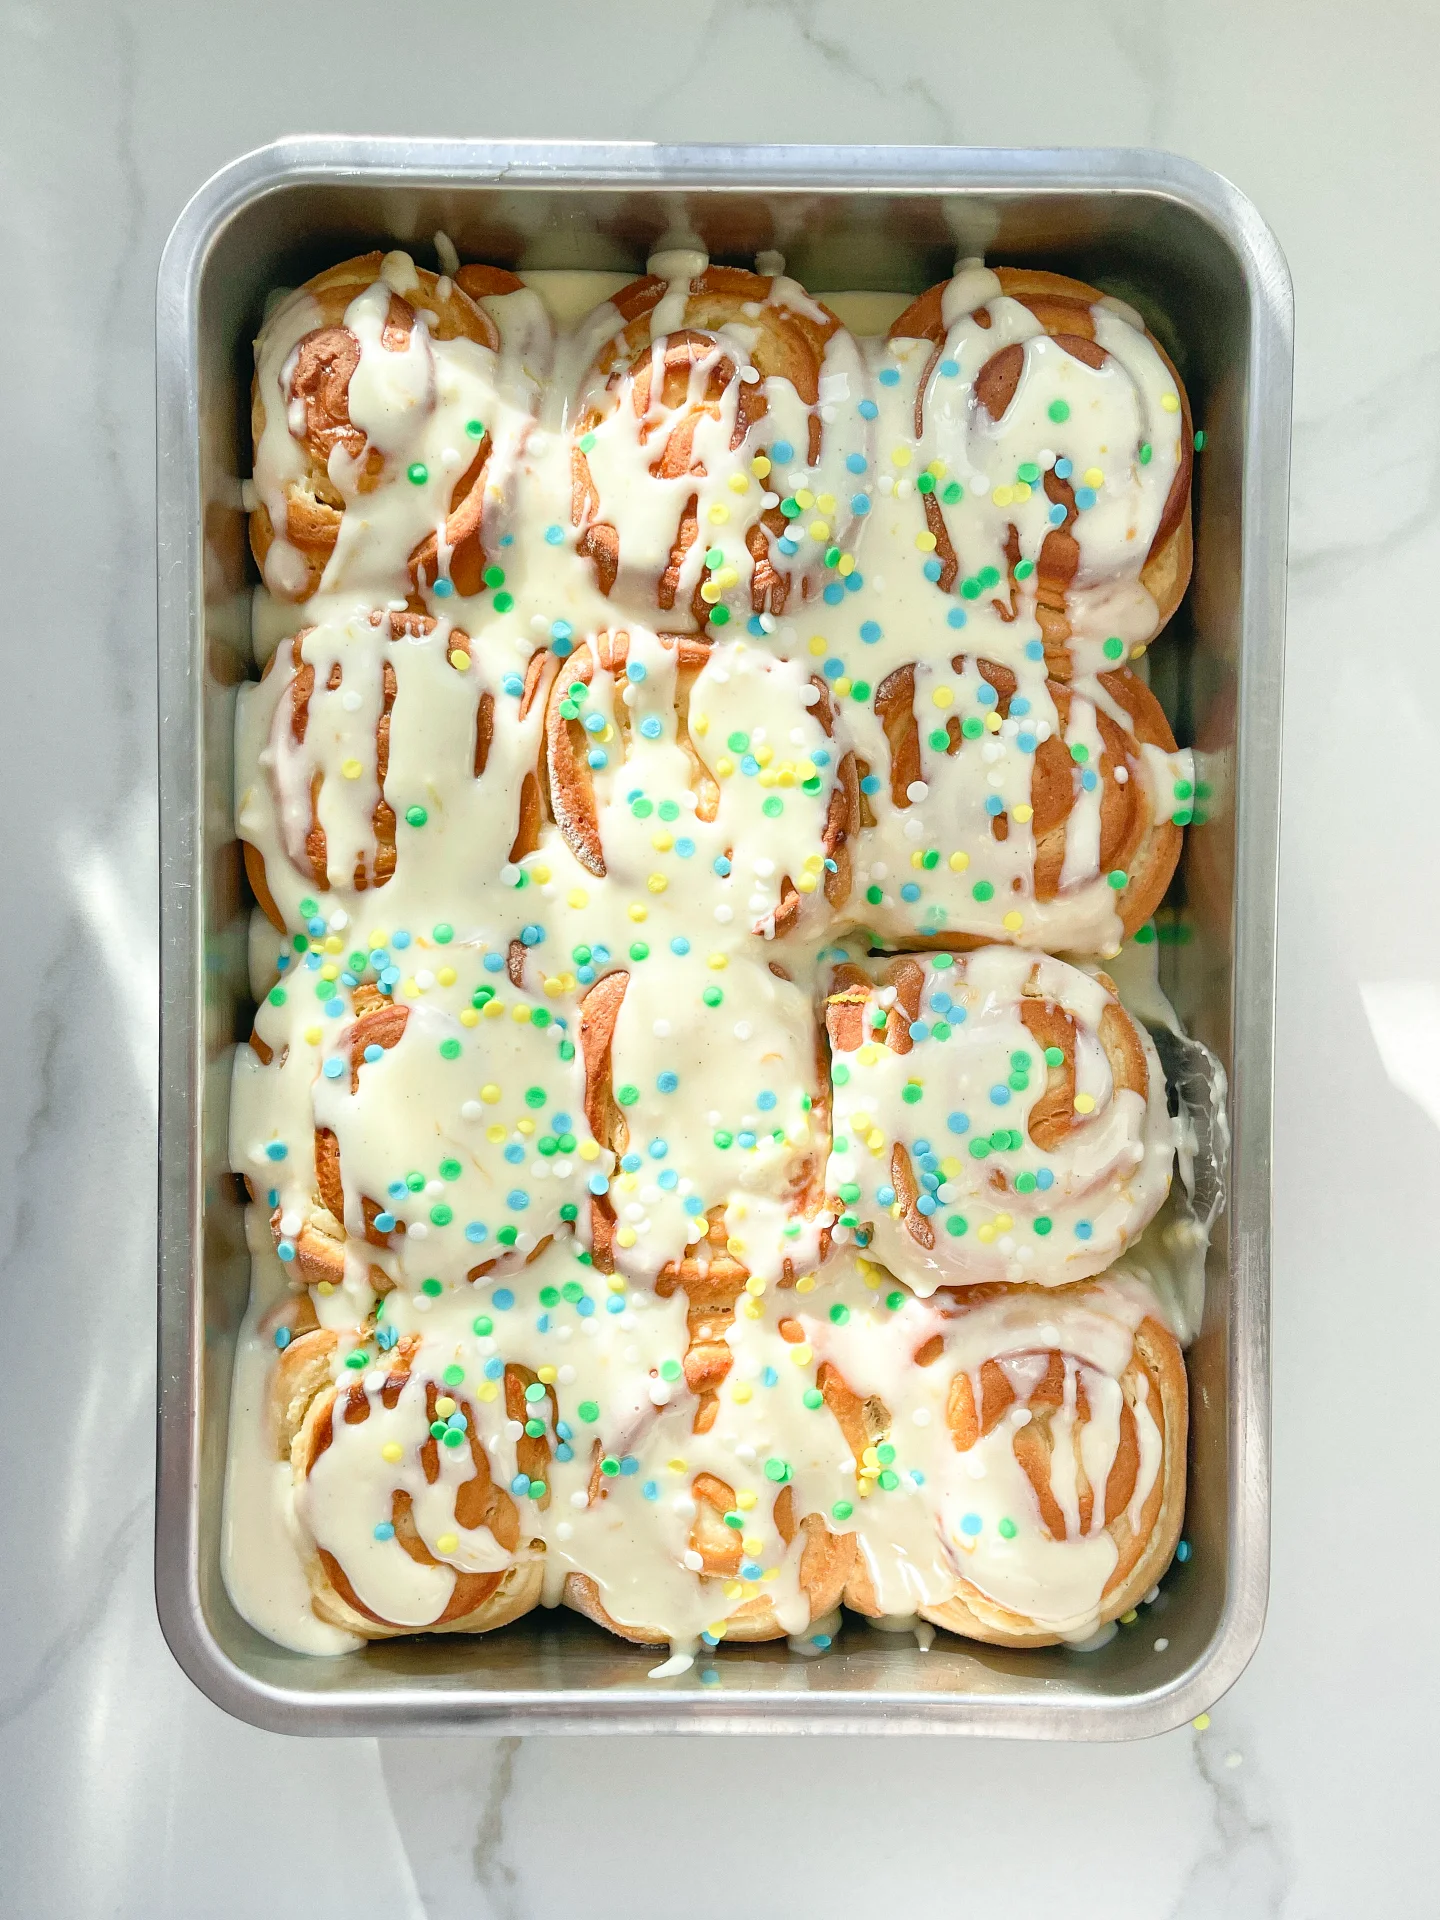
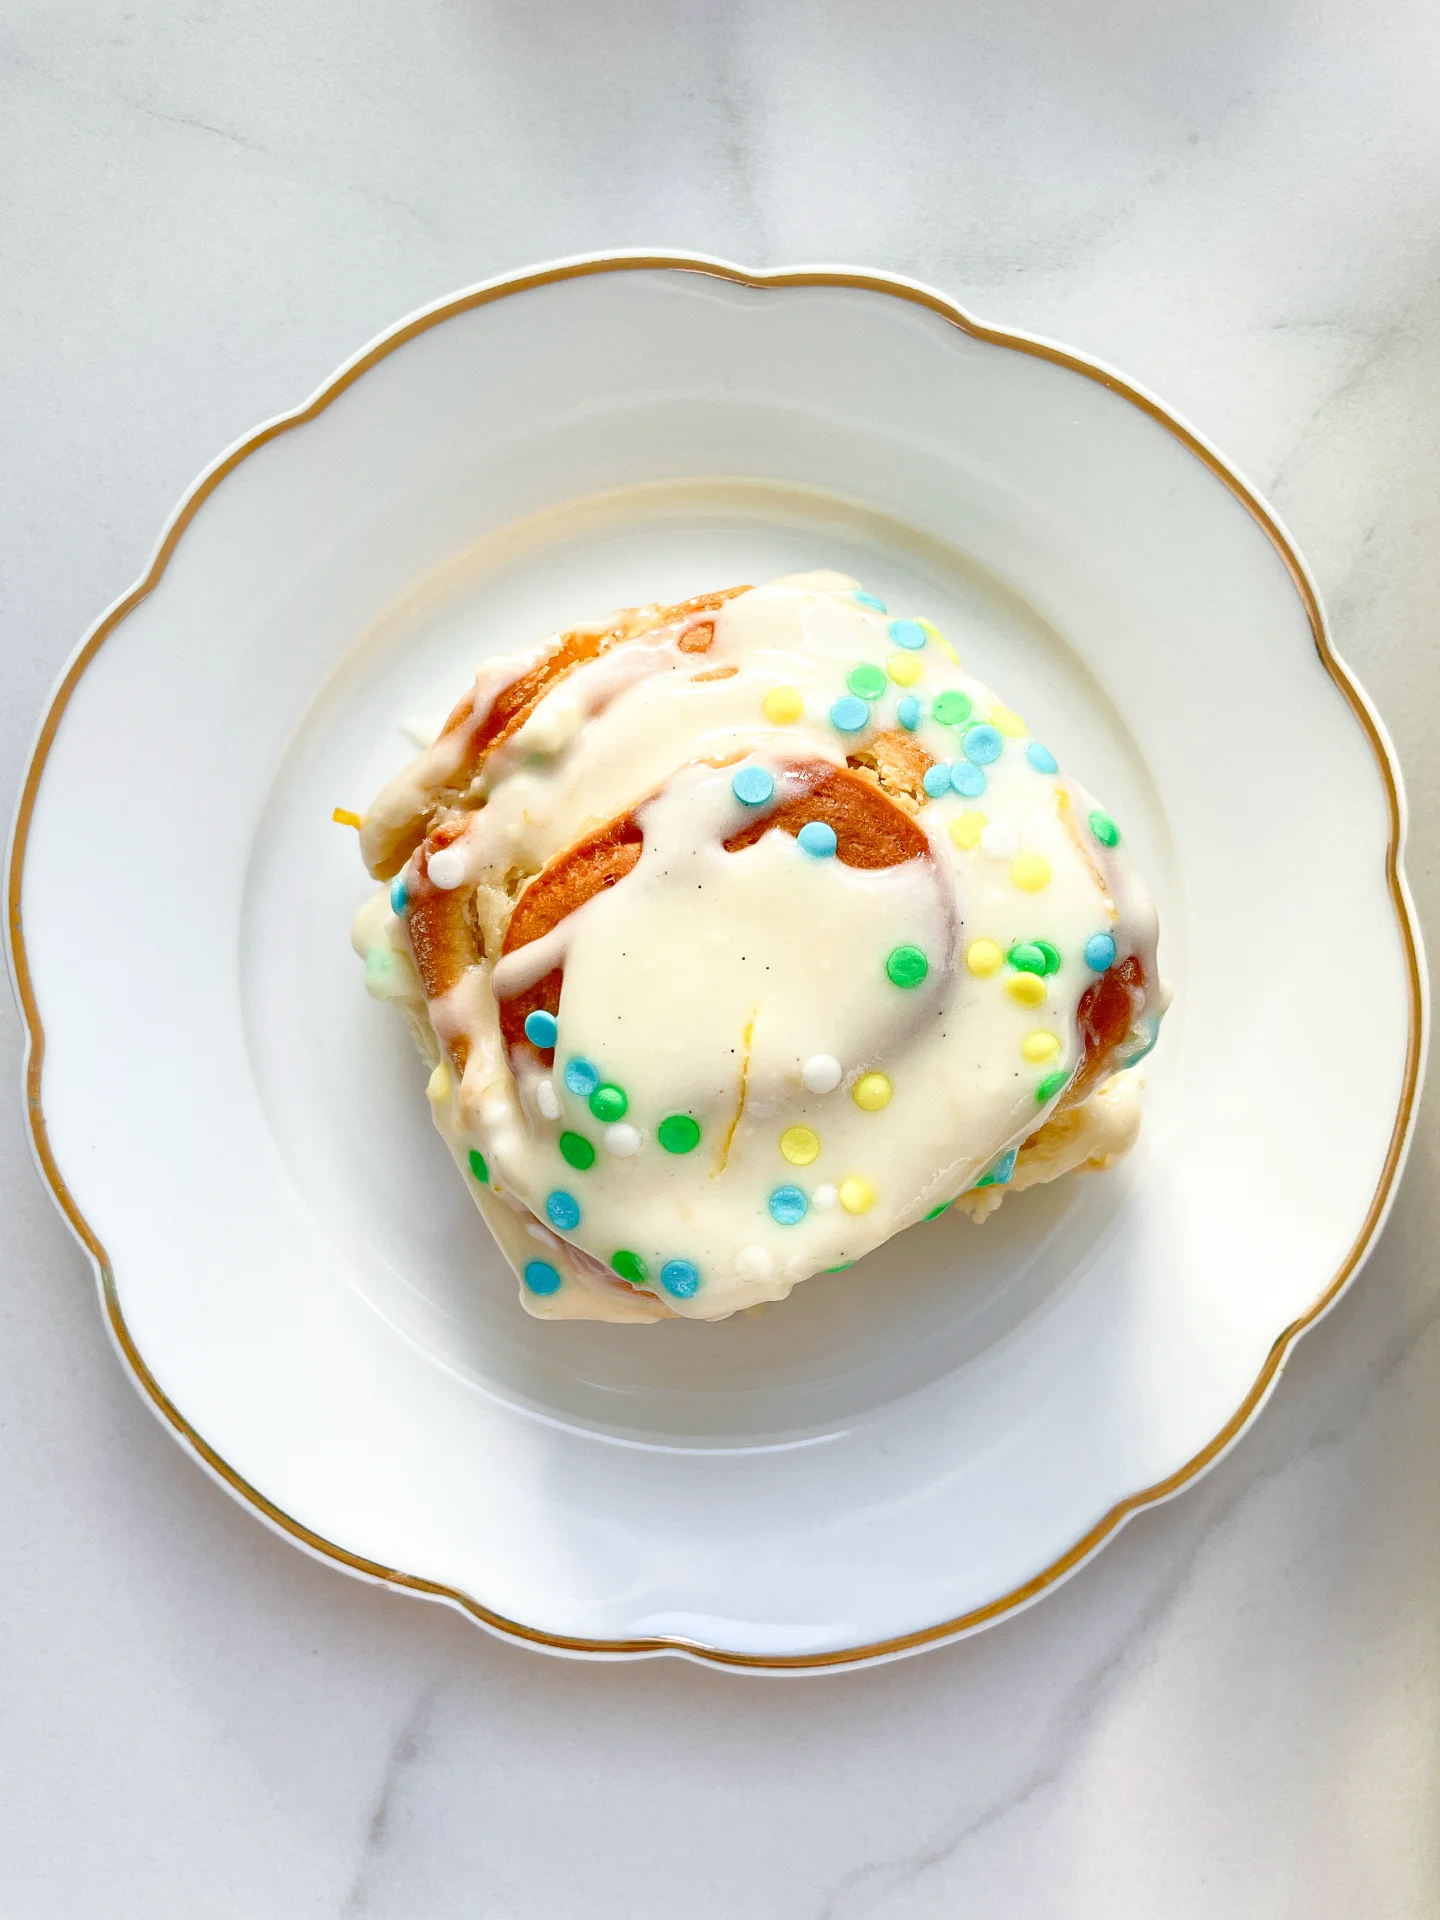
Vanilla Lemon Cream Cheese Rolls

Vanilla Lemon Cream Cheese Rolls

Vanilla Lemon Cream Cheese Rolls

Vanilla Lemon Cream Cheese Rolls

April 17, 2024 by Kimberly

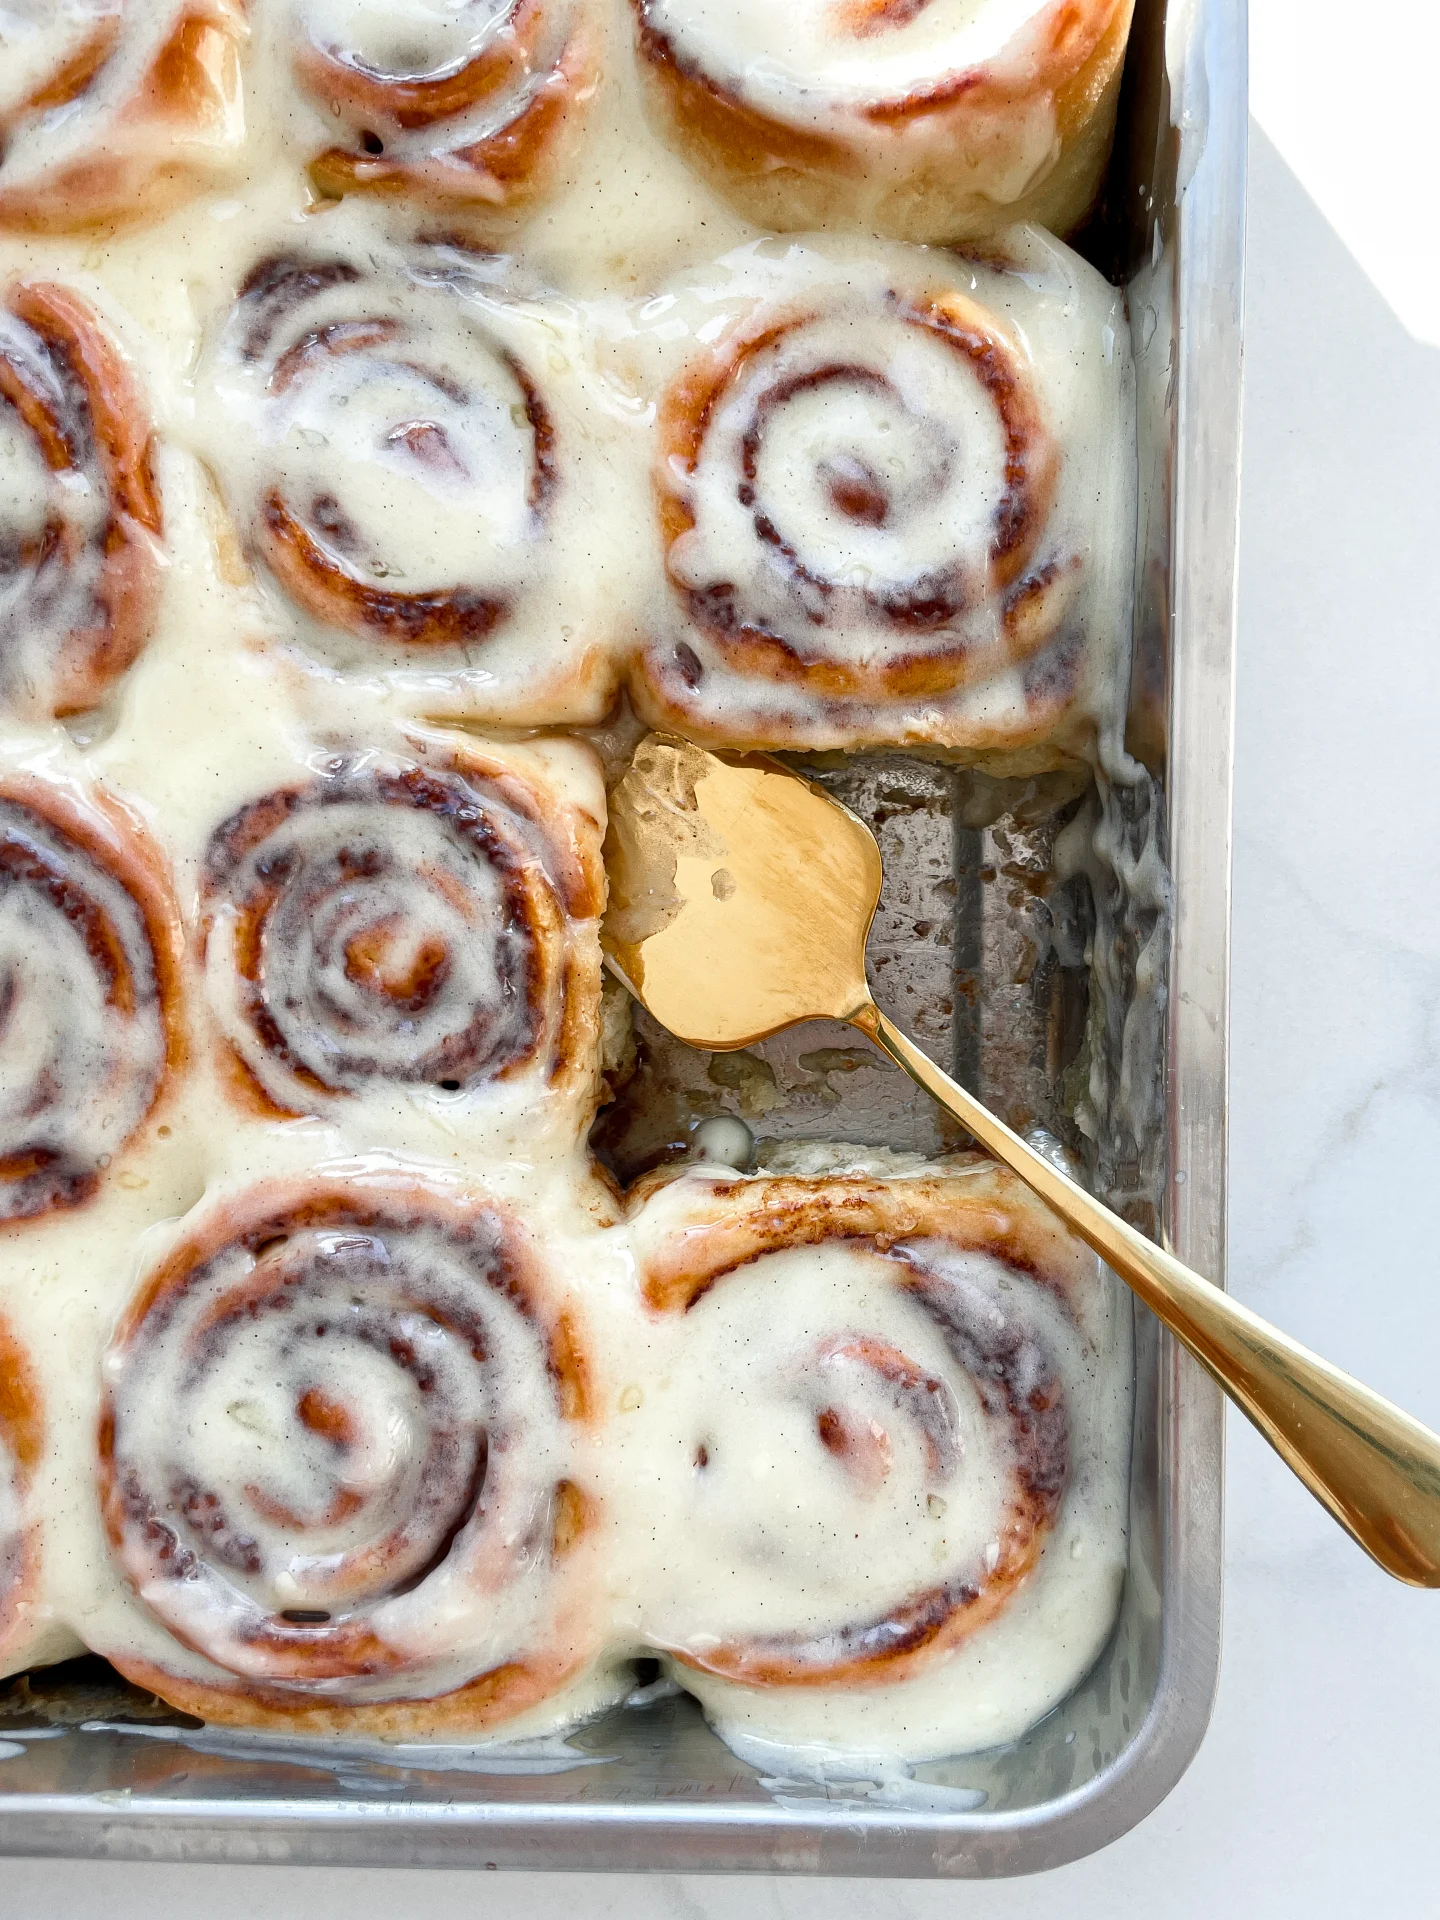
Savor the blissful bite of Vanilla Lemon Cream Cheese Rolls! A heavenly blend of zesty lemon and sweet vanilla wrapped in a soft, fluffy pastry.

This website uses affiliate links which may earn commission for purchases made at no additional cost to you.

TOTAL TIME

3 hrs + 30 min

SERVES

12 rolls

DIET

vegetarian

EVERY RECIPE DESERVES

A Little Love Letter

Wake up to the sweet aroma of Vanilla Lemon Cream Cheese Rolls! These gourmet pastries blend the tangy zest of lemon with the rich sweetness of vanilla and cream cheese, all nestled in a tender, fluffy roll. Perfect for indulging your sweet tooth or impressing guests at brunch, these rolls are a delightful twist on classic flavors, creating a memorable experience with every bite.

They’re perfect alongside your morning coffee or as an afternoon treat. For an extra special touch, garnish with lemon zest or thin lemon slices. These rolls are sure to be a hit at any brunch, breakfast, or tea time, offering a beautiful balance of flavors and textures.

Keep leftover Vanilla Lemon Cream Cheese Rolls in an airtight container in the refrigerator for up to 4 days.

Hi, I'm Kimberly!

Hi, I'm Kimberly.

A hopeless romantic when it comes to food. Every recipe I share is a love letter to food itself. I’m so glad you’re here. Make yourself at home and stay a while.

Love,
Kimberly

Kimberly the Zett Signature

If you want to get to know me better,
click here!


Vanilla Lemon Cream Cheese Rolls

LET’S MAKE A PIECE OF HAPPINESS

Print
clock clock iconcutlery cutlery iconflag flag iconfolder folder iconinstagram instagram iconpinterest pinterest iconfacebook facebook iconprint print iconsquares squares iconheart heart iconheart solid heart solid icon
Vanilla Lemon Cream Cheese Rolls

Vanilla Lemon Cream Cheese Rolls


  • Author: Kimberly
  • Total Time: 3 hrs + 25 min
  • Yield: 12 1x

Description

GOOD TO HAVE ON HAND

  • medium-sized bowl
  • small pot (or microwave)
  • rolling pin
  • baking dish (my used measurements were 20x26cm (8×10 inch))
  • whisk
  • sewing thread


Ingredients

Units Scale
DOUGH
  • 550 grams all-purpose flour (the germans can use type 550)
  • 250 milliliters whole-fat milk
  • 50 grams white sugar
  • 75 grams butter
  • 1 egg
  • 20 grams fresh yeast
  • pinch of salt
FILLING
  • 300 grams cream cheese
  • 60 grams powdered sugar
  • 100 grams lemon curd
  • 1 tbsp cornstarch
  • 1/2 tsp vanilla extract
GLAZE
  • 150 grams powdered sugar
  • 50 grams butter
  • 150 grams cream cheese
  • zest of one lemon
  • juice of half a lemon
  • 1/2 tsp vanilla extract
  • funfetti sprinkles

Instructions

  1. First, in a medium-sized bowl, stir together the filling. Mix 300g of cream cheese, 60g of powdered sugar, 1 tsp of vanilla extract, and 1 tbsp of cornstarch and put it in the fridge.
  2. Next, prepare the dough. In a small pot, warm 250ml of full-fat milk to no more than 38°C (100°F) so the yeast isn’t killed. Take 1 tbsp from the 50g (1/4 cup) of sugar intended for the dough and add it to the warm milk along with the yeast. Stir everything well with a whisk until the yeast is completely dissolved in the milk. Set aside.
  3. In a large bowl, add flour, the remaining sugar, the soft butter, an egg, and a pinch of salt. Mix everything using your hands. Now pour in the yeast-milk mixture and knead everything into a soft, pliable dough for a good 10 minutes. Cover the bowl with a damp towel or cling film and let it rise for 2 hours at 20°-23°C (68°-73°F). The dough should double in volume.
  4. After the two hours sprinkle some flour on a clean work surface and place the dough on it. Dust a bit more flour on the dough and roll it out until it’s rectangular and about 1 cm (1/2″) thick throughout.
  5. Take the cream cheese filling out of the fridge and spread it evenly over the dough. Now also spread the lemon curd over the cream, working it in a bit – depending on the consistency of the curd.
  6. Start rolling up the dough from the longer side. Keep it nice and loose, not too tight, or the filling might ooze out.
  7. Cut a long piece of sewing thread and slide it under the middle of the roll. Gently lift both ends of the thread, cross them over the top, and pull downwards, cutting the dough cleanly without squishing it. Proceed with the entire roll, making a total of 12 buns.
  8. Place the individual rolls in a baking dish, cover again with the damp towel, and let them rise for another 15 minutes.
  9. Meanwhile, preheat the oven to 180°C (356°F).
  10. After the final 15 minutes of rising, bake the buns in the oven for 30 minutes. They should turn a golden color.
  11. Let the buns cool completely. In the meantime, whisk together the glaze made of 150g (1.5 cups) powdered sugar, 150g (2/3 cups) cream cheese, 50g (1/4 cup) soft butter, 1 tsp vanilla extract, the zest of one lemon, and the juice of half a lemon.
  12. Once the buns are cool, spread the glaze all over them and, if you like, sprinkle some funfetti on top – but that’s optional 😉
  • Passive Time: 3 hrs
  • Cook Time: 25 min

CRAVING MORE?

Follow along here & don’t forget to subscribe to my substack!

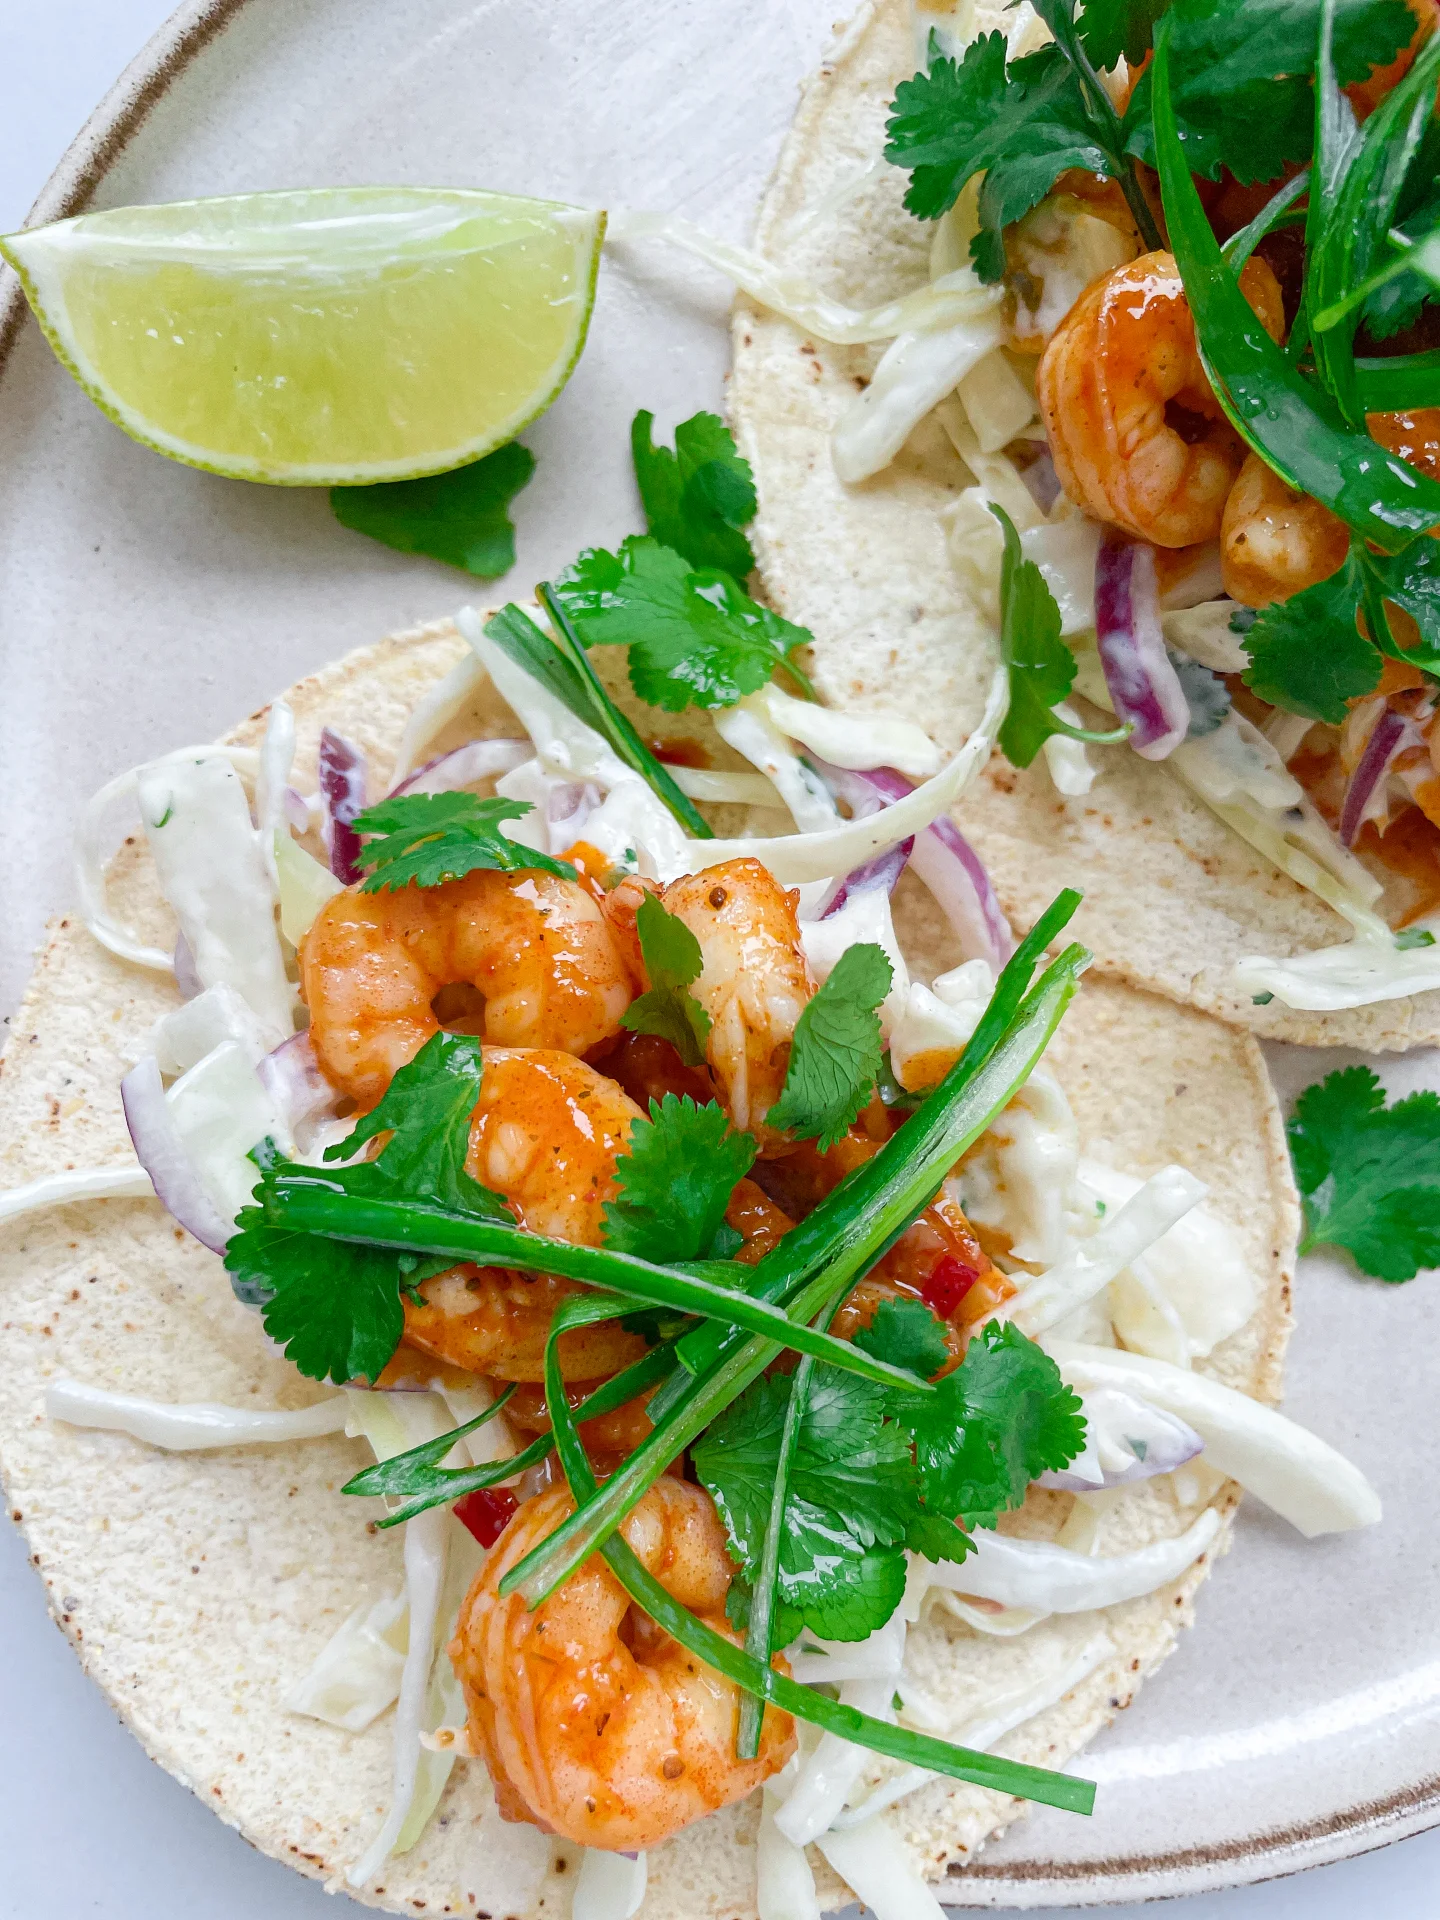
Fresh Shrimp Tacos & Coleslaw

Fresh Shrimp Tacos & Coleslaw

Fresh Prawn Tacos & Slaw

Fresh Shrimp Tacos & Coleslaw

April 9, 2024 by Kimberly

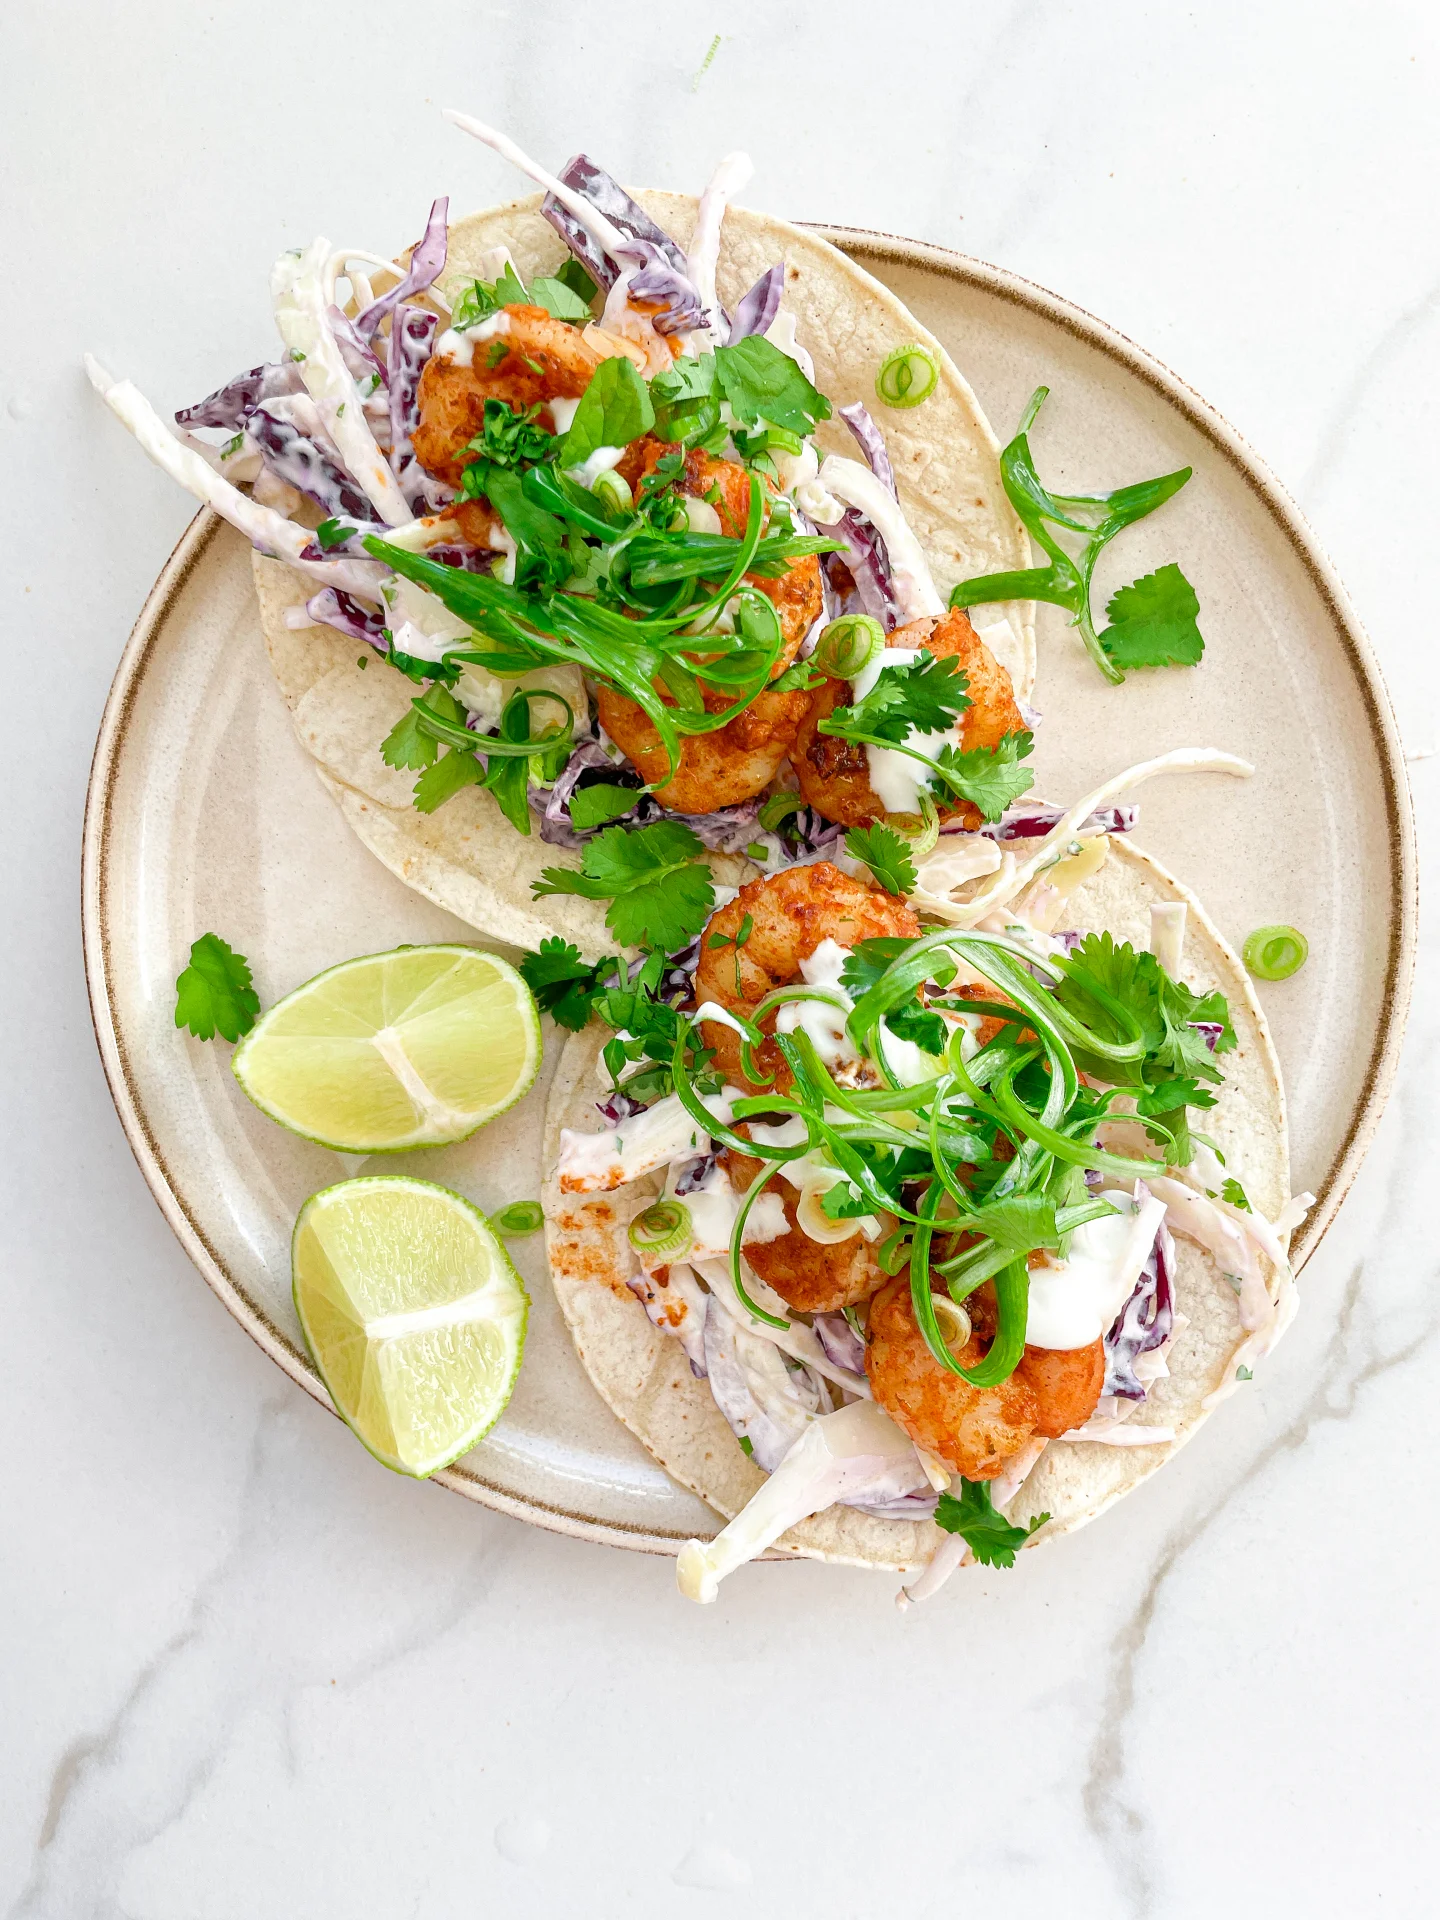
Discover the joy of Fresh Shrimp Tacos & Slaw – a zesty, mouth-watering feast that’s perfect for any day. Easy, delicious, and absolutely unforgettable!

This website uses affiliate links which may earn commission for purchases made at no additional cost to you.

TOTAL TIME

40 min

SERVES

12 tacos

DIET

omnivore

EVERY RECIPE DESERVES

A Little Love Letter

Dive into the delightful world of Fresh Shrimp Tacos & Slaw, your new go-to recipe for a quick, healthy, and utterly delicious meal. This dish combines the juicy, succulent flavors of fresh shrimps with the crisp, refreshing taste of homemade slaw, all wrapped up in a soft taco shell. It’s the perfect balance of textures and tastes, sure to tantalize your taste buds!

Serve these tacos fresh off the skillet for the best experience. Pair them with a side of lime wedges & extra slaw. Don’t forget a cold, refreshing drink to wash down the flavors. These shrimp tacos are not just food – they’re a vibrant, interactive dining experience that everyone can get excited about.

Leftover shrimp fillings and slaw can be stored separately in airtight containers in the fridge. They’ll keep well for up to two days, making for an easy, delicious lunch or dinner option whenever you’re short on time.

Hi, I'm Kimberly!

Hi, I'm Kimberly.

A hopeless romantic when it comes to food. Every recipe I share is a love letter to food itself. I’m so glad you’re here. Make yourself at home and stay a while.

Love,
Kimberly

Kimberly the Zett Signature

If you want to get to know me better,
click here!


Fresh Prawn Tacos & Slaw

LET’S MAKE A PIECE OF HAPPINESS

Print
clock clock iconcutlery cutlery iconflag flag iconfolder folder iconinstagram instagram iconpinterest pinterest iconfacebook facebook iconprint print iconsquares squares iconheart heart iconheart solid heart solid icon
Fresh Prawn Tacos & Slaw

Fresh Shrimp Tacos & Coleslaw


  • Author: Kimberly
  • Total Time: 35 min
  • Yield: 12 1x

Description

GOOD TO HAVE ON HAND

  • sharp knife
  • cutting board
  • two medium-sized bowls
  • small pan
  • large pan


Ingredients

Units Scale
SLAW
  • 250 grams white cabbage
  • 250 grams red cabbage
  • 1 cup cilantro
  • 1 red onion
  • 200 grams low fat yogurt
  • salt & pepper to taste
SHRIMPS
  • 550 grams black tiger shrimps (26/30 p. lb. frozen count)
  • 2 tbsp olive oil for marinade
  • 2 tbsp olive oil for frying
  • 3 garlic cloves
  • 1 tsp cumin
  • 1 tsp smoked paprik
  • 1/2 tsp oregano
  • 1/2 tsp onion powder
  • 1/2 tsp garlic powder
  • 1/2 tsp salt
  • 1/4 tsp chili flakes
TOPPINGS & TACOS
  • 12 corn tortillas
  • 2 limes
  • 3 tbsp yogurt
  • 2 spring onions
  • cilantro

Instructions

  1. If you’re using frozen shrimp, let them thaw in a strainer with a drip tray in the fridge a day before you need them. Then wash them thoroughly and pat them dry before further use.
  2. Rinse fresh shrimp with cold water and pat dry.
  3. Cut the green part of the spring onions into fine strips lengthwise.
  4. Quarter the limes.
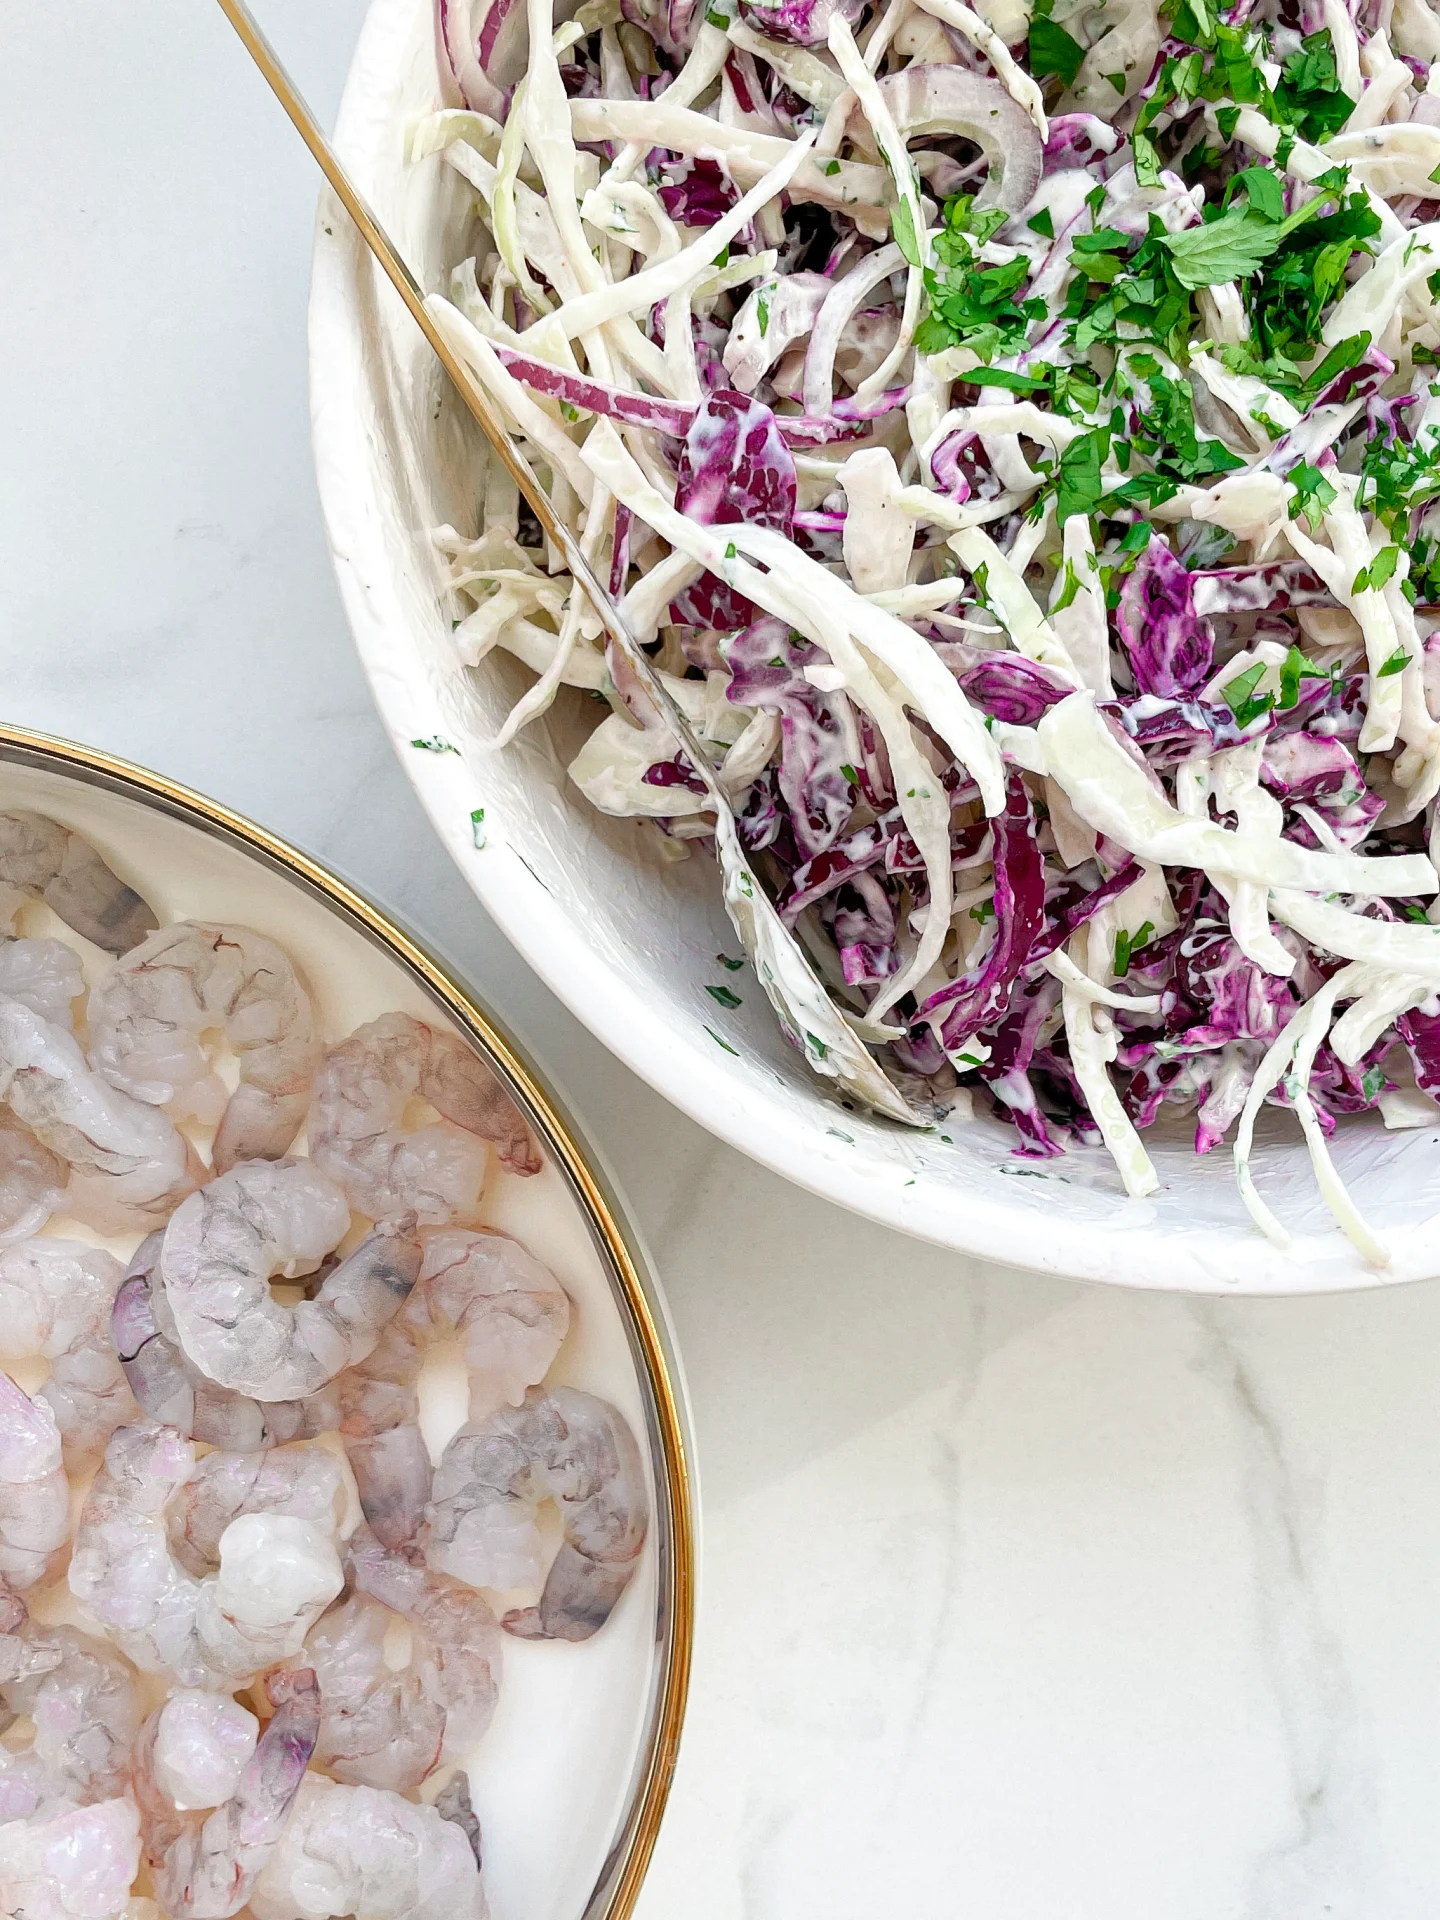
  5. Slice the red cabbage, white cabbage, and red onion into thin strips and put them in a medium-sized bowl. Pluck the coriander leaves from the stems, roughly chop them, and add to the bowl with the cabbage. Add yogurt, salt, and pepper as well, and stir everything well. Set aside.
  6. Next, peel and finely chop or press the garlic cloves and mix them with olive oil, chili, cumin, salt, garlic powder, onion powder, smoked paprika, and oregano to create a paste. Coat the shrimp in the paste, ensuring they’re evenly covered. Let marinate for 15 minutes.
  7. Meanwhile, in a small pan, lightly toast the corn tortillas on both sides without adding fat, so they’re warm but still bendable. Alternatively, you can warm them in the oven for a few minutes.
  8. Heat 1-2 tablespoons of olive oil in a large pan and fry the shrimp on each side for about 1-2 minutes until they’re no longer transparent and have curled up.
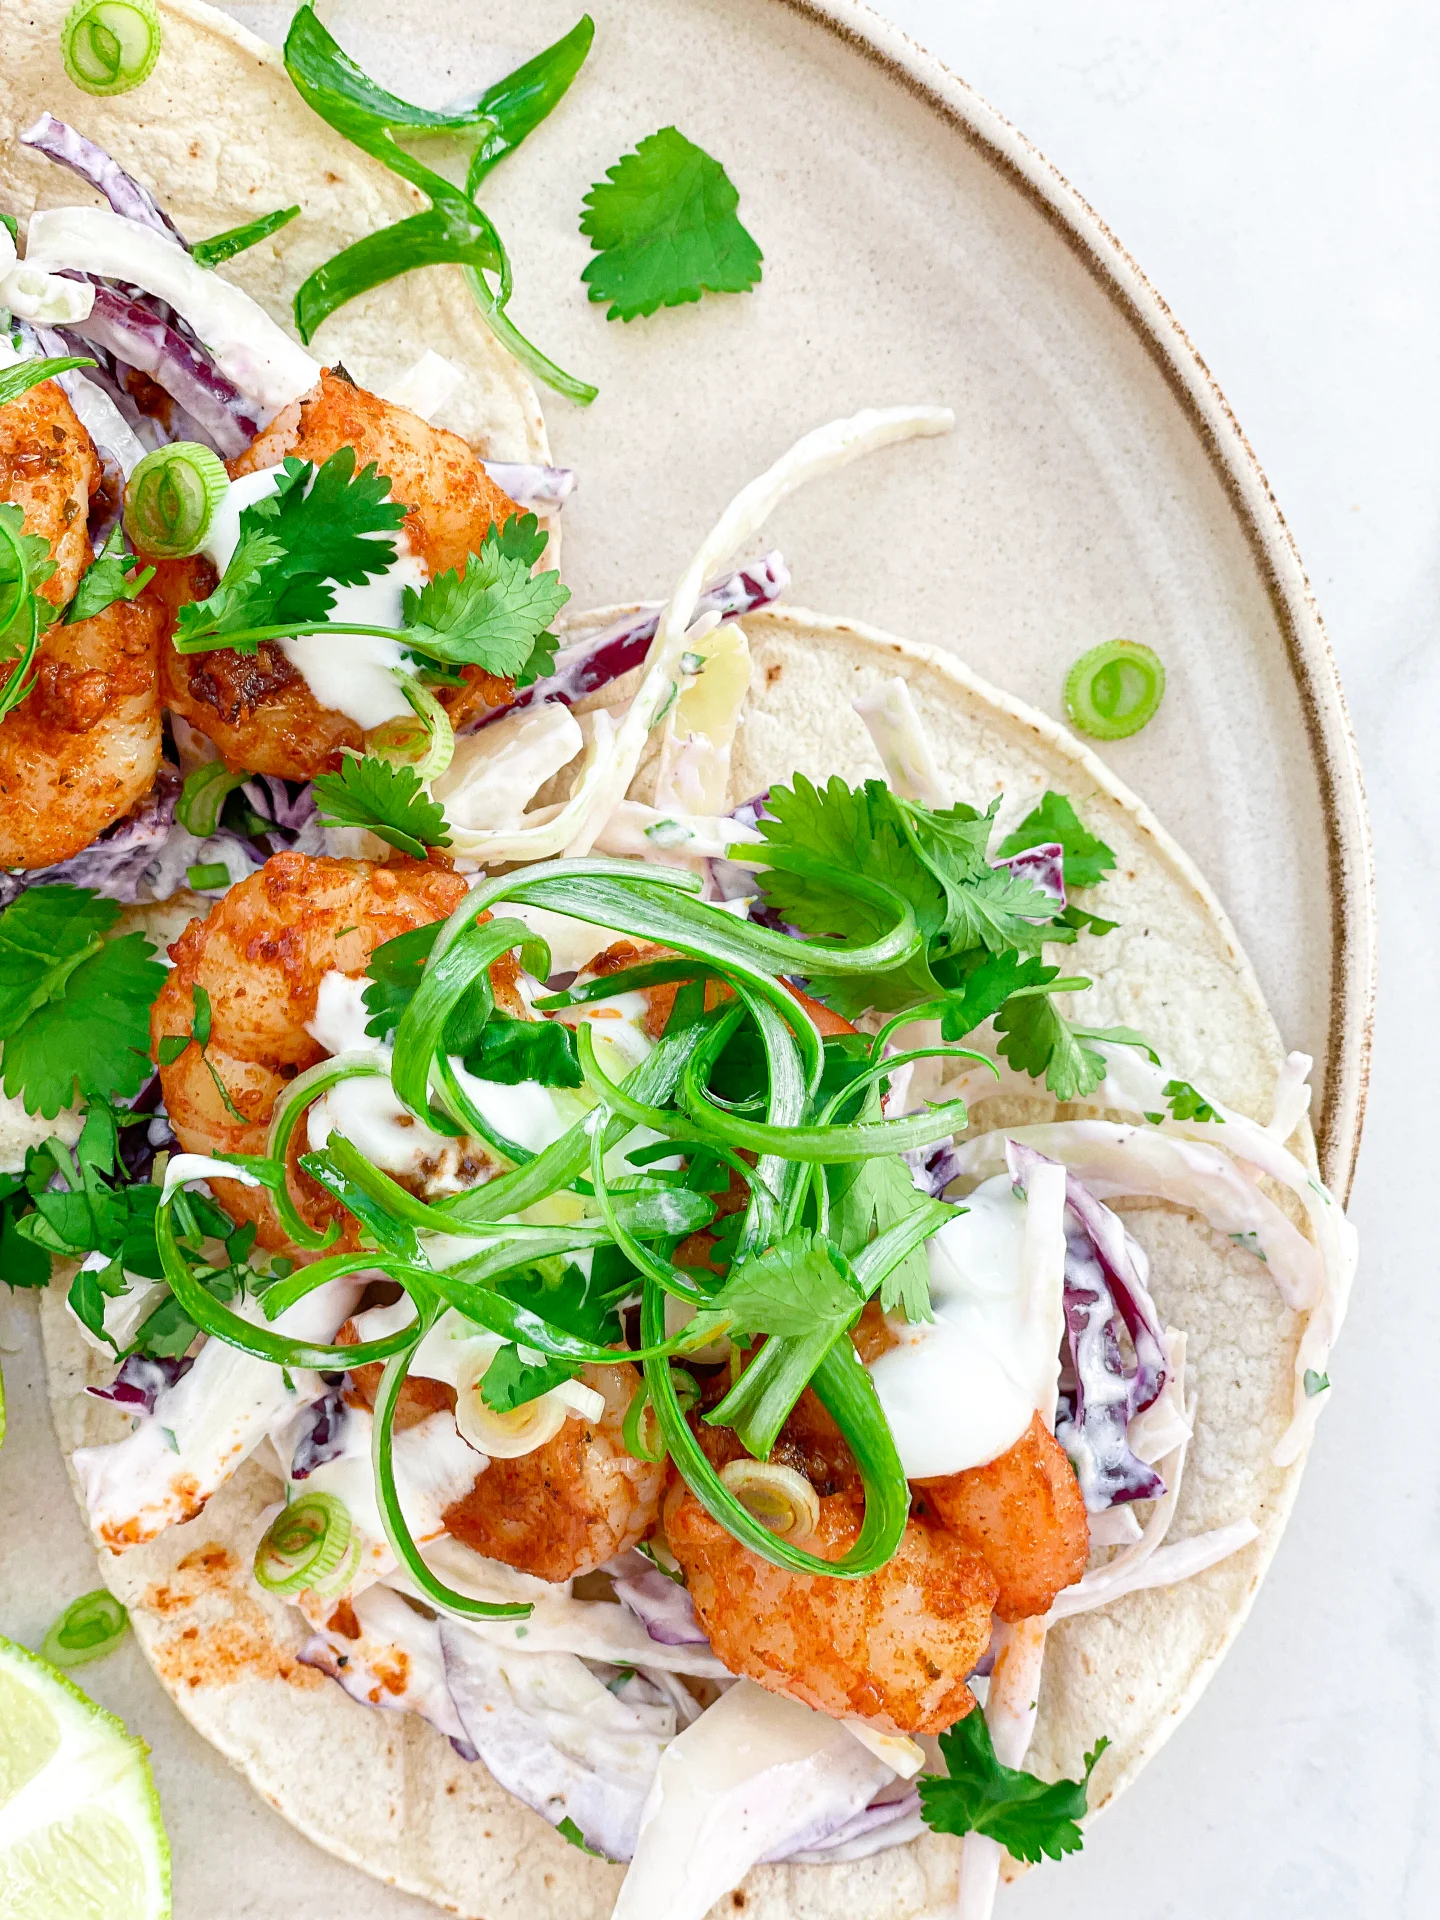
  9. Spread the tortillas on plates, top with the slaw, distribute 4 shrimps on each, and garnish with yogurt, coriander, spring onion, and lime juice.
  • Cook Time: 35 min

CRAVING MORE?

Follow along here & don’t forget to subscribe to my substack!

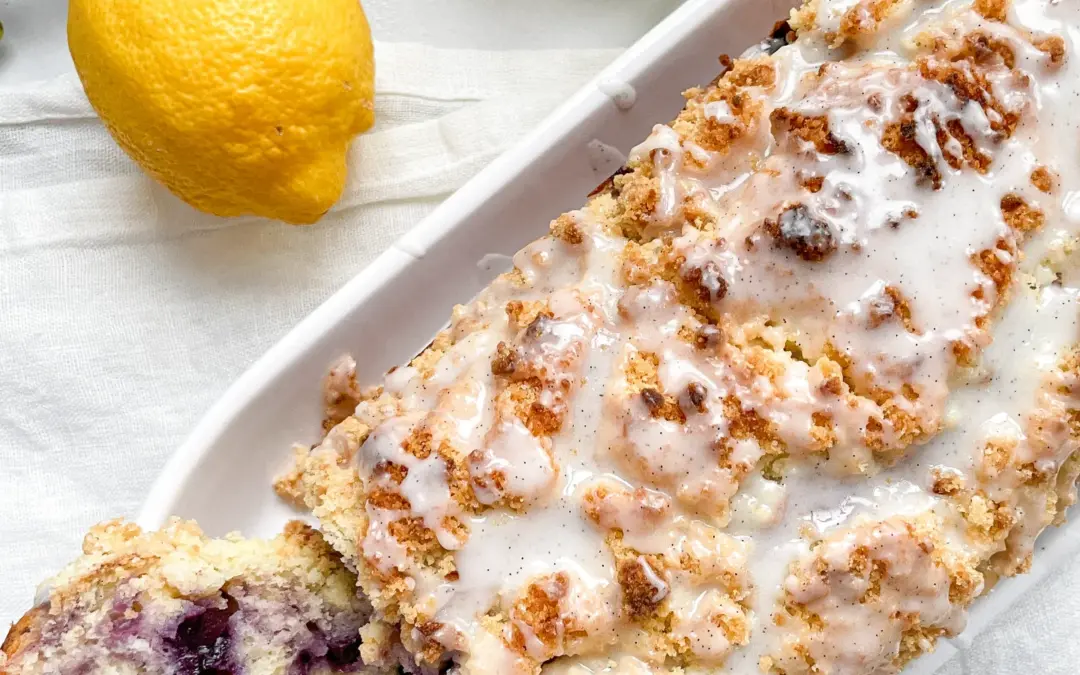
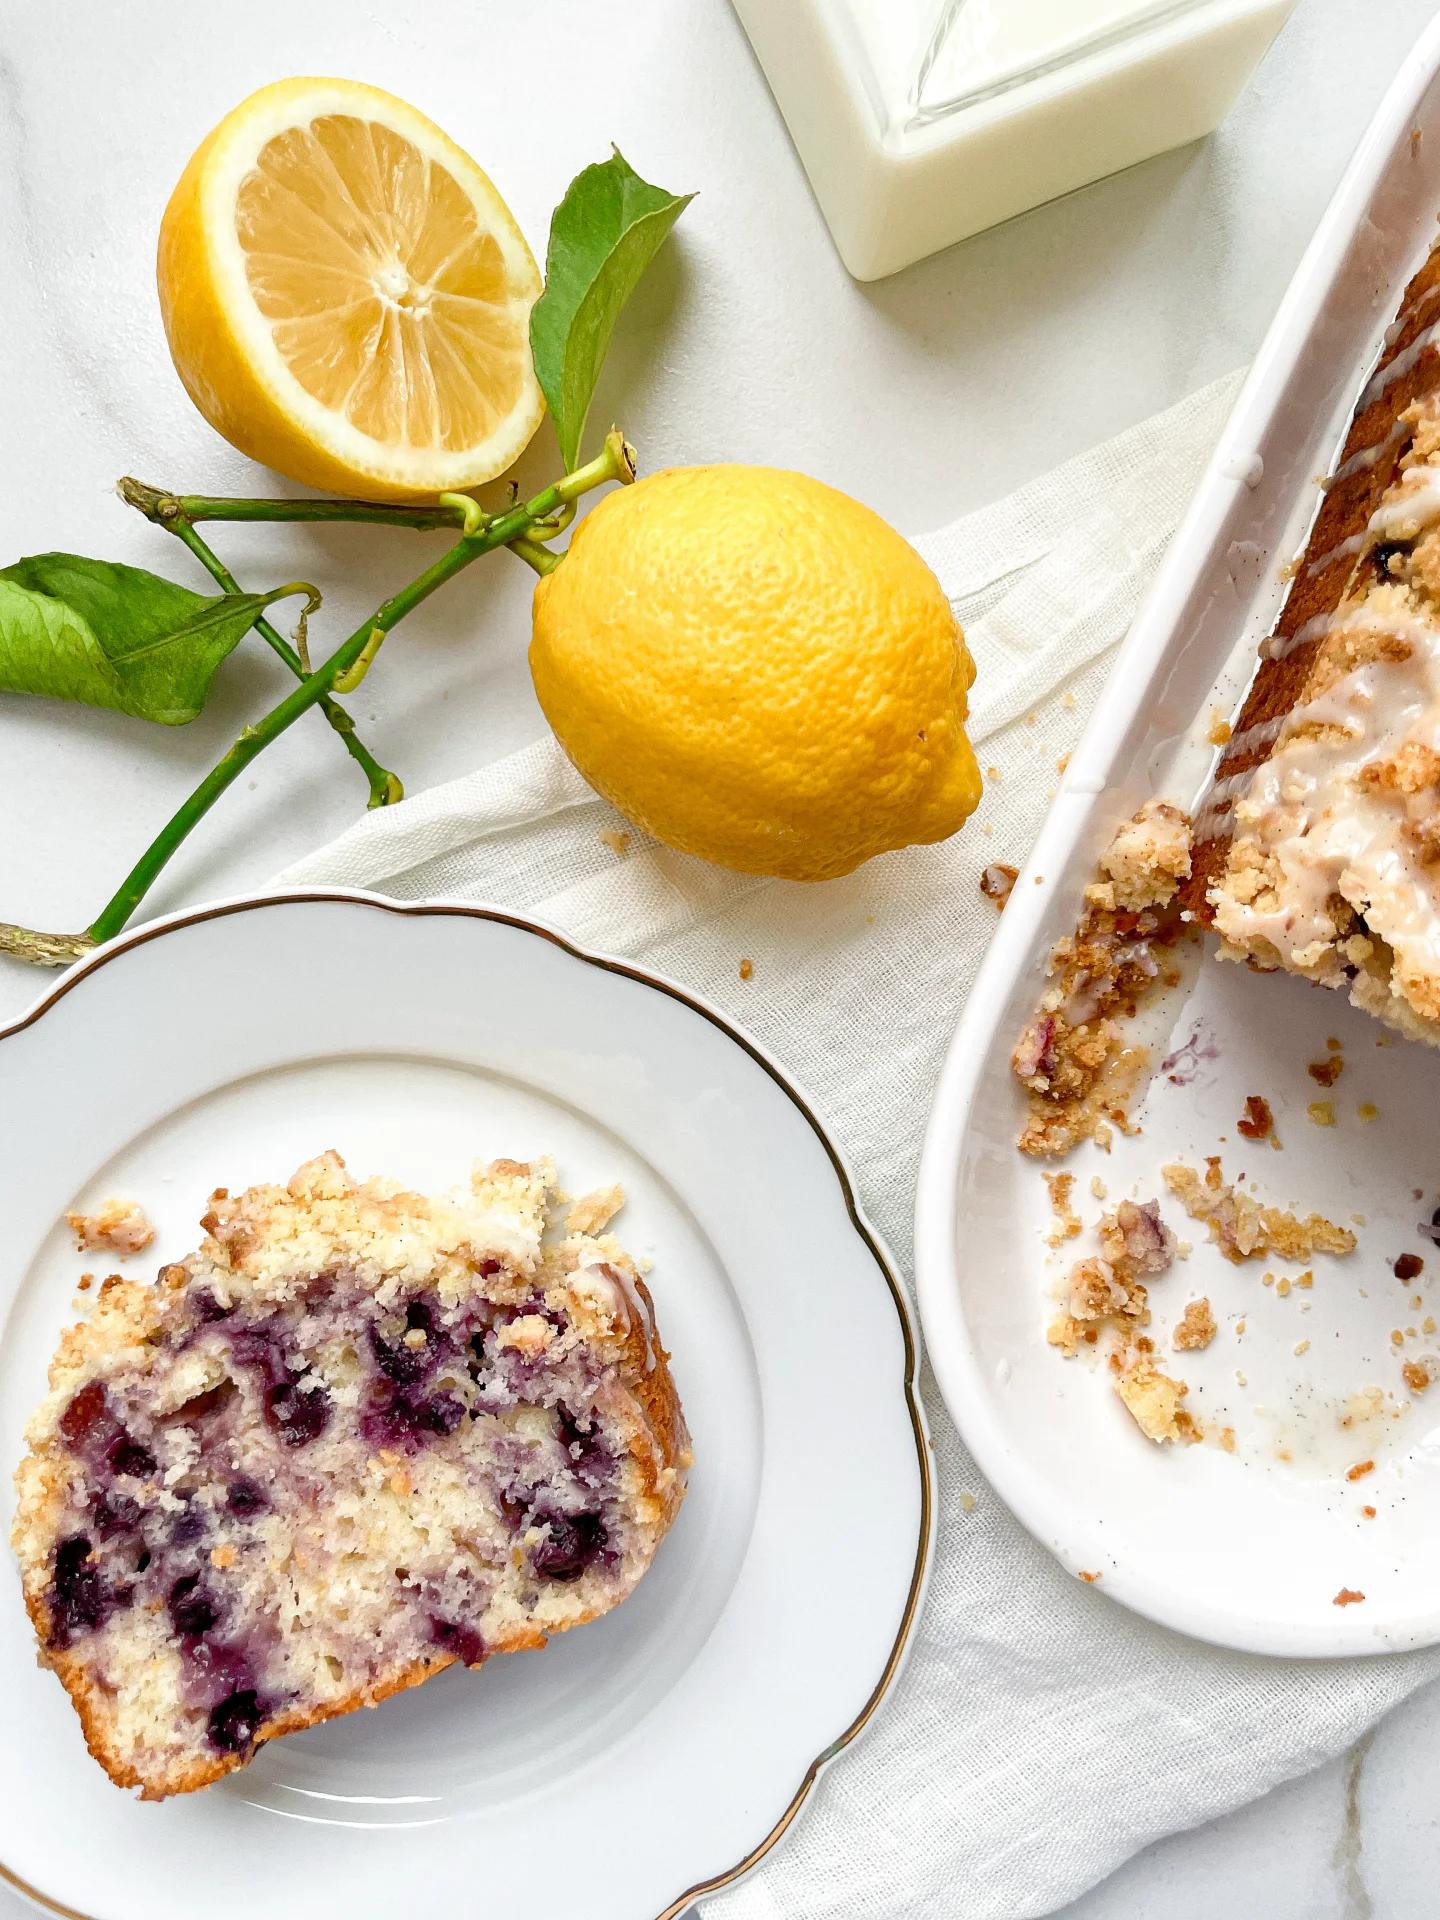
Lemon Blueberry Coffee Cake

Lemon Blueberry Coffee Cake

Lemon Blueberry Coffee Cake

Lemon Blueberry Coffee Cake

March 30, 2024 by Kimberly

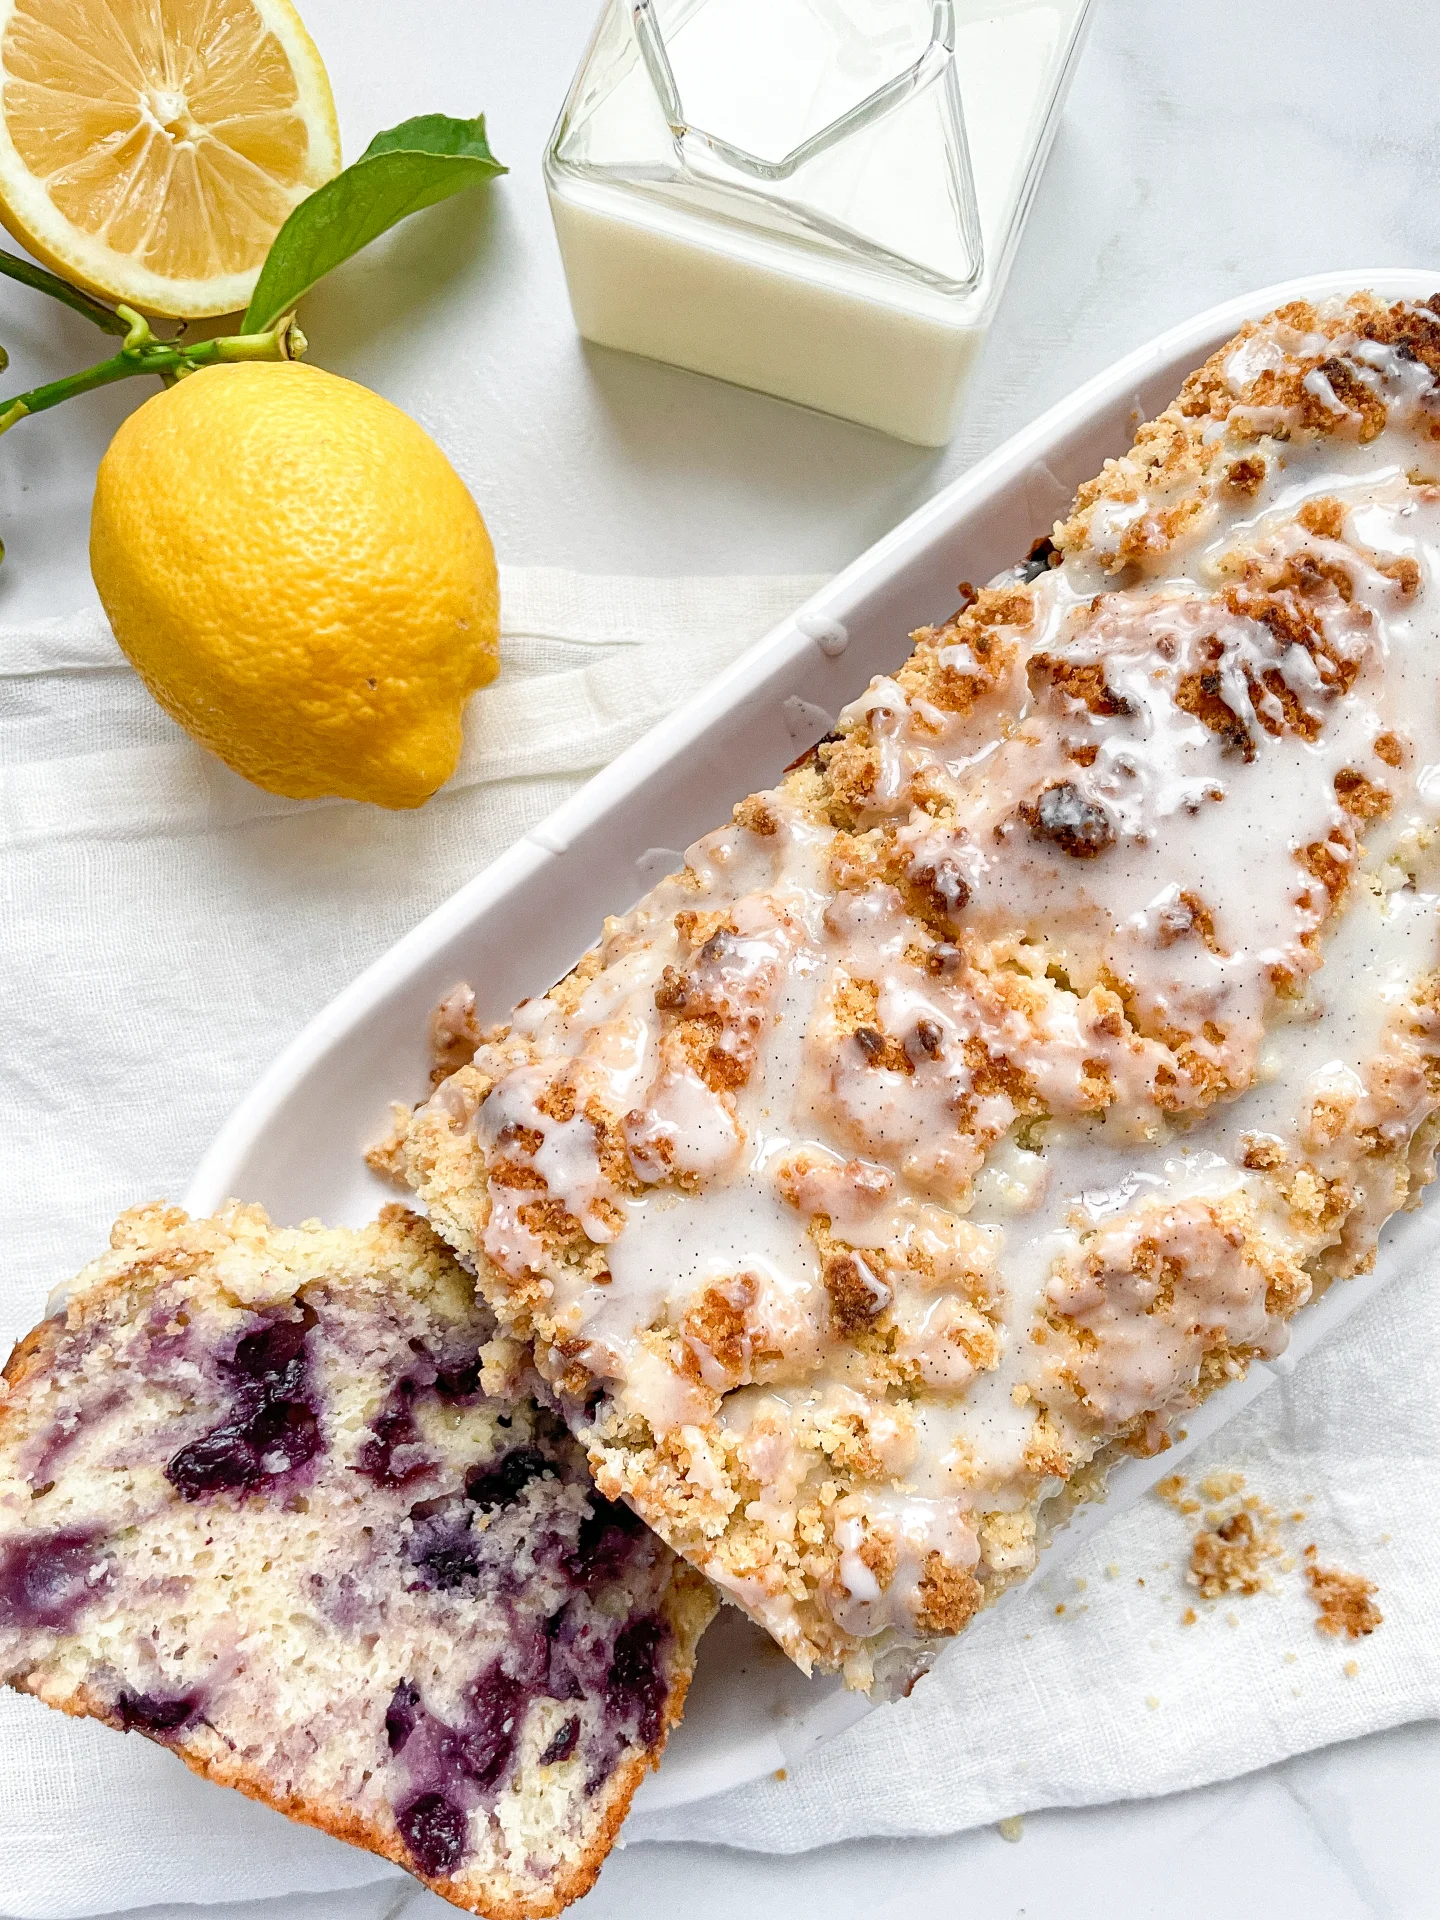
Indulge in the cozy comfort of this Lemon Blueberry Coffee Cake, where every slice is a celebration of flavors, love, and homemade happiness.

This website uses affiliate links which may earn commission for purchases made at no additional cost to you.

TOTAL TIME

1 hr + 20 min

SERVES

10 pieces

DIET

vegetarian

EVERY RECIPE DESERVES

A Little Love Letter

Indulge in the perfect blend of tangy and sweet with this Lemon Blueberry Coffee Cake! This easy-to-make recipe brings you the moistness of coffee cake, bursting with fresh blueberries and a zesty lemon flavor. Ideal for breakfast, brunch, or a delightful afternoon treat, it’s a guaranteed crowd-pleaser.

Serve this Lemon Blueberry Coffee Cake freshly baked, with a dusting of powdered sugar or a drizzle of my lemon glaze for an extra touch of sweetness. It pairs wonderfully with your morning coffee or a cold glass of milk. Planning a brunch or a garden party? This cake makes an elegant addition to your menu, offering a refreshing burst of flavors that perfectly complement the summer vibe.

Keep leftovers in an airtight container or wrapped up in cling film at room temperature for up to two days or refrigerate for longer freshness. Enjoy it chilled or briefly warmed up in the microwave for a just-baked experience any time!

Hi, I'm Kimberly!

Hi, I'm Kimberly.

A hopeless romantic when it comes to food. Every recipe I share is a love letter to food itself. I’m so glad you’re here. Make yourself at home and stay a while.

Love,
Kimberly

Kimberly the Zett Signature

If you want to get to know me better,
click here!


Lemon Blueberry Coffee Cake

LET’S MAKE A PIECE OF HAPPINESS

Print
clock clock iconcutlery cutlery iconflag flag iconfolder folder iconinstagram instagram iconpinterest pinterest iconfacebook facebook iconprint print iconsquares squares iconheart heart iconheart solid heart solid icon
Lemon Blueberry Coffee Cake

Lemon Blueberry Coffee Cake


  • Author: Kimberly
  • Total Time: 80 min
  • Yield: 10 1x

Description

GOOD TO HAVE ON HAND

  • sharp knife
  • cutting board
  • baking dish (mine measures 25×11 cm (10”x4”))
  • grater
  • two small bowls
  • two medium-sized bowls
  • large bowl
  • spatula
  • whisk
  • microwave (or small pot)


Ingredients

Units Scale
CAKE BATTER
  • 240 grams all-purpose flour
  • 1 tsp backing powder
  • 1/2 tsp salt
  • 80 grams butter
  • 110 grams white sugar
  • 2 eggs
  • 1/2 tsp vanilla extract
  • 1 tbsp lemon zest
  • juice of half a lemon
  • 120 grams yoghurt
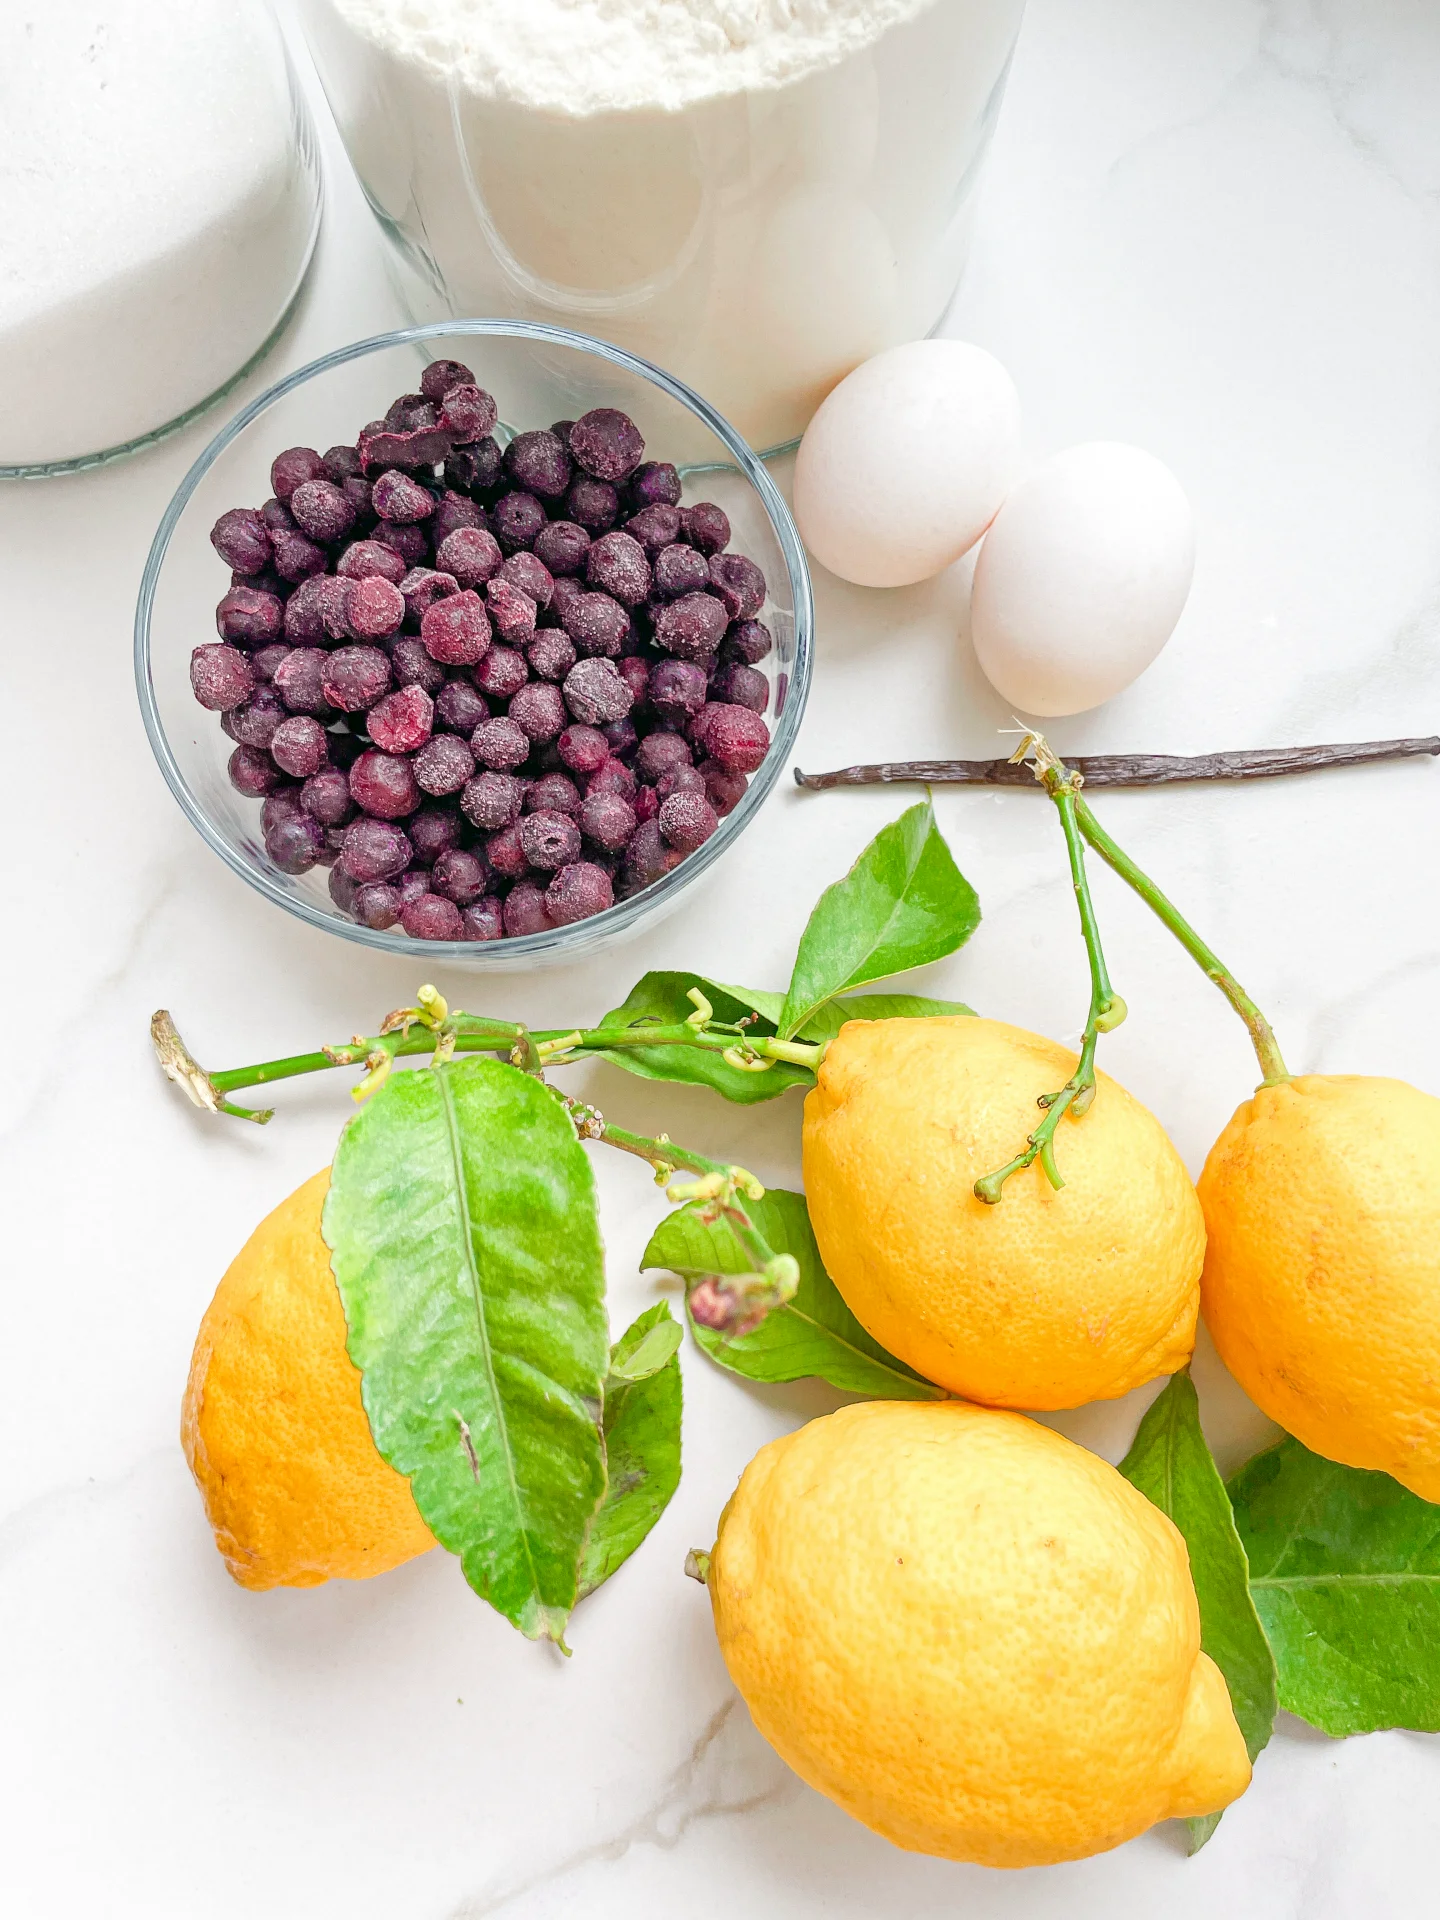
  • 180 grams blueberries
  • 1 tbsp all-purpose flour
CRUMBLE
  • 100 grams all-purpose flour
  • 50 grams white sugar
  • 50 grams soft butter
GLAZE
  • 60 grams powdered sugar
  • juice of half a lemon
  • 1/2 tsp vanilla extract

Instructions

  1. Preheat the oven to 175°C (350°F)
  2. Line a rectangular baking dish with parchment paper.
  3. Melt 80g (1/3 cup) butter in the microwave or in a small saucepan.
  4. Toss the blueberries in a small bowl with 1 tablespoon of flour until all the blueberries are coated with flour.
  5. For the crumble, mix together in a medium-sized bowl 50g (1/4 cup) white sugar, 50g (1/4 cup)softened butter, and 100g (1/2 cup) flour until small crumbs and larger clumps form. Set aside.
  6. Zest the lemon and then halve the lemon.
  7. In a medium-sized bowl, mix together flour, baking powder, and salt and set it aside.
  8. In a large bowl, whisk together melted butter, 2 eggs, sugar, vanilla extract, juice from half a lemon, and 1 tablespoon of lemon zest.
  9. Add the flour mixture and yogurt to the butter-egg mixture and mix just until they start to come together. Now add the blueberries and stir only until no flour is visible.
  10. Pour the batter into the baking pan, sprinkle the crumble over the top, and bake for 55 minutes. You can check if it’s done by inserting a clean knife or a skewer into the cake – if it comes out clean, the cake is ready. Let the cake cool on a wire rack.
  11. Once the cake has cooled, in a small bowl, prepare the glaze. For this, mix 60g (0.5 cup) of powdered sugar, juice from the other half of the lemon, and 1/2 teaspoon of vanilla extract. The glaze should be creamy. You can thicken it by adding more powdered sugar or thin it by adding more lemon juice or milk. Spread the glaze over the cake and let it set for a few minutes.
  • Passive Time: 60 min
  • Cook Time: 20 min

CRAVING MORE?

Follow along here & don’t forget to subscribe to my substack!

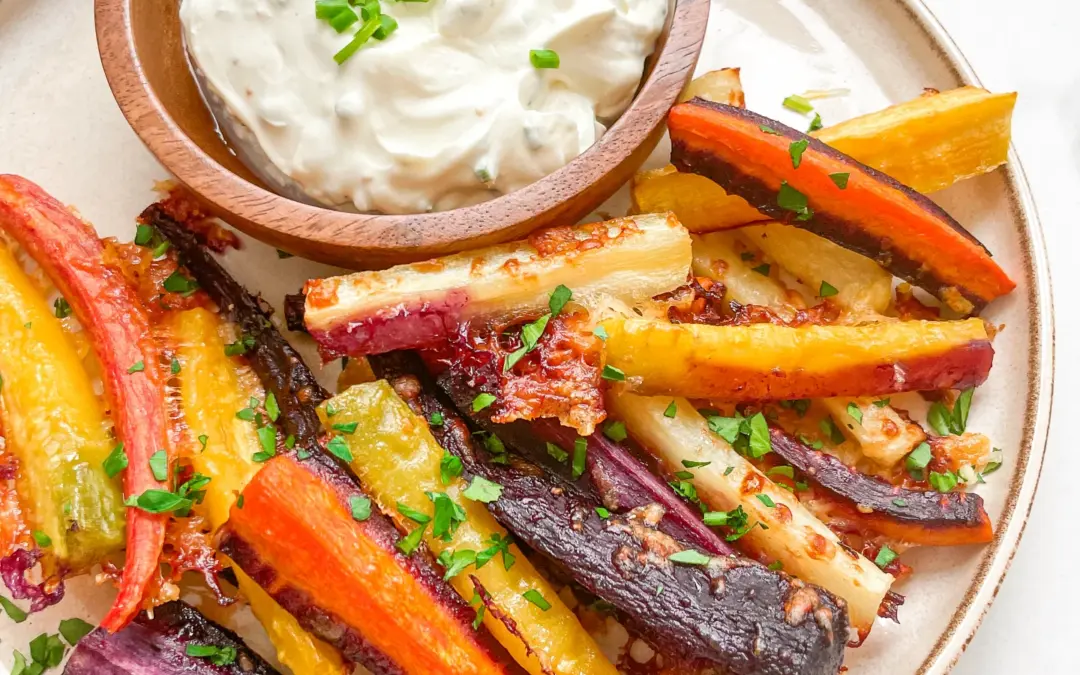
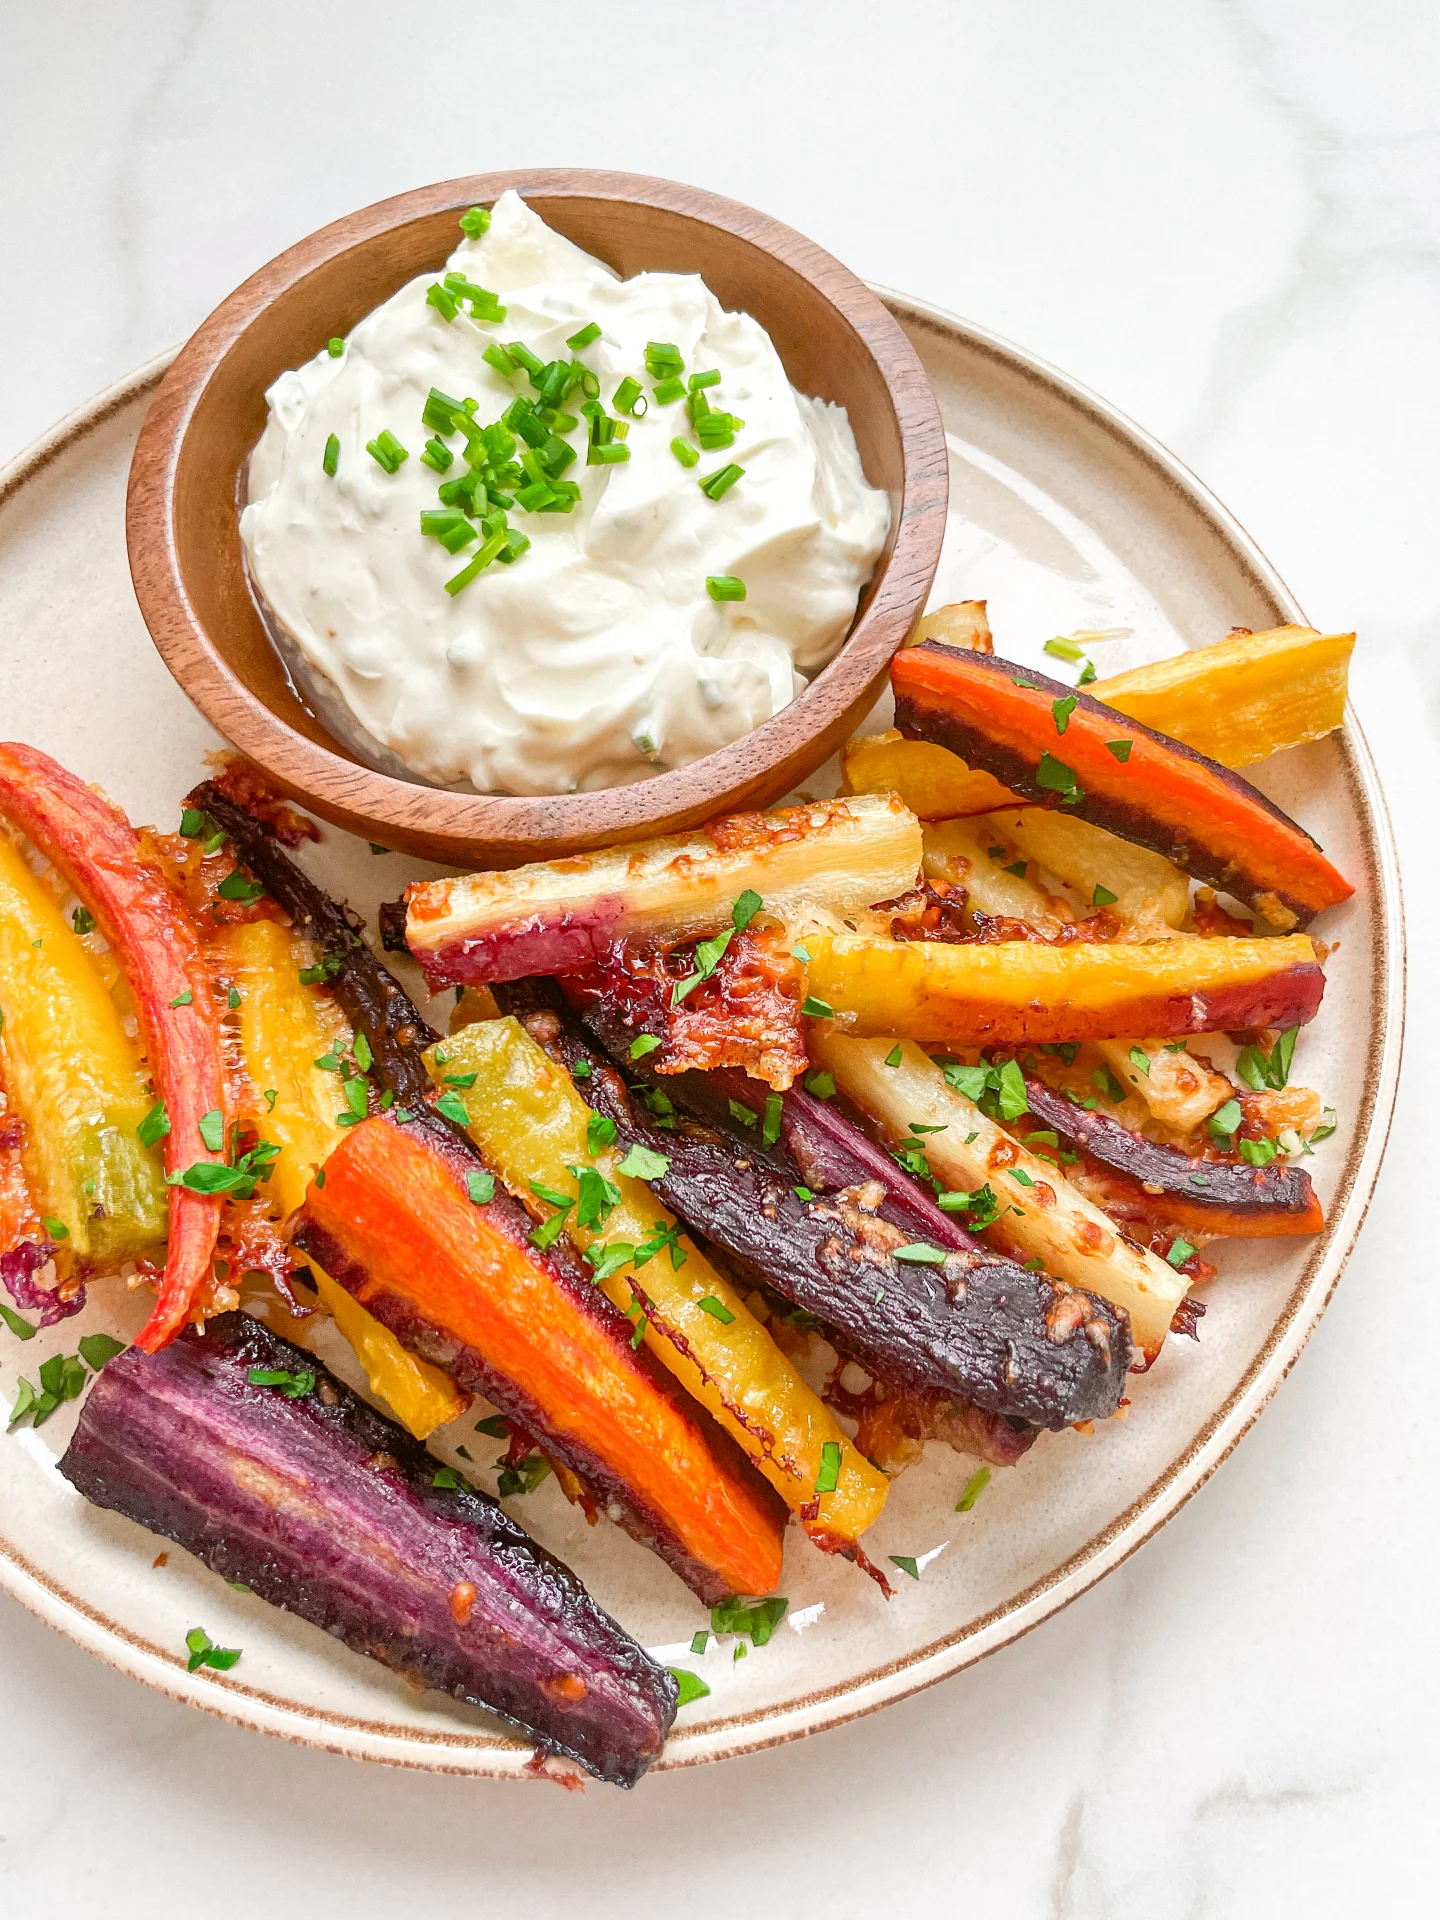
Roasted Parmesan Carrots

Roasted Parmesan Carrots

Roasted Parmesan Carrots

Roasted Parmesan Carrots

March 29, 2024 by Kimberly

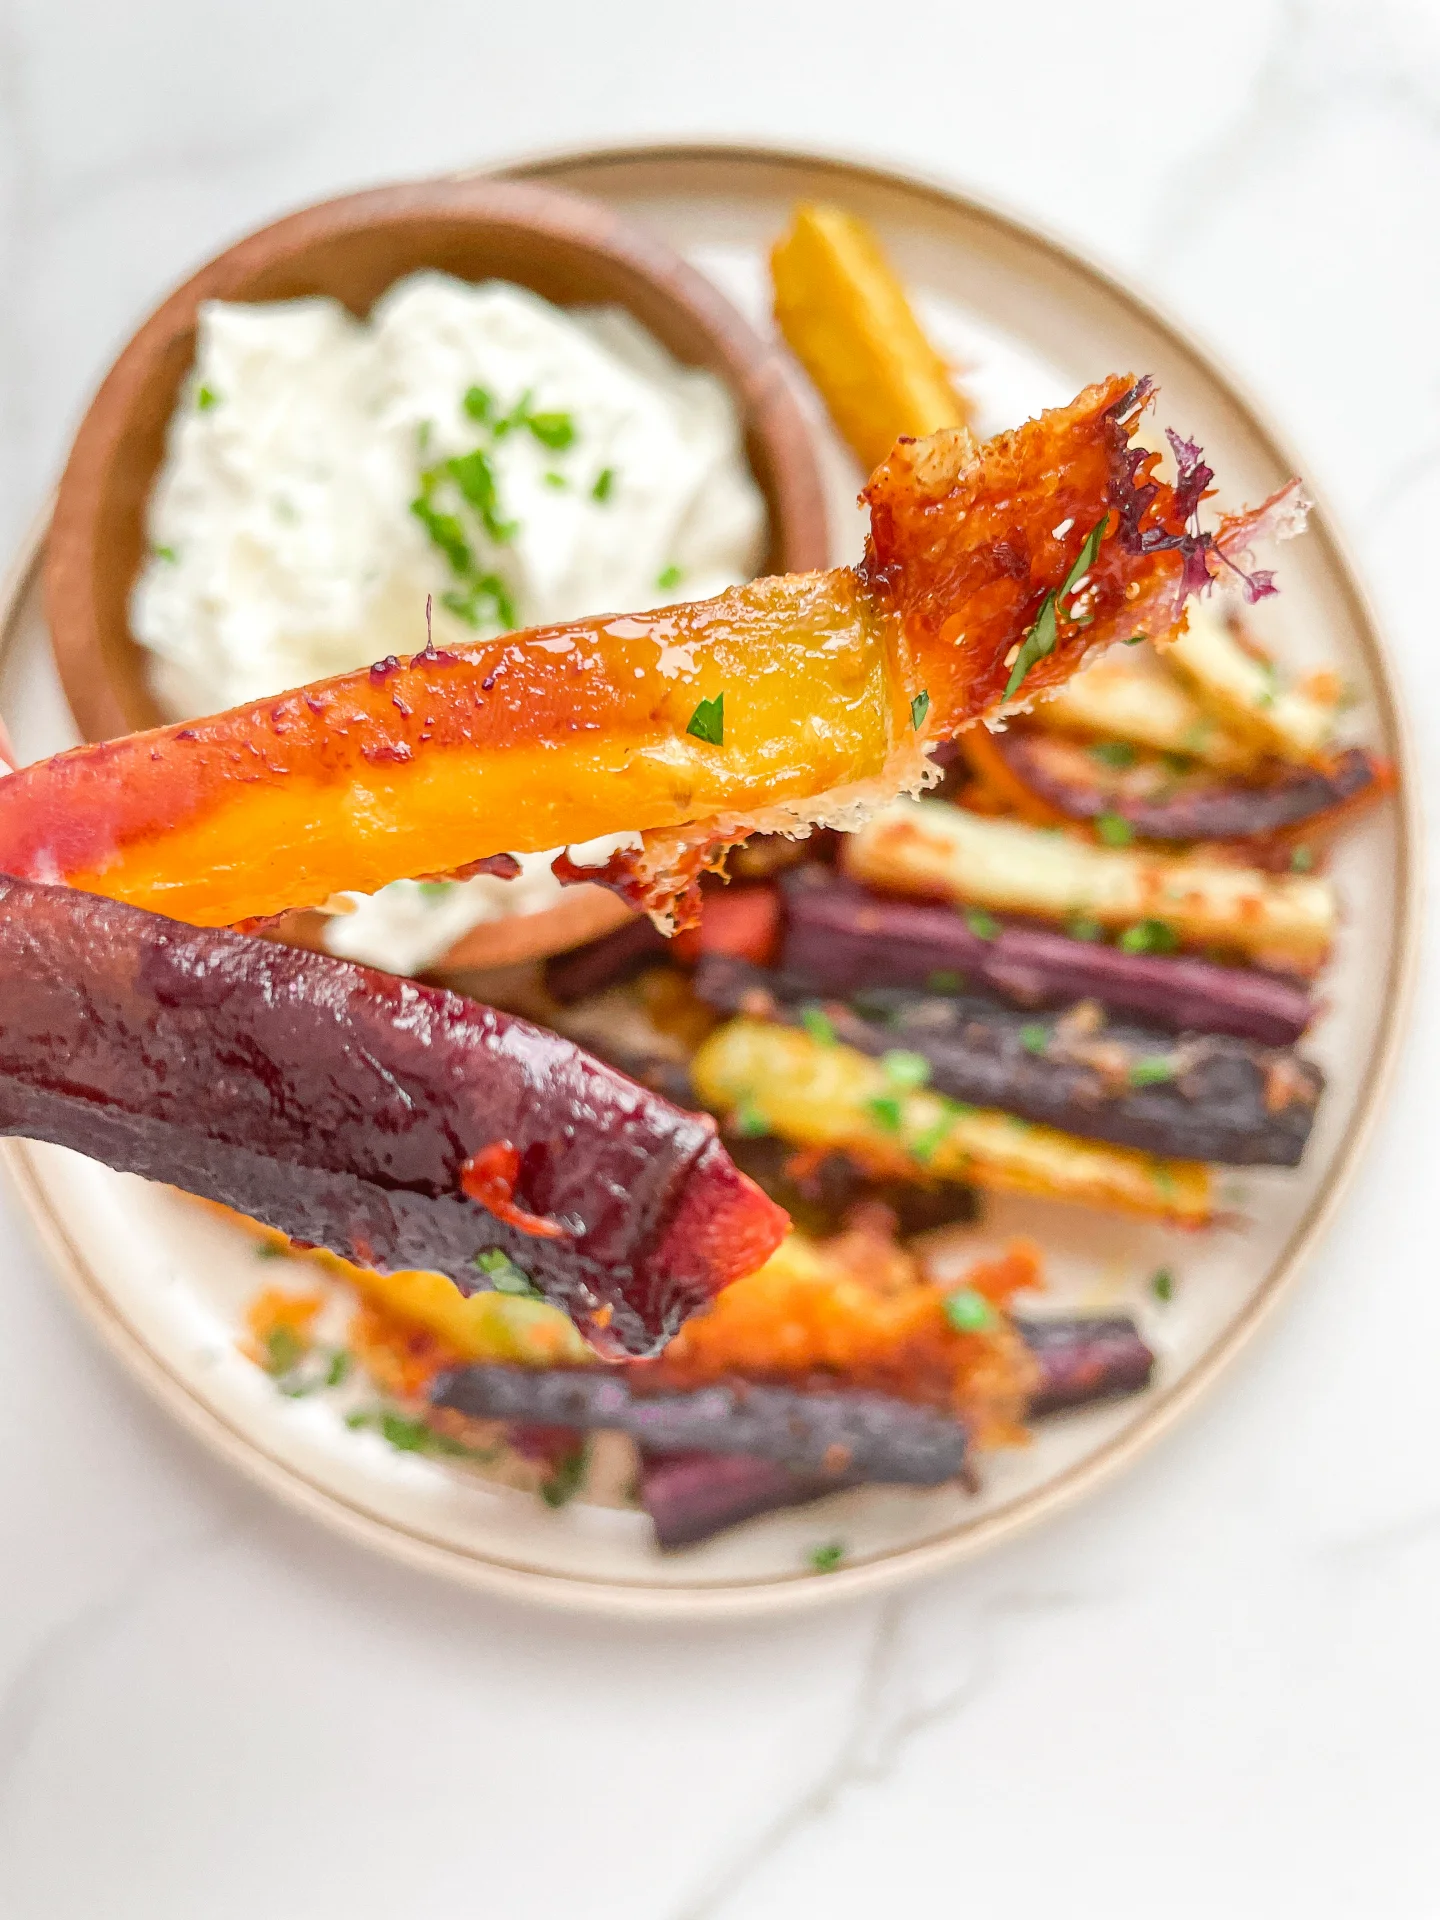
Get ready for Roasted Parmesan Carrots: a game-changer in the kitchen! These cheesy, golden beauties will steal the show at any meal, guaranteed to delight.

This website uses affiliate links which may earn commission for purchases made at no additional cost to you.

TOTAL TIME

40 min

SERVES

4 portions

DIET

vegetarian

EVERY RECIPE DESERVES

A Little Love Letter

Dive into the world of flavors with this roasted Parmesan carrots! A simple yet sophisticated dish that combines the natural sweetness of carrots with the rich, savory taste of Parmesan cheese. It’s a side dish that promises to elevate any meal, from your weeknight dinners to special holiday feasts. Quick to prepare and packed with flavor, these carrots are a surefire way to impress your guests and family alike.

Serve these golden, cheese-crisped carrots straight from the oven to capture their best texture and warmth. They pair beautifully with grilled meats, roasted chicken, or as a vibrant addition to your vegetarian feast. For an extra touch, sprinkle fresh herbs like parsley or dill over the top before serving.

Leftover roasted Parmesan carrots can be stored in an airtight container in the fridge for up to 3 days. Reheat in the oven or in a skillet over medium heat to revive their crispy exterior and warm center.

Hi, I'm Kimberly!

Hi, I'm Kimberly.

A hopeless romantic when it comes to food. Every recipe I share is a love letter to food itself. I’m so glad you’re here. Make yourself at home and stay a while.

Love,
Kimberly

Kimberly the Zett Signature

If you want to get to know me better,
click here!


Roasted Parmesan Carrots

LET’S MAKE A PIECE OF HAPPINESS

Print
clock clock iconcutlery cutlery iconflag flag iconfolder folder iconinstagram instagram iconpinterest pinterest iconfacebook facebook iconprint print iconsquares squares iconheart heart iconheart solid heart solid icon
Roasted Parmesan Carrots

Roasted Parmesan Carrots


  • Author: Kimberly
  • Total Time: 40 min
  • Yield: 4 1x

Description

GOOD TO HAVE ON HAND

  • peeler
  • sharp knife
  • cutting board
  • oven
  • small bowl
  • grater


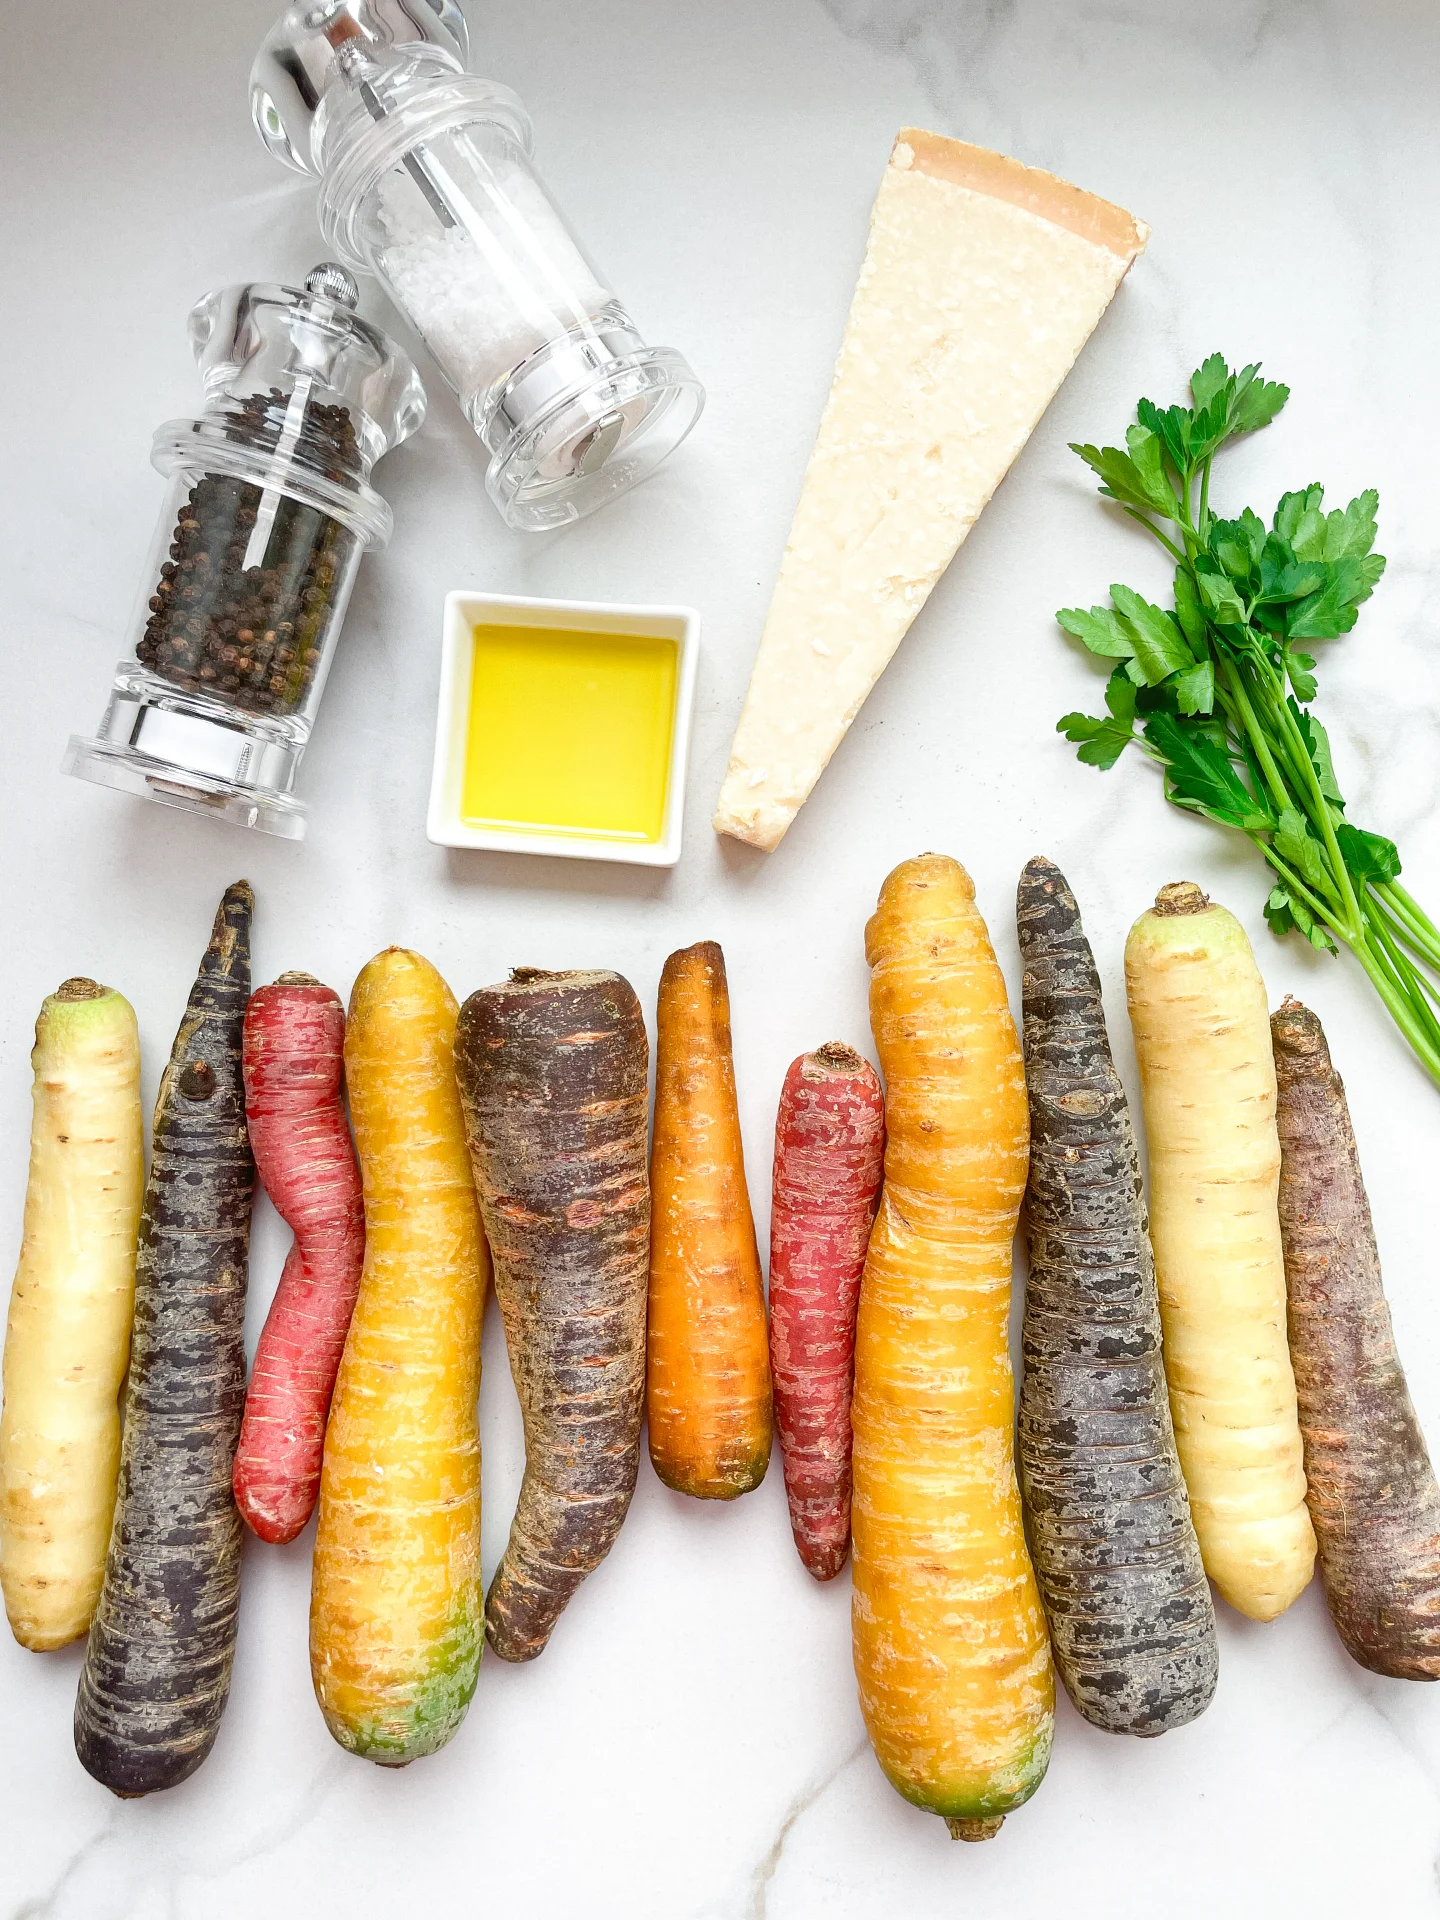
Ingredients

Units Scale
CARROTS
  • 500 grams mixed carrots
  • 1-2 tbsp olive oil
  • 1 tsp garlic powder
  • 40 grams parmesan
  • salt & pepper to taste
  • parsley
DIP
  • 150 grams creme fraiche
  • 2 garlic cloves
  • salt & pepper to taste

Instructions

  1. Preheat the oven to 220°C (430°F)
  2. Grate the Parmesan cheese into coarse shavings. Set aside.
  3. Line a baking sheet with parchment paper.
  4. Peel the carrots and cut them into long sticks. Don’t throw the peels in the trash – instead put them in a plastic bag to your other veggie scraps in the freezer to cook vegetable stock from scratch. Place the sticks on the baking sheet, drizzle with olive oil, sprinkle with salt and pepper, and mix well.
  5. Spread the carrot sticks in a single layer on the sheet, making sure they don’t overlap or stack on top of each other. Then, distribute the grated Parmesan over the carrots and put the sheet in the oven to roast for 25-30 minutes.
  6. In the meantime, prepare the dip. Peel and finely chop the garlic or press it with a garlic press. In a small bowl, mix crème fraîche with salt, pepper, and the garlic. Next, chop the parsley and set it aside.
  7. The carrots are done when the Parmesan has spread among them and become crispy. The carrots should have some brown spots but still be firm to the bite. Now, remove the carrots from the oven. Serve them on plates, garnished with parsley and the dip.
  • Passive Time: 25 min
  • Cook Time: 15 min

CRAVING MORE?

Follow along here & don’t forget to subscribe to my substack!

Carrot Cake & Cream Cheese Frosting

Carrot Cake & Cream Cheese Frosting

Carrot Cake & Cream Cheese Frosting

Carrot Cake & Cream Cheese Frosting

March 26, 2024 by Kimberly

Indulge in the joy of Easter with this divine Carrot Cake & Cream Cheese Frosting, a perfect blend of spices, sweetness, and celebration in every bite!

This website uses affiliate links which may earn commission for purchases made at no additional cost to you.

TOTAL TIME

1 hr + 50 min

SERVES

8 pieces

DIET

vegetarian

EVERY RECIPE DESERVES

A Little Love Letter

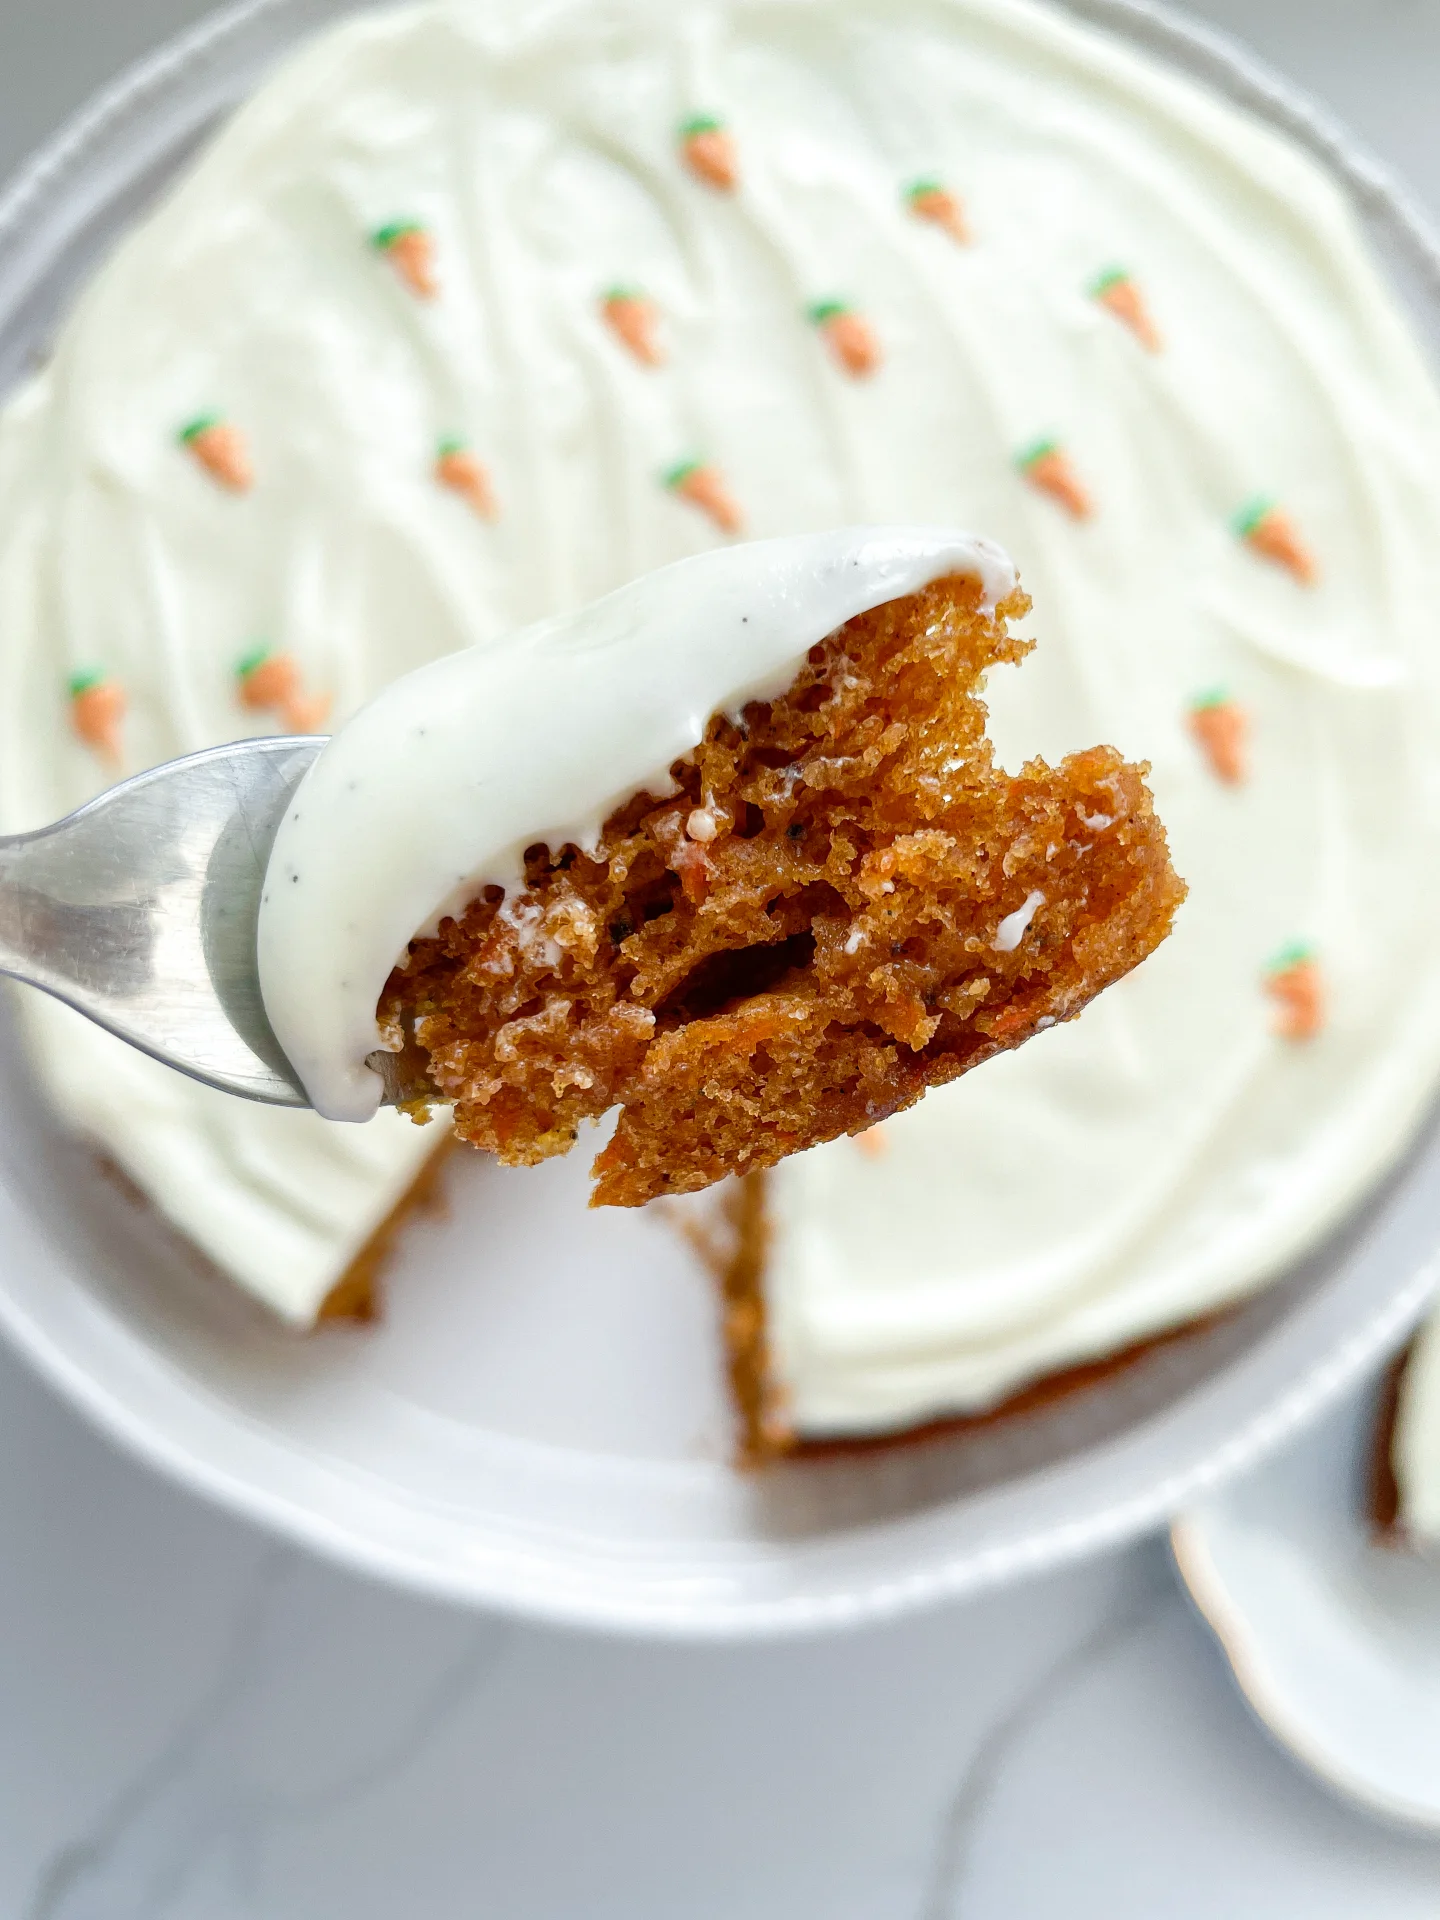
Dive into the world of baking with this mouth-watering Carrot Cake Recipe, perfectly paired with Cream Cheese Frosting. Whether you’re a seasoned baker or a newbie, this Easy Carrot Cake will guide you to creating the most delectable dessert. It combines a moist, spice-infused cake layer with rich, creamy frosting for a taste that’s truly unforgettable. Get ready to impress at any gathering with this ultimate carrot cake delight.

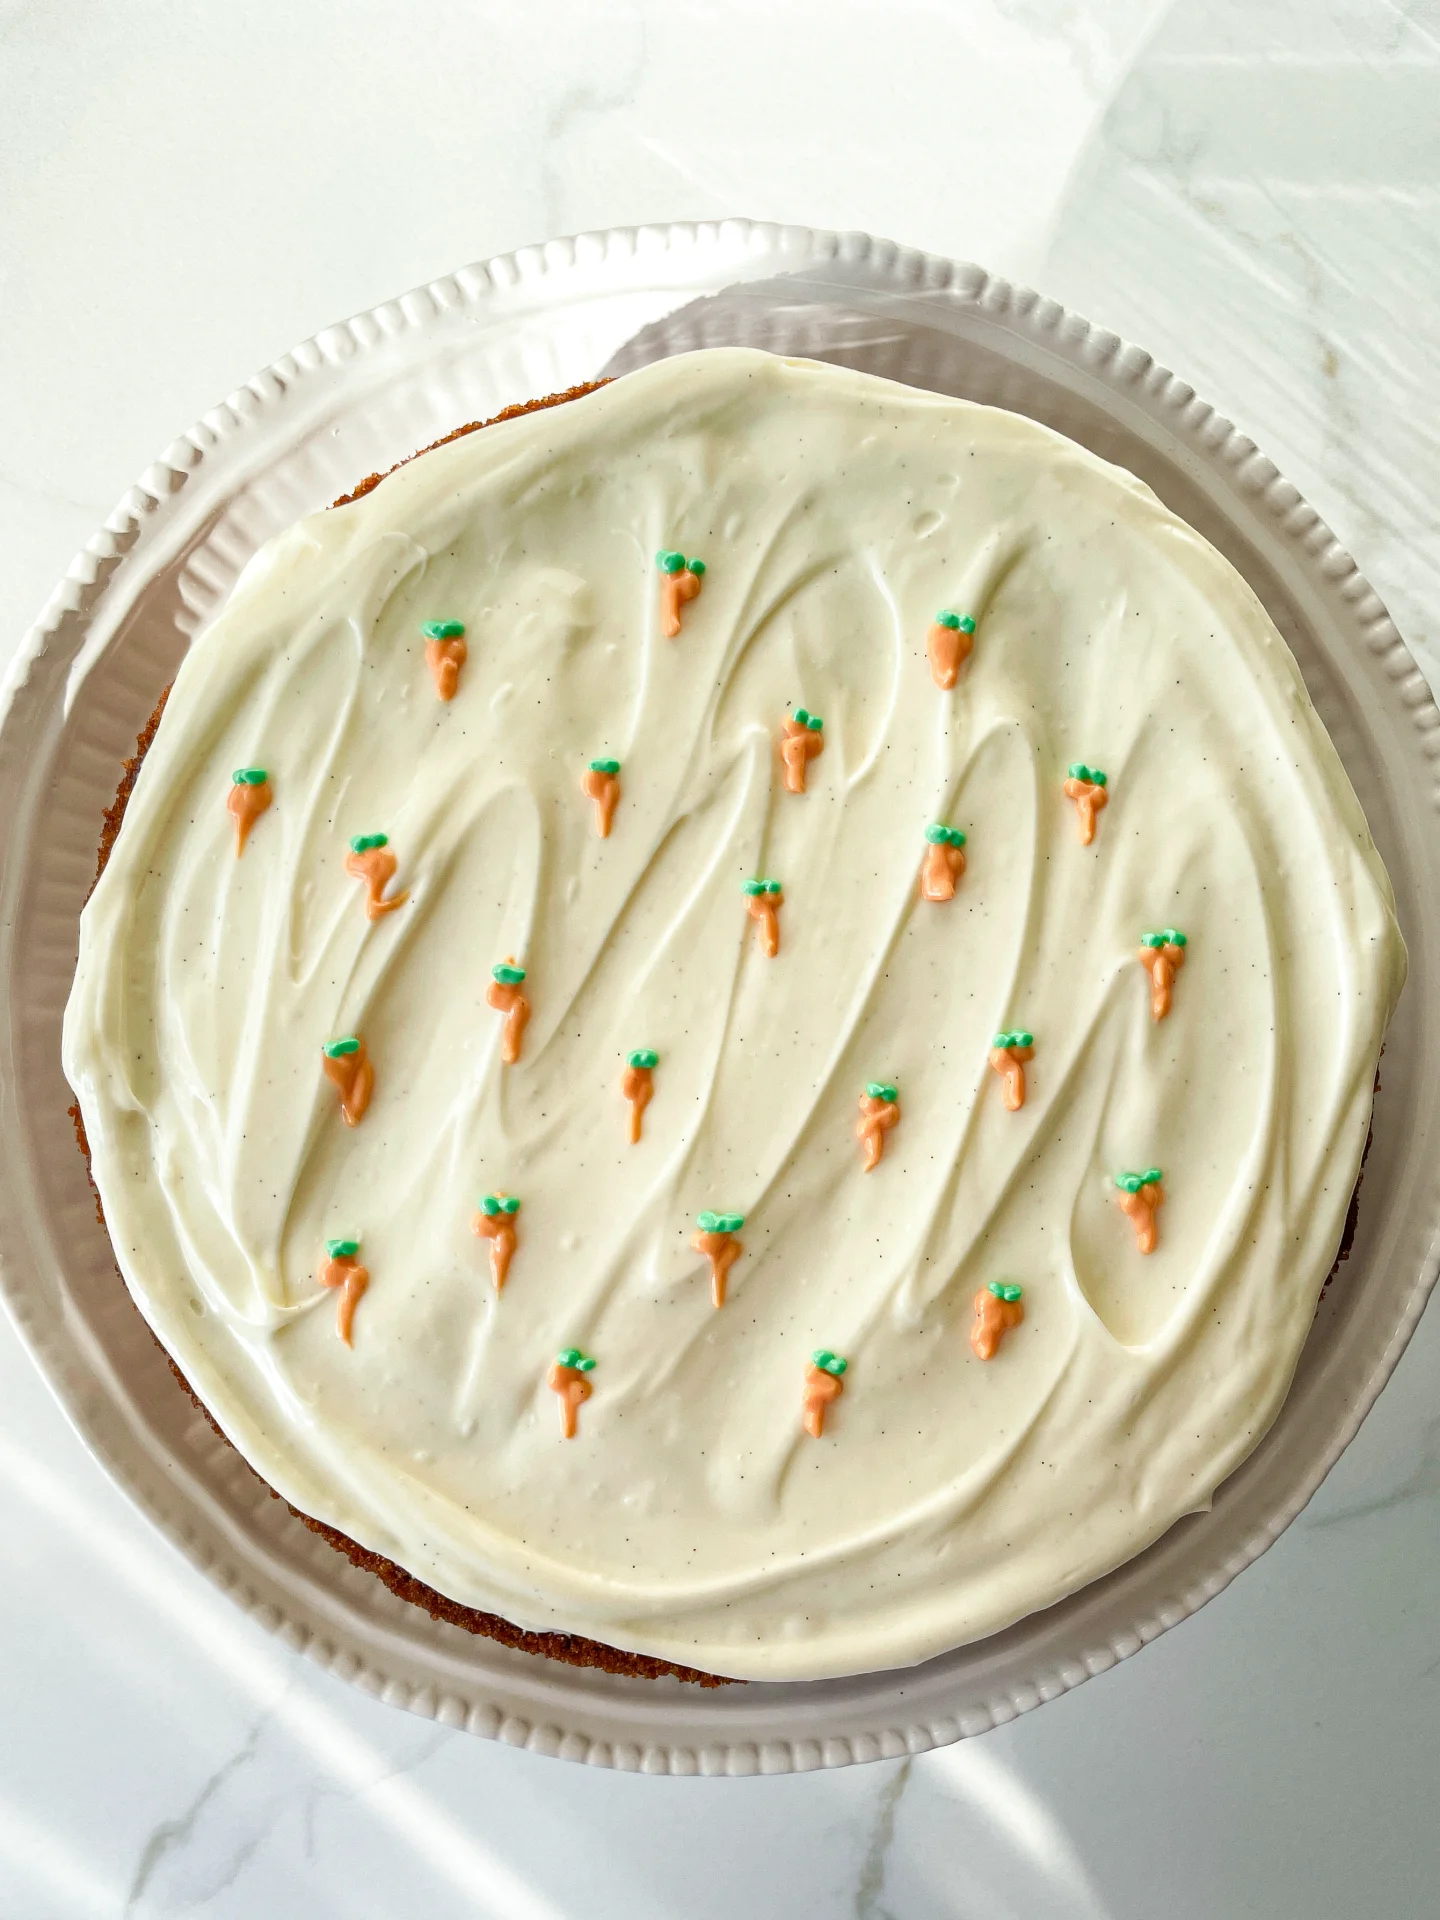
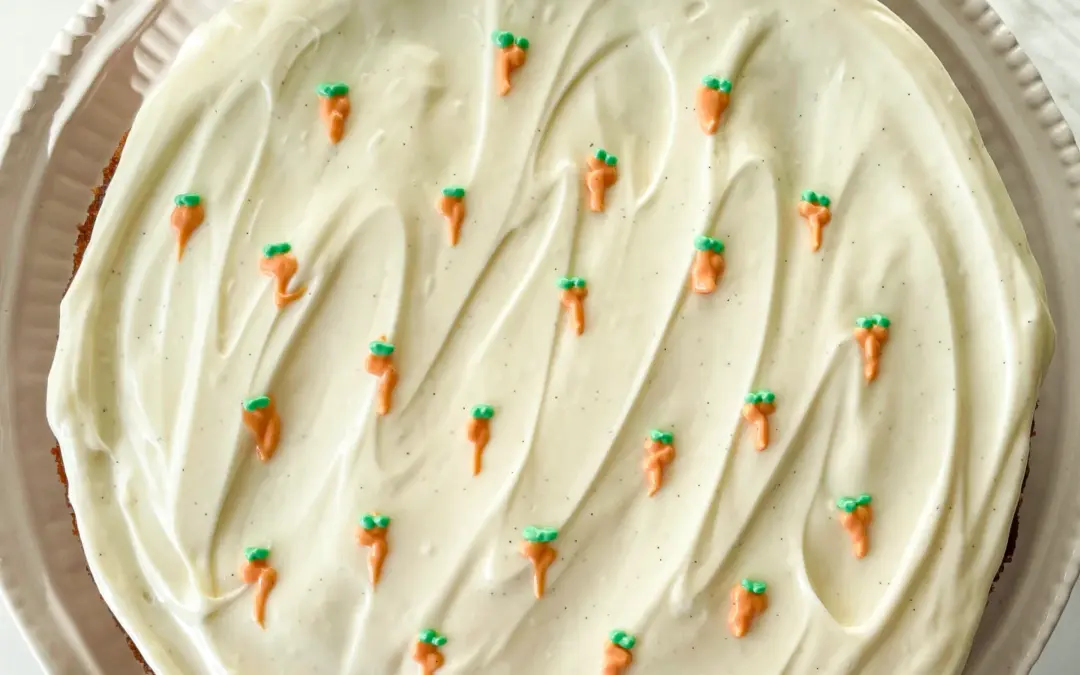
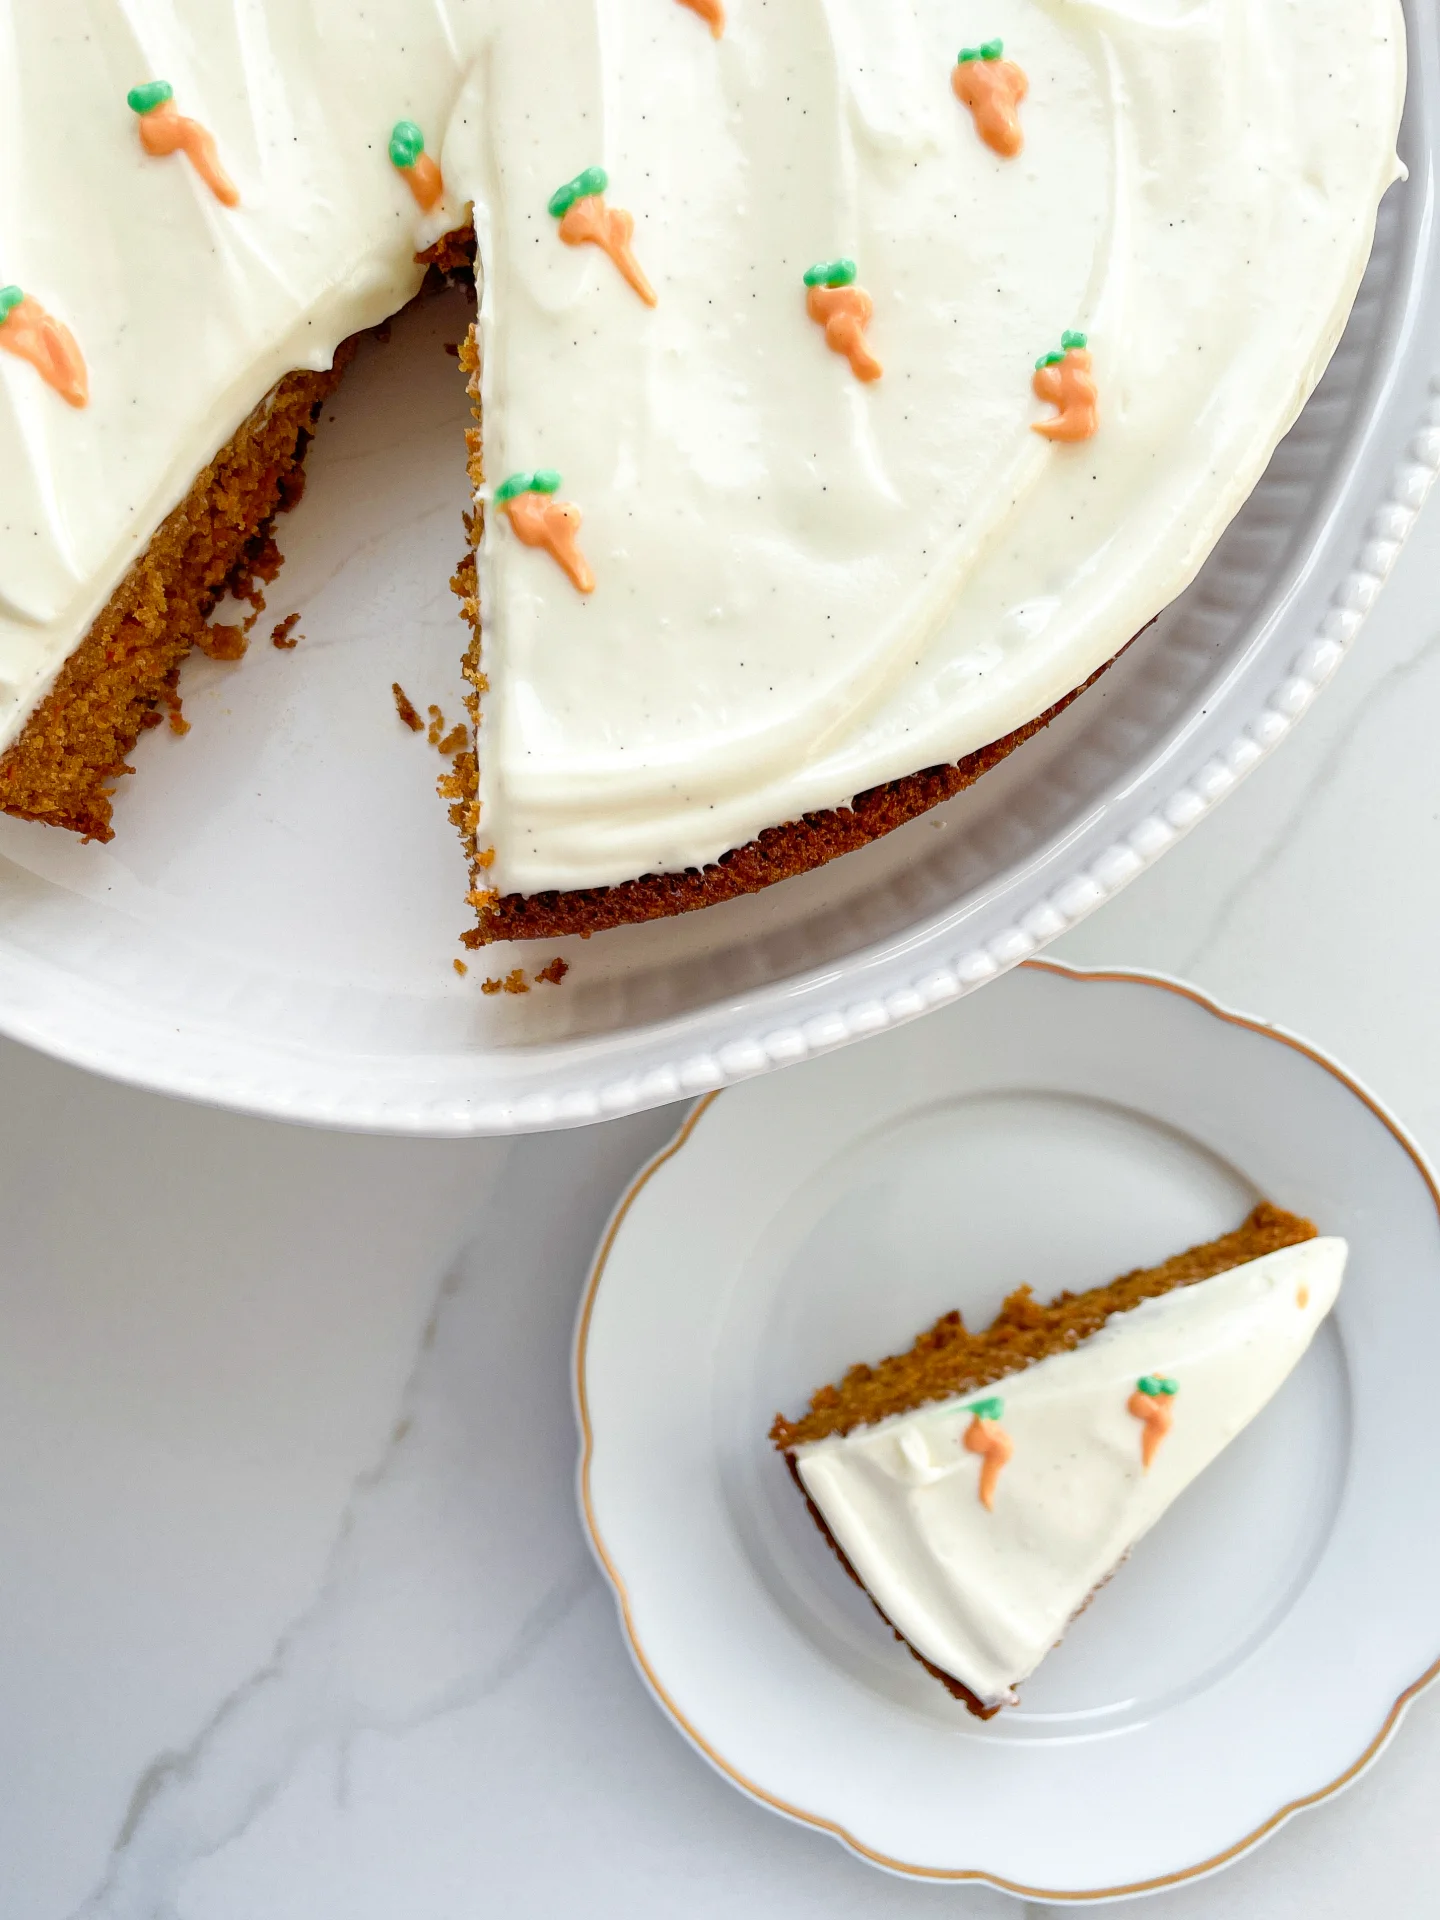
Slice it up for a heartwarming dessert, afternoon tea treat, or a celebratory centerpiece. Its Cream Cheese Icing melts in your mouth, pairing beautifully with the cake’s textures and flavors. Elevate your presentation by garnishing with chopped nuts or these little cute carrots made of colored cream cheese frosting. For an extra touch of elegance, serve chilled on a decorative plate, letting each bite transport you to dessert heaven.

Store it in an airtight container in the fridge. Enjoy your delicious creation for up to a week, ensuring each slice is as moist and flavorful as the first.

Hi, I'm Kimberly!

Hi, I'm Kimberly.

A hopeless romantic when it comes to food. Every recipe I share is a love letter to food itself. I’m so glad you’re here. Make yourself at home and stay a while.

Love,
Kimberly

Kimberly the Zett Signature

If you want to get to know me better,
click here!


Carrot Cake & Cream Cheese Frosting

LET’S MAKE A PIECE OF HAPPINESS

Print
clock clock iconcutlery cutlery iconflag flag iconfolder folder iconinstagram instagram iconpinterest pinterest iconfacebook facebook iconprint print iconsquares squares iconheart heart iconheart solid heart solid icon
Carrot Cake & Cream Cheese Frosting

Carrot Cake & Cream Cheese Frosting


  • Author: Kimberly
  • Total Time: 2 hrs
  • Yield: 1 1x

Description

GOOD TO HAVE ON HAND

  • mortar and pestle
  • cake pan with a diameter of 24cm (9 inches)
  • peeler
  • grater
  • sieve
  • medium-sized bowl
  • large bowl
  • hand mixer
  • spatula
  • two small bowls
  • piping bag (or two small Ziplock bags)


Ingredients

Units Scale
CAKE BATTER
  • 150 grams all-purpose flour
  • 1/2 tsp orange zest
  • 1 tsp baking powder
  • 1 tsp baking soda
  • 2 eggs
  • 100 grams white sugar
  • 100 grams brown sugar
  • 80 grams canola oil
  • 1 tsp vanilla extract
  • 200 grams carrots
  • 1/8 tsp -1/4 tsp nutmeg
  • 1/2 tsp cloves
  • 1/8 tsp salt
  • 1.5 tsp cinnamon
FROSTING
  • 200 grams cream cheese
  • 3 tbsp butter
  • 200 grams powdered sugar
  • pinch of salt
  • 1 tsp vanilla extract
  • green & orange food color

Instructions

  1. Preheat the oven to 176°C (350°F)
  2. Use a mortar and pestle to grind the cloves.
  3. Grease the cake pan with 1 teaspoon of butter.
  4. Peel the carrots and grate one half of the carrots coarsley and the other half into thin shreds.
  5. Sift flour, cinnamon, cloves, and baking soda through a sieve into a medium-sized bowl. Grate 1/4 teaspoon of fresh nutmeg into it. Set aside.
  6. In a large bowl, mix sugar, oil, and vanilla extract. Then add the eggs and beat everything together briefly.
  7. Next, gradually add the flour mixture and stir well. Finally, fold in the carrots.
  8. Pour the batter evenly into the cake pan and bake for 20 minutes or until a toothpick inserted into the center comes out clean.
  9. Let the cake cool in the pan on a rack for about 60 minutes, then invert it onto a cake stand or plate.
  10. Meanwhile, prepare the frosting. Using a hand mixer, beat cream cheese and butter until fluffy and firm. Gradually add powdered sugar and vanilla extract, continuing to beat until it reaches a firm consistency. Take 1-2 tablespoons of the frosting and put them into two small separate bowls.
  11. Once the cake is cool, spread the frosting over the cake and smooth it out.
  12. Now color the remaining frosting in the two small bowls with green and orange food coloring to the desired intensity. Fill each colored frosting into a small plastic bag and cut a tiny opening in the corner of each bag. Then, with very light pressure, draw the carrot design on the white frosting. Keep the cake in the fridge until serving.
  • Passive Time: 80 min
  • Cook Time: 30 min
CRAVING MORE?

Follow along here & don’t forget to subscribe to my substack!