German Eggnog

German Eggnog

German Eggnog

German Eggnog

December 21, 2024 by Kimberly

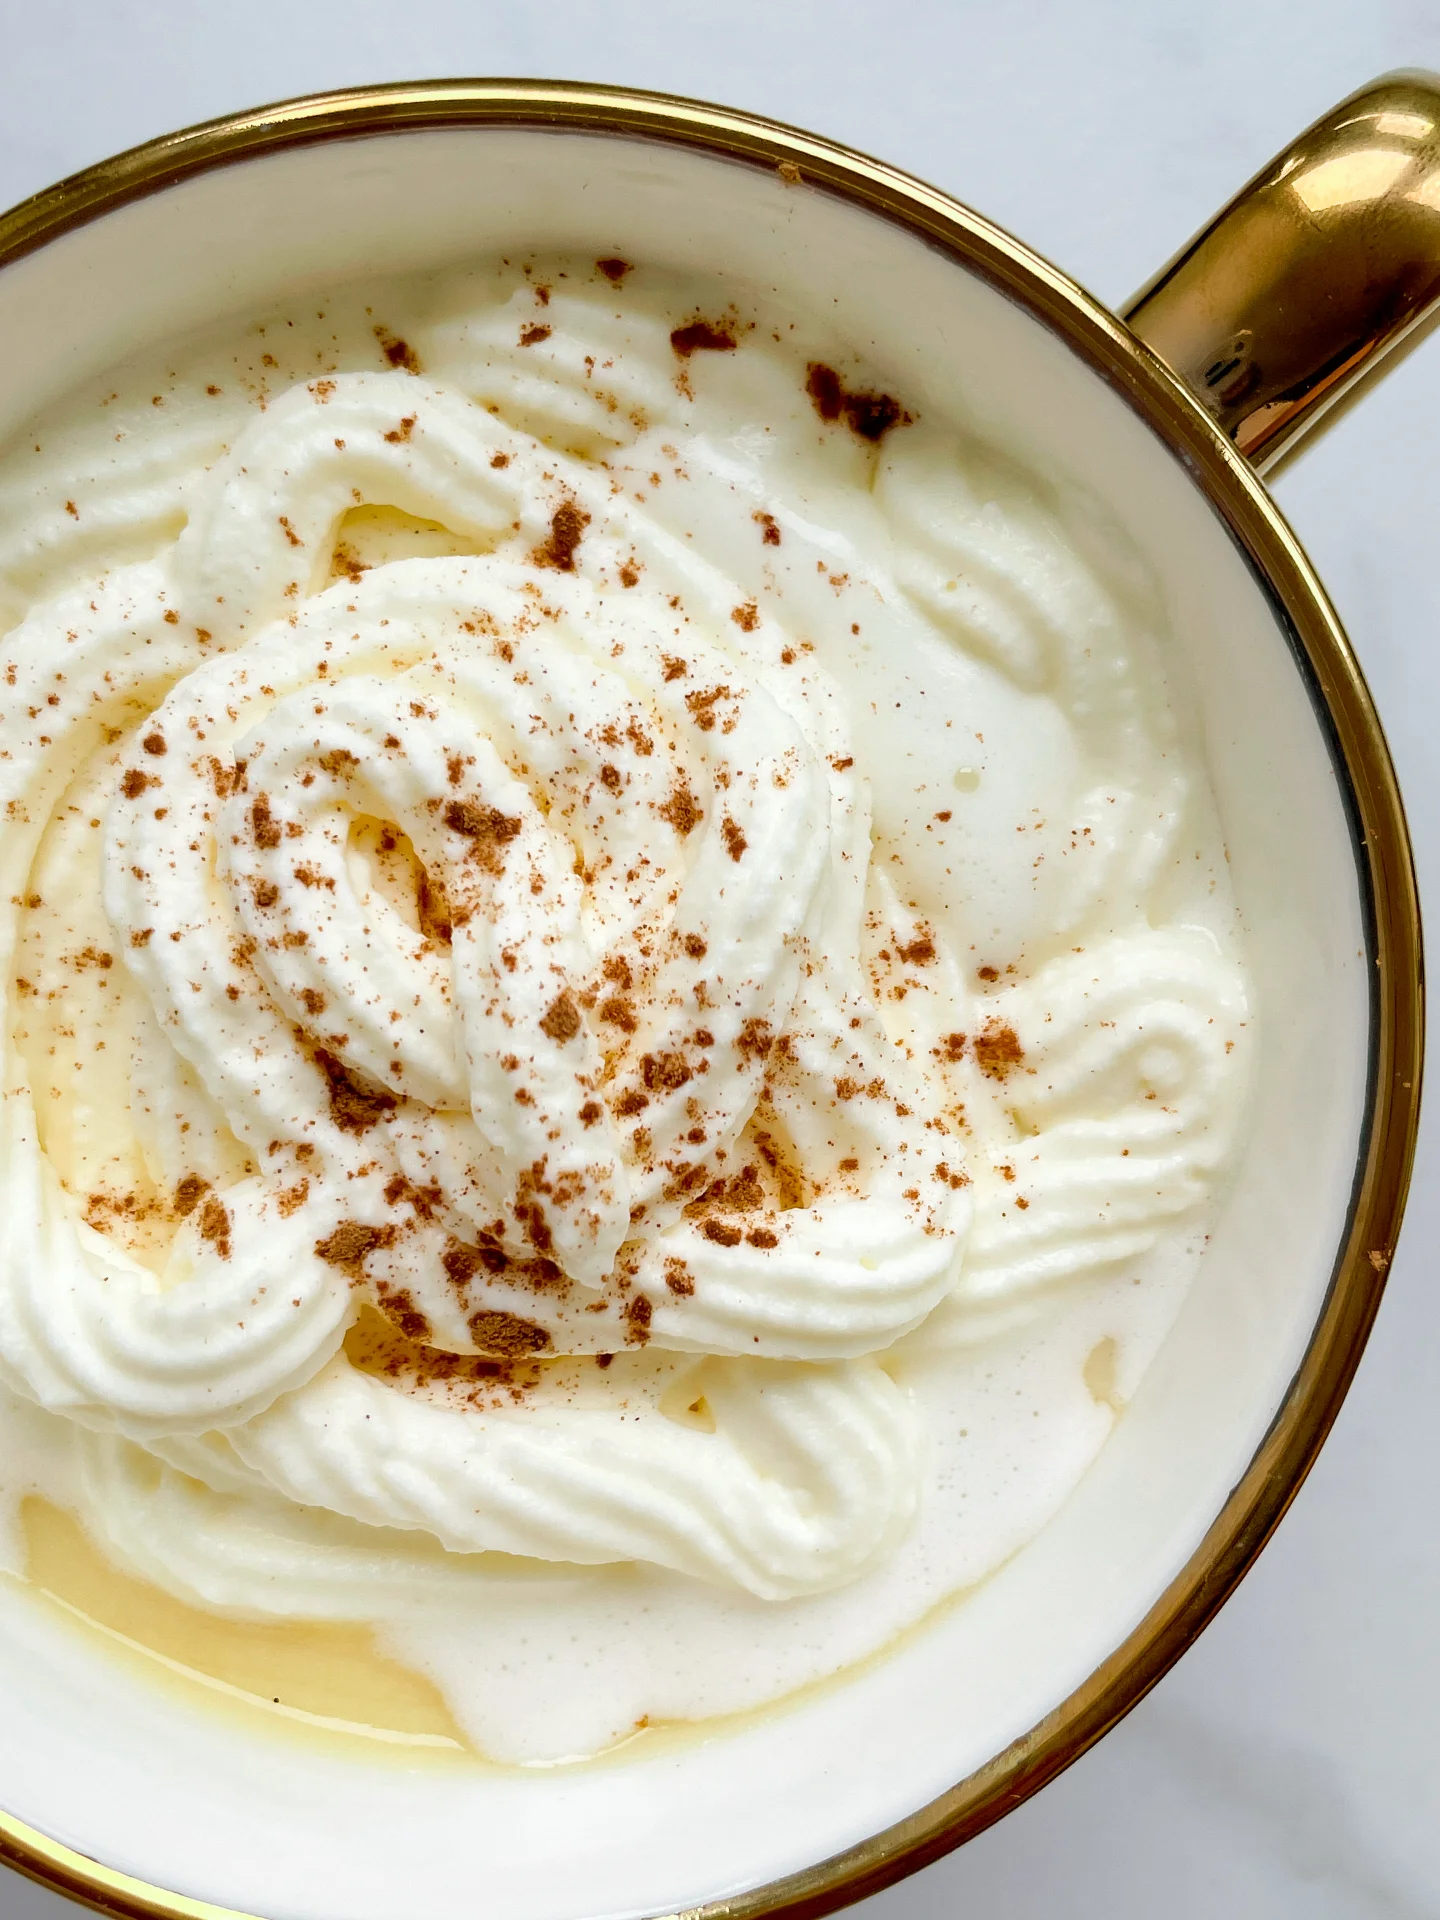
Creamy, spiced, and a hint of orange, this festive drink feels like a warm blanket with a zesty twist. Perfect for cozy nights, it’s sweet nostalgia with a touch of magic.

10 MINUTES

EASY

VEGETARIAN

GERMAN

340 PER PORTION

SWEET

CHRISTMAS

BEVERAGES

WINTER

INTRODUCTION

ABOUT THE RECIPE

This creamy, spiced drink is your ultimate holiday treat, blending warm vanilla notes with a zesty orange kick. It’s the perfect balance of cozy and refreshing, bringing all the festive feels to your cup. Whether you’re cuddled up on the couch or hosting a holiday party, this drink will steal the show. Whipped cream and a sprinkle of cinnamon take it to the next level. Trust me, you’re about to sip your way to holiday bliss.

How to serve
Serve this festive drink warm for an extra cozy vibe or chilled for a refreshing twist. Top it with a generous dollop of whipped cream and a dash of cinnamon for that picture-perfect look. Pair it with a plate of Christmas cookies or a slice of fruitcake to complete the holiday mood. Pro tip: Add a splash of your favorite spirit if you want to elevate it for the grown-ups at your table.

How to store
Store the drink in an airtight container in the fridge for up to one day. Stir it well before reheating or serving cold. Keep the whipped cream and cinnamon topping separate and add them fresh just before serving.

Hi, I'm Kimberly!

Hi, I'm Kimberly.

A passionate food lover who believes in the magic of homemade deliciousness that spreads love and warmth. Join me on this culinary adventure as I prepare wonderful dishes and let’s spread some happiness together!

Kimberly the Zett Signature

If you want to get to know me better, click here!


German Eggnog
German Eggnog
„Let’s make a piece of happiness“
Print
clock clock iconcutlery cutlery iconflag flag iconfolder folder iconinstagram instagram iconpinterest pinterest iconfacebook facebook iconprint print iconsquares squares iconheart heart iconheart solid heart solid icon
German Eggnog

German Eggnog


5 Stars 4 Stars 3 Stars 2 Stars 1 Star

No reviews

  • Author: Kimberly
  • Total Time: 10 min
  • Yield: 2 1x

Description

Recommended Equipment

  • small saucepan
  • whisk
  • electric hand mixer
  • tall container
  • piping bag

Ingredients

Units Scale

EGGNOG

  • 250 milliliter full-fat cow milk
  • 150 milliliter advocaat
  • 100 milliliter orange juice
  • 14 grams vanilla sugar
  • 15 grams vanilla pudding instant powder
  • pinch of salt

WHIPPED CREAM

  • 200 milliliter heavy cream
  • pinch of cinnamon

Instructions

  1. In a small saucepan, whisk together milk, orange juice, eggnog, vanilla sugar, and vanilla pudding powder. Heat over medium heat until the mixture starts to thicken. Remove from heat and keep warm with a lid. Season with a pinch of salt.
  2. Whip the cream until stiff using an electric mixer and transfer it into a piping bag.
  3. Pour the eggnog mixture into a cup, top with whipped cream, and sprinkle with a bit of cinnamon for a finishing touch. Enjoy!
  4. The vanilla pudding powder can be replaced with milk powder and cornstarch for an even creamier taste.
  • Cook Time: 10 min

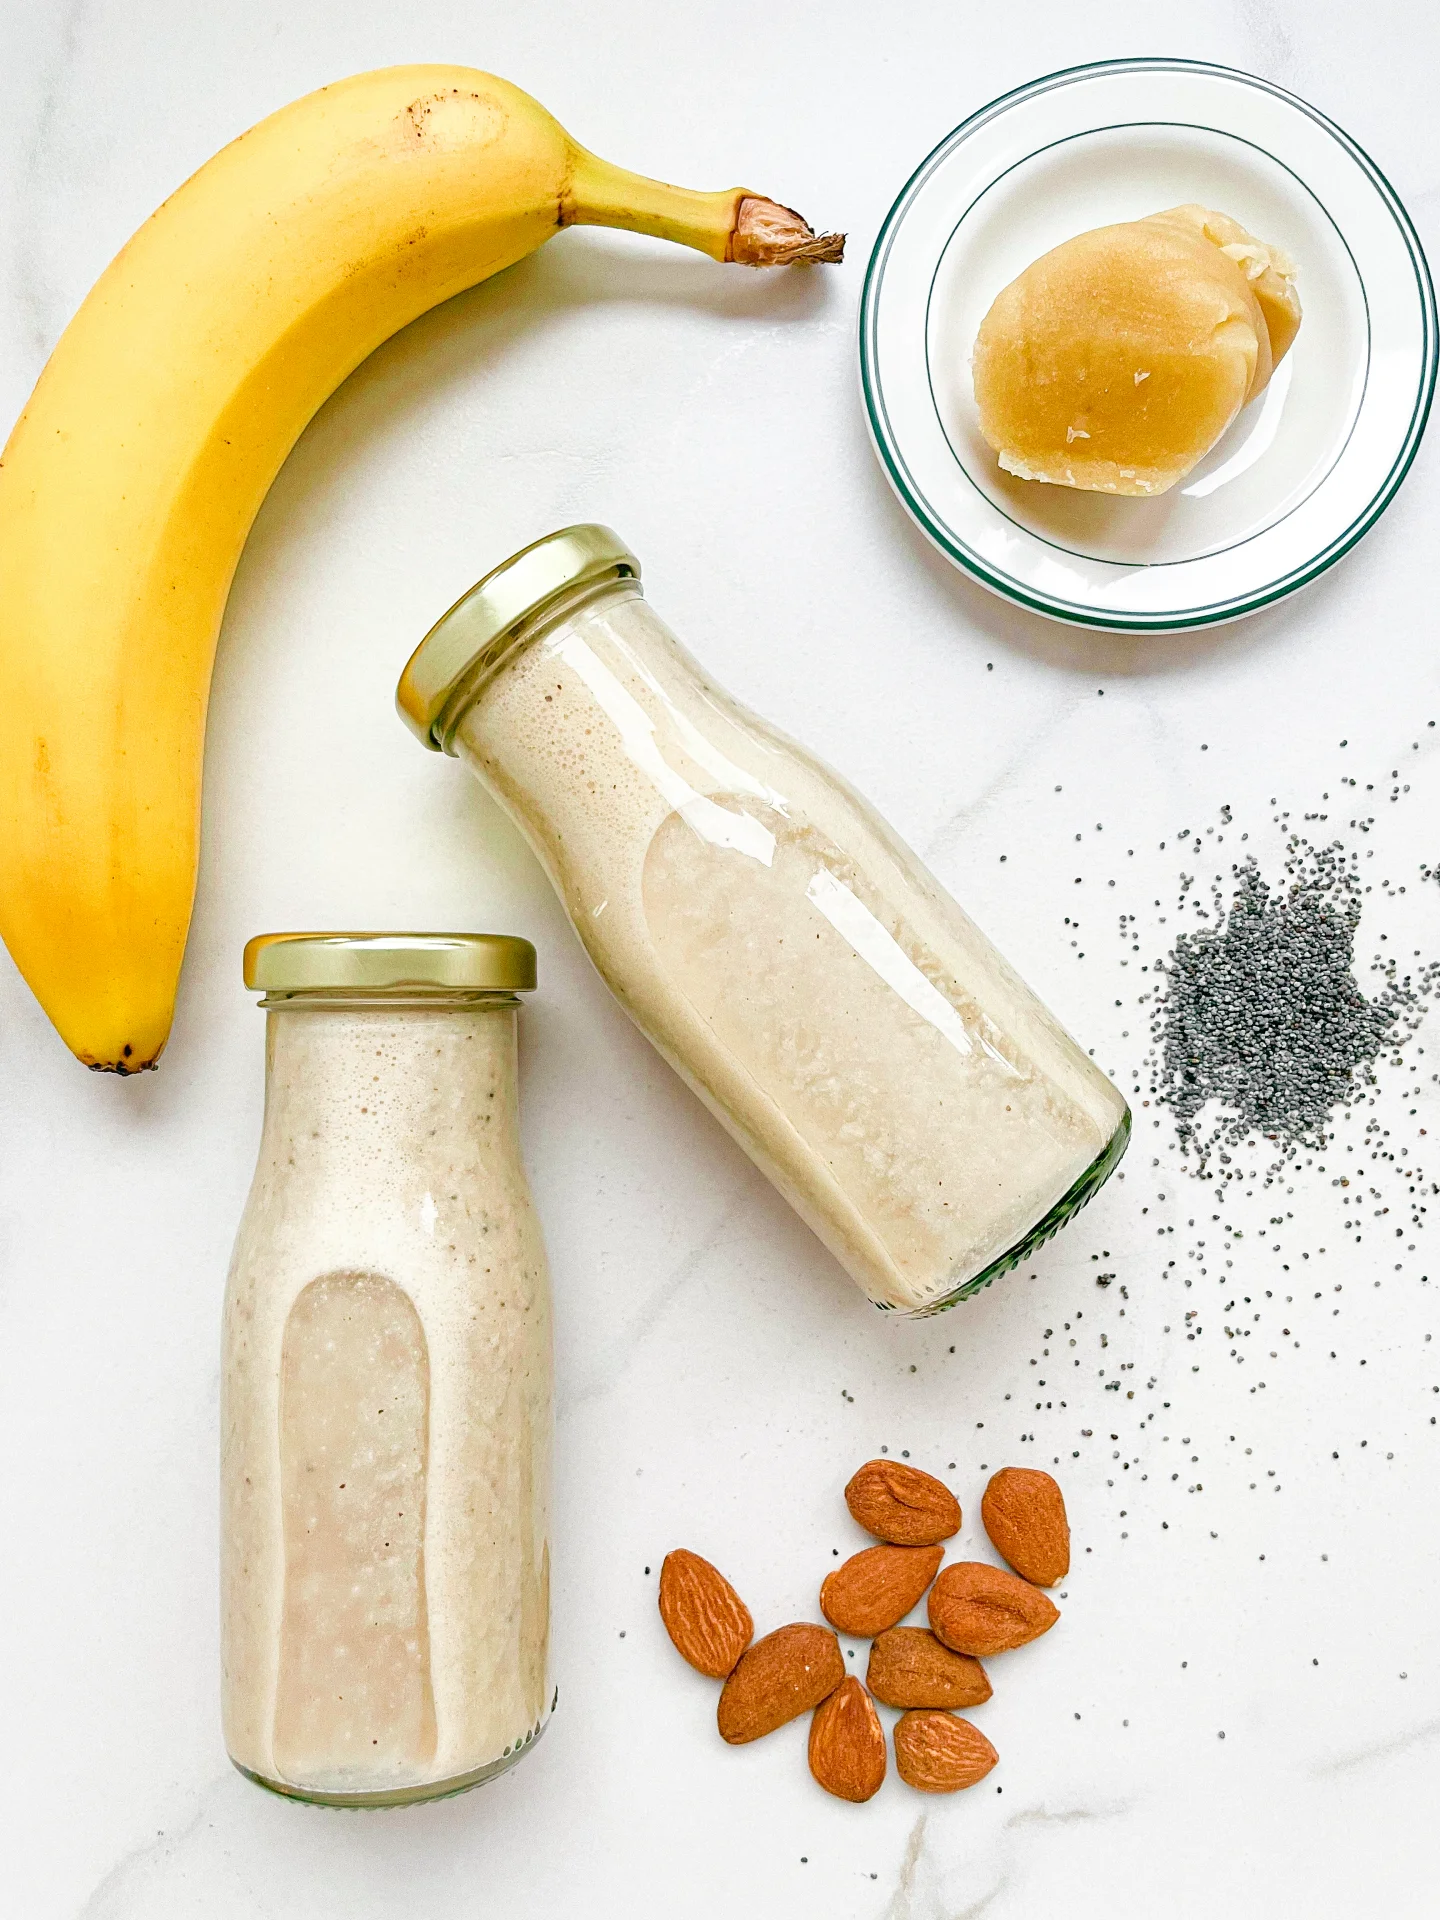
Almond Milk

Almond Milk

Almond Milk

Almond Milk

November 23, 2024 by Kimberly

Creamy, nutty goodness that’s fresh and pure – this homemade almond milk brings all the cozy vibes! Smooth, simple, and a total game-changer for your morning coffee or smoothie. Pure plant-powered bliss.

OVERNIGHT
15 MINUTES

EASY

VEGAN

INT.

20 PER PORTION

CREAMY
NUTTY

EVERYDAY

BEVERAGES

ALL YEAR

INTRODUCTION

ABOUT THE RECIPE

There’s something incredibly satisfying about making your own almond milk. Not only is it super creamy and fresh, but it’s also free from additives, so you’re just getting pure, nutty goodness. Whether you’re dairy-free, vegan, or just a fan of plant-based alternatives, this homemade version brings a taste and texture you just can’t get from store-bought. It’s smooth, lightly nutty, and perfect for adding a cozy, wholesome touch to your morning coffee or favorite smoothie!

How to serve
This fresh, creamy almond milk is incredibly versatile. Pour it over your morning cereal, blend it into smoothies, or enjoy it with your coffee for a nutty, silky texture. You can even use it in baking or cooking as a dairy-free substitute. Try adding a pinch of cinnamon, vanilla, or a tiny drizzle of maple syrup if you want a little extra flavor boost. It’s a great way to elevate everyday recipes with a homemade touch!

How to store
Homemade almond milk keeps best in the fridge for up to 4 days. Just pour it into a clean, airtight container or glass bottle, give it a shake before serving, and keep it nice and cold for freshness.

Hi, I'm Kimberly!

Hi, I'm Kimberly.

A passionate food lover who believes in the magic of homemade deliciousness that spreads love and warmth. Join me on this culinary adventure as I prepare wonderful dishes and let’s spread some happiness together!

Kimberly the Zett Signature

If you want to get to know me better, click here!


Almond Milk
Almond Milk
Almond Milk

„Let’s make a piece of happiness“

Print
clock clock iconcutlery cutlery iconflag flag iconfolder folder iconinstagram instagram iconpinterest pinterest iconfacebook facebook iconprint print iconsquares squares iconheart heart iconheart solid heart solid icon
Almond Milk

Almond Milk


  • Author: Kimberly
  • Total Time: 8 hrs + 17 min
  • Yield: 1 liter / 4 cups 1x

Description

Recommended Equipment

  • medium-sized bowl
  • blender
  • fine mesh strainer
  • bottle

Ingredients

Units Scale
  • 200 grams raw almonds
  • 1000 milliliters cold, filtered water
  • 3 dates, pitted
  • 1 tsp vanilla extract
  • pinch of salt

Instructions

PREPARATIONS THE NIGHT BEFORE

  • Soak the almonds and dates in cold water overnight.

INSTRUCTIONS

  1. Drain the almonds and dates using a strainer, and discard the soaking water.
  2. Add the almonds and dates to a blender, then pour in 1 liter of cold water. Blend on the highest setting for about 1 minute, until the liquid turns white and frothy.
  3. Add flavoring to taste. I used a pinch of salt and 1 teaspoon of vanilla extract, but 1 teaspoon of cinnamon would be a fantastic choice for the holiday season.
  4. Set up a fine mesh strainer over a bowl and pour the blended mixture through it. Press the pulp firmly to squeeze out as much liquid as possible. If you want, you can filter the milk again by pouring it through a cheesecloth. You can also put the pulp into the cheesecloth and squeeze it further by hand.
  5. Transfer the strained milk into a bottle and enjoy! It will keep in the fridge for about 4–5 days. Be sure to shake it before using, as the solids naturally separate from the water over time—this is completely normal.
  • Prep Time: 2 min
  • Passive Time: 8 hrs
  • Cook Time: 15 min

Pineapple Mint Juice

Pineapple Mint Juice

Pineapple Mint Juice

Pineapple Mint Juice

January 26, 2024 by Kimberly

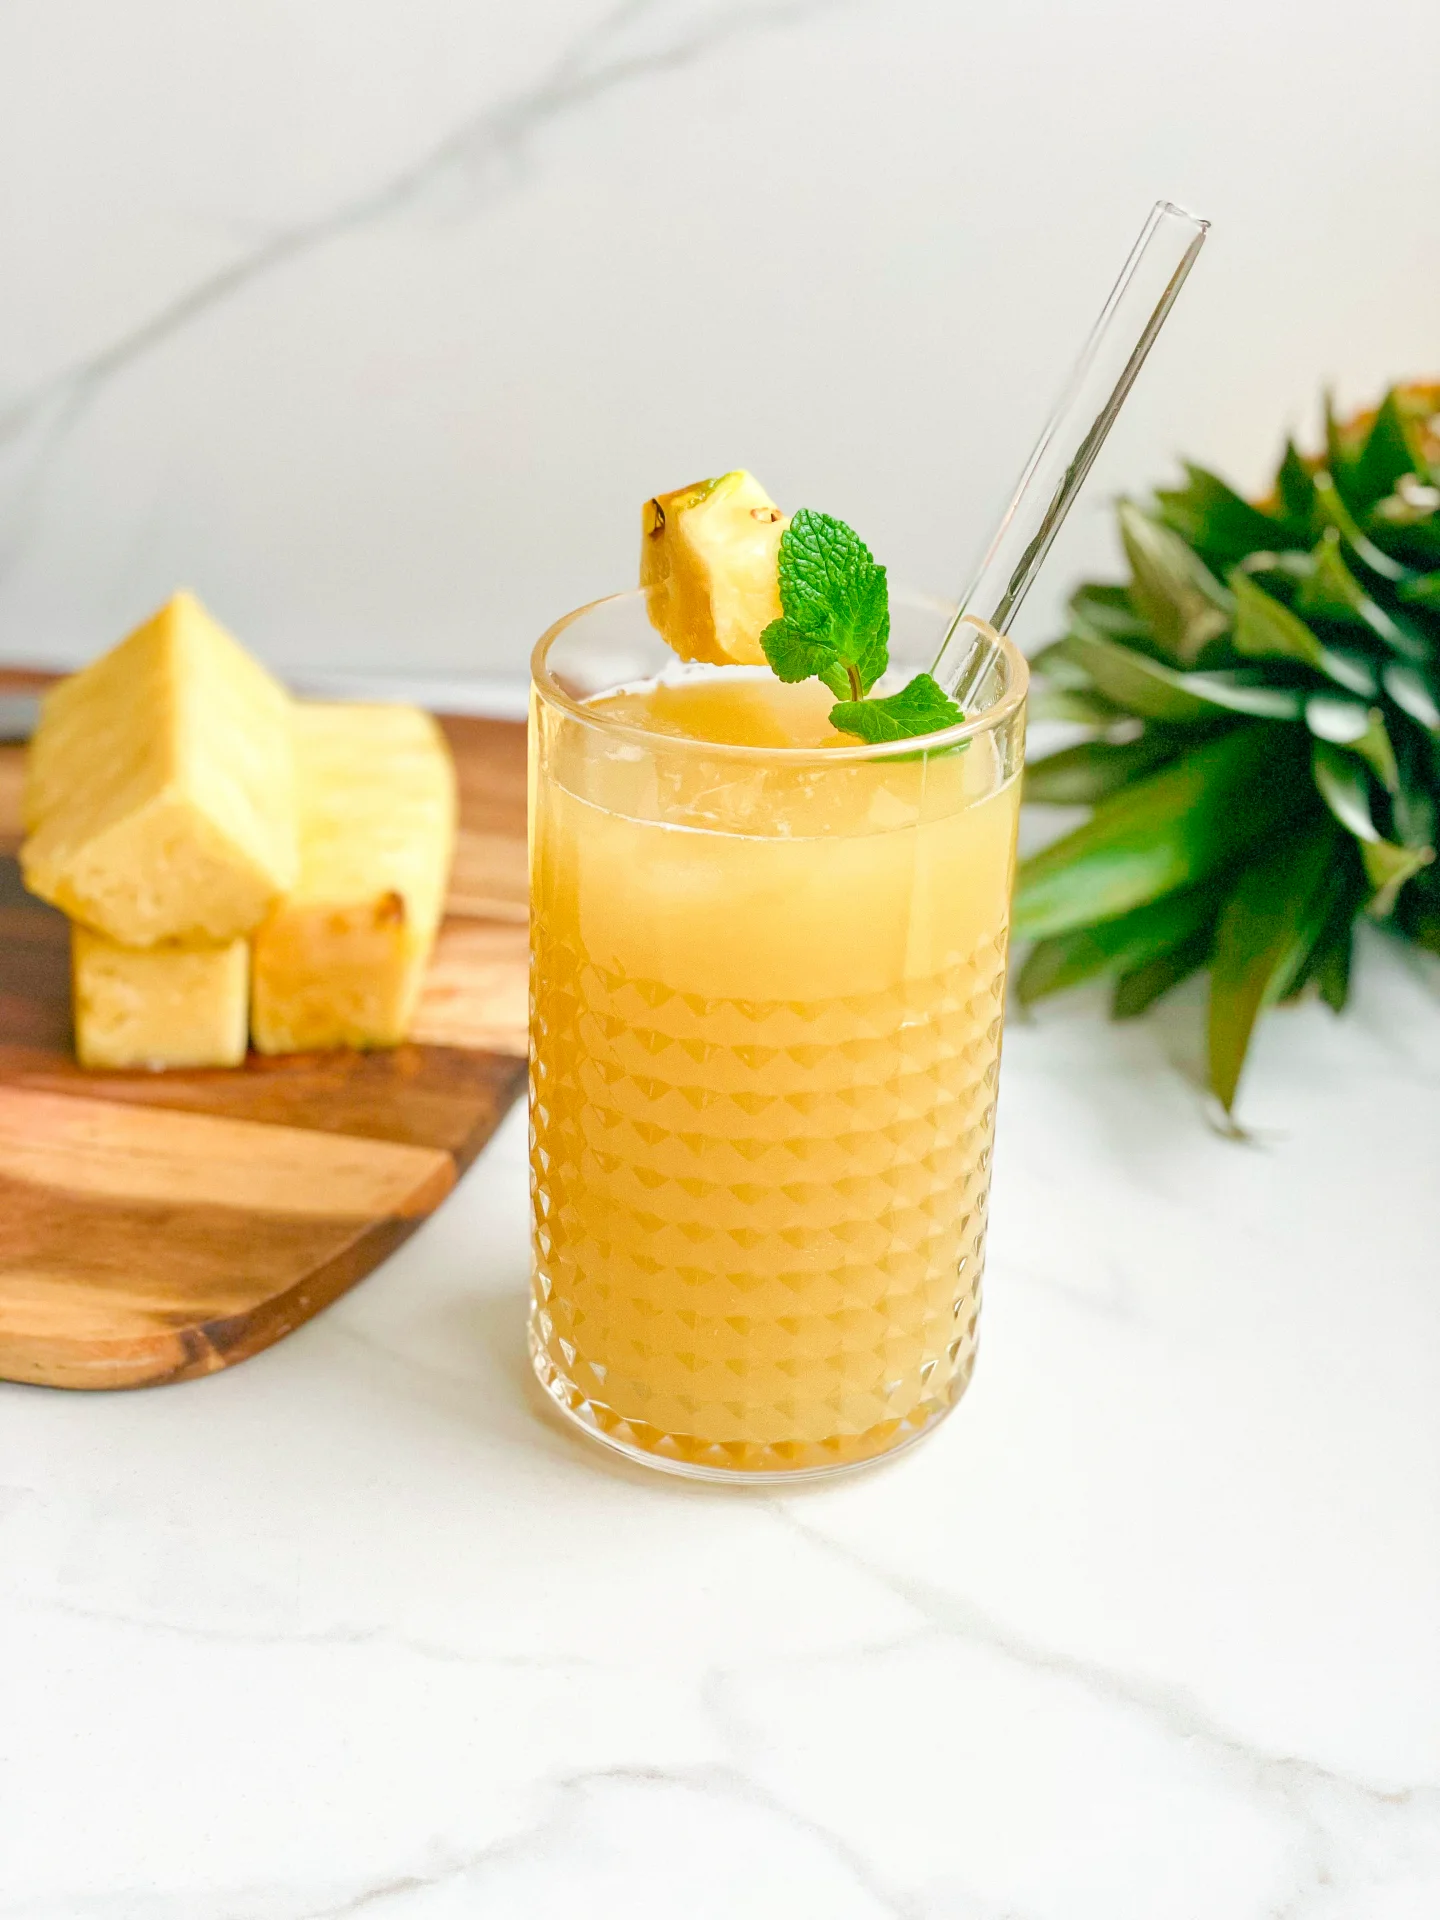
Refresh your day with Pineapple Mint Juice, a tropical blend of sweet pineapple and cool mint – the perfect thirst-quencher for any time!

10 MINUTES

EASY

VEGAN

INT.

192 PER DRINK

REFRESHING

EVERYDAY

BEVERAGES

SPRING / SUMMER

INTRODUCTION

ABOUT THE RECIPE

Welcome to the refreshing world of Pineapple Mint Juice, a delightful tropical beverage that’s both energizing and soothing. This natural thirst quencher combines the sweet tang of pineapple with the cool, refreshing zing of mint, creating a perfect balance. Ideal for hot summer days or as a healthful pick-me-up, this homemade fruit juice is not only delicious but also packed with natural goodness, making it a favorite among health-conscious individuals and juice lovers alike.

How to serve:
Serving this Pineapple Mint Juice is all about capturing the essence of freshness. Serve it chilled or over ice for an instant cooling effect. The vibrant, sweet and minty flavor makes it a great companion for breakfast, a relaxing afternoon, or as a welcome drink for your guests. You can also add a splash of sparkling water for a fizzy twist or garnish with fresh mint leaves and pineapple slices for an extra touch of tropical elegance.

How to store:
Keep it in an airtight bottle in the refrigerator, where it can stay fresh for up to 3-4 days. The flavors meld beautifully over time, ensuring that each sip is as delightful as the first. Remember, this natural beverage contains no preservatives, so enjoy it while it’s fresh and brimming with its unique mint-infused drink magic.

Hi, I'm Kimberly!

Hi, I'm Kimberly.

A passionate food lover who believes in the magic of homemade deliciousness that spreads love and warmth. Join me on this culinary adventure as I prepare wonderful dishes and let’s spread some happiness together!

Kimberly the Zett Signature

If you want to get to know me better, click here!


Pineapple Mint Juice

„Let’s make a piece of happiness“

INGREDIENTS

FOR 1 DRINK (400ml or 1.5 cups)

JUICE

  • ½ pineapple
  • 4 apples
  • 15g mint (1/2 oz)
Pineapple Mint Juice
}

ACTIVE: 3 min

PASSIVE: –

PREPARATIONS

Recommended Equipment
  • sharp knife
  • chopping board
  • juicer (or blender & fine sieve)
  • Wash the apples and mint thoroughly.
    }

    ACTIVE: 5 min

    PASSIVE: –

    COOKING

    PREPARATION WITH A JUICER

    1. Cut the skin off the pineapple and cut the flesh into sticks. Place half of the pineapple in the juicer. This corresponds to approx. 400g (14 oz) of pineapple without the peel.
    2. Put the 4 apples into the juicer next.
    3. Add the fresh mint to the juicer last.
    4. Now pour all the juices obtained into a glass.

    PREPARATION WITH A BLENDER & A FINE SIEVE

    1. We need about half of the pineapple. This corresponds to approx. 400 g (14 oz) pineapple without the peel. Cut the skin off the pineapple and apples. Place the peeled pineapple and apples in the blender.
    2. Pluck the mint leaves and add to the blender.
    3. Puree everything for 30 seconds on the highest setting. Now pass the whole mixture through a fine sieve. If you like the pulp, you can of course skip this step.
    4. Pour the juice into a glass bottle.

    NOTE: The calorie information may vary depending on the product used, country and region.

    Spirulina Mermaid Lemonade

    Spirulina Mermaid Lemonade

    Spirulina Mermaid Lemonade

    Spirulina Mermaid Lemonade

    January 23, 2024 by Kimberly

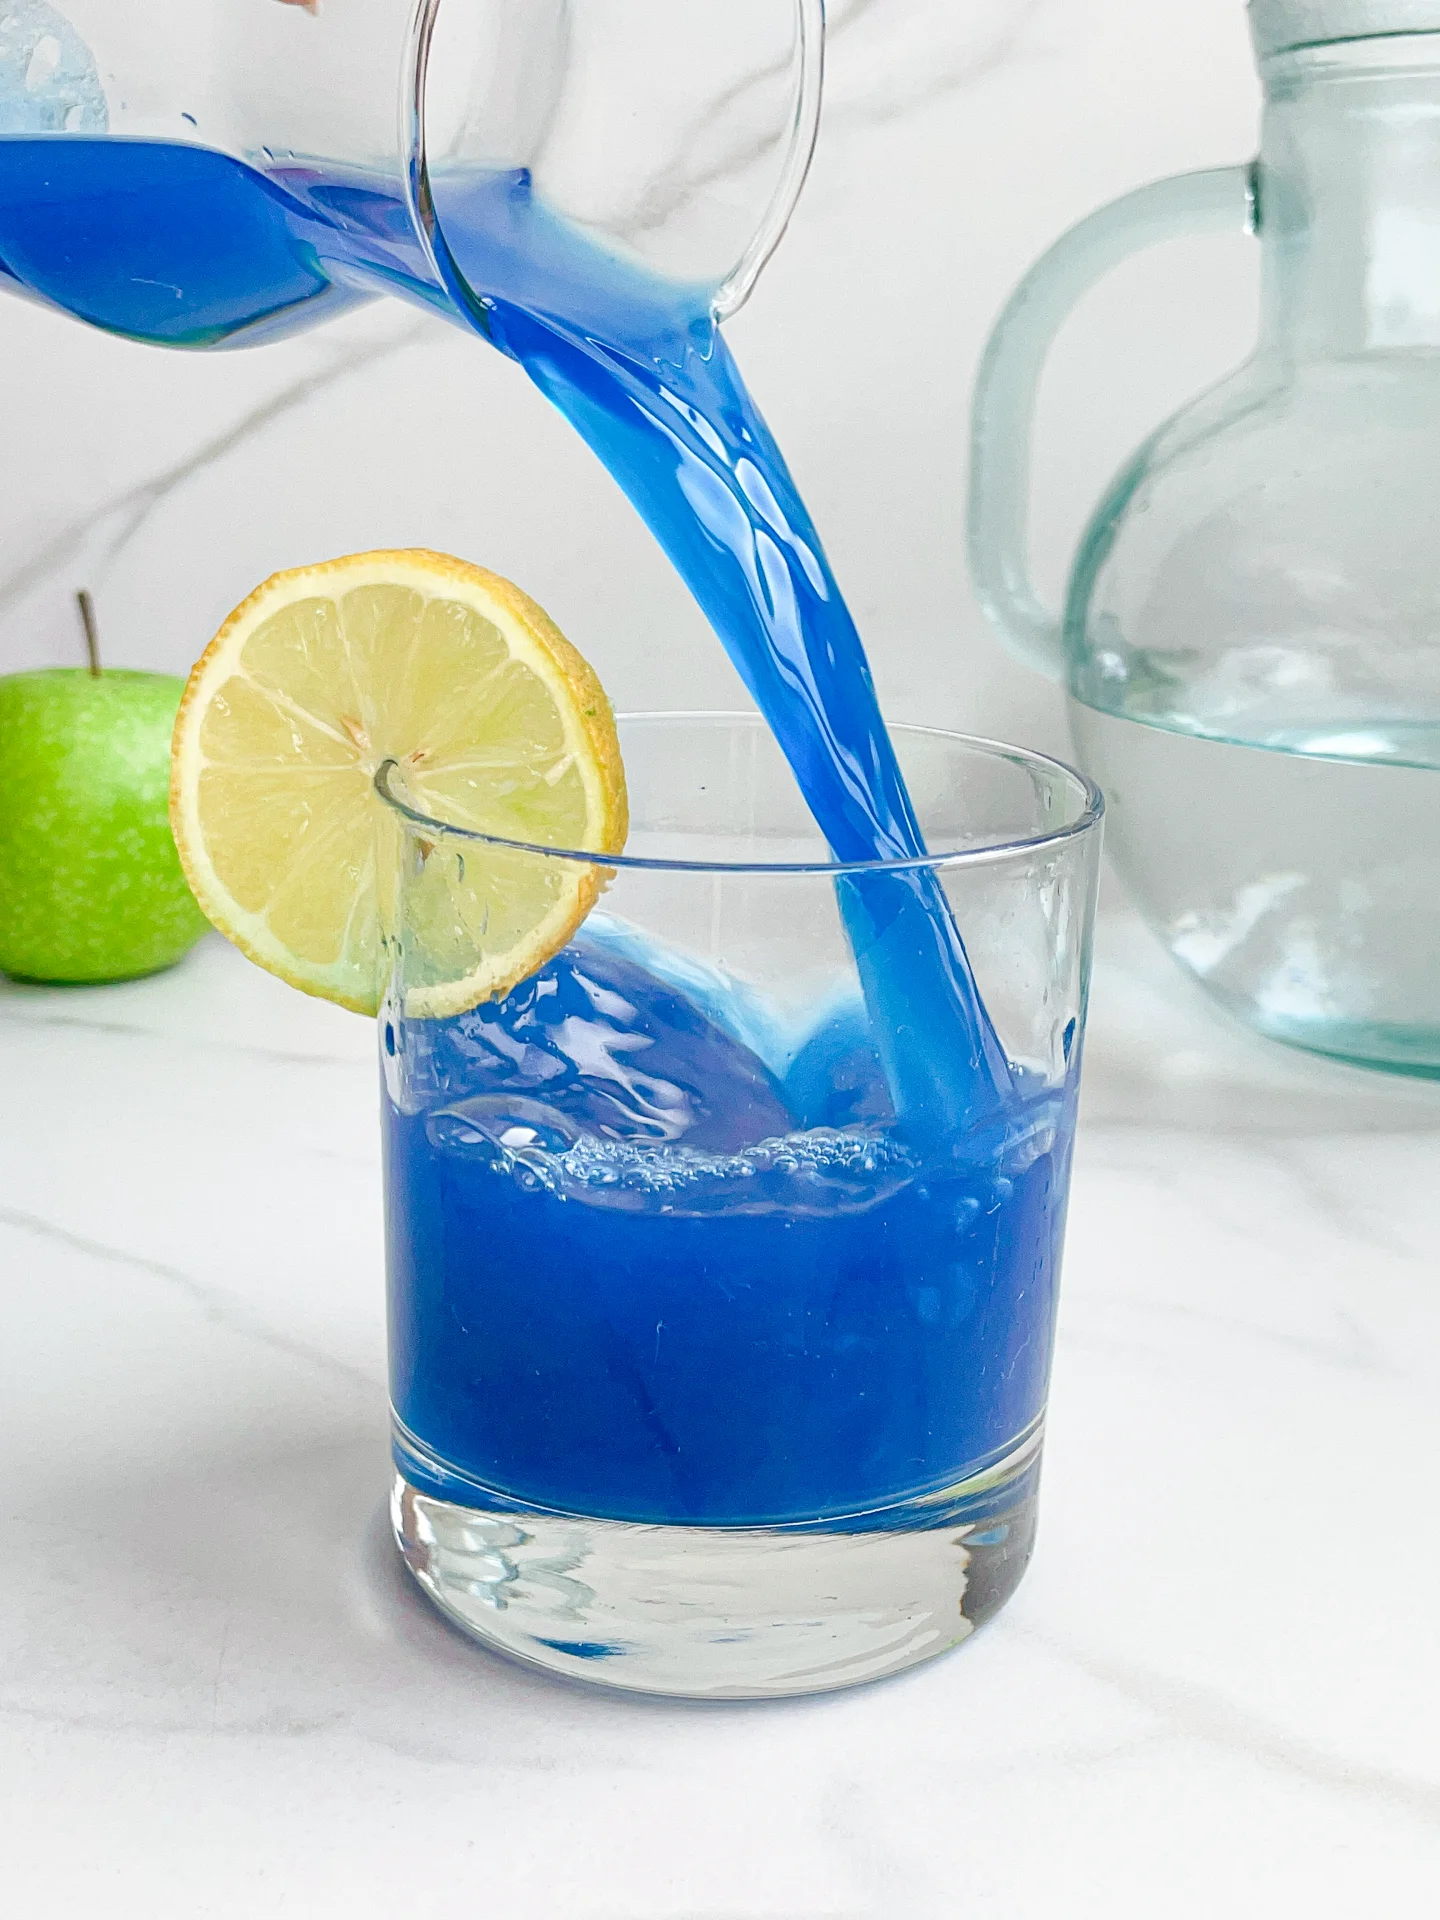
    Sip on the magical Spirulina Mermaid Drink! A healthy, vibrant blue beverage that’s both delicious and nourishing – perfect for a whimsical, wellness-boosting experience.

    10 MINUTES

    EASY

    VEGAN

    INT.

    84 PER DRINK

    FRUITY

    EVERYDAY

    BEVERAGES

    ALL YEAR

    INTRODUCTION

    ABOUT THE RECIPE

    Dive into a sea of wellness with this blue Spirulina Mermaid Drink, a whimsical yet nutritious blue beverage that’s as delightful to look at as it is to sip. This Energizing Spirulina Elixir, infused with the goodness of spirulina, is not just a treat for the eyes but a boost for your health. Its vibrant color and refreshing taste make it more than just a drink – it’s an experience, a perfect blend of taste and health in a glass.

    How to serve:
    Serving this Mermaid Smoothie is like bringing a piece of the ocean to your table. Enjoy it chilled for a refreshing escape on a hot day or as a colorful addition to your brunch spread. Its natural wellness properties make it a great morning start or a mid-day pick-me-up. Present it in a clear glass to showcase its beautiful blue hue, garnished with a slice of lemon or a sprig of mint for that extra touch of magic.

    How to store:
    Keep it in a sealed glass bottle in the fridge, and it stays fresh for up to two days. This Superfood Spirulina Beverage is best enjoyed fresh to savor its unique flavor and nutrient content.

    Hi, I'm Kimberly!

    Hi, I'm Kimberly.

    A passionate food lover who believes in the magic of homemade deliciousness that spreads love and warmth. Join me on this culinary adventure as I prepare wonderful dishes and let’s spread some happiness together!

    Kimberly the Zett Signature

    If you want to get to know me better, click here!


    Spirulina Mermaid Lemonade
    Spirulina Mermaid Lemonade
    Spirulina Mermaid Lemonade

    „Let’s make a piece of happiness“

    INGREDIENTS

    FOR 1 DRINK (350ml or 1.5 cups)

    LEMONADE

    • 200ml cold water (1 cup)
    • 1 lemon
    • 2 apples
    • 1/2 tsp blue spirulina powder
    Spirulina Mermaid Lemonade
    }

    ACTIVE: –

    PASSIVE: –

    PREPARATIONS

    Recommended Equipment
    • sharp knife
    • cutting board
    • juicer & citrus press (or blender & fine sieve)
    • none
      }

      ACTIVE: 10 min

      PASSIVE: –

      COOKING

      PREPARATION WITH A JUICER & CITRUS PRESS

      1. Cut the apples into chunks. Put them into the juicer.
      2. Slice the lemon in half and squeeze with a citrus juicer.
      3. Now pour the water, apple juice and lemon juice into a tall glass and mix with 1/2 teaspoon of spirulina powder.

      PREPARATION WITH A BLENDER & FINE SIEVE

      1. Peel the apples and roughly chop them. Put the apple pieces into the blender.
      2. Peel the lemon and also put the flesh into the blender. Now add the water.
      3. Blend everything at the highest setting for 30 seconds. Now pass the entire mixture through a fine sieve. If you like the pulp, you can of course skip this step.
      4. Pour the juice into a tall glass and mix with 1/2 teaspoon of spirulina powder.

      NOTE: The calorie information may vary depending on the product used, country and region.

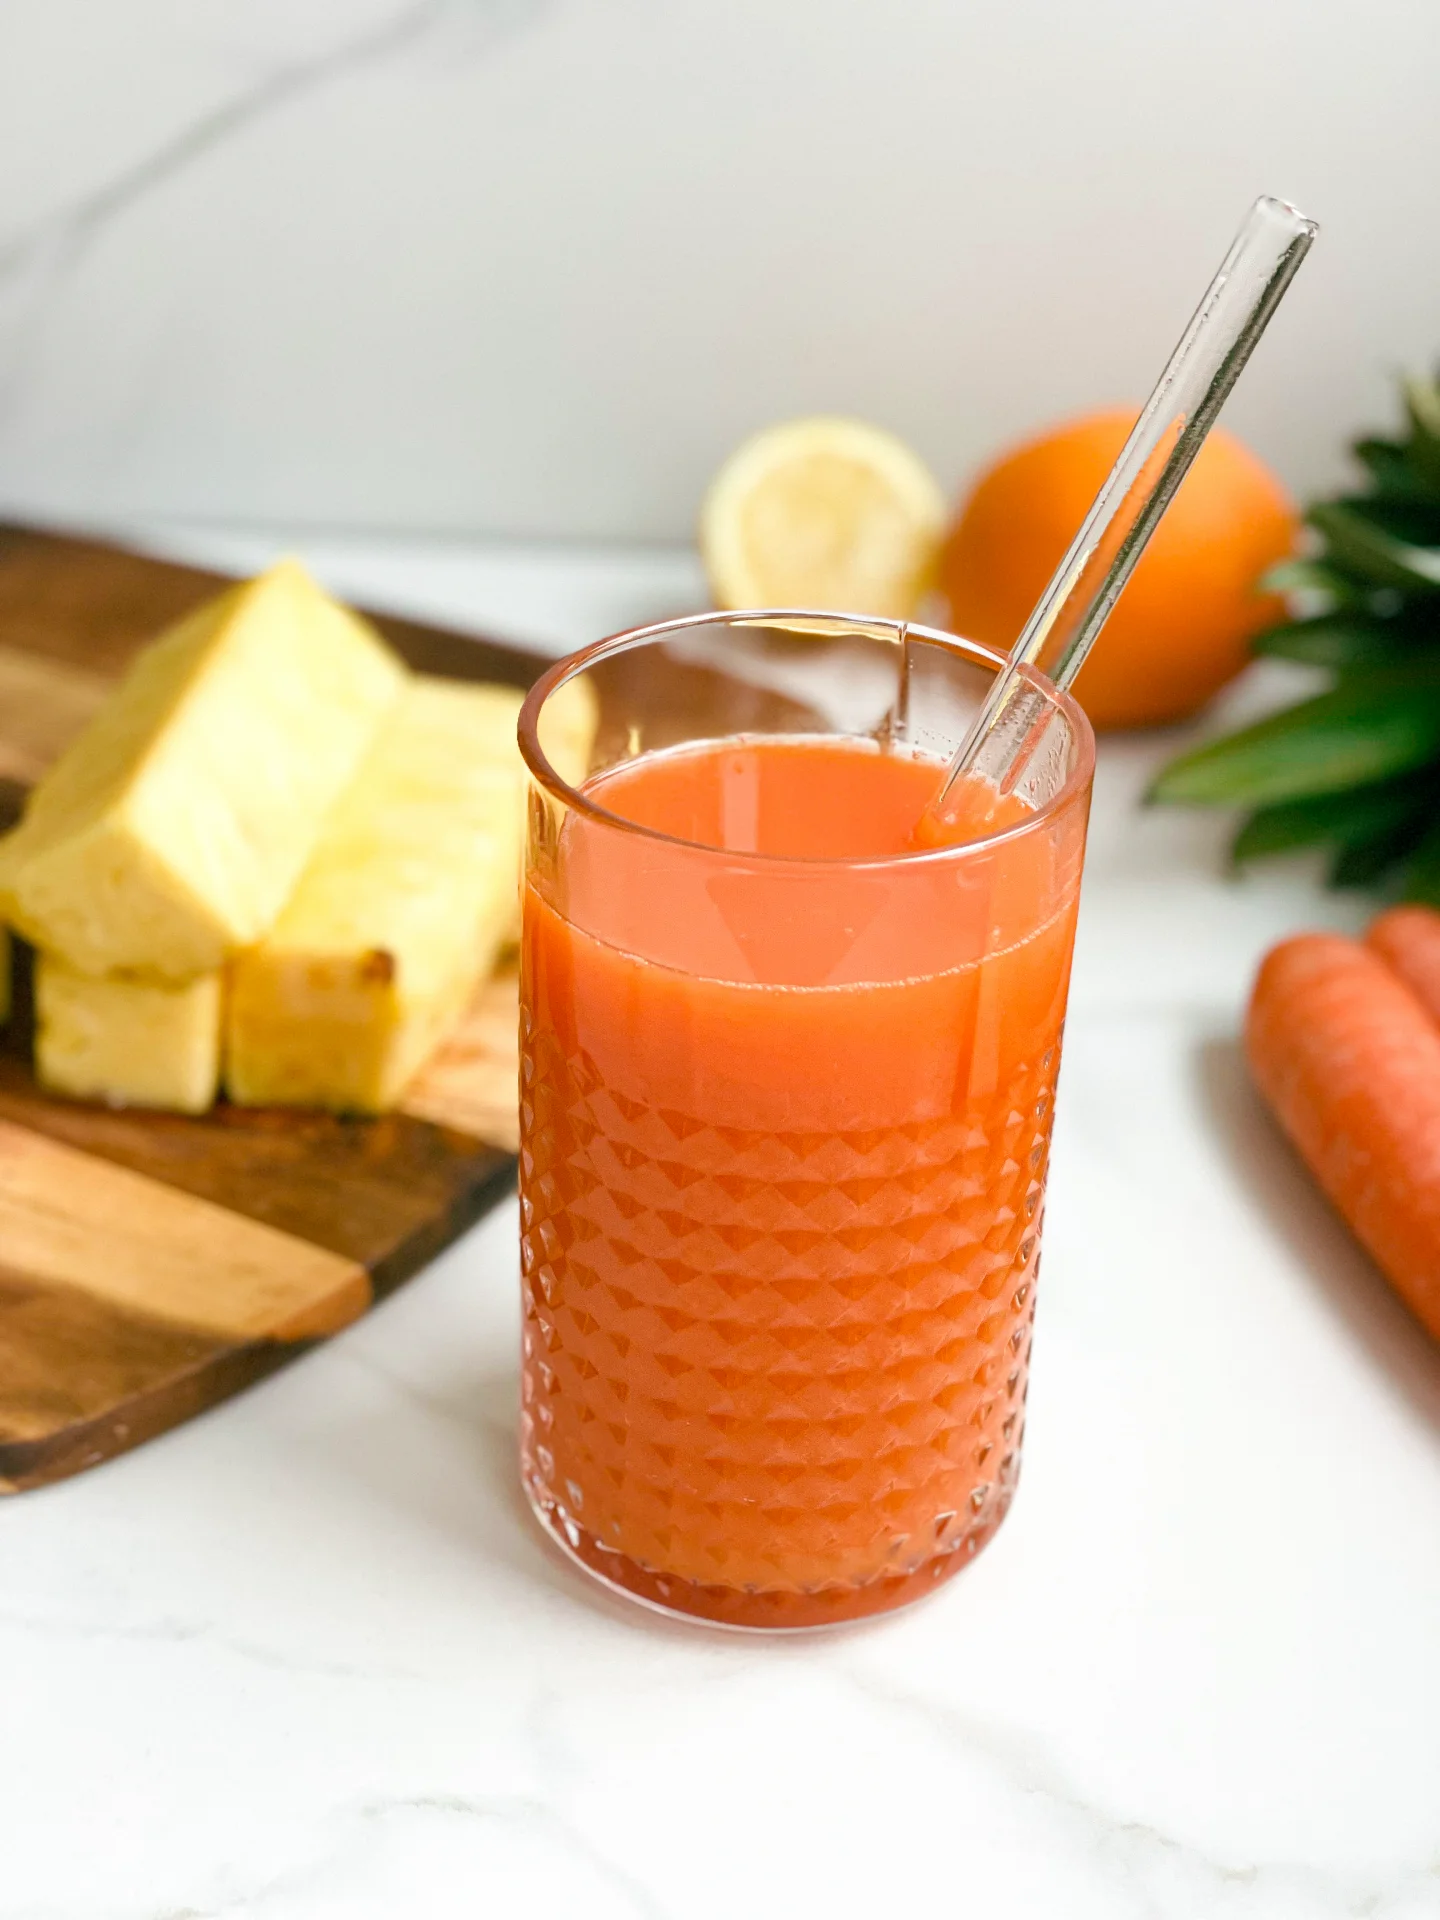
      Skin Glowing Pineapple Carrot Juice

      Skin Glowing Pineapple Carrot Juice

      Skin Glowing Pineapple Carrot Juice

      Skin Glowing Pineapple Carrot Juice

      January 19, 2024 by Kimberly

      Experience radiant skin with this Pineapple Carrot Juice! Packed with vitamins for a healthy glow, it’s a delicious, natural way to brighten your skin and mood.

      10 MINUTES

      EASY

      VEGAN

      INT.

      171 PER DRINK

      REFRESHING

      EVERYDAY

      BEVERAGES

      ALL YEAR

      INTRODUCTION

      ABOUT THE RECIPE

      This nutrient-packed drink is not just a delight for your taste buds, but a boon for your skin too. Full of natural ingredients, it’s an easy juice recipe that promises a radiant, healthy glow. Perfect for those who love homemade juice for skin health, this recipe ensures you get a daily dose of vitamins in the most delightful way.

      How to serve:
      Best enjoyed fresh, pour it into tall glasses, and add a slice of pineapple or a sprig of mint for a fancy touch. This antioxidant juice blend is perfect for breakfast or as a midday refreshment. Pair it with a light snack or your morning toast to kickstart your day with a skin hydration boost. It’s a vegan juice recipe that fits seamlessly into any diet, enhancing your glowing skin diet plan.

      How to store:
      Keep it in airtight bottle and refrigerate for up to 48 hours. Remember, fresh is best for enjoying its full benefits, but if you need to store it, ensure it’s in a cool place.

      Hi, I'm Kimberly!

      Hi, I'm Kimberly.

      A passionate food lover who believes in the magic of homemade deliciousness that spreads love and warmth. Join me on this culinary adventure as I prepare wonderful dishes and let’s spread some happiness together!

      Kimberly the Zett Signature

      If you want to get to know me better, click here!


      Skin Glowing Pineapple Carrot Juice
      Skin Glowing Pineapple Carrot Juice
      Skin Glowing Pineapple Carrot Juice

      „Let’s make a piece of happiness“

      INGREDIENTS

      FOR 1 DRINK OF 400ml (1.5 cups)

      JUICE

      • 1 lemon
      • 1 orange
      • 3 carrots
      • 1/4 pineapple (200g or 7 oz)
      Skin Glowing Pineapple Carrot Juice
      }

      ACTIVE: 2 min

      PASSIVE: –

      PREPARATIONS

      Recommended Equipment
      • sharp knife
      • cutting board
      • juicer & citrus press (or blender & fine sieve)
      • Wash the carrots.
        }

        ACTIVE: 8 min

        PASSIVE: –

        COOKING

        PREPARATION WITH A JUICER & CITRUS PRESS

        1. Cut of the skin of the pineapple and cut the flesh into sticks. Put 1/4 of the pineapple into the juicer. This equals approx. 200g (7 oz) pineapple without the peel.
        2. Add the carrots to the juicer.
        3. Halve the orange and lemon and squeeze with a citrus juicer.
        4. Now pour all the juices obtained into a glass.

        PREPARATION WITH A BLENDER & FINE SIEVE

        1. We need arount 1/4 of the pineapple. This equals approx. 200g (7 oz) pineapple without the peel. Cut of the skin of the pineapple and carrots. Roughly chop everything. Put the pineapple and carrots to the blender.
        2. Peel the orange and lemon and also put the flesh into the blender.
        3. Blend everything at the highest setting for 30 seconds. Now pass the entire mixture through a fine sieve. If you like the pulp, you can of course skip this step.
        4. Pour the juice into a glass bottle.

        NOTE: The calorie information may vary depending on the product used, country and region.

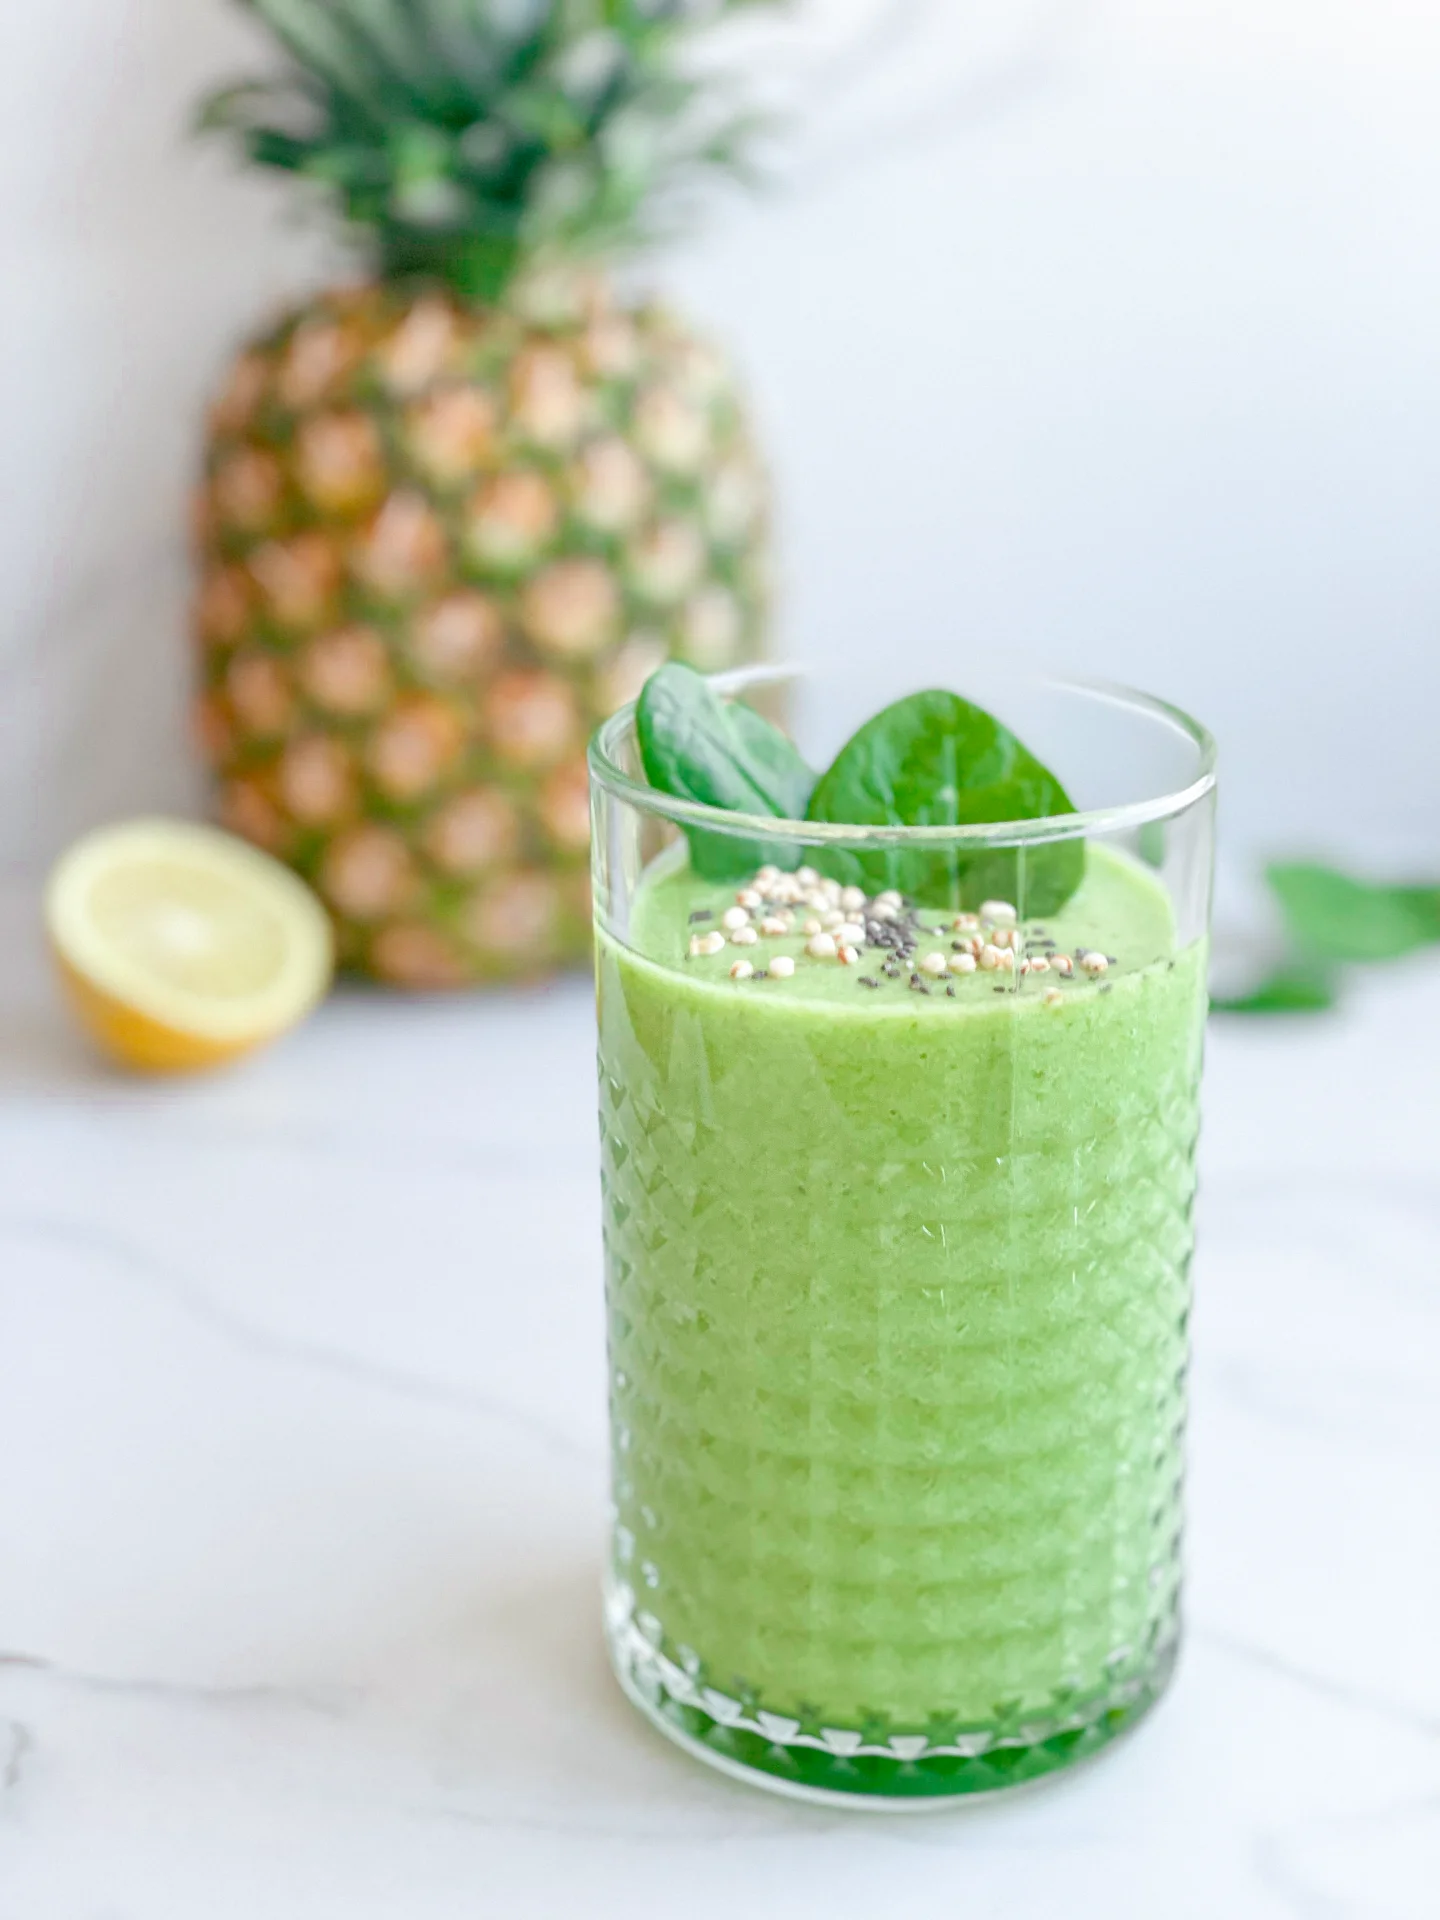
        Green Pineapple Spinach Smoothie

        Green Pineapple Spinach Smoothie

        Green Pineapple Spinach Smoothie

        Green Pineapple Spinach Smoothie

        January 13, 2024 by Kimberly

        Experience a burst of natural sweetness and revitalizing greens in every sip! Pineapple and spinach blend perfectly for a refreshing, nutrient-rich, and deliciously energizing smoothie.

        10 MINUTES

        EASY

        VEGAN

        INT.

        177 PER 500 ml
        (2 CUPS)

        REFRESHING

        EVERYDAY

        BEVERAGES

        ALL YEAR

        INTRODUCTION

        ABOUT THE RECIPE

        The Green Pineapple Spinach Smoothie is a delightful blend of fresh flavors and nutritional goodness, offering a perfect start to your day or a refreshing mid-day boost. This smoothie combines the tangy sweetness of pineapple with the earthy tones of spinach, creating a vibrant green concoction that’s as pleasing to the eyes as it is to the palate. Rich in vitamins and minerals, it’s an excellent choice for health-conscious individuals and smoothie enthusiasts alike.

        How to serve:
        Pour the mixture into tall glasses and garnish with a pineapple wedge or a sprinkle of chia seeds for a visually appealing and texturally interesting finish. This smoothie is best enjoyed immediately, but it can also be a refreshing addition to brunches or as a healthy dessert alternative.

        How to store:
        If you have leftovers, pour the smoothie into an airtight container and refrigerate for up to 24 hours. The flavors will remain fresh, but it’s normal for the smoothie to separate over time. Just give it a good shake or a quick stir before enjoying it again.

        Hi, I'm Kimberly!

        Hi, I'm Kimberly.

        A passionate food lover who believes in the magic of homemade deliciousness that spreads love and warmth. Join me on this culinary adventure as I prepare wonderful dishes and let’s spread some happiness together!

        Kimberly the Zett Signature

        If you want to get to know me better, click here!


        Green Pineapple Spinach Smoothie
        Green Pineapple Spinach Smoothie
        Green Pineapple Spinach Smoothie

        „Let’s make a piece of happiness“

        INGREDIENTS

        FOR 500 ML (2 CUPS)

        SMOOTHIE

        • 1/2 apple
        • 1/2 pear
        • juice of half a lemon
        • 40g spinach (1 cup)
        • 100g frozen pineapple (heaped 1/2 cup)
        • 125ml cold water (1/2 cup)
        Green Pineapple Spinach Smoothie
        }

        ACTIVE: 2 min

        PASSIVE: –

        PREPARATIONS

        Recommended Equipment
        • sharp knife
        • cutting board
        • blender
        • Peel the apple and pear and cut into large pieces.
          }

          ACTIVE: 5 min

          PASSIVE: –

          COOKING

          1. Put the apple pieces, pear pieces, spinach and frozen pineapple in the blender. Add water and lemon juice.

          2. Blend everything at the highest setting until no more pieces of spinach are visible and the smoothie has turned a rich green color.

          3. Pour the smoothie into glasses and drink with a straw.

          NOTE: The calorie information may vary depending on the product used, country and region.