


Description
Ingredients
Units Scale
- 100 grams blueberries
- 250 milliliters cold-pressed rapeseed oil
Instructions
- Put the blueberries into the blender. Pour in the oil. Blend on the highest setting until there only small pieces of blueberries are longer visible.
- Pour the mixture from the blender into a medium-sized pot and heat it over medium heat, constantly stirring, to a temperature of about 102°-103°C (215°-217°F). Then, let the oil simmer with the lid partially on for the next 35 minutes. Stir only occasionally, making sure the temperature remains steady and nothing gets burned. The cooking time is essential for all the water to evaporate. You’ll know all the water has evaporated when the oil in the pot barely bubbles anymore – so if it’s still bubbling vigorously, keep it simmering.
- At the end of the cooking process, prepare a bowl large enough to fit the medium-sized pot, filled with cold water and a handful of ice cubes. Also, hang a fine mesh sieve strainer over a medium-sized bowl.
- Now, place the pot in the ice water and stir to stop the cooking process. Once the oil is almost cold, remove the pot from the water and pour the oil into the first fine mesh sieve to catch the coarse particle.
- Then, pour the oil into the second fine mesh sieve, which you before equipped with a coffee filter, to catch the remaining finer particles.
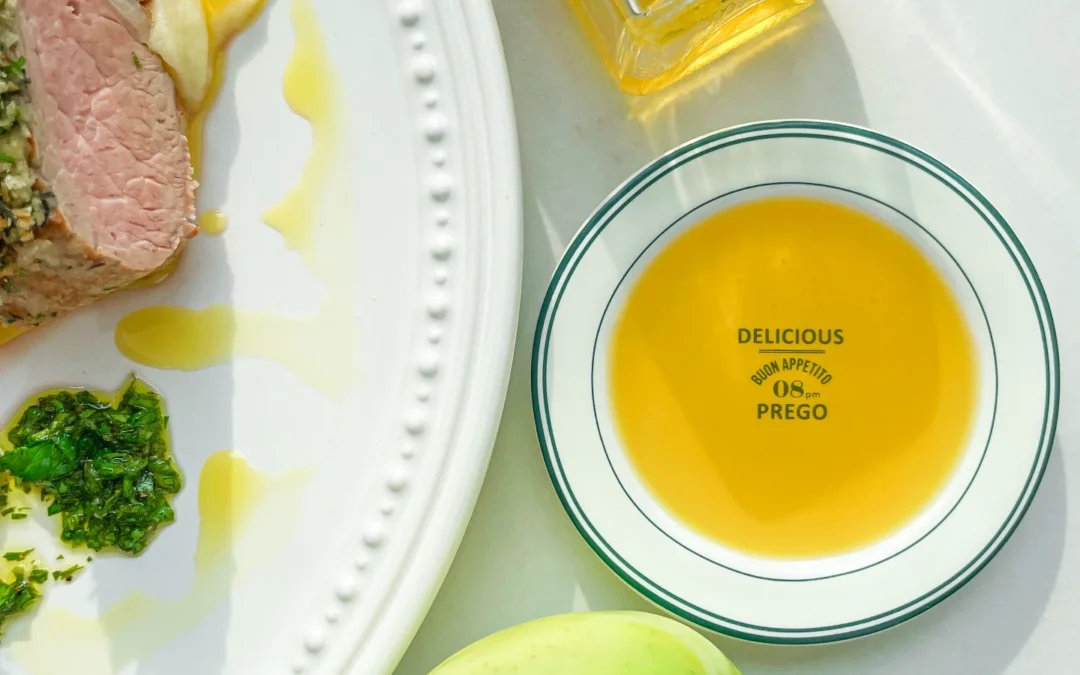
- Allow the oil to drip through for about 30 minutes or maybe more depending on how many remaining particles are in the coffee filter. Once all the oil has passed through the coffee filter, transfer the collected amount of oil into an oil bottle. Store in the refrigerator for up to 1-2 weeks.
- Passive Time: 30 min
- Cook Time: 35 min