

Salted Caramel Ice Cream

Salted Caramel Ice Cream

Salted Caramel Ice Cream

Salted Caramel Ice Cream

July 4, 2026 by Kimberly

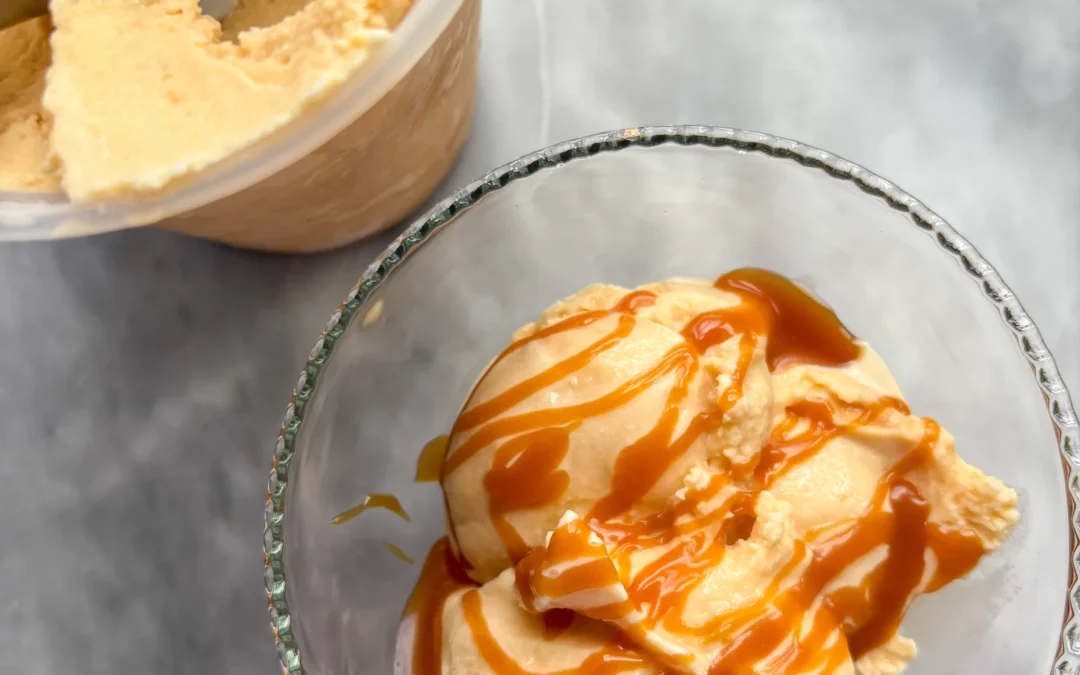
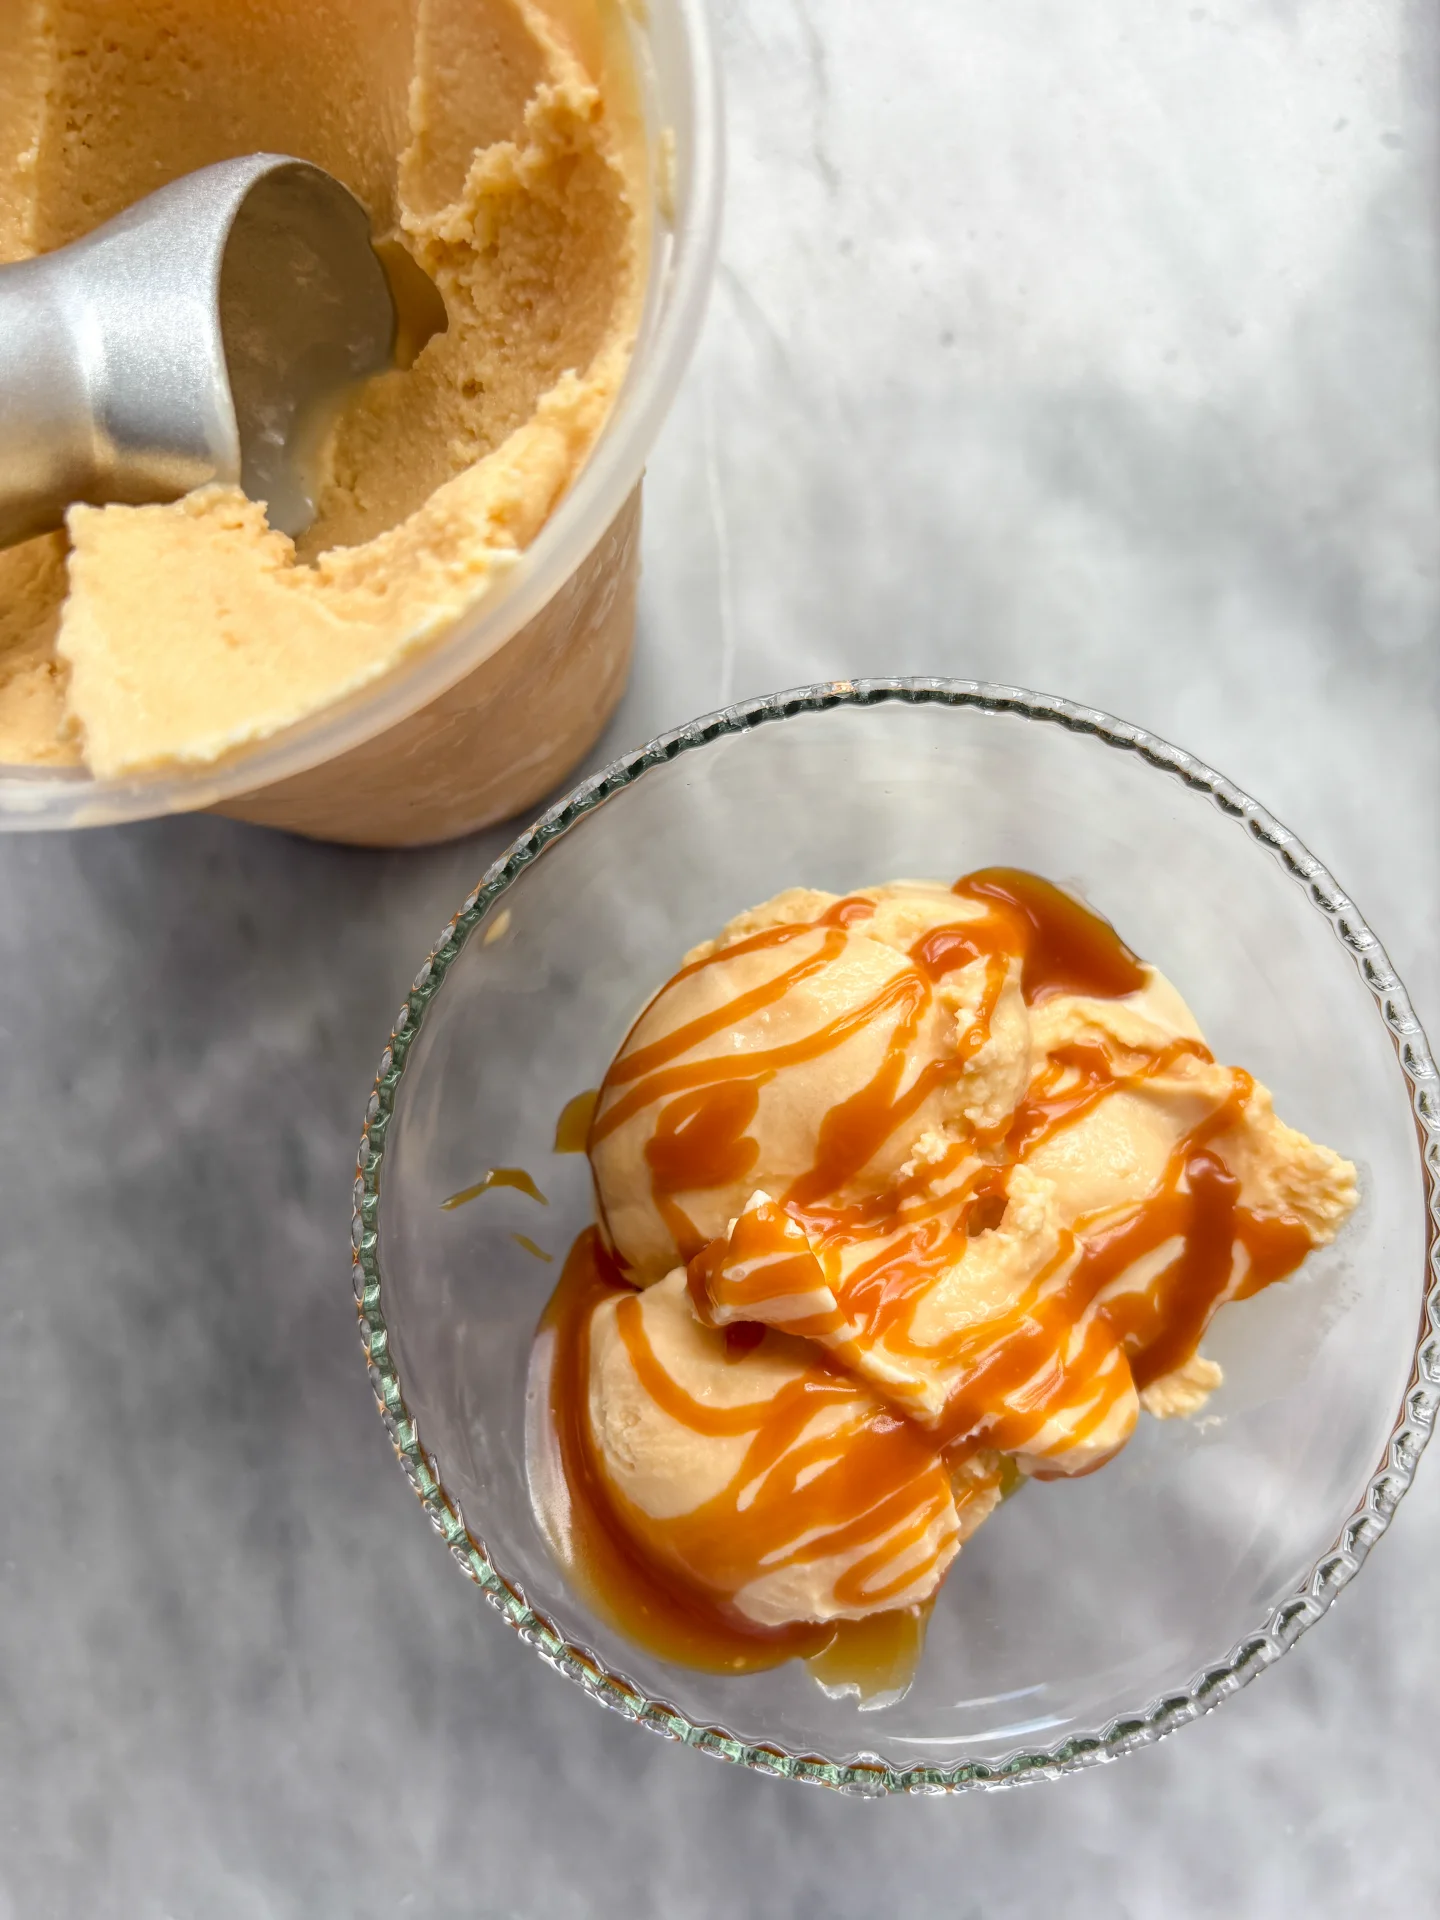
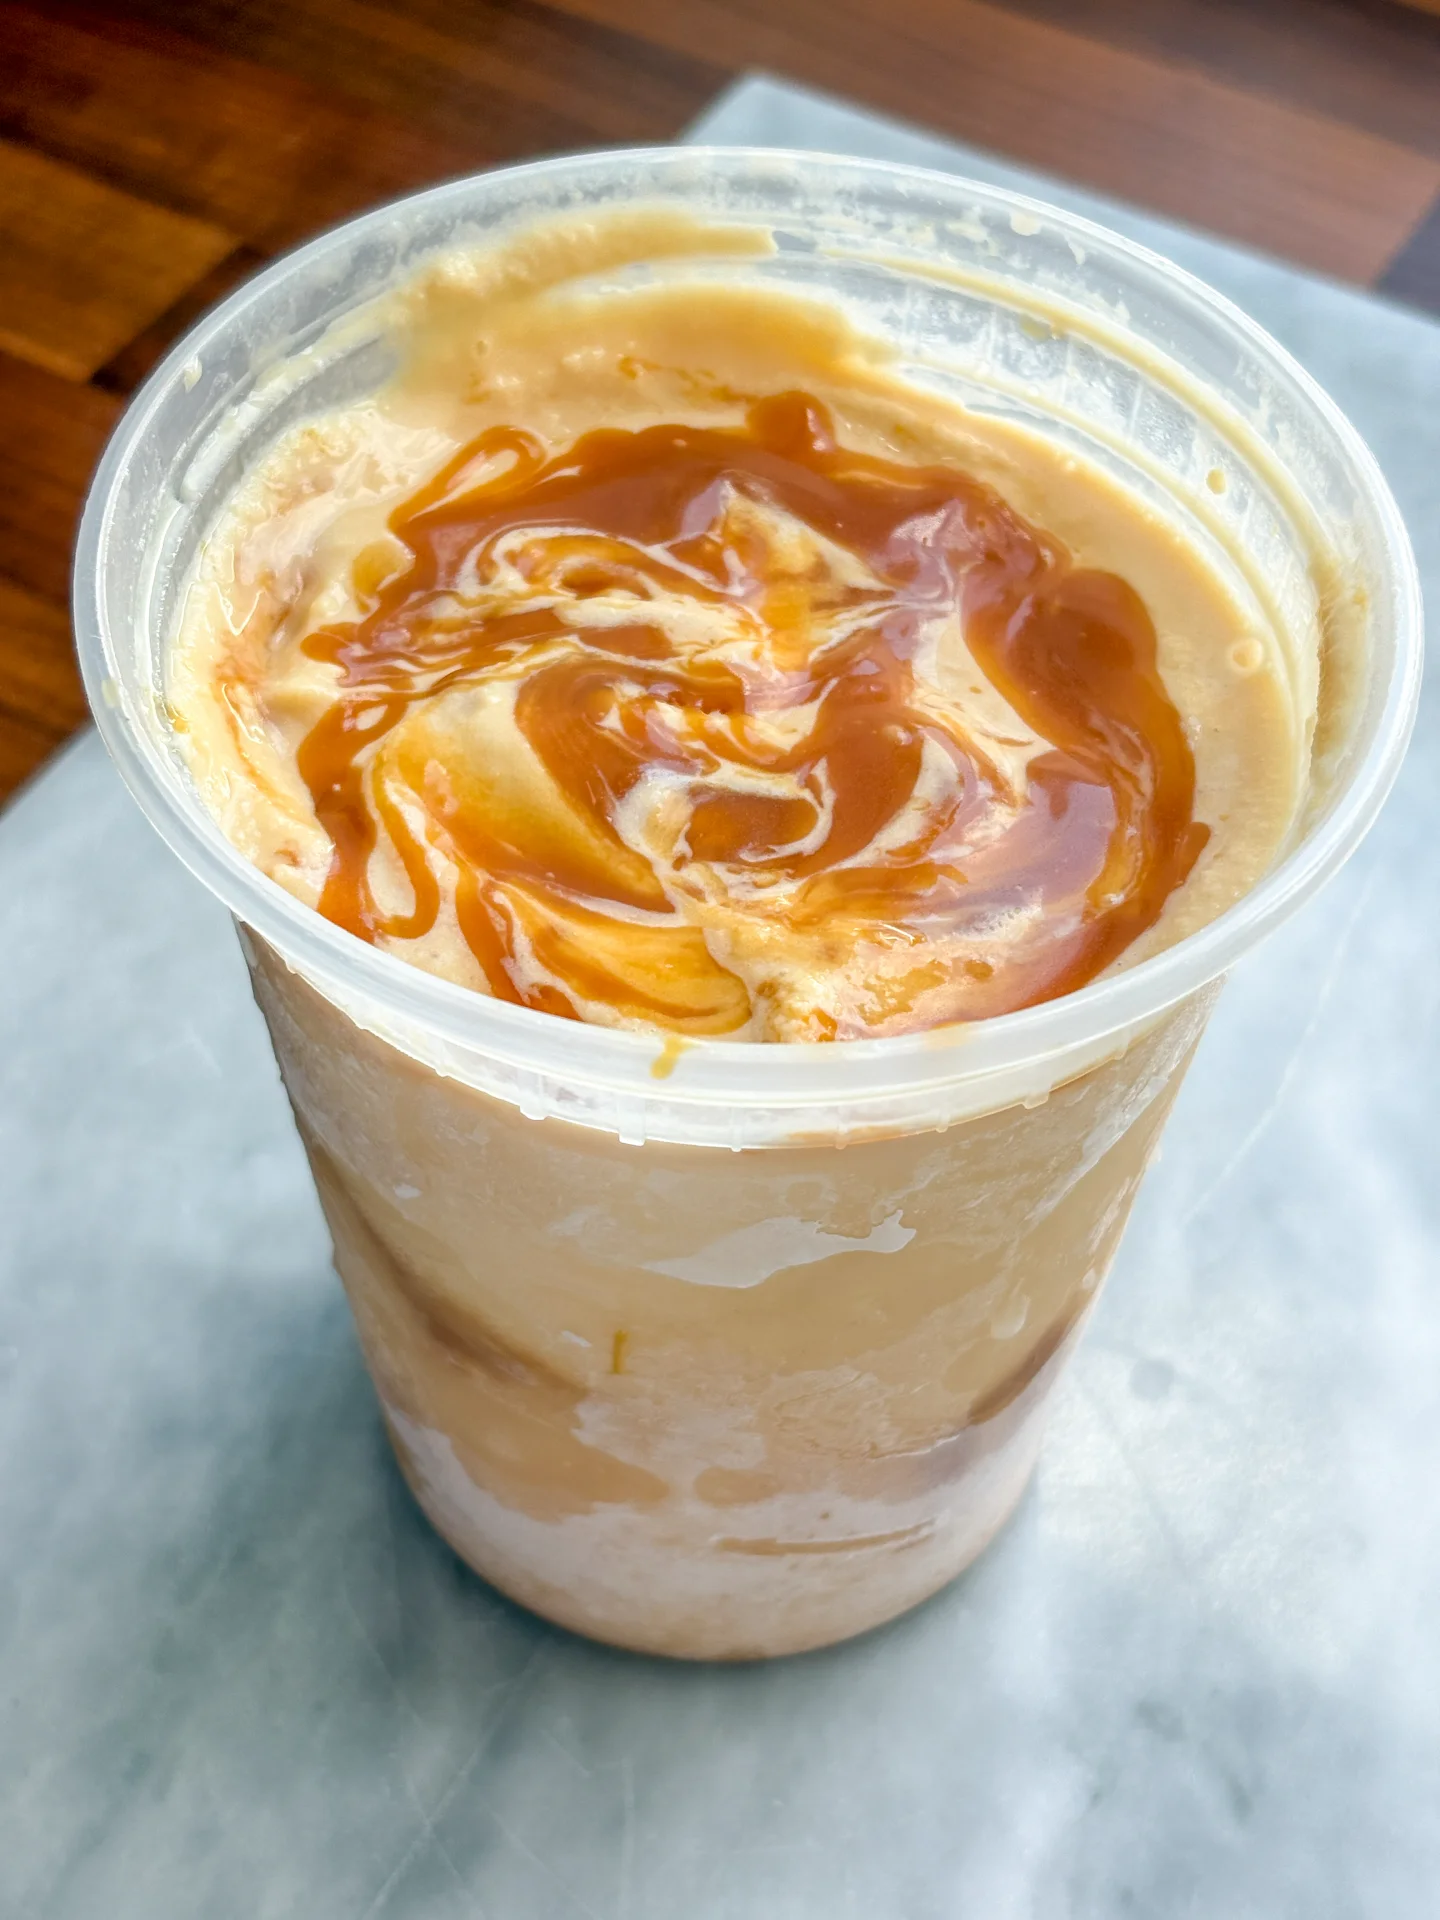
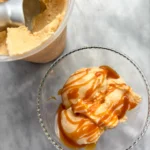
Imagine opening your freezer and finding homemade salted caramel ice cream waiting for you: creamy, sweet, salty, and layered with thick ribbons of caramel swirl. This ice cream tastes like a summer evening after spending the whole day by the sea: salty skin, shoulders still warm from the sun, open windows, and that moment when you have absolutely nothing left to do except spoon something cold from a bowl.

This website uses affiliate links which may earn commission for purchases made at no additional cost to you.

TOTAL TIME

9 hrs

SERVES

6 portions

DIET

vegetarian

EVERY RECIPE DESERVES

A Little Love Letter

I think there are ice cream flavors you like, and then there are ice cream flavors that suddenly become part of your personality. Salted caramel is definitely in the second category for me. Whenever I see those two words, my brain is immediately on board. No questions. No reason. Just: yes, please.

So it was pretty clear that I had to make salted caramel ice cream myself. The beautiful thing about it starts long before the ice cream is even finished. In the kitchen, the sugar slowly turns into caramel, and suddenly the whole apartment smells warm.

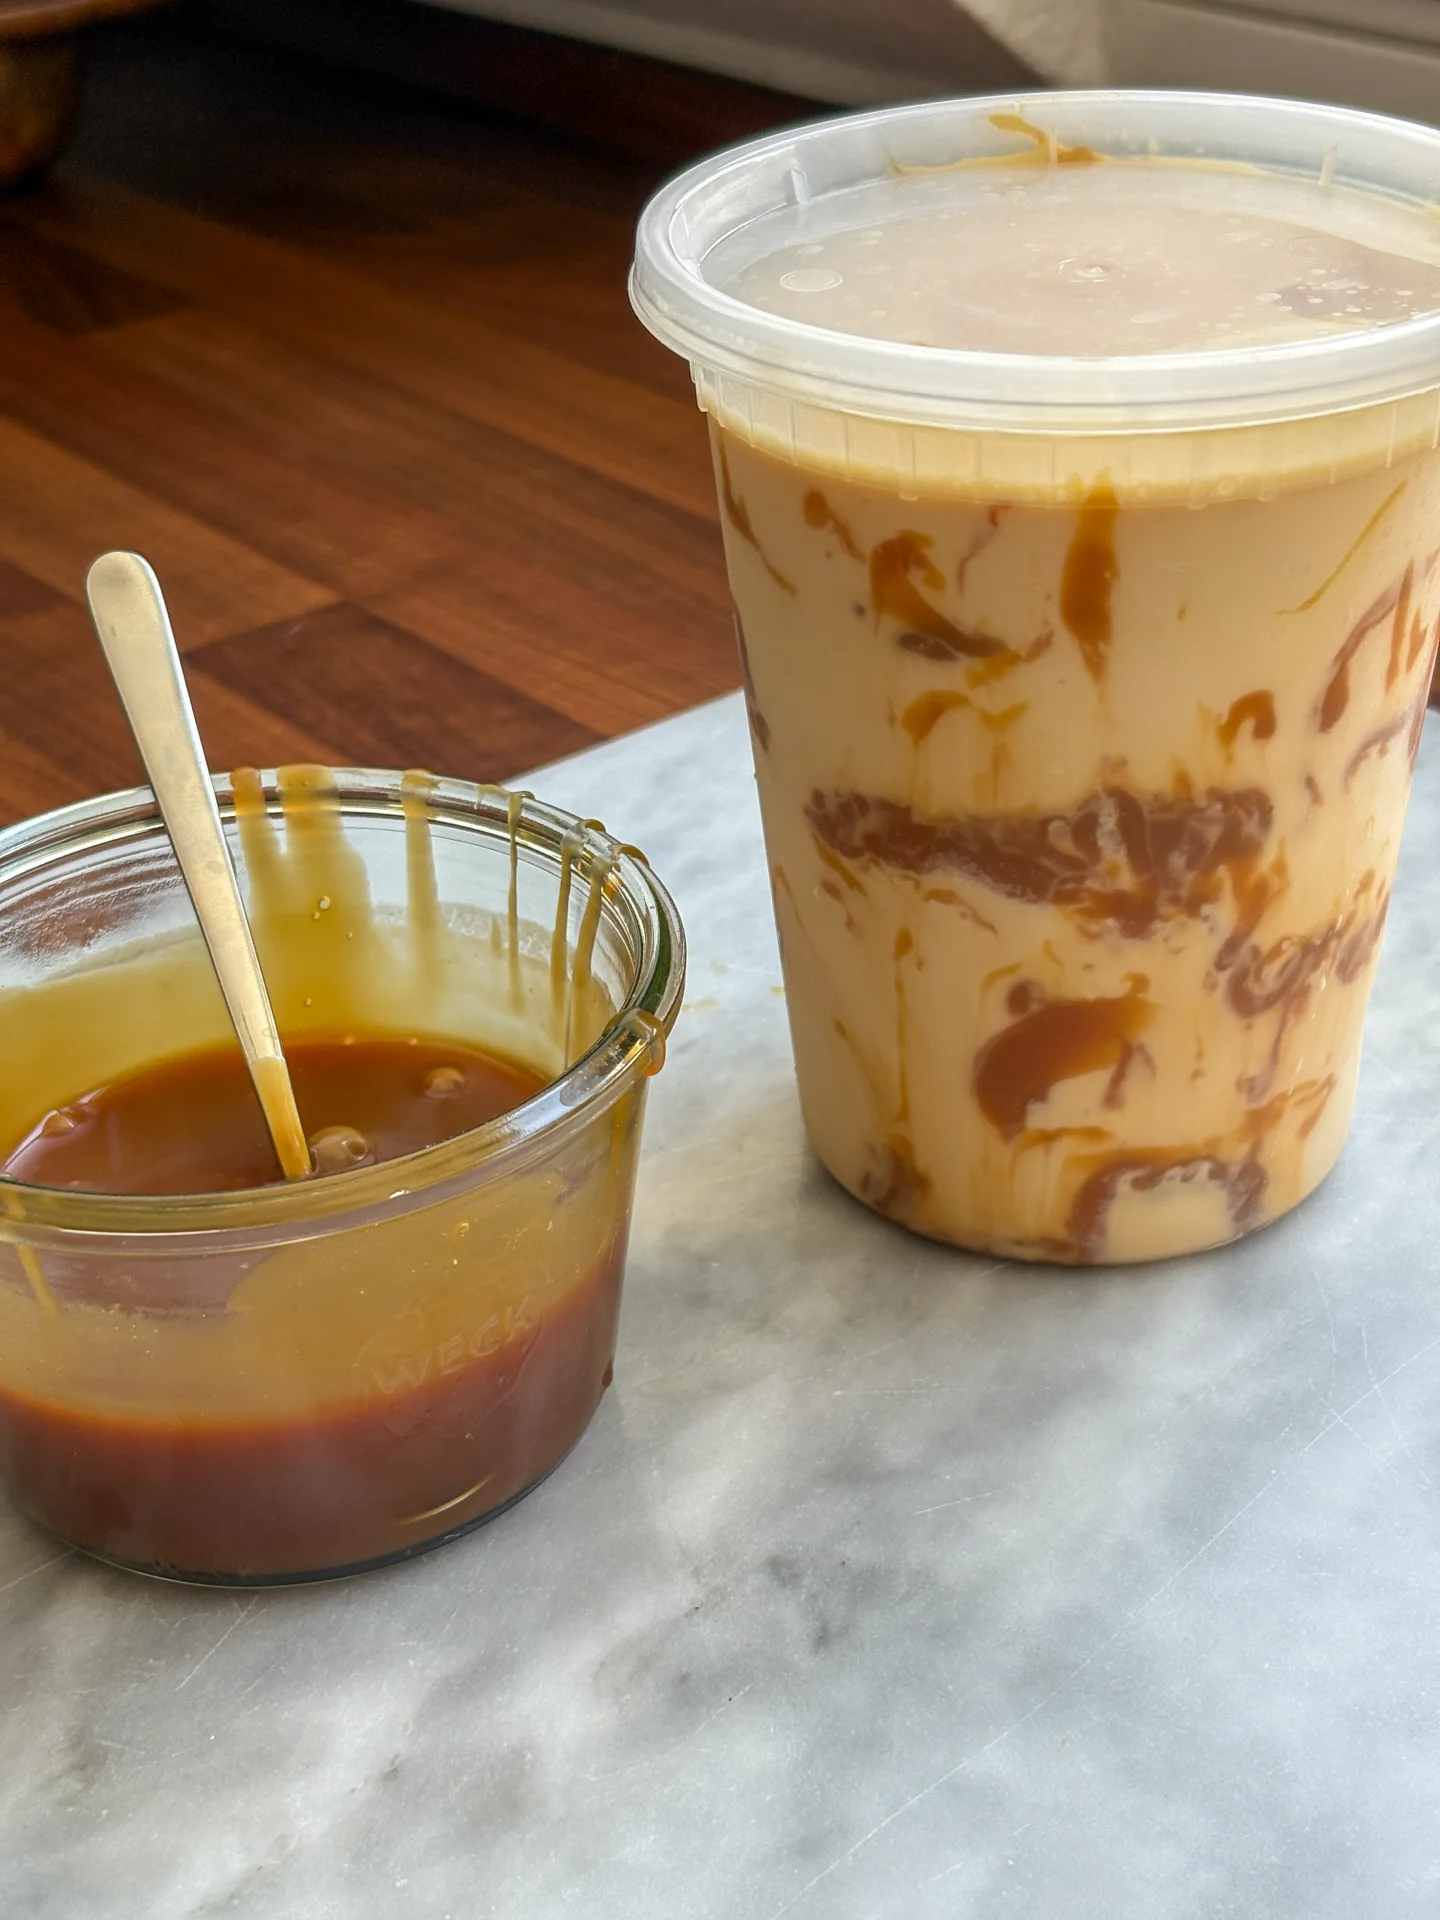
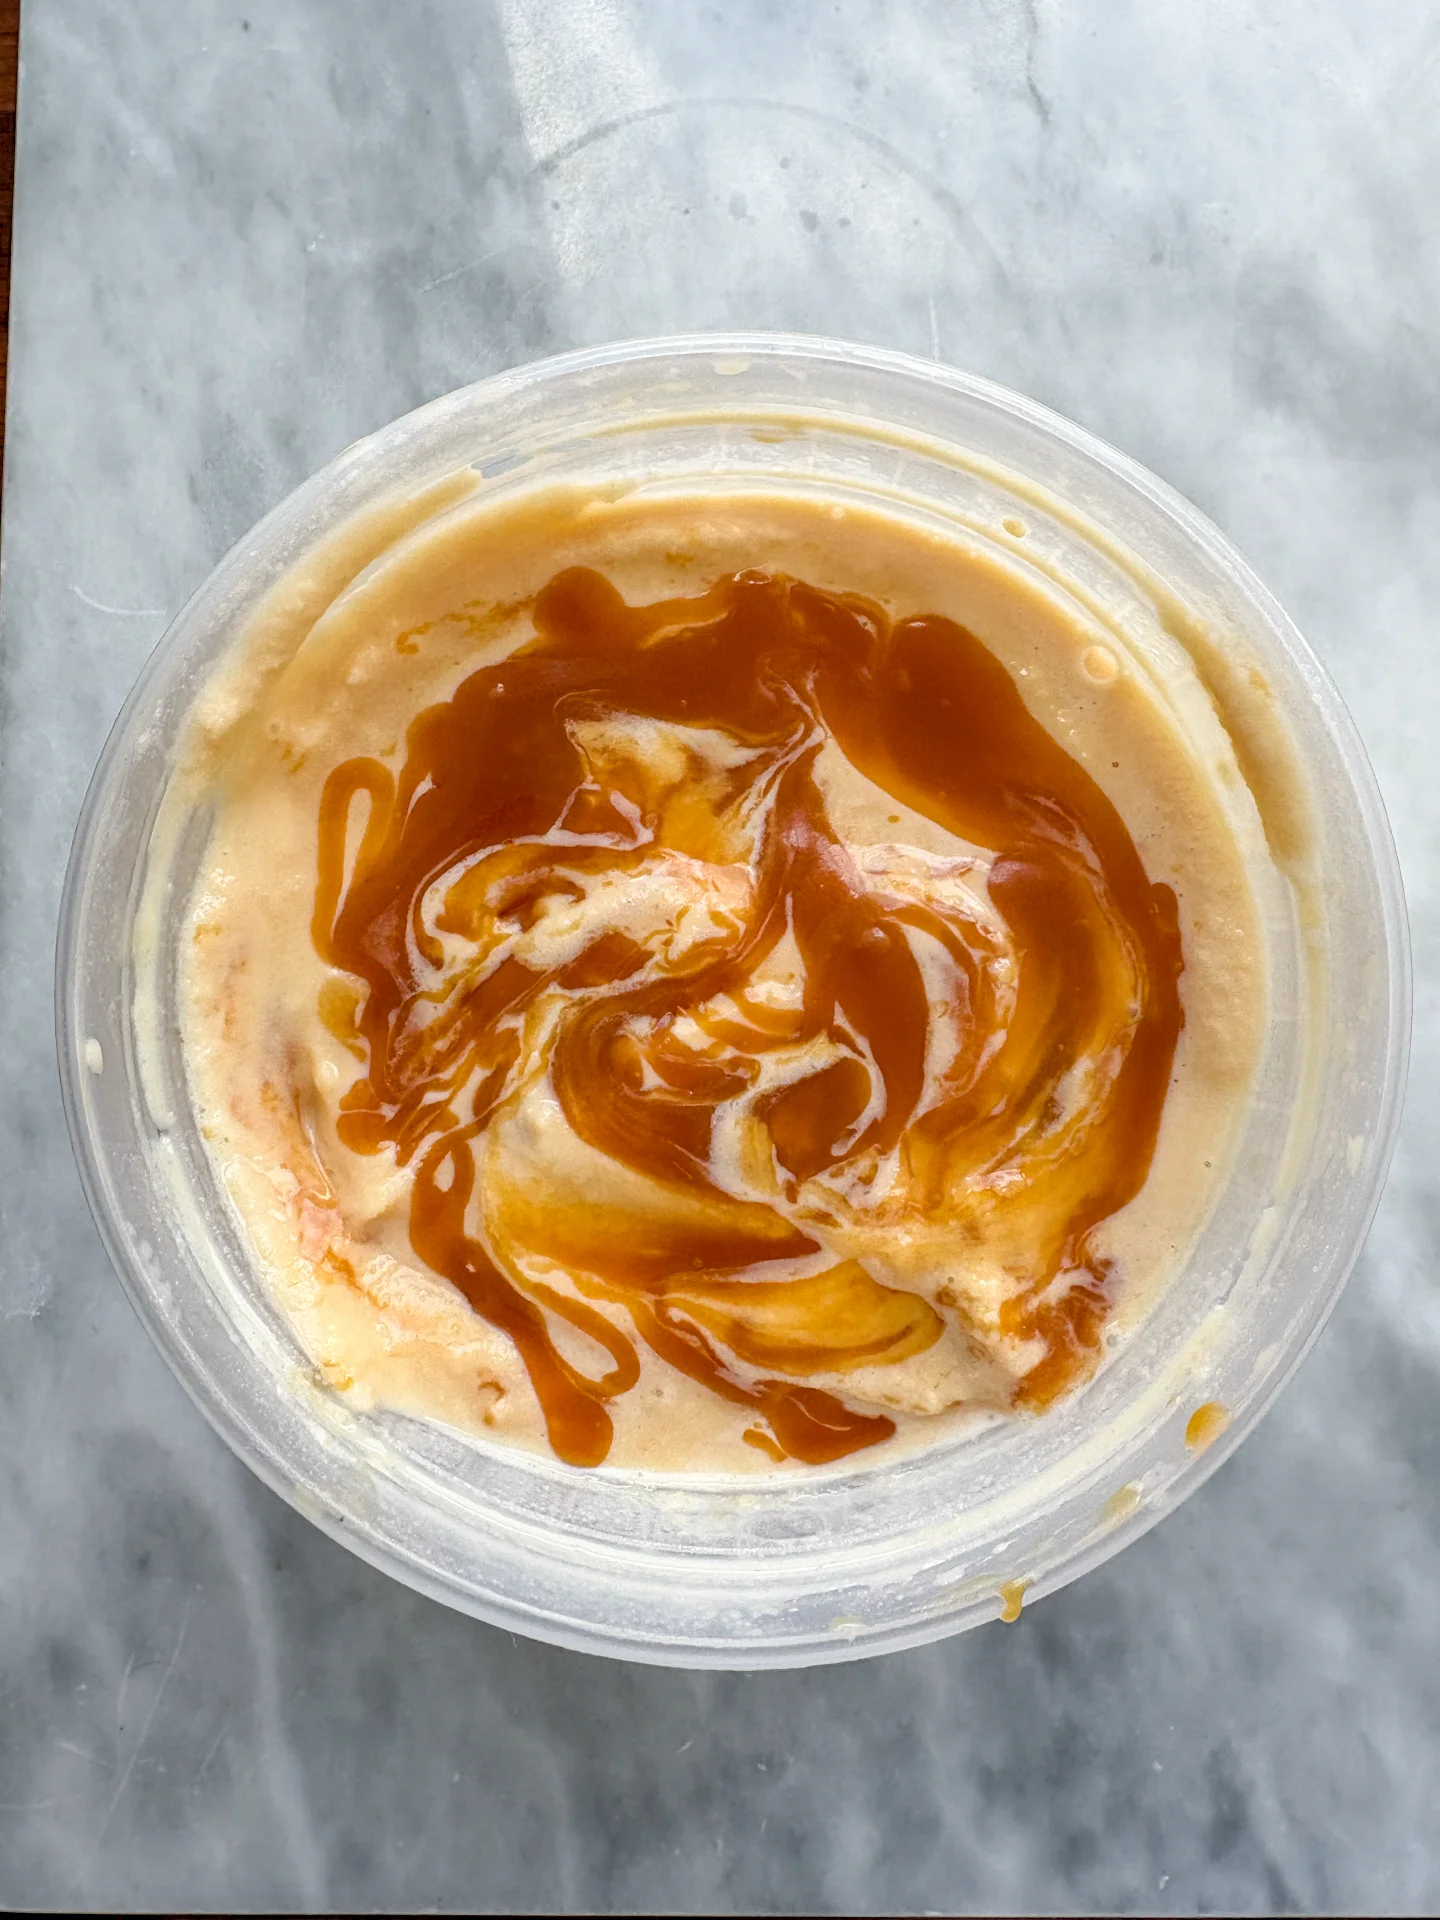
And then comes the part I was almost most excited about: the caramel swirl. That glossy, thick caramel sauce that gets layered between the ice cream and creates those beautiful ribbons when you scoop into it.

Here is my very important note: give the base enough time to cool down before putting it into the ice cream maker. Really. Cold base equals better ice cream. But even with my little bit of impatience, it still turned into a creamy, caramel-y, slightly salty ice cream that became even more perfect in the freezer.

And by the first spoonful at the latest, it was clear: this flavor is staying. It tastes like a summer evening, like a little dessert moment, like “just a little bit more” — and then somehow you find yourself standing in front of the freezer again with a bowl and a spoon.

Hi, I'm Kimberly!

Hi, I'm Kimberly.

A hopeless romantic when it comes to food. Every recipe I share is a love letter to food itself. I’m so glad you’re here. Make yourself at home and stay a while.

Love,
Kimberly

Kimberly the Zett Signature

If you want to get to know me better,
click here!


Salted Caramel Ice Cream
LET’S MAKE A PIECE OF HAPPINESS
Print
clock clock iconcutlery cutlery iconflag flag iconfolder folder iconinstagram instagram iconpinterest pinterest iconfacebook facebook iconprint print iconsquares squares iconheart heart iconheart solid heart solid icon
Salted Caramel Ice Cream

Salted Caramel Ice Cream


5 Stars 4 Stars 3 Stars 2 Stars 1 Star

No reviews

  • Author: Kimberly
  • Total Time: 9 hrs
  • Yield: 6 portions 1x

Description

Imagine opening your freezer and finding homemade salted caramel ice cream waiting for you: creamy, sweet, salty, and layered with thick ribbons of caramel swirl. This ice cream tastes like a summer evening after spending the whole day by the sea: salty skin, shoulders still warm from the sun, open windows, and that moment when you have absolutely nothing left to do except spoon something cold from a bowl.

GOOD TO HAVE ON HAND


Ingredients

Units Scale
CARAMEL SWIRL
  • 120 grams white sugar
  • 40 grams butter
  • 100 milliliters heavy whipping cream
  • optional: 40 grams corn syrup
SALTED CARAMEL ICE CREAM
  • 500 grams heavy whipping cream
  • 500 milliliters full-fat cow milk
  • 180 grams white sugar
  • 5 egg yolks
  • 1/2-3/4 tsp salt

Instructions

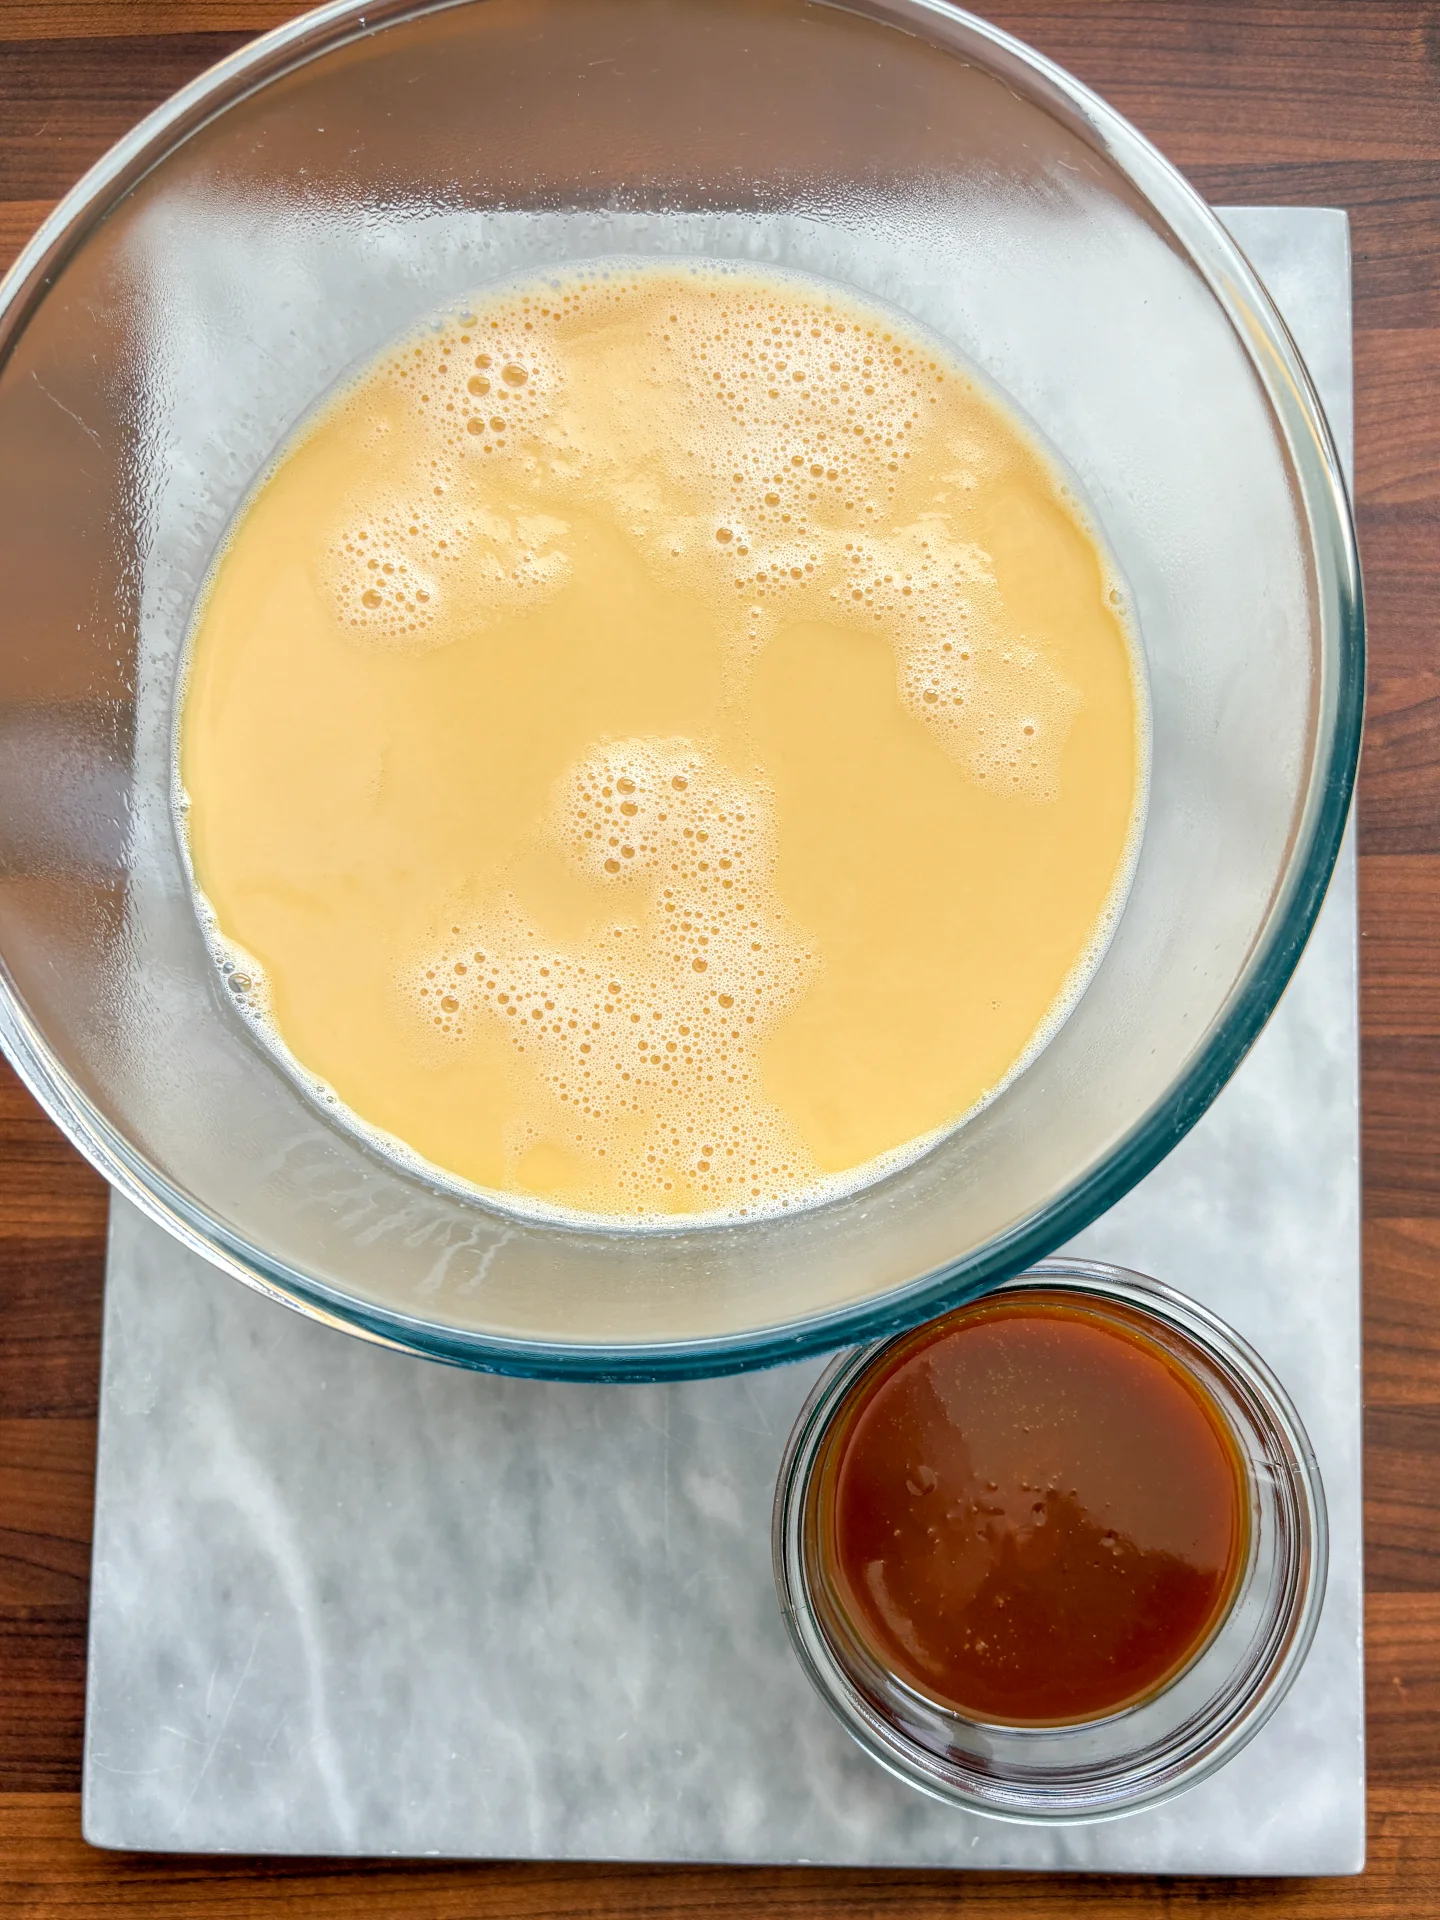
  1. Caramel Swirl: Caramelize the sugar until it turns a beautiful amber color. Stir in the butter. Slowly add the cream, carefully, as the mixture will bubble up strongly. Stir in the glucose syrup at the end. Let the sauce simmer for a few minutes until slightly thickened. Allow it to cool completely. Once cold, it should be creamy, thick, but still spoonable.
  2. Ice Cream Base (morning): Heat the cream in a medium saucepan until hot, but not boiling. Keep it warm over the lowest heat. This is important because cold cream can make the caramel clump more and cause stronger splattering when added.
  3. Add the sugar to a large saucepan and let it melt over medium heat. Try not to stir at the beginning. Once the sugar has melted, continue heating until the caramel is dark golden to amber in color.
  4. Slowly add the hot cream to the caramel while stirring. Be careful: it will bubble and steam heavily. Work slowly. If small caramel lumps form, don’t worry they will dissolve again as you keep stirring.
  5. Add the milk, glucose syrup, salt, and butter. Stir everything over low to medium heat until the caramel has completely dissolved.
  6. In a separate bowl, whisk the 5 egg yolks until smooth.
  7. Slowly pour the warm caramel milk and cream mixture into the egg yolks while whisking constantly. Start with just a few ladles, then gradually add more. This prevents the egg yolks from curdling.
  8. Pour everything back into the saucepan and heat over low to medium heat, stirring constantly, until the mixture reaches 84°C.
  9. Pour the mixture through a fine sieve into a bowl. Ideally, place the bowl directly into a cold water bath or ice bath and stir occasionally for 10–15 minutes. Then cover and place in the fridge. The goal is for the base to be properly cold before churning it in the ice cream maker.
  10. Ice Cream Base (afternoon/evening): Pour the base directly into the ice cream maker and churn. Straight from the machine, the ice cream will be rather soft and creamy. For scoopable ice cream, freeze for another 2–3 hours. After that, it should be nicely firm. If needed, let it sit at room temperature for 5–10 minutes before serving.
  • Prep Time: 60 min
  • Passive Time: 8 hrs
CRAVING MORE?
Follow along here & don’t forget to subscribe to my substack!

Classic Vanilla Ice Cream

Classic Vanilla Ice Cream

Classic Vanilla Ice Cream

Classic Vanilla Ice Cream

July 2, 2026 by Kimberly

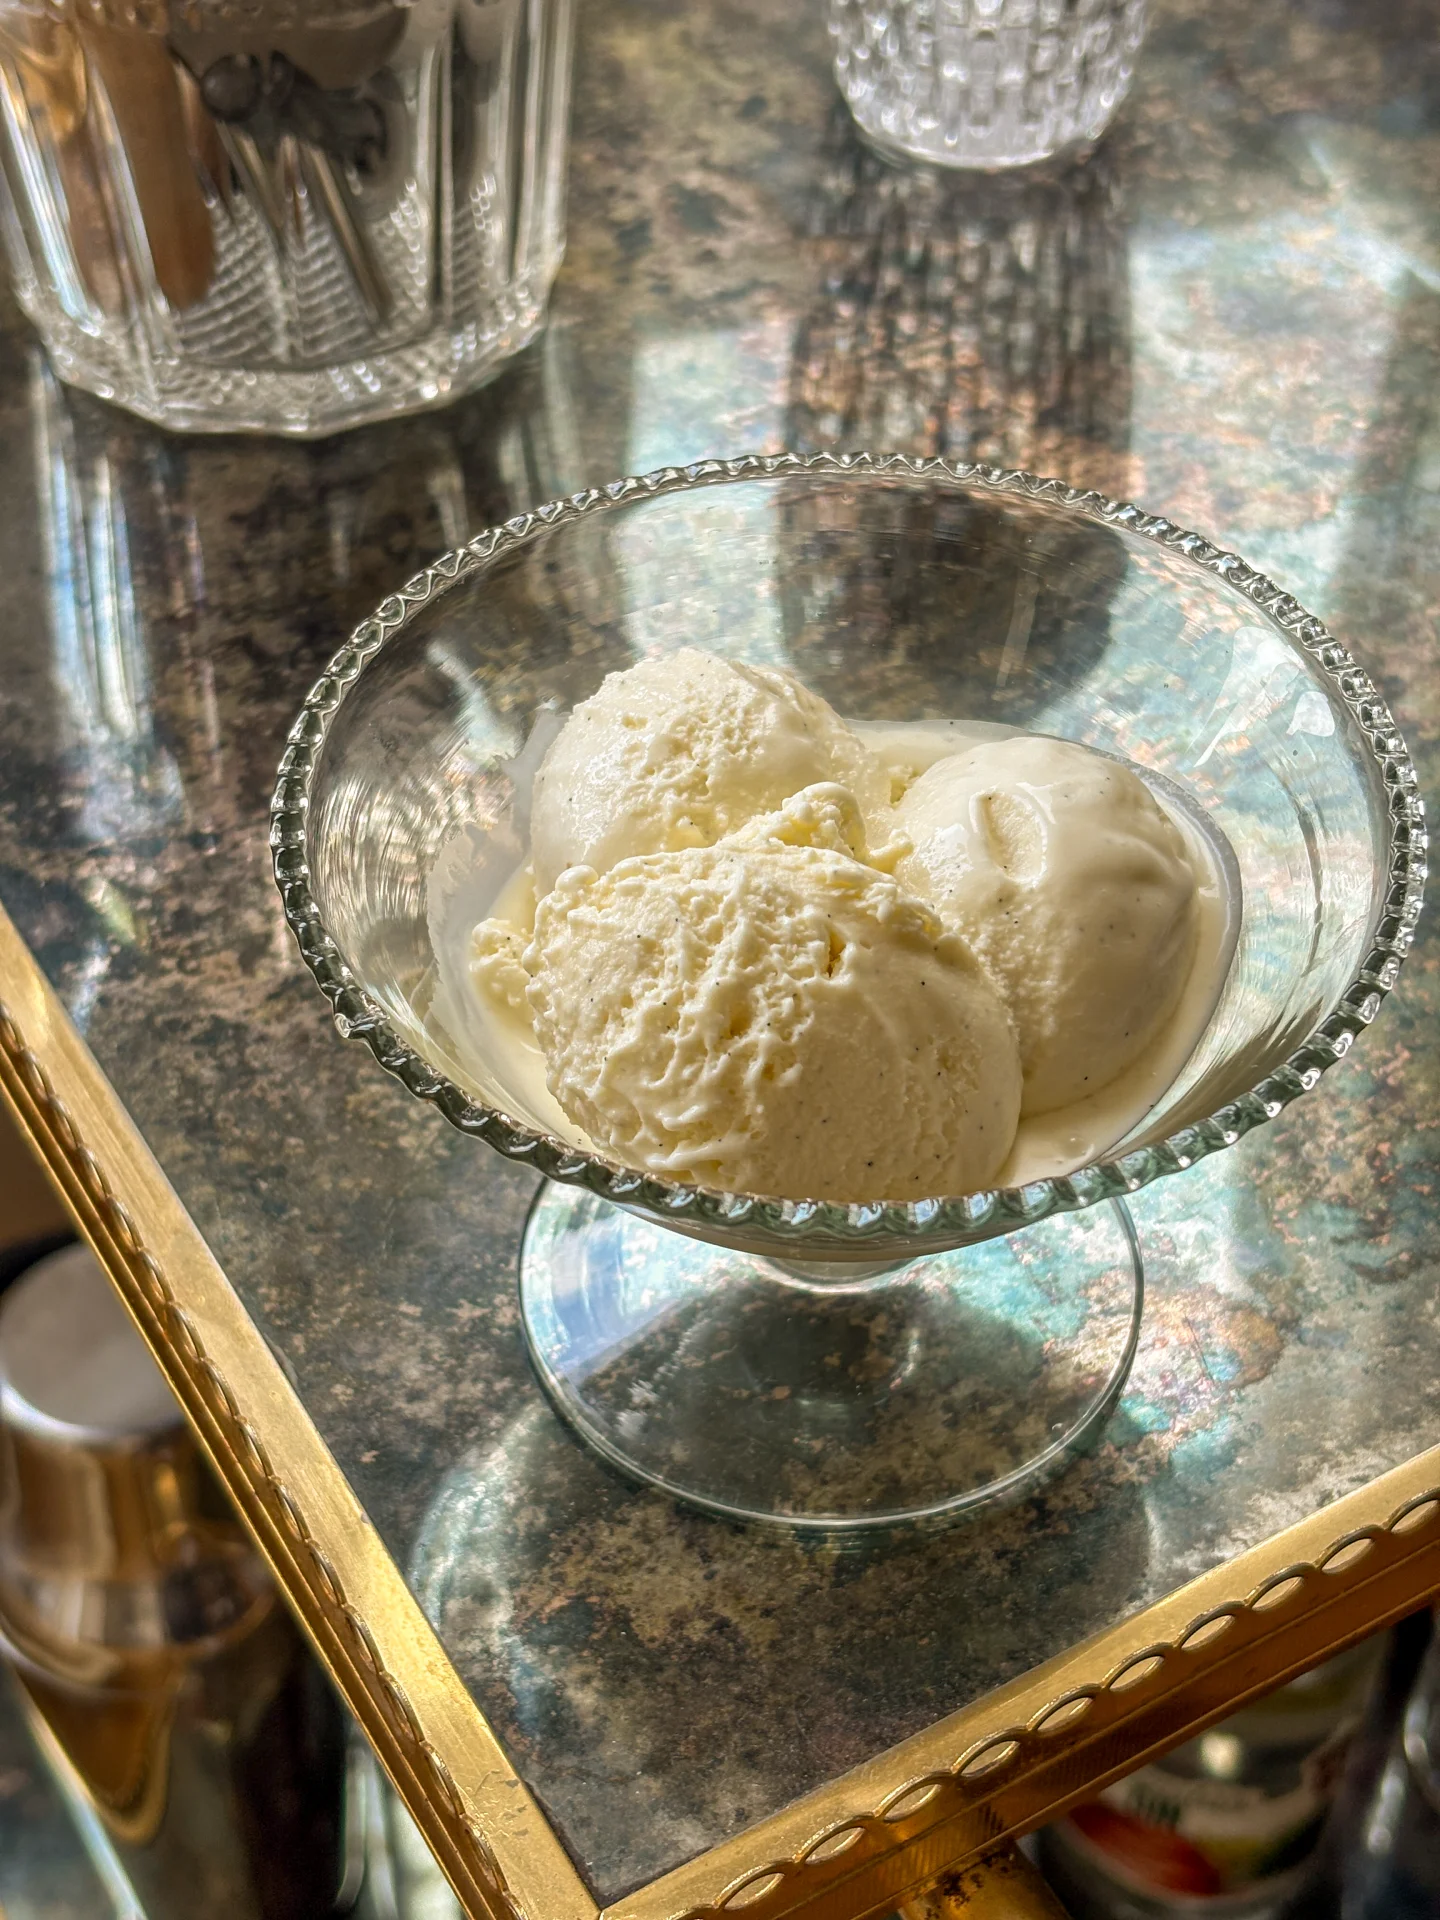
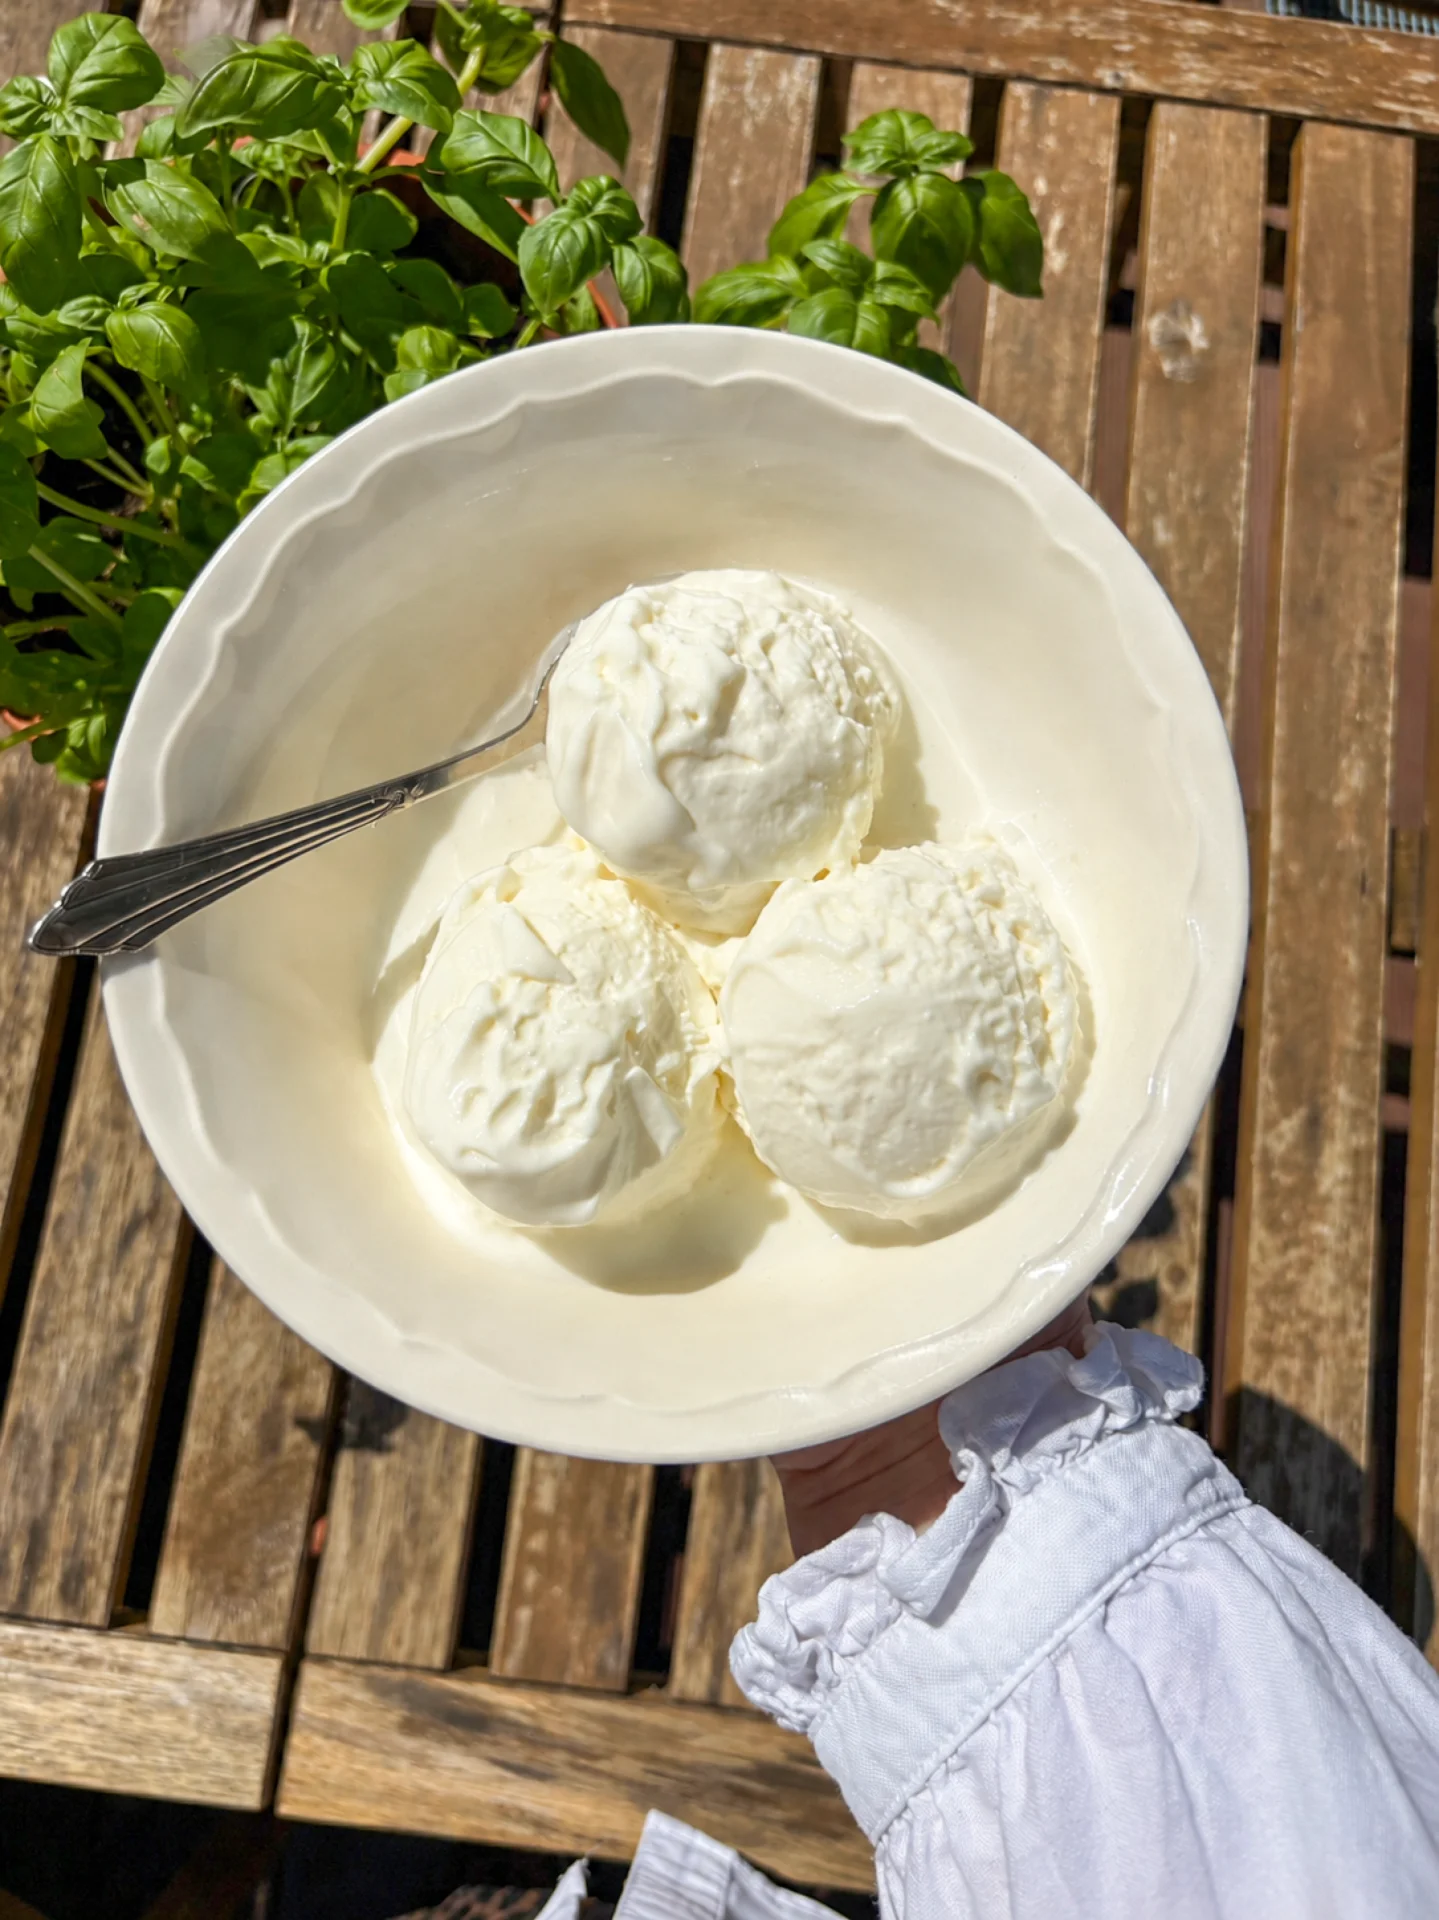
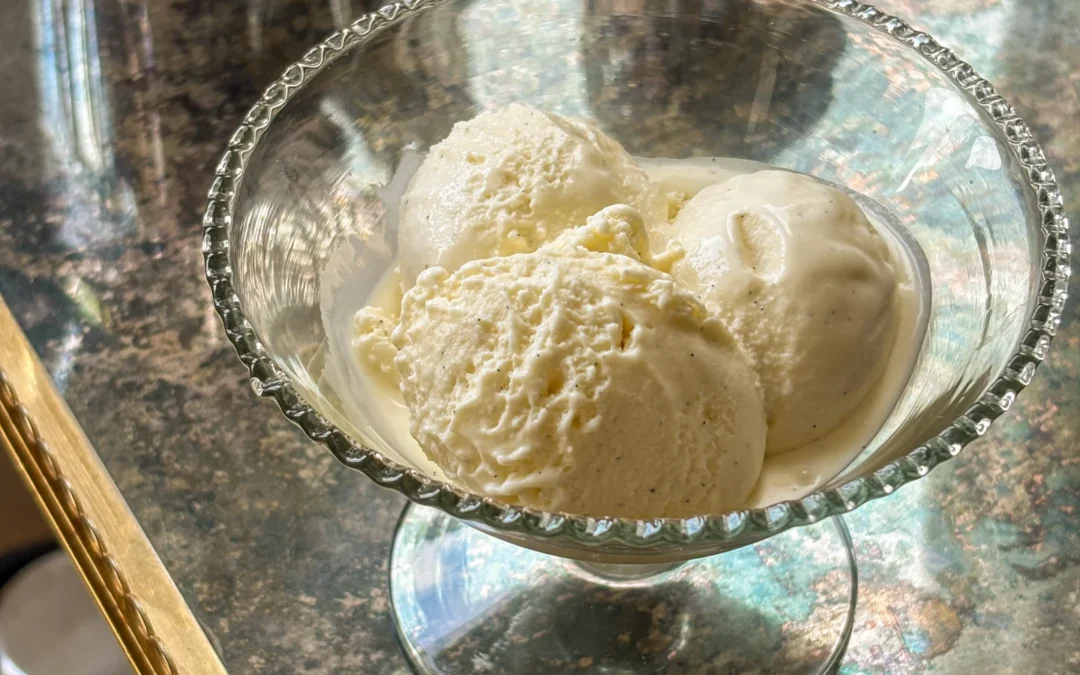
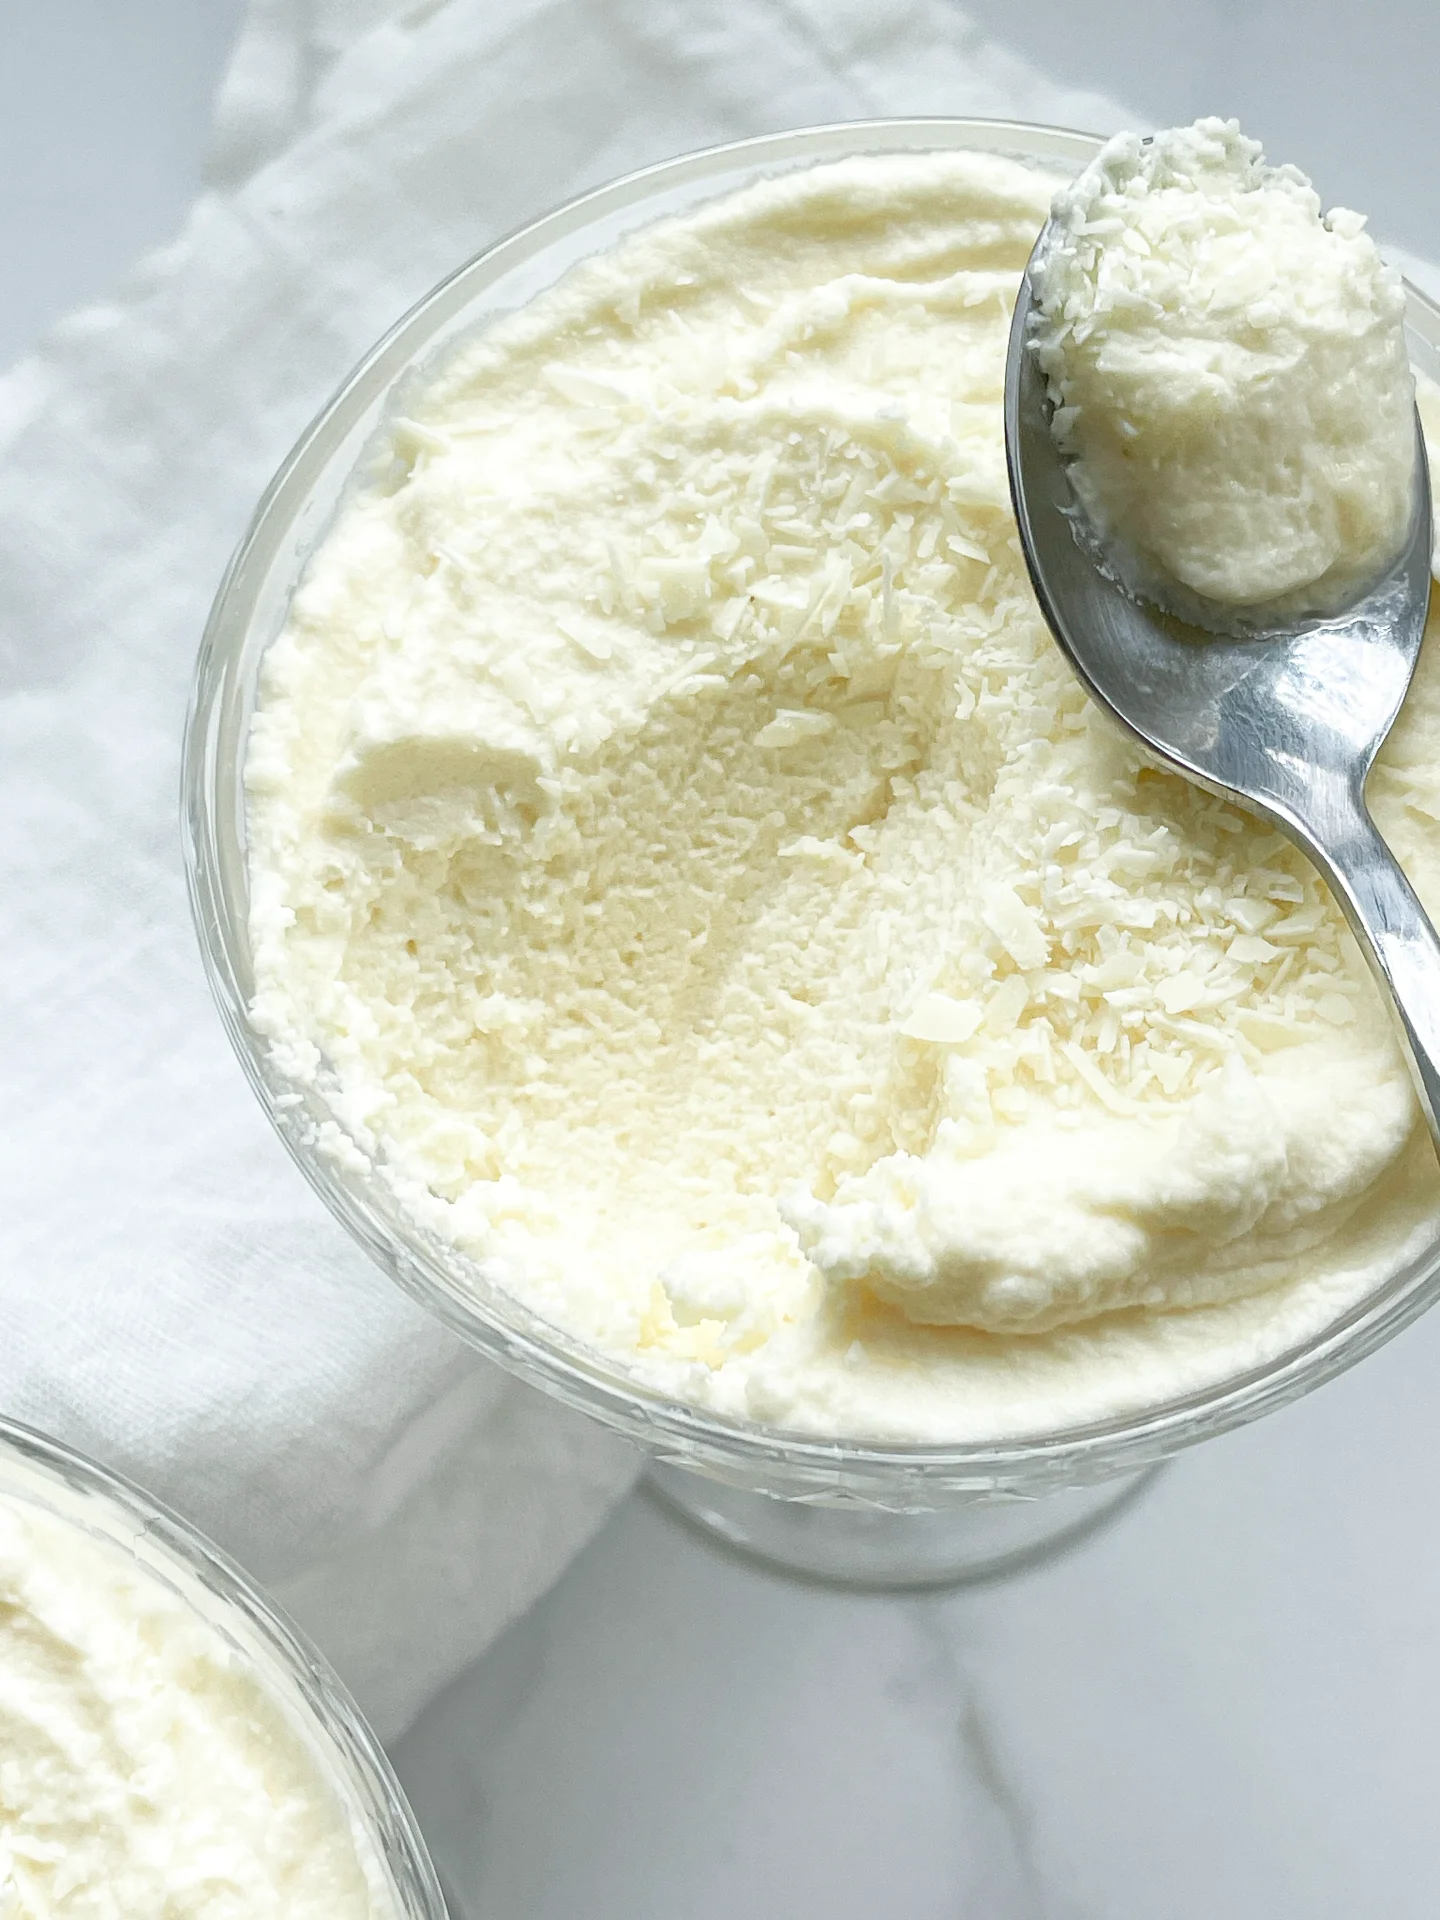
By the first spoonful at the latest, you understand why homemade vanilla ice cream just feels different. It is not simply cold and sweet, but melts slowly on your tongue, turning soft, creamy, and almost a little nostalgic. Suddenly, your mind is somewhere between a warm summer day, a bowl of ice cream on the balcony, and that little evening moment when you only meant to have one scoop and then somehow find yourself going back to the freezer.

This website uses affiliate links which may earn commission for purchases made at no additional cost to you.

TOTAL TIME

9 hrs

SERVES

6 portions

DIET

vegetarian

EVERY RECIPE DESERVES

A Little Love Letter

Some things sound so simple at first that you almost underestimate them. Vanilla ice cream, for example. At first glance, it is the classic, the safe choice, the flavor that is somehow always there. But when vanilla ice cream is made really well, it suddenly is not plain at all. It is creamy, rounded, soft, aromatic, and exactly the kind of ice cream that makes you think after the first spoonful: Oh, this is what it is supposed to taste like.

For me, homemade vanilla ice cream felt like the perfect way to start our little ice cream month. If you are going to begin with ice cream love, you might as well begin with the foundation. With the recipe that shows whether an ice cream is truly good. No hiding behind toppings, sauces, or wild flavor combinations. Just milk, cream, egg yolks, sugar, and vanilla. But done properly.

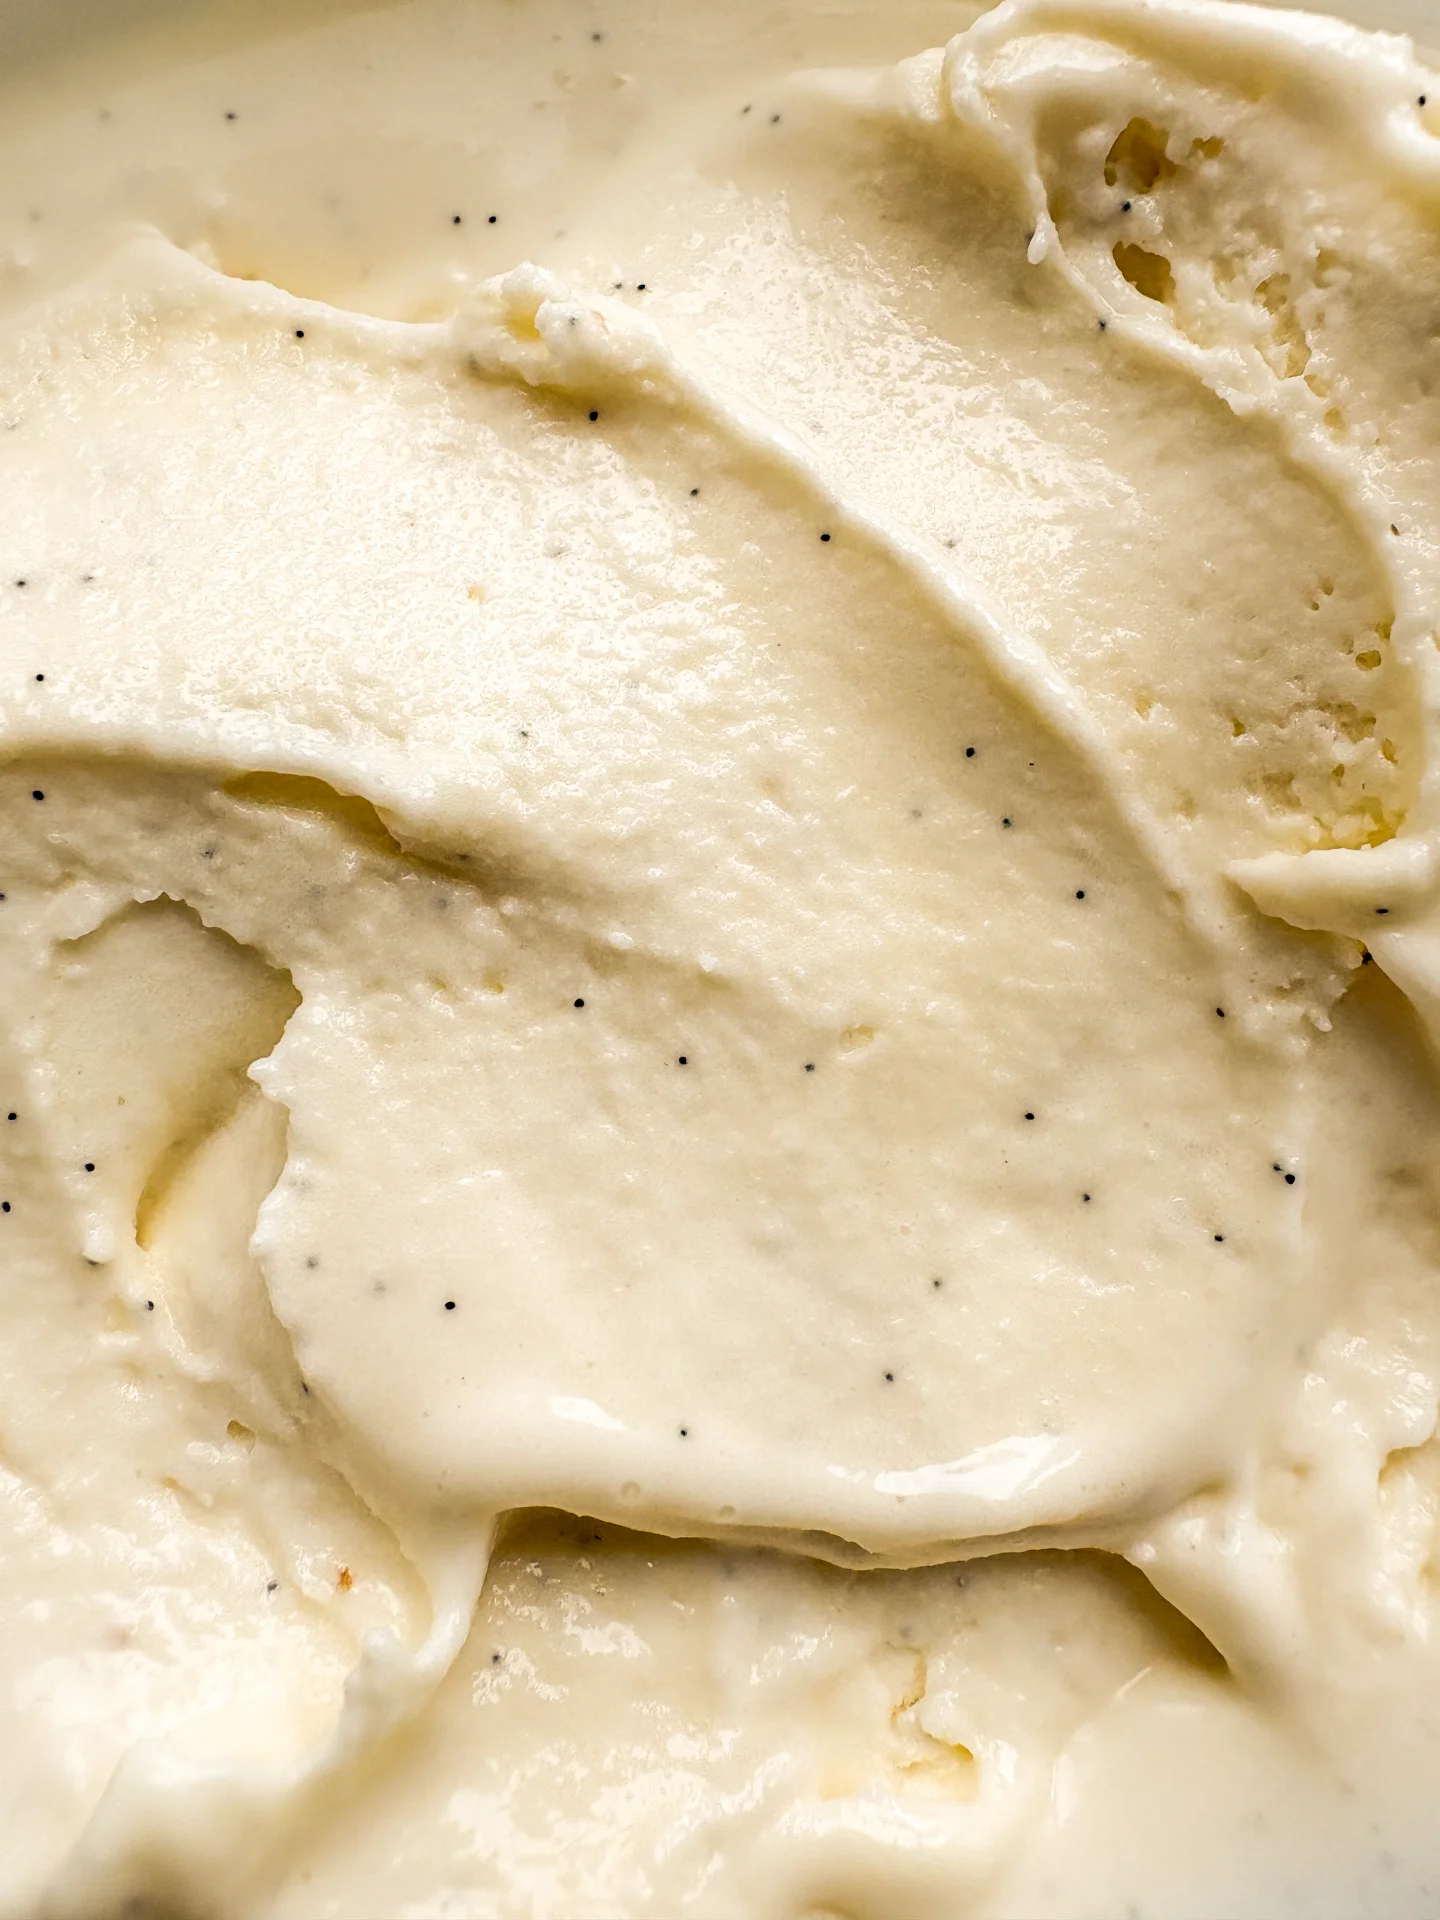
And that is exactly why two vanilla pods go into this base. Not because we want to be dramatic — although, maybe a little — but because real vanilla simply makes all the difference. Those tiny black specks do not just look beautiful; they give the ice cream that warm, deep flavor that store-bought vanilla ice cream so often misses.

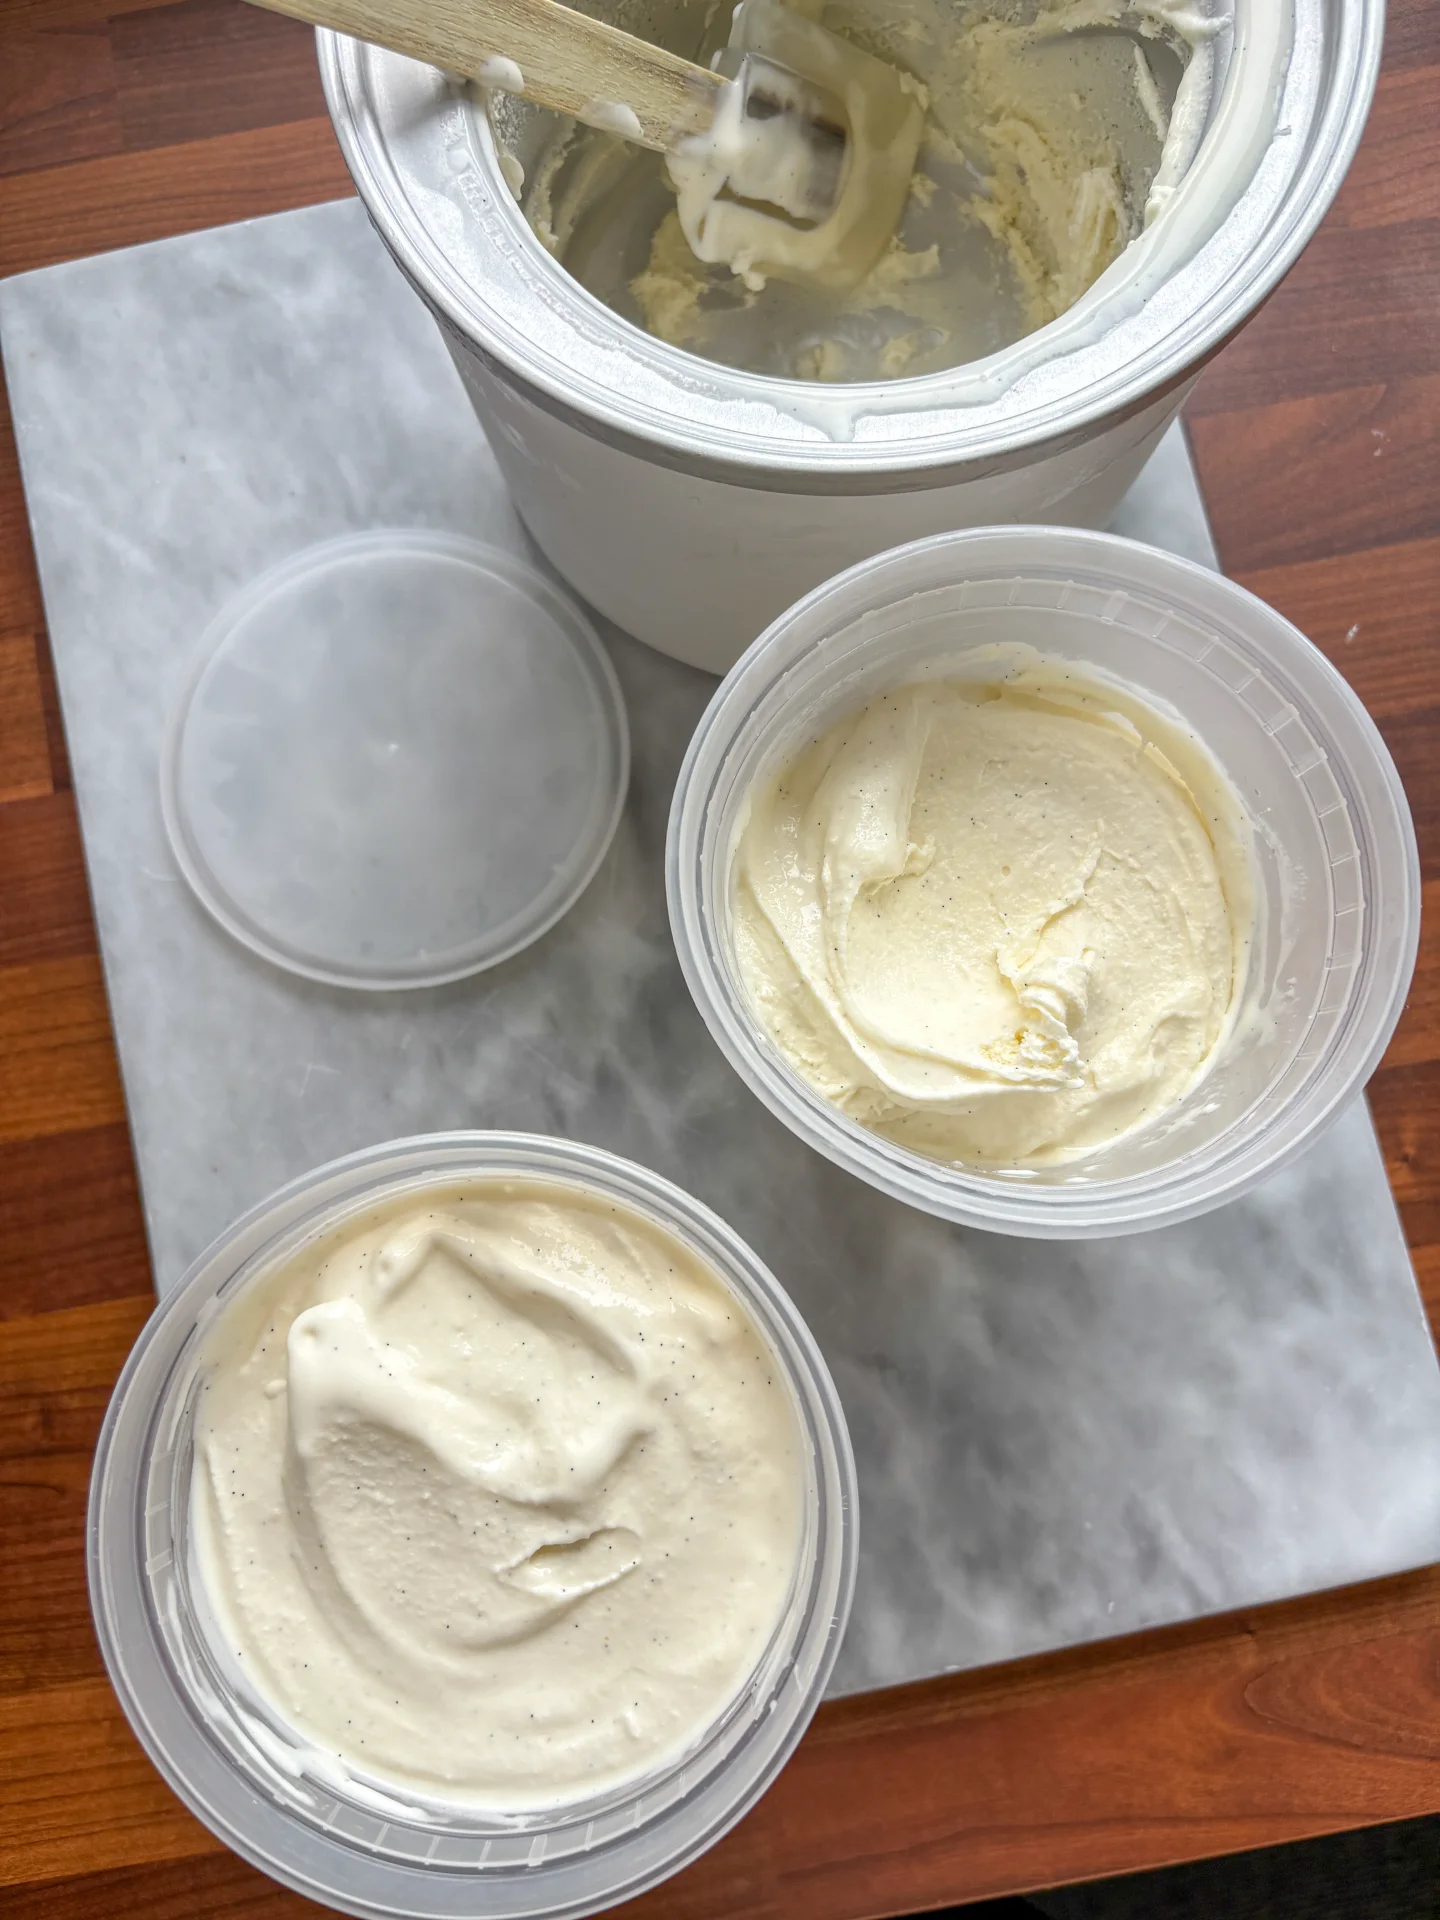
To be honest, I had a little respect for making ice cream with egg yolks myself, but in the end, it is much more doable than you might think. You take a little time in the morning to prepare the base, let it chill peacefully in the fridge, and then pour it into the ice cream maker in the evening. And then that moment happens: the machine is running, the mixture becomes lighter, thicker, creamier — and at some point, the ice cream looks like the softest vanilla ice cream in the world. Straight from the machine, it is basically like soft serve, which for me personally is already a very strong argument for going in immediately with a spoon.

Hi, I'm Kimberly!

Hi, I'm Kimberly.

A hopeless romantic when it comes to food. Every recipe I share is a love letter to food itself. I’m so glad you’re here. Make yourself at home and stay a while.

Love,
Kimberly

Kimberly the Zett Signature

If you want to get to know me better,
click here!


Classic Vanilla Ice Cream

LET’S MAKE A PIECE OF HAPPINESS

Print
clock clock iconcutlery cutlery iconflag flag iconfolder folder iconinstagram instagram iconpinterest pinterest iconfacebook facebook iconprint print iconsquares squares iconheart heart iconheart solid heart solid icon
Classic Vanilla Ice Cream

Classic Vanilla Ice Cream


  • Author: Kimberly
  • Total Time: 8 hrs + 60 min
  • Yield: 6 portions 1x

Description

By the first spoonful at the latest, you understand why homemade vanilla ice cream just feels different. It is not simply cold and sweet, but melts slowly on your tongue, turning soft, creamy, and almost a little nostalgic. Suddenly, your mind is somewhere between a warm summer day, a bowl of ice cream on the balcony, and that little evening moment when you only meant to have one scoop and then somehow find yourself going back to the freezer.

GOOD TO HAVE ON HAND


Ingredients

Units Scale
  • 500 grams heavy whipping cream
  • 500 milliliters full-fat cow milk
  • 190 grams white sugar
  • 5 egg yolks
  • 2 vanilla beans
  • pinch of salt

Instructions

  1. In the morning: Add the milk, cream, scraped vanilla seeds, vanilla pods, salt, and half of the sugar to a saucepan and heat slowly. The mixture should become hot, but not boil. Remove the saucepan from the heat and set aside.
  2. In the meantime, whisk the egg yolks with the remaining sugar until well combined.
  3. Slowly pour the warm milk and cream mixture into the egg yolks while whisking constantly to prevent the eggs from curdling. Then pour everything back into the saucepan.
  4. Heat the mixture over low to medium heat, stirring constantly, until it reaches 84°C and slightly thickens.
  5. Pour the ice cream base through a fine sieve. Add the vanilla pods back in so they can continue to infuse the mixture while it chills.
  6. Place the mixture directly in the fridge.
  7. In the evening: Remove the vanilla pods from the well-chilled ice cream base.
  8. Pour the mixture directly into the ice cream maker and churn until creamy.
  9. Serve the finished ice cream immediately or transfer it to a suitable container and freeze for another 4 hours until firm.
  • Prep Time: 60 min
  • Passive Time: 8 hrs

CRAVING MORE?

Follow along here & don’t forget to subscribe to my substack!