

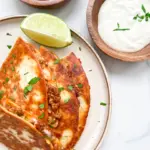
Cilantro Lime Beef Quesadillas

Cilantro Lime Beef Quesadillas

Cilantro Lime Beef Quesadillas

Cilantro Lime Beef Quesadillas

April 10, 2024 by Kimberly

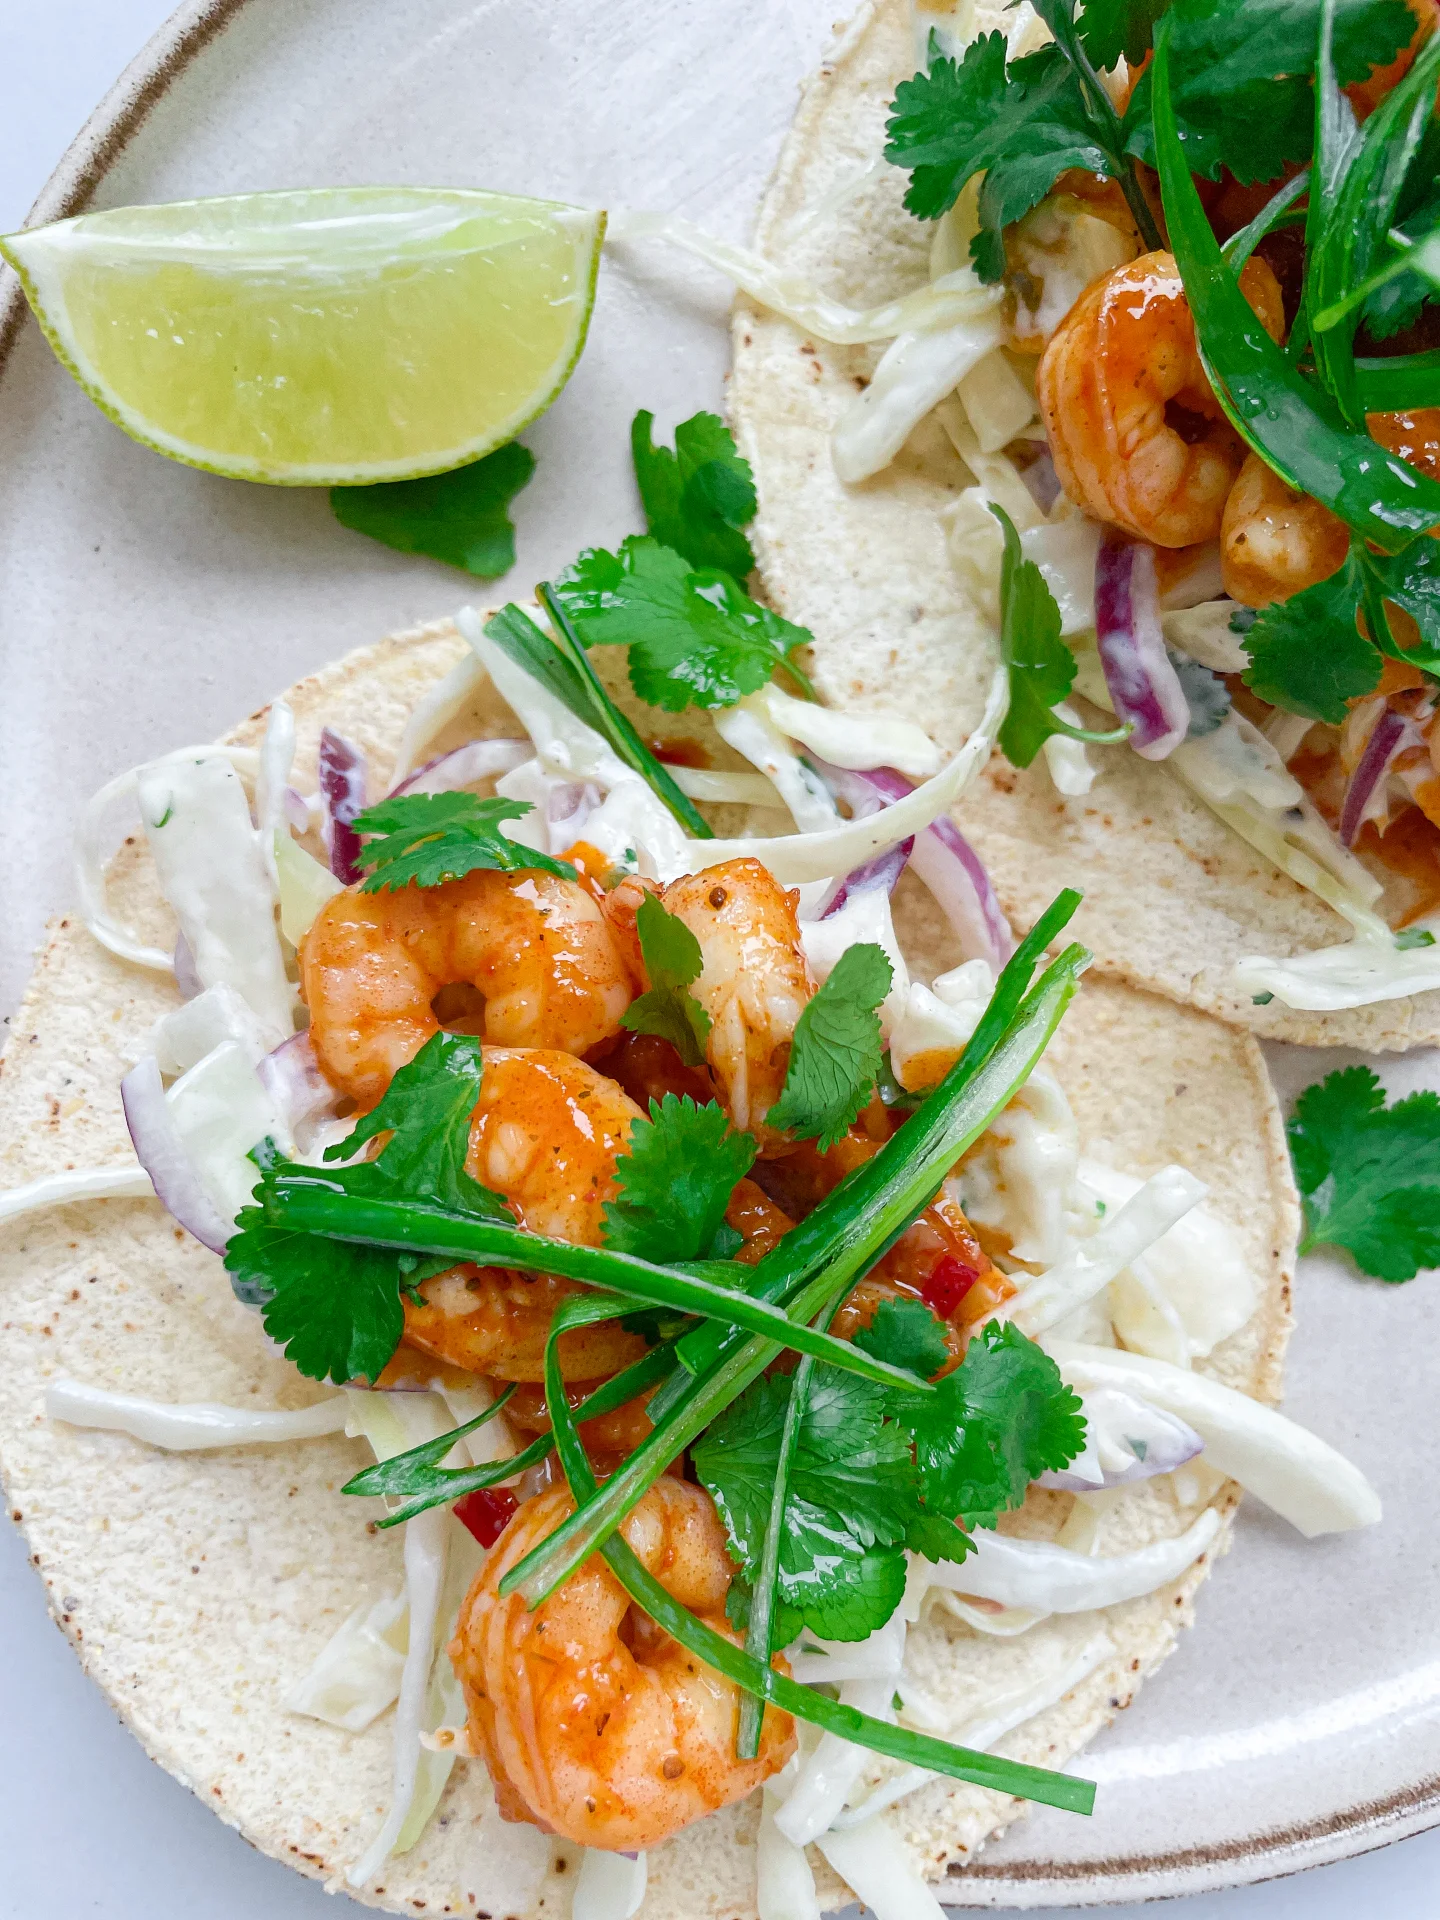
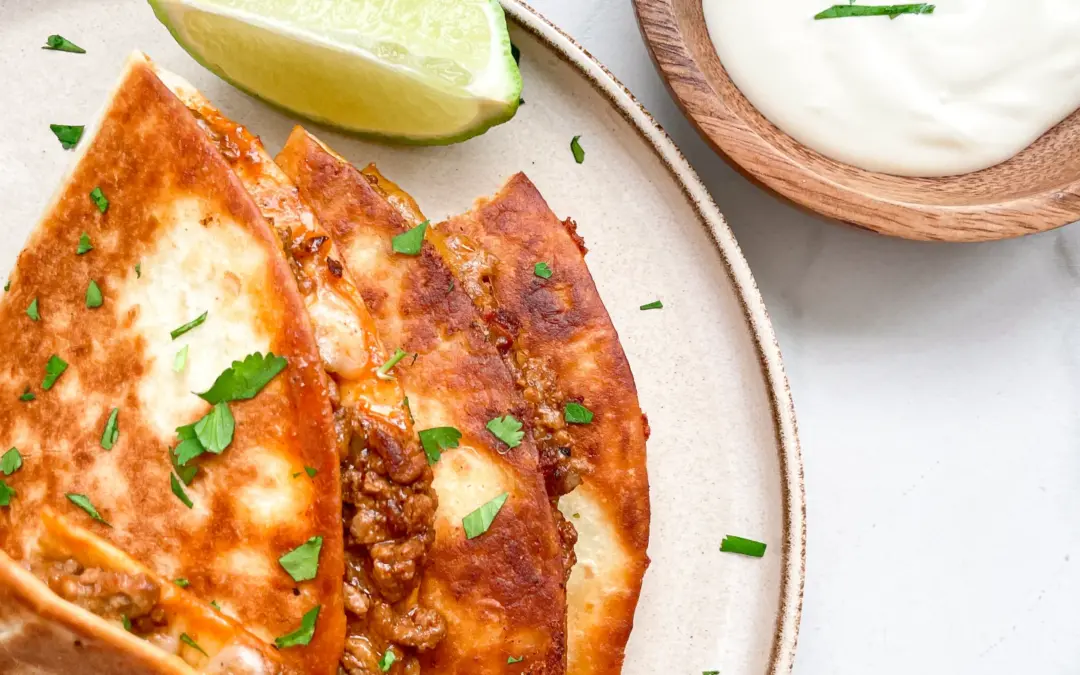
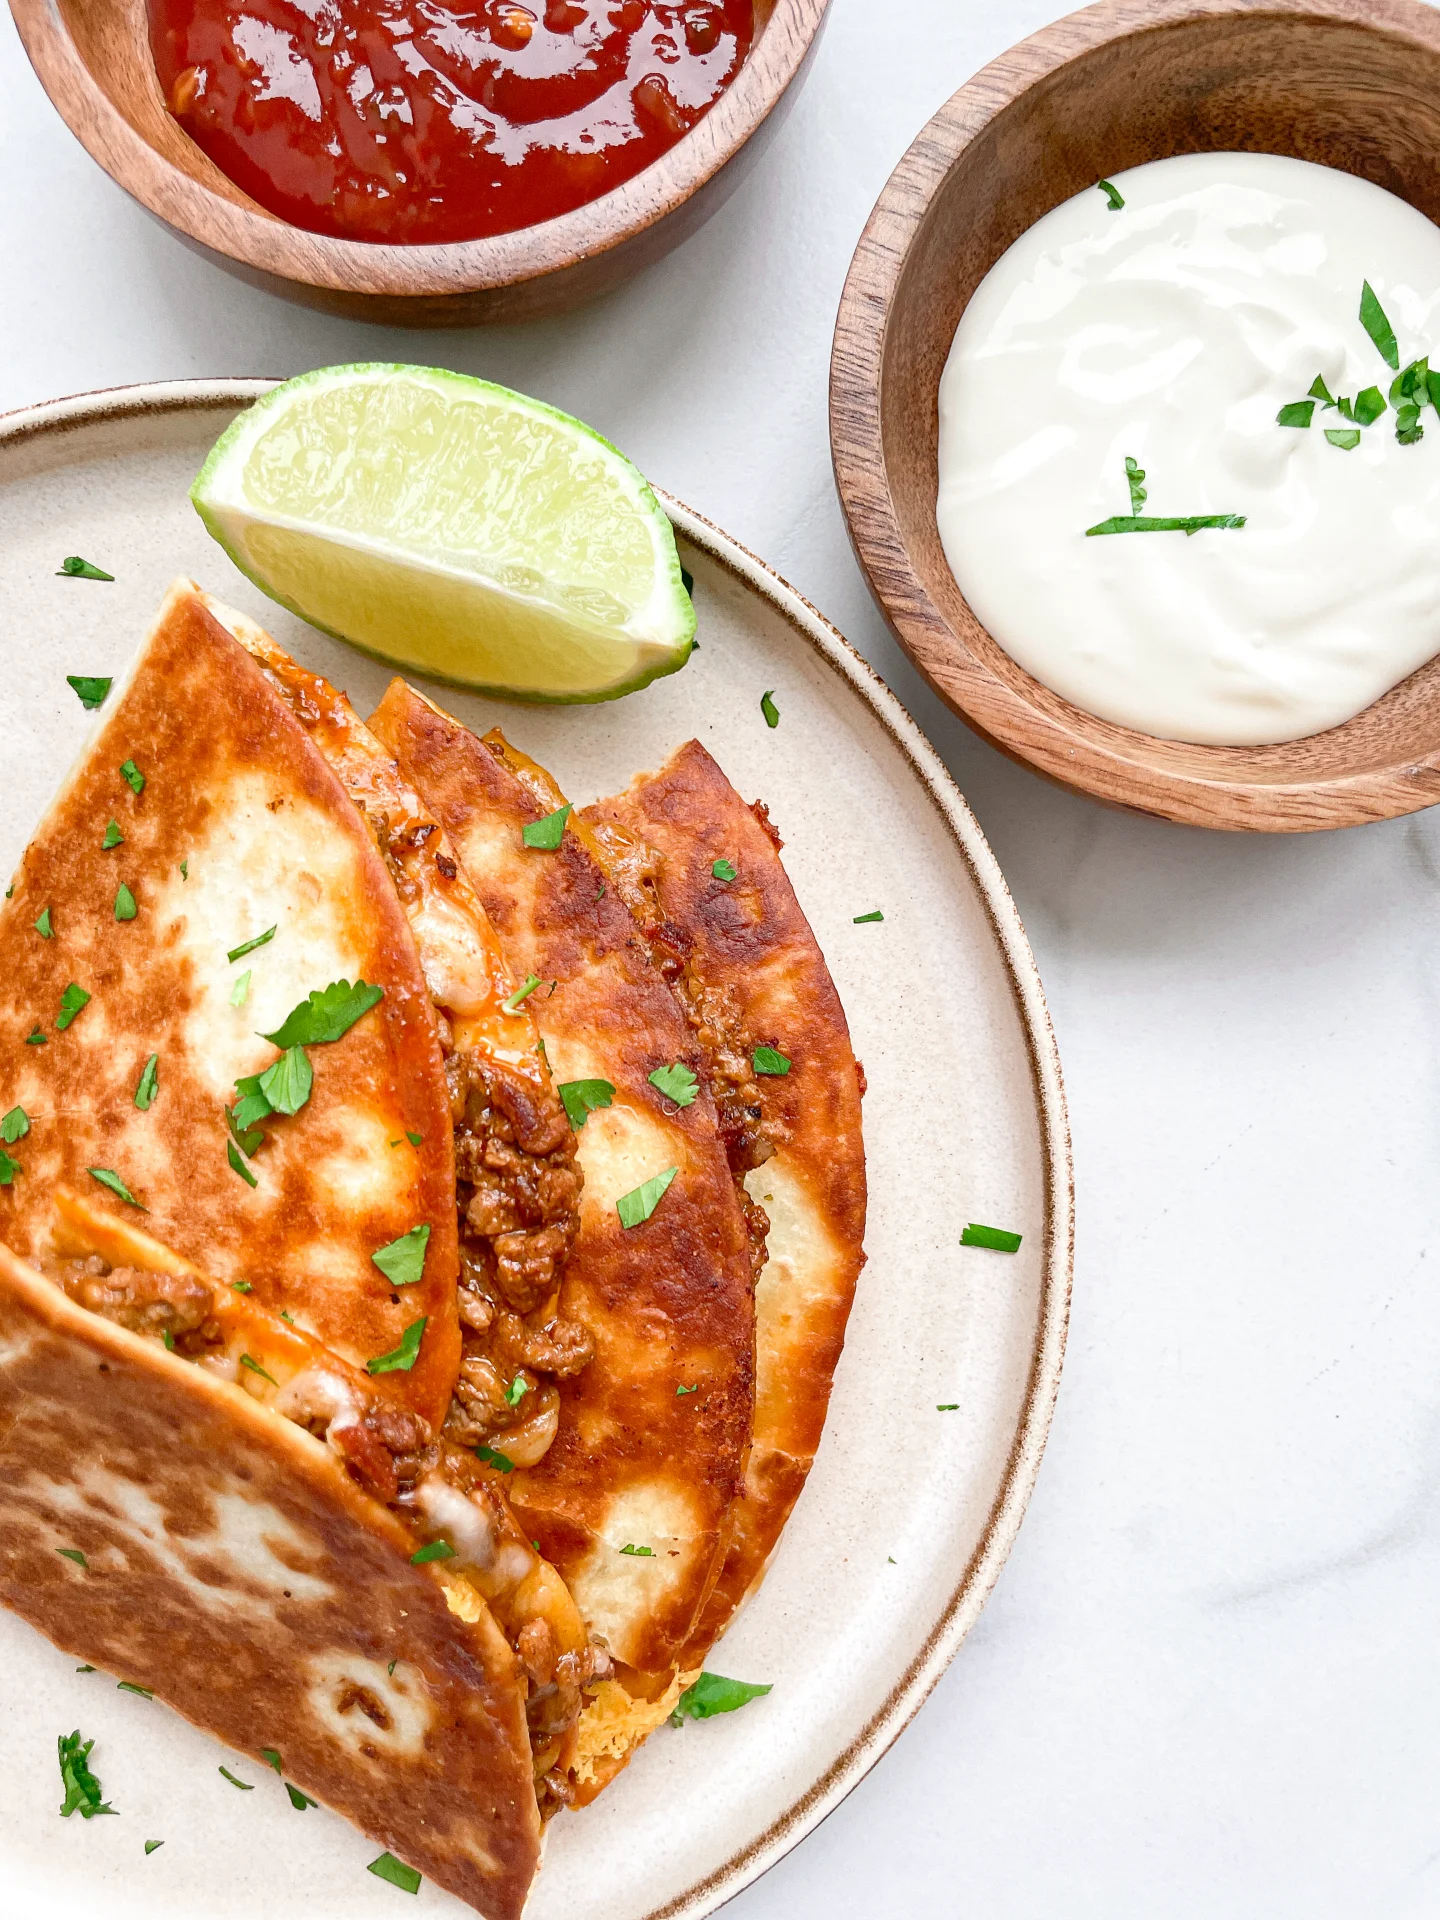
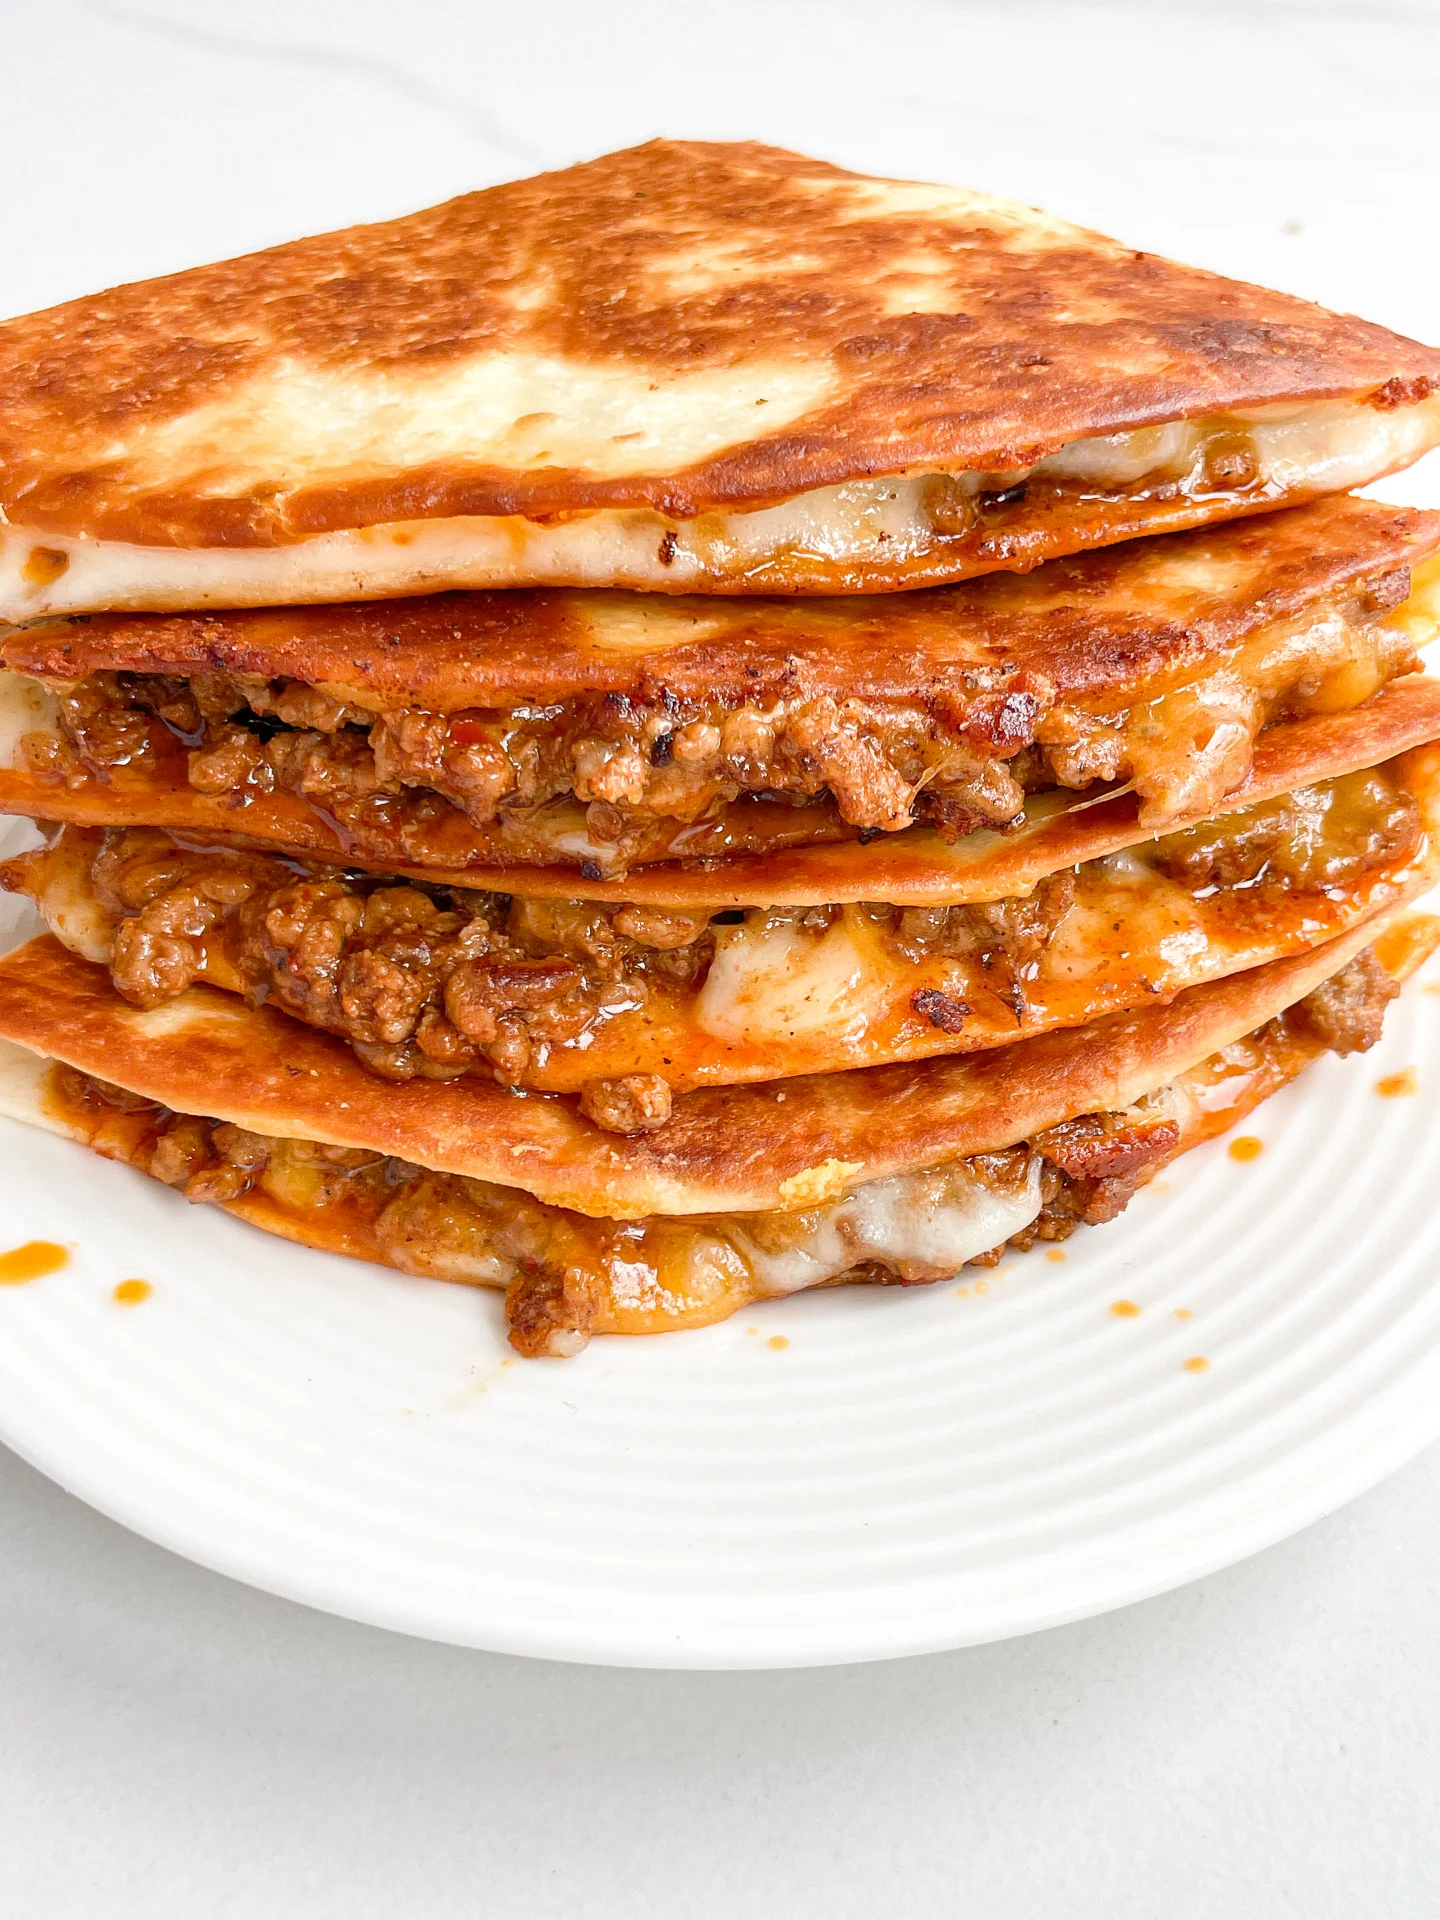
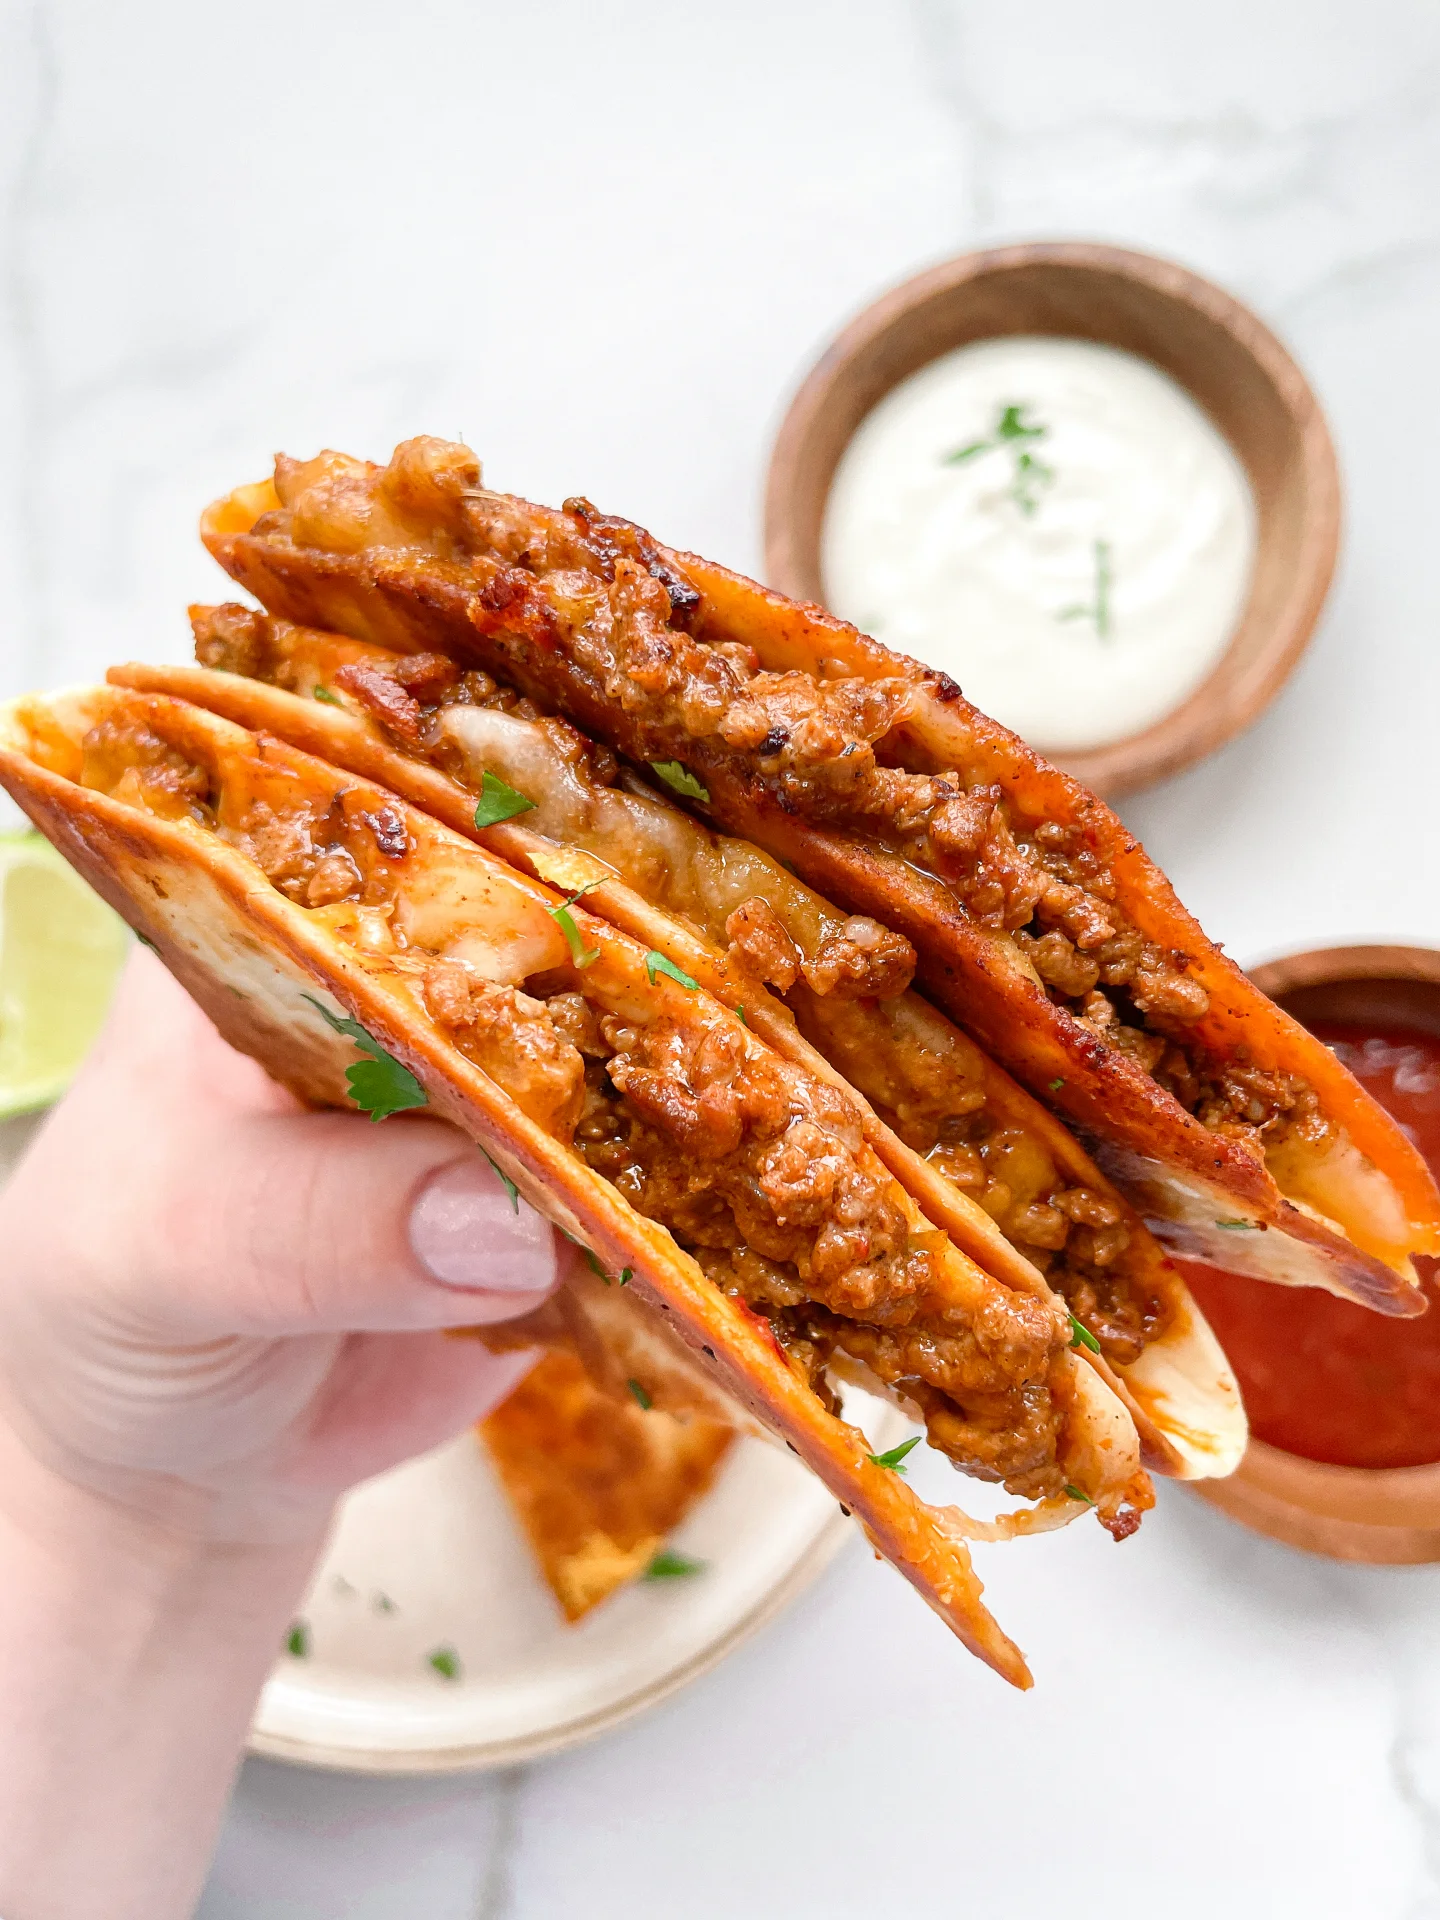
Indulge in the zesty flair of Cilantro Lime Beef Quesadillas! A mouthwatering fusion of juicy beef, tangy lime, and fresh cilantro, wrapped in a crispy tortilla.

This website uses affiliate links which may earn commission for purchases made at no additional cost to you.

TOTAL TIME

30 min

SERVES

6 quesadillas

DIET

omnivore

EVERY RECIPE DESERVES

A Little Love Letter

Dive into the delectable world of Cilantro Lime Beef Quesadillas, your next go-to recipe for a quick, flavorful meal that’s sure to delight your taste buds. Combining juicy beef, vibrant lime, and fresh cilantro, these quesadillas offer a tantalizing taste of Mexican cuisine right in your kitchen. Perfect for those busy weeknights or when you’re craving something deliciously different.

When it comes to serving, Cilantro Lime Beef Quesadillas shine brightest with a side of creamy guacamole, tangy salsa, and a dollop of sour cream. Whether you’re gathering around the table for a family dinner or entertaining friends, these quesadillas are a versatile dish that pairs wonderfully with a chilled margarita or a refreshing limeade. The fusion of flavors and textures makes every bite a delightful experience.

To store, let your quesadillas cool down before wrapping them tightly in aluminum foil. They’ll keep nicely in the refrigerator for up to two days. Reheat in a skillet or oven to retain that irresistible crunch. Enjoy the ease of having a delicious meal just minutes away, any day of the week.

Hi, I'm Kimberly!

Hi, I'm Kimberly.

A hopeless romantic when it comes to food. Every recipe I share is a love letter to food itself. I’m so glad you’re here. Make yourself at home and stay a while.

Love,
Kimberly

Kimberly the Zett Signature

If you want to get to know me better,
click here!


Cilantro Lime Beef Quesadillas

LET’S MAKE A PIECE OF HAPPINESS

Print
clock clock iconcutlery cutlery iconflag flag iconfolder folder iconinstagram instagram iconpinterest pinterest iconfacebook facebook iconprint print iconsquares squares iconheart heart iconheart solid heart solid icon
Cilantro Lime Beef Quesadillas

Cilantro Lime Beef Quesadillas


5 Stars 4 Stars 3 Stars 2 Stars 1 Star

No reviews

  • Author: Kimberly
  • Total Time: 30 min
  • Yield: 6 1x

Description

GOOD TO HAVE ON HAND

  • sharp knife
  • cutting board
  • large pan


Ingredients

Units Scale
FILLING
  • 400 grams lean minced beef
  • 1 tbsp olive oil
  • 1 tsp chili flakes
  • 1/2 tsp oregano
  • 1/2 cumin
  • 1/2 garlic powder
  • 1/2 onion powder
  • 1/2 tsp salt
  • 1/2 cayenne pepper
  • 1/2 ground black pepper
  • 1 tbsp tomato paste
  • 250 milliliters beef stock
  • 125 grams shredded mozzarella
  • 125 grams shredded cheddar
TORTILLAS
  • 6 medium-sized tortillas
  • 3 tsp olive oil
TOPPINGS
  • 2 limes
  • cilantro
  • 200 grams creme fraiche
  • 200 grams salsa

Instructions

  1. Wash the cilantro, pluck the leaves from the stems, and roughly chop them.
  2. Wash the limes and cut them into quarters.
  3. Mix the grated mozzarella and grated cheddar in a bowl.
  4. Heat a large pan over medium heat and add 1 tbsp olive oil. Put the ground beef into the pan and season it with 1 teaspoon of chili powder, and ½ teaspoon each of oregano, cumin, garlic powder, onion powder, cayenne pepper, salt, and pepper. Cook the meat until it forms a dark crust at the bottom of the pan. Then add 1 heaping tablespoon of tomato paste to the meat, mix everything together, and let it cook for 1-2 minutes. Pour beef broth into the pan to deglaze it, scrape off the crust from the bottom, and let everything simmer for about 10 minutes until the broth forms a creamy sauce around the meat.
  5. Meanwhile, lay out 6 tortilla wraps side by side and spread half of the cheese on one half of each tortilla, leaving the other half free.
  6. Spread the meat directly from the pan onto the cheese on each tortilla. Wipe the pan clean and place it back on the stove.
  7. Now, spread the second half of the cheese on top of the meat and use a spoon to distribute the filling to the edge of half of each tortilla. Fold the empty half of the tortilla over the filled half. Press down firmly.
  8. Cook two of the filled quesadillas side by side in the pan with 1 teaspoon of olive oil on both sides over medium heat until the tortilla becomes crispy golden brown and the cheese inside is melted. Remove from the pan and cut in half.
  9. Place three pieces of the quesadillas on each plate, along with two lime wedges, and sprinkle with cilantro. Serve with your favorite salsa and sour cream for dipping.
  • Cook Time: 30 min

CRAVING MORE?

Follow along here & don’t forget to subscribe to my substack!

Pico de Gallo

Pico de Gallo

Pico de Gallo

Pico de Gallo

February 12, 2024 by Kimberly

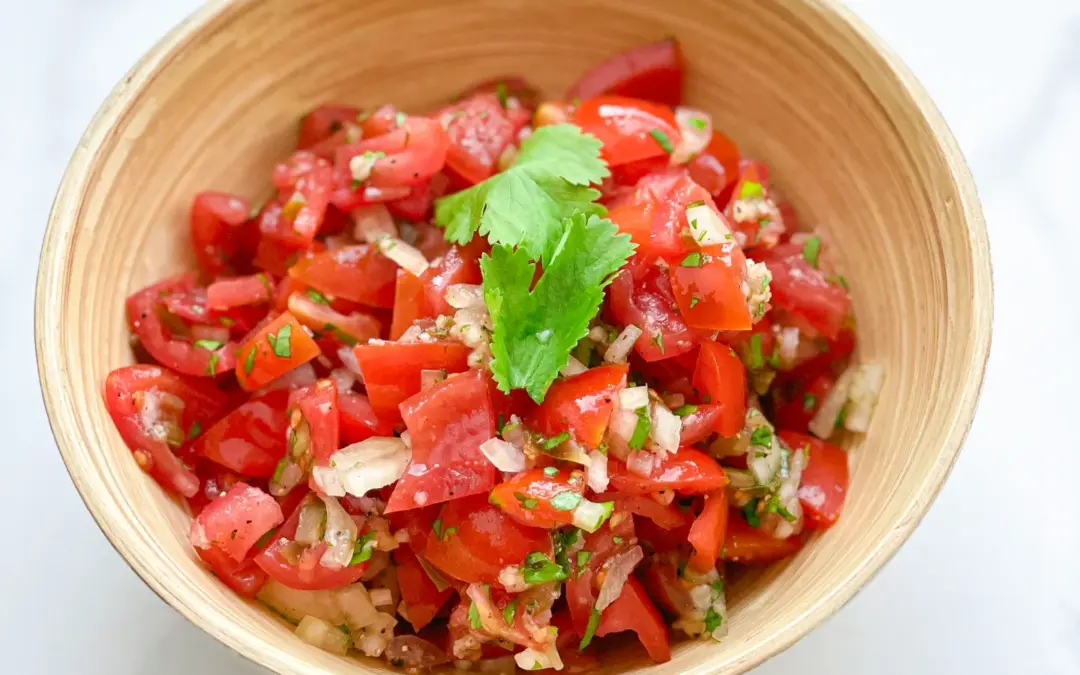
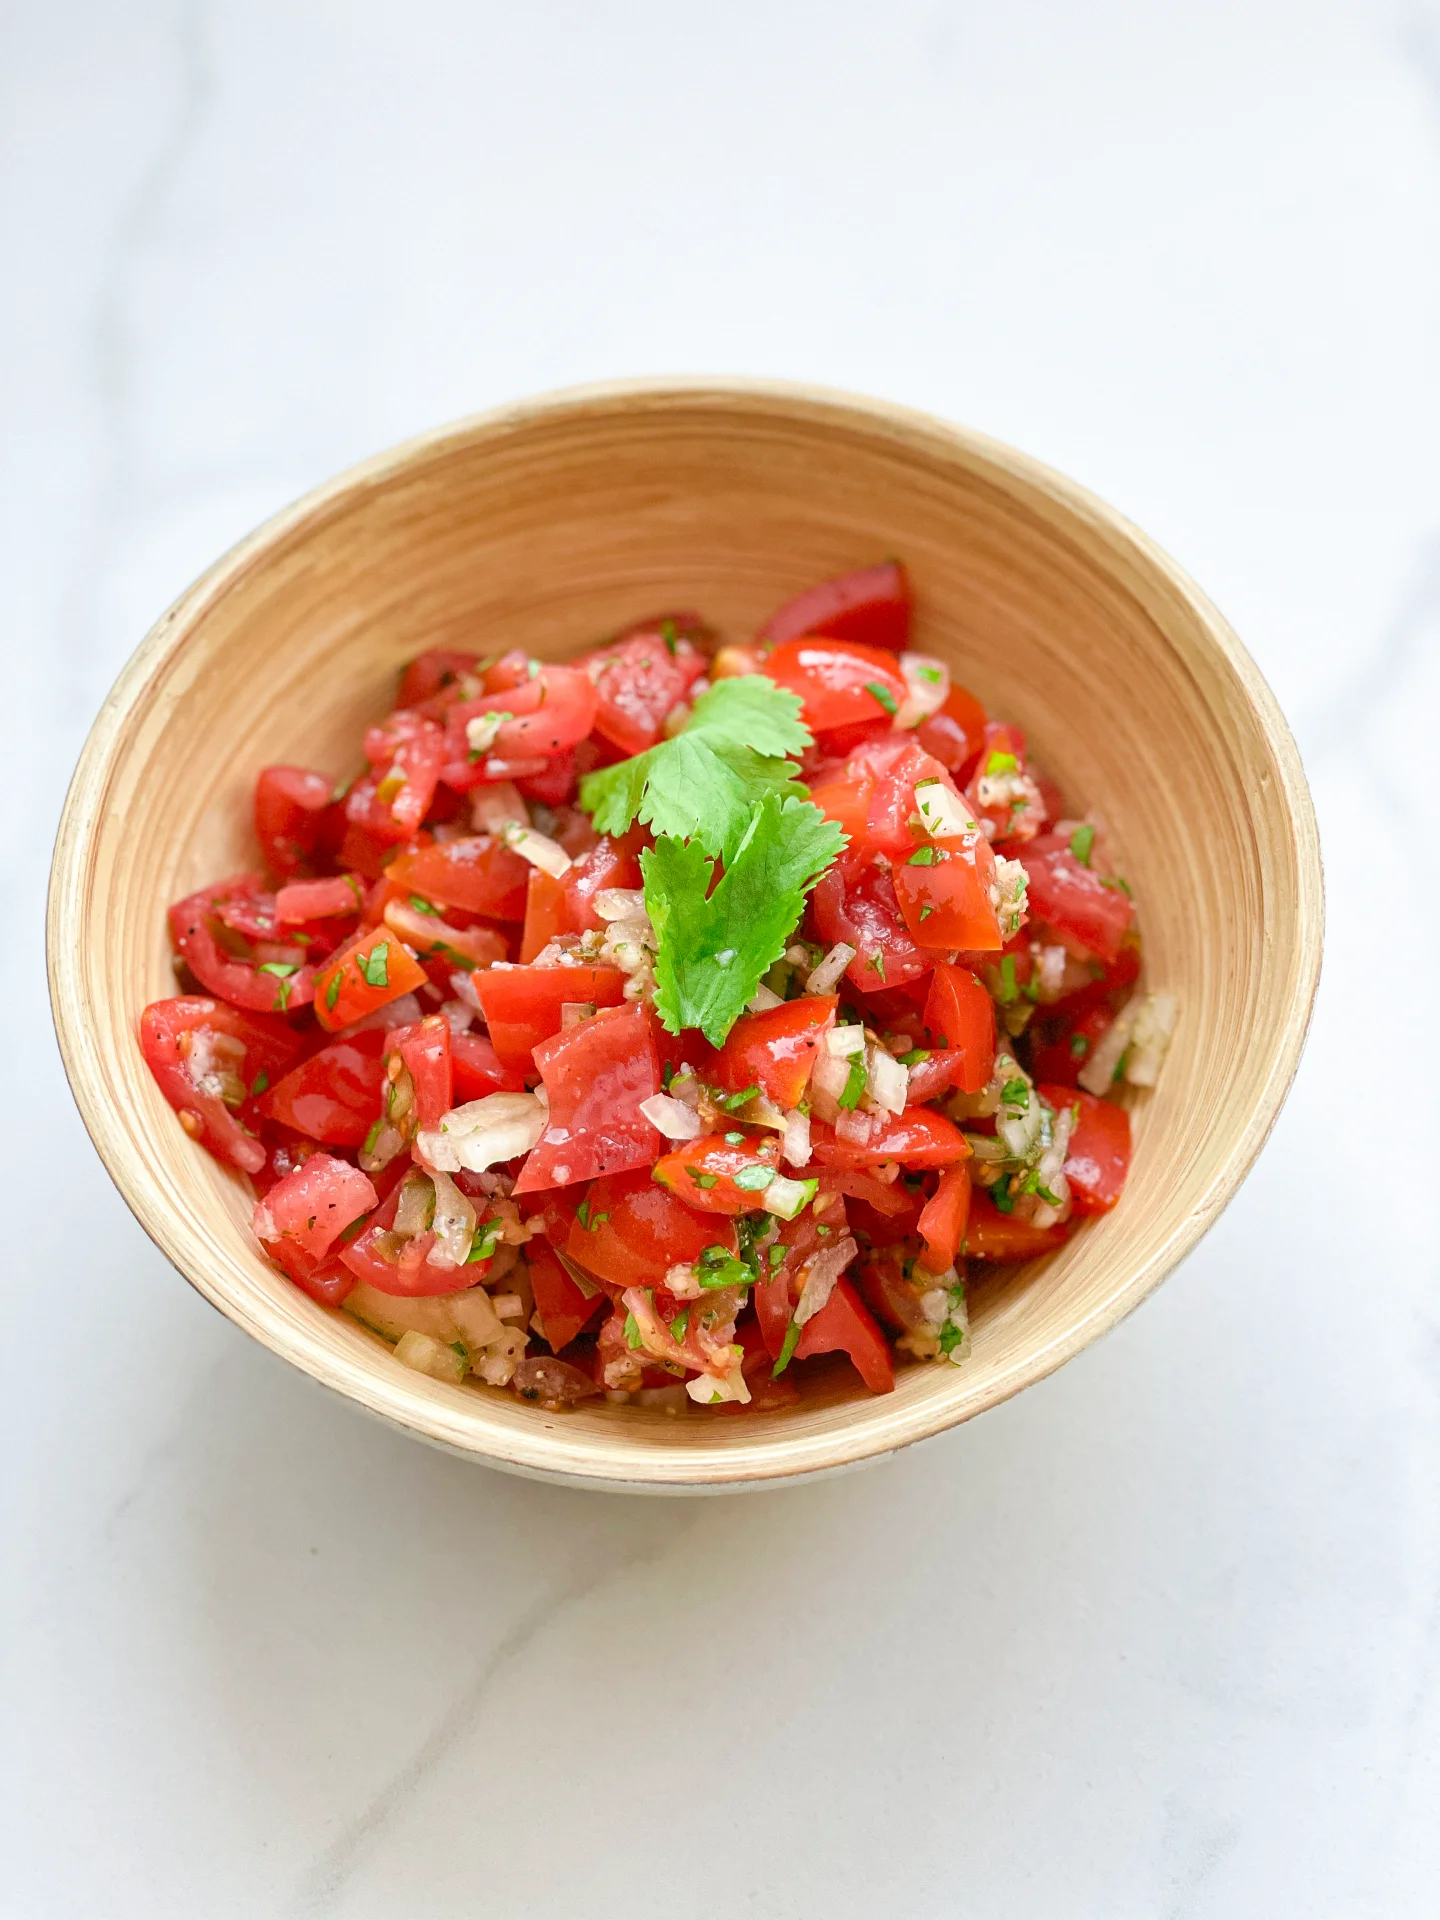
Discover the vibrant and fresh Pico de Gallo, a perfect blend of flavors to elevate any meal. Easy to make, it’s a delightful, colorful addition to your table!

This website uses affiliate links which may earn commission for purchases made at no additional cost to you.

TOTAL TIME

10 min

SERVES

4 portions

DIET

vegan

EVERY RECIPE DESERVES

A Little Love Letter

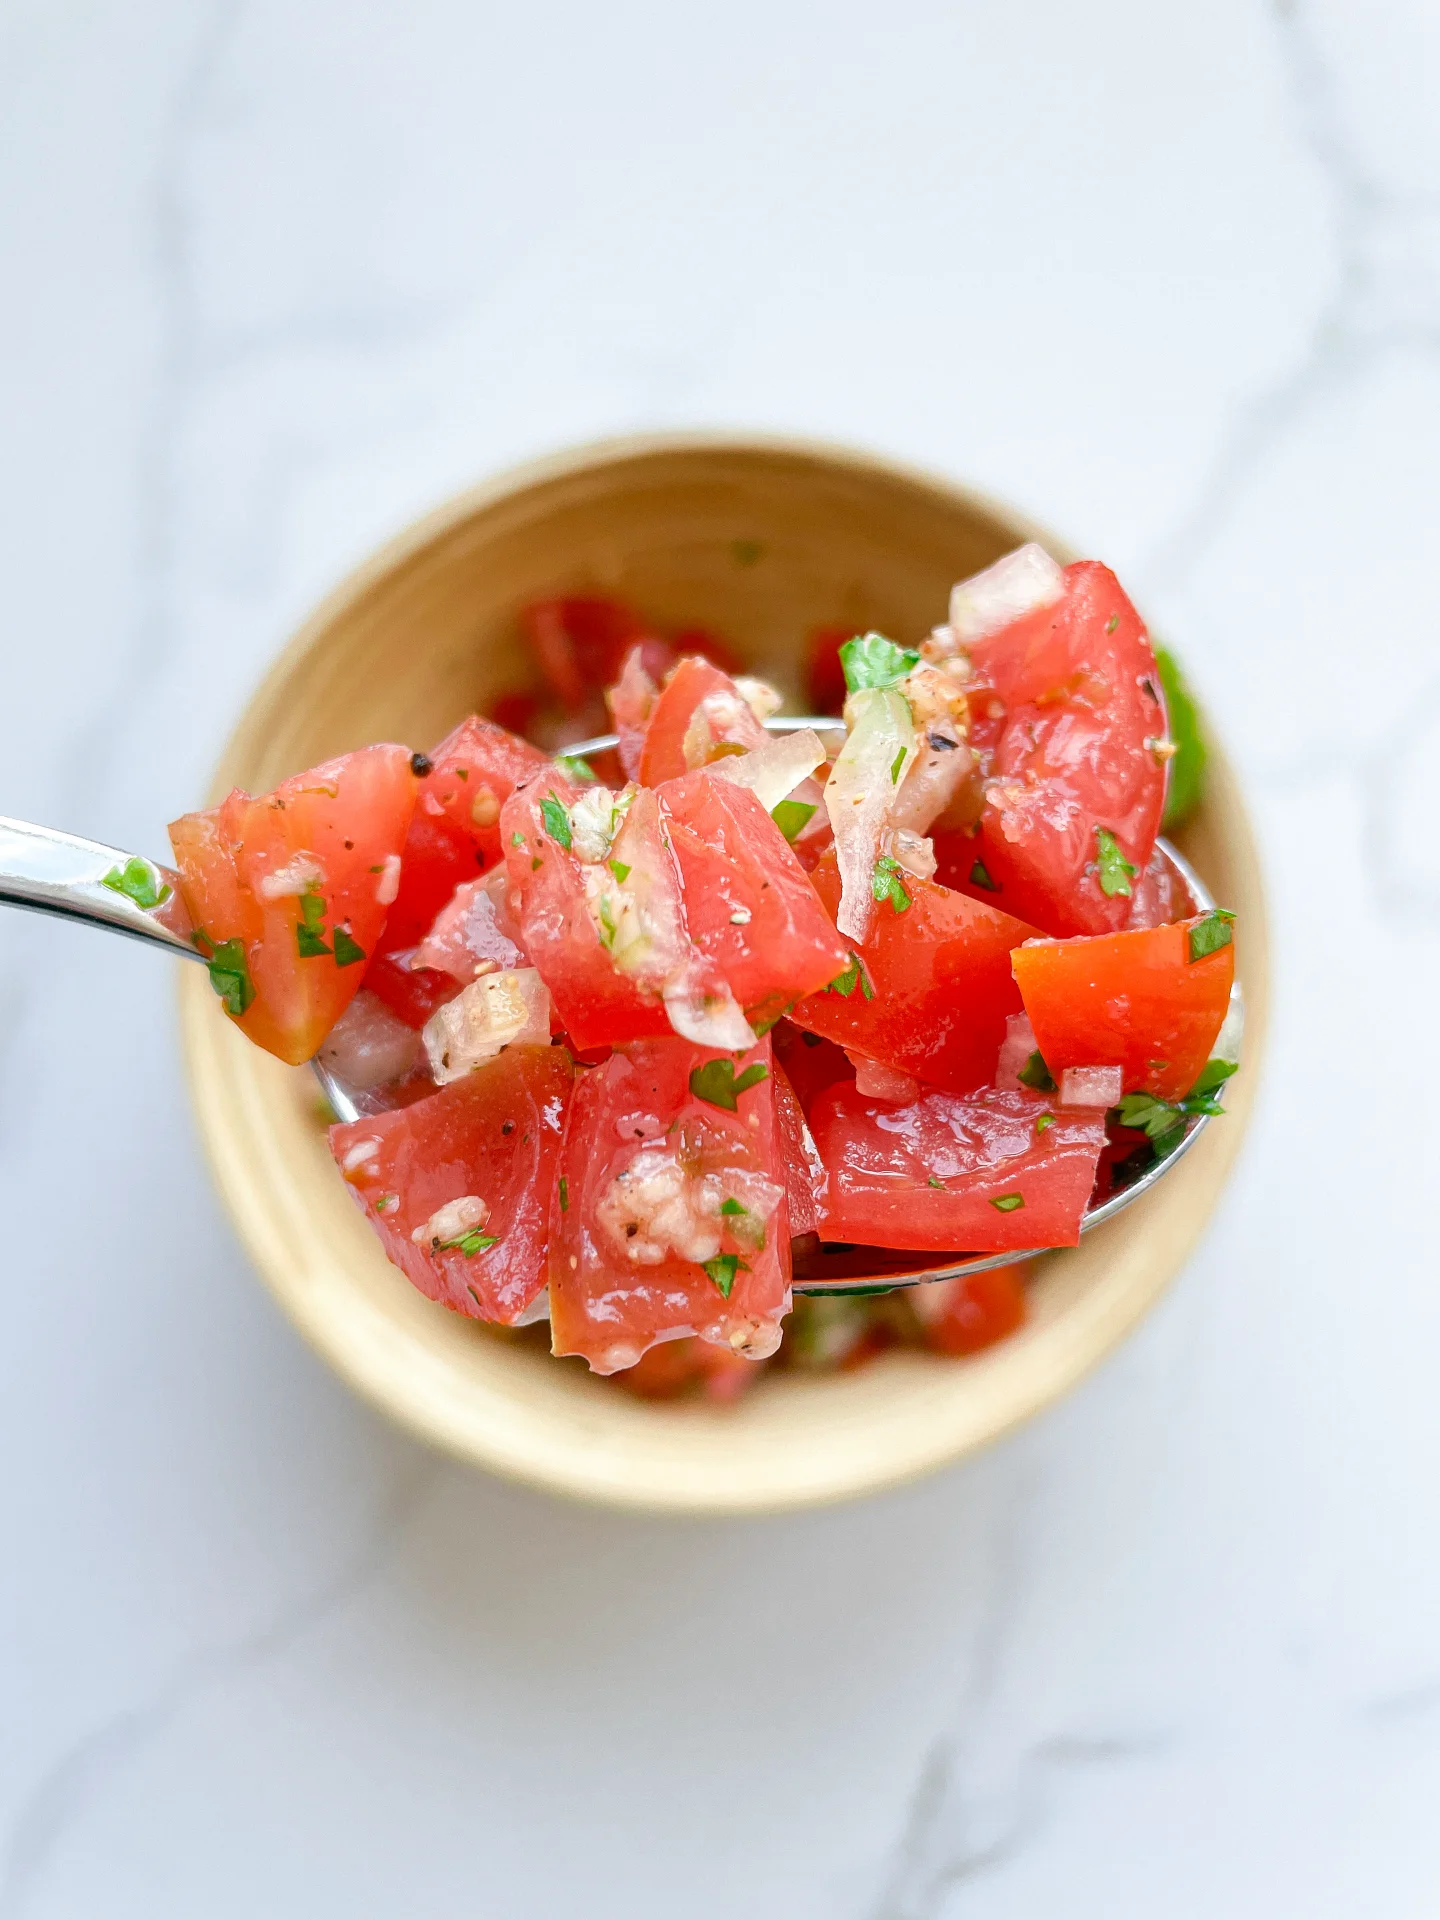
Dive into the world of Mexican cuisine with the simple yet exquisite Pico de Gallo. This refreshing salsa combines the bold flavors of tomato, onion, and cilantro, offering a burst of freshness with every bite. Perfect for health-conscious foodies, this easy-to-make dish serves as a versatile accompaniment to countless meals. Embrace the joy of homemade salsa and add a splash of color to your dining experience.

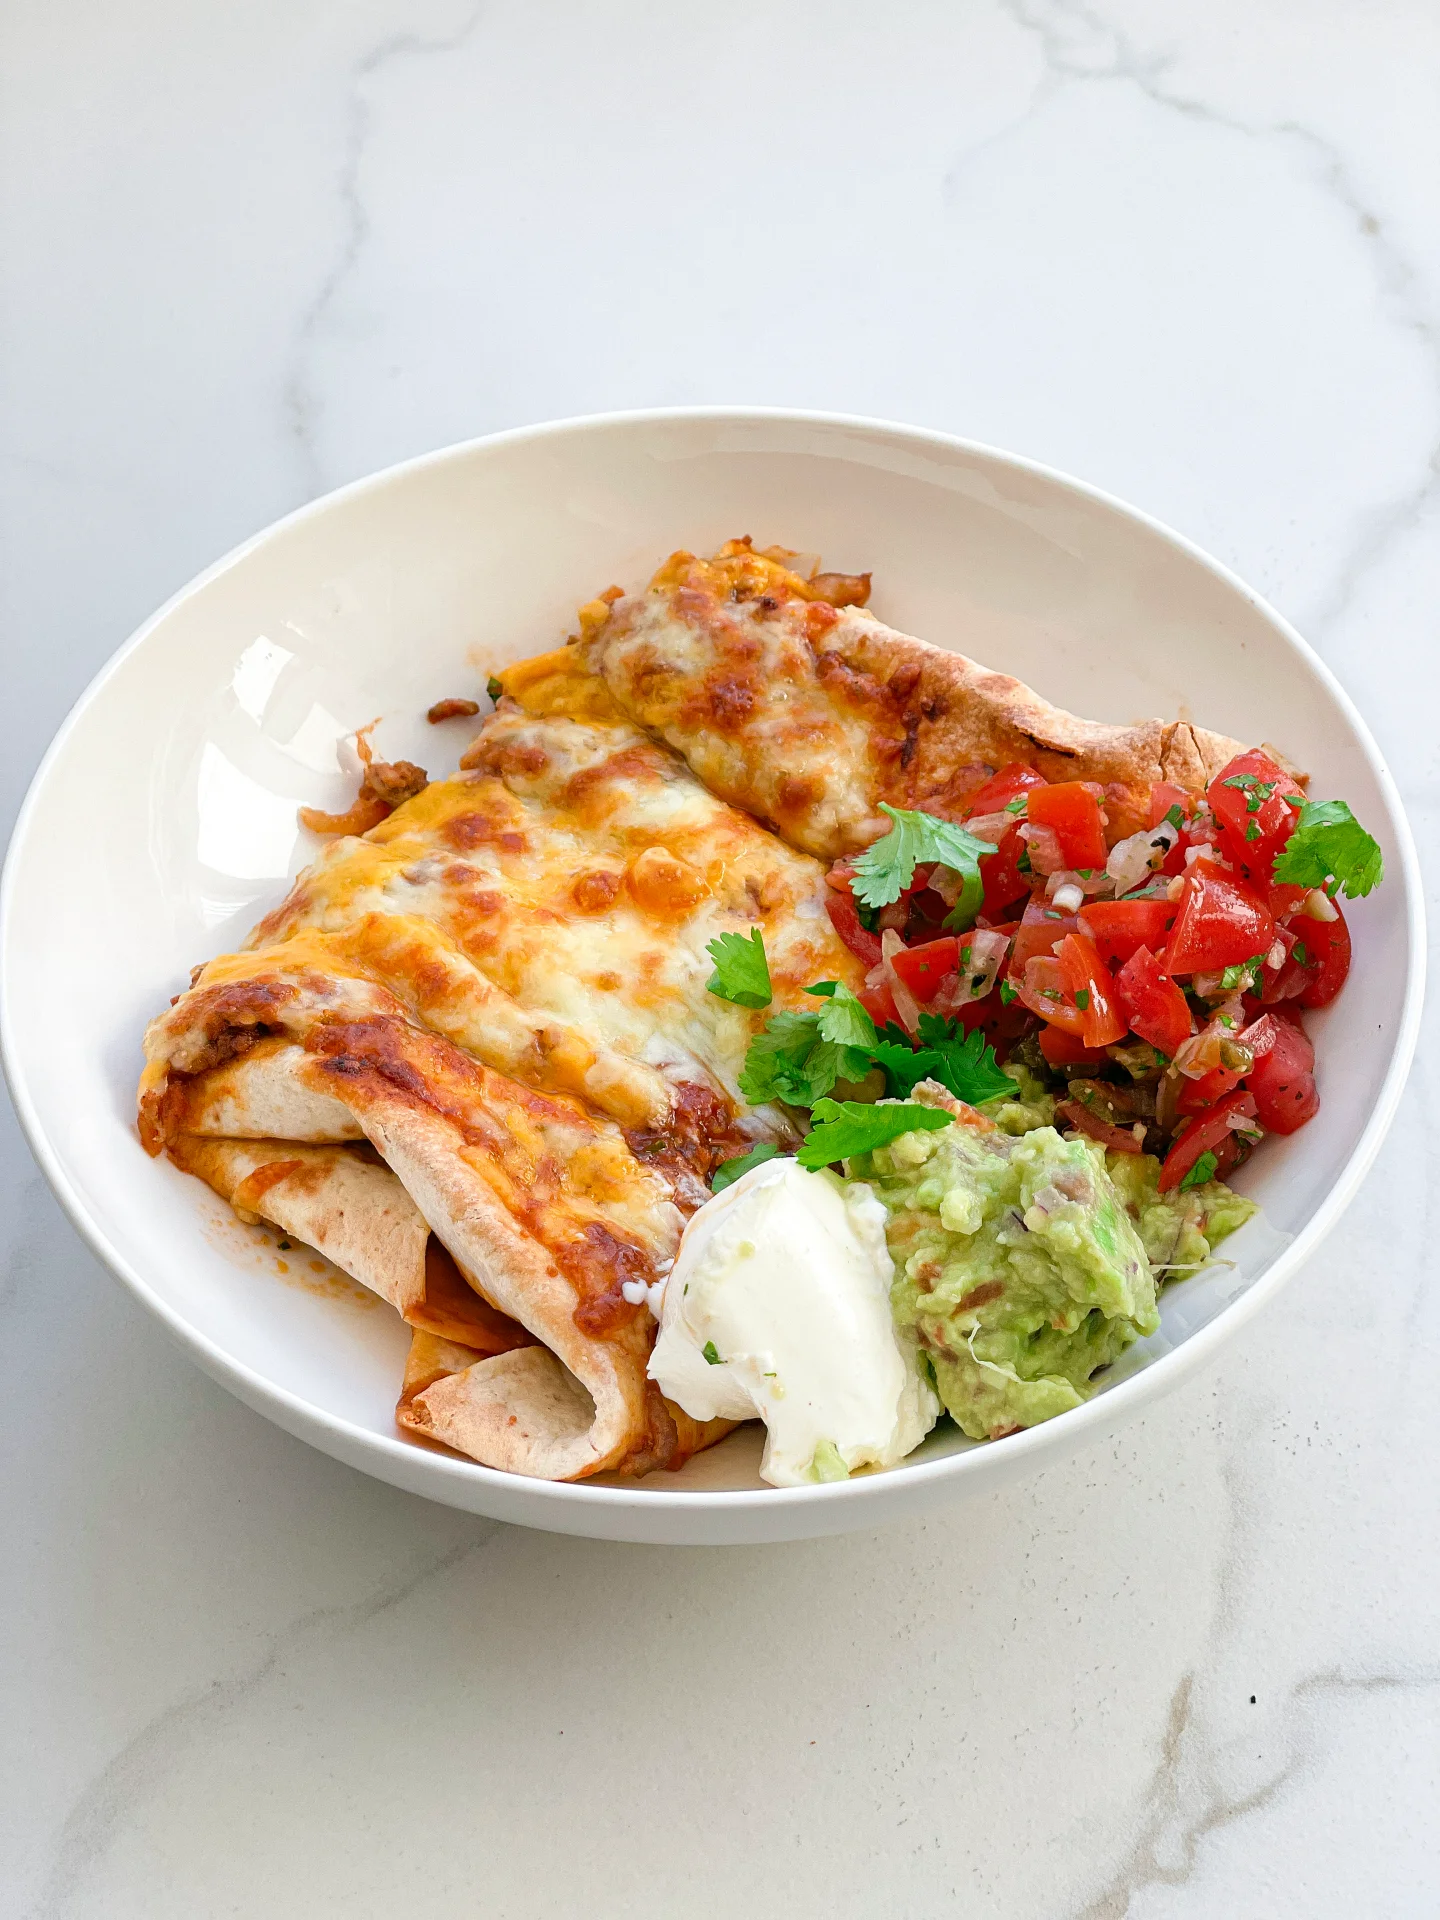
Pico de Gallo is incredibly versatile, making it a must-have for any gathering. Serve it alongside grilled meats or fish for a refreshing contrast, or scoop it up with crispy tortilla chips for the ultimate snack. It’s also the perfect topping for tacos, burritos, quesadillas and enchiladas, adding a fresh, crunchy element. For a lighter option, spoon it over avocado toast or mixed into a vibrant salad.

To keep your Pico de Gallo fresh, store it in an airtight container in the refrigerator. It’s best enjoyed within 2-3 days, as the flavors meld beautifully over time, yet the ingredients retain their crispness.

Hi, I'm Kimberly!

Hi, I'm Kimberly.

A hopeless romantic when it comes to food. Every recipe I share is a love letter to food itself. I’m so glad you’re here. Make yourself at home and stay a while.

Love,
Kimberly

Kimberly the Zett Signature

If you want to get to know me better,
click here!


Pico de Gallo
Pico de Gallo

LET’S MAKE A PIECE OF HAPPINESS

Print
clock clock iconcutlery cutlery iconflag flag iconfolder folder iconinstagram instagram iconpinterest pinterest iconfacebook facebook iconprint print iconsquares squares iconheart heart iconheart solid heart solid icon
Pico de Gallo

Pico de Gallo


  • Author: Kimberly
  • Total Time: 10 min
  • Yield: 4 1x

Description

GOOD TO HAVE ON HAND

  • sharp knife
  • cutting board
  • medium sized bowl


Ingredients

Units Scale
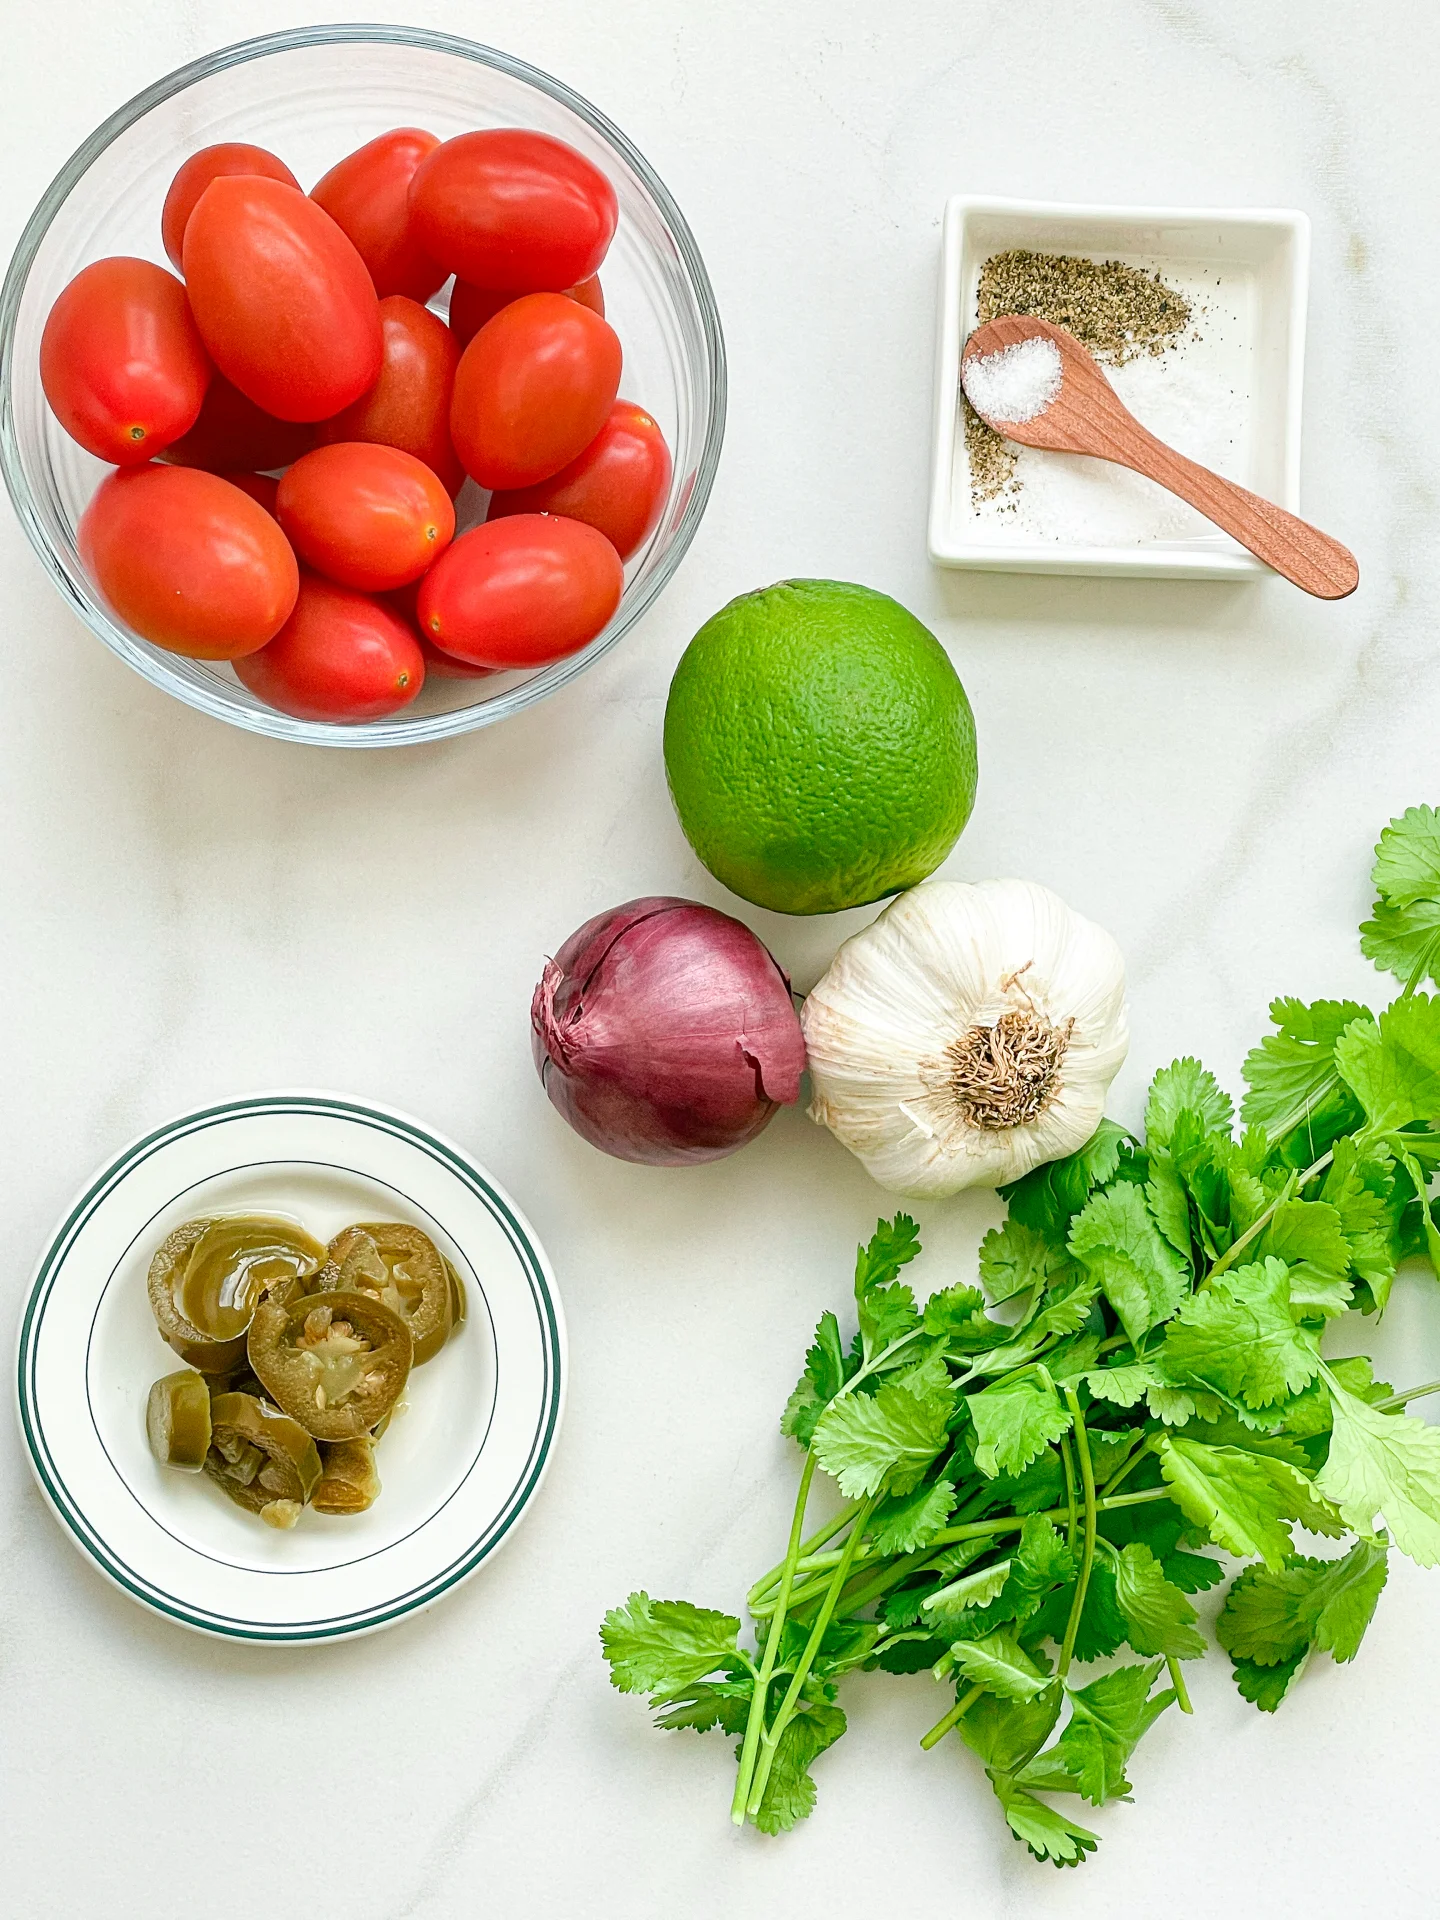
  • 250 grams tomatoes
  • juice of 1 lime
  • 1 small onion
  • 3 garlic cloves
  • 1 jalapeno (fresh or pickled)
  • a few stems cilantro
  • salt & pepper to taste

Instructions

  1. Wash the tomatoes thoroughly under running water.
  2. If you are using fresh jalapenos, wash them thoroughly too.
  3. Halve the tomatoes and remove the seeds. Then quarter them and cut them into small cubes. Place the diced tomatoes in a medium-sized bowl.
  4. Peel the onion, cut it in half and then finely dice it. Add the diced onion to the tomatoes in the bowl.
  5. Pluck the coriander leaves from the stalks and chop them finely. Add the chopped coriander to the bowl.
  6. Peel the garlic cloves and chop them finely or press them directly into the bowl using a garlic press.
  7. Finely chop the jalapeno and add it to the other ingredients in the bowl.
  8. Halve the lime and squeeze the juice over the ingredients in the bowl. Mix all the ingredients together thoroughly and season to taste with salt and pepper.
  • Cook Time: 10 min

CRAVING MORE?

Follow along here & don’t forget to subscribe to my substack!