Kimchi Gyoza

Kimchi Gyoza

Kimchi Gyoza

Kimchi Gyoza

April 10, 2025 by Kimberly

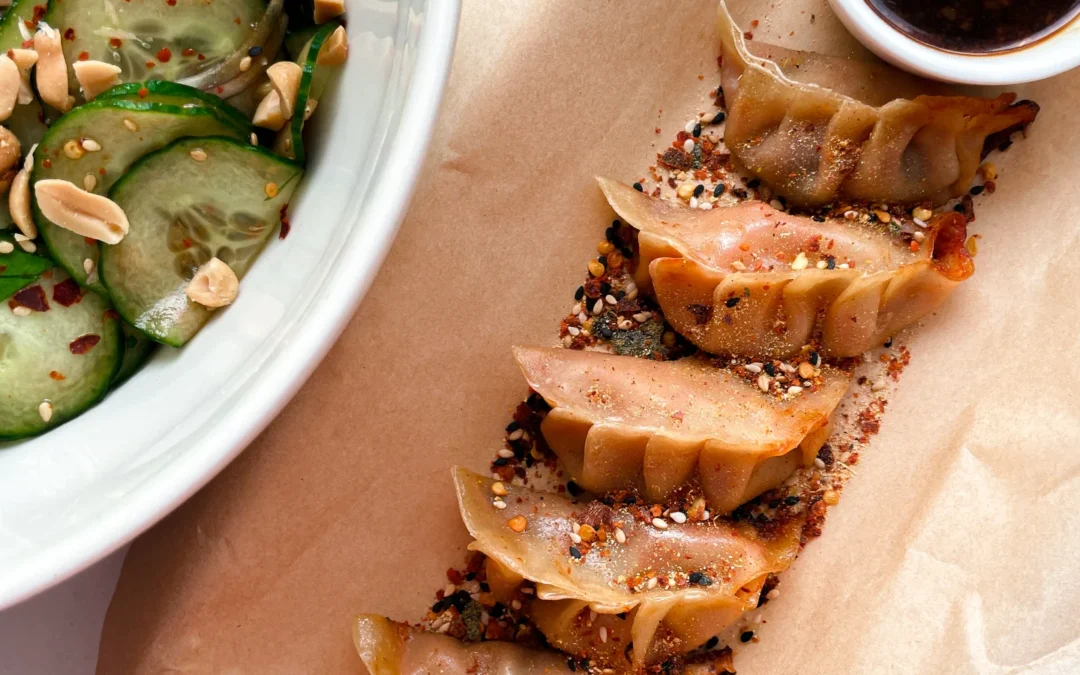
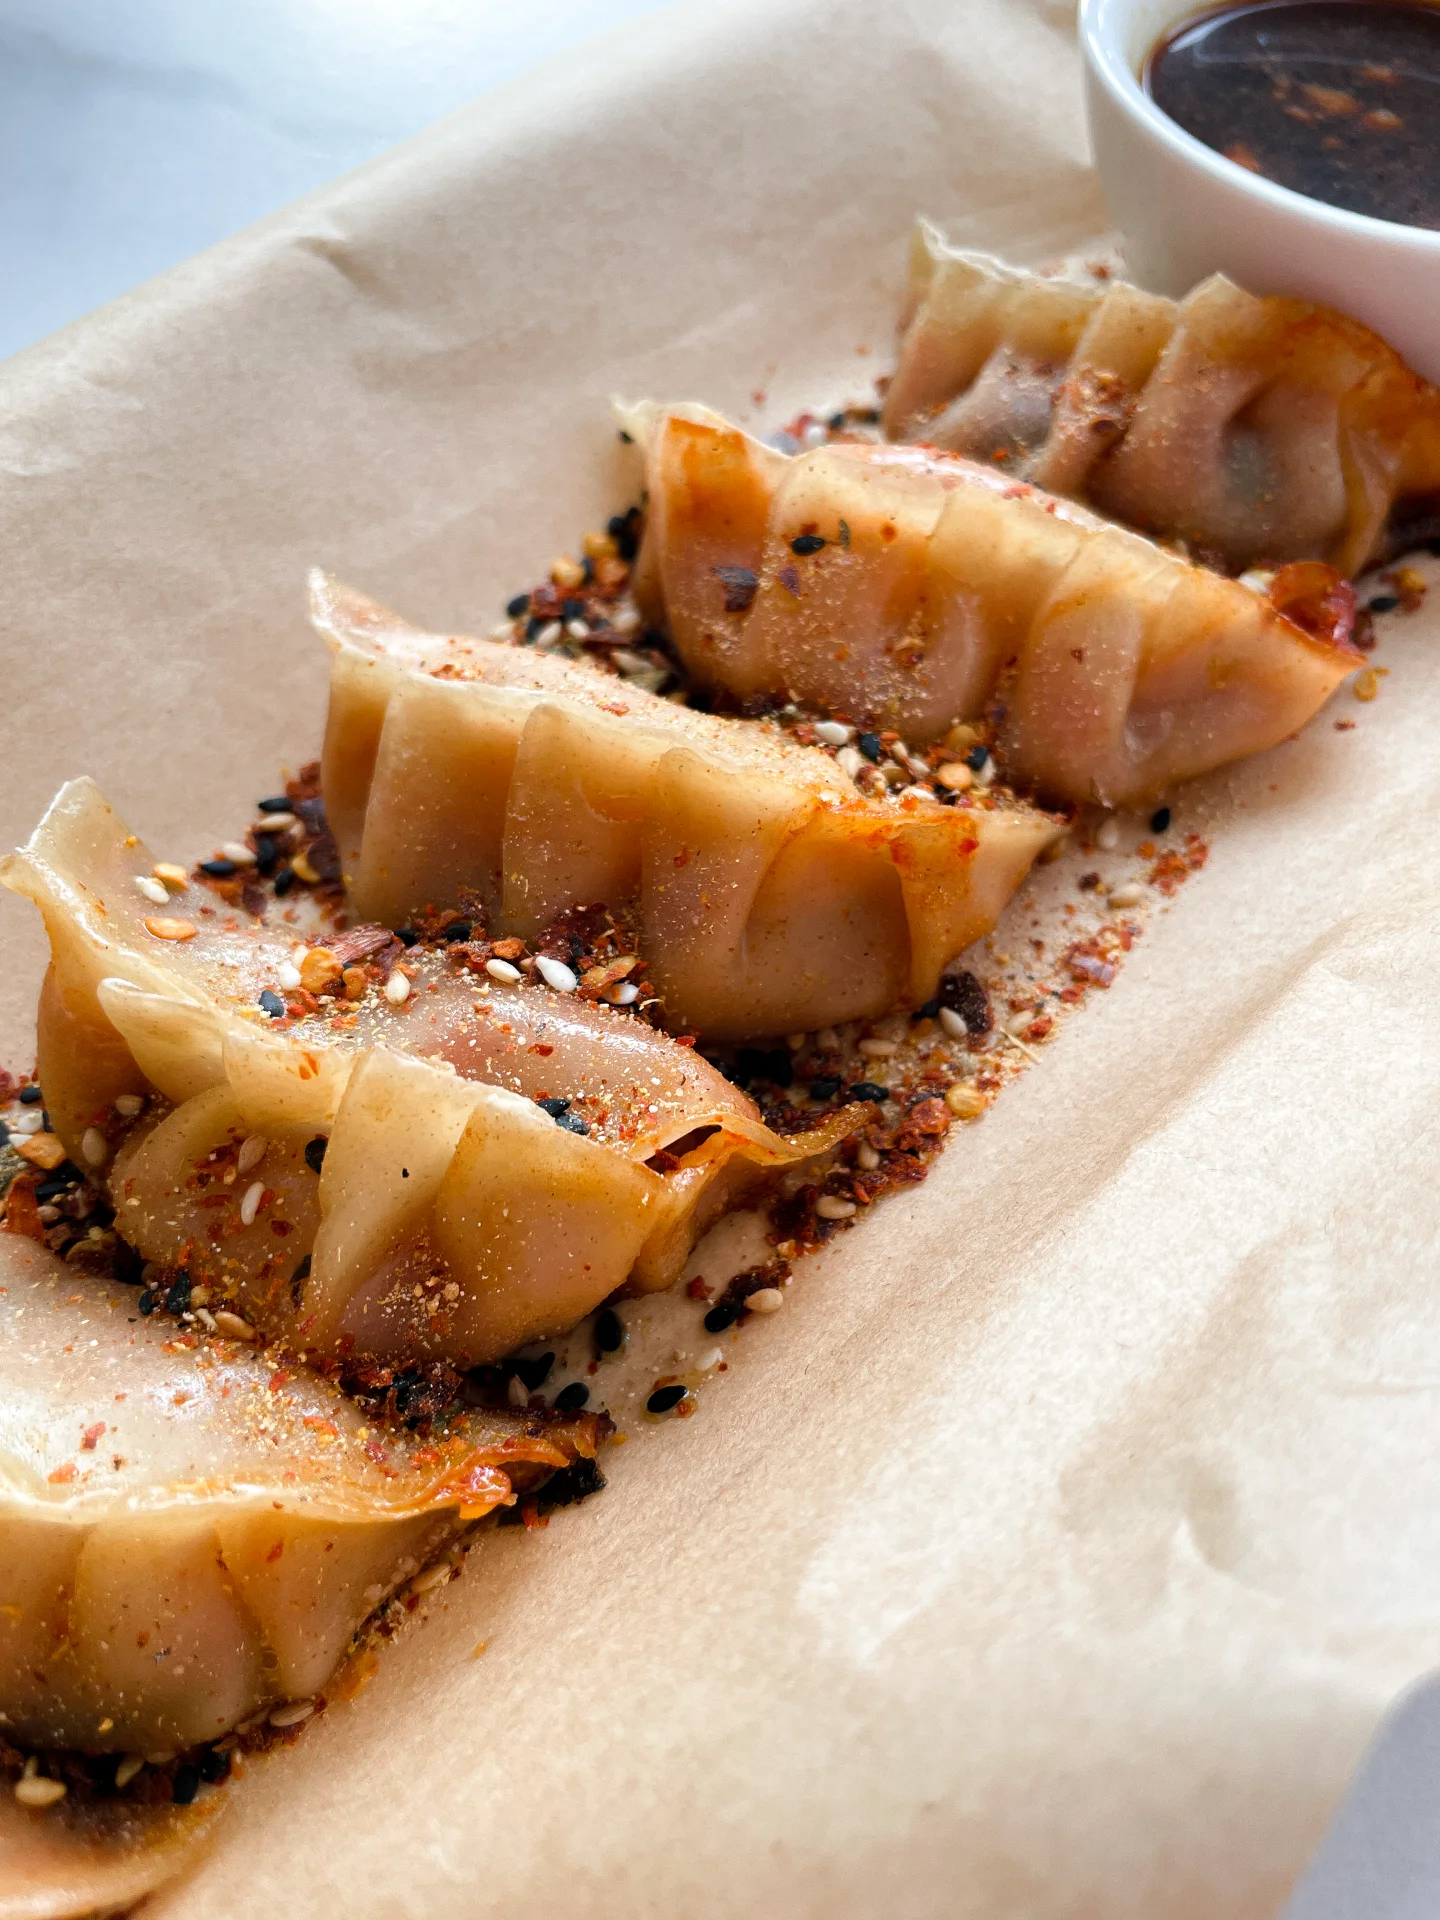
Crispy, spicy, a little funky in the best way. These little pan-fried dumplings pack serious flavor. Perfect for when you’re craving something cozy but still want to feel mildly impressive.

This website uses affiliate links which may earn commission for purchases made at no additional cost to you.

TOTAL TIME

30 min

SERVES

20 gyoza

DIET

vegan

EVERY RECIPE DESERVES

A Little Love Letter

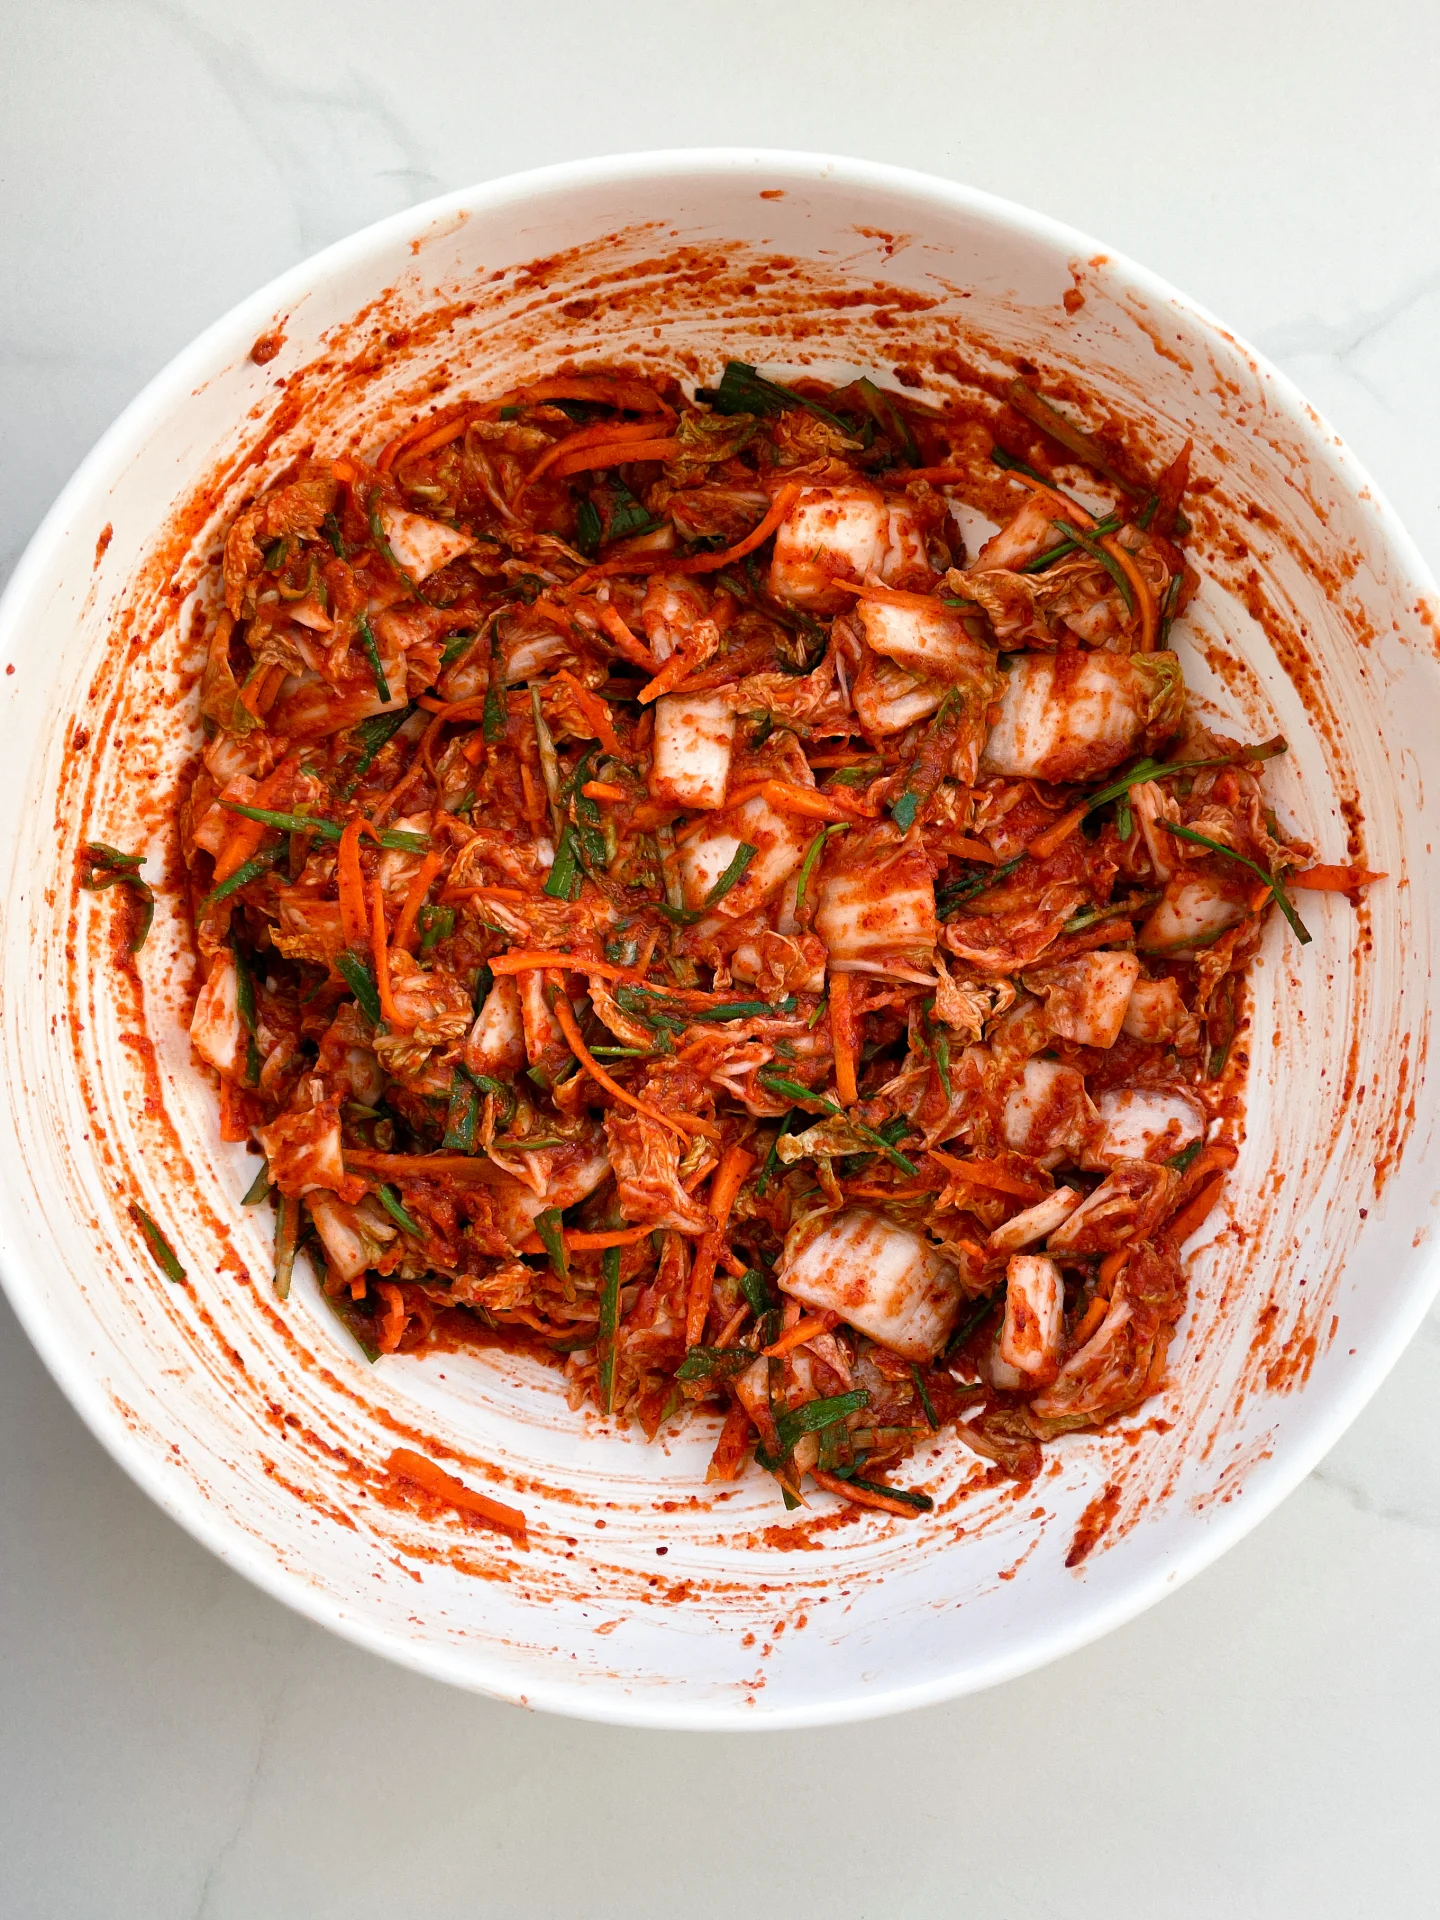
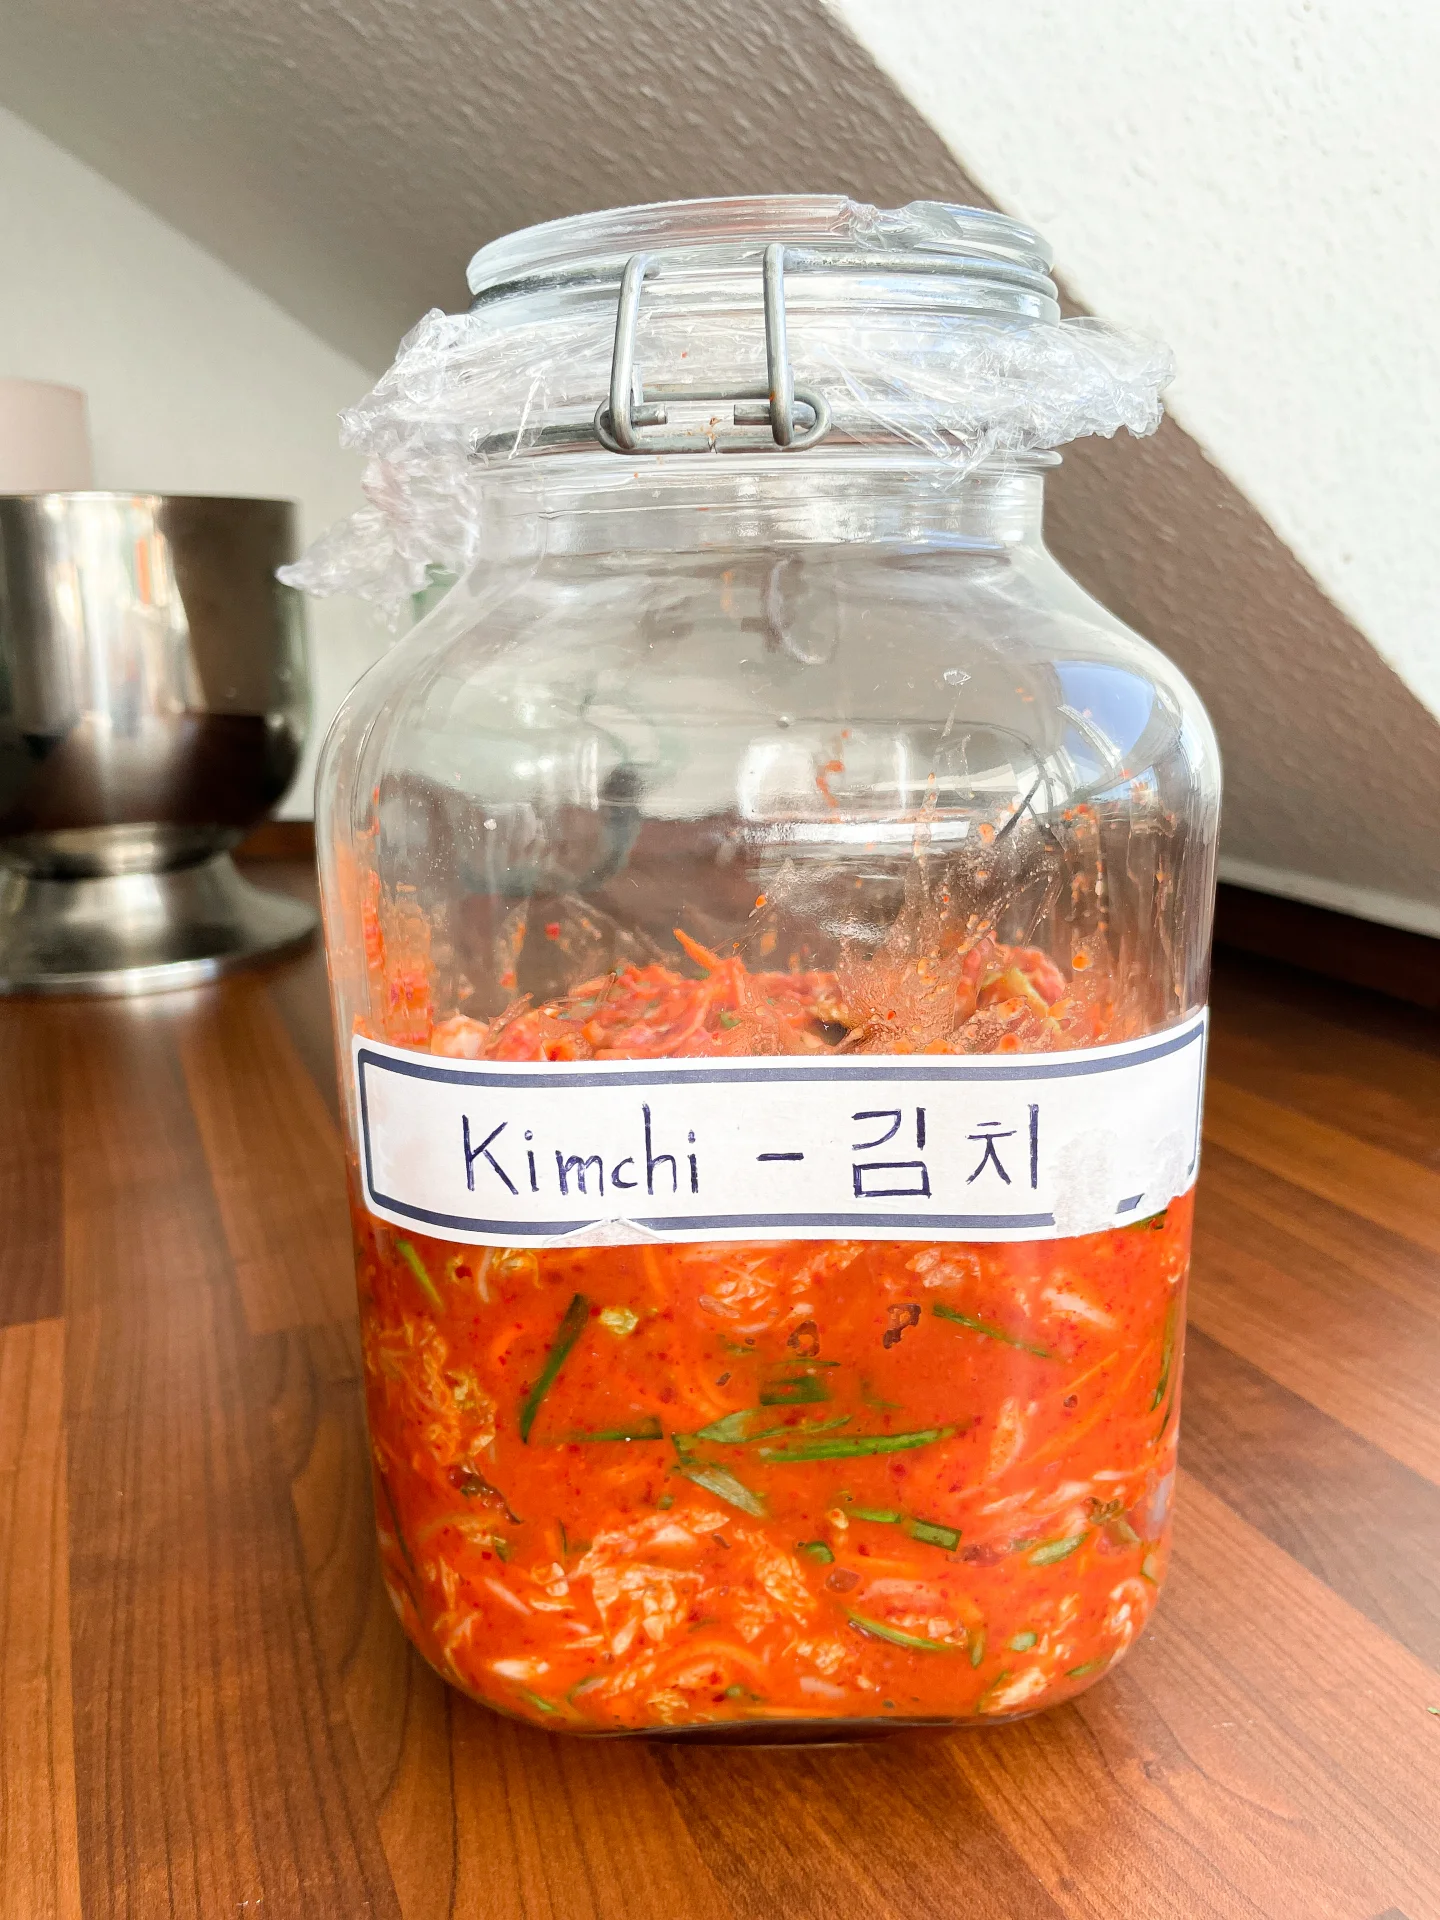
There’s something weirdly comforting about standing over a hot pan, crisping up dumplings that smell like spice, garlic, and pure satisfaction. I used my homemade version (linked here if you want to try it), but honestly, store-bought kimchi will do just fine. No judgment.

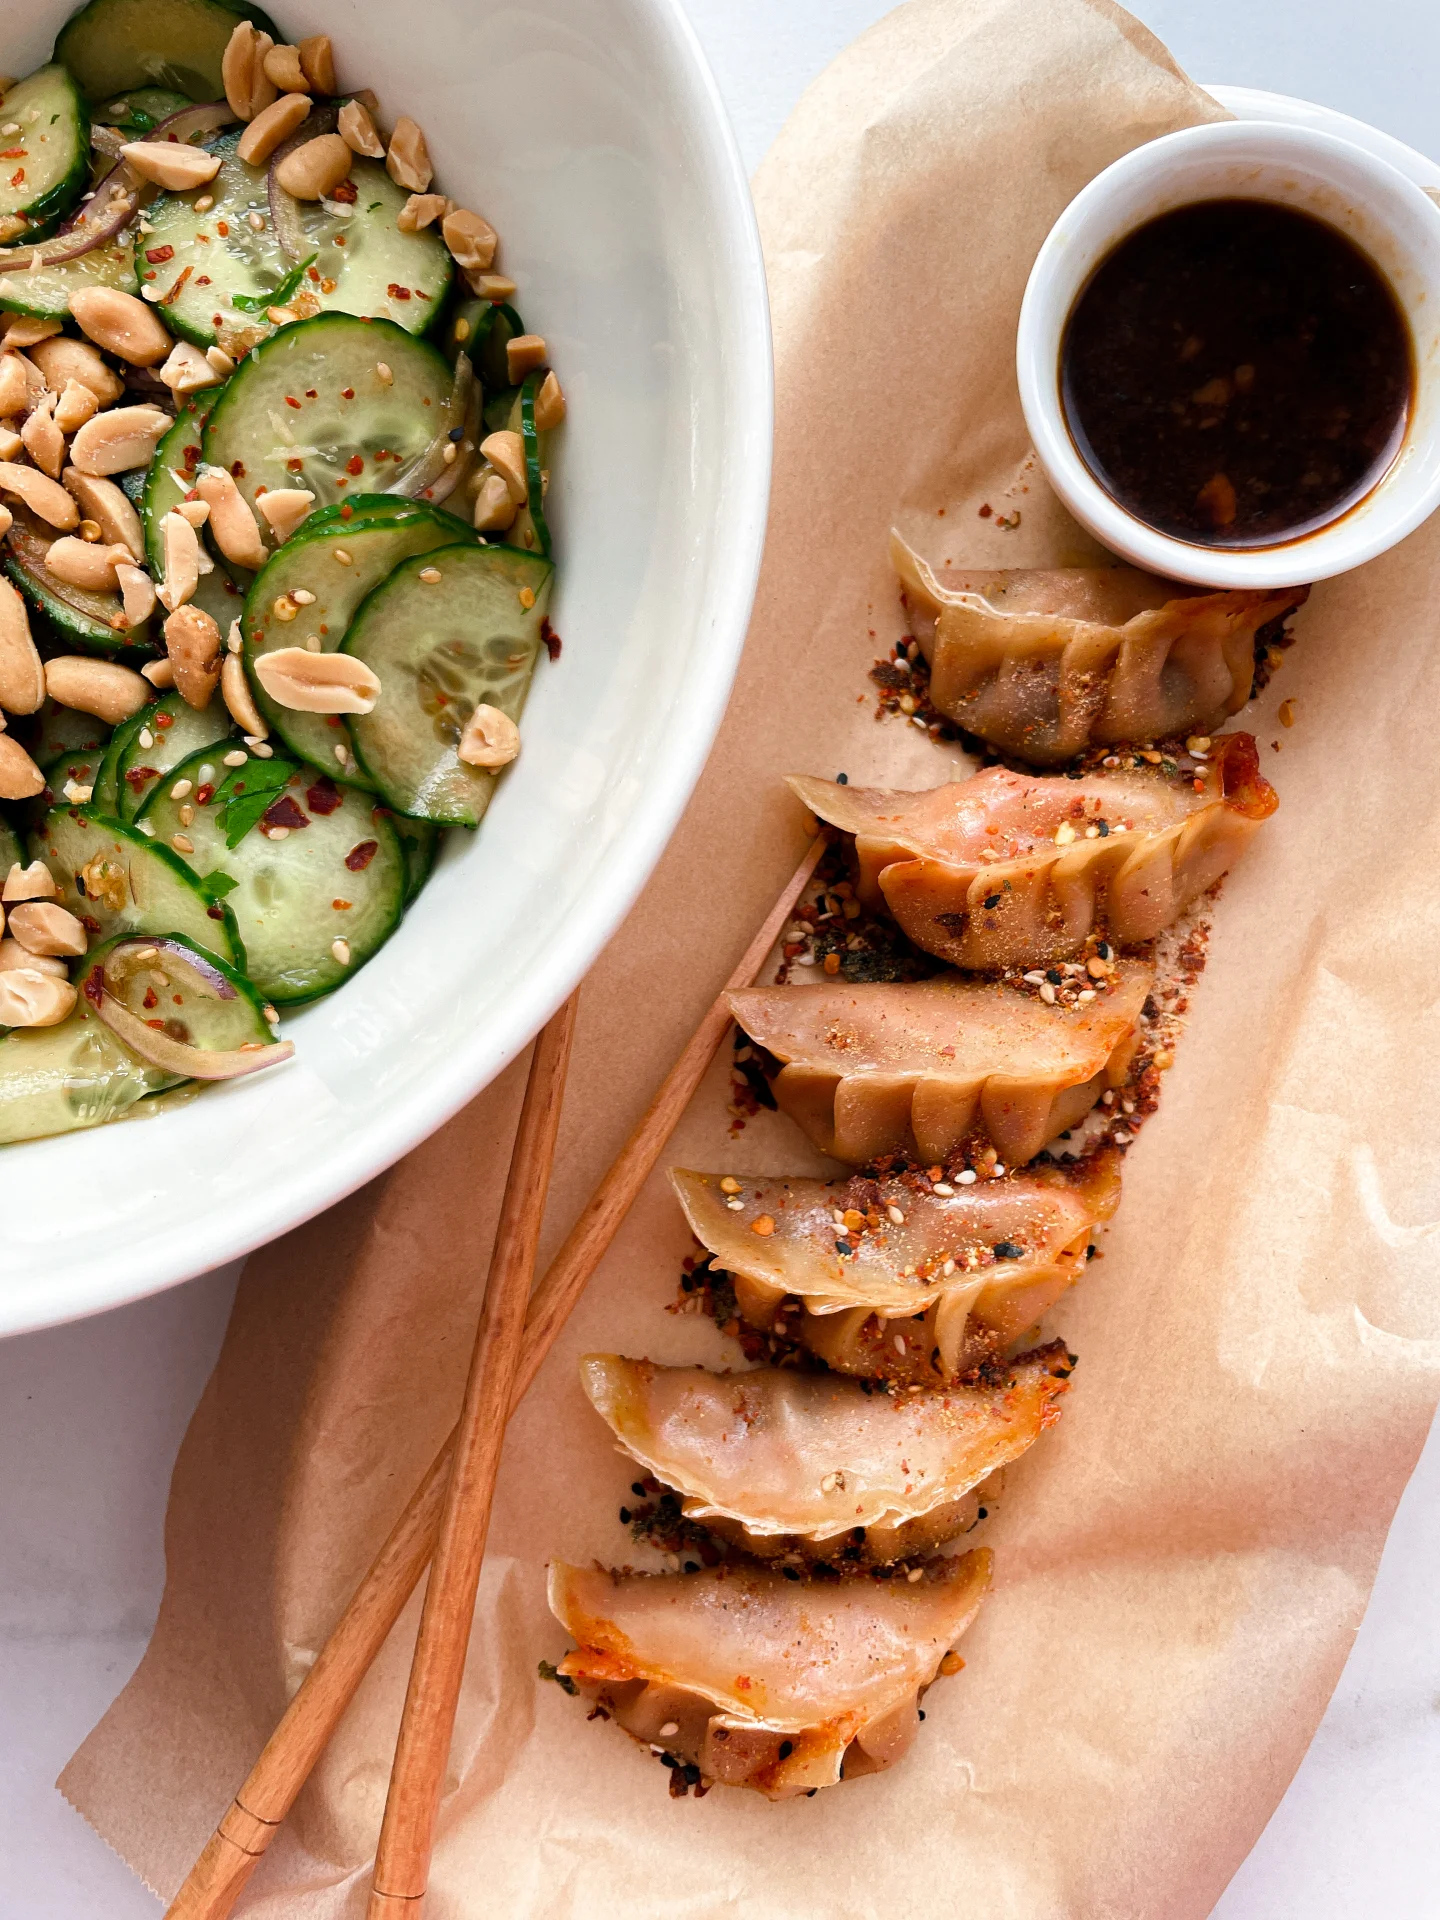
Serve these right out of the pan while they’re still sizzling, with this dipping sauce. They work perfectly as an appetizer, a dinner for one (or two if you’re sharing), or even as a party snack that disappears suspiciously fast.

Leftovers? Rare, but if you do have a few, pop them into an airtight container and keep them in the fridge for up to 2 days. Reheat in a pan to keep that crispiness alive. They also freeze like a dream just pan-fry straight from frozen.

Hi, I'm Kimberly!

Hi, I'm Kimberly.

A hopeless romantic when it comes to food. Every recipe I share is a love letter to food itself. I’m so glad you’re here. Make yourself at home and stay a while.

Love,
Kimberly

Kimberly the Zett Signature

If you want to get to know me better,
click here!


Homemade Kimchi
Kimchi Gyoza
Kimchi Gyoza
Homemade Kimchi

LET’S MAKE A PIECE OF HAPPINESS

Print
clock clock iconcutlery cutlery iconflag flag iconfolder folder iconinstagram instagram iconpinterest pinterest iconfacebook facebook iconprint print iconsquares squares iconheart heart iconheart solid heart solid icon
Kimchi Gyoza

Kimchi Gyoza


5 Stars 4 Stars 3 Stars 2 Stars 1 Star

No reviews

  • Author: Kimberly
  • Total Time: 30 min
  • Yield: 20 gyoza 1x

Description

RECOMMENDED EQUIPMENT

  • large pan with a lid
  • small bowl

Ingredients

Units Scale

Instructions

  1. If you’re making your own kimchi and gyoza wrappers: amazing. If not, no worries! Just use store-bought and make sure to thaw the wrappers before using.
  2. Set up your kimchi, the gyoza wrappers, and a small bowl of cold water. Also, prep a large plate dusted with a bit of flour to place your finished dumplings. Now put on your favorite series or podcast and get into your folding zone.
  3. Take one wrapper and place about 1–1.5 teaspoons of kimchi filling in the center. Dip your finger in the water and moisten the edge of the top half of the wrapper. Fold it up like a taco and press the left tip with your left hand. Then, using your right thumb and index finger, create small pleats along the top edge, pressing each one firmly into the back side of the wrapper. Continue pleating until it’s sealed and you’re holding your first little dumpling. Place it on the floured plate. Don’t stress if it’s not perfect, this takes a bit of practice. Scroll down for the video tutorial at the end of the recipe if you need a visual! Repeat until all the wrappers and filling are used up.
  4. Once all your gyoza are ready, heat a large pan over medium heat. Add 1 tablespoon of oil and place as many gyoza as will fit flat-side down in the pan. Let them fry for a few minutes until the bottoms are golden and crispy. Lower the heat, carefully pour in a splash of water, and immediately cover with the lid. Be careful, the oil shouldn’t be too hot or it might splatter! The gyoza will now steam. Keep the lid on until the wrappers turn translucent, about 10–15 minutes. If the water evaporates before they’re done, just add a little more.
  5. Once translucent, remove the lid, turn the heat back up to medium, and let them crisp up again for 5 more minutes. Remove and repeat with the next batch.
  6. Serve all your gyoza hot with this easy dipping sauce and a sprinkle of shichimi spice. Oh, and this cucumber salad goes so good with it.
  • Cook Time: 30 min

CRAVING MORE?

Follow along here & don’t forget to subscribe to my substack!

Pork Tenderloin with Parmesan Herb Crust Potato Puree & Gremolata

Pork Tenderloin with Parmesan Herb Crust Potato Puree & Gremolata

Pork Tenderloin with Parmesan Herb Crust Potato Puree & Gremolata

Pork Tenderloin with Parmesan Herb Crust Potato Puree & Gremolata

August 4, 2024 by Kimberly

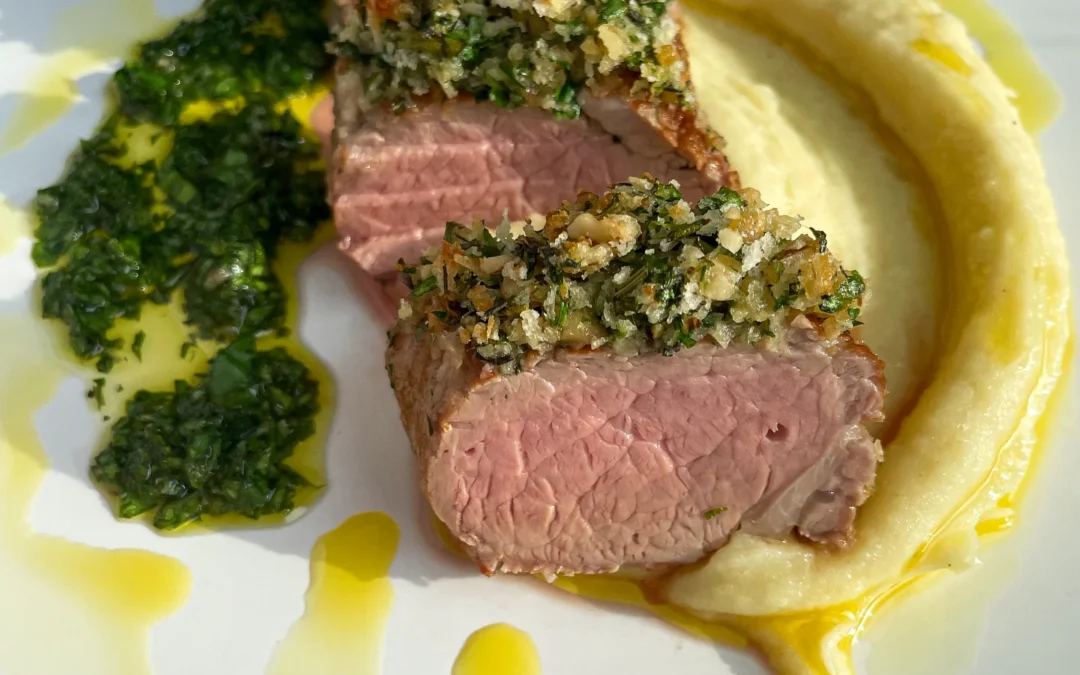
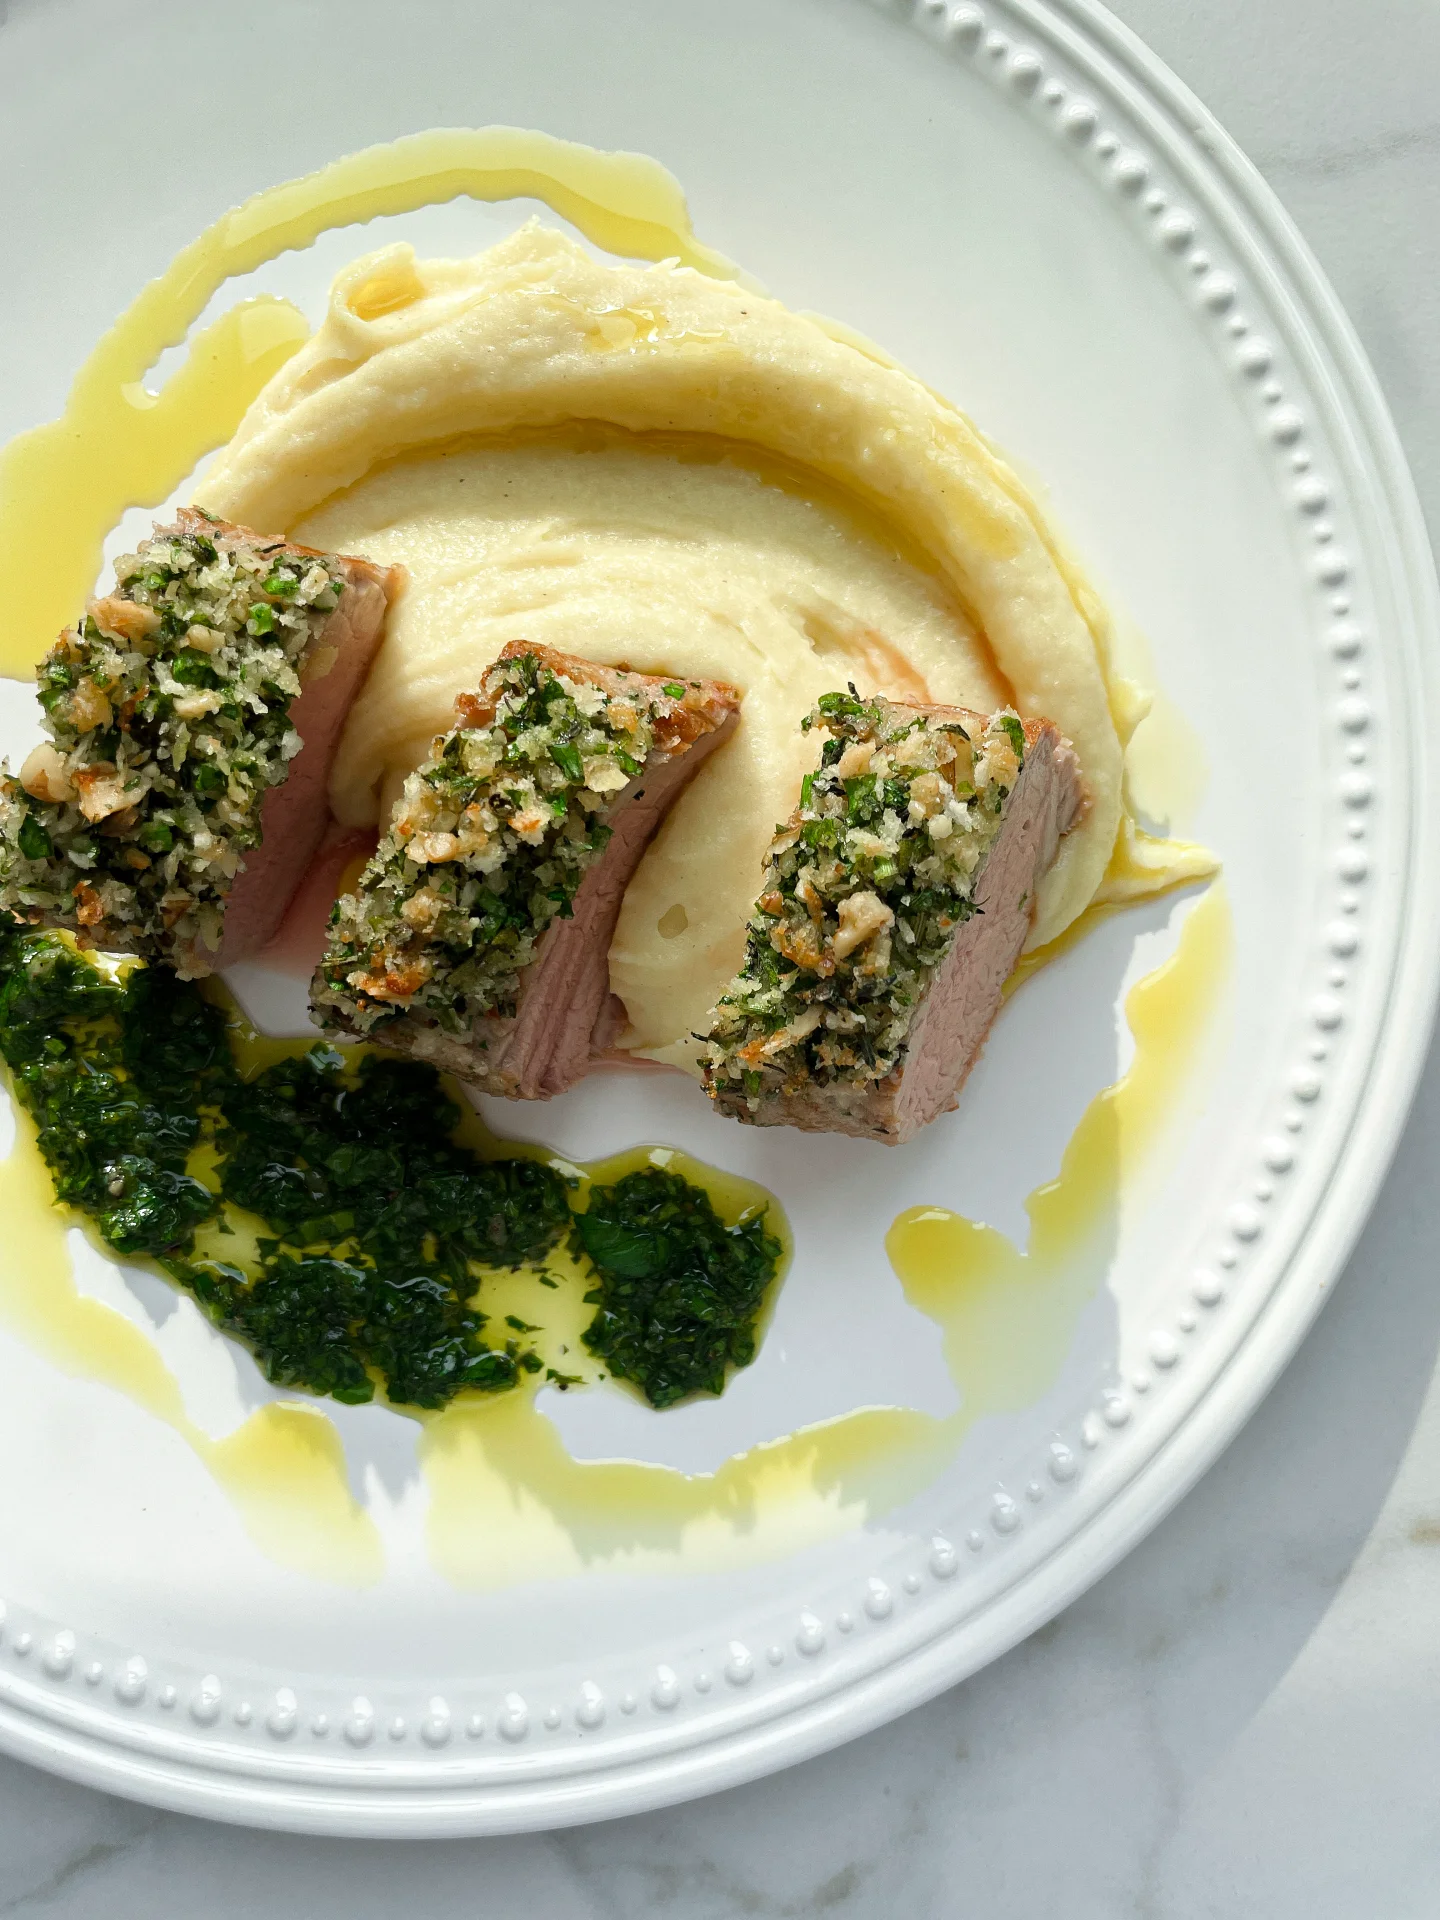
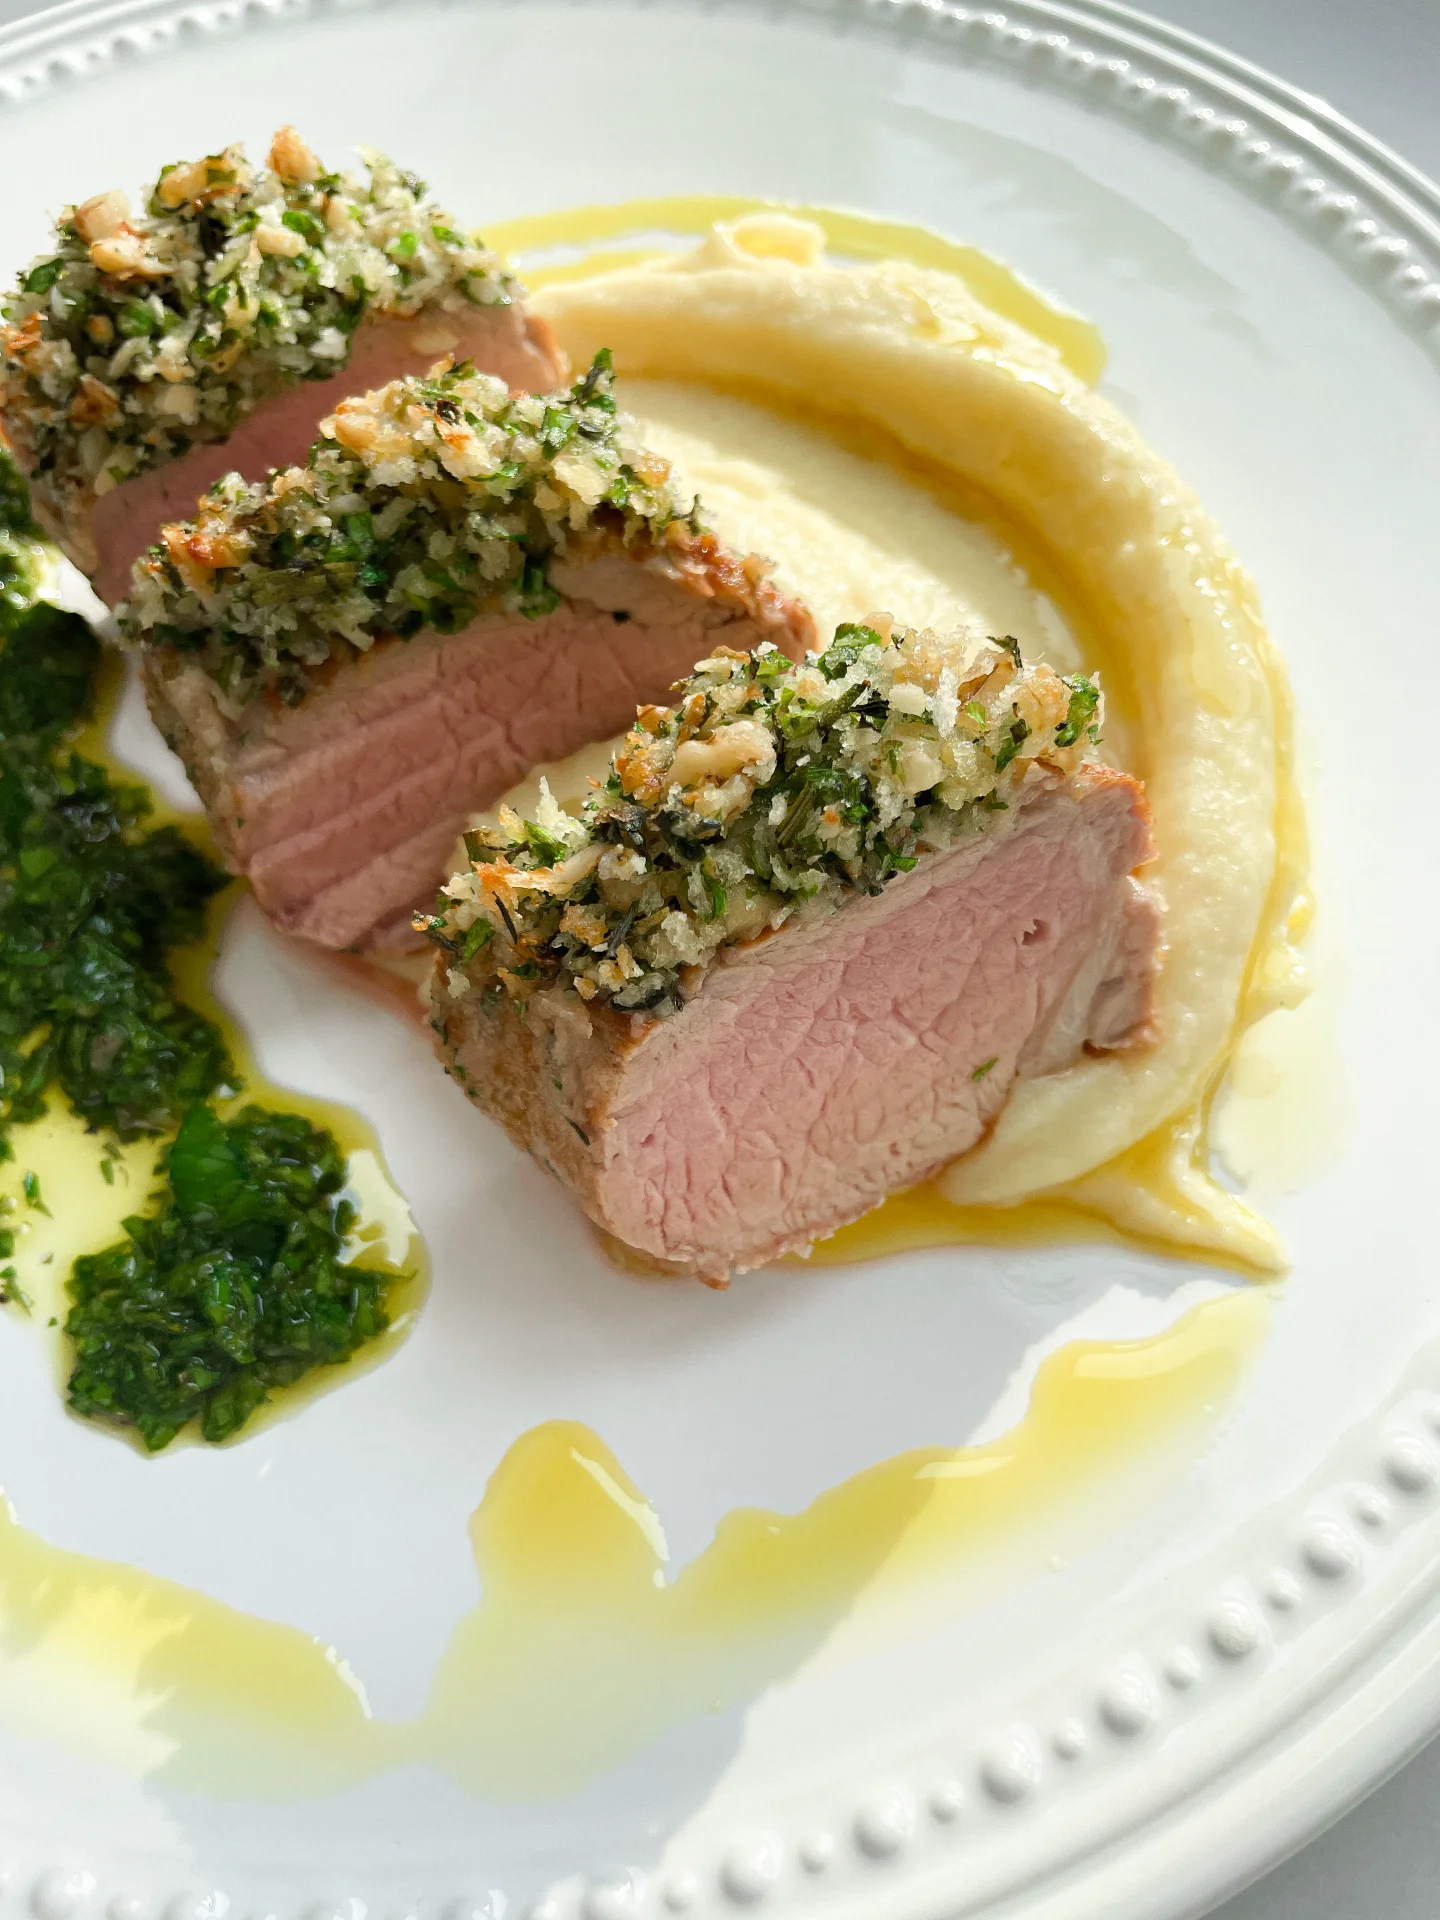
Imagine savoring tender pork fillet with a crispy, cheesy herb crust, paired with velvety potato puree and a zesty gremolata. It’s comfort food with a gourmet twist, perfect for any occasion!

This website uses affiliate links which may earn commission for purchases made at no additional cost to you.

TOTAL TIME

60 min

SERVES

4 portions

DIET

omnivore

EVERY RECIPE DESERVES

A Little Love Letter

Today, I’m sharing one of my all-time favorite recipes: tender pork fillet with a crispy Parmesan herb crust, served alongside a silky potato puree and topped with a vibrant gremolata. This dish is a delightful blend of comforting flavors and elegant presentation, perfect for impressing guests or treating yourself to something special. Let’s dive into this tasty adventure!

Start by slicing the pork tenderloin into medallions, ensuring each piece showcases that beautiful herb crust. Arrange them neatly on a bed of creamy potato puree, then generously sprinkle the gremolata on top for a burst of fresh flavor. Pair it with a side of roasted vegetables or a simple green salad to complete this gourmet experience. Trust me, your dinner table has never looked this good!

If you have leftovers (which is rare because it’s so delicious!), store the pork and potato puree separately in airtight containers. They’ll stay fresh in the fridge for up to three days. When you’re ready to enjoy them again, reheat gently in the oven or microwave, and don’t forget to add a fresh sprinkle of gremolata before serving.

Hi, I'm Kimberly!

Hi, I'm Kimberly.

A hopeless romantic when it comes to food. Every recipe I share is a love letter to food itself. I’m so glad you’re here. Make yourself at home and stay a while.

Love,
Kimberly

Kimberly the Zett Signature

If you want to get to know me better,
click here!


Pork Tenderloin with Parmesan Herb Crust Potato Puree & Gremolata

LET’S MAKE A PIECE OF HAPPINESS

Print
clock clock iconcutlery cutlery iconflag flag iconfolder folder iconinstagram instagram iconpinterest pinterest iconfacebook facebook iconprint print iconsquares squares iconheart heart iconheart solid heart solid icon
Pork Tenderloin with Parmesan Herb Crust Potato Puree & Gremolata

Pork Fillet with Parmesan Herb Crust Potato Puree & Gremolata


  • Author: Kimberly
  • Total Time: 1 hour
  • Yield: 4 1x

Description

Recommended Equipment

  • sharp knife
  • cutting board
  • medium-sized bowl
  • small bowl
  • grater
  • medium-sized pot
  • oven
  • large pan
  • thermometer
  • small pot (or microwave)
  • potato masher
  • fine sieve

Ingredients

Units Scale
PORK TENDERLOIN
  • 500 grams pork tenderloin
  • 1 tbsp clarified butter
  • salt
PARMESAN HERB CRUST
  • 10 grams fresh parsley
  • 5 grams fresh chives
  • 2.5 grams fresh rosemary
  • 2.5 grams fresh thyme
  • 20 grams parmesan
  • 20 grams panko bread crumbs
  • 1/2 tsp Dijon mustard
  • 1 tbsp butter
  • 10 grams walnuts
POTATO PUREE
  • 1 kilogramm potatoes
  • 150 milliliters full-fat milk
  • 30 grams butter
  • salt, pepper & nutmeg to taste
GREMOLATA
  • 10 grams fresh parsley
  • 1 garlic clove
  • 4 tbsp Green Apple Oil
  • juice of half a lemon
  • salt & pepper to taste

Instructions

PREPARATIONS

  • The pork tenderloin should be at room temperature, so take it out of the fridge about 1 hour before cooking.
  • Here is the recipe for the Green Apple Oil. You’ll need about 4-5 tablespoons of it.

INSTRUCTIONS

  1. First, prepare the Parmesan herb crust. Finely chop parsley, chives, rosemary, thyme, and walnuts. Grate the Parmesan finely. Mix everything together with panko, Dijon mustard, and melted butter in a medium-sized bowl until you get a crumbly mixture. Set aside.
  2. Finely chop the parsley and place it in a small bowl. Peel the garlic clove, grate it finely, and add it to the parsley. Halve the lemon and add the juice of one half. Now add the Green Apple Oil and mix everything well. Season with salt and pepper. Set aside.
  3. Next, fill a medium-sized pot with cold water. Peel the potatoes, cut them into large pieces, and place them in the water. Boil the potatoes for about 20 minutes.
  4. Meanwhile, preheat the oven to 150°C / 300°F. Wash the pork tenderloin and dry it well. Trim the meat, removing the silver skin and any white fat with a sharp knife. Rub a little salt all over the meat and set aside.
  5. Heat some clarified butter in a pan and sear the meat on all sides. Remove the meat from the pan and place it on a baking sheet. Spread the herb crust evenly over the entire meat and press it down well. Place the meat in the oven and cook for about 20 minutes until the internal temperature reaches about 55°C / 131°F.
  6. In a small pot or microwave, warm the milk and butter until the butter has melted. Set aside. Once the potatoes are soft, drain the water and pour the warm milk and melted butter over the potatoes. Mash the mixture with a potato masher. Season with salt, white pepper, and grated nutmeg. If you want the mash to be even finer, you can push the potato mixture through a fine sieve. Keep the mashed potatoes warm.
  7. When the meat has reached its internal temperature, take it out of the oven and let it rest for 3-5 minutes. During this time, the internal temperature will rise to about 60/61°C /140/142°F, making it tender and slightly pink inside.
  8. While the meat is resting, divide the mashed potatoes among the plates. After the resting time, cut the meat into thick slices with a sharp knife and place them upright next to the mashed potatoes. Spread the gremolata over the mashed potatoes. Finally, drizzle a little Green Apple Oil on the plate for garnish.


  • Cook Time: 60 min

CRAVING MORE?

Follow along here & don’t forget to subscribe to my substack!