


Description
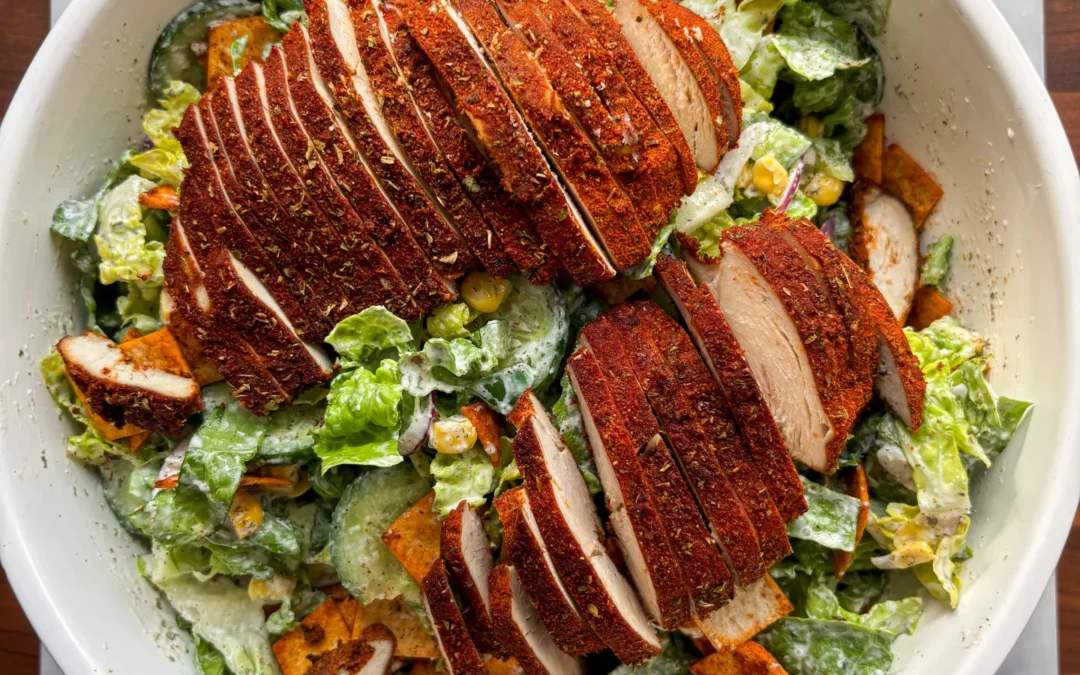
Since you unfortunately can’t eat fried chicken every single day, here is my favorite everyday alternative: a chicken salad with flavorful, completely fat-free cooked chicken, crisp romaine lettuce, fresh vegetables, creamy ranch dressing, and crunchy tortilla pieces. Quick to make, perfect for meal prep, and anything but boring, this salad is exactly what you need if you are looking for an easy chicken salad recipe that is packed with flavor.
RECOMMENDED EQUIPMENT
- plate for marinating the chicken
- oven
- sharp knife
- cutting board
- large salad bowl
- small bowl for the dressing
- small pan for the tortilla pieces
Ingredients
Units
Scale
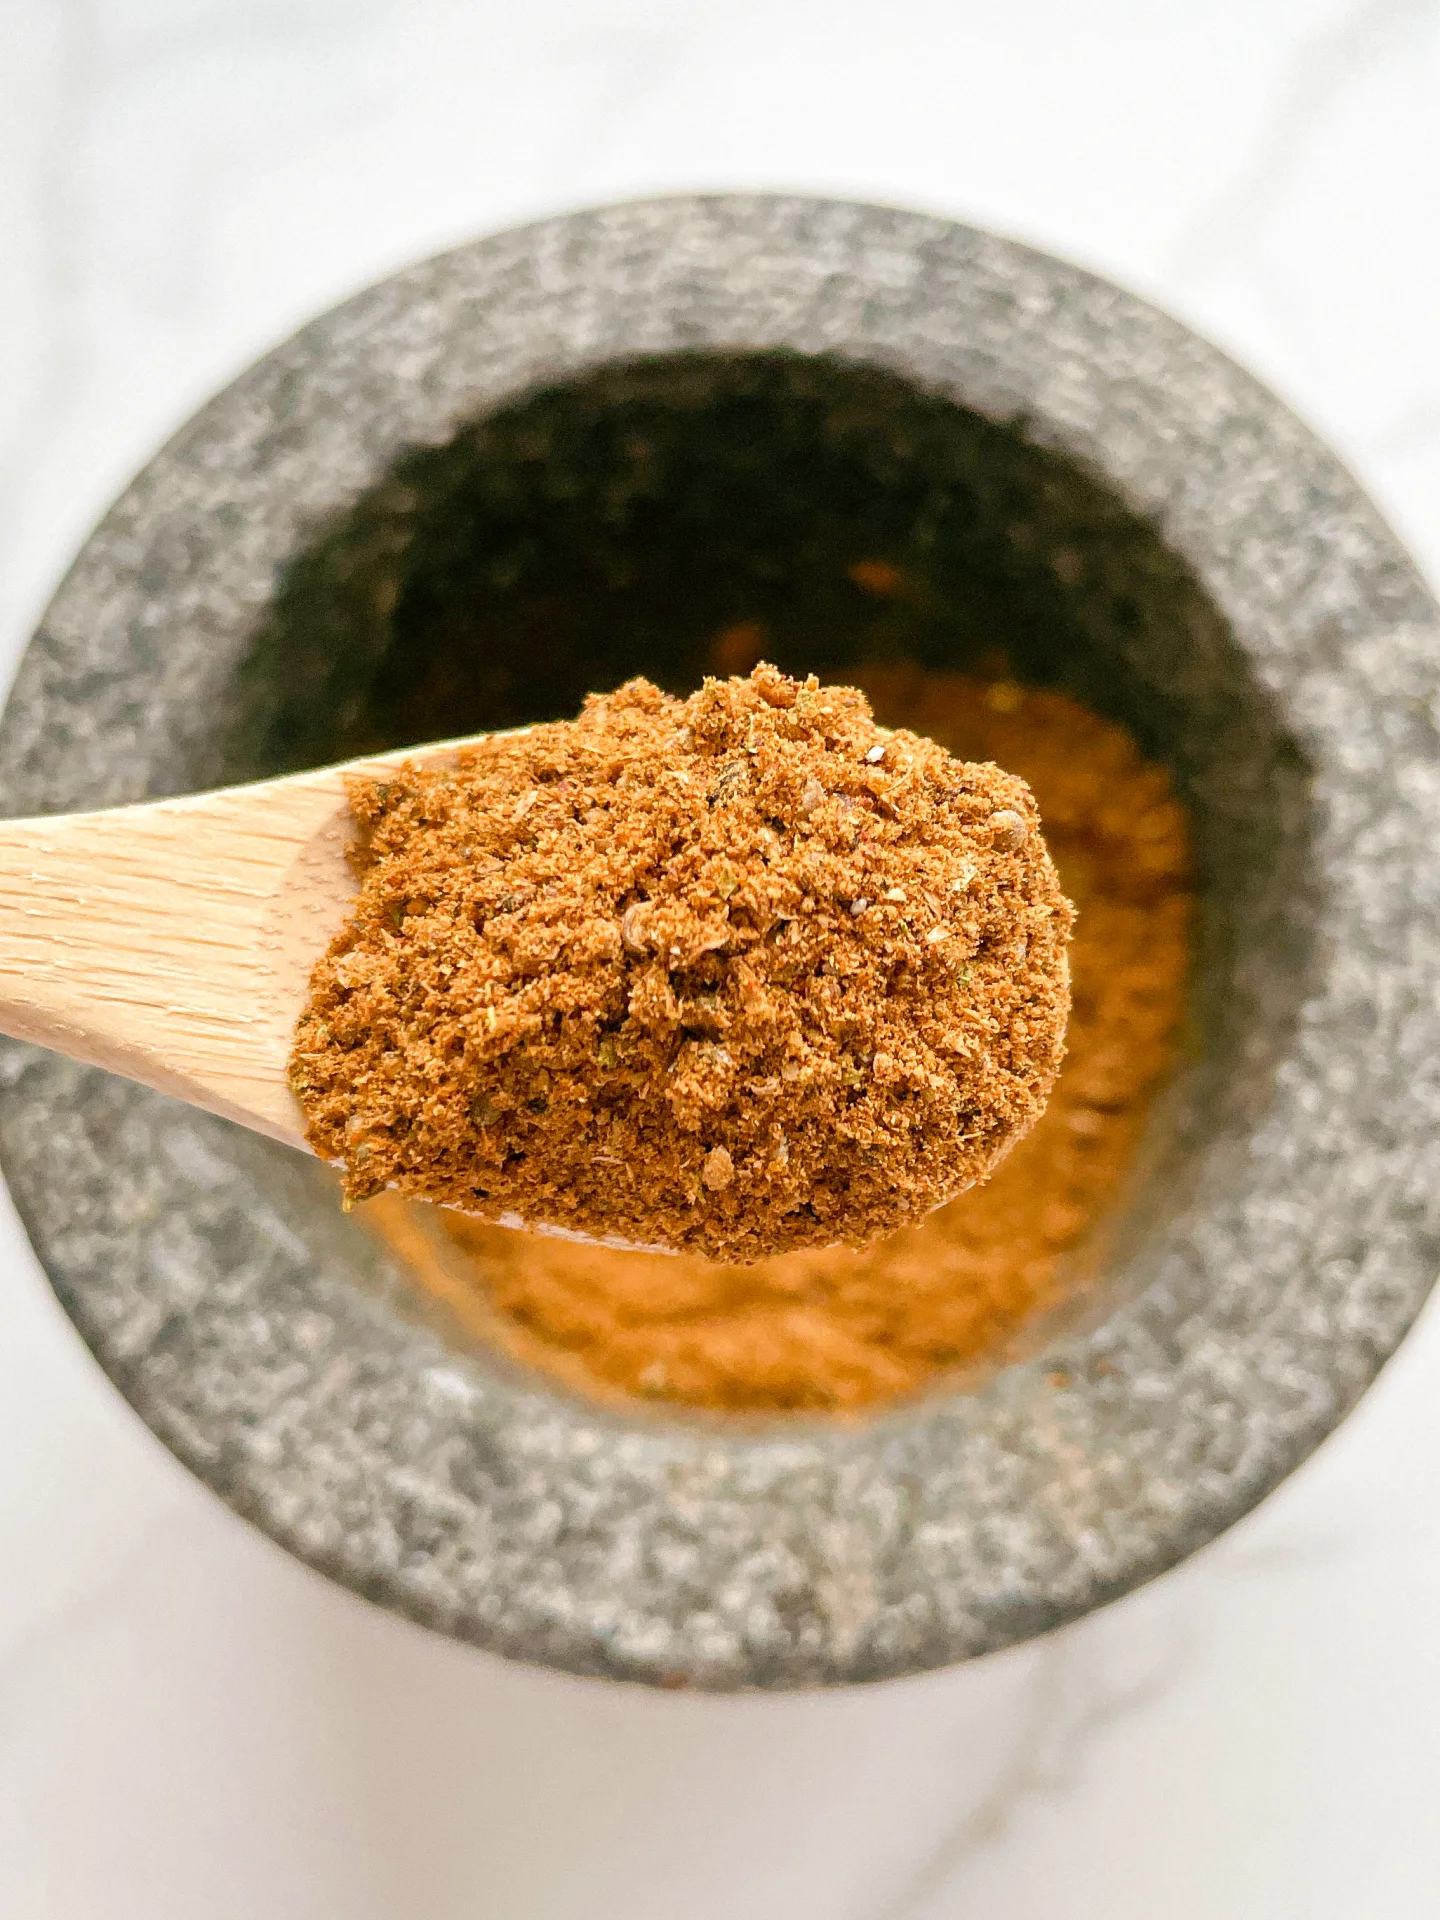
BLACKENED CHICKEN
- 400 grams chicken breast filet
- 2 1/4 tsp paprika powder
- 1 1/4 tsp salt
- 3/4 tsp oregano, dried
- 1/2 tsp garam masala
- 1/2 tsp curry powder
- 1/2 tsp cayenne pepper
- 1/2 tsp garlic powder
- 1/4 tsp black pepper
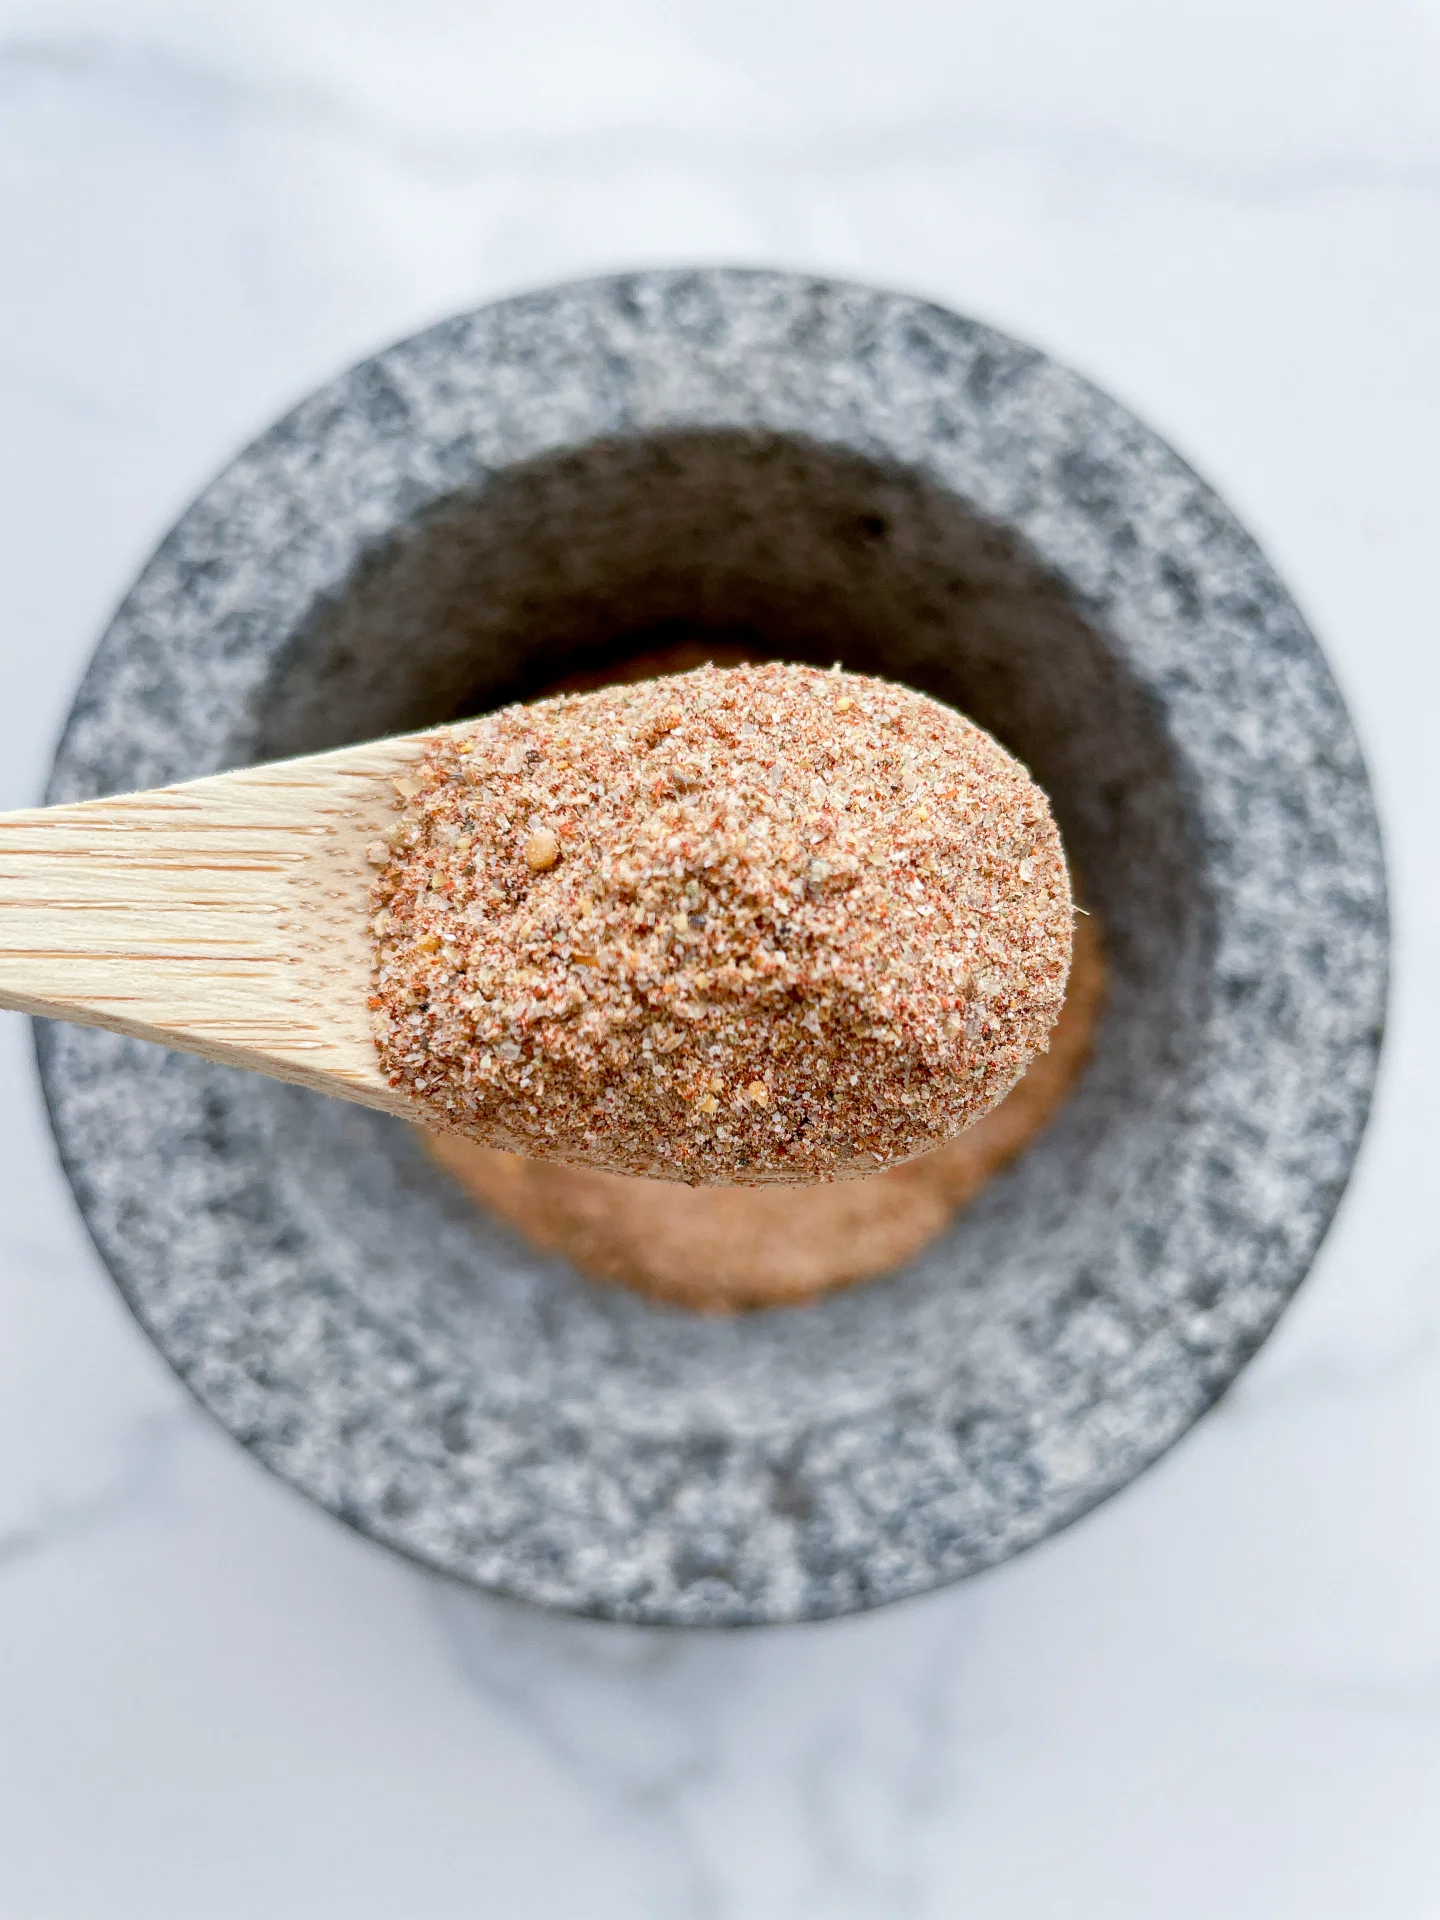
- 100 grams full-fat yogurt
- splash of milk
- 3 tsp chives, dried
- 1 tsp onion powder
- 1 tsp parsley, dried
- 1/2 tsp dill, dried
- 1/2 tsp garlic powder
- 1/4 tsp black pepper
- 1/8 tsp salt
- romaine salad
- 1 small cucumber
- 1 green bell pepper
- 120 grams corn
- 1 small red onion
- 2 tortilla wraps
- 1 tbsp olive oil
- 1/2 tsp smoked paprika powder
- 1/2 tsp garlic powder
- 1 lime
Instructions
- Preheat your oven to 175°C / 345°F.
- On a plate, mix together all the spices for the blackened chicken until well combined: salt, oregano, garam masala, garlic, cayenne pepper, curry powder, black pepper, and paprika.
- Coat the chicken breast all over in the spice mixture so it is evenly covered. Place it on a baking tray and bake for 45 minutes.
- Once baked, remove the chicken from the oven and let it cool completely. Then slice it into thin strips. You can also make it a day ahead and keep it in the fridge overnight.
- While the chicken is in the oven, make the dressing. Mix the yogurt with onion powder, dried parsley, dried chives, dried dill, garlic powder, salt, and pepper. Set aside until ready to use.
- Chop the romaine lettuce and wash it well. Slice the cucumber, cut the bell pepper into small pieces, and slice the onion into thin strips. Drain the corn well.
- Cut the tortilla wraps into small squares and toss them with a little olive oil, smoked paprika powder, and garlic powder. Fry them in a pan until golden and crispy.
- Add the romaine lettuce, cucumber, bell pepper, corn, and onion to a large salad bowl. Pour over the ranch dressing and toss everything together well. Add the crispy tortilla chips and gently mix again.
- Slice the cooled chicken breast into thin strips and spread it over the salad. Finish with flaky salt and a squeeze of fresh lime juice.
- Cook Time: 30 min


")
")
")