


Description
Recommended Equipment
- 2 small pots
- 1 medium pot
- baking dish (approx. 20×20 cm)
- parchment paper
- spatula
- whisk
- thermometer
- electric mixer
- sharp knife
- cutting board
- mixing bowl
- cookie scoop
Ingredients
Units Scale
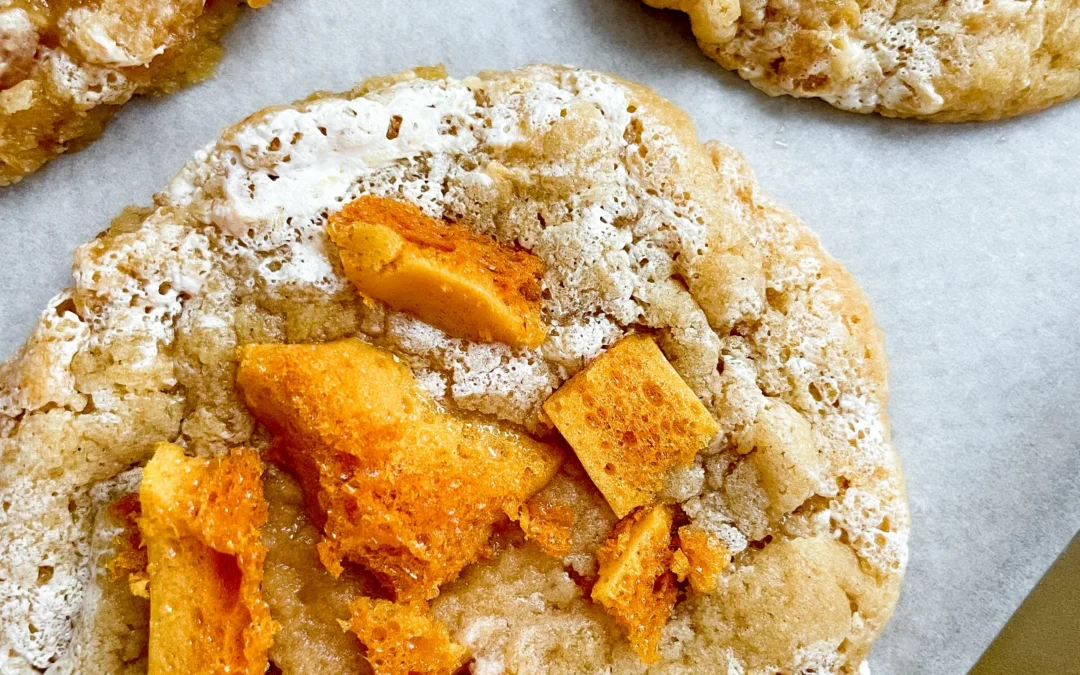
HONEYCOMB
- 100 grams white sugar
- 20 grams honey
- 20 milliliter water
- 1 tsp baking soda
- 60 grams white sugar
- 60 grams water
- 80 grams corn syrup
- 1 egg white
- 100 grams dried apricots
- 80 milliliter apricot juice
- 10 grams powdered sugar
- 1/2 tsp vanilla extract
- 1 tsp lemon juice
- 2 tsp cornstarch
- 120 grams butter, room temperature
- 100 grams white sugar
- 50 grams brown sugar
- 1 egg
- 1 tsp vanilla extract
- 220 grams all-purpose flour
- 1/2 tsp baking soda
- 1/2 tsp salt
Instructions
- Passive Time: 85 min
- Cook Time: 60 min