


Description
Recommended Equipment
- small pot
- medium bowl
- deep dish
- sharp knife
- cutting board
- small bowl
- large pan
- parchment paper
Ingredients
Units Scale
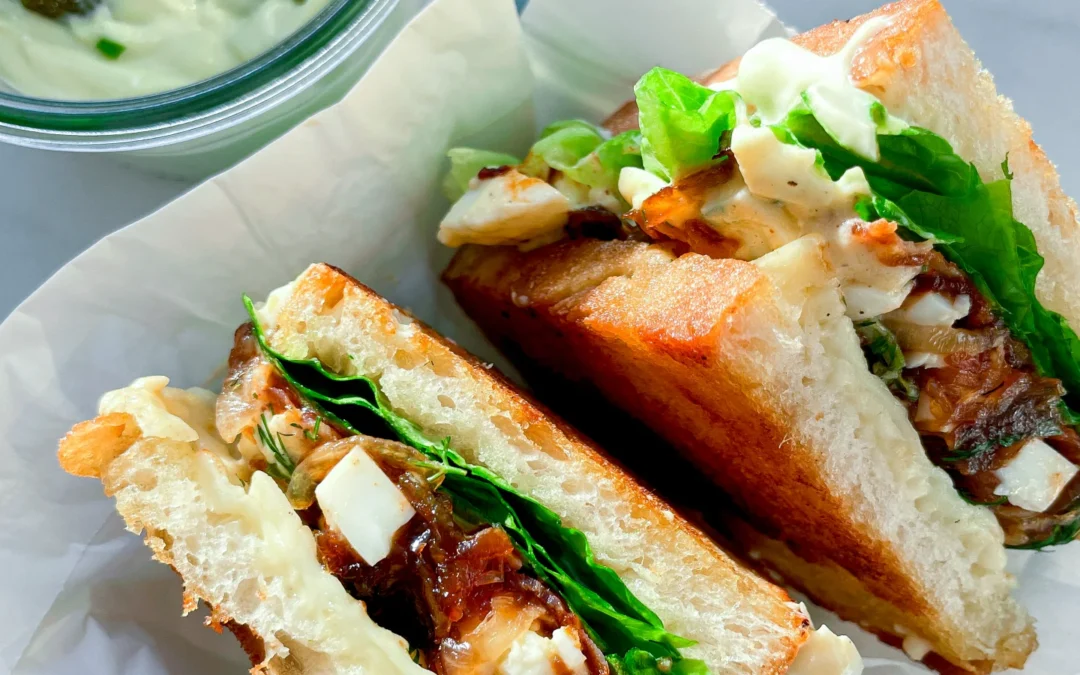
EGG SALAD
- 4 eggs
- 1 tsp Dijon mustard
- 1 tsp white wine vinegar
- 1 tbsp picklenaise (or regular mayonnaise)
- chives
- salt & pepper to taste
- 10 grams fresh dill
- 5 grams fresh chives
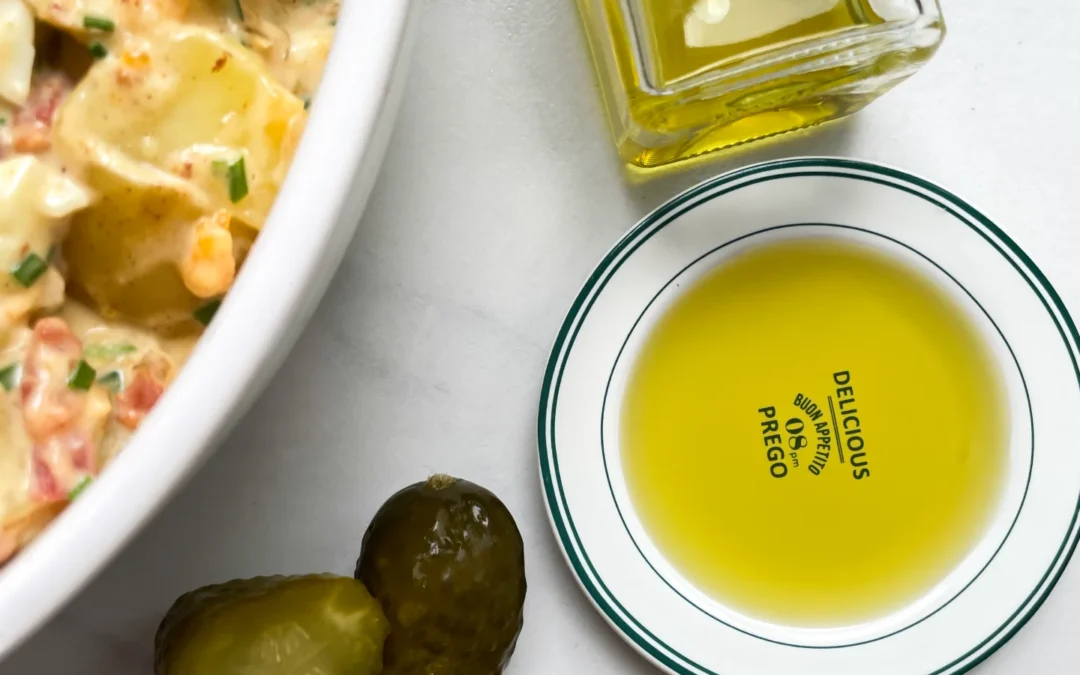
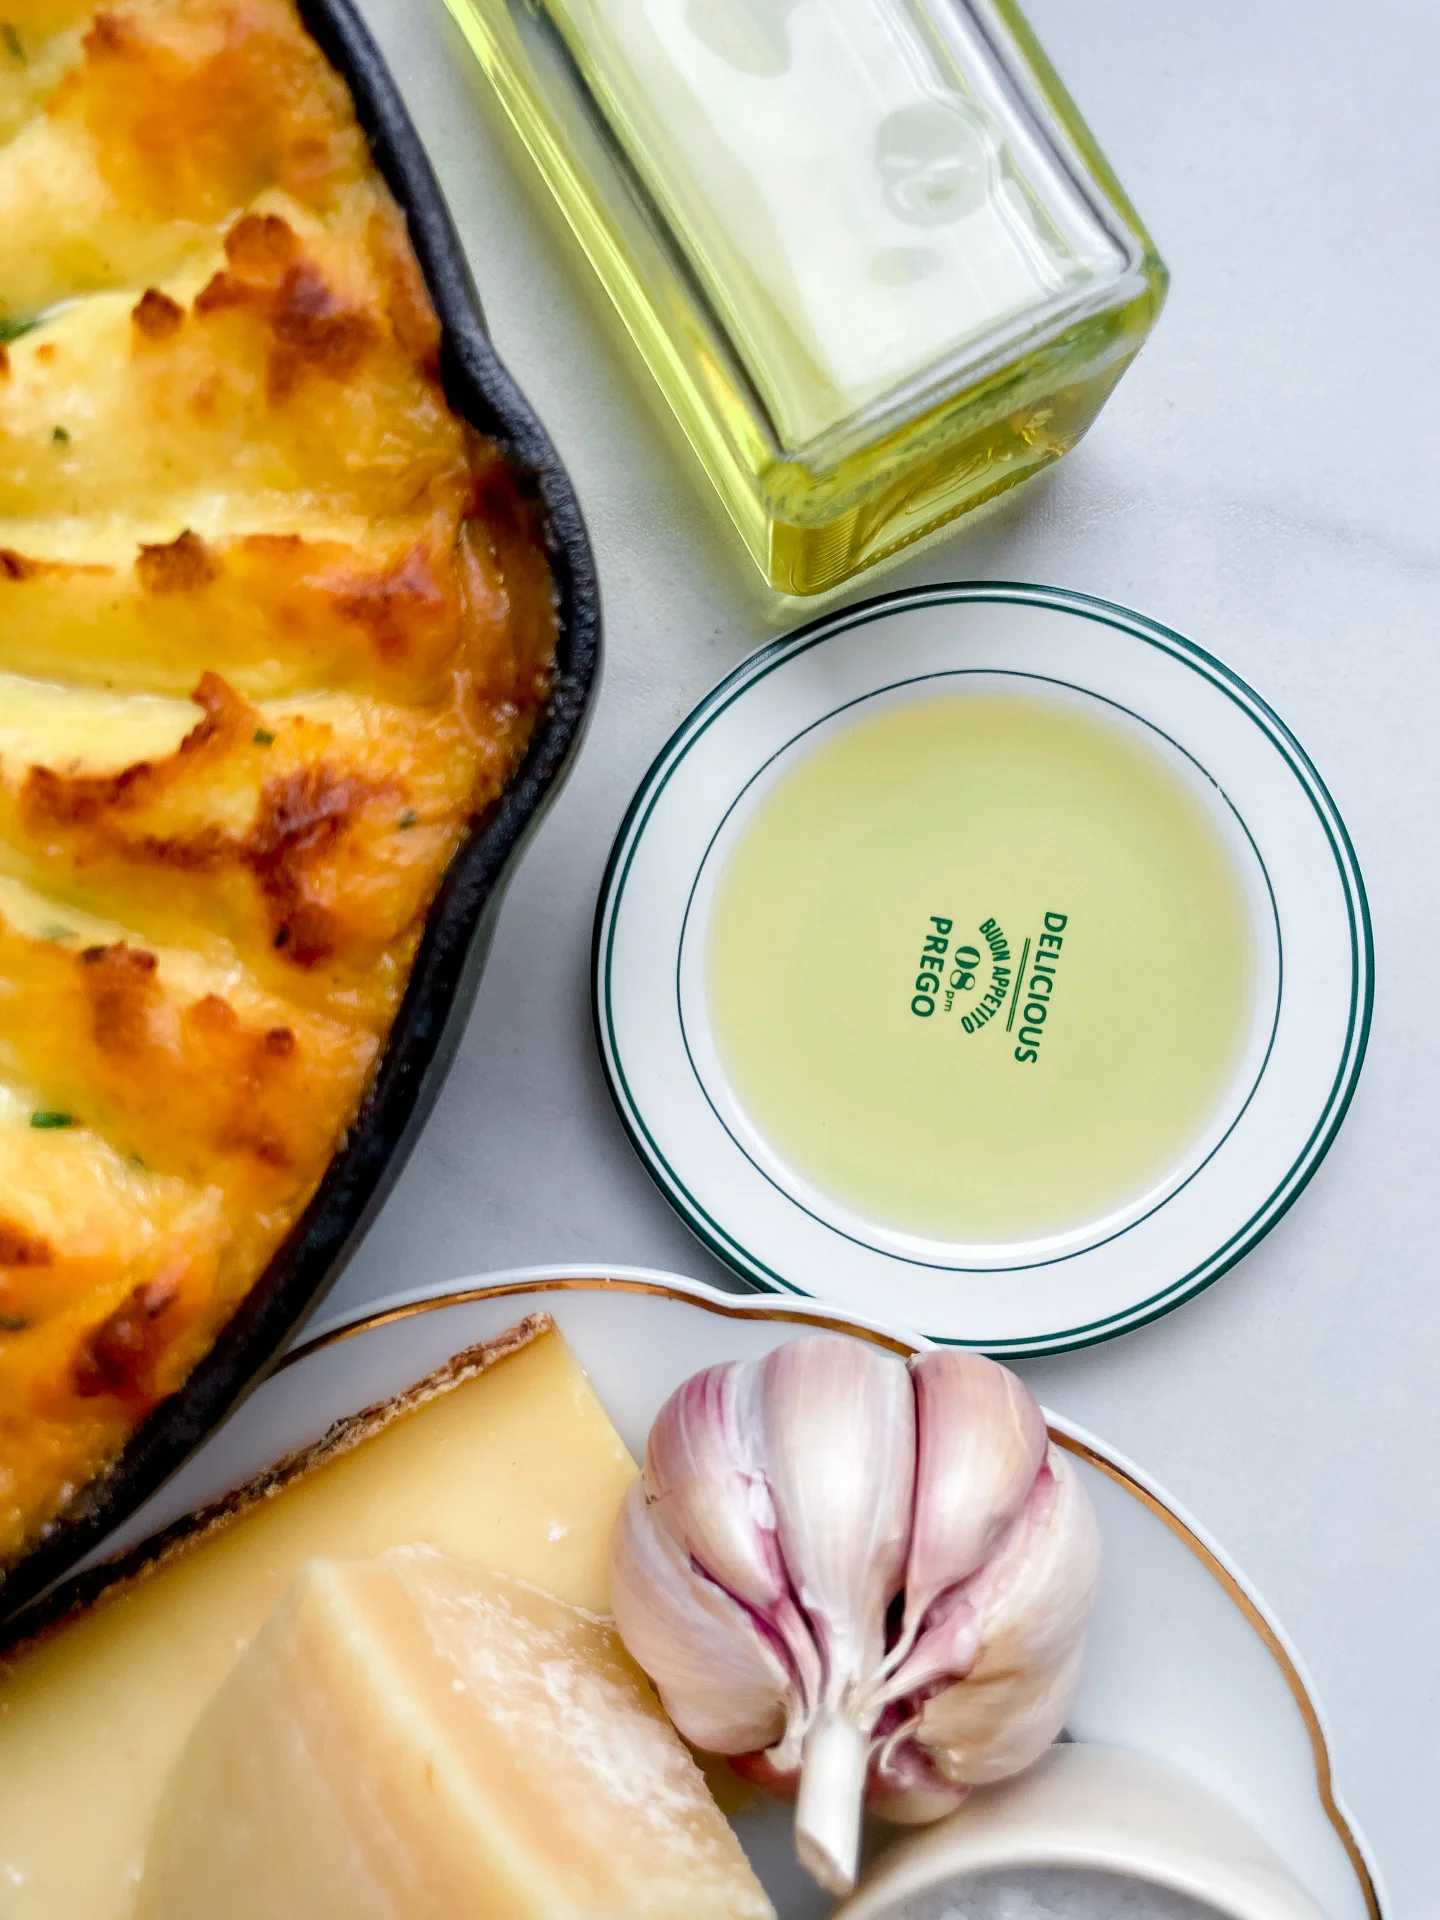
- 3 tbsp pickle oil (or any other oil you like)
- 2 garlic cloves
- juice of 1/2 lemon
- salt & pepper to taste
- 6 small white onions
- 2 tbsp balsamic vinegar
- 1 tsp clarified butter
- salt
- 8 slices bacon
- 4 tsp brown sugar
- 4 tsp cayennepepper
- 60 grams picklenaise (or regular mayonnaise)
- 8 slices white bread of choice
- 4 romaine lettuce leaves
- 60 grams gouda cheese
Instructions
PREPARATIONS
- Here’s the recipe for the picklenaise. You’ll need about 6-8 tablespoons.
- Here’s the recipe for the pickle oil. You’ll need about 3 tablespoons.
INSTRUCTIONS
- For the egg salad, fill a pot with water and bring it to a boil. Carefully add the eggs and set a timer for 8 minutes. While they cook, prepare a bowl of ice water. After 8 minutes, transfer the eggs to the ice water to stop them from cooking further. Let them cool completely. Peel the eggs, separate the yolks from the whites, and place the yolks in a deep dish. Chop the egg whites into small pieces and set aside. To the yolks, add Dijon mustard, pickle-mayo, salt, pepper, white wine vinegar, and chopped chives. Mix everything together, mashing the yolks with a fork. Finally, fold in the chopped egg whites and mix again. Place the salad in the fridge until you’re ready to use it.
- For the gremolata, finely chop the dill and slice the chives into small rings. Mix both in a small bowl with lemon juice and pickle oil. Peel the garlic cloves and grate them into the bowl. Stir everything well and season with salt and pepper. Set aside.
- For the caramelized onions, peel the onions and slice them into thin half-rings. Heat a large pan over medium heat, melt 1 teaspoon of butter, then add the onions and a pinch of salt. Stir well and cook for 15-20 minutes, stirring occasionally, until the onions are golden and creamy. Add balsamic vinegar and stir again. Set the onions aside.
- Meanwhile, prepare the crispy bacon. Lay the slices on parchment paper and sprinkle them evenly with brown sugar and cayenne pepper. Bake at 200°C / 392°F for about 15 minutes or until the sugar has melted and the bacon is a deep pink.
- Butter the outside of the white bread slices and cut the Gouda into thin slices. Wash and dry the lettuce leaves, and get the picklenaise ready.
- Heat a pan over low to medium heat and place the buttered bread slices, butter-side down, in the pan. Add Gouda to half of the slices. Cover the pan so the cheese can melt. Remove the bread once the cheese is soft and the bottoms are golden and crispy.
- Spread mayo on the plain bread slices and gremolata on the cheesy ones.
- Now layer the sandwich in this order: lettuce on the mayo side, followed by egg salad, bacon, and caramelized onions. Top it off with the cheese-gremolata slice. Cut the sandwich in half and enjoy!
- Cook Time: 50 min


")
")
")