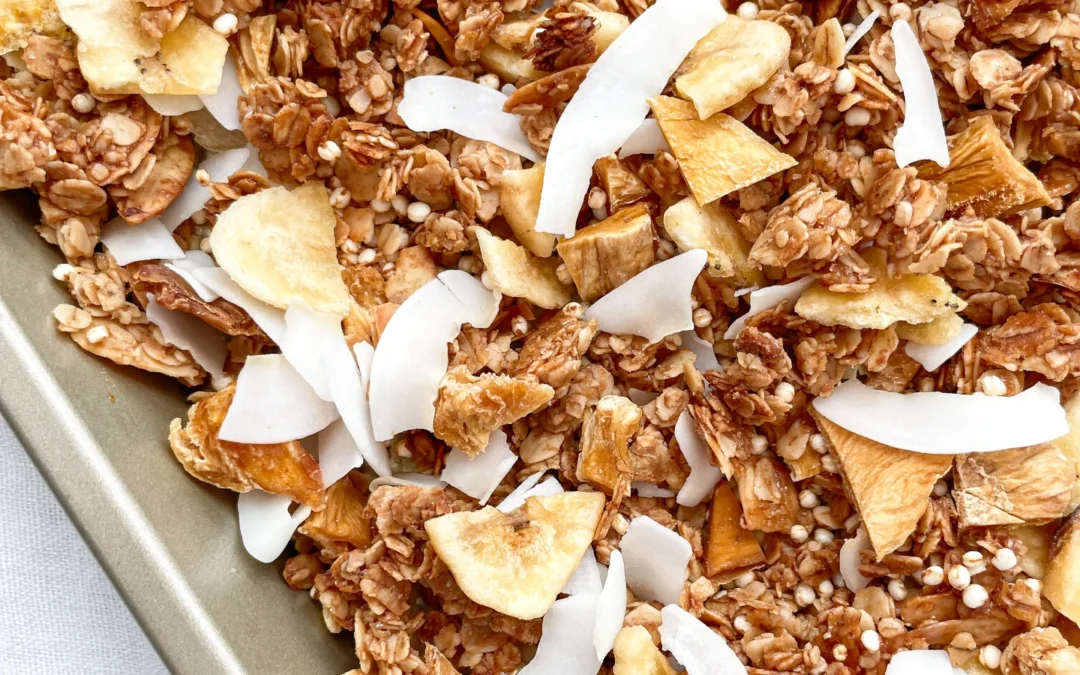
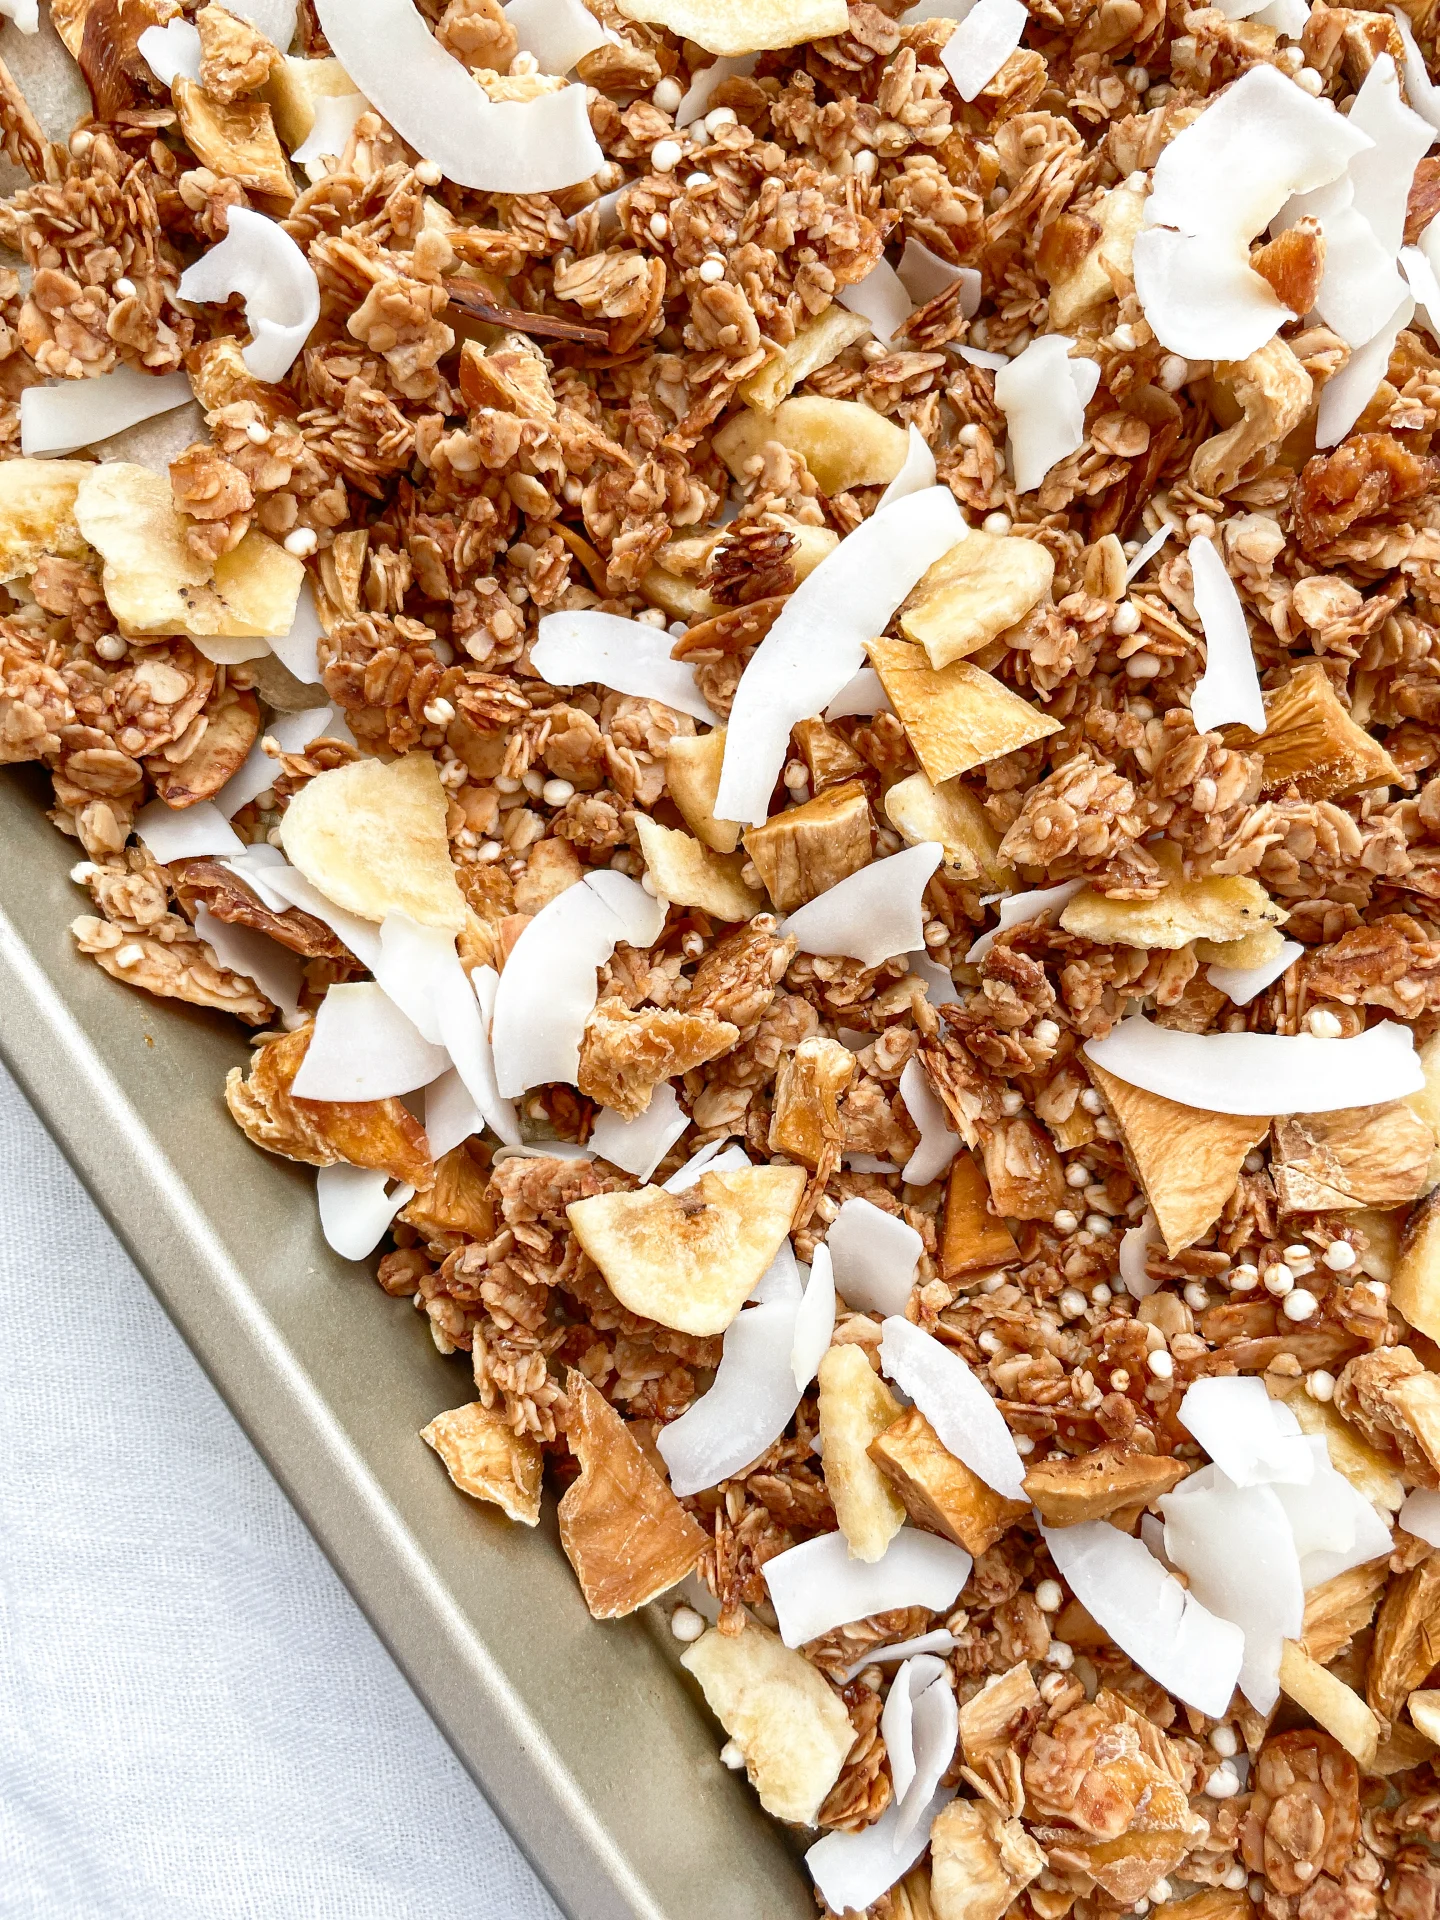


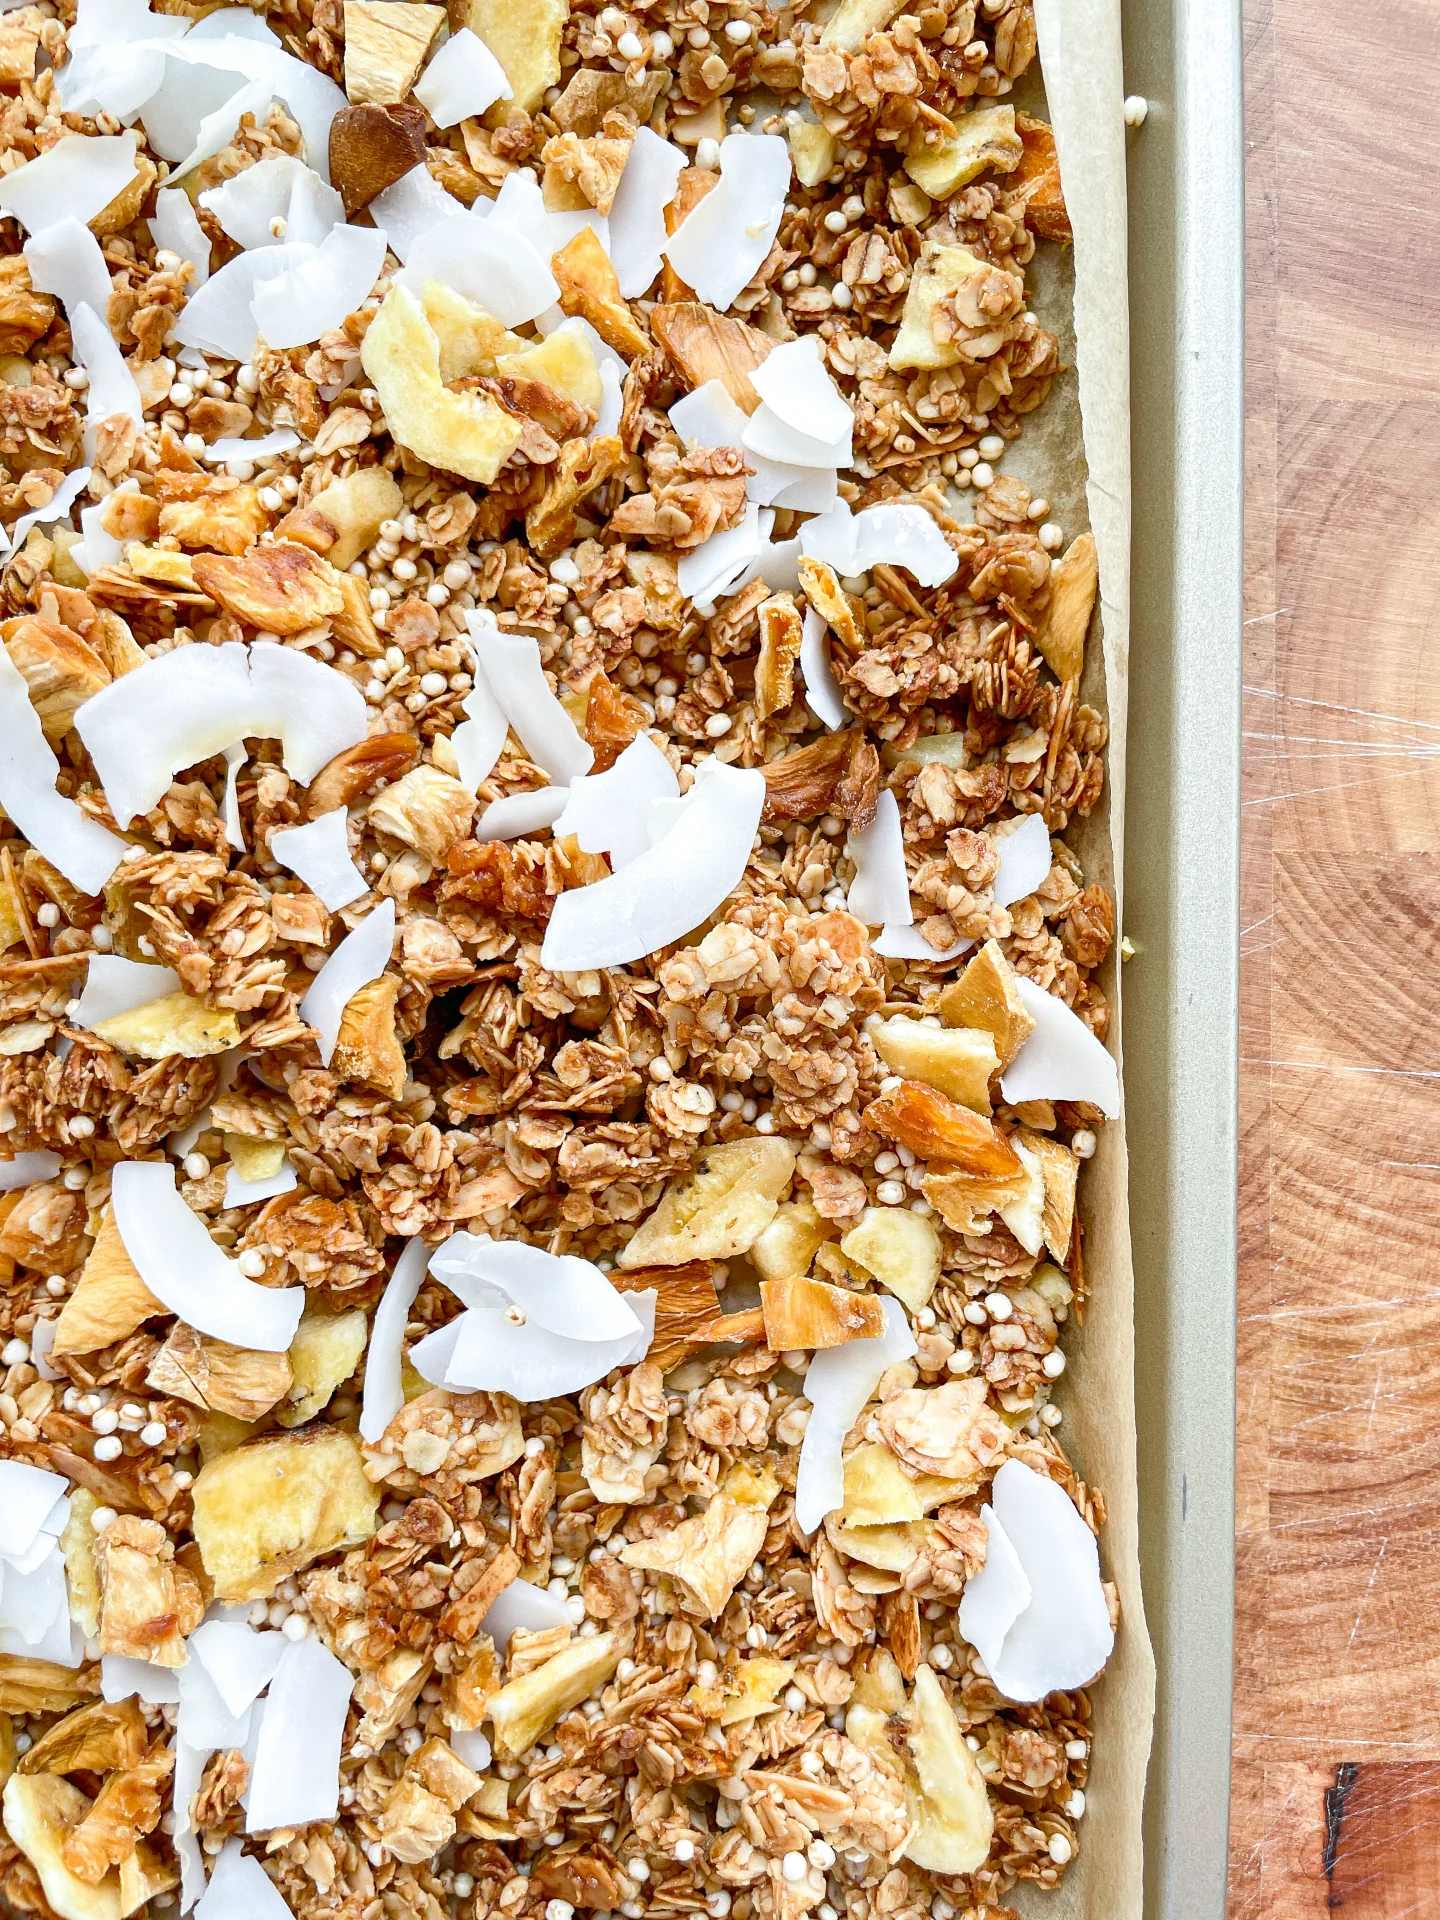
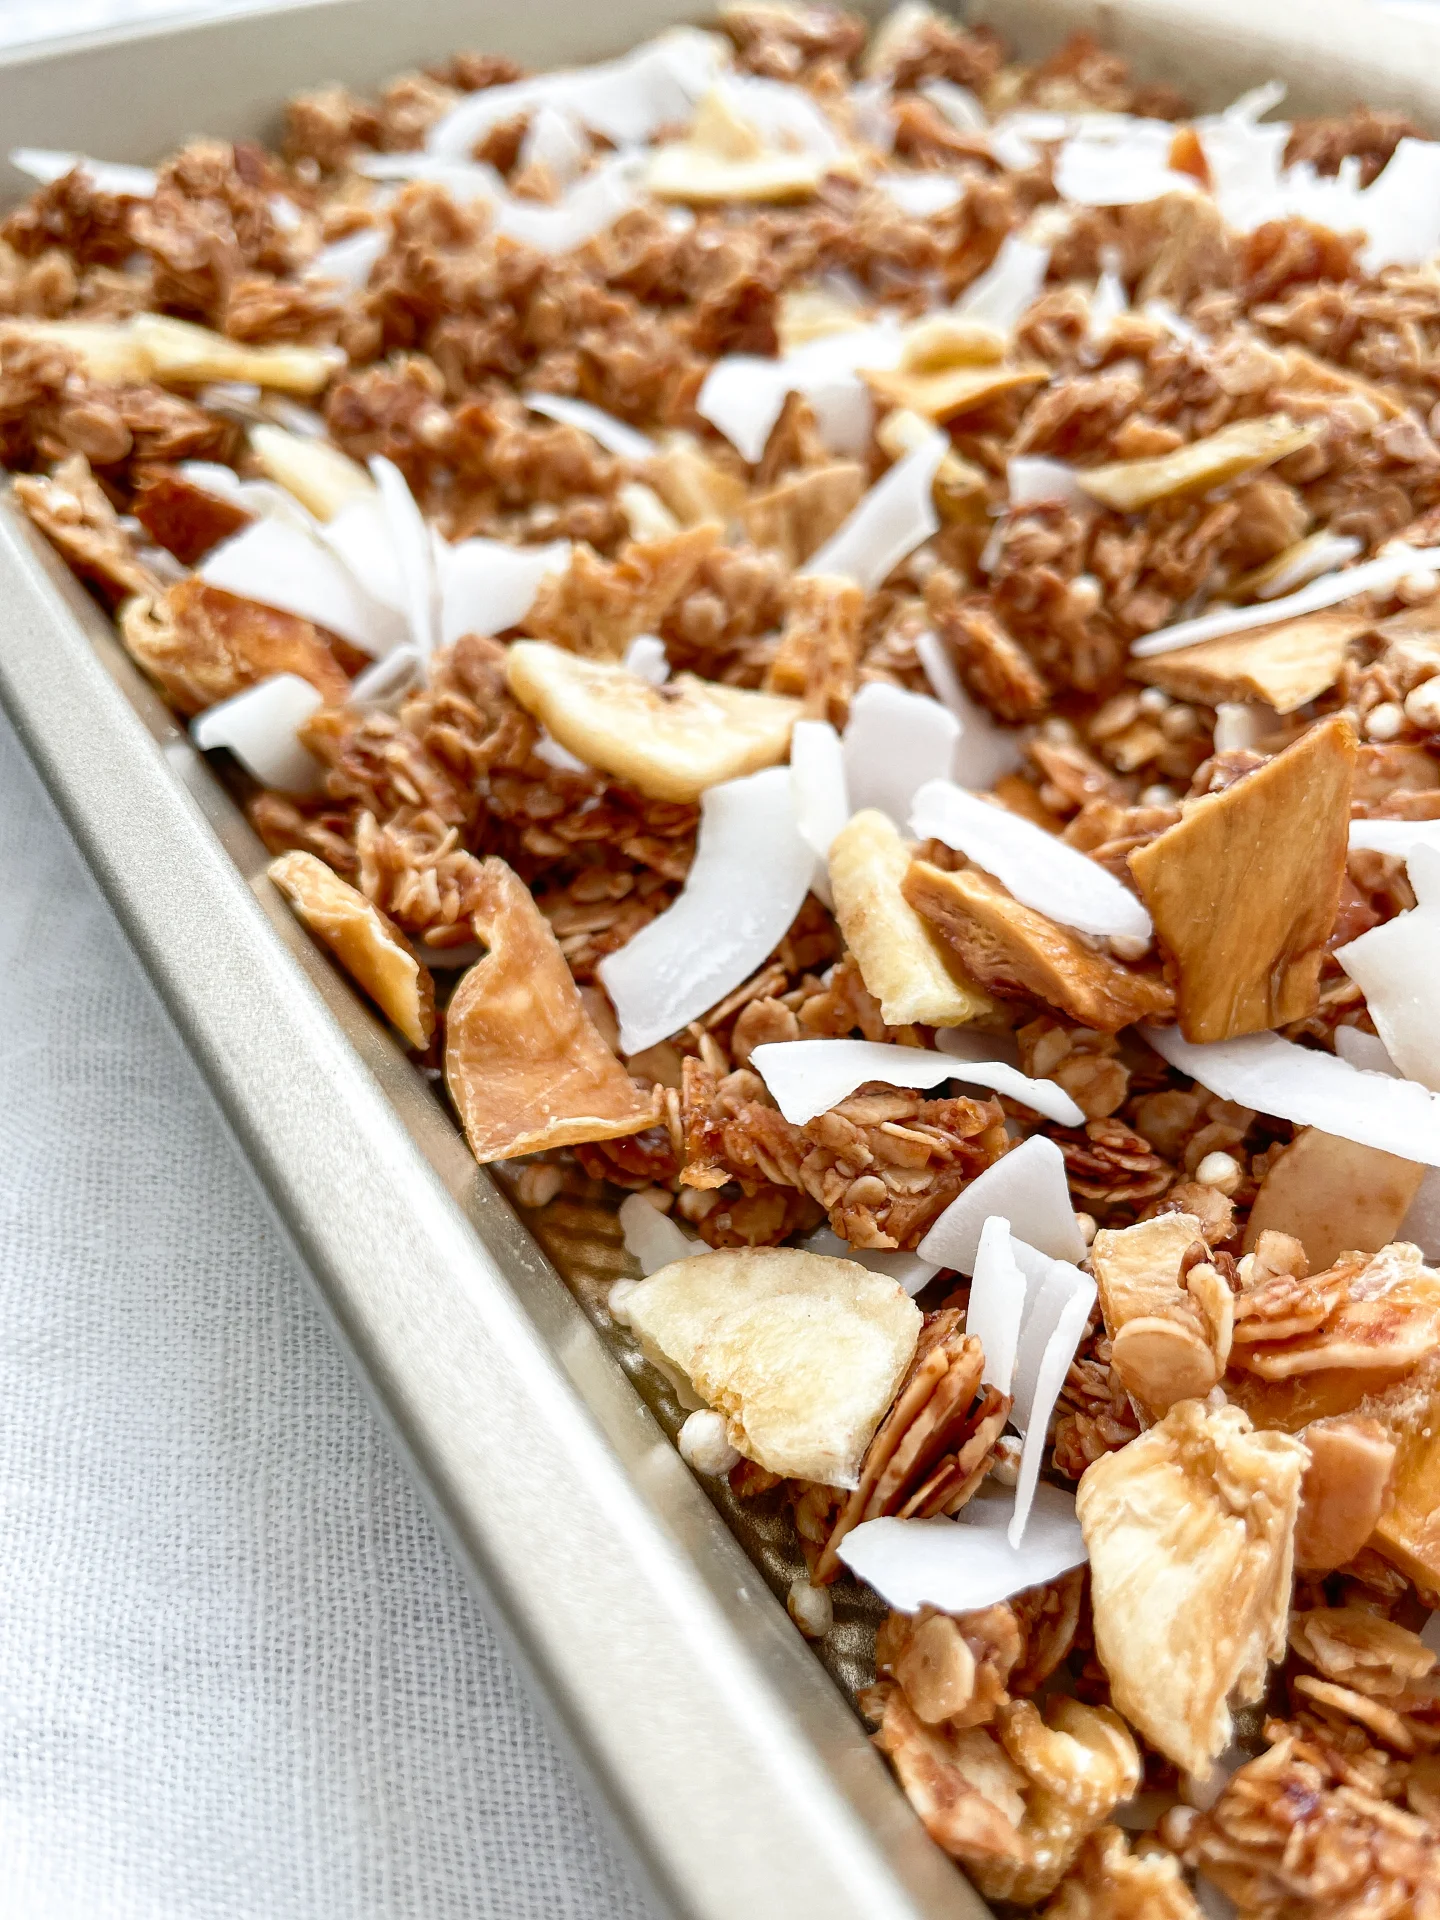
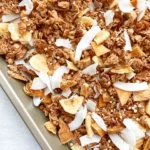
Tropical Granola – Coconut Mango Pineapple & Banana

Tropical Granola – Coconut Mango Pineapple & Banana

Tropical Granola (Coconut Mango Pineapple & Banana)

Tropical Granola (Coconut Mango Pineapple & Banana)

September 8, 2024 by Kimberly

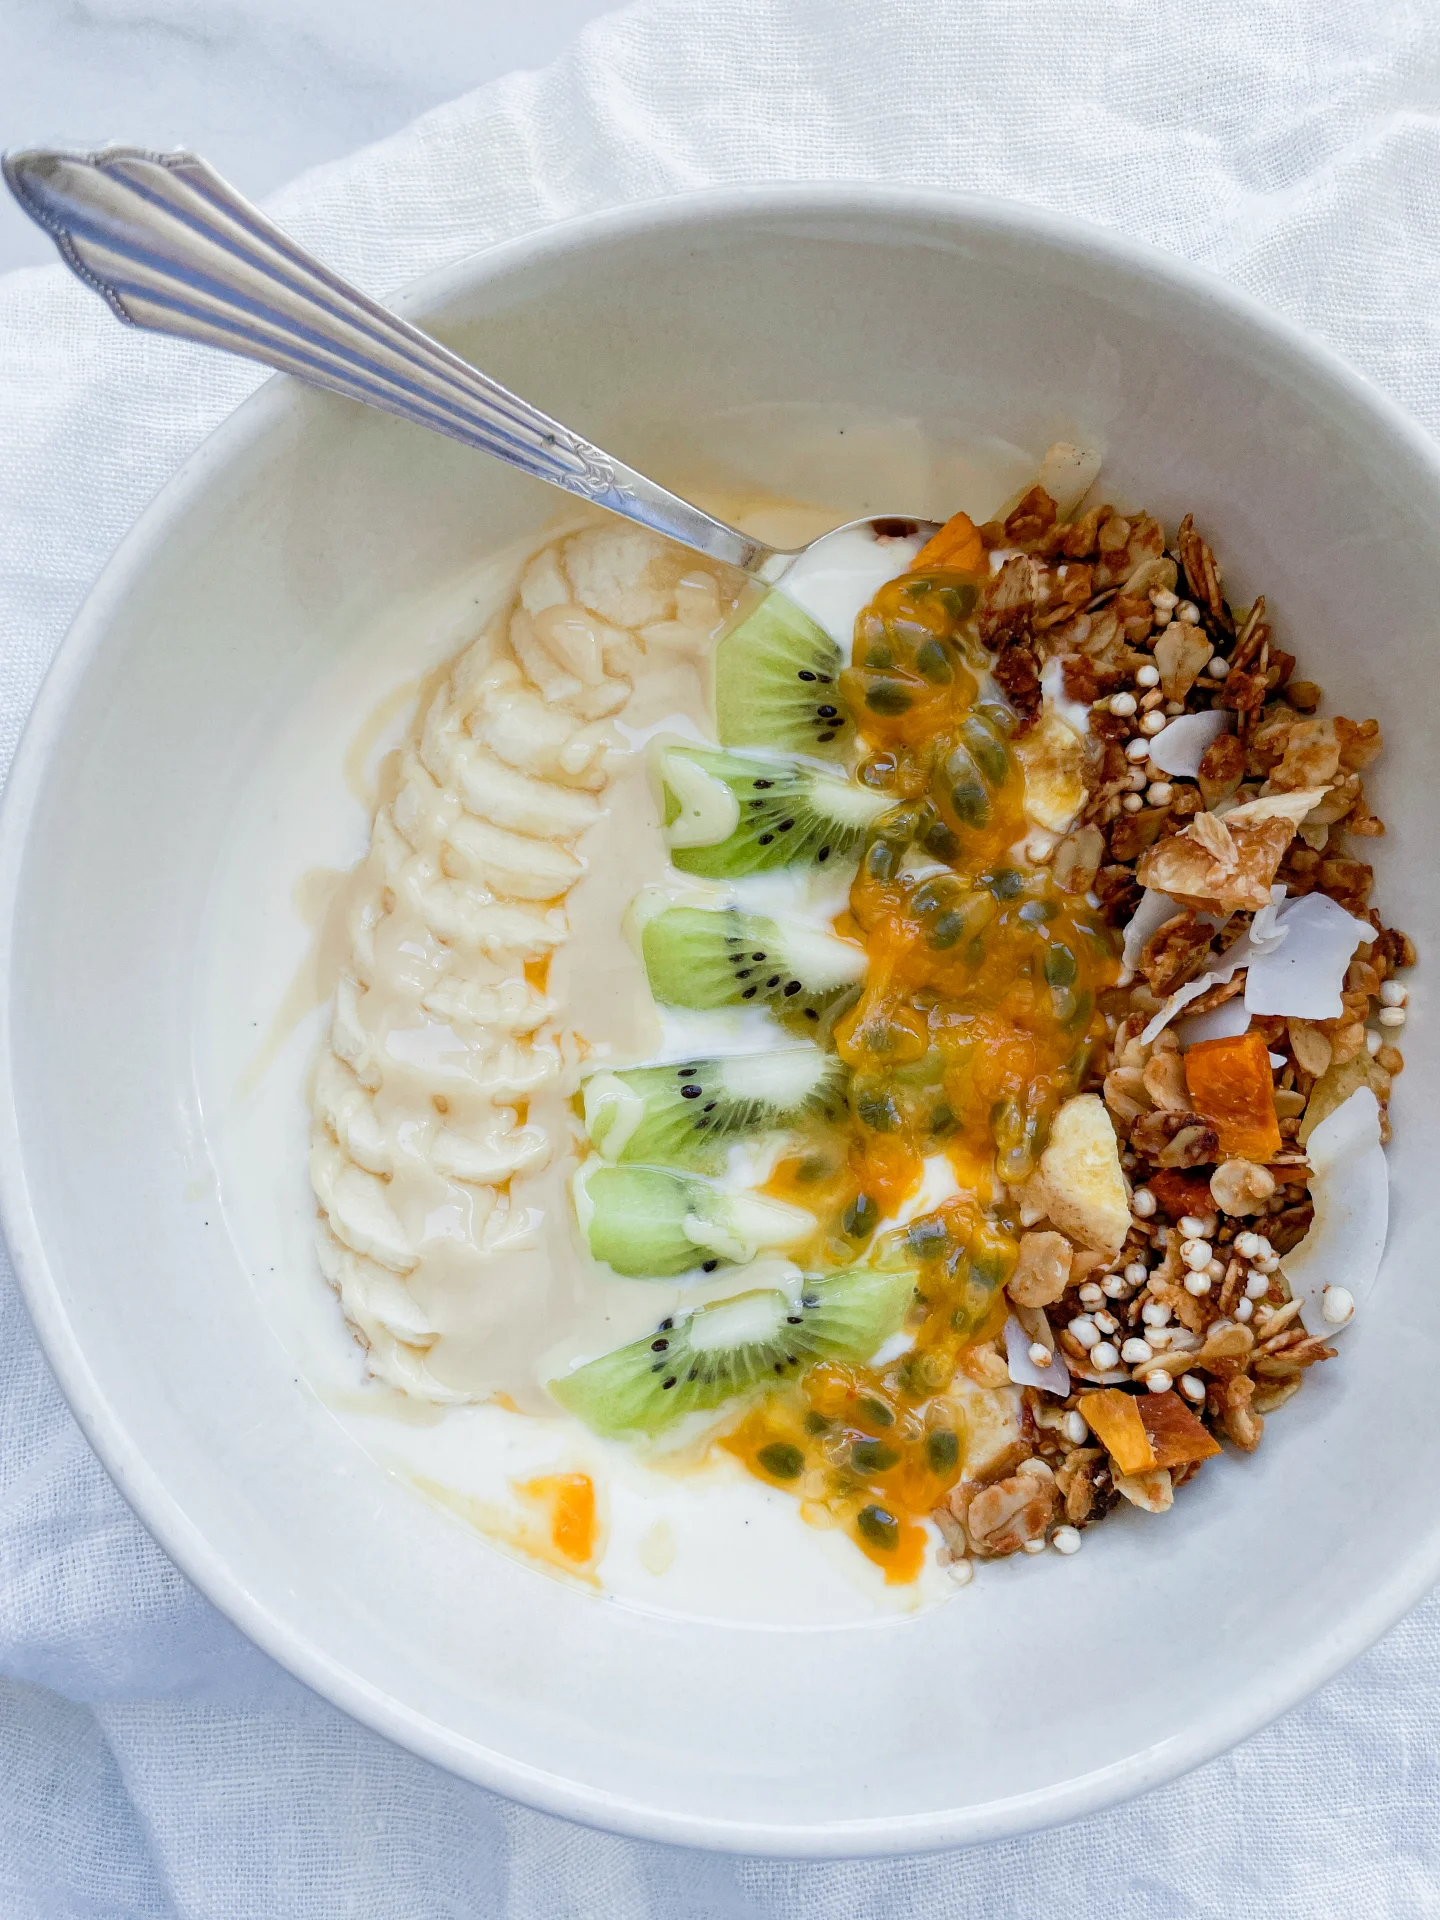
Get a taste of paradise in every bite! This crunchy tropical mix is loaded with coconut, mango, banana, and pineapple instantly taking you to a beachside escape with every spoonful.

This website uses affiliate links which may earn commission for purchases made at no additional cost to you.

TOTAL TIME

40 min

SERVES

4 cups / 300g

DIET

vegan

EVERY RECIPE DESERVES

A Little Love Letter

If you’re craving something that transports you straight to a sunny beach, this tropical-inspired granola is just what you need. Packed with crunchy coconut chips, sweet dried mango, freeze-dried banana, and tangy pineapple, it’s the ultimate blend of tropical goodness. Whether you sprinkle it over yogurt, enjoy it with milk, or just munch it by the handful, each bite brings a little sunshine to your day. Plus, it’s super easy to make and perfect for anyone looking for a healthier snack option!

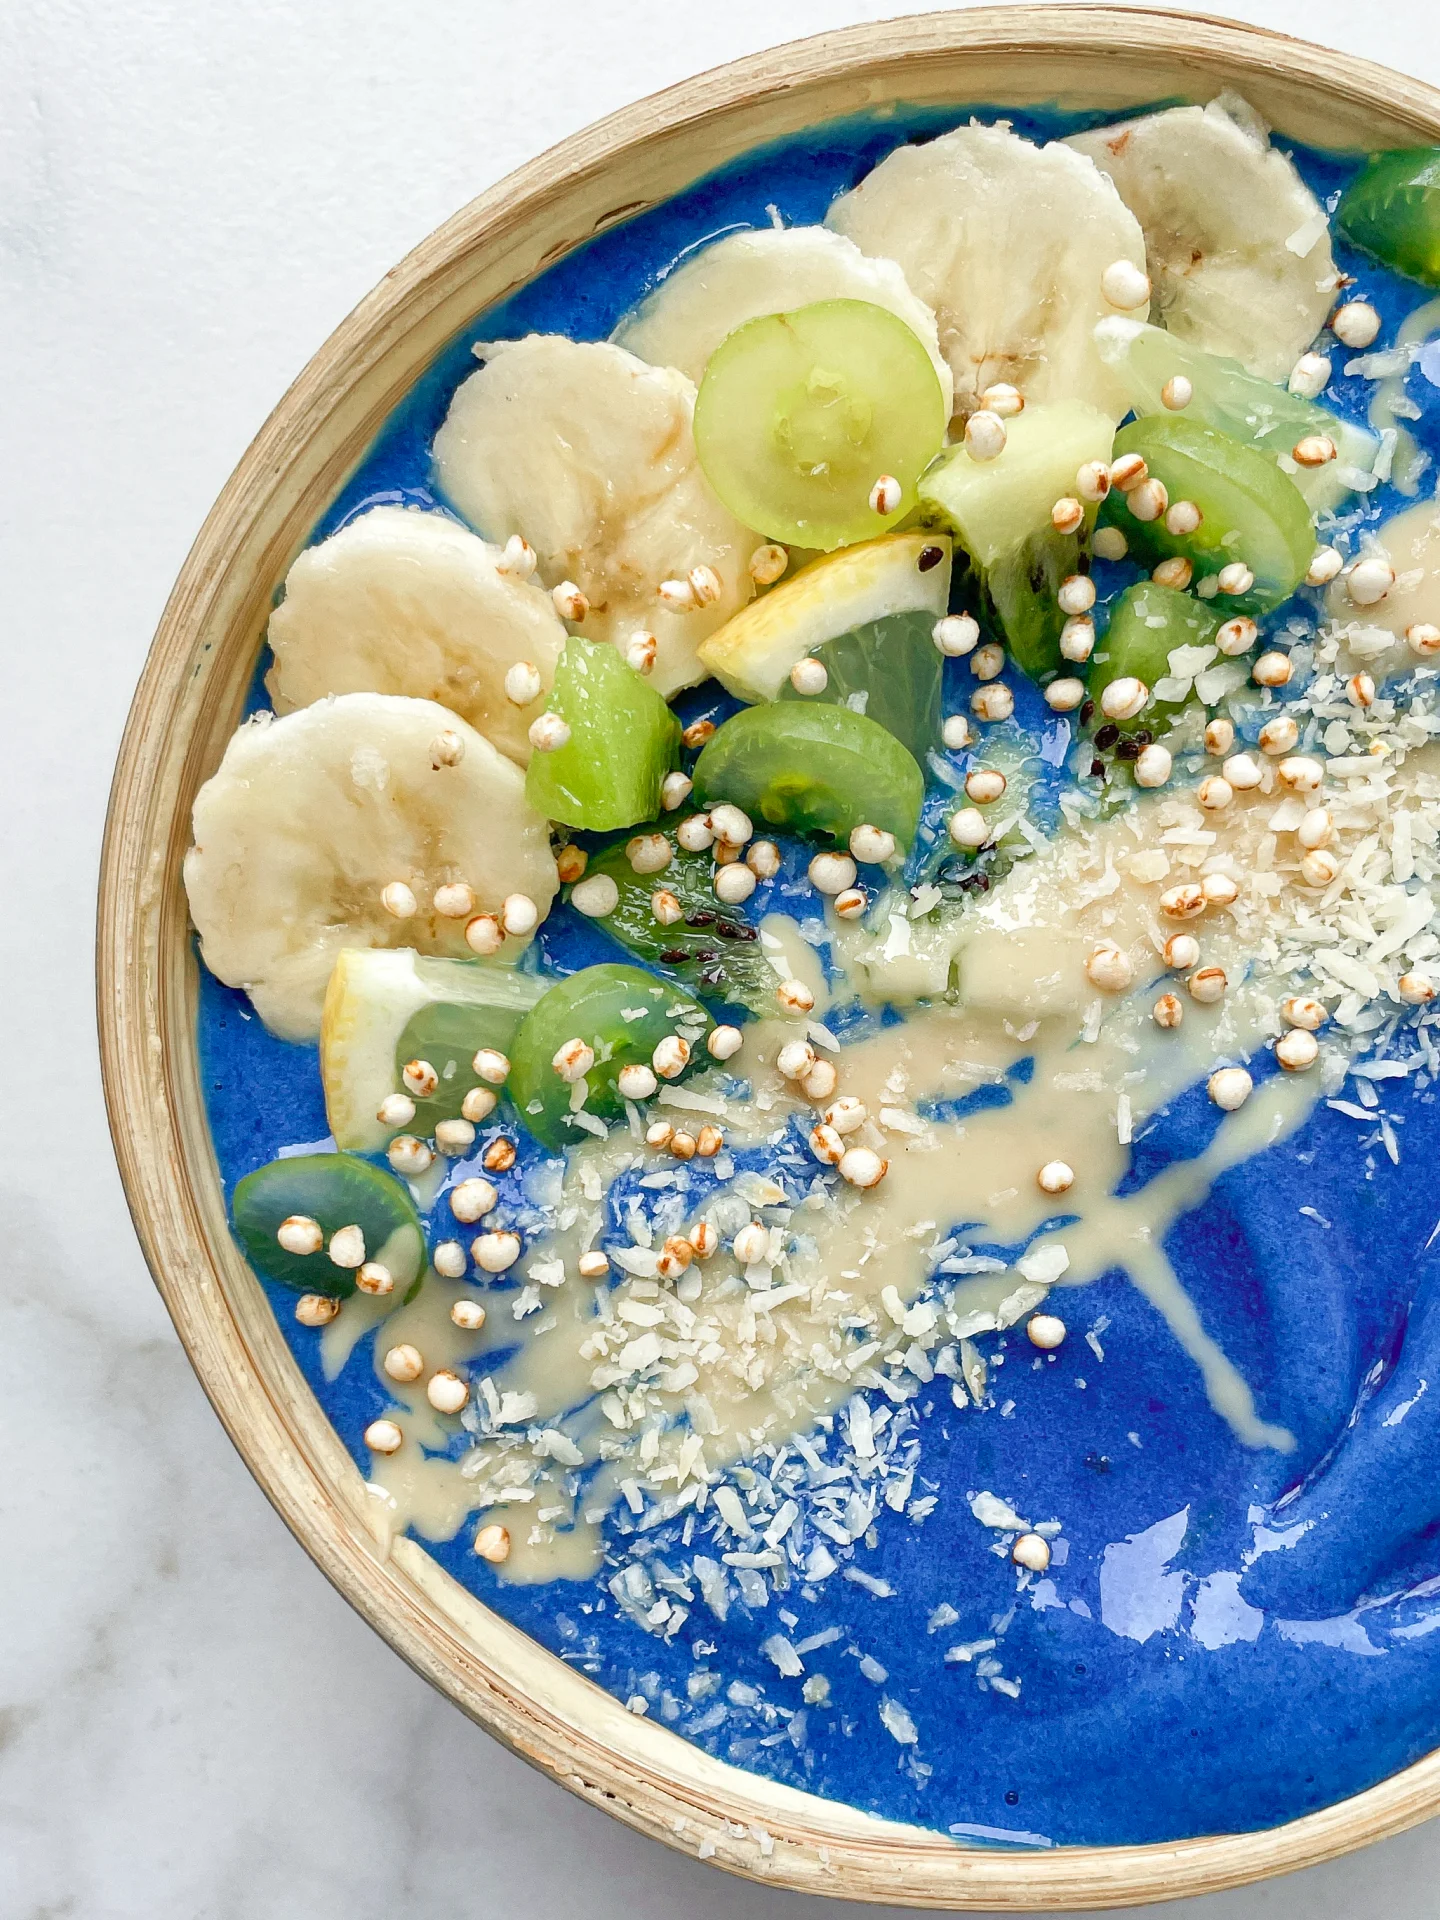
There are so many ways to enjoy this tropical mix! Serve it over some creamy Greek yogurt with a drizzle of honey, or go for a classic bowl with your favorite milk. If you’re feeling fancy, use it to top smoothie bowls for that perfect Instagram-worthy breakfast. It’s also an amazing snack to pack on-the-go, giving you a burst of tropical flavors any time of day.

Store this tropical blend in an airtight container to keep it fresh and crunchy. It’ll stay delicious for up to 3-4 weeks if stored in a cool, dry place – although, let’s be real, it probably won’t last that long because it’s too good!

Hi, I'm Kimberly!

Hi, I'm Kimberly.

A hopeless romantic when it comes to food. Every recipe I share is a love letter to food itself. I’m so glad you’re here. Make yourself at home and stay a while.

Love,
Kimberly

Kimberly the Zett Signature

If you want to get to know me better,
click here!


Tropical Granola (Coconut Mango Pineapple & Banana)

LET’S MAKE A PIECE OF HAPPINESS

Print
clock clock iconcutlery cutlery iconflag flag iconfolder folder iconinstagram instagram iconpinterest pinterest iconfacebook facebook iconprint print iconsquares squares iconheart heart iconheart solid heart solid icon
Tropical Granola - Coconut Mango Pineapple & Banana

Tropical Granola – Coconut Mango Pineapple & Banana


5 Stars 4 Stars 3 Stars 2 Stars 1 Star

5 from 1 review

  • Author: Kimberly
  • Total Time: 40 min
  • Yield: 300 g / 4 cups 1x

Description

Recommended Equipment

  • oven
  • parchment paper
  • medium-sized bowl
  • small saucepan
  • sharp knife
  • cutting board
  • airtight container

Ingredients

Units Scale
  • 100 grams rolled oats
  • 15 grams almonds
  • 30 grams dried mango
  • 30 grams freeze-dried banana
  • 30 grams dried pineapple
  • 20 grams coconut chips
  • 15 grams puffed quinoa
  • 30 grams cold-pressed coconut oil
  • 10 grams brown sugar
  • 25 grams agave syrup
  • 1/2 tsp vanilla extract
  • 1/8 tsp salt

Instructions

PREPARATIONS

  • Here’s the recipe for the Pineapple Coconut Oil. You’ll need about 30g of it.

INSTRUCTIONS

  1. Preheat the oven to 160°C / 320°F. Line a baking sheet with parchment paper and set it aside.
  2. In a medium-sized bowl, mix together the oats and almonds. Set aside.
  3. In a small saucepan, stir together sugar, agave syrup, vanilla extract, and coconut oil. Heat on low until the sugar melts. Pour this mixture over the oat-almond mix and stir well.
  4. Spread the mixture evenly onto the baking sheet. Bake for about 20 minutes.
  5. While the granola is baking, chop the freeze-dried bananas, pineapple, mango, and coconut chips to your desired size, and measure out the quinoa. Set everything aside.
  6. Once the granola is done baking, take it out of the oven and add the other ingredients. Mix everything well and let it cool.
  7. Once it’s completely cooled, crumble the granola and store it in an airtight container.
  • Passive Time: 20 min
  • Cook Time: 20 min
CRAVING MORE?

Follow along here & don’t forget to subscribe to my substack!

Apple Fritters with Lemon Vanilla Glaze

Apple Fritters with Lemon Vanilla Glaze

Apple Fritters with Lemon Vanilla Glaze

Apple Fritters with Lemon Vanilla Glaze

August 25, 2024 by Kimberly

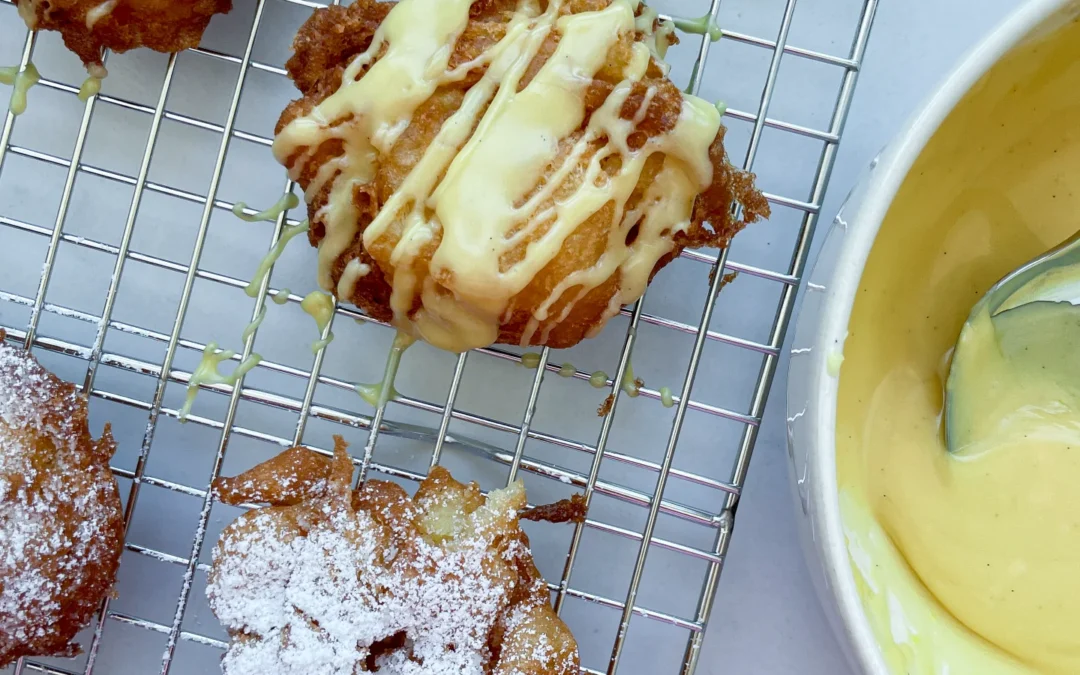
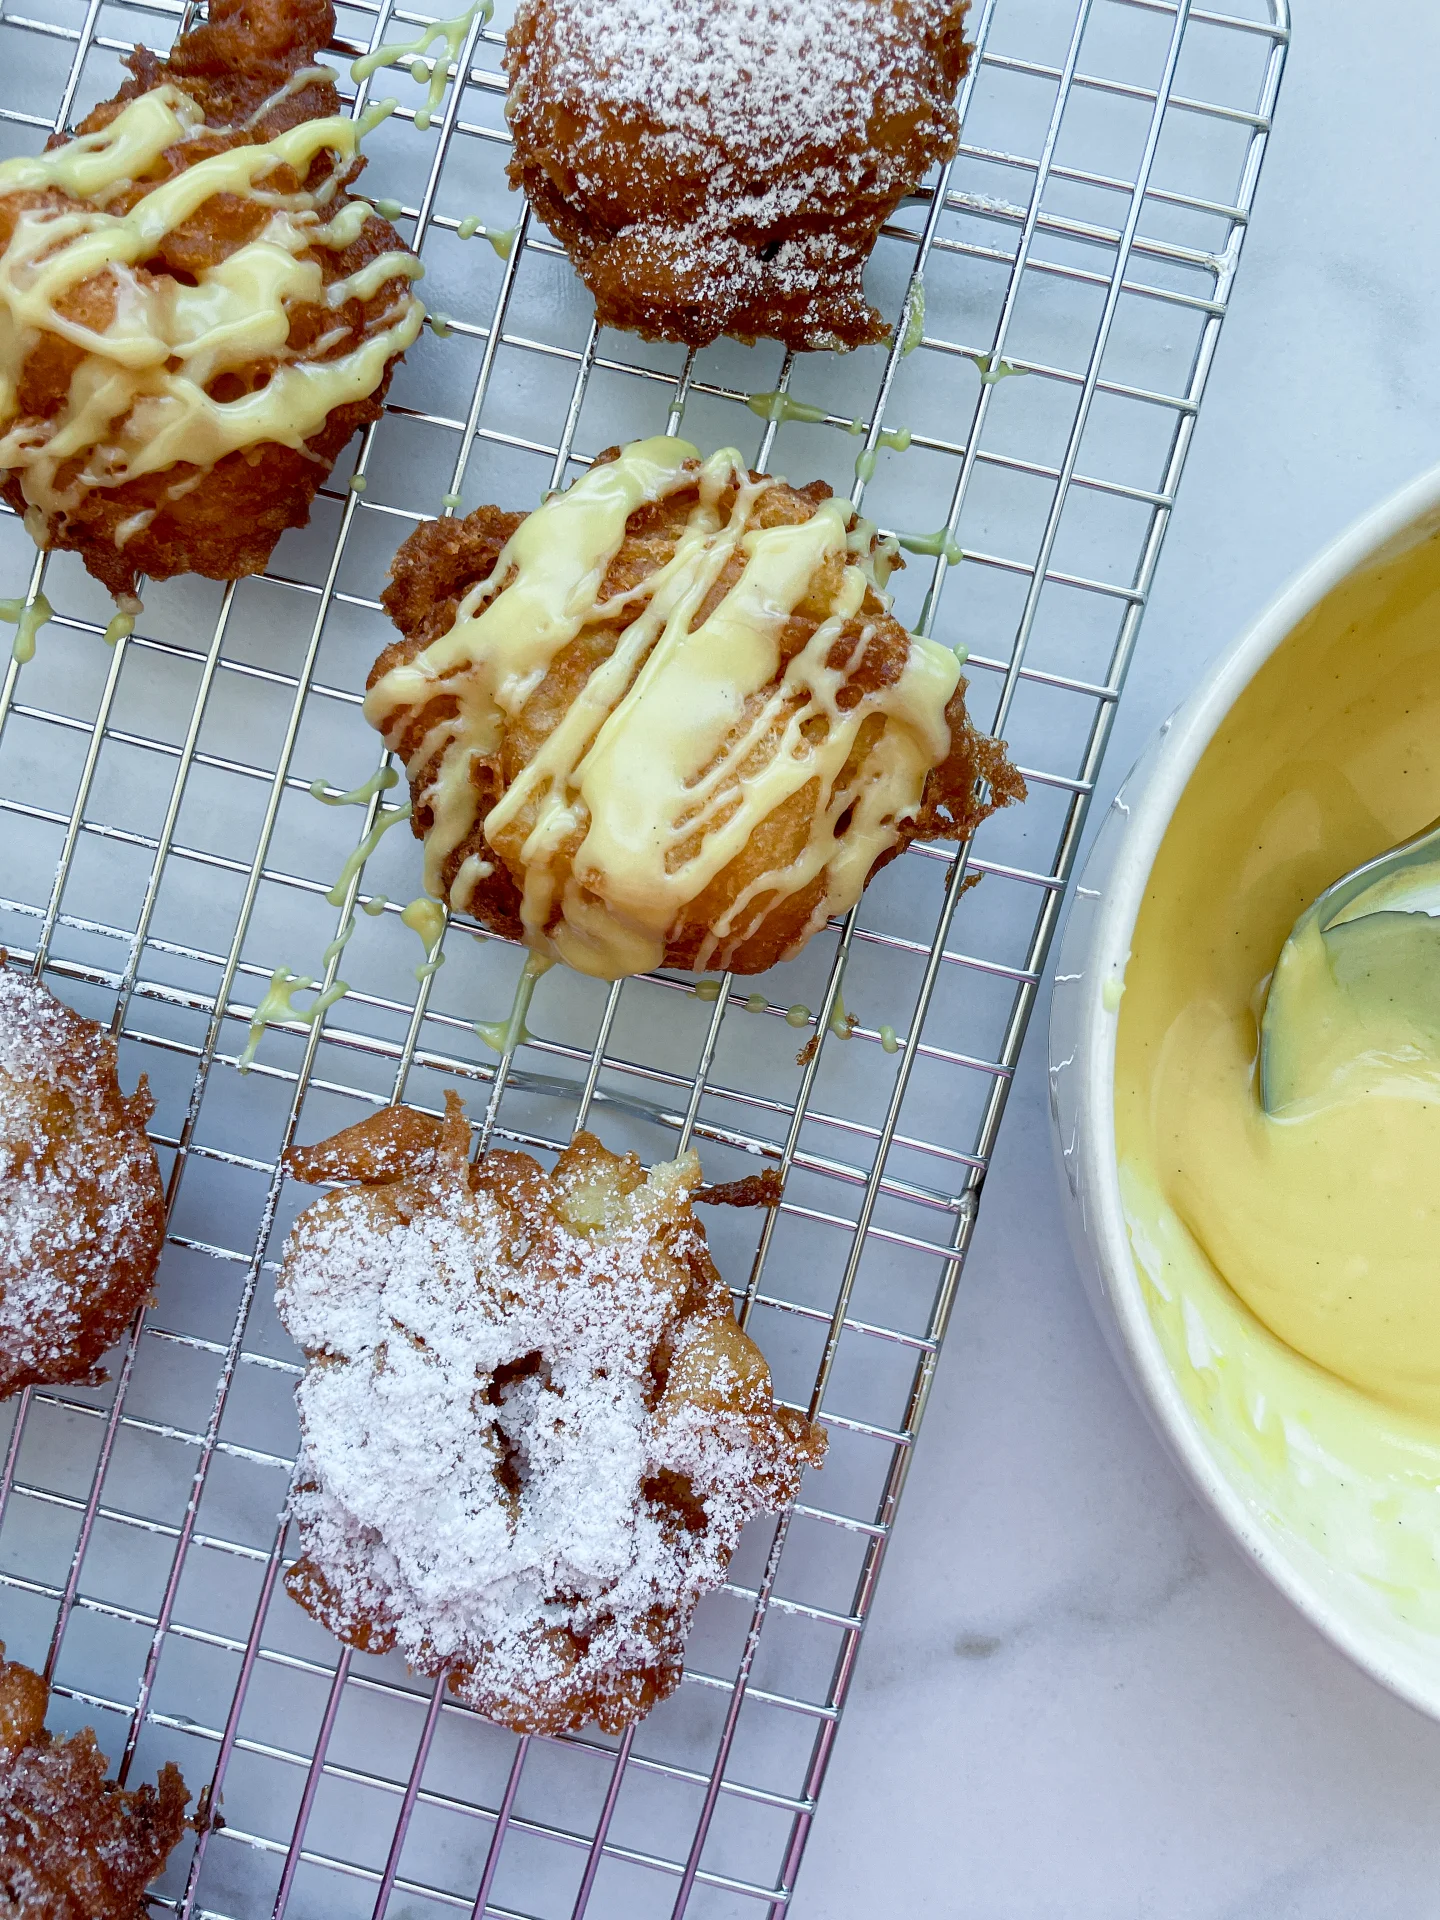
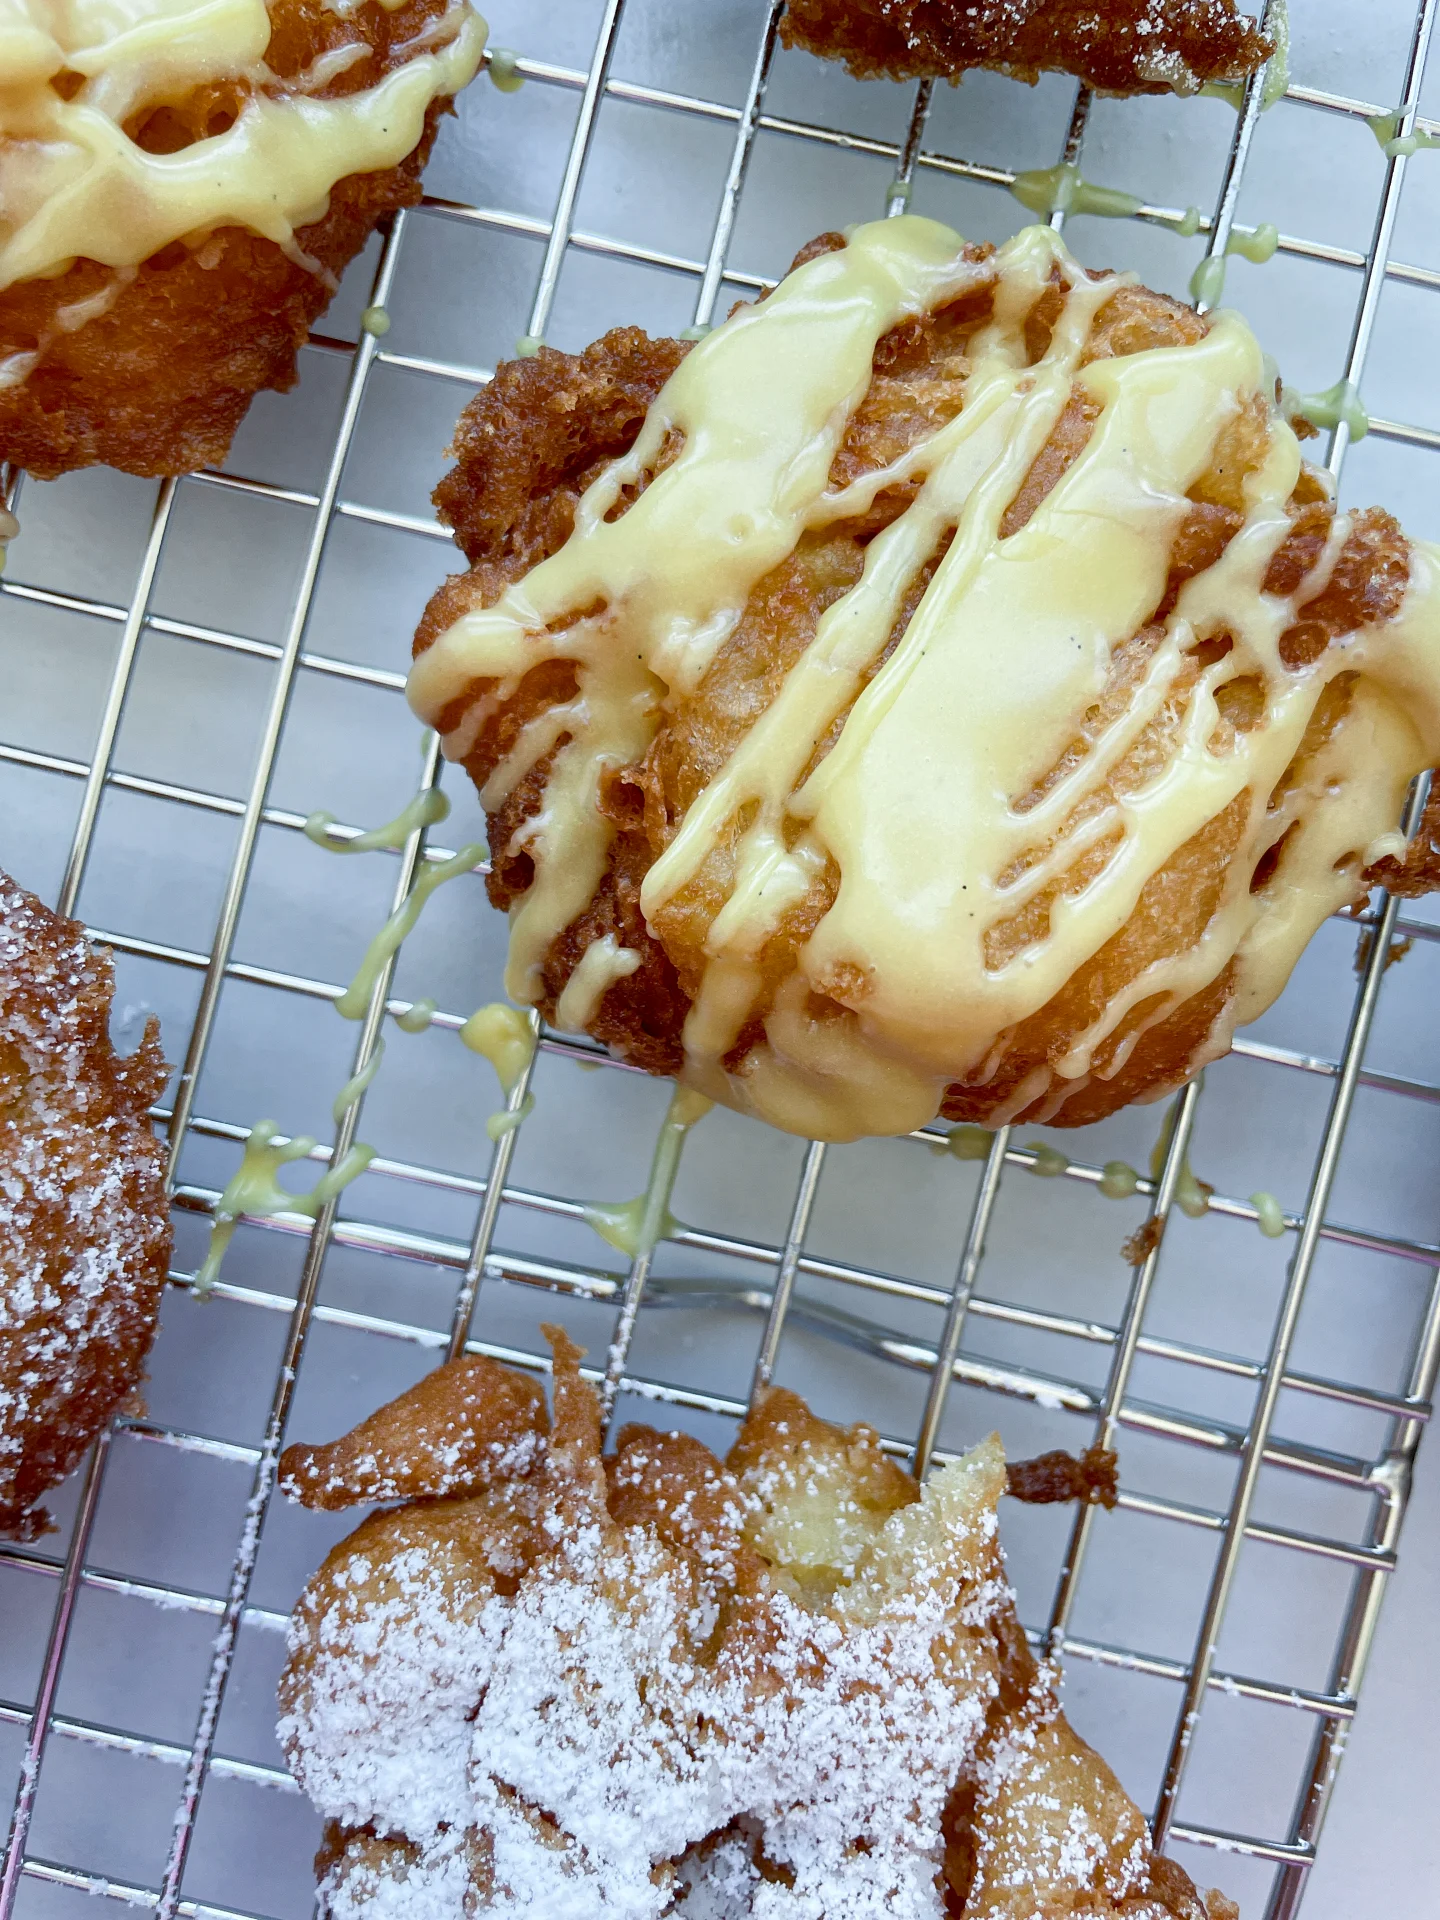
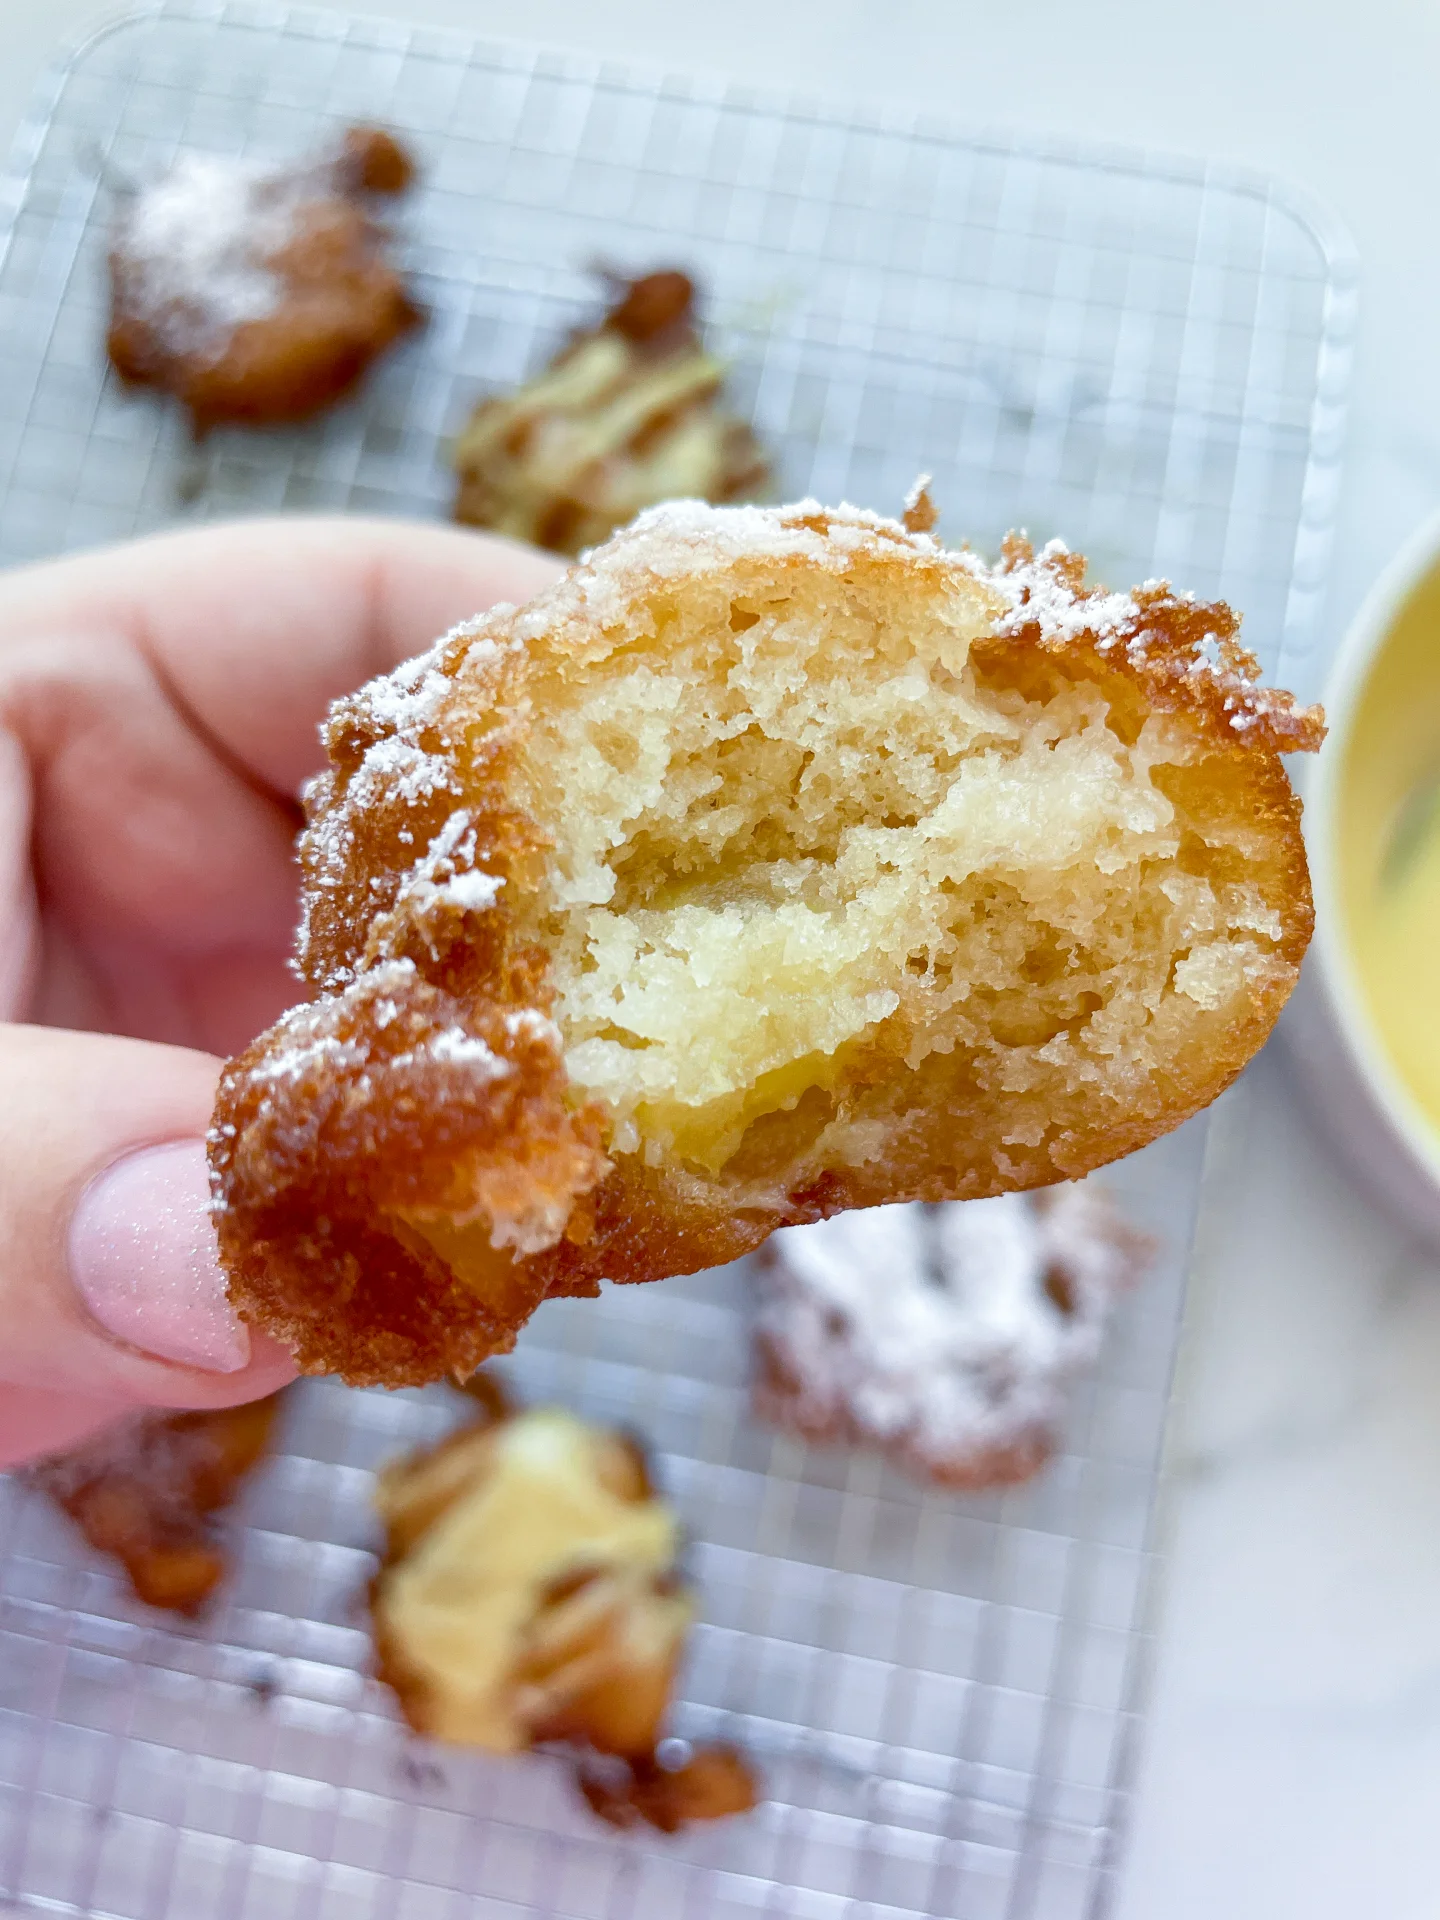
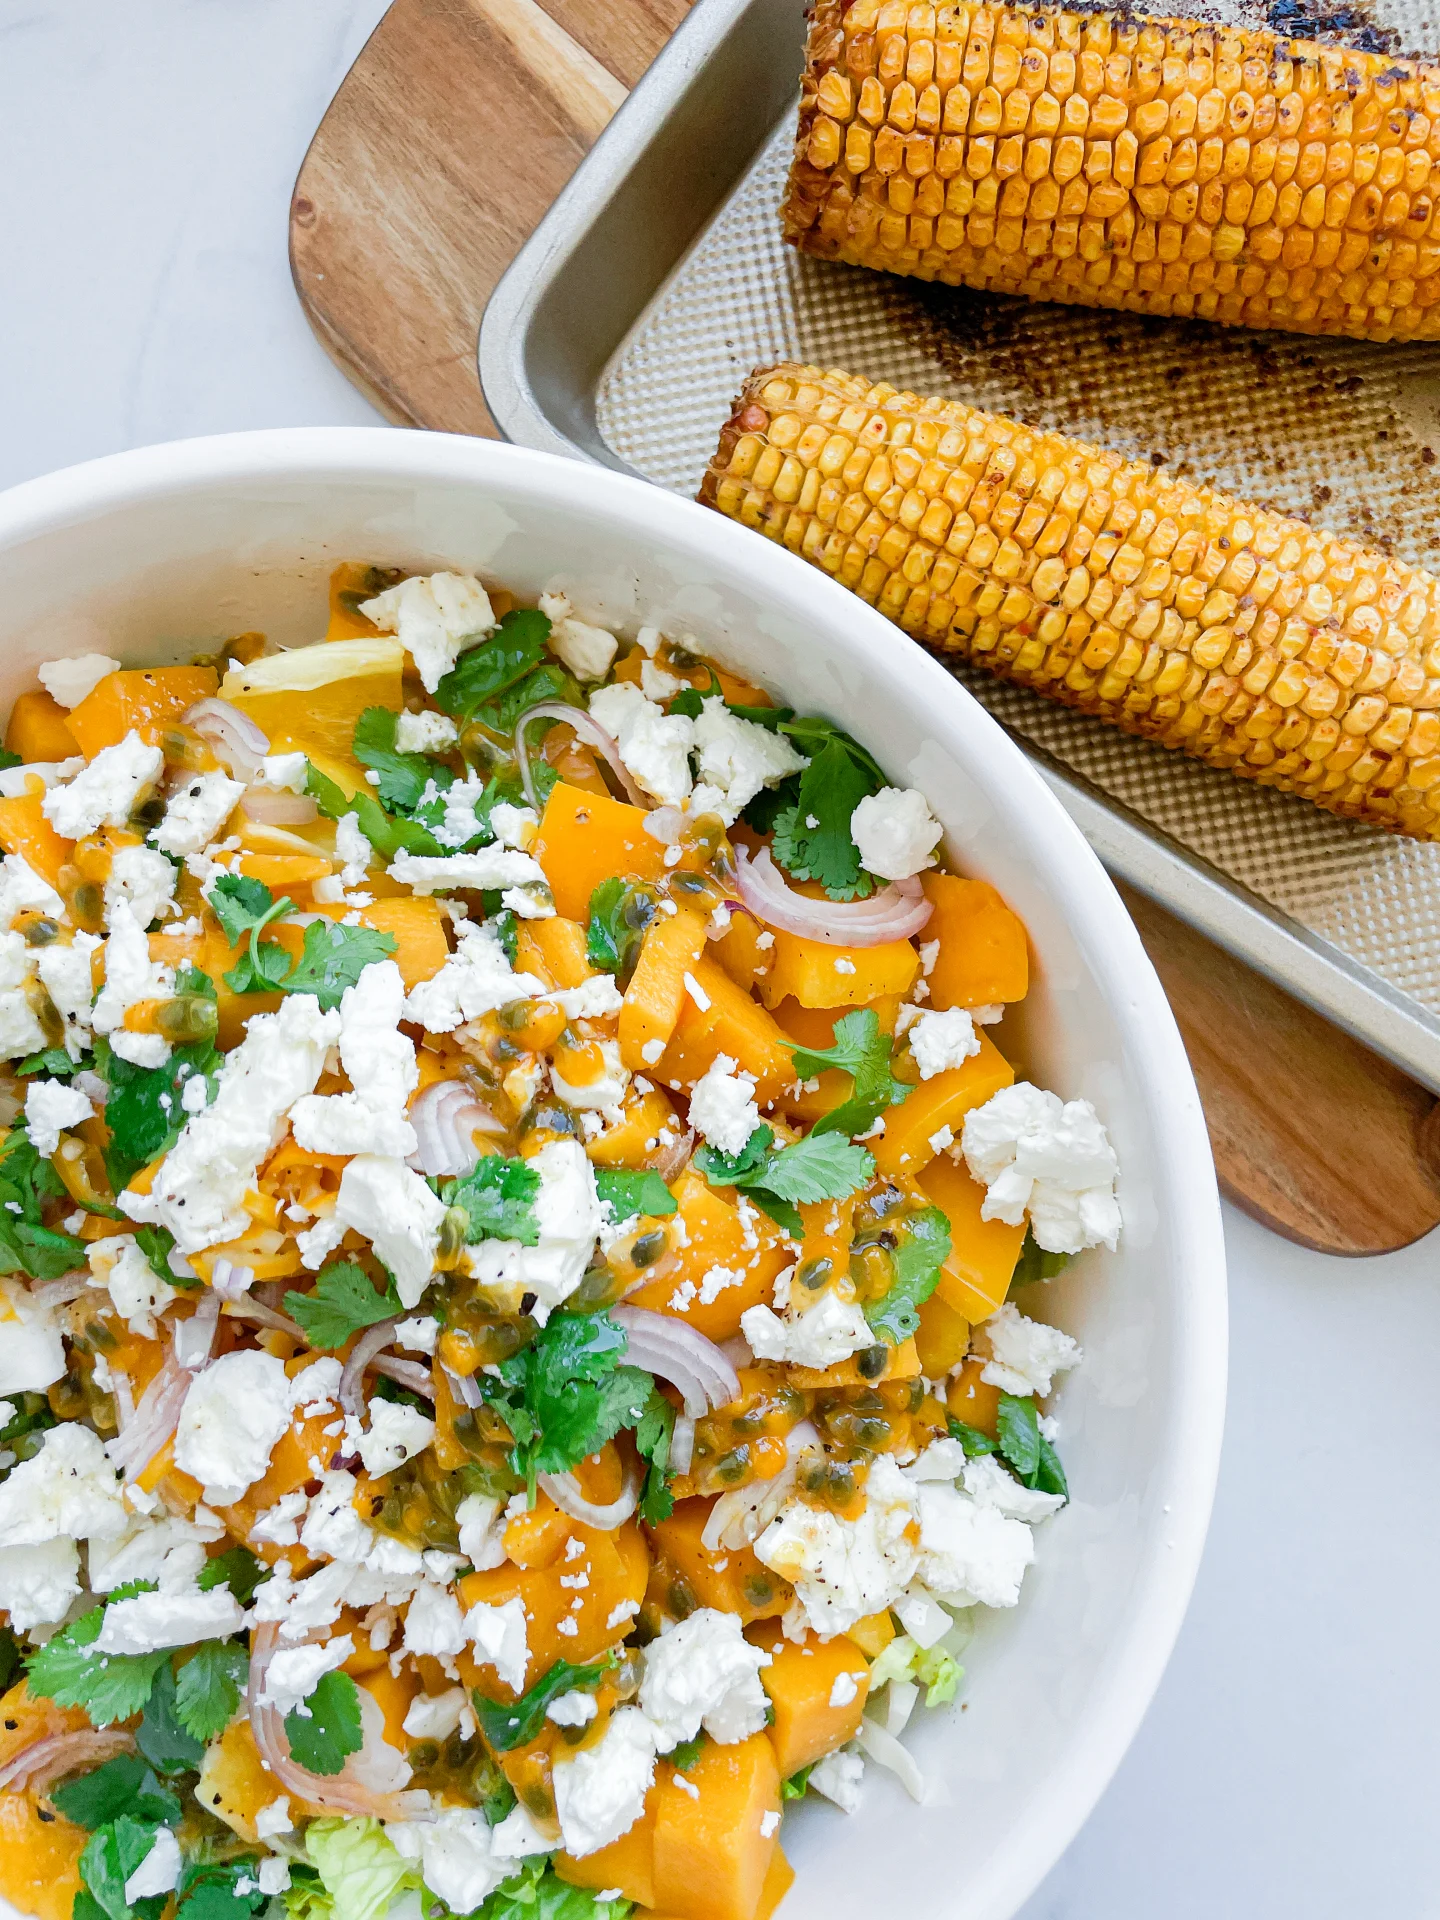
Imagine biting into warm, fluffy fritters bursting with juicy apples, drizzled with a sweet, tangy glaze. It’s like a cozy hug on a chilly morning – a little piece of homemade heaven!

This website uses affiliate links which may earn commission for purchases made at no additional cost to you.

TOTAL TIME

30 min

SERVES

12 fritters

DIET

vegetarian

EVERY RECIPE DESERVES

A Little Love Letter

Ever feel like treating yourself to something that’s a mix of comfort and a touch of fancy? These fluffy apple fritters are just that! They’re packed with juicy apple chunks, fried to golden perfection, and then topped with a mouthwatering lemon vanilla glaze. It’s the kind of snack that feels like a warm hug, perfect for cozy mornings or as a delightful dessert to share with friends. Trust me, once you try these, they’ll become your go-to treat!

They’re best enjoyed fresh and warm, right out of the frying pan, with the glaze still slightly gooey and dripping down the sides. Pair them with a hot cup of coffee or tea for a perfect morning pick-me-up. If you’re feeling extra indulgent, a scoop of vanilla ice cream on the side turns these fritters into an irresistible dessert.

If you have leftovers (which I doubt!), store these fritters in an airtight container at room temperature for up to two days. For the best experience, reheat them in the oven at a low temperature.

Hi, I'm Kimberly!

Hi, I'm Kimberly.

A hopeless romantic when it comes to food. Every recipe I share is a love letter to food itself. I’m so glad you’re here. Make yourself at home and stay a while.

Love,
Kimberly

Kimberly the Zett Signature

If you want to get to know me better,
click here!


Apple Fritters with Lemon Vanilla Glaze

LET’S MAKE A PIECE OF HAPPINESS

Print
clock clock iconcutlery cutlery iconflag flag iconfolder folder iconinstagram instagram iconpinterest pinterest iconfacebook facebook iconprint print iconsquares squares iconheart heart iconheart solid heart solid icon
Apple Fritters with Lemon Vanilla Glaze

Apple Fritters with Lemon Vanilla Glaze


  • Author: Kimberly
  • Total Time: 30 min
  • Yield: 12 fritters 1x

Description

Recommended Equipment

  • small pot
  • cooling rack
  • two bowls
  • whisk
  • sharp knife
  • cutting board
  • small bowl

Ingredients

Units Scale
BATTER
  • 100 grams all-purpose flour
  • 50 grams brown sugar
  • 1 tsp baking powder
  • 1/4 tsp salt
  • 1/3 cup milk
  • 1 egg
  • 1 tbsp butter, melted
  • 1/2 tsp vanilla extract
  • 2 apples
  • fat for frying
GLAZE
  • 65 grams powdered sugar
  • 1 tbsp milk
  • 1 tbsp lemon juice
  • 1/2 tsp vanilla extract

Instructions

  1. Heat frying fat in a small pot to around 175°C / 350°F. Prepare a cooling rack with some paper towels underneath to catch any excess oil when the fritters are done.
  2. Meanwhile, in a mixing bowl, combine the flour, brown sugar, baking powder, and salt. Set aside.
  3. In another mixing bowl, crack the egg and whisk it together with milk, vanilla extract, and melted butter. Set aside.
  4. Peel, core, and dice the apples into small pieces. Set aside.
  5. Pour the wet ingredients into the dry ingredients and stir until a thick batter forms. Then, add the apple pieces and mix everything together again.
  6. Drop spoonfuls of the batter into the hot oil, frying each side for about 2-3 minutes, depending on thickness. I used about 1 heaping tablespoon of batter per fritter. Place the fritters on the cooling rack to drain any excess oil.
  7. While the fritters are frying, mix powdered sugar, lemon juice, and vanilla extract in a small bowl to create a thick glaze. Drizzle the glaze over the fritters. I think they taste best when warm, so feel free to enjoy them right away 🙂
  • Cook Time: 30 min

CRAVING MORE?

Follow along here & don’t forget to subscribe to my substack!

Salmon Poke Bowl & Spicy Mayo Sauce

Salmon Poke Bowl & Spicy Mayo Sauce

Salmon Poke Bowl & Spicy Mayo Sauce

Salmon Poke Bowl & Spicy Mayo Sauce

August 21, 2024 by Kimberly

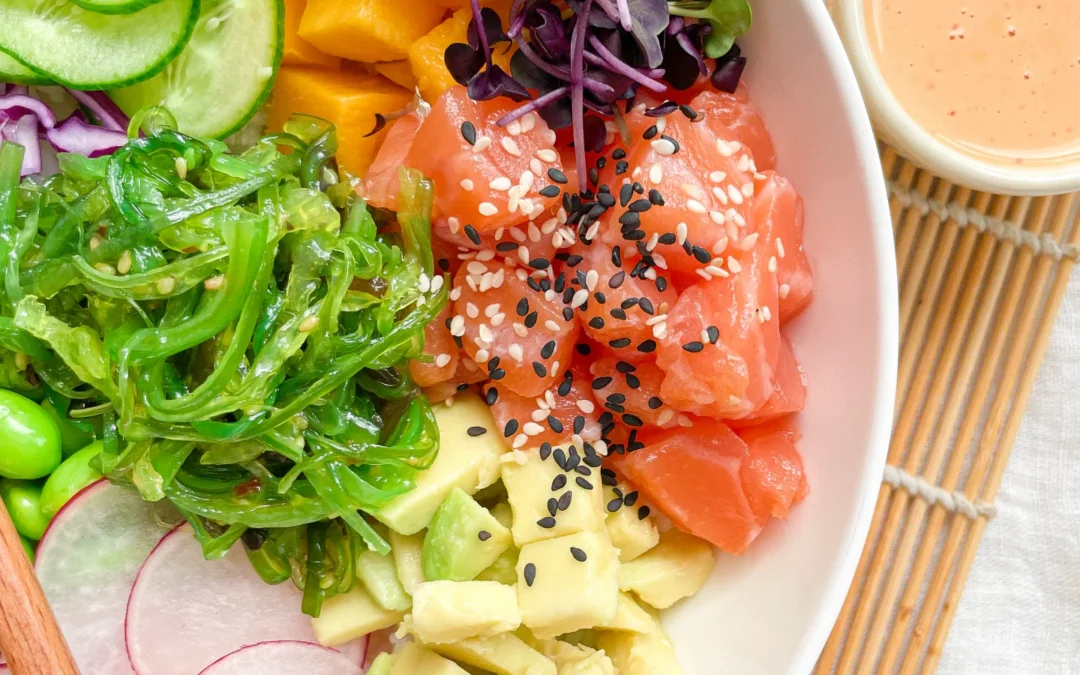
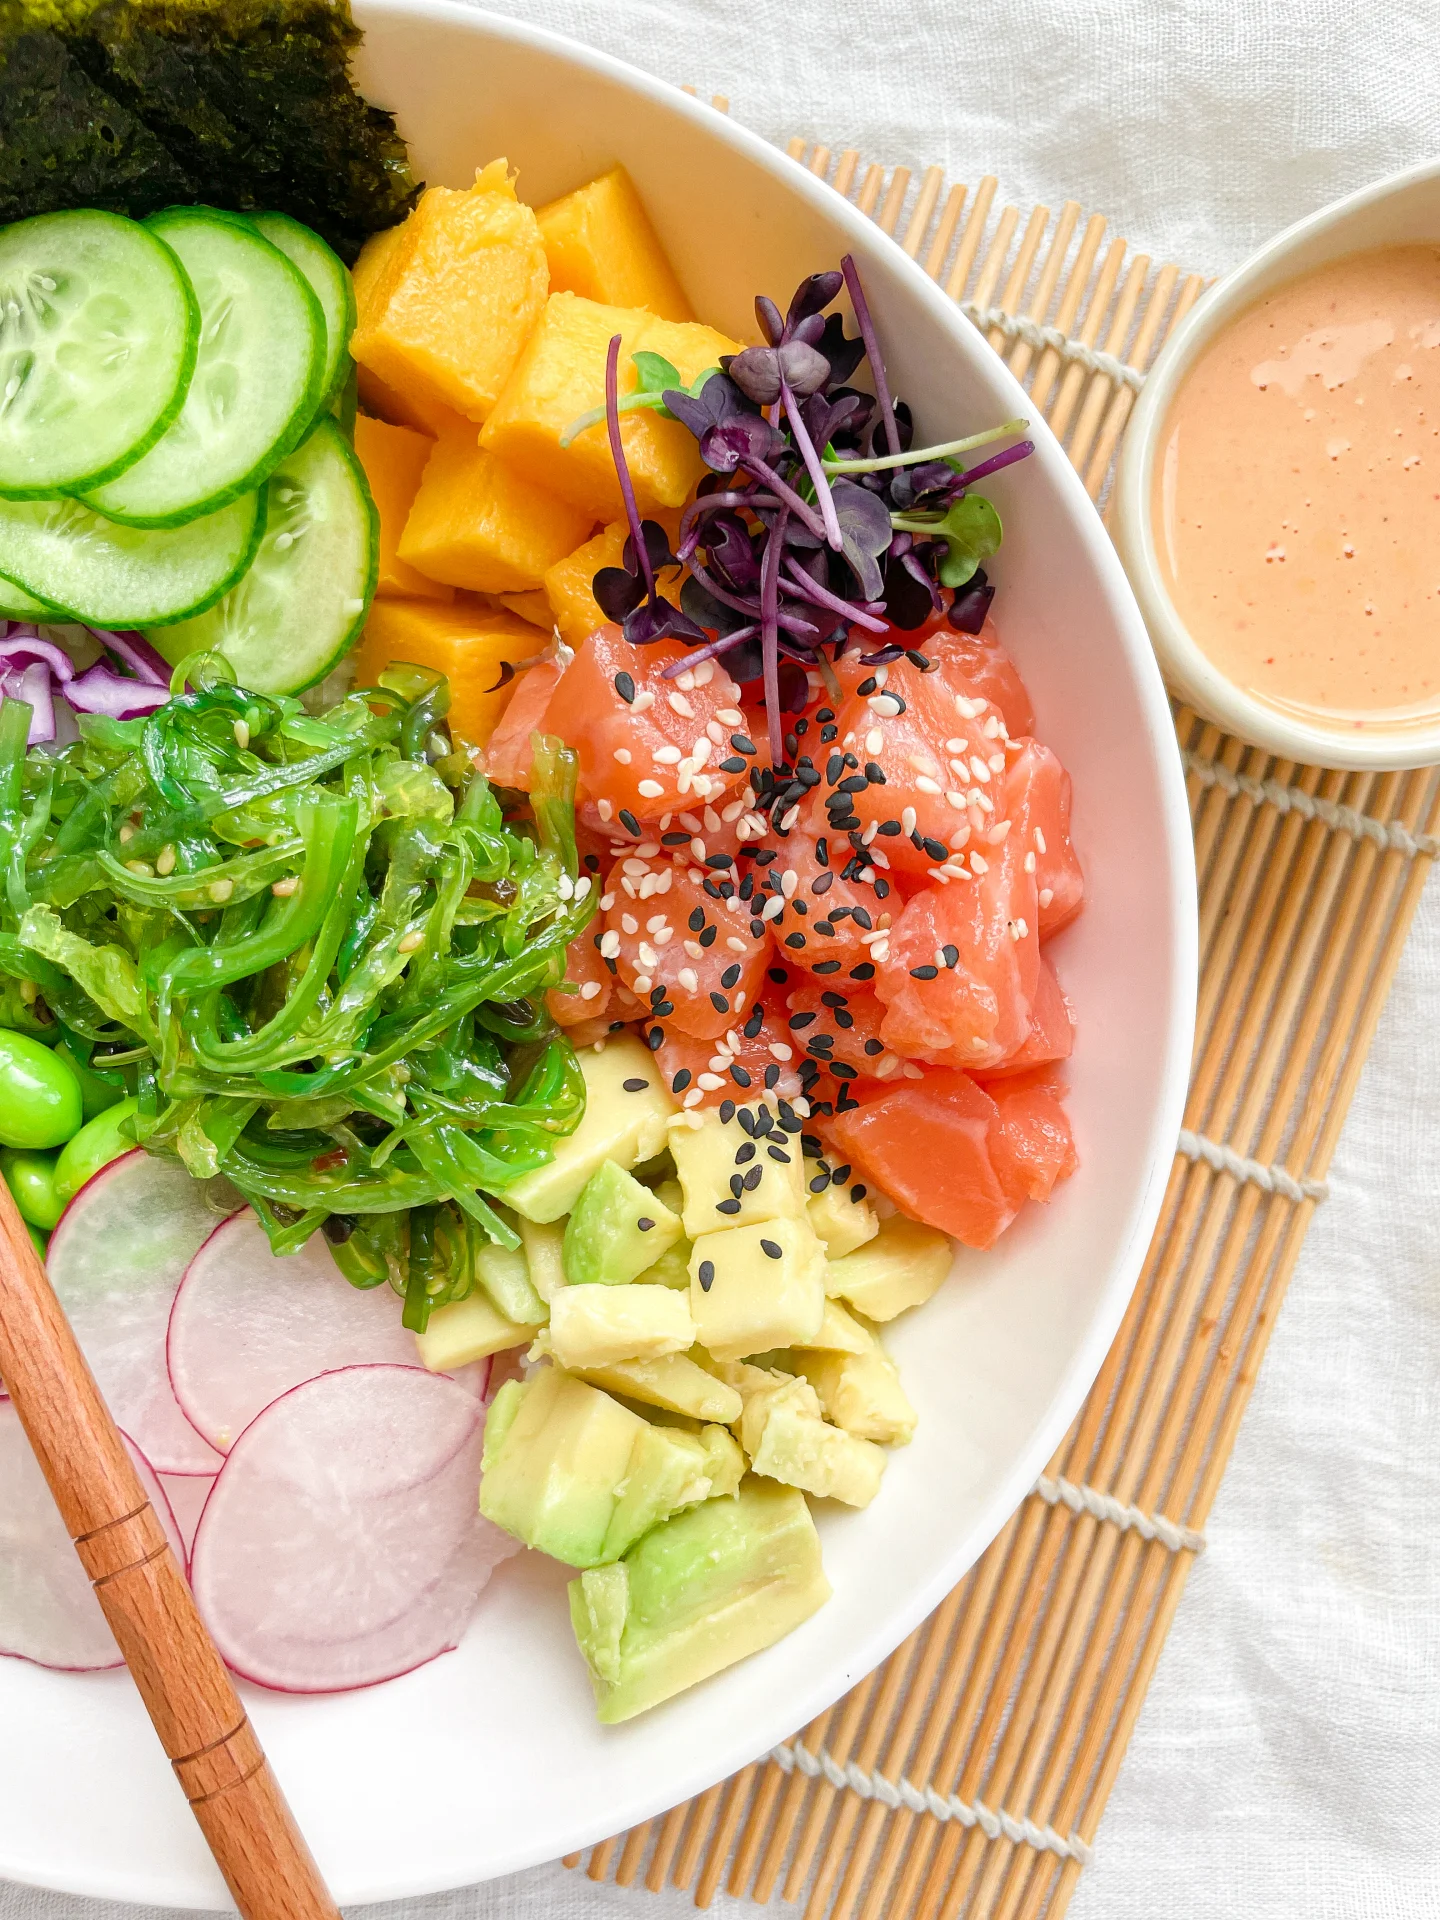
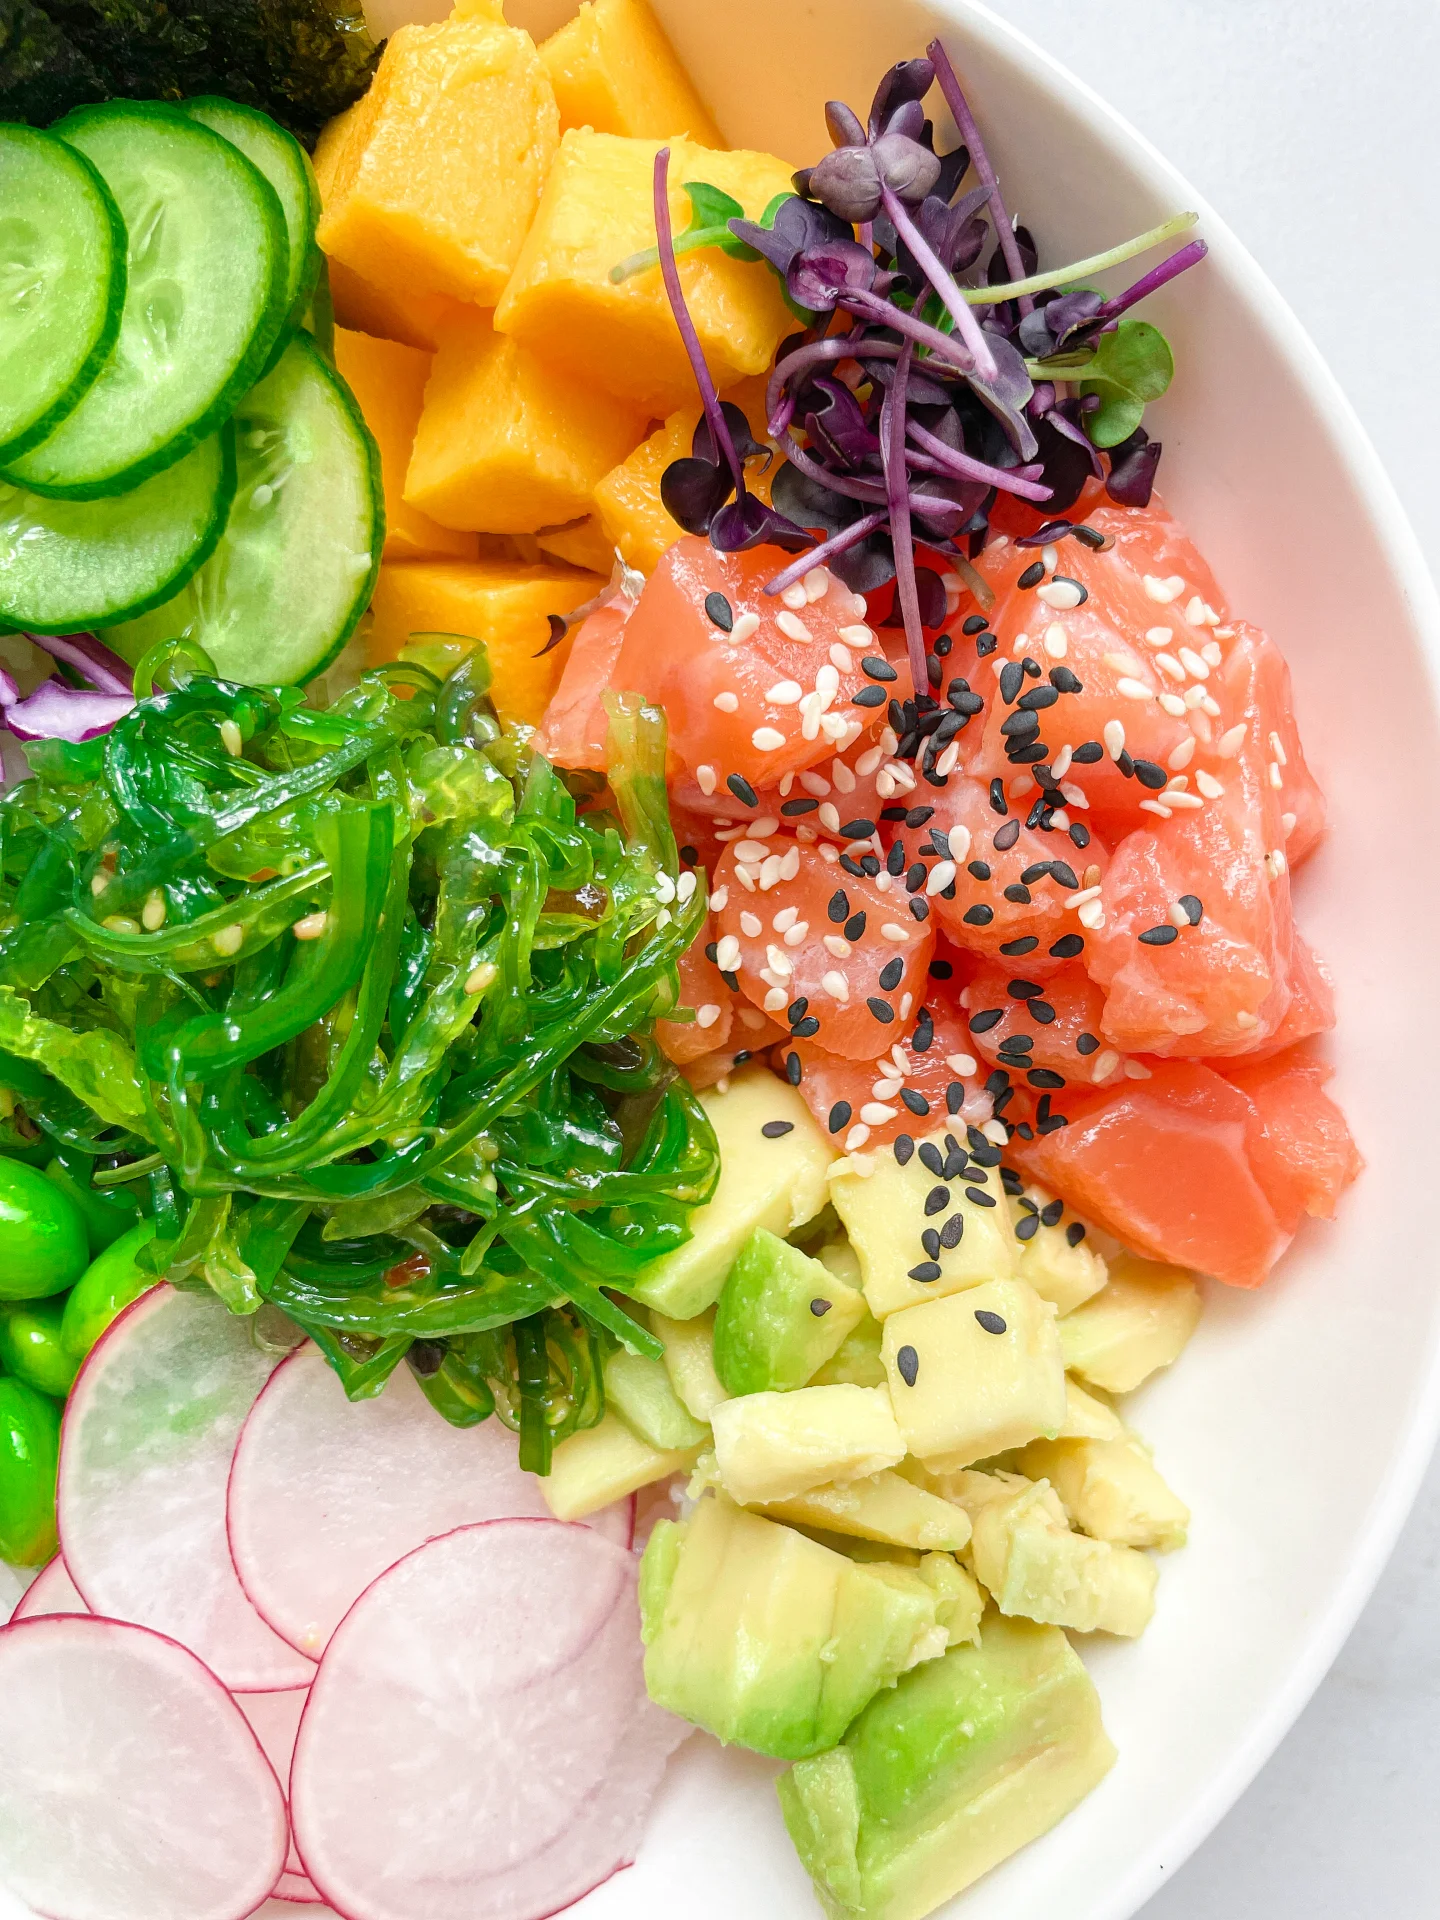
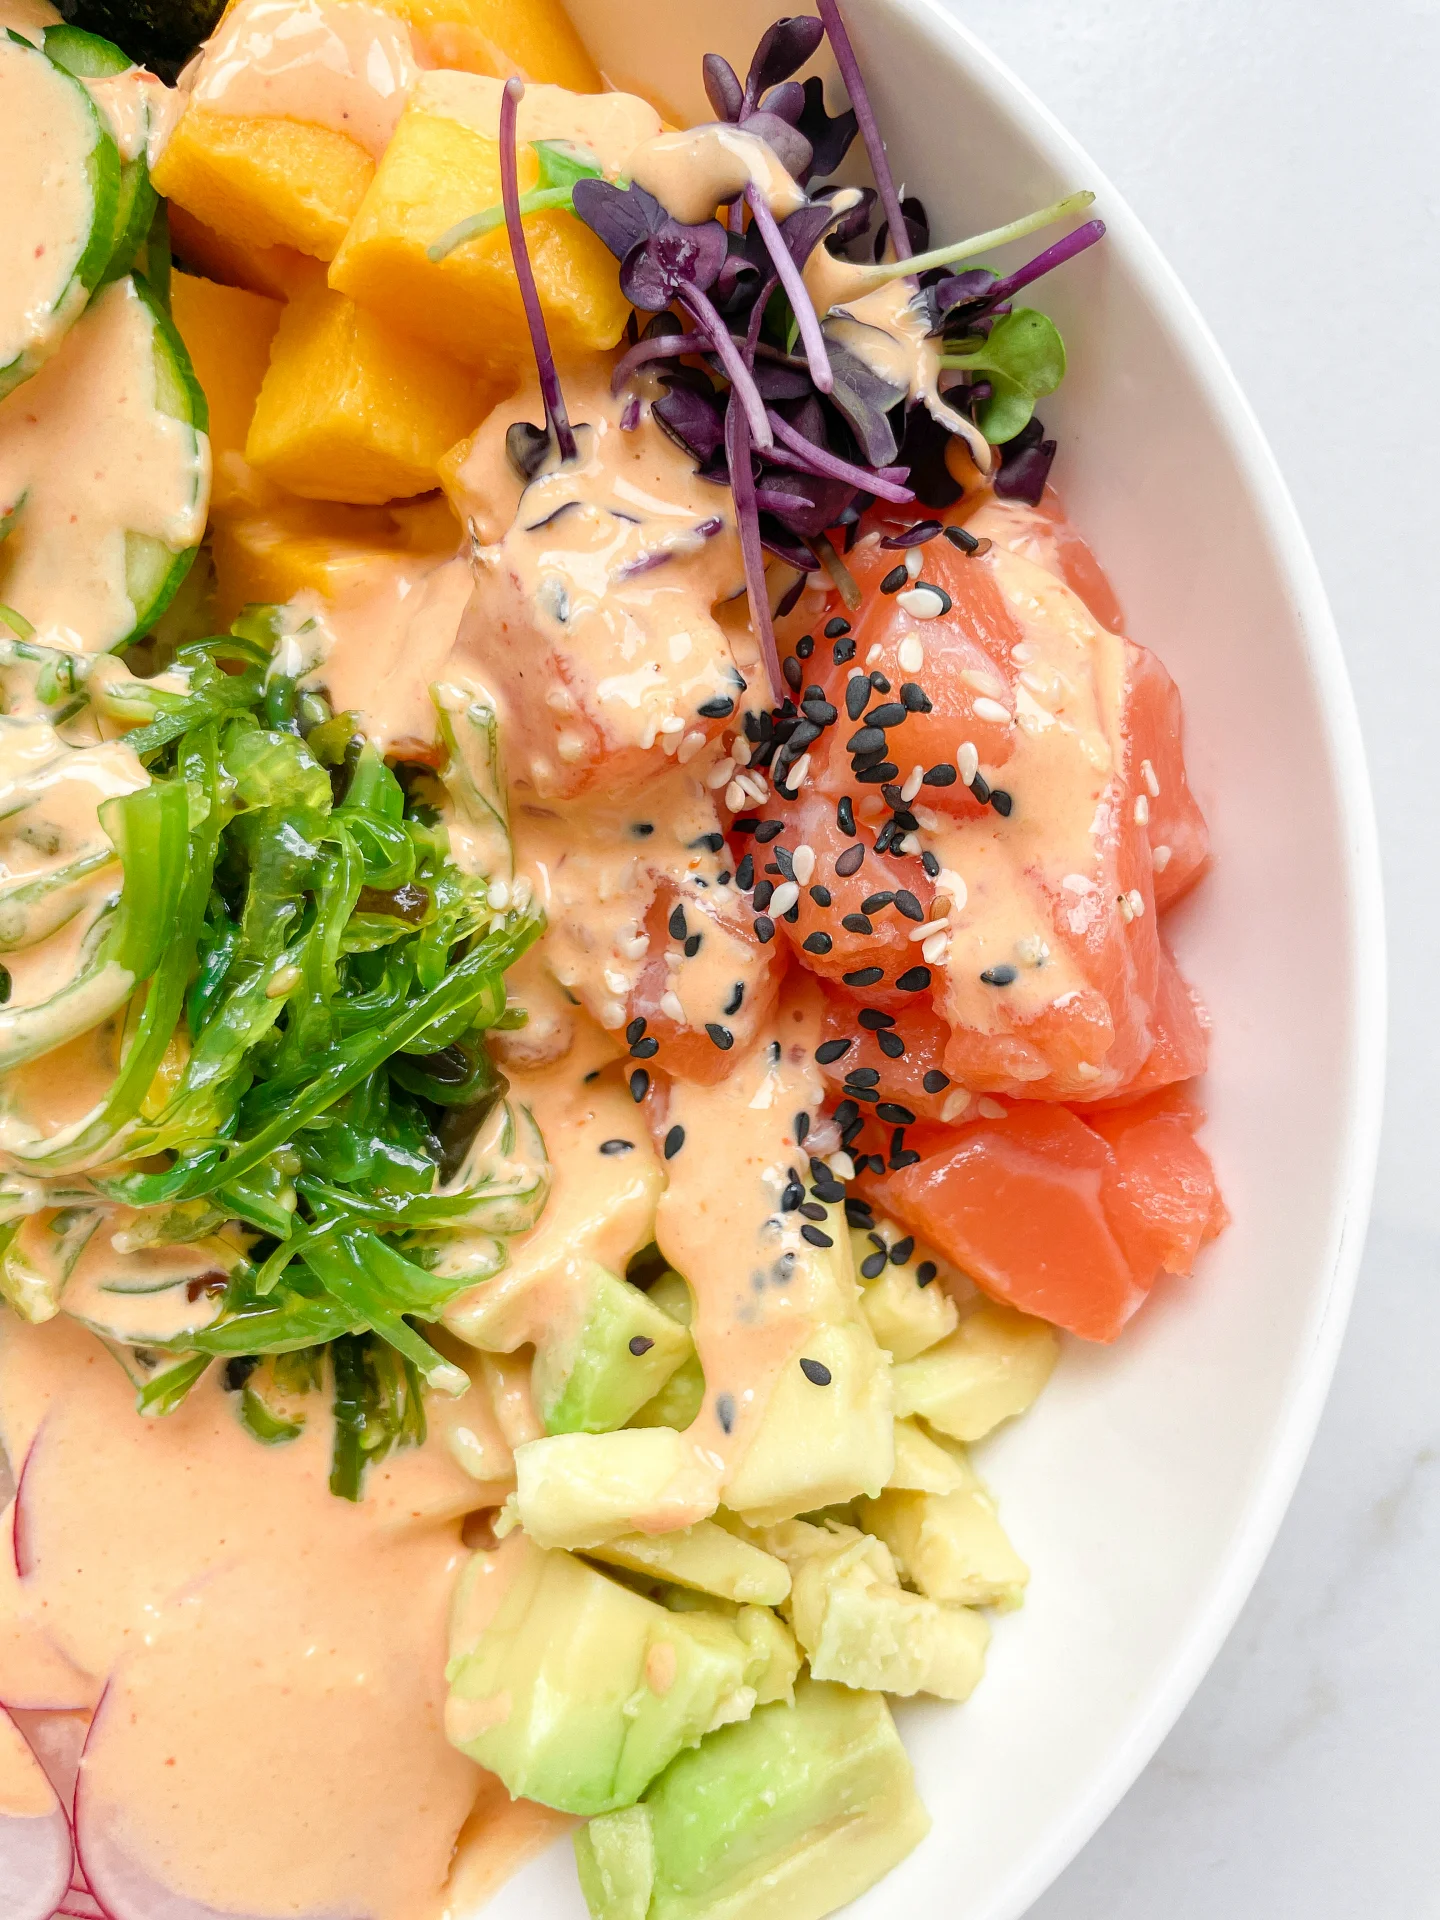
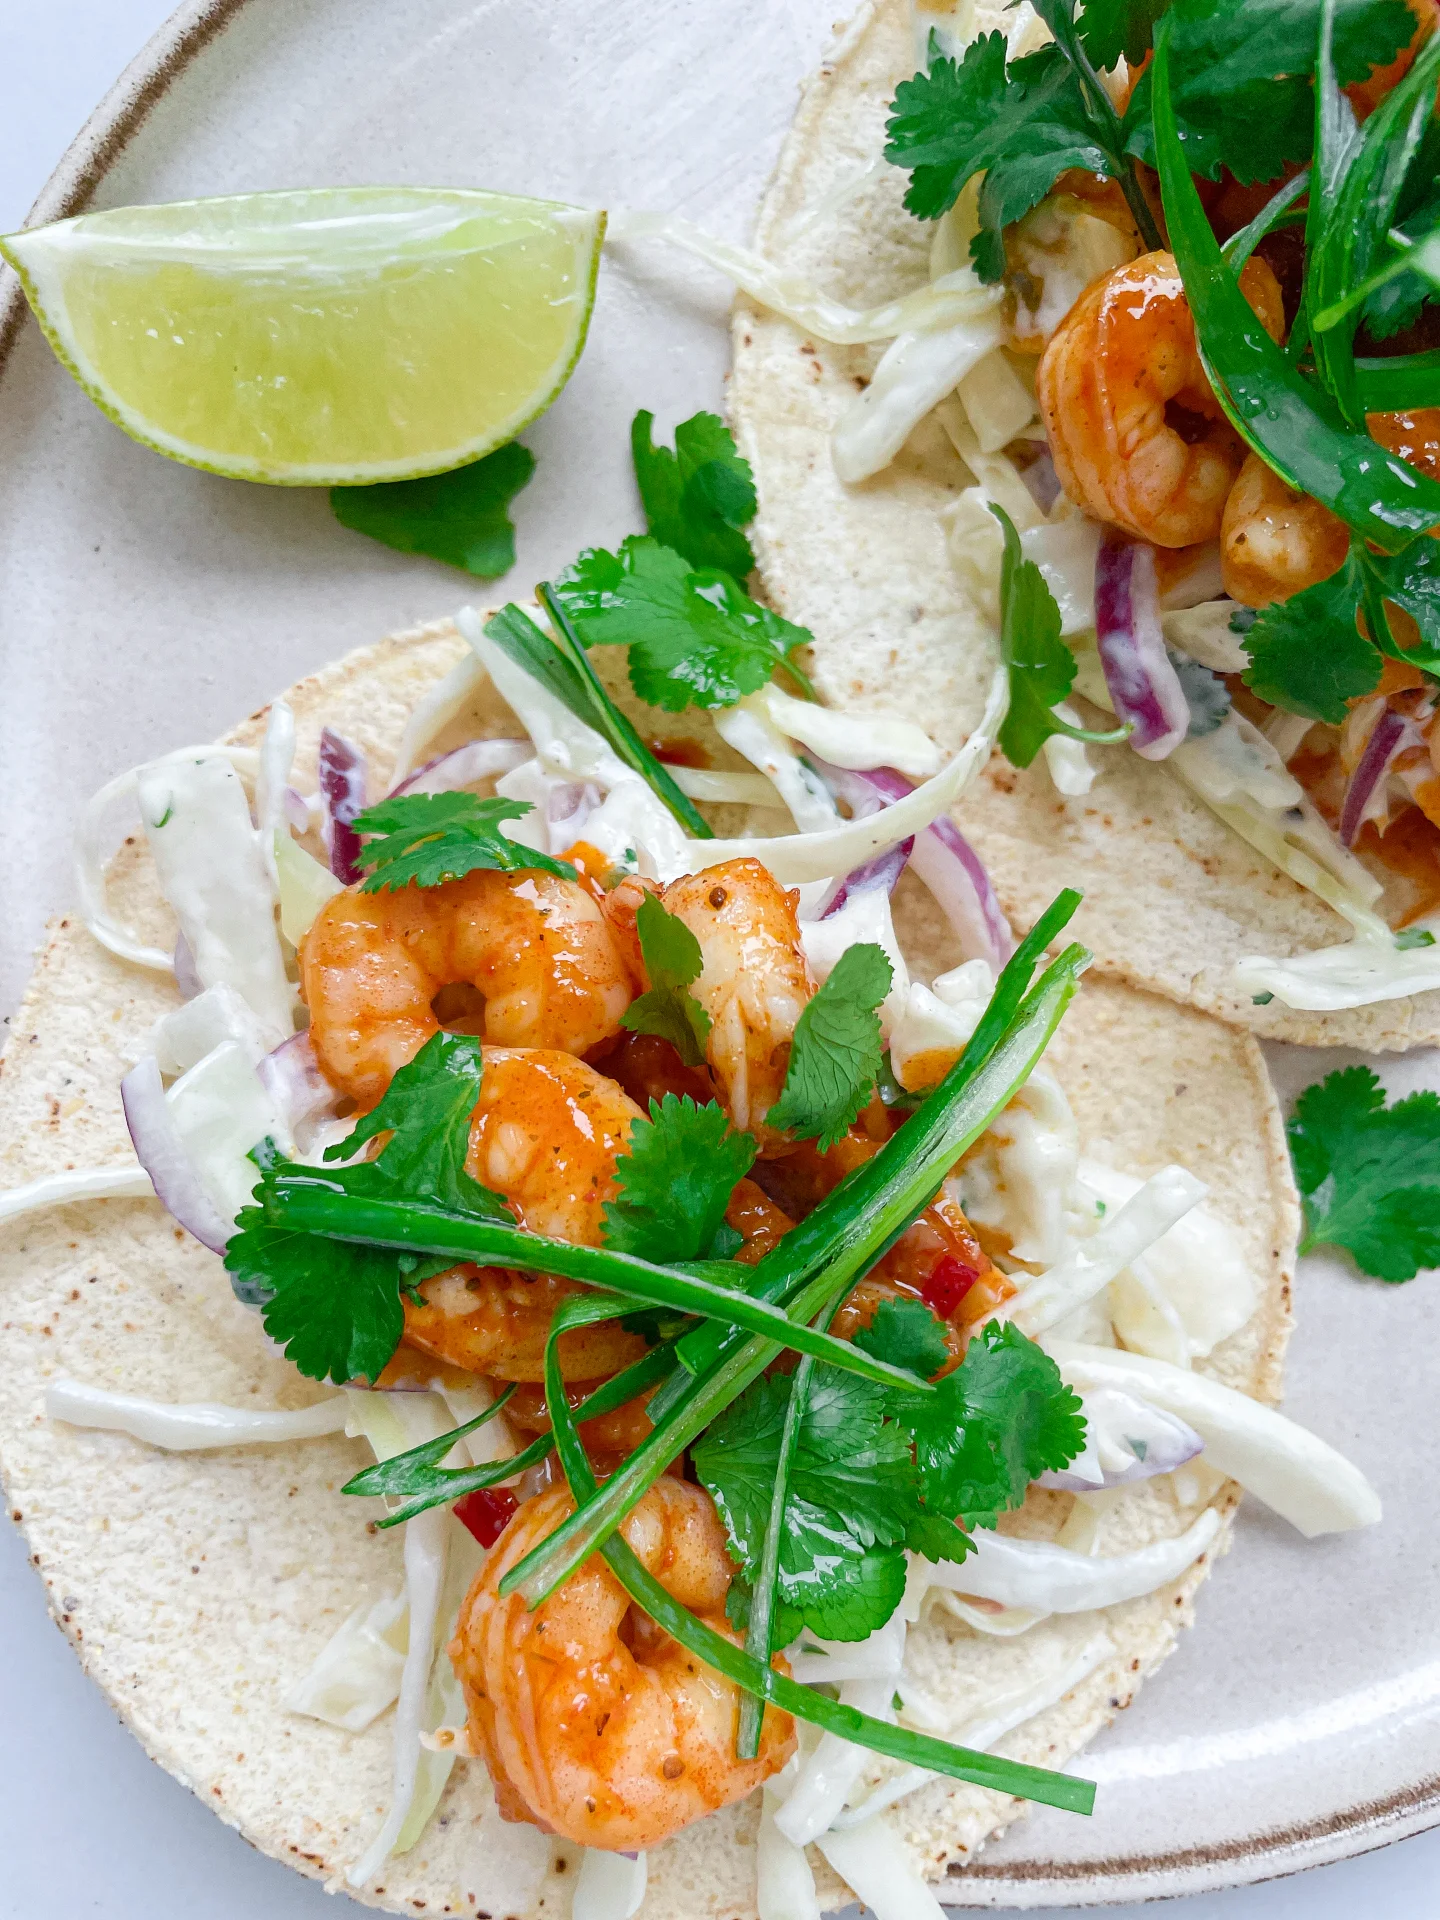
Dive into a fresh and vibrant bowl of goodness, packed with zesty spicy flavors, creamy textures, and a satisfying crunch. Perfect for a wholesome quick meal!

This website uses affiliate links which may earn commission for purchases made at no additional cost to you.

TOTAL TIME

20 min

SERVES

1 bowl

DIET

omnivore

EVERY RECIPE DESERVES

A Little Love Letter

This dish is like a hug in a bowl – a refreshing and vibrant mix of flavors that will take your taste buds on a little adventure. Perfect for when you’re craving something light yet satisfying, this bowl is loaded with fresh veggies like juicy mango, crisp red cabbage, and tender edamame, all sitting on a bed of fluffy rice. And the kicker? A drizzle of spicy mayo sauce that ties everything together with just the right amount of heat.

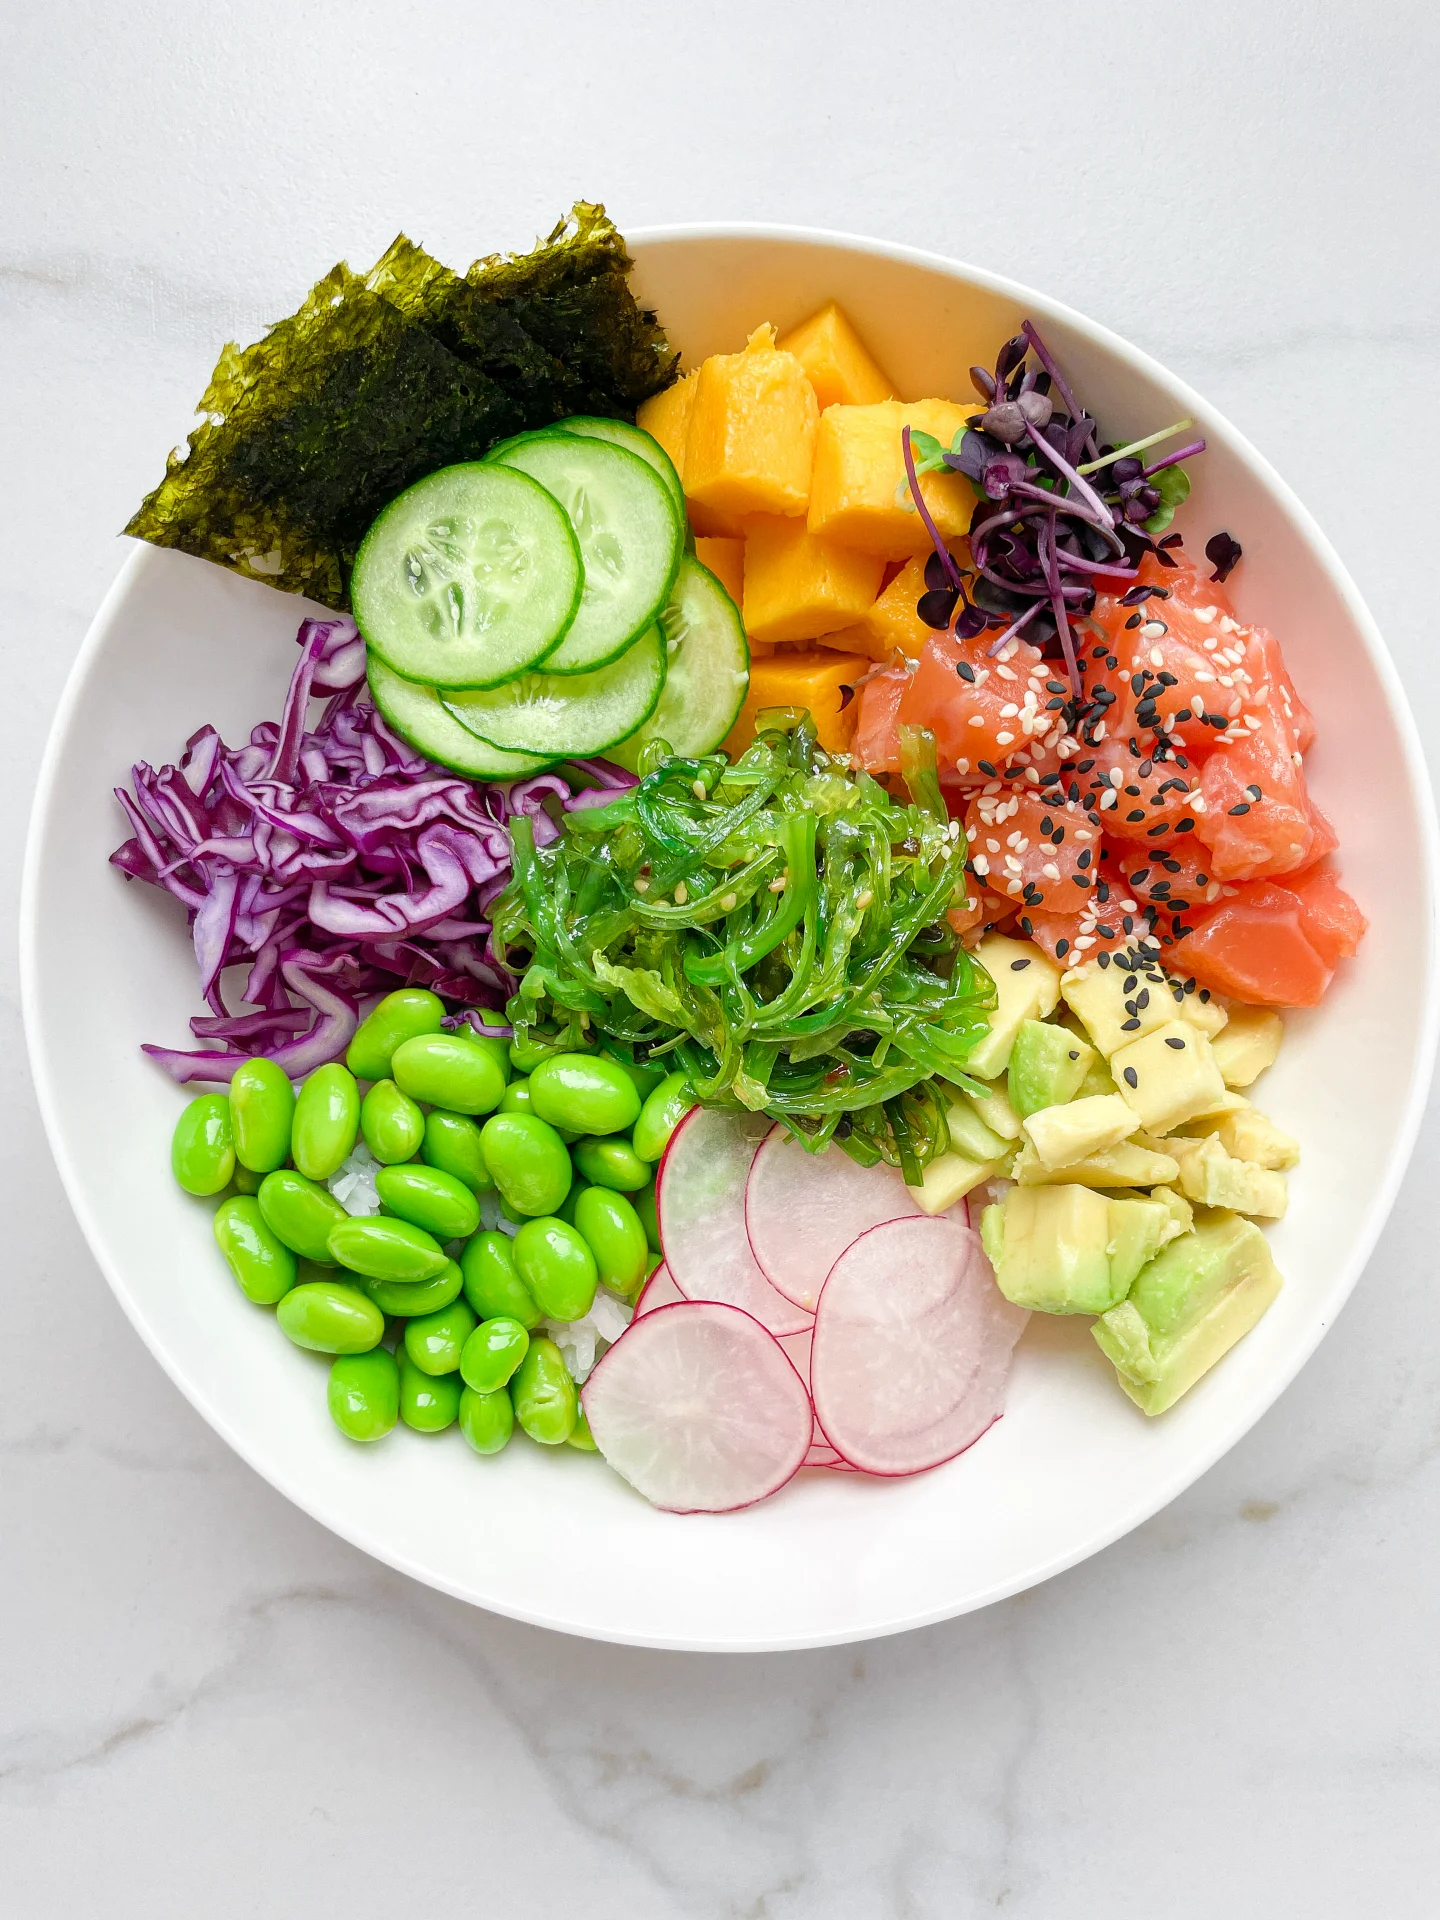
To serve, grab a big, beautiful bowl and start with a generous layer of rice. Arrange the colorful veggies on top – think creamy avocado, bright mango, and that gorgeous purple cabbage. Lay your protein of choice (like tender salmon) over the top, and then drizzle on the spicy mayo sauce. Sprinkle with sesame seeds and a little wakame salad for that extra touch. Serve it chilled and watch your guests (or yourself) light up with every bite!

Got leftovers? Store each component separately in airtight containers to keep everything fresh. The rice and veggies will last about 2-3 days in the fridge. Just keep the sauce in a small jar and give it a good shake before using it again. It’s best not to store thawed raw salmon. If you can’t finish it, cook it and enjoy it the next day or later the same day.

Hi, I'm Kimberly!

Hi, I'm Kimberly.

A hopeless romantic when it comes to food. Every recipe I share is a love letter to food itself. I’m so glad you’re here. Make yourself at home and stay a while.

Love,
Kimberly

Kimberly the Zett Signature

If you want to get to know me better,
click here!


Salmon Poke Bowl & Spicy Mayo Sauce

LET’S MAKE A PIECE OF HAPPINESS

Print
clock clock iconcutlery cutlery iconflag flag iconfolder folder iconinstagram instagram iconpinterest pinterest iconfacebook facebook iconprint print iconsquares squares iconheart heart iconheart solid heart solid icon
Salmon Poke Bowl & Spicy Mayo Sauce

Salmon Poke Bowl & Spicy Mayo Sauce


5 from 1 review

  • Author: Kimberly
  • Total Time: 20 min
  • Yield: 1 1x

Description

RECOMMENDED EQUIPMENT

  • sharp knife
  • cutting board
  • two small bowls
  • small pot
  • grater
  • paper towels

Ingredients

Units Scale
PRODUCE
  • 3 tbsp edamame
  • 1 tbsp avocado
  • a quarter of a lime
  • 1/4 mini cucumber
  • 2 tbsp wakame salad
  • 80 grams farmed salmon, sushi-grade, frozen and then thawed
  • 2 tbsp red cabbage
  • 1 radish
  • 1/4 mango
RICE
  • 80 grams sushi rice
  • 1 tbsp rice vinegar
  • 1/4 tsp salt
SPICY MAYO SAUCE
  • 1 tbsp mayonnaise or yogurt
  • 2 tbsp cold water
  • 1 tbsp sriracha
  • 1/4 tsp ginger, grated
  • 1 garlic clove, grated
  • 1/2 tsp soy sauce
  • 1/8 tsp sesame oil
  • pinch of white pepper
TOPPINGS
  • white sesame seeds
  • black sesame seeds
  • nori sheets
  • cress

Instructions

  1. Start by washing the rice until the water runs clear, then cook it in a rice cooker or small pot. Once it’s done, mix in rice vinegar and salt.
  2. Place the edamame in a small bowl, cover with hot water, and let it sit for 5 minutes. Drain the water afterward.
  3. For the spicy mayo sauce, peel the ginger and garlic, and grate them into a bowl. Add the rest of the sauce ingredients and mix everything together until smooth. Set aside.
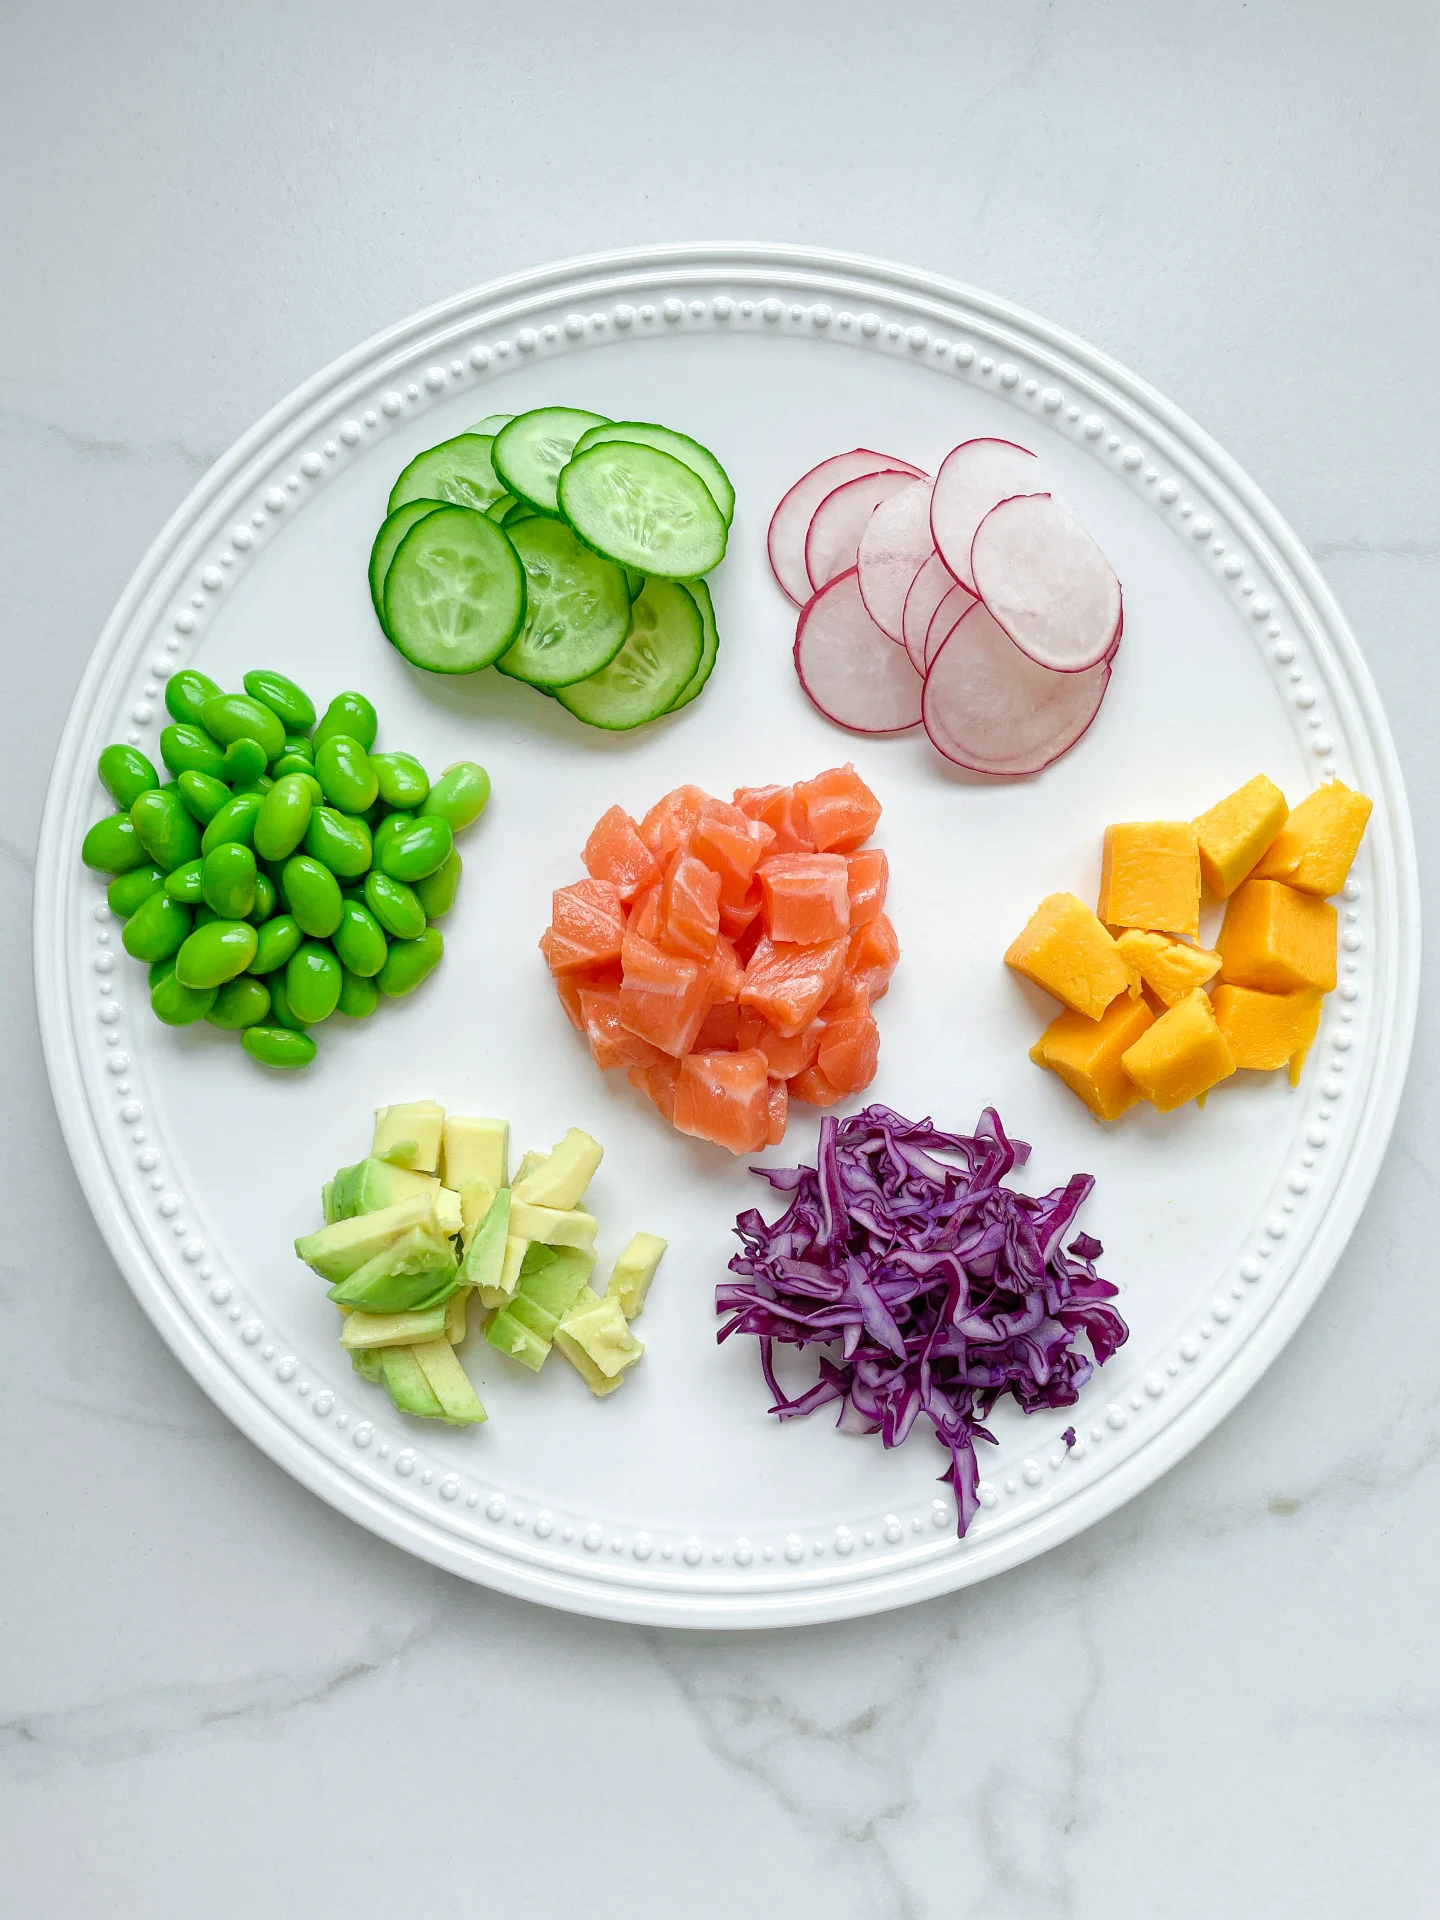
  4. Wash and dry the cucumber, then slice it thinly. Remove the outer leaves of the red cabbage, cut it into quarters, and finely grate it. Wash the radishes and slice them thinly or use a mandoline. Peel the mango and cut it into pieces. Scoop the avocado out of its skin, drizzle it with lime juice, and cut it into cubes. Arrange the sliced fruits and veggies on a plate for later.
  5. Rinse and pat dry the salmon, then cut it into cubes with a sharp knife.
  6. In a deep bowl, start by layering the rice. Place the wakame salad in the center, then arrange the other components around it in a circle on top of the rice. Sprinkle the salmon with black and white sesame seeds and add a bit of cress. Place nori sheets on the side.
  7. Serve the sauce in a small bowl on the side, or drizzle it directly over the bowl.
  • Cook Time: 20 min
CRAVING MORE?

Follow along here & don’t forget to subscribe to my substack!

Mango Oil

Mango Oil

Mango Oil

Mango Oil

August 17, 2024 by Kimberly

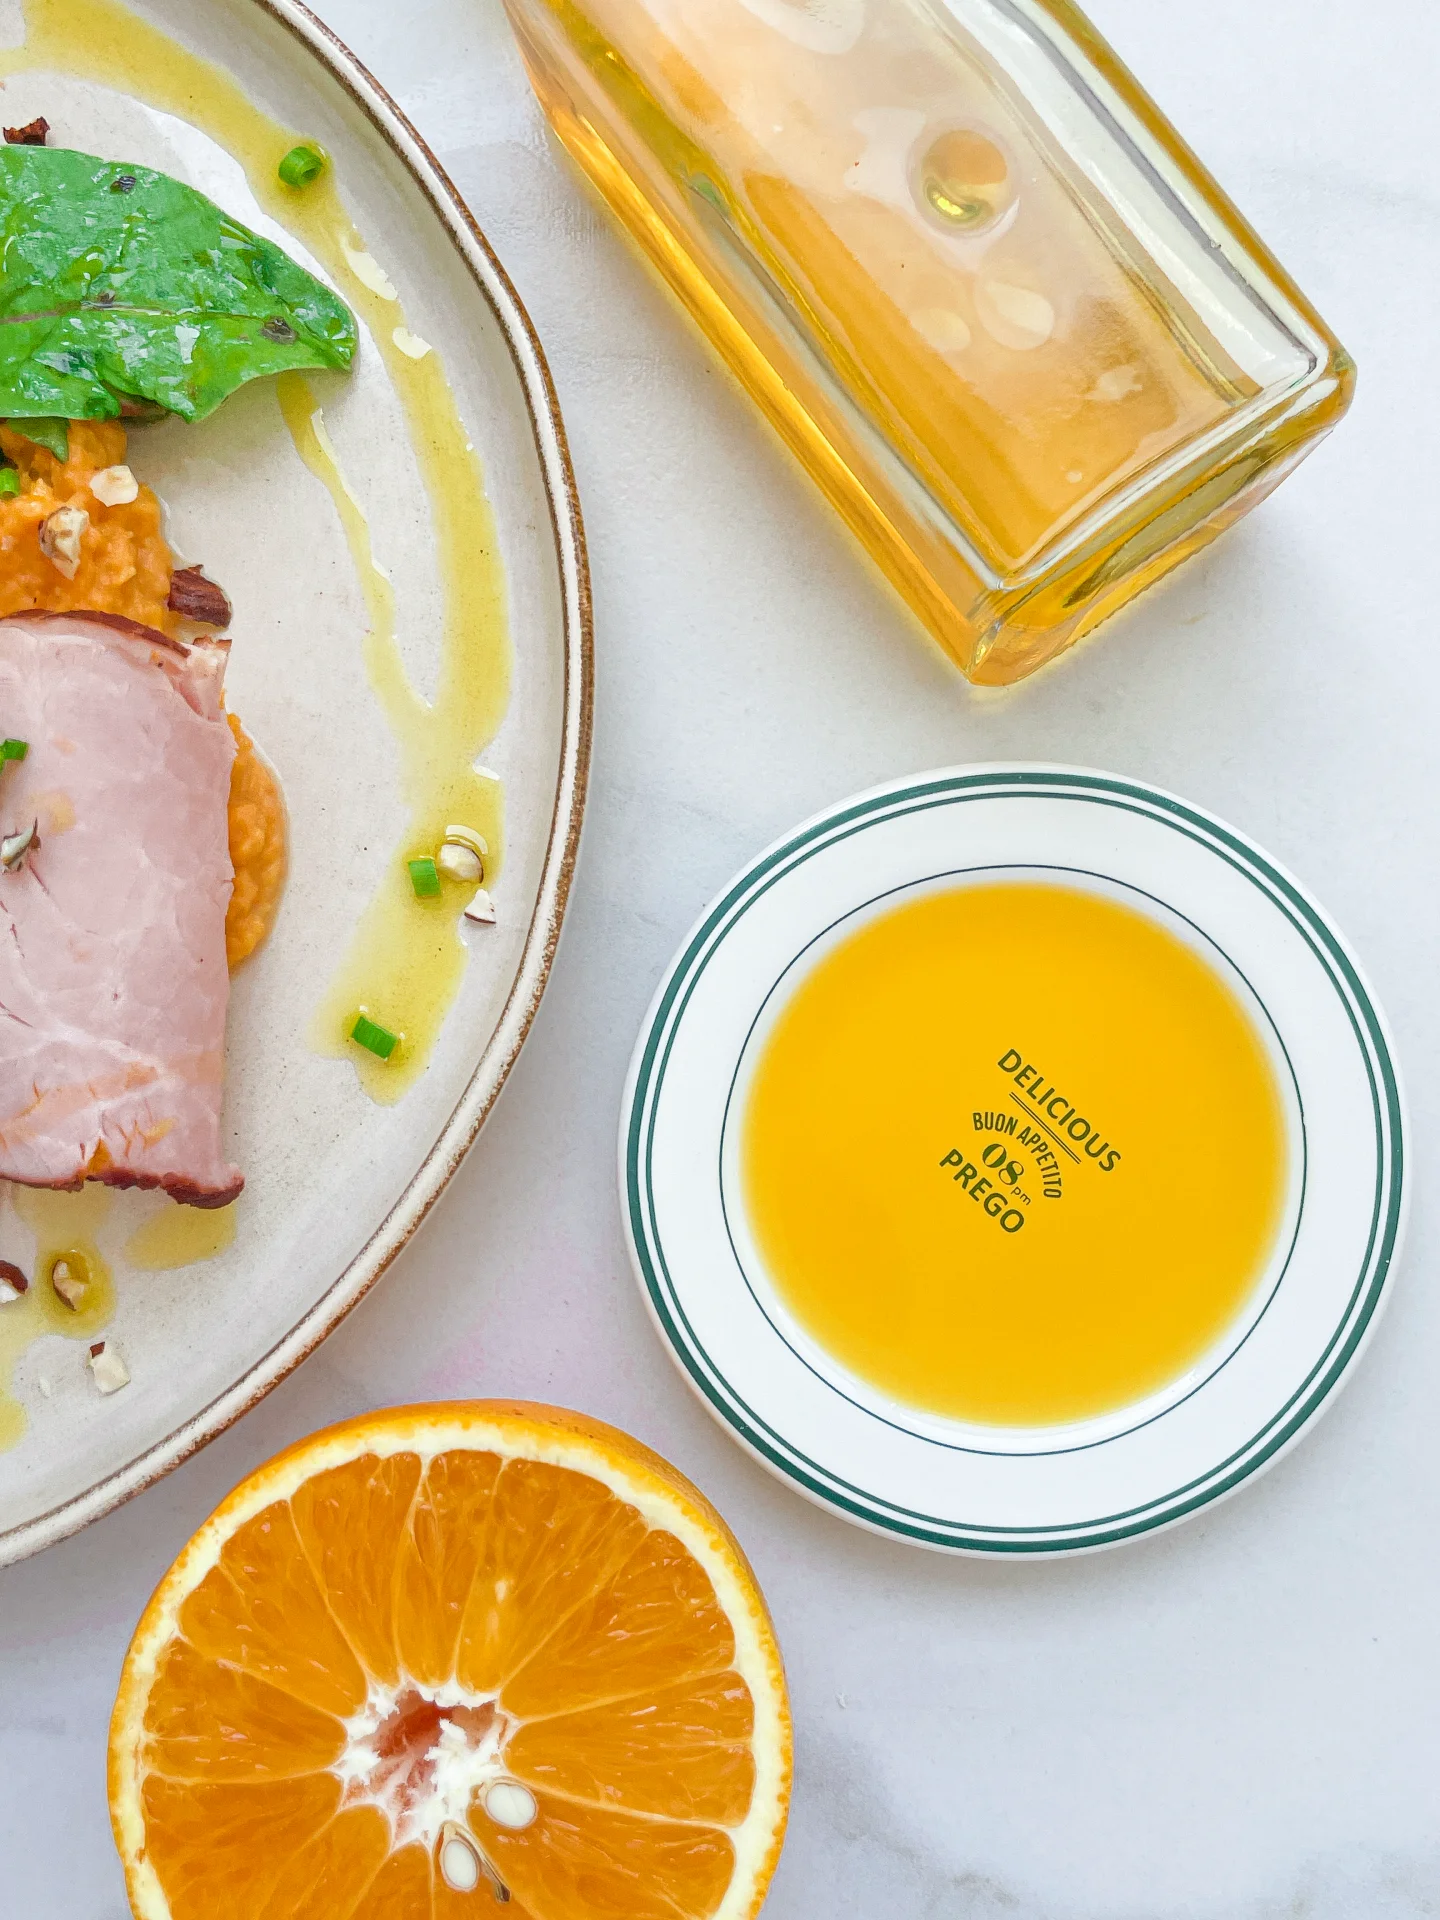
Imagine a light drizzle of tropical sunshine on your salad! This subtly sweet mango-infused oil adds just the right touch of fresh, fruity warmth to any dish.

This website uses affiliate links which may earn commission for purchases made at no additional cost to you.

TOTAL TIME

60 min

SERVES

1 cup / 250 ml

DIET

vegan

EVERY RECIPE DESERVES

A Little Love Letter

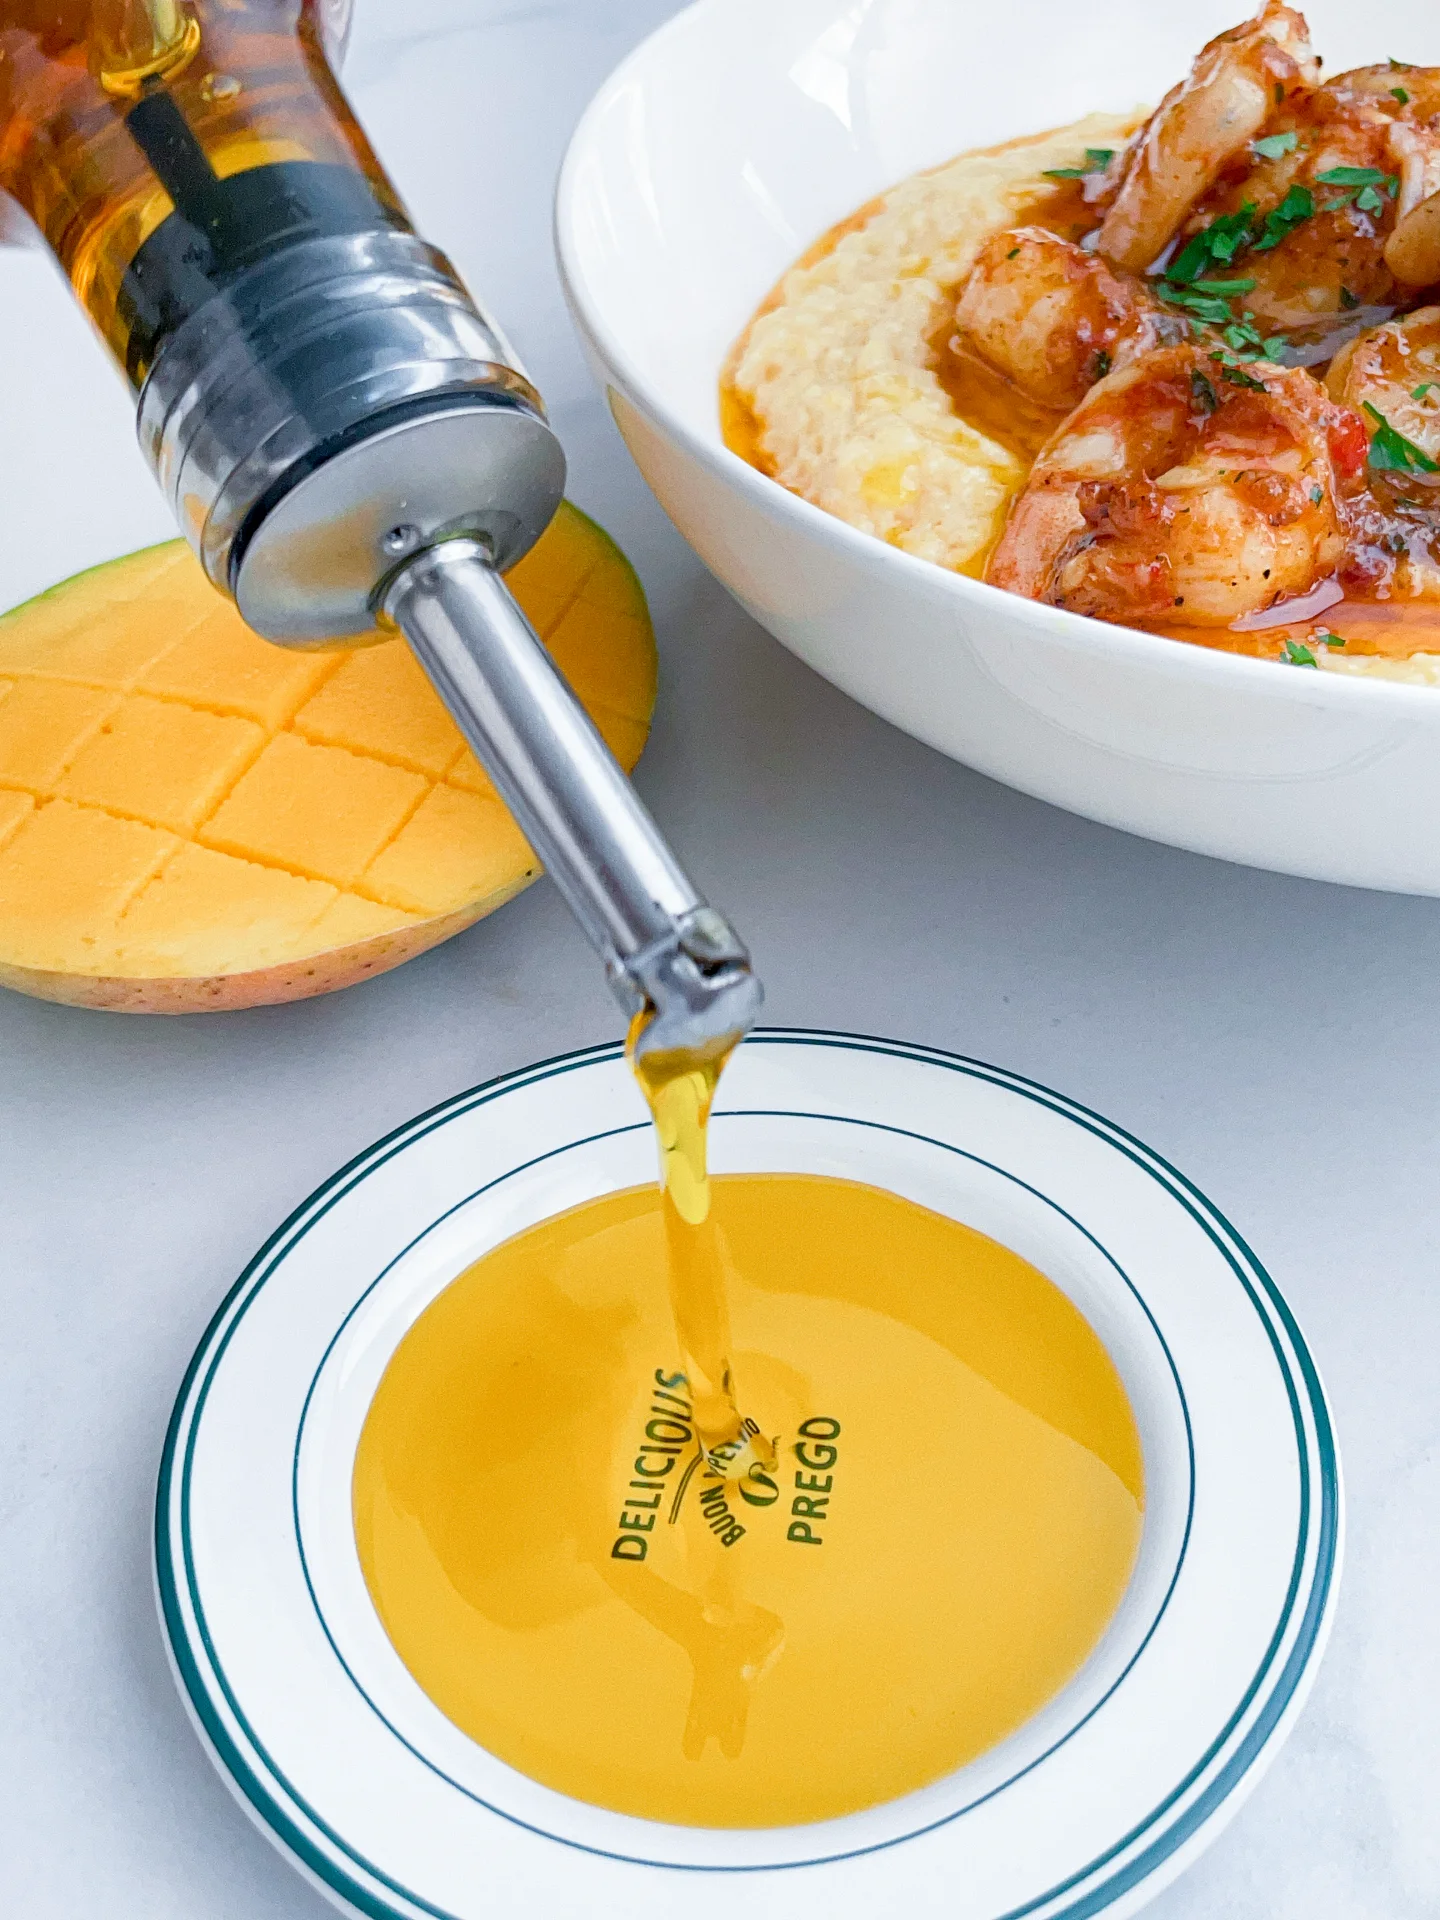
When you’re craving a taste of the tropics but want something subtle and sophisticated, this mango-infused oil is the perfect addition to your kitchen. It’s like capturing the essence of a sunny day in a bottle – bright, fresh, and slightly sweet. Whether you’re drizzling it over a salad or adding a dash to grilled veggies, this oil brings a gentle mango touch that’s not overpowering but oh-so-delightful.

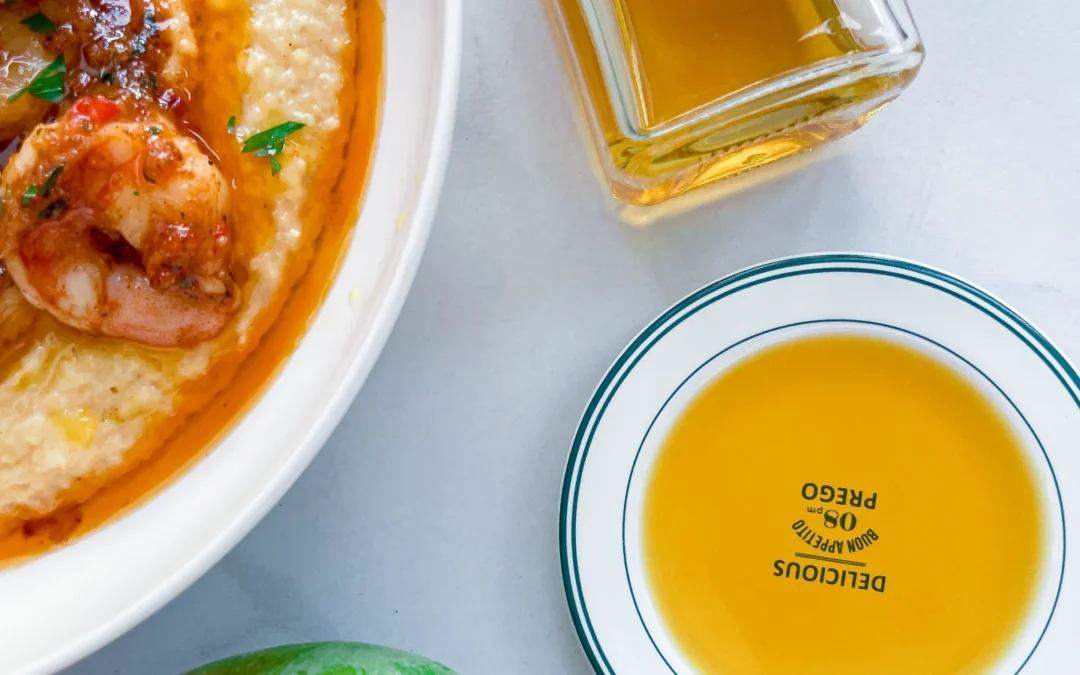
This mango oil is your go-to for adding a hint of summer to just about anything. Try drizzling it over a fresh spinach or arugula salad for a light, fruity kick. It’s also fantastic as a finishing touch on grilled seafood, where its subtle sweetness complements the smoky flavors. Or, for a quick and easy twist, toss it with pasta or use it as a dip for crusty bread—simple yet satisfying. I like to incorporate some of the oil into my Cajun Shrimp with Honey Glaze & Cheesy Polenta.

To keep the vibrant flavor of your mango oil fresh, store it in a cool, dark place, tightly sealed. Avoid direct sunlight and extreme temperatures, and it’ll stay good for 1-2 weeks.

Hi, I'm Kimberly!

Hi, I'm Kimberly.

A hopeless romantic when it comes to food. Every recipe I share is a love letter to food itself. I’m so glad you’re here. Make yourself at home and stay a while.

Love,
Kimberly

Kimberly the Zett Signature

If you want to get to know me better,
click here!


Mango Oil
Mango Oil
Mango Oil
Mango Oil
LET’S MAKE A PIECE OF HAPPINESS
Print
clock clock iconcutlery cutlery iconflag flag iconfolder folder iconinstagram instagram iconpinterest pinterest iconfacebook facebook iconprint print iconsquares squares iconheart heart iconheart solid heart solid icon
Mango Oil

Mango Oil


  • Author: Kimberly
  • Total Time: 60 min
  • Yield: 1 cup / 250 ml 1x

Description

RECOMMENDED EQUIPMENT

  • blender
  • medium-sized saucepan
  • whisk
  • a bowl which the medium saucepan fits into
  • 2 medium-sized bowls
  • 2 fine sieves
  • oil bottle
  • ice cubes
  • coffee filter

Ingredients

Units Scale
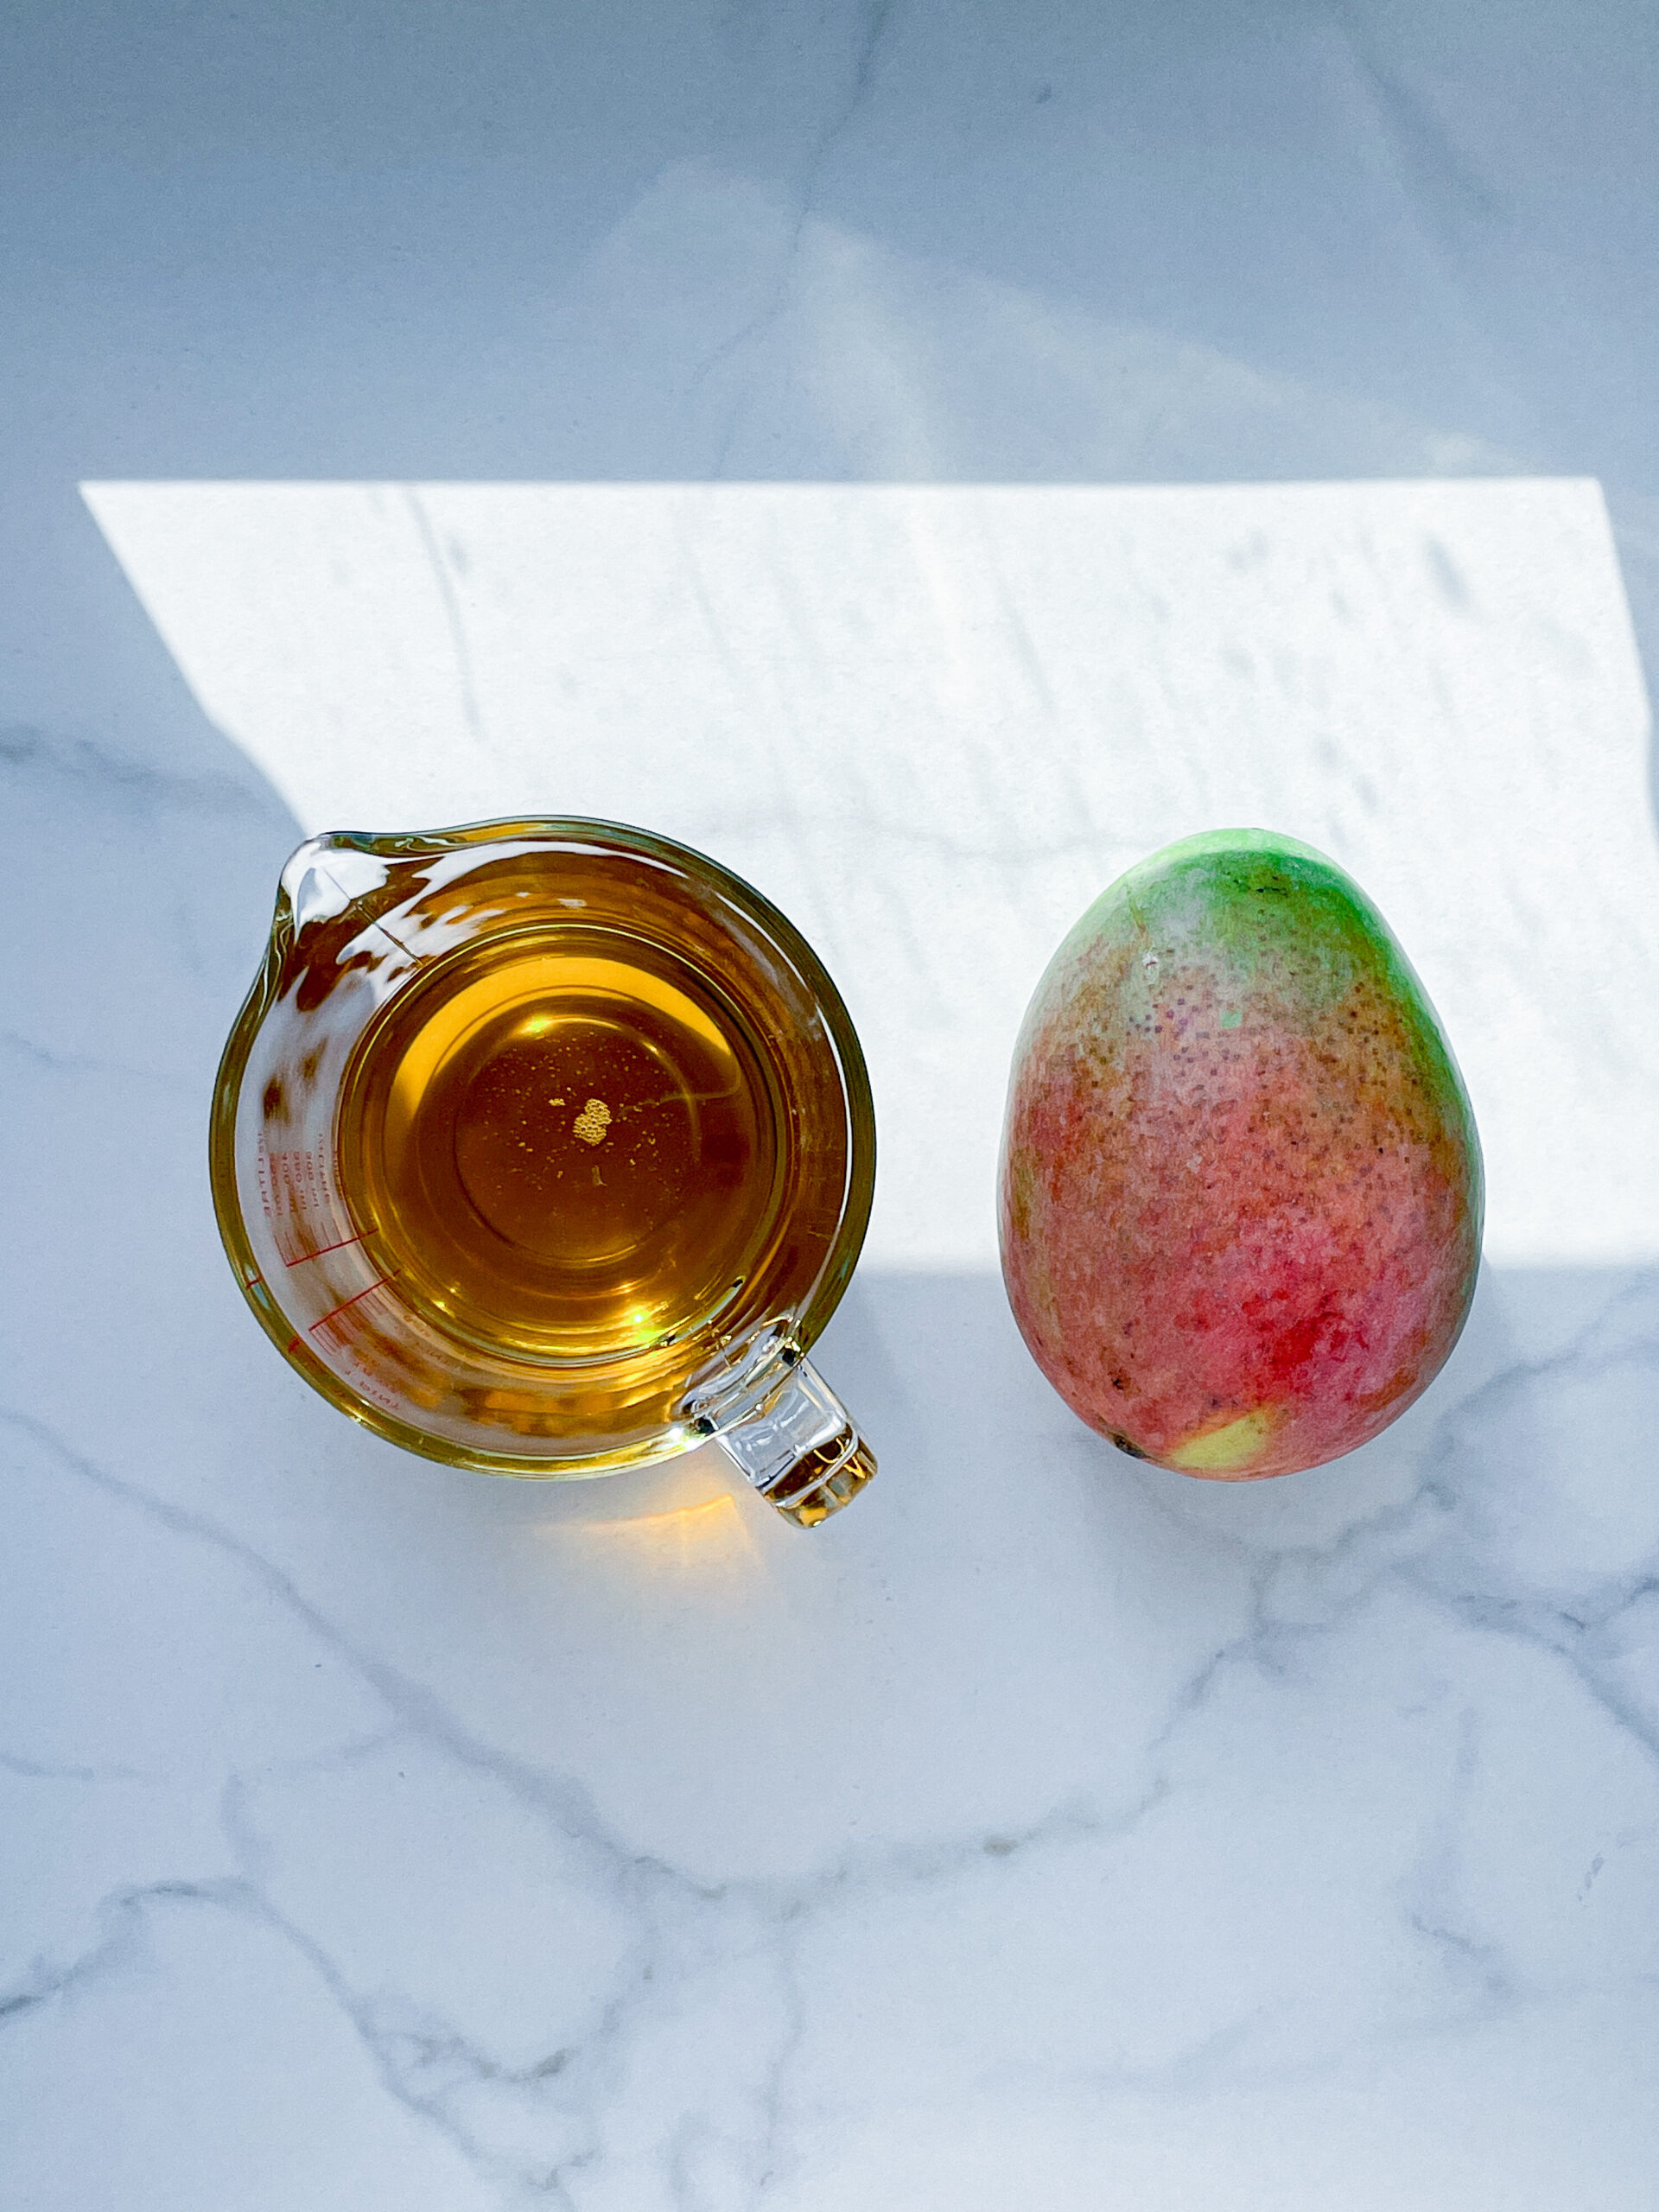
  • 150 grams fresh mango
  • 250 milliliters cold-pressed rapeseed oil

Instructions


  1. Peel the mango and cut the flesh into large chunks. Put them into the blender. Pour in the oil. Blend on the highest setting until it becomes a thick consistency and no pieces of mango are longer visible.
  2. Pour the mixture from the blender into a medium-sized pot and heat it over medium heat, constantly stirring, to a temperature of about 102°-103°C (215°-217°F). Then, let the oil simmer with the lid partially on for the next 20 minutes. Stir only occasionally, making sure the temperature remains steady and nothing gets burned. The cooking time is essential for all the water to evaporate. You’ll know all the water has evaporated when the oil in the pot barely bubbles anymore – so if it’s still bubbling vigorously, keep it simmering.
  3. At the end of the cooking process, prepare a bowl large enough to fit the medium-sized pot, filled with cold water and a handful of ice cubes. Also, hang a fine mesh sieve strainer over a medium-sized bowl.
  4. Now, place the pot in the ice water and stir to stop the cooking process. Once the oil is almost cold, remove the pot from the water and pour the oil into the first fine mesh sieve to catch the coarse particle.
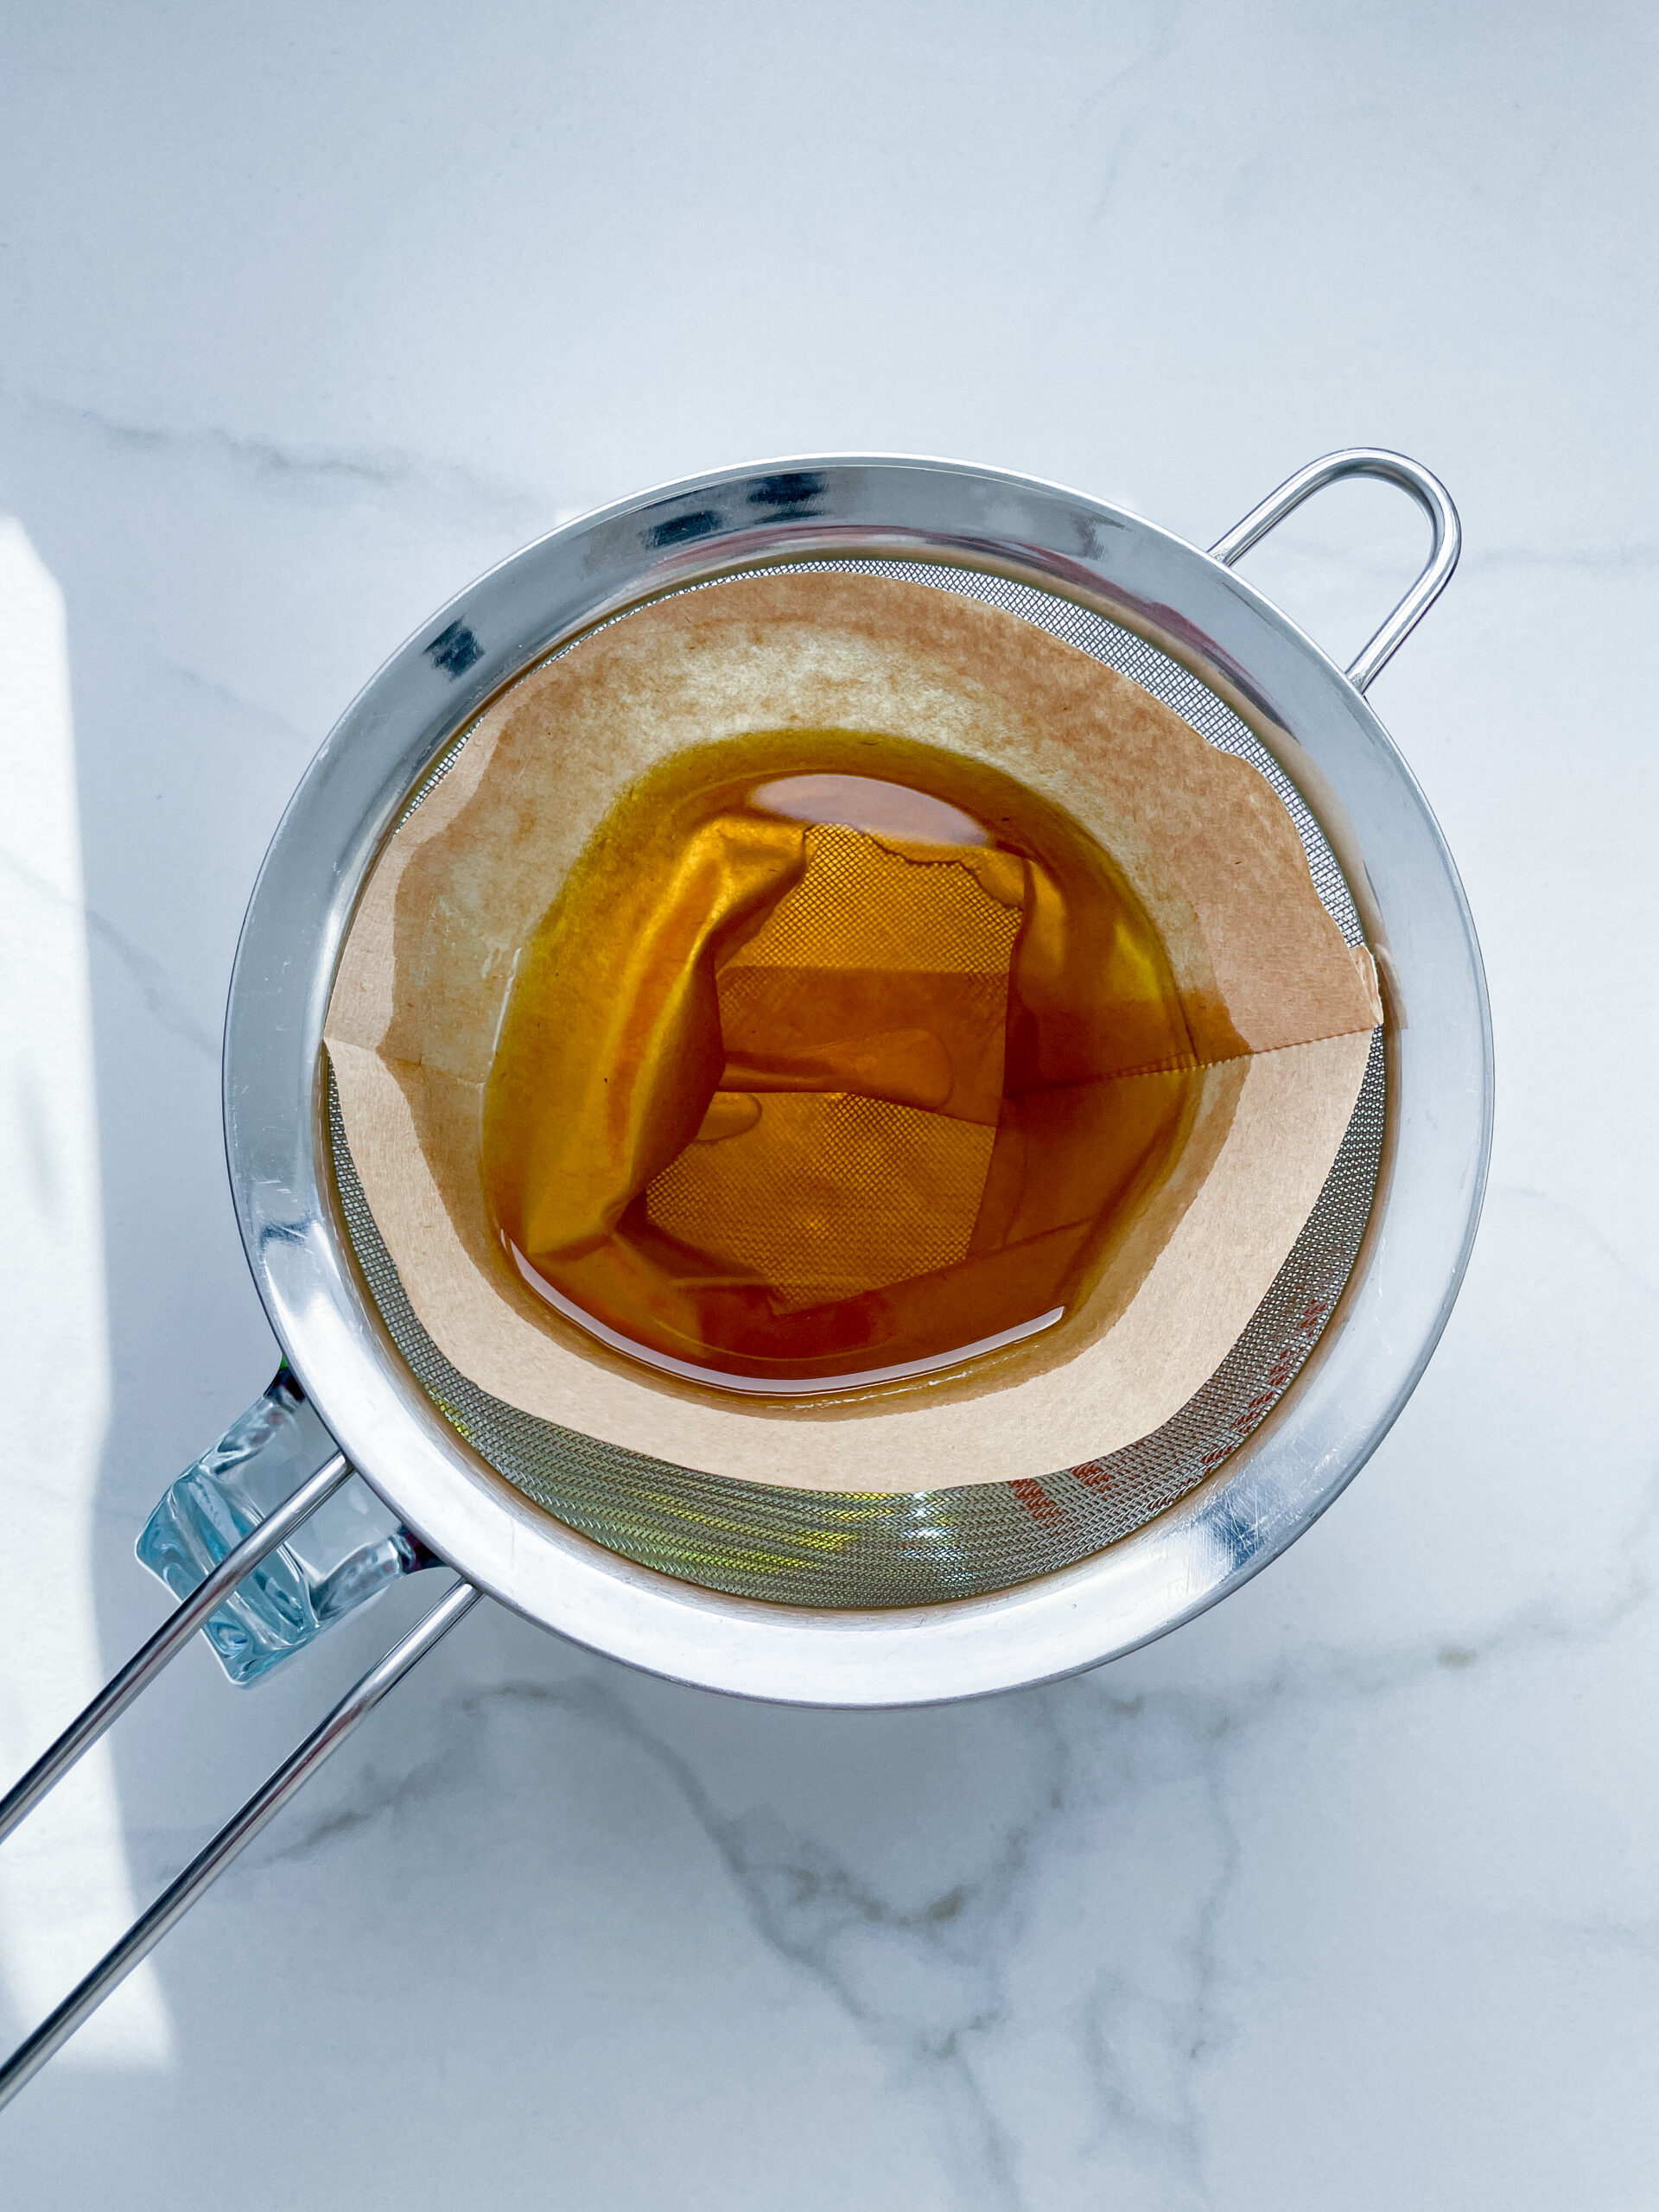
  5. Then, pour the oil into the second fine mesh sieve, which you before equipped with a coffee filter, to catch the remaining finer particles.
  6. Allow the oil to drip through for about 30 minutes or maybe more depending on how many remaining particles are in the coffee filter. Once all the oil has passed through the coffee filter, transfer the collected amount of oil into an oil bottle. Store in the refrigerator for up to 1-2 weeks.
  • Prep Time: 10 min
  • Passive Time: 30 min
  • Cook Time: 20 min
CRAVING MORE?
Follow along here & don’t forget to subscribe to my substack!

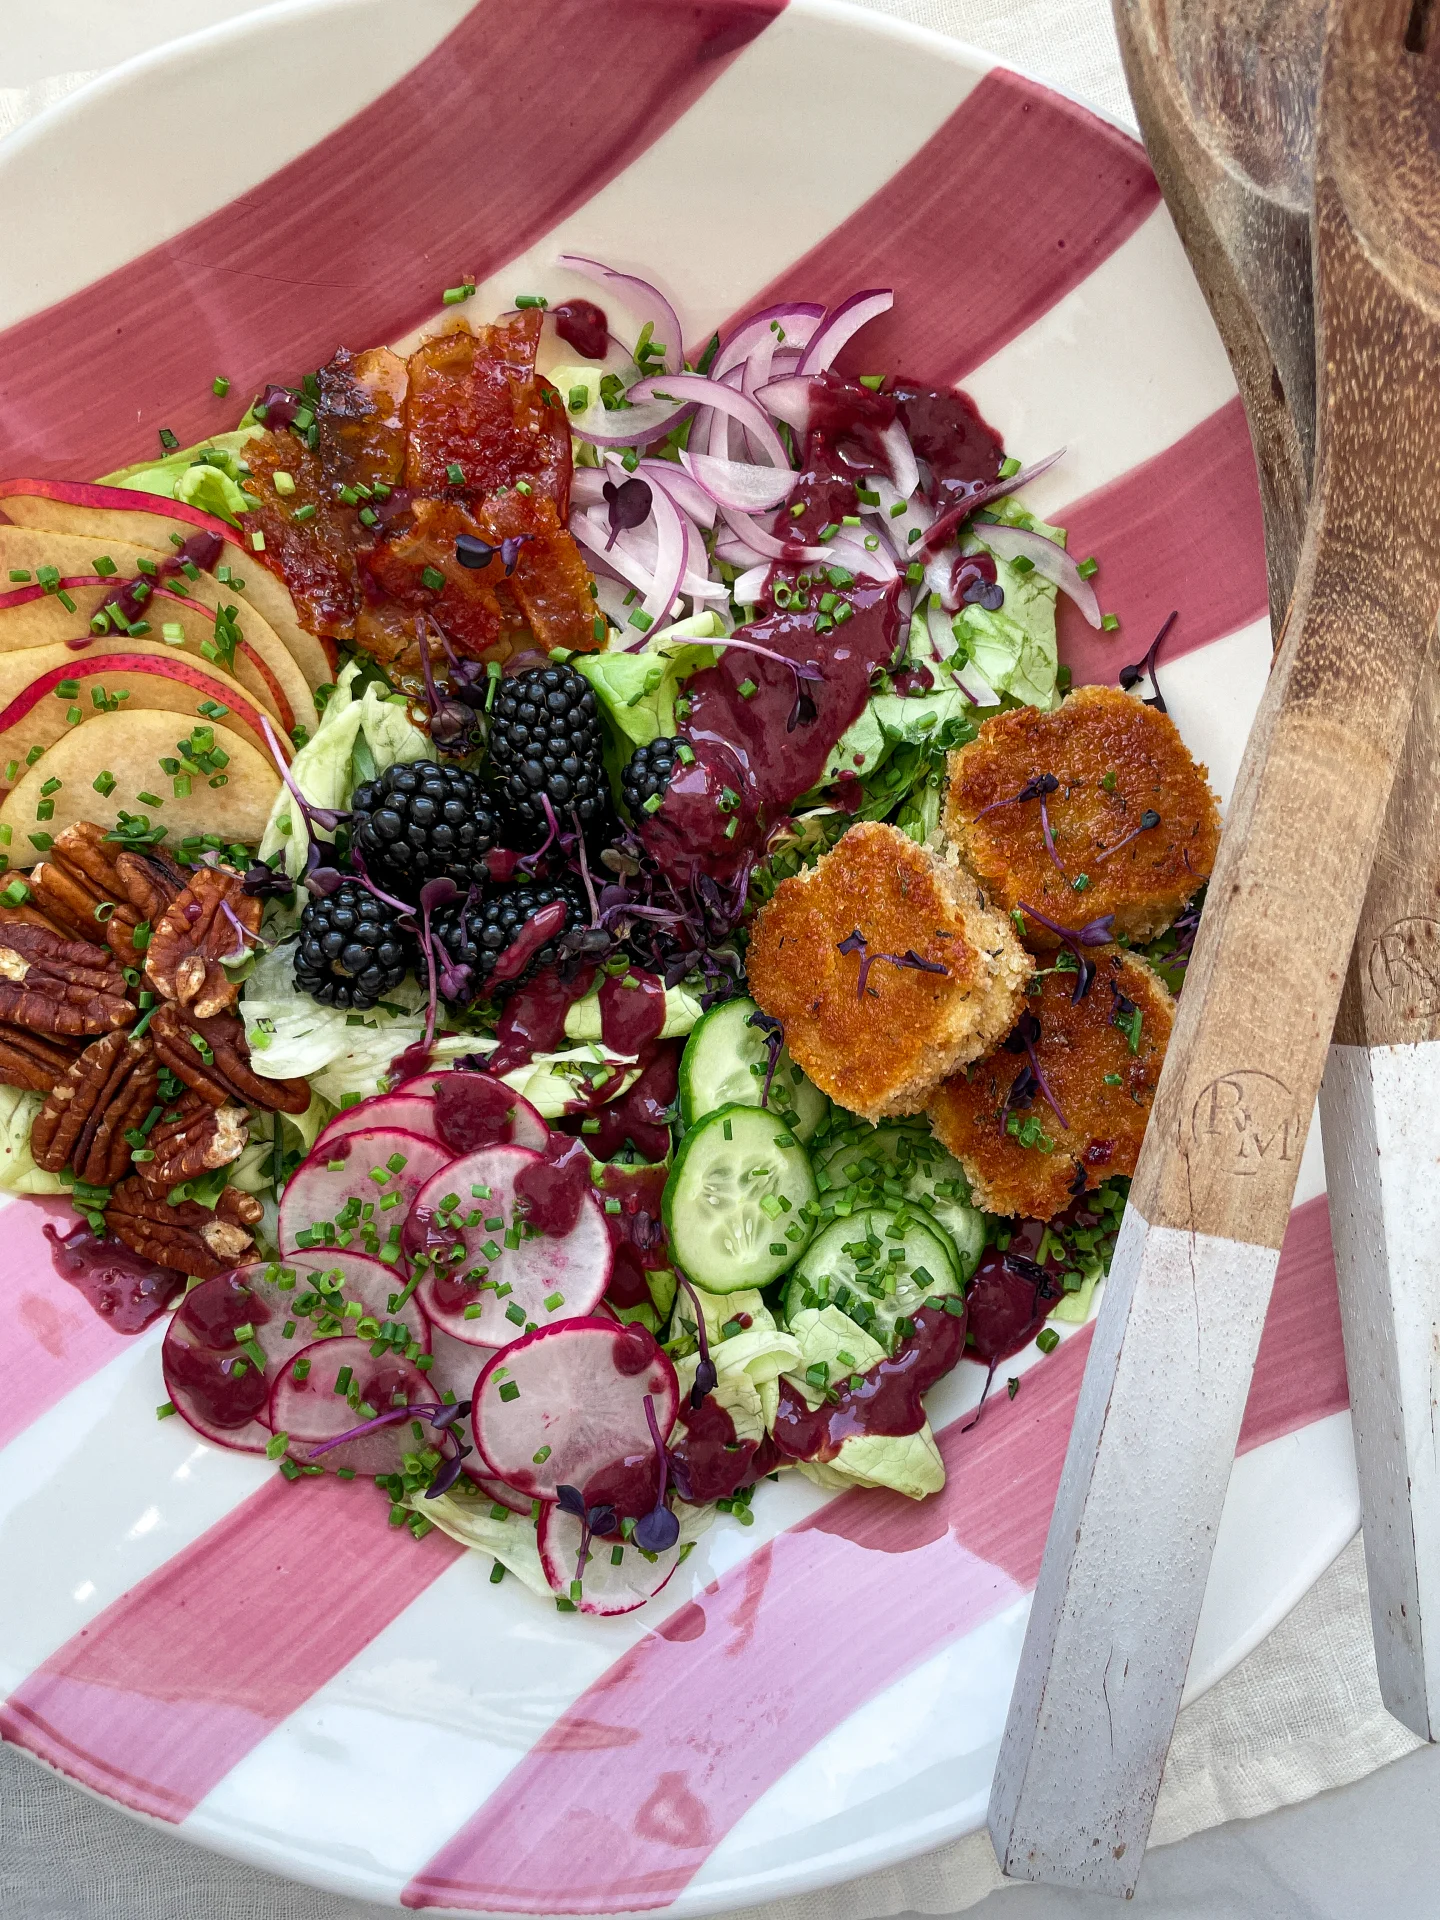
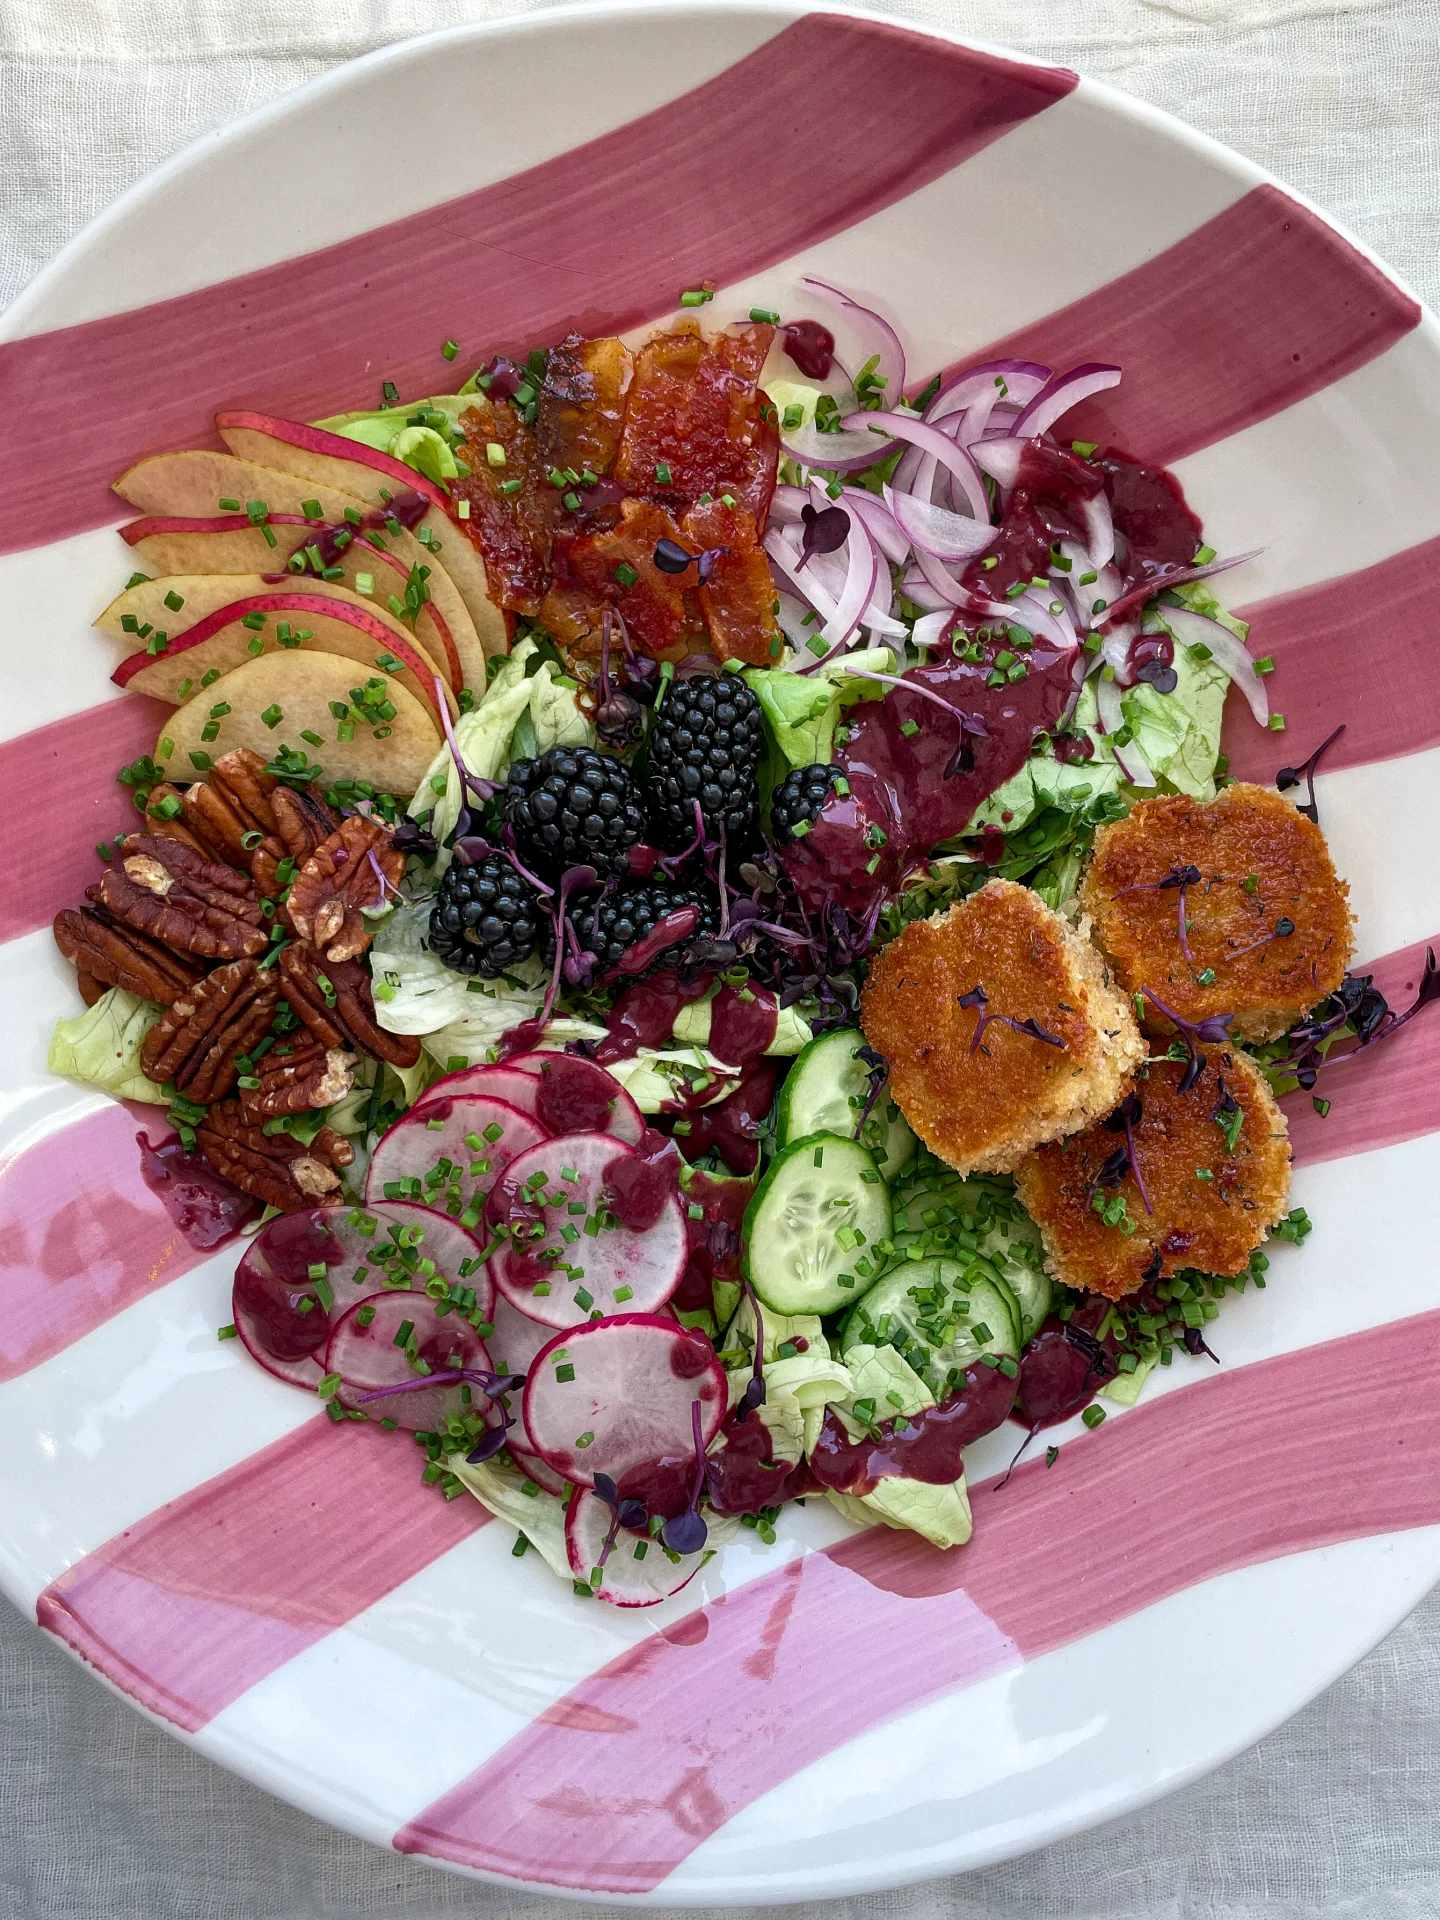
Caramelized Bacon Fried Goat Cheese Salad with Blackberry Balsamic Vinaigrette

Caramelized Bacon Fried Goat Cheese Salad with Blackberry Balsamic Vinaigrette

Caramelized Bacon Fried Goat Cheese Salad with Blackberry Balsamic Vinaigrette

Caramelized Bacon Fried Goat Cheese Salad with Blackberry Balsamic Vinaigrette

August 13, 2024 by Kimberly

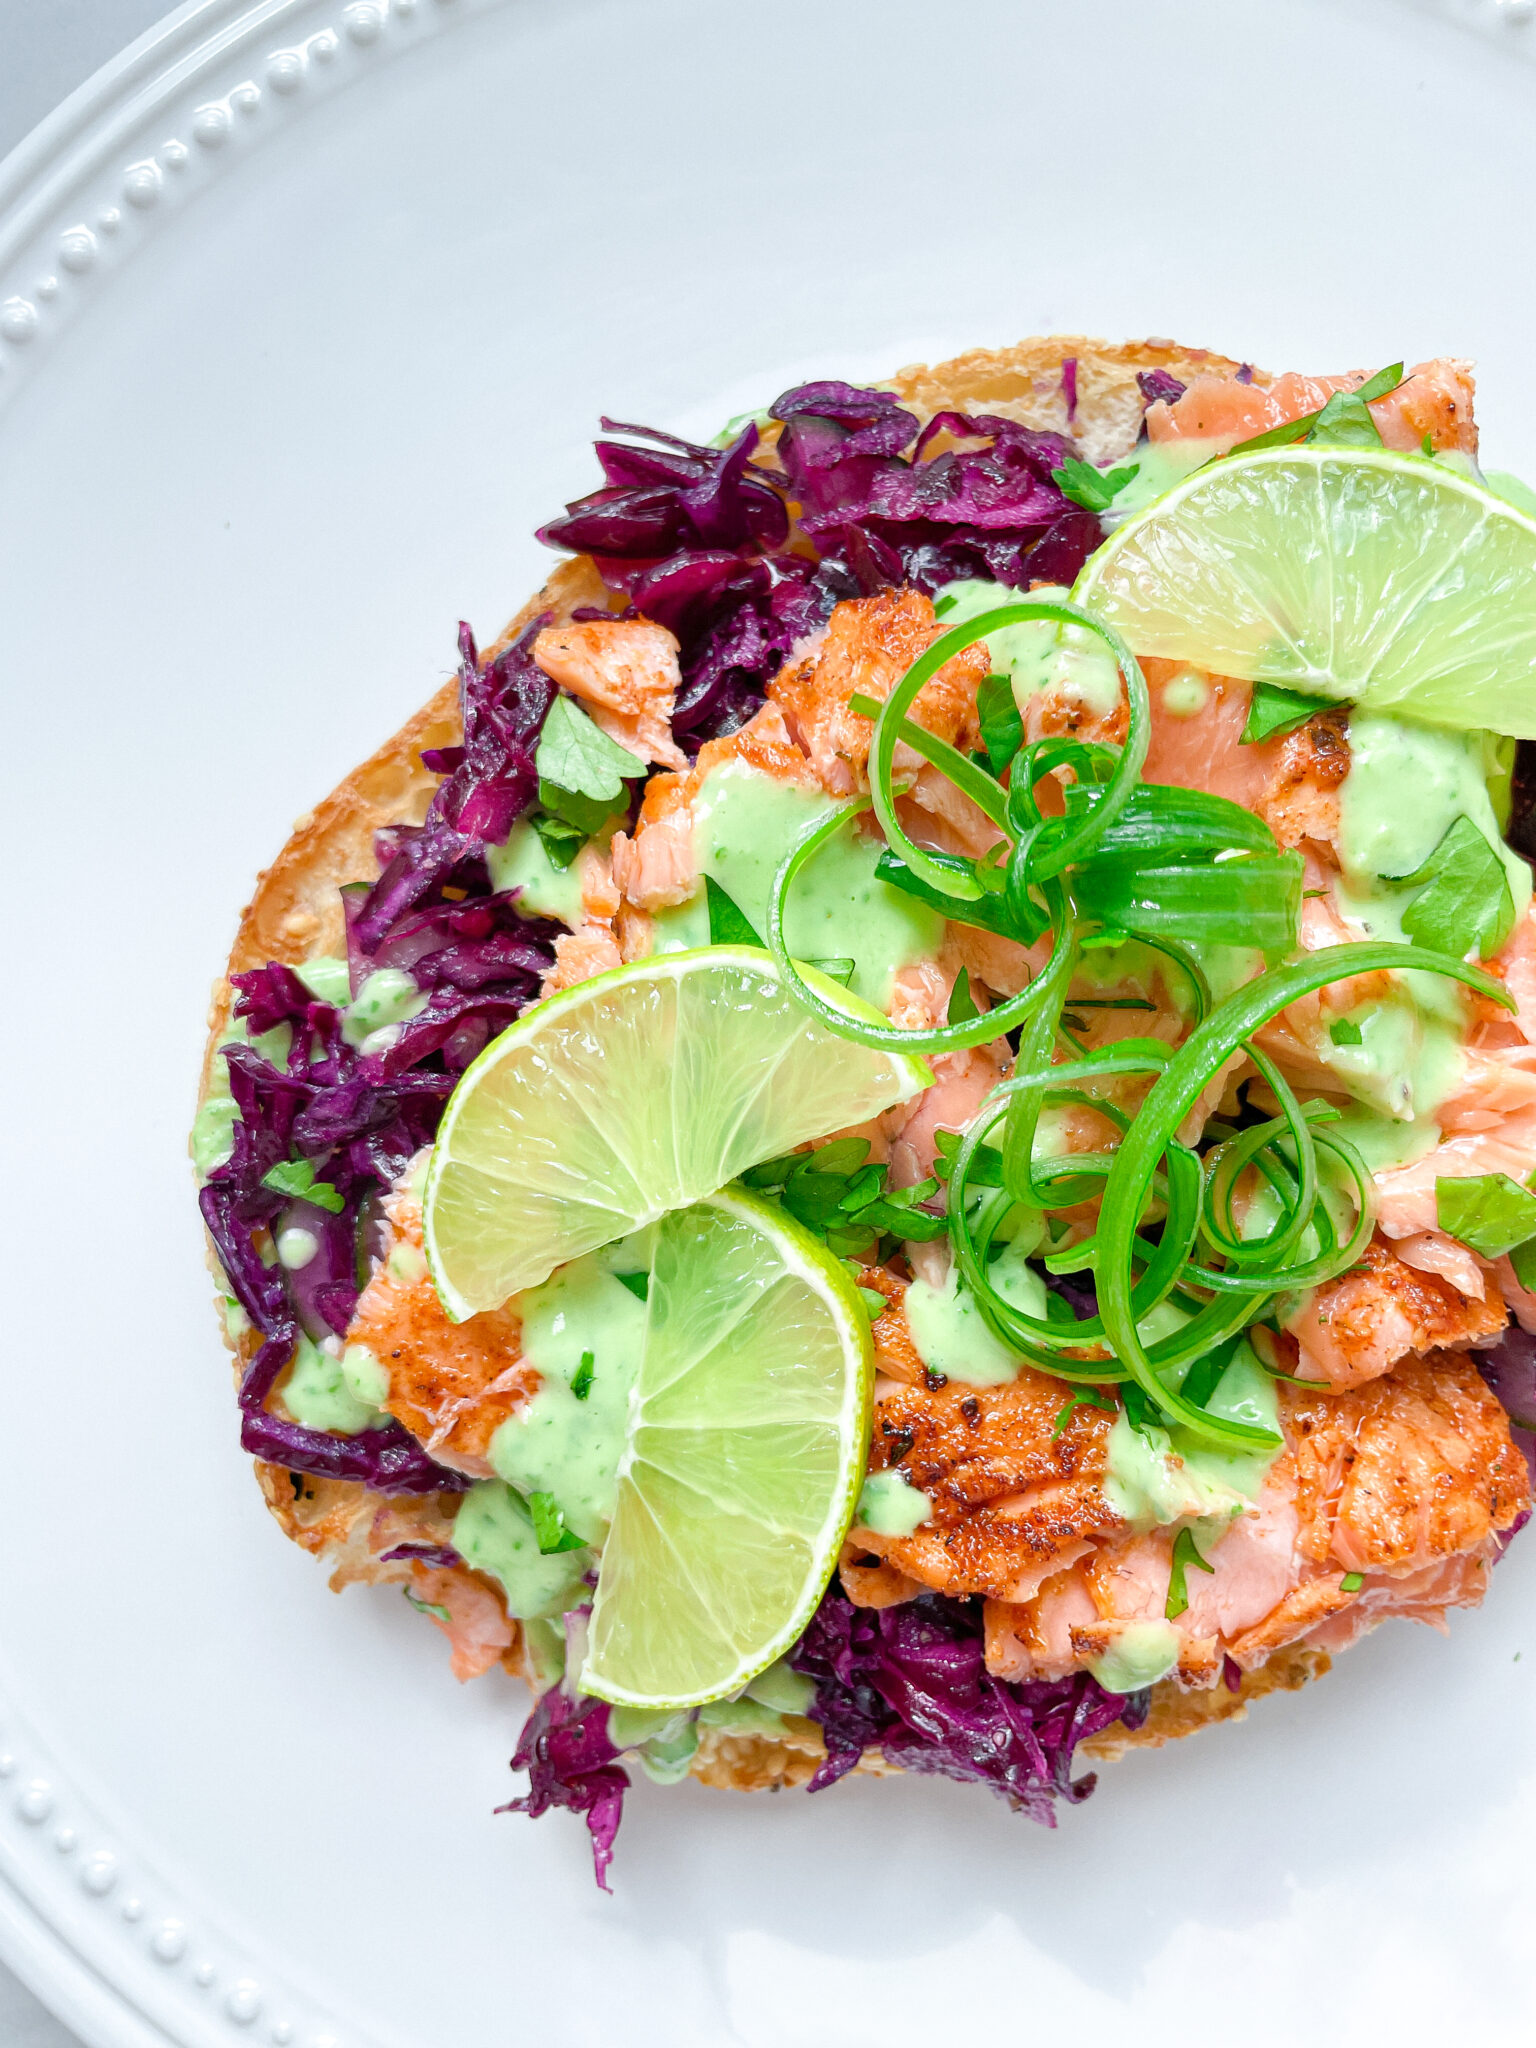
Indulge in this irresistibly crunchy, savory-sweet salad that’s bursting with flavor. Each bite is a vibrant mix of textures and tastes, making it the ultimate comfort food meets gourmet delight.

This website uses affiliate links which may earn commission for purchases made at no additional cost to you.

TOTAL TIME

30 min
SERVES

2 portions

DIET

omnivore

EVERY RECIPE DESERVES

A Little Love Letter

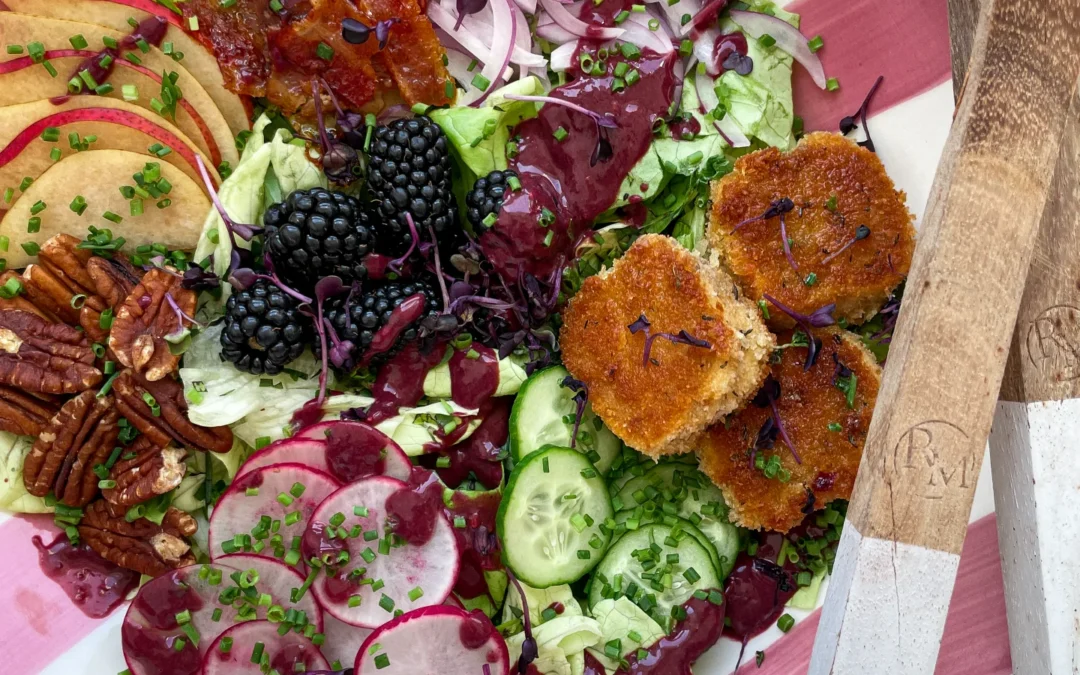
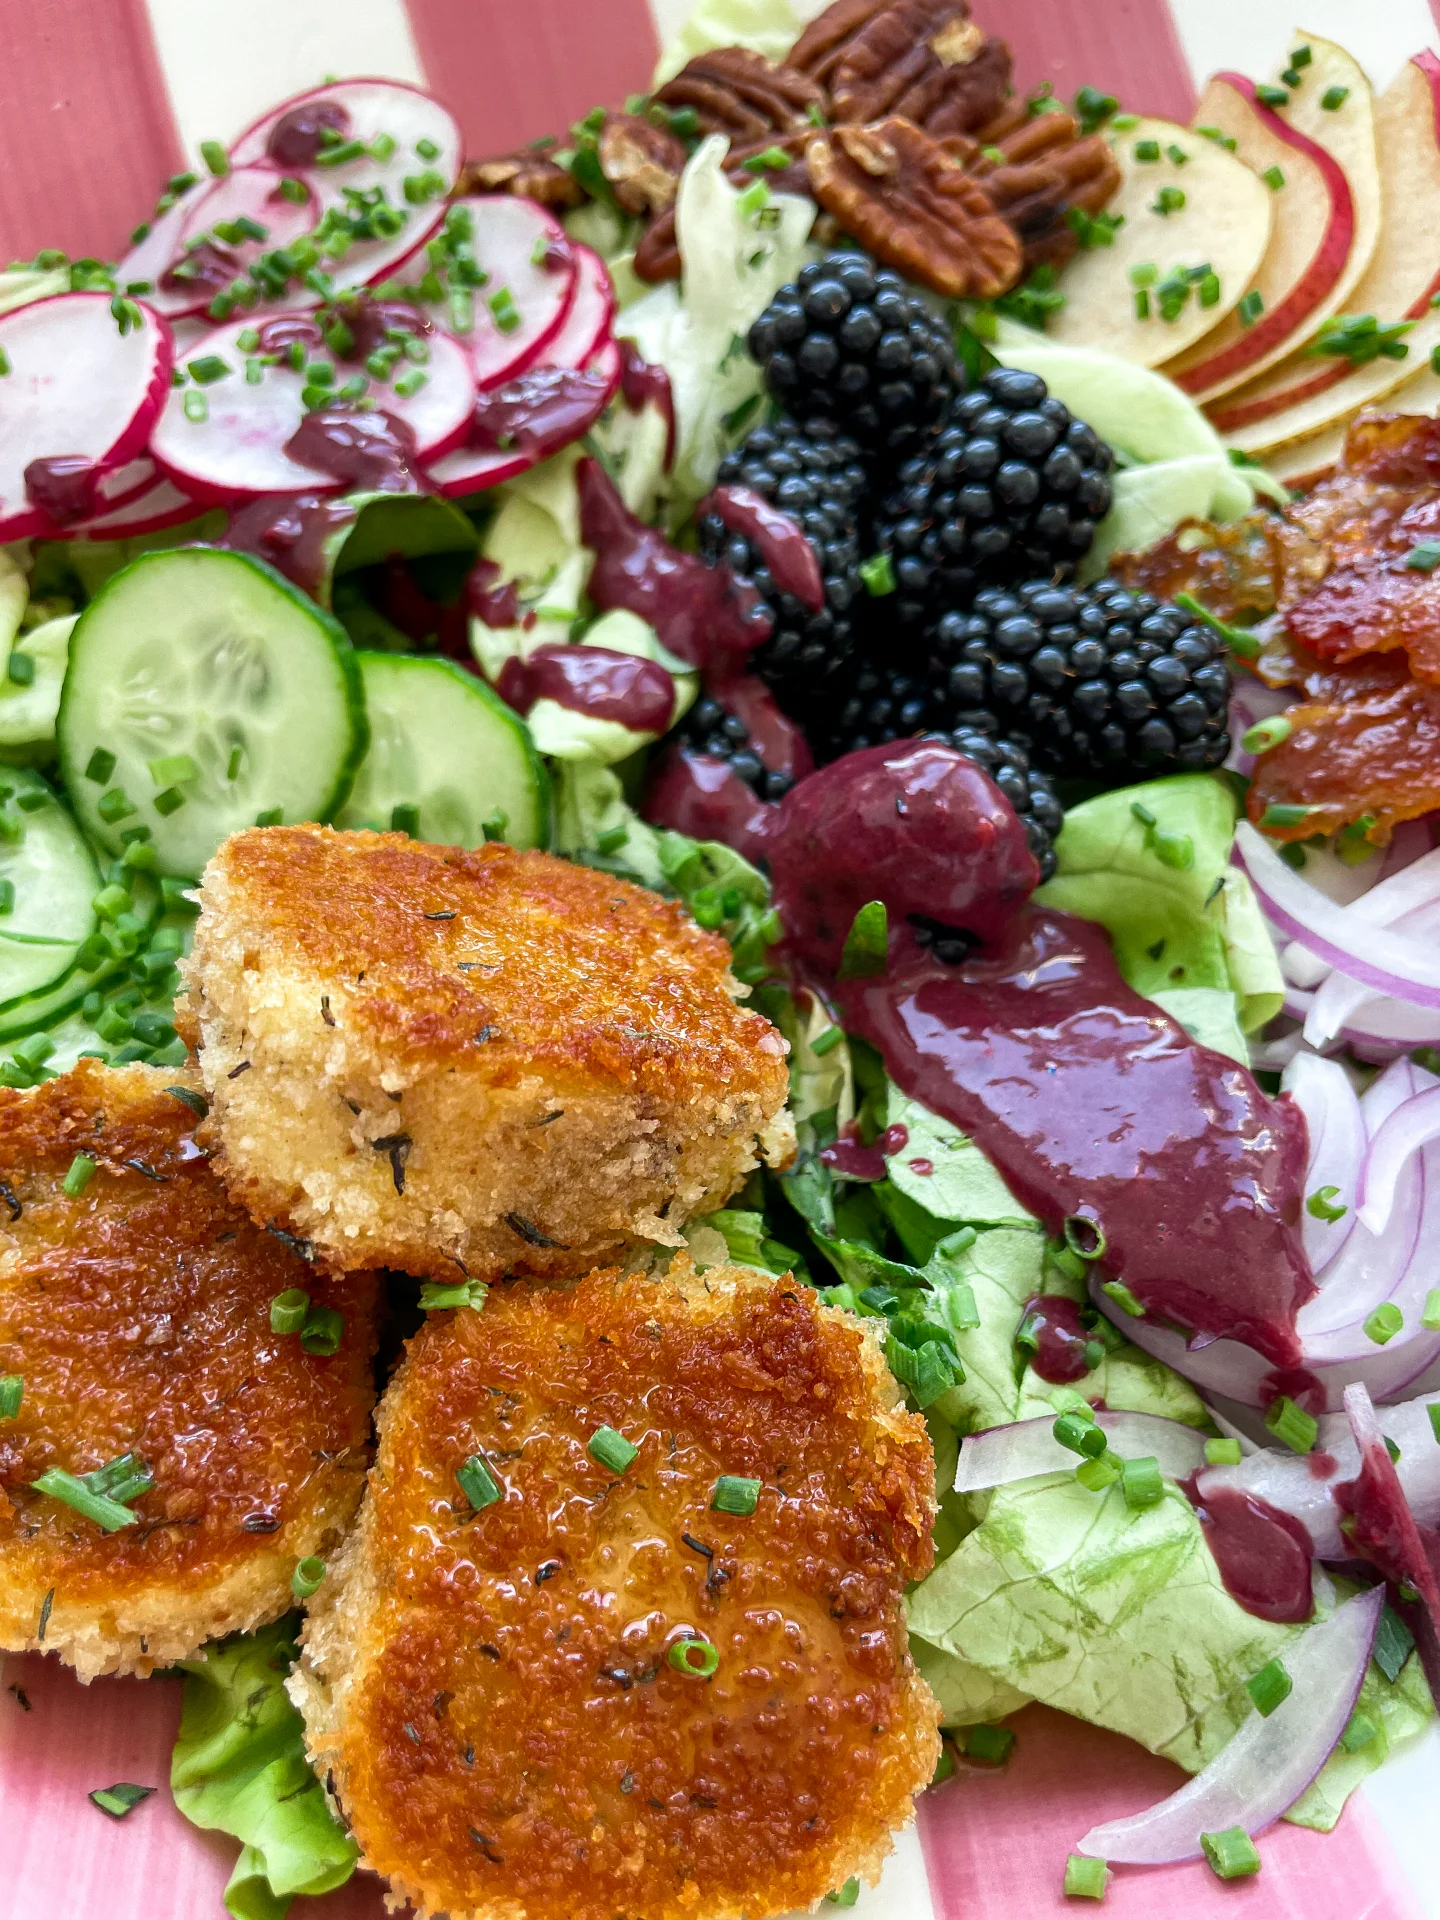
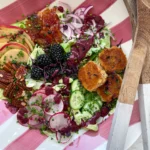
Imagine sitting down to a salad that feels like a hug on a plate – some warm components, some crispy ones, and bursting with flavors that dance together perfectly. The savory crunch of caramelized bacon paired with the creamy, tangy goat cheese is an experience in itself. Add in the fresh burst of blackberries, crisp cucumber, and the subtle sweetness of pear, and you’ve got a dish that’s not just a salad but a full-on flavor journey.

This salad is perfect as a main dish or a side, but honestly, it’s so good you’ll want to make it the star of the meal. Serve it on a large platter, allowing all those gorgeous colors to pop. Drizzle the blackberry balsamic vinaigrette just before serving for that fresh, tangy finish. Pair it with a light white wine or sparkling water with a splash of lemon, and you’ve got yourself a meal that feels like a treat.

If you’ve got leftovers, store the salad and dressing separately to keep everything crisp and fresh. Place the salad in an airtight container in the fridge, and it should stay good for about 1-2 days. The vinaigrette can be stored in a jar for up to three days.

Hi, I'm Kimberly!

Hi, I'm Kimberly.

A hopeless romantic when it comes to food. Every recipe I share is a love letter to food itself. I’m so glad you’re here. Make yourself at home and stay a while.

Love,
Kimberly

Kimberly the Zett Signature

If you want to get to know me better,
click here!


Caramelized Bacon Fried Goat Cheese Salad with Blackberry Balsamic Vinaigrette

LET’S MAKE A PIECE OF HAPPINESS

Print
clock clock iconcutlery cutlery iconflag flag iconfolder folder iconinstagram instagram iconpinterest pinterest iconfacebook facebook iconprint print iconsquares squares iconheart heart iconheart solid heart solid icon
Caramelized Bacon Fried Goat Cheese Salad with Blackberry Balsamic Vinaigrette

Caramelized Bacon Fried Goat Cheese Salad with Blackberry Balsamic Vinaigrette


  • Author: Kimberly
  • Total Time: 30 min
  • Yield: 2 1x

Description

Recommended Equipment

  • tall container
  • hand blender
  • sharp knife
  • cutting board
  • three deep plates
  • small frying pan
  • oven
  • salad bowl

Ingredients

Units Scale
VINAIGRETTE
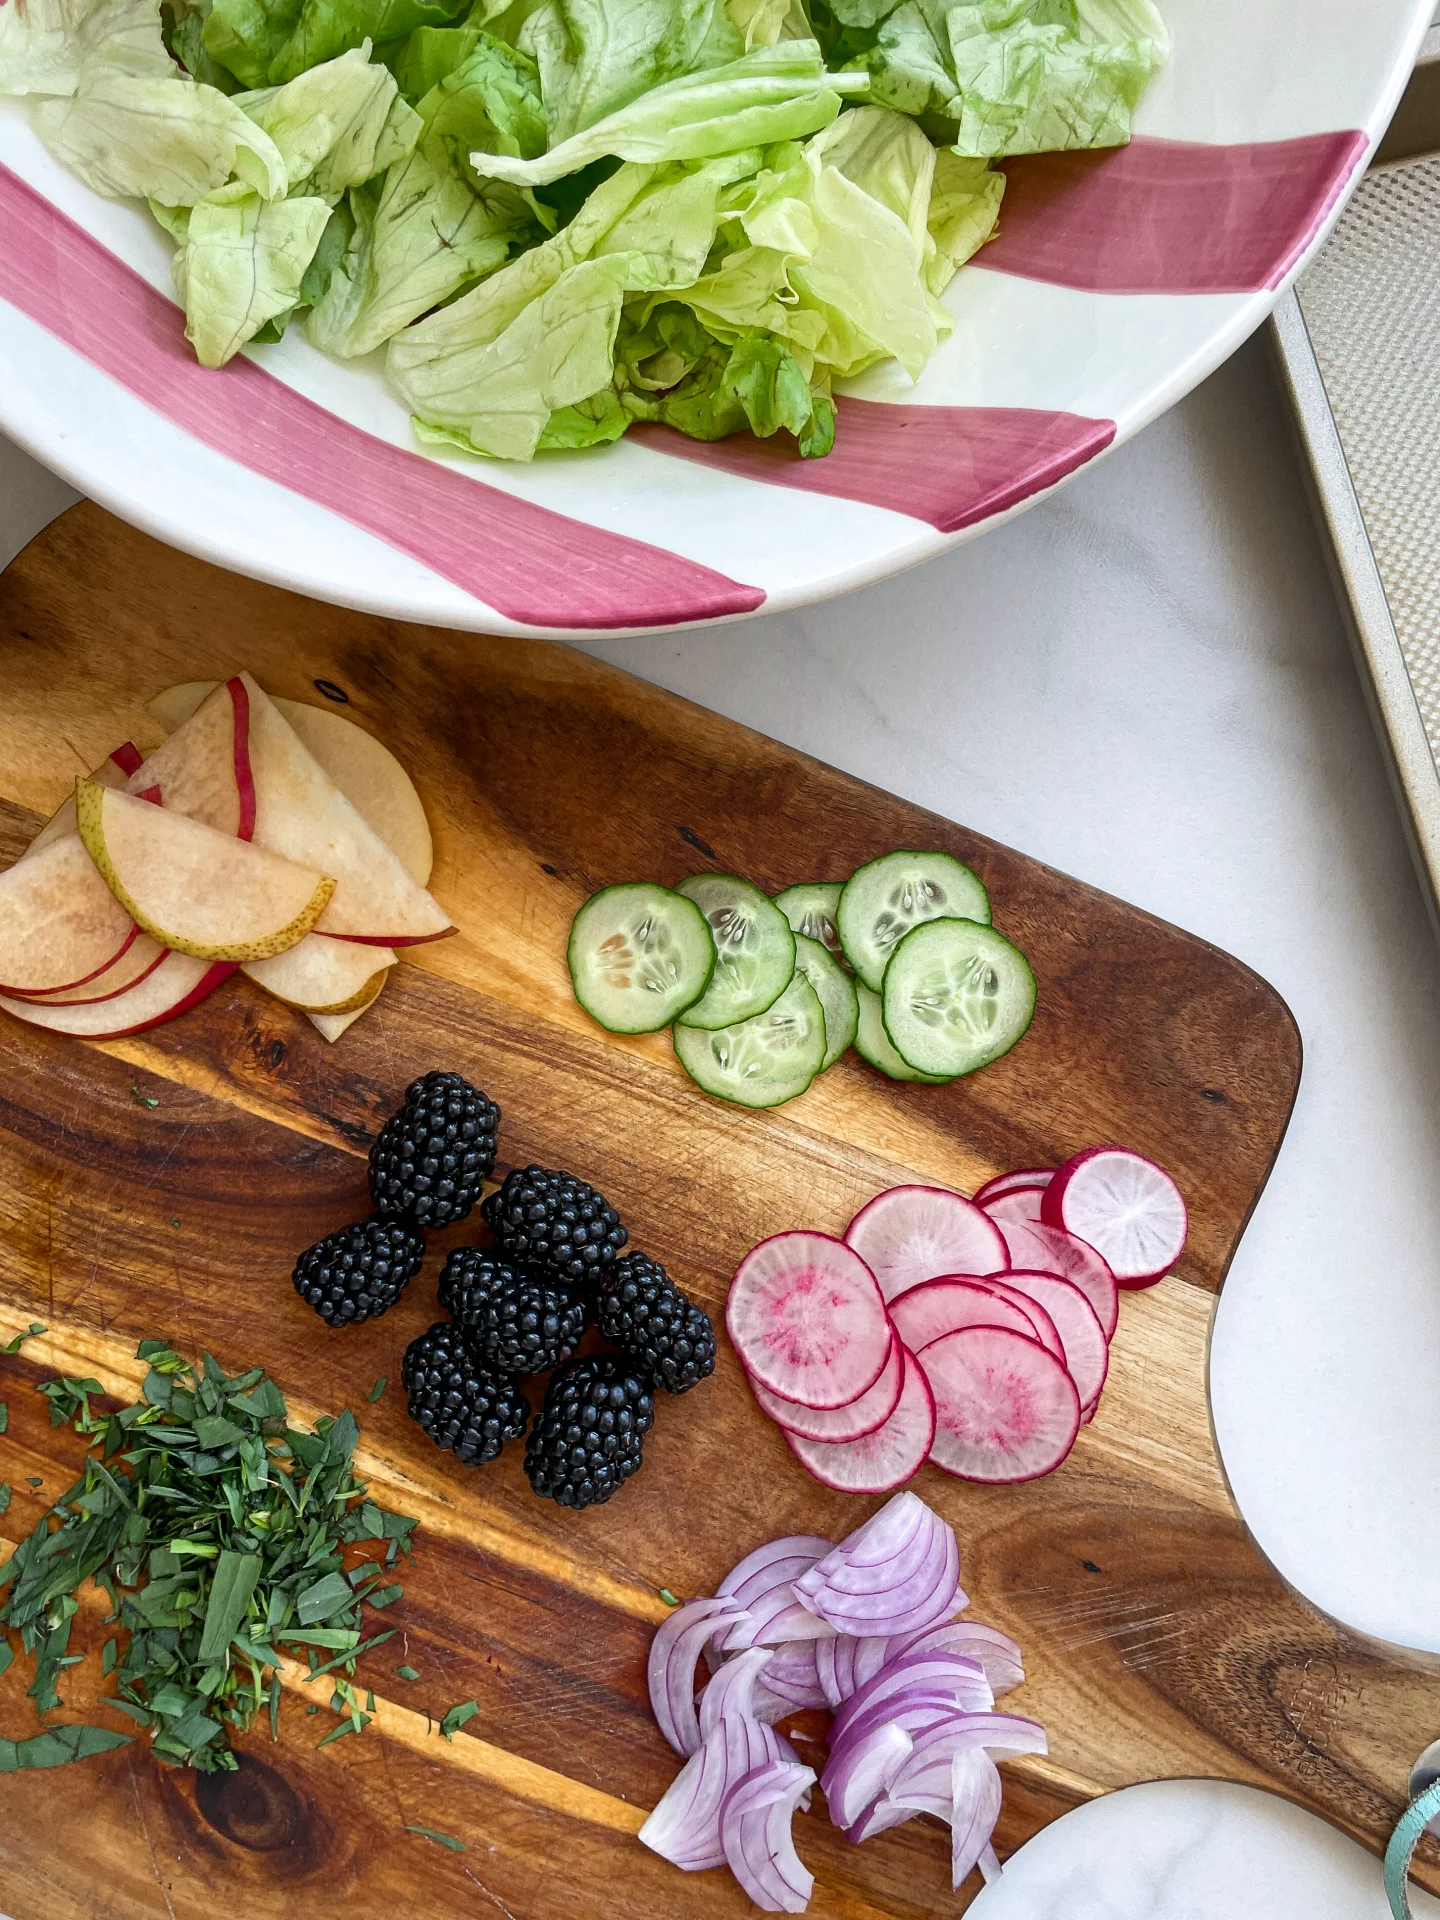
  • 50 grams blackberries
  • 1 tbsp balsamic vinegar
  • 2 tbsp olive oil
  • 1 tbsp honey
  • 1 tsp Dijon mustard
  • 1 garlic clove
  • salt, pepper & cayennepepper to taste
GOAT CHEESE
  • 100 grams goat cheese
  • 2 tbsp all purpose flour
  • 1 egg
  • 2 tbsp breadcrumbs
  • 2 tbsp panko
  • 1 tsp dried thyme
  • clarified butter for frying
BACON
  • 50 grams bacon
  • brown sugar
SALAD
  • 150 grams mixed green salad
  • 50 grams blackberries
  • 1 small red onion
  • 2 tbsp pecan nuts
  • 1/4 cucumber
  • 1/2 pear
  • 2 radishes
  • chives

Instructions

  1. In a tall container, add all the ingredients for the vinaigrette and blend with a hand blender until you get a smooth dressing. If it seems too thick, you can add 1-2 tablespoons of cold water. Place it in the fridge until ready to use.
  2. Next, cut the salad into bite-sized pieces, wash thoroughly, and place in a salad bowl. Wash the chives thoroughly as well, and cut them into fine rings.
  3. Wash and dry the radishes, cucumber, and pear. Peel the red onion. Slice everything thinly and distribute over the salad, along with the blackberries.
  4. Preheat the oven to 180°C / 350°F. Lay the bacon strips on a sheet of baking paper and sprinkle each strip with about 1/2 teaspoon of brown sugar and a pinch of cayenne pepper. Bake for about 10 minutes or until the sugar has melted and caramelized.
  5. Now prepare three small deep plates. Fill the first one with wheat flour, beat an egg with salt in the second, and mix breadcrumbs, panko, and thyme in the third. Cut the goat cheese into thick slices, then coat each slice first in flour, then in the egg, and finally in the breadcrumb-panko mixture. Press everything down firmly.
  6. Take the bacon out of the oven and let it cool. Once cooled, tear it into pieces and sprinkle over the salad.
  7. Heat some clarified butter in a pan and fry the goat cheese rounds until crispy on all sides. Place them on the salad.
  8. Finally, sprinkle a bit of chives on top as a garnish. Drizzle the vinaigrette over the salad just before serving.
  • Cook Time: 30 min
CRAVING MORE?

Follow along here & don’t forget to subscribe to my substack!

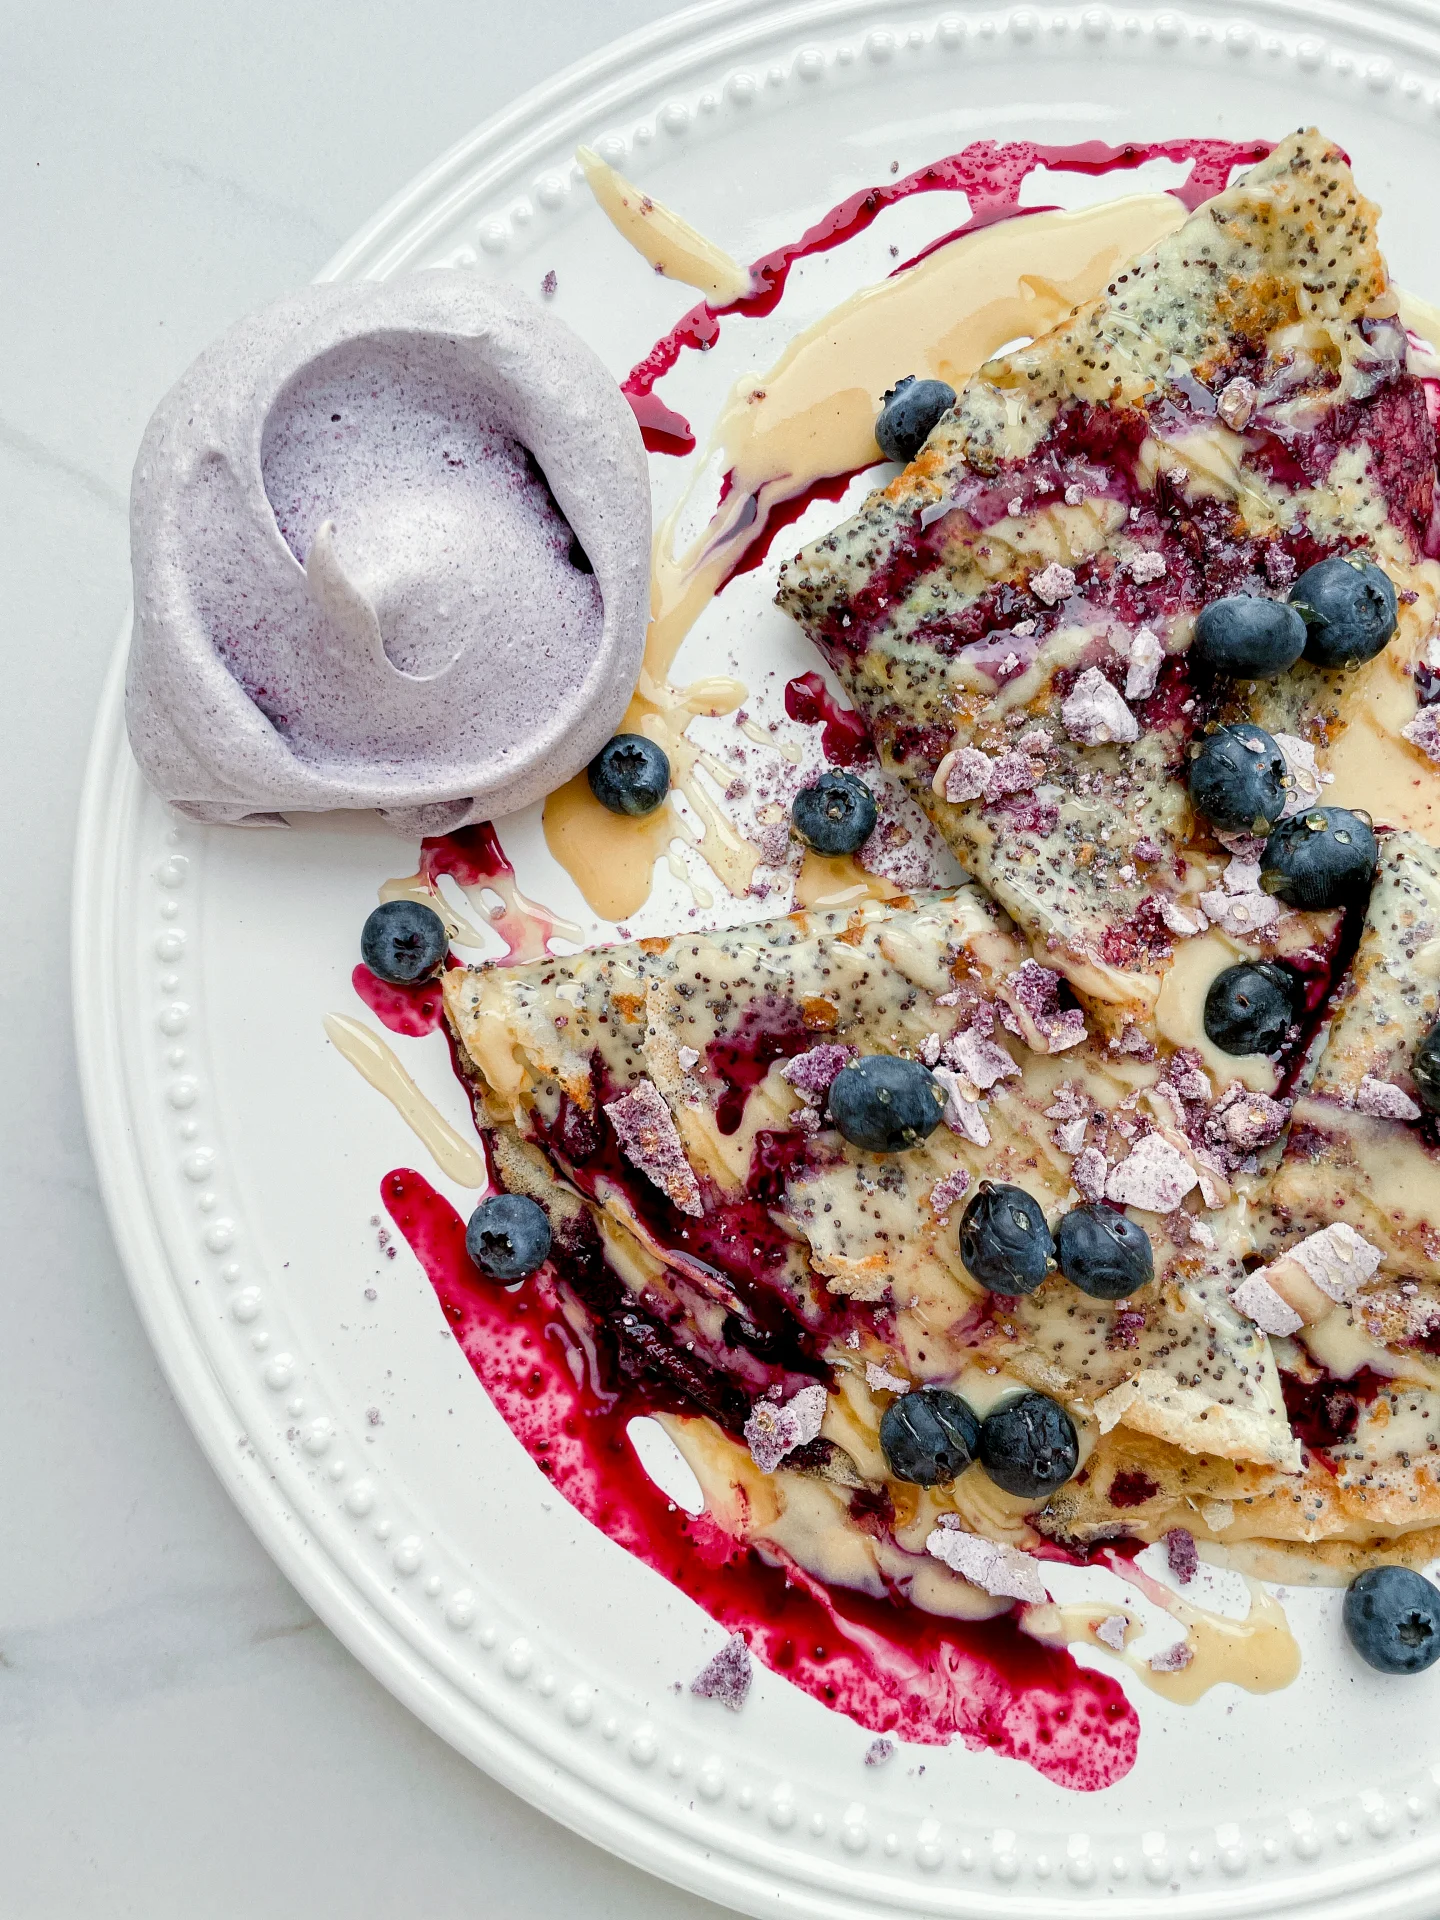
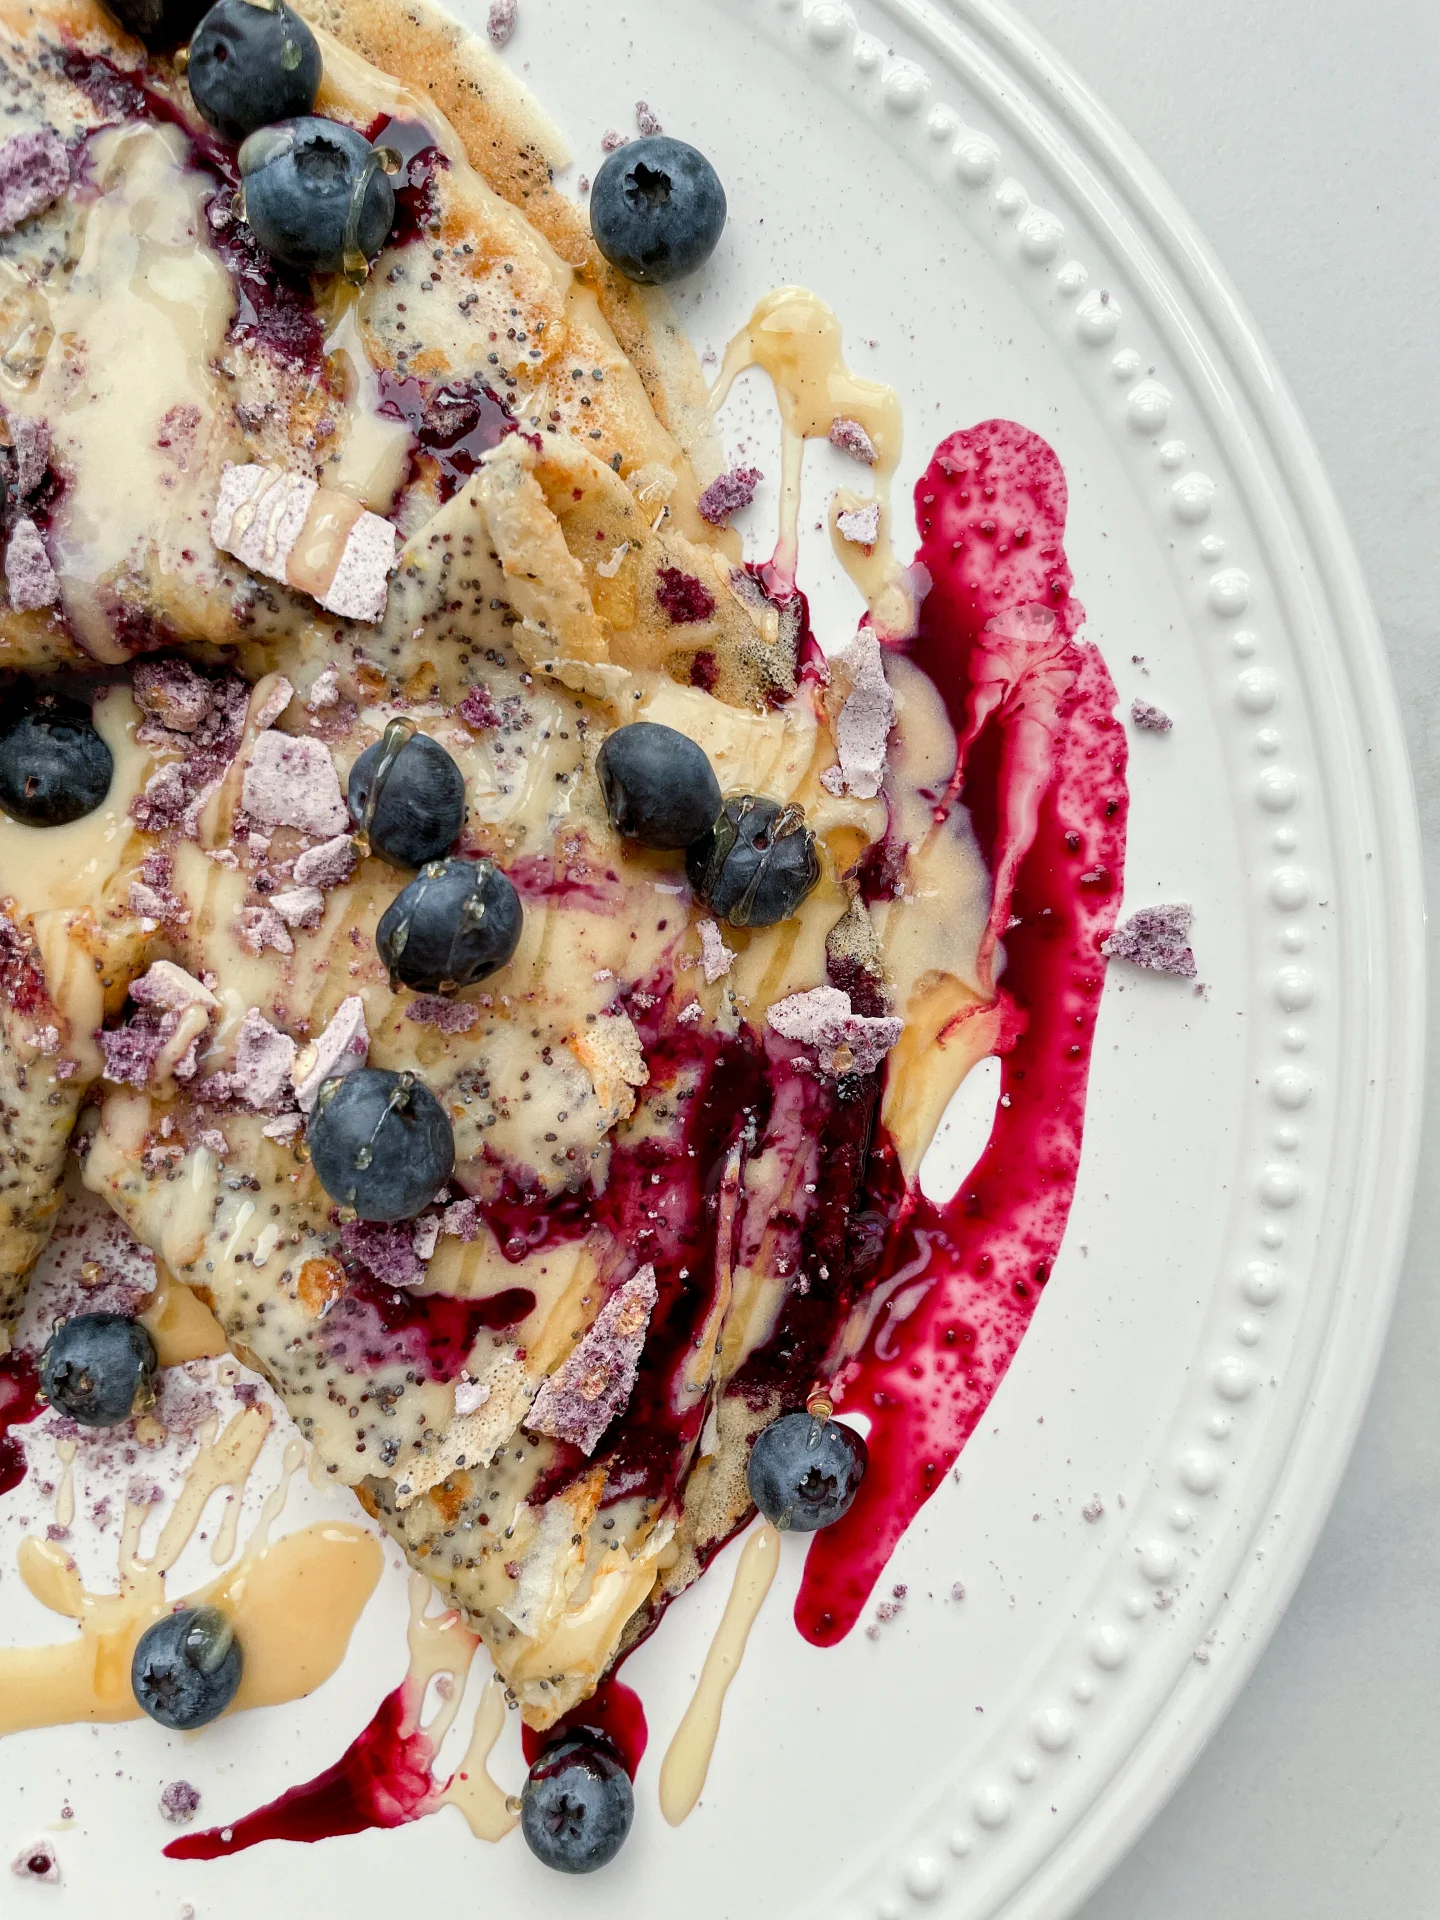
Poppyseed Crepe with Lemon Pastry Cream & Blueberry Meringue

Poppyseed Crepe with Lemon Pastry Cream & Blueberry Meringue

Poppyseed Crepe with Lemon Pastry Cream & Blueberry Meringue

Poppyseed Crepe with Lemon Pastry Cream & Blueberry Meringue

August 11, 2024 by Kimberly

Delight in every bite with these poppyseed crepes! Filled with zesty lemon cream and topped with crunchy blueberry meringue, it’s like a sunny day wrapped up just for you.
This website uses affiliate links which may earn commission for purchases made at no additional cost to you.

TOTAL TIME

2 hrs + 30 min

SERVES

6 portions

DIET

vegetarian

EVERY RECIPE DESERVES

A Little Love Letter

Get ready to elevate your dessert game with these fabulous poppyseed crepes. Imagine the nutty crunch of poppyseeds paired with a tangy soft lemon pastry cream and a crunchy blueberry meringue on top. It’s a treat that’s perfect for a special Sunday dessert or impressing friends at brunch. Each bite is a delightful mix of flavors and textures that will make you feel like you’re dining at a chic café.

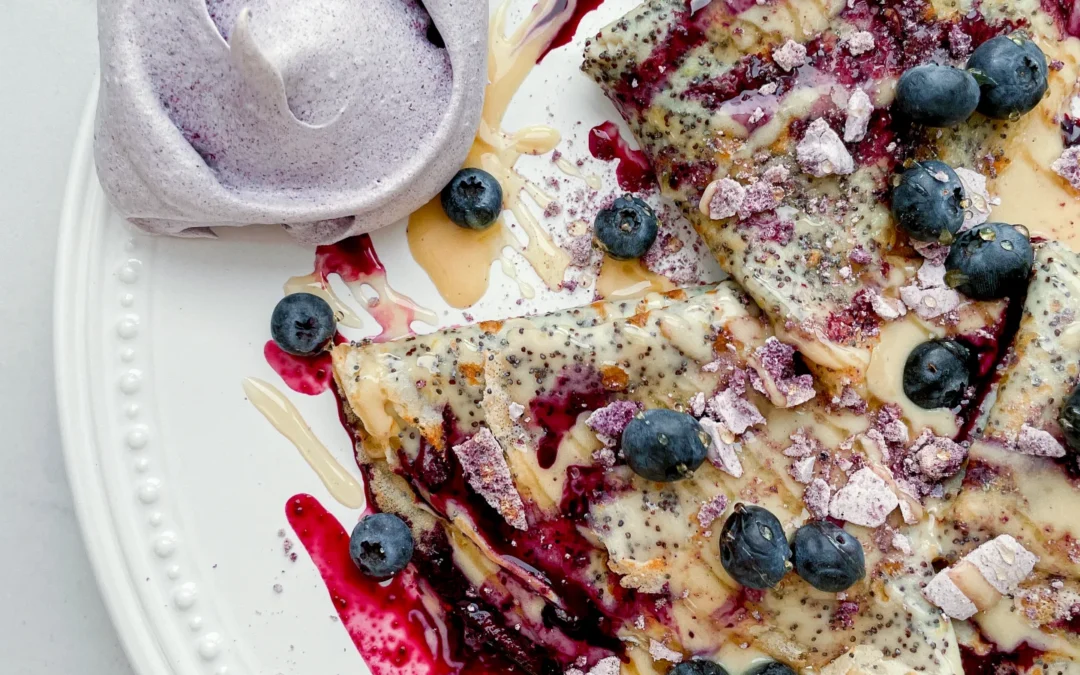
For a picture-perfect breakfast, fold the crepes elegantly and fill them with a generous dollop of lemon pastry cream and a swirl of blueberry sauce. Sprinkle some crunched blueberry meringue on top. A drizzle of honey and a few fresh blueberries will add the final touch.

To keep your poppyseed crepes fresh, store any leftovers in an airtight container in the fridge. They’ll stay good for about a day. You can also prepare everything in advance and enjoy them when you’re ready.

Hi, I'm Kimberly!

Hi, I'm Kimberly.

A hopeless romantic when it comes to food. Every recipe I share is a love letter to food itself. I’m so glad you’re here. Make yourself at home and stay a while.

Love,
Kimberly

Kimberly the Zett Signature

If you want to get to know me better,
click here!


Poppyseed Crepe with Lemon Pastry Cream & Blueberry Meringue

LET’S MAKE A PIECE OF HAPPINESS

Print
clock clock iconcutlery cutlery iconflag flag iconfolder folder iconinstagram instagram iconpinterest pinterest iconfacebook facebook iconprint print iconsquares squares iconheart heart iconheart solid heart solid icon
Poppyseed Crepe with Lemon Pastry Cream & Blueberry Meringue

Poppyseed Crepe with Lemon Pastry Cream & Blueberry Meringue


  • Author: Kimberly
  • Total Time: 2 hr + 30 min
  • Yield: 6 1x

Description

Recommended Equipment

  • two small pots
  • vegetable peeler
  • medium-sized bowl
  • whisk
  • two mixing bowls
  • electric mixer
  • mortar & pestle
  • spatula
  • small frying pan
  • spatula

Ingredients

Units Scale
BATTER
  • 90 milliliters full-fat milk
  • 60 milliliters water
  • 1 egg
  • 1 tbsp melted butter
  • 1 tbsp poppyseeds
  • zest of 1/2 lemon
  • 60 grams all-purpose flour
  • 1/8 tsp salz
LEMON PASTRY CREAM
  • 90 milliliters full-fat milk
  • 90 milliliters heavy cream
  • 2 egg yolks
  • 50 grams white sugar
  • 1 tsp vanilla extract
  • 1 tbsp flour
  • zest of 1 lemon
BLUEBERRY MERINGUE
  • 2 egg whites
  • 100 grams white sugar
  • pinch of salt
  • 1/8 tsp cream of tartar
  • 1.5 tbsp freeze-dried blueberries
BLUEBERRY SAUCE
  • 100 grams frozen blueberries
  • juice of 1/2 lemon
  • 1 tsp white sugar
  • pinch of salt
TOPPINGS
  • fresh blueberries
  • honey

Instructions

  1. Start by preparing the blueberry meringue. Preheat the oven to 100°C (212°F) with the fan on. Separate two eggs and place the egg whites into a bowl. Save the yolks for later, as you’ll use them to make the lemon pastry cream. Add a pinch of salt and the cream of tartar to the egg whites. Measure out the sugar and set it aside in a small bowl. Using an electric hand mixer, beat the egg whites on medium to high speed until they start to stiffen. Gradually add the sugar while continuing to beat the mixture until the egg whites are creamy, firm, glossy, and snow-white.
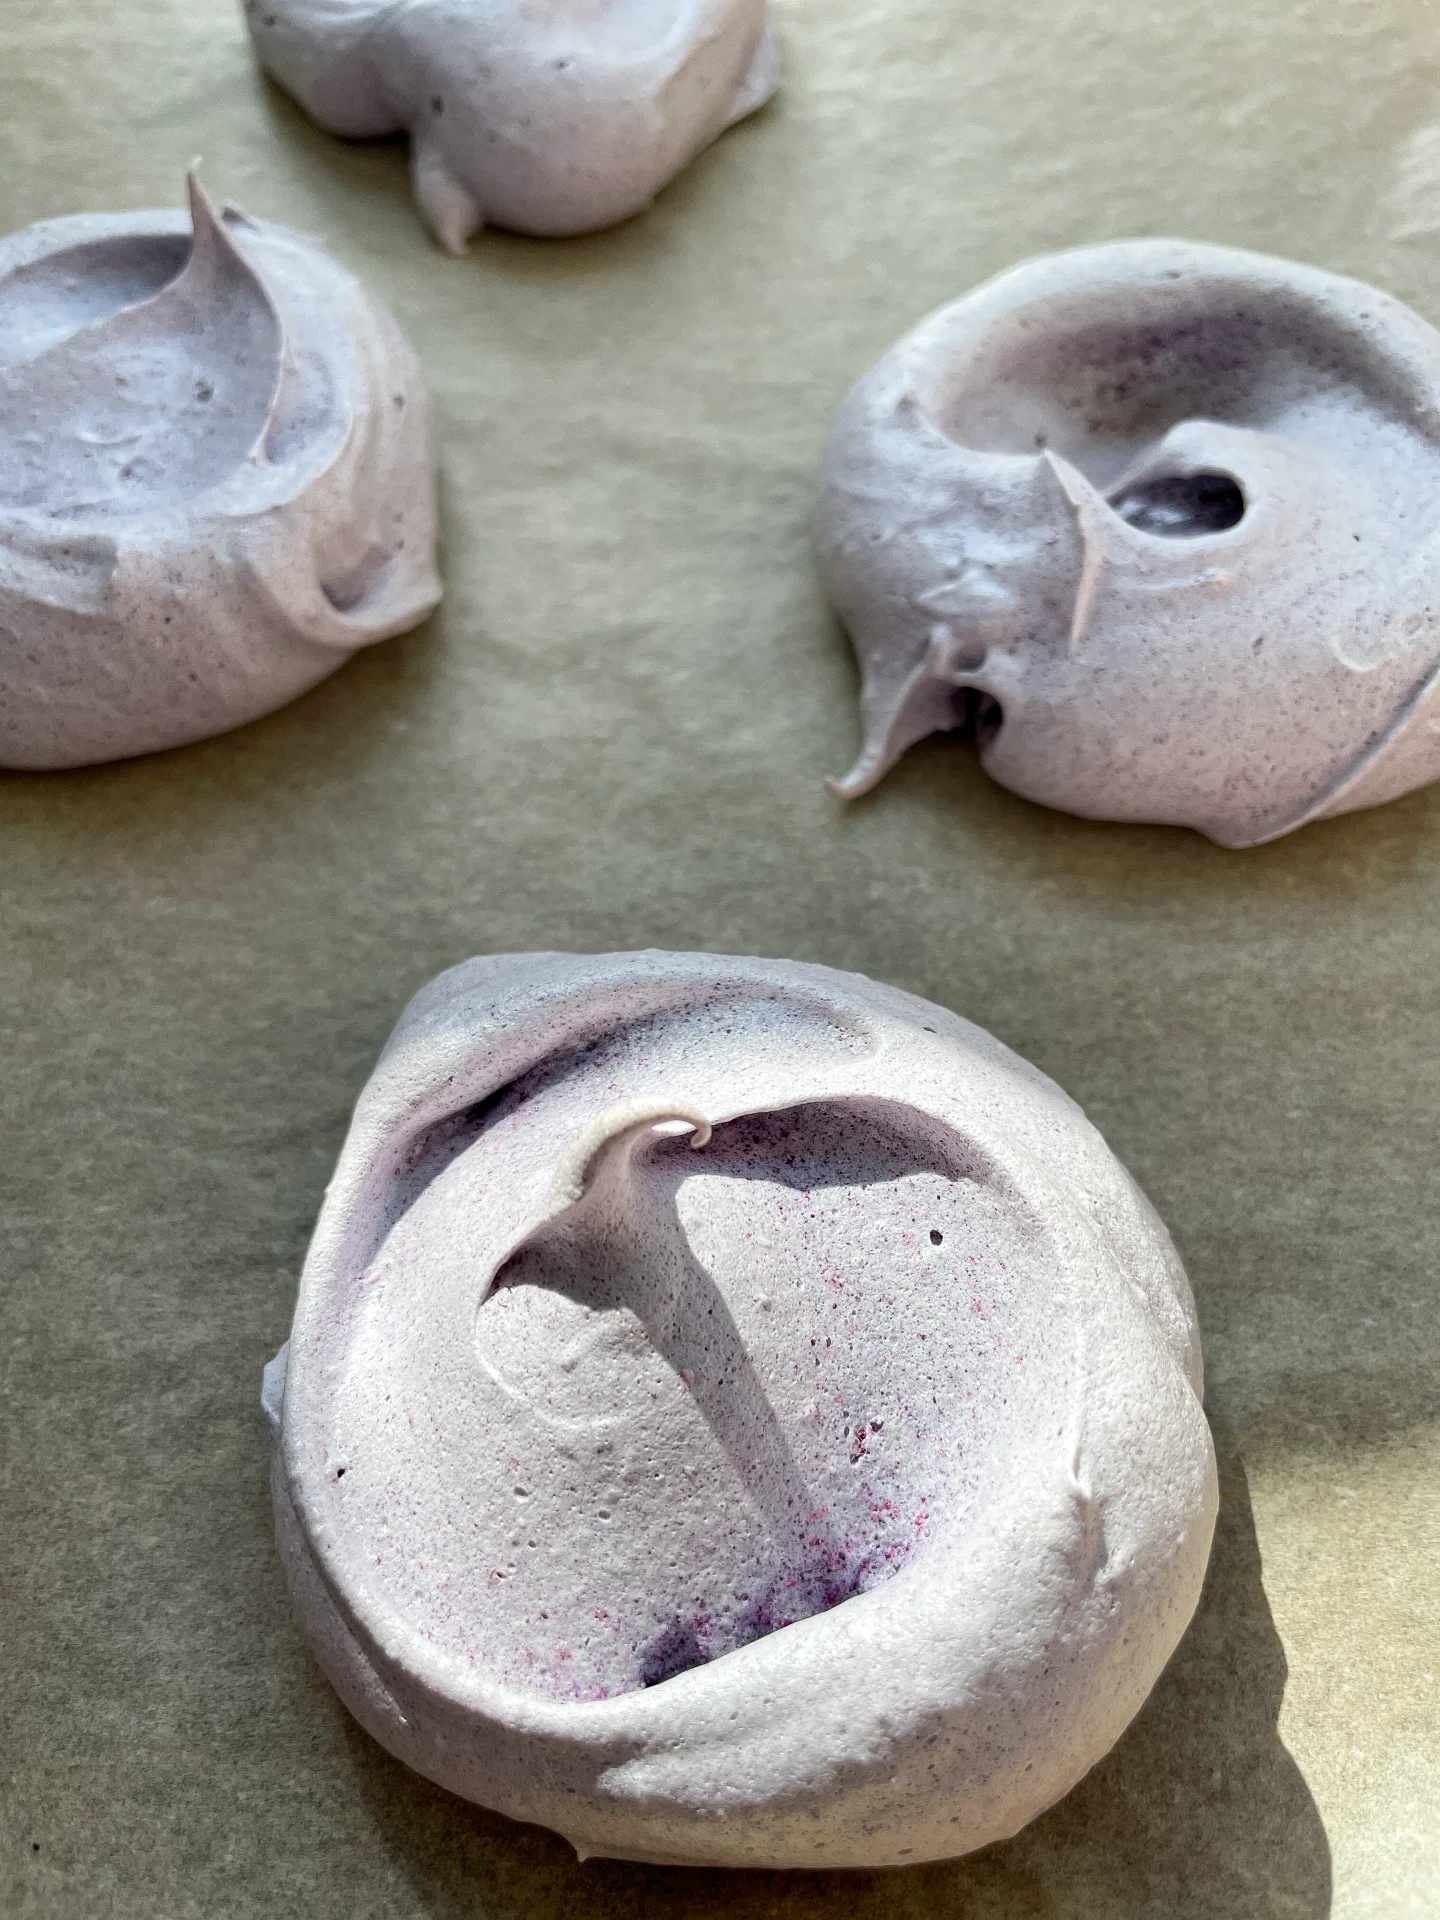
  2. Prepare the blueberry powder. Use a mortar and pestle to grind the freeze-dried blueberries into a fine powder. Gently fold the powder into the egg white mixture using a spatula until the mixture turns a light lavender color.
  3. Shape the meringues. Line a baking sheet with parchment paper. Using two tablespoons, spoon the egg white mixture onto the parchment, forming six individual mounds. Place the baking sheet in the oven for about 2 hours.
  4. Make the crepe batter. In a mixing bowl, combine flour, salt, milk, water, egg, melted butter, lemon zest, and poppy seeds. Stir until smooth, then refrigerate the batter for about 30 minutes.
  5. Prepare the lemon cream. In a small pot, combine milk and cream. Use a peeler to remove large strips of zest from a lemon, ensuring they are big enough to remove later. Heat the pot over medium heat, stirring occasionally to prevent a skin from forming. Heat until it begins to steam. Remove from the heat and set aside.
  6. Mix the lemon pastry cream. In a heatproof glass or metal bowl, combine the reserved egg yolks with flour, sugar, and vanilla extract. Stir until you have a smooth, creamy mixture.
  7. Combine and cook the cream. Gradually pour the warm milk and cream mixture into the egg yolk mixture, stirring constantly. Rinse the pot and fill it halfway with water. Bring the water to a simmer over medium heat, then place the bowl with the cream mixture over the pot, creating a double boiler. Heat the mixture to about 78°C (172°F) while stirring continuously, until it thickens to a creamy consistency. Once thickened, remove the bowl from the heat. Cover the cream with plastic wrap, pressing it directly onto the surface to prevent a skin from forming, and refrigerate.
  8. Prepare the blueberry sauce. In a small pot, combine the frozen blueberries with lemon juice, sugar, and a pinch of salt. Simmer over medium heat until the blueberries release their juices. Set aside.
  9. Cool the meringues. Once the meringues have finished baking, remove them from the oven and allow them to cool slightly.
  10. Cook the crepes. Heat a 20cm (8-inch) frying pan over medium heat. Add a small amount of butter, then wipe out the excess with a paper towel, leaving only a thin film. Pour about 4 tablespoons of batter into the pan, swirling quickly to spread it evenly. Cook for 1-2 minutes on one side, then flip and cook for another 30 seconds to 1 minute. Repeat with the remaining batter.
  11. Assemble the dish. Spread lemon pastry cream over each crepe, fold in half, then fold again to form a triangle. Drizzle the blueberry sauce over the crepes, crumble one meringue over each serving, and garnish with fresh blueberries and a drizzle of honey. Enjoy immediately!
  • Passive Time: 1 hr 30 min
  • Cook Time: 60 min

CRAVING MORE?

Follow along here & don’t forget to subscribe to my substack!