Chinese Holy Trinity Oil – Scallion Ginger & Garlic

Chinese Holy Trinity Oil – Scallion Ginger & Garlic

Chinese Holy Trinity Oil - Scallion Ginger & Garlic

Chinese Holy Trinity Oil – Scallion Ginger & Garlic

August 27, 2024 by Kimberly

Elevate your dishes with a burst of bold flavors from this aromatic oil, infused with the warm, comforting essence of scallion, ginger, and garlic – perfect for any dish craving a flavor boost.

75 MINUTES

ADVANCED

VEGAN

CHINESE

40 PER TSP

SPICY
UMAMI

MICHELIN

OIL

ALL YEAR

INTRODUCTION

ABOUT THE RECIPE

Ready to level up your cooking game? This aromatic infused oil brings together the bold and comforting flavors of scallion, ginger, and garlic in one versatile powerhouse. It’s like having a secret weapon in your kitchen, instantly adding a rich, savory depth to any dish. Whether you’re stirring it into a stir-fry, drizzling it over noodles, or using it as a base for soups, this oil is your go-to for making every meal a little more special.

How to serve
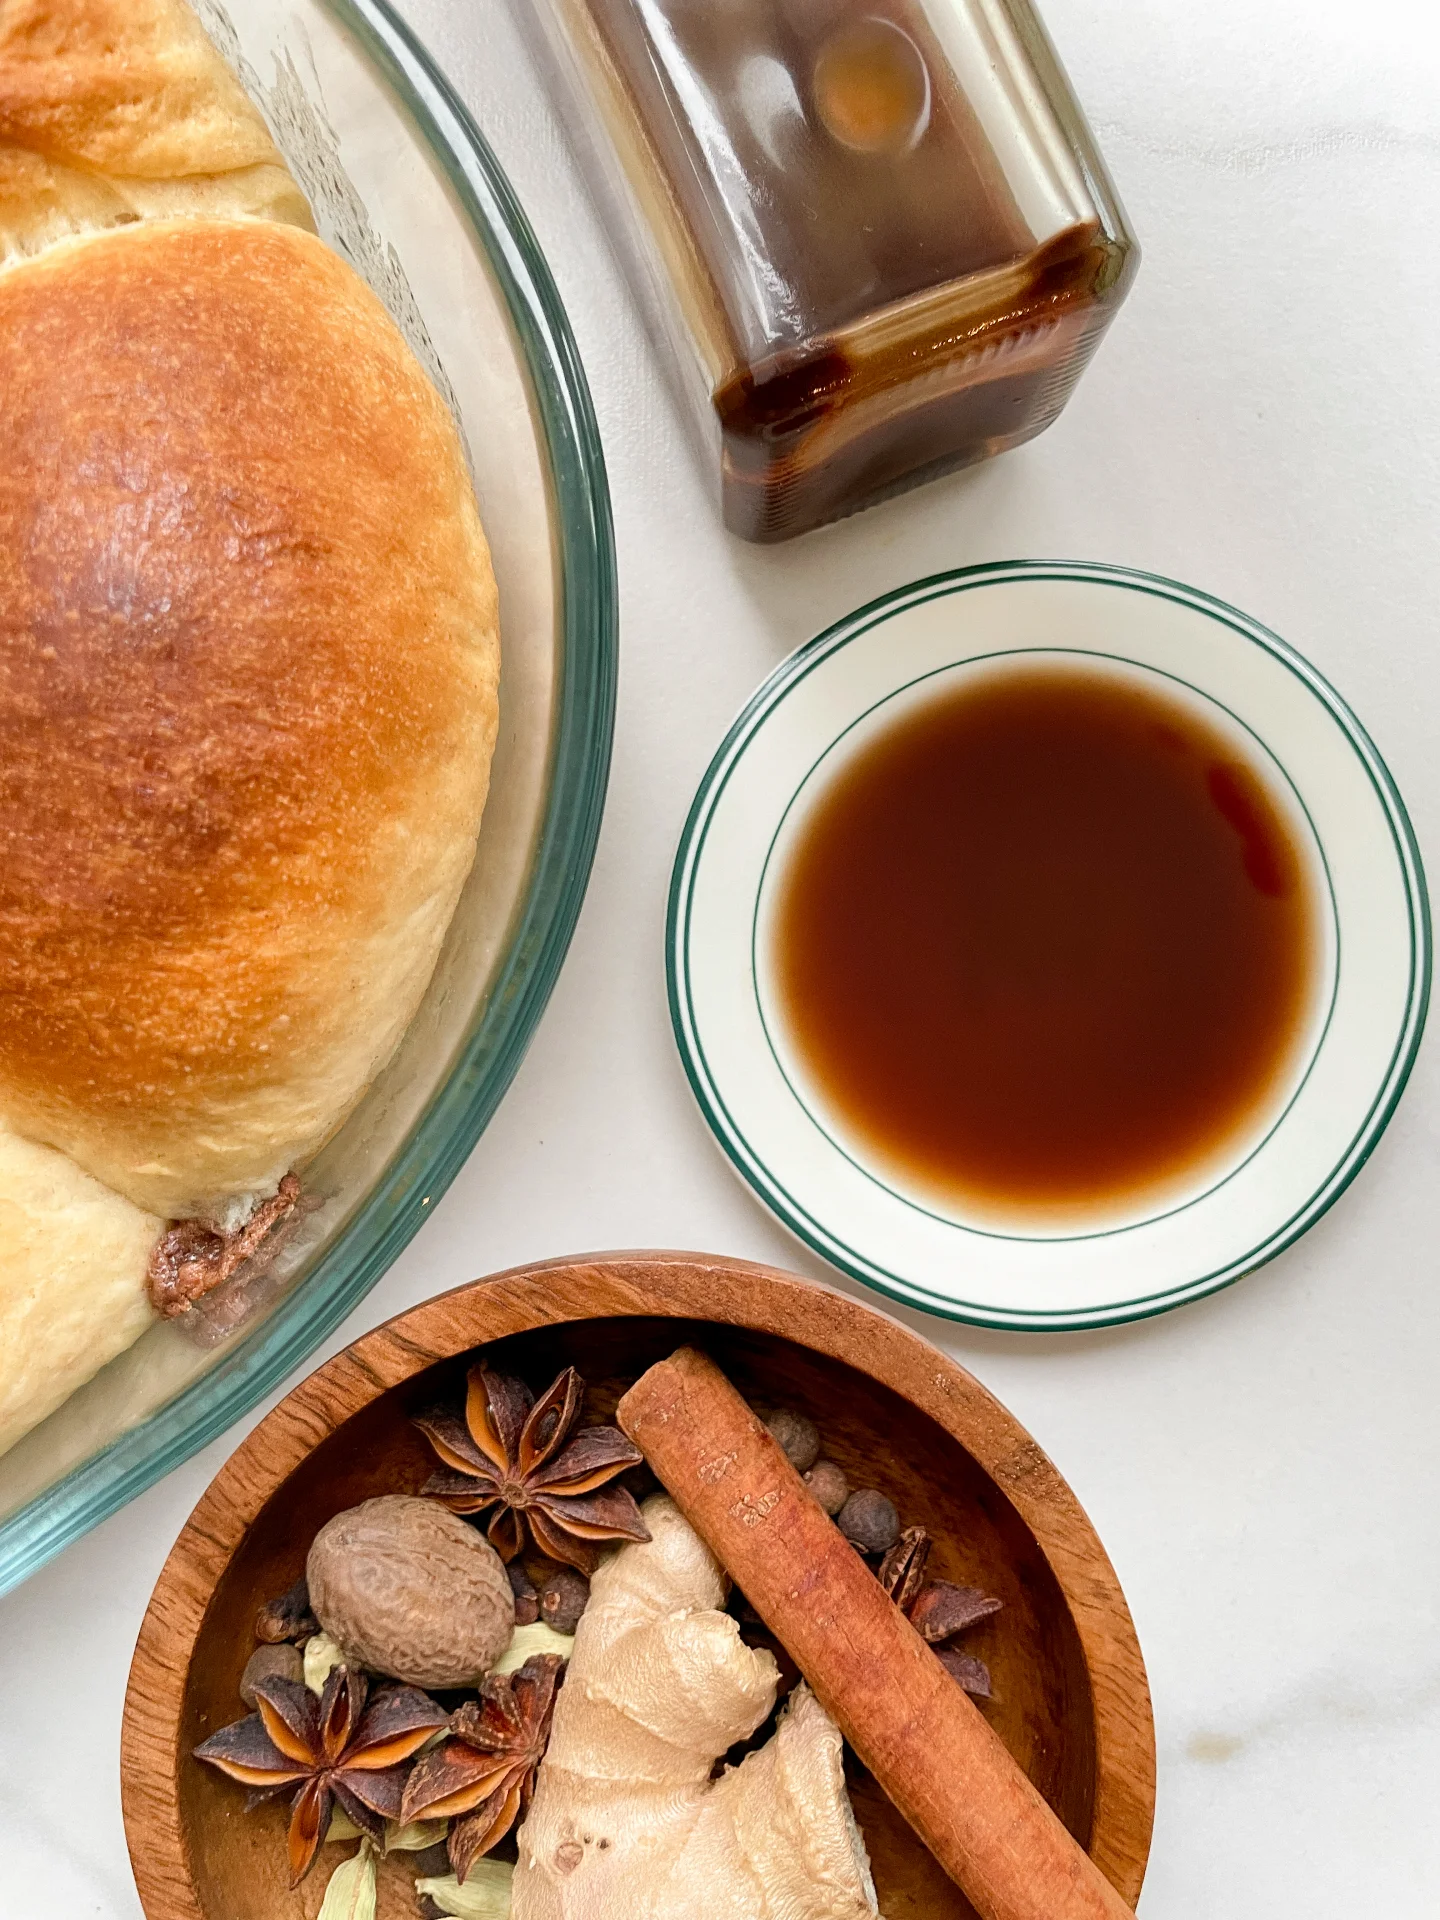
This versatile kitchen oil shines brightest when used as a finishing touch on your favorite dishes. Drizzle it over freshly steamed rice, toss it with stir-fried veggies, or mix it into your dipping sauces for an extra punch of flavor. It’s also fantastic as a marinade base or brushed onto grilled meats for a savory, aromatic crust. The possibilities are endless—this oil is perfect for any dish that could use a little warmth and depth. Try it with this Chicken Katsudon and massage 1-2 tbsp into the napa cabbage. It’s heavenly.

How to store
To keep this flavorful cooking oil at its best, store it in a clean, airtight container in a cool, dark place. It’ll stay fresh and aromatic for up to 1-2 weeks, so you can reach for it whenever your dishes need a quick and easy flavor boost.

Hi, I'm Kimberly!

Hi, I'm Kimberly.

A passionate food lover who believes in the magic of homemade deliciousness that spreads love and warmth. Join me on this culinary adventure as I prepare wonderful dishes and let’s spread some happiness together!

Kimberly the Zett Signature

If you want to get to know me better, click here!


Chinese Holy Trinity Oil - Scallion Ginger & Garlic
„Let’s make a piece of happiness“
Print
clock clock iconcutlery cutlery iconflag flag iconfolder folder iconinstagram instagram iconpinterest pinterest iconfacebook facebook iconprint print iconsquares squares iconheart heart iconheart solid heart solid icon
Chinese Holy Trinity Oil - Scallion Ginger & Garlic

Chinese Holy Trinity Oil – Scallion Ginger & Garlic


5 Stars 4 Stars 3 Stars 2 Stars 1 Star

No reviews

  • Author: Kimberly
  • Total Time: 75 min
  • Yield: 250 ml / 1 cup 1x

Description

RECOMMENDED EQUIPMENT

  • blender
  • medium-sized saucepan
  • whisk
  • a bowl which the medium saucepan fits into
  • 2 medium-sized bowls
  • 2 fine sieves
  • sealable container (oil bottle)
  • ice cubes
  • coffee filter

Ingredients

Units Scale
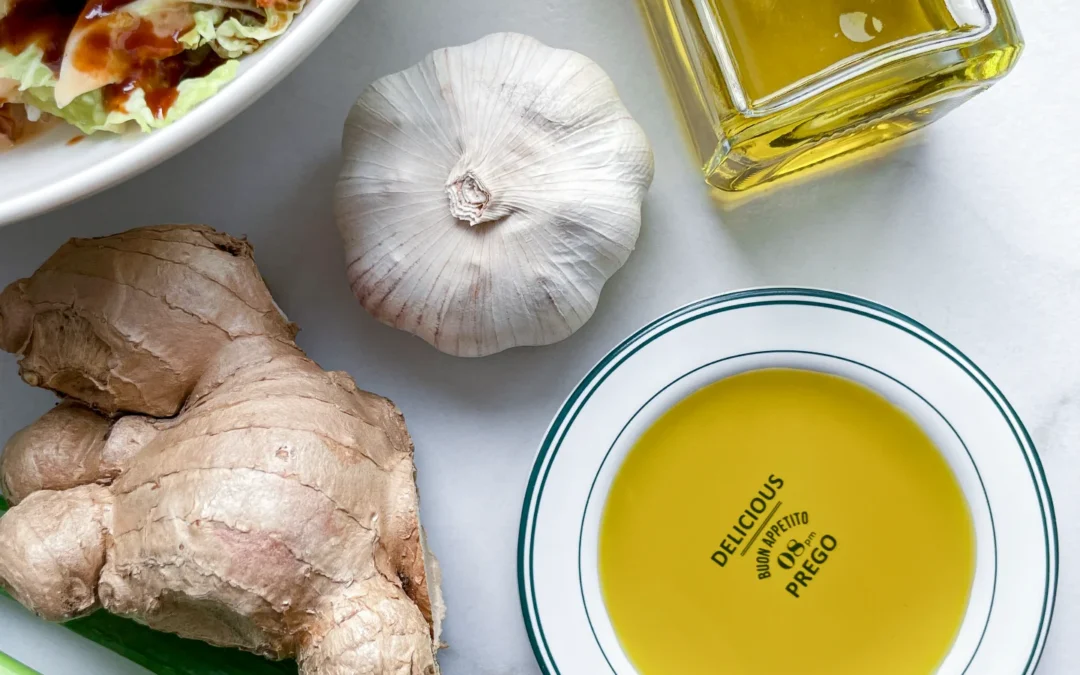
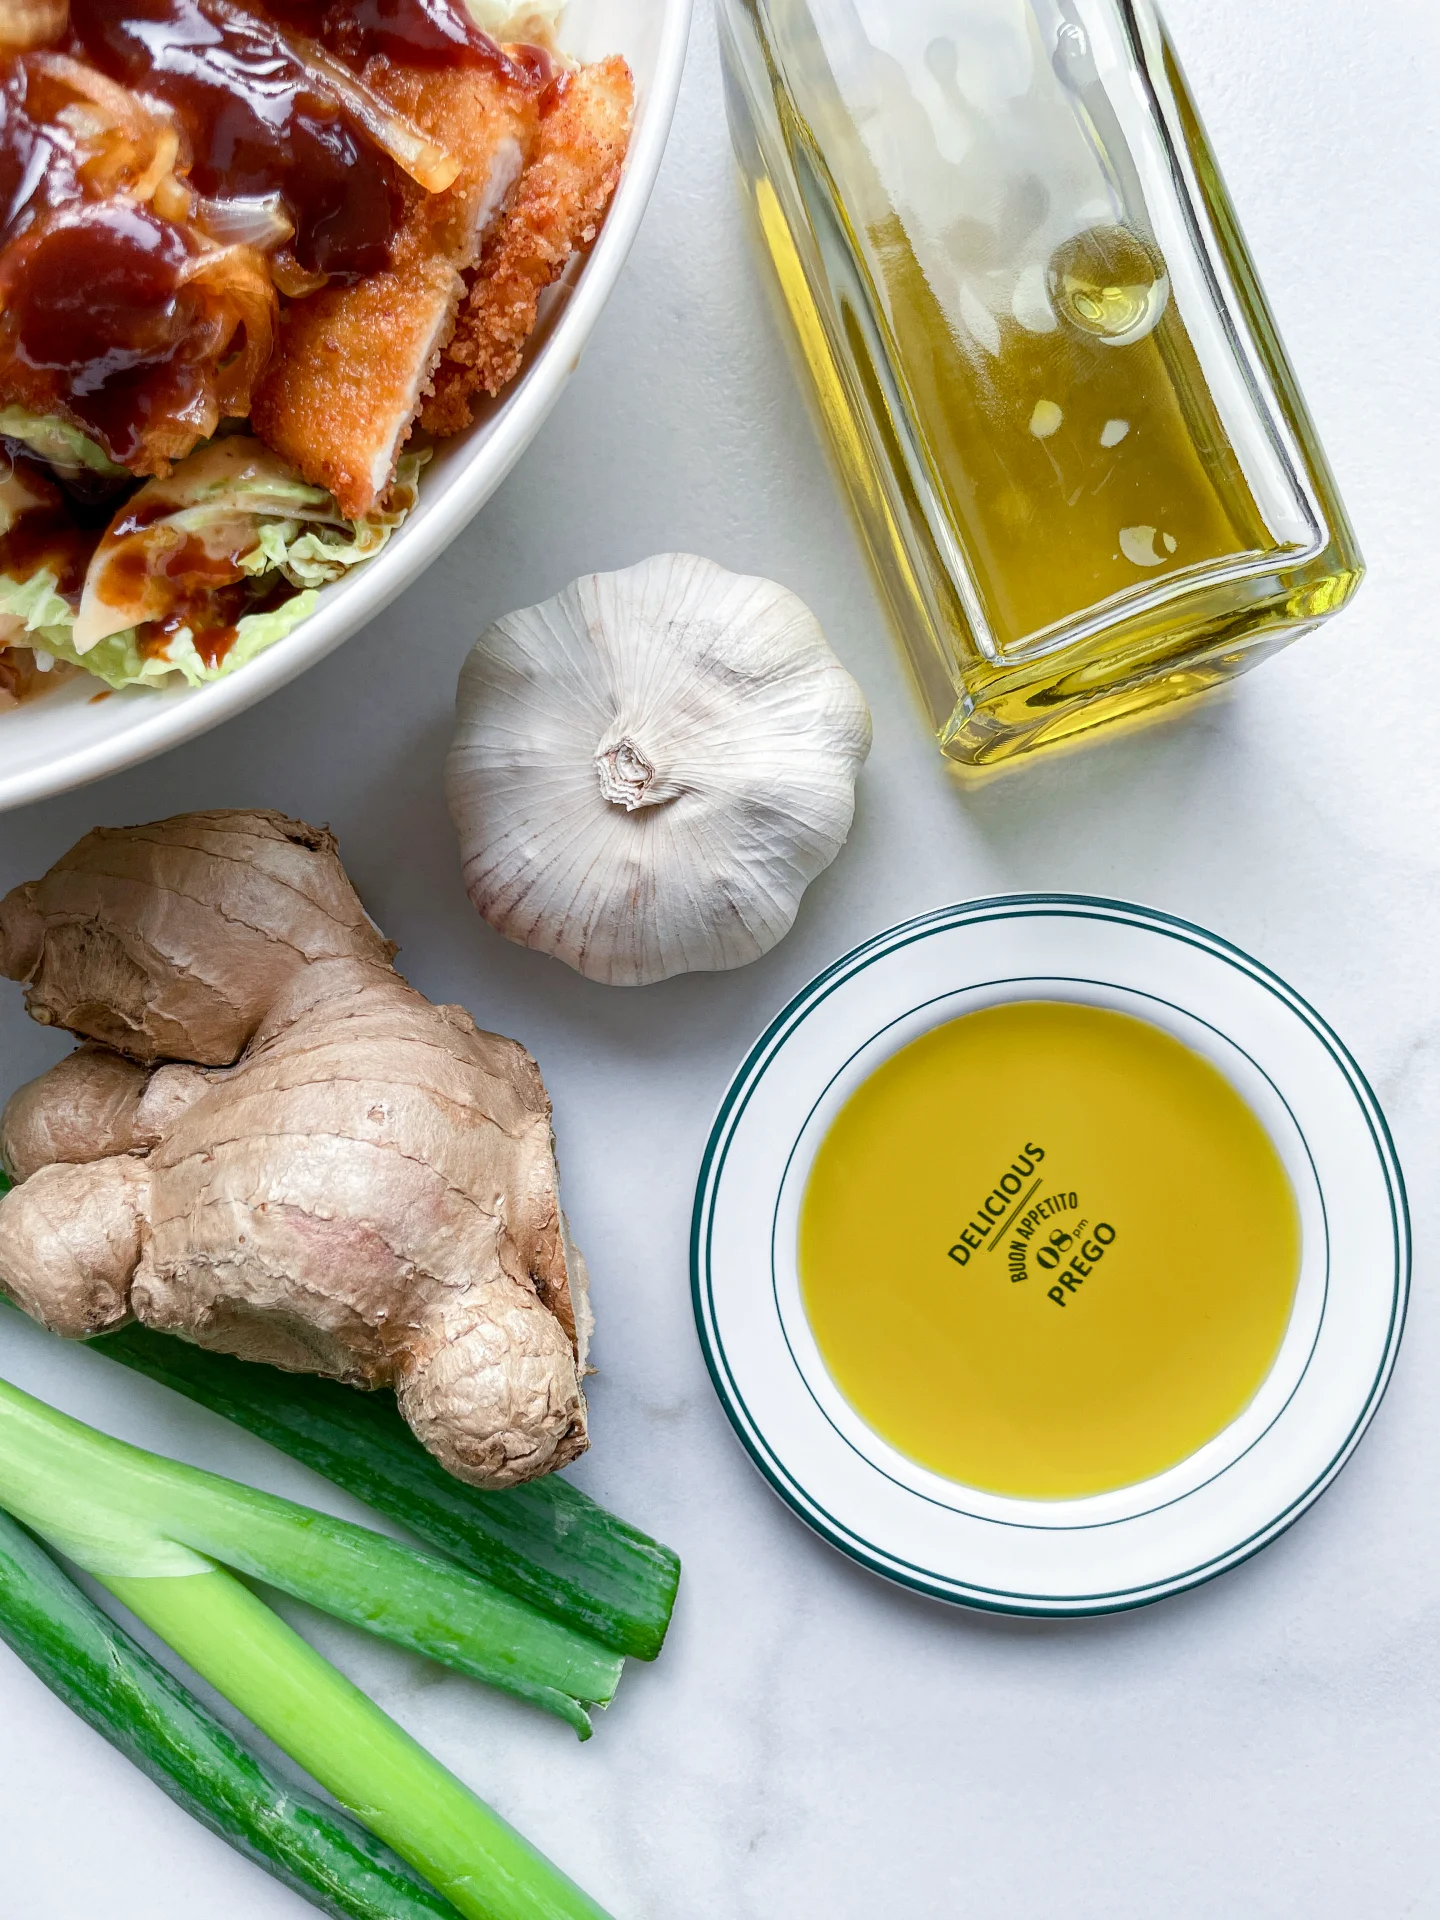
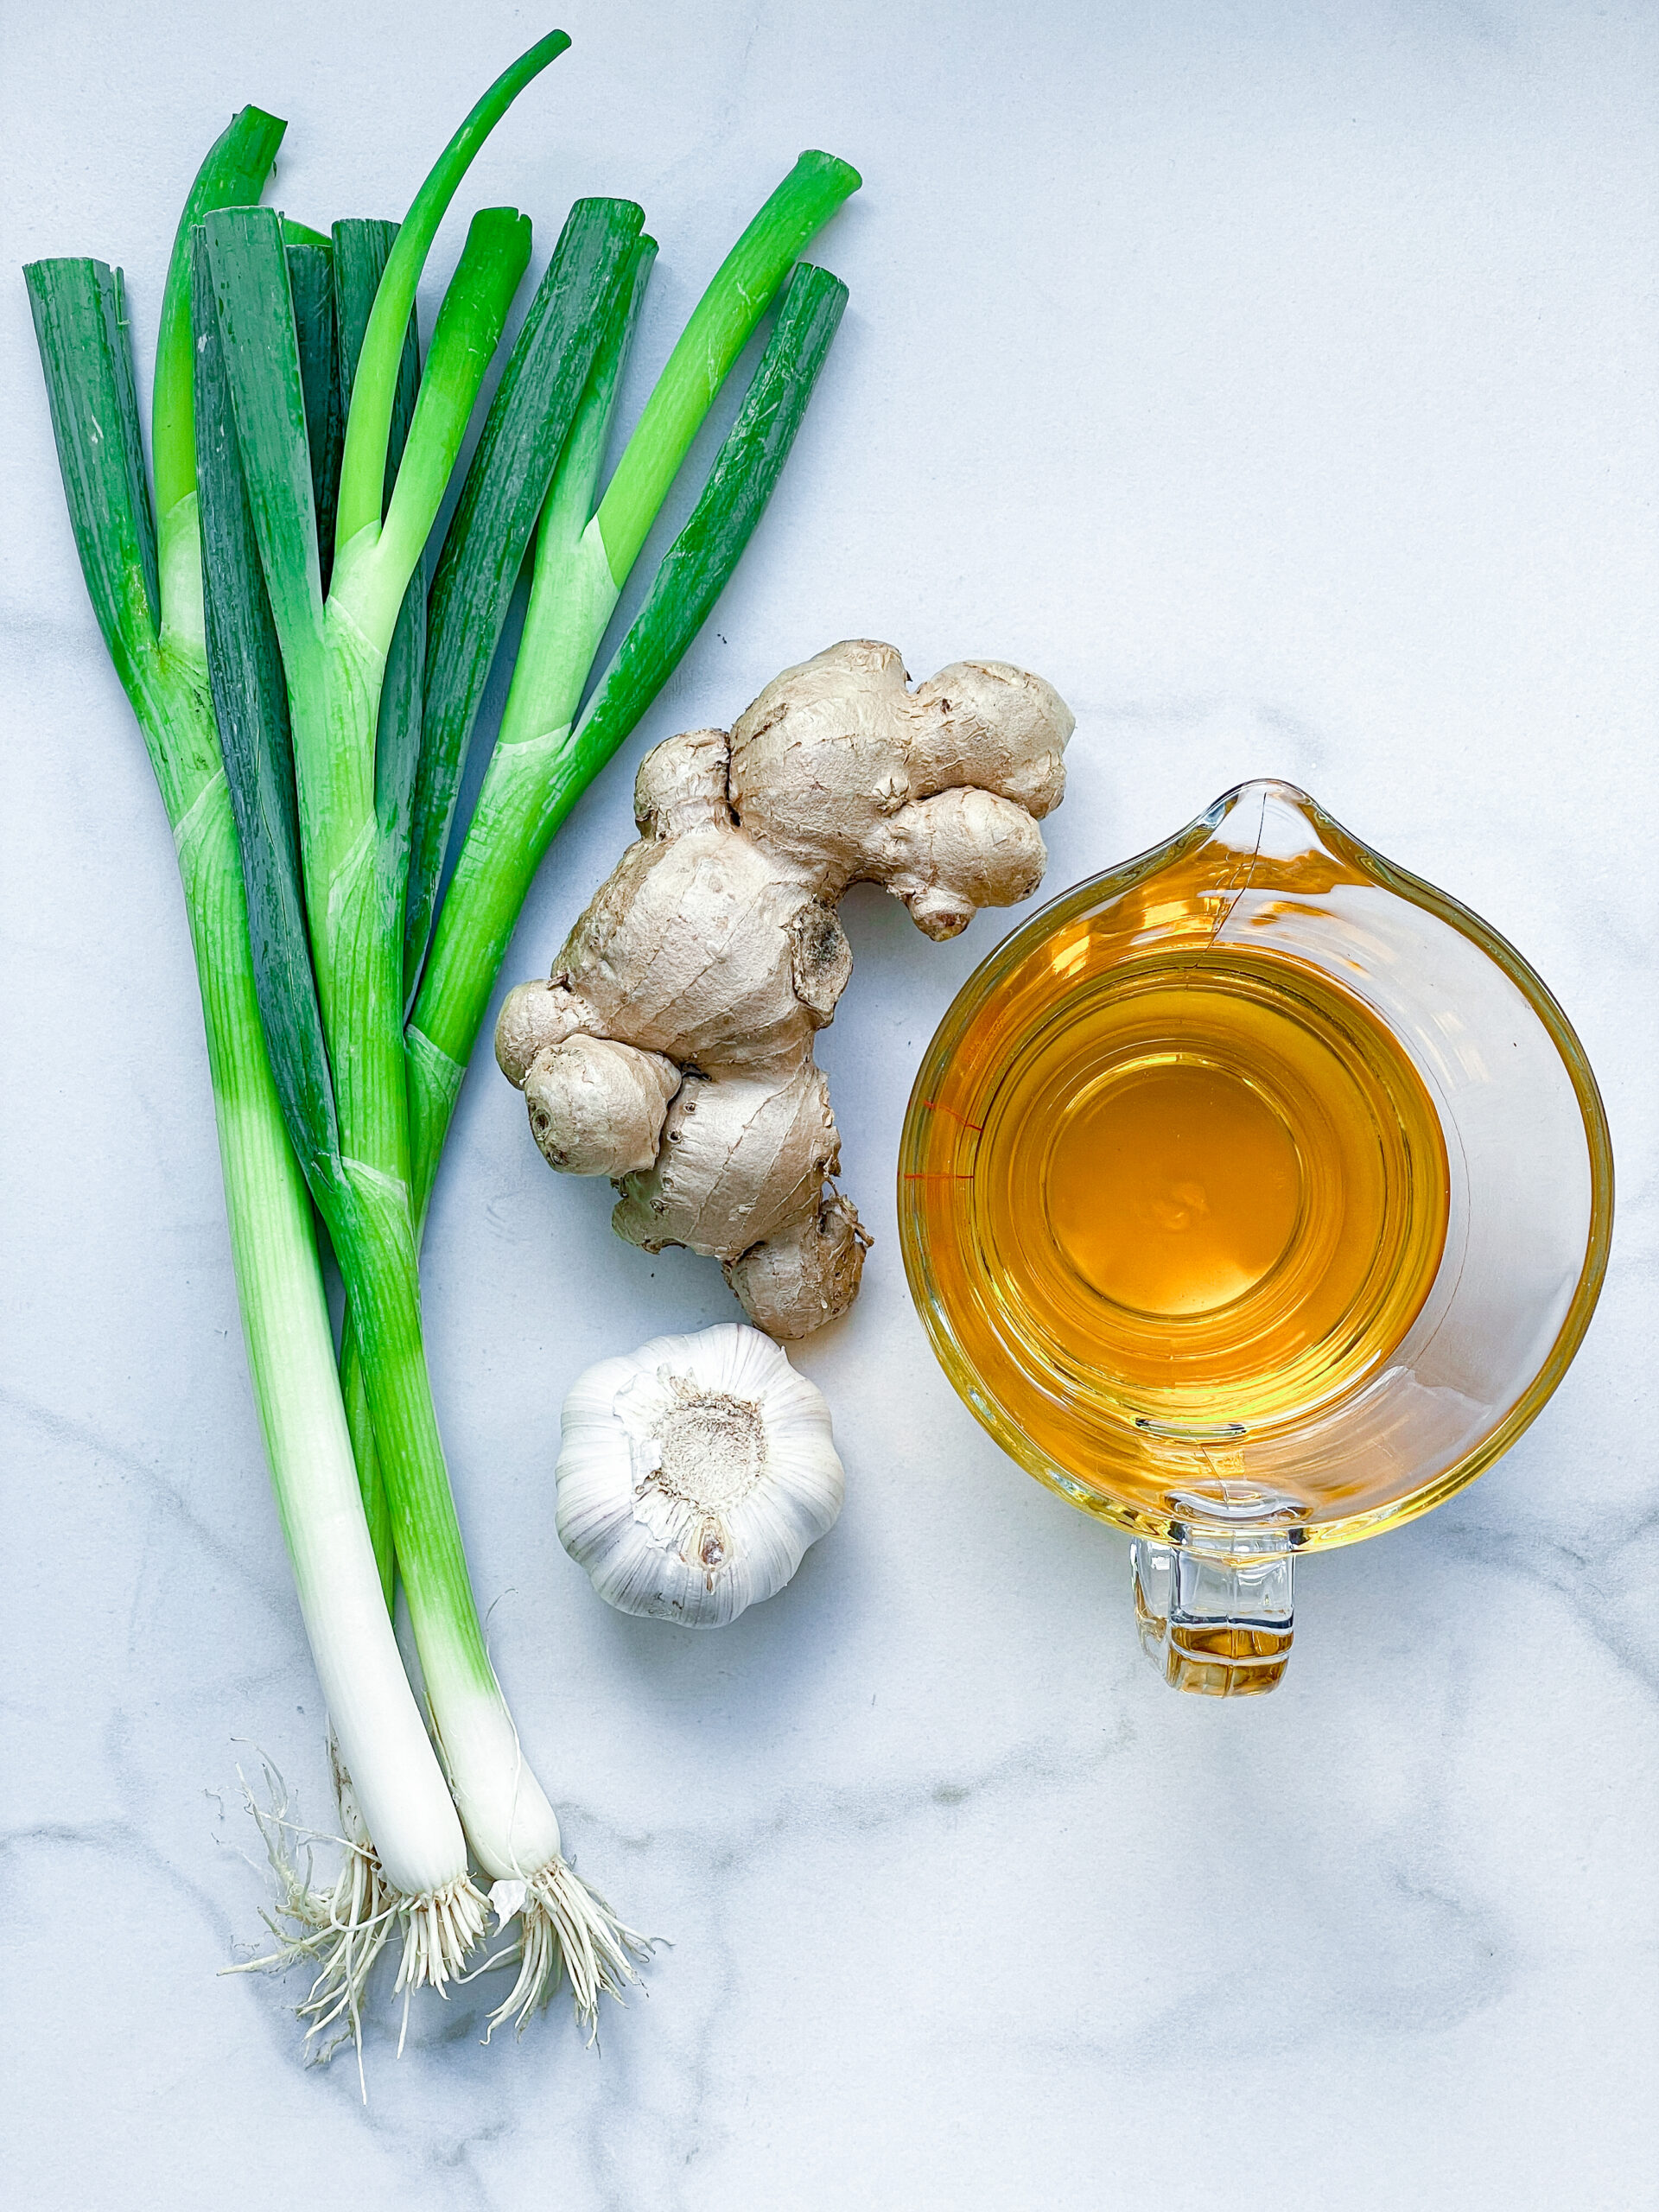
  • 5 garlic cloves
  • 20 grams ginger
  • 1 scallion
  • 250 milliliters rapeseed oil

Instructions

  1. Cut the ginger and scallion into coarse pieces and peel the garlic clove. Put all pieces into the blender. Pour in the oil. Blend on the highest setting until there are only tiny pieces left.
  2. Pour the mixture from the blender into a medium-sized pot and heat it over medium heat to a temperature of about 103°C (217°F), and maintain this temperature for the next 40 minutes. Stir occasionally, making sure the temperature remains steady and nothing gets burned.
  3. Prepare a bowl large enough to fit a medium-sized pot, and fill it with cold water and a handful of ice cubes. Also, hang a fine sieve strainer over one medium-sized bowl and another fine sieve strainer, with a coffee filter inside it, over another medium-sized bowl.
  4. Now, place the pot in the ice water and stir to cool the oil quickly. Once the oil is almost cold, remove the pot from the water and pour the oil into the prepared fine sieve to catch the coarse particles.
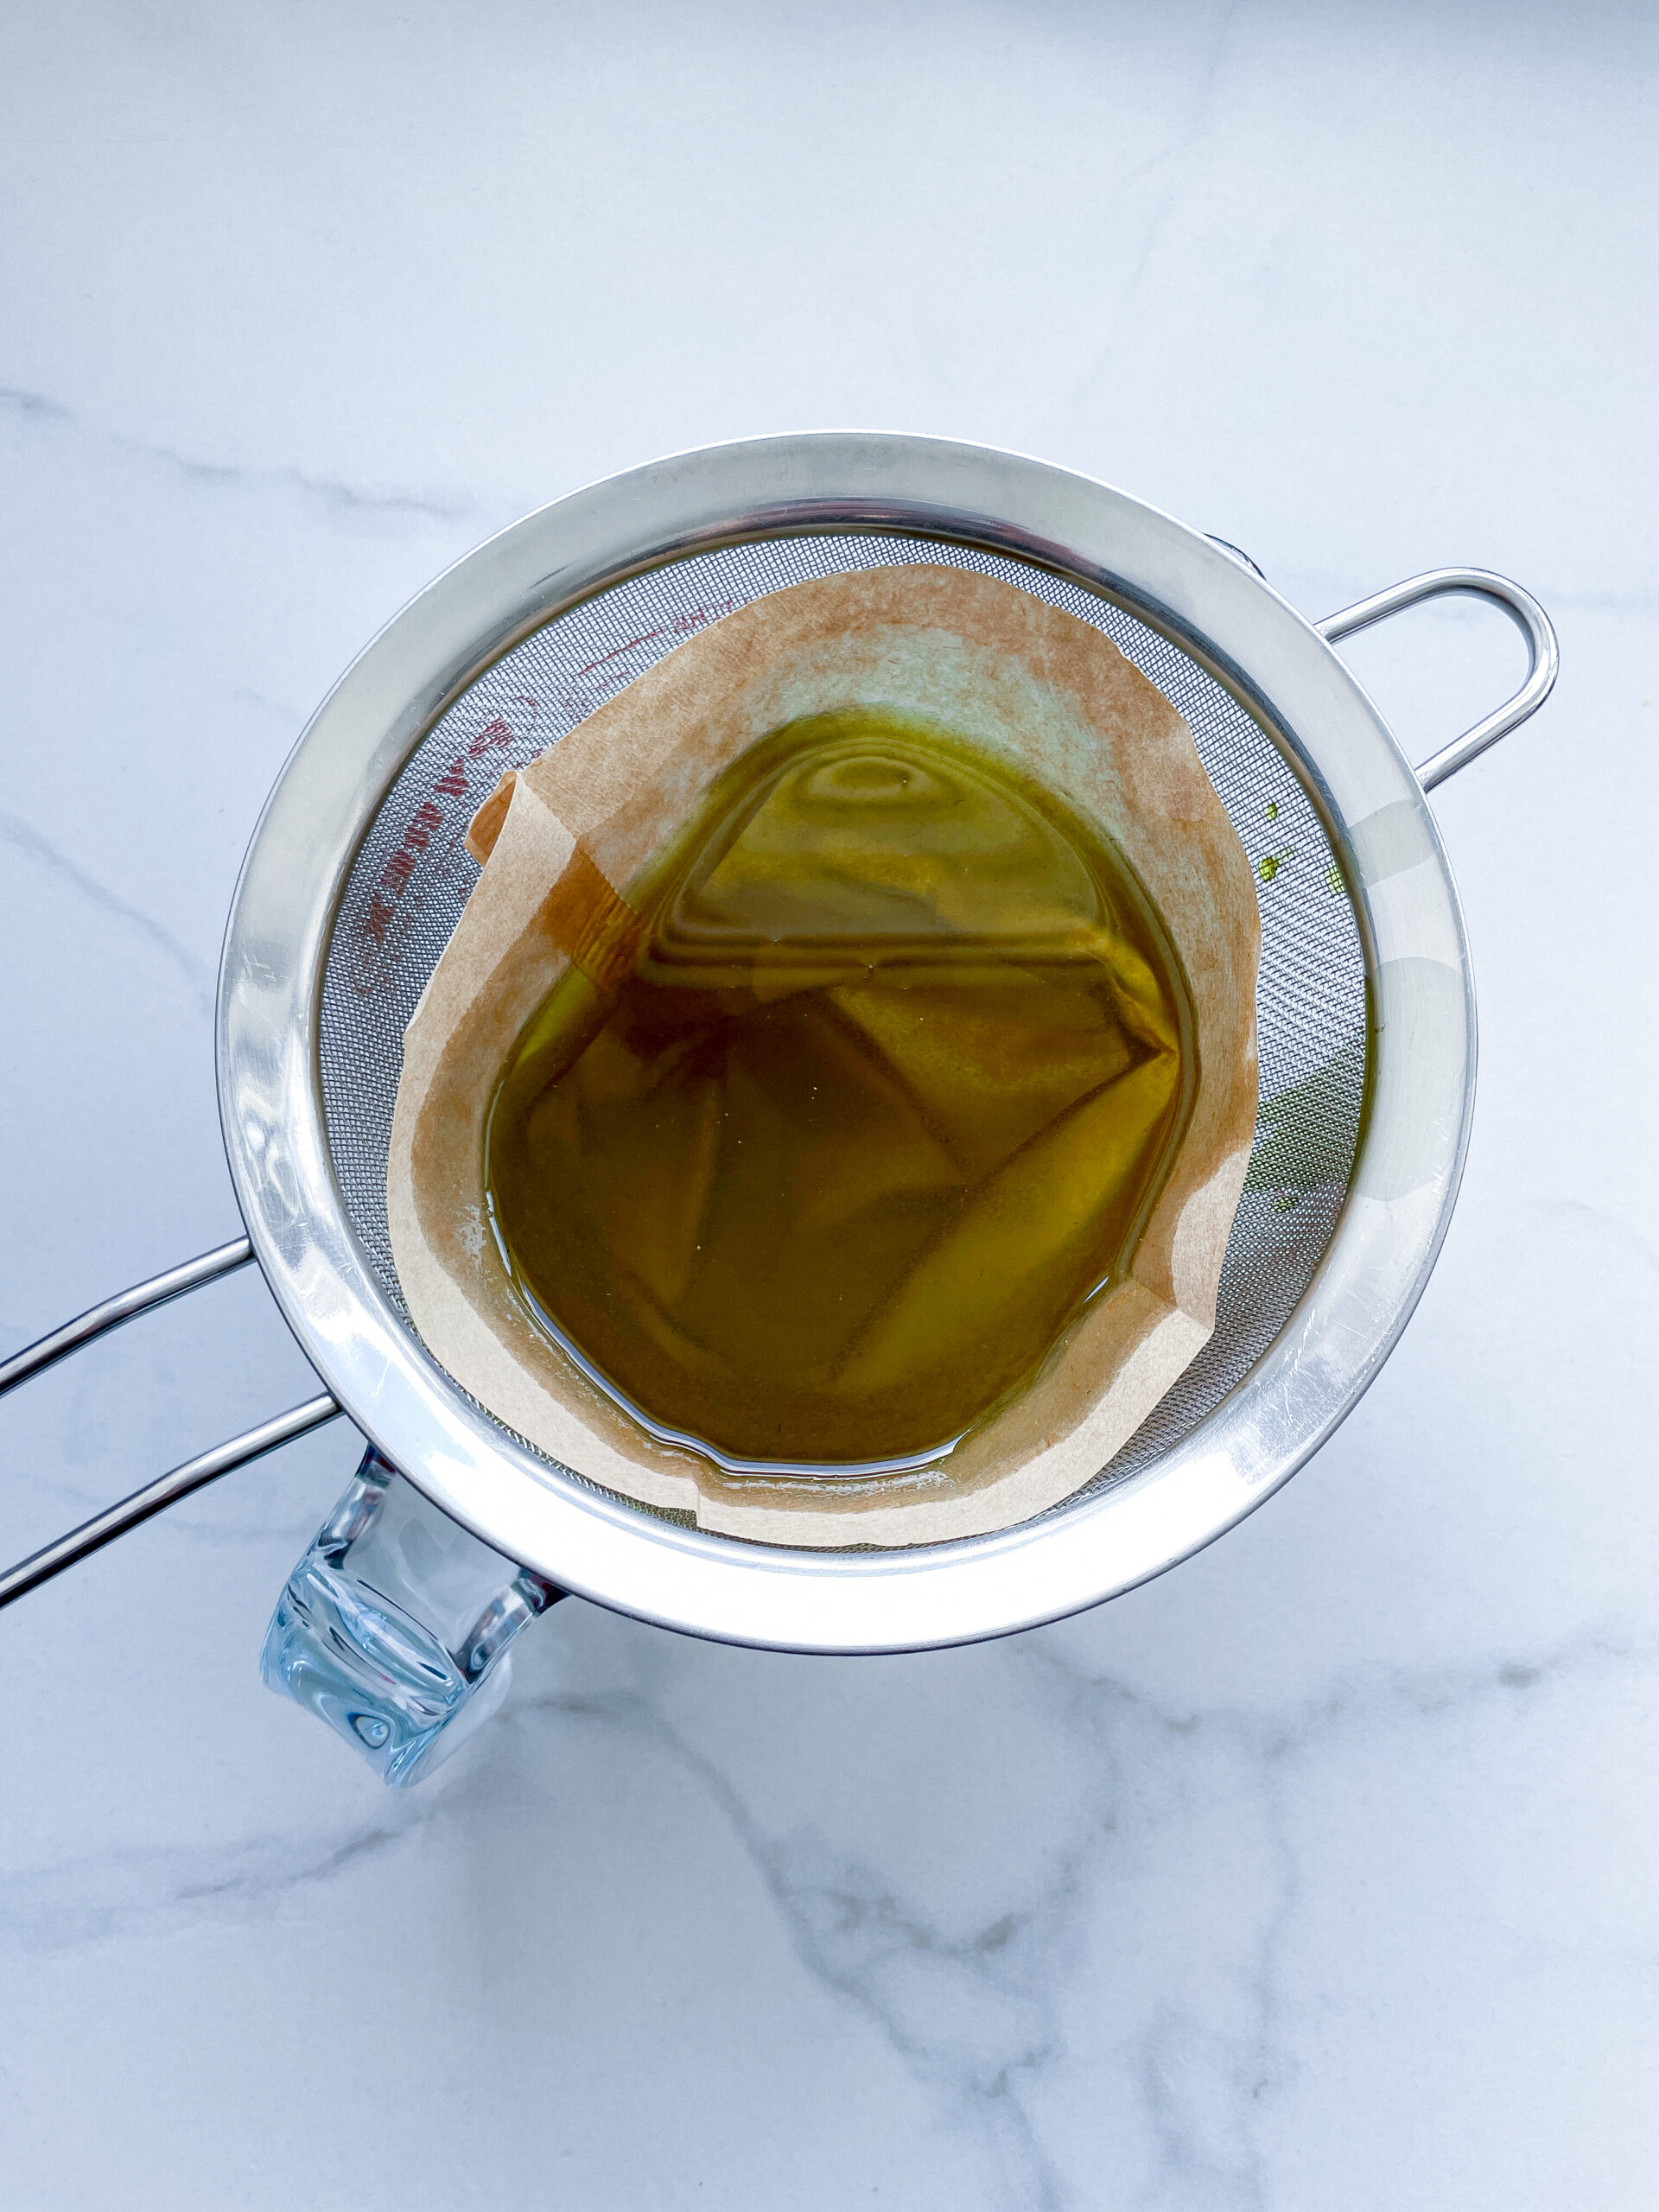
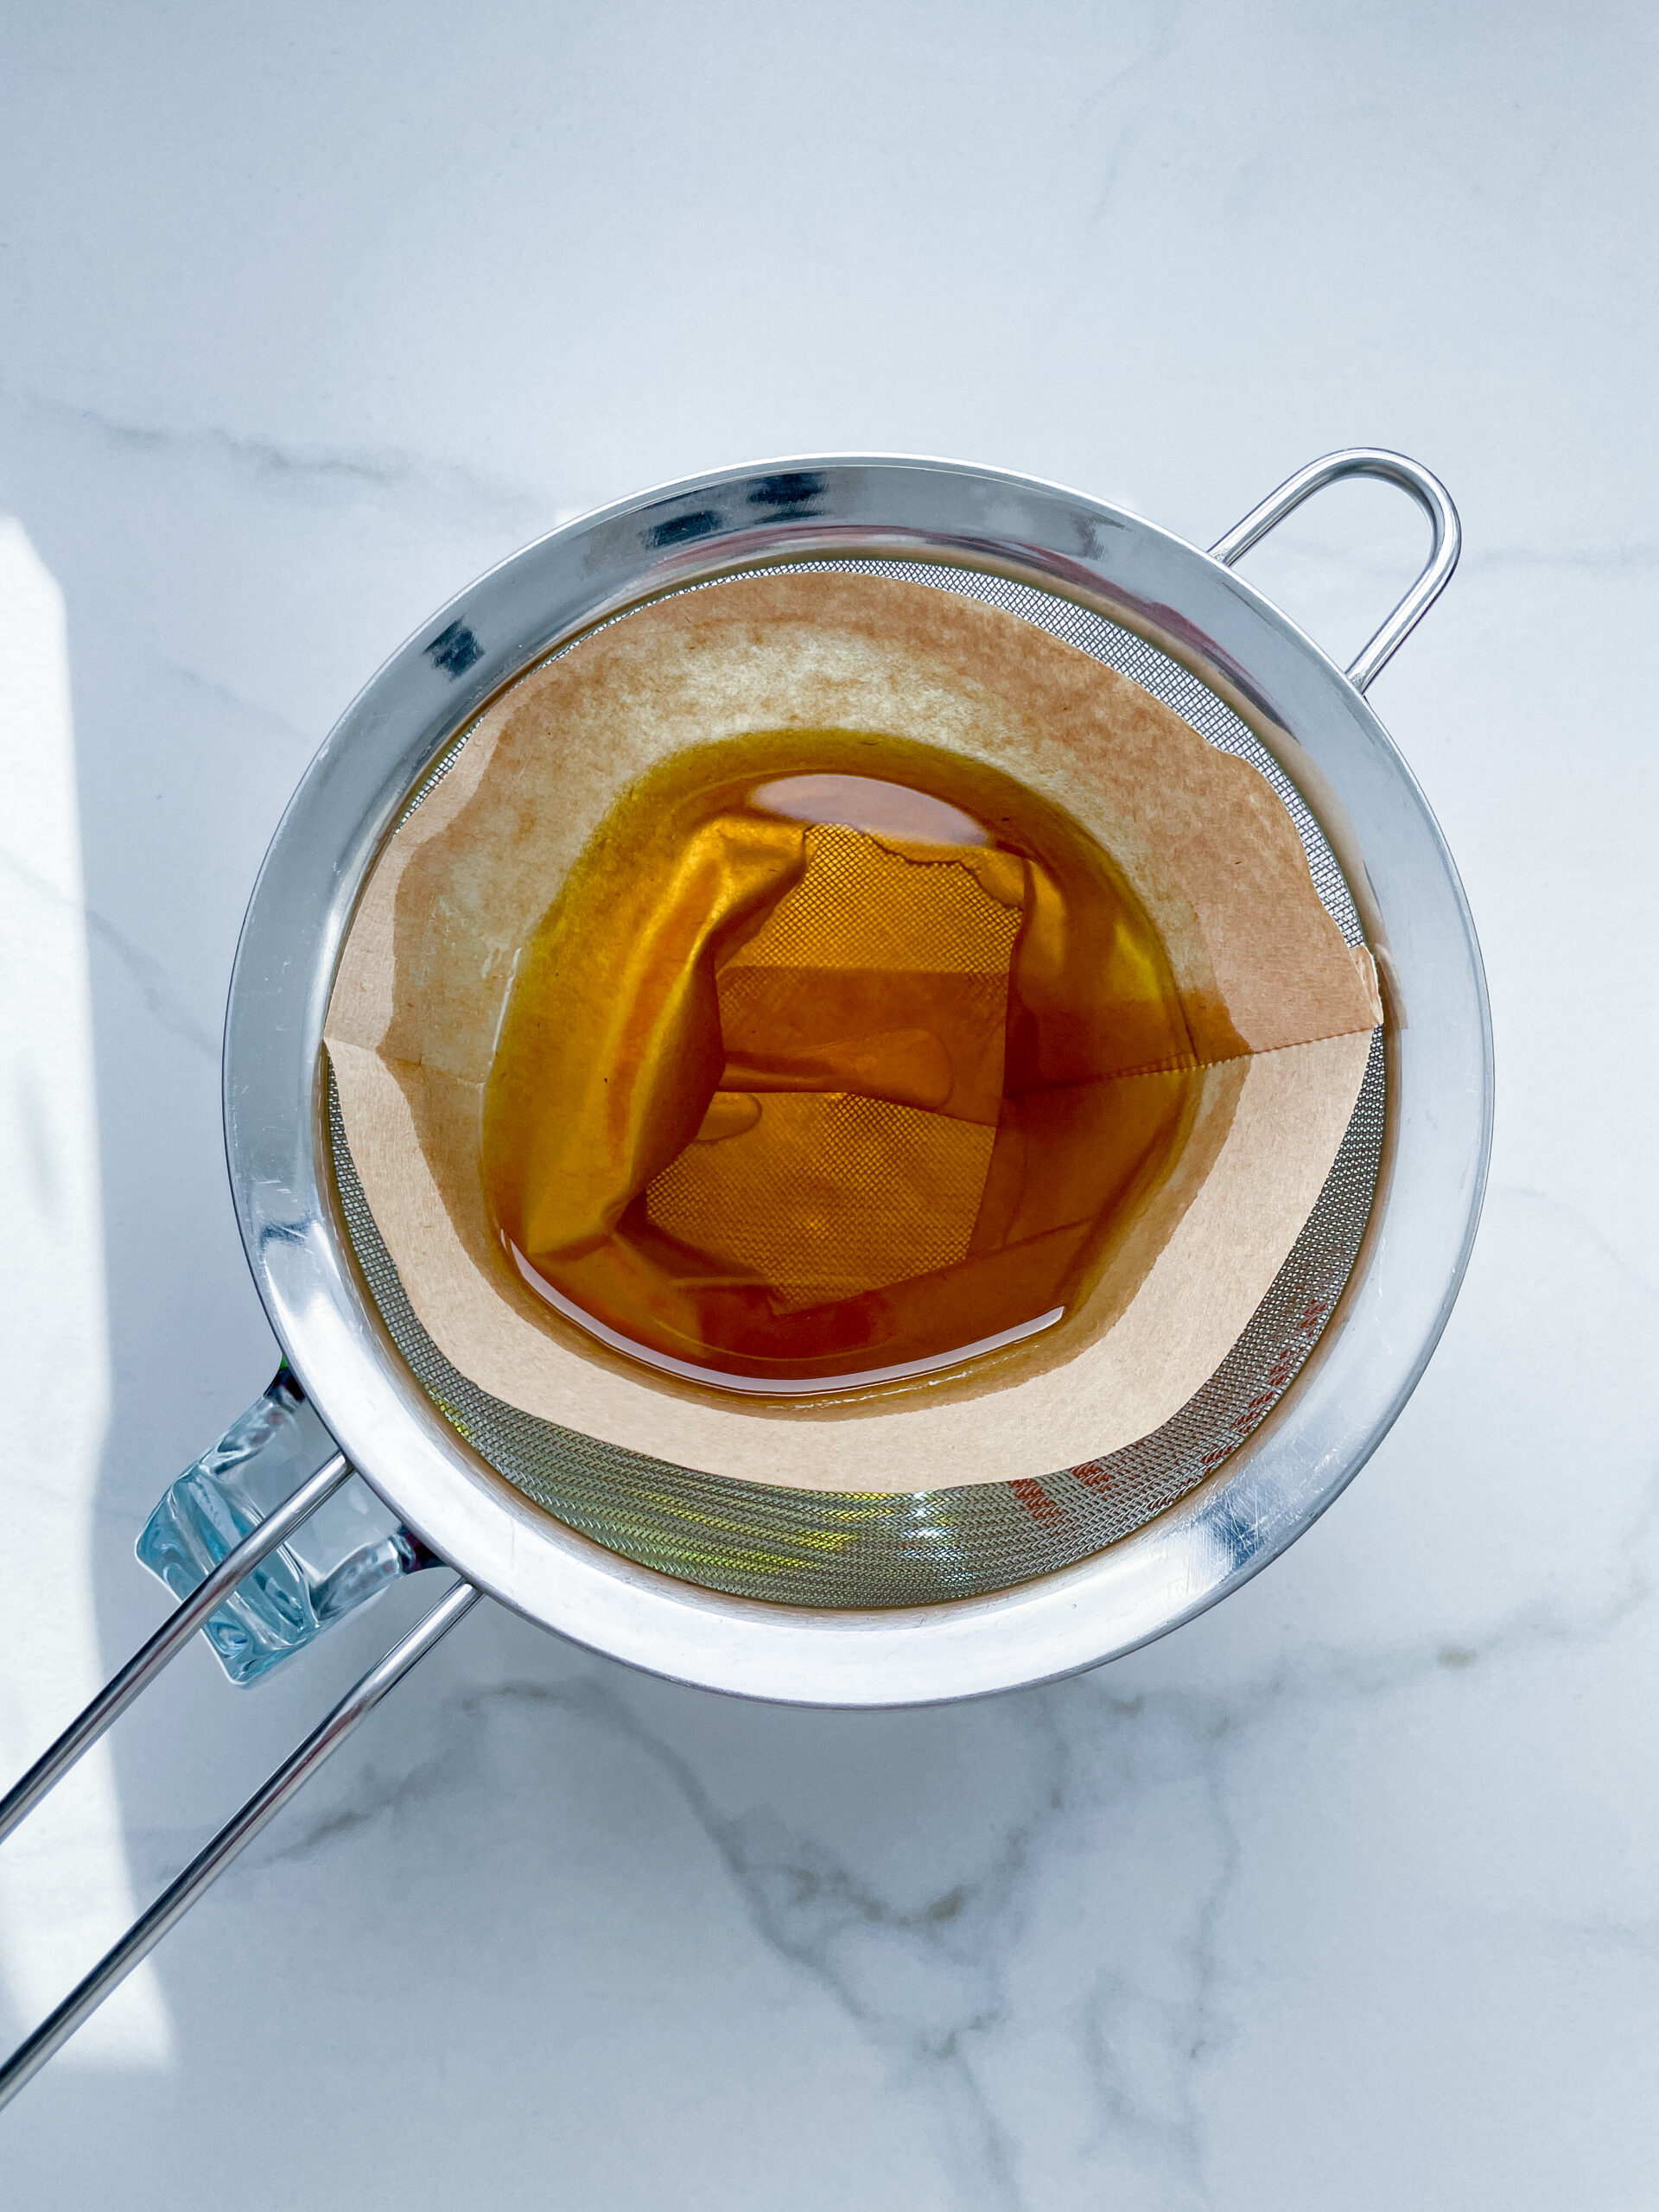
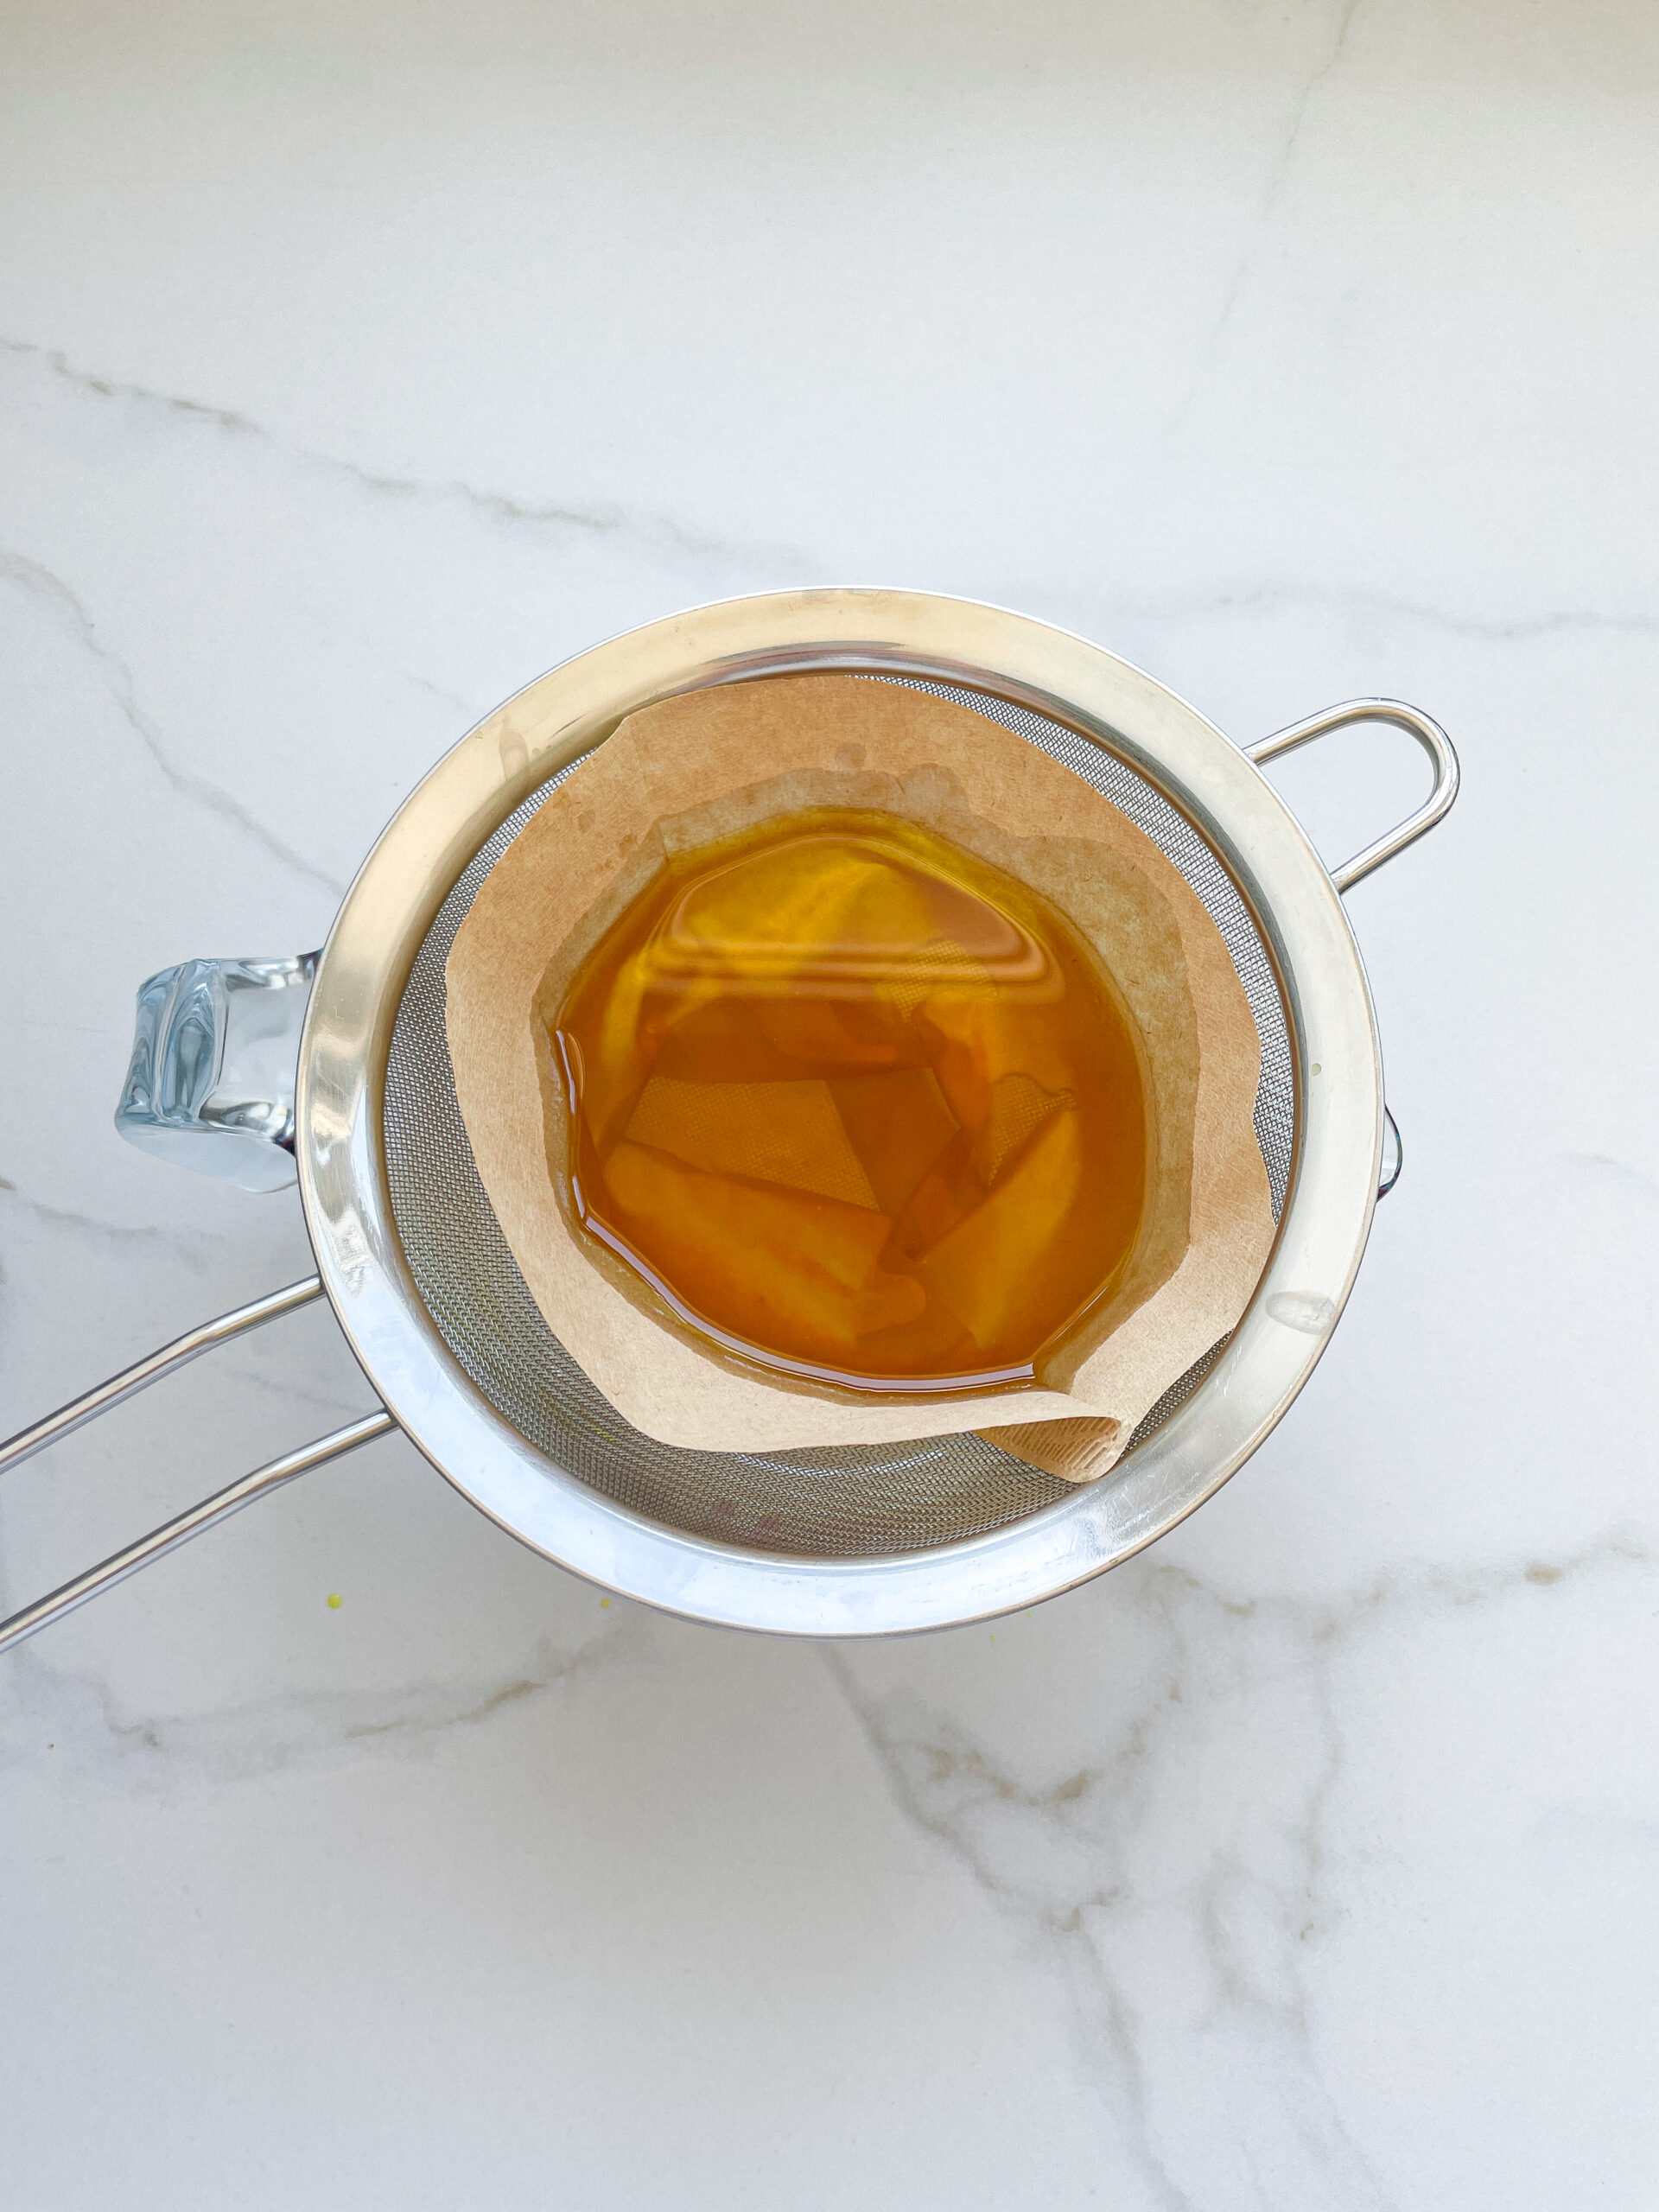
  5. Then, pour the oil into the second sieve, which is equipped with a coffee filter, to catch the remaining finer particles.
  6. Allow the oil to drip through for about 30 minutes or maybe less depending on how many remaining particles are in the coffee filter. Once all the oil has passed through the coffee filter, transfer the collected amount of oil into a sealable container or directly into an oil bottle. Store in the refrigerator for up to one week.
  • Prep Time: 5 min
  • Passive Time: 30 min
  • Cook Time: 40 min

Mango Oil

Mango Oil

Mango Oil

Mango Oil

August 17, 2024 by Kimberly

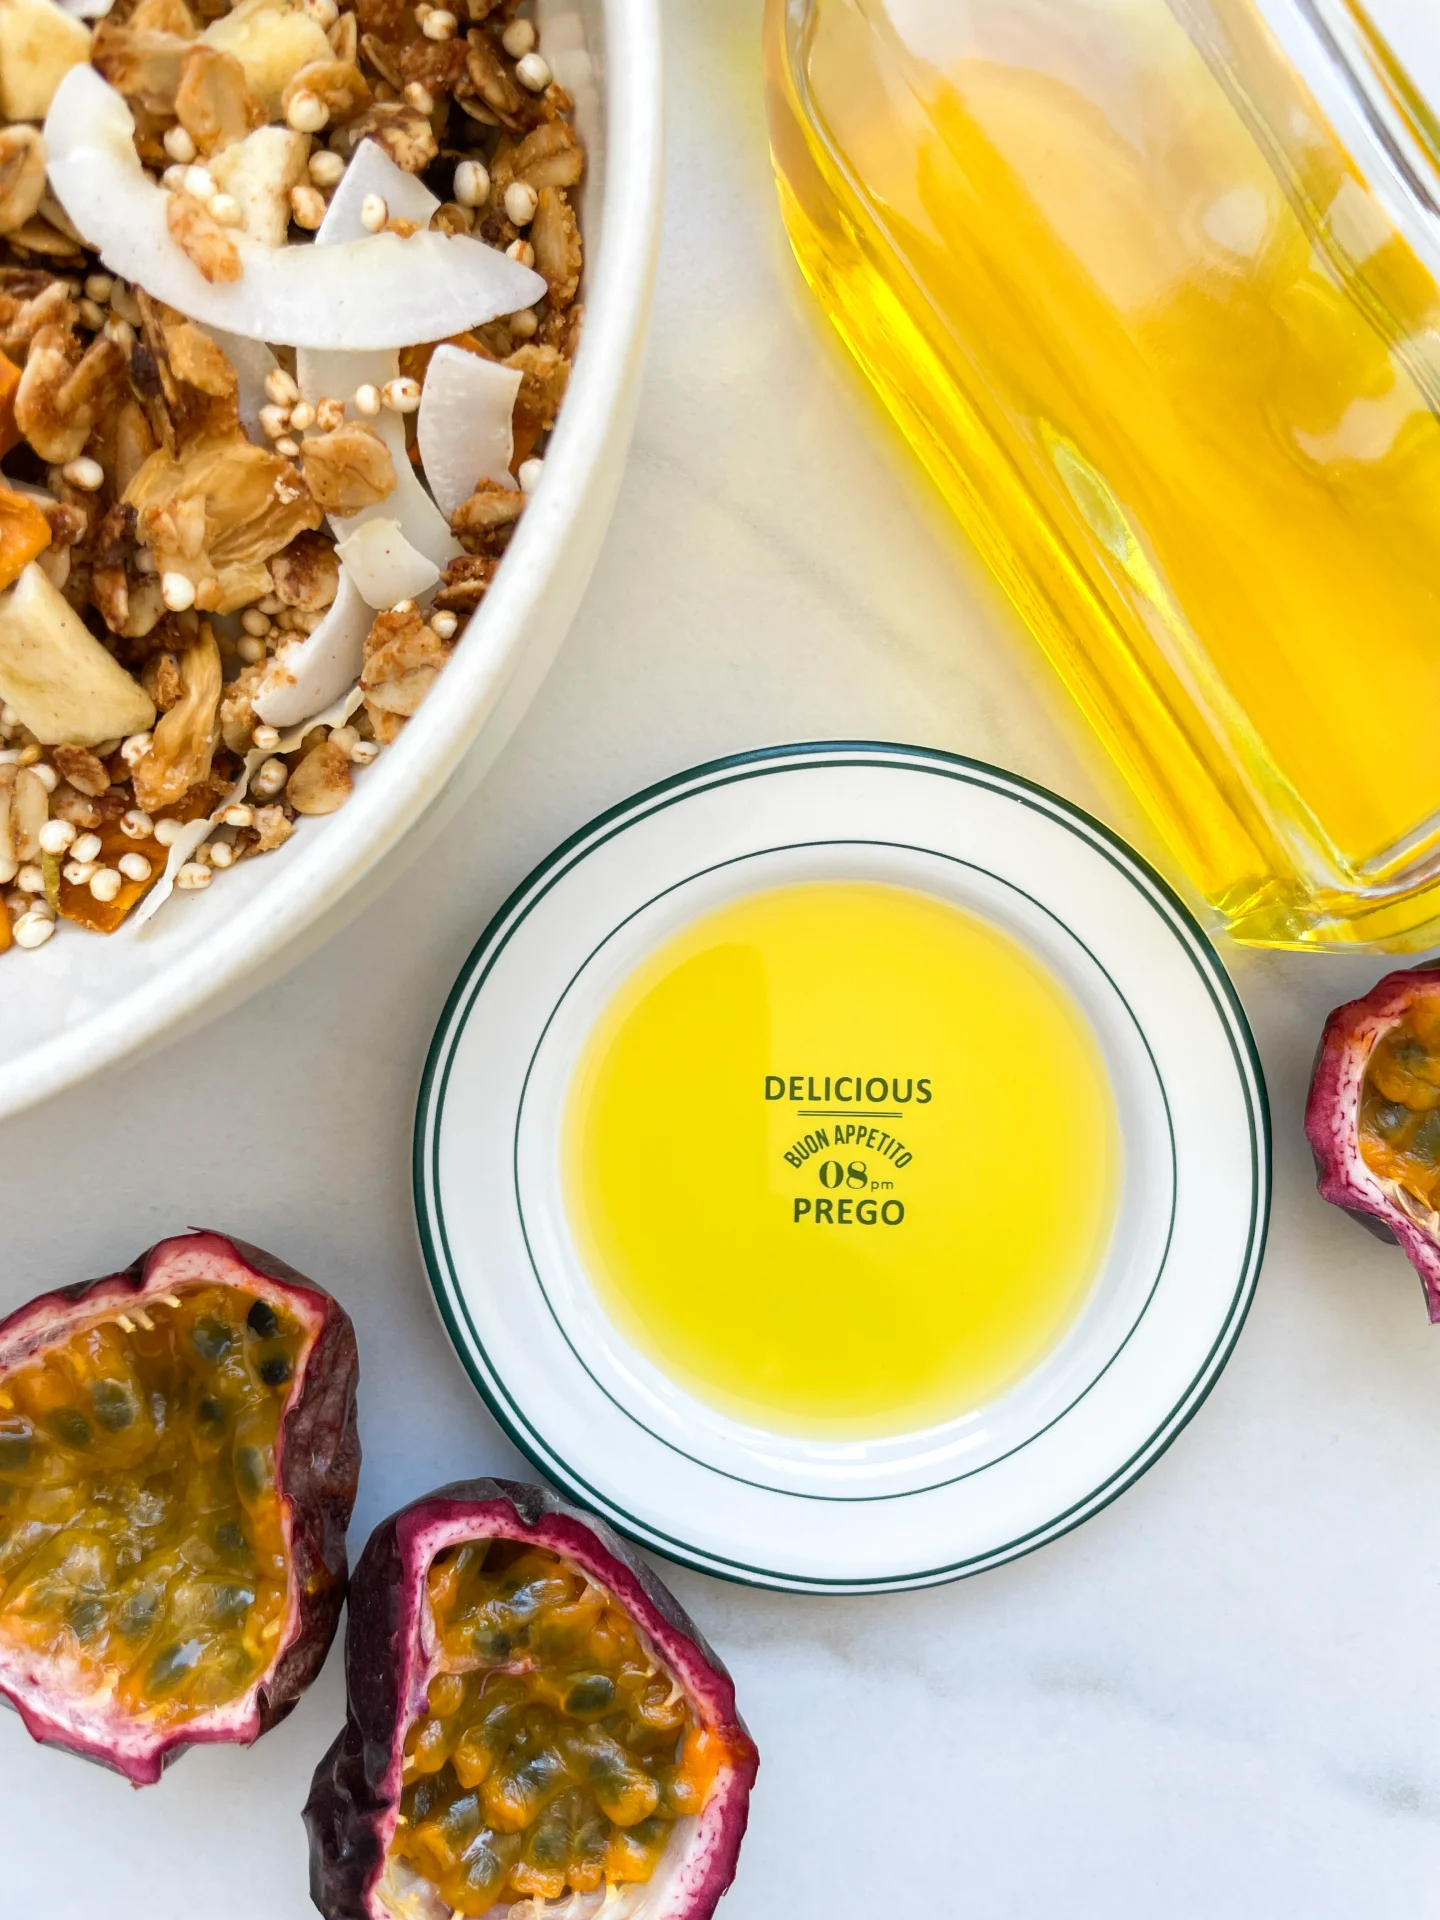
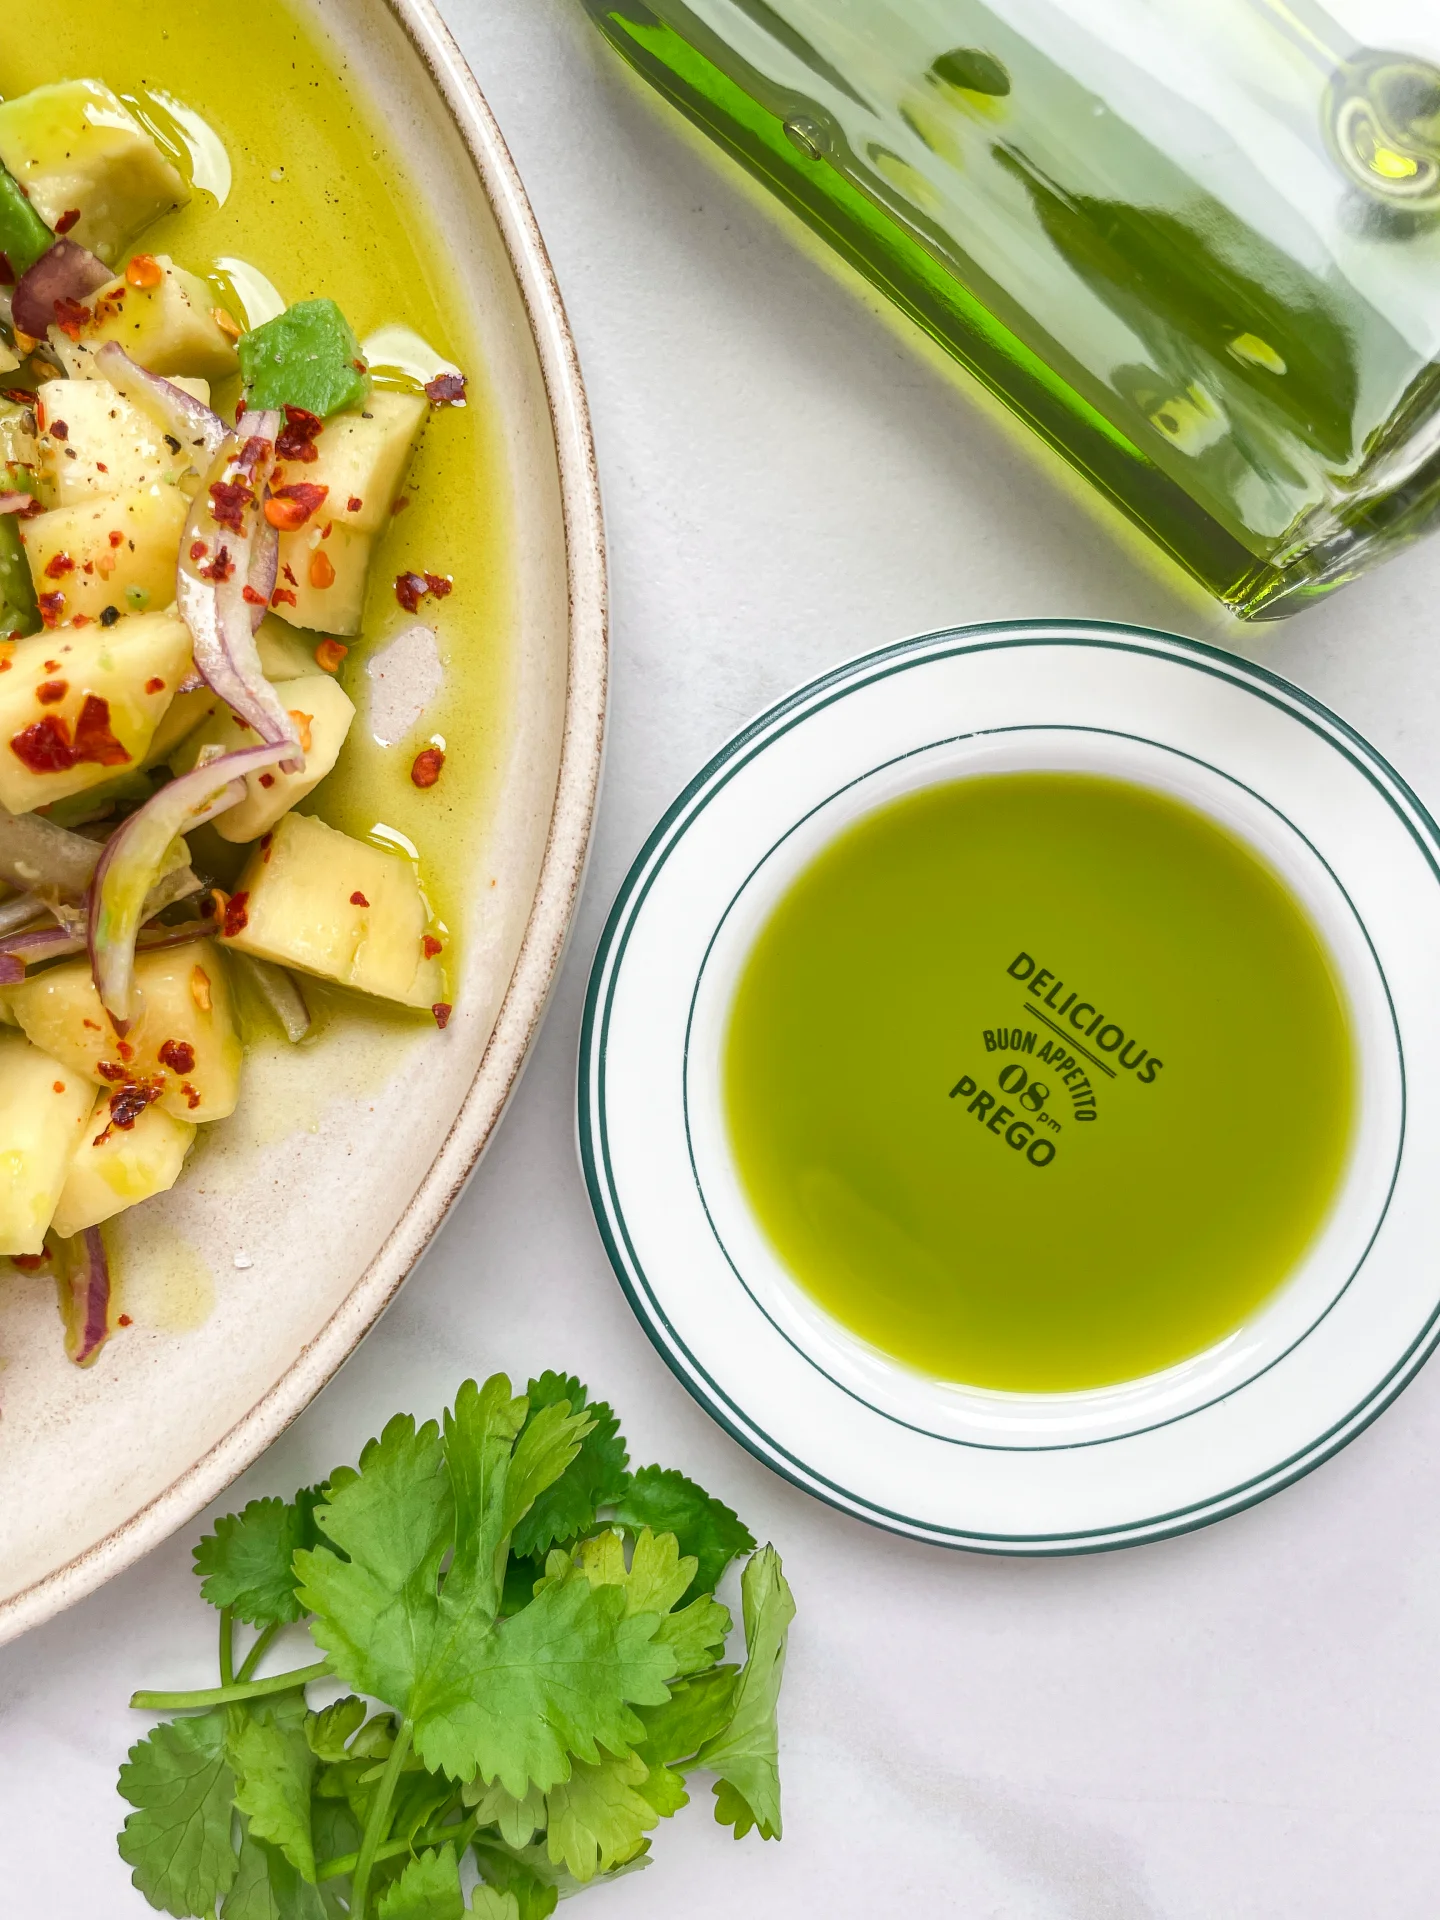
Imagine a light drizzle of tropical sunshine on your salad! This subtly sweet mango-infused oil adds just the right touch of fresh, fruity warmth to any dish.

60 MINUTES

ADVANCED

VEGAN

INT.

40 PER TSP

REFRESHING
FRESH

MICHELIN

OIL

SUMMER

INTRODUCTION

ABOUT THE RECIPE

When you’re craving a taste of the tropics but want something subtle and sophisticated, this mango-infused oil is the perfect addition to your kitchen. It’s like capturing the essence of a sunny day in a bottle – bright, fresh, and slightly sweet. Whether you’re drizzling it over a salad or adding a dash to grilled veggies, this oil brings a gentle mango touch that’s not overpowering but oh-so-delightful.

How to serve
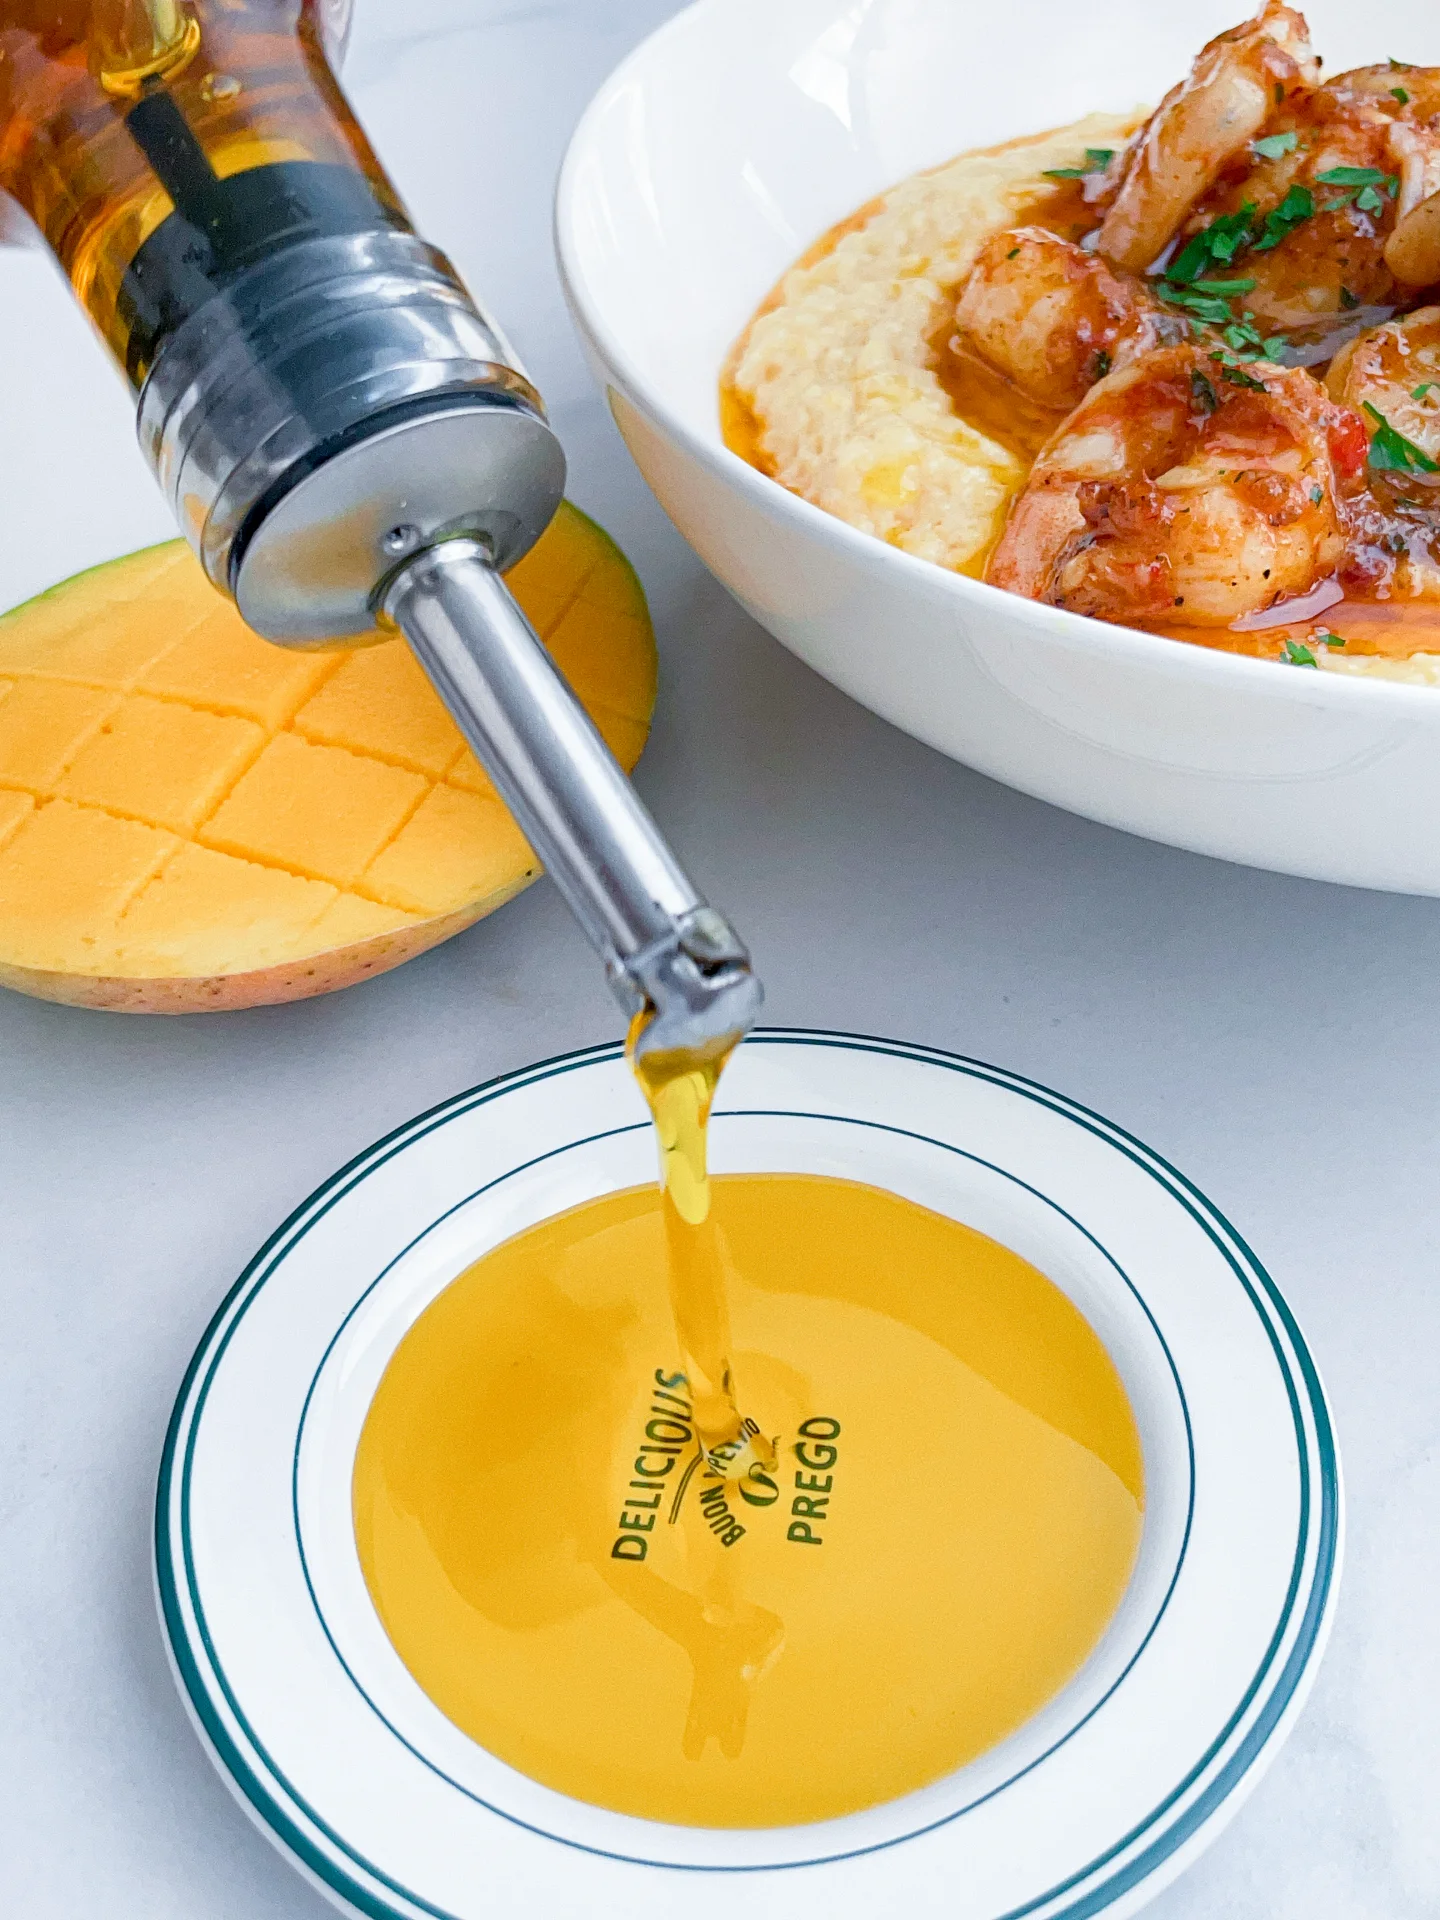
This mango oil is your go-to for adding a hint of summer to just about anything. Try drizzling it over a fresh spinach or arugula salad for a light, fruity kick. It’s also fantastic as a finishing touch on grilled seafood, where its subtle sweetness complements the smoky flavors. Or, for a quick and easy twist, toss it with pasta or use it as a dip for crusty bread—simple yet satisfying. I like to incorporate some of the oil into my Cajun Shrimp with Honey Glaze & Cheesy Polenta.

How to store
To keep the vibrant flavor of your mango oil fresh, store it in a cool, dark place, tightly sealed. Avoid direct sunlight and extreme temperatures, and it’ll stay good for 1-2 weeks.

Hi, I'm Kimberly!

Hi, I'm Kimberly.

A passionate food lover who believes in the magic of homemade deliciousness that spreads love and warmth. Join me on this culinary adventure as I prepare wonderful dishes and let’s spread some happiness together!

Kimberly the Zett Signature

If you want to get to know me better, click here!


Mango Oil
Mango Oil
Mango Oil
„Let’s make a piece of happiness“
Print
clock clock iconcutlery cutlery iconflag flag iconfolder folder iconinstagram instagram iconpinterest pinterest iconfacebook facebook iconprint print iconsquares squares iconheart heart iconheart solid heart solid icon
Mango Oil

Mango Oil


  • Author: Kimberly
  • Total Time: 60 min
  • Yield: 1 cup / 250 ml 1x

Description

RECOMMENDED EQUIPMENT

  • blender
  • medium-sized saucepan
  • whisk
  • a bowl which the medium saucepan fits into
  • 2 medium-sized bowls
  • 2 fine sieves
  • oil bottle
  • ice cubes
  • coffee filter

Ingredients

Units Scale
  • 150 grams fresh mango
  • 250 milliliters cold-pressed rapeseed oil

Instructions


  1. Peel the mango and cut the flesh into large chunks. Put them into the blender. Pour in the oil. Blend on the highest setting until it becomes a thick consistency and no pieces of mango are longer visible.
  2. Pour the mixture from the blender into a medium-sized pot and heat it over medium heat, constantly stirring, to a temperature of about 102°-103°C (215°-217°F). Then, let the oil simmer with the lid partially on for the next 20 minutes. Stir only occasionally, making sure the temperature remains steady and nothing gets burned. The cooking time is essential for all the water to evaporate. You’ll know all the water has evaporated when the oil in the pot barely bubbles anymore – so if it’s still bubbling vigorously, keep it simmering.
  3. At the end of the cooking process, prepare a bowl large enough to fit the medium-sized pot, filled with cold water and a handful of ice cubes. Also, hang a fine mesh sieve strainer over a medium-sized bowl.
  4. Now, place the pot in the ice water and stir to stop the cooking process. Once the oil is almost cold, remove the pot from the water and pour the oil into the first fine mesh sieve to catch the coarse particle.
  5. Then, pour the oil into the second fine mesh sieve, which you before equipped with a coffee filter, to catch the remaining finer particles.
  6. Allow the oil to drip through for about 30 minutes or maybe more depending on how many remaining particles are in the coffee filter. Once all the oil has passed through the coffee filter, transfer the collected amount of oil into an oil bottle. Store in the refrigerator for up to 1-2 weeks.
  • Prep Time: 10 min
  • Passive Time: 30 min
  • Cook Time: 20 min
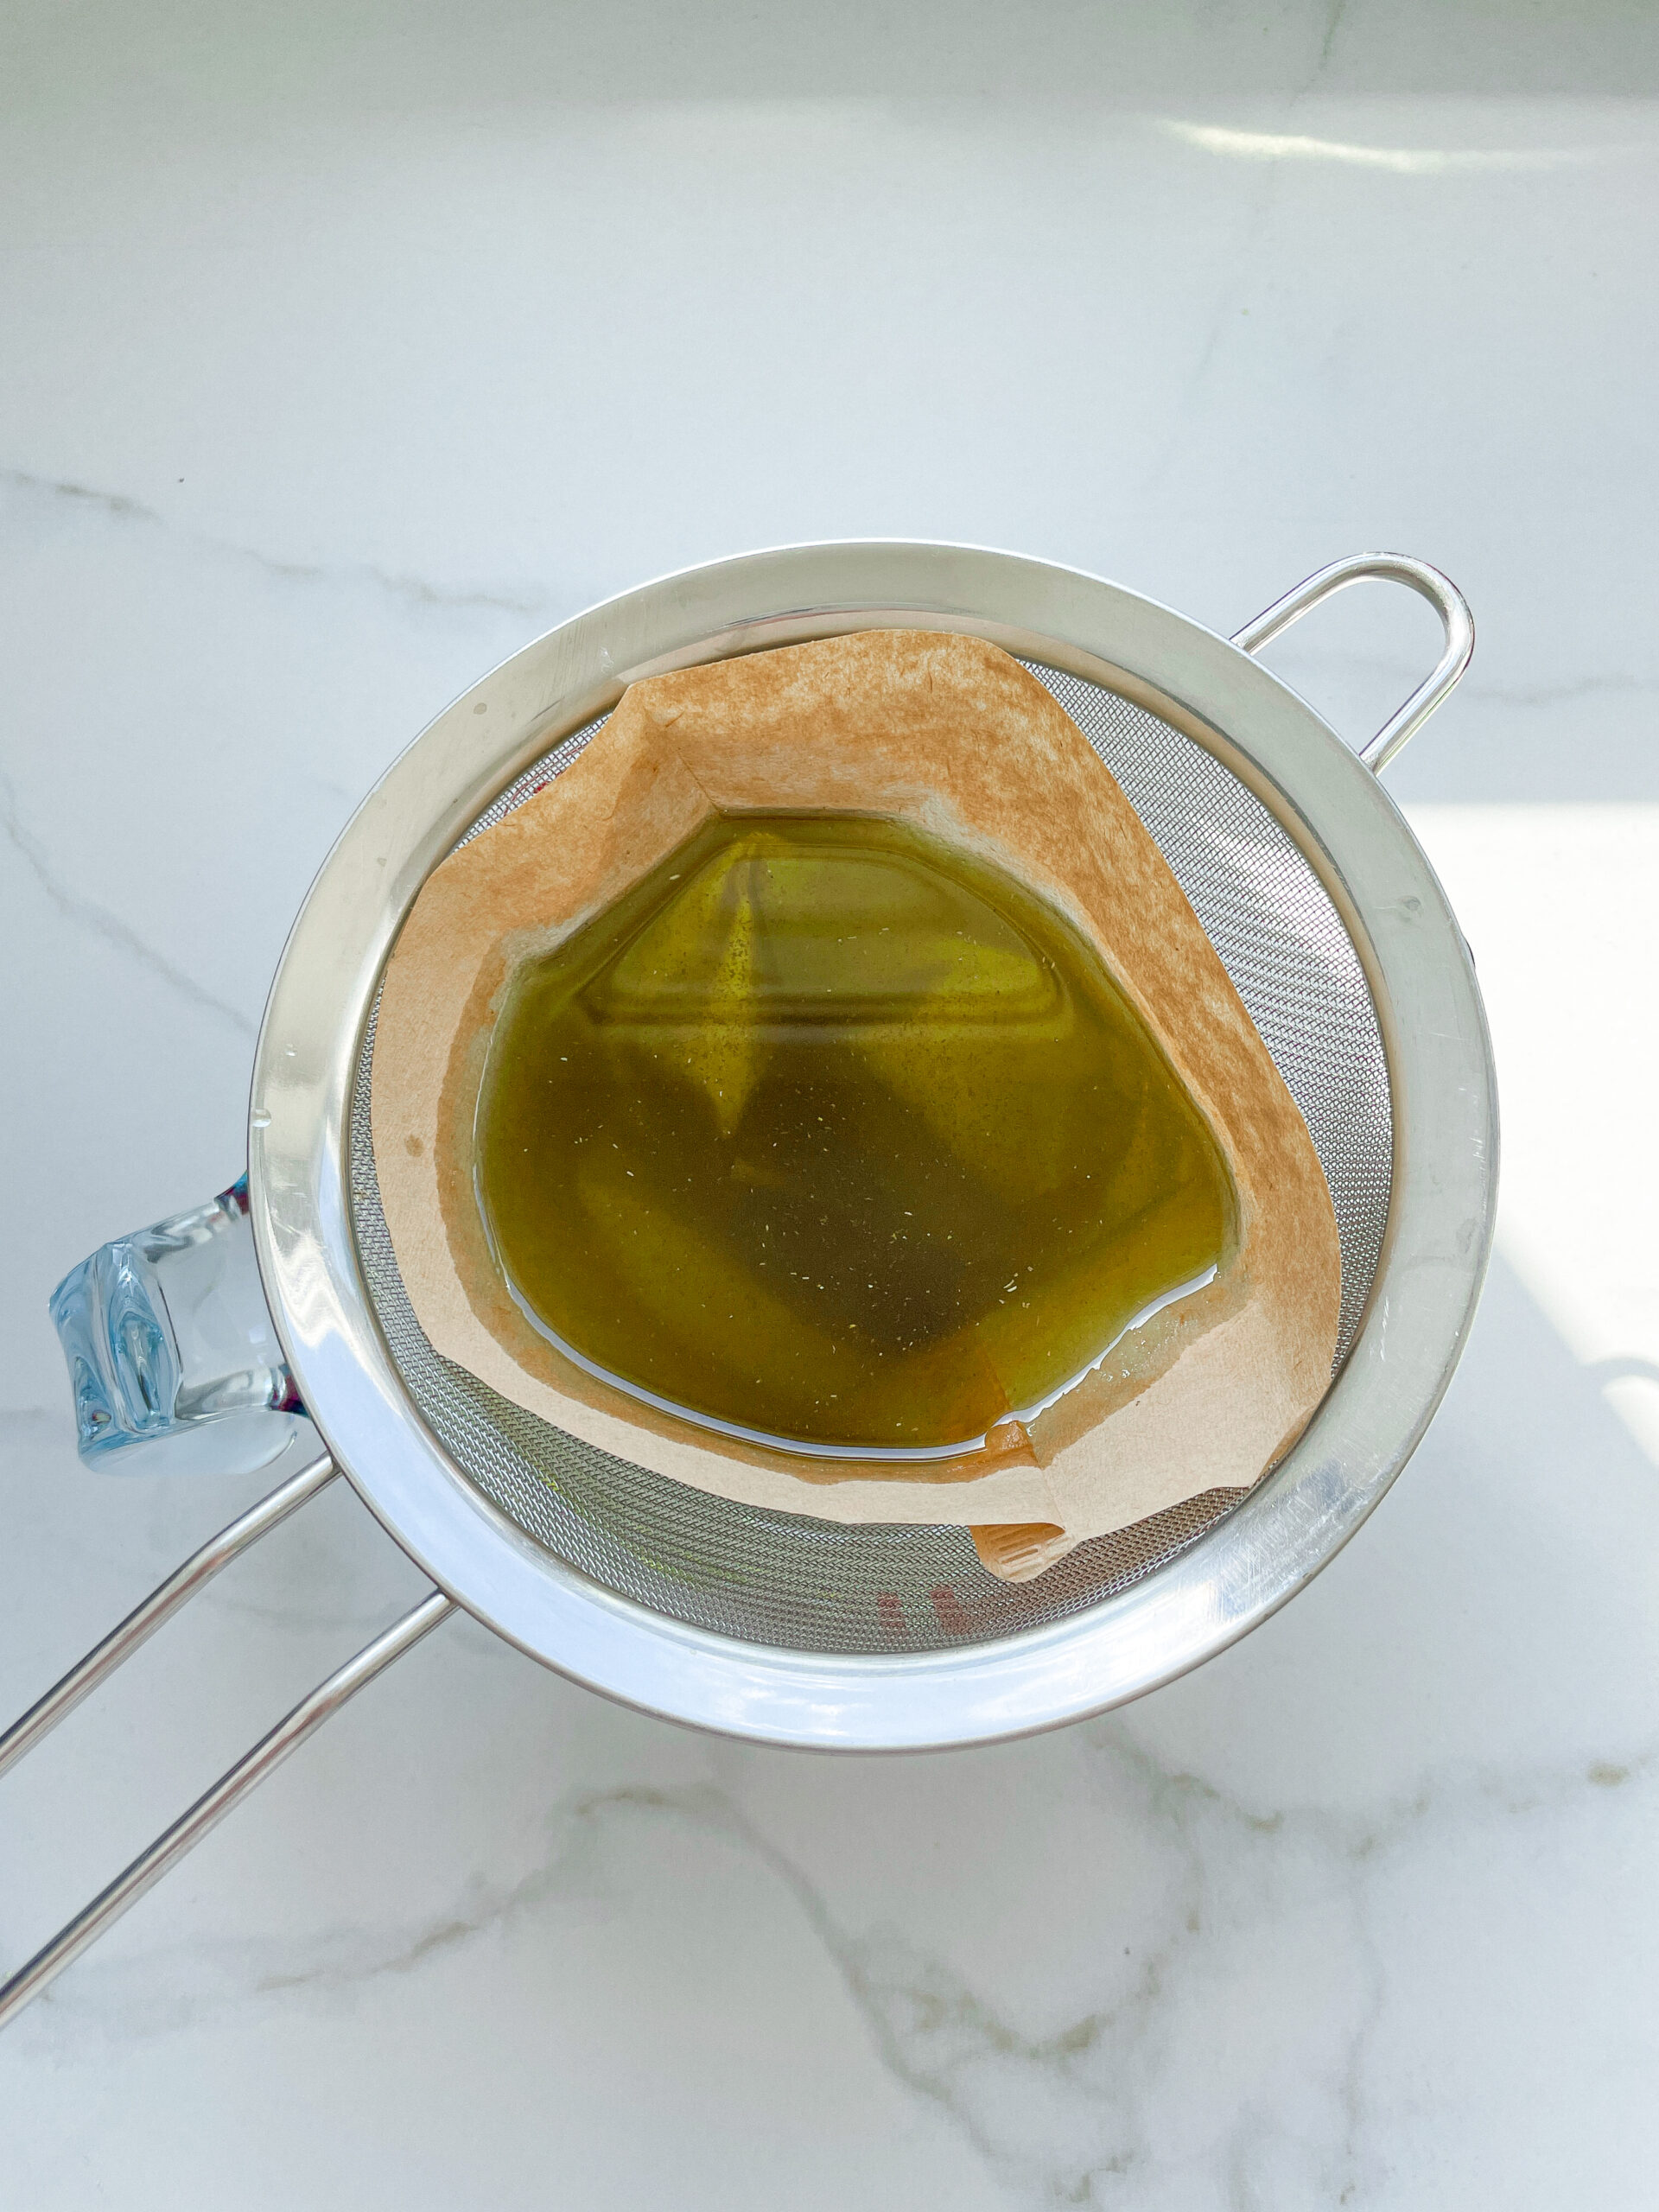
Red Bell Pepper Oil

Red Bell Pepper Oil

Red Bell Pepper Oil

Red Bell Pepper Oil

August 8, 2024 by Kimberly

Feel the warmth and zest of Mediterranean cuisine with this aromatic red pepper oil. Perfect for drizzling on salads, pastas, or grilled veggies, it’s pure culinary bliss!

70 MINUTES

ADVANCED

VEGAN

INT.

40 PER TSP

UMAMI
TANGY

MICHELIN

OIL

ALL YEAR

INTRODUCTION

ABOUT THE RECIPE

Ready to spice up your kitchen game? This aromatic red pepper oil is your new go-to for adding a touch of Mediterranean magic to any dish. This infused oil is bursting with flavor, perfect for drizzling over your favorite salads, pastas, or even grilled veggies. Trust me, once you try this, you’ll be hooked on its zesty and rich taste. Plus, it’s super easy to make at home!

How to serve
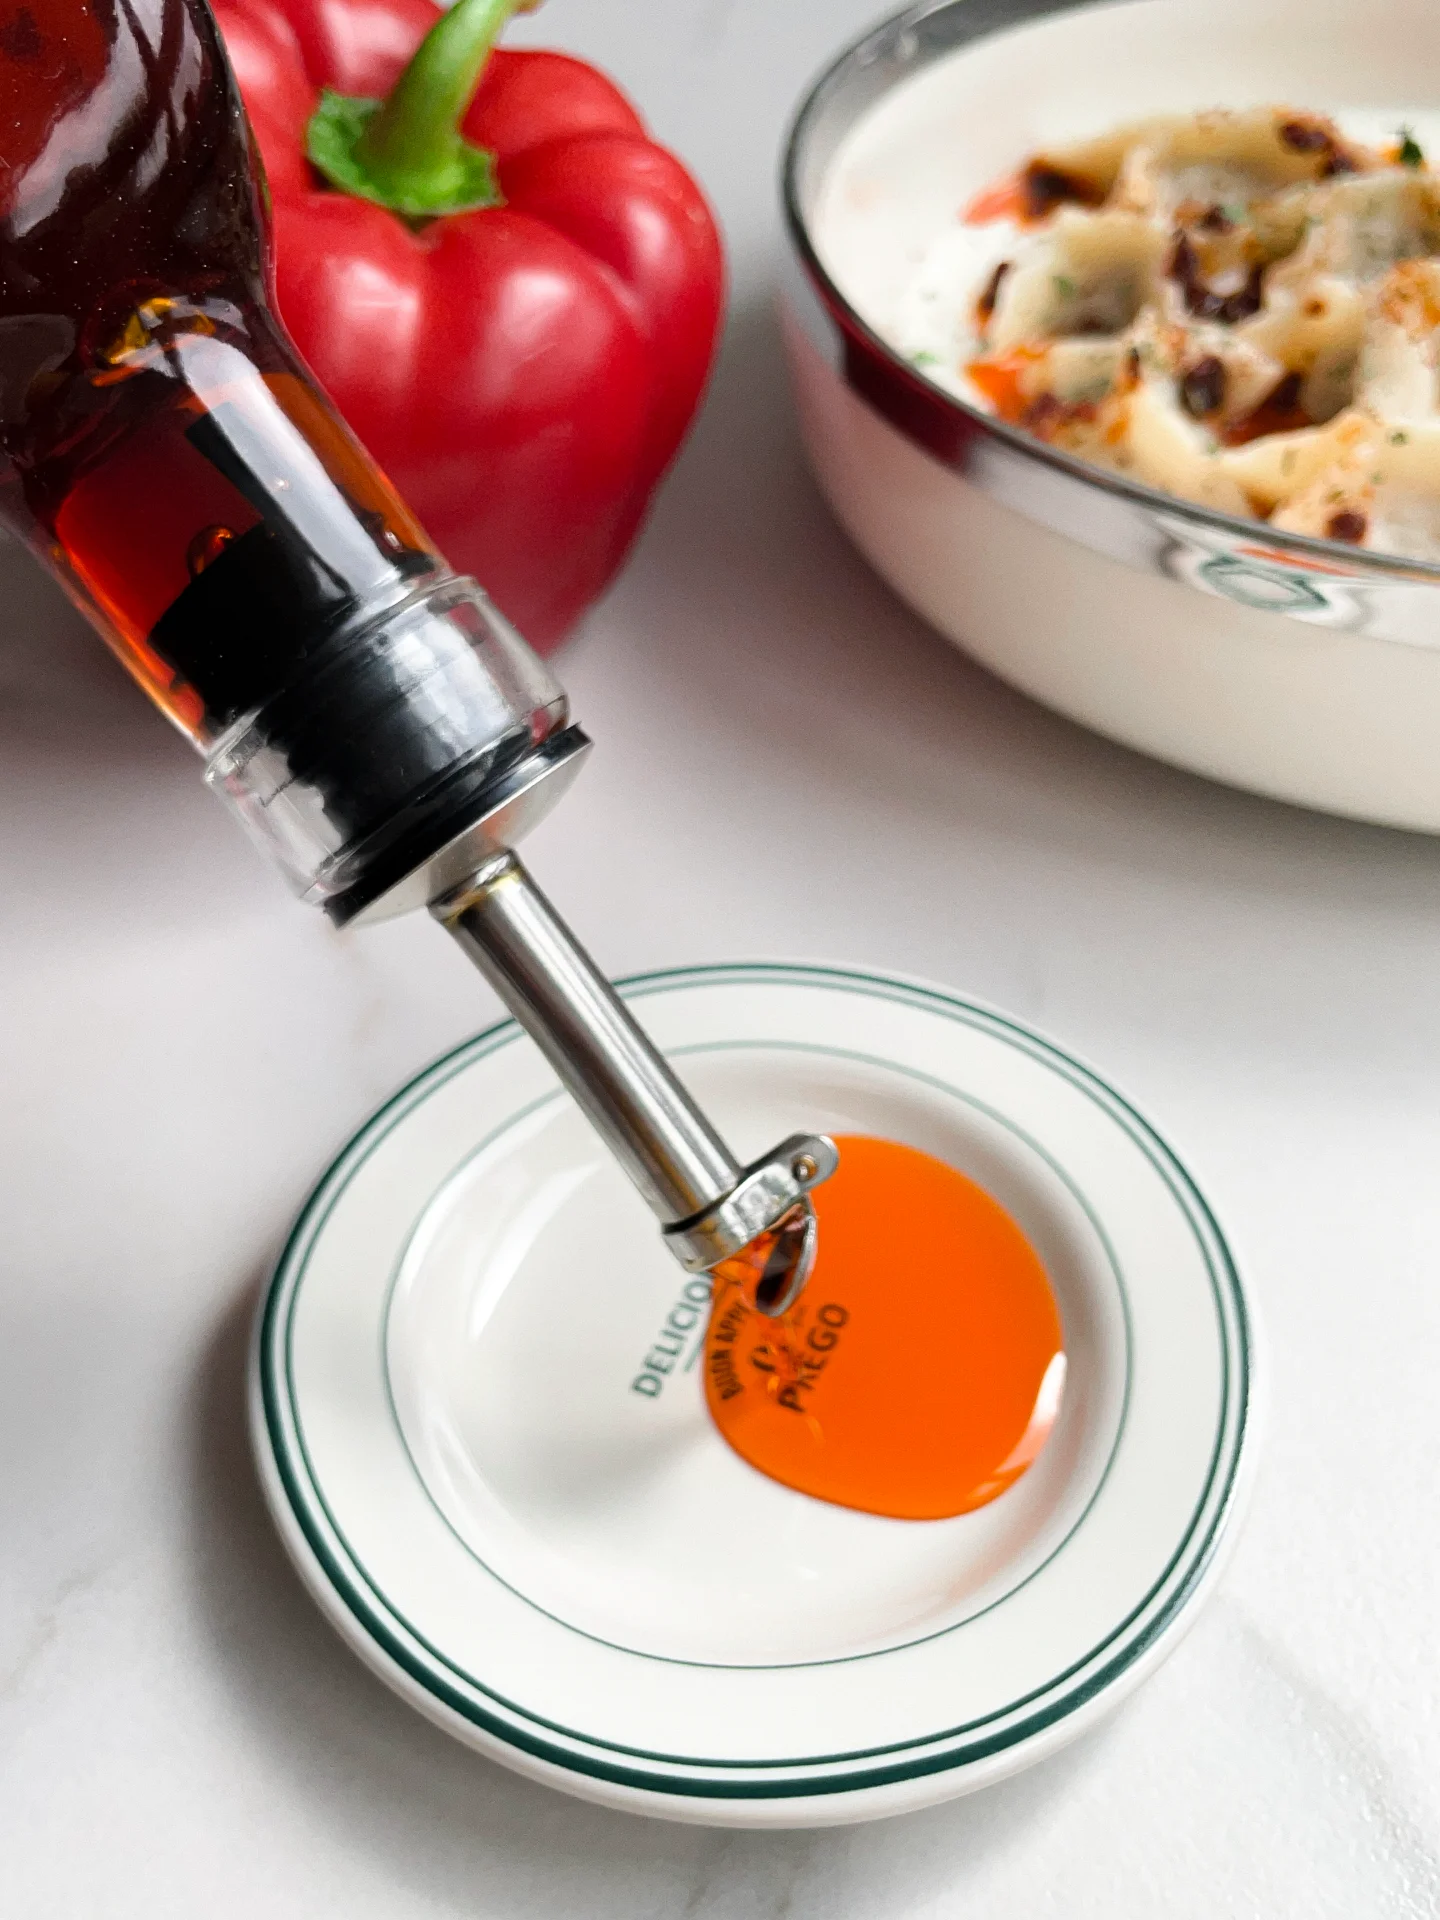
This vibrant red pepper oil is incredibly versatile. Drizzle it over fresh greens for a flavorful salad dressing, or toss it with pasta for an instant gourmet touch. It’s also fantastic for marinating meats or veggies before grilling, adding a delicious depth of flavor. Try brushing it over warm, crusty bread for a simple yet sensational appetizer. No matter how you use it, this oil elevates every meal to new heights. I like to serve it with these Turkish Beef Manti in Yogurt Sauce.

How to store
Keep it in a clean oil bottle or jar, and store it in a cool, dark place. It should stay fresh for up to 1-2 weeks.

Hi, I'm Kimberly!

Hi, I'm Kimberly.

A passionate food lover who believes in the magic of homemade deliciousness that spreads love and warmth. Join me on this culinary adventure as I prepare wonderful dishes and let’s spread some happiness together!

Kimberly the Zett Signature

If you want to get to know me better, click here!


Red Bell Pepper Oil
Red Bell Pepper Oil
Red Bell Pepper Oil
„Let’s make a piece of happiness“
Print
clock clock iconcutlery cutlery iconflag flag iconfolder folder iconinstagram instagram iconpinterest pinterest iconfacebook facebook iconprint print iconsquares squares iconheart heart iconheart solid heart solid icon
Red Bell Pepper Oil

Red Bell Pepper Oil


  • Author: Kimberly
  • Total Time: 70 min
  • Yield: 1 cup / 250 ml 1x

Description

RECOMMENDED EQUIPMENT

  • blender
  • medium-sized saucepan
  • whisk
  • a bowl which the medium saucepan fits into
  • 2 medium-sized bowls
  • 2 fine sieves
  • oil bottle
  • ice cubes
  • coffee filter

Ingredients

Units Scale
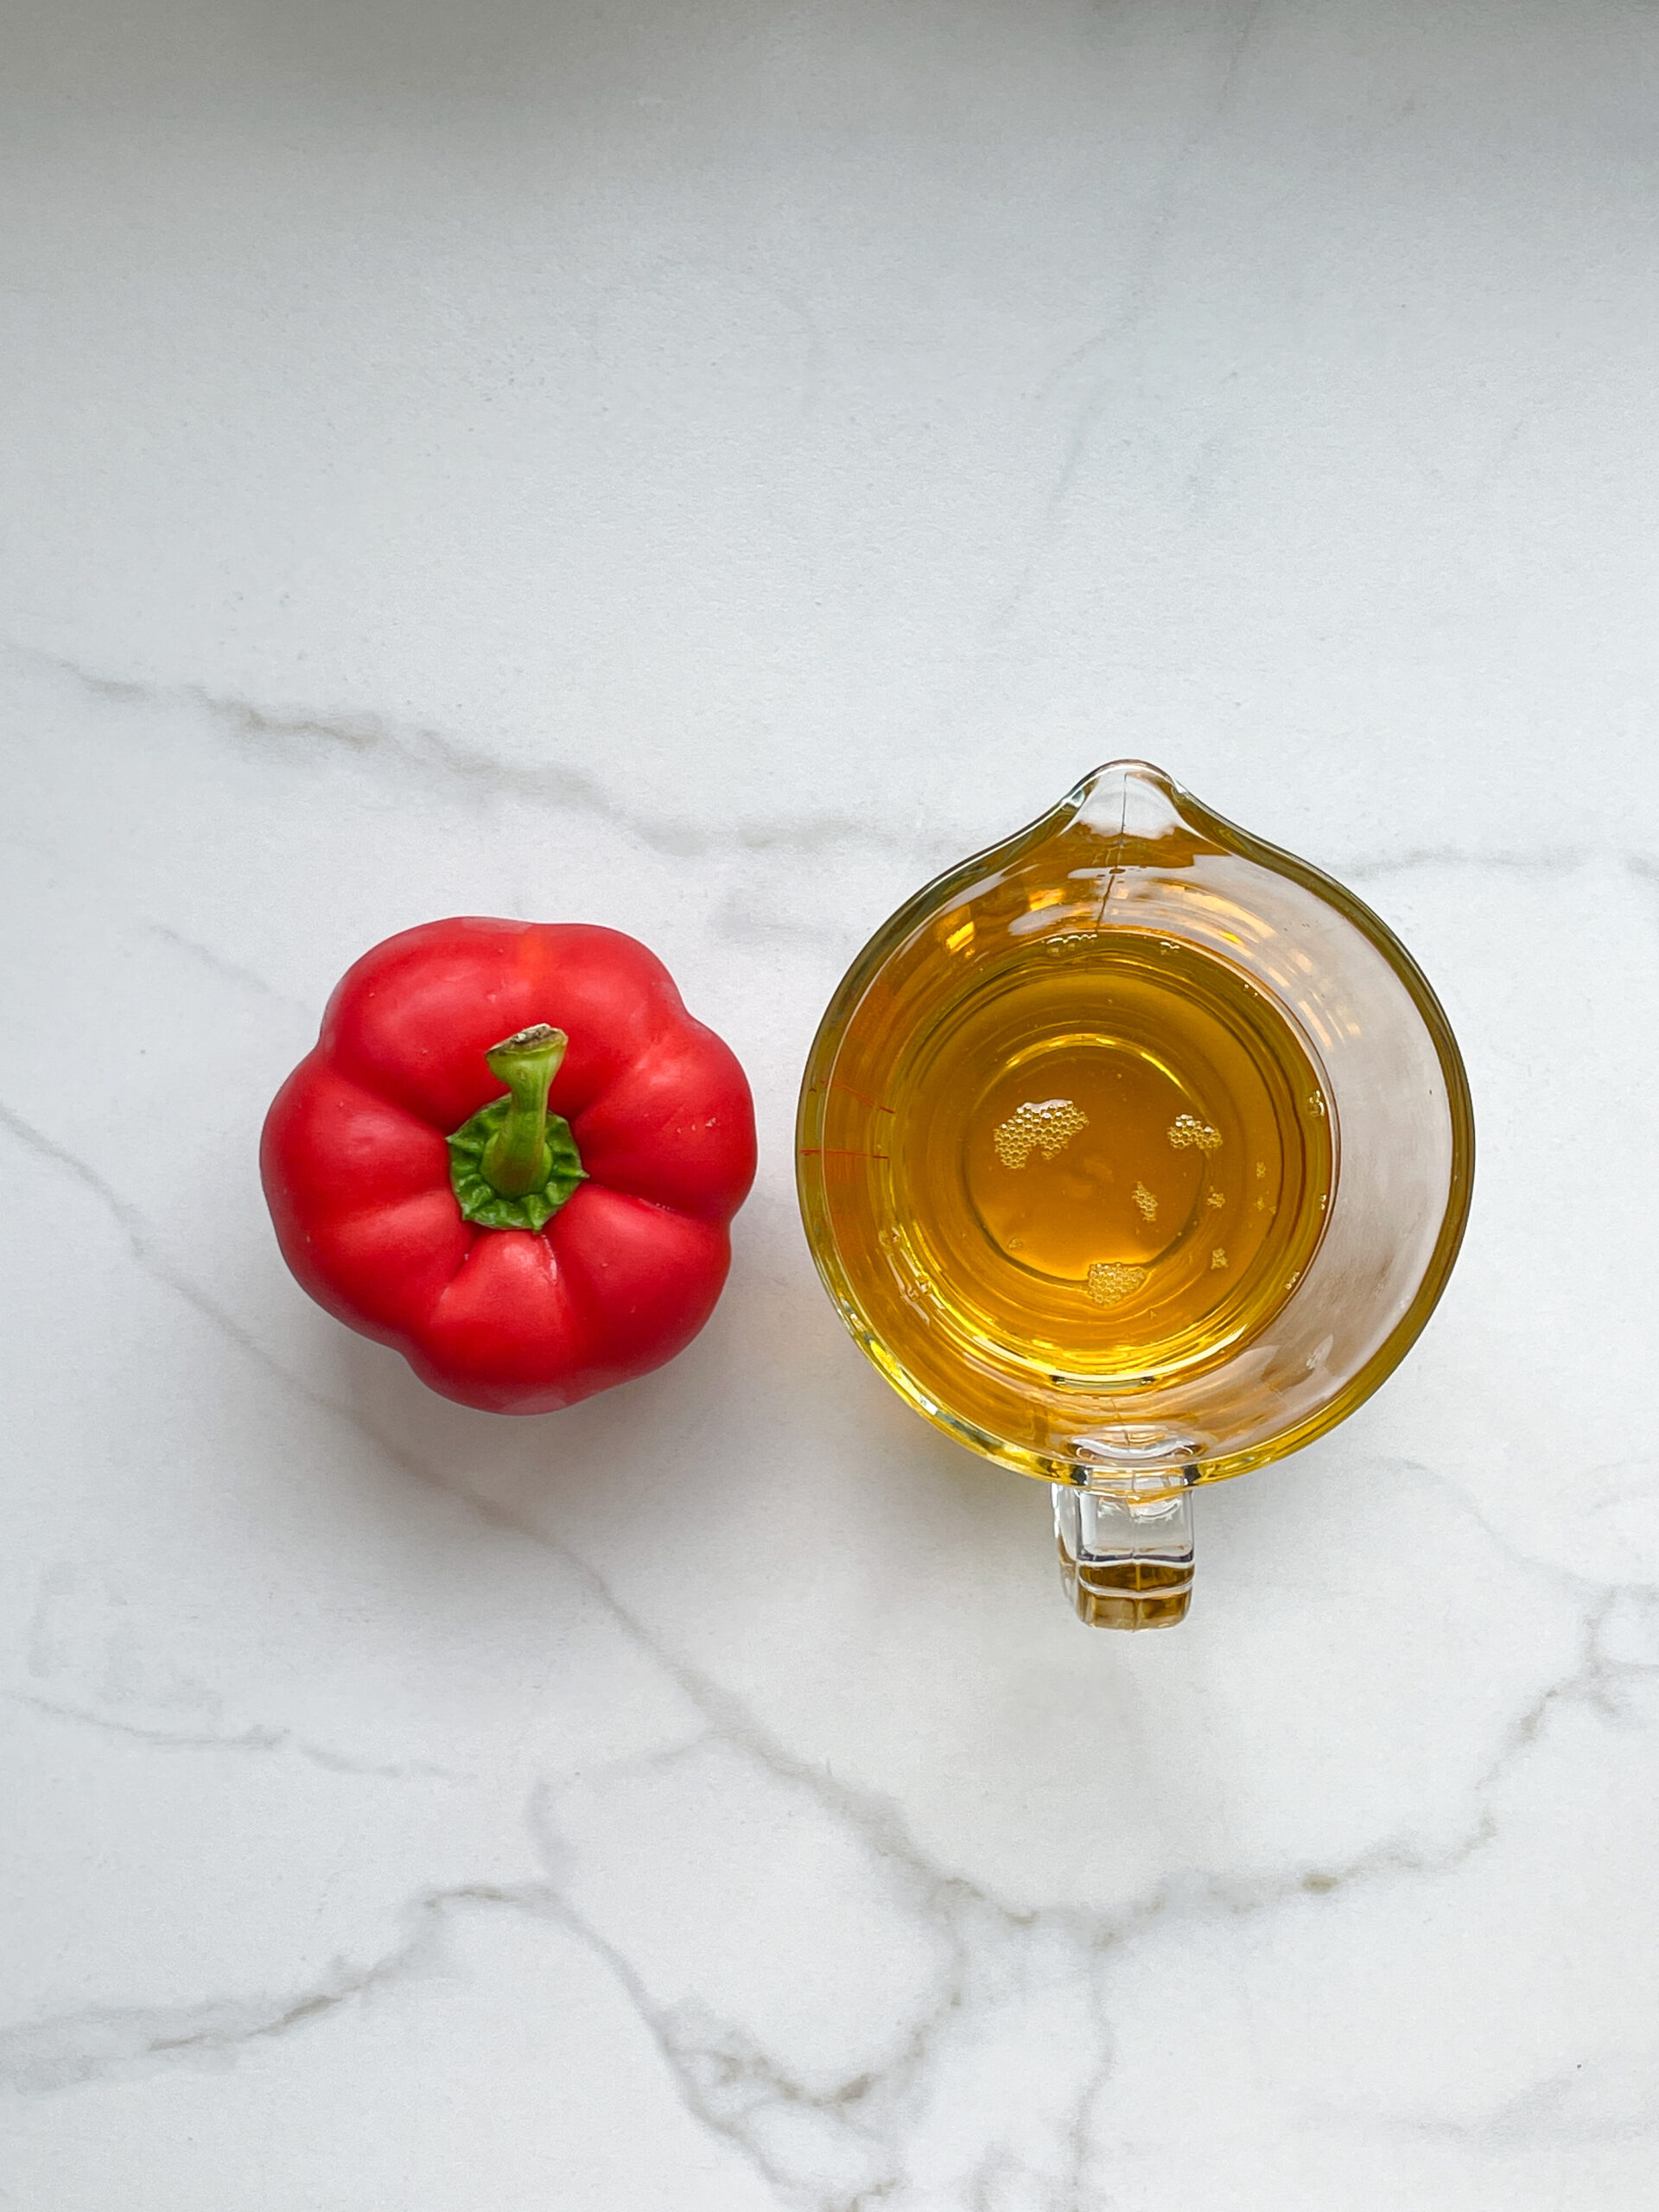
  • 1 red bell pepper
  • 250 milliliters cold-pressed rapeseed oil

Instructions

  1. Chop the bell pepper in coarse pieces and remove all seeds. Put the bell pepper pieces into the blender. Pour in the oil. Blend on the highest setting until it becomes a thick consistency and no pieces of bell pepper are longer visible.
  2. Pour the mixture from the blender into a medium-sized pot and heat it over medium heat, constantly stirring, to a temperature of about 102°-103°C (215°-217°F). Then, let the oil simmer with the lid partially on for the next 35 minutes. Stir only occasionally, making sure the temperature remains steady and nothing gets burned. The cooking time is essential for all the water to evaporate. You’ll know all the water has evaporated when the oil in the pot barely bubbles anymore – so if it’s still bubbling vigorously, keep it simmering.
  3. At the end of the cooking process, prepare a bowl large enough to fit the medium-sized pot, filled with cold water and a handful of ice cubes. Also, hang a fine mesh sieve strainer over a medium-sized bowl.
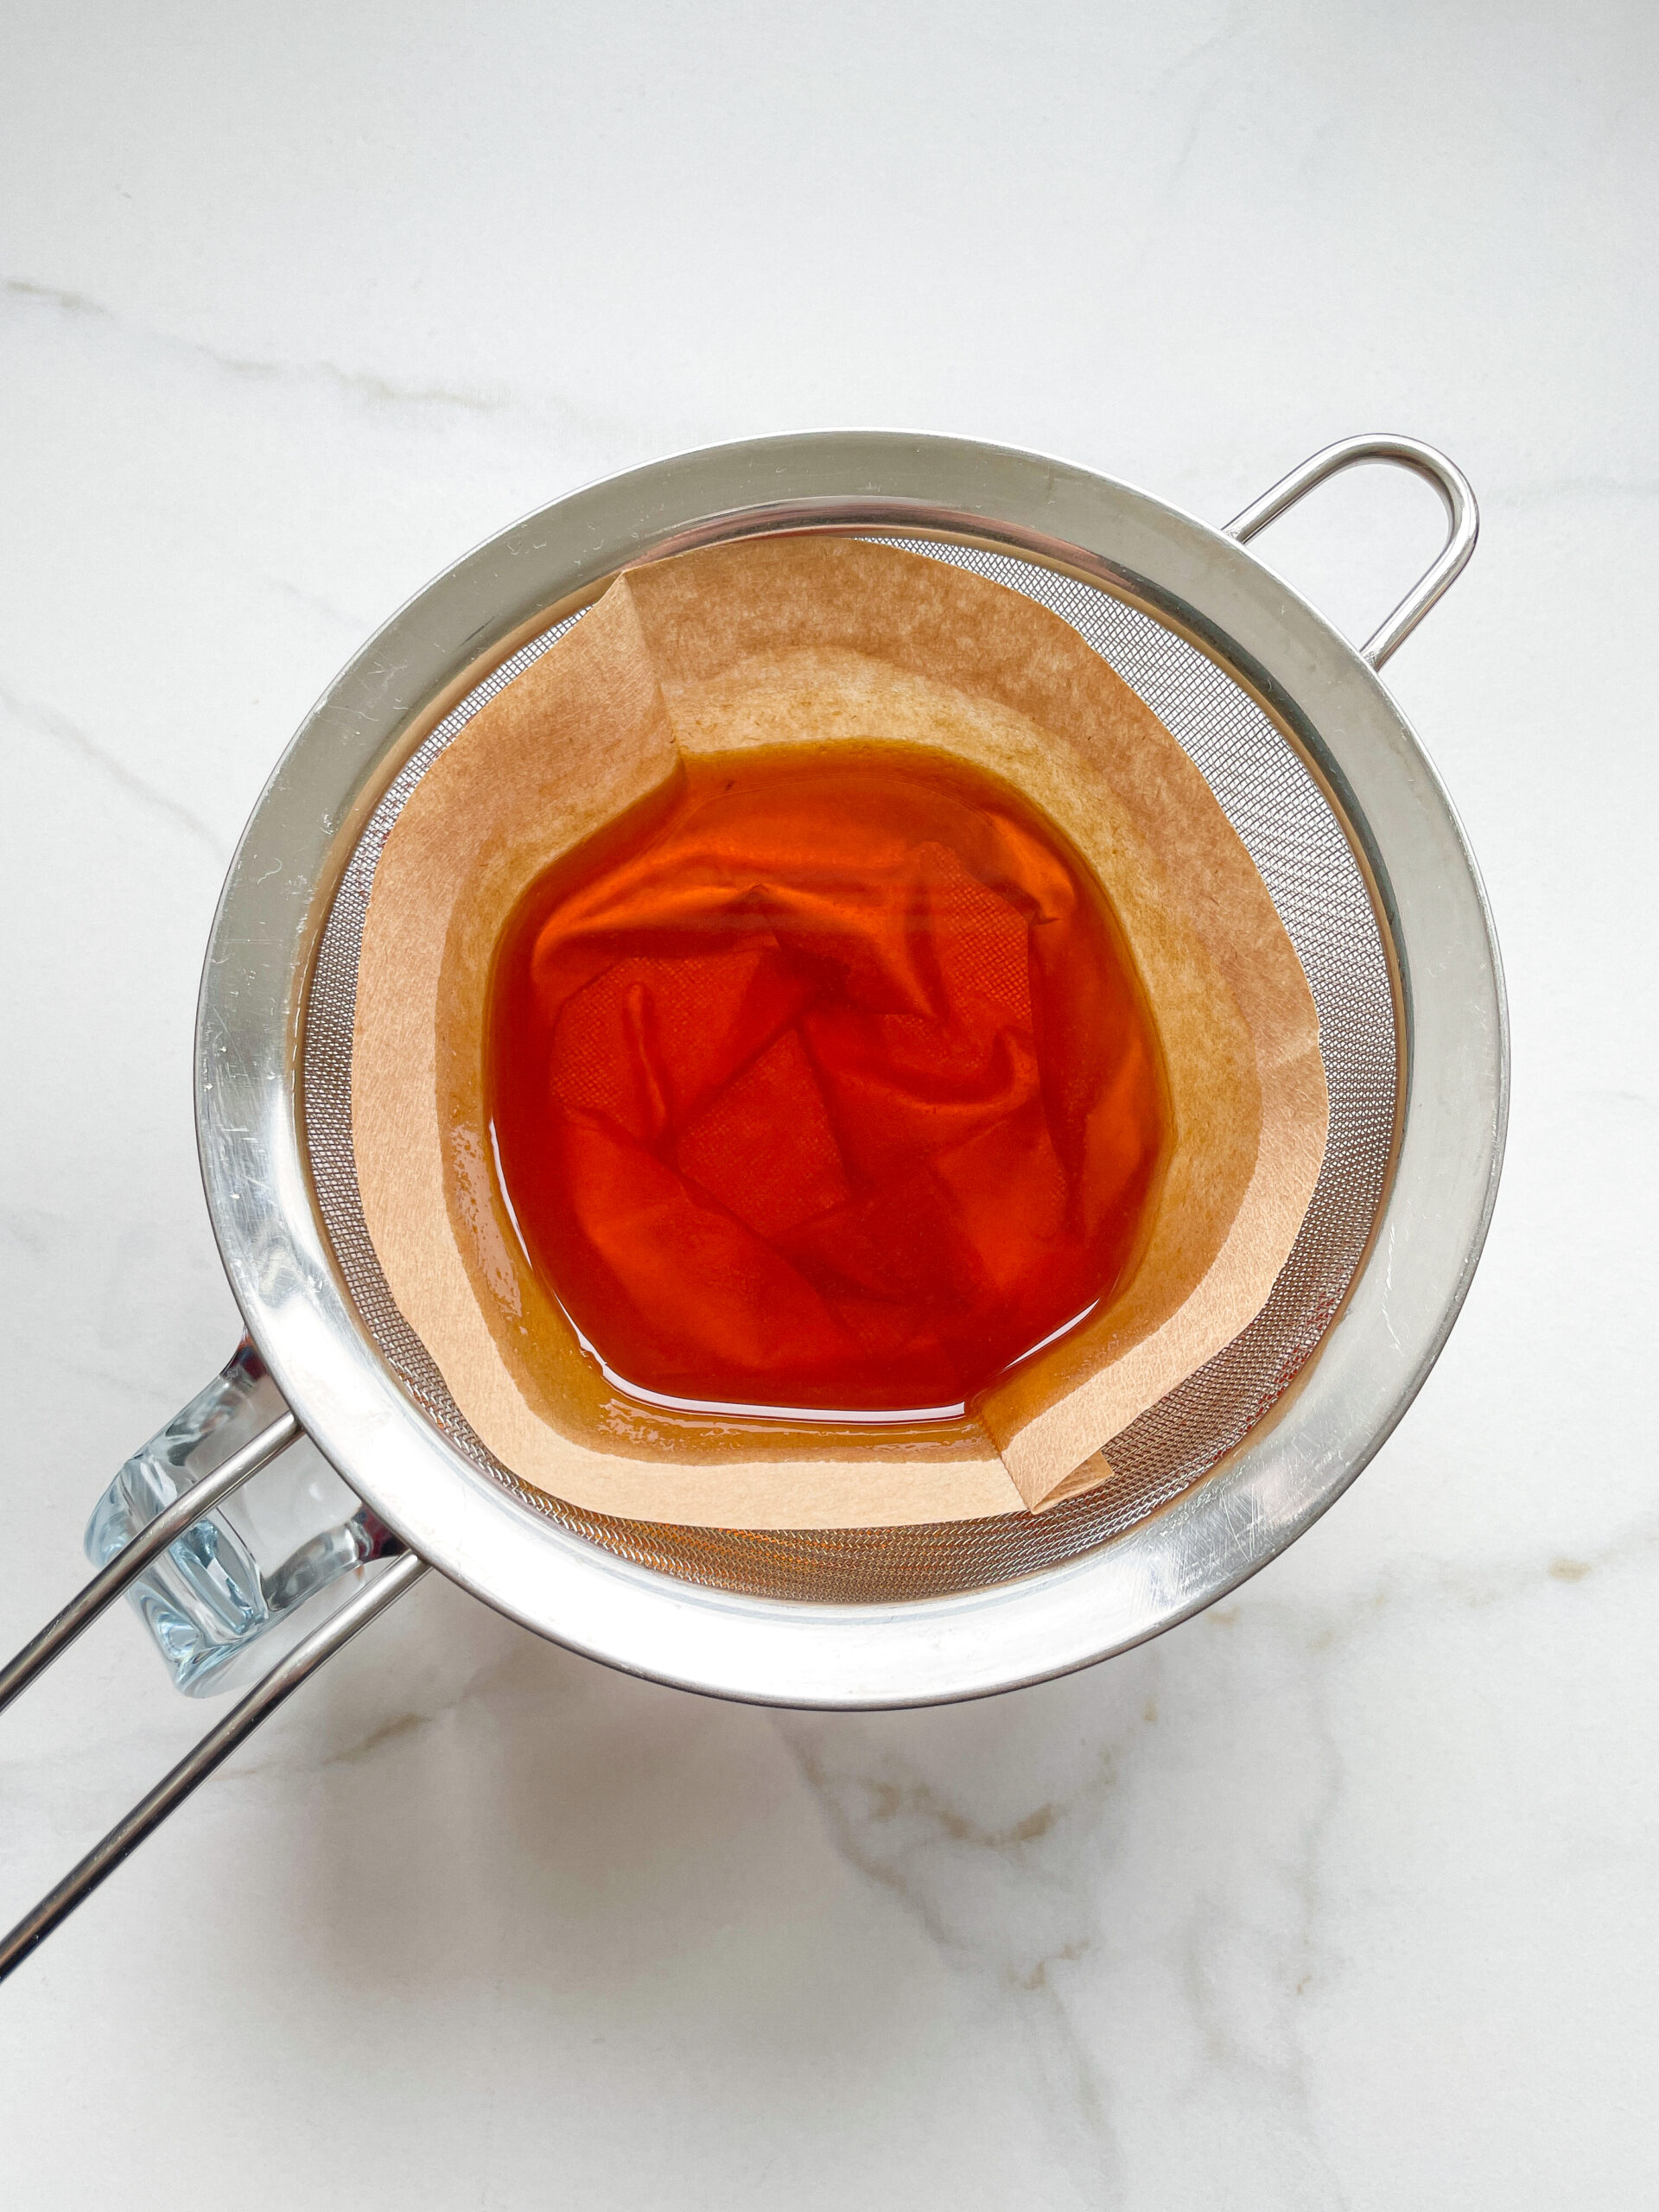
  4. Now, place the pot in the ice water and stir to stop the cooking process. Once the oil is almost cold, remove the pot from the water and pour the oil into the first fine mesh sieve to catch the coarse particle.
  5. Then, pour the oil into the second fine mesh sieve, which you before equipped with a coffee filter, to catch the remaining finer particles.
  6. Allow the oil to drip through for about 30 minutes or maybe more depending on how many remaining particles are in the coffee filter. Once all the oil has passed through the coffee filter, transfer the collected amount of oil into an oil bottle. Store in the refrigerator for up to 1-2 weeks.
  • Prep Time: 5 min
  • Passive Time: 30 min
  • Cook Time: 35 min

Rosemary Oil

Rosemary Oil

Rosemary Oil

Rosemary Oil

August 2, 2024 by Kimberly

Imagine a drizzle of fragrant, herb-infused oil that turns any dish into a gourmet experience. It’s like adding a touch of sunshine and nature’s best to your meals!

1 HOUR
15 MINUTES

ADVANCED

VEGAN

INT.

40 PER TSP

HERBACEOUS

MICHELIN

OIL

ALL YEAR

INTRODUCTION

ABOUT THE RECIPE

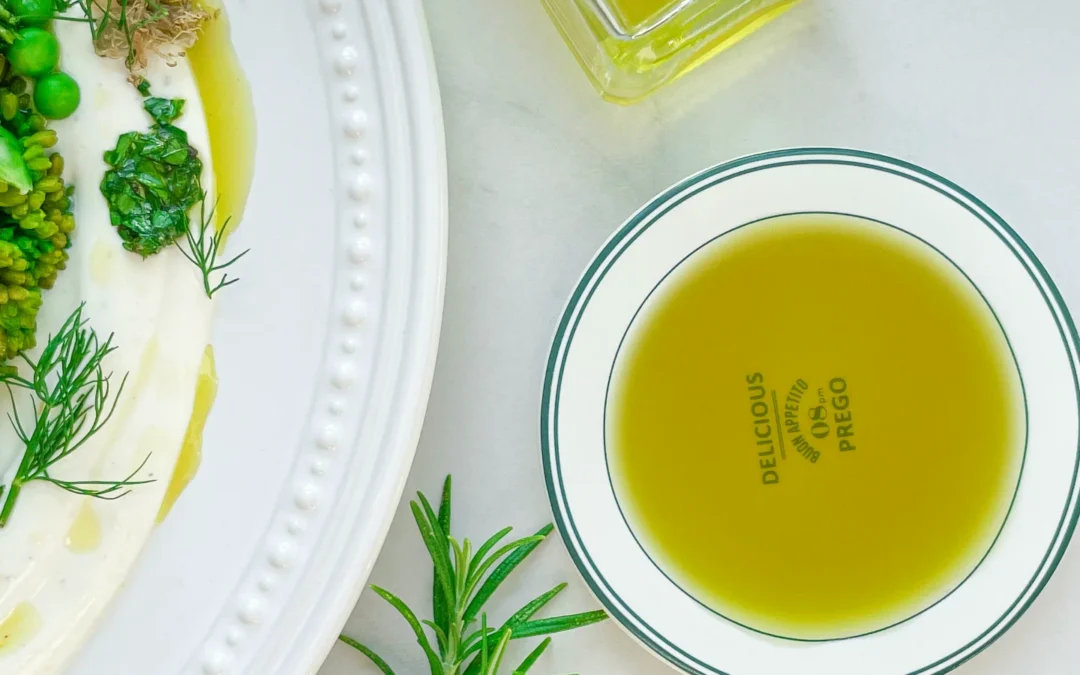
Let’s talk about a game-changer in the kitchen: rosemary-infused oil. This aromatic delight is perfect for adding a burst of flavor to just about anything. With its fragrant, herbal notes, this homemade infused oil can elevate your cooking to new heights. Plus, it’s super easy to make and adds a gourmet touch to your everyday meals.

How to serve
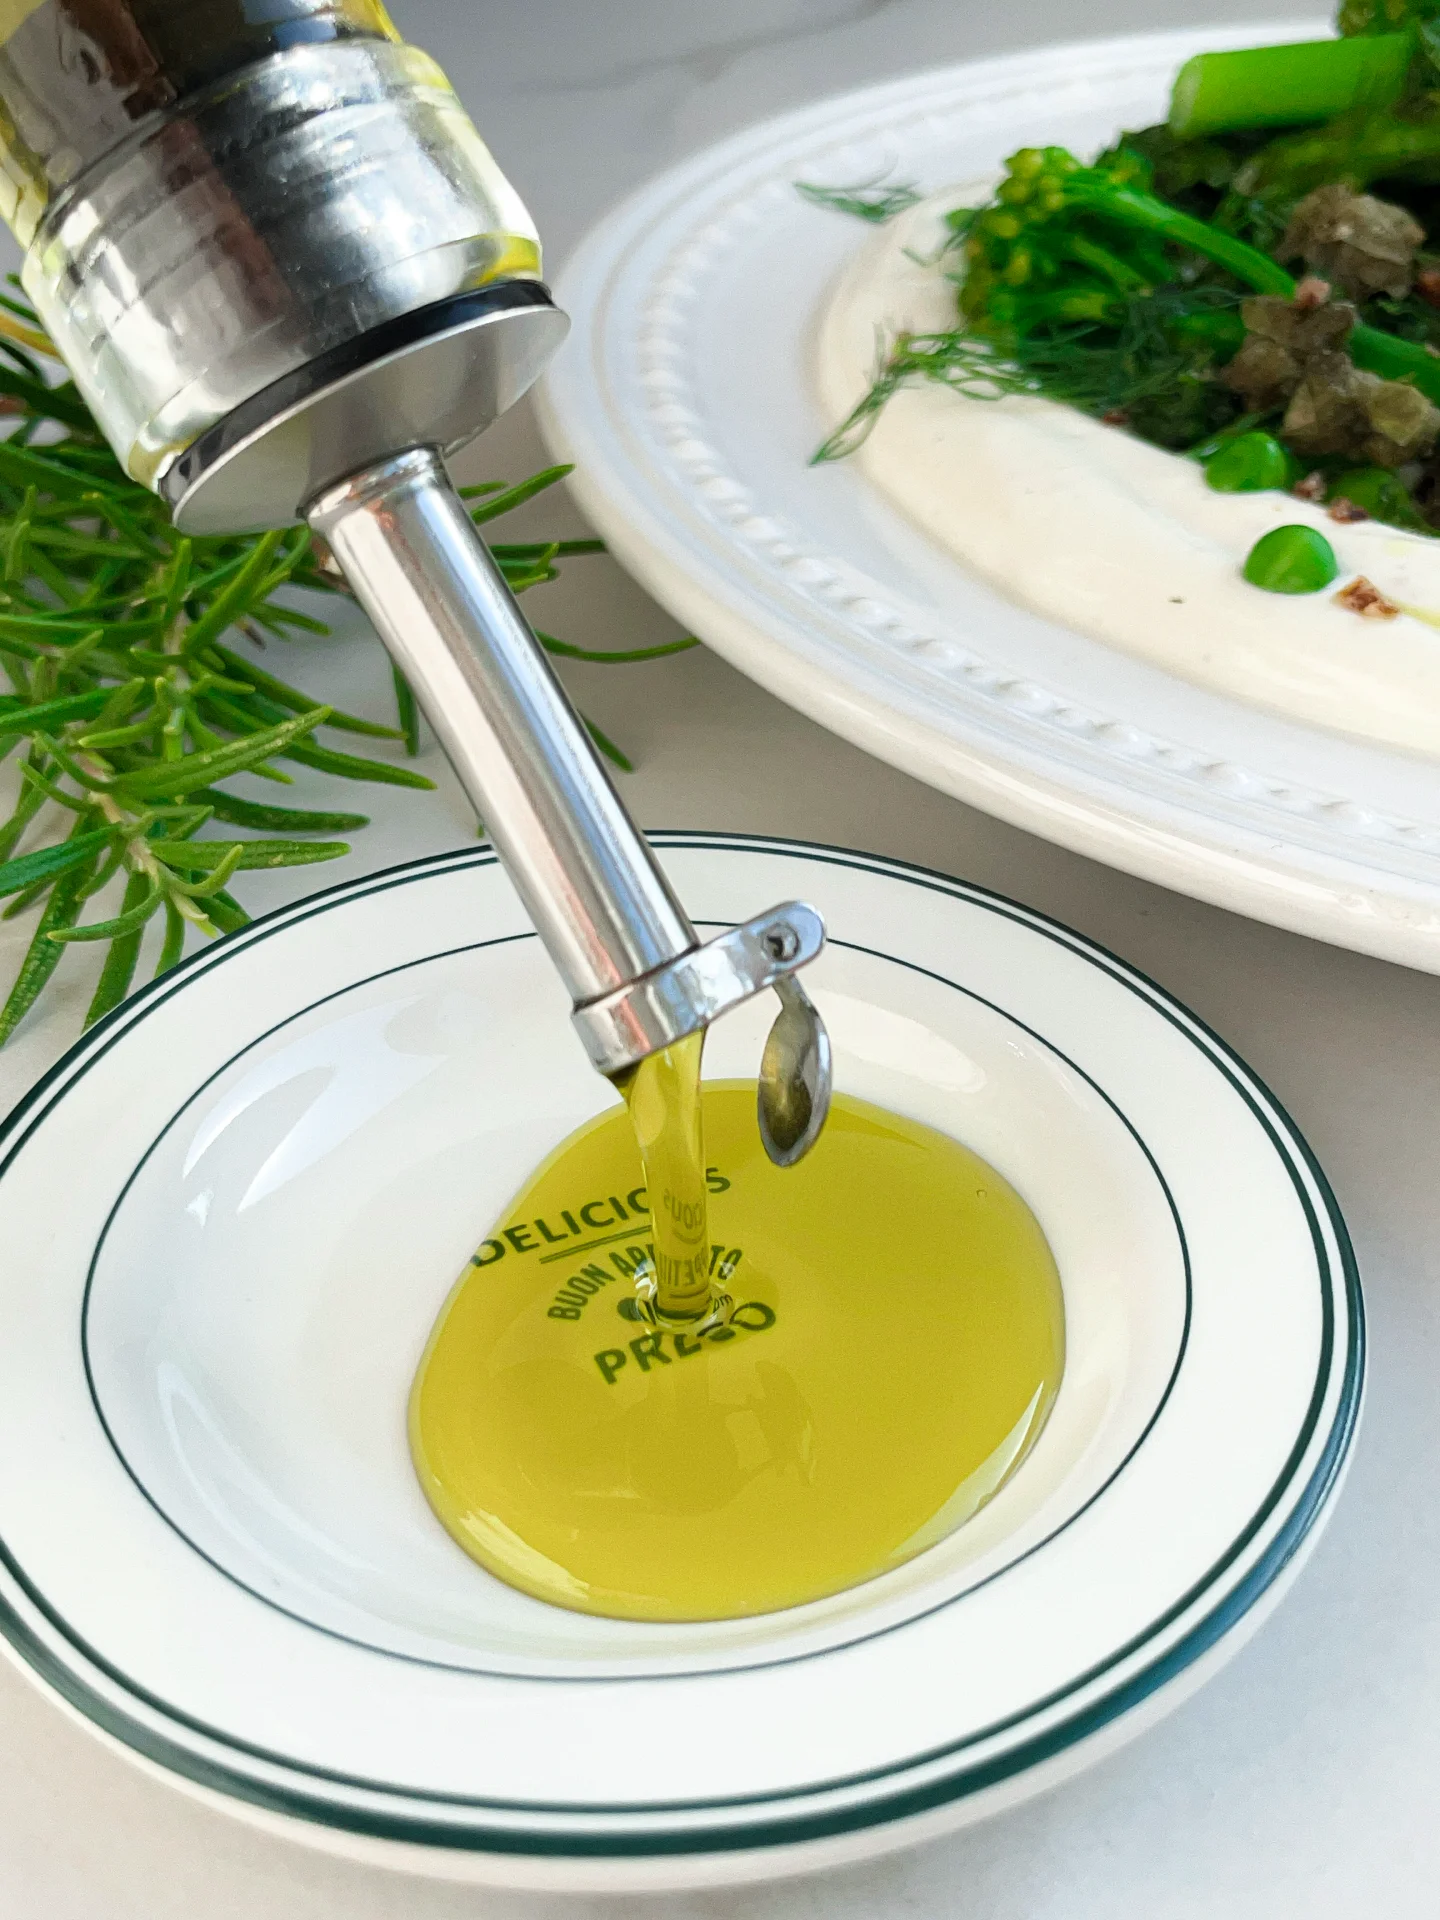
Drizzle it over roasted vegetables for an instant flavor boost or mix it into your salad dressings for a herby twist. It’s also fantastic as a dipping oil with fresh bread, bringing out the best in both simple and complex dishes. I love this oil in my Green Veggies on Whipped Ricotta with Fried Capers & Shallots.

How to store
Keep it in a clean, airtight bottle in a cool, dark place. It’s best to use it within 2 weeks to enjoy the freshest flavor.

Hi, I'm Kimberly!

Hi, I'm Kimberly.

A passionate food lover who believes in the magic of homemade deliciousness that spreads love and warmth. Join me on this culinary adventure as I prepare wonderful dishes and let’s spread some happiness together!

Kimberly the Zett Signature

If you want to get to know me better, click here!


Rosemary Oil
Rosemary Oil
Rosemary Oil
„Let’s make a piece of happiness“
Print
clock clock iconcutlery cutlery iconflag flag iconfolder folder iconinstagram instagram iconpinterest pinterest iconfacebook facebook iconprint print iconsquares squares iconheart heart iconheart solid heart solid icon
Rosemary Oil

Rosemary Oil


  • Author: Kimberly
  • Total Time: 1 hour + 15 min
  • Yield: 250 ml / 1 cup 1x

Description

RECOMMENDED EQUIPMENT

  • blender
  • medium-sized saucepan
  • whisk
  • a bowl which the medium saucepan fits into
  • 2 medium-sized bowls
  • 2 fine sieves
  • oil bottle
  • ice cubes
  • coffee filter

Ingredients

Units Scale
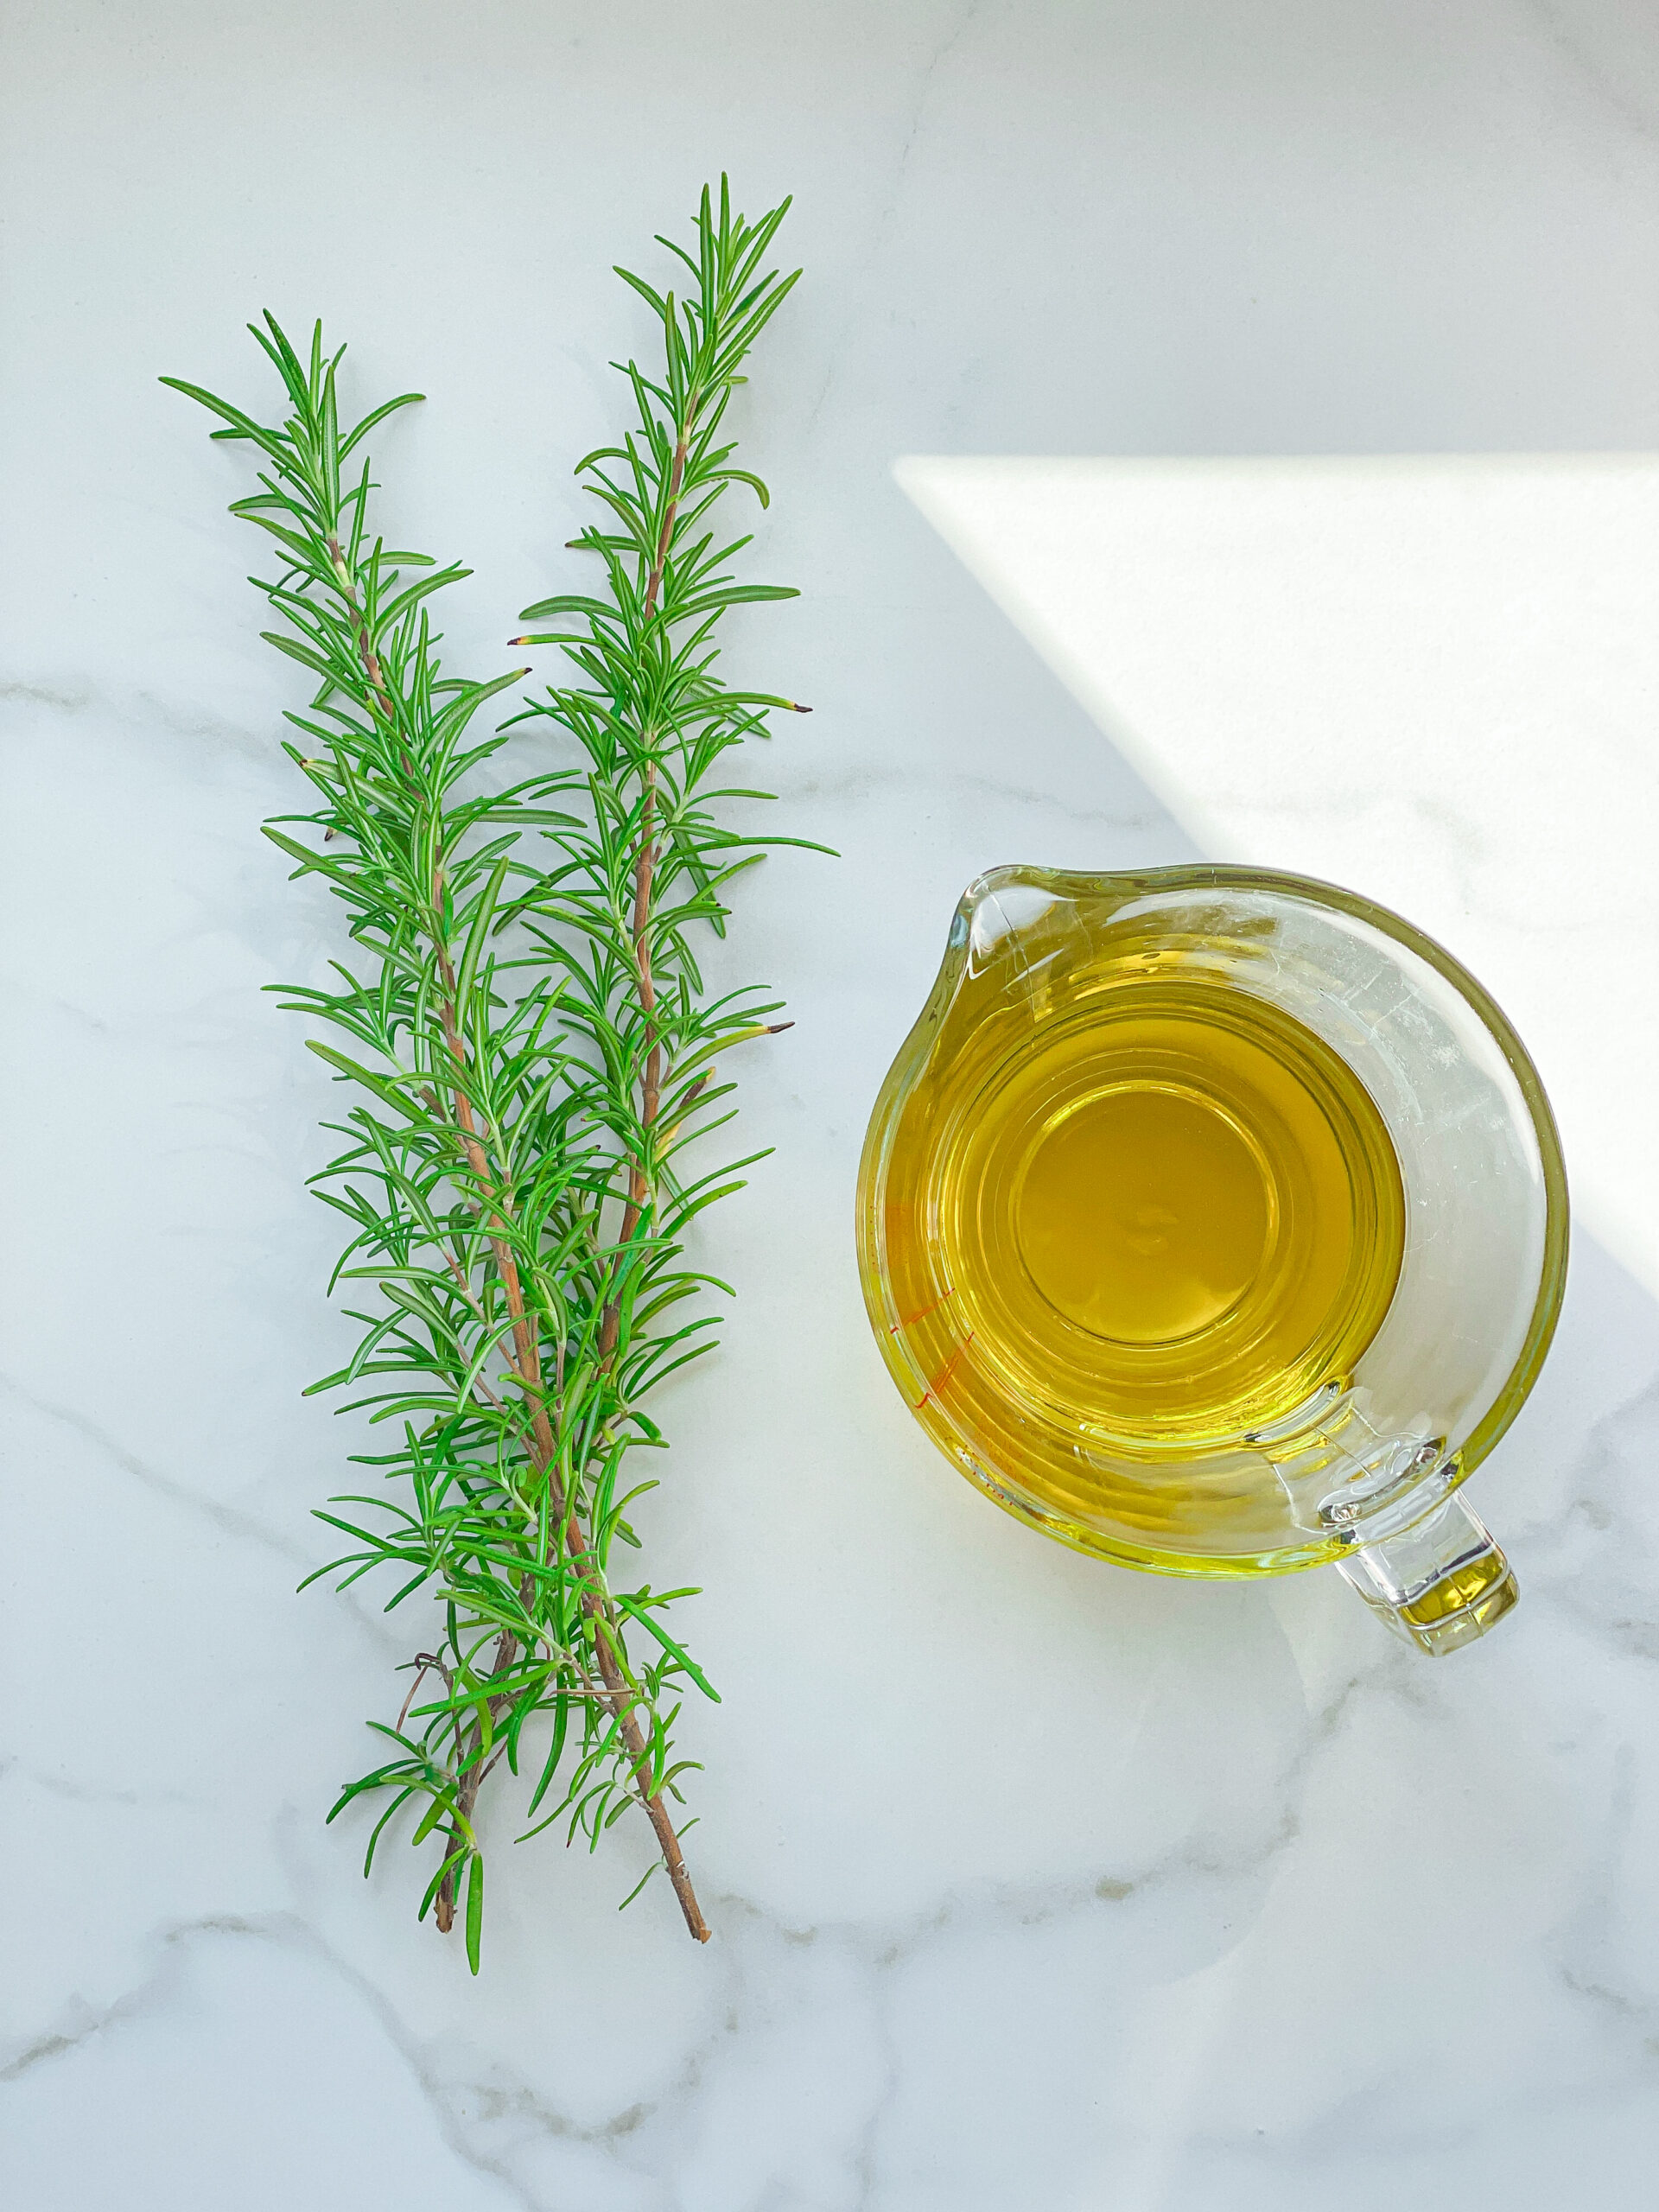
  • 20 grams fresh rosemary
  • 250 milliliters extra-virgin cold-pressed olive oil

Instructions

  1. Plug the rosemary leaves from the stems and put the leaves into the blender. Pour in the oil. Blend on the highest setting until only tiny pieces of the rosemary are visible.
  2. Pour the mixture from the blender into a medium-sized pot and heat it over medium heat to a temperature of about 101° (213°F/214°F), and maintain this temperature for the next 10 minutes. Stir occasionally, making sure the temperature remains steady and nothing gets burned.
  3. Prepare a bowl large enough to fit a medium-sized pot, and fill it with cold water and a handful of ice cubes. Also, hang a fine sieve strainer over one medium-sized bowl and another fine sieve strainer, with a coffee filter inside it, over another medium-sized bowl.
  4. Now, place the pot in the ice water and stir to cool the oil quickly. Once the oil is almost cold, remove the pot from the water and let it sit for about 20 minutes so that the oil gets more infused.
  5. After the 20 minutes, pour the oil into the prepared fine sieve to catch the coarse particles.
  6. Then, pour the oil into the second sieve, which is equipped with a coffee filter, to catch the remaining finer particles.
  7. Allow the oil to drip through for about 1 hour or maybe less depending on how many remaining particles are in the coffee filter. Once all the oil has passed through the coffee filter, transfer the collected amount of oil into an oil bottle. Store in the refrigerator for up to 1-2 weeks.
  • Prep Time: 5 min
  • Passive Time: 1 hour
  • Cook Time: 10 min

Orange Oil

Orange Oil

Orange Oil

Orange Oil

August 1, 2024 by Kimberly

Add a burst of citrusy freshness to your dishes with orange oil! Perfect for salads, marinades, or desserts, it’s a must-have for any kitchen enthusiast.

1 HOUR

ADVANCED

VEGAN

INT.

40 PER TSP

REFRESHING
ZESTY

MICHELIN

OIL

SUMMER

INTRODUCTION

ABOUT THE RECIPE

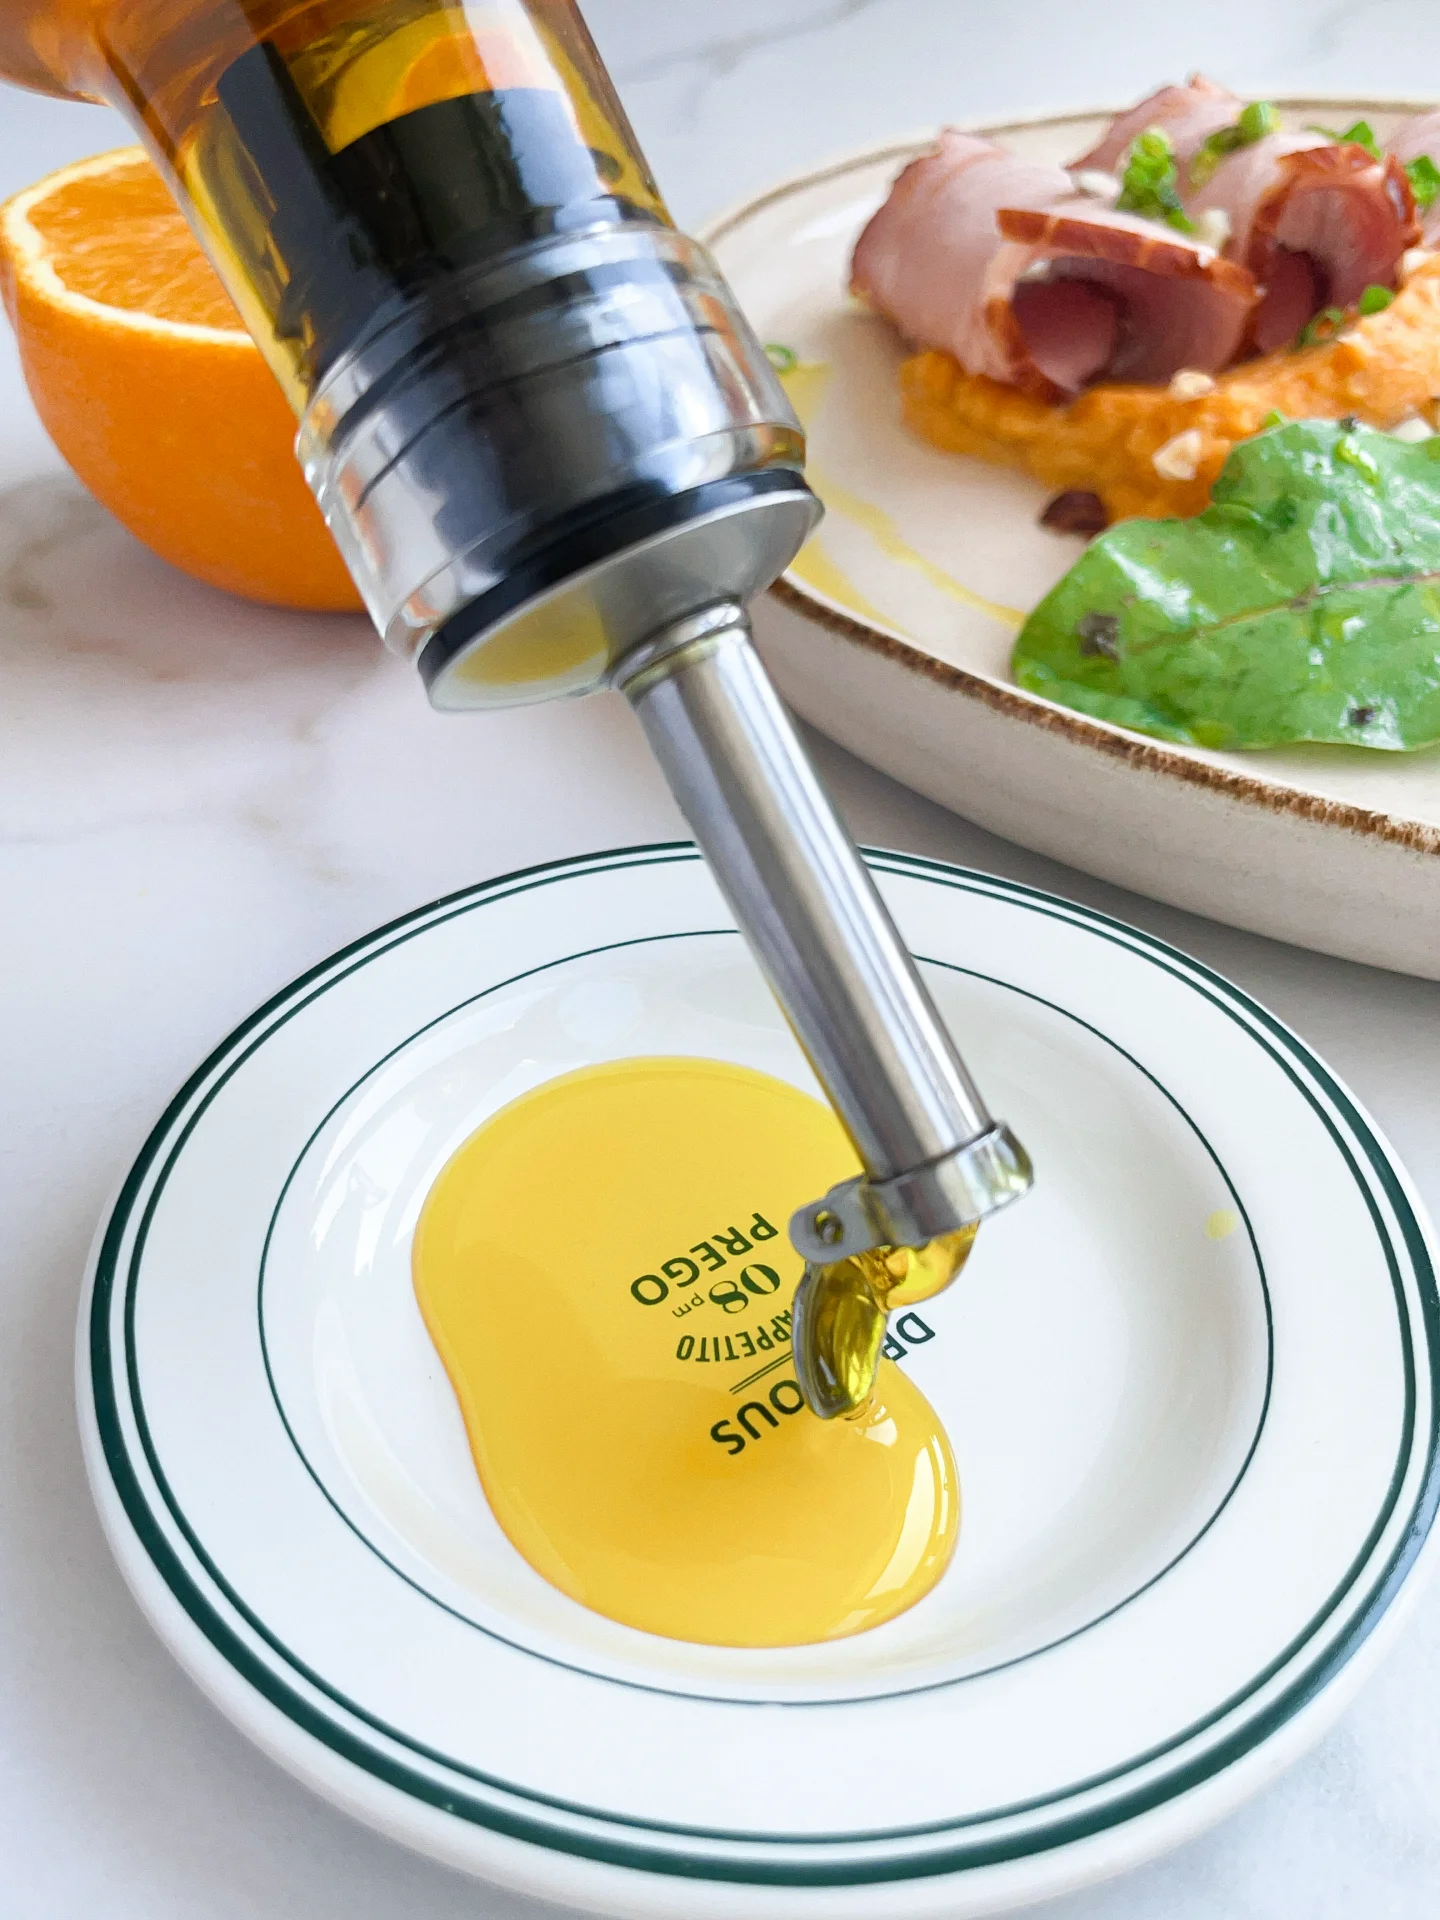
Orange oil is your new kitchen secret weapon. It brings a vibrant citrusy punch to any dish, whether you’re drizzling it over a fresh salad, mixing it into a marinade, or adding a zesty twist to your favorite desserts. This versatile ingredient will elevate your cooking game, making every meal feel gourmet. Plus, it’s super easy to use and store, so let’s dive into the details!

How to serve
For salads, add a few drops to your vinaigrette for an unexpected burst of flavor. When marinating meats or vegetables, mix in a bit of orange oil to enhance the taste. For desserts, a light drizzle over cakes or fruit salads can make a big difference. Just remember, a little goes a long way – start with a small amount and adjust to taste. I like to combine this oil with these Smoky Boiled Ham Rolls Sweet Potato Mash Pear Compote Beetroot Raspberry Coulis & Orange Oil.

How to store
Store your orange oil in a cool, dark place, preferably in an oil bottle, to keep it fresh and flavorful for up to 1-2 weeks. Avoid direct sunlight and heat to preserve its quality.

Hi, I'm Kimberly!

Hi, I'm Kimberly.

A passionate food lover who believes in the magic of homemade deliciousness that spreads love and warmth. Join me on this culinary adventure as I prepare wonderful dishes and let’s spread some happiness together!

Kimberly the Zett Signature

If you want to get to know me better, click here!


Orange Oil
Orange Oil
Orange Oil
„Let’s make a piece of happiness“
Print
clock clock iconcutlery cutlery iconflag flag iconfolder folder iconinstagram instagram iconpinterest pinterest iconfacebook facebook iconprint print iconsquares squares iconheart heart iconheart solid heart solid icon
Orange Oil

Orange Oil


  • Author: Kimberly
  • Total Time: 1 hr
  • Yield: 250 ml / 1 cup 1x

Description

RECOMMENDED EQUIPMENT

  • blender
  • medium-sized saucepan
  • whisk
  • a bowl which the medium saucepan fits into
  • 2 medium-sized bowls
  • 2 fine sieves
  • oil bottle
  • ice cubes
  • coffee filter

Ingredients

Units Scale
  • 1 orange
  • 250 milliliters cold-pressed rapeseed oil

Instructions

  1. Chop the orange in half and put them into the blender. Pour in the oil. Blend on the highest setting until only tiny pieces of the orange are visible.
  2. Pour the mixture from the blender into a medium-sized pot and heat it over medium heat to a temperature of about 102°-103°C (215°-217°F), and maintain this temperature for the next 30 minutes. Stir occasionally, making sure the temperature remains steady and nothing gets burned.
  3. Prepare a bowl large enough to fit a medium-sized pot, and fill it with cold water and a handful of ice cubes. Also, hang a fine sieve strainer over one medium-sized bowl and another fine sieve strainer, with a coffee filter inside it, over another medium-sized bowl.
  4. Now, place the pot in the ice water and stir to cool the oil quickly. Once the oil is almost cold, remove the pot from the water and let it sit for about 20 minutes so that the oil gets more infused.
  5. After the 20 minutes, pour the oil into the prepared fine sieve to catch the coarse particles.
  6. Then, pour the oil into the second sieve, which is equipped with a coffee filter, to catch the remaining finer particles.
  7. Allow the oil to drip through for about 1 hour or maybe less depending on how many remaining particles are in the coffee filter. Once all the oil has passed through the coffee filter, transfer the collected amount of oil into an oil bottle. Store in the refrigerator for up to 1-2 weeks.
  • Prep Time: 5 min
  • Passive Time: 30 min
  • Cook Time: 30 min

Lemongrass Oil

Lemongrass Oil

Lemongrass Oil

Lemongrass Oil

July 31, 2024 by Kimberly

Bring a burst of fresh, citrusy zest to your dishes with lemongrass oil! It’s the perfect way to elevate your cooking with bright, exotic flavors.

50 MINUTES

ADVANCED

VEGAN

INT.

40 PER TSP

REFRESHING
ZESTY

MICHELIN

OIL

SUMMER

INTRODUCTION

ABOUT THE RECIPE

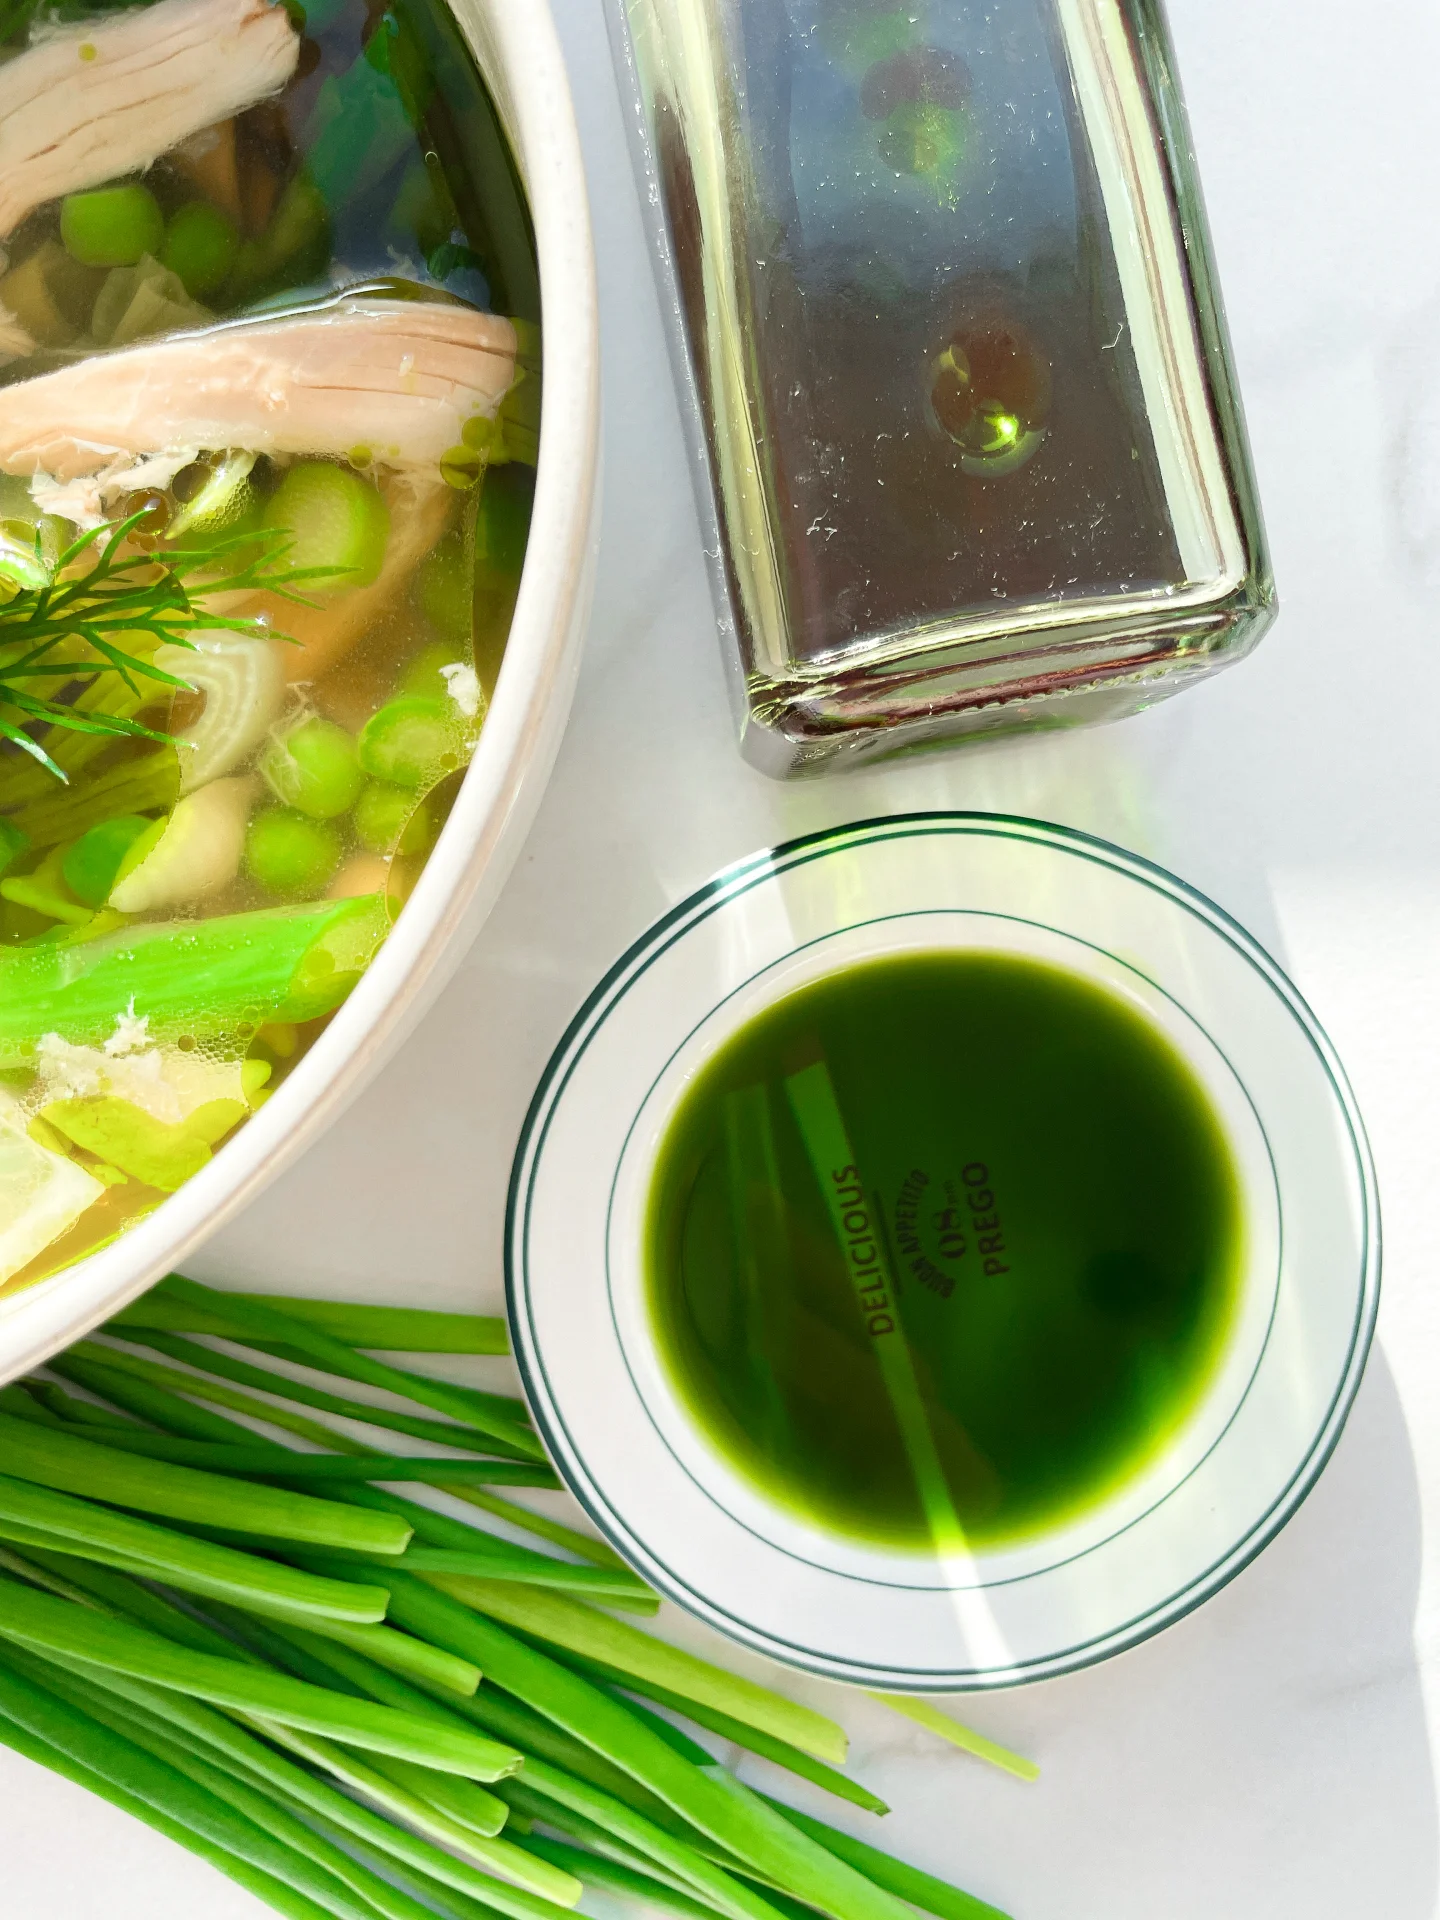
Lemongrass oil is your new secret weapon in the kitchen! With its vibrant, citrusy notes, it adds a refreshing twist to any dish. Perfect for those who love experimenting with flavors, lemongrass oil is versatile and easy to use, making it a fantastic addition to both sweet and savory recipes.

How to serve
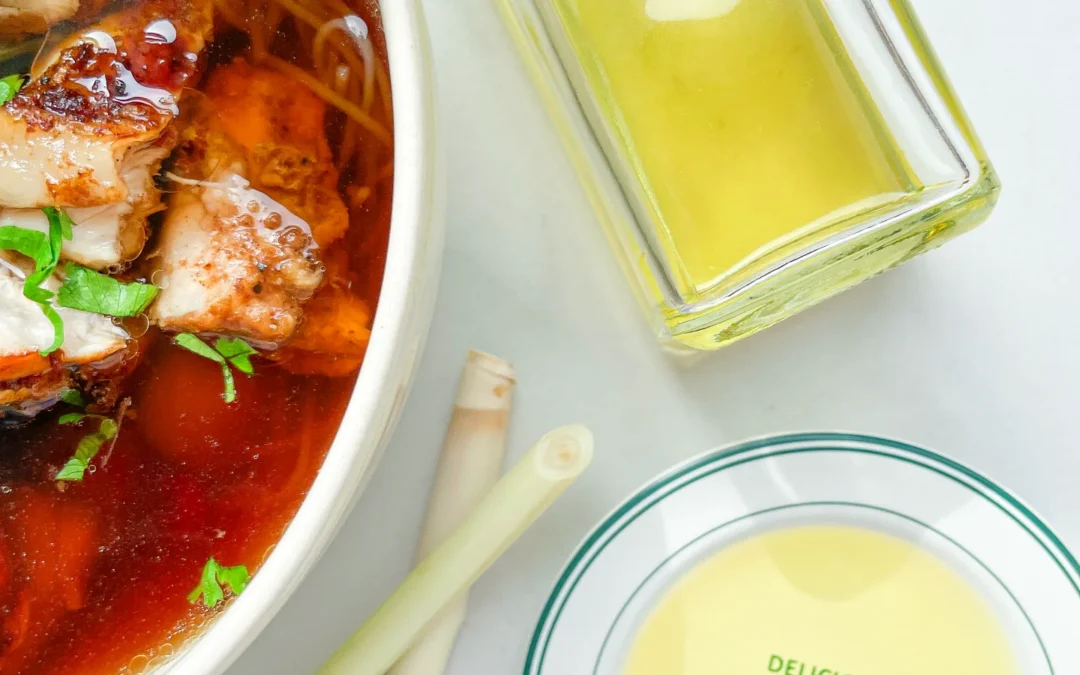
Drizzle lemongrass oil over salads for a zesty kick, or mix it into marinades for a burst of flavor. It’s also amazing in soups, curries, and even desserts. A little goes a long way, so start with a small amount and adjust to taste. I love to eat it in this Five Spice Roasted Chicken & King Oyster Mushroom Soup.

How to store
Store lemongrass oil in a cool, dark place to maintain its freshness and potency. Make sure the bottle is tightly sealed to prevent oxidation. Properly stored, it can last for 1-2 weeks.

Hi, I'm Kimberly!

Hi, I'm Kimberly.

A passionate food lover who believes in the magic of homemade deliciousness that spreads love and warmth. Join me on this culinary adventure as I prepare wonderful dishes and let’s spread some happiness together!

Kimberly the Zett Signature

If you want to get to know me better, click here!


Lemongrass Oil
Lemongrass Oil
Lemongrass Oil
„Let’s make a piece of happiness“
Print
clock clock iconcutlery cutlery iconflag flag iconfolder folder iconinstagram instagram iconpinterest pinterest iconfacebook facebook iconprint print iconsquares squares iconheart heart iconheart solid heart solid icon
Lemongrass Oil

Lemongrass Oil


  • Author: Kimberly
  • Total Time: 50 min
  • Yield: 250 ml / 1 cup 1x

Description

RECOMMENDED EQUIPMENT

  • blender
  • medium-sized saucepan
  • whisk
  • a bowl which the medium saucepan fits into
  • 2 medium-sized bowls
  • 2 fine sieves
  • oil bottle
  • ice cubes
  • coffee filter

Ingredients

Units Scale
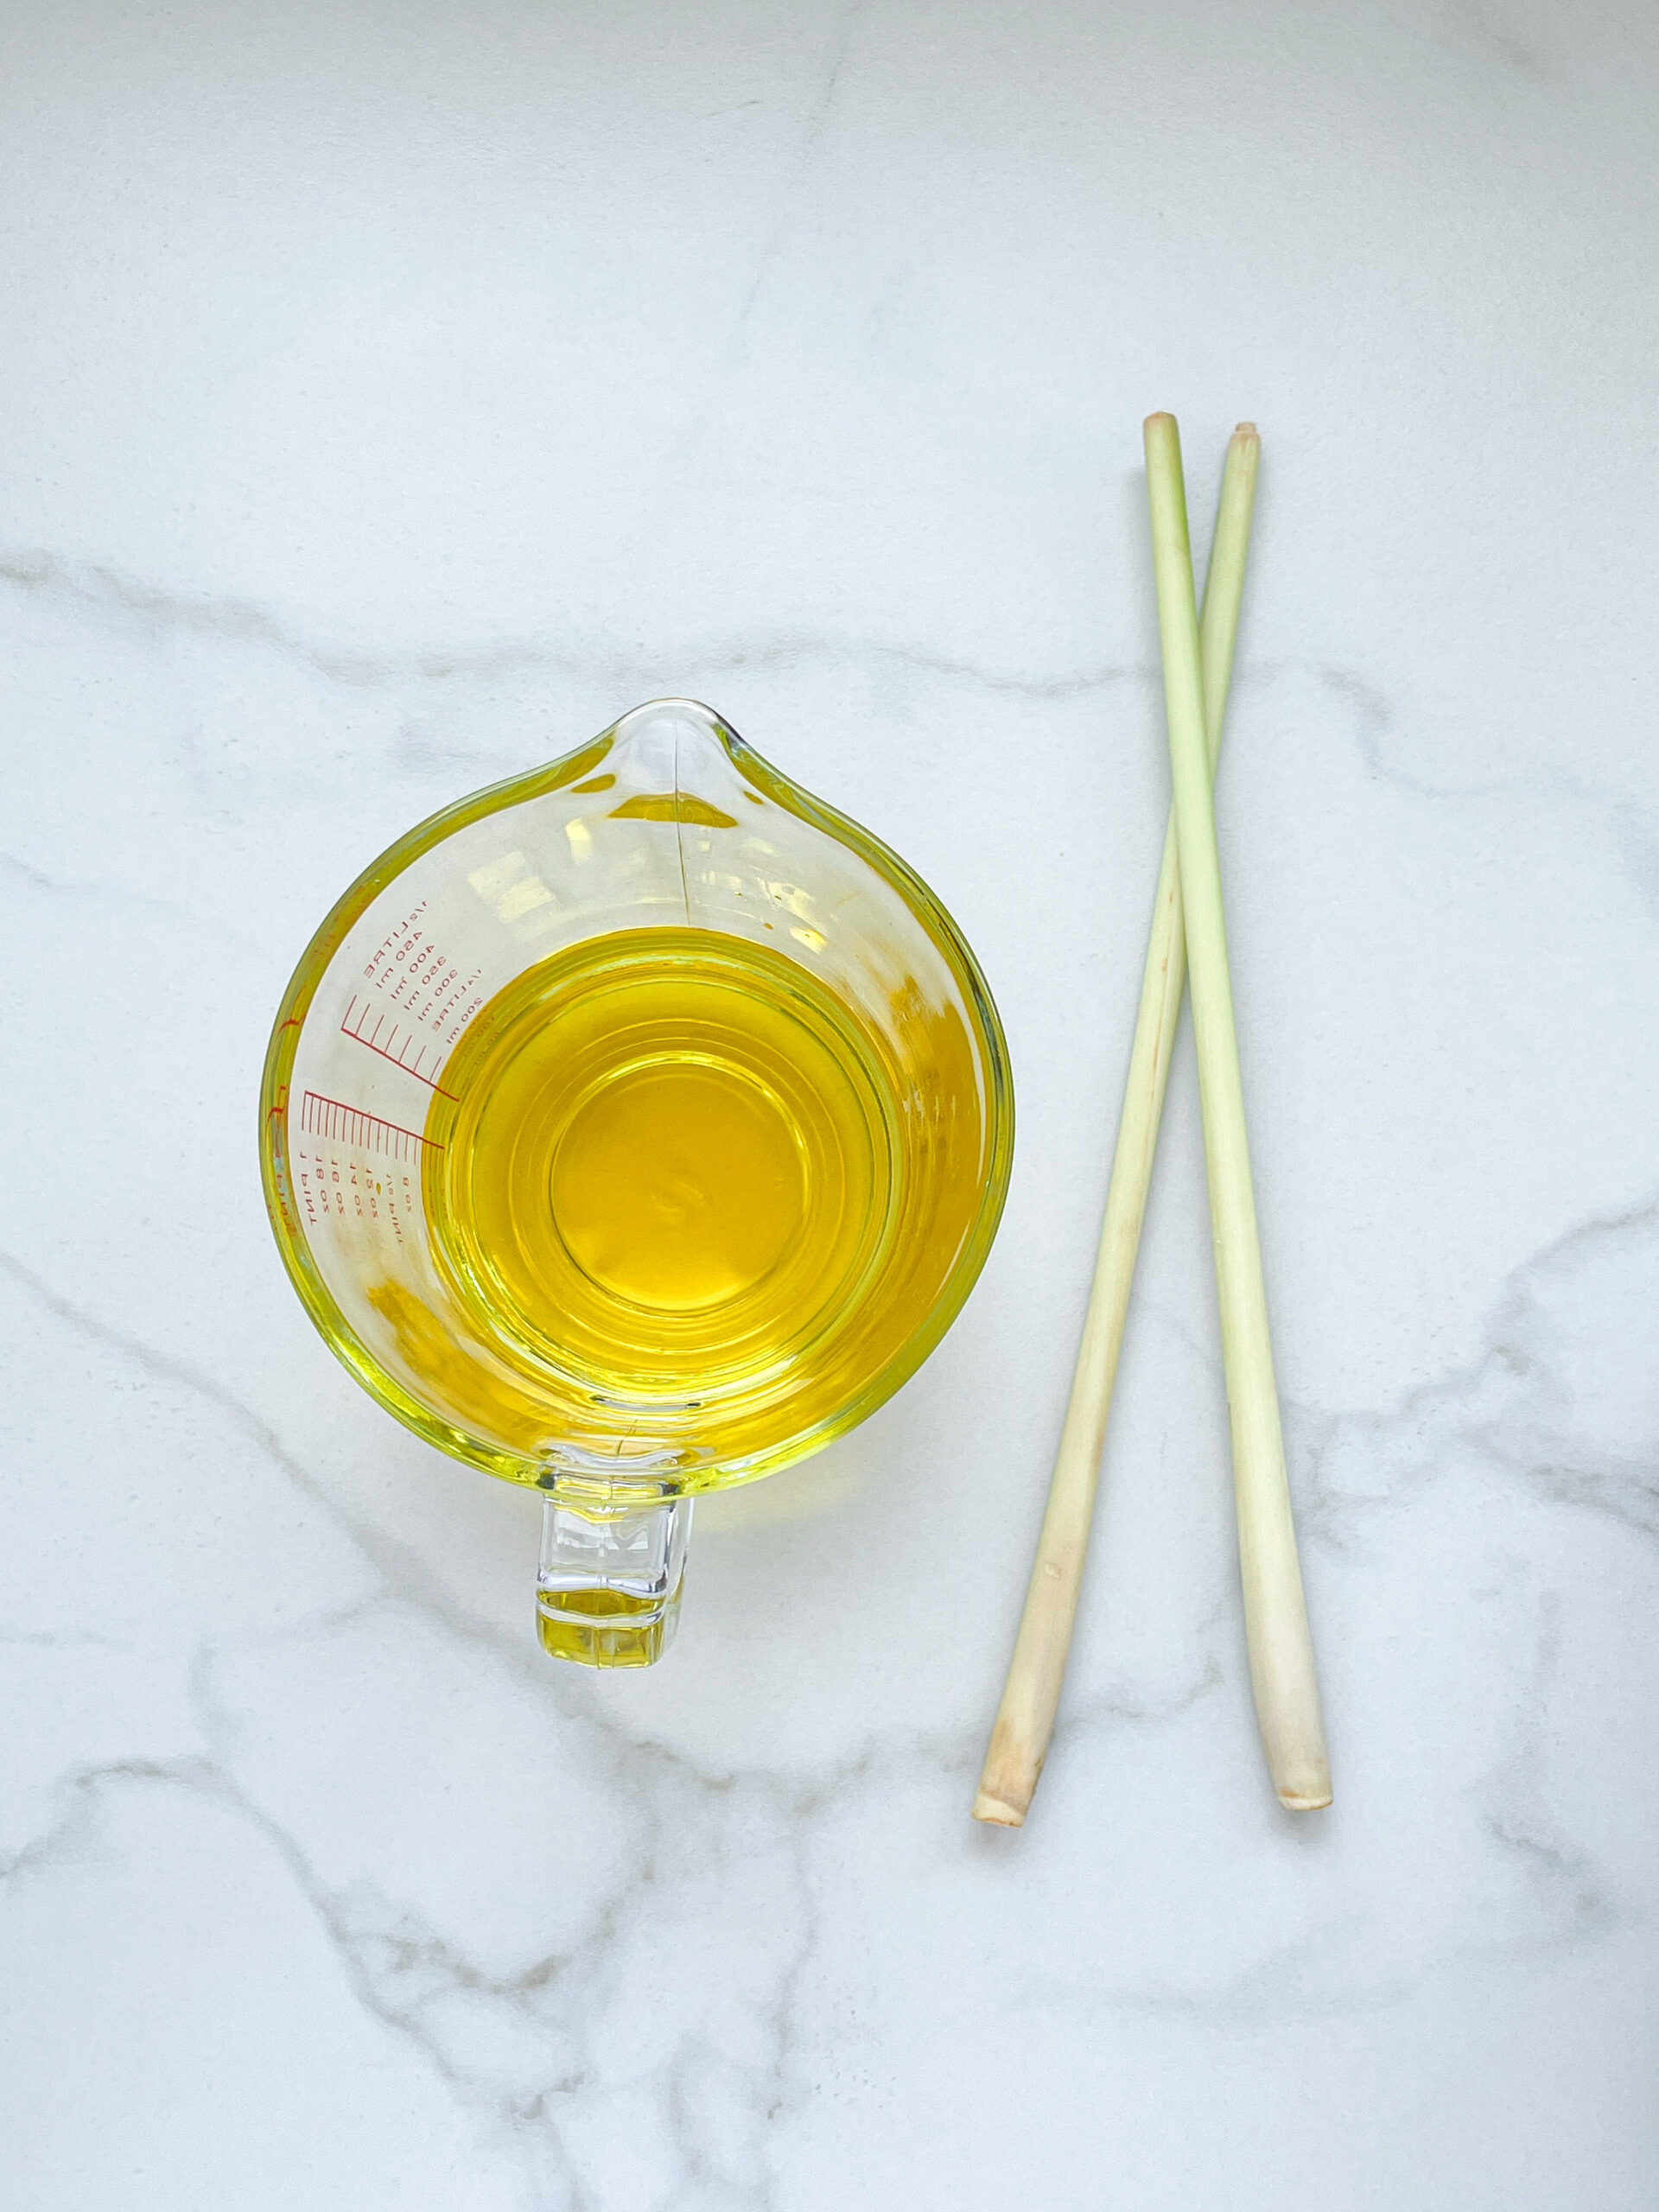
  • 25 grams lemon grass
  • 250 milliliters cold-pressed sunflower oil

Instructions

  1. Chop the lemongrass into coarse pieces, and put them into the blender. Pour in the oil. Blend on the highest setting until only tiny pieces of the lemongrass are visible.
  2. Pour the mixture from the blender into a medium-sized pot and heat it over medium heat to a temperature of about 102°-103°C (215°-217°F), and maintain this temperature for the next 10-15 minutes. Stir occasionally, making sure the temperature remains steady and nothing gets burned.
  3. Prepare a bowl large enough to fit a medium-sized pot, and fill it with cold water and a handful of ice cubes. Also, hang a fine sieve strainer over one medium-sized bowl and another fine sieve strainer, with a coffee filter inside it, over another medium-sized bowl.
  4. Now, place the pot in the ice water and stir to cool the oil quickly. Once the oil is almost cold, remove the pot from the water and let it sit for about 20 minutes so that the oil gets more infused.
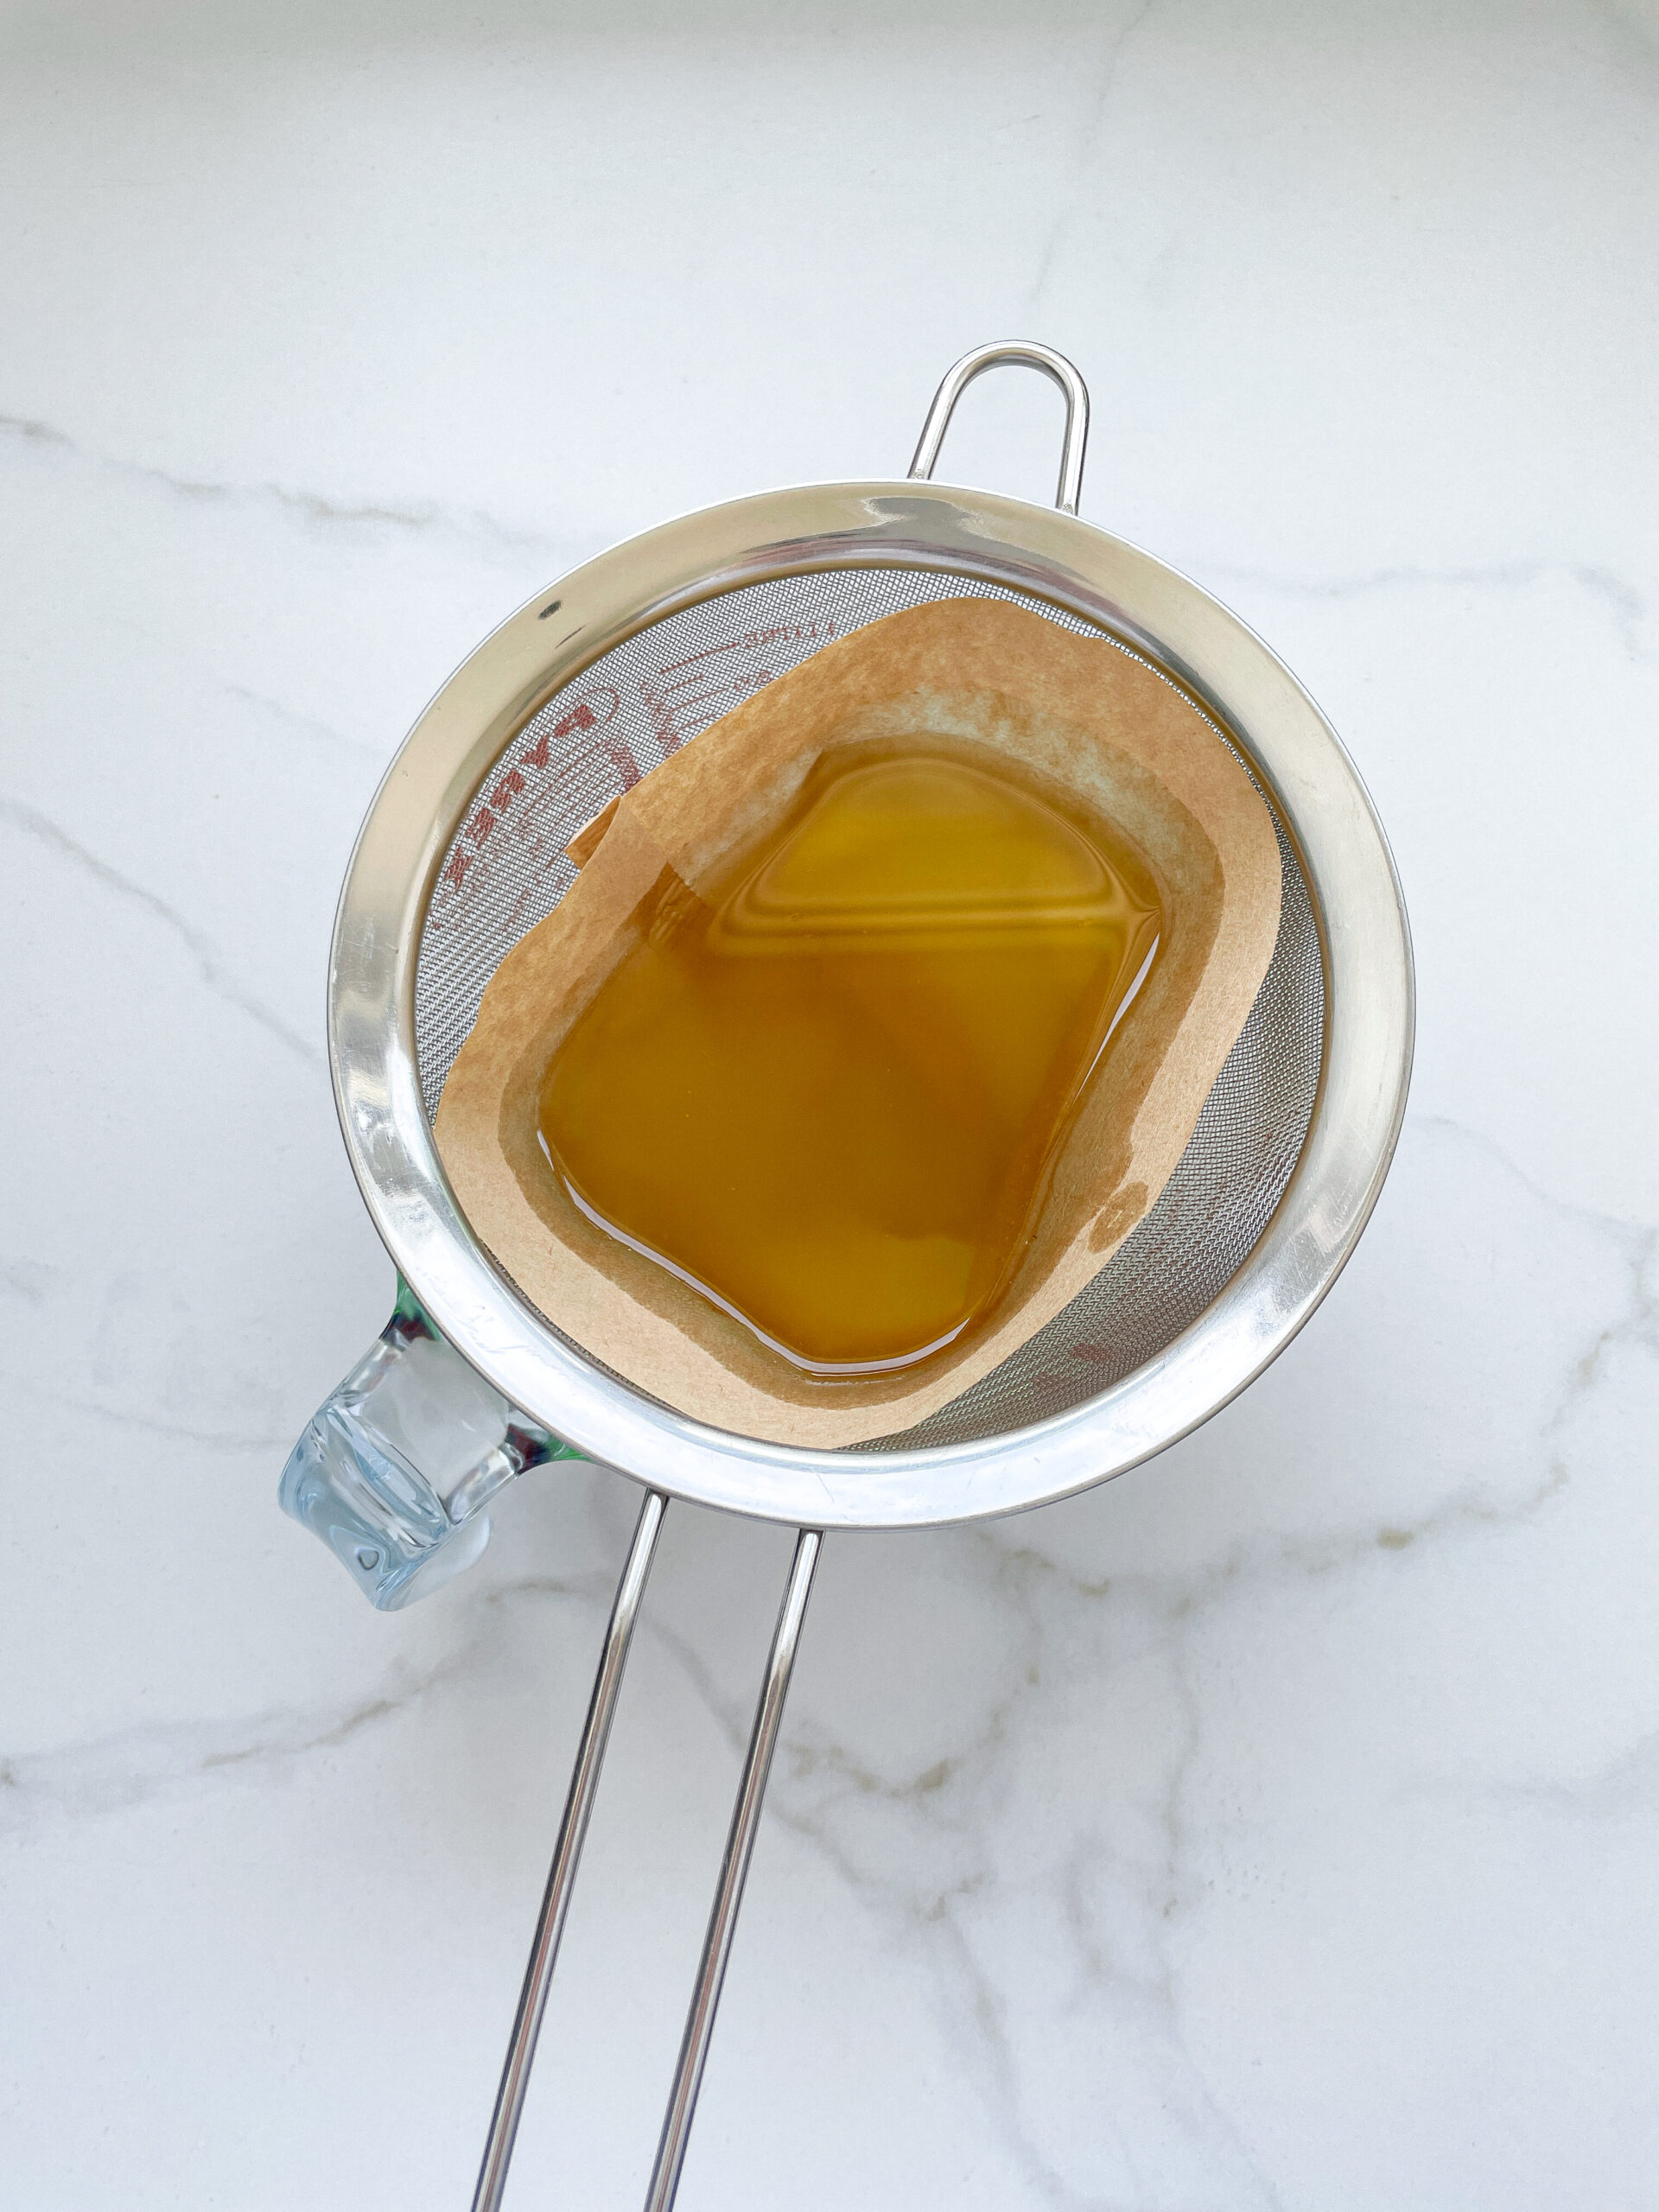
  5. After the 20 minutes, pour the oil into the prepared fine sieve to catch the coarse particles.
  6. Then, pour the oil into the second sieve, which is equipped with a coffee filter, to catch the remaining finer particles.
  7. Allow the oil to drip through for about 1 hour or maybe more depending on how many remaining particles are in the coffee filter. Once all the oil has passed through the coffee filter, transfer the collected amount of oil into an oil bottle. Store in the refrigerator for up to 1-2 weeks.
  • Prep Time: 5 min
  • Passive Time: 30 min
  • Cook Time: 15 min