Lime Coconut Oil

Lime Coconut Oil

Lime Coconut Oil

Lime Coconut Oil

July 30, 2024 by Kimberly

Brighten your dishes with lime coconut oil! This zesty, tropical blend adds a burst of flavor to any meal, making cooking an absolute joy.

This website uses affiliate links which may earn commission for purchases made at no additional cost to you.

TOTAL TIME

1 hr + 35 min

SERVES

1 cup / 250 ml

DIET

vegan

EVERY RECIPE DESERVES

A Little Love Letter

Transform your cooking with the vibrant flavor of lime coconut oil! This tropical-infused oil combines the rich, creamy taste of coconut with the refreshing zest of lime, creating a versatile ingredient that enhances any dish. Whether you’re drizzling it over salads, using it in marinades, or adding it to desserts, lime coconut oil brings a delightful twist that will make your culinary creations unforgettable.

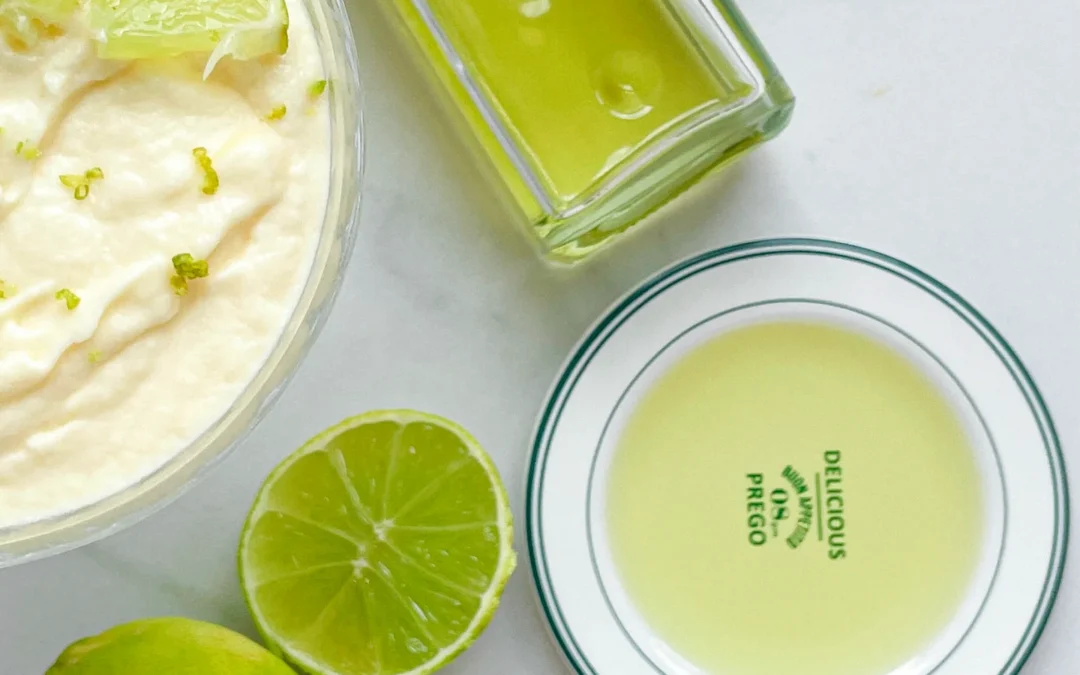
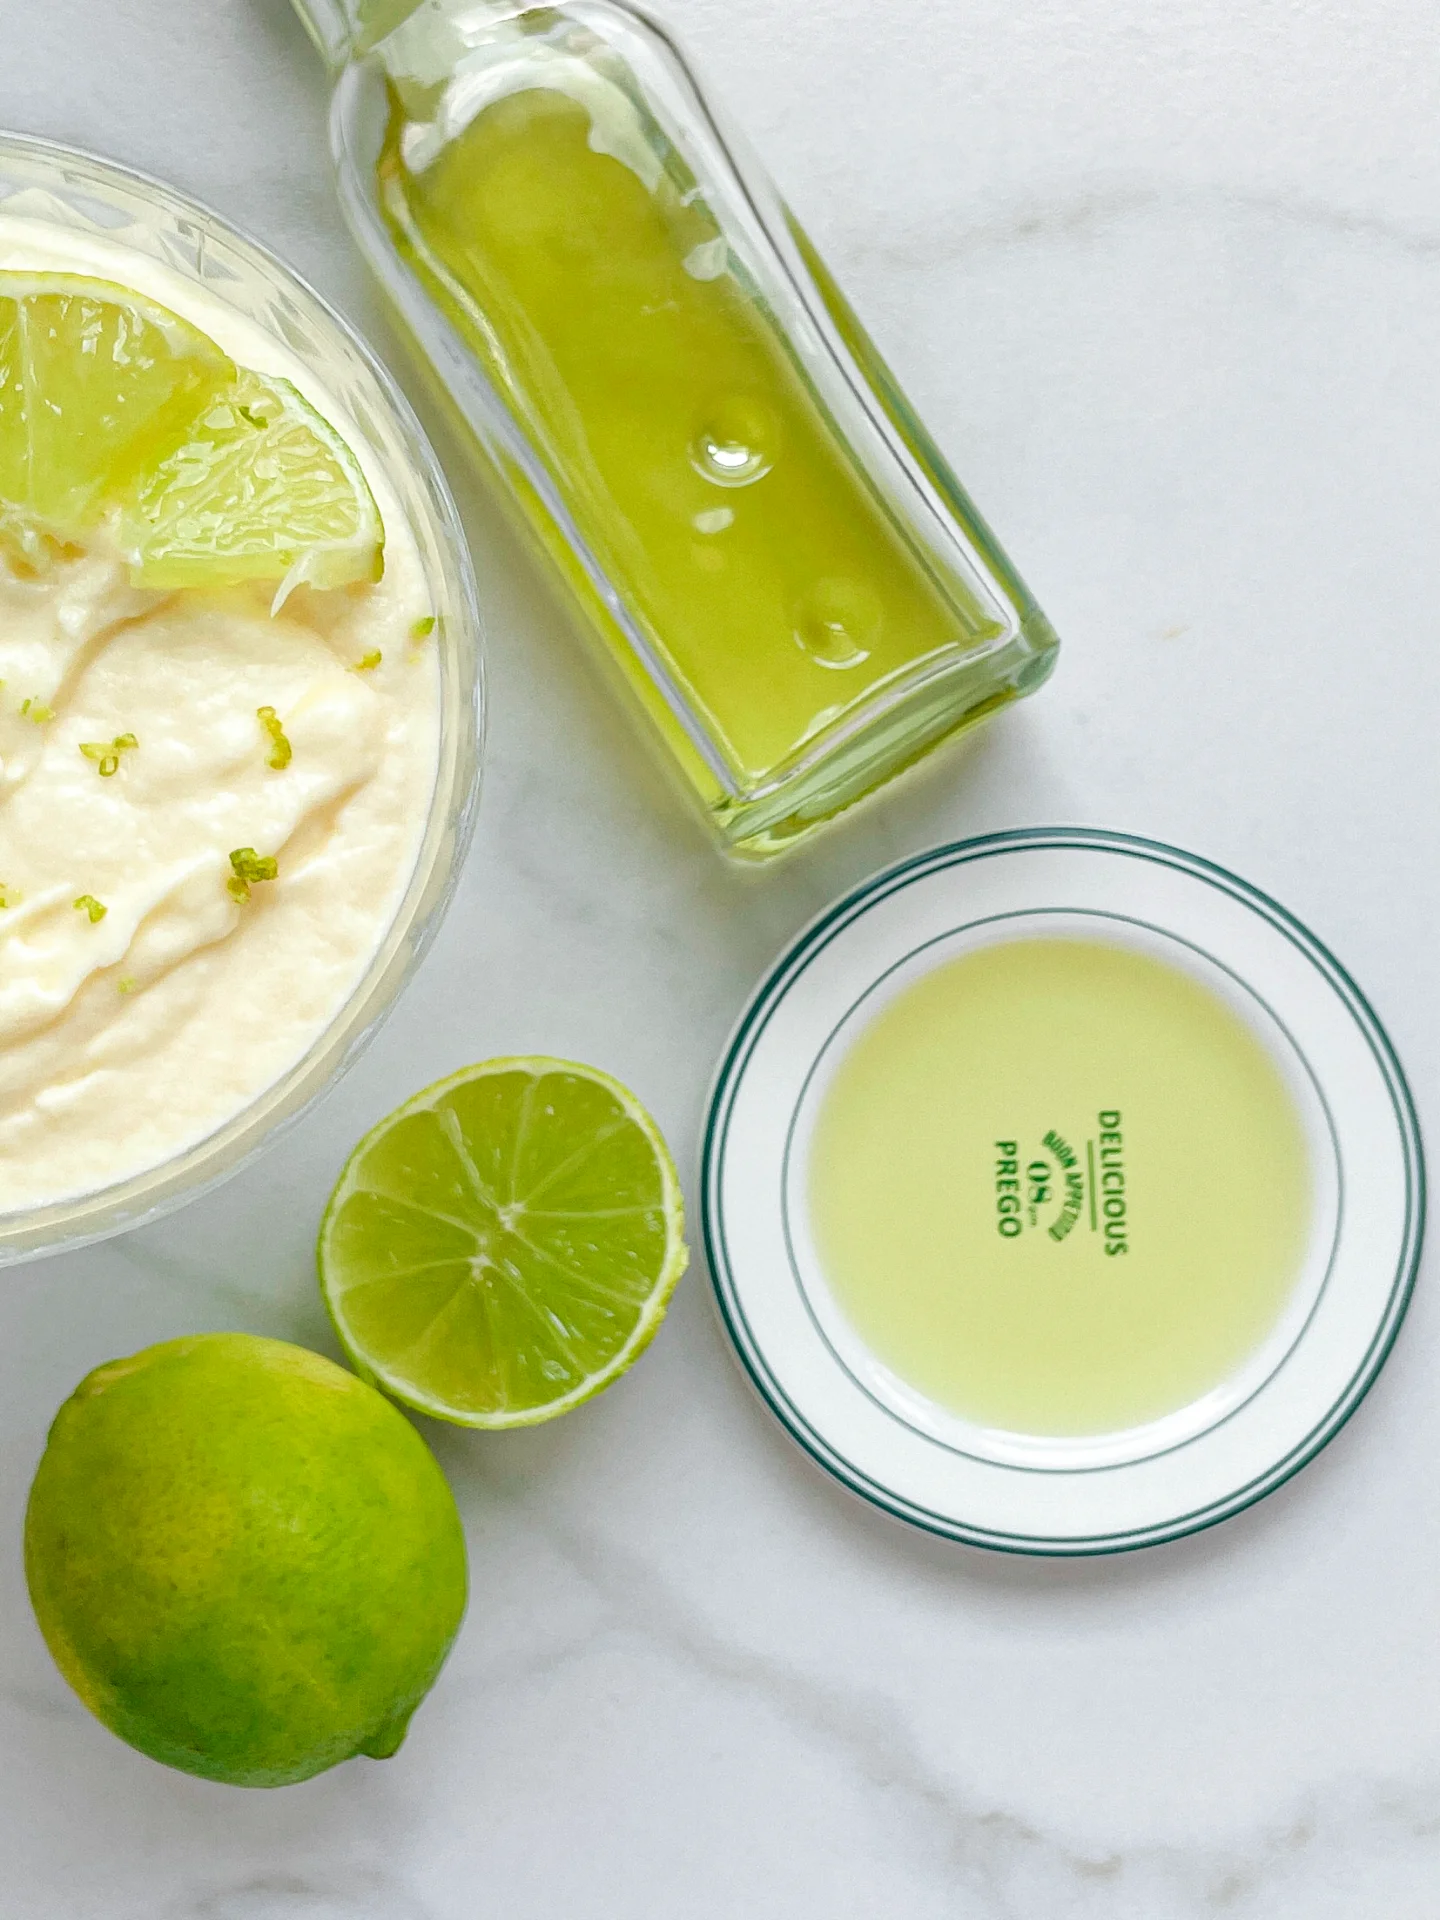
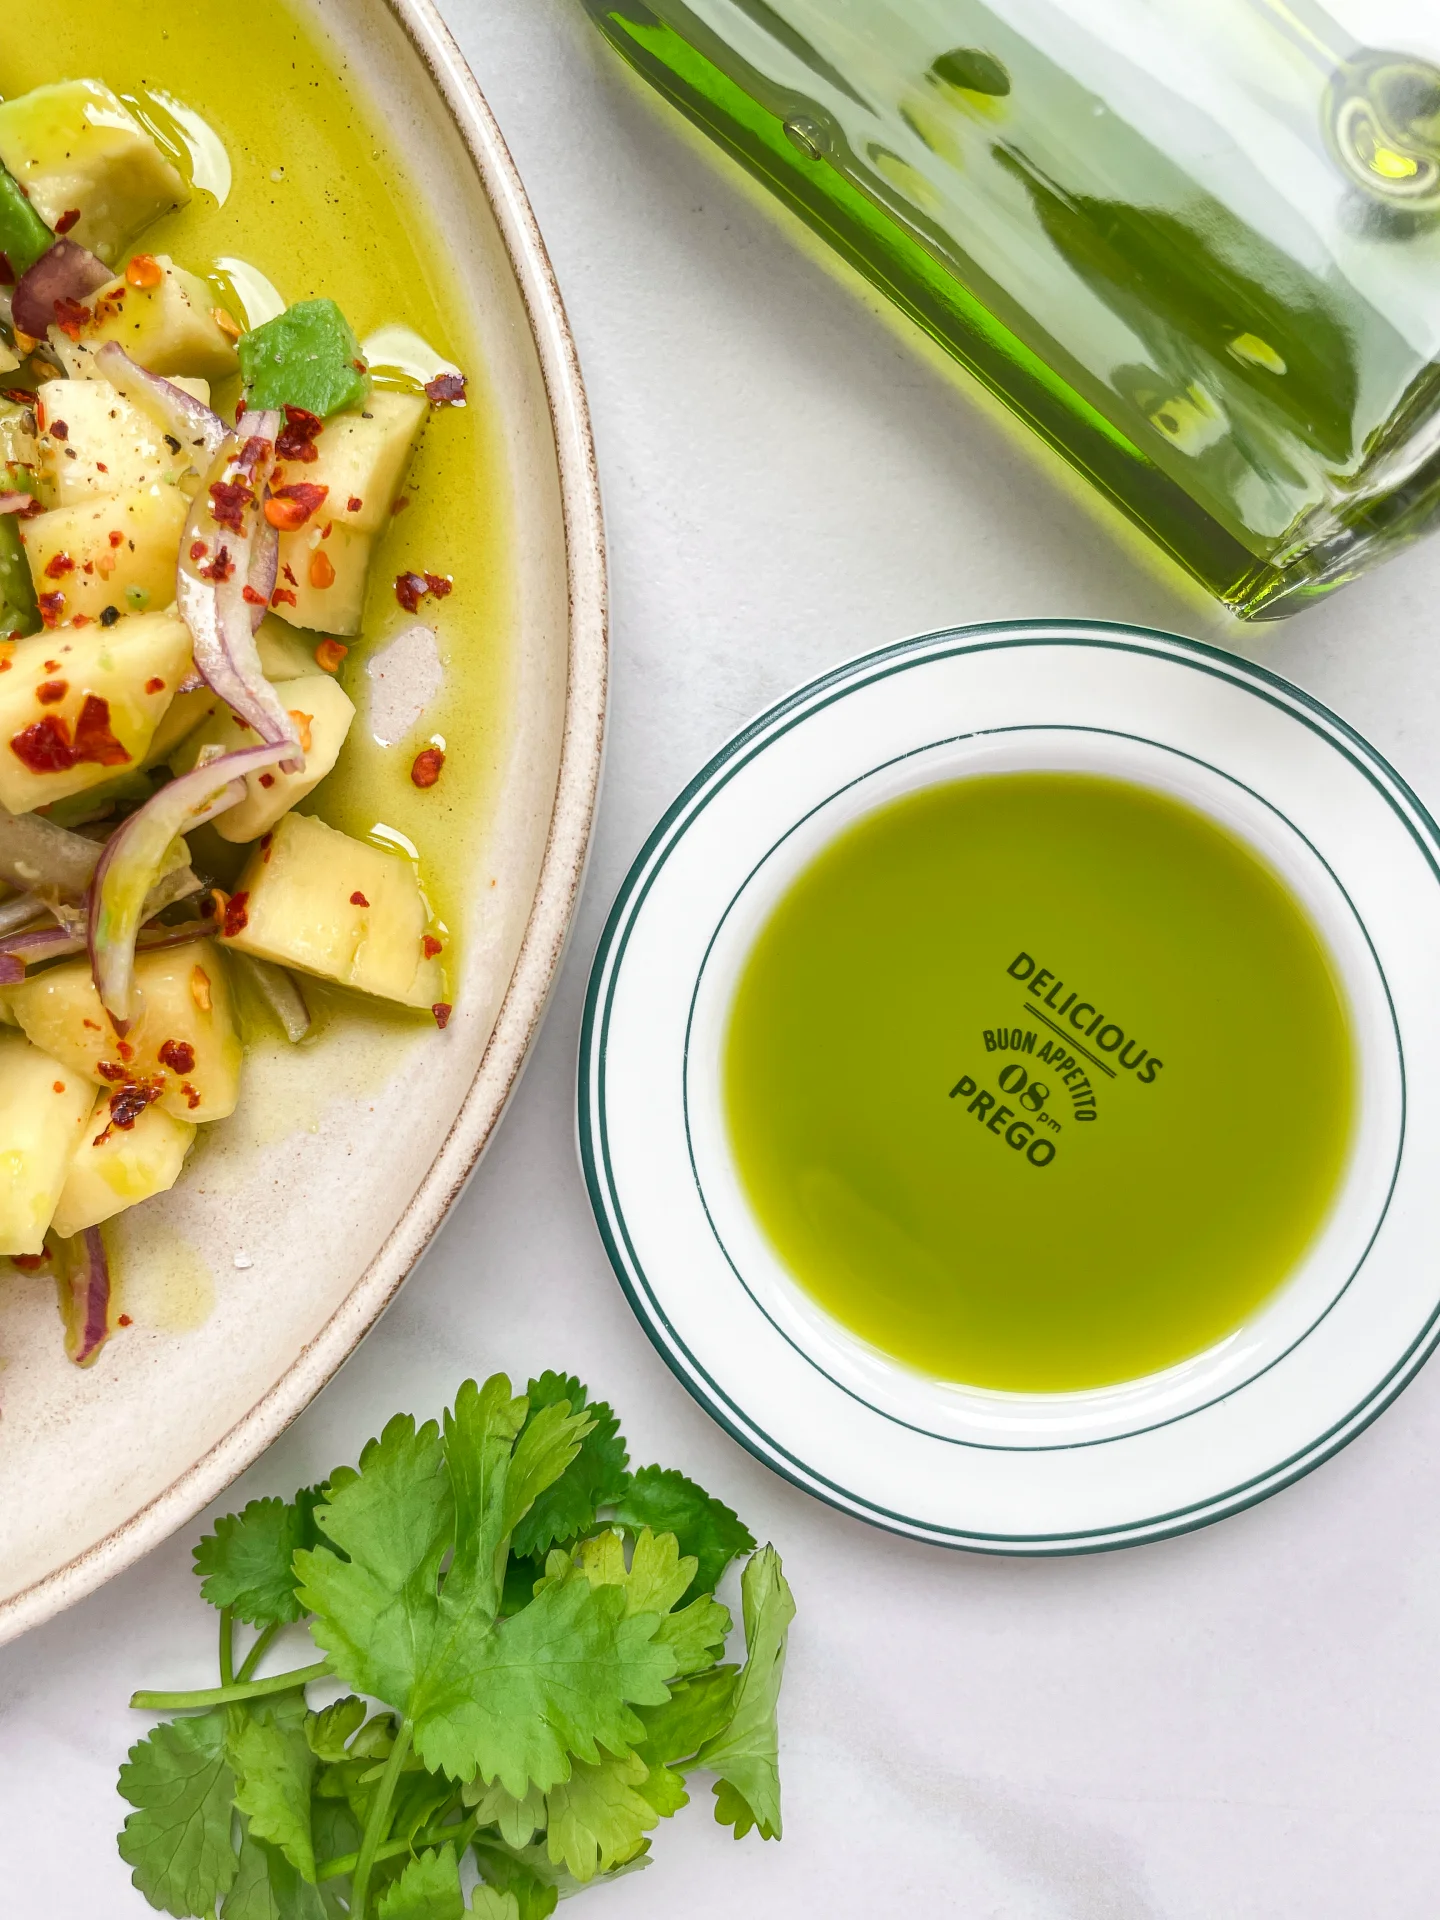
Lime coconut oil is perfect for a variety of dishes. It’s fantastic in baking, adding a unique twist to cakes, cookies, and muffins. For a quick and tasty snack, try it on popcorn with a sprinkle of sea salt or in a smoothie. But you have to try it with this White Chocolate Mousse. Just replace half of the butter with the lime coconut oil and you have the most refreshing dessert of all times.

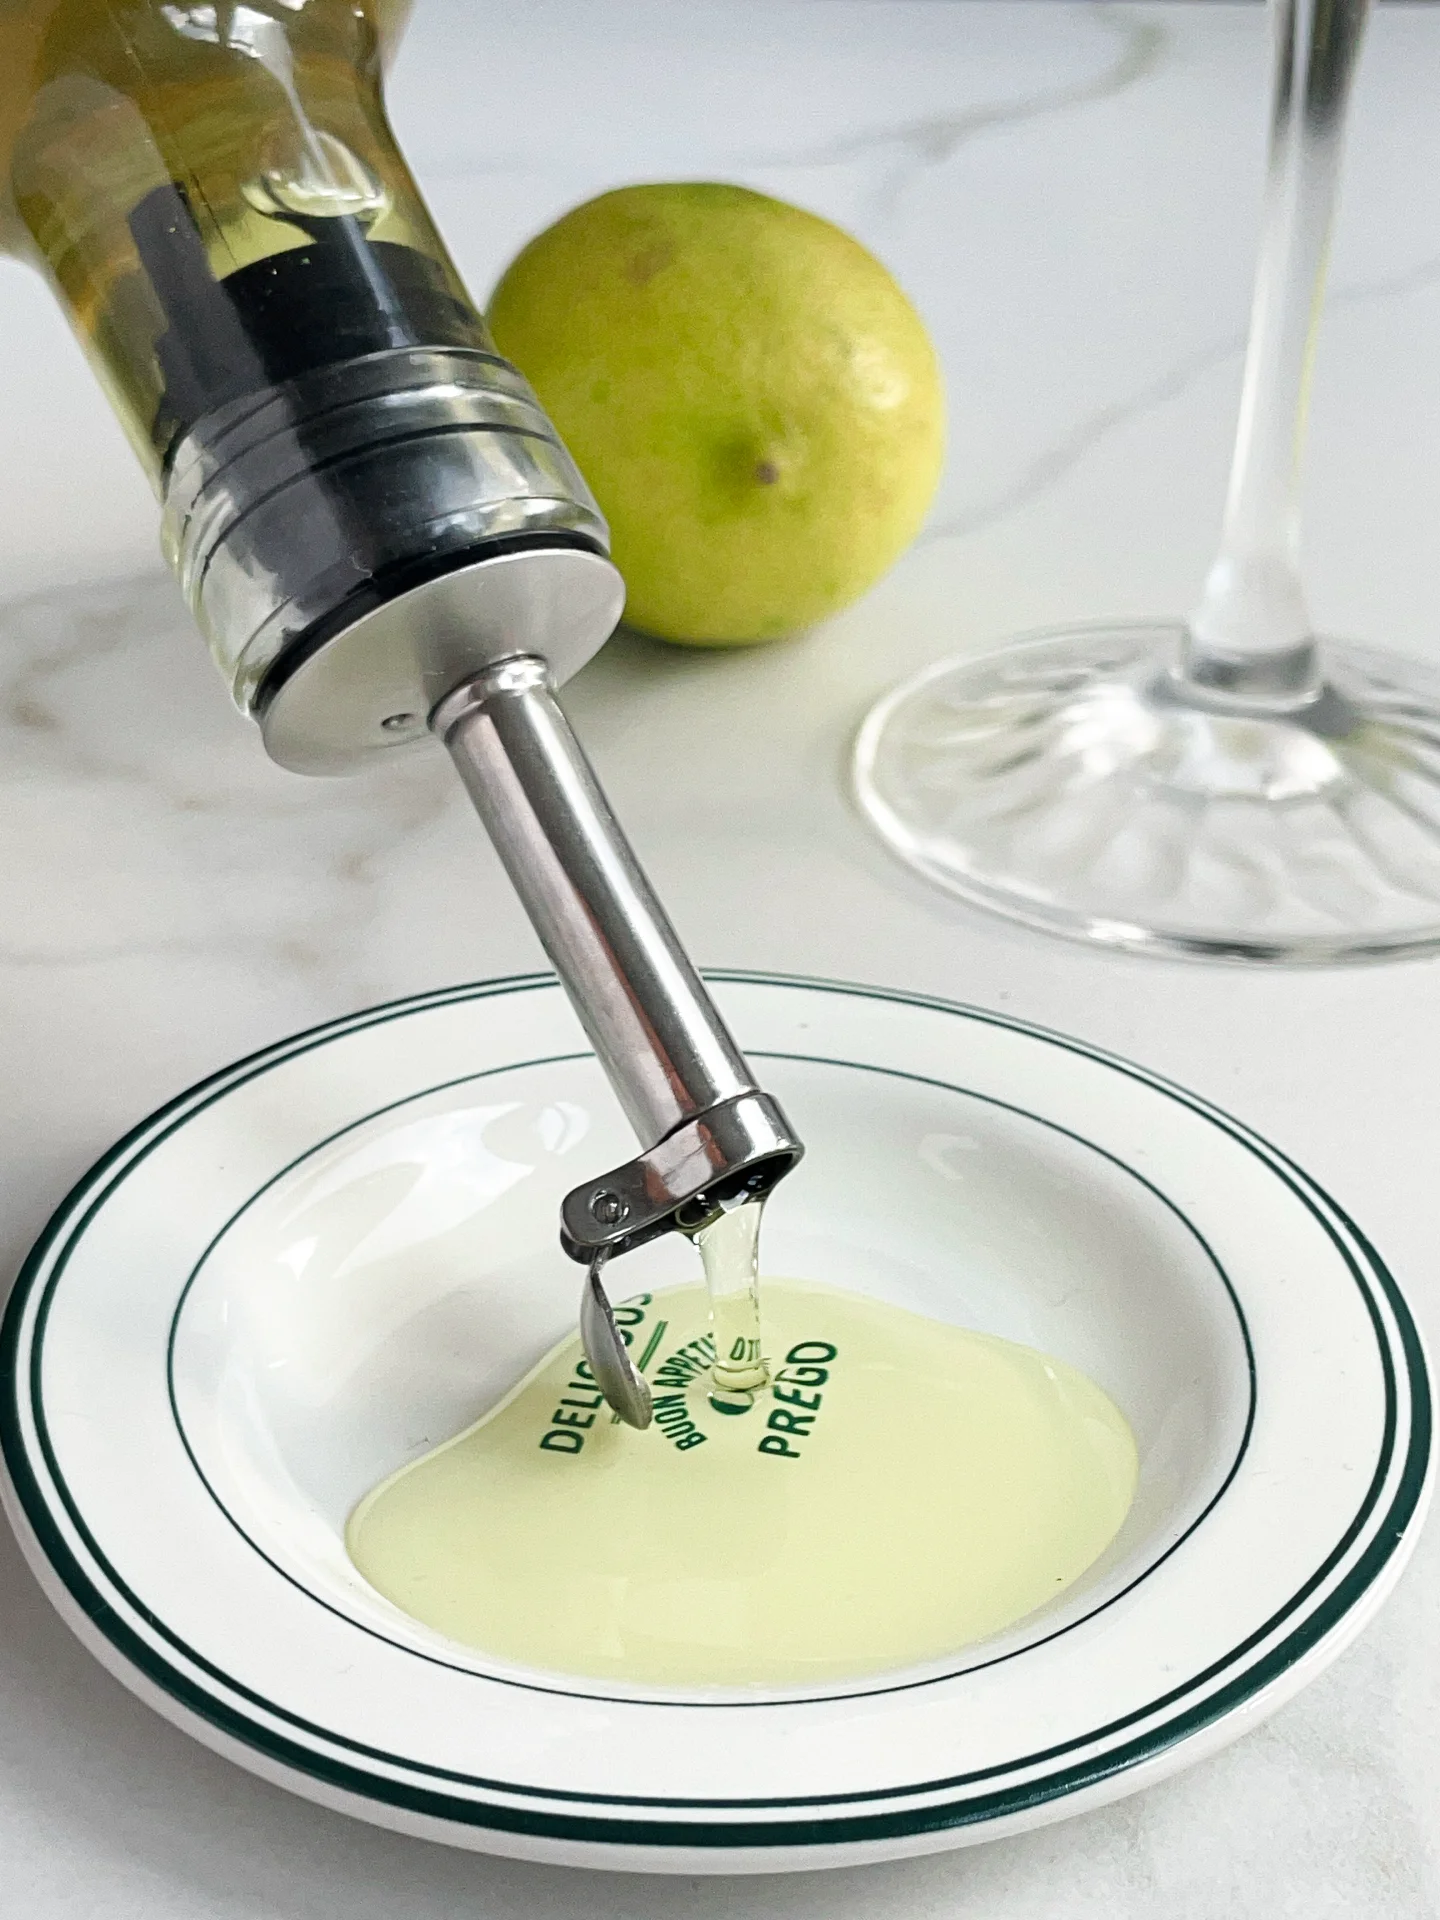
Store your lime coconut oil in a cool, dark place in an oil bottle. This will keep the flavors fresh and vibrant for up to 1-2 weeks. Fill a glass with warm water and place your oil bottle in it to melt the coconut oil to make it easy to use.

Hi, I'm Kimberly!

Hi, I'm Kimberly.

A hopeless romantic when it comes to food. Every recipe I share is a love letter to food itself. I’m so glad you’re here. Make yourself at home and stay a while.

Love,
Kimberly

Kimberly the Zett Signature

If you want to get to know me better,
click here!


Lime Coconut Oil
Lime Coconut Oil
Lime Coconut Oil
Lime Coconut Oil

LET’S MAKE A PIECE OF HAPPINESS

Print
clock clock iconcutlery cutlery iconflag flag iconfolder folder iconinstagram instagram iconpinterest pinterest iconfacebook facebook iconprint print iconsquares squares iconheart heart iconheart solid heart solid icon
Lime Coconut Oil

Lime Coconut Oil


5 Stars 4 Stars 3 Stars 2 Stars 1 Star

No reviews

  • Author: Kimberly
  • Total Time: 105 min
  • Yield: 250 ml / 1 cup

Description

RECOMMENDED EQUIPMENT
  • blender
  • medium-sized saucepan
  • whisk
  • a bowl into which the medium saucepan fits
  • 2 medium-sized bowls
  • fine sieve
  • sealable container
  • coffee filter

Ingredients

Units Scale
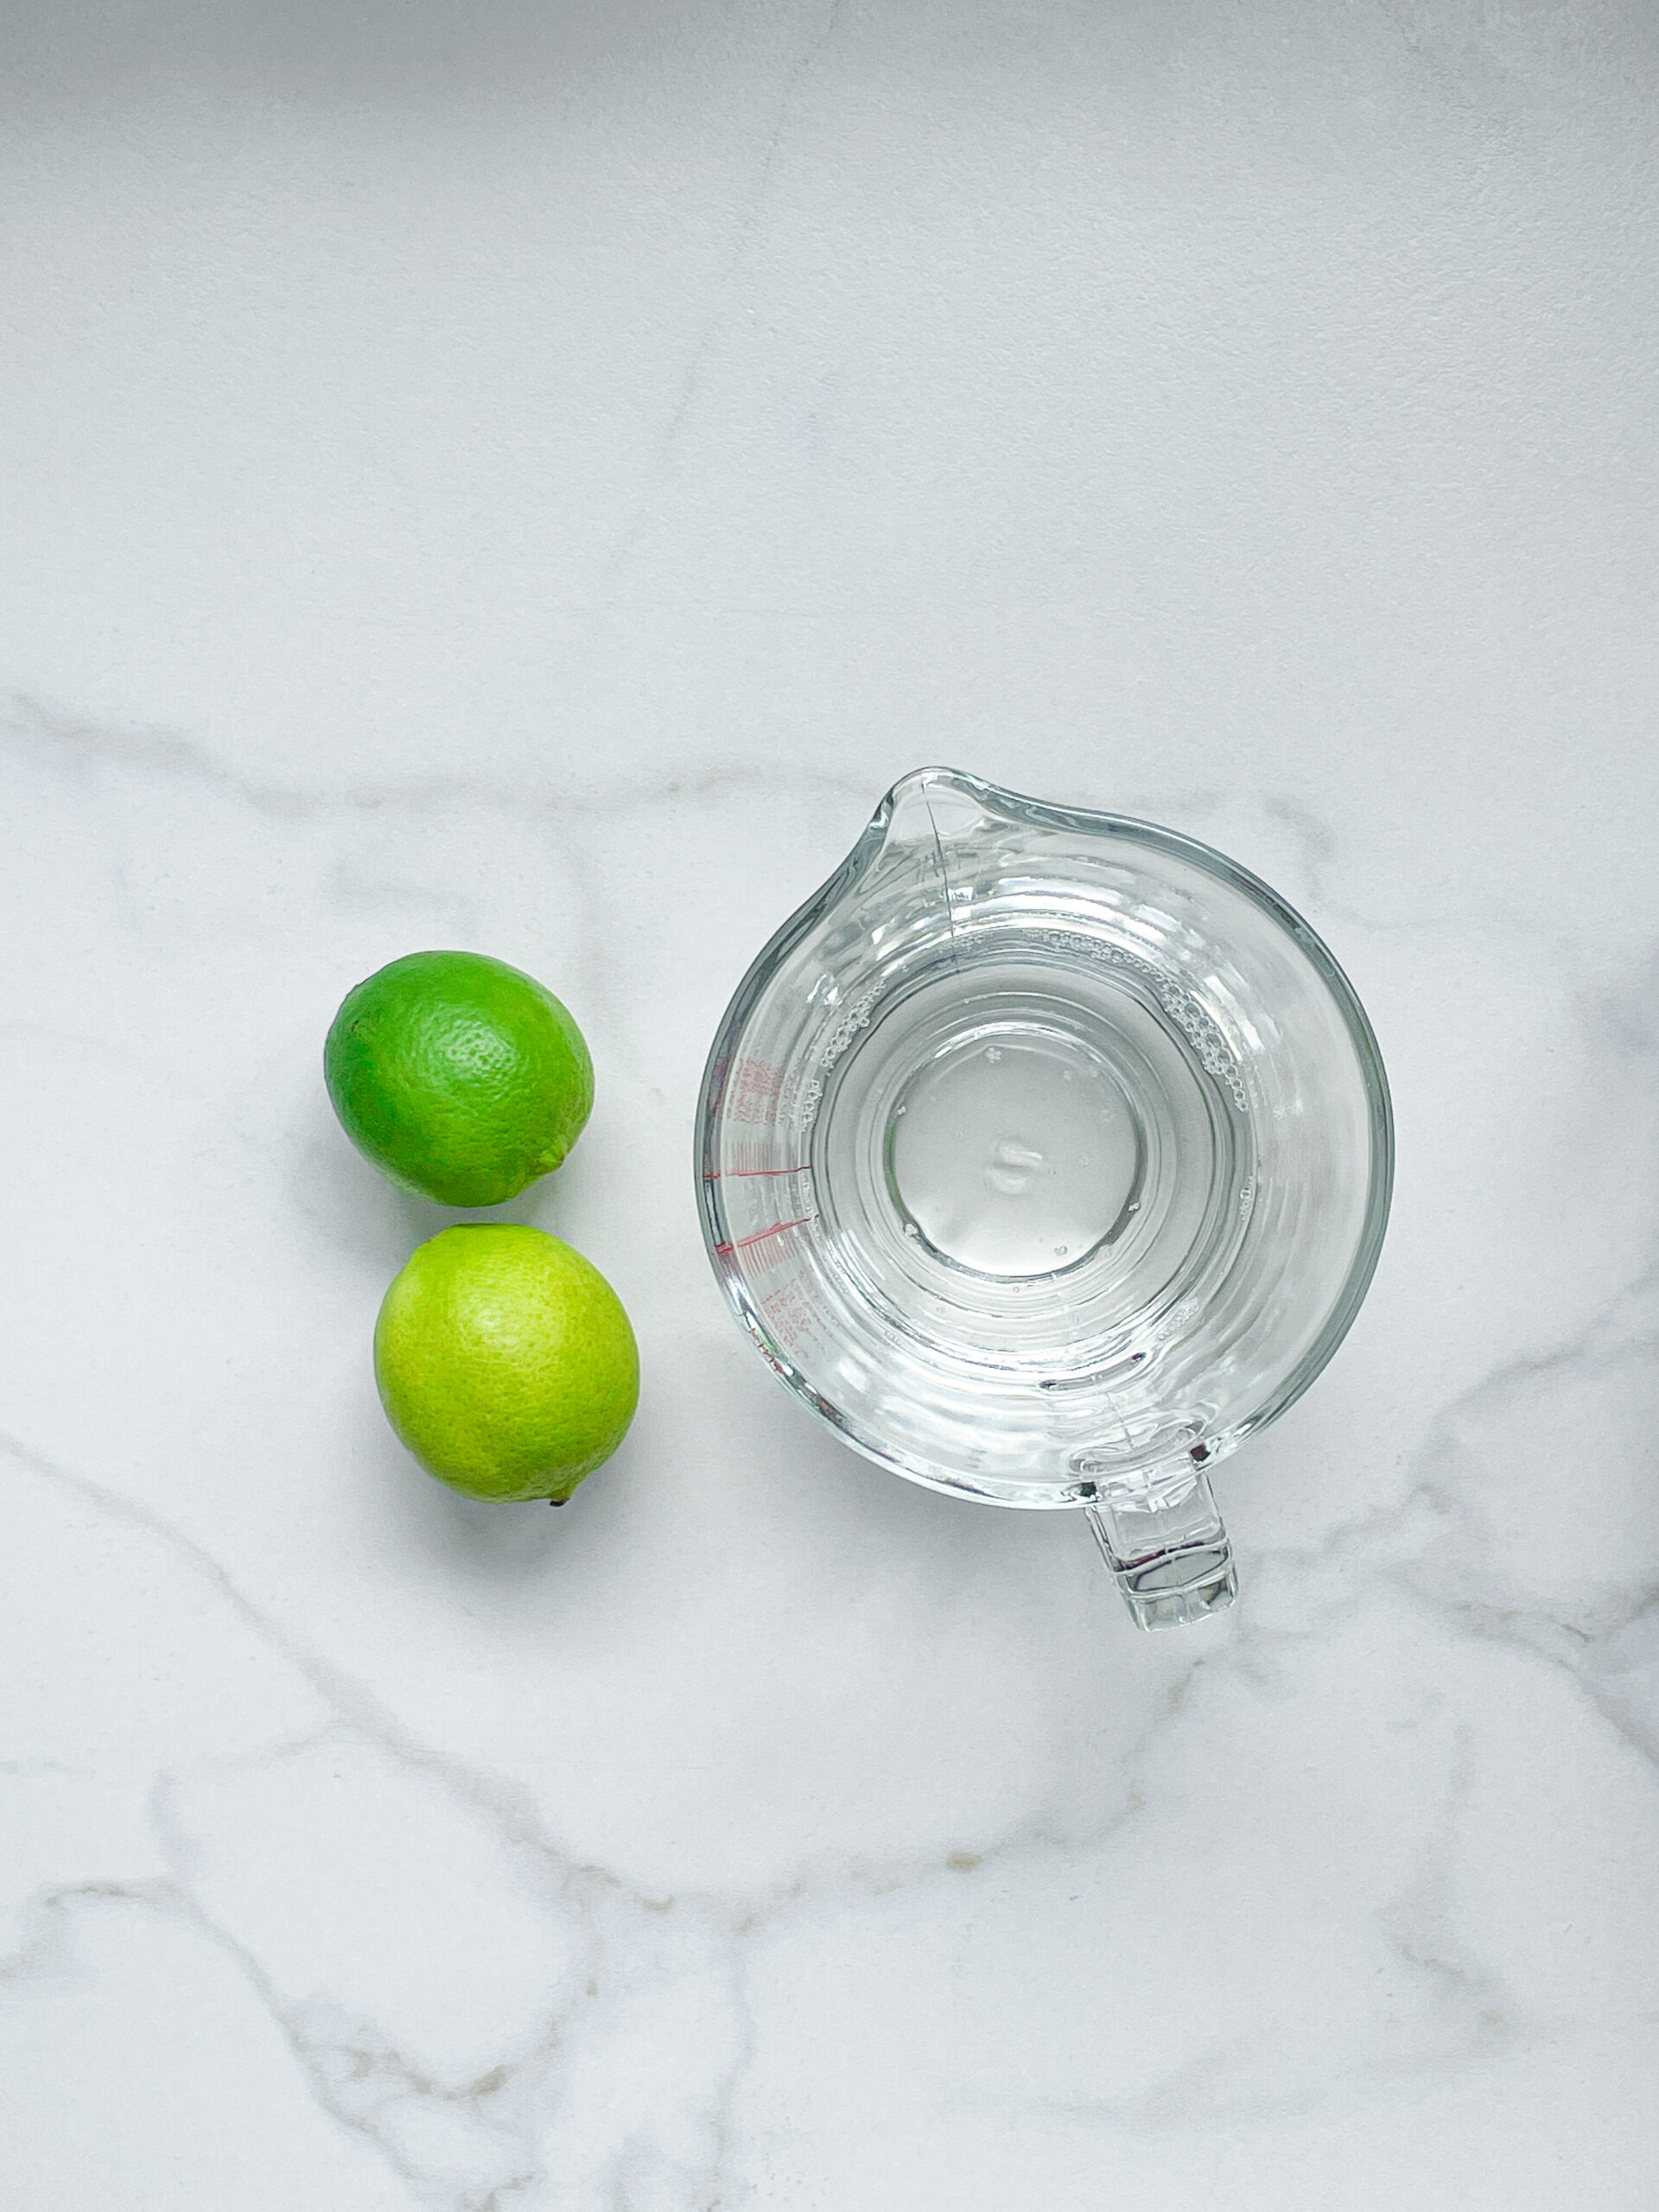
  • 2 limes
  • 250 milliliters cold-pressed coconut oil

Instructions

  1. Wash and dry the limes thoroughly. Put them into the blender. Since coconut oil solidifies below 23°C (73°F), you need to warm it up briefly so it can be poured over the limes in liquid form. Pour the oil into the blender and blend everything on the highest setting until it becomes pastel green and only small pieces of the limes are longer visible.
  2. Pour the mixture from the blender into a medium-sized pot and heat it over medium heat, constantly stirring, to a temperature of about 102°-103°C (215°-217°F). Then, let the mixture cook for the next 20 minutes. Stir only occasionally, making sure the temperature remains steady. This cooking time is essential for all the water to evaporate, allowing the perishable solids to settle at the bottom and the oil to float on top. You’ll know all the water has evaporated when the oil in the pot barely bubbles anymore – so if it’s still bubbling vigorously, keep it simmering.
  3. Once the oil mixture is no longer bubbling, remove the pot from the heat and let it cool a bit. Pour the oil into the fine sieve to catch the coarse particles.
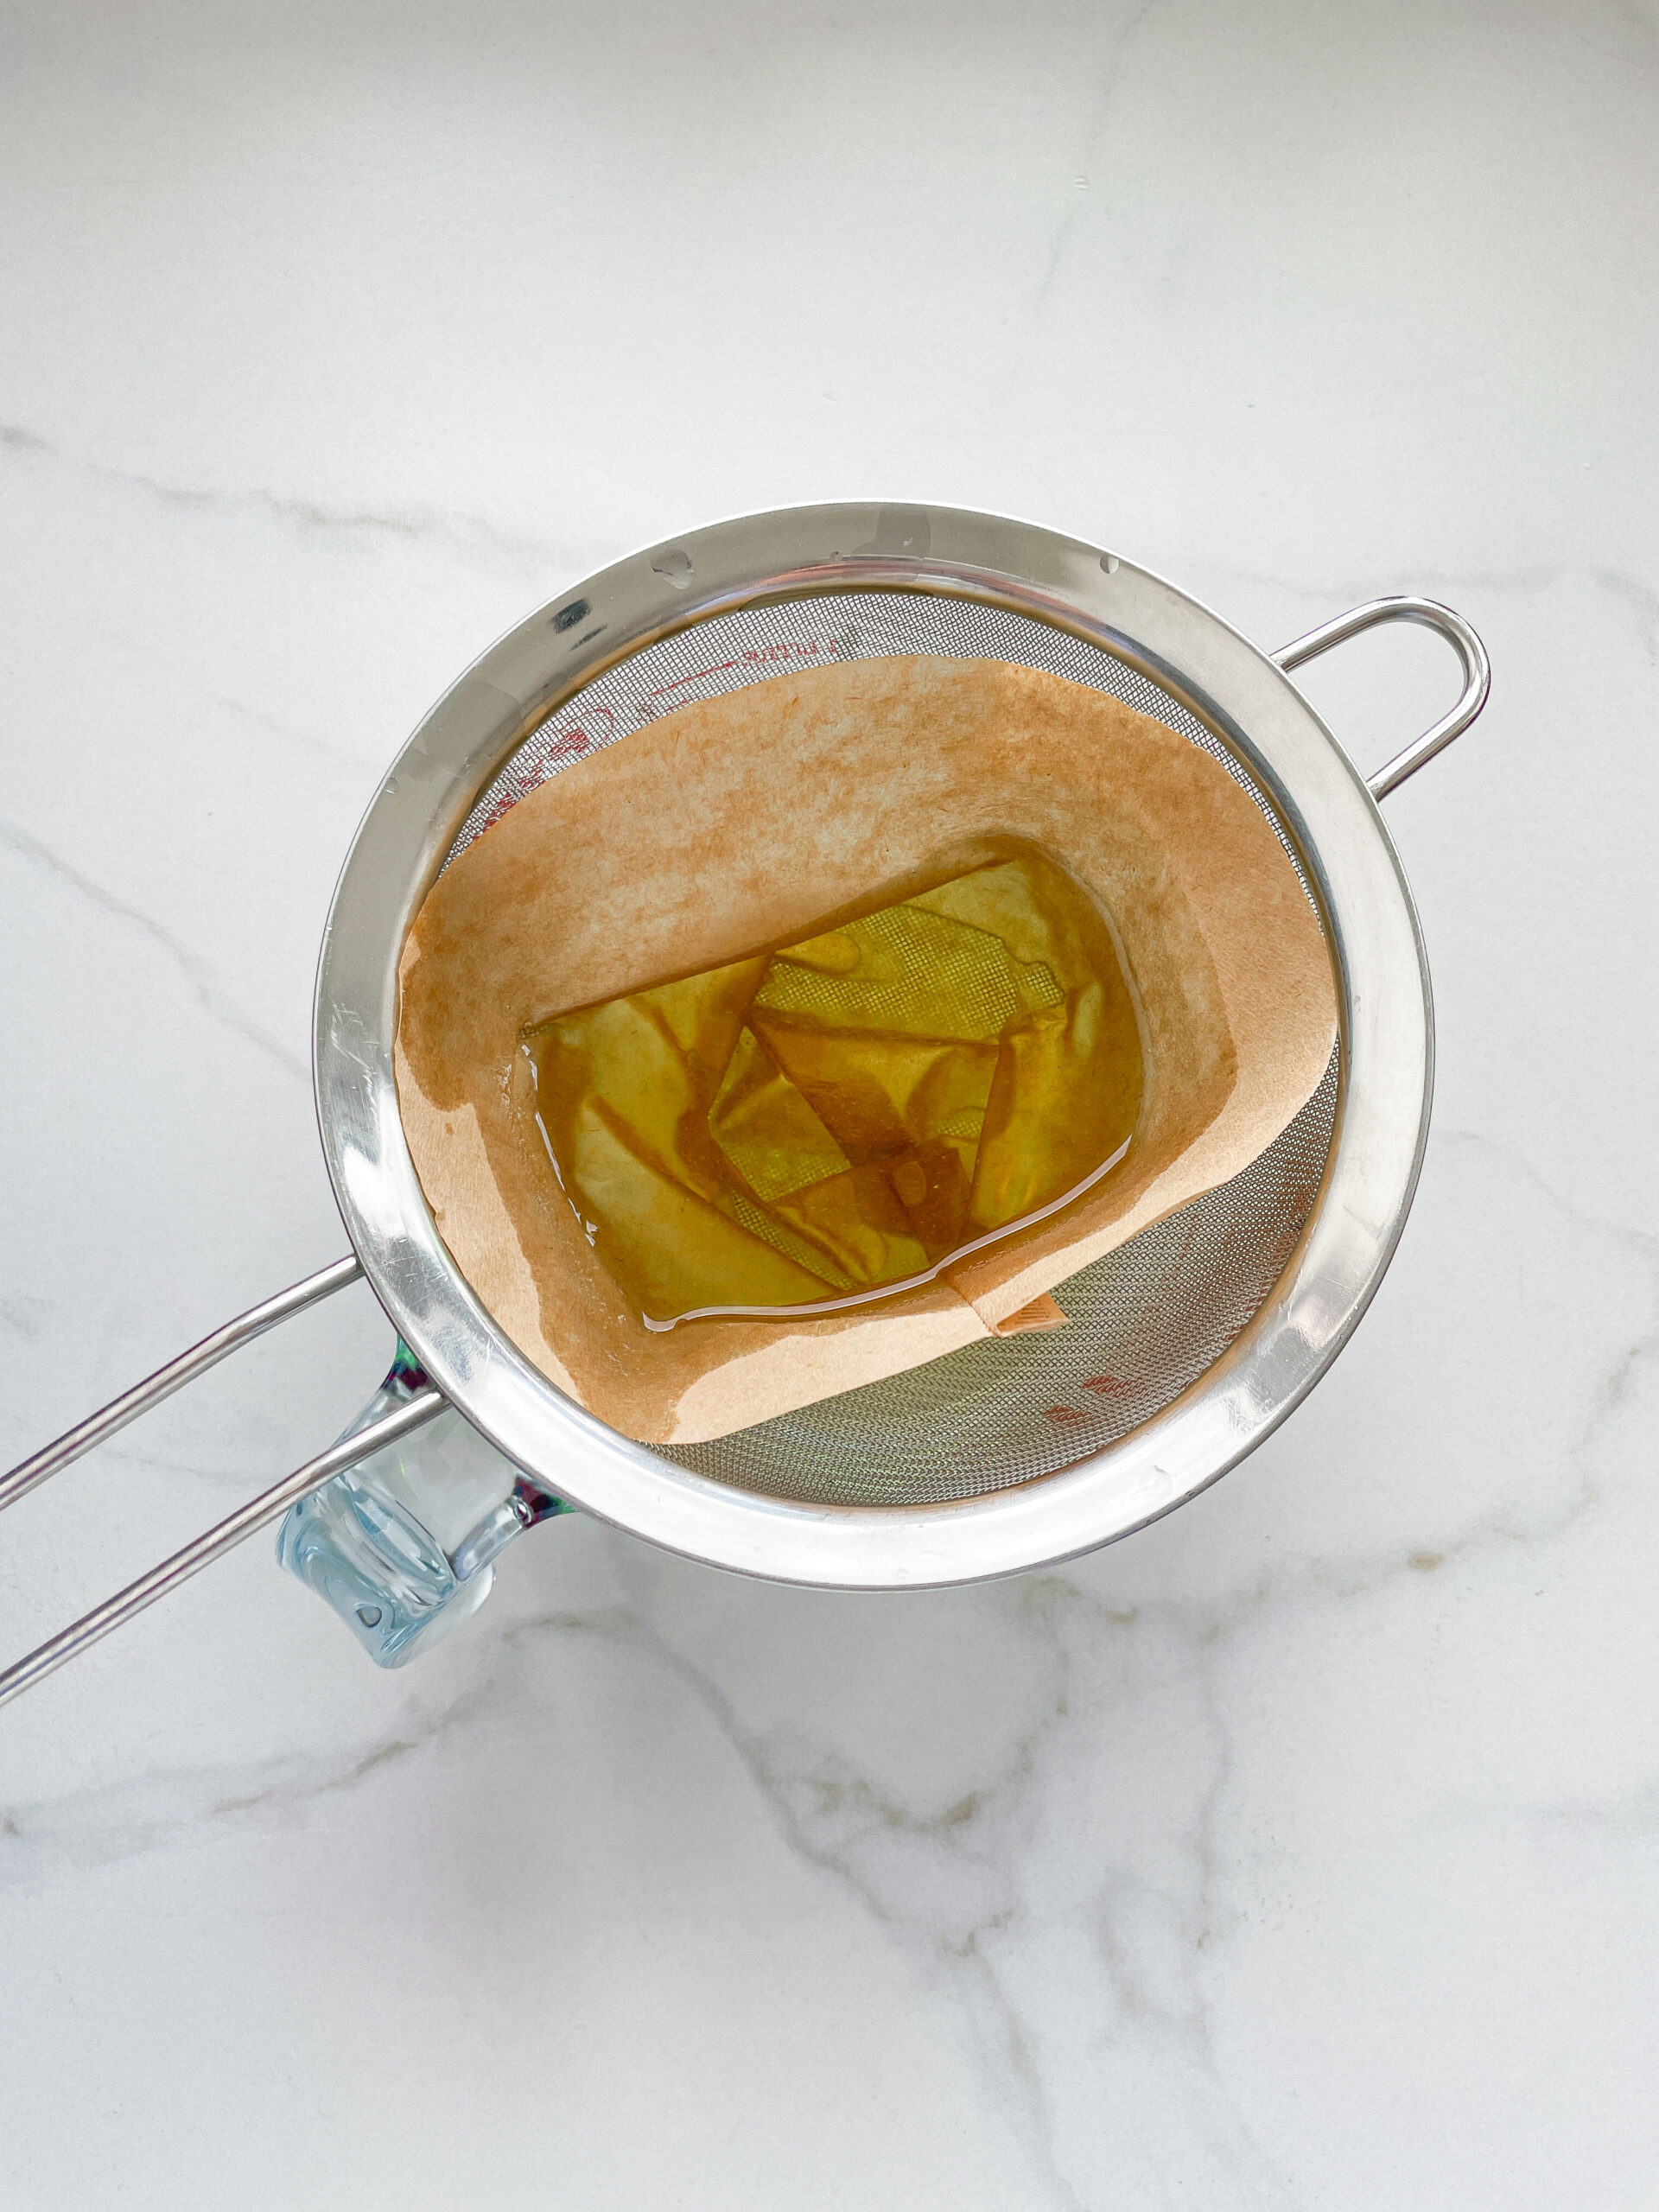
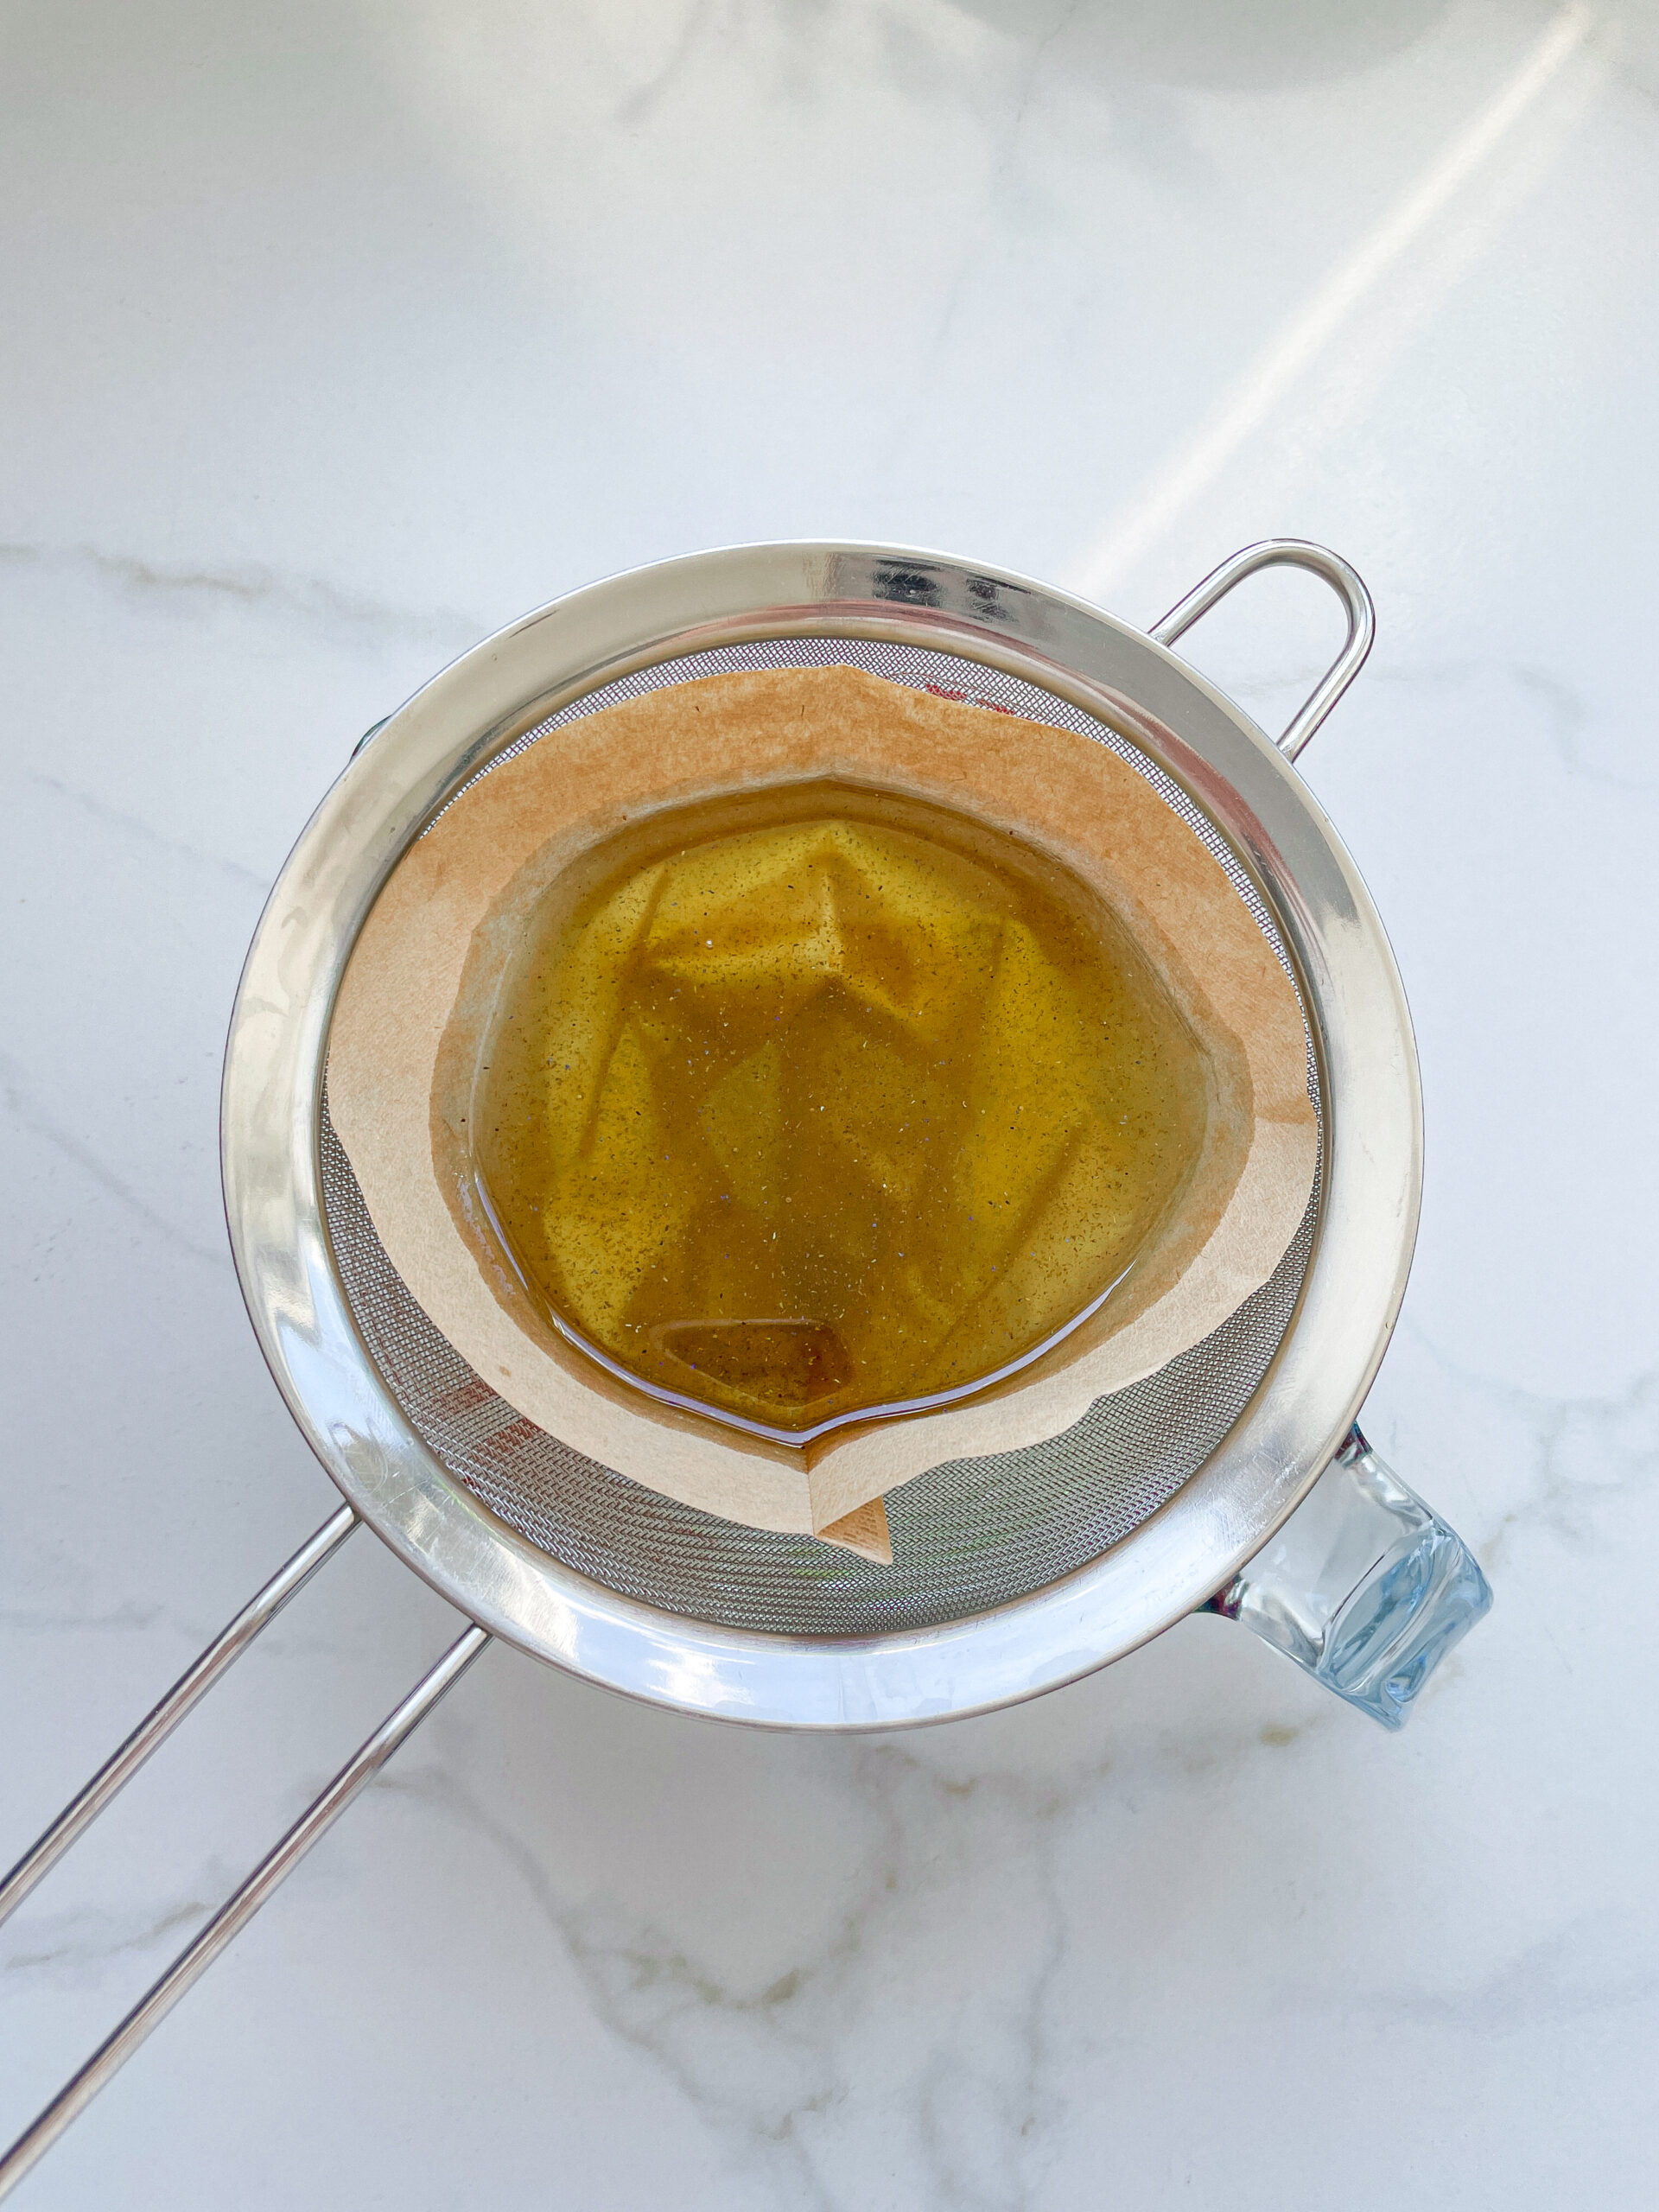
  4. Then, rinse the strainer and hang it over the second medium-sized bowl. Press a coffee filter into the strainer and pour the captured oil into the coffee filter, so that the remaining perishable and coarser particles are caught.
  5. Allow the oil to drip through for about 1 hour or maybe less depending on how many remaining particles are in there. Once all the oil has passed through the coffee filter, transfer the collected amount into a sealable container or directly into an oil bottle. Store in the refrigerator for up to one week. If you want to use it, fill a glass with hot water and place the oil bottle in it for a few minutes so it can liquefy again.
  • Prep Time: 5 min
  • Passive Time: 60 min
  • Cook Time: 20 min
CRAVING MORE?

Follow along here & don’t forget to subscribe to my substack!

Chinese Five Spice

Chinese Five Spice

Chinese Five Spice

Chinese Five Spice

July 29, 2024 by Kimberly

Discover the magic of Chinese Five Spice! This aromatic blend brings an irresistible burst of flavor to your dishes. Perfect for transforming everyday meals into gourmet experiences.

This website uses affiliate links which may earn commission for purchases made at no additional cost to you.

TOTAL TIME

5 min

SERVES

3 tbsp

DIET

vegan

EVERY RECIPE DESERVES

A Little Love Letter

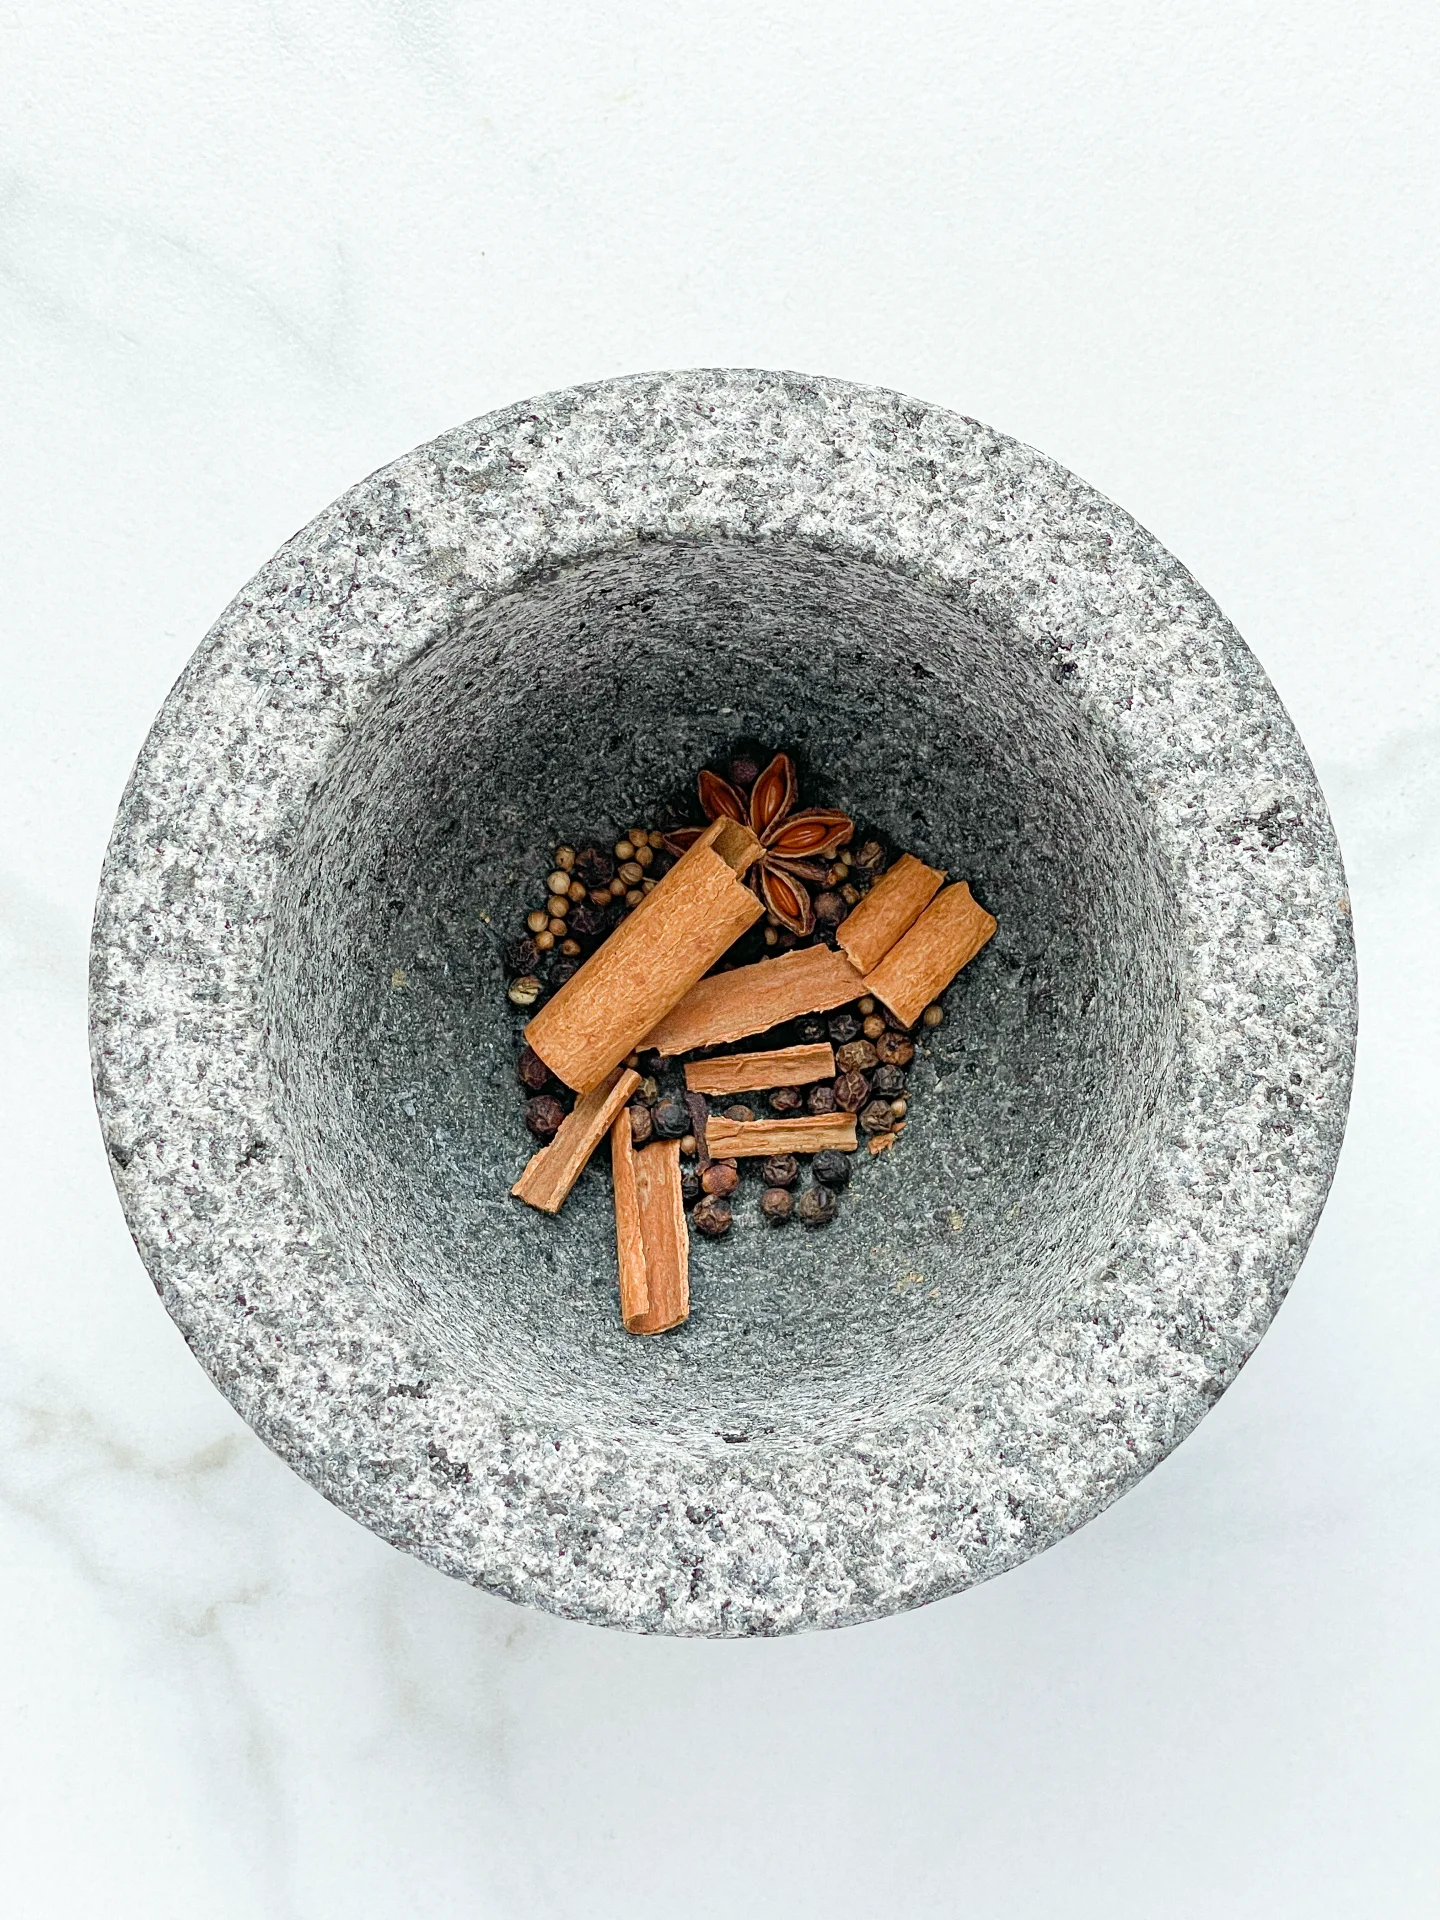
Looking to add a punch of flavor to your cooking? Chinese Five Spice is your new kitchen hero! This magical blend of star anise, cloves, cinnamon, peppercorns, and cilantro seeds brings a delightful balance of sweet, savory, and spicy notes to any dish. Whether you’re a culinary newbie or a seasoned chef, this spice mix will elevate your meals effortlessly.

Chinese Five Spice works wonders with a variety of dishes. Use it as a dry rub for chicken, pork, or beef before grilling or roasting. It’s also fantastic in stir-fries, adding depth and complexity to your veggies and proteins. For a quick flavor boost, sprinkle some over roasted nuts or popcorn. And don’t forget to mix it into marinades or sauces for an extra zing!

Store your Five Spice Seasoning in an airtight container, away from light and heat. This will help preserve its aromatic qualities and keep it fresh for up to six months. Always use a dry spoon to prevent moisture from affecting the blend.

Hi, I'm Kimberly!

Hi, I'm Kimberly.

A hopeless romantic when it comes to food. Every recipe I share is a love letter to food itself. I’m so glad you’re here. Make yourself at home and stay a while.

Love,
Kimberly

Kimberly the Zett Signature

If you want to get to know me better,
click here!


Chinese Five Spice
Chinese Five Spice

LET’S MAKE A PIECE OF HAPPINESS

Print
clock clock iconcutlery cutlery iconflag flag iconfolder folder iconinstagram instagram iconpinterest pinterest iconfacebook facebook iconprint print iconsquares squares iconheart heart iconheart solid heart solid icon
Chinese Five Spice

Chinese Five Spice


  • Author: Kimberly
  • Total Time: 5 min
  • Yield: 3 tsp

Description

Recommended Equipment

  • measuring spoons
  • pestle & mortar
  • airtight container

Ingredients

  • 1 cinnamon stick
  • 1/4 tsp peppercorns
  • 1 star anise
  • 1/4 tsp cilantro seeds
  • 2 cloves

Instructions

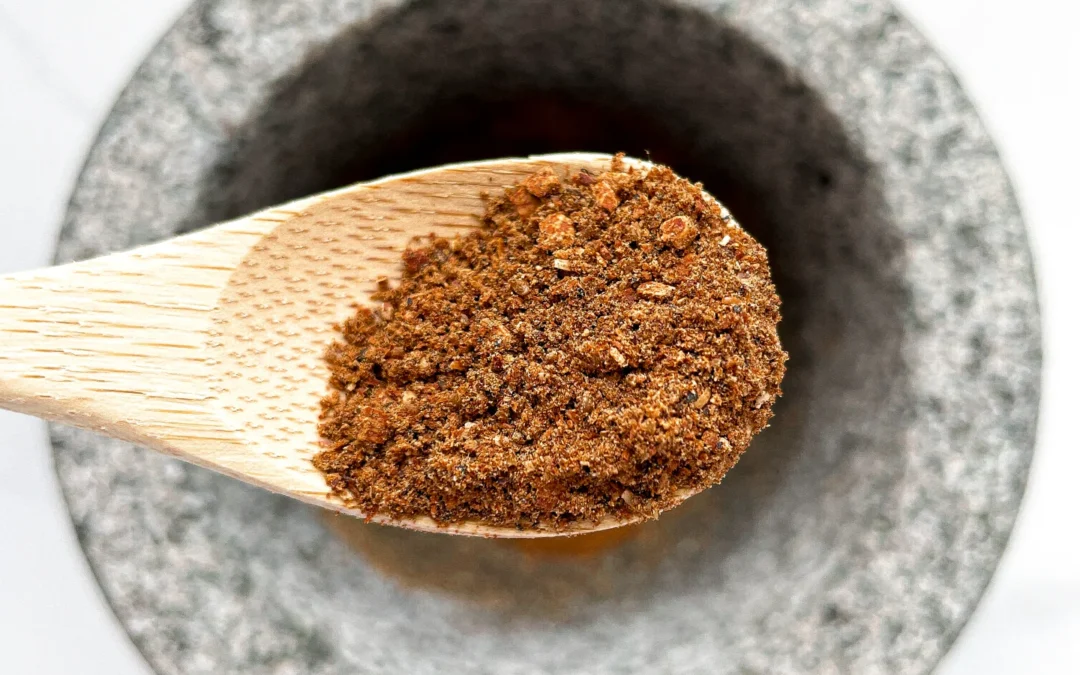
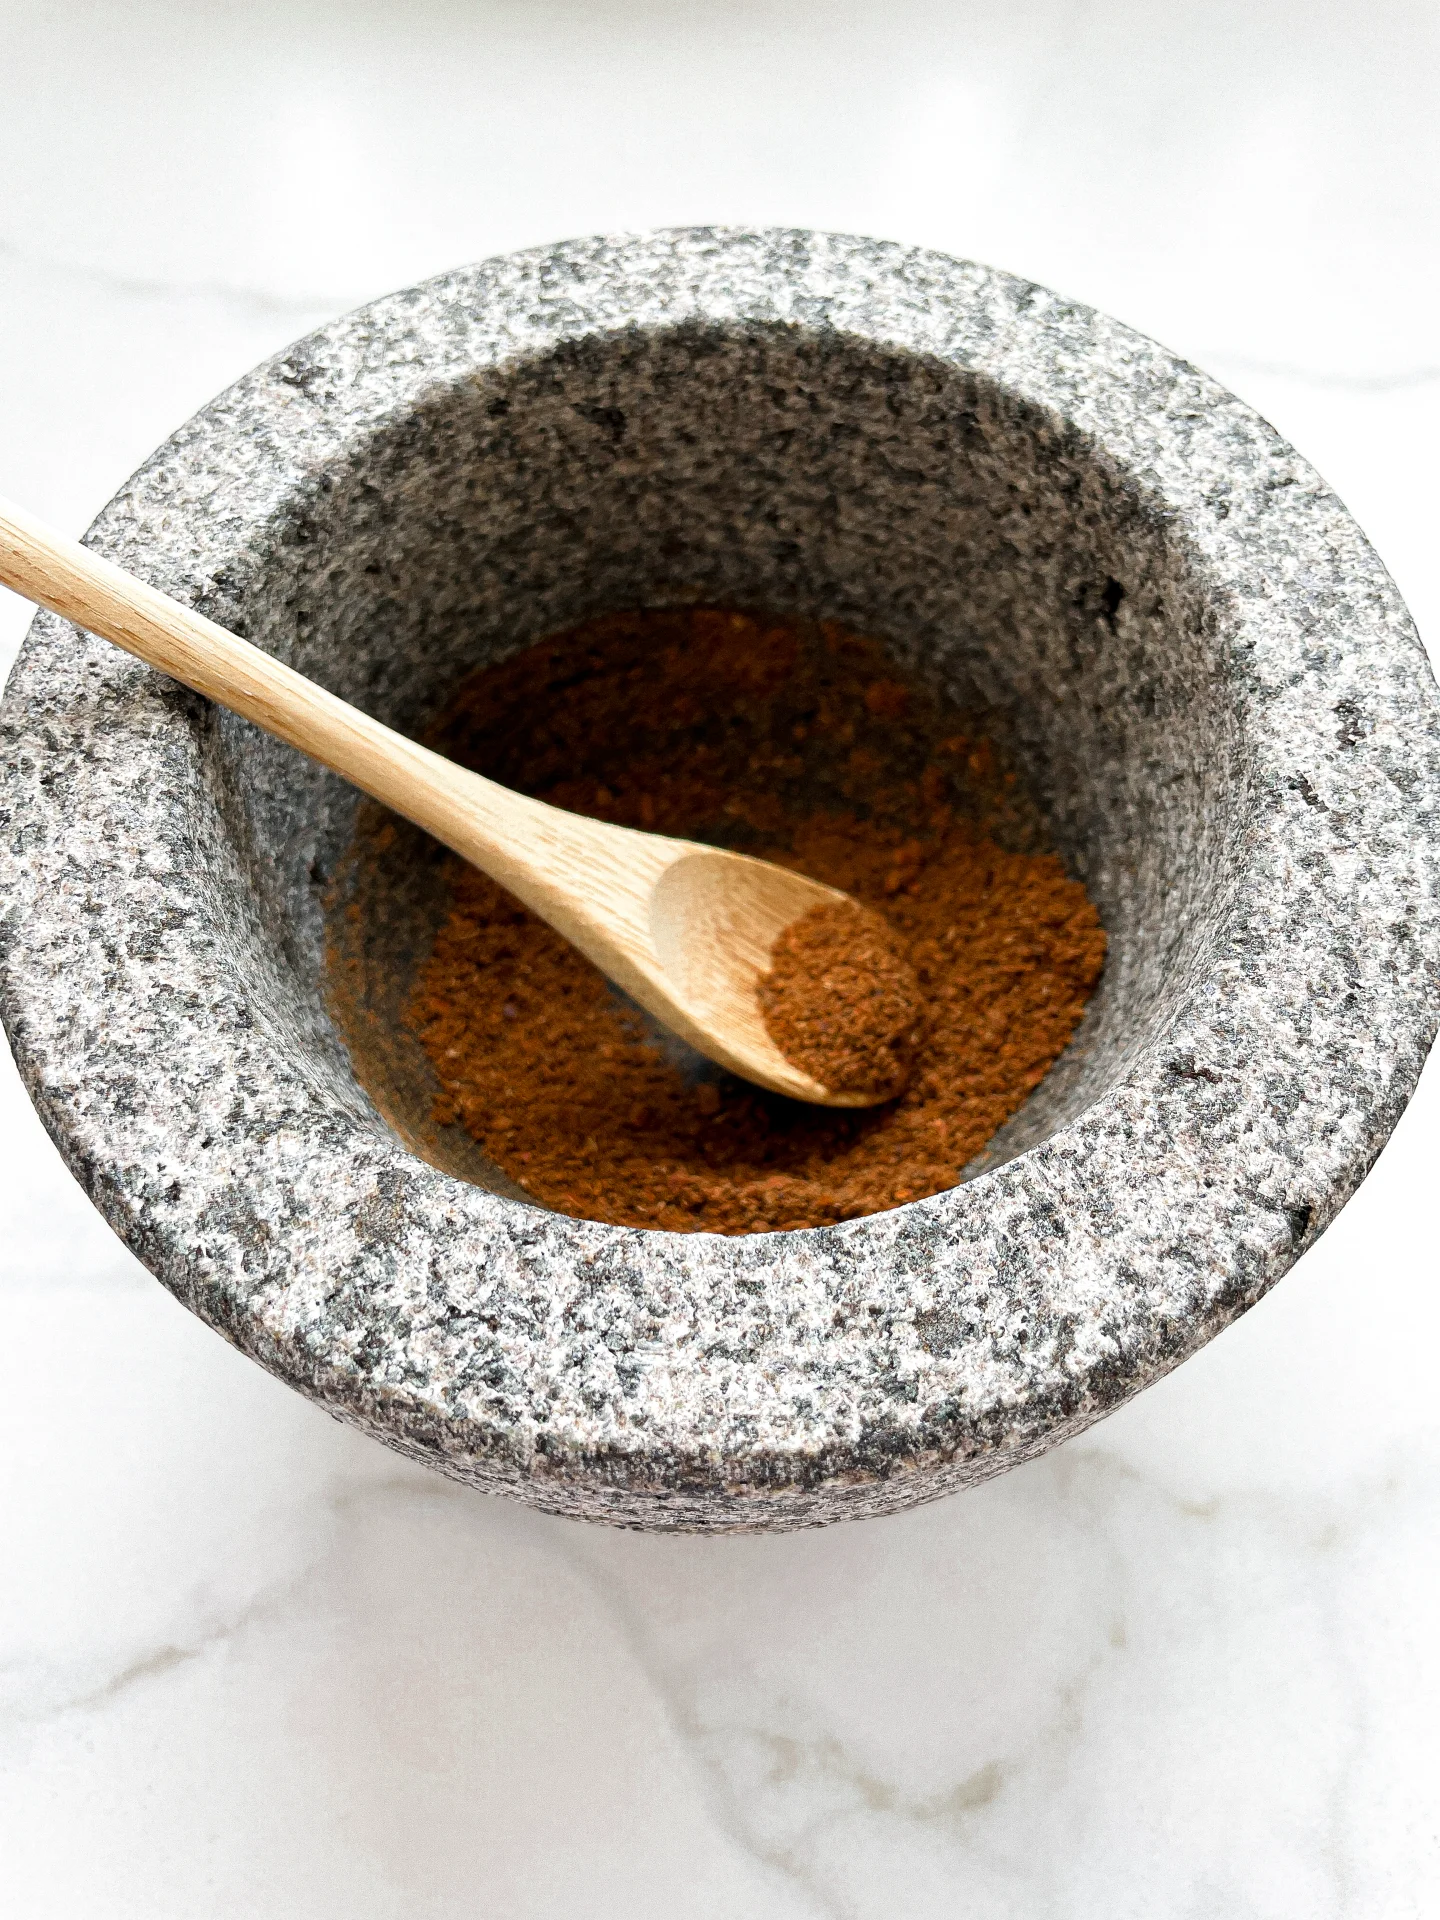
  • Place cinnamon stick, peppercorns, star anise, coriander seeds, and cloves in a mortar and grind finely for a few minutes. The powder can be used immediately or stored in an airtight container.
  • Cook Time: 5 min

CRAVING MORE?

Follow along here & don’t forget to subscribe to my substack!

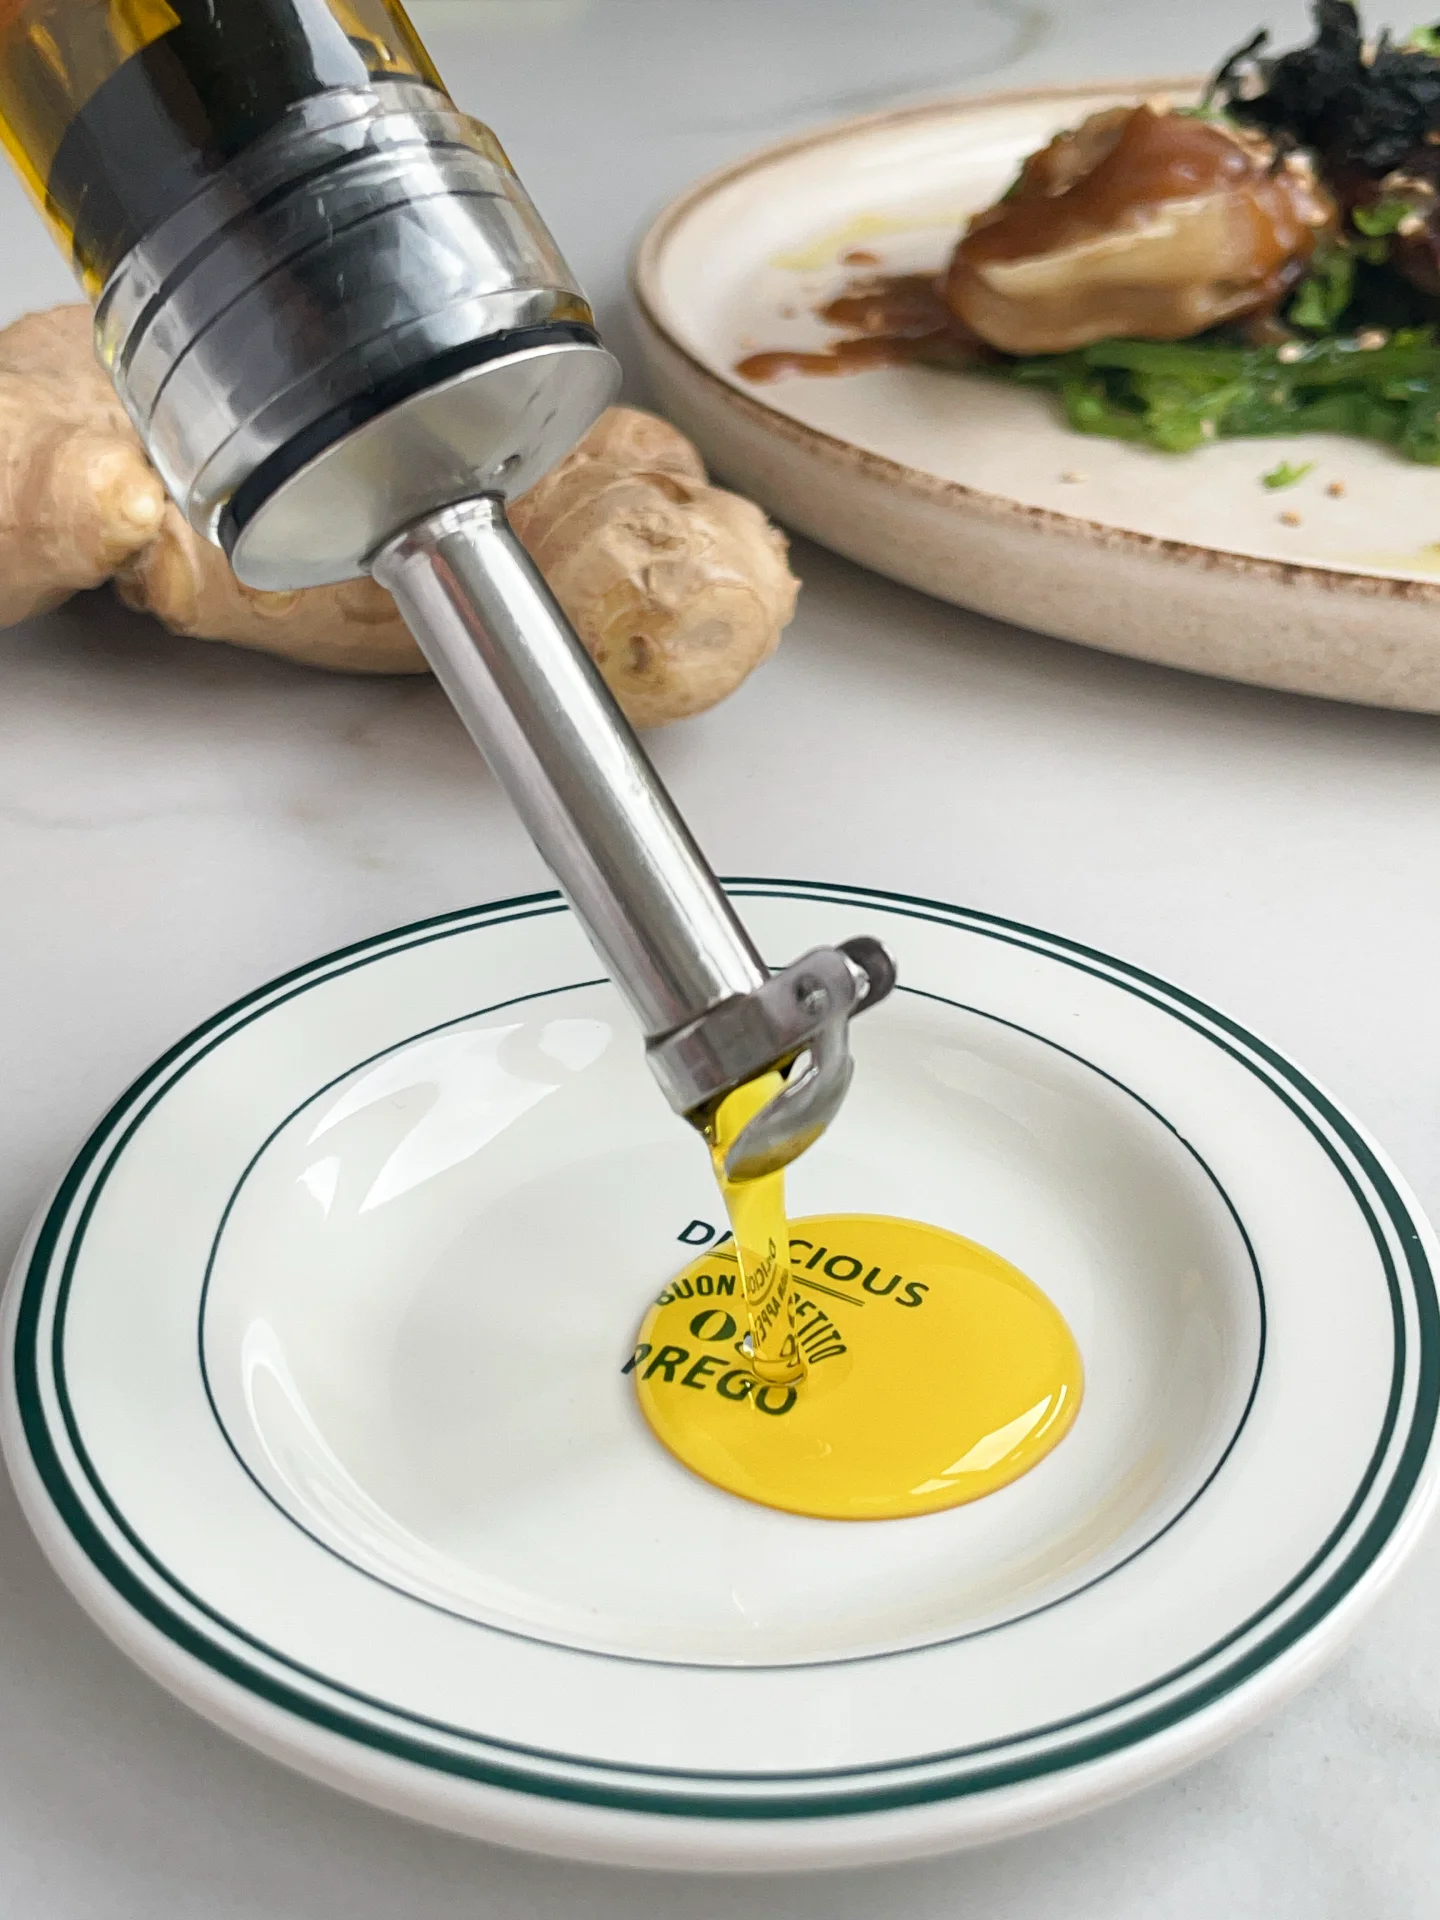
Ginger Oil

Ginger Oil

Ginger Oil

Ginger Oil

July 29, 2024 by Kimberly

Discover the zing of ginger oil! This aromatic oil brings a vibrant, spicy kick to your dishes, making every meal a delicious adventure.

This website uses affiliate links which may earn commission for purchases made at no additional cost to you.

TOTAL TIME

50 min
SERVES

1 cup / 250 ml

DIET

vegan

EVERY RECIPE DESERVES

A Little Love Letter

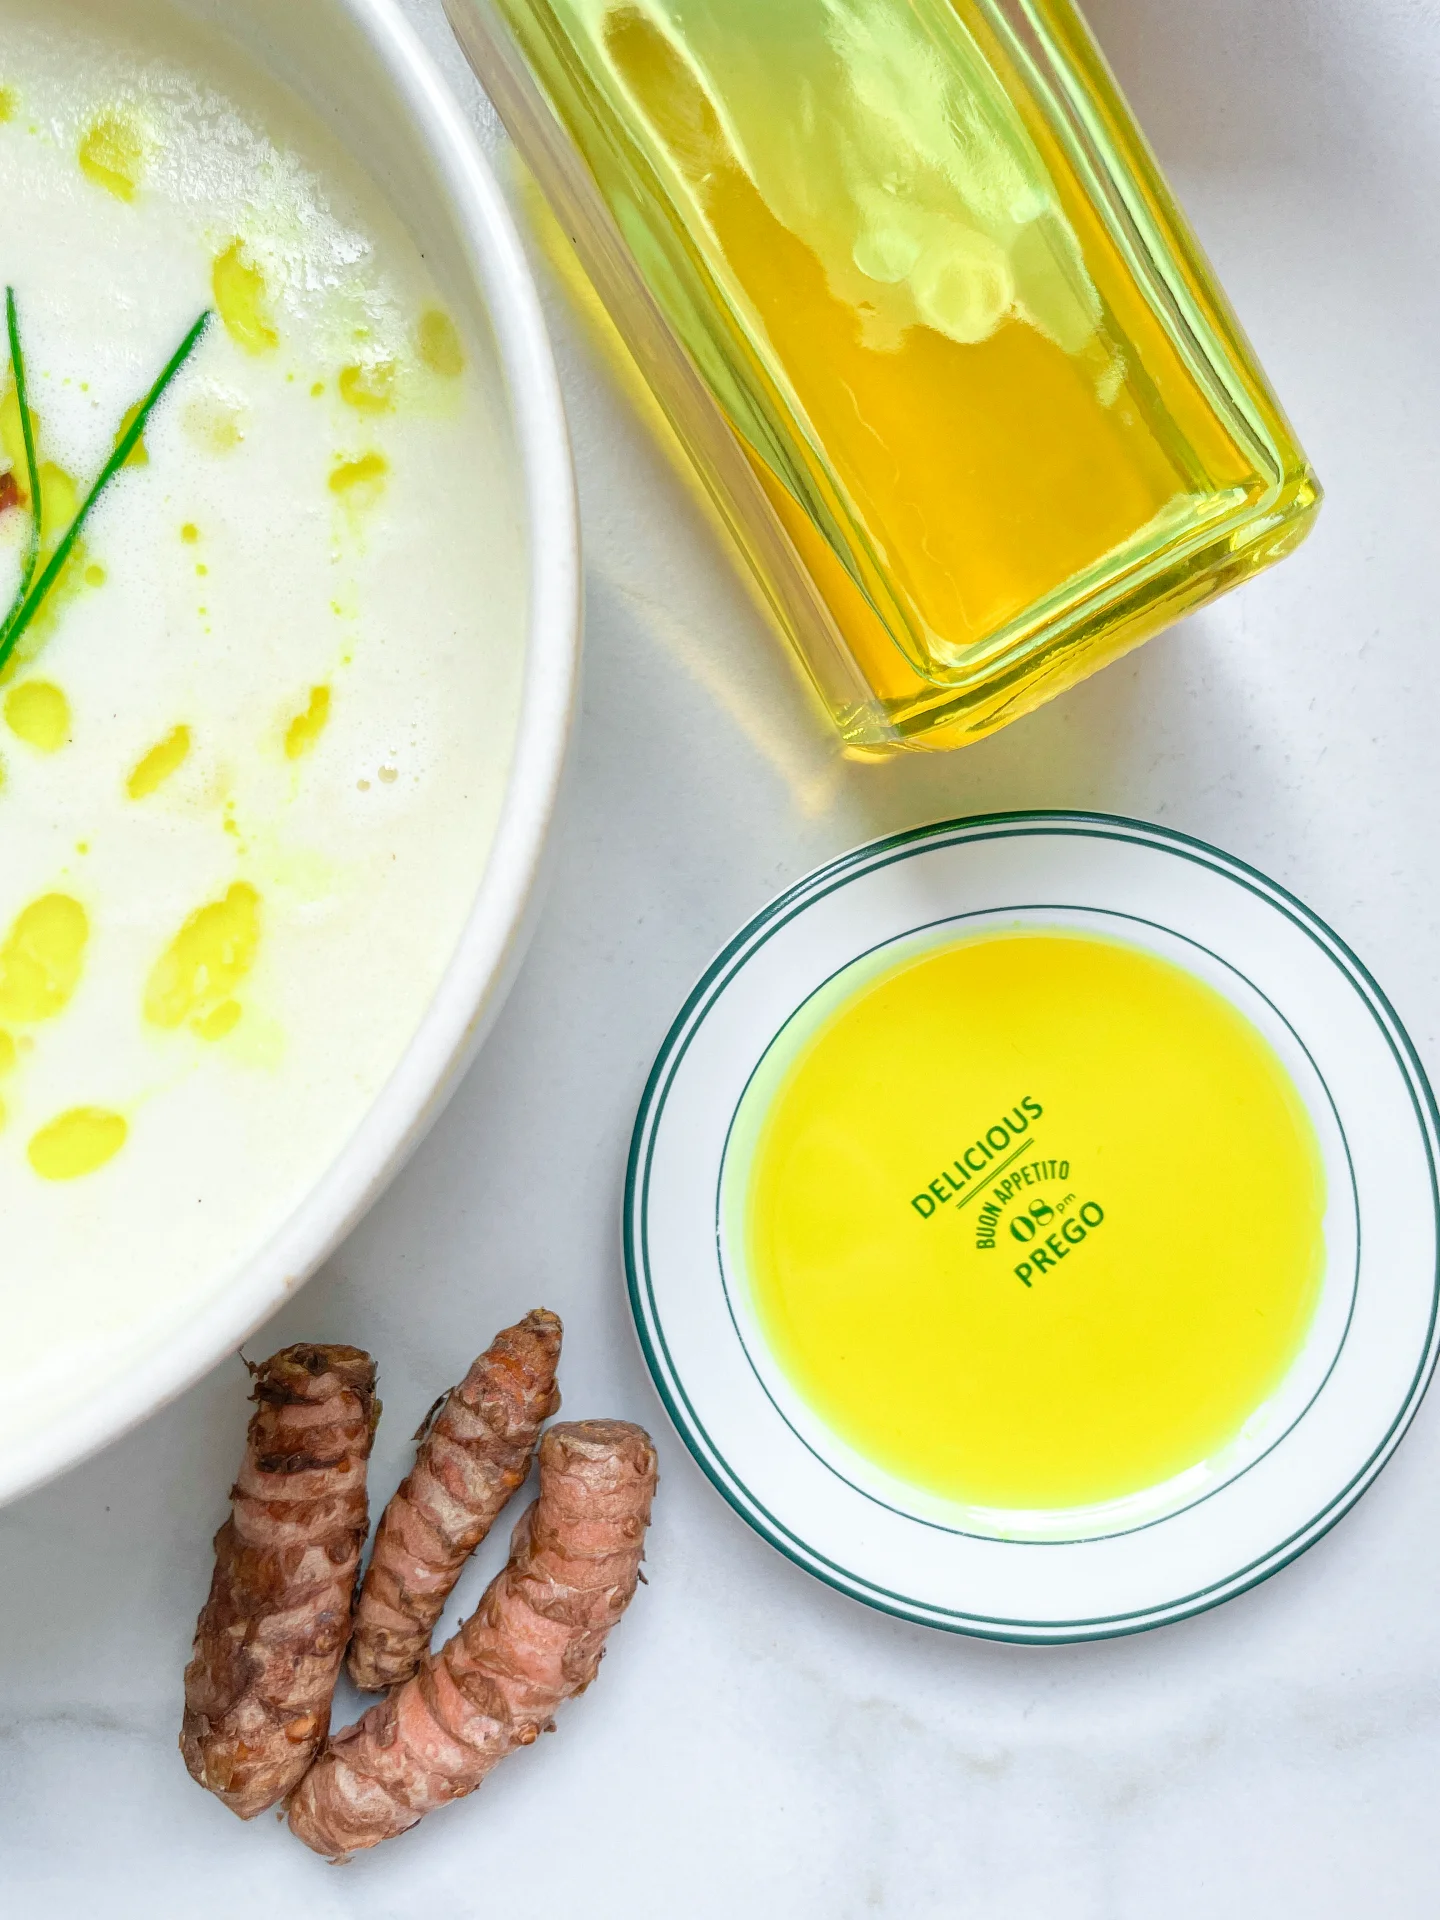
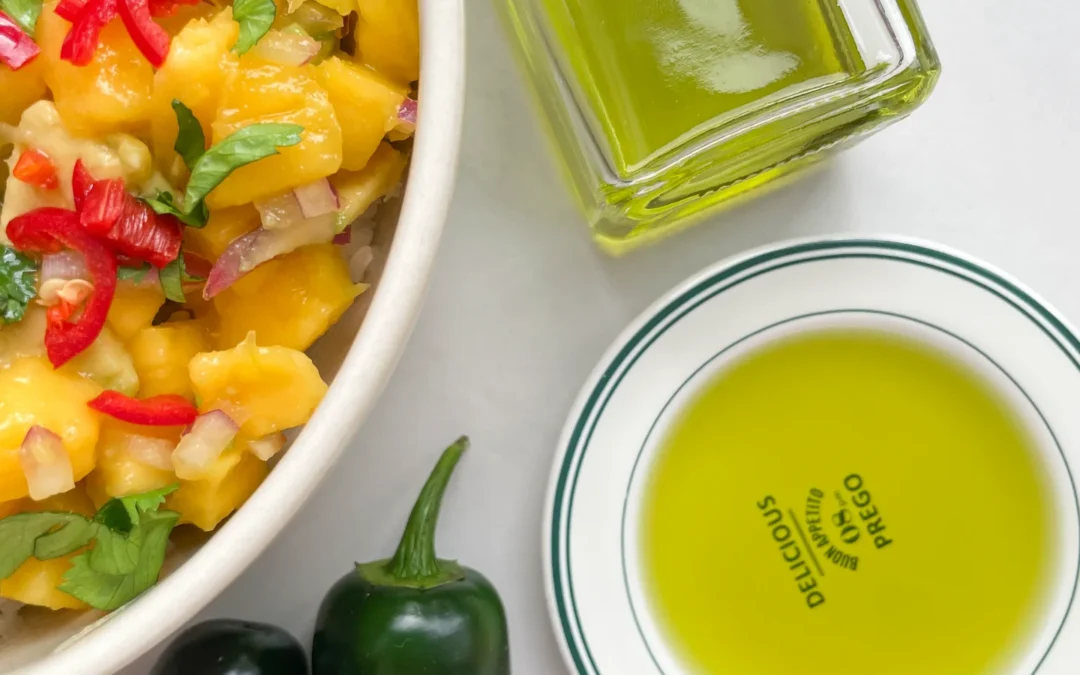
Elevate your culinary game with the bold flavor of ginger oil! This infused oil is perfect for adding a spicy, aromatic touch to your dishes. Whether you’re drizzling it over a salad, using it in a stir-fry, or marinating meat, ginger oil brings a unique zest that’s sure to impress. Easy to make and versatile, it’s a must-have for every kitchen enthusiast.

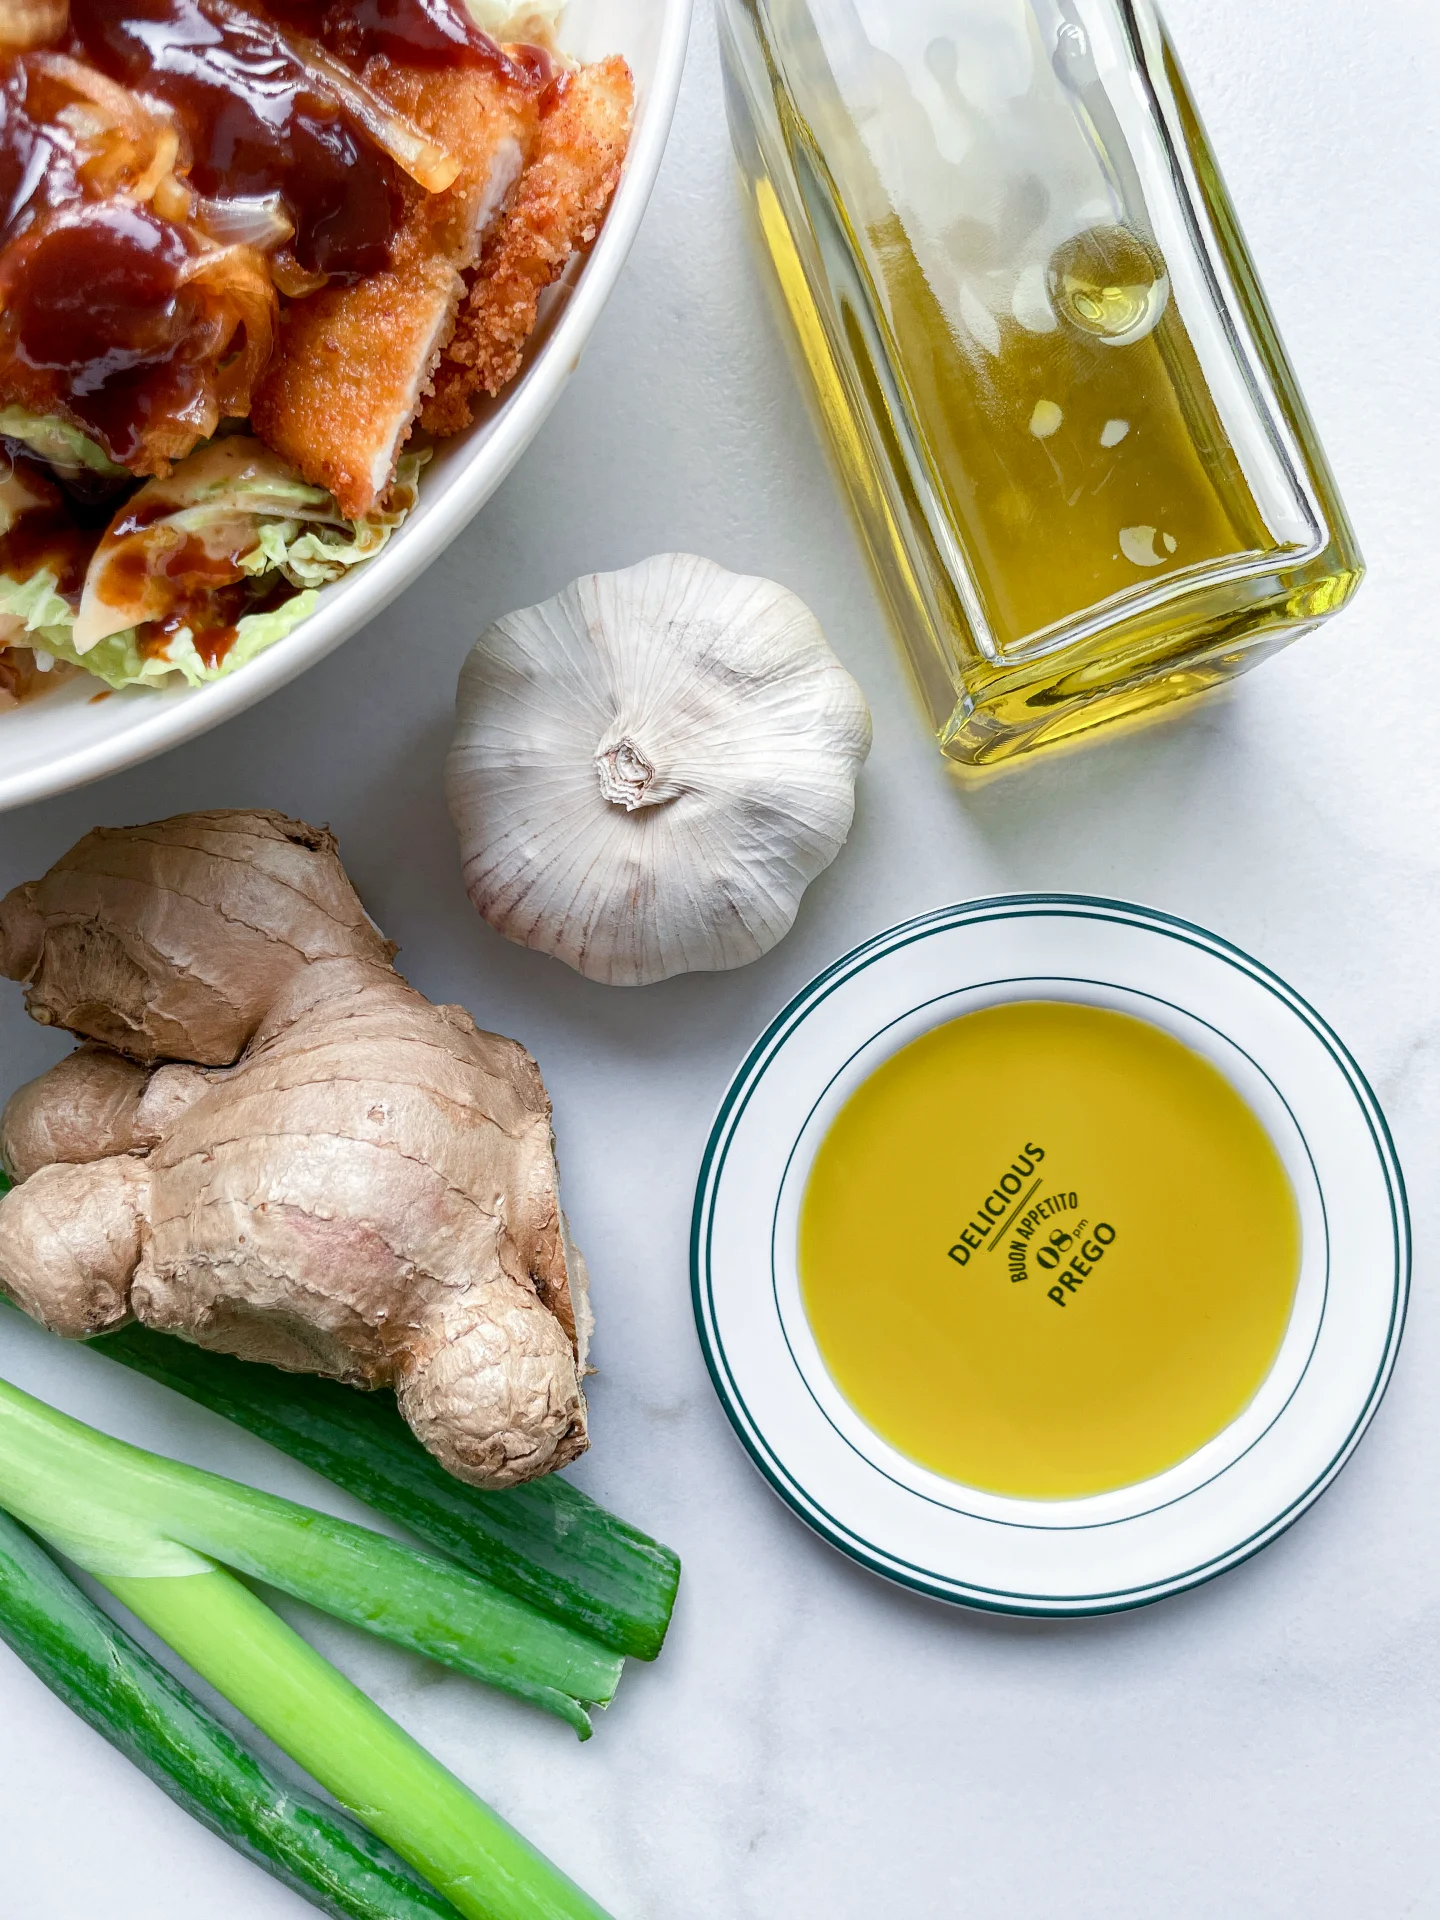
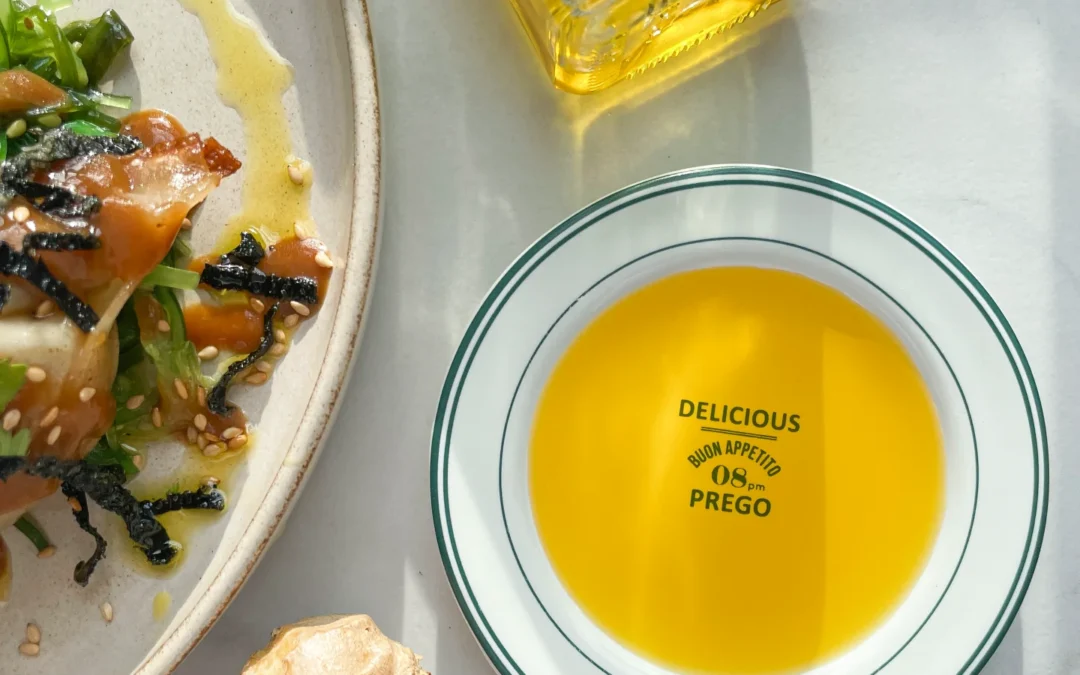
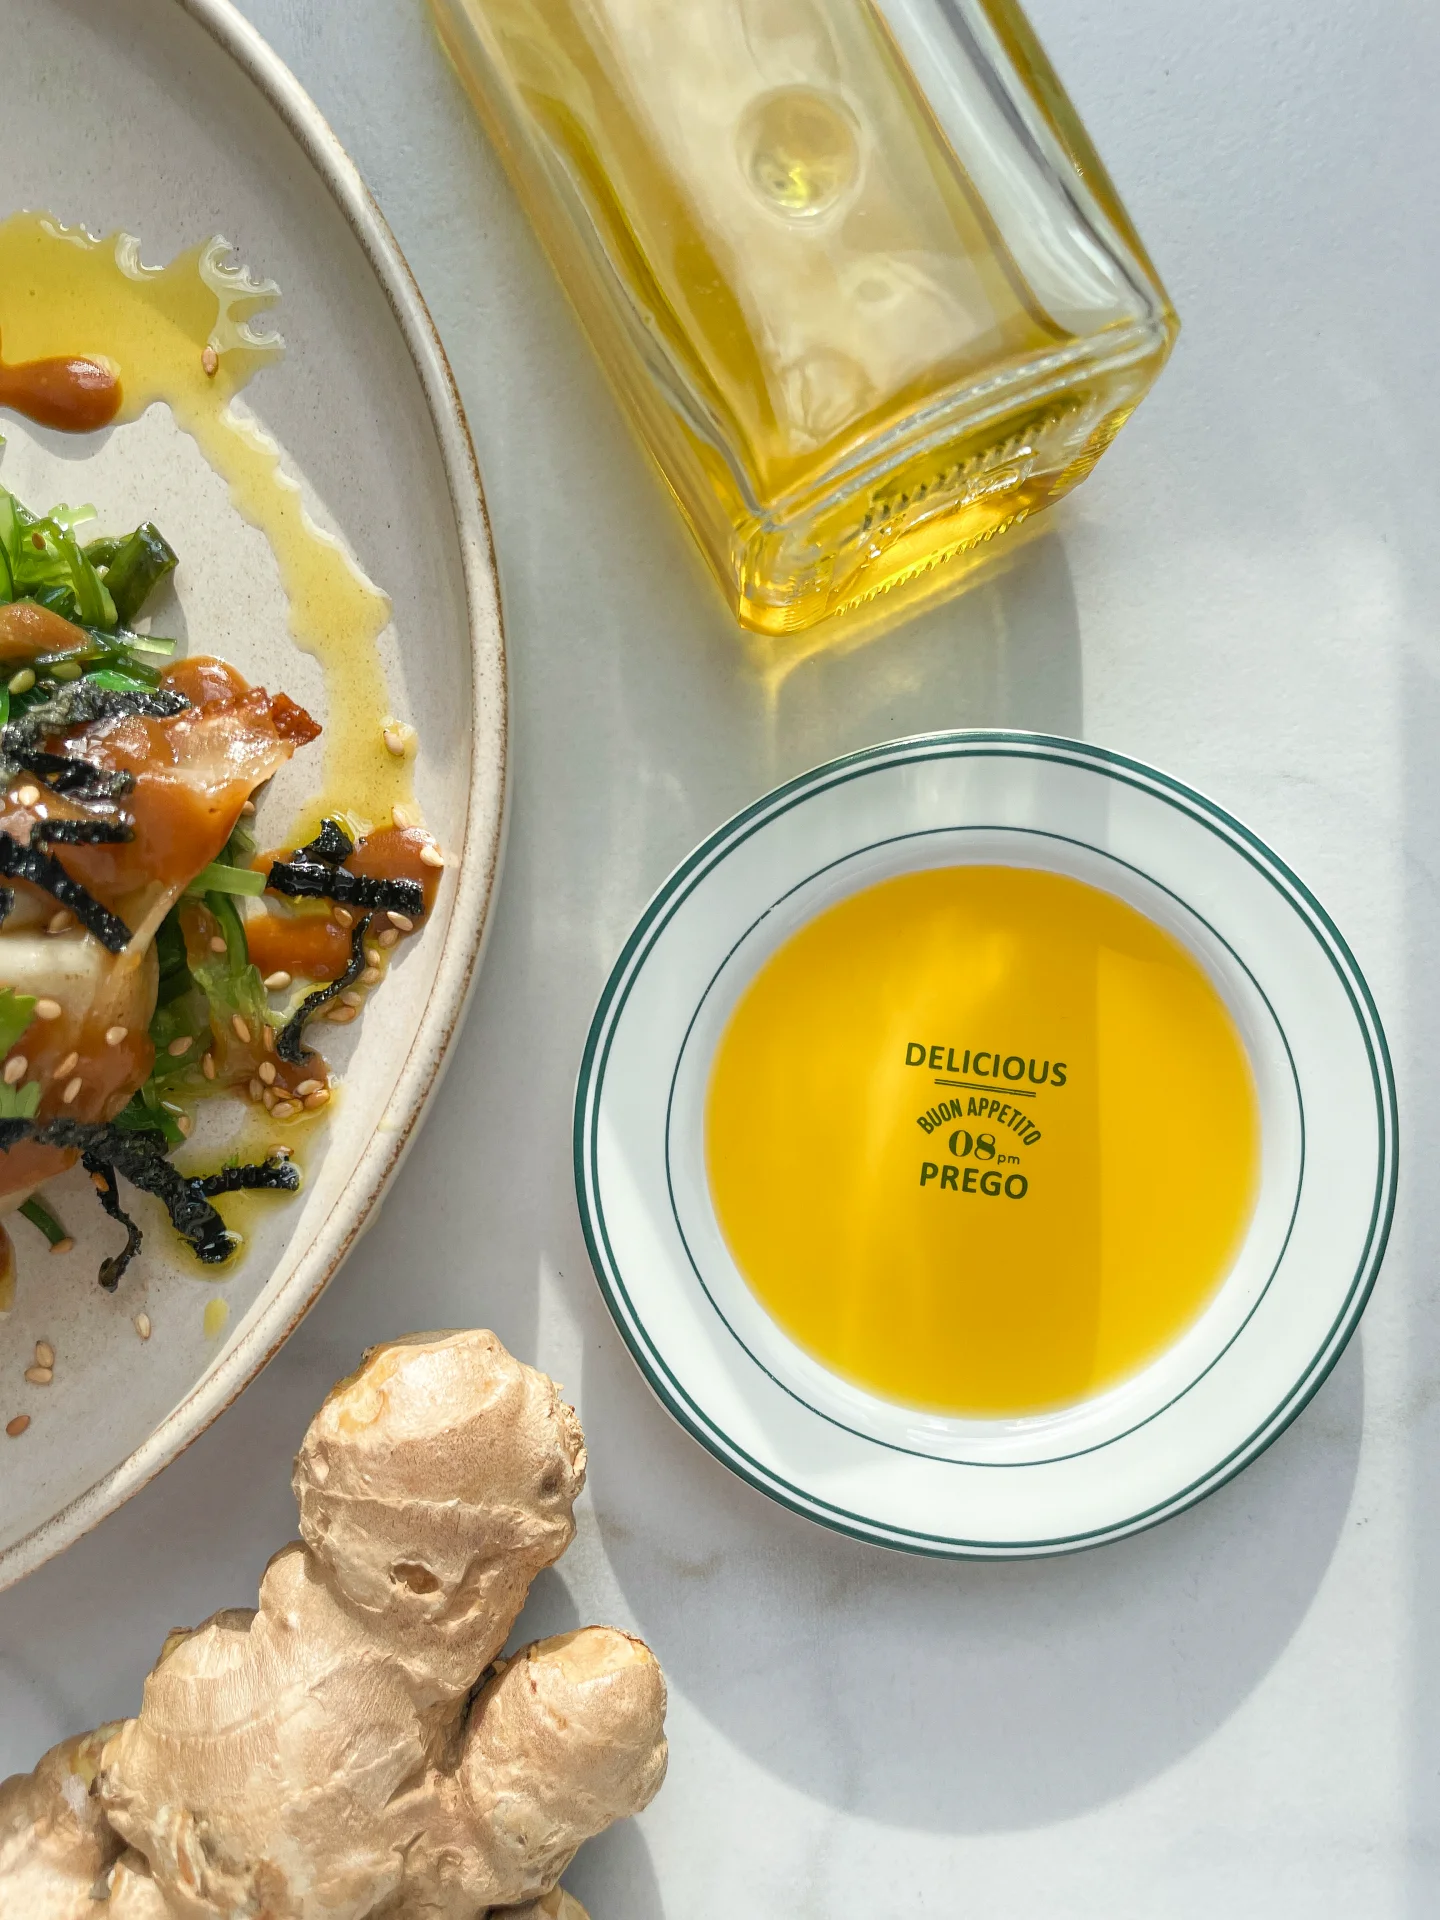
Ginger oil is incredibly versatile and can be used in a variety of ways. Drizzle it over fresh salads to add a spicy kick or use it as a finishing touch on roasted vegetables. It’s perfect for stir-frying, infusing your dishes with a deep, aromatic flavor. You can also use ginger oil in marinades for chicken, fish, or tofu, giving your proteins a delightful zing. I recommend to try it with my Crispy Pork Gyoza, Miso Ginger Oil Glaze & Fried Seaweed.

Store your ginger oil in a cool, dark place in an airtight container. This will keep the flavors fresh and vibrant for up to 2 weeks.

Hi, I'm Kimberly!

Hi, I'm Kimberly.

A hopeless romantic when it comes to food. Every recipe I share is a love letter to food itself. I’m so glad you’re here. Make yourself at home and stay a while.

Love,
Kimberly

Kimberly the Zett Signature

If you want to get to know me better,
click here!


Ginger Oil
Ginger Oil
Ginger Oil
Ginger Oil

LET’S MAKE A PIECE OF HAPPINESS

Print
.tasty-recipe-responsive-iframe-container-877efee0 { position: relative; overflow: hidden; padding-top: 56.3%; } .tasty-recipe-responsive-iframe-container-877efee0 iframe { position: absolute; top: 0; left: 0; width: 100%; height: 100%; border: 0; } clock clock iconcutlery cutlery iconflag flag iconfolder folder iconinstagram instagram iconpinterest pinterest iconfacebook facebook iconprint print iconsquares squares iconheart heart iconheart solid heart solid icon
Ginger Oil

Ginger Oil


  • Author: Kimberly
  • Total Time: 45 min
  • Yield: 250 ml / 1 cup

Description

RECOMMENDED EQUIPMENT

  • blender
  • medium-sized saucepan
  • whisk
  • a bowl which the medium saucepan fits into
  • 2 medium-sized bowls
  • 2 fine sieves
  • sealable container (oil bottle)
  • ice cubes
  • coffee filter

Ingredients

Units Scale
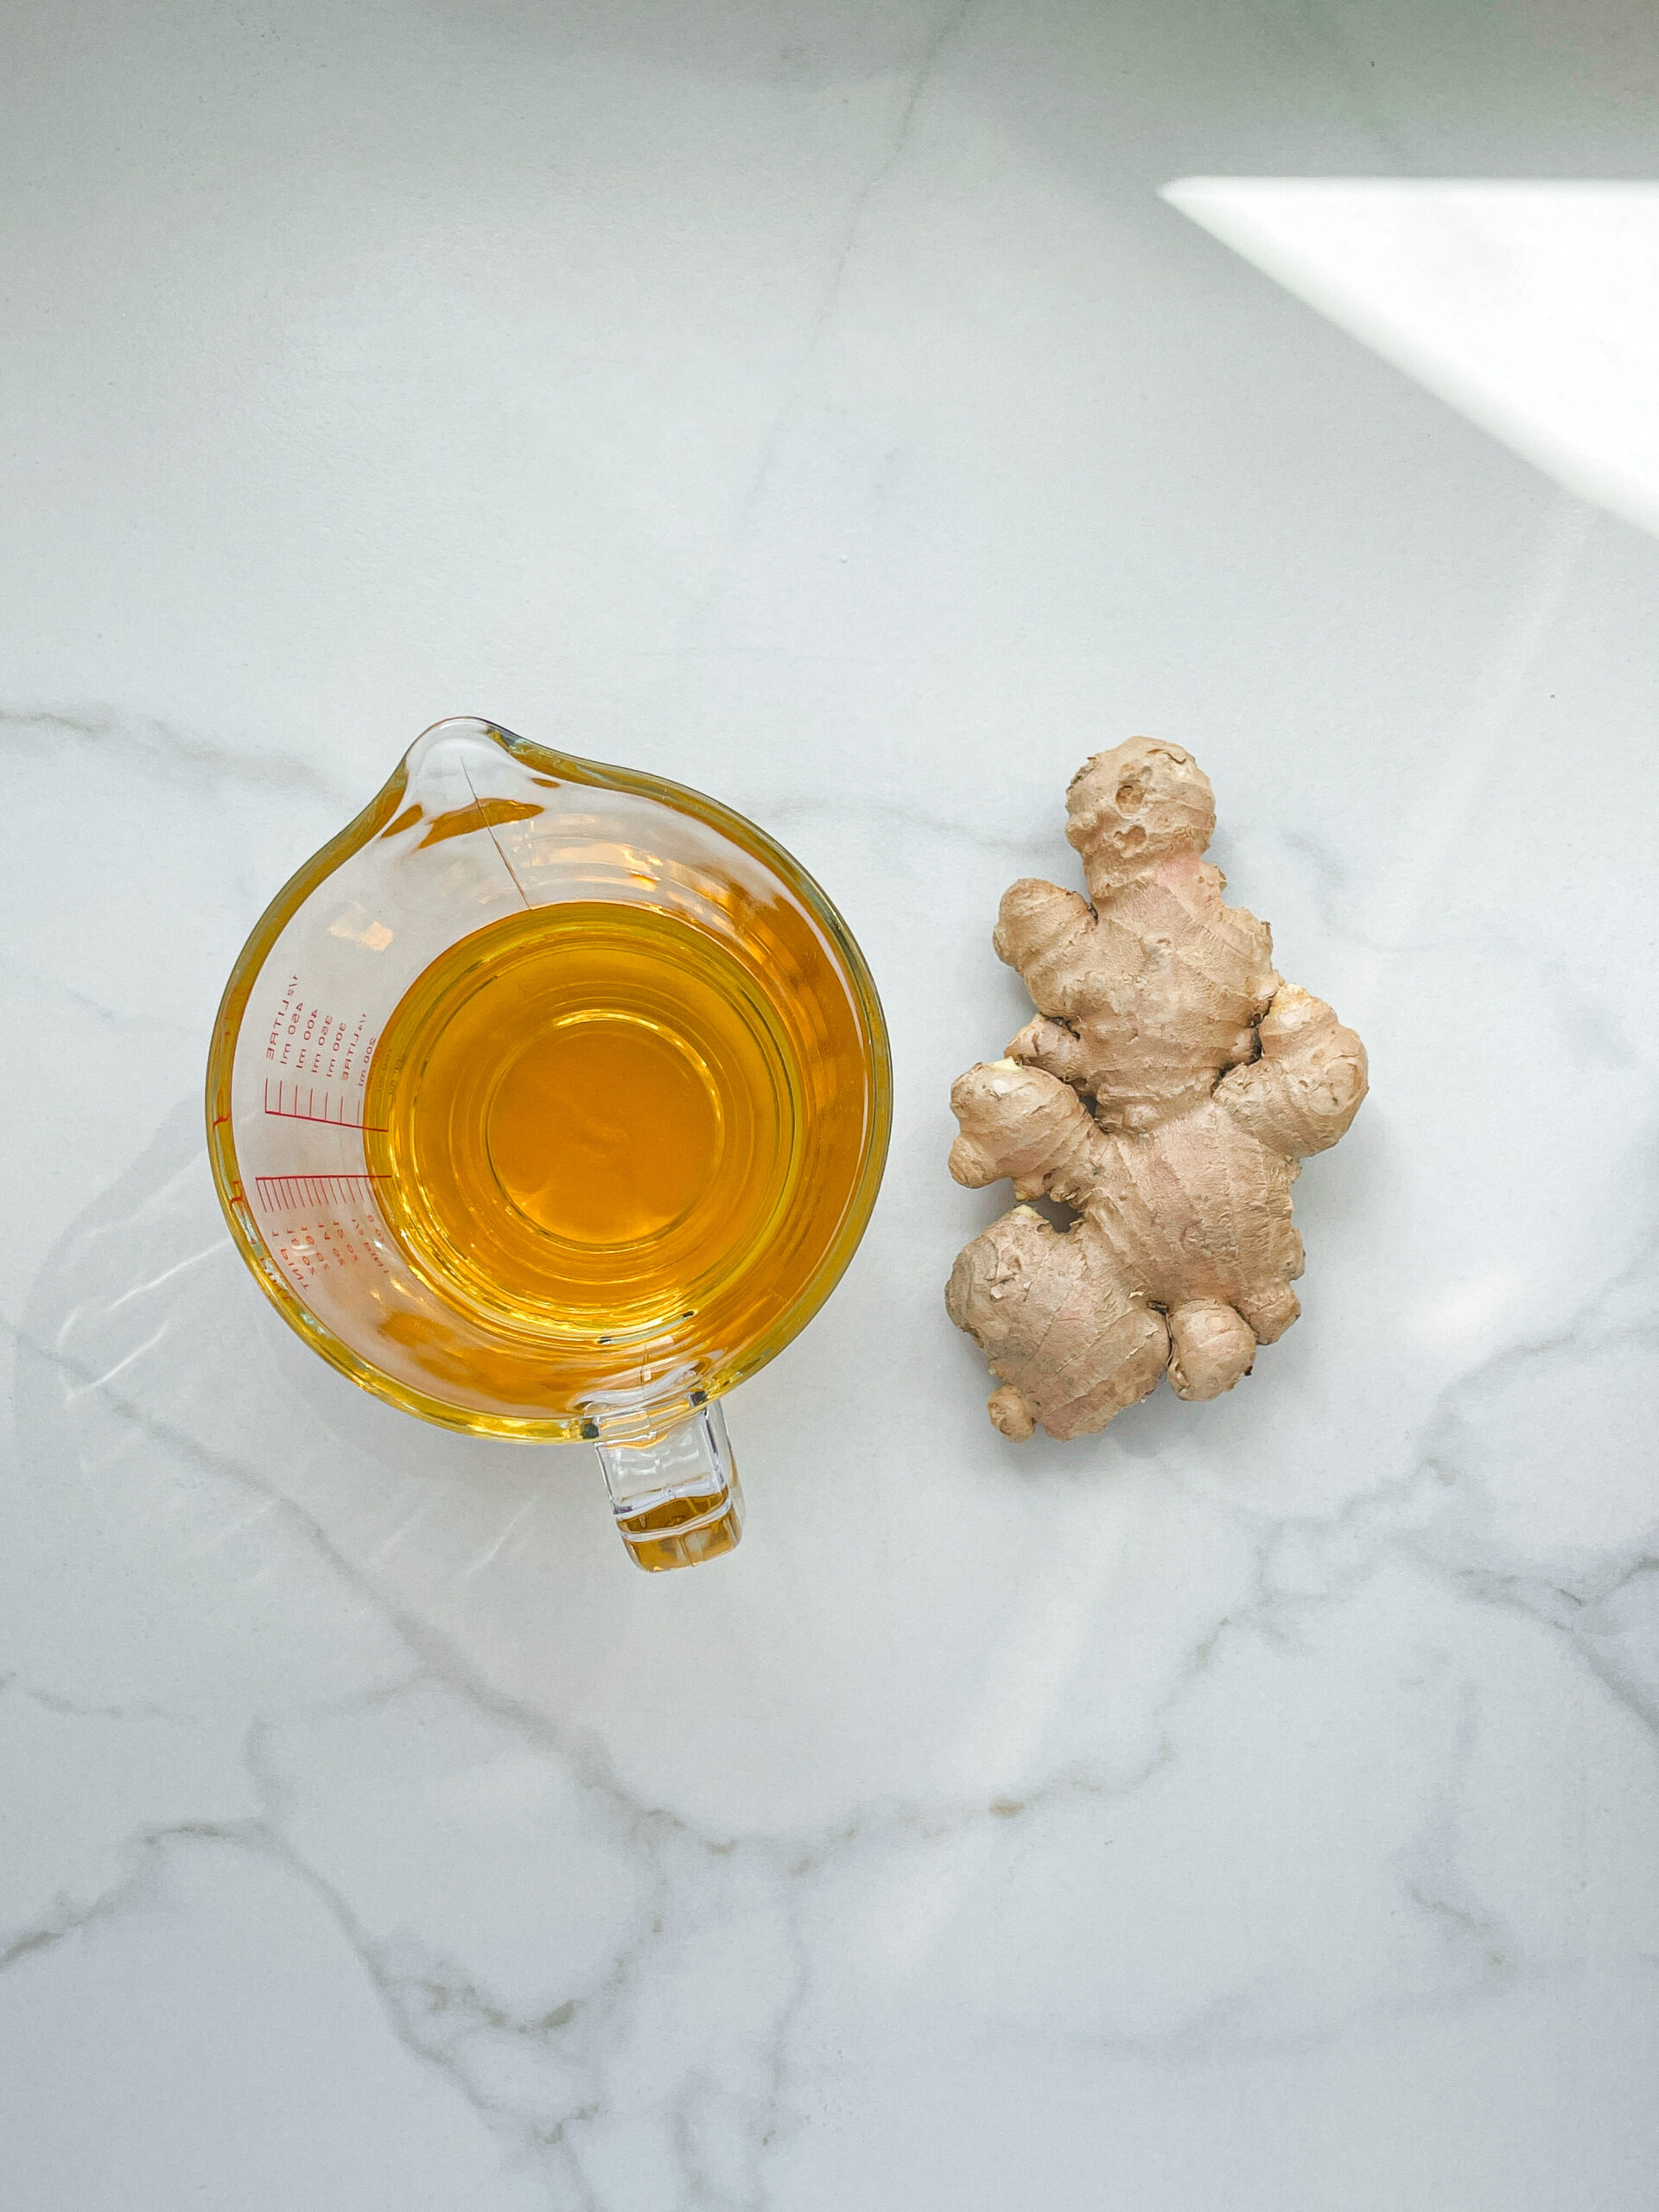
  • 60 grams ginger
  • 250 milliliters cold-pressed rapeseed oil

Instructions

  1. Cut the ginger into coarse pieces with the skin on and put them into the blender. Pour in the oil. Blend on the highest setting until there are only tiny pieces of the ginger left.
  2. Pour the mixture from the blender into a medium-sized pot and heat it over medium heat to a temperature of about 103°C (217°F), and maintain this temperature for the next 10 minutes. Stir occasionally, making sure the temperature remains steady and nothing gets burned.
  3. Prepare a bowl large enough to fit a medium-sized pot, and fill it with cold water and a handful of ice cubes. Also, hang a fine sieve strainer over one medium-sized bowl and another fine sieve strainer, with a coffee filter inside it, over another medium-sized bowl.
  4. Now, place the pot in the ice water and stir to cool the oil quickly. Once the oil is almost cold, remove the pot from the water and pour the oil into the prepared fine sieve to catch the coarse particles.
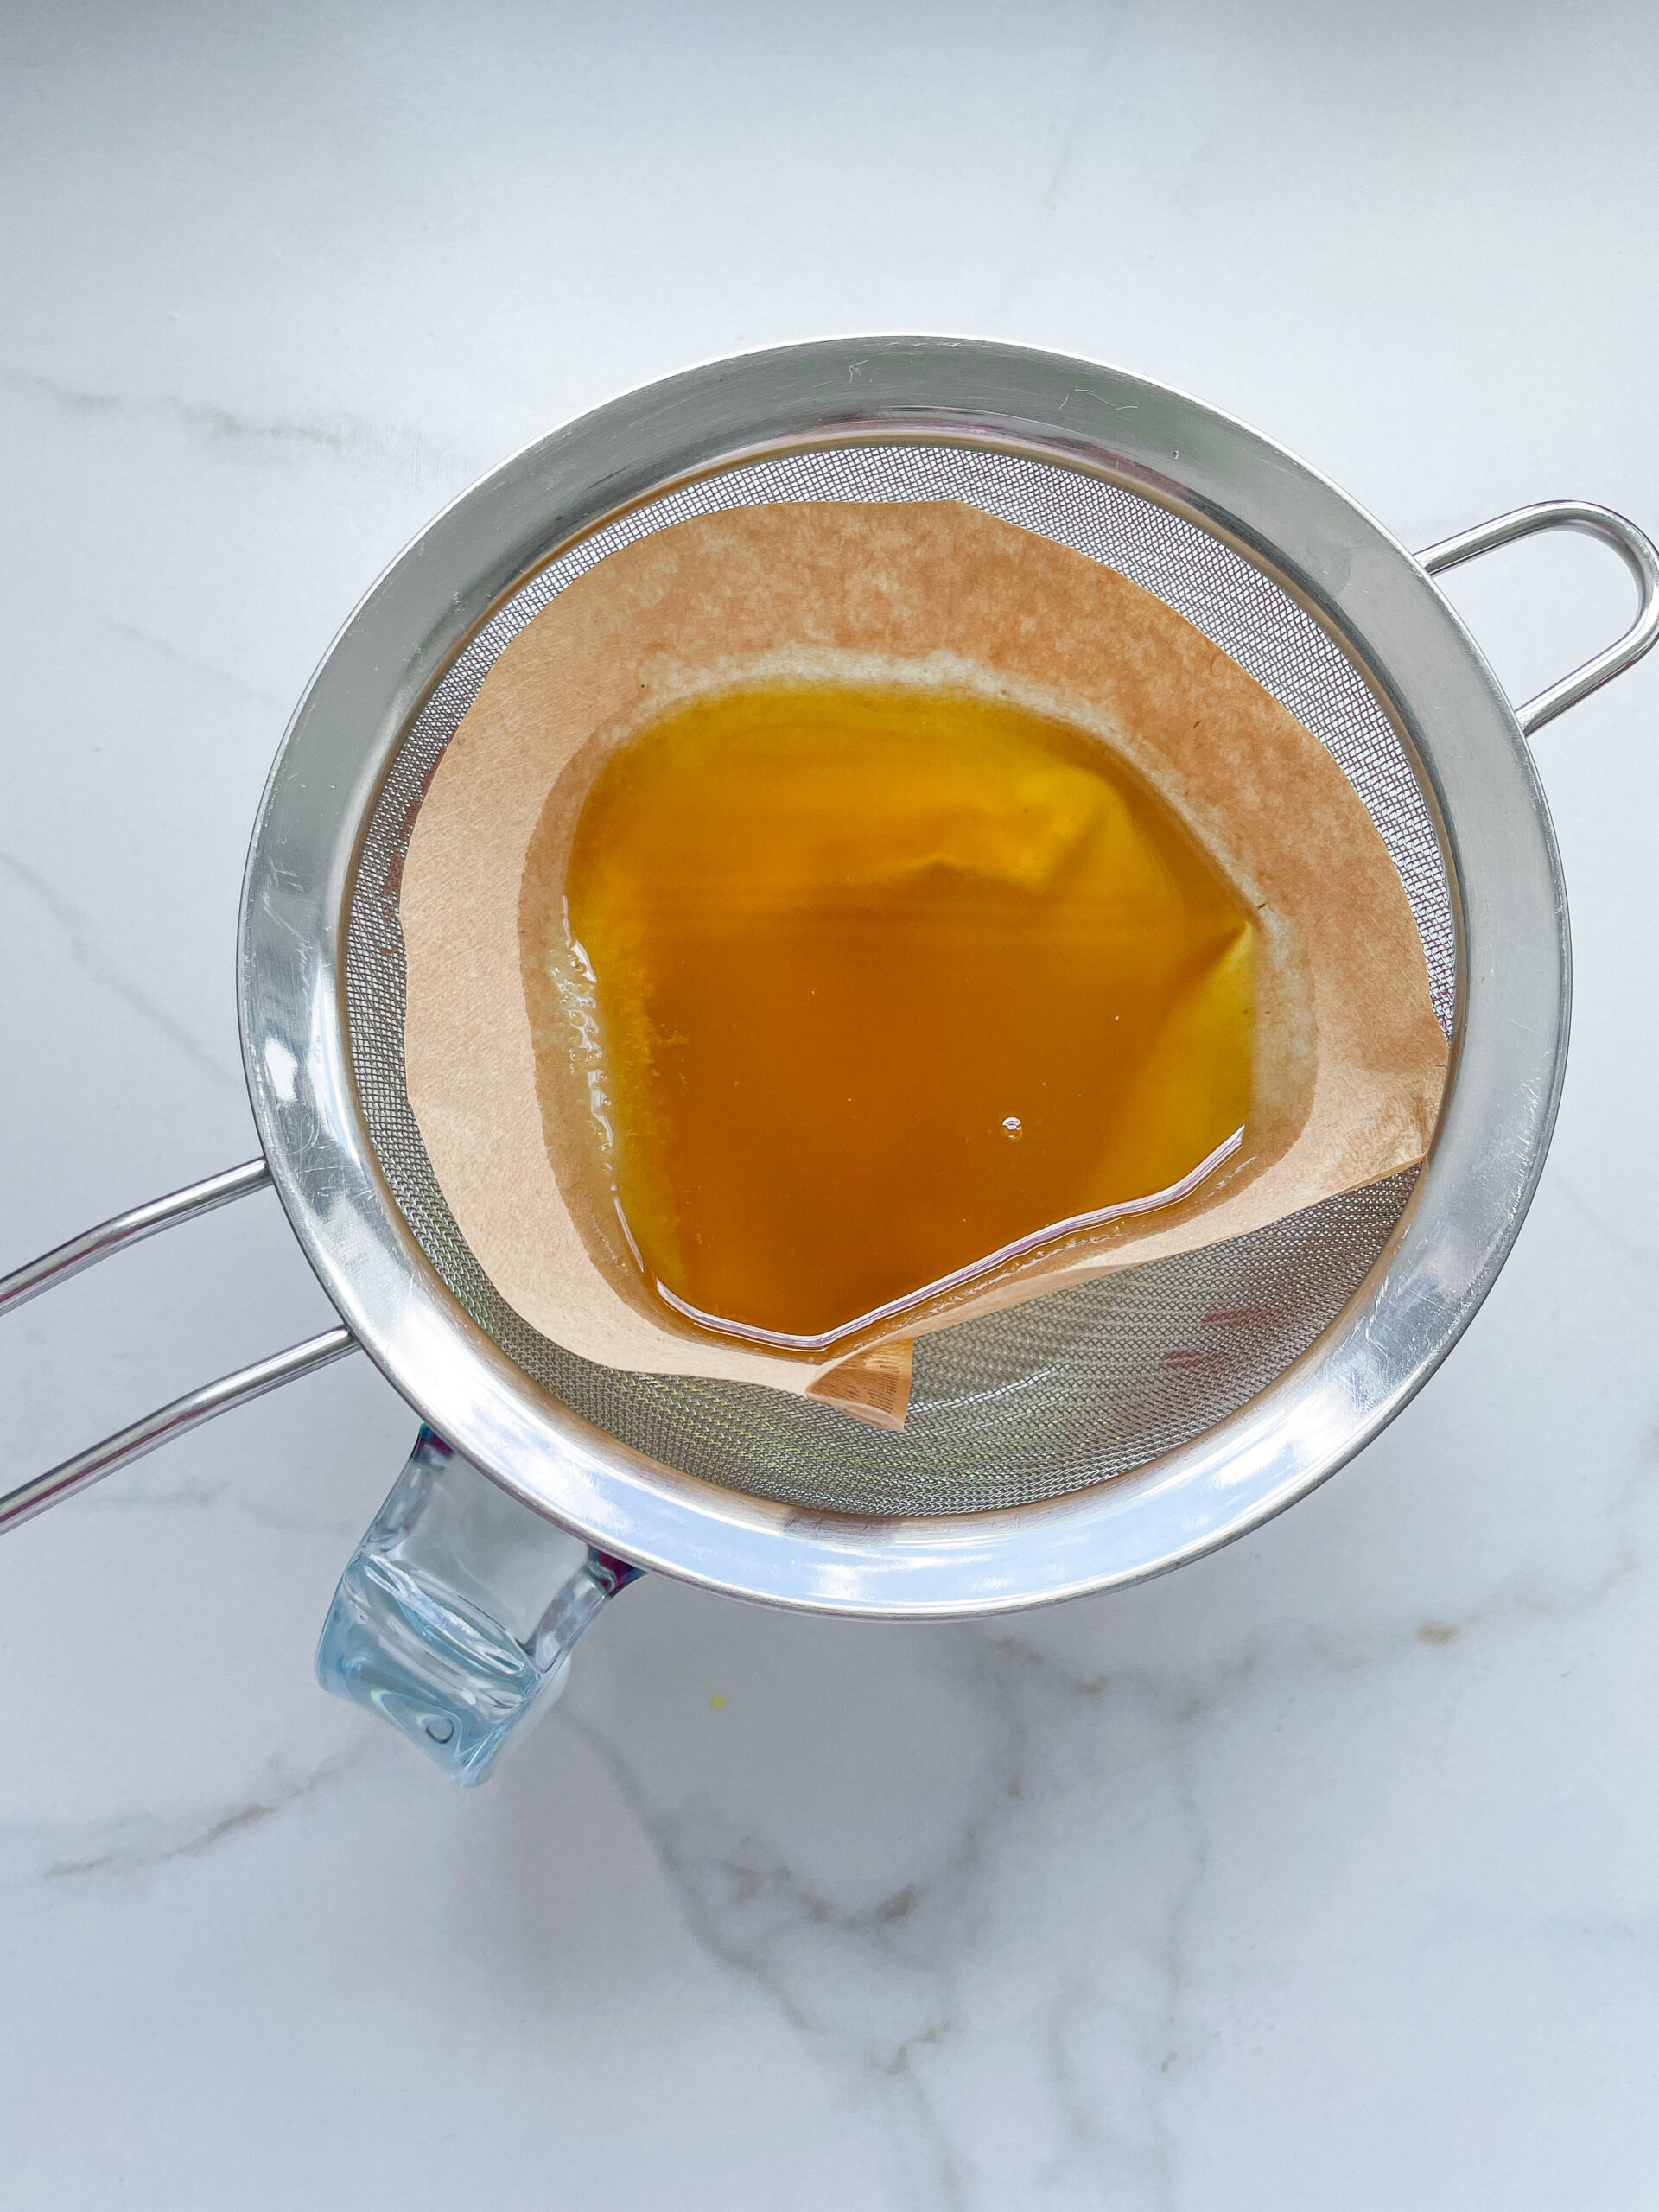
  5. Then, pour the oil into the second sieve, which is equipped with a coffee filter, to catch the remaining finer particles.
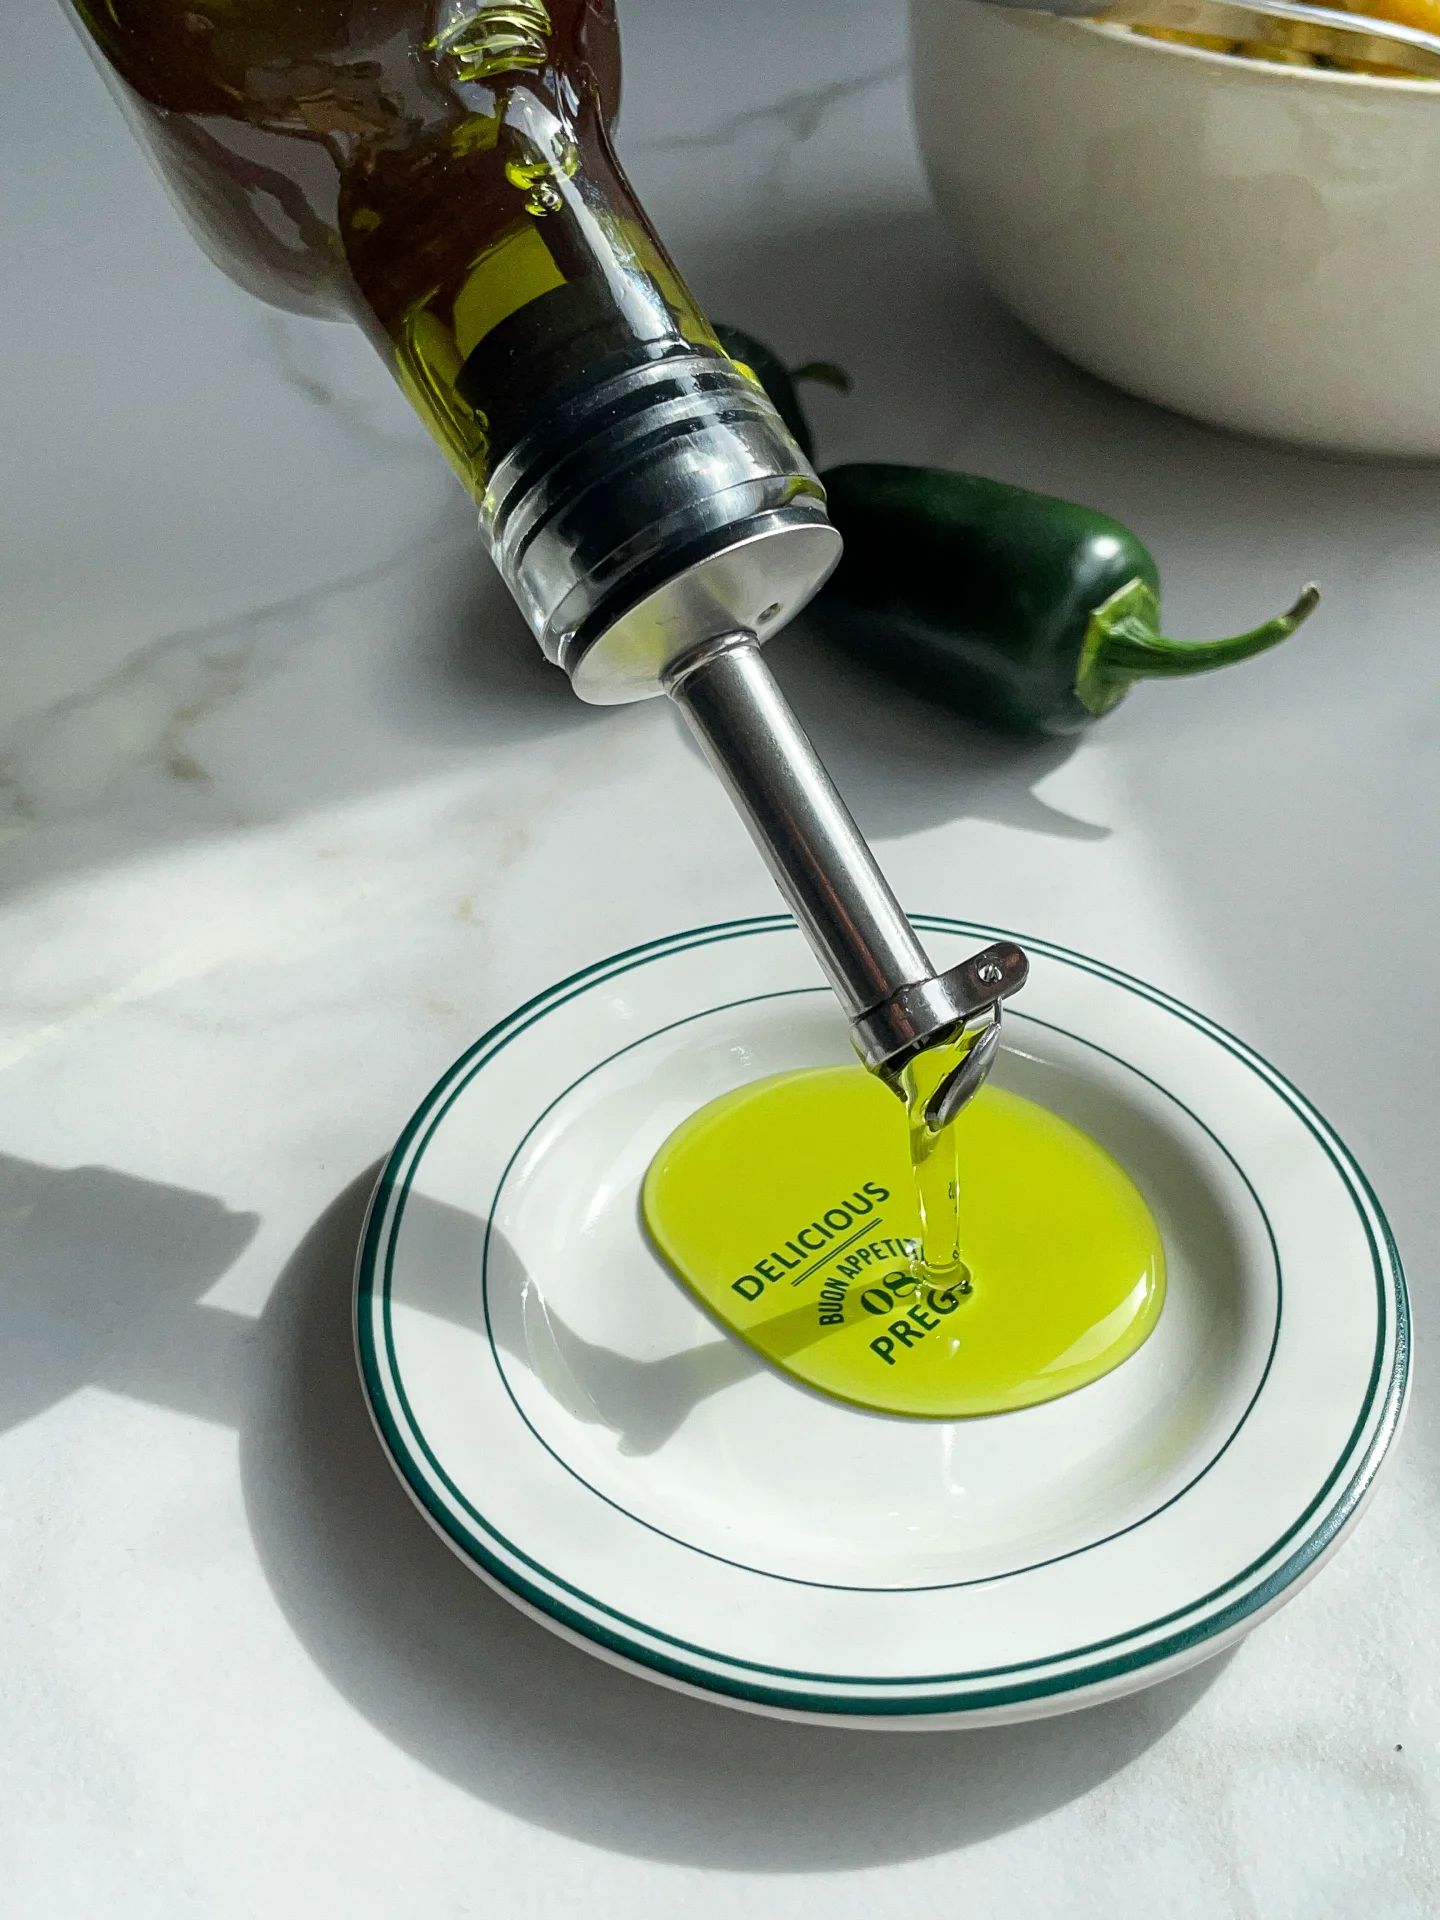
  6. Allow the oil to drip through for about 30 minutes or maybe less depending on how many remaining particles are in the coffee filter. Once all the oil has passed through the coffee filter, transfer the collected amount of oil into a sealable container or directly into an oil bottle. Store in the refrigerator for up to one week.
  • Prep Time: 5 min
  • Passive Time: 30 min
  • Cook Time: 10 min

CRAVING MORE?

Follow along here & don’t forget to subscribe to my substack!

Jalapeño Oil

Jalapeño Oil

Jalapeño Oil

Jalapeño Oil

July 23, 2024 by Kimberly

Jalapeño oil is the zesty kick your meals have been missing! It’s easy to make and instantly elevates any dish with its spicy, flavorful punch.

This website uses affiliate links which may earn commission for purchases made at no additional cost to you.

TOTAL TIME

50 min

SERVES

1 cup / 250 ml

DIET

vegan

EVERY RECIPE DESERVES

A Little Love Letter

Discover the magic of homemade jalapeño oil! This simple condiment adds a vibrant, spicy flair to your dishes. It’s a fantastic way to introduce a punch of flavor with minimal effort. Whether you’re drizzling it over pizza or stirring into soups, it’s guaranteed to impress.

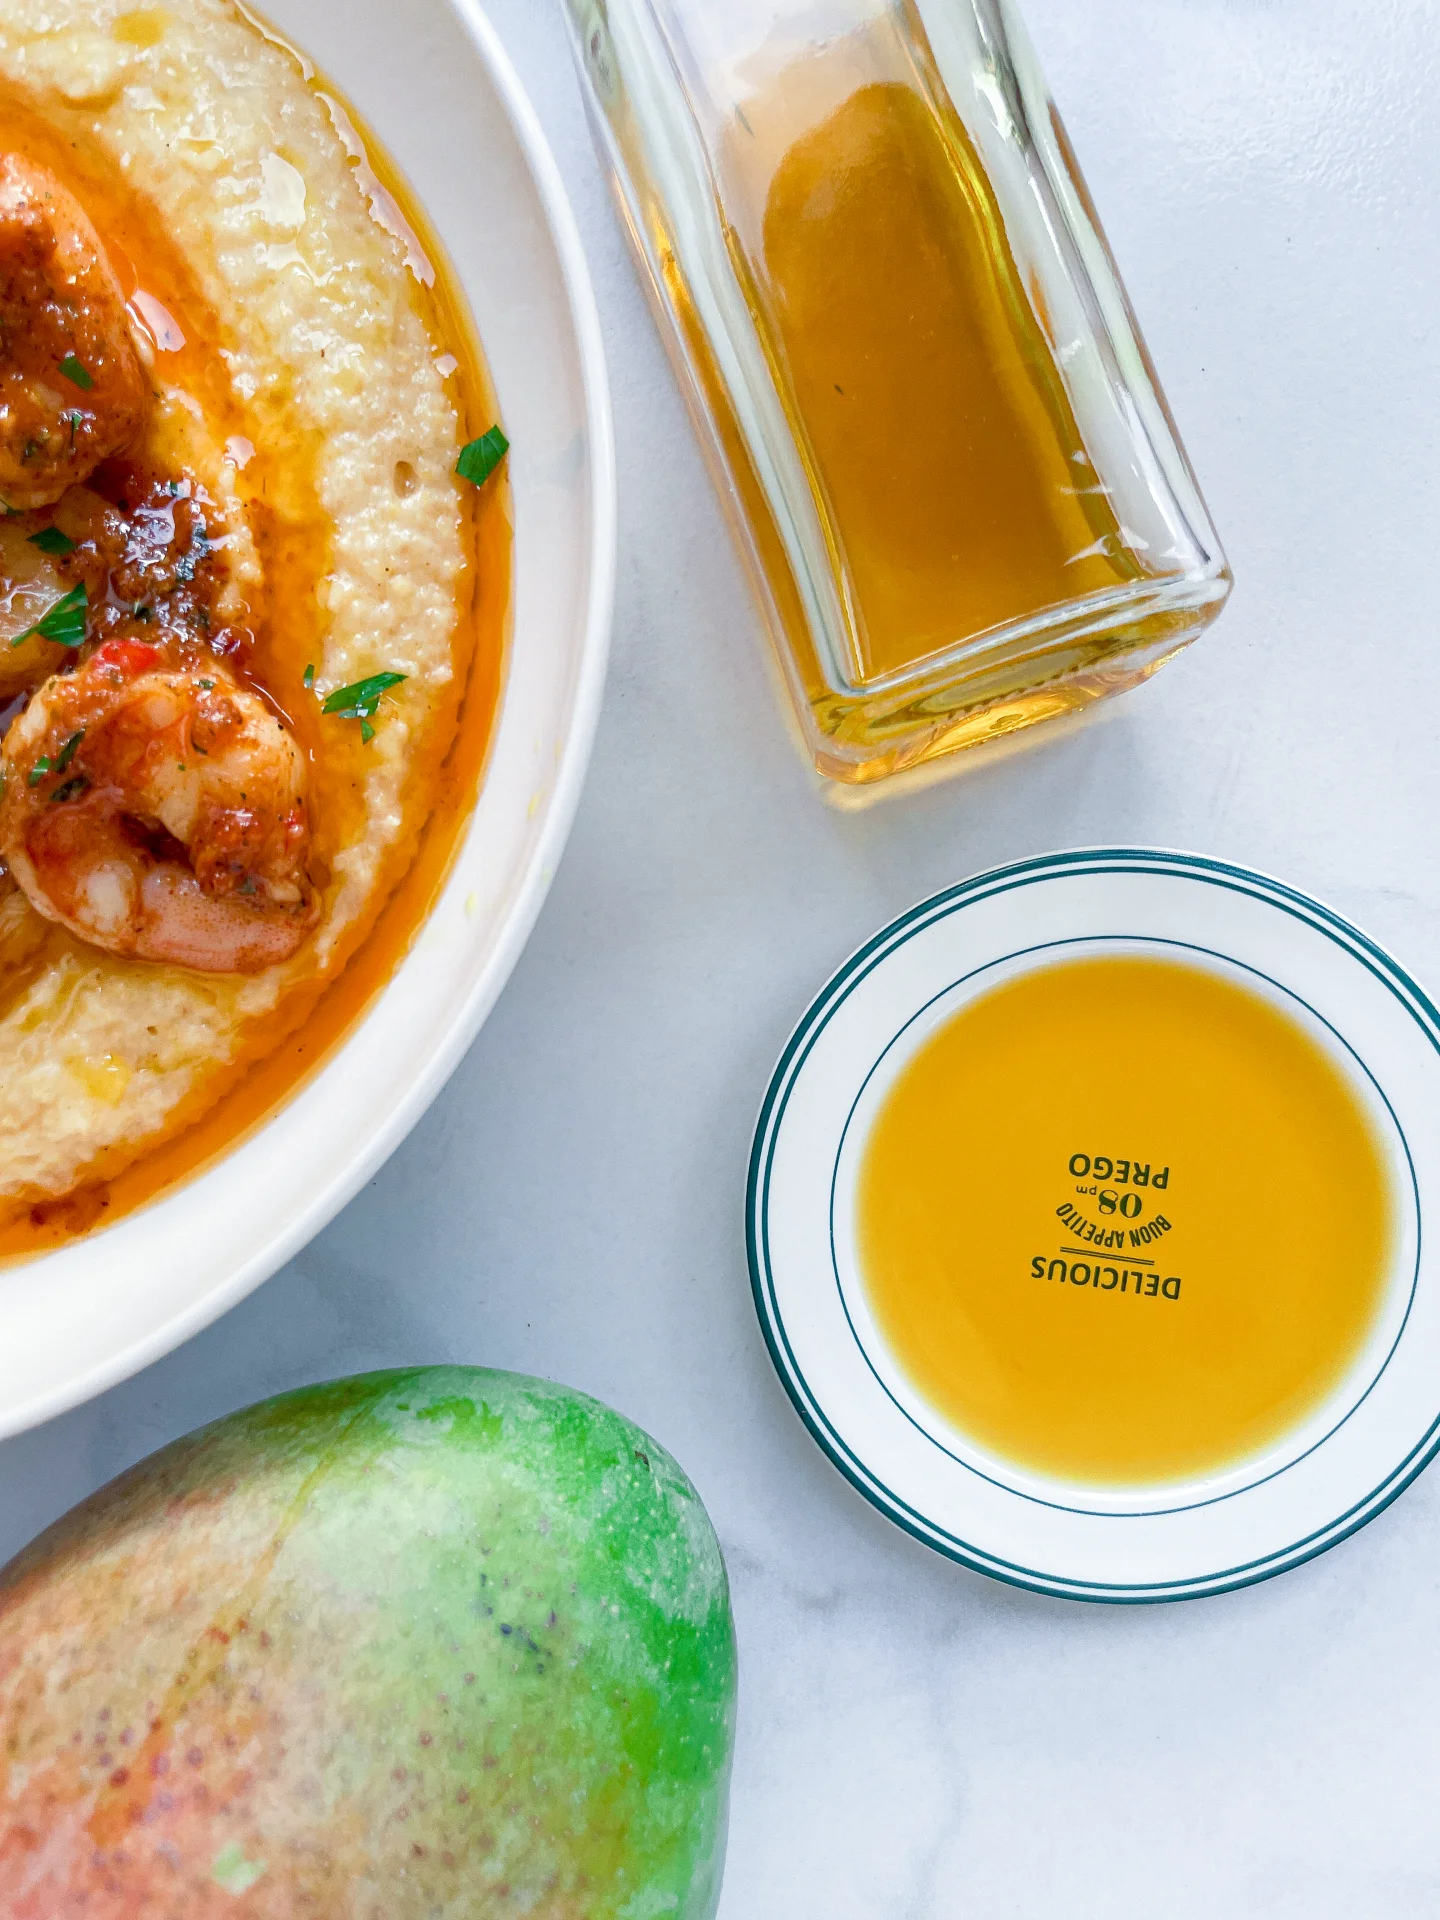
Drizzle it over your morning eggs to kickstart your day or add a dash to your pasta for an evening treat. It’s perfect for enhancing grilled meats or as a zesty addition to your salad dressings. Experiment and let your taste buds lead the way! I love to eat it in this Spicy Rice Shrimp Bowl & Mango Avocado Salsa.

Keep your jalapeño oil in an airtight container in the fridge. It stays fresh and flavorful for up to 1-2 weeks, ready to add a spicy note whenever you need it.

Hi, I'm Kimberly!

Hi, I'm Kimberly.

A hopeless romantic when it comes to food. Every recipe I share is a love letter to food itself. I’m so glad you’re here. Make yourself at home and stay a while.

Love,
Kimberly

Kimberly the Zett Signature

If you want to get to know me better,
click here!


Jalapeño Oil
Jalapeño Oil
Jalapeño Oil
Jalapeño Oil

LET’S MAKE A PIECE OF HAPPINESS

Print
.tasty-recipe-responsive-iframe-container-80062444 { position: relative; overflow: hidden; padding-top: 56.3%; } .tasty-recipe-responsive-iframe-container-80062444 iframe { position: absolute; top: 0; left: 0; width: 100%; height: 100%; border: 0; } clock clock iconcutlery cutlery iconflag flag iconfolder folder iconinstagram instagram iconpinterest pinterest iconfacebook facebook iconprint print iconsquares squares iconheart heart iconheart solid heart solid icon
Jalapeño Oil

Jalapeño Oil


  • Author: Kimberly
  • Total Time: 50 min
  • Yield: 250 ml / 1 cup

Description

RECOMMENDED EQUIPMENT

  • blender
  • medium-sized saucepan
  • whisk
  • a bowl which the medium saucepan fits into
  • 2 medium-sized bowls
  • 2 fine sieves
  • sealable container (oil bottle)
  • ice cubes
  • coffee filter

Ingredients

Units Scale
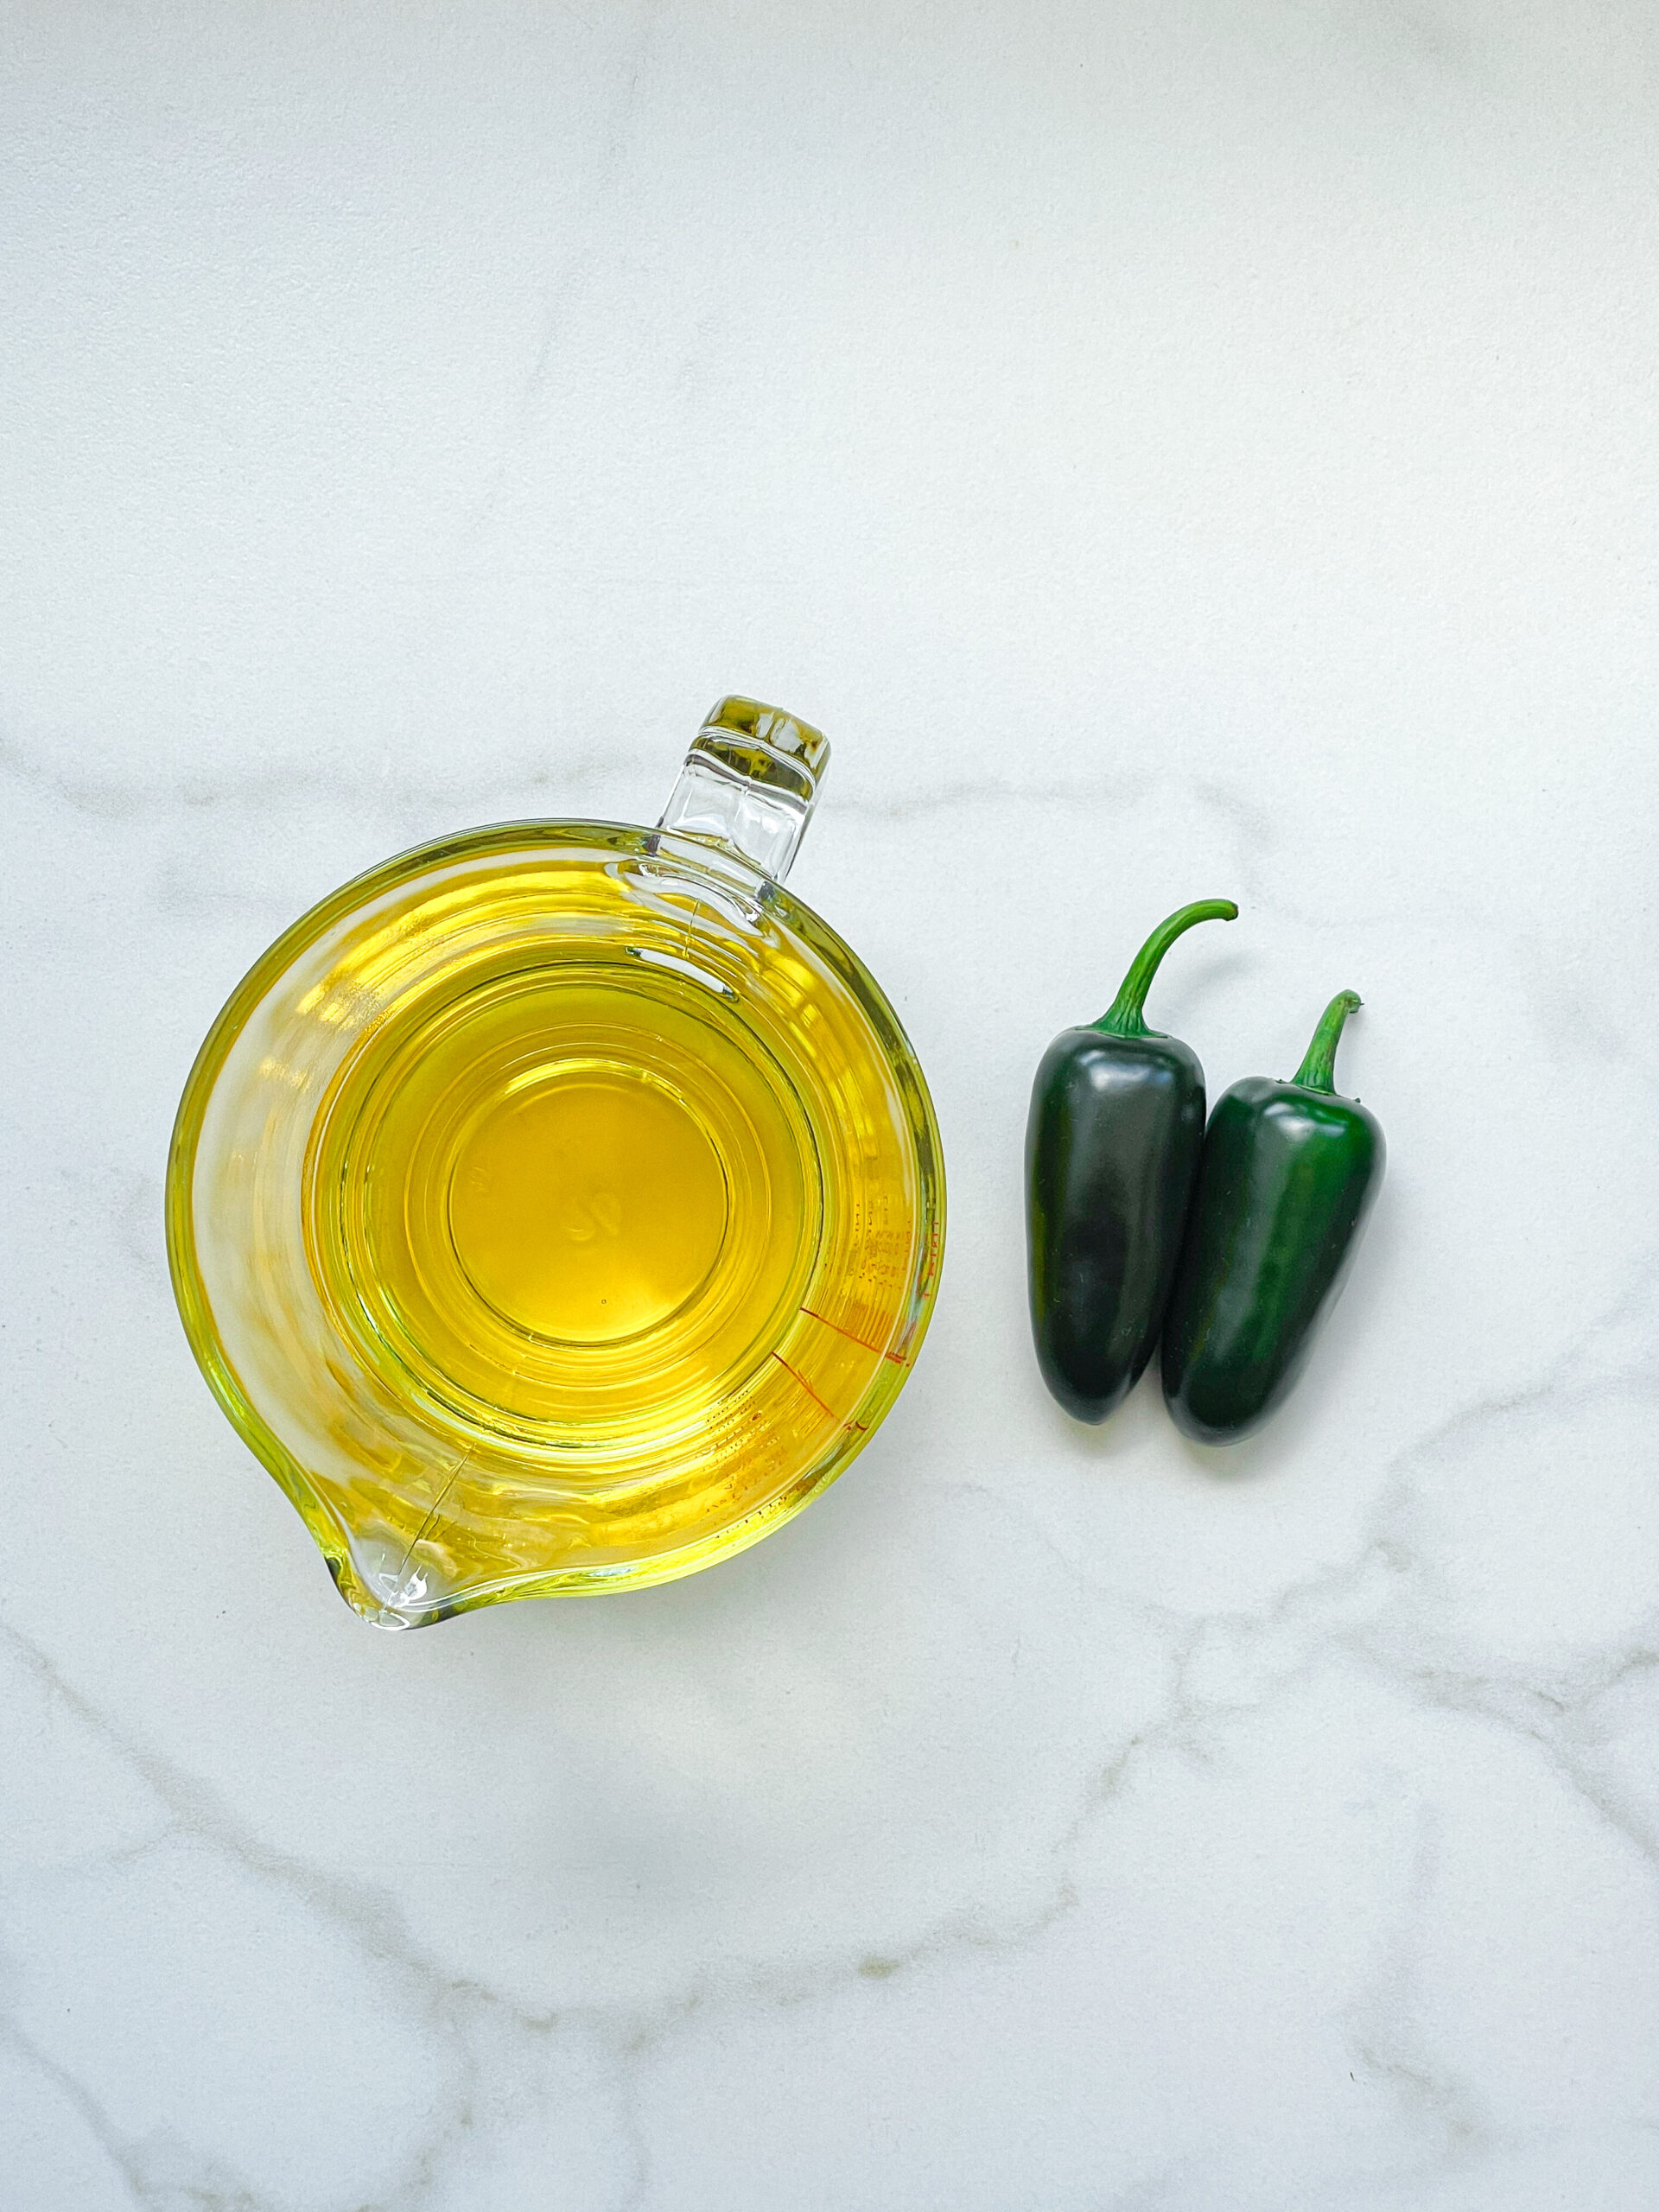
  • 2 jalapeños
  • 250 milliliters unrefined cold-pressed sunflower oil

Instructions

  1. Cut the stems off and put the jalapeños into the blender. Pour in the oil. Blend on the highest setting until there are only tiny pieces of the jalapeños left.
  2. Pour the mixture from the blender into a medium-sized pot and heat it over medium heat to a temperature of about 103°C (217°F), and maintain this temperature for the next 10-15 minutes. Stir occasionally, making sure the temperature remains steady and nothing gets burned.
  3. Prepare a bowl large enough to fit a medium-sized pot, and fill it with cold water and a handful of ice cubes. Also, hang a fine sieve strainer over one medium-sized bowl and another fine sieve strainer, with a coffee filter inside it, over another medium-sized bowl.
  4. Now, place the pot in the ice water and stir to cool the oil quickly. Once the oil is almost cold, remove the pot from the water and pour the oil into the prepared fine sieve to catch the coarse particles.
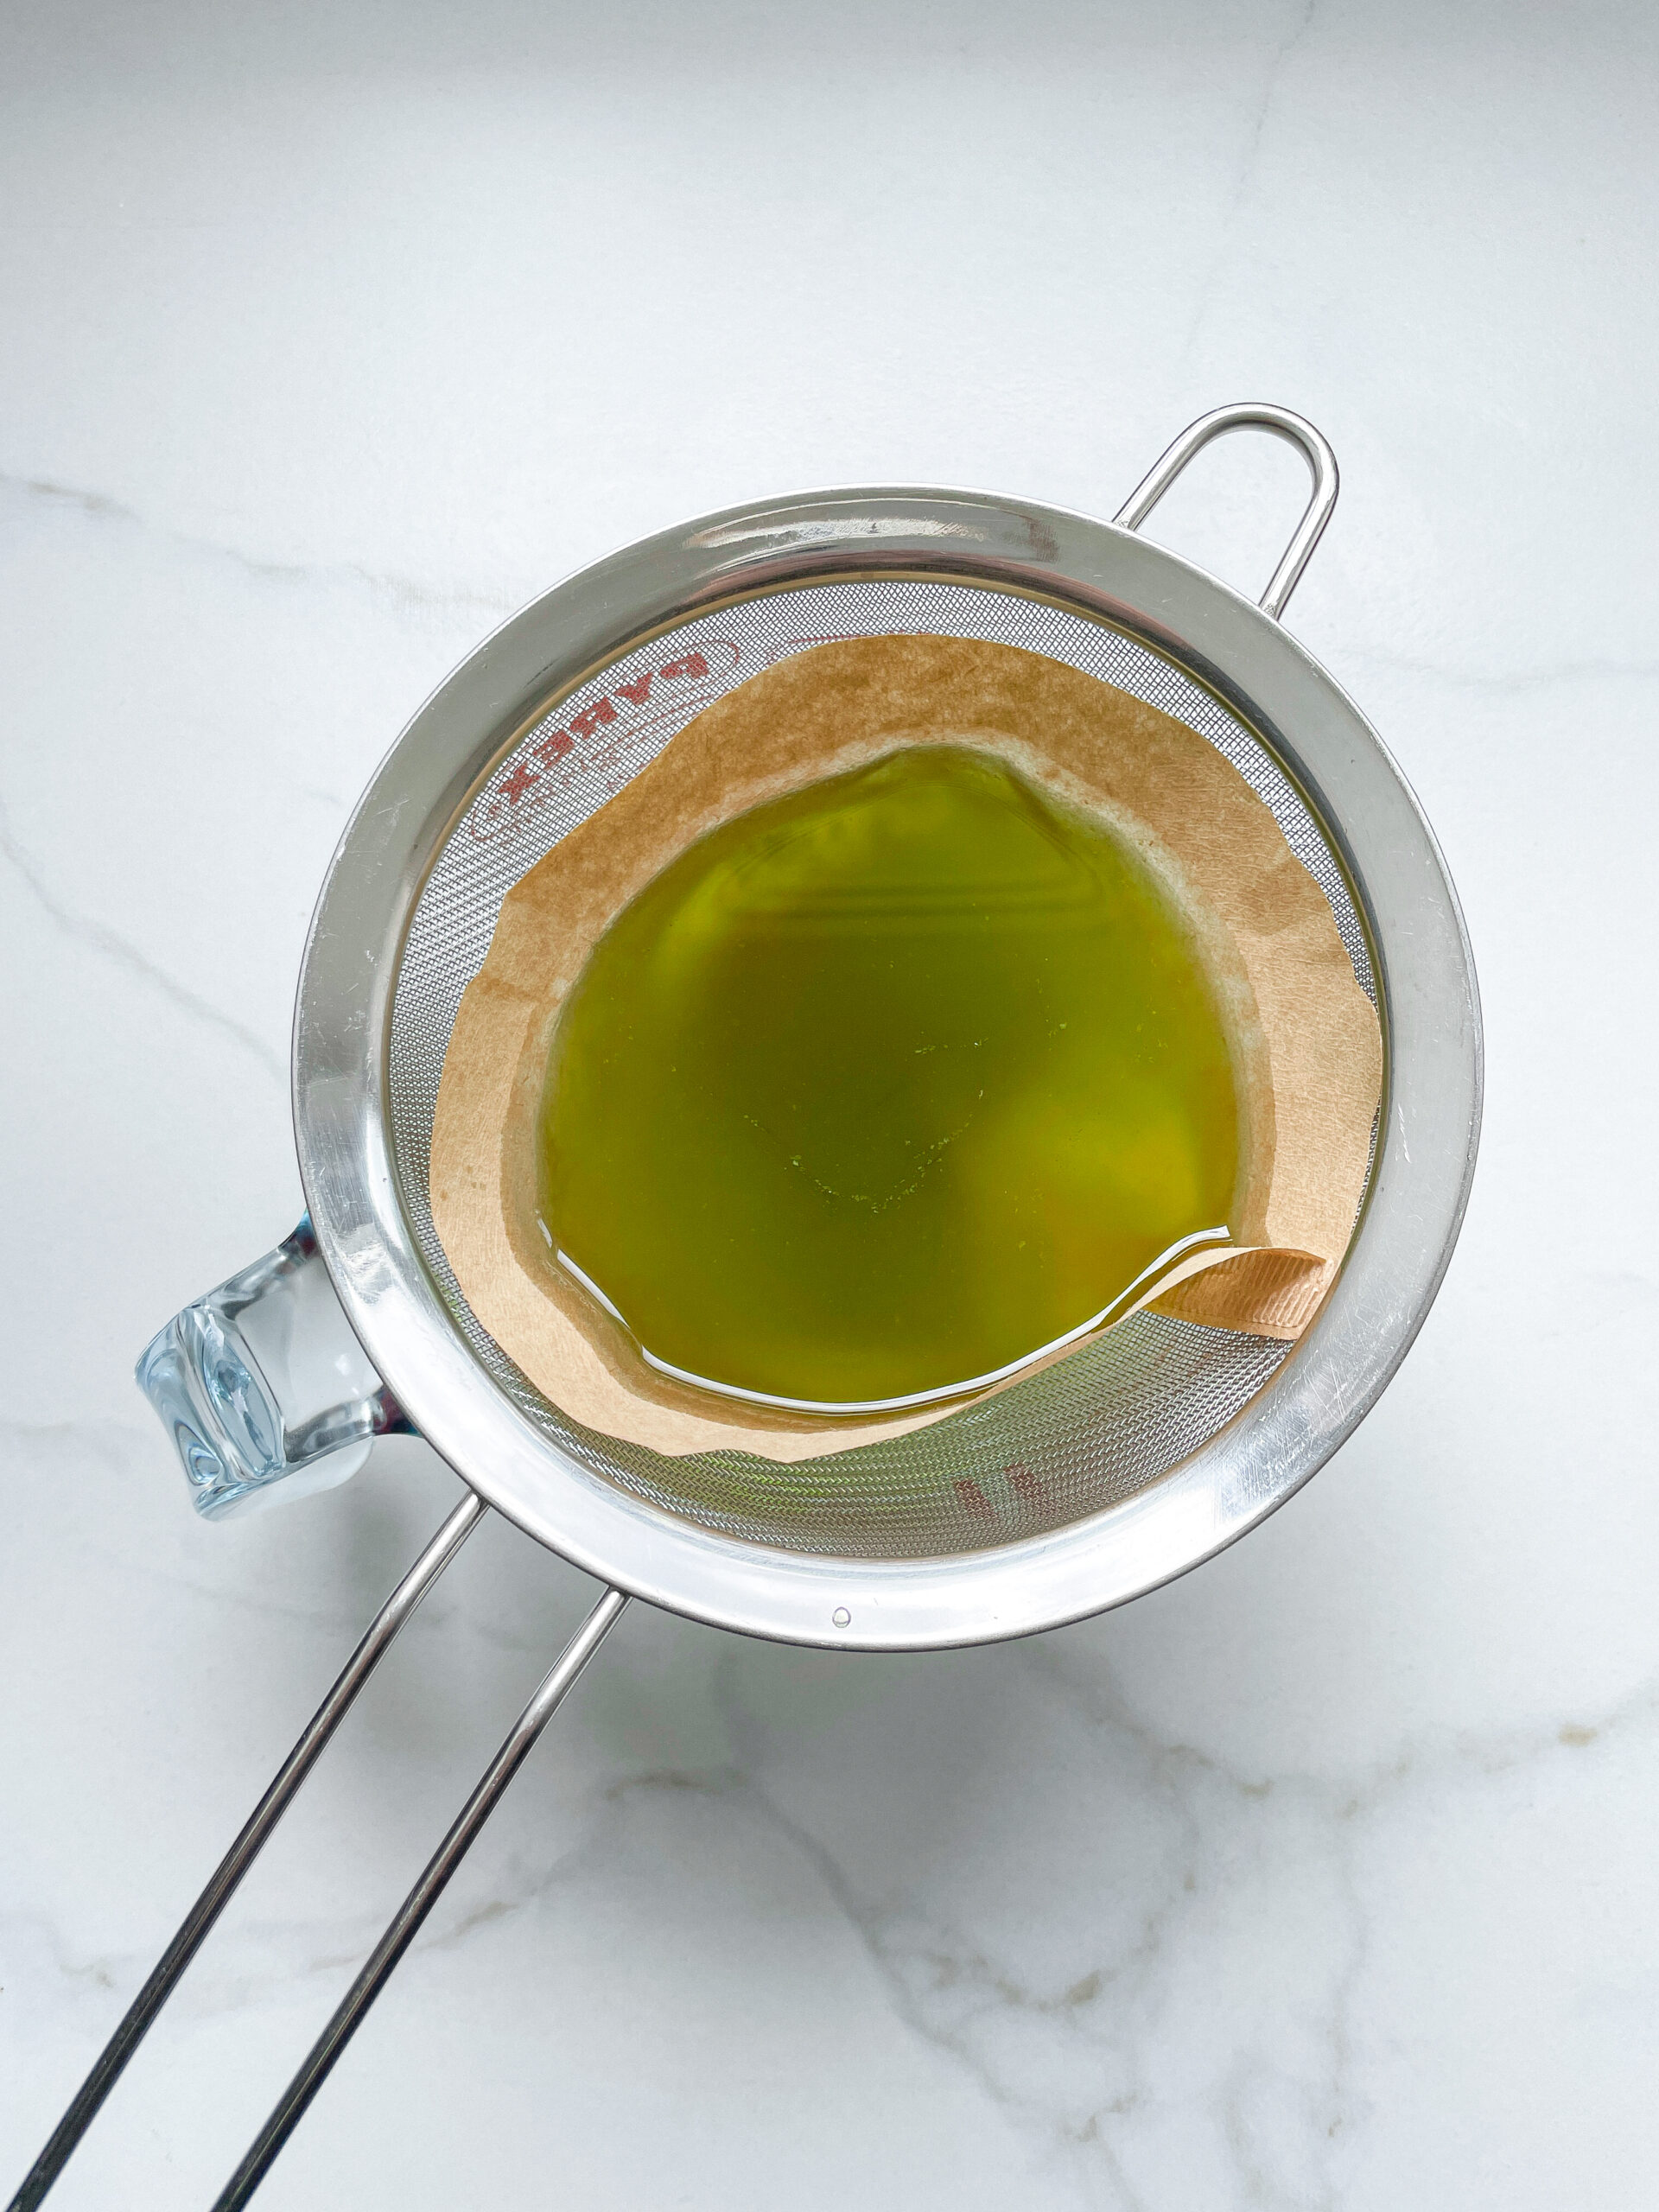
  5. Then, pour the oil into the second sieve, which is equipped with a coffee filter, to catch the remaining finer particles.
  6. Allow the oil to drip through for about 30 minutes or maybe less depending on how many remaining particles are in the coffee filter. Once all the oil has passed through the coffee filter, transfer the collected amount of oil into a sealable container or directly into an oil bottle. Store in the refrigerator for up to one week.
  • Prep Time: 5 min
  • Passive Time: 30 min
  • Cook Time: 15 min

CRAVING MORE?

Follow along here & don’t forget to subscribe to my substack!

Vanilla Oil

Vanilla Oil

Vanilla Oil

Vanilla Oil

July 16, 2024 by Kimberly

Explore the charm of homemade vanilla oil! Perfect for enhancing your dishes with a sweet, subtle twist. Easy, delightful, and irresistibly aromatic.

This website uses affiliate links which may earn commission for purchases made at no additional cost to you.

TOTAL TIME

25 min

SERVES

1 cup / 250 ml

DIET

vegan

EVERY RECIPE DESERVES

A Little Love Letter

Step into the delightful world of homemade vanilla oil! This easy DIY is your ticket to elevating everyday dishes with a gourmet touch and a whisper of sweetness.

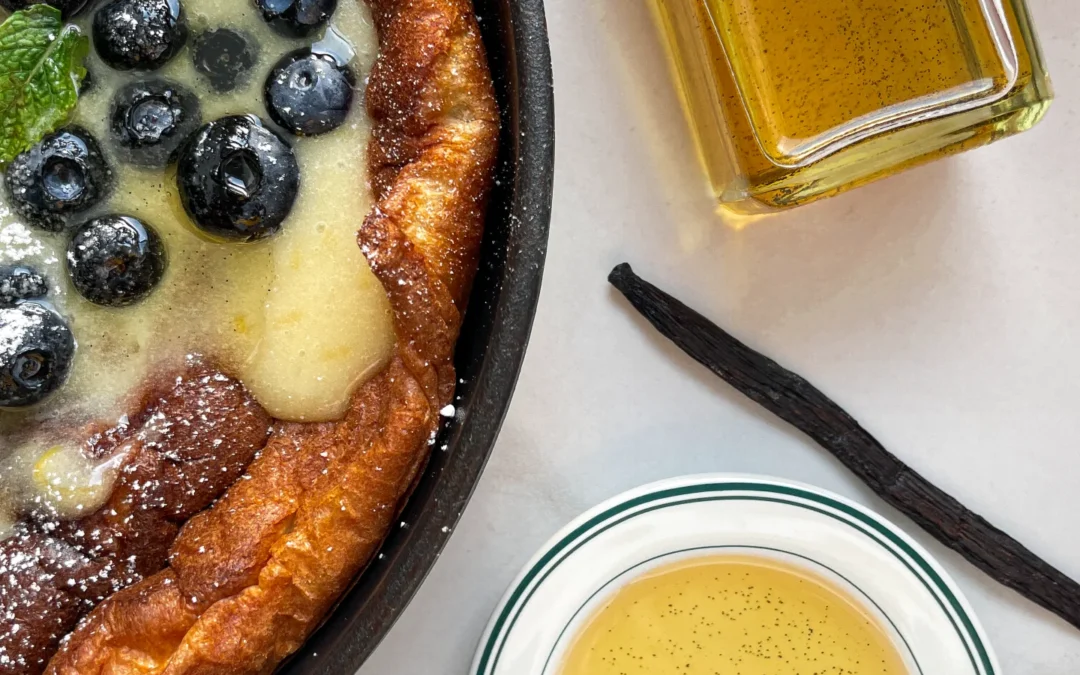
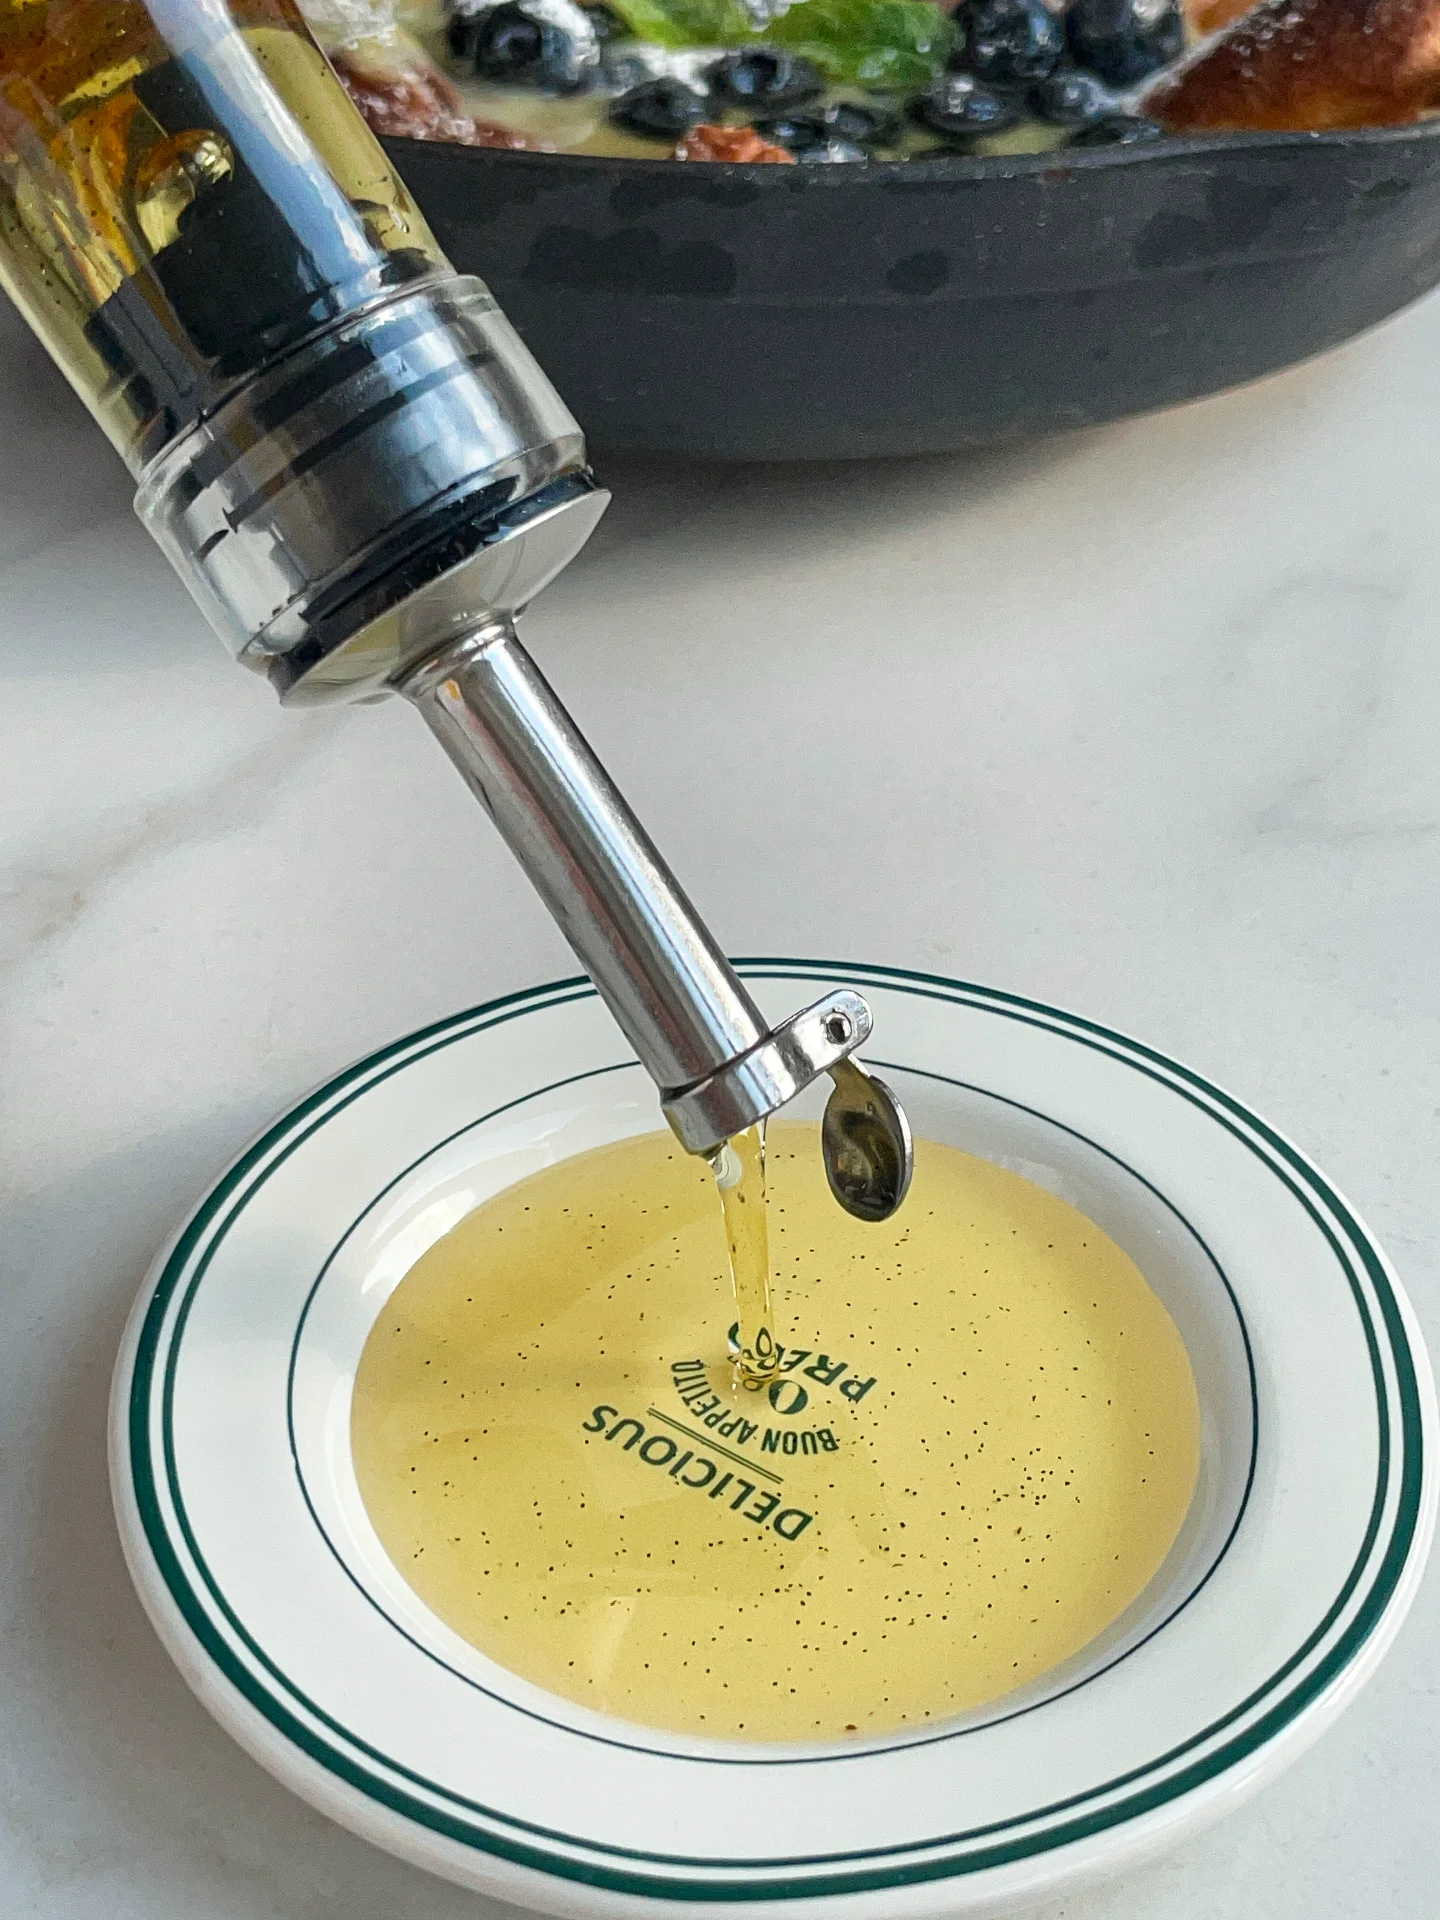
Drizzle vanilla oil over fresh pastries, blend it into your morning oatmeal, or enhance your smoothies with its sweet notes. It’s especially perfect for a luxurious addition to pancakes and French toast on weekend mornings. And my Blueberry Lemon Curd Dutch Baby goes perfectly with it. Just drizzle a bit over the warm dish and enjoy!

Store your vanilla oil in a cool, dark place to preserve its aromatic qualities. Use a tightly sealed glass container for optimal freshness and flavor retention.

Hi, I'm Kimberly!

Hi, I'm Kimberly.

A hopeless romantic when it comes to food. Every recipe I share is a love letter to food itself. I’m so glad you’re here. Make yourself at home and stay a while.

Love,
Kimberly

Kimberly the Zett Signature

If you want to get to know me better,
click here!


Vanilla Oil
Vanilla Oil
Vanilla Oil
Vanilla Oil

LET’S MAKE A PIECE OF HAPPINESS

Print
.tasty-recipe-responsive-iframe-container-bfd40b09 { position: relative; overflow: hidden; padding-top: 56.3%; } .tasty-recipe-responsive-iframe-container-bfd40b09 iframe { position: absolute; top: 0; left: 0; width: 100%; height: 100%; border: 0; } clock clock iconcutlery cutlery iconflag flag iconfolder folder iconinstagram instagram iconpinterest pinterest iconfacebook facebook iconprint print iconsquares squares iconheart heart iconheart solid heart solid icon
Vanilla Oil

Vanilla Oil


  • Author: Kimberly
  • Total Time: 15 min
  • Yield: 250 ml / 1 cup

Description

RECOMMENDED EQUIPMENT

  • medium-sized saucepan
  • whisk
  • a bowl which the medium saucepan fits into
  • medium-sized bowl
  • fine sieve
  • sealable container (oil bottle)
  • ice cubes

Ingredients

Units Scale
  • 1 vanilla pod
  • 250 milliliters sunflower oil

Instructions

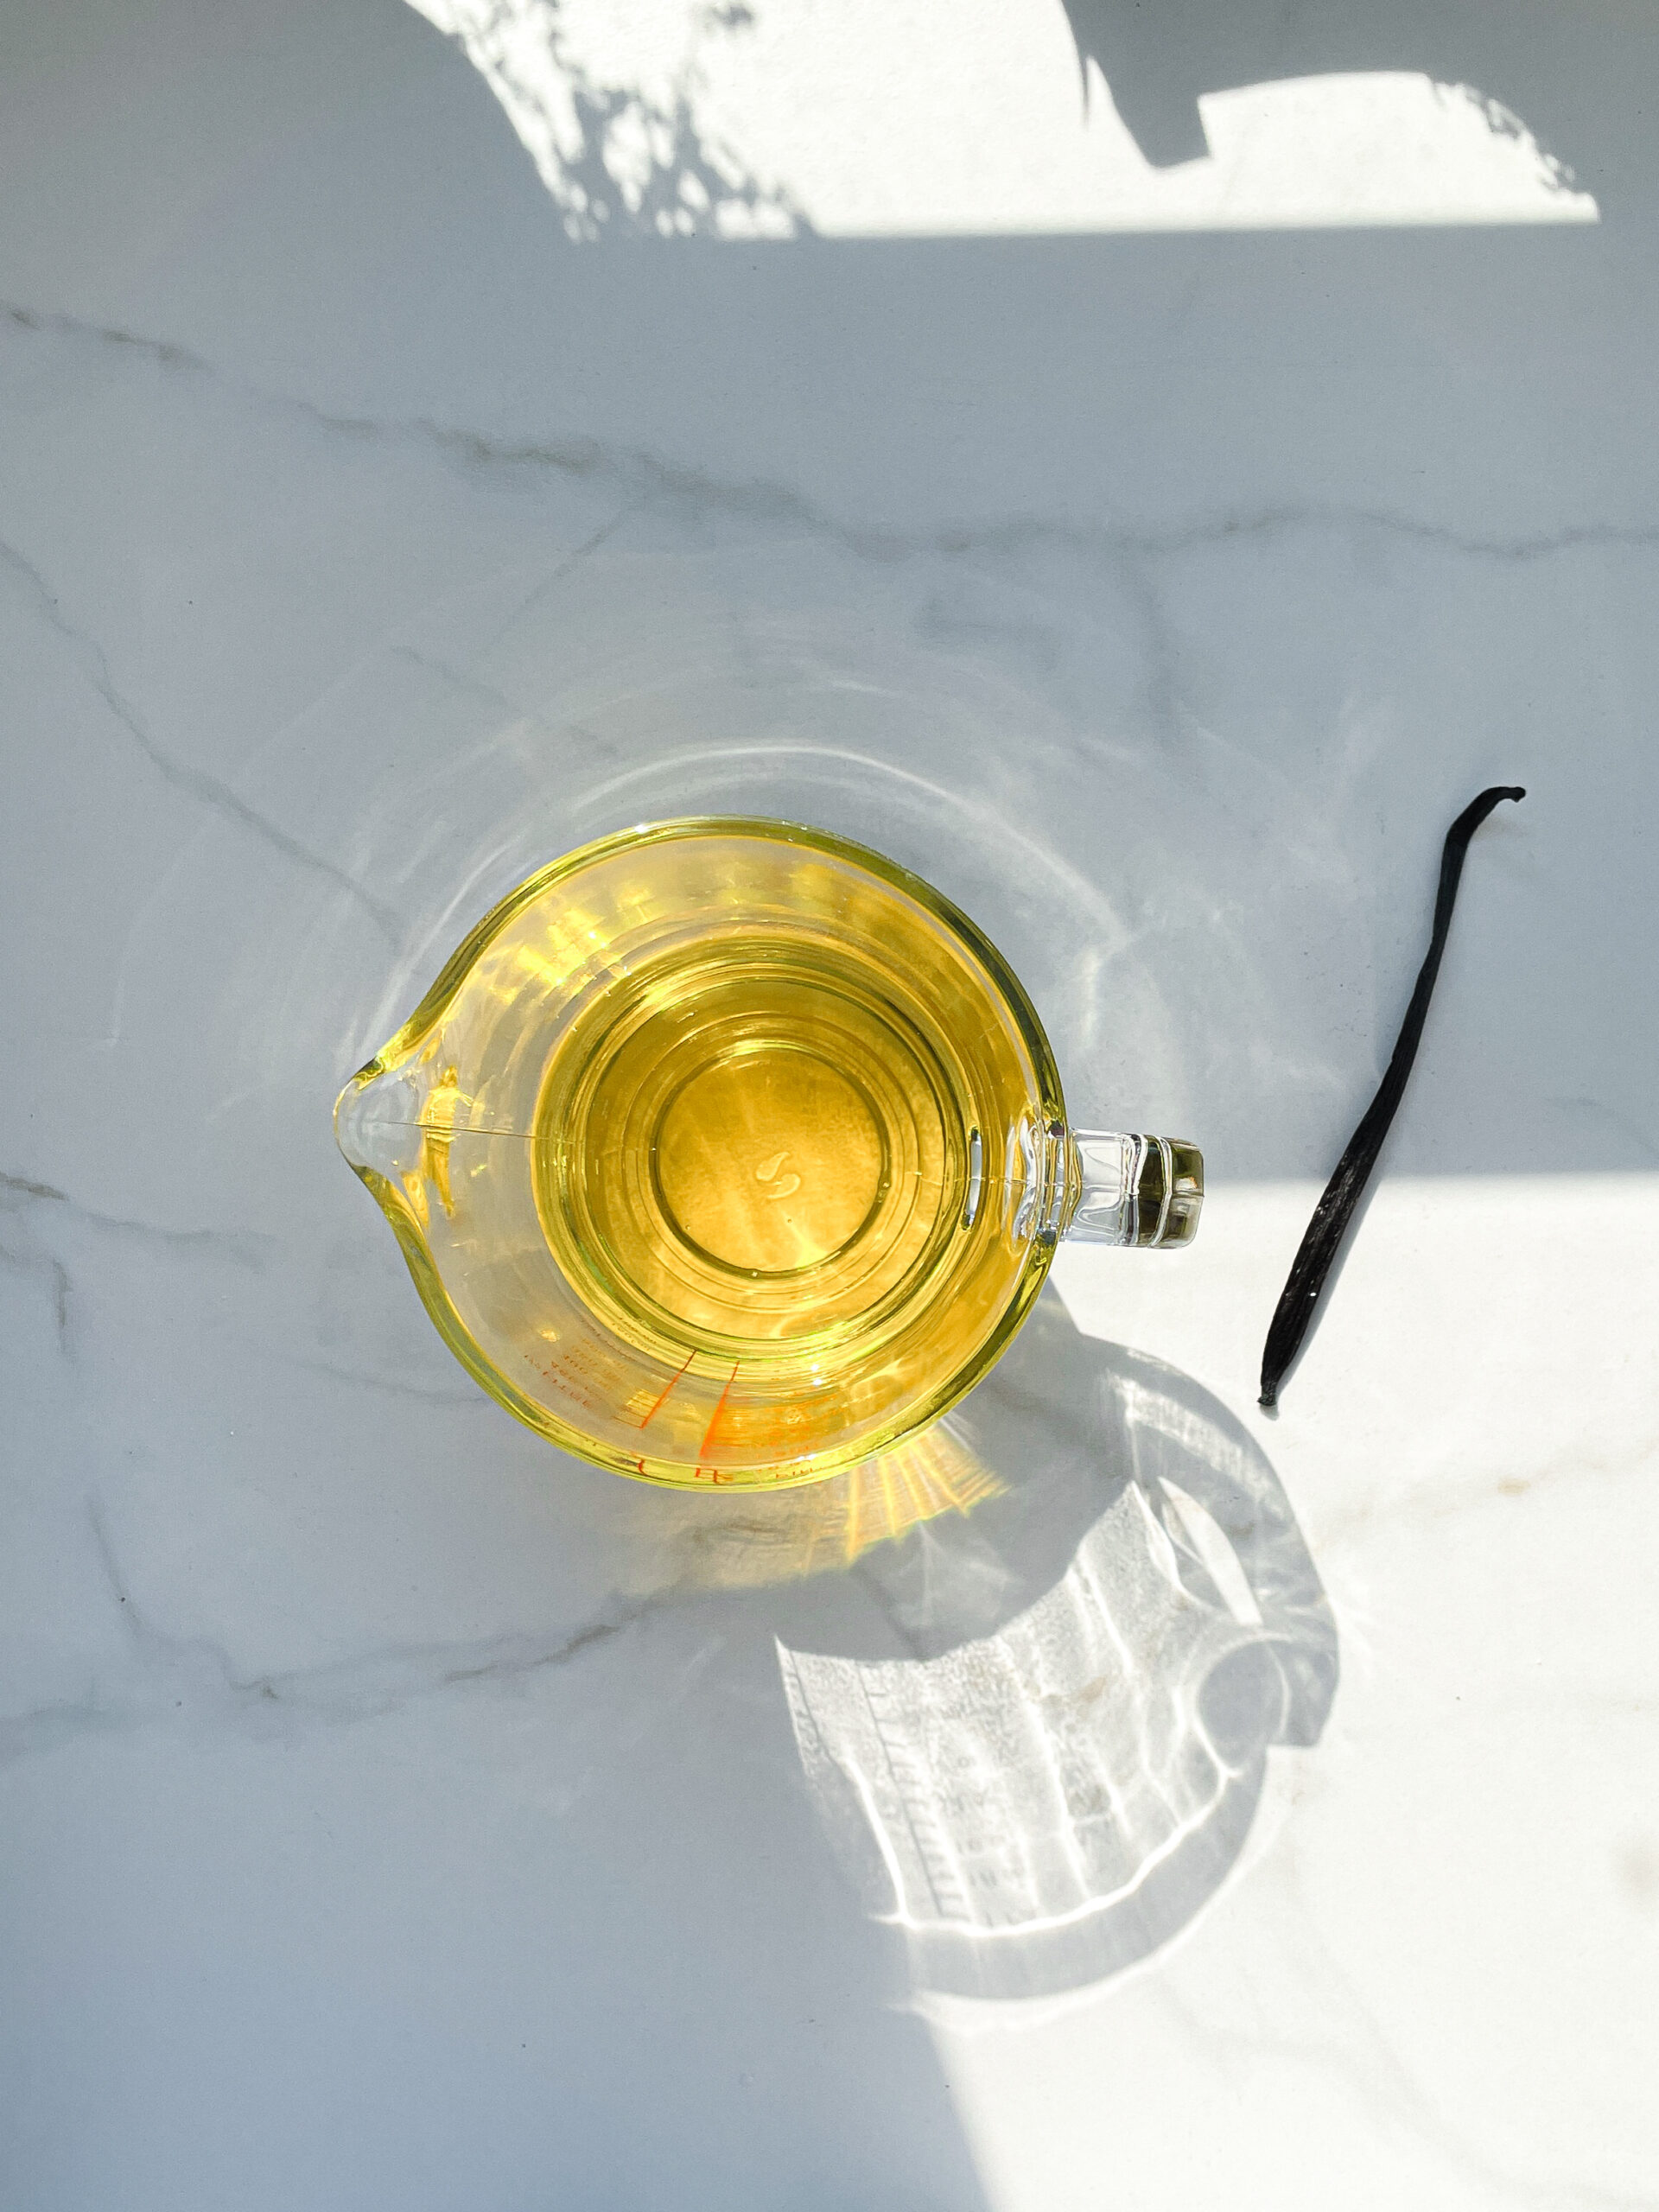
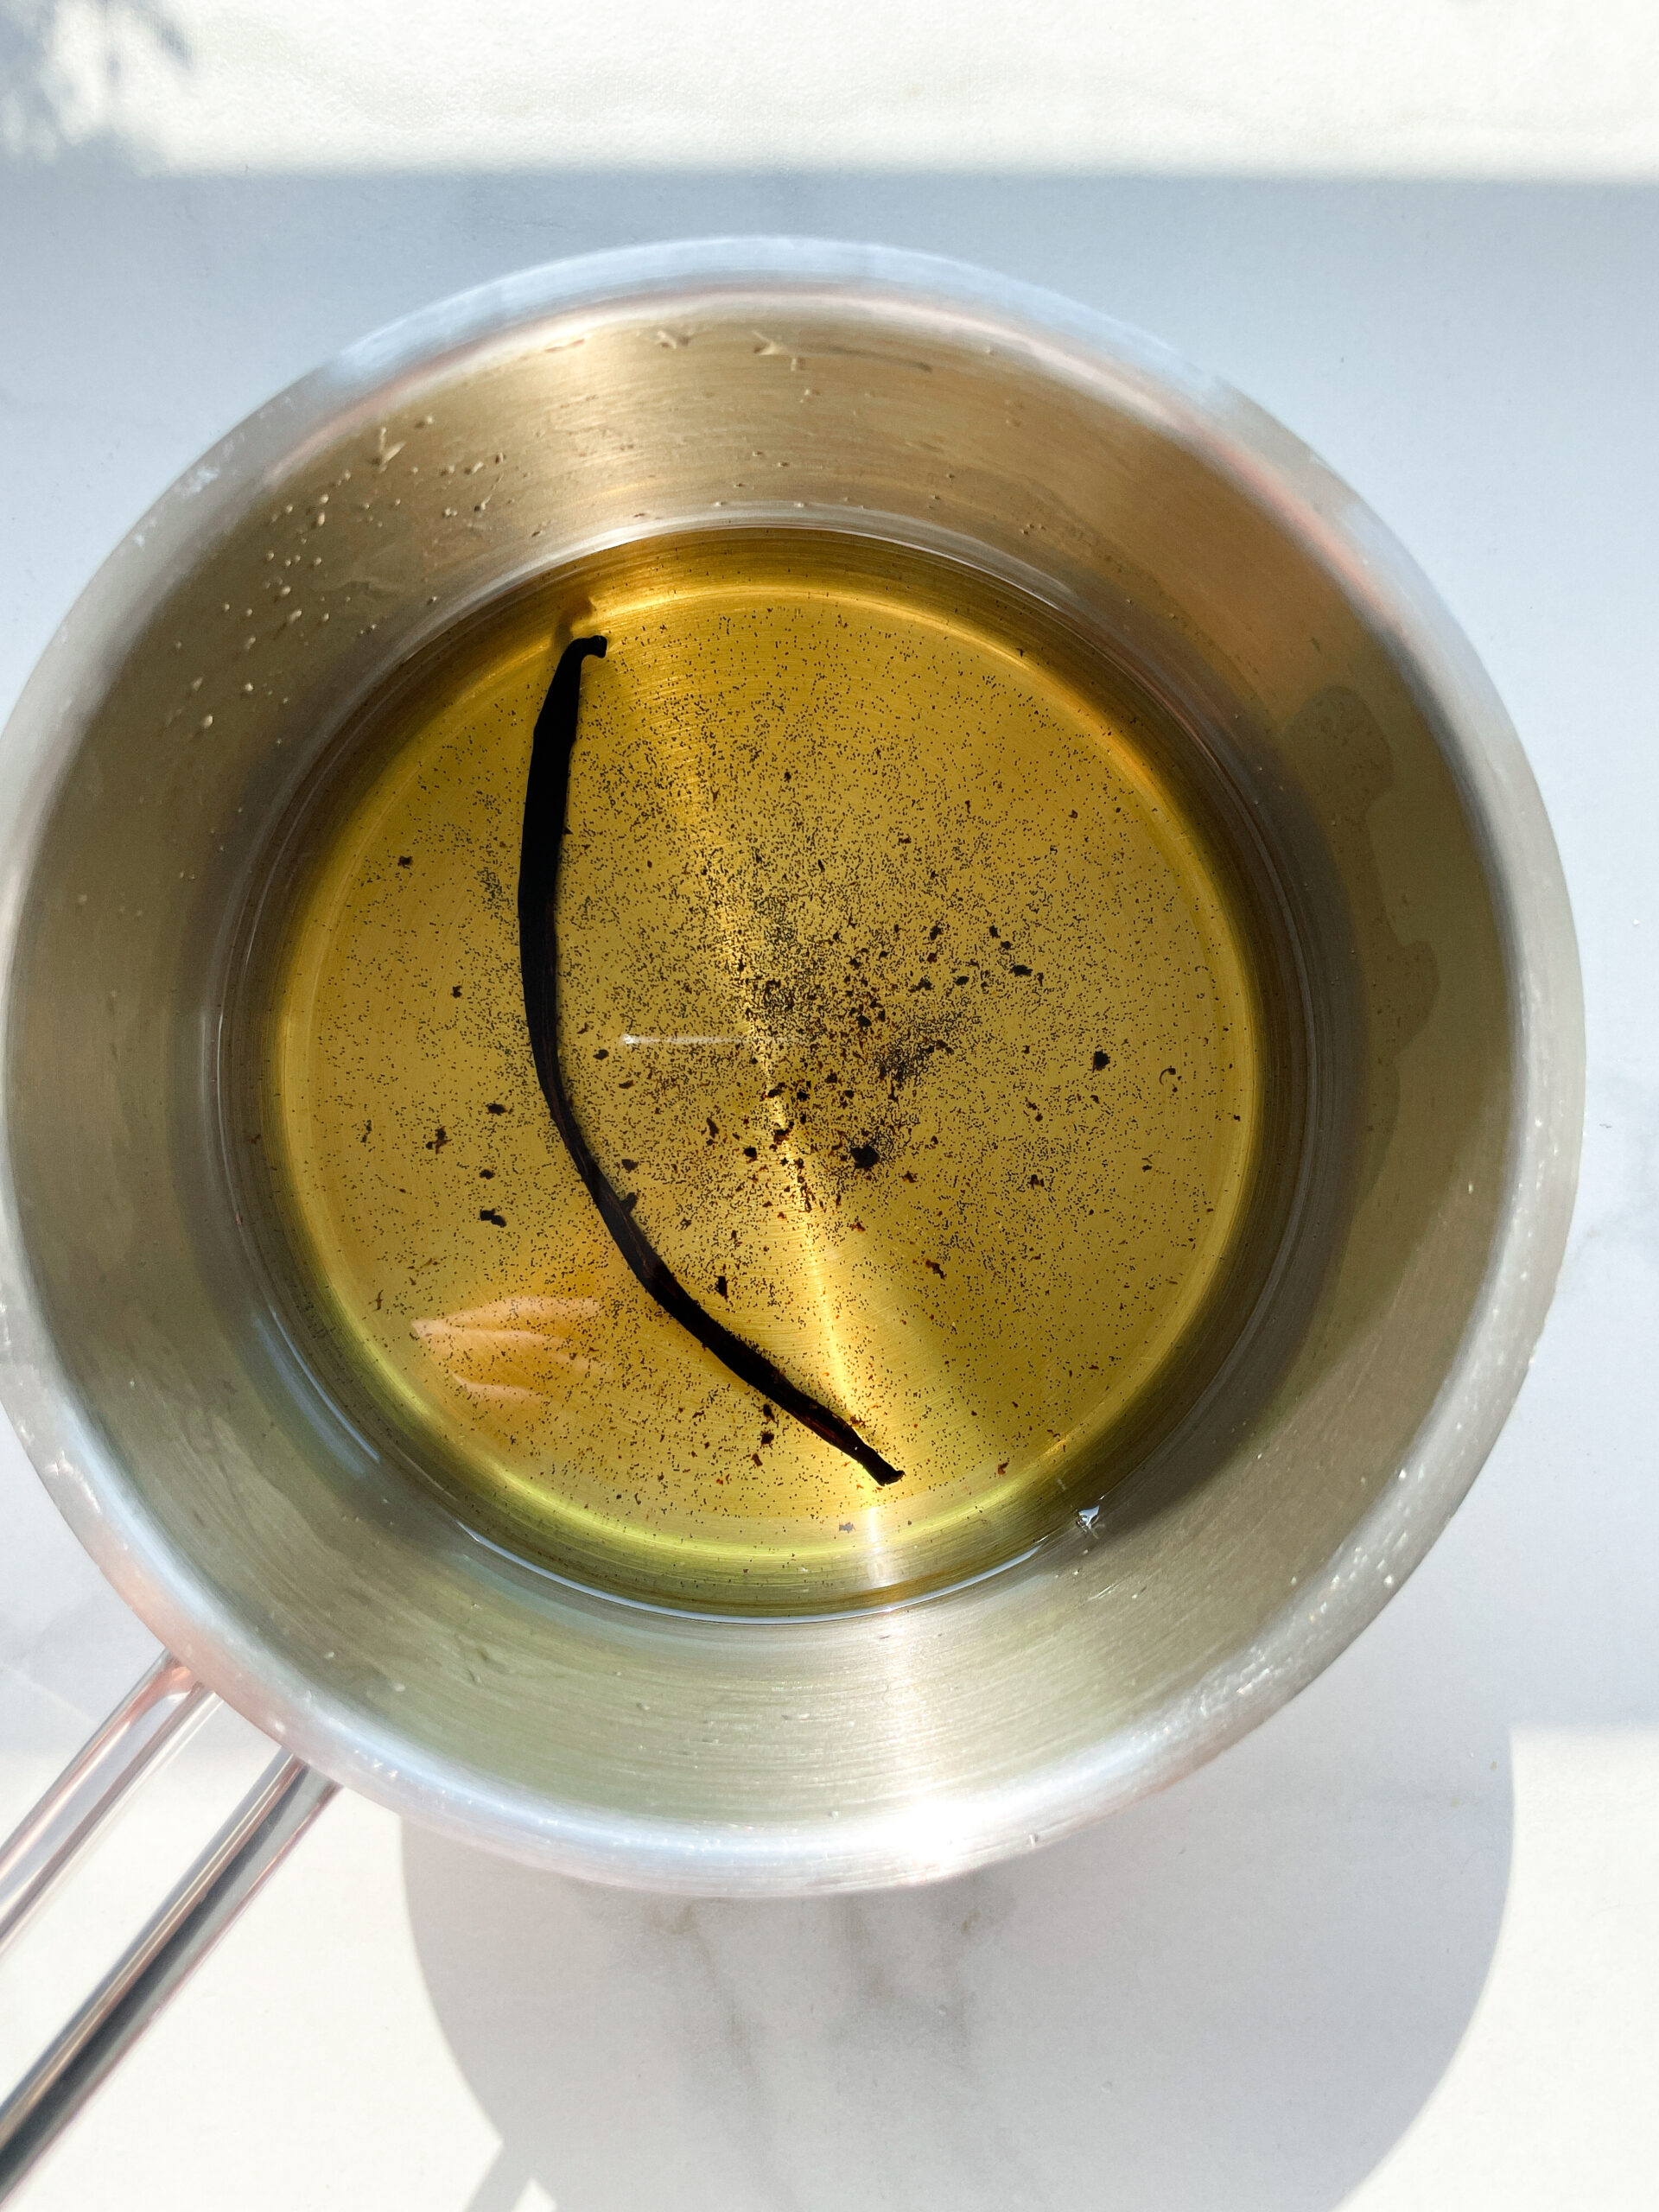
  1. Score the vanilla pod lengthwise and scrape out the seeds and put them into the pot as well as the vanilla pod. Pour in the oil.
  2. Heat it over medium heat to a temperature of about 101°-104°C (213°-219°F), and maintain this temperature for the next 10 minutes. Stir occasionally, making sure the temperature remains steady and nothing gets burned.
  3. Prepare a bowl large enough to fit a medium-sized pot, and fill it with cold water and a handful of ice cubes. Also, hang a fine sieve strainer over one medium-sized bowl.
  4. Now, place the pot in the ice water and stir to cool the oil quickly. Once the oil is almost cold, remove the pot from the water and let it sit for about 10 minutes to infuse. Pour the oil into the prepared fine sieve to catch the coarse particles.
  5. Once all the oil has passed through the sieve, transfer the collected amount of oil into a sealable container or directly into an oil bottle. Store in the refrigerator for up to one week.

Notes

The calorie information may vary depending on the product used, country and region.

  • Prep Time: 5 min
  • Cook Time: 10 min

CRAVING MORE?

Follow along here & don’t forget to subscribe to my substack!

Lavender Oil

Lavender Oil

Lavender Oil

Lavender Oil

July 9, 2024 by Kimberly

Dive into the delicate, floral notes of lavender oil! This unique ingredient adds a touch of elegance to your dishes, making every meal a sophisticated experience.

This website uses affiliate links which may earn commission for purchases made at no additional cost to you.

TOTAL TIME

55 min

SERVES

1 cup / 250 ml

DIET

vegan

EVERY RECIPE DESERVES

A Little Love Letter

Welcome to the aromatic world of lavender oil! Infusing your meals with the essence of lavender transforms simple dishes into gourmet experiences that captivate your senses.

Serve your lavender-infused dishes as a refined finish to any meal you like. Whether drizzled over a fresh salad or blended into a creamy dessert sauce, lavender oil elevates your culinary creations. Pair it with light proteins like chicken or fish, or let it enhance the flavor of seasonal vegetables.

Keep your lavender oil in a cool, dark place to maintain its potent flavor and aroma for about a week. A well-sealed bottle ensures that the delicate essence of lavender remains pristine for your next culinary adventure.

Hi, I'm Kimberly!

Hi, I'm Kimberly.

A hopeless romantic when it comes to food. Every recipe I share is a love letter to food itself. I’m so glad you’re here. Make yourself at home and stay a while.

Love,
Kimberly

Kimberly the Zett Signature

If you want to get to know me better,
click here!


Lavender Oil
Lavender Oil
Lavender Oil
Lavender Oil

LET’S MAKE A PIECE OF HAPPINESS

Print
.tasty-recipe-responsive-iframe-container-407eeb88 { position: relative; overflow: hidden; padding-top: 56.3%; } .tasty-recipe-responsive-iframe-container-407eeb88 iframe { position: absolute; top: 0; left: 0; width: 100%; height: 100%; border: 0; } clock clock iconcutlery cutlery iconflag flag iconfolder folder iconinstagram instagram iconpinterest pinterest iconfacebook facebook iconprint print iconsquares squares iconheart heart iconheart solid heart solid icon
Lavender Oil

Lavender Oil


  • Author: Kimberly
  • Total Time: 55 min
  • Yield: 250 ml / 1 cup

Description

RECOMMENDED EQUIPMENT

  • blender
  • medium-sized saucepan
  • whisk
  • a bowl which the medium saucepan fits into
  • 2 medium-sized bowls
  • 2 fine sieves
  • sealable container (oil bottle)
  • ice cubes
  • coffee filter

Ingredients

Units Scale
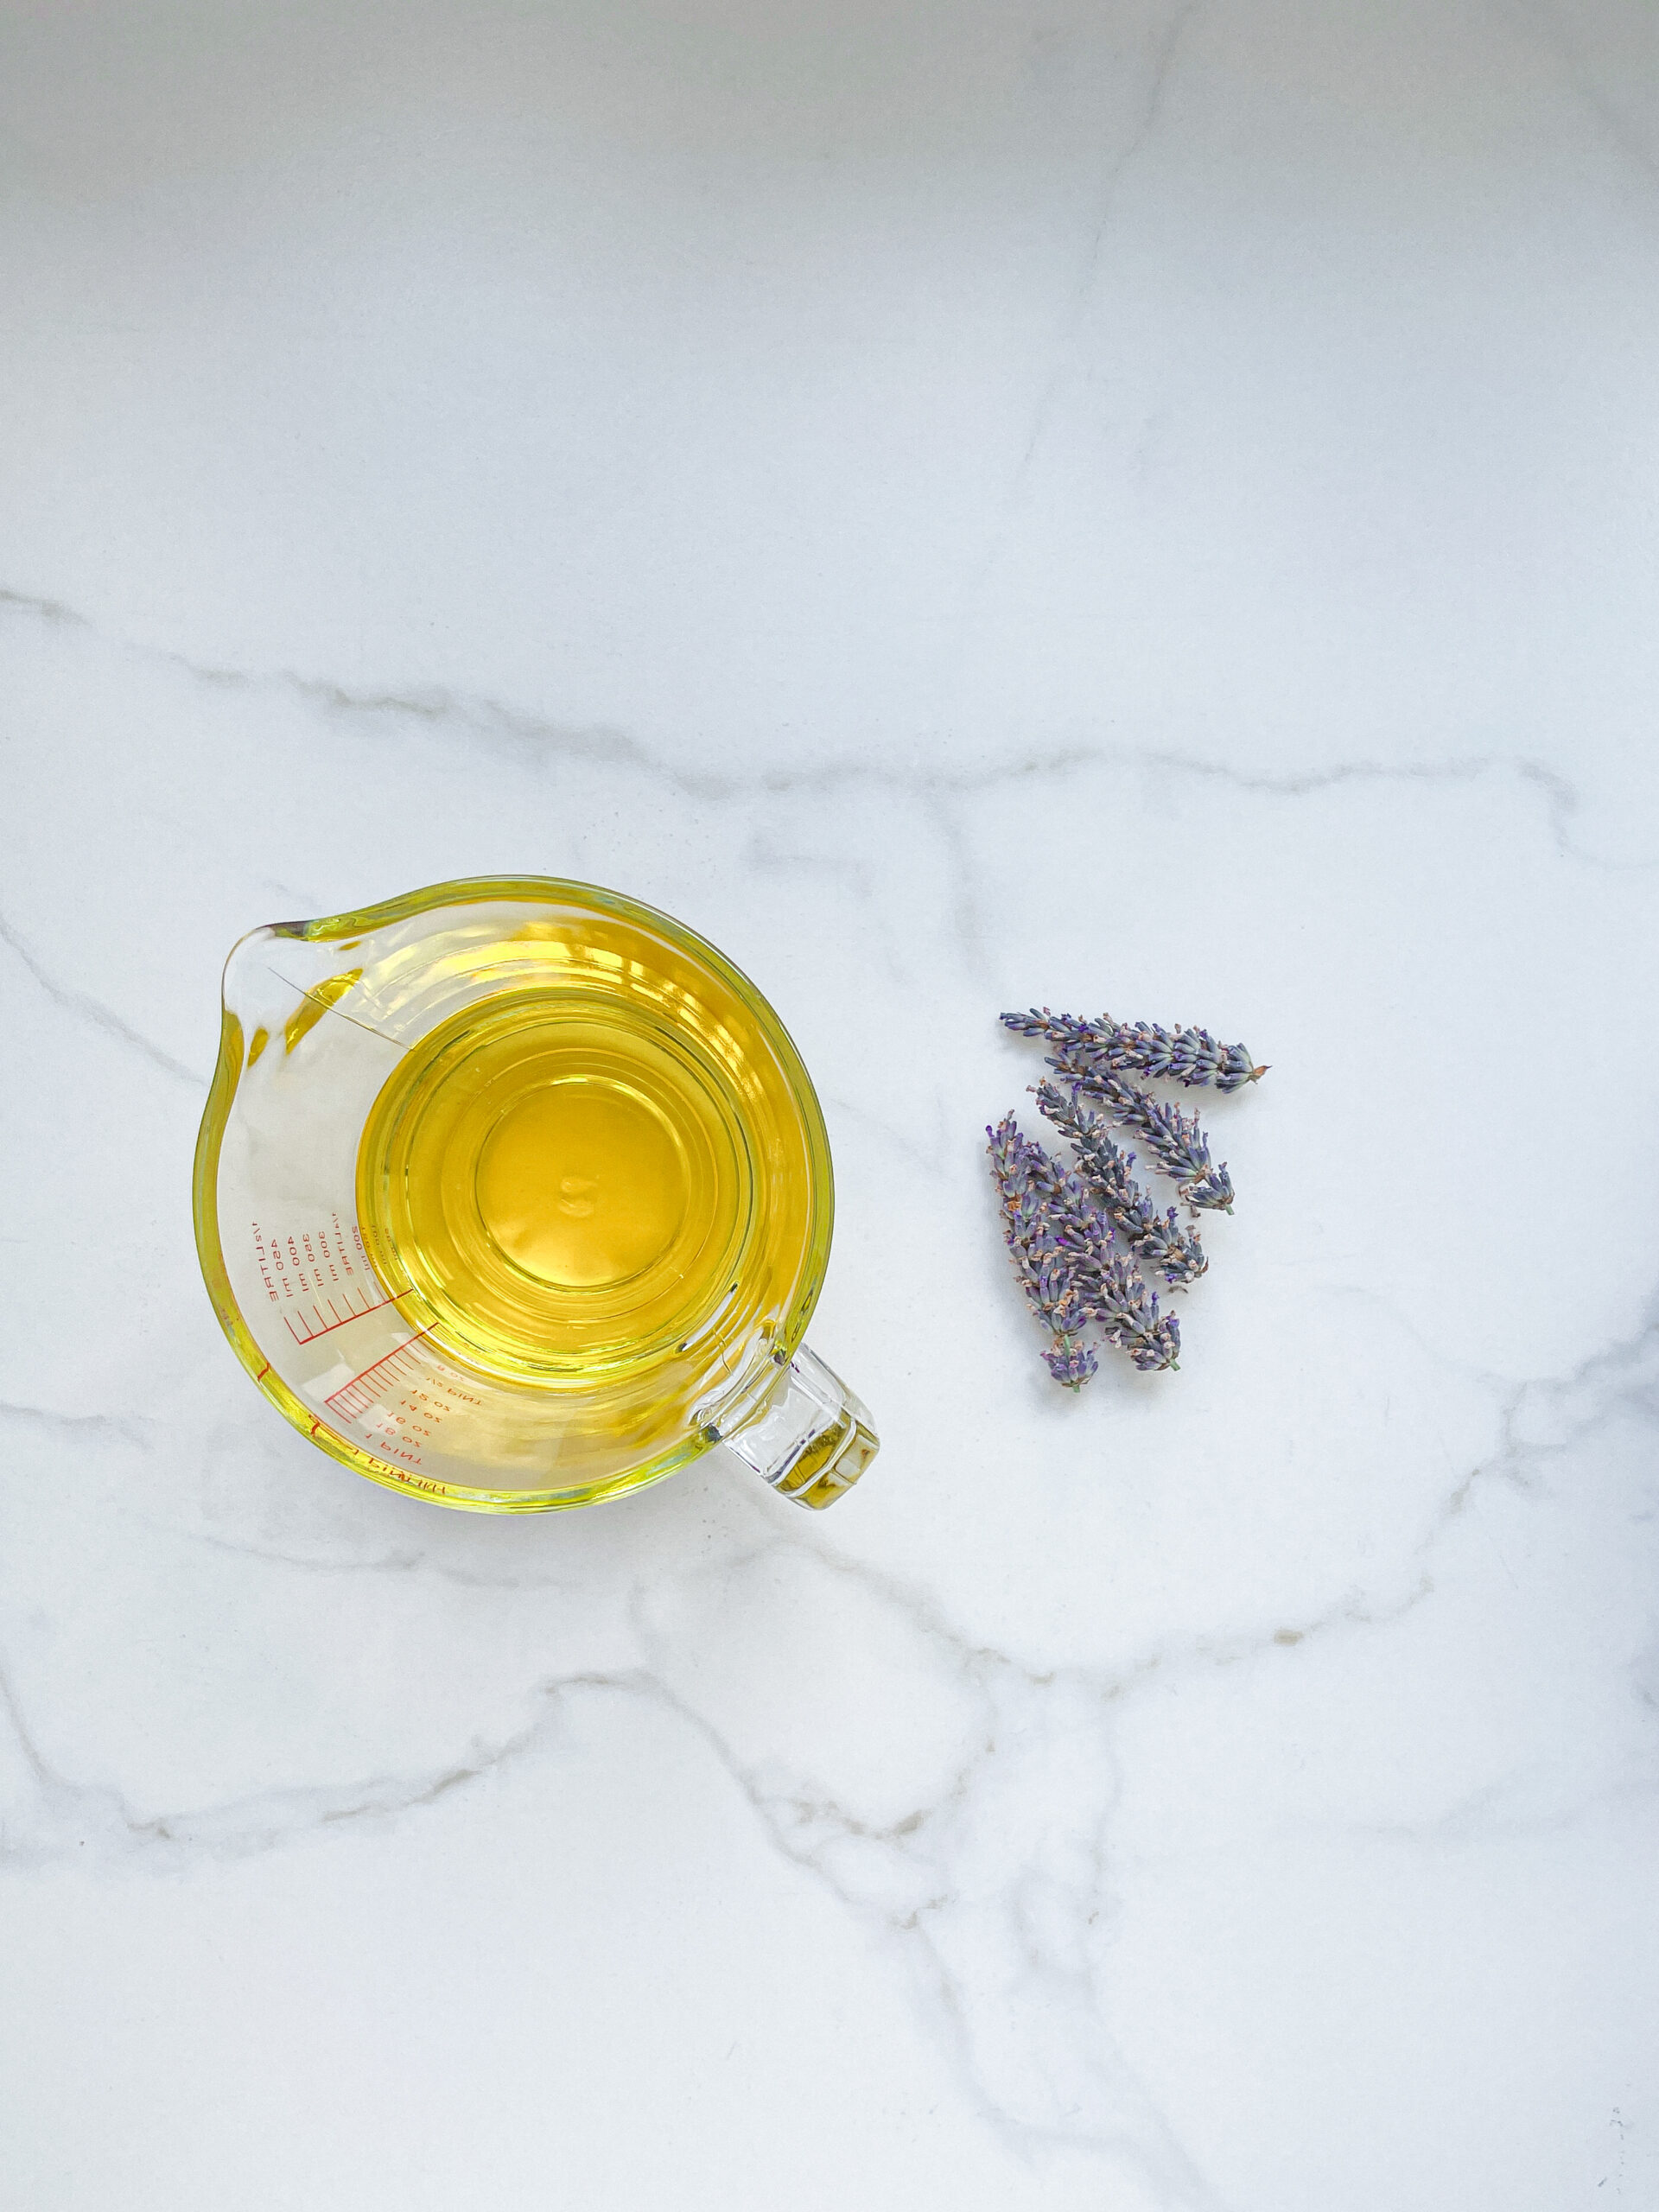
  • 9 lavender blossoms
  • 250 milliliters unrefined cold-pressed sunflower oil

Instructions

  1. Cut the lavender blossoms of the stems and put the blossoms into the blender. Pour in the oil. Blend on the highest setting until there are only tiny pieces of the lavender left.
  2. Pour the mixture from the blender into a medium-sized pot and heat it over medium heat to a temperature of about 100°-101°C (212°-213°F), and maintain this temperature for the next 10 minutes. Stir occasionally, making sure the temperature remains steady and nothing gets burned.
  3. Prepare a bowl large enough to fit a medium-sized pot, and fill it with cold water and a handful of ice cubes. Also, hang a fine sieve strainer over one medium-sized bowl and another fine sieve strainer, with a coffee filter inside it, over another medium-sized bowl.
  4. Now, place the pot in the ice water and stir to cool the oil quickly. Once the oil is almost cold, remove the pot from the water and pour the oil into the prepared fine sieve to catch the coarse particles.
  5. Then, pour the oil into the second sieve, which is equipped with a coffee filter, to catch the remaining finer particles.
  6. Allow the oil to drip through for about 40 minutes or maybe less depending on how many remaining particles are in the coffee filter. Once all the oil has passed through the coffee filter, transfer the collected amount of oil into a sealable container or directly into an oil bottle. Store in the refrigerator for up to one week.

Notes

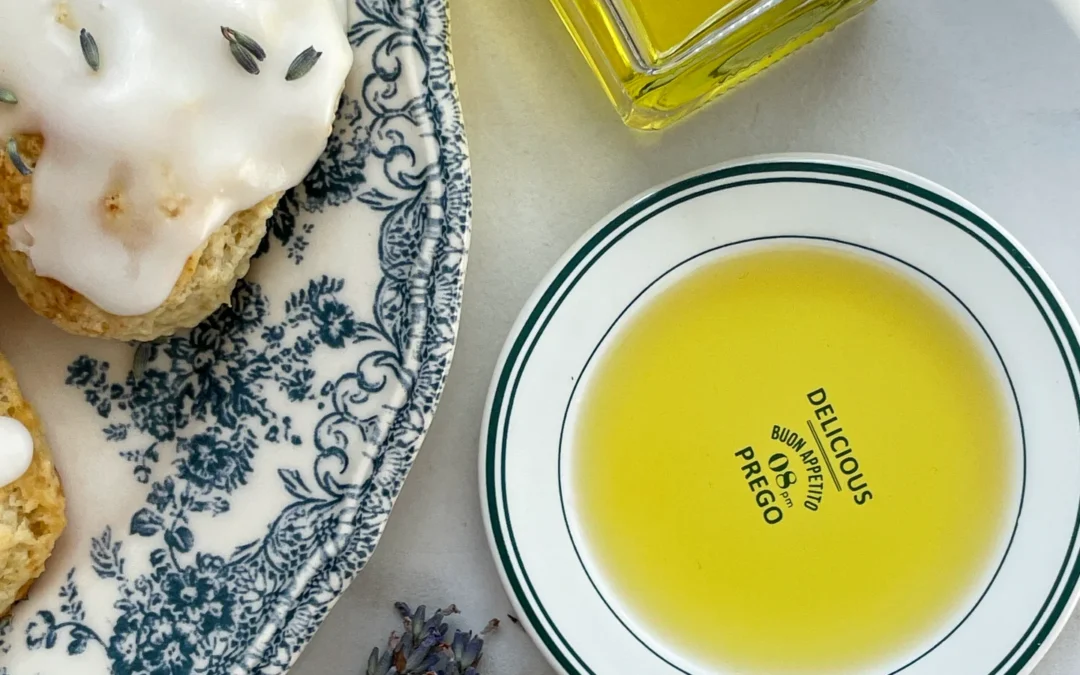
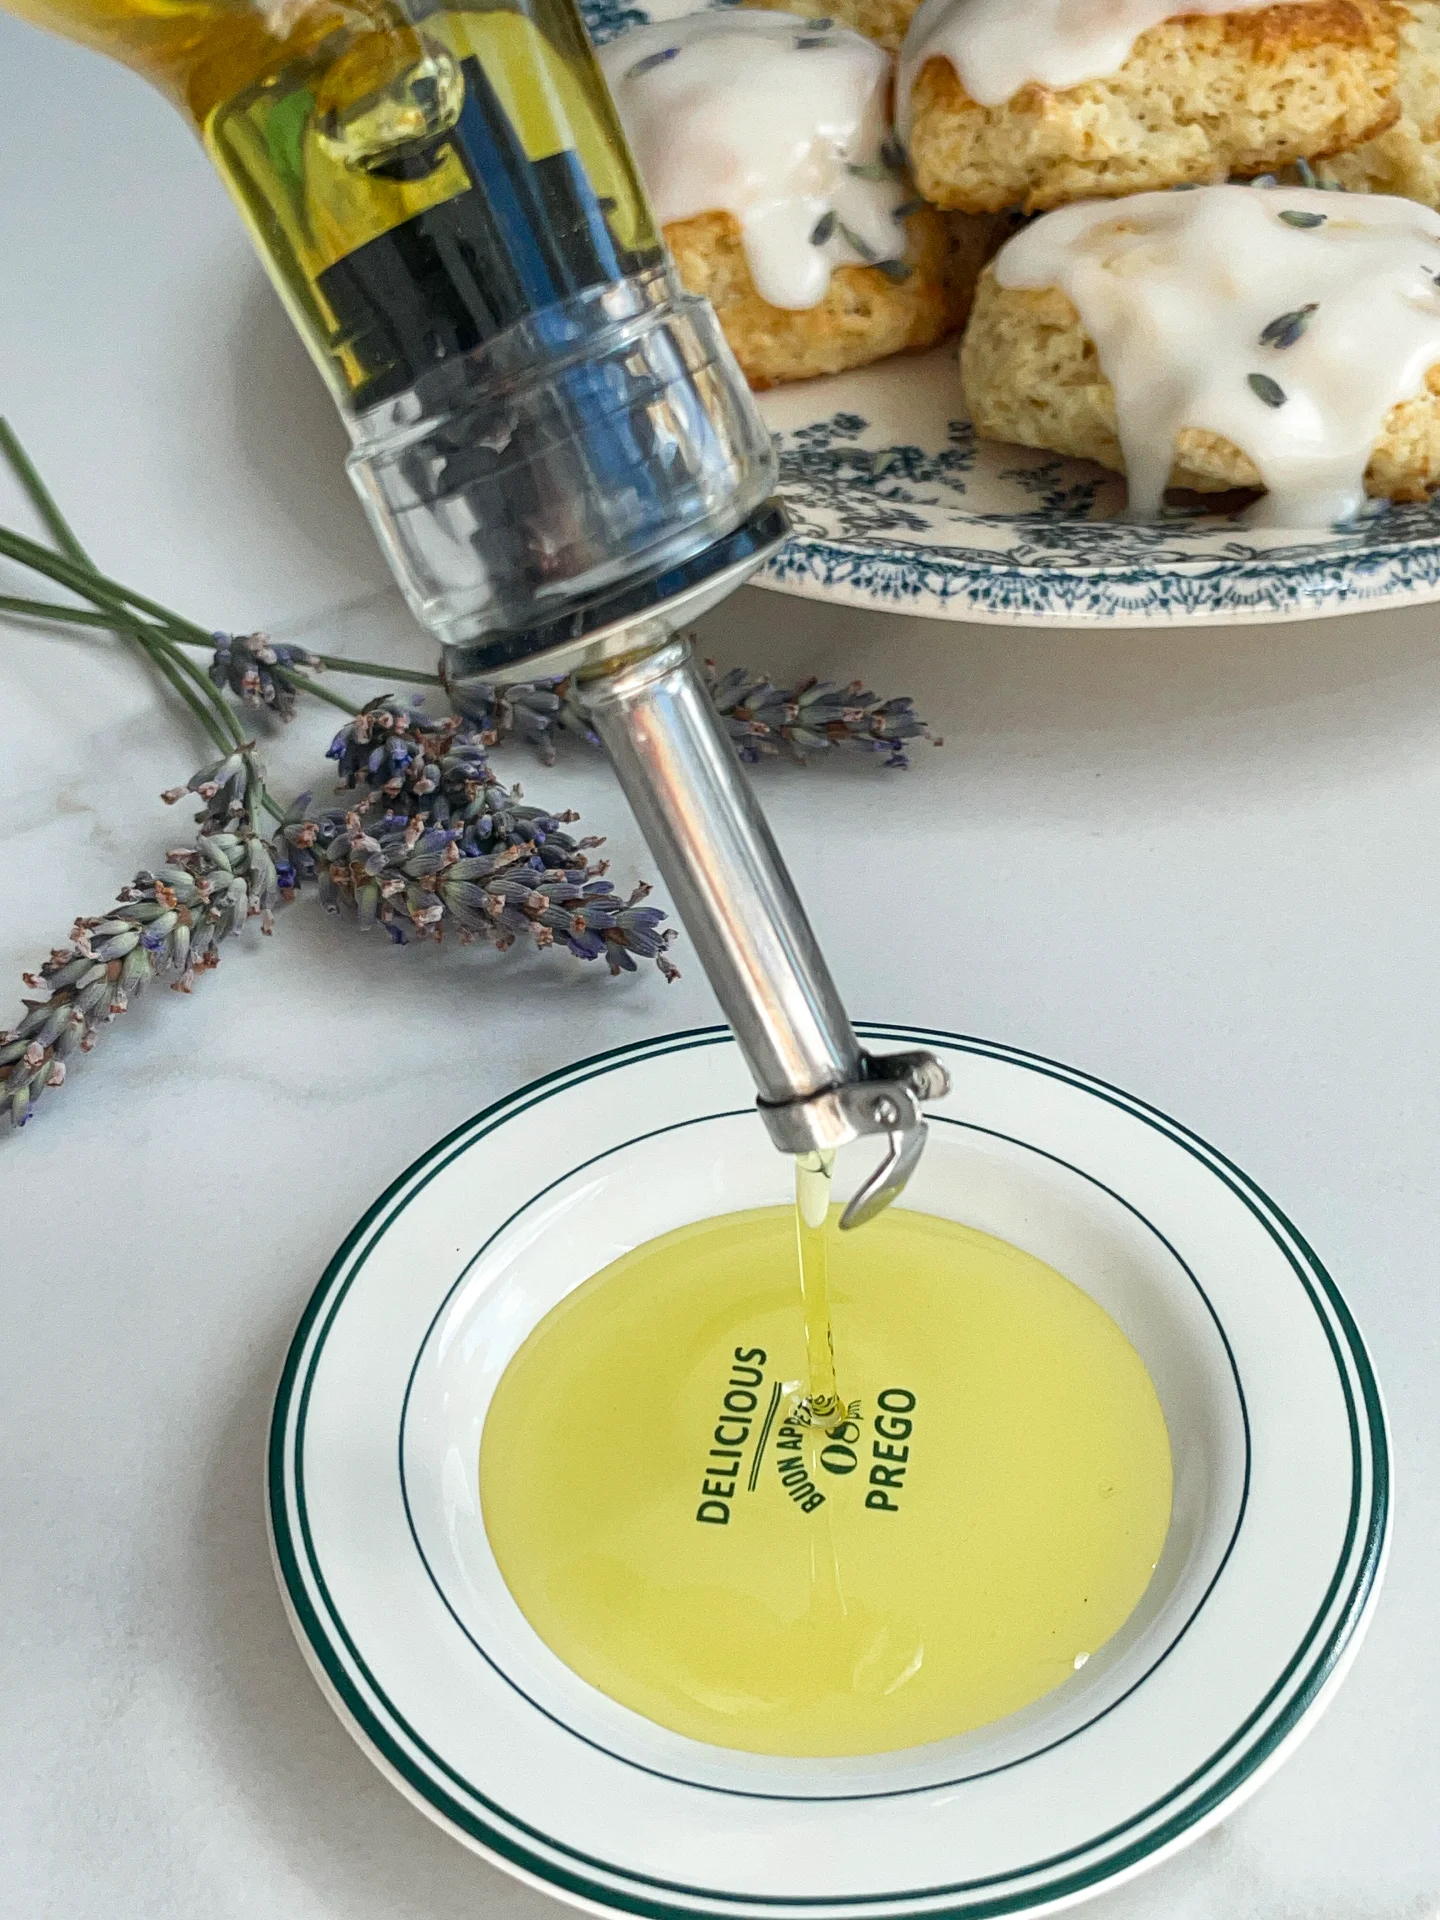
Use the oil to enrich these homemade scones. Simply make a frosting from 125g (1 cup) powdered sugar, 2-3 tablespoons of lemon juice and 1 teaspoon of the lavender oil and coat your scones with it. Enjoy these pieces of happiness 🙂

  • Prep Time: 5 min
  • Passive Time: 40 min
  • Cook Time: 10 min

CRAVING MORE?

Follow along here & don’t forget to subscribe to my substack!