Pickle Oil

Pickle Oil

Pickle Oil

Pickle Oil

September 18, 2024 by Kimberly

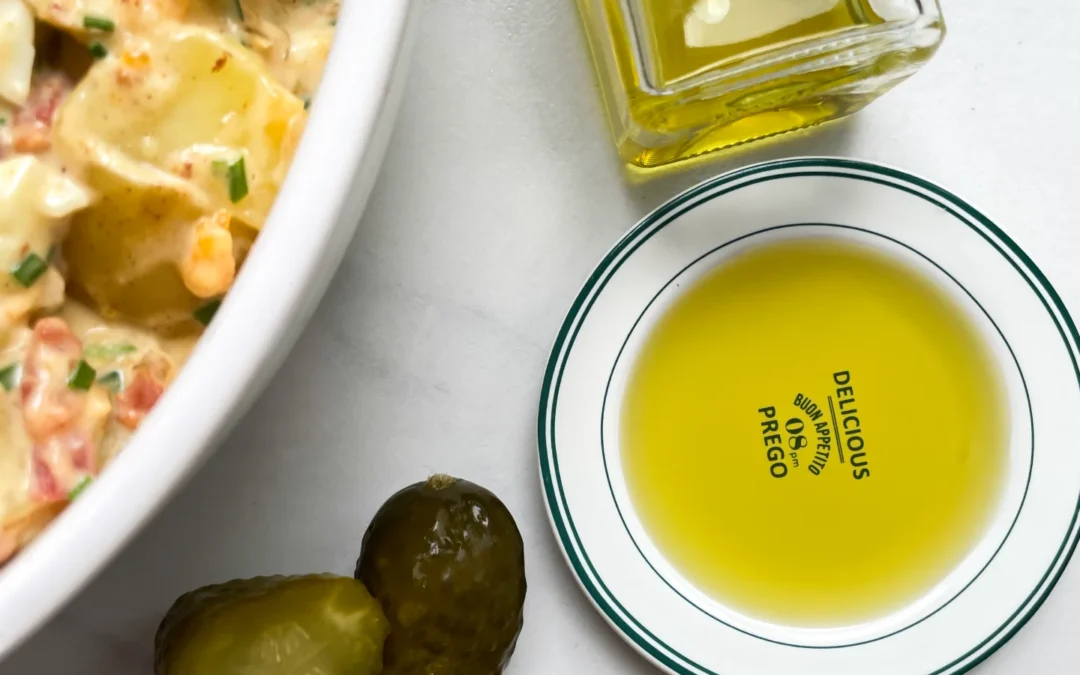
Imagine a drizzle of tangy, savory oil infused with a burst of pickled goodness. This magical blend elevates any dish, adding a bright, crunchy kick that’ll have you craving more!

60 MINUTES

ADVANCED

VEGAN

INT.

40 PER TSP

TANGY

MICHELIN

OIL

ALL YEAR

INTRODUCTION

ABOUT THE RECIPE

Ever wanted to add a little magic to your meals? This flavorful pickle oil does just that! It’s like a tangy explosion in your mouth with every drizzle. Perfect for sprucing up salads, roasted veggies, or even a simple sandwich. You can whip it up in no time and store it for later. Whether you’re cooking for friends or just want to jazz up a weekday lunch, this oil is your secret weapon.

How to serve
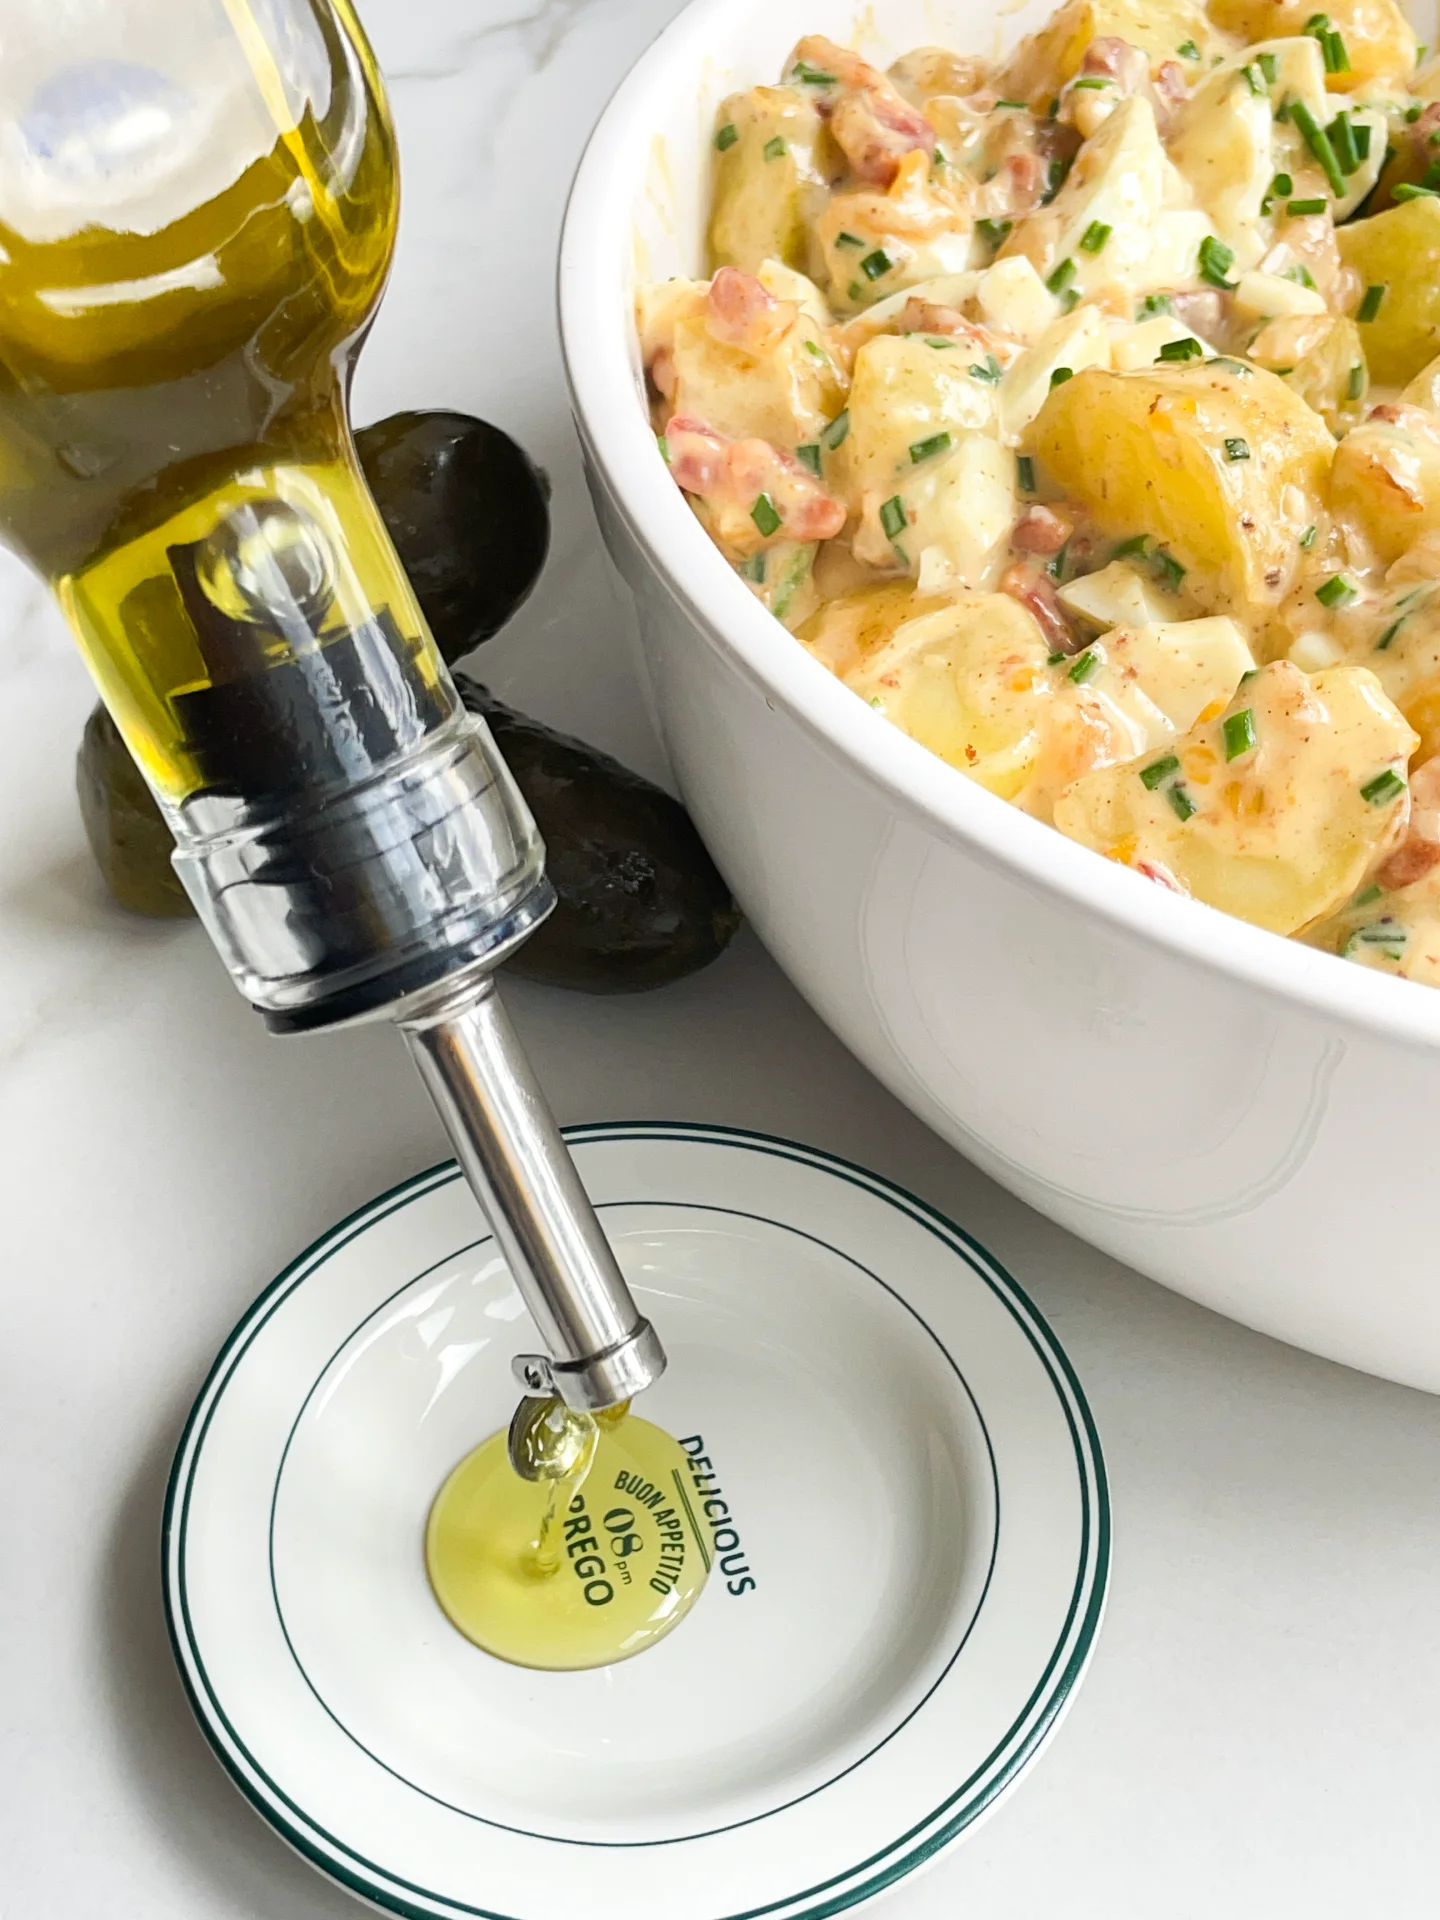
This oil shines when you drizzle it over fresh greens, turning any simple salad into something gourmet. It’s also amazing as a finishing touch for roasted vegetables or grilled meats, giving them that extra tang and complexity. Dip fresh, crusty bread in it for an easy, crowd-pleasing appetizer. And trust me, it’s killer as a sandwich spread or mixed into your favorite marinades. Basically, you can add it anywhere you want a little zing!

How to store
Store your pickle oil in an airtight container, like a mason jar, in the fridge for up to two weeks. Make sure to give it a little shake before using to get all those flavors evenly distributed. The longer it sits, the more the flavors intensify!

Hi, I'm Kimberly!

Hi, I'm Kimberly.

A passionate food lover who believes in the magic of homemade deliciousness that spreads love and warmth. Join me on this culinary adventure as I prepare wonderful dishes and let’s spread some happiness together!

Kimberly the Zett Signature

If you want to get to know me better, click here!


Pickle Oil
Pickle Oil
Pickle Oil
„Let’s make a piece of happiness“
Print
clock clock iconcutlery cutlery iconflag flag iconfolder folder iconinstagram instagram iconpinterest pinterest iconfacebook facebook iconprint print iconsquares squares iconheart heart iconheart solid heart solid icon
Pickle Oil

Pickle Oil


5 Stars 4 Stars 3 Stars 2 Stars 1 Star

No reviews

  • Author: Kimberly
  • Total Time: 60 min
  • Yield: 1 cup / 250 ml 1x

Description

RECOMMENDED EQUIPMENT

  • blender
  • medium-sized saucepan
  • whisk
  • a bowl which the medium saucepan fits into
  • 2 medium-sized bowls
  • 2 fine sieves
  • oil bottle
  • ice cubes
  • coffee filter

Ingredients

Units Scale
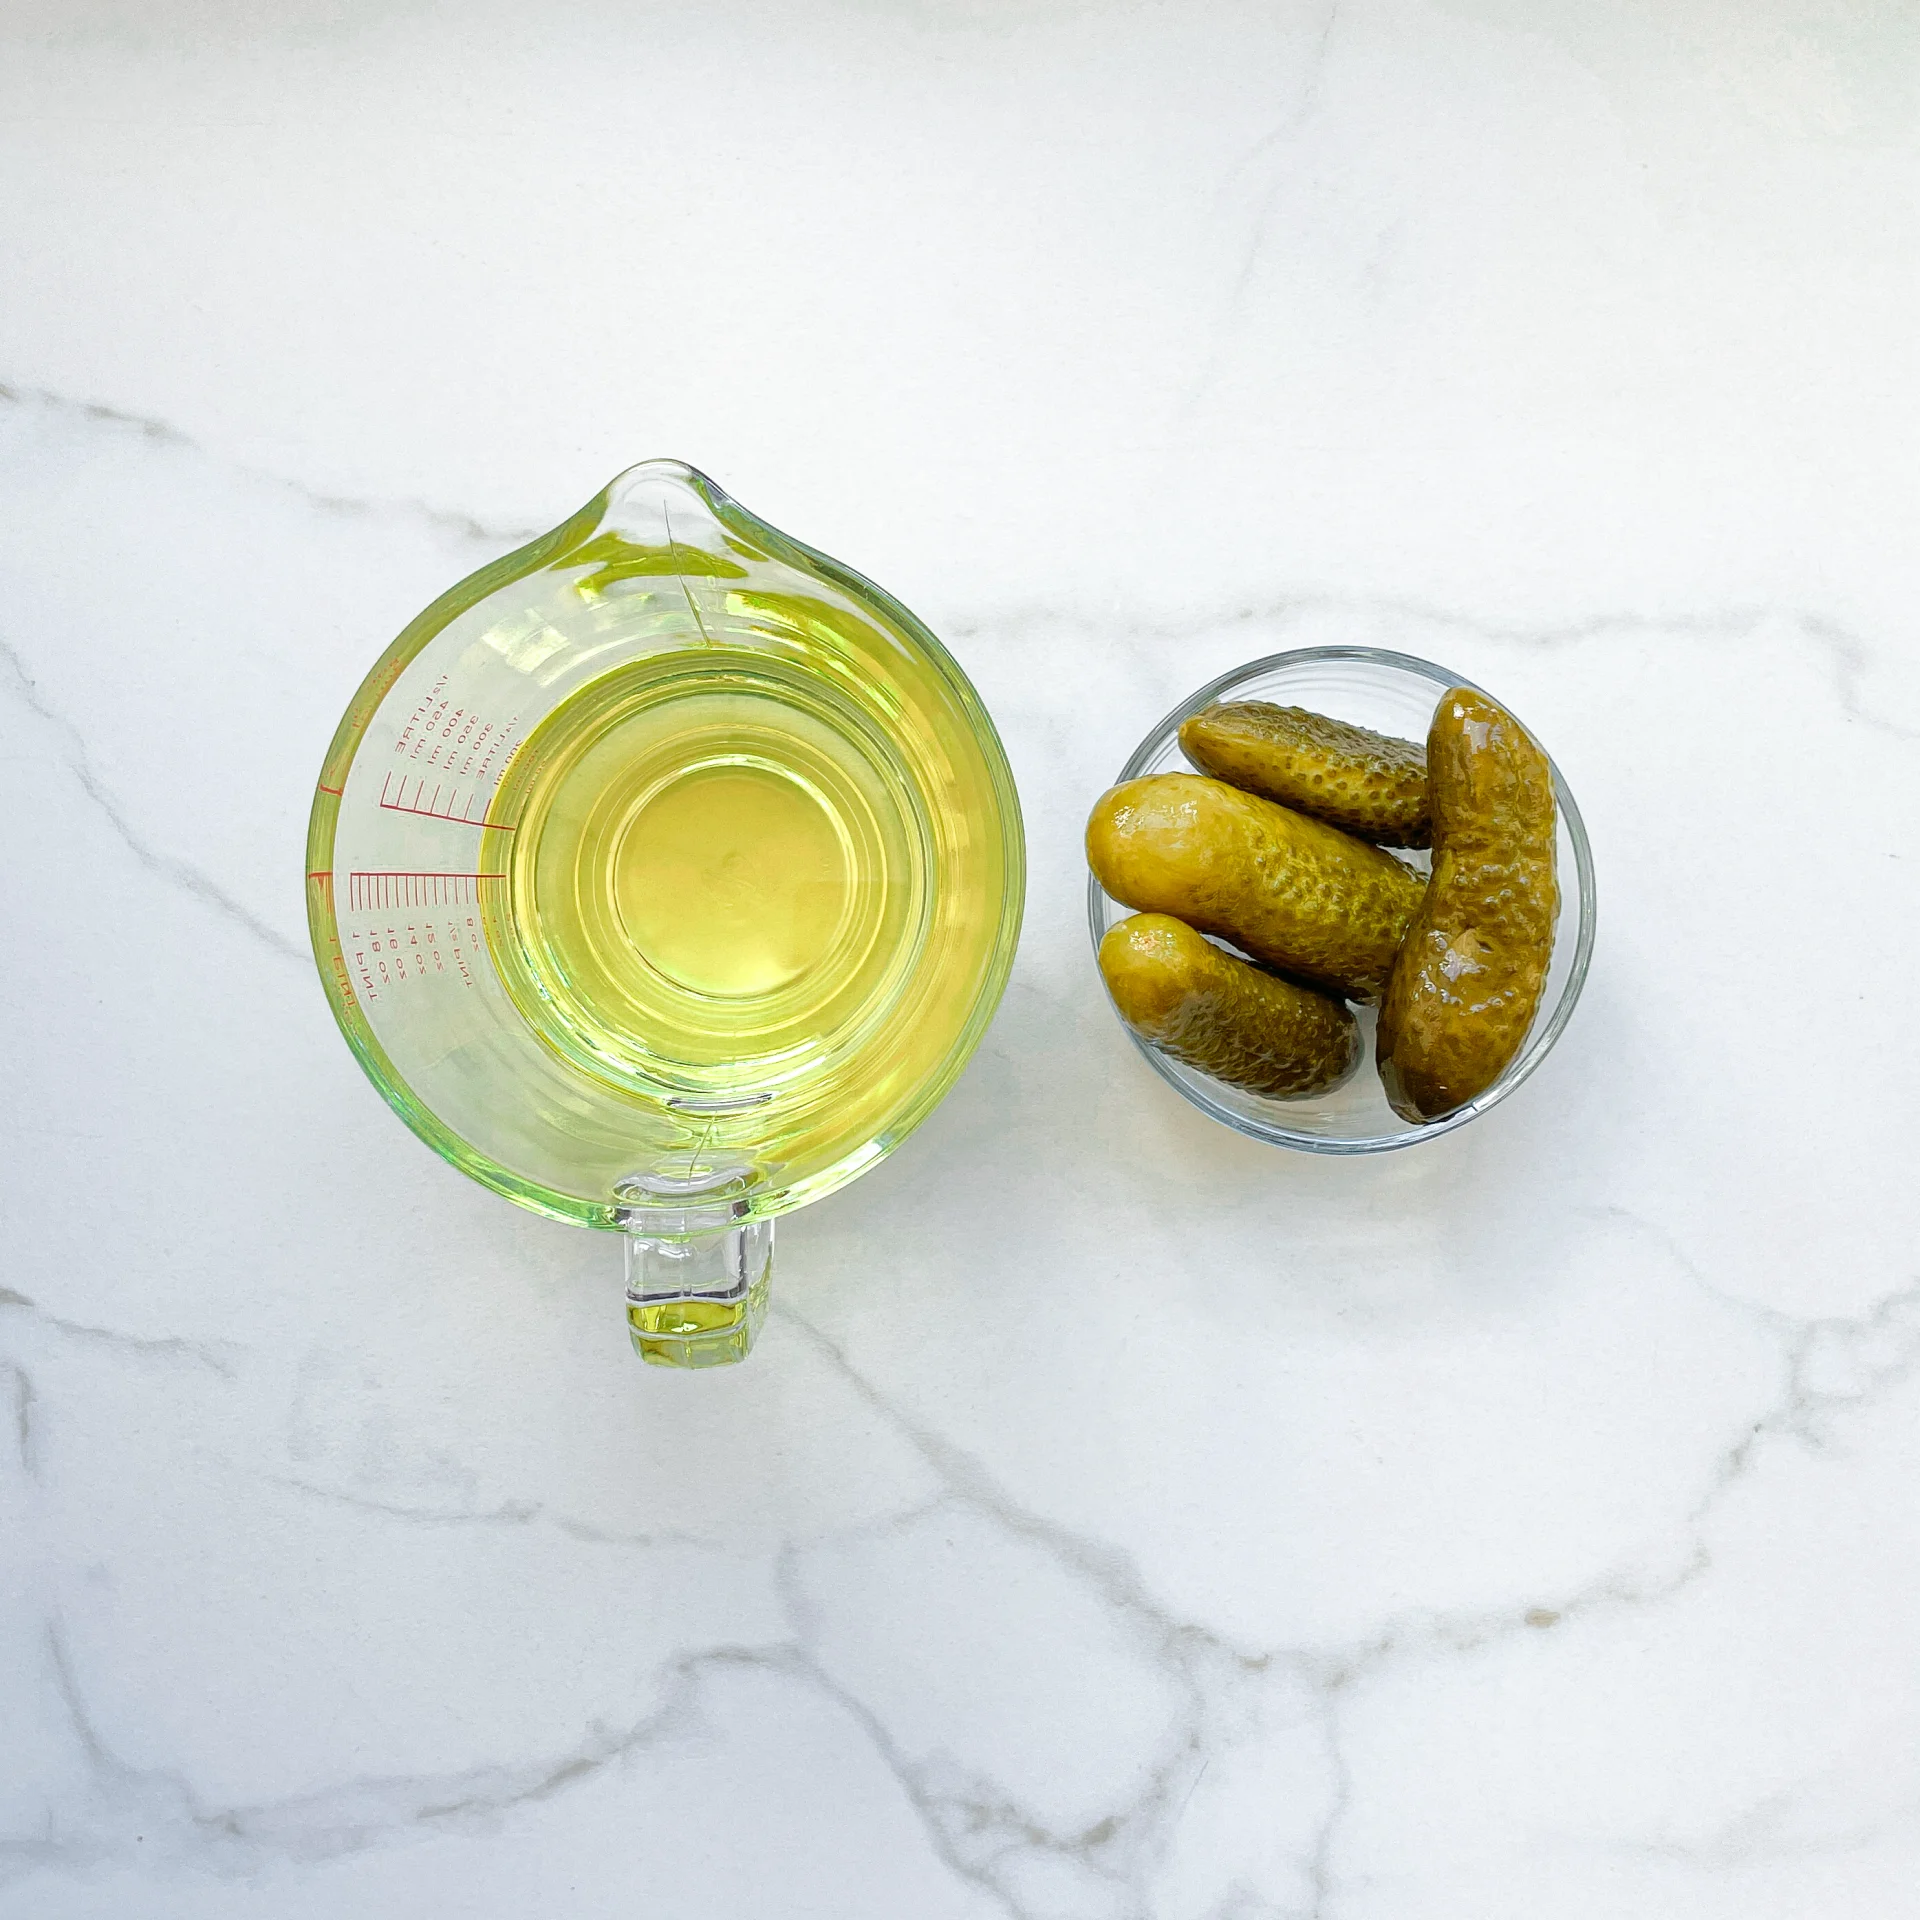
  • 150 grams pickles
  • 250 milliliters rapeseed oil

Instructions

  1. Put the pickles into the blender. Pour in the oil. Blend on the highest setting until only tiny pieces of the pickles are visible.
  2. Pour the mixture from the blender into a medium-sized pot and heat it over medium heat to a temperature of about 104°C (220°F), and maintain this temperature for the next 30 minutes. Stir occasionally, making sure the temperature remains steady and nothing gets burned.
  3. Prepare a bowl large enough to fit a medium-sized pot, and fill it with cold water and a handful of ice cubes. Also, hang a fine mesh strainer over one medium-sized bowl and another fine mesh strainer, with a coffee filter inside it, over another medium-sized bowl.
  4. Now, place the pot in the ice water and stir to cool the oil quickly. Once the oil is almost cold, remove the pot from the water.
  5. Pour the oil into the prepared fine mesh strainer to catch the coarse particles.
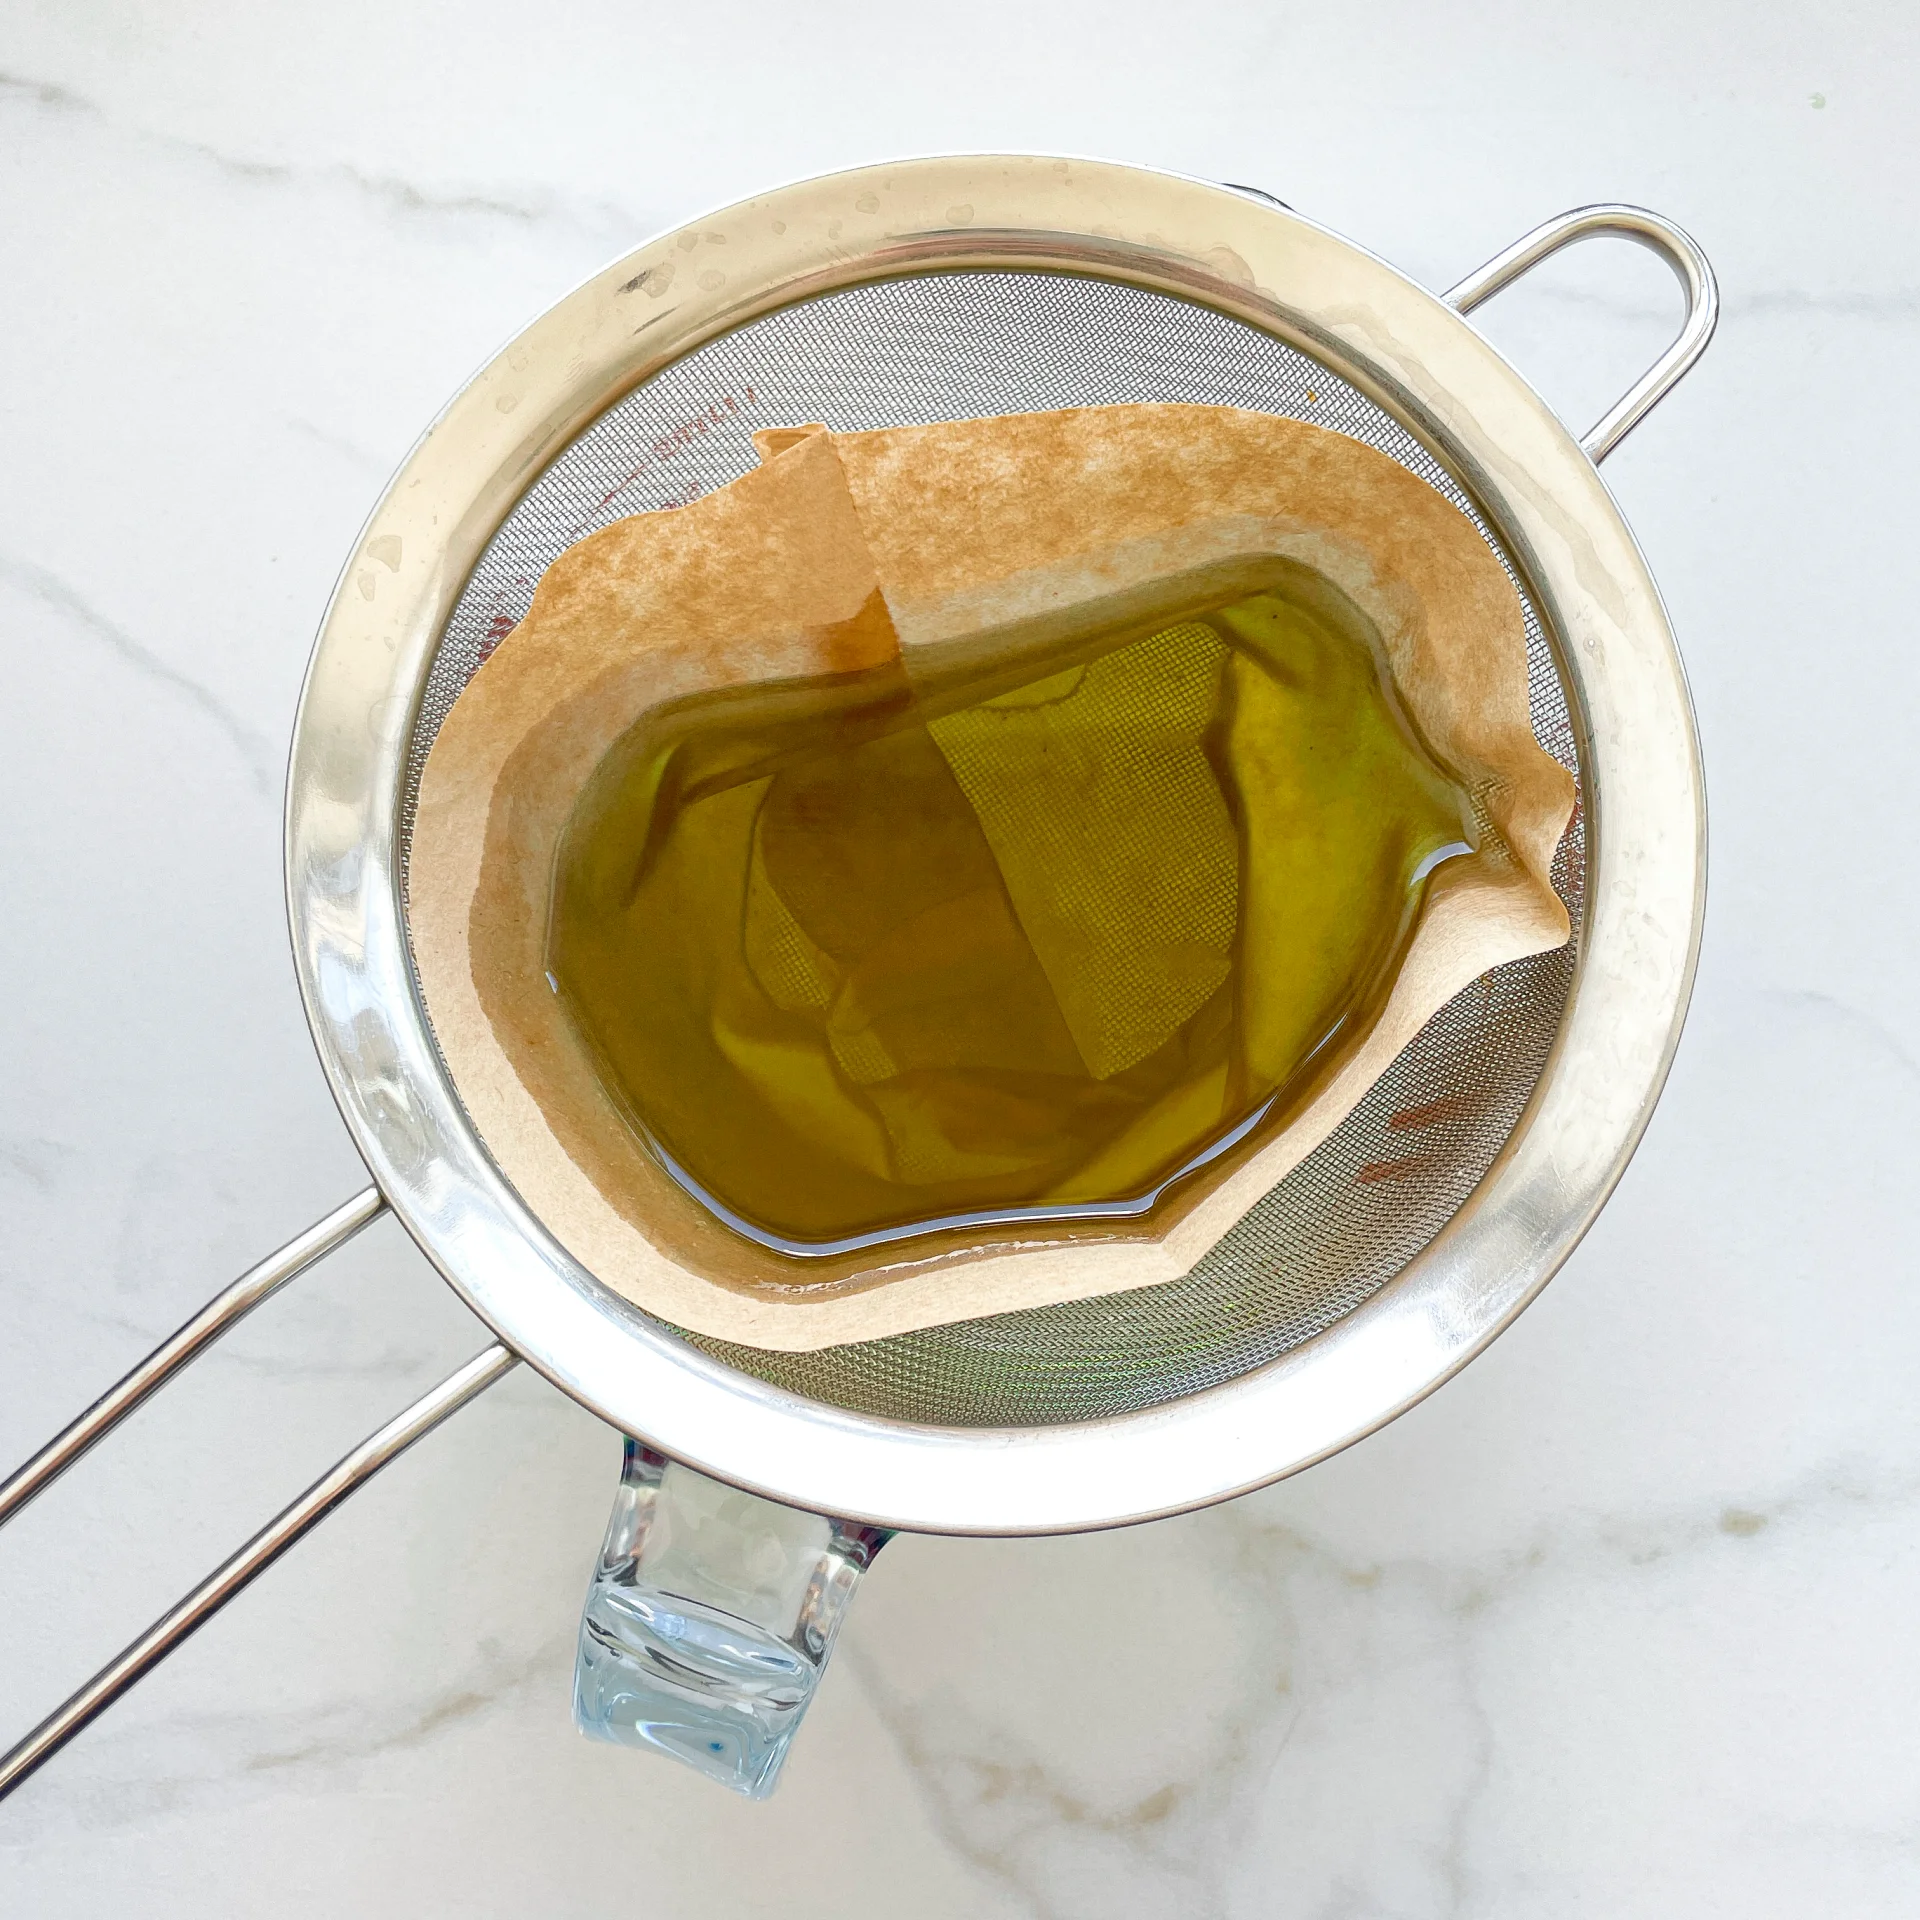
  6. Then, pour the oil into the second fine mesh strainer, which is equipped with the coffee filter, to catch the remaining finer particles.
  7. Allow the oil to drip through for about half an hour or maybe less depending on how many remaining particles are in the coffee filter. Once all the oil has passed through the coffee filter, transfer the collected amount of oil into an oil bottle. Store in the refrigerator for up to 1-2 weeks.
  • Passive Time: 30 min
  • Cook Time: 30 min

English Muffins

English Muffins

English Muffins

English Muffins

September 16, 2024 by Kimberly

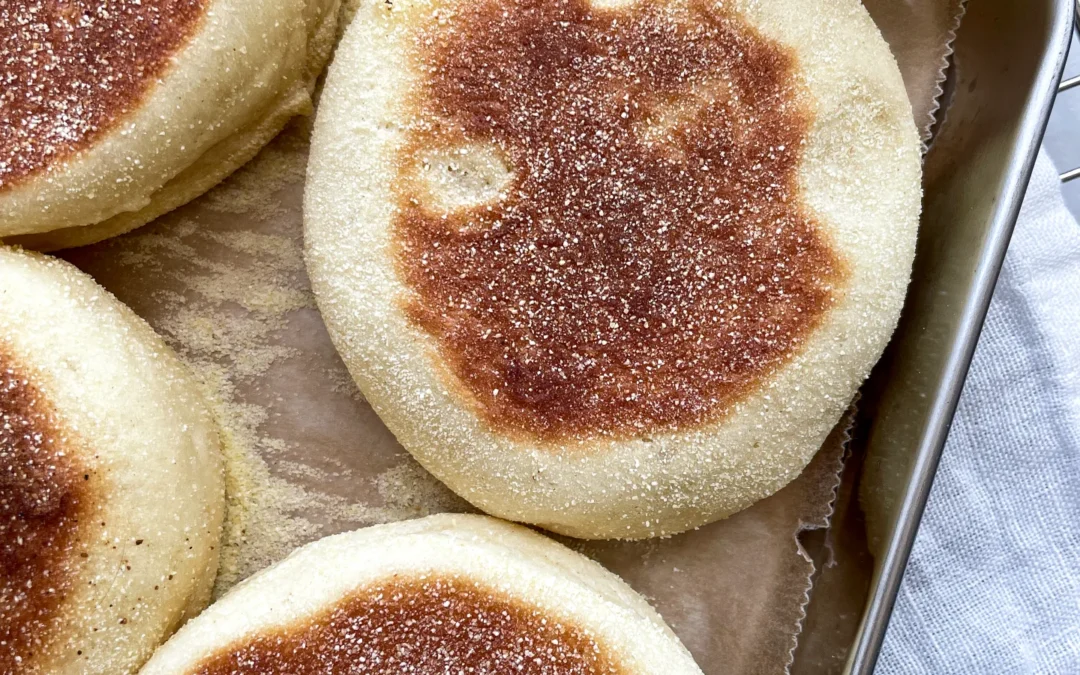
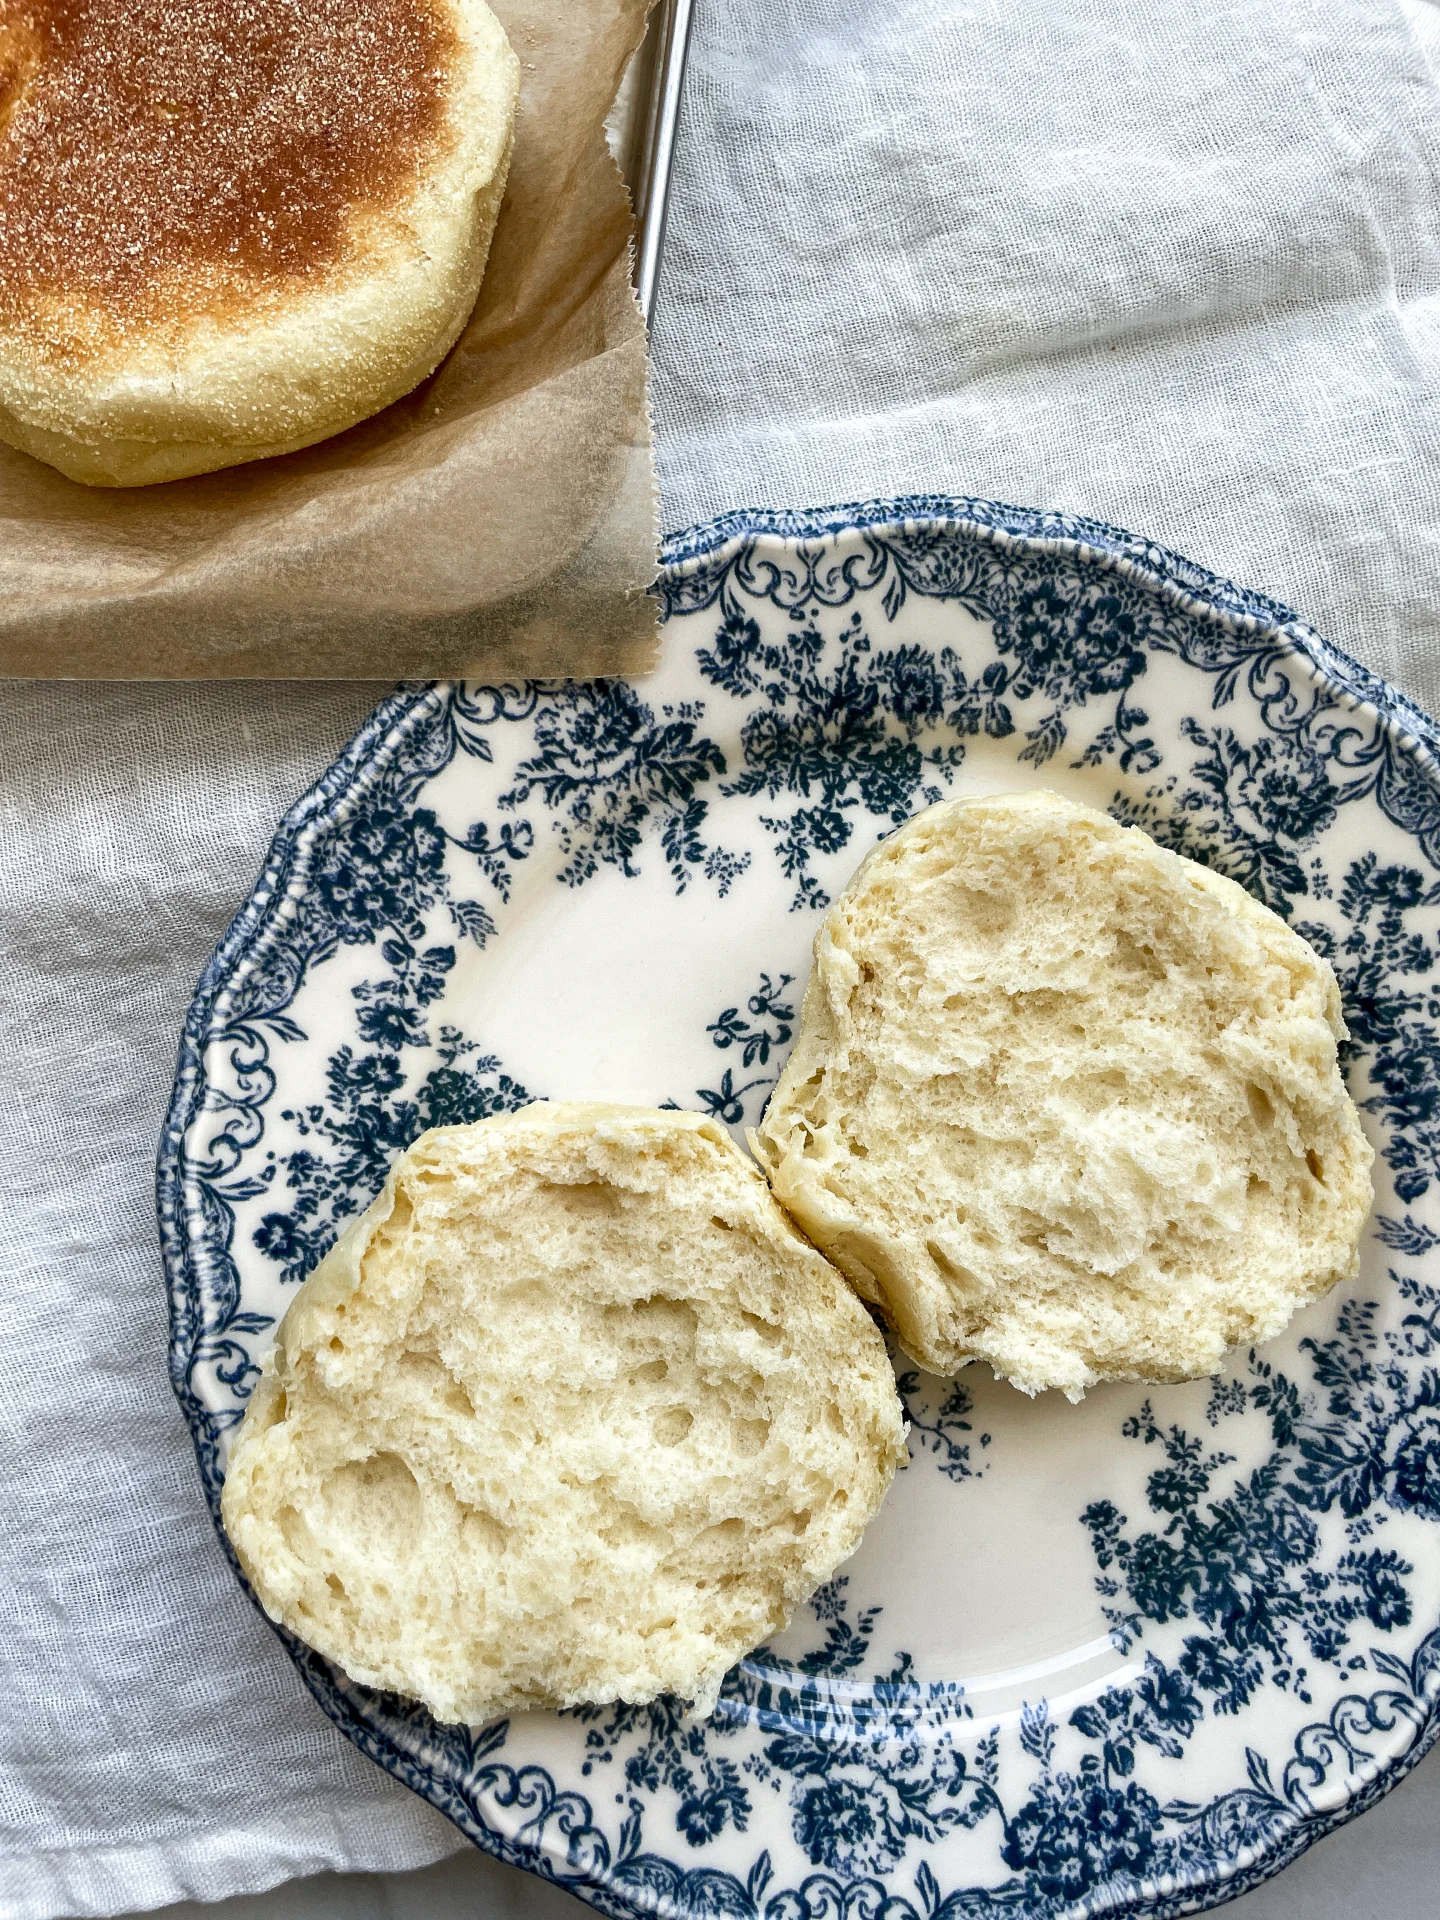
Soft, fluffy, and perfectly golden – these warm homemade breakfast bites are pure comfort. Ideal for lazy mornings or a cozy brunch, they’ll instantly make you feel like a pro in the kitchen.

1 HOUR
50 MINUTES

EASY

VEGETARIAN

ENGLISH

212 PER MUFFIN

FLUFFY

BRUNCH

BREAKFAST

ALL YEAR

INTRODUCTION

ABOUT THE RECIPE

There’s nothing like the feeling of biting into a soft, warm, homemade breakfast muffin, fresh from the pan. They’re golden, fluffy, and absolutely perfect for cozy mornings or a weekend brunch. Whether you’re topping them with butter, jam, or using them as the base for a breakfast sandwich, these little bites of comfort will brighten up any meal. Plus, making them from scratch is way easier than you might think – and the result? Total kitchen hero vibes.

How to serve
You can slice them open and spread them with butter or a dollop of your favorite jam. Or, level up your brunch game by turning them into breakfast sandwiches. Load them up with eggs, cheese, bacon, or avocado. Whether it’s a simple snack or a fully loaded breakfast, these muffins are ready for anything!

How to store
To keep them fresh, store your muffins in an airtight container at room temperature for up to three days. If you want to keep them longer, just pop them in the freezer!

Hi, I'm Kimberly!

Hi, I'm Kimberly.

A passionate food lover who believes in the magic of homemade deliciousness that spreads love and warmth. Join me on this culinary adventure as I prepare wonderful dishes and let’s spread some happiness together!

Kimberly the Zett Signature

If you want to get to know me better, click here!


English Muffins
English Muffins
English Muffins
„Let’s make a piece of happiness“
Print
clock clock iconcutlery cutlery iconflag flag iconfolder folder iconinstagram instagram iconpinterest pinterest iconfacebook facebook iconprint print iconsquares squares iconheart heart iconheart solid heart solid icon
English Muffins

English Muffins


  • Author: Kimberly
  • Total Time: 1 hr + 50 min
  • Yield: 12 1x

Description

Recommended Equipment

  • large bowl
  • spatula
  • plastic wrap
  • round cookie cutter
  • parchment paper
  • large pan

Ingredients

Units Scale
  • 7 grams drive-active yeast
  • 25 grams white sugar
  • 200 milliliters full-fat cow milk
  • 100 milliliters water
  • 1 egg
  • 40 grams butter
  • 1.5 tsp salt
  • 550 grams bread flour (in Germany Type 550)
  • semolina

Instructions

  1. Stir together the yeast, warm milk, warm water, and sugar in a large bowl and let it sit for 10 minutes. The milk and water should be between 32°-36°C / 90°-97°F.
  2. Add the egg to the melted butter, mix well, and pour it into the bowl with the yeast mixture. Then add the flour and salt, and mix everything with a spatula until the dough is smooth and sticky. Keep kneading by hand until the dough no longer sticks to your fingers. This should take about 10 minutes. Put the dough back in the bowl and cover it with plastic wrap. Let it rest for about 45 minutes.
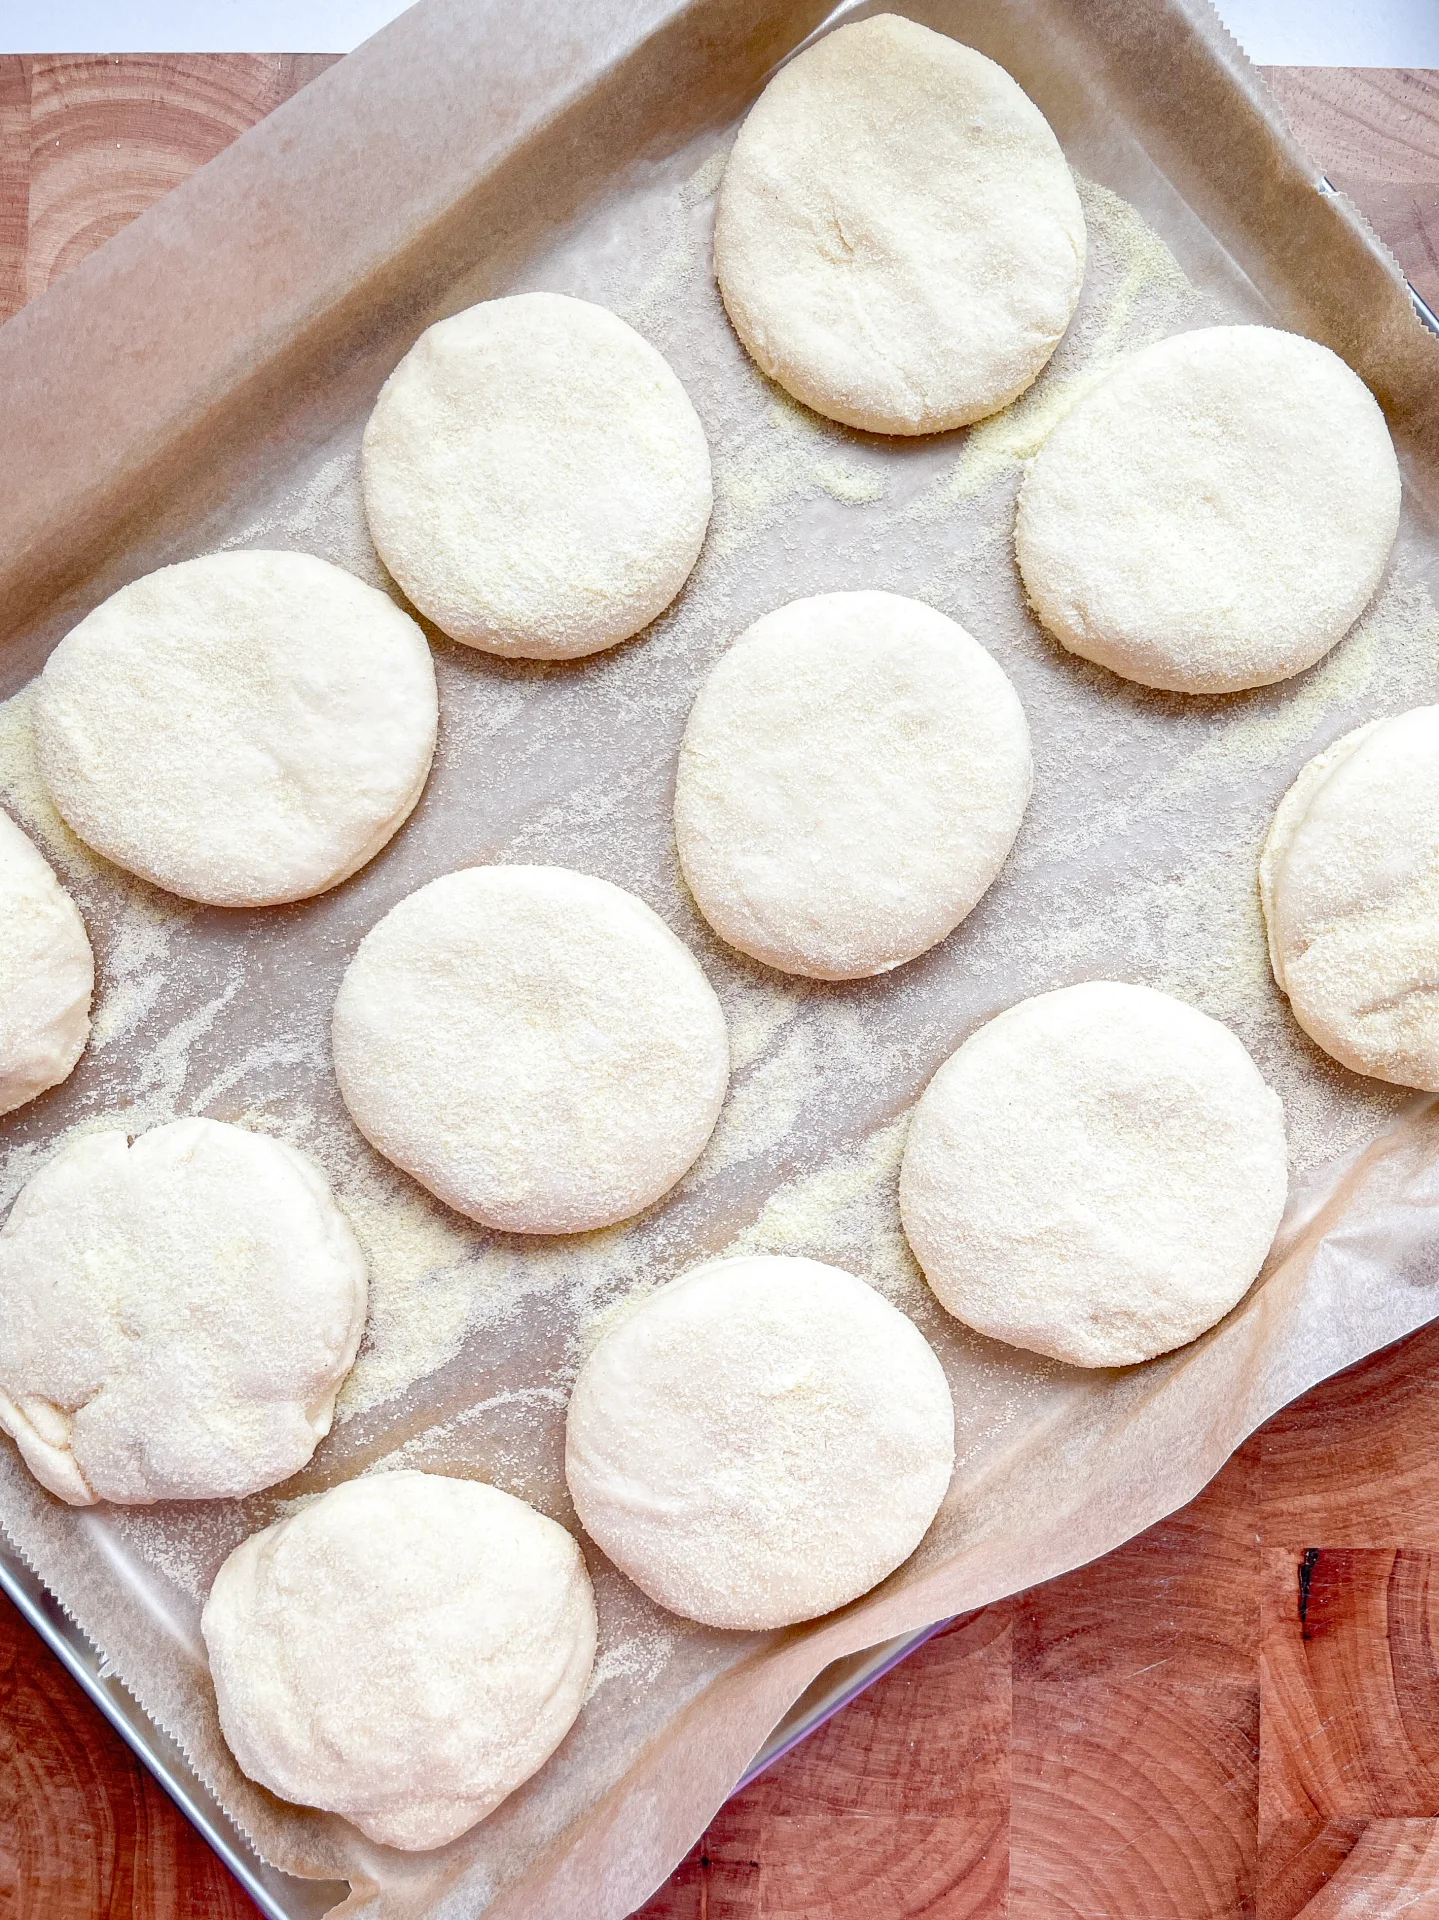
  3. Sprinkle some semolina on your work surface, place the dough on it, and flatten it to about 2-3 cm thick. Sprinkle a bit of semolina on top of the dough as well. Use a round cutter to cut out circles, place them on parchment paper, and cover them with a damp cloth to rest for 15 minutes.
  4. Heat a pan and once it’s warm (you should feel the heat when your hand is close to it), place the dough circles in the pan. Cook them on low heat for 5-7 minutes on each side until they are crispy and golden brown on the outside, and soft and fluffy on the inside. Keep the finished English muffins warm in a bread basket with a towel, and enjoy! 🙂
  • Passive Time: 70 min
  • Cook Time: 40 min

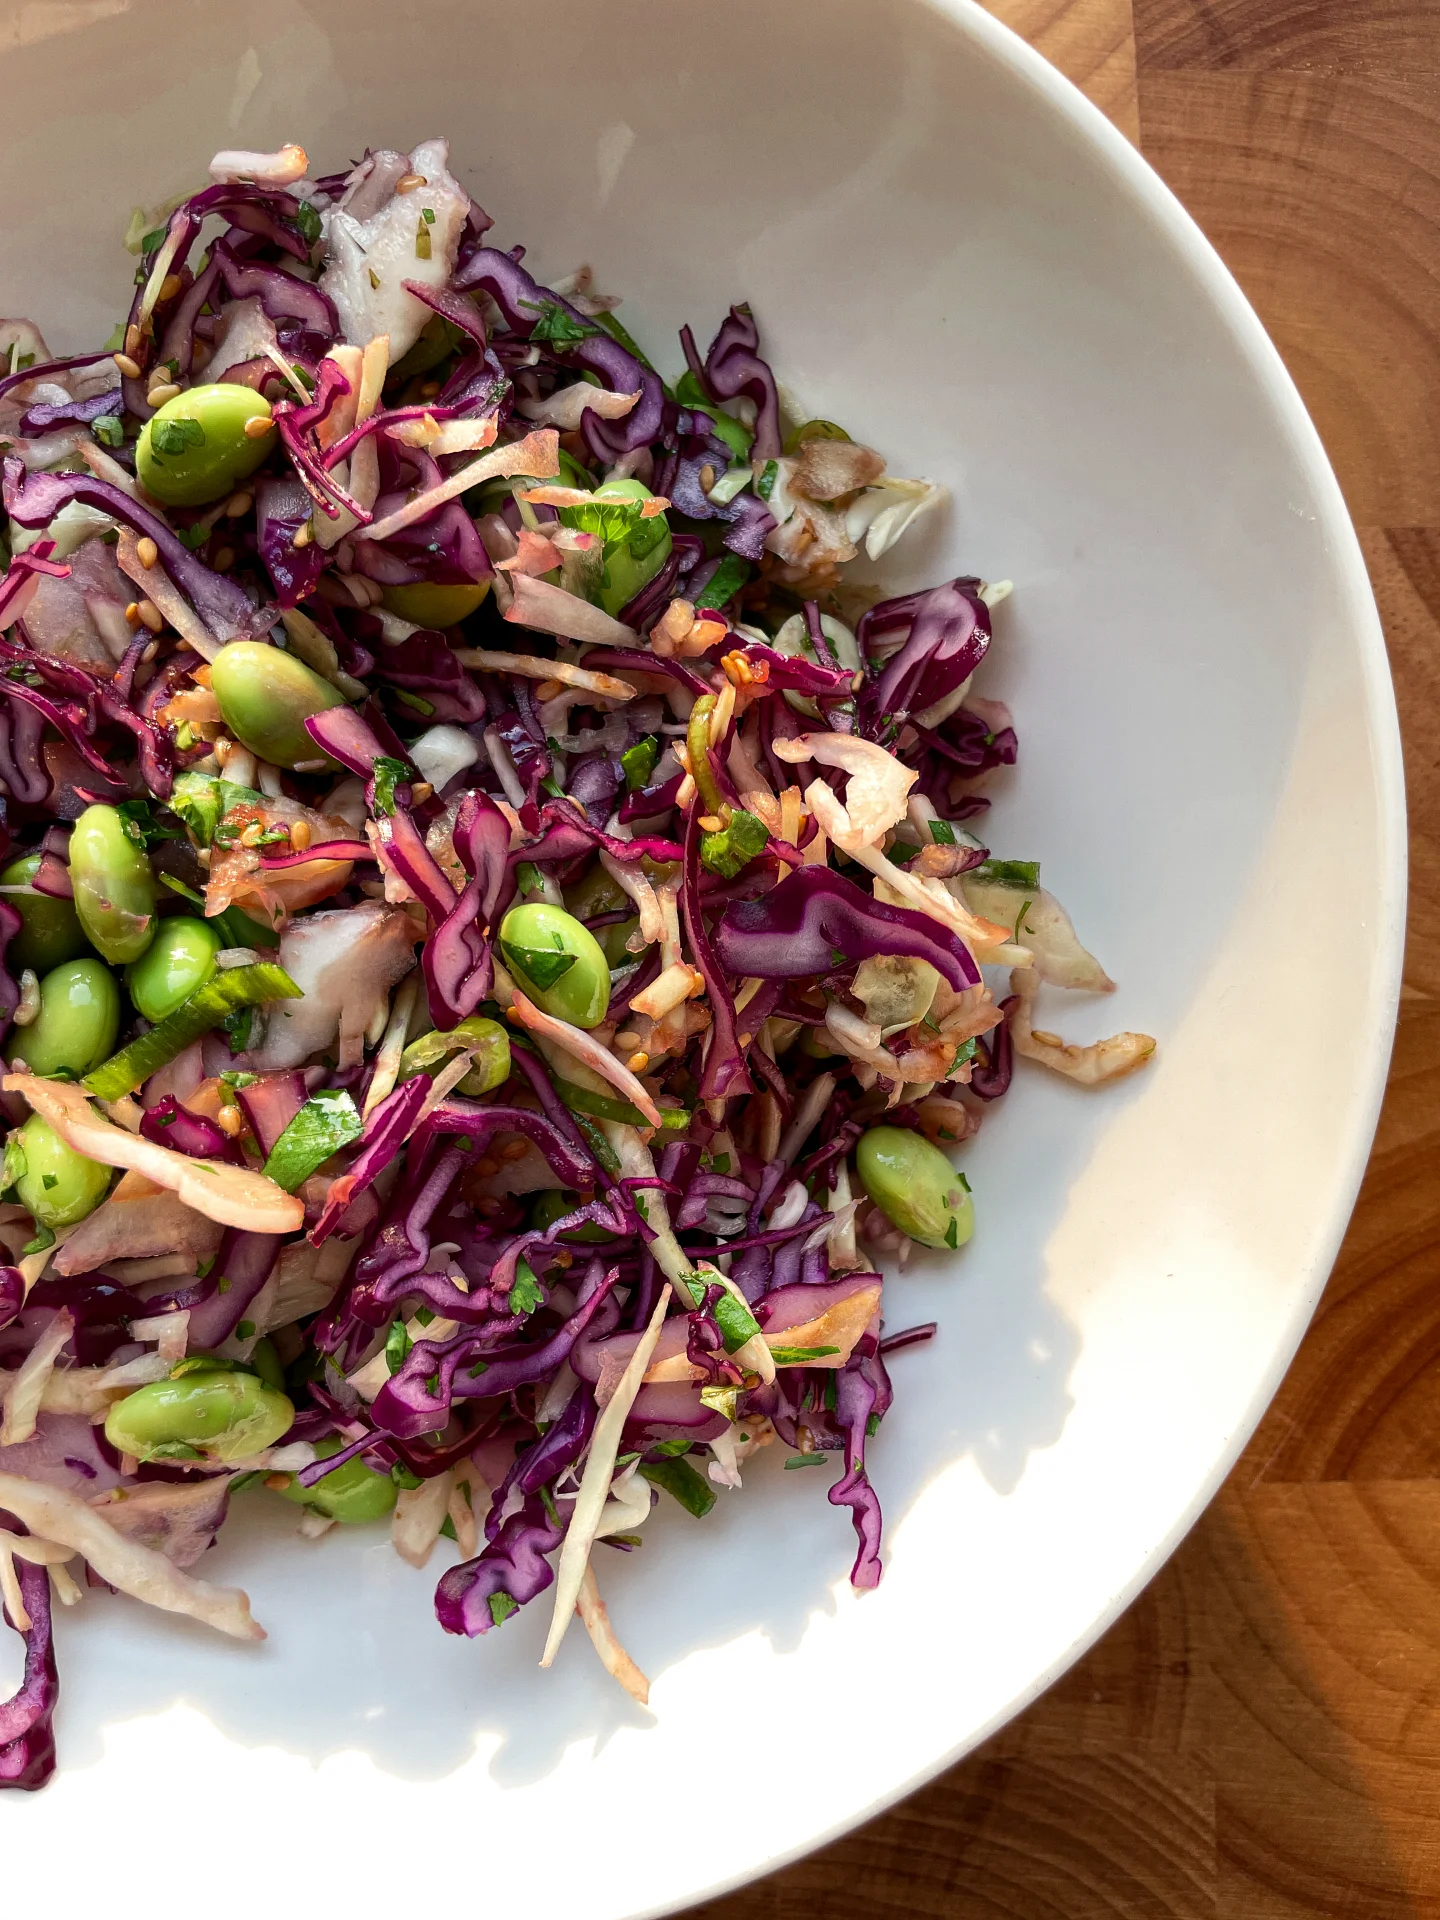
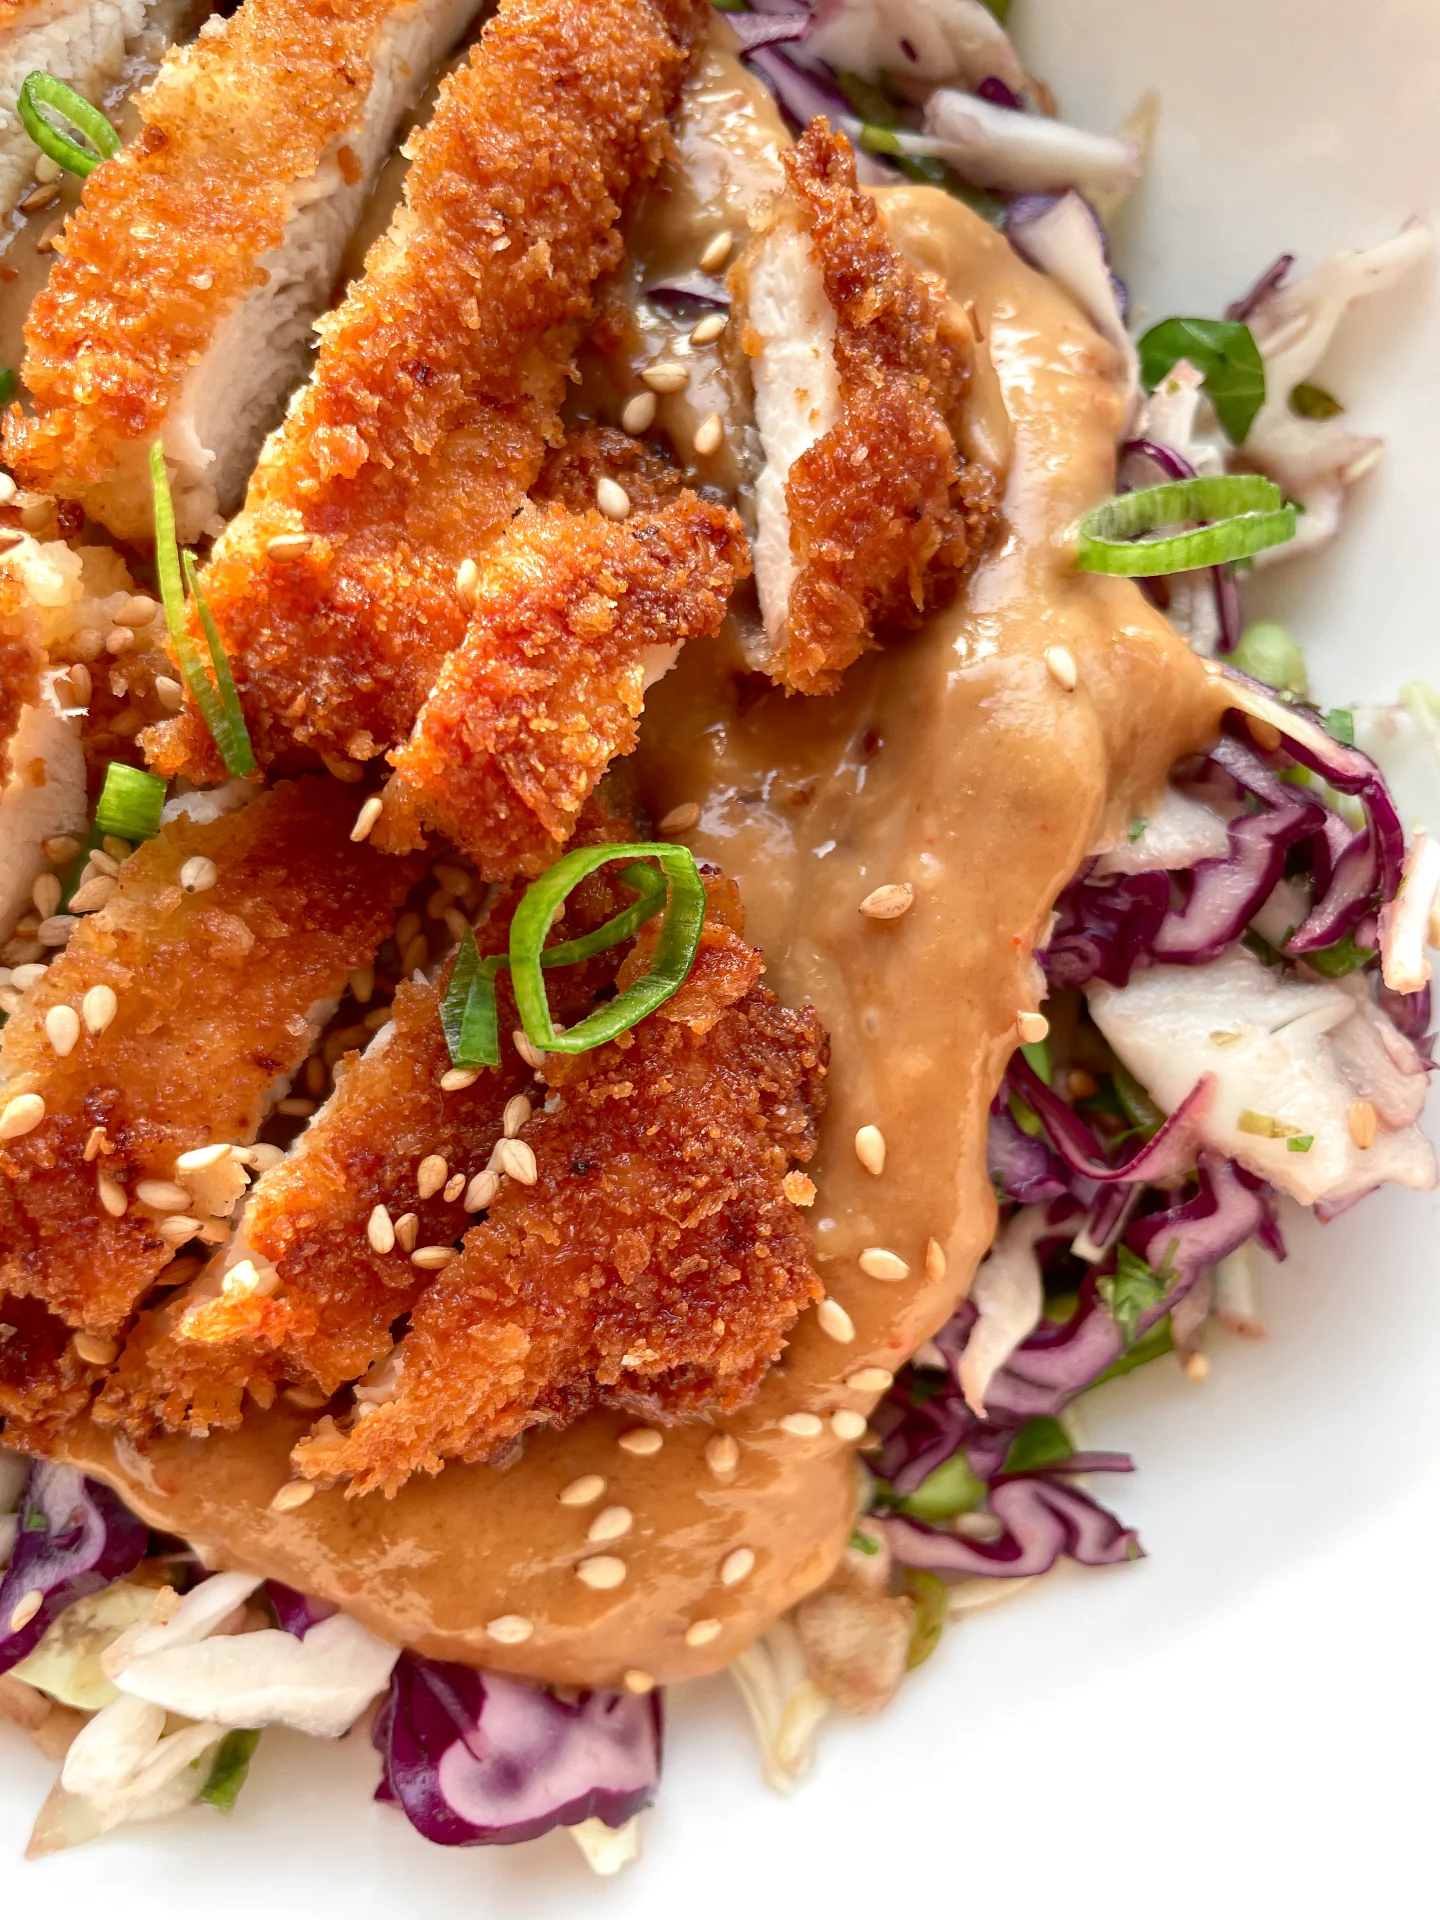
Crispy Chicken with Peanut Coconut Sauce & Edamame Slaw

Crispy Chicken with Peanut Coconut Sauce & Edamame Slaw

Crispy Chicken with Peanut Coconut Sauce & Edamame Slaw

Crispy Chicken with Peanut Coconut Sauce & Edamame Slaw

September 12, 2024 by Kimberly

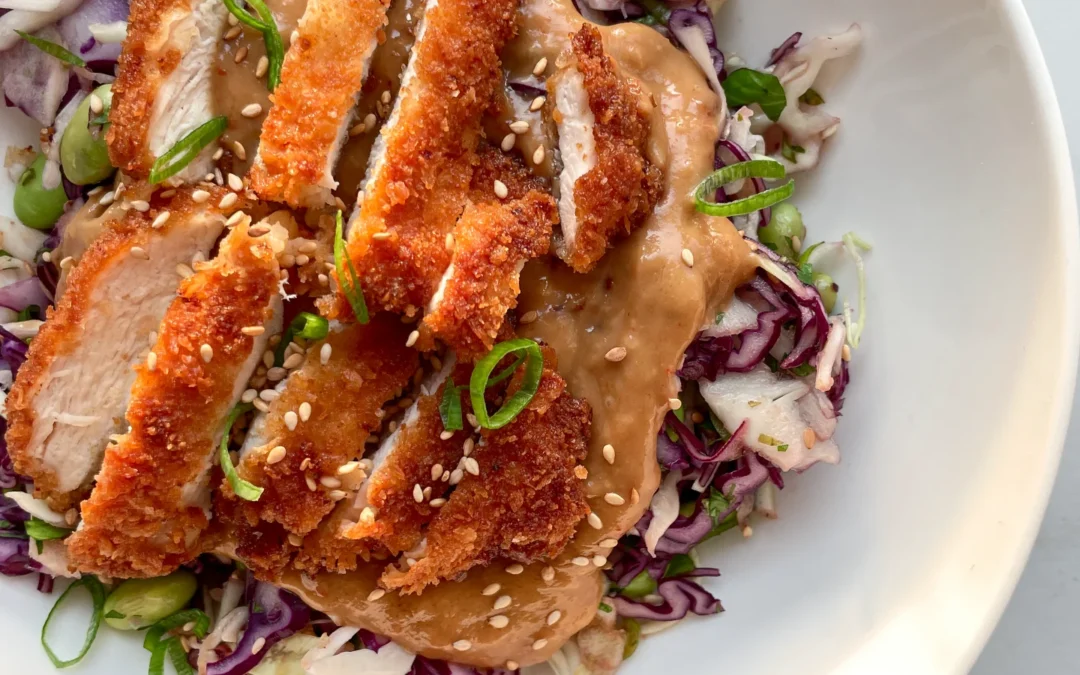
Crunchy, juicy chicken strips paired with a creamy, nutty peanut coconut sauce and a fresh, zesty edamame slaw. It’s comfort food with a twist – bold, fresh, and absolutely irresistible!

30 MINUTES

EASY

OMNIVORE

ASIAN

665 PER PORTION

COMFORT FOOD

EVERYDAY

DINNER

ALL YEAR

INTRODUCTION

ABOUT THE RECIPE

This dish is the perfect mix of comfort and fresh, bold flavors. Juicy chicken strips with a golden, crispy coating are served alongside a creamy, dreamy peanut coconut sauce that has just the right balance of nuttiness and sweetness. Paired with a zesty edamame slaw, this combo is perfect for when you want something that feels indulgent but light and fresh at the same time. It’s all about that crunch, that sauce, and that fresh bite!

How to serve
These crispy chicken strips are best served hot and fresh out of the pan with the sauce on the side or drizzled on top – your call! The peanut coconut sauce adds that creamy richness, and the fresh edamame slaw balances everything with its light crunch. Perfect for a casual weeknight dinner, a weekend lunch, or even a fun appetizer for a gathering. Pair it with some steamed rice or fresh greens for an extra touch.

How to store
Store any leftover chicken and slaw separately in airtight containers in the fridge for up to 2 days. To keep the chicken crispy, reheat it in the oven instead of the microwave. The peanut coconut sauce can be kept for 3 days in the fridge.

Hi, I'm Kimberly!

Hi, I'm Kimberly.

A passionate food lover who believes in the magic of homemade deliciousness that spreads love and warmth. Join me on this culinary adventure as I prepare wonderful dishes and let’s spread some happiness together!

Kimberly the Zett Signature

If you want to get to know me better, click here!


Crispy Chicken with Peanut Coconut Sauce & Edamame Slaw
„Let’s make a piece of happiness“
Print
clock clock iconcutlery cutlery iconflag flag iconfolder folder iconinstagram instagram iconpinterest pinterest iconfacebook facebook iconprint print iconsquares squares iconheart heart iconheart solid heart solid icon
Crispy Chicken with Peanut Coconut Sauce & Edamame Slaw

Crispy Chicken with Peanut Coconut Sauce & Edamame Slaw


  • Author: Kimberly
  • Total Time: 30 min
  • Yield: 3 1x

Description

Recommended Equipment

  • sharp knife
  • cutting board
  • salad bowl
  • two small bowls
  • sieve
  • small pot with lid
  • three shallow bowls for breading
  • large pan

Ingredients

Units Scale

CRISPY CHICKEN

  • 400 grams chicken breast
  • 2 tbsp all-purpose flour
  • 1 egg
  • 4 tbsp panko
  • 4 tbsp bread crumbs
  • clarified butter for frying

PEANUT COCONUT SAUCE

  • 3 tbsp peanut butter
  • 1 tbsp soy sauce
  • 1/2 tbsp rice vinegar
  • 1 tsp sesame oil
  • 1 tbsp honey
  • juice of 1/2 a lemon
  • 1 garlic clove
  • 1 piece of ginger as the same size as the garlic clove
  • 1 tsp fish sauce
  • 1 tbsp sweet & sour sauce
  • 100 milliliters coconut milk
  • 1/2 tsp chili flakes

SLAW

  • 150 grams red cabbage
  • 150 grams white cabbage
  • 100 grams edamame
  • 1 spring onion
  • 2 tbsp cilantro

SLAW DRESSING

  • 1/2 tbsp sesame seeds
  • 1/2 tbsp rice vinegar
  • 1 tbsp honey
  • 2 tbsp soy sauce
  • 1/4 tsp ginger powder
  • 1/4 tsp garlic powder
  • juice of 1/2 a lemon

Instructions

  1. First, we’ll prepare the slaw. Slice the red and white cabbage into thin strips, wash them thoroughly, dry them, and put them in a salad bowl. Place the frozen edamame in a heatproof bowl and pour boiling water over them. Let them sit for 5 minutes. In the meantime, slice the spring onions into thin rings and pick the cilantro leaves off the stems, chopping them finely. Add both to the cabbage. Drain the edamame and add them to the slaw as well. Mix everything well and set it aside.
  2. Next, grab a small bowl to prepare the dressing for the salad. Mix rice vinegar, honey, soy sauce, lime juice, sesame seeds, garlic powder, and ginger powder. Don’t pour the dressing over the slaw just yet—set it aside for now.
  3. Now, let’s make the peanut coconut sauce. Peel and grate the garlic and ginger, then sauté them in some sesame oil in a small pot. Add the following ingredients: soy sauce, rice vinegar, honey, sweet & sour sauce, lime juice, fish sauce, chili, and coconut milk. Stir everything well. If the sauce is too thick, just thin it out with a little water. Keep it warm on very low heat with the lid on.
  4. Set up a breading station with flour, egg, and a mix of panko and breadcrumbs. Coat the chicken in flour, shake off the excess, then dip it in the egg, making sure it’s well-covered. Finally, press it into the panko and breadcrumb mixture, ensuring the breading sticks well on all sides. Fry the chicken in a large pan with a bit of clarified butter over medium heat until crispy and cooked through. Slice the chicken into strips.
  5. Pour the dressing over the slaw and mix everything well. Distribute the salad onto deep plates, then drizzle the peanut coconut sauce over it. Finally, place the crispy chicken strips on top of the sauce. Optionally, garnish with sesame seeds and spring onions.
  • Cook Time: 30 min

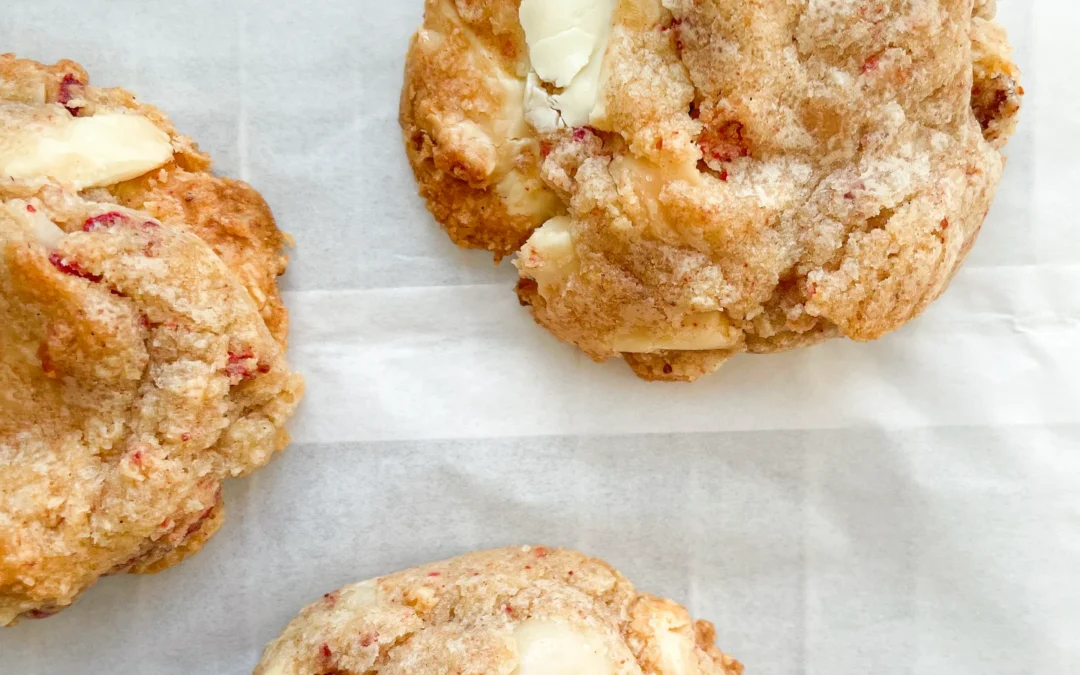
White Chocolate Strawberry Macadamia Cookies

White Chocolate Strawberry Macadamia Cookies

White Chocolate Strawberry Macadamia Cookies

White Chocolate Strawberry Macadamia Cookies

September 10, 2024 by Kimberly

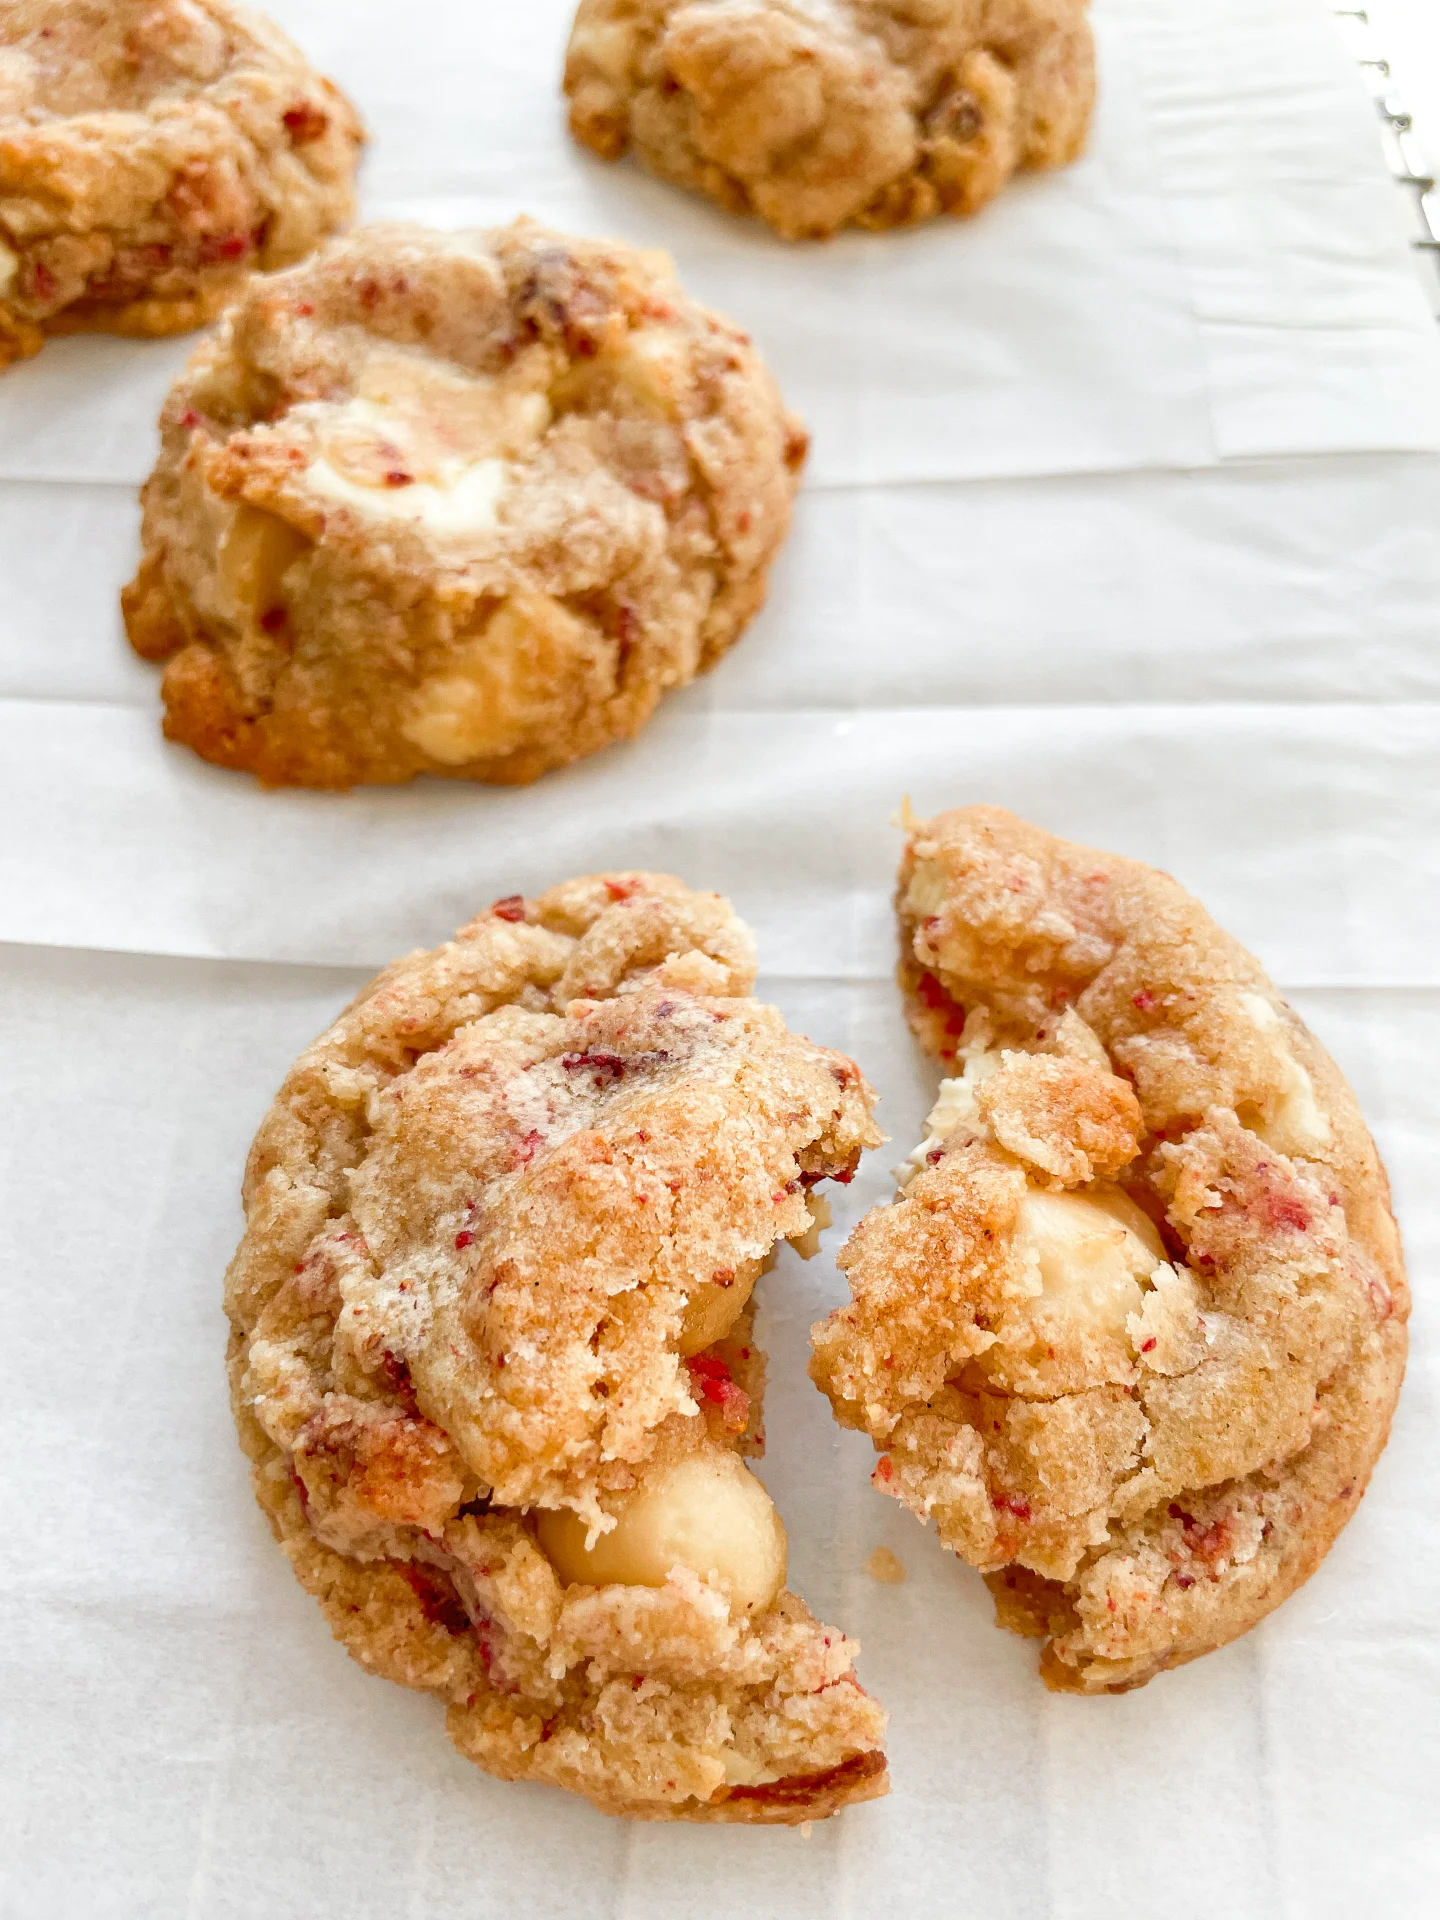
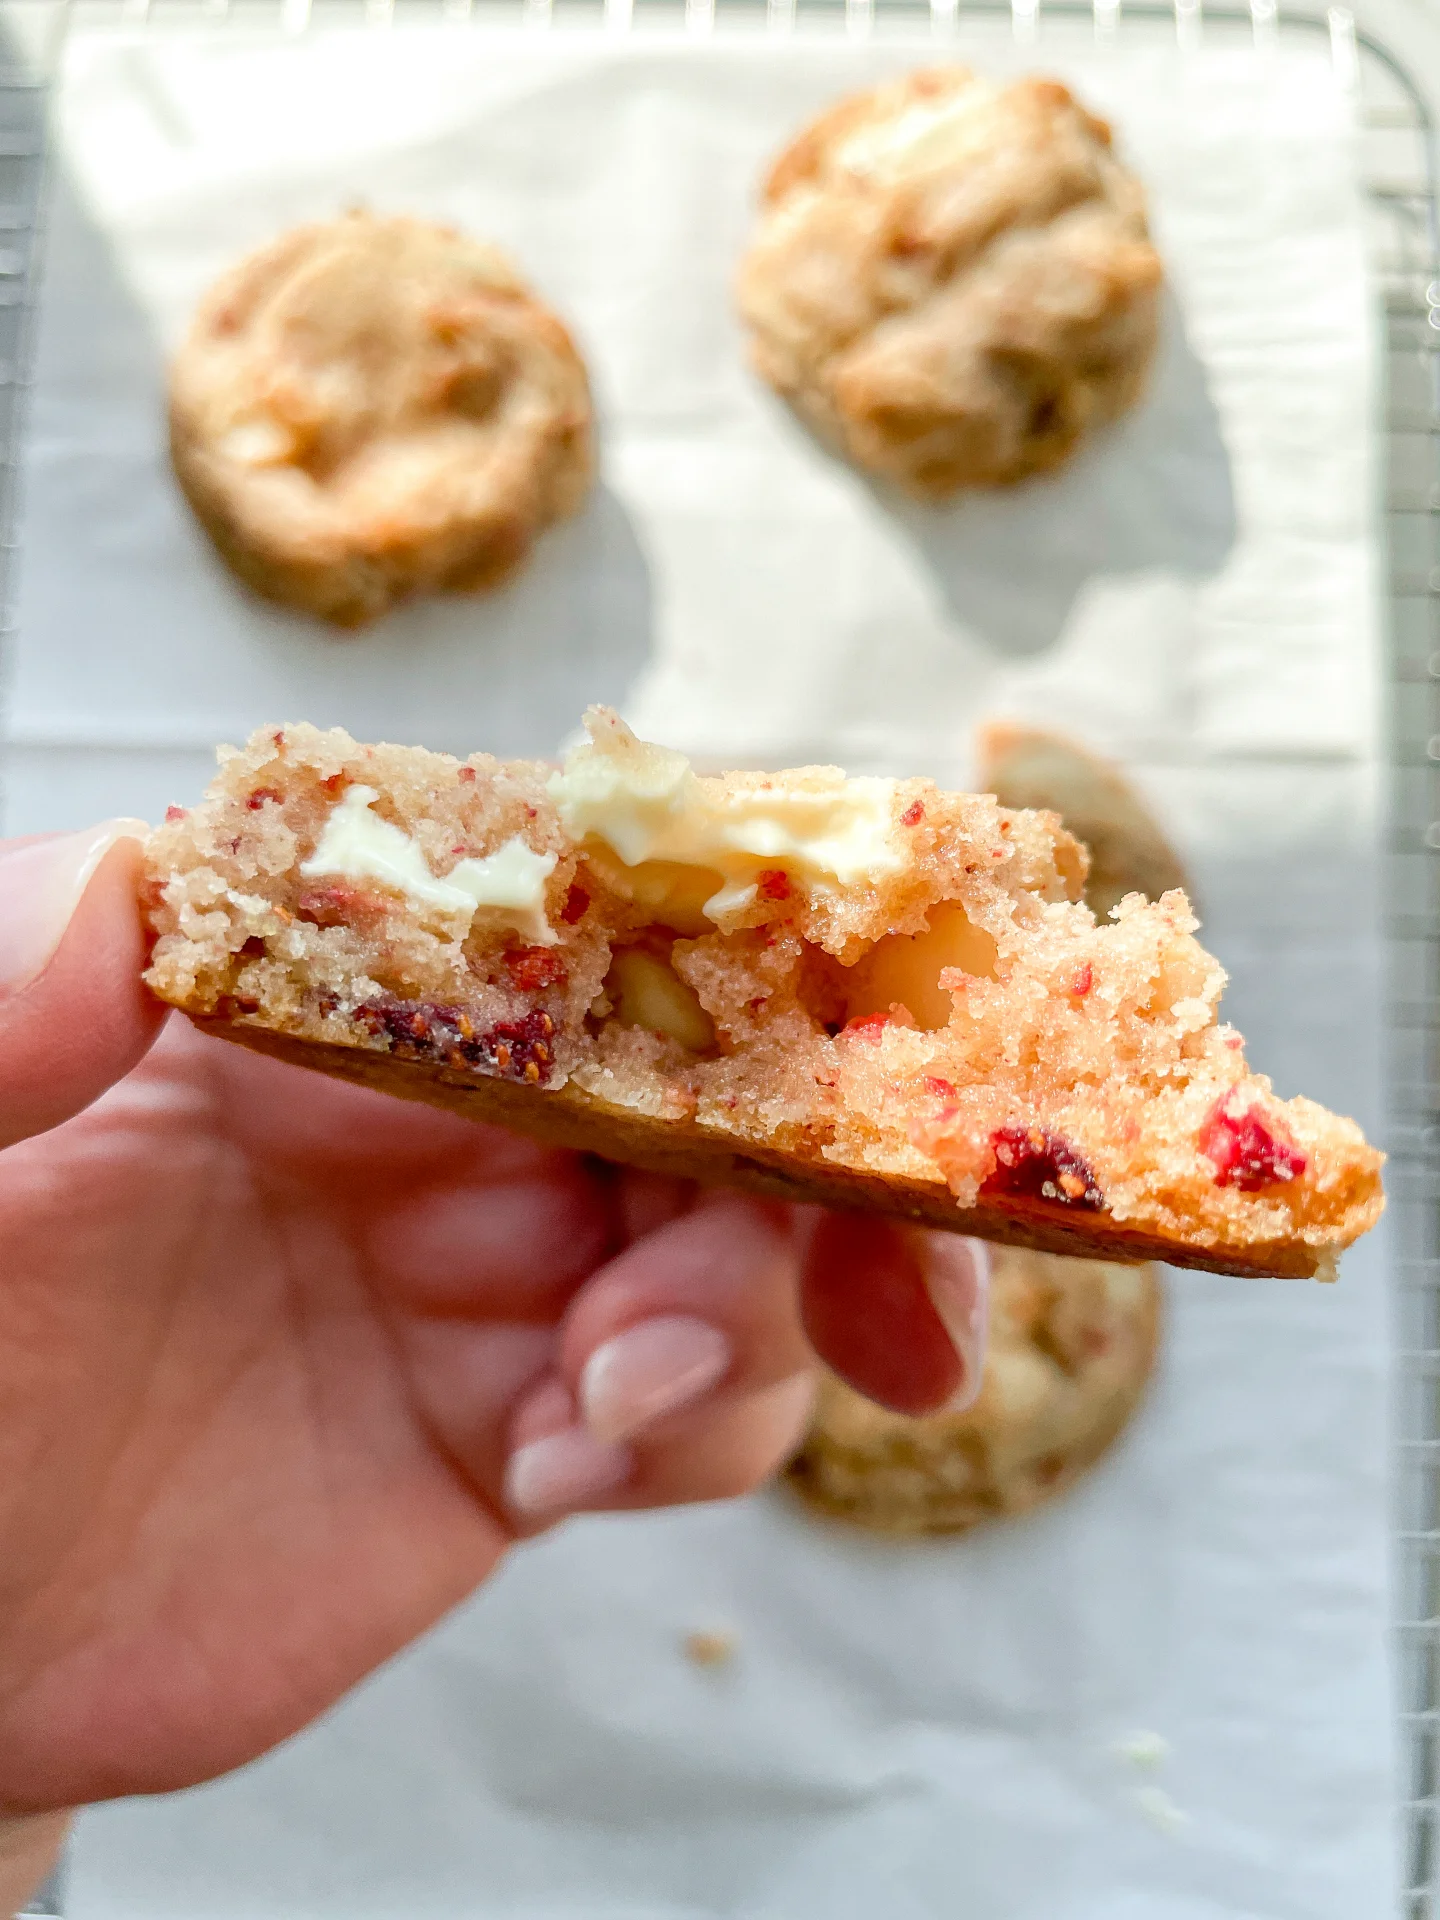
Imagine biting into buttery cookies with creamy white chocolate, crunchy macadamia nuts, and bursts of tangy-sweet freeze-dried strawberries. Every bite is a blissful moment of rich sweetness with a fruity twist.

2 HOURS
20 MINUTES

EASY

VEGETARIAN

INT.

289 PER COOKIE

COMFORT FOOD
SWEET

TEA TIME

DESSERT
COOKIES

SUMMER

INTRODUCTION

ABOUT THE RECIPE

These cookies are the ultimate treat when you need a balance of sweetness and a little crunch. Picture soft, buttery bites with creamy white chocolate melting in your mouth, while macadamia nuts bring that irresistible crunch. And just when you think it couldn’t get better, you hit the tangy freeze-dried strawberry bursts. It’s like all your favorite things wrapped in one cozy, feel-good cookie. Trust me, these are going to be your new go-to sweet treat for every mood!

How to serve
These cookies are perfect warm, straight out of the oven with the chocolate still gooey. Serve them with a glass of cold milk or alongside your favorite coffee or tea. They’re also a hit at parties or as an easy dessert for a laid-back weekend gathering. Want to take them up a notch? Try crumbling one over vanilla ice cream or serving them with a drizzle of strawberry sauce. You’re going to want to savor every bite!

How to store
To keep these cookies fresh, store them in an airtight container at room temperature for up to three days. If you want to make them last longer (if they aren’t devoured first!), freeze them for up to three months. Just bake them for 10 minutes at 150°C / 302°F in the oven before enjoying.

Hi, I'm Kimberly!

Hi, I'm Kimberly.

A passionate food lover who believes in the magic of homemade deliciousness that spreads love and warmth. Join me on this culinary adventure as I prepare wonderful dishes and let’s spread some happiness together!

Kimberly the Zett Signature

If you want to get to know me better, click here!


White Chocolate Strawberry Macadamia Cookies
„Let’s make a piece of happiness“
Print
clock clock iconcutlery cutlery iconflag flag iconfolder folder iconinstagram instagram iconpinterest pinterest iconfacebook facebook iconprint print iconsquares squares iconheart heart iconheart solid heart solid icon
White Chocolate Strawberry Macadamia Cookies

White Chocolate Strawberry Macadamia Cookies


  • Author: Kimberly
  • Total Time: 2 hrs + 30 min
  • Yield: 12 cookies 1x

Description

Recommended Equipment

  • small pot
  • to medium bowls
  • whisk
  • sharp knife
  • cutting board
  • cookie scoop
  • parchment paper

Ingredients

Units Scale
  • 120 grams butter
  • 100 grams brown sugar
  • 100 grams white sugar
  • 1 tsp vanilla extract
  • 1 egg
  • 220 grams all-purpose flour
  • 1/2 tsp salt
  • 1/2 tsp baking soda
  • 150 grams white chocolate
  • 75 grams macadamia nuts
  • 25 grams freeze-dried strawberries

Instructions

  1. Melt the butter in a small pot or in the microwave. In a medium bowl, whisk the melted butter together with the brown and white sugar and vanilla extract for a few minutes. Then, add the egg and mix again. Set aside.
  2. In another bowl, mix the flour, baking soda, and salt. Set aside.
  3. Roughly chop or crumble the white chocolate, macadamia nuts, and freeze-dried strawberries. Set aside.
  4. Add everything to the butter-sugar-egg mixture and use a spatula to knead it all together until there’s no more loose flour.
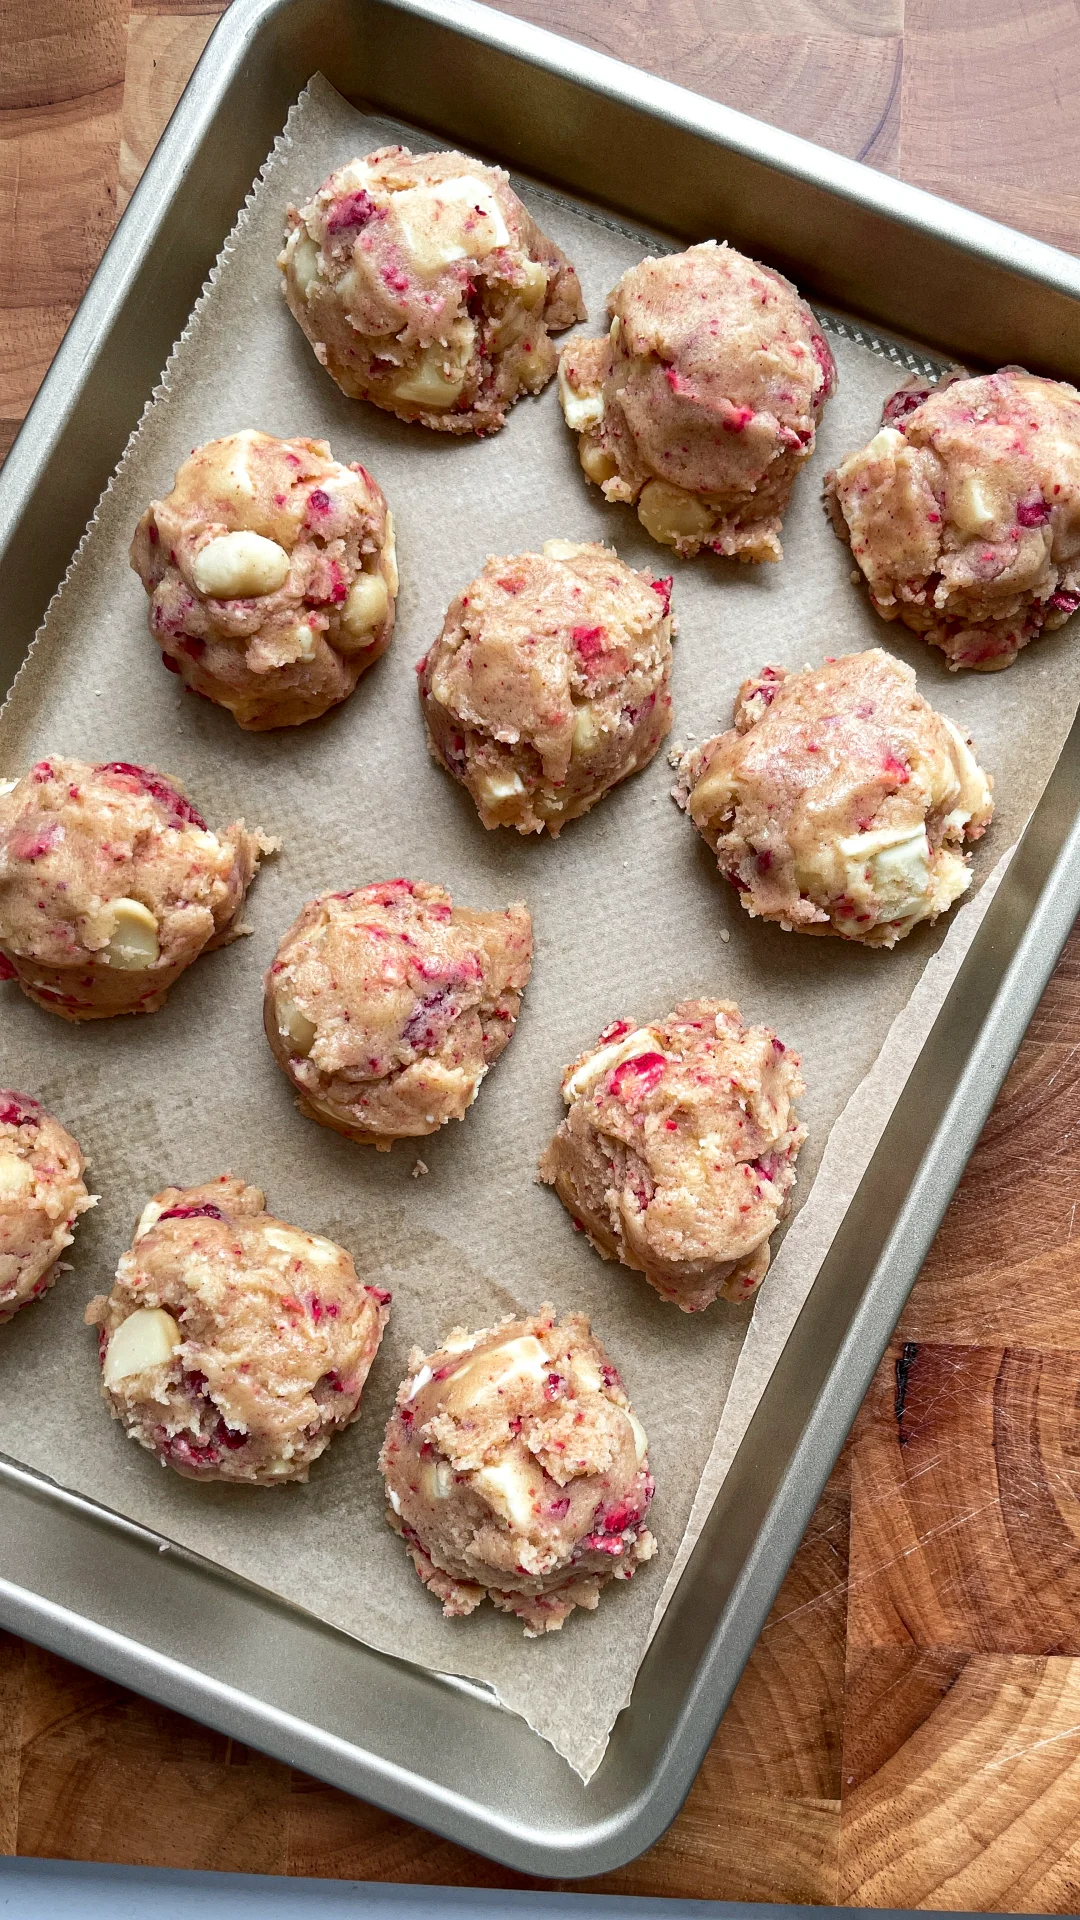
  5. Use a medium cookie scoop to form the dough into 12 evenly sized balls and place them on parchment paper. Put the dough balls in the fridge for at least 2 hours.
  6. A few minutes before baking, preheat the oven to 150°C / 302°F. Place the cookie dough balls on a parchment-lined baking sheet, leaving enough space between them, and bake for 10 minutes. Take them out of the oven and let them cool for another 10 minutes. The cookies will be very soft at this point. If you prefer them firmer, leave them in the oven for a few more minutes.
  • Passive Time: 2 hrs + 20 min
  • Cook Time: 10 min

Pineapple Coconut Oil

Pineapple Coconut Oil

Pineapple Coconut Oil

Pineapple Coconut Oil

September 8, 2024 by Kimberly

This pineapple-infused coconut oil is a tropical dream! It’s sweet, fresh, and perfect for cold dishes, bringing sunny, fruity vibes to every bite without overpowering your recipes.

80 MINUTES

ADVANCED

VEGAN

INT.

40 PER TSP

REFRESHING

MICHELIN

OIL

ALL YEAR

INTRODUCTION

ABOUT THE RECIPE

This fruity, pineapple-infused coconut oil will transport you to a sunny beach with every bite! It’s naturally sweet and tangy with a delicious coconut touch, perfect for adding a fun, fresh flavor to your dishes. The best part? It’s easy to make, and the vibrant yellow color from the pineapple infusion adds that visual pop. Trust me, once you’ve tried it, you’ll want to drizzle it on everything!

How to serve
Since this oil shines best when it’s not heated too high, it’s perfect for cold dishes. Drizzle it over fresh salads to give them a sweet, fruity twist. You can also mix it into smoothies or pour it over yogurt bowls for an instant tropical upgrade. If you’re feeling fancy, use it as a dipping oil with some fresh fruit on the side! Its fresh, summery taste will make even the simplest dish feel like a treat.

How to store
To keep this oil fresh and flavorful, store it in an airtight container in the fridge. Make sure to keep it away from direct sunlight. For the best flavor, try to use it within two weeks!

Hi, I'm Kimberly!

Hi, I'm Kimberly.

A passionate food lover who believes in the magic of homemade deliciousness that spreads love and warmth. Join me on this culinary adventure as I prepare wonderful dishes and let’s spread some happiness together!

Kimberly the Zett Signature

If you want to get to know me better, click here!


Pineapple Coconut Oil
„Let’s make a piece of happiness“
Print
clock clock iconcutlery cutlery iconflag flag iconfolder folder iconinstagram instagram iconpinterest pinterest iconfacebook facebook iconprint print iconsquares squares iconheart heart iconheart solid heart solid icon
Pineapple Coconut Oil

Pineapple Coconut Oil


  • Author: Kimberly
  • Total Time: 80 min
  • Yield: 1 cup / 250 ml 1x

Description

RECOMMENDED EQUIPMENT

  • blender
  • medium-sized saucepan
  • whisk
  • 2 medium-sized bowls
  • 2 fine sieves
  • coffee filter
  • oil bottle

Ingredients

Units Scale
  • 200 grams pineapple
  • 250 milliliters cold-pressed coconut oil

Instructions

  1. Cut off the pineapple skin and cut the flesh into large chunks. Put them into the blender. Since coconut oil solidifies below 23°C (73°F), you might need to warm it up briefly so it can be poured over the pineapple chunks in liquid form. Pour the oil into the blender and blend everything on the highest setting until it becomes pastel yellow and only small pieces of the pineapples are longer visible.
  2. Pour the mixture from the blender into a medium-sized pot and heat it over medium heat, constantly stirring, to a temperature of about 102°-103°C (215°-217°F). Then, let the mixture cook for the next 45 minutes. Stir only occasionally, making sure the temperature remains steady. This cooking time is essential for all the water to evaporate, allowing the perishable solids to settle at the bottom and the oil to float on top. You’ll know all the water has evaporated when the oil in the pot barely bubbles anymore – so if it’s still bubbling vigorously, keep it simmering.
  3. Once the oil mixture is no longer bubbling, remove the pot from the heat and let it cool a bit. Pour the oil into the first fine sieve to catch the coarse particles.
  4. Then, pour the oil into the second fine mesh sieve, which you before equipped with a coffee filter, to catch the remaining finer particles.
  5. Allow the oil to drip through for about 30 minutes or maybe less depending on how many remaining particles are in the coffee filter. Once all the oil has passed through the coffee filter, transfer the collected amount of oil into an oil bottle. Store in the refrigerator for up to 1-2 weeks.
  • Prep Time: 5 min
  • Passive Time: 30 min
  • Cook Time: 45 min