Biscoff Cinnamon Banoffee Pie

Biscoff Cinnamon Banoffee Pie

Biscoff Cinnamon Banoffee Pie

Biscoff Cinnamon Banoffee Pie

November 19, 2024 by Kimberly

Dreamy layers of creamy dulce de leche, fresh banana slices, and cinnamon whipped cream, all on a buttery Biscoff cookie crust. This no-bake treat is pure, cozy dessert bliss in every bite!

40 MINUTES

EASY

VEGETARIAN

ENGLISH

311 PER SLICE

CREAMY

THANKSGIVING

DESSERT & SWEETS

AUTUMN
WINTER

INTRODUCTION

ABOUT THE RECIPE

This no-bake delight layers all the cozy flavors: a buttery Biscoff cookie crust, homemade dulce de leche, fresh banana slices, and a whipped cinnamon topping. It’s creamy, sweet, and has that dreamy, melt-in-your-mouth quality that’ll make you reach for seconds. No baking needed – just a quick assembly for a dessert that’s equally impressive and easy. It’s the perfect treat when you want a little something special without turning on the oven.

How to serve
Serve this pie chilled and straight from the fridge to get the best creamy texture and hold. For a little extra flair, sprinkle the top with crushed Biscoff cookies or some shavings of your favorite chocolate. Pair it with a warm coffee or your favorite cozy drink – the caramel-like dulce de leche and cinnamon cream make this pie the ultimate comfort dessert. It’s also a crowd-pleaser, so bring it along to your next gathering!

How to store
Store any leftovers in the fridge, covered, for up to 3 days. The whipped cream topping stays nicely set, and the crust holds well. This pie is best served cold, straight from the fridge, for that perfect creamy bite.

Hi, I'm Kimberly!

Hi, I'm Kimberly.

A passionate food lover who believes in the magic of homemade deliciousness that spreads love and warmth. Join me on this culinary adventure as I prepare wonderful dishes and let’s spread some happiness together!

Kimberly the Zett Signature

If you want to get to know me better, click here!


Biscoff Cinnamon Banoffee Pie

„Let’s make a piece of happiness“

Print
clock clock iconcutlery cutlery iconflag flag iconfolder folder iconinstagram instagram iconpinterest pinterest iconfacebook facebook iconprint print iconsquares squares iconheart heart iconheart solid heart solid icon
Biscoff Cinnamon Banoffee Pie

Biscoff Cinnamon Banoffee Pie


5 Stars 4 Stars 3 Stars 2 Stars 1 Star

No reviews

  • Author: Kimberly
  • Total Time: 3 hrs + 15 min
  • Yield: 8-16 1x

Description

Recommended Equipment

  • small pot with lid
  • food processor
  • pie dish
  • sharp knife
  • cutting board
  • electric mixer
  • tall container
  • vegetable peeler
  • can opener

Ingredients

Units Scale
  • 300 grams biscoff cookies
  • 140 grams butter, room temperature
  • 400 grams sweetened condensed milk
  • 2 bananas
  • 1 tbsp lemon juice
  • 250 grams heavy cream
  • 30 grams powdered sugar
  • 1 tsp vanilla
  • 1 tsp cinnamon

Instructions

PREPARATIONS

  • You can buy ready-made dulce de leche or order it online, but it’s also easy to make at home ahead of time. Just grab a 400g can of sweetened condensed milk, remove the label, and place the can in a pot. Fill with enough water to completely cover the can, then bring the water to a boil. Reduce the heat to low, cover the pot, and let it simmer for about 2 hours and 30 minutes. Be sure to keep the can covered with water the entire time – if the water evaporates, just add more. After the 2.5 hours, pour off the water and let the can cool completely before using the dulce de leche inside.

INSTRUCTIONS

  1. Use a food processor to blend the Biscoff cookies and softened butter until they’re crumbly. Press the mixture evenly into a pie dish, covering the bottom and sides completely. Chill the crust in the fridge for 20 minutes.
  2. Meanwhile, slice the bananas evenly and sprinkle with a little lemon juice to keep them from browning. Place the banana slices in the fridge until you’re ready to use them. Next, pour the cold cream into a tall container, add powdered sugar, vanilla extract, and cinnamon, and whip until stiff peaks form. Chill the whipped cream in the fridge until needed. Prepare the chocolate shavings by running a vegetable peeler along the narrow edge of a chocolate bar. Set the shavings aside.
  3. Open the can of dulce de leche and take the crust out of the fridge. Spread the entire can of dulce de leche evenly over the crust.
  4. Take the banana slices out of the fridge and arrange them over the dulce de leche so that the entire surface is covered.
  5. Now, take the whipped cream and spread it evenly over the bananas. Finally, sprinkle the chocolate shavings on top for decoration.
  6. Serve the pie immediately or keep it in the fridge until you’re ready to serve.
  • Passive Time: 2 hrs + 35 min
  • Cook Time: 40 min

Banana Oil

Banana Oil

Banana Oil

Banana Oil

November 19, 2024 by Kimberly

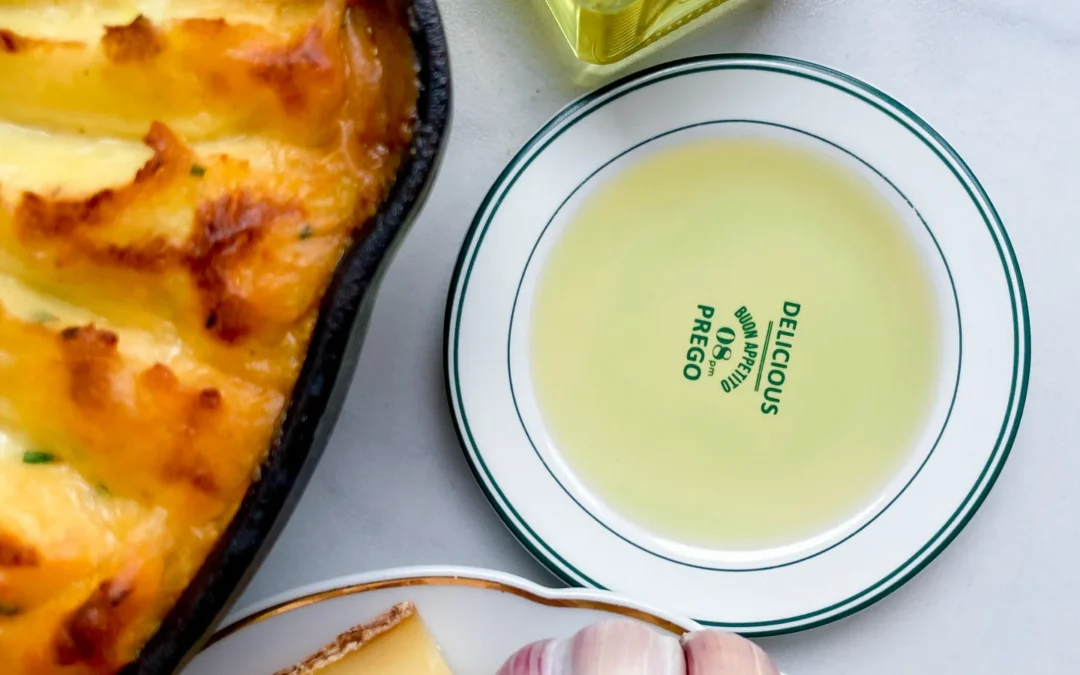
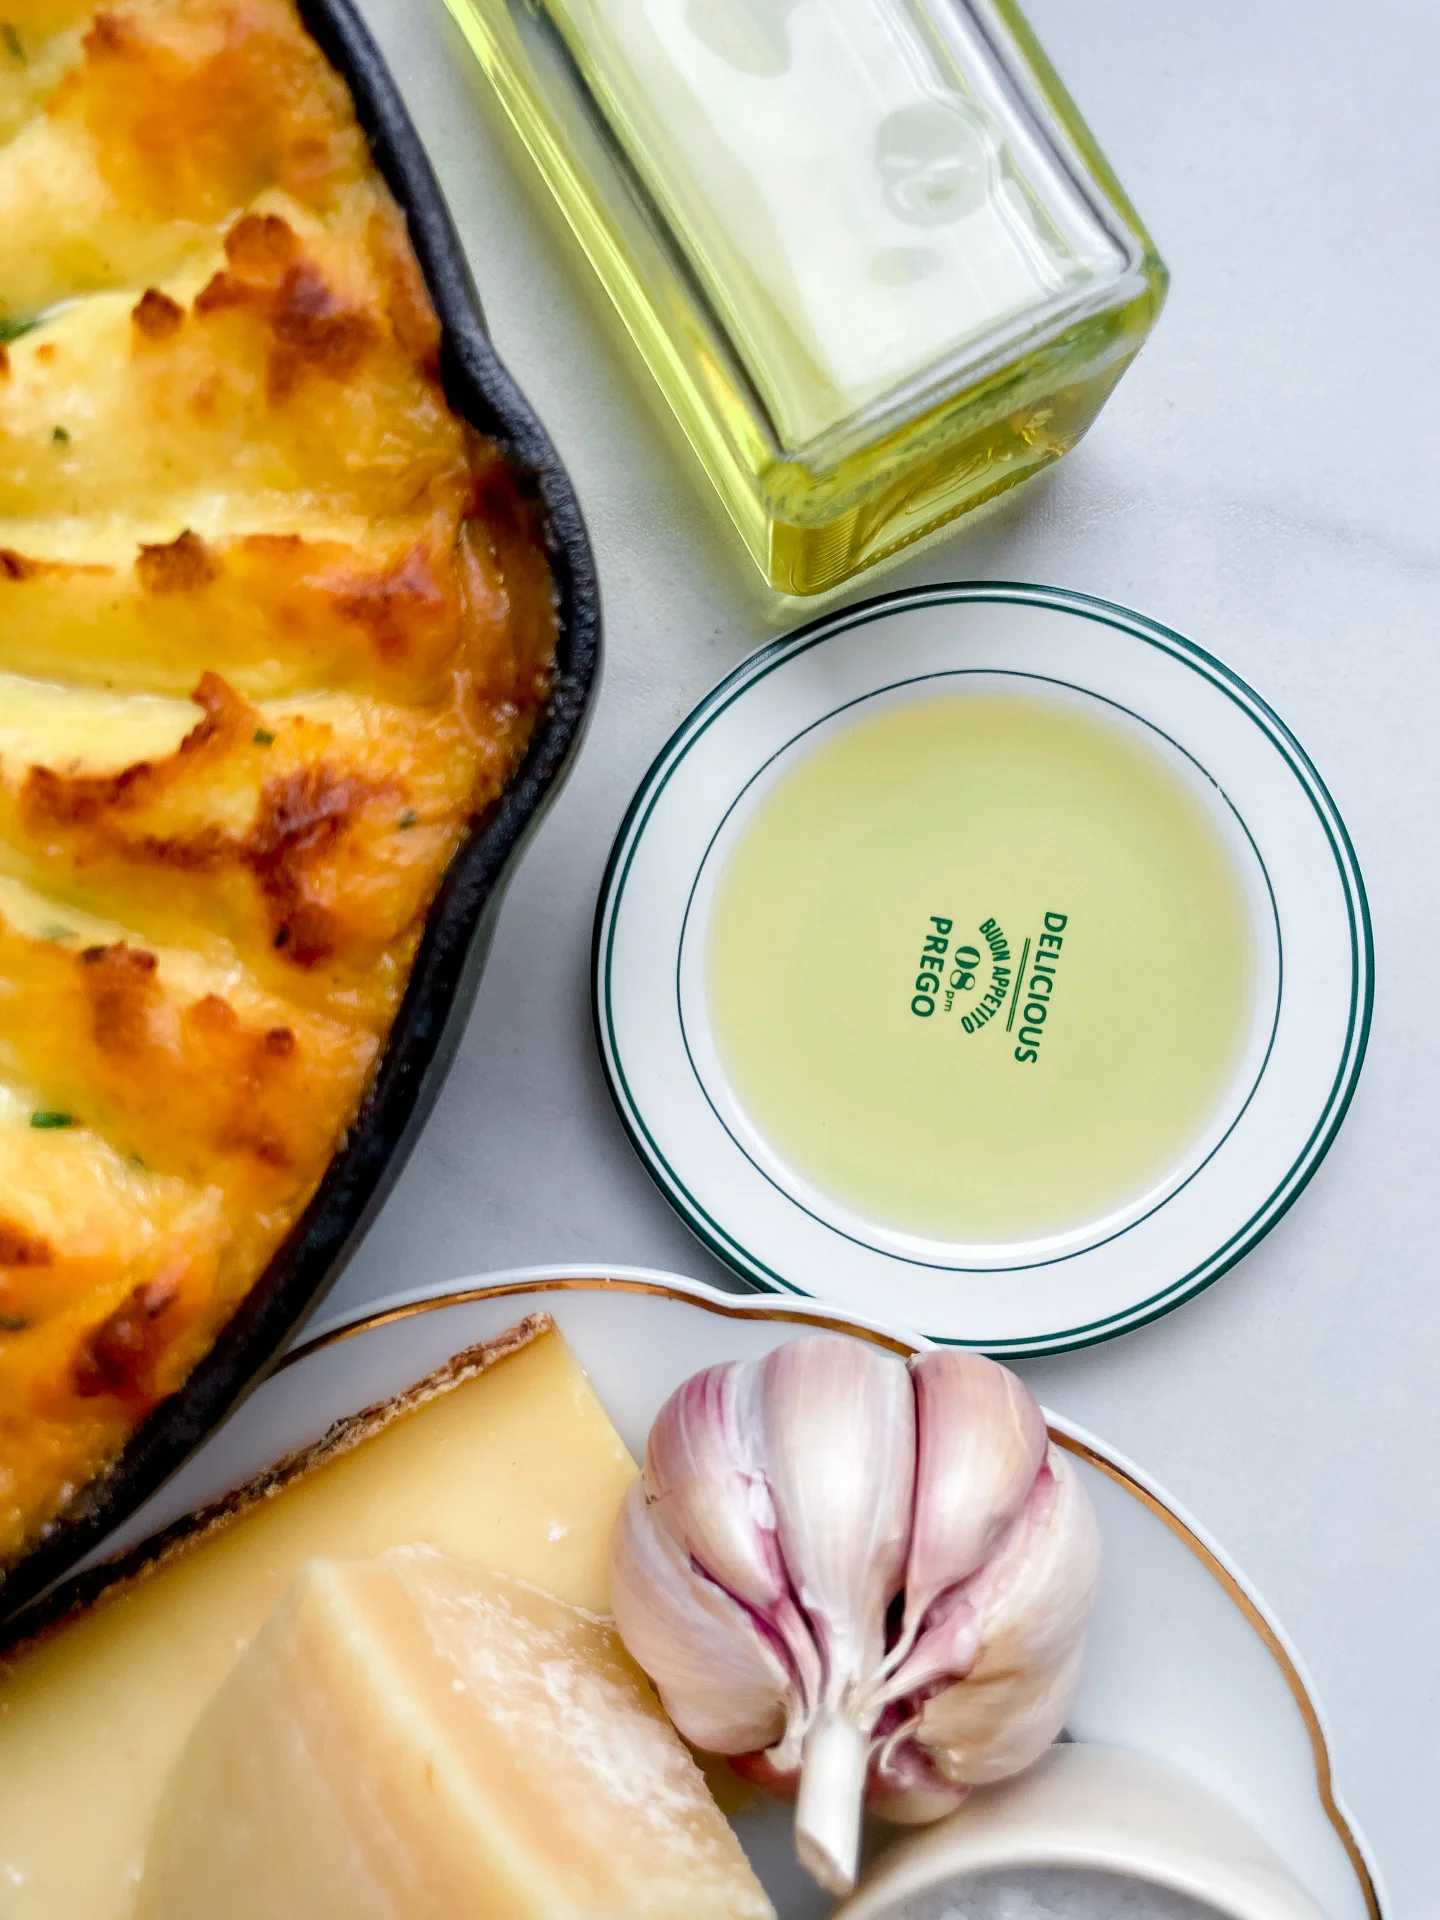
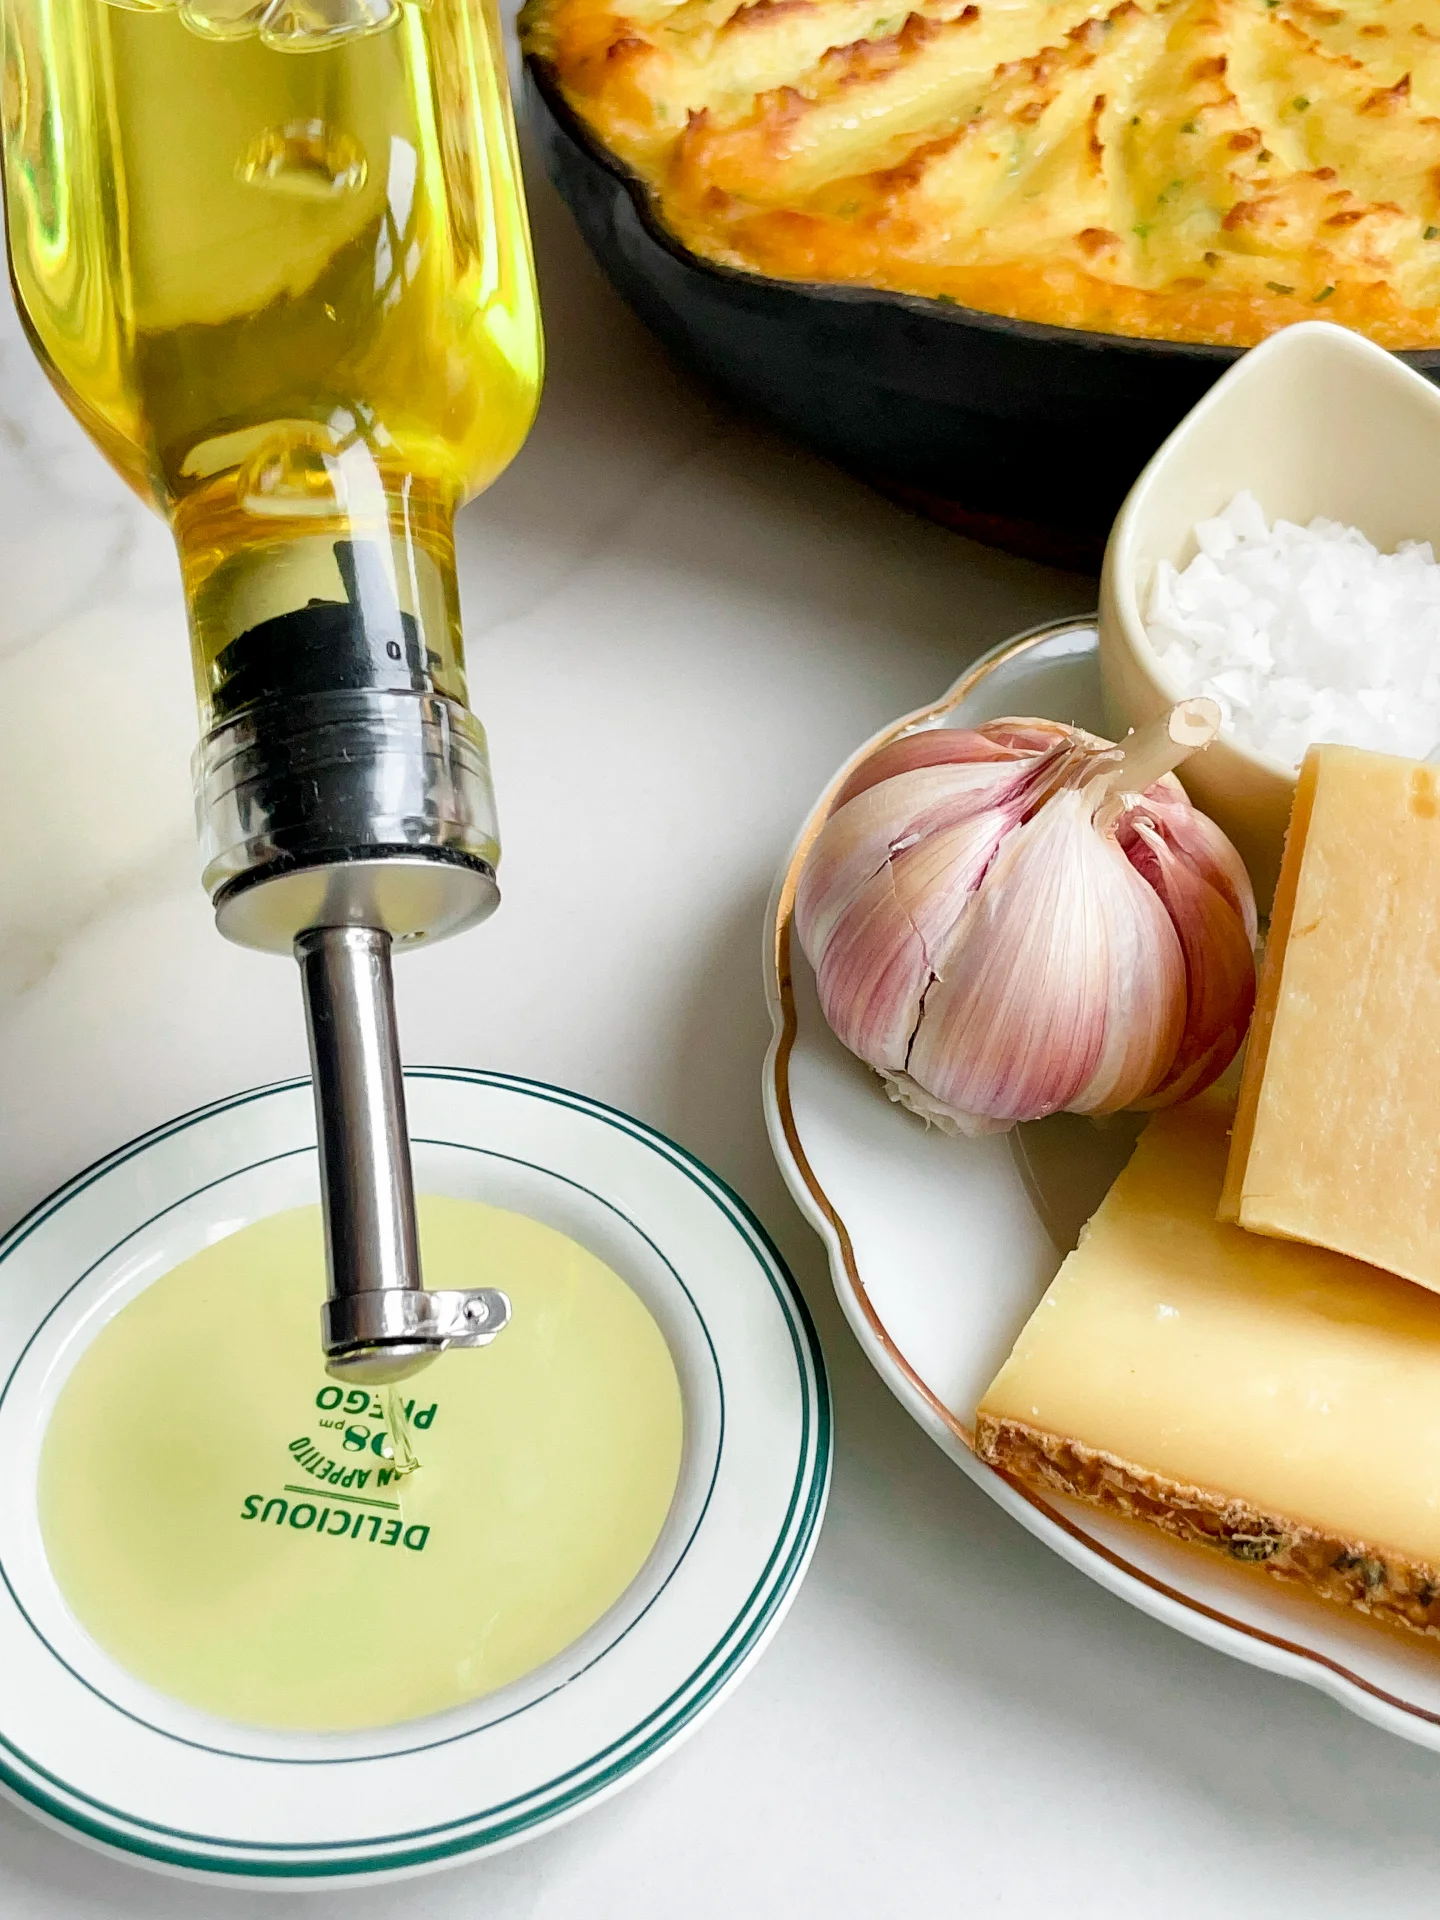
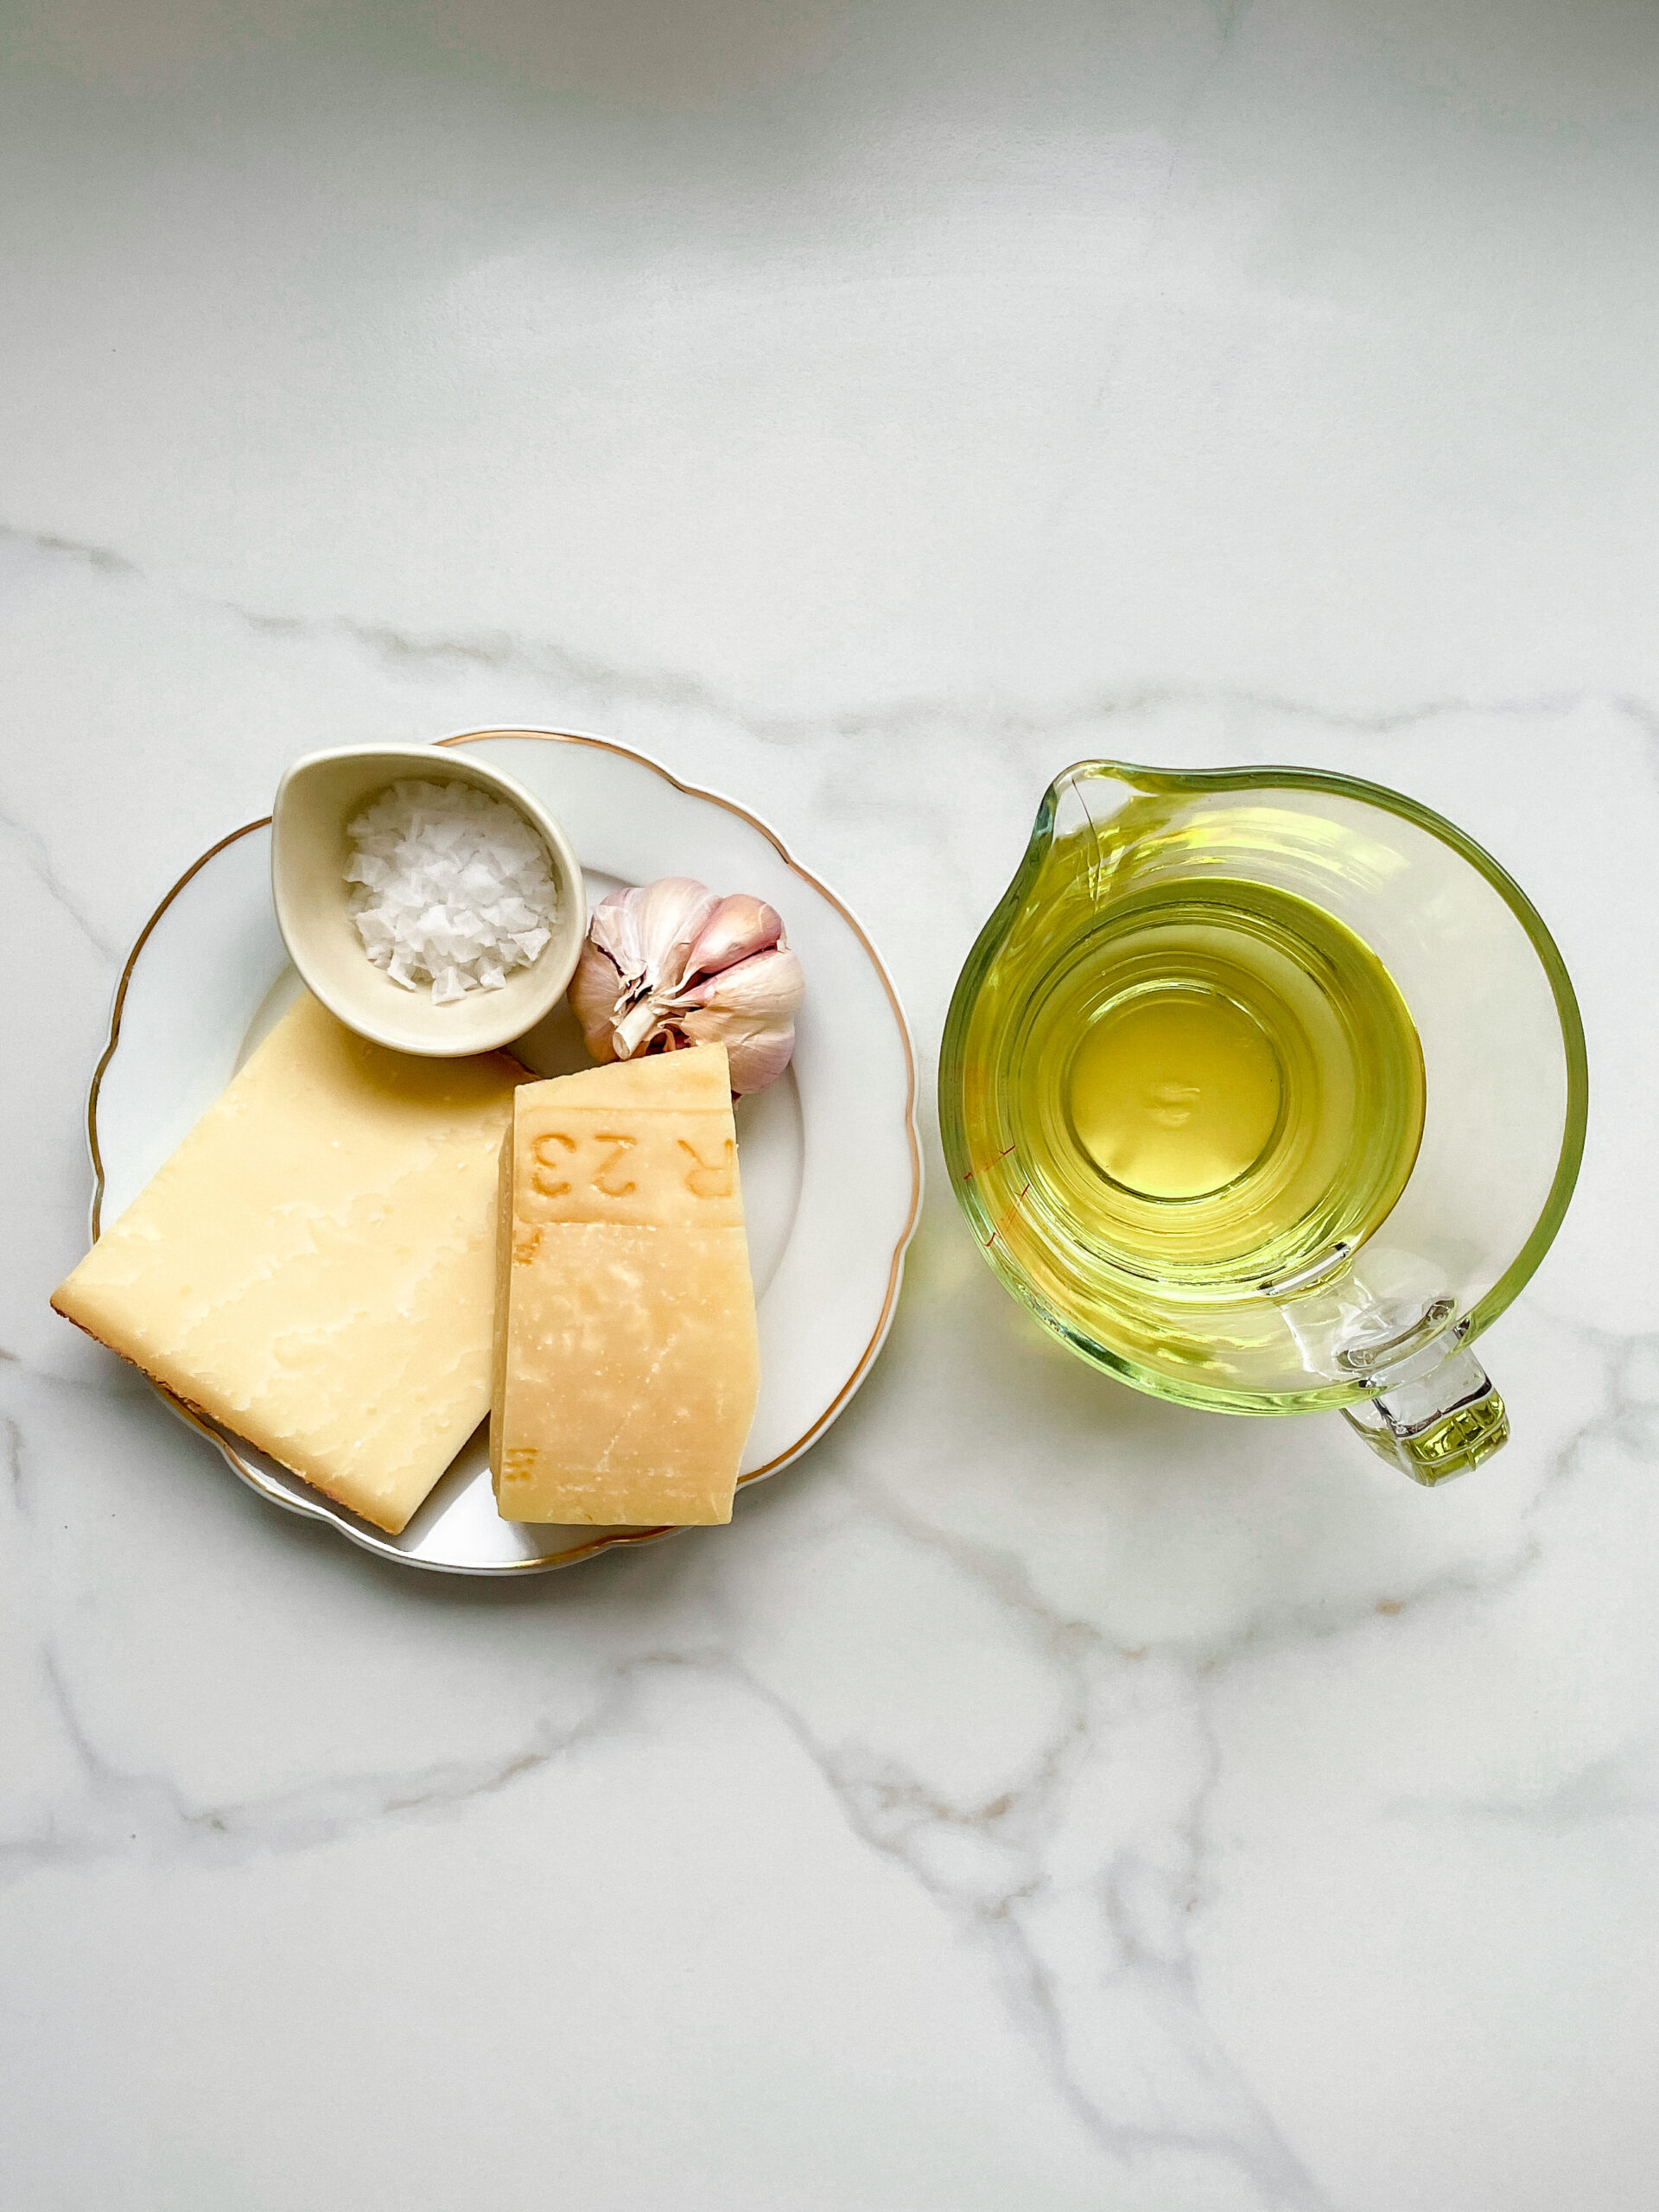
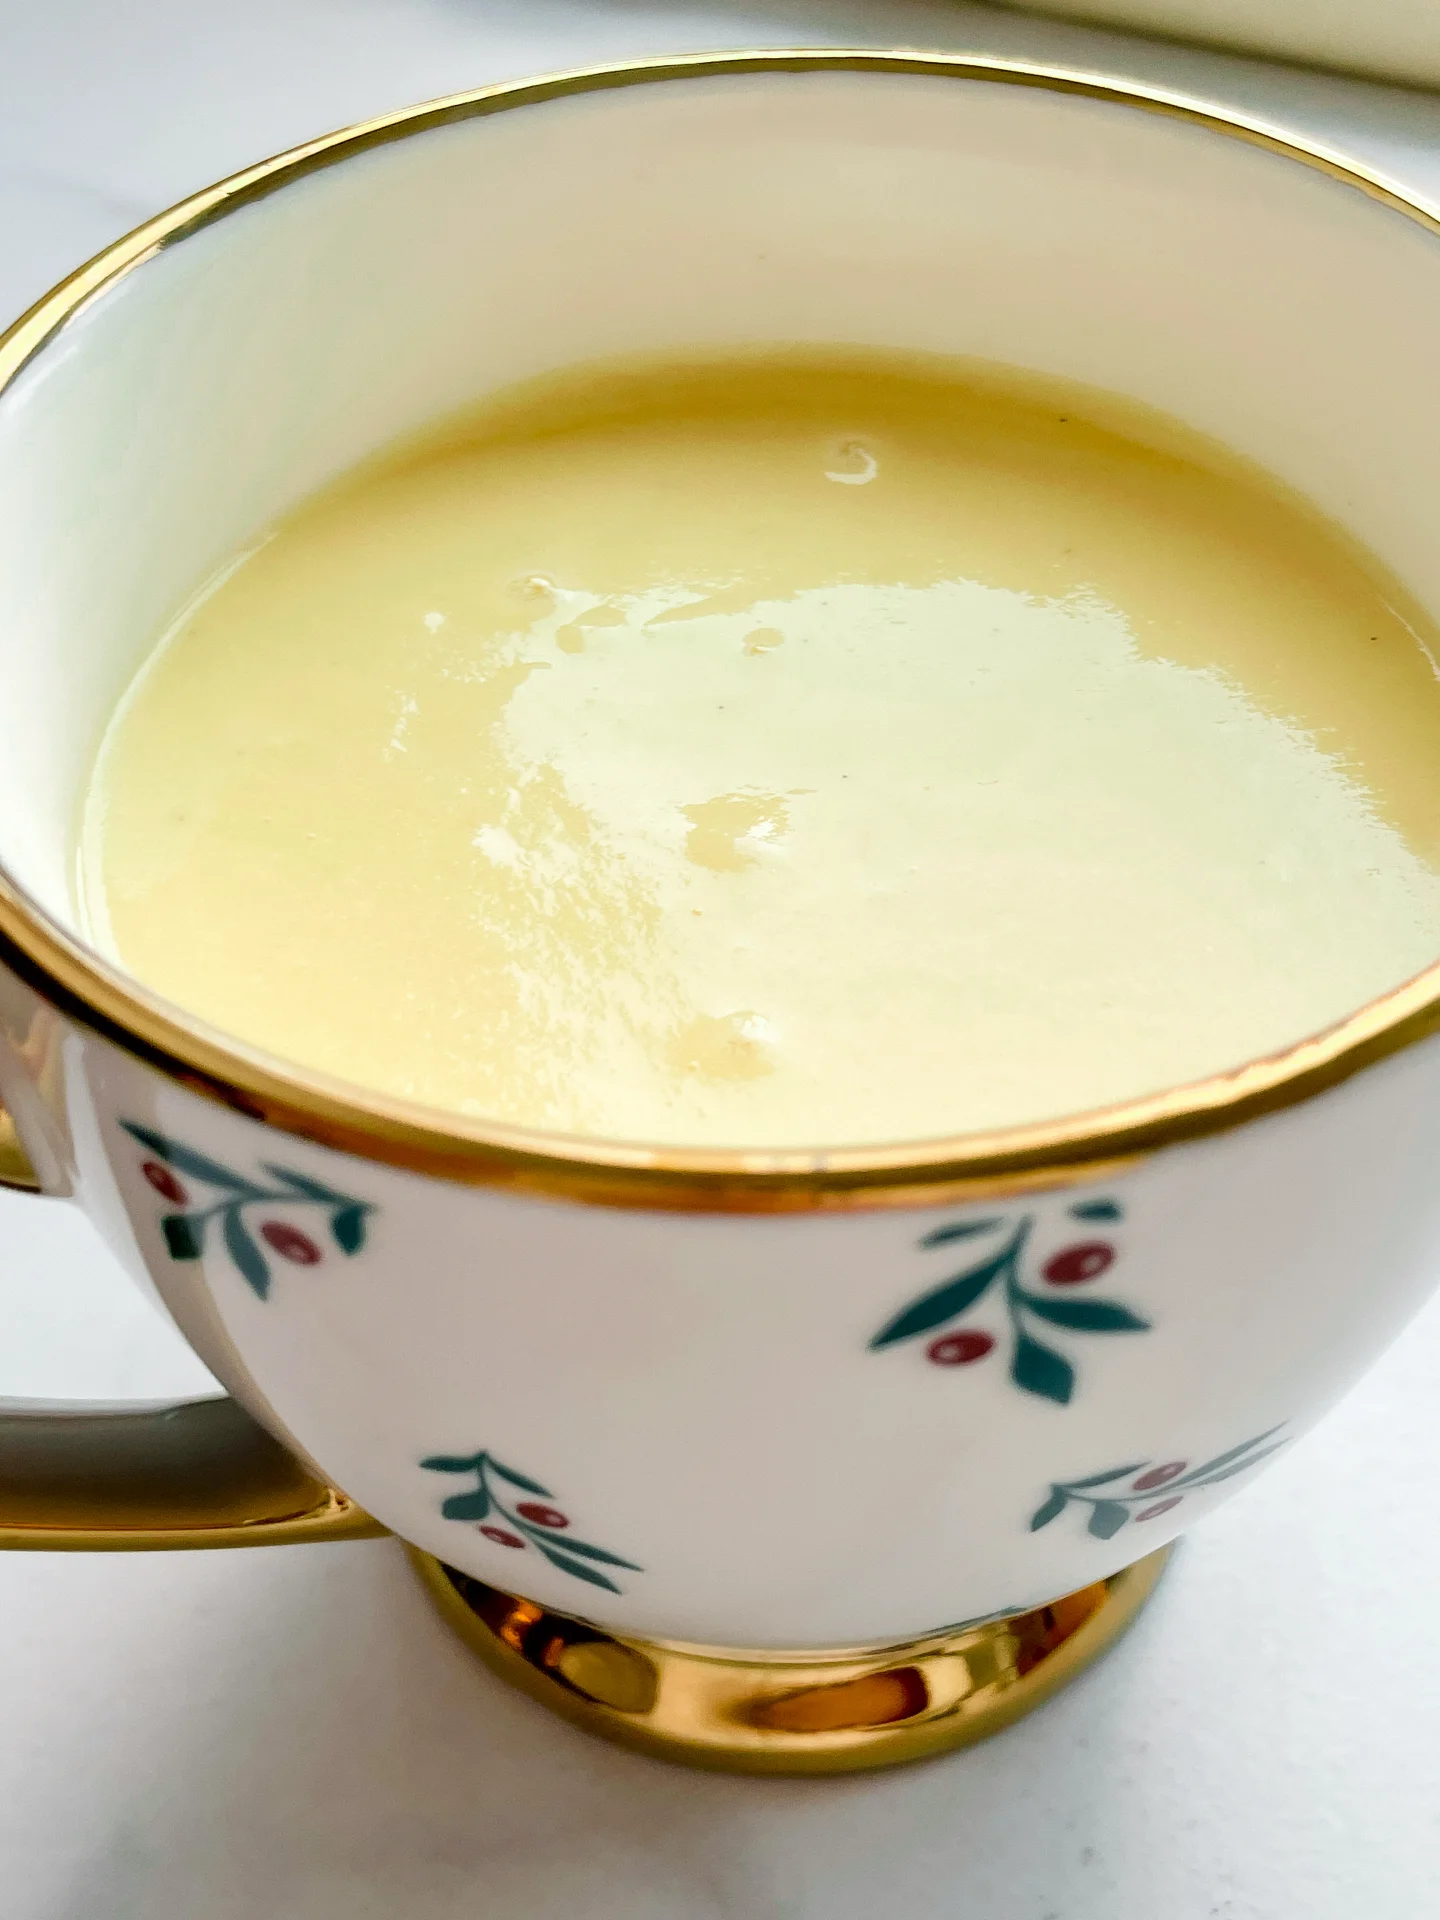
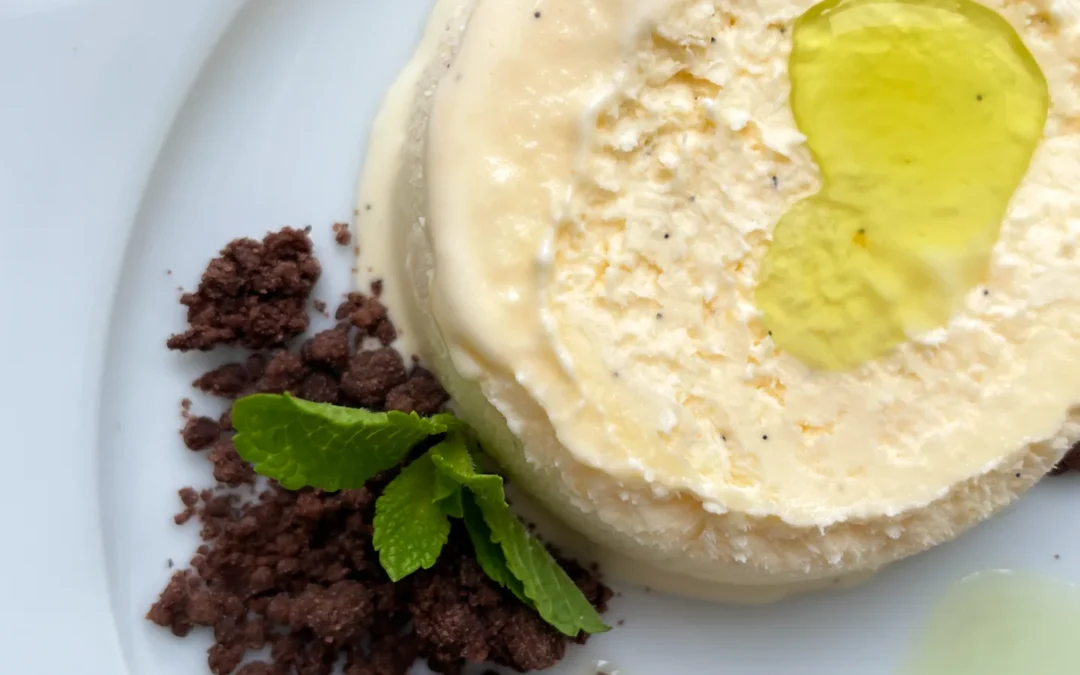
Ever tried to make banana-infused oil and ended up with, well…oil? Sometimes experiments don’t work out, but hey, it’s all about the fun and laughs in the kitchen, right?

40 MINUTES

ADVANCED

VEGAN

INT.

40 PER TSP

MICHELIN

OIL

ALL YEAR

INTRODUCTION

ABOUT THE RECIPE

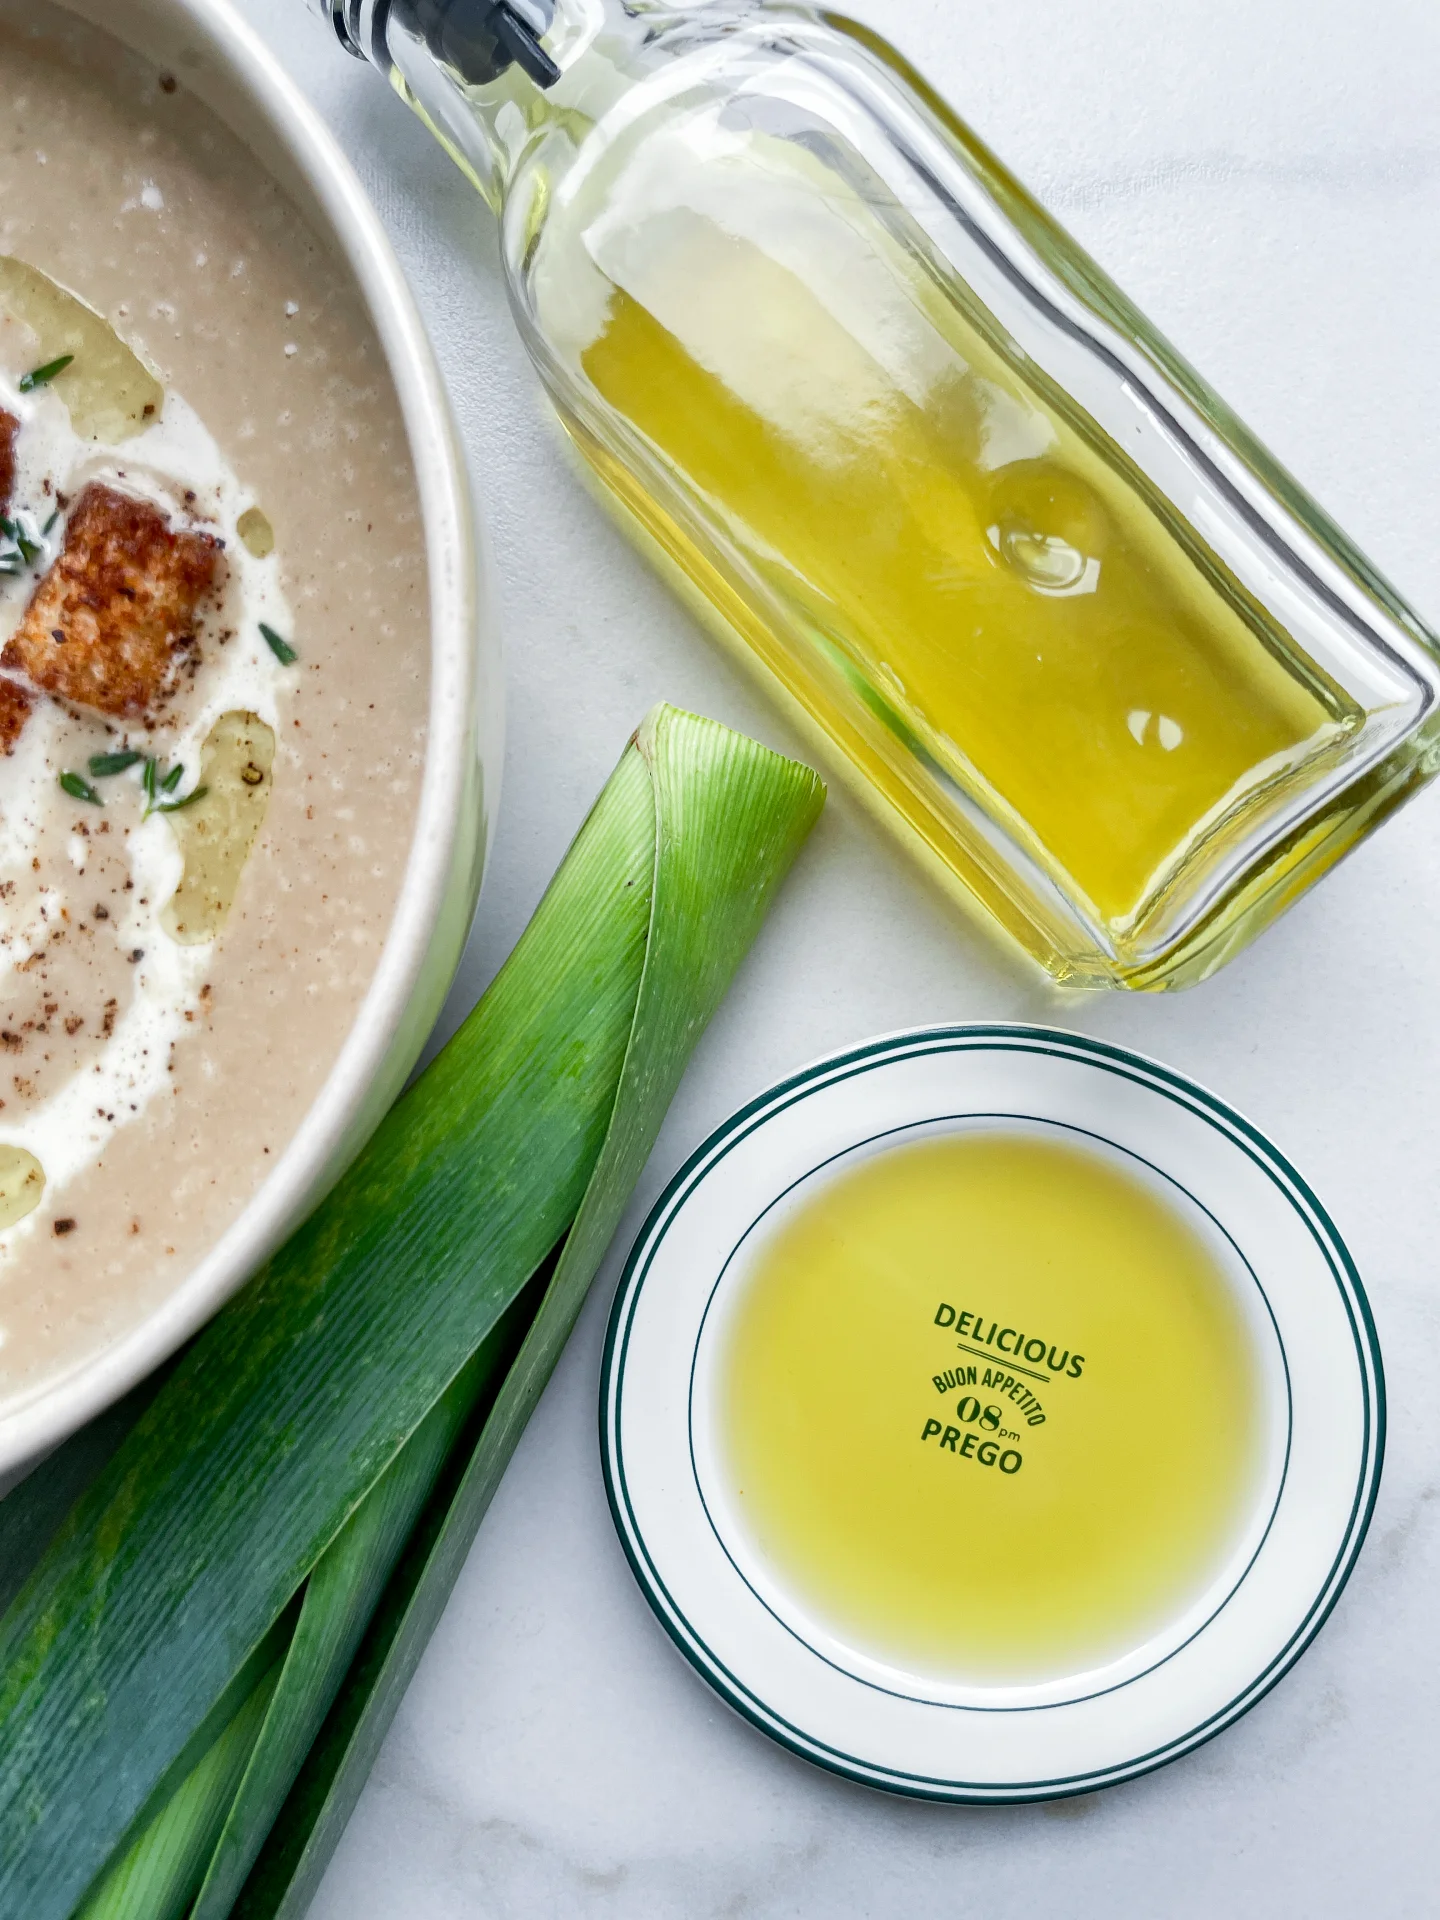
Here’s a tale of an adventurous kitchen experiment – I set out to make banana-infused oil, dreaming of drizzling a sweet, tropical essence over everything. But guess what? This one didn’t go as planned! Despite all my efforts, the oil ended up just…oil. Yep, no banana flavor to be found. Sometimes, the kitchen surprises you, and it’s just as fun to share what didn’t work as what does!

How to serve
While banana-infused oil may not be gracing our tables today, this experience reminded me that cooking is all about experimentation and joy. You may not want to serve it (unless you like regular oil!), but if you’re feeling bold, give it a try and use it as a neutral base in a salad dressing. Or just laugh it off and move on to your next kitchen adventure!

How to store
If you decide to keep your flavorless banana oil, store it as you would any other oil in a cool, dark place. Just remember, the next time you open it, there’s no hint of banana waiting for you – just a fun memory of a cooking experiment!

Hi, I'm Kimberly!

Hi, I'm Kimberly.

A passionate food lover who believes in the magic of homemade deliciousness that spreads love and warmth. Join me on this culinary adventure as I prepare wonderful dishes and let’s spread some happiness together!

Kimberly the Zett Signature

If you want to get to know me better, click here!


Banana Oil
Banana Oil
Banana Oil
„Let’s make a piece of happiness“
Print
clock clock iconcutlery cutlery iconflag flag iconfolder folder iconinstagram instagram iconpinterest pinterest iconfacebook facebook iconprint print iconsquares squares iconheart heart iconheart solid heart solid icon
Banana Oil

Banana Oil


  • Author: Kimberly
  • Total Time: 40 min
  • Yield: 1 cup / 250 ml 1x

Description

RECOMMENDED EQUIPMENT

  • blender
  • medium-sized saucepan
  • whisk
  • a bowl which the medium saucepan fits into
  • 2 medium-sized bowls
  • 2 fine sieves
  • sealable container (oil bottle)
  • ice cubes
  • coffee filter

Ingredients

Units Scale
  • 1 banana
  • 250 milliliters cold-pressed rapeseed oil

Instructions

  1. Peel the banana and put it into the blender. Pour in the oil. Blend on the highest setting until there are only tiny pieces of the banana left.
  2. Pour the mixture from the blender into a medium-sized pot and heat it over medium heat to a temperature of about 101°-104°C (213°-219°F), and maintain this temperature for the next 20 minutes. Stir occasionally, making sure the temperature remains steady and nothing gets burned.
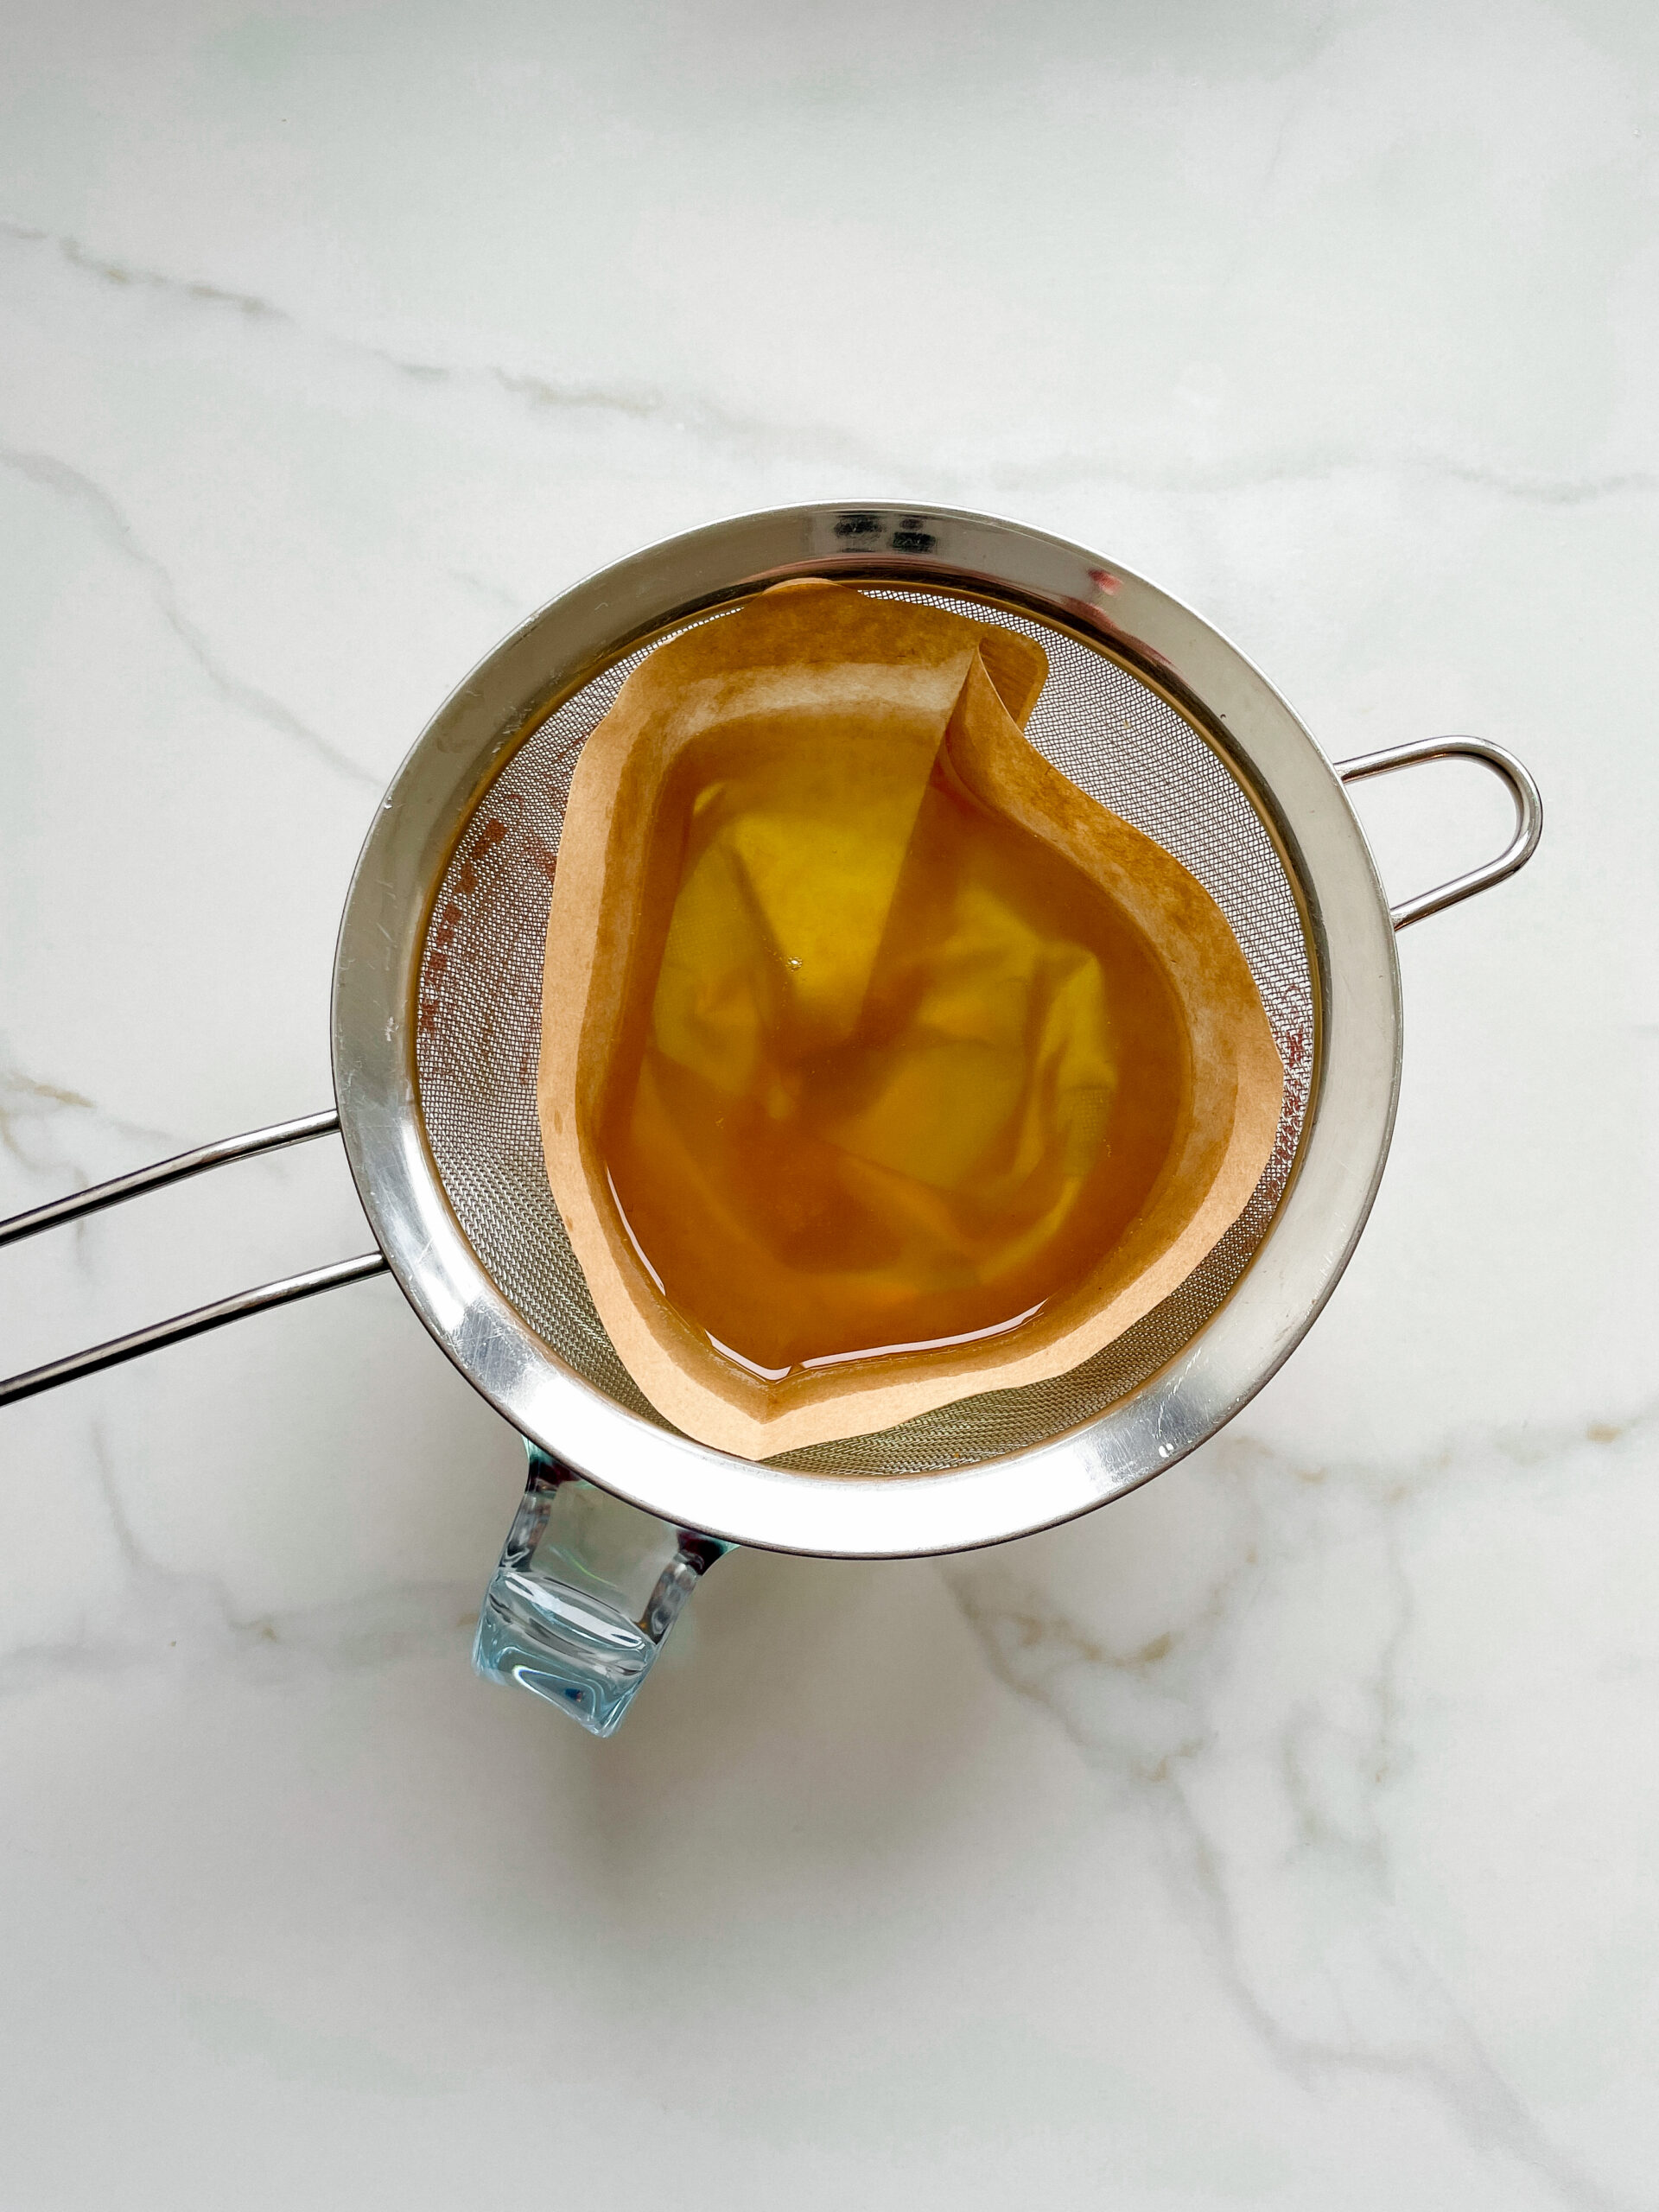
  3. Prepare a bowl large enough to fit a medium-sized pot, and fill it with cold water and a handful of ice cubes. Also, hang a fine sieve strainer over one medium-sized bowl and another fine sieve strainer, with a coffee filter inside it, over another medium-sized bowl.
  4. Now, place the pot in the ice water and stir to cool the oil quickly. Once the oil is almost cold, remove the pot from the water and pour the oil into the prepared fine sieve to catch the coarse particles.
  5. Then, pour the oil into the second sieve, which is equipped with a coffee filter, to catch the remaining finer particles.
  6. Allow the oil to drip through for about 20 minutes or maybe less depending on how many remaining particles are in the coffee filter. Once all the oil has passed through the coffee filter, transfer the collected amount of oil into a sealable container or directly into an oil bottle. Store in the refrigerator for up to one week.
  • Passive Time: 20 min
  • Cook Time: 20 min

The Perfect Boiled Egg – Creamy Yolk Bliss

The Perfect Boiled Egg – Creamy Yolk Bliss

HOW TO GUIDE

The Perfect Boiled Egg –
Creamy Yolk Bliss

Get ready to master perfectly set egg whites with irresistibly creamy, dreamy yolks – ideal for dipping or scooping. Say goodbye to rubbery, overcooked eggs – this beginner’s guide makes it easy-peasy and totally foolproof!

OVERVIEW

A TASTE OF WHAT’S TO COME

Boiling eggs sounds easy, but nailing that perfect texture? That’s a whole vibe. Don’t stress – I’ve got you covered! This beginner-friendly guide breaks it all down so you can serve up eggs that are just right, every time. We’re talking two foolproof styles: a creamy, dreamy yolk for Egg & Soldiers, or a firm-yet-slightly creamy center, perfect for salads or sandwiches. With no-fuss steps and super clear directions, this is your ultimate egg-boiling hack. Let’s dive in and make egg-perfection happen!

1. MOST IMPORTANT QUESTIONS

2. WHAT YOU NEED TO KNOW

3. KEY INGREDIENTS EXPLAINED

4. STEP BY STEP INSTRUCTION

5. MORE RECIPES YOU MIGHT LIKE

Hi, I'm Kimberly!

Hi, I'm Kimberly!

A passionate food lover who believes in the magic of homemade deliciousness that spreads love and warmth. Join me on this culinary adventure and let’s spread some happiness together! If you want to get to know me better, click here!

Kimberly the Zett Signature

 Let’s connect!


The Perfect Boiled Egg

MOST IMPORTANT QUESTIONS

LET’S CLEAR THINGS UP

SHOULD I ADD SALT OR VINEGAR TO THE WATER?
Nope! For this recipe, you’re good with just plain ol’ tap water. Some people swear by salt to prevent cracks or vinegar for easier peeling, but I don’t see a difference. Just water, heat, and perfect timing. No extras needed!

WHY DO MY BOILED EGGS SOMETIMES HAVE A GREEN RING AROUND THE YOLK?
Ah, the mysterious green ring! This usually happens when eggs are overcooked or kept too hot for too long. It’s a reaction between the sulfur in the egg white and the iron in the yolk. Totally harmless, but a little funky-looking.

CAN I STORE BOILED EGGS?
For sure! Hard-boiled eggs can chill in the fridge for up to a week, but with these soft-centered beauties, you’re better off eating them within 3 days for the best taste. And leave them unpeeled until you’re ready to snack to keep them fresh!

WHAT YOU NEED TO KNOW

KIMBERLY’S SECRET TIPS

USE A TIMER
Time is everything here! Set a timer as soon as your eggs hit the water so you can nail that ideal yolk texture every time.

PREVENT CRACKED EGGSHELLS
Let your eggs come to room temperature before cooking. Cold eggs straight from the fridge can crack when they hit the hot water. Also lower each egg in with a spoon to keep them safe and sound.

THE HOT WATER TRICK
To get the perfect boil, keep the water at a steady, rolling boil right from the start. Maintaining a constant high temperature throughout the cooking process ensures your eggs cook evenly, giving you that ideal yolk and perfectly set white every time. And whatever you do, do not start with the eggs in cold water. Absolute no-go!

THE COLD WATER TRICK
Once they’re done cooking, throw those eggs into a bowl of ice water – this is the MVP move, but if you don’t have ice, super cold tap water also does the job. Just make sure your bowl is big enough so the water stays cold and stops the cooking fast.

EASY PEELED EGGS
After cooling, give each egg a gentle tap on a flat surface to crack. This helps you get under the thin membrane, making it a breeze to peel the shell off without a fuss.

The Perfect Boiled Egg

KEY INGREDIENTS EXPLAINED

GET TO KNOW THE STARS

EGGS
No need to stress over egg color – whether they’re brown, green, or white, any egg works just fine here. The only thing that makes a difference is the size. I am working with medium eggs in this guide, so if you’re using a different size, just tweak the cooking time a bit.

WATER
No need for anything fancy – just regular tap water does the trick!

STEP BY STEP INSTRUCTION

THE HOW TO OF IT ALL

STEP 1 Get the water boiling

Bring a pot of water to a full boil – make sure there’s enough water to completely cover the eggs. Have your timer ready to start as soon as the water bubbles, because things get fast-paced from here!

The Perfect Boiled Egg

STEP 2 Eggs into the water, set your timer & prepare the ice bath

Carefully lower the eggs into the pot one by one with a spoon to prevent any accidental cracking. Don’t lower the heat – keep it at a rolling boil. As soon as the last egg hits the water, start your timer. Timer settings for medium-sized eggs:
for a creamy yolk, set the timer for 6 minutes & 30 seconds
for a firmer center, set the timer for 7 minutes & 30 seconds
Make sure to prepare a bowl large enough to hold the eggs, filled with cold water and ice cubes. If you don’t have ice, super cold tap water will also do the trick!

The Perfect Boiled Egg

STEP 3 Ice bath magic

When the timer is almost up, prepare to remove the eggs right away. Take the pot off the heat about 10 seconds before the timer ends, have your bowl of ice water and a spoon ready, and immediately transfer the eggs to the ice bath and let the eggs cool for about 5 minutes.

The Perfect Boiled Egg

STEP 4 Peel the egg

Peel the egg, serve it up, and enjoy your perfectly boiled masterpiece!

The Perfect Boiled Egg

Final 6 minutes & 30 seconds egg

Say hello to that dreamy, oozy yolk – perfect for dipping and savoring!

The Perfect Boiled Egg

Final 7 minutes & 30 seconds egg

Meet the slightly firmed-up yolk with a soft spongy center – ideal for slicing or adding to your salads!

The Perfect Boiled Egg

MORE RECIPES YOU MIGHT LIKE

RECIPES YOU’LL LOVE TO TRY NEXT

Pumpkin Soup with Cinnamon Oil & Walnut Sage Grilled Cheese

DINNER

Pumpkin Soup with Cinnamon Oil & Walnut Sage Grilled Cheese

Cinnamon Rolls

SIDE

Cinnamon Rolls

Spicy Turkish Vegetable Spread (Ezme)

DINNER

Spicy Turkish Vegetable Spread (Ezme)

Tomato Soup & Caramalized Onion Grilled Cheese Sandwich

SIDE

Tomato Soup & Caramalized Onion Grilled Cheese Sandwich

Egg Salad

Egg Salad

Egg Salad

Egg Salad

November 17, 2023 by Kimberly

Creamy, tangy, and absolutely crave-worthy! This rich egg salad hits all the comfort notes with just the right balance of freshness and zing. Perfect on toast or as a party favorite.

15 MINUTES

EASY

VEGETARIAN

INT.

354 PER PORTION

CREAMY

CLASSICS

SALAD

ALL YEAR

INTRODUCTION

ABOUT THE RECIPE

This creamy egg salad is a cozy twist on a classic, with layers of rich flavor from a touch of Dijon and a sprinkle of fresh chives. It’s a go-to recipe for those moments when you need a quick, delicious meal with a bit of a zing. With its velvety texture and perfectly balanced tang, this salad makes you wonder why you’d ever buy pre-made again. One bite, and you’ll see why it’s so easy to fall in love with! If you’re not so confident with boiling eggs yet, read on for a full guide and get the best tips for achieving The Perfect Boiled Egg.

How to serve
This egg salad is endlessly versatile, perfect as a sandwich filling or spooned over crunchy toast for an easy lunch. It also makes a great dip for crackers or veggies when served at a gathering. Feeling fancy? Add it to a croissant or as a topping for a crisp salad. This dish is all about the comfort factor, so serve it however makes you feel the coziest – it’s that kind of meal.

How to store
To keep this egg salad fresh and tasty, store it in an airtight container in the fridge for up to 2 days. Just give it a stir before serving to freshen up the texture, and enjoy chilled. Perfect for make-ahead lunches or snack prep!

Hi, I'm Kimberly!

Hi, I'm Kimberly.

A passionate food lover who believes in the magic of homemade deliciousness that spreads love and warmth. Join me on this culinary adventure as I prepare wonderful dishes and let’s spread some happiness together!

Kimberly the Zett Signature

If you want to get to know me better, click here!


Egg Salad
Egg Salad
Egg Salad

„Let’s make a piece of happiness“

Print
clock clock iconcutlery cutlery iconflag flag iconfolder folder iconinstagram instagram iconpinterest pinterest iconfacebook facebook iconprint print iconsquares squares iconheart heart iconheart solid heart solid icon
Egg Salad

Egg Salad


  • Author: Kimberly
  • Total Time: 15 min
  • Yield: 2 1x

Description

Recommended Equipment

  • small saucepan
  • medium-sized bowl
  • sharp knife
  • cutting board

Ingredients

Units Scale
  • 4 eggs
  • 50 grams mayonnaise
  • 12 tsp white wine vinegar
  • 1/21 tsp Dijon mustard
  • chives
  • salt & pepper to taste

Instructions

  1. Boil the eggs for about 7-8 minutes until hard-boiled. If you’re not so confident with cooking eggs yet, read on for a full guide and get the best tips for achieving the perfect boiled egg.
  2. Meanwhile, finely chop the chives and place them in a bowl. Add the mayonnaise, white wine vinegar, Dijon mustard, salt, and pepper, and set aside for now.
  3. Once the eggs are cooked, place them in a bowl with cold water to cool for about 5 minutes. Peel the eggs, carefully score the egg whites, and gently separate them so the yolks remain whole. Separate all the eggs into whites and yolks, adding the yolks to the other ingredients in the bowl.
  4. Mash the yolks with the other ingredients until you get a smooth, light orange mixture.
  5. Cut the egg whites into small pieces and add them to the bowl with the other ingredients. Mix everything well and serve.
  • Passive Time: 5 min
  • Cook Time: 10 min
Swedish Meatball Stew

Swedish Meatball Stew

Swedish Meatball Stew

Swedish Meatball Stew

November 11, 2024 by Kimberly

A hearty stew with tender meatballs, soft potatoes, and a hint of fresh herbs. It’s the perfect blend of warmth and flavor, topped with a dollop of lingonberries – pure comfort in a bowl.

80 MINUTES

EASY

OMNIVORE

SWEDISH

891 PER PORTION

COMFORT FOOD

EVERYDAY

DINNER

AUTUMN
WINTER

INTRODUCTION

ABOUT THE RECIPE

Imagine coming home to a cozy bowl of Swedish-inspired stew, where golden-brown meatballs meet tender potatoes in a creamy, herb-filled sauce. This dish combines everything we love about comfort food with a fresh, Nordic twist! With a touch of dill, parsley, and a spoonful of tangy lingonberries, it’s like a warm hug in every bite. Perfect for chilly evenings or family dinners, this stew is all about bold, cozy flavors that make you feel at home.

How to serve
To serve, ladle this creamy stew into bowls and top with a sprinkle of fresh parsley and dill for color and flavor. Adding a spoonful of lingonberries and creme fraiche gives a sweet, tangy pop that balances the savory richness of the stew. It’s amazing with crusty bread on the side for dipping or alongside a simple salad. Whether you’re serving it to family or friends, this stew is a guaranteed crowd-pleaser that’ll have everyone coming back for seconds!

How to store
Store the stew in an airtight container in the fridge for up to 3 days. When reheating, do it gently on the stove, adding a splash of broth or cream if it needs a little extra moisture. The flavors actually get even better after a day or two!

Hi, I'm Kimberly!

Hi, I'm Kimberly.

A passionate food lover who believes in the magic of homemade deliciousness that spreads love and warmth. Join me on this culinary adventure as I prepare wonderful dishes and let’s spread some happiness together!

Kimberly the Zett Signature

If you want to get to know me better, click here!


Swedish Meatball Stew
„Let’s make a piece of happiness“
Print
clock clock iconcutlery cutlery iconflag flag iconfolder folder iconinstagram instagram iconpinterest pinterest iconfacebook facebook iconprint print iconsquares squares iconheart heart iconheart solid heart solid icon
Swedish Meatball Stew

Swedish Meatball Stew


  • Author: Kimberly
  • Total Time: 80 min
  • Yield: 3-4 1x

Description

Recommended Equipment

  • sharp knife
  • cutting board
  • grater
  • medium bowl
  • large pan with lid
  • whisk
  • measuring cup

Ingredients

Units Scale

MEATBALLS

  • 250 grams minced beef
  • 250 grams minced pork
  • 1 big white onion
  • 2 garlic cloves
  • 20 grams bread crumbs
  • 1 egg
  • 5 grams fresh parsley
  • 5 grams fresh dill
  • 1/2 tsp Dijon mustard
  • nutmeg, salt & pepper to taste
  • 2 tsp clarified butter for frying

SAUCE

  • 20 grams butter
  • 20 grams flour
  • 500 milliliters beef stock
  • 100 milliliters heavy cream
  • 1 tsp Worcestershire sauce
  • 1/2 tsp Dijon mustard
  • nutmeg, salt & pepper to taste

OTHER INGREDIENTS

  • 150 grams frozen peas
  • 500 grams baby potatoes

TOPPINGS

  • 3 tbsp lingonberry jam
  • 3 tbsp creme fraiche

Instructions

  1. First, peel the onion and garlic cloves and set them aside. Finely chop the parsley and dill, placing them in a medium bowl. Add the ground meat, breadcrumbs, egg, Dijon mustard, nutmeg, salt, and pepper. Grate the onion and garlic finely and add them to the mixture as well. Mix everything thoroughly and form the mixture into small balls, about 40g each, roughly the size of a ping-pong ball.
  2. Heat a large pan over medium-high heat with a bit of clarified butter, and sear the meatballs on all sides until they are nicely browned. They don’t need to be fully cooked through yet, as they’ll finish cooking in the sauce. Be careful not to let them get too dark, as this can cause bitterness in the final dish.
  3. While the meatballs are cooking, wash the potatoes, dry them well, and cut them in halves or quarters, depending on their size. Set them aside.
  4. Once the meatballs are seared, remove them from the pan and set them aside on a plate. Return the pan to the stove and deglaze with white wine, scraping up any browned bits with a wooden spoon. Let it reduce for about 5 minutes. Strain the liquid through a sieve to remove any larger bits, then set this liquid aside.
  5. Now, place the pan over low heat, melt the butter, and whisk in the flour to create a roux, stirring constantly until you have a smooth, creamy paste. Let it cook for a few minutes, stirring continuously to remove any raw flour taste. Gradually add the beef broth in several stages, whisking each time until the sauce is smooth and comes to a light boil before adding the next portion. Finally, pour in the reserved liquid and the cream, stirring well. Season the sauce with Dijon mustard, Worcestershire sauce, salt, and pepper.
  6. Add the prepared potatoes to the sauce, cover, and let them simmer over medium heat for about 20 minutes, or until they are tender.
  7. While the potatoes are cooking, place the frozen peas in a small bowl, cover with hot water, and let them sit for about 5 minutes. Drain the peas and set them aside. Finely chop a bit more parsley and dill for garnish, and prepare the lingonberries and crème fraîche.
  8. Once the potatoes are soft, return the meatballs to the sauce, stir everything together, and let it simmer for an additional 10 minutes, or until the meatballs are fully cooked through and heated.
  9. To serve, divide the potatoes, meatballs, and sauce among deep plates. Top with peas, a dollop of crème fraîche, a spoonful of lingonberry jam, and fresh herbs. Enjoy!
  • Passive Time: 30 min
  • Cook Time: 50 min