


Description
RECOMMENDED EQUIPMENT
- small bowl
- garlic press
- sharp knife
- cutting board
- hand blender (or food processor)
- mortar & pestle
- medium bowl
- 3 small bowls
- sieve
- large pan
Ingredients
Units Scale
TAHINI SAUCE
- 2 tbsp tahini
- 2 tbsp lemon juice
- 1 tsp maple syrup
- 1 garlic clove
- salt & pepper to taste
- 1 ripe mango
- 1/8 tsp chili flakes
- 10 grams fresh cilantro
- 5 grams fresh parsley
- 1 jalapeno
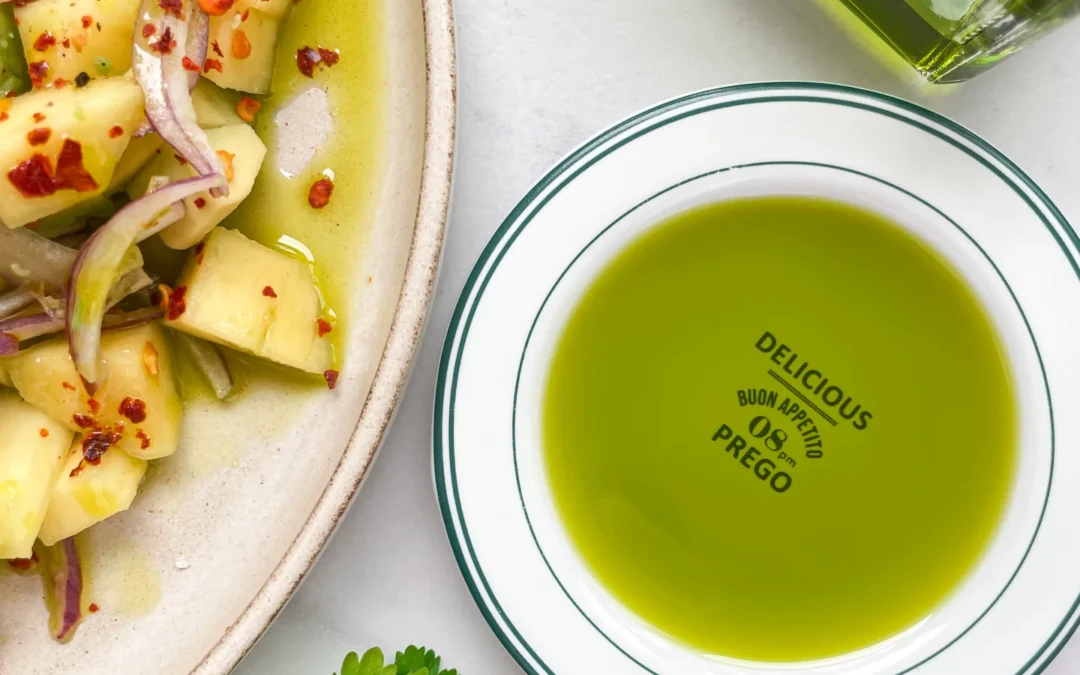
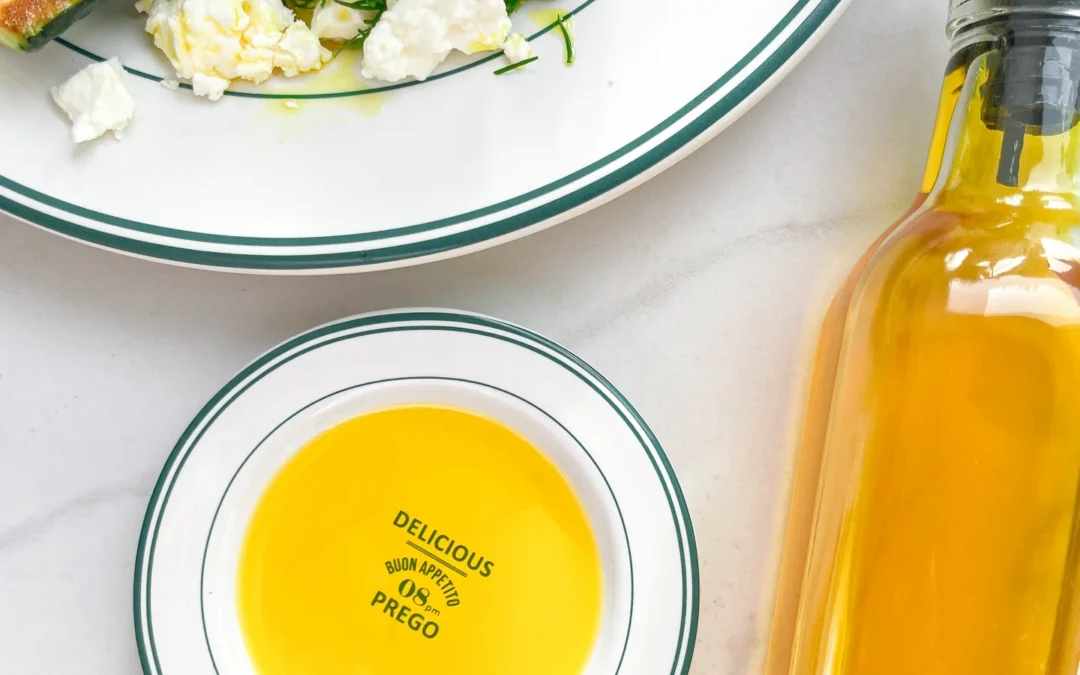
- 2 tbsp olive oil
- 2 tbsp lime juice
- 4 tbsp cold water
- 1 garlic clove
- 5 cardamom capsules
- 3 cloves
- 1/2 tsp cumin
- pinch of pepper
- 100 grams tomatoes
- 100 grams cucumber
- 1 small red onion
- 1 tbsp olive oil
- 1 tbsp lemon juice
- some parsley leaves
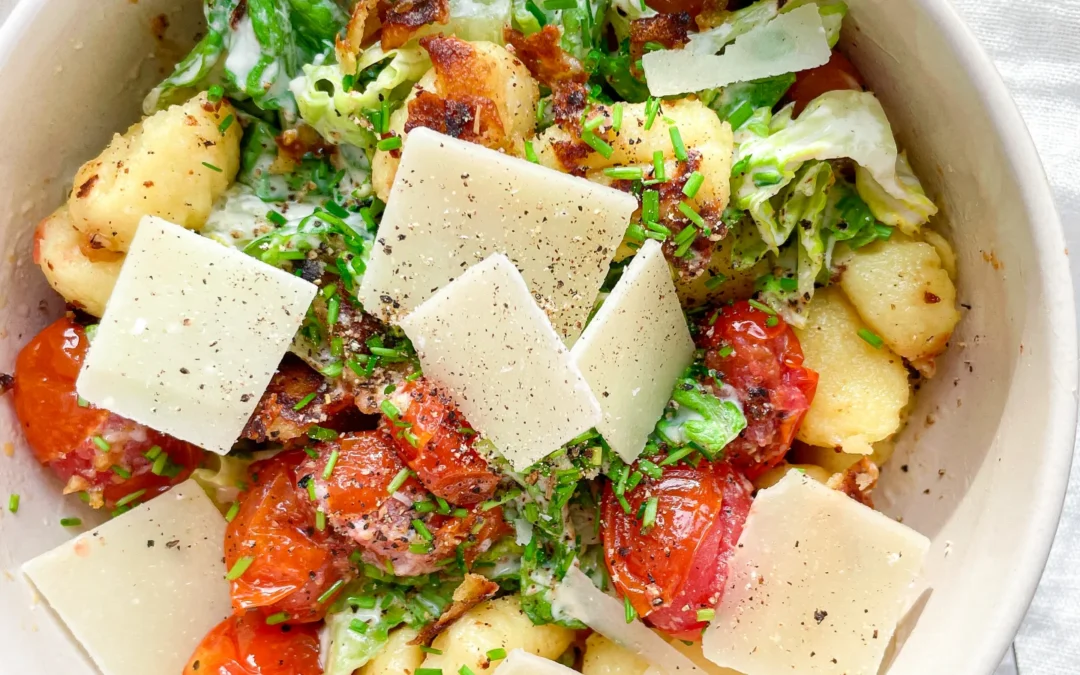
- 130 grams drained chickpeas
- 1/2 tbsp olive oil
- 1/4 tsp cumin
- 1/4 tsp smoked paprika
- 1/8 tsp salz
- 1/8 tsp curry
- 1/8 tsp garlic powder
- 1/8 tsp onion powder
- 1 eggplant
- 2 tbsp cornstarch
- 2 tbsp ghee/clarified butter
- 2 pita breads
Instructions
- For the tahini sauce, mix tahini and water in a small bowl until smooth. Press in one peeled garlic clove, add maple syrup and lemon juice, and mix well. Season with salt and pepper and set aside.
- For the mango sauce, peel the mango and blend the soft flesh in a tall container with a hand blender until creamy, adding a bit of water if needed. Add chili flakes to taste and stir. Set aside.
- For the Zhoug, first grind the 3 cloves and the contents of 5 cardamom pods in a mortar. Put this powder in a tall container that fits the hand blender, and add the following: cilantro leaves, parsley leaves, 4 tablespoons of cold water, 2 tablespoons of olive oil, 2 tablespoons of lime juice, 1/2 teaspoon of cumin, 1 jalapeno without the stem, and 2 peeled garlic cloves. Blend everything into a pesto-like paste and set aside.
- For the tomato-cucumber salad, wash the tomatoes and cucumber well. Cut both into small, even pieces and put them in a medium bowl. Peel the red onion, cut it into thin strips, and add to the bowl. Finely chop a few parsley leaves and add them too. Finally, add 1 tablespoon of olive oil and 1 tablespoon of lemon juice and mix well. Set aside.
- For the roasted chickpeas, preheat the oven to 200°C / 392°F. Rinse the chickpeas thoroughly under running water and let them drain. In a medium bowl, mix together the spice blend: 1/2 tablespoon of olive oil, 1/4 teaspoon of cumin, 1/4 teaspoon of smoked paprika, 1/8 teaspoon of salt, 1/8 teaspoon of curry powder, 1/8 teaspoon of dried garlic, and 1/8 teaspoon of dried onion. Put the chickpeas in a clean kitchen towel and gently rub them dry, removing any loose skins. Mix the chickpeas with the spice paste in the bowl until they’re well coated. Spread the chickpeas on a baking sheet lined with parchment paper and roast in the oven for 20-25 minutes. Place the pita breads in the oven for the last 10 minutes.
- Finally, prepare the eggplant slices. Wash and dry the eggplant, then cut it into slices about 1 cm thick. Spread 2 tablespoons of cornstarch on a small plate and coat the eggplant slices on both sides, shaking off any excess. Fry the slices in a hot pan with 2 tablespoons of clarified butter until crispy on both sides, then let them drain on a paper towel.
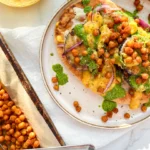
- To assemble, spread tahini sauce on each piece of bread, add tomato-cucumber salad, then a few eggplant slices, and top with Zhoug and mango sauce. Finally, sprinkle the roasted chickpeas on top. Enjoy your delicious creation!
Notes
The calorie information may vary depending on the product used, country and region.
- Cook Time: 40 min