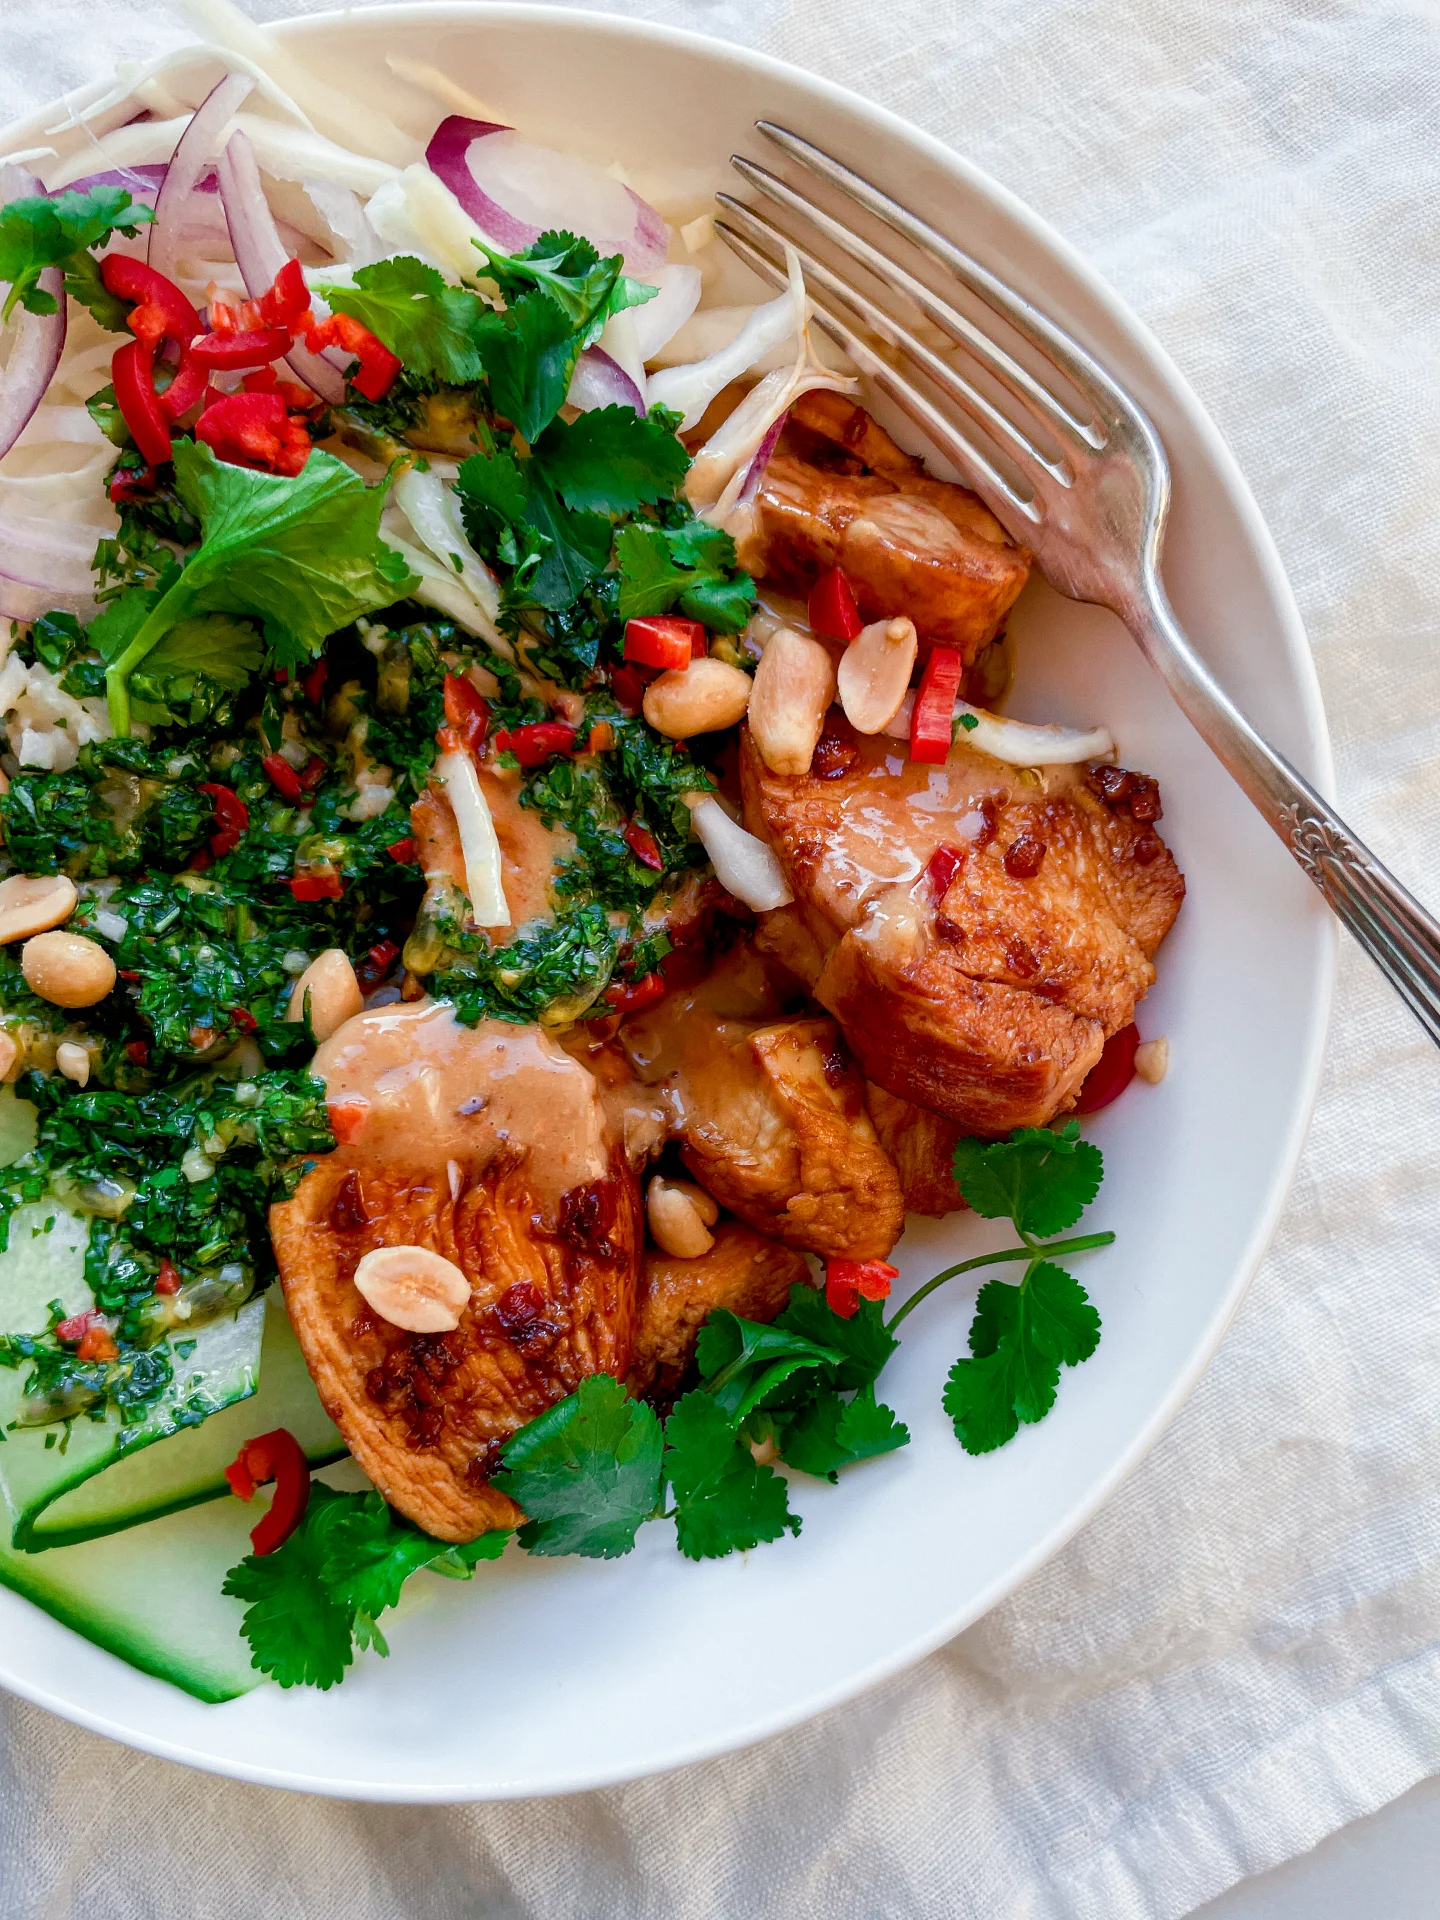
Five Spice Roasted Chicken & King Oyster Mushroom Soup

Five Spice Roasted Chicken & King Oyster Mushroom Soup

Five Spice Roasted Chicken & King Oyster Mushroom Soup

Five Spice Roasted Chicken & King Oyster Mushroom Soup

July 31, 2024 by Kimberly

Looking for a dish that brings comfort and delight in every spoonful? This Five Spice Chicken Soup offers just that! Experience a burst of flavors and cozy warmth with this delicious soup! It’s a hug in a bowl that’s perfect for any day.

70 MINUTES

INTERMEDIATE

OMNIVORE

ASIAN

750 PER PORTION

UMAMI

EVERYDAY

DINNER

ALL YEAR

INTRODUCTION

ABOUT THE RECIPE

This soup is a symphony of flavors, blending the warmth of roasted chicken thighs, the earthy taste of king oyster mushrooms, and the refreshing crunch of pak choi with the delicate texture of glass noodles. It’s the perfect way to enjoy a cozy, hearty meal that feels like a warm hug on a chilly day.

How to serve
Serve this delightful Five Spice Chicken Soup hot, right after it’s cooked, to savor the full depth of its flavors. Garnish with fresh cilantro and a squeeze of lime for an extra burst of freshness. It’s perfect for a cozy dinner or a hearty lunch, sure to impress your family and friends.

How to store
Store any leftovers in an airtight container in the fridge for up to 2 days. Reheat gently on the stovetop or in the microwave.

Hi, I'm Kimberly!

Hi, I'm Kimberly.

A passionate food lover who believes in the magic of homemade deliciousness that spreads love and warmth. Join me on this culinary adventure as I prepare wonderful dishes and let’s spread some happiness together!

Kimberly the Zett Signature

If you want to get to know me better, click here!


Five Spice Roasted Chicken & King Oyster Mushroom Soup
„Let’s make a piece of happiness“
Print
clock clock iconcutlery cutlery iconflag flag iconfolder folder iconinstagram instagram iconpinterest pinterest iconfacebook facebook iconprint print iconsquares squares iconheart heart iconheart solid heart solid icon
Five Spice Roasted Chicken & King Oyster Mushroom Soup

Five Spice Roasted Chicken & King Oyster Mushroom Soup


5 Stars 4 Stars 3 Stars 2 Stars 1 Star

No reviews

  • Author: Kimberly
  • Total Time: 70 min
  • Yield: 2-3 1x

Description

Recommended Equipment

  • sharp knife
  • cutting board
  • medium bowl
  • medium pot
  • oven
  • sieve
  • small pot

Ingredients

Units Scale

BROTH

  • 1 liter vegetable stock (homemade or store-bought)
  • 1 yellow onion
  • thumb-width piece of ginger
  • 3 tbsp soy sauce
  • 1 tsp sesame oil
  • 2 tsp lemongrass oil (or any other oil you like)
  • 1 tsp rice vinegar
  • 2 garlic cloves
  • 1 tbsp fish sauce
  • 2 anise stars
  • 1 cinnamon stick
  • 2 cloves
  • 1 cardamom capsule
  • 1/2 tsp cilantro seeds

CHICKEN

  • 500 grams boneless, skin-on chicken thighs
  • 2 tbsp broth
  • 2 garlic cloves
  • 1.5 tsp Chinese Five Spice
  • 1 tsp rice vinegar
  • 1/2 tsp sesame oil
  • 3 tbsp lemongrass oil (or any other oil you like)
  • 1 tbsp honey
  • a piece of ginger
  • 1/2 tsp finely grated black pepper
  • juice from half a lemon
  • 1 tbsp dark soy sauce

KING OYSTER MUSHROOMS

  • 4 king oyster mushrooms
  • 1 tbsp lemongrass oil (or any other oil you like)
  • 1 tbsp soy sauce

TOPPINGS

  • 1 bok choi
  • 80 grams glass noodles
  • 2 tsp lemongrass oil (or any other oil you like)
  • fresh cilantro
  • lime
  • fresh chili
  • green part of spring onions

Instructions

PREPARATIONS

  • Here is the recipe for the lemongrass oil. You’ll need about 1/4 of the amount for this recipe.
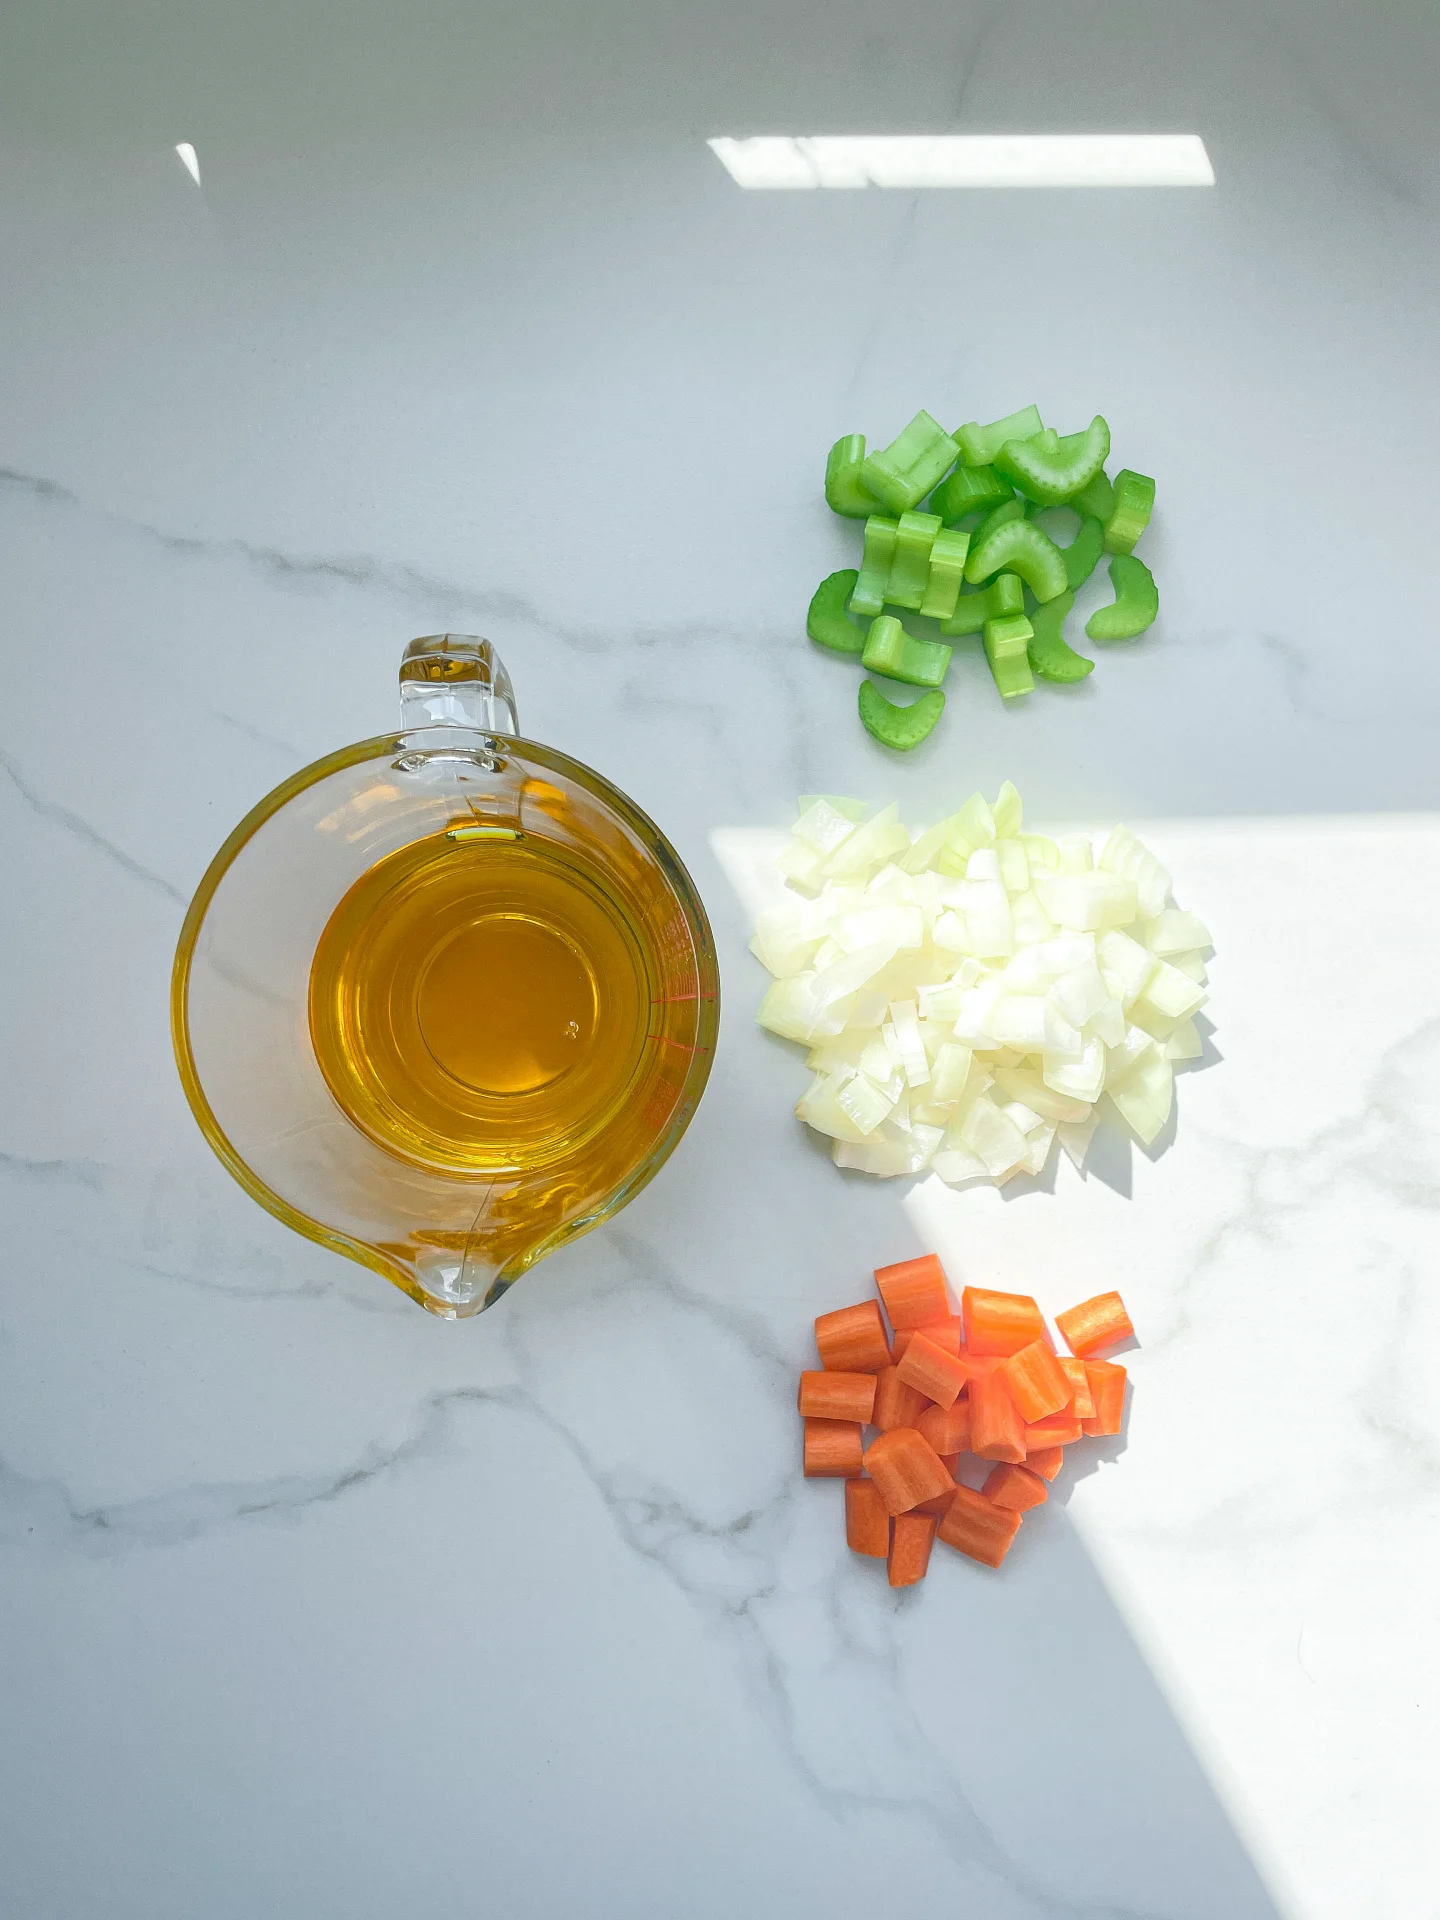
  • Here is the recipe for the vegetable stock. You’ll need one liter of it for this soup but do not add salt.
  • Here is the recipe for the Chinese Five Spice. You’ll need about half of it for this recipe.

INSTRUCTIONS

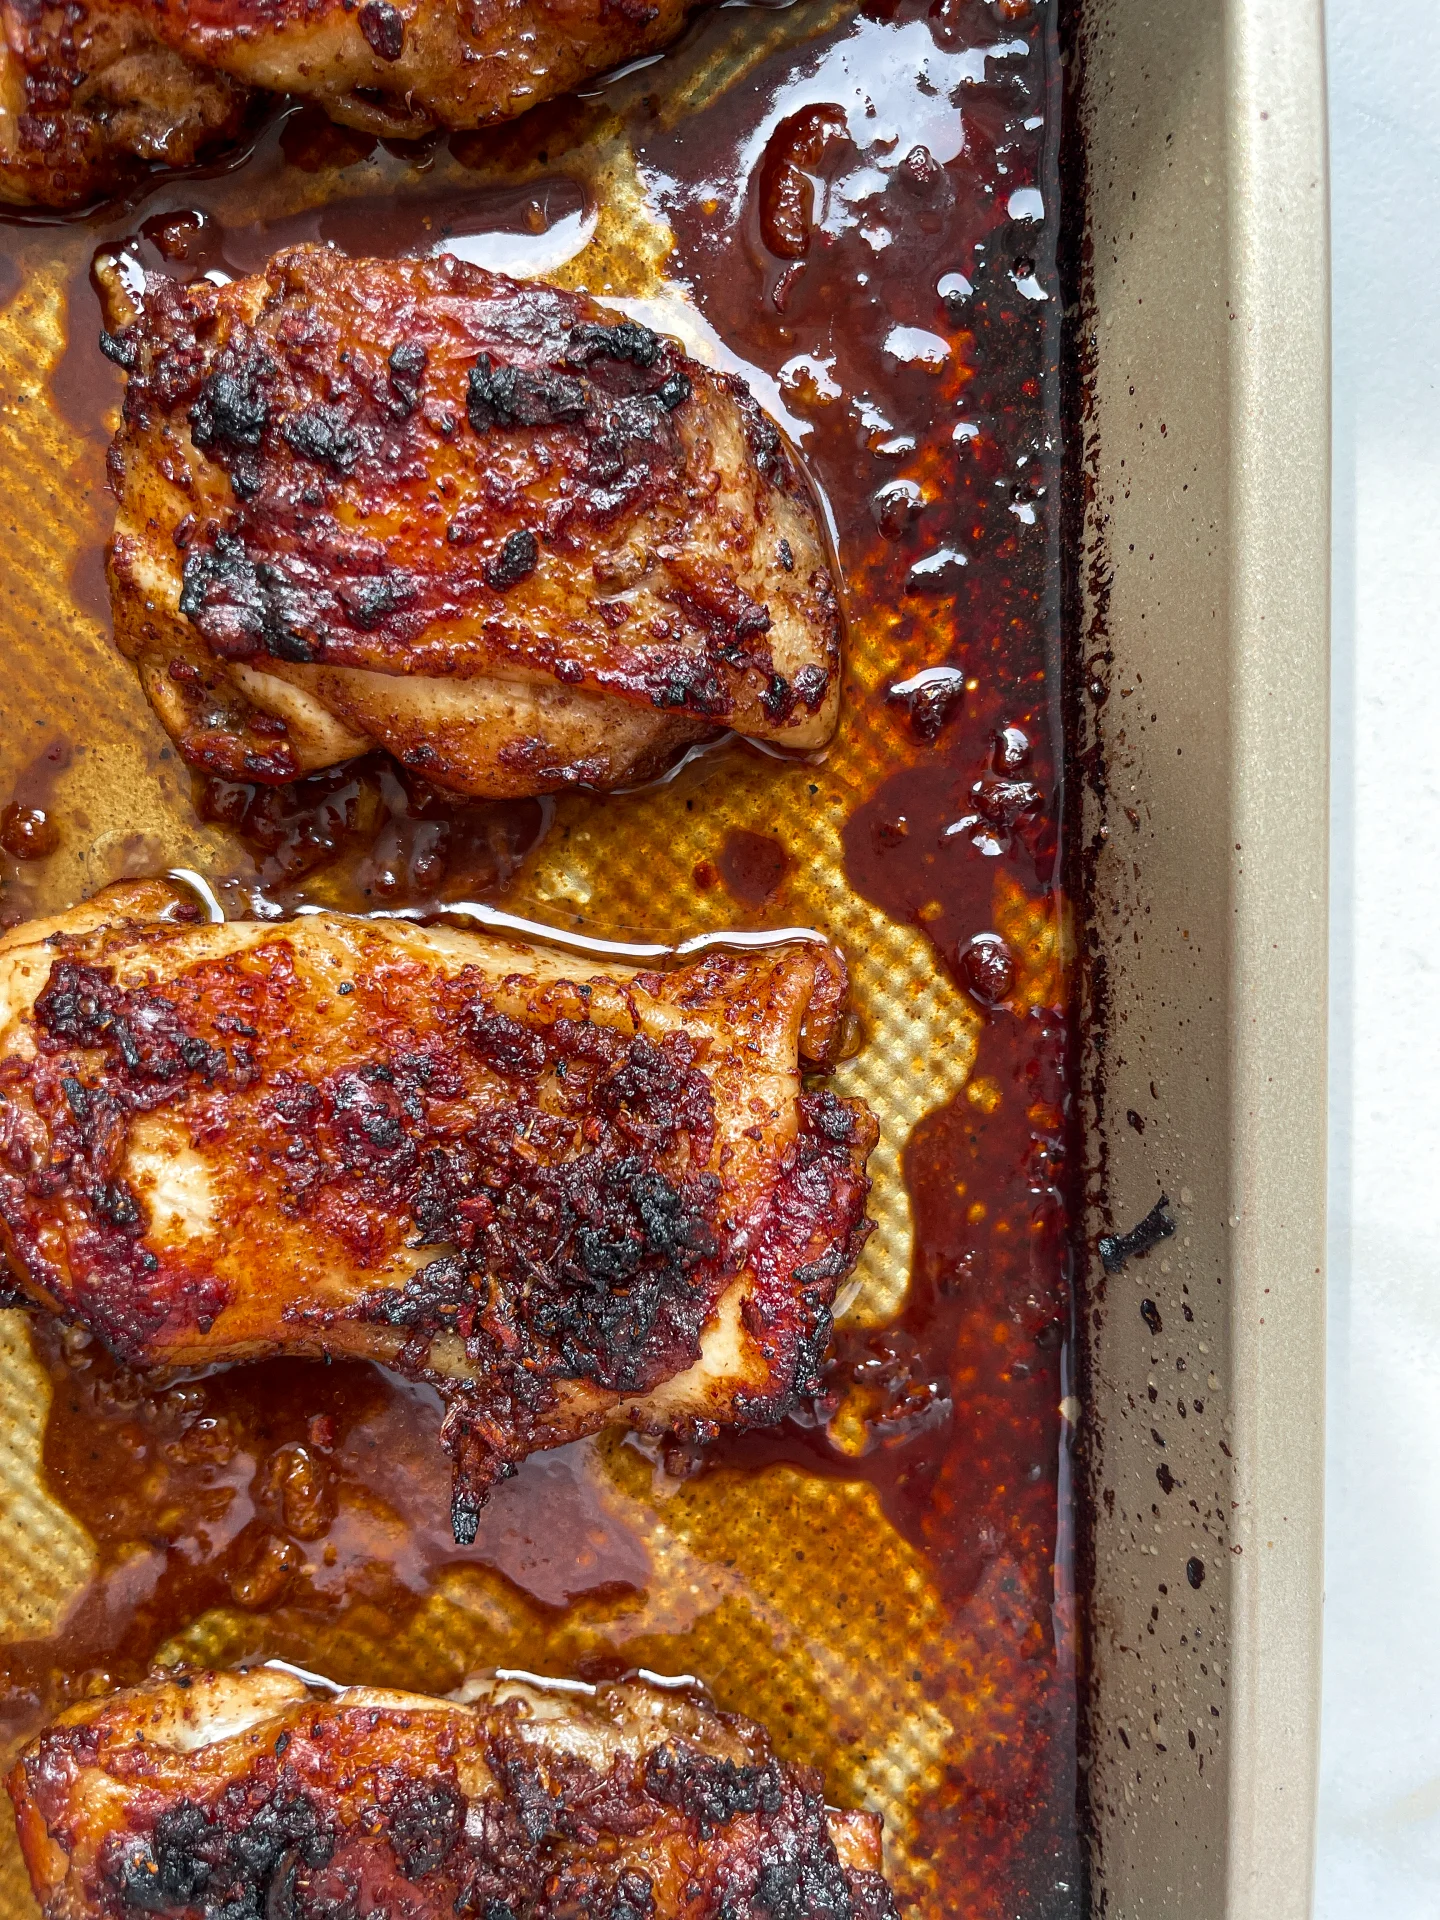
  1. Rinse the chicken thighs and pat dry with paper towels. Set aside.
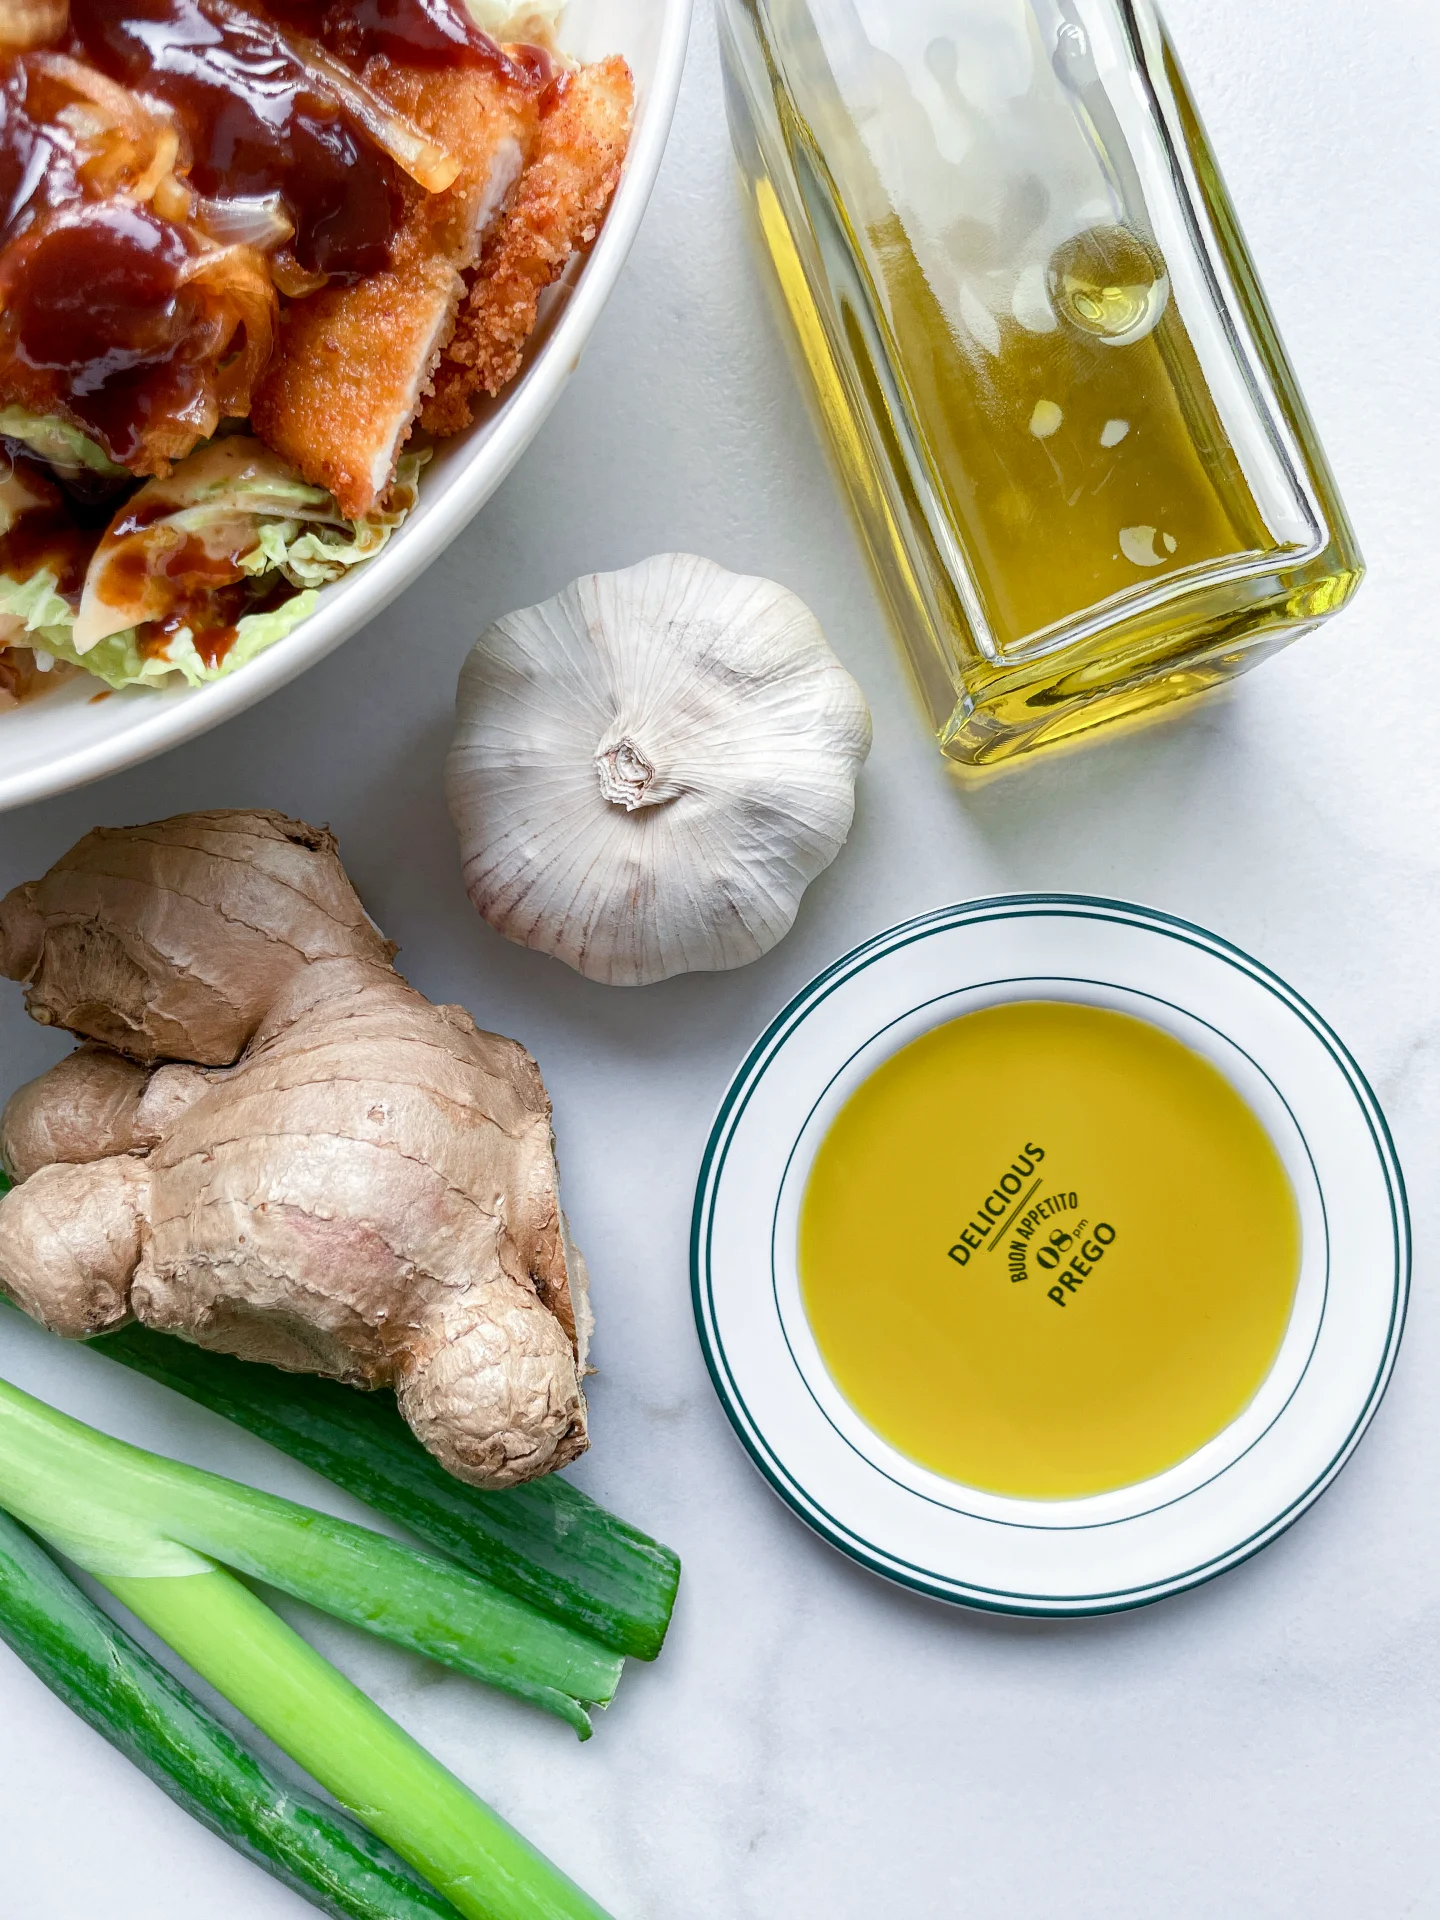
  2. For the marinade, peel the garlic cloves and ginger and grate them into a shallow dish. Add Five Spice Seasoning, pepper, honey, rice vinegar, sesame oil, lemongrass oil, lemon juice, and dark soy sauce. Mix well.
  3. Rub the chicken thighs with the marinade on all sides. Refrigerate for 30 minutes.
  4. Meanwhile, prepare the broth. Quarter the onion, peel and halve the garlic clove, and slice the ginger with the skin on. Set aside. In a medium pot, roast star anise, cinnamon stick, cardamom capsule, coriander seeds, and dried cloves on medium heat for 1-2 minutes until fragrant. Add a bit of sesame oil and lemongrass oil, then add the onion, garlic, and ginger. Fry for about 5 minutes. Add the vegetable broth and simmer with the lid on for 30 minutes.
  5. Meanwhile slice the king oyster mushrooms lengthwise into thick slices and place them on a baking sheet lined with parchment paper. Drizzle with lemongrass oil and soy sauce, then roast in the oven at 250°C / 480°F for 20 minutes.
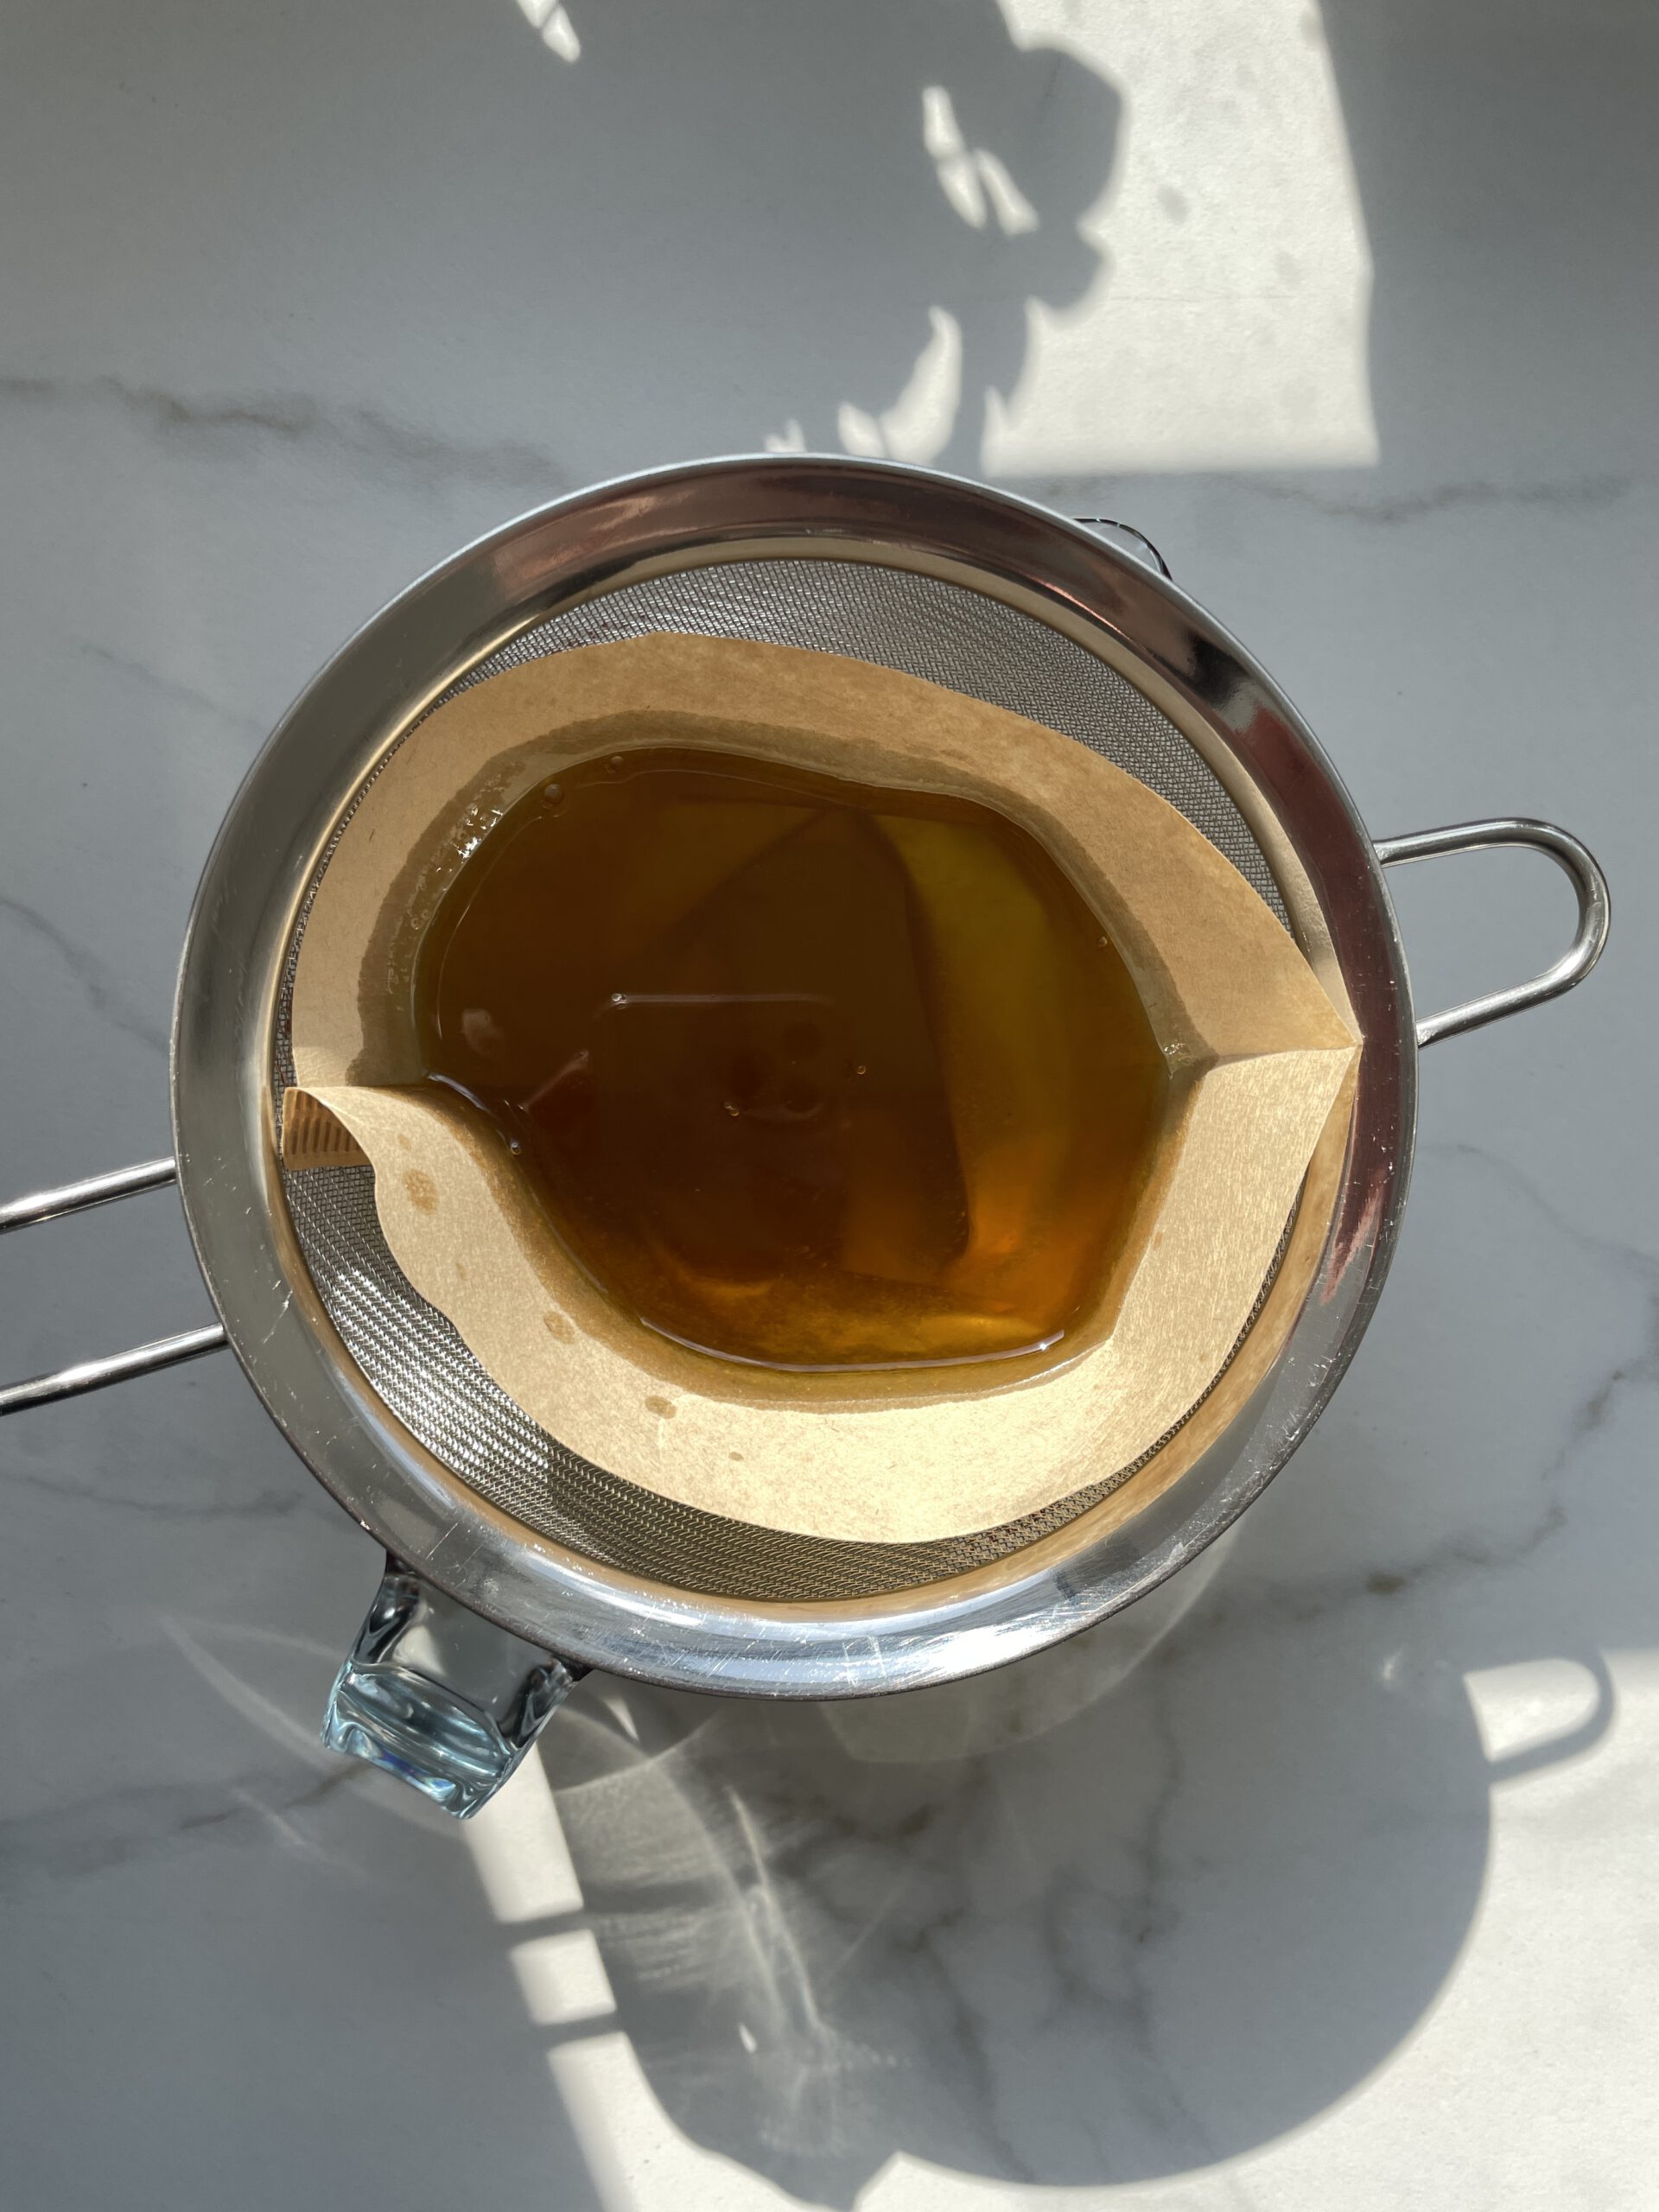
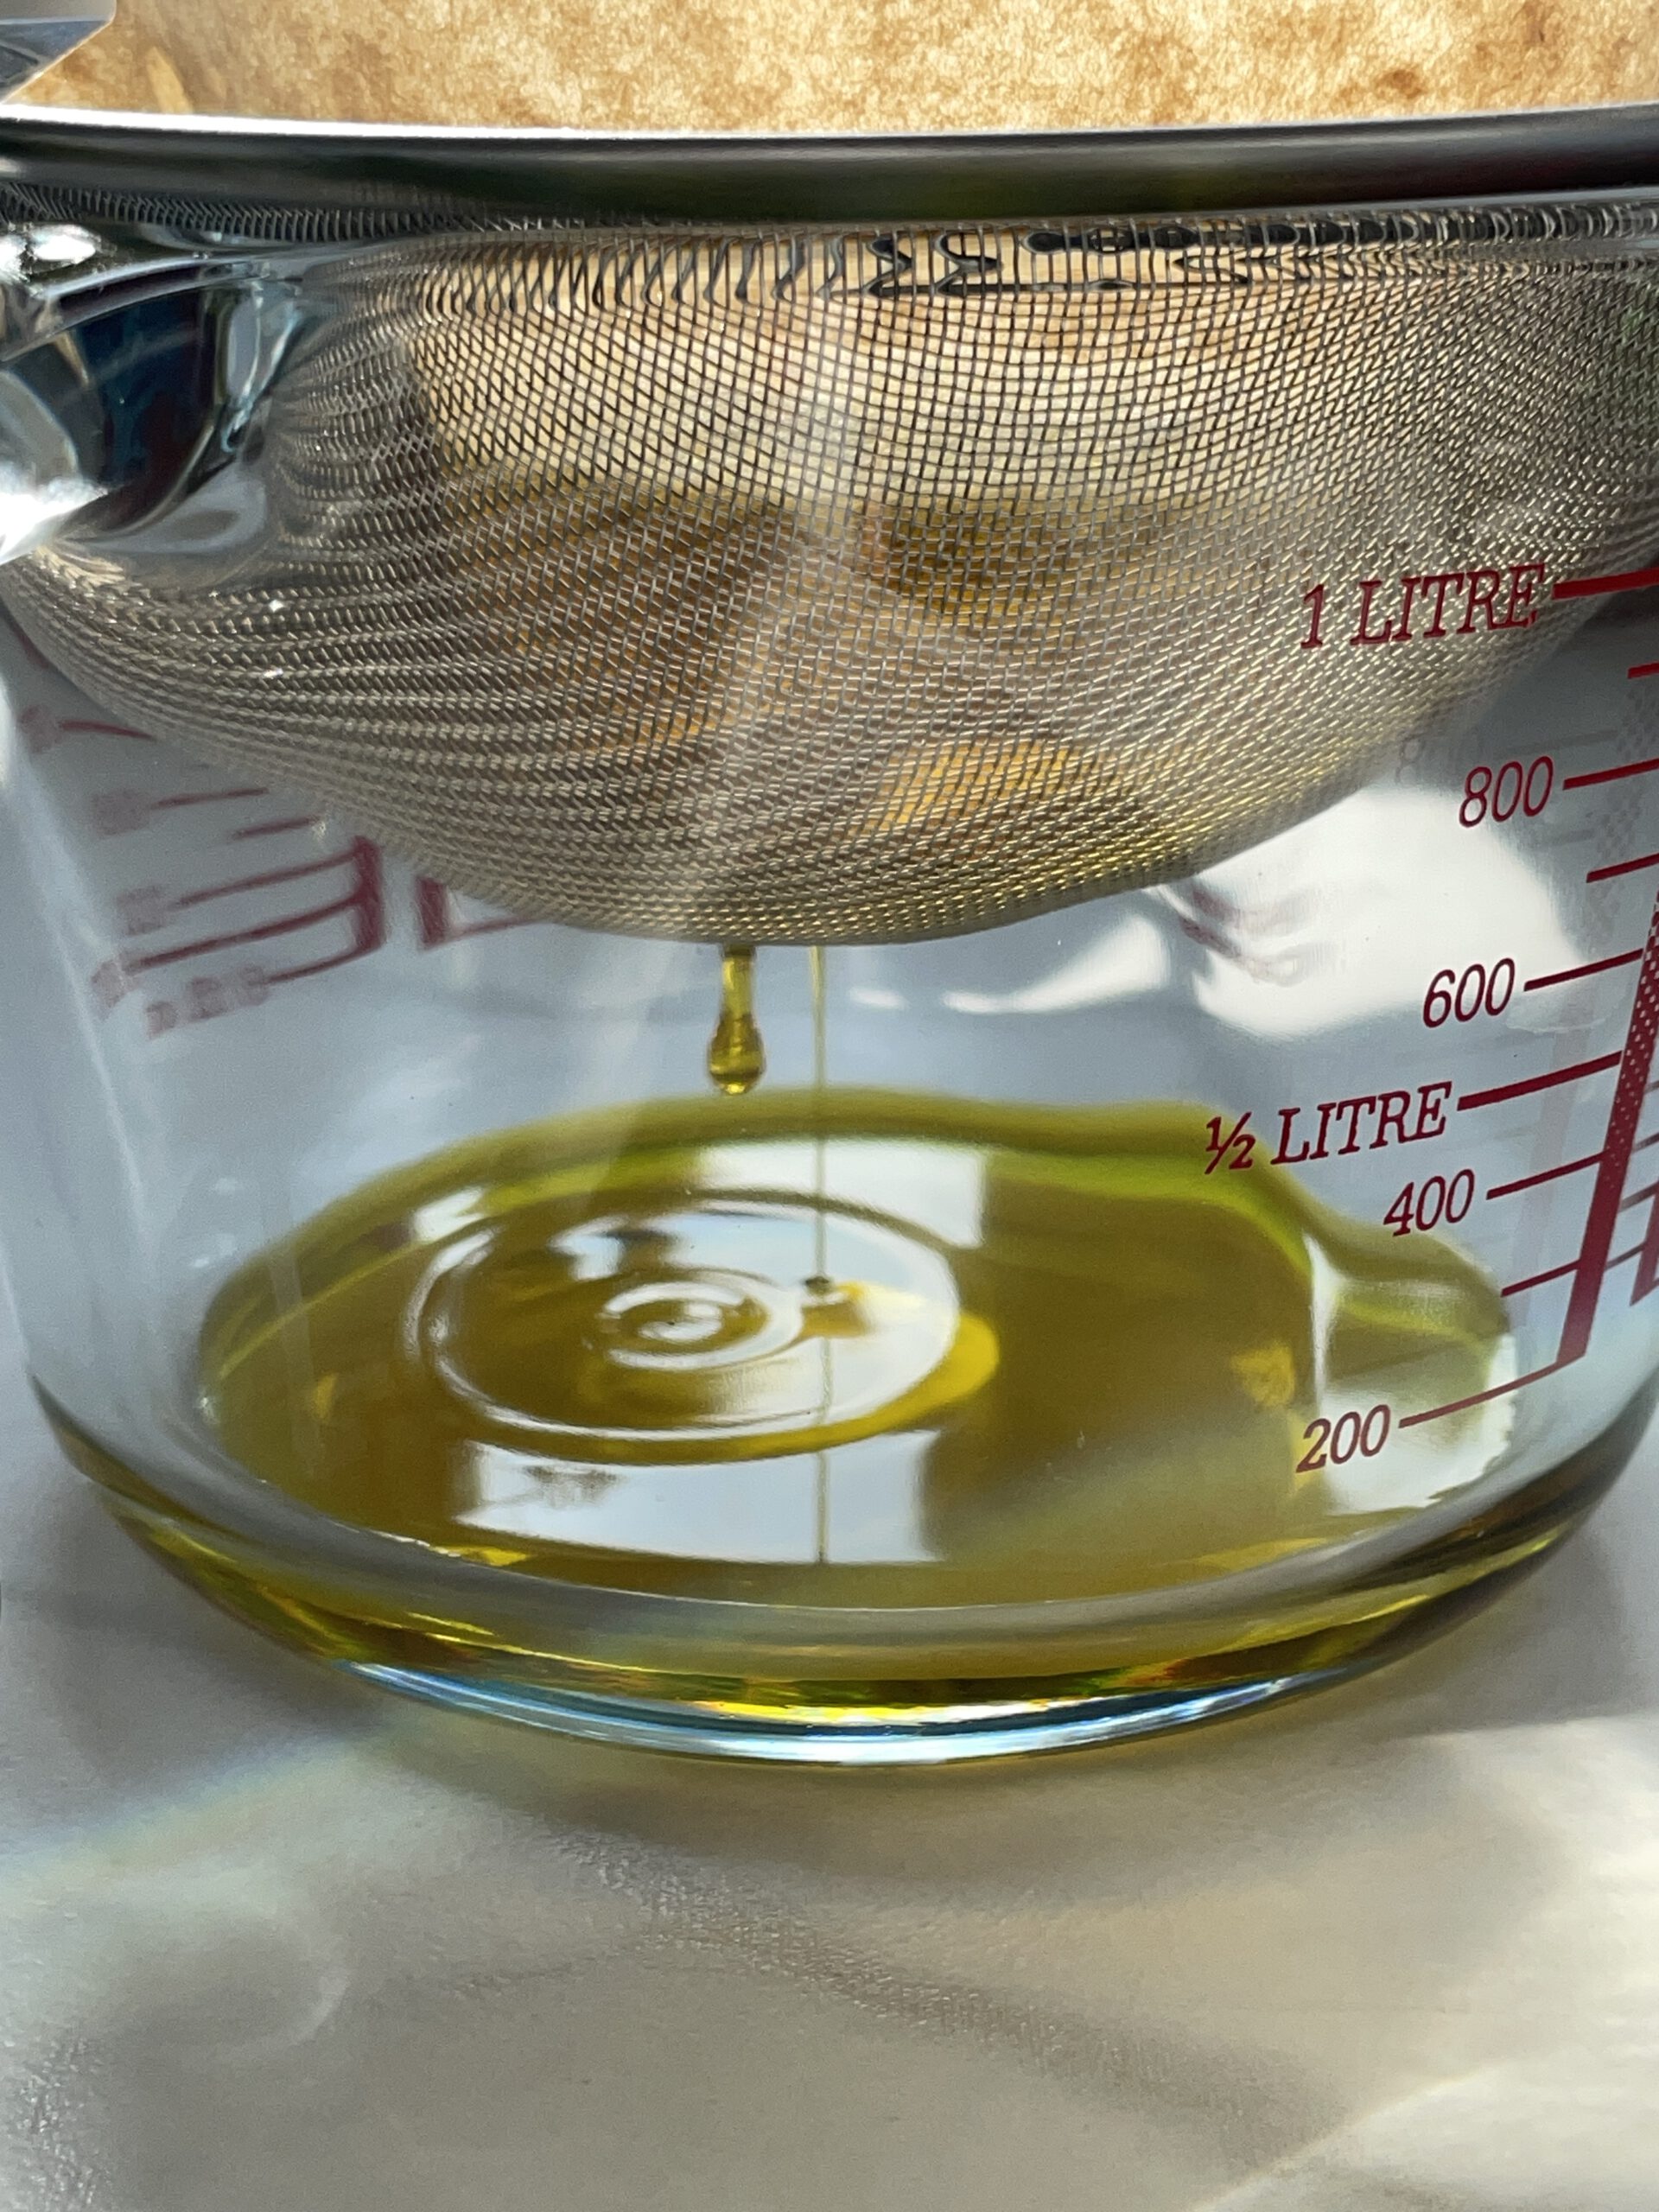
  6. Strain the broth through a fine mesh strainer and toss the spices. Pour the broth back into the pot and keep it warm on low heat and add soy sauce, rice vinegar and fish sauce.
  7. Remove the mushrooms from the oven and set aside. Place the chicken in a small baking dish, skin side up, and add 2 tbsp of the broth to the remaining marinade. Spread the marinade on the chicken and roast in the oven at 200°C for 35 minutes.
  8. Prepare the toppings. Break off the bok choy leaves from the stem, wash, and halve lengthwise. Coarsely chop the cilantro, slice the fresh chili into rings, and cut the green part of the scallions into thin strips.
  9. Bring a small pot of water to a boil. Cook the glass noodles for 5 minutes until soft. Drain and set aside.
  10. Get the chicken out of the oven and let rest for about 5 minutes. Slice into bite-sized strips and set aside.
  11. To serve, place the glass noodles in deep bowls, pour the broth over them, add bok choy, and place the king oyster mushrooms on top. Finish with the chicken and garnish with cilantro, scallions, and fresh chili as desired.
  • Passive Time: 40 min
  • Cook Time: 30 min
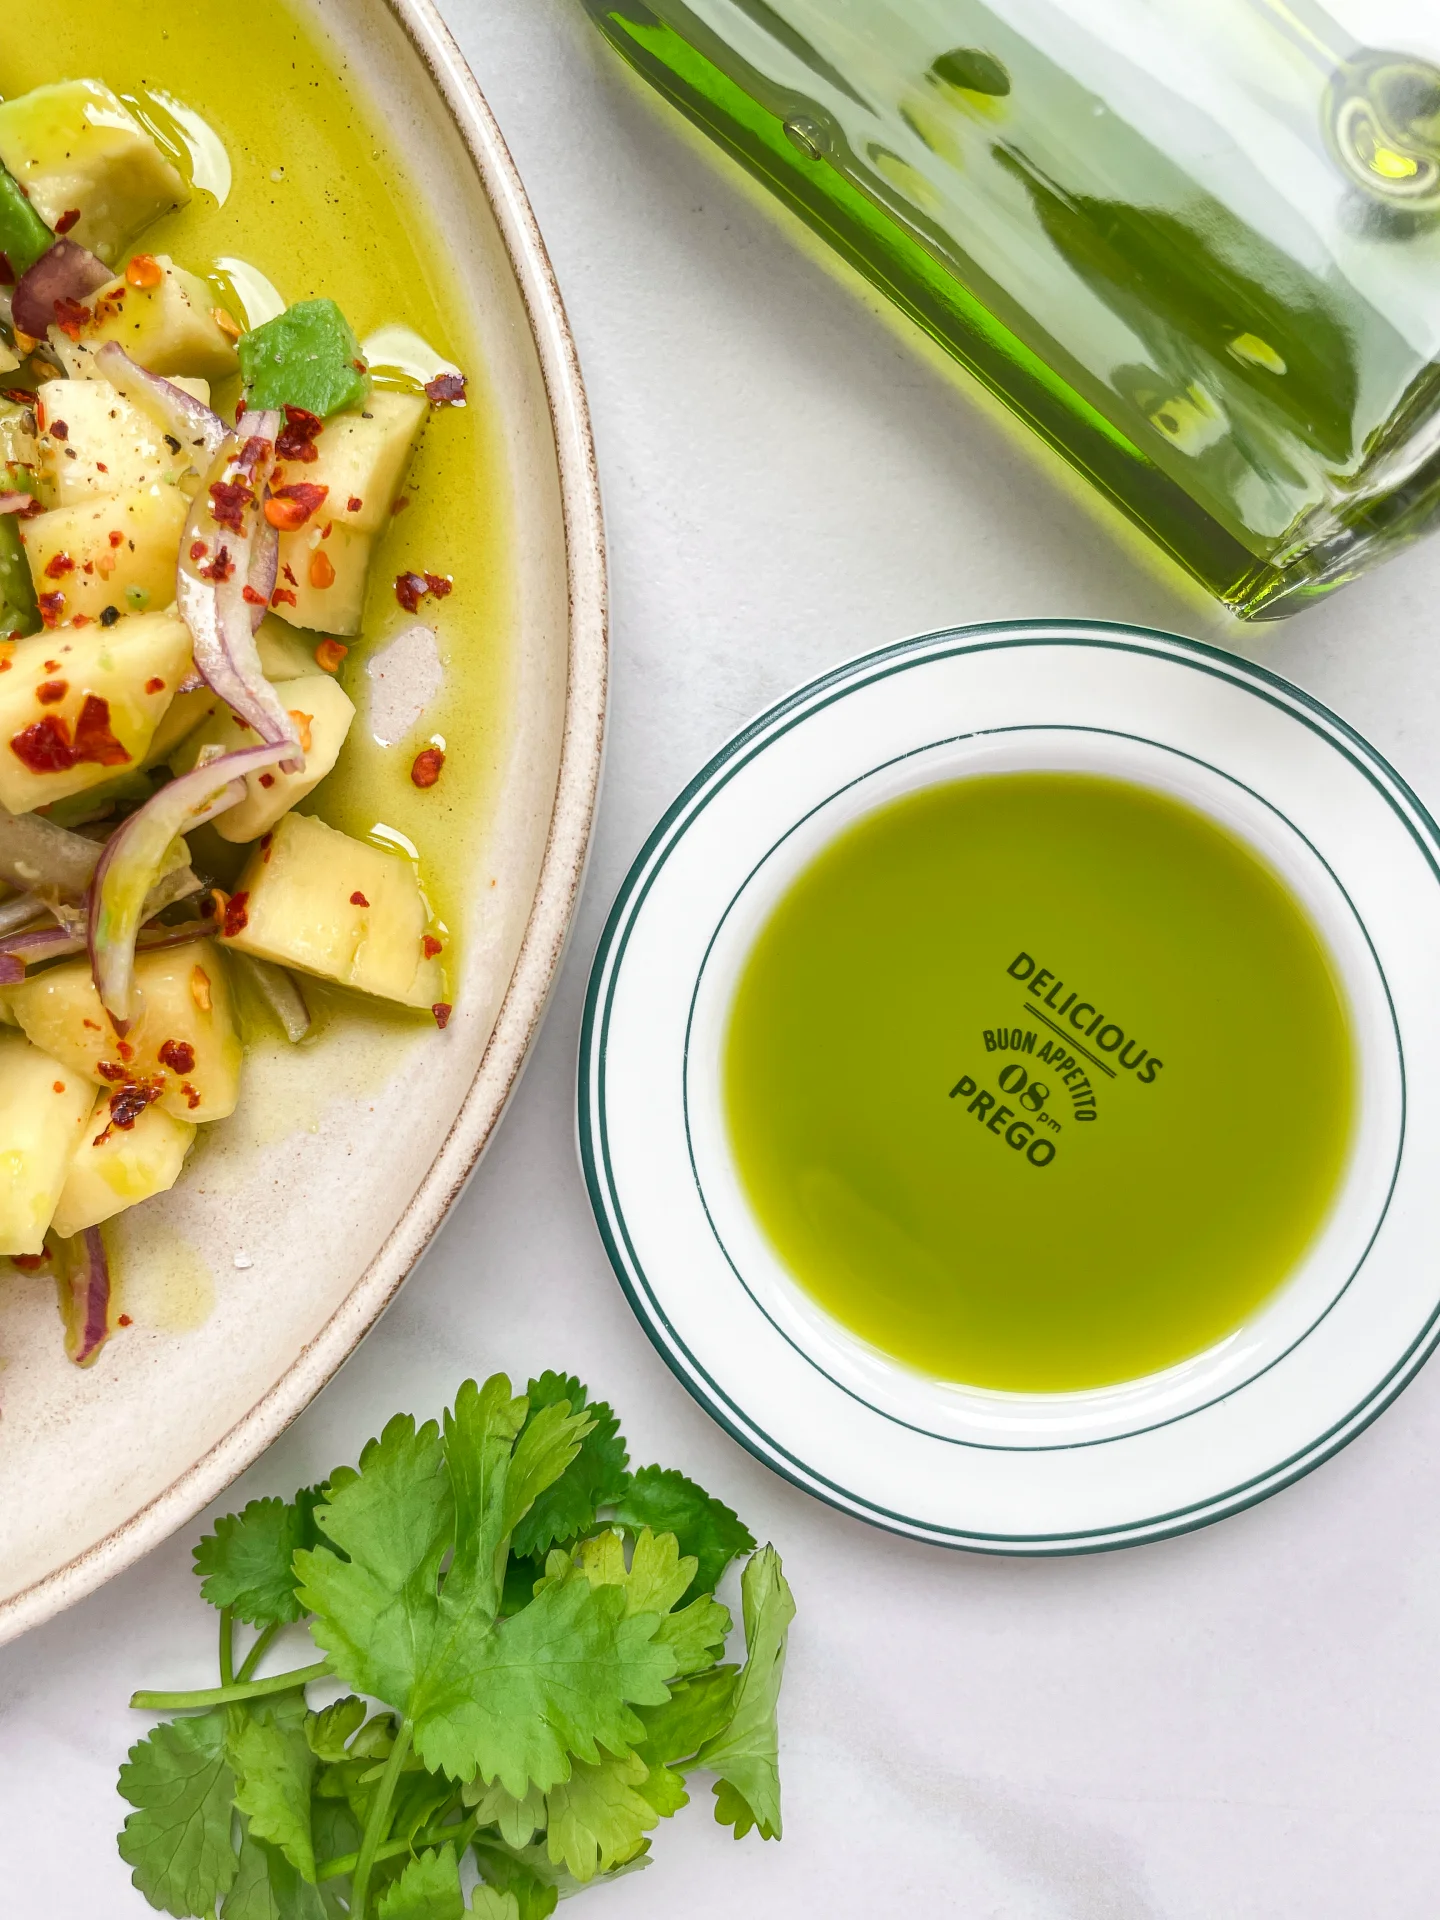
Lime Coconut Oil

Lime Coconut Oil

Lime Coconut Oil

Lime Coconut Oil

July 30, 2024 by Kimberly

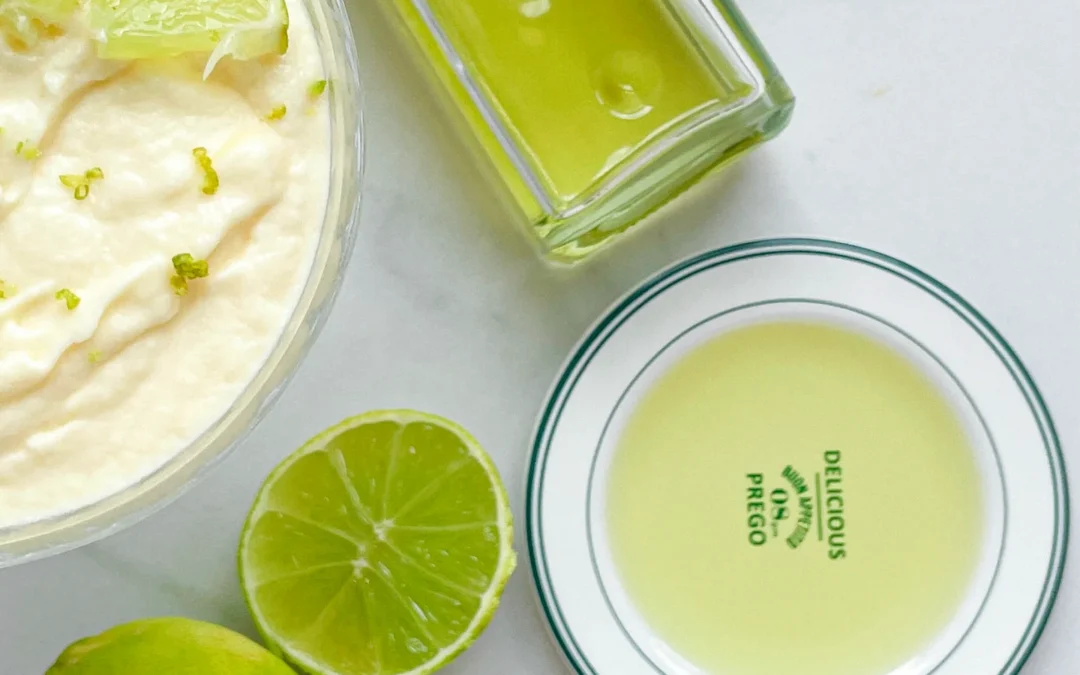
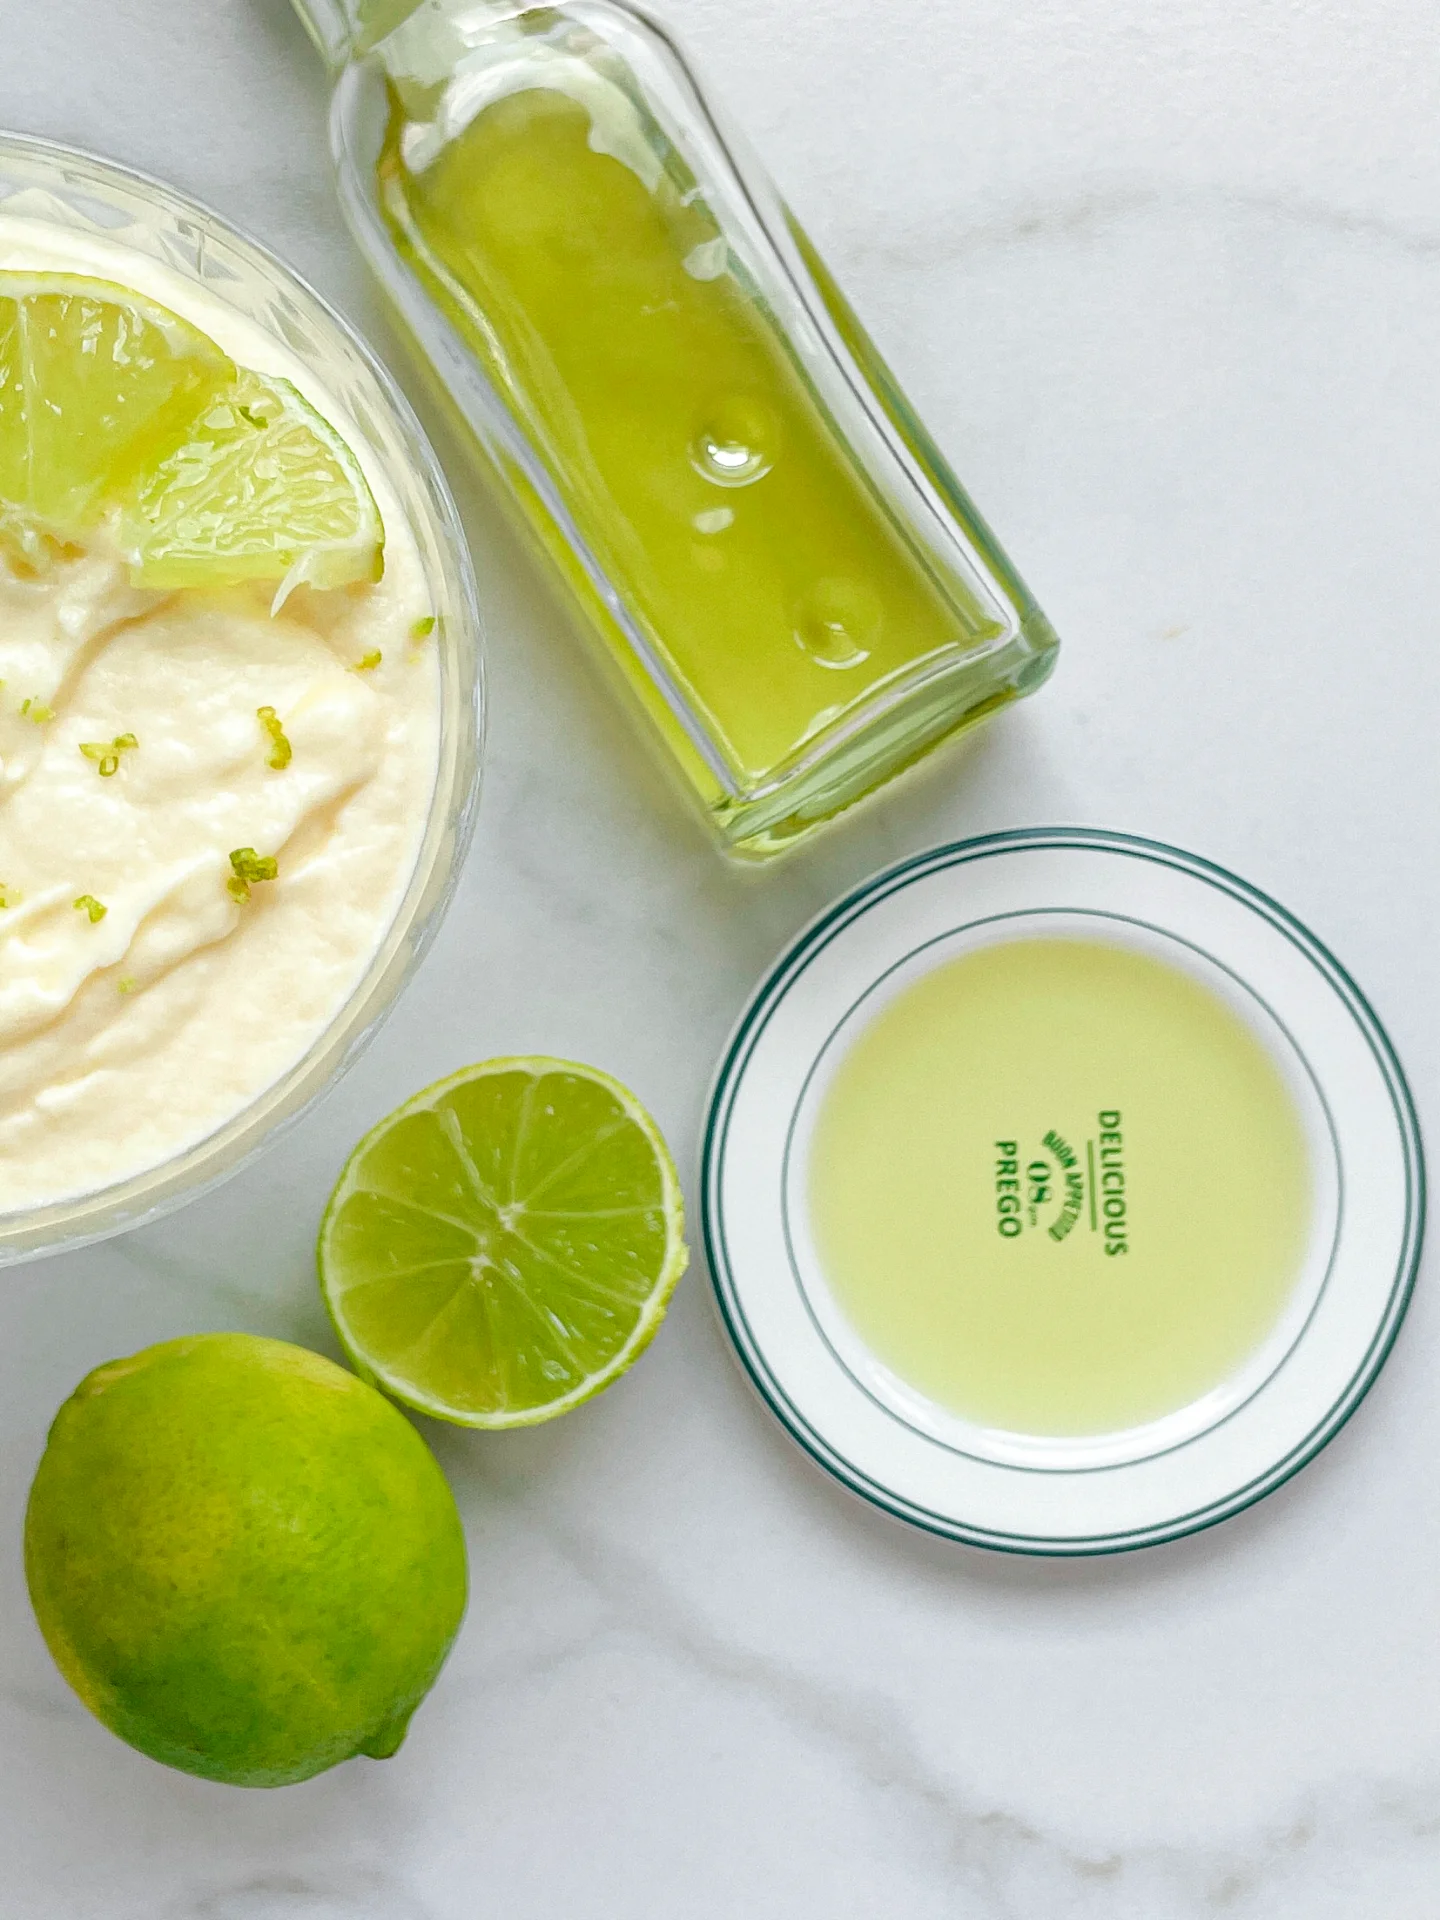
Brighten your dishes with lime coconut oil! This zesty, tropical blend adds a burst of flavor to any meal, making cooking an absolute joy.

105 MINUTES

ADVANCED

VEGAN

INT.

40 PER TSP

REFRESHING
ZESTY

MICHELIN

OIL

SUMMER

INTRODUCTION

ABOUT THE RECIPE

Transform your cooking with the vibrant flavor of lime coconut oil! This tropical-infused oil combines the rich, creamy taste of coconut with the refreshing zest of lime, creating a versatile ingredient that enhances any dish. Whether you’re drizzling it over salads, using it in marinades, or adding it to desserts, lime coconut oil brings a delightful twist that will make your culinary creations unforgettable.

How to serve
Lime coconut oil is perfect for a variety of dishes. It’s fantastic in baking, adding a unique twist to cakes, cookies, and muffins. For a quick and tasty snack, try it on popcorn with a sprinkle of sea salt or in a smoothie. But you have to try it with this White Chocolate Mousse. Just replace half of the butter with the lime coconut oil and you have the most refreshing dessert of all times.

How to store
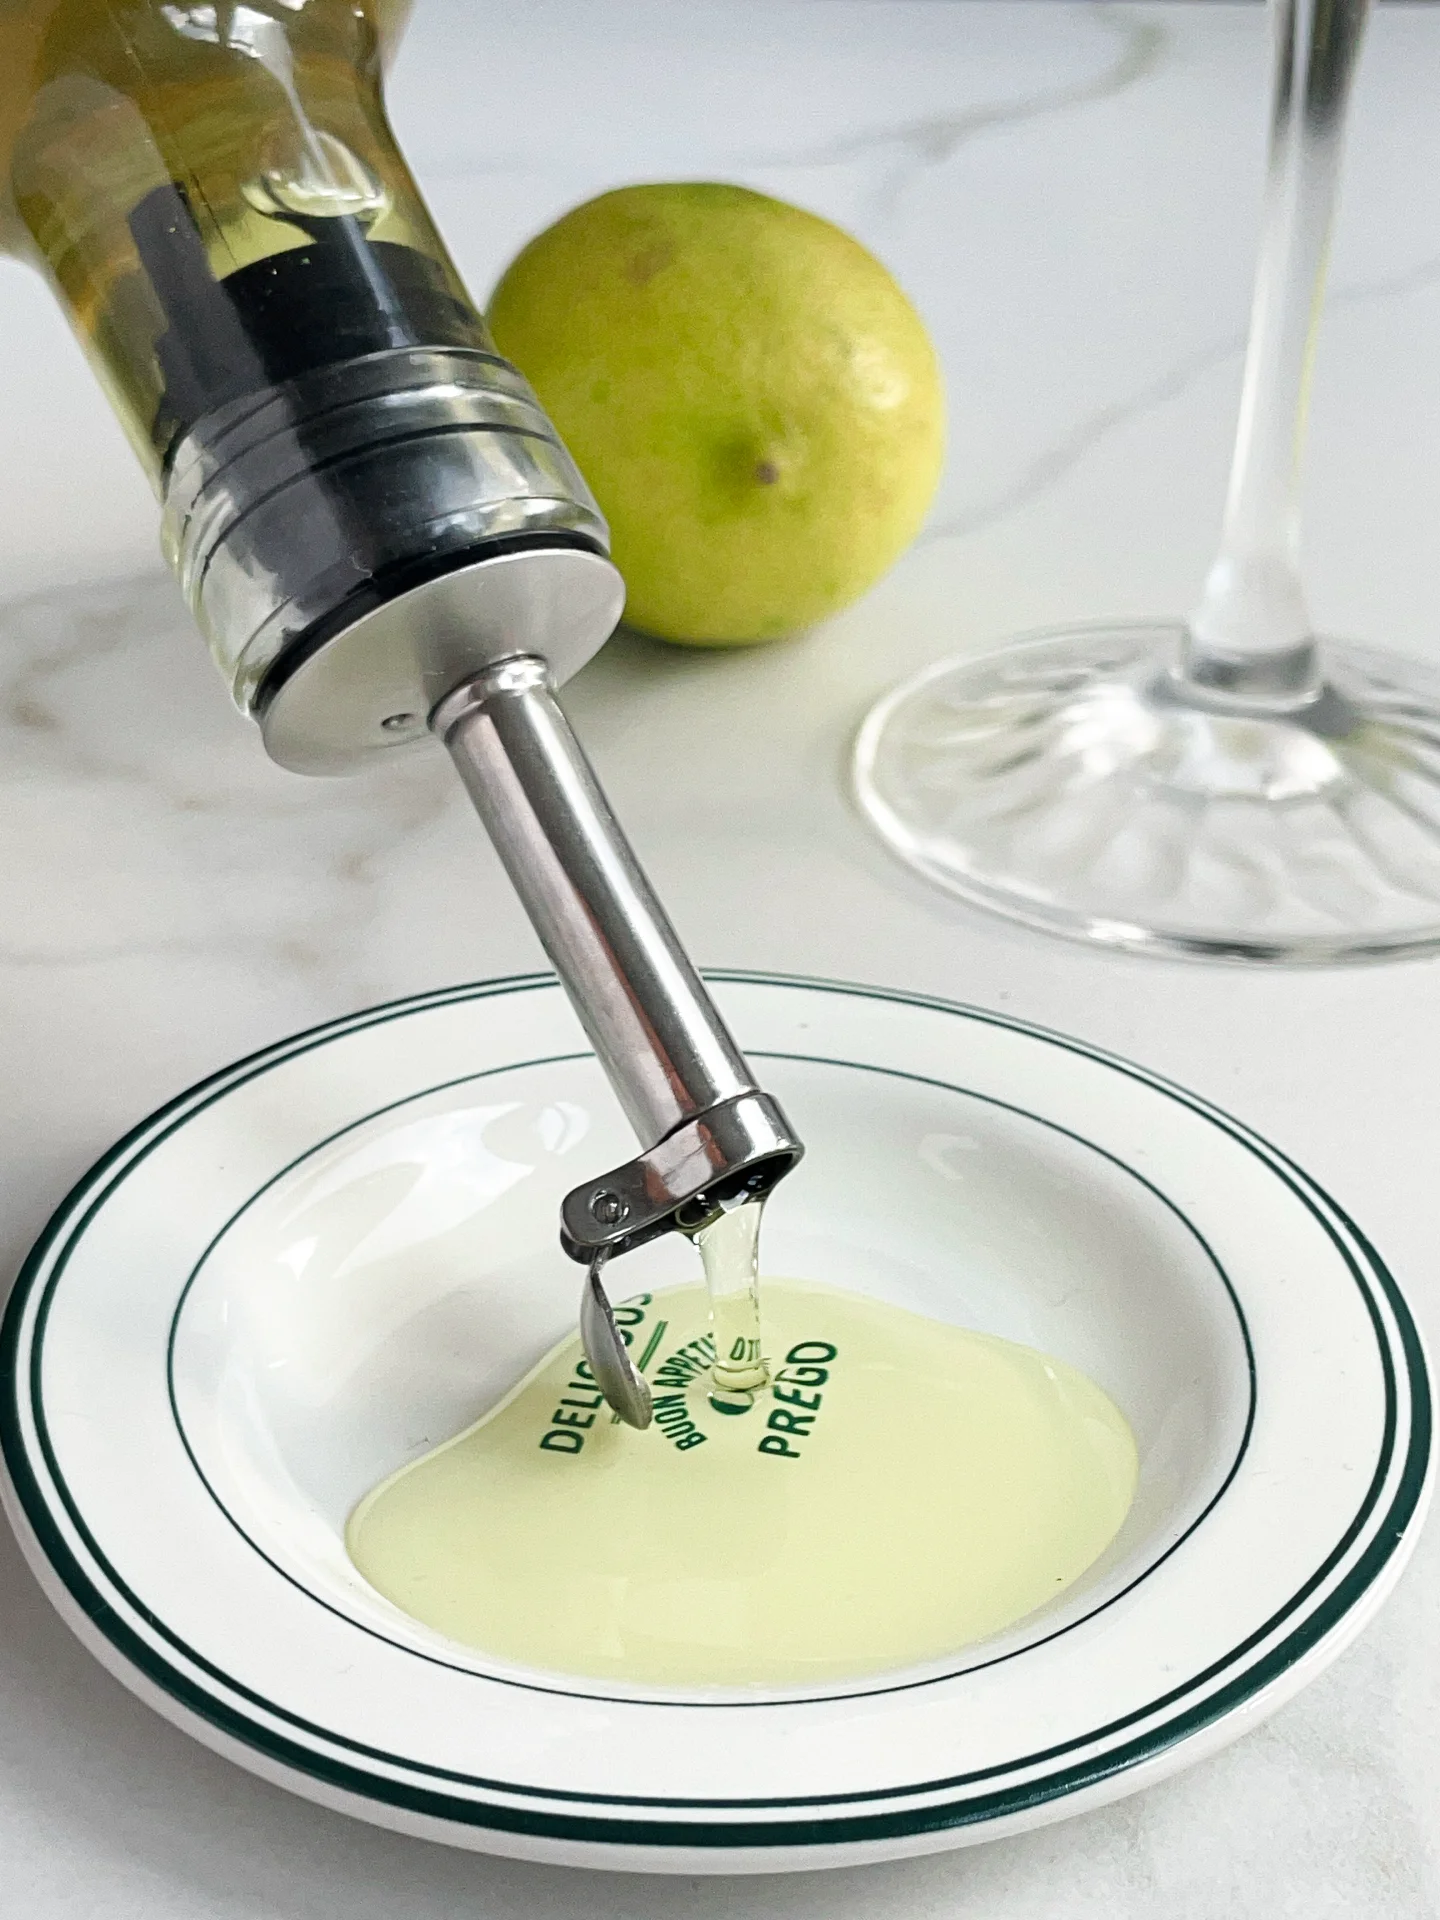
Store your lime coconut oil in a cool, dark place in an oil bottle. This will keep the flavors fresh and vibrant for up to 1-2 weeks. Fill a glass with warm water and place your oil bottle in it to melt the coconut oil to make it easy to use.

Hi, I'm Kimberly!

Hi, I'm Kimberly.

A passionate food lover who believes in the magic of homemade deliciousness that spreads love and warmth. Join me on this culinary adventure as I prepare wonderful dishes and let’s spread some happiness together!

Kimberly the Zett Signature

If you want to get to know me better, click here!


Lime Coconut Oil
Lime Coconut Oil
Lime Coconut Oil
„Let’s make a piece of happiness“
Print
clock clock iconcutlery cutlery iconflag flag iconfolder folder iconinstagram instagram iconpinterest pinterest iconfacebook facebook iconprint print iconsquares squares iconheart heart iconheart solid heart solid icon
Lime Coconut Oil

Lime Coconut Oil


  • Author: Kimberly
  • Total Time: 105 min
  • Yield: 250 ml / 1 cup 1x

Description

RECOMMENDED EQUIPMENT
  • blender
  • medium-sized saucepan
  • whisk
  • a bowl into which the medium saucepan fits
  • 2 medium-sized bowls
  • fine sieve
  • sealable container
  • coffee filter

Ingredients

Units Scale
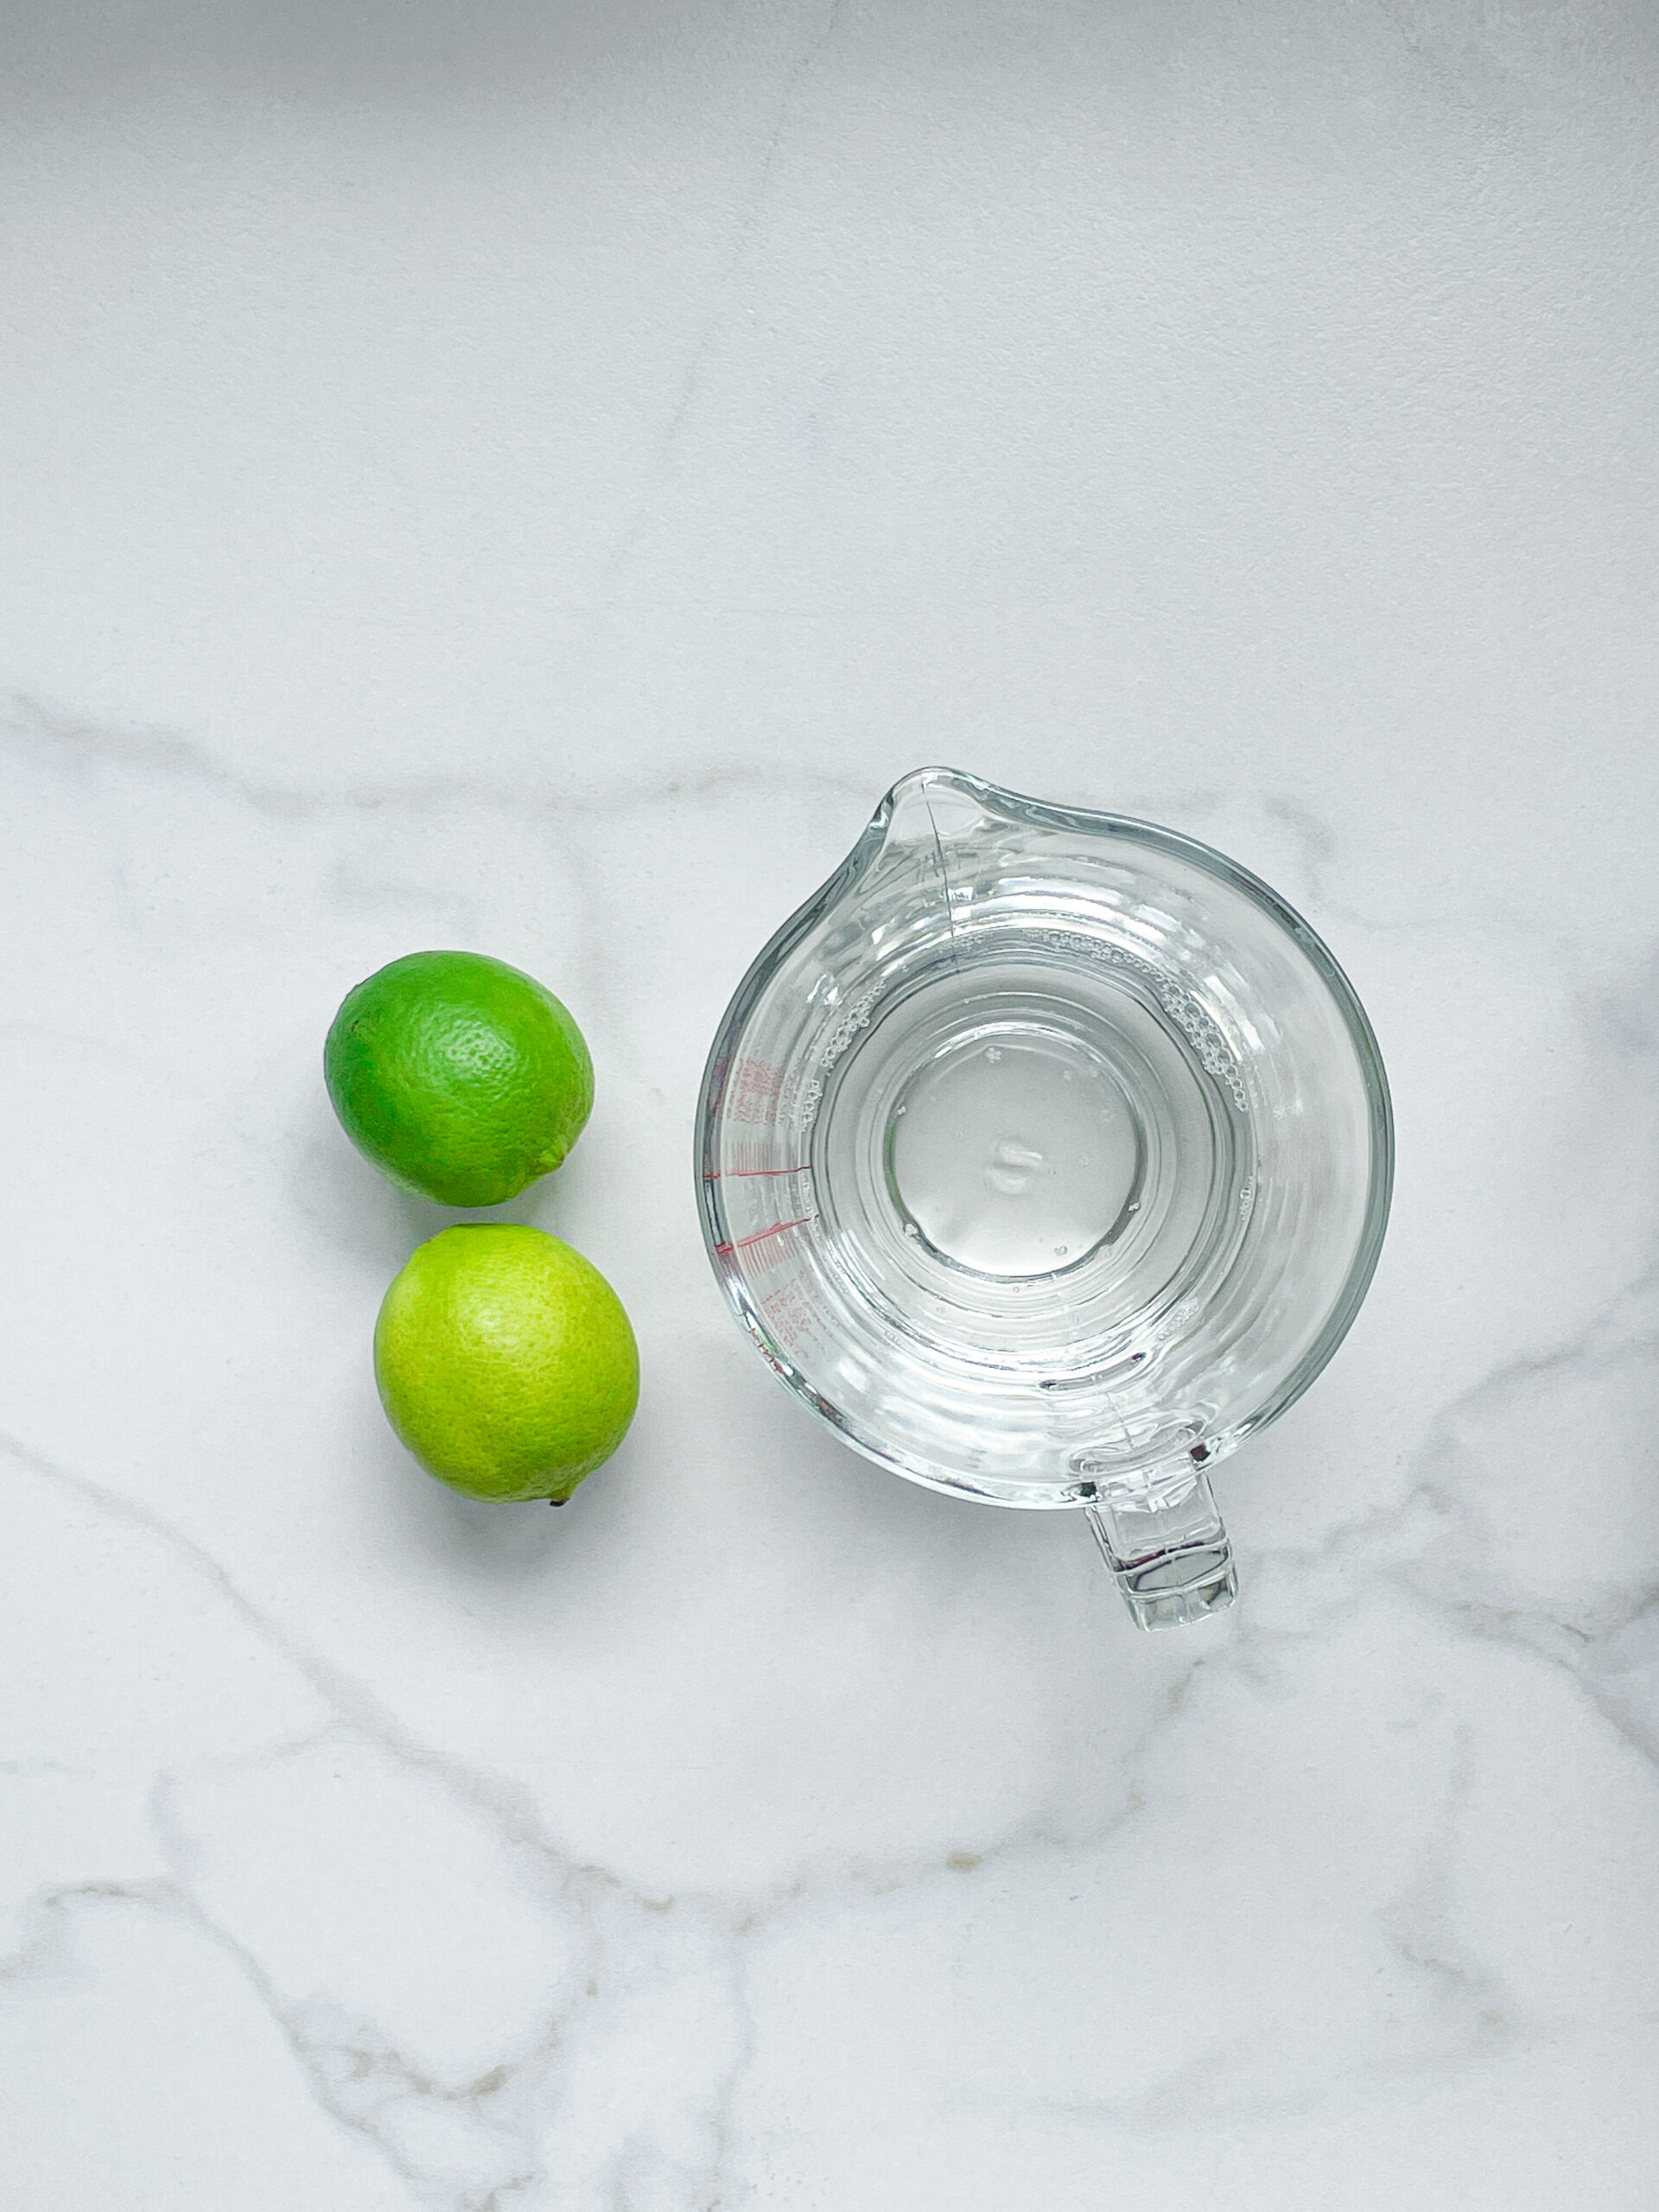
  • 2 limes
  • 250 milliliters cold-pressed coconut oil

Instructions

  1. Wash and dry the limes thoroughly. Put them into the blender. Since coconut oil solidifies below 23°C (73°F), you need to warm it up briefly so it can be poured over the limes in liquid form. Pour the oil into the blender and blend everything on the highest setting until it becomes pastel green and only small pieces of the limes are longer visible.
  2. Pour the mixture from the blender into a medium-sized pot and heat it over medium heat, constantly stirring, to a temperature of about 102°-103°C (215°-217°F). Then, let the mixture cook for the next 20 minutes. Stir only occasionally, making sure the temperature remains steady. This cooking time is essential for all the water to evaporate, allowing the perishable solids to settle at the bottom and the oil to float on top. You’ll know all the water has evaporated when the oil in the pot barely bubbles anymore – so if it’s still bubbling vigorously, keep it simmering.
  3. Once the oil mixture is no longer bubbling, remove the pot from the heat and let it cool a bit. Pour the oil into the fine sieve to catch the coarse particles.
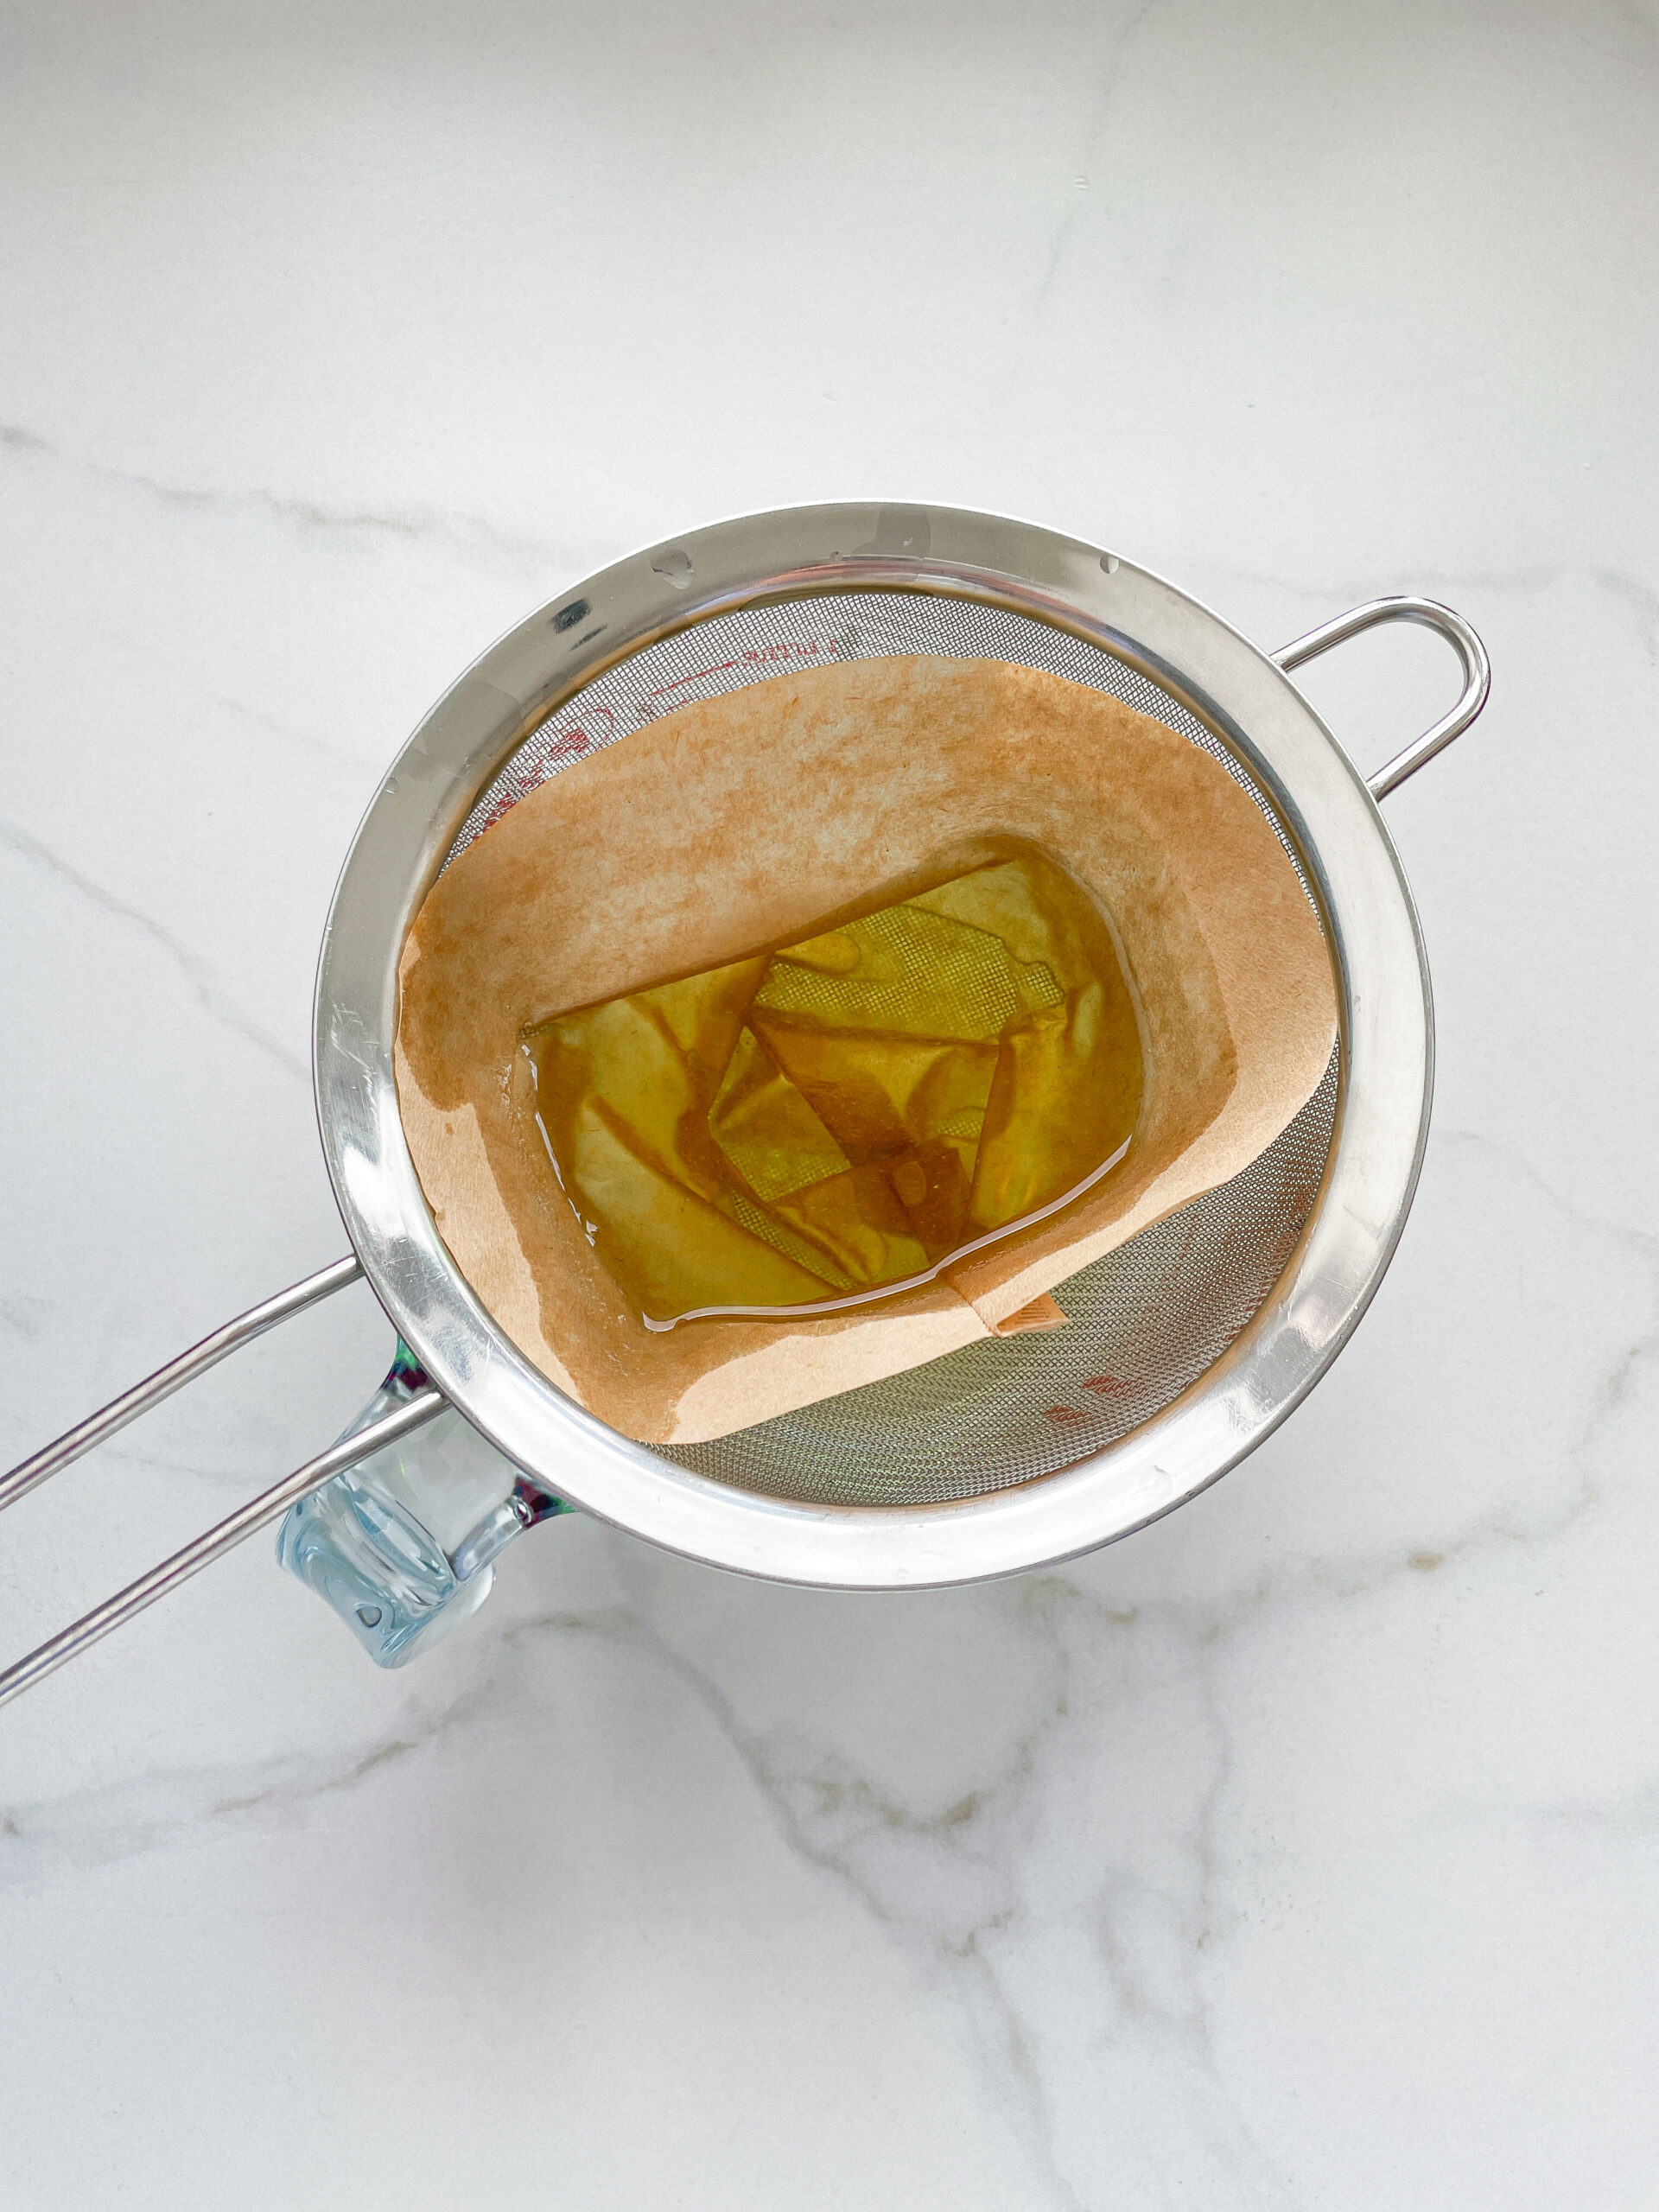
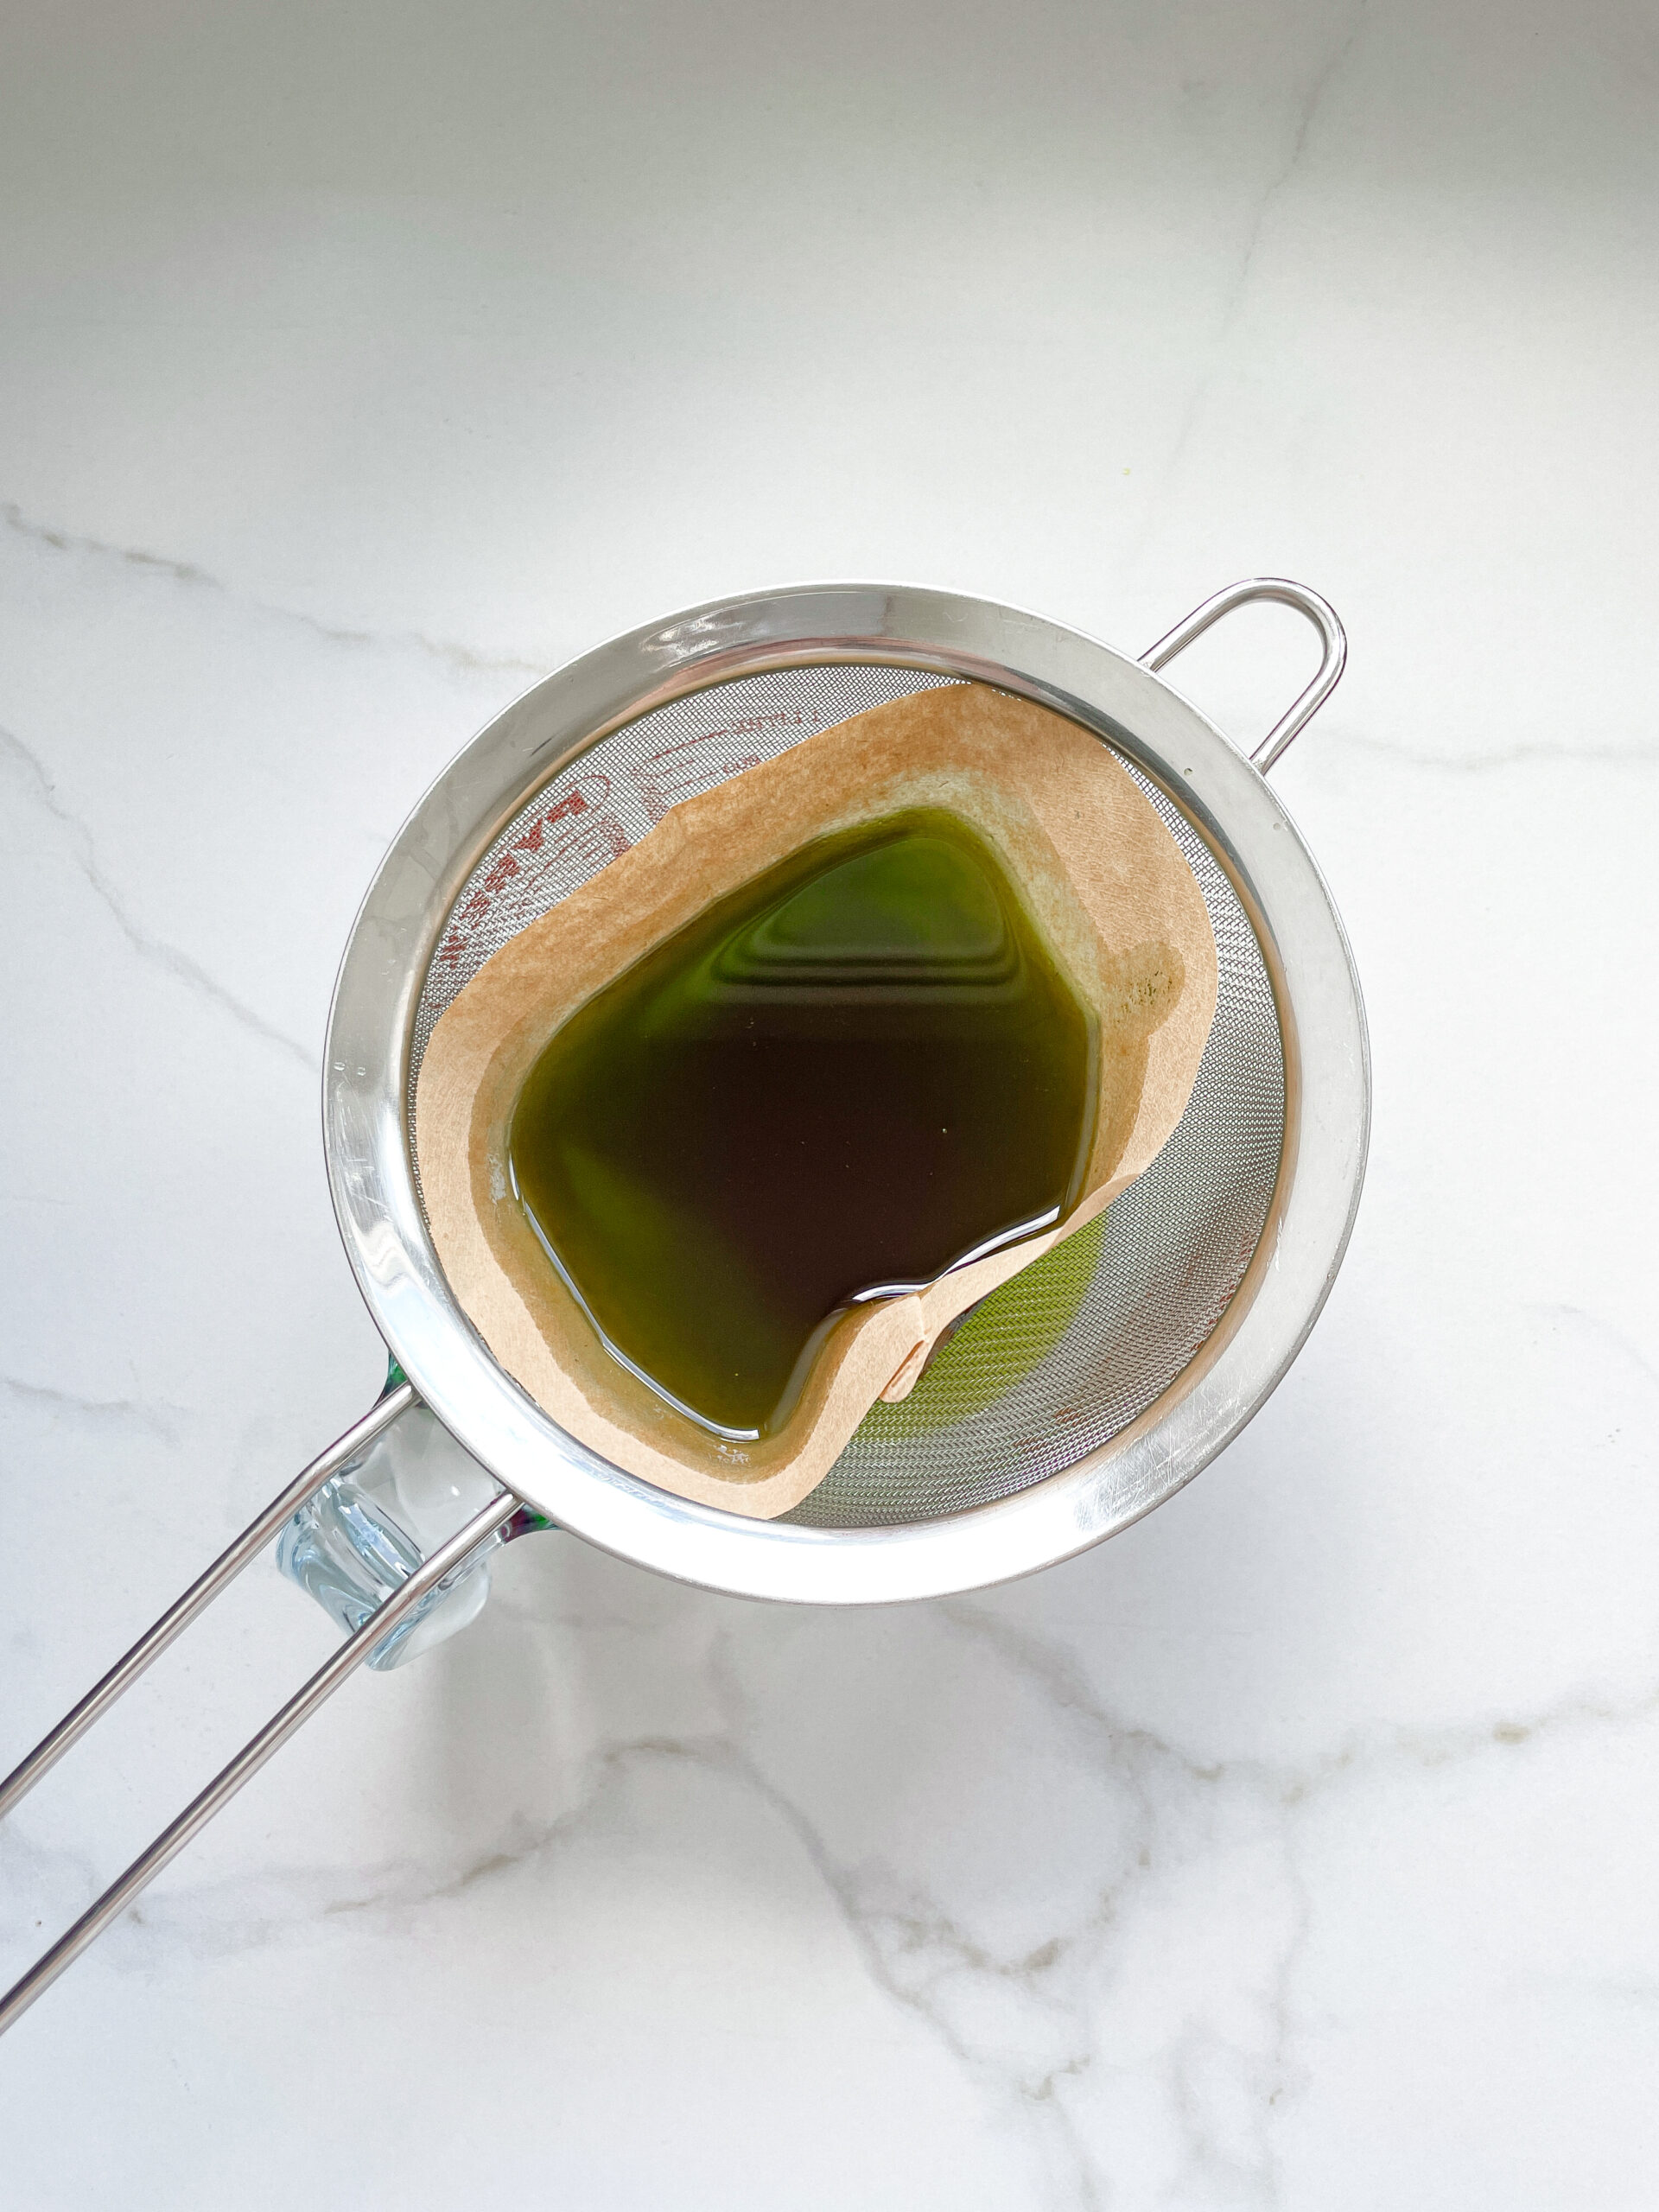
  4. Then, rinse the strainer and hang it over the second medium-sized bowl. Press a coffee filter into the strainer and pour the captured oil into the coffee filter, so that the remaining perishable and coarser particles are caught.
  5. Allow the oil to drip through for about 1 hour or maybe less depending on how many remaining particles are in there. Once all the oil has passed through the coffee filter, transfer the collected amount into a sealable container or directly into an oil bottle. Store in the refrigerator for up to one week. If you want to use it, fill a glass with hot water and place the oil bottle in it for a few minutes so it can liquefy again.
  • Prep Time: 5 min
  • Passive Time: 60 min
  • Cook Time: 20 min
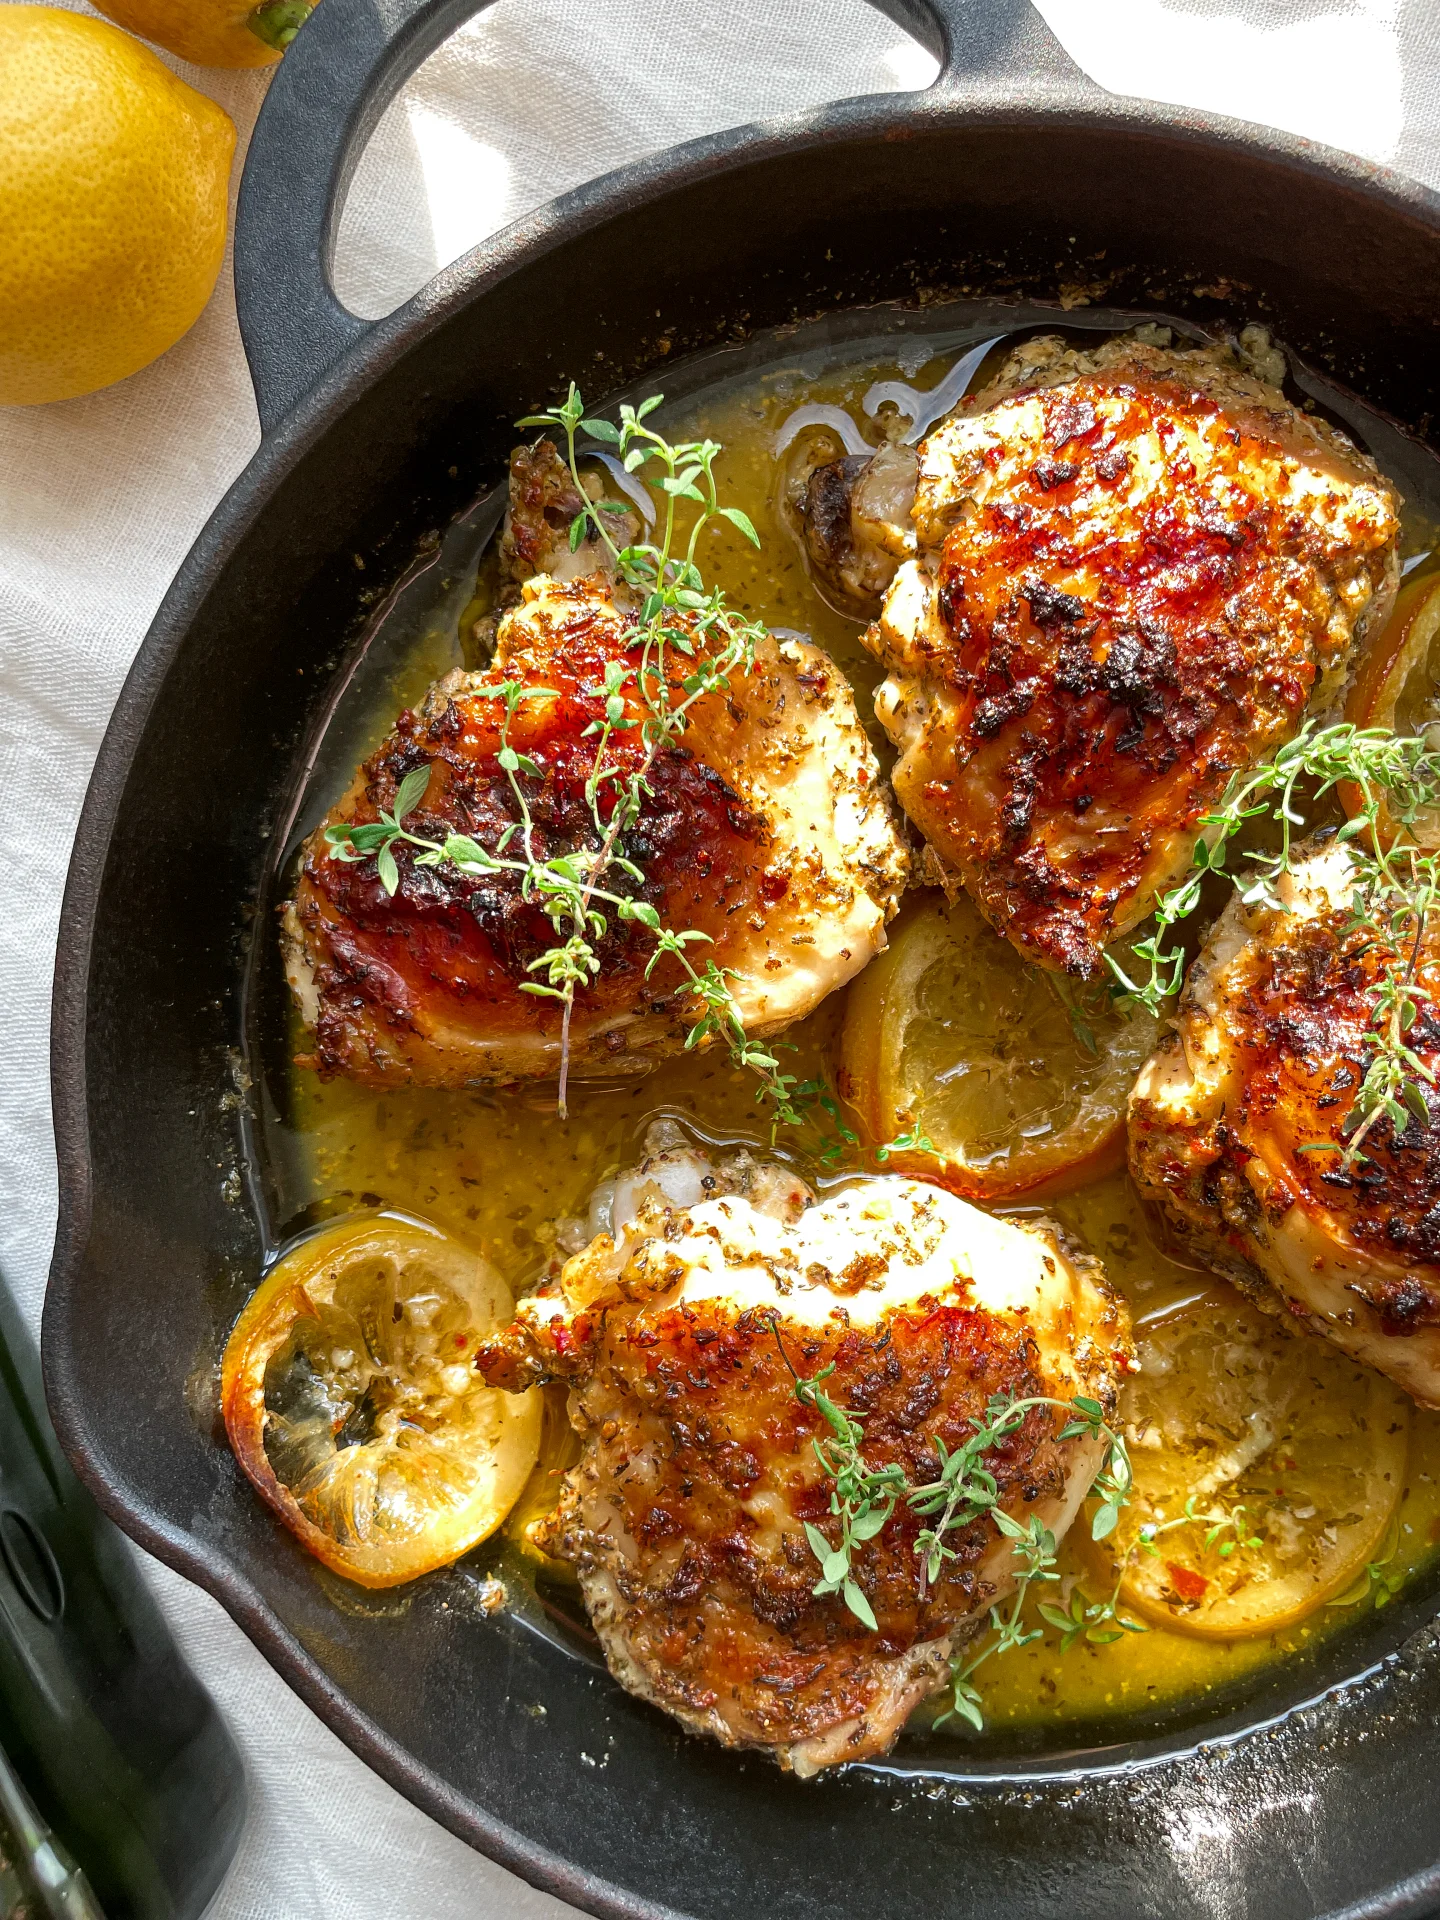
Mediterranean Pasta Salad

Mediterranean Pasta Salad

Mediterranean Pasta Salad

Mediterranean Pasta Salad

July 18, 2024 by Kimberly

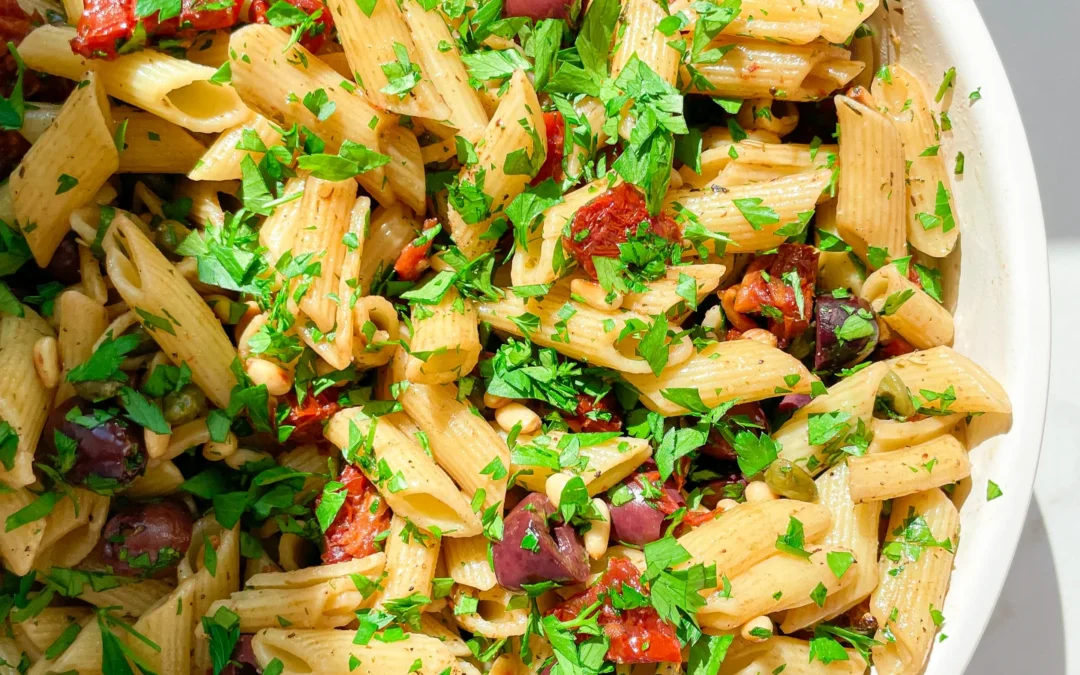
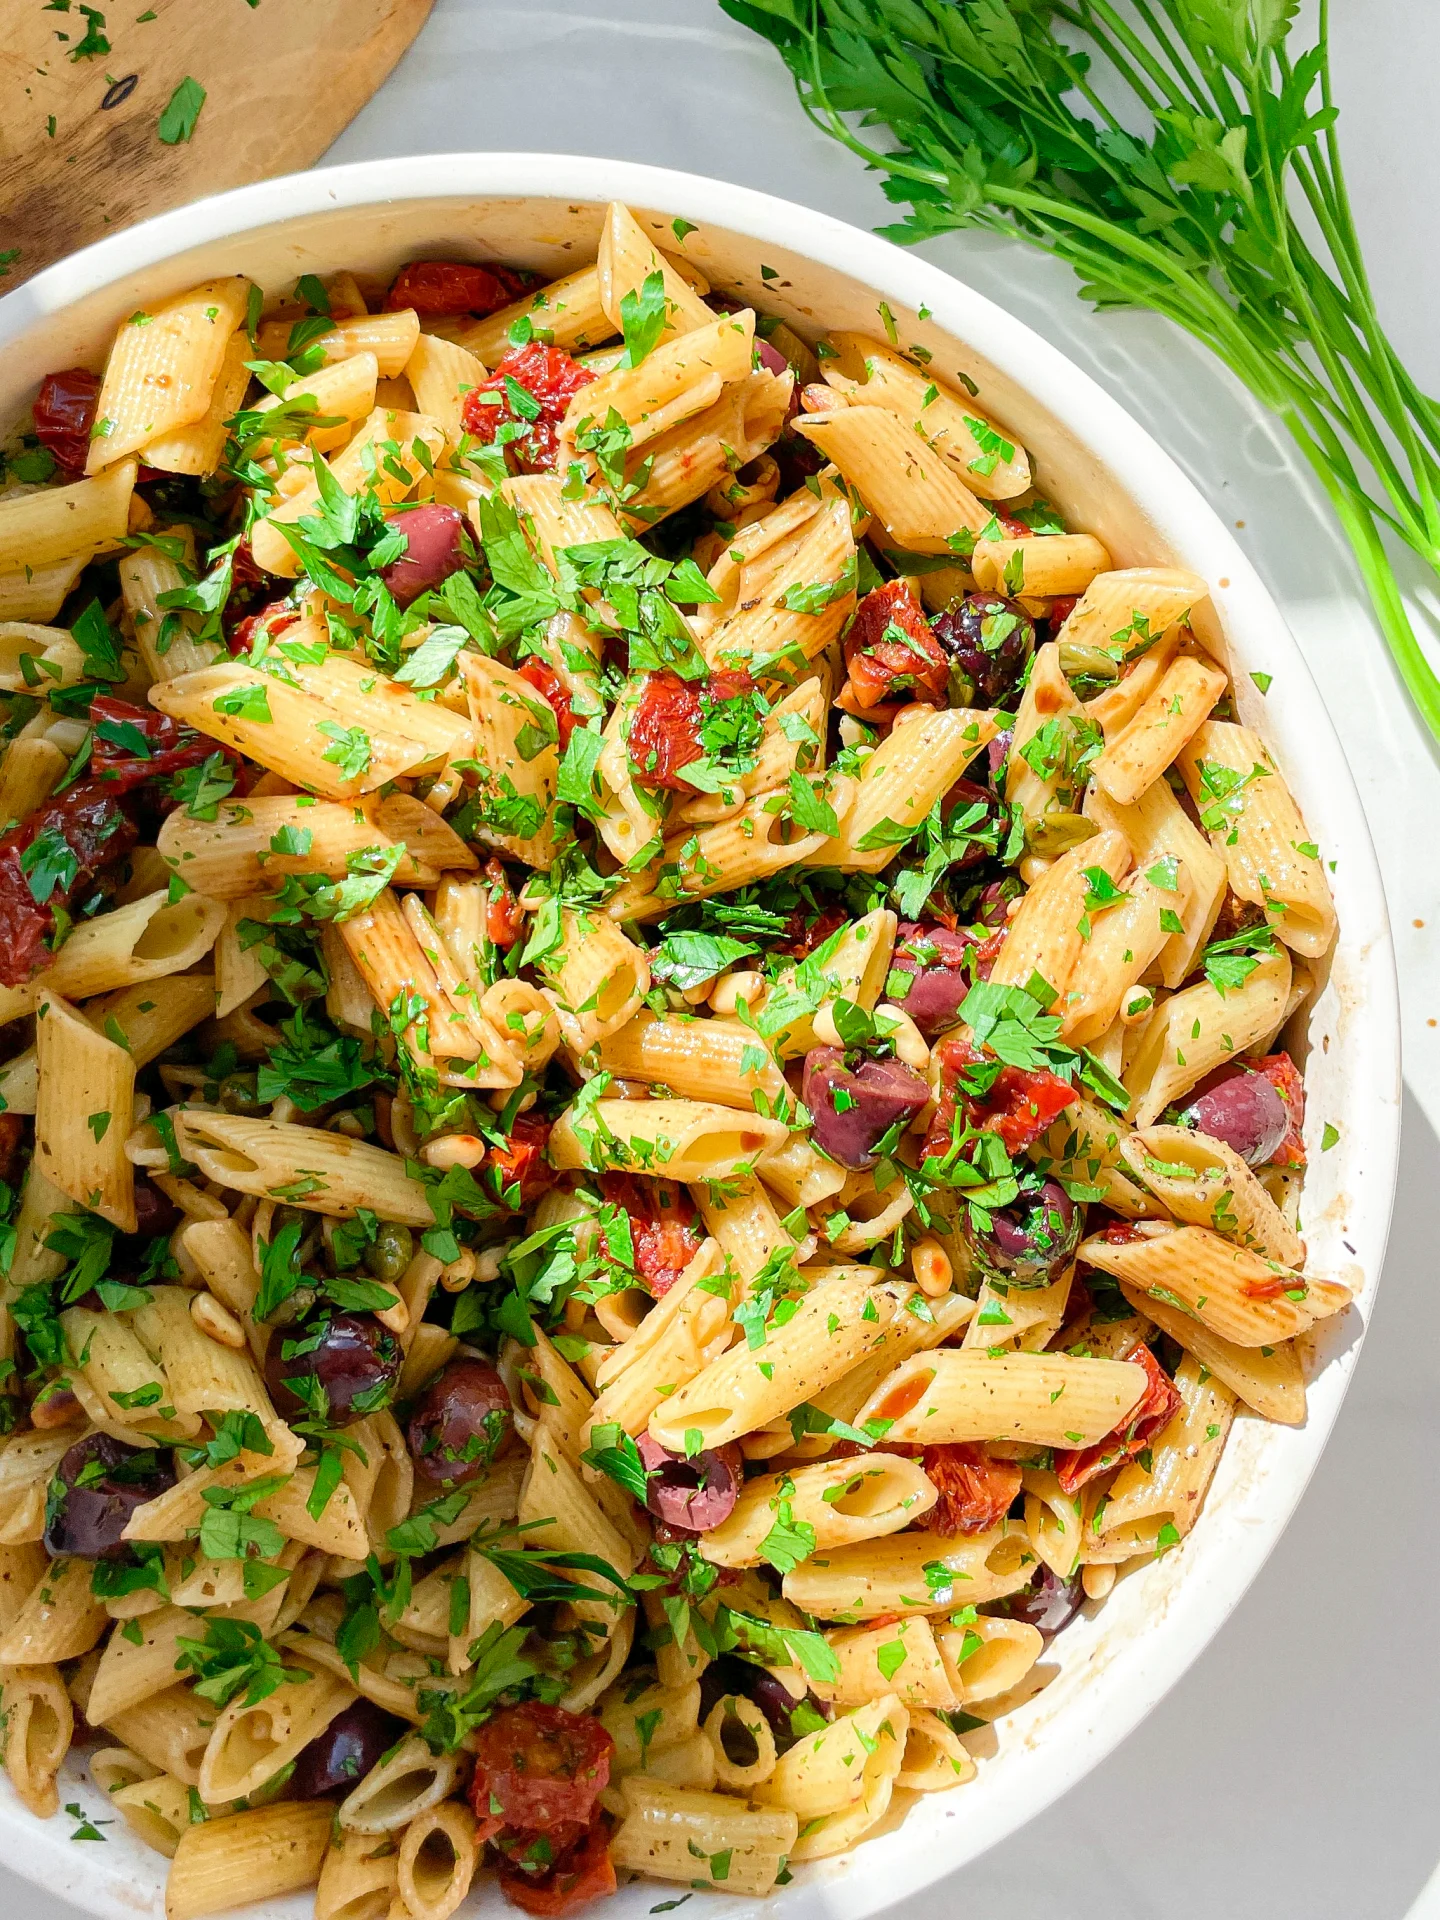
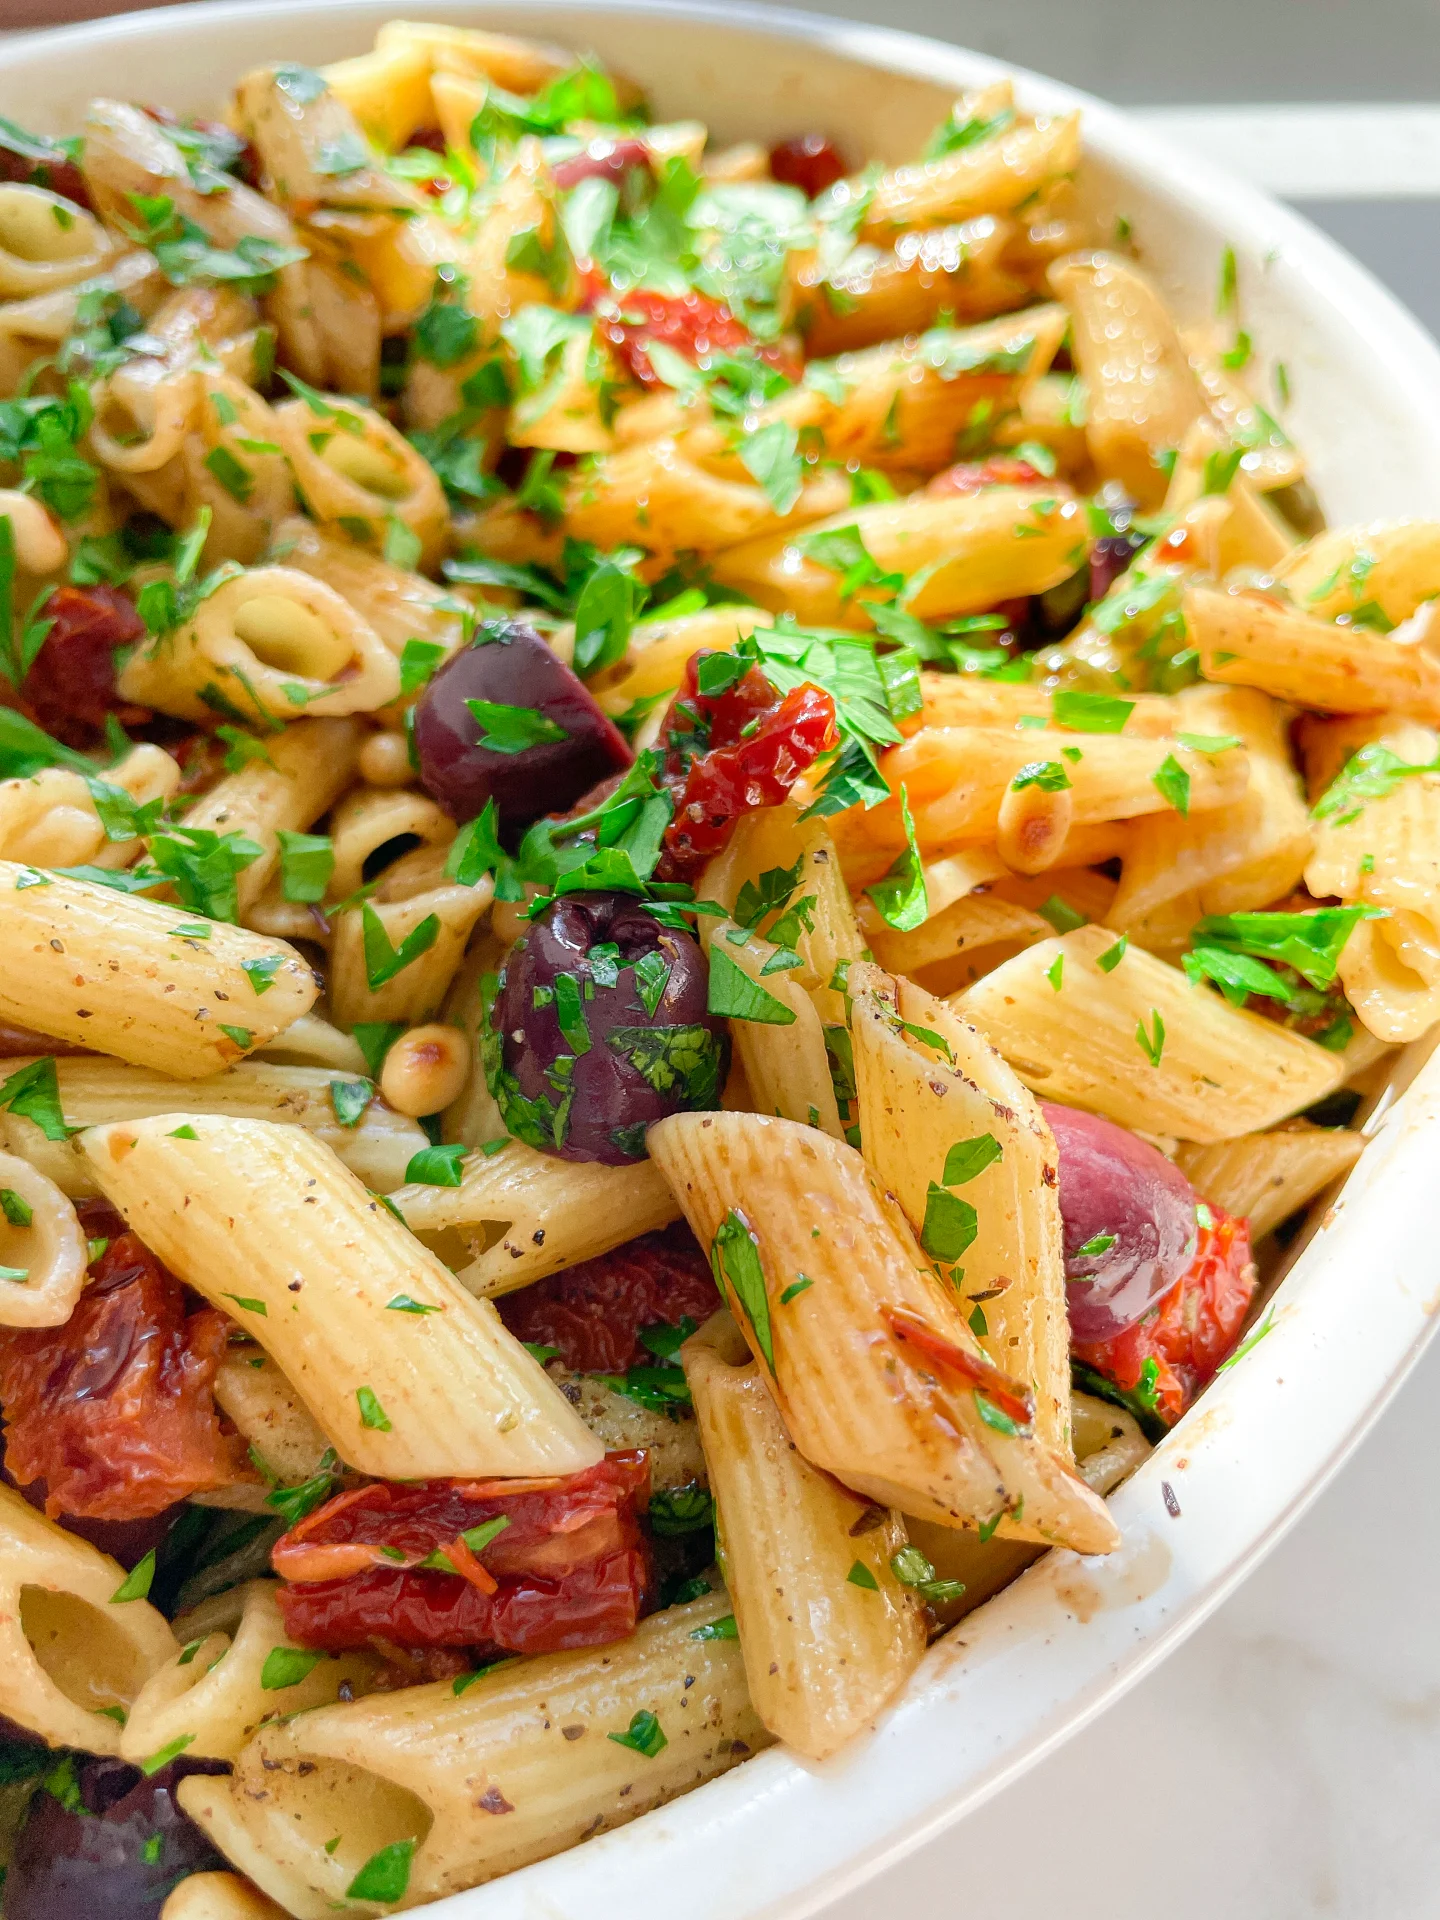
Dive into summer with this zesty Mediterranean pasta salad! Packed with bold flavors, it’s a refreshing twist that’s perfect for any picnic or potluck.

1 HOUR
15 MINUTES

EASY

VEGETARIAN

ITALIAN

349 PER PORTION

UMAMI

PICNIC

SALAD

SUMMER

INTRODUCTION

ABOUT THE RECIPE

Whisk your taste buds away to the sunny Mediterranean with this vibrant pasta salad! It’s bursting with bold flavors and is the perfect quick and healthy dish for any occasion. Ideal for those looking for a delicious, fuss-free meal!

How to serve
This pasta salad shines at room temperature, making it ideal for picnics and outdoor gatherings. Serve it as a hearty side with grilled meats or enjoy it as a light main course with crusty bread. It’s also great as a next-day lunch, so consider doubling the recipe!

How to store
Keep the pasta salad in a sealed container in the refrigerator. It beautifully holds its flavor and texture for up to three days, making it a fantastic choice for meal prep or leftovers.

Hi, I'm Kimberly!

Hi, I'm Kimberly.

A passionate food lover who believes in the magic of homemade deliciousness that spreads love and warmth. Join me on this culinary adventure as I prepare wonderful dishes and let’s spread some happiness together!

Kimberly the Zett Signature

If you want to get to know me better, click here!


Mediterranean Pasta Salad
„Let’s make a piece of happiness“
Print
clock clock iconcutlery cutlery iconflag flag iconfolder folder iconinstagram instagram iconpinterest pinterest iconfacebook facebook iconprint print iconsquares squares iconheart heart iconheart solid heart solid icon
Mediterranean Pasta Salad

Mediterranean Pasta Salad


  • Author: Kimberly
  • Total Time: 1 hour + 15 min
  • Yield: 8 1x

Description

Recommended Equipment

  • large pot
  • large salad bowl
  • whisk
  • sharp knife
  • cutting board
  • small pan
  • colander

Ingredients

Units Scale
  • 500 grams penne pasta
  • 150 grams Kalamata olives
  • 180 gram dried tomatoes in oil
  • 60 grams capers
  • 2 tbsp pine nuts
  • 15 grams fresh parsley or basil

DRESSING

  • 4 tbsp olive oil (you can use the oil from the dried tomatoes)
  • 3 tbsp balsamic vinegar
  • 2 tsp Dijon mustard
  • 1 tbsp honey
  • 1/4 tsp oregano
  • 1/4 tsp thyme
  • 1/4 tsp rosemary
  • 1/4 tsp salt

Instructions

  1. Fill a large pot with water and bring it to a boil.
  2. Meanwhile, prepare the dressing in the salad bowl. Mix olive oil, balsamic vinegar, Dijon mustard, honey, oregano, thyme, rosemary, and salt with a whisk until smooth. Set the bowl aside.
  3. Add the pasta and 1 tablespoon of salt to the boiling water and cook according to the package instructions until al dente.
  4. While the pasta cooks, halve the olives and chop the tomatoes into small pieces. Pluck the parsley leaves from the stems and finely chop them. Drain and rinse the capers.
  5. Toast the pine nuts in a small pan without adding oil until golden brown.
  6. Drain the pasta and add it directly to the bowl with the dressing, mixing well.
  7. Add the tomatoes, olives, capers, pine nuts, and parsley and combine thoroughly. Season with salt and pepper to taste, then let it cool and marinate for about 1 hour or overnight.
  • Passive Time: 1 hour
  • Cook Time: 15 min

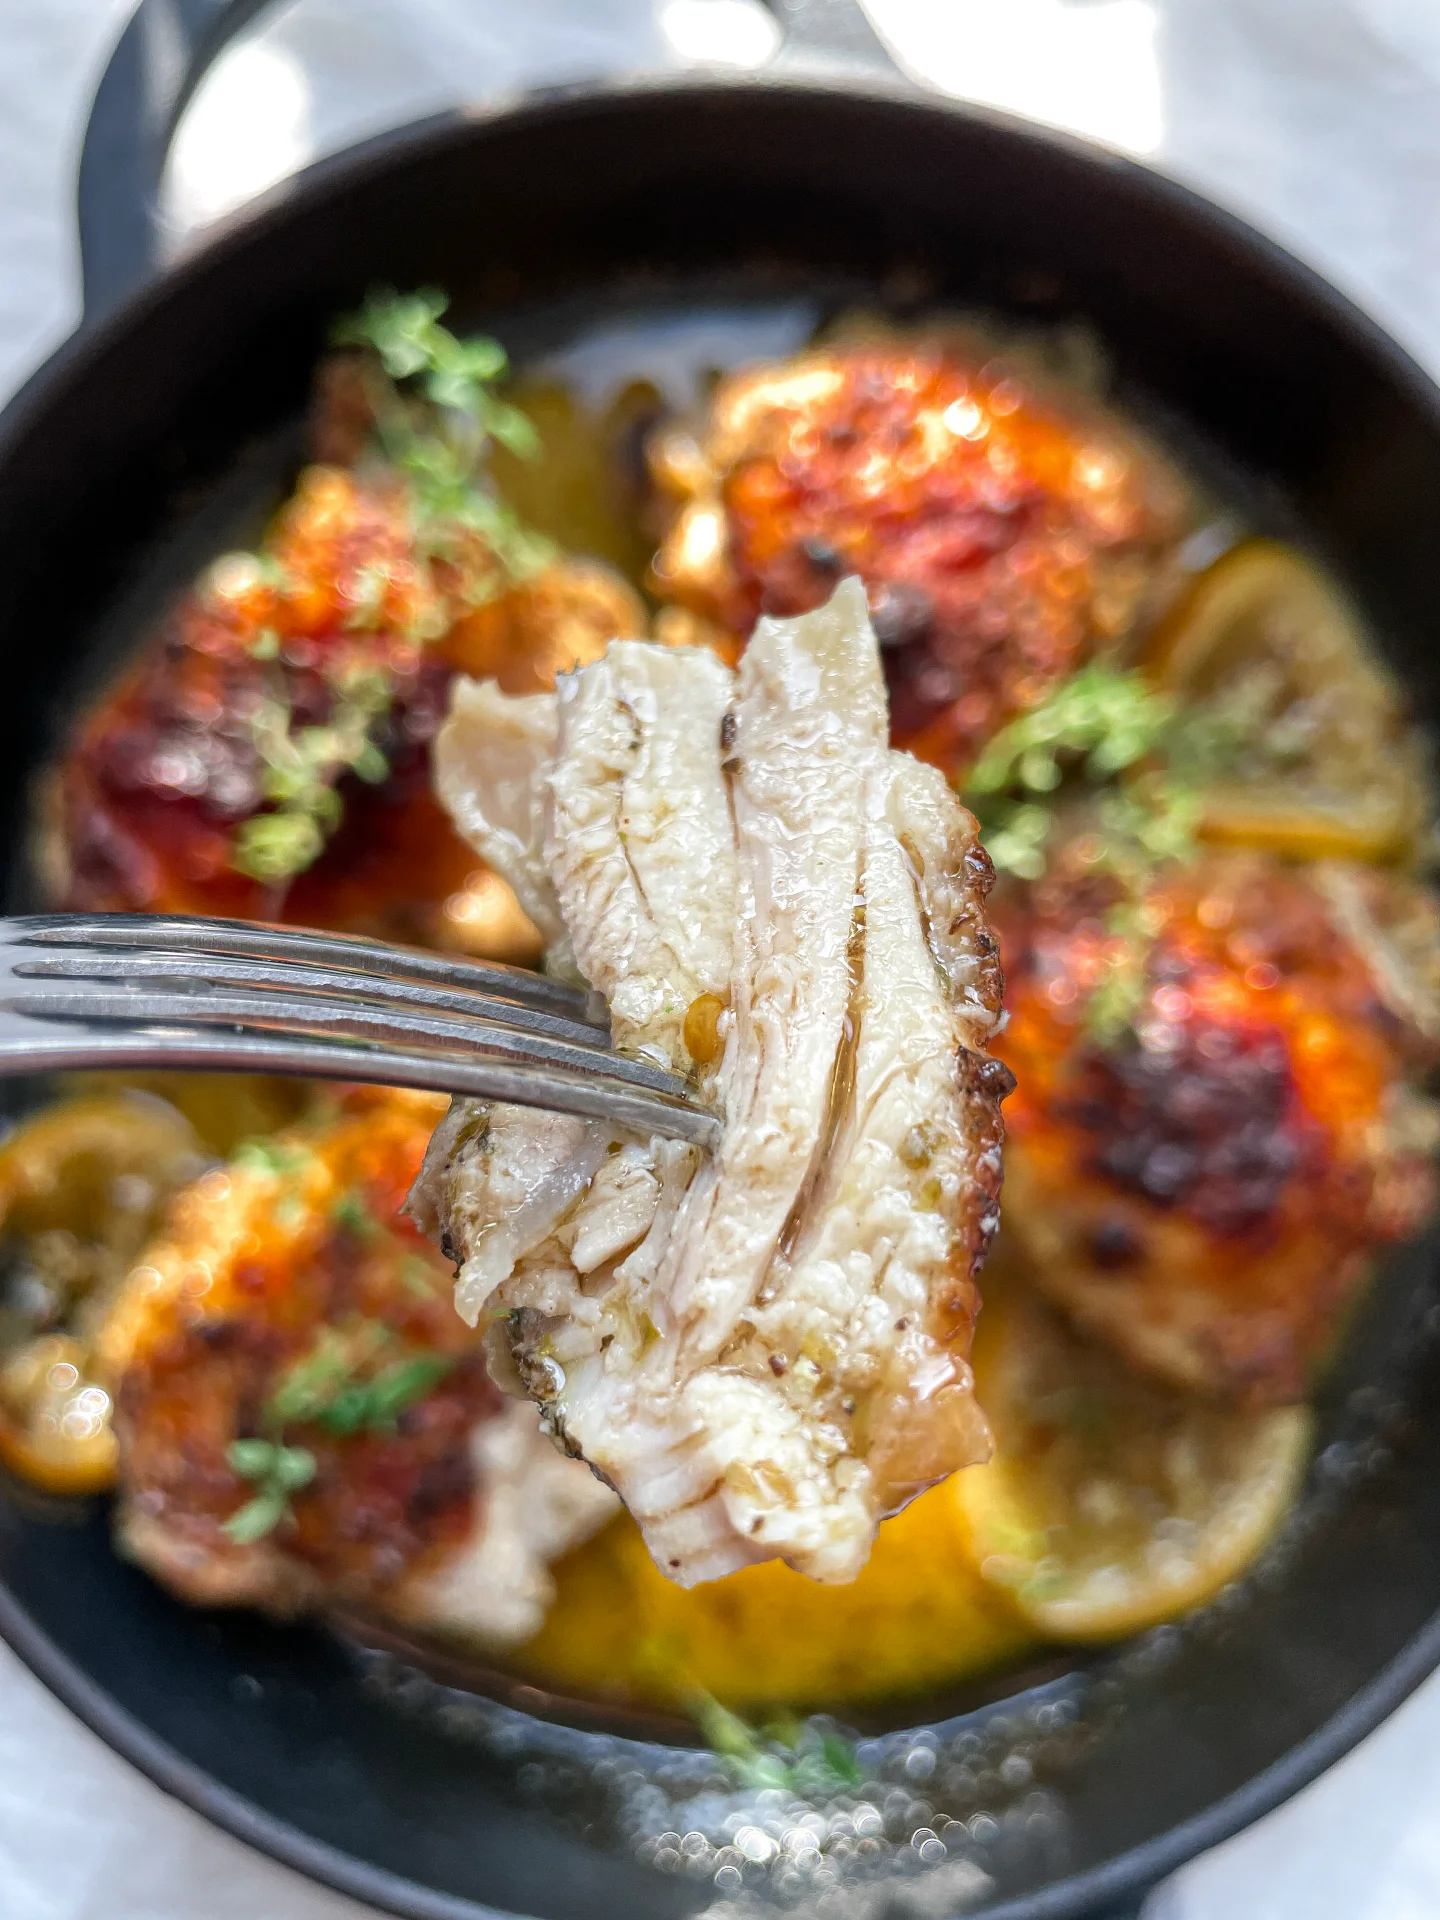
Lemon Yogurt Chicken Thighs

Lemon Yogurt Chicken Thighs

Lemon Yogurt Chicken Thighs

Lemon Yogurt Chicken Thighs

June 13, 2024 by Kimberly

Get ready to savor Lemon Yogurt Chicken Thighs: tangy, tender, and irresistibly juicy! Perfect for spicing up weeknights or wowing guests at your next dinner.

1 HOUR
55 MINUTES

EASY

OMNIVORE

INT.

398 PER PORTION

COMFORT FOOD

EVERDAY
DINNER PARTY

DINNER

SUMMER

INTRODUCTION

ABOUT THE RECIPE

Bring a zesty flair to your dinner table with these lemon yogurt marinated chicken thighs. They’re unbelievably tender and infused with the perfect balance of tangy and creamy flavors.

How to serve
These chicken thighs are best served hot with sides of grilled vegetables and a cool cucumber salad to complement the tangy marinade. They’re perfect for a cozy family dinner. Add a squeeze of fresh lemon juice right before serving to enhance their citrusy punch.

How to store
Keep leftover chicken in an airtight container in the refrigerator. They’ll stay delicious for up to two days, making them a fantastic option for next-day lunches or quick protein additions to salads or wraps.

Hi, I'm Kimberly!

Hi, I'm Kimberly.

A passionate food lover who believes in the magic of homemade deliciousness that spreads love and warmth. Join me on this culinary adventure as I prepare wonderful dishes and let’s spread some happiness together!

Kimberly the Zett Signature

If you want to get to know me better, click here!


Lemon Yogurt Chicken Thighs
„Let’s make a piece of happiness“
Print
clock clock iconcutlery cutlery iconflag flag iconfolder folder iconinstagram instagram iconpinterest pinterest iconfacebook facebook iconprint print iconsquares squares iconheart heart iconheart solid heart solid icon
Lemon Yogurt Chicken Thighs

Lemon Yogurt Chicken Thighs


  • Author: Kimberly
  • Total Time: 1 hr 55 min
  • Yield: 4 1x

Description

RECOMMENDED EQUIPMENT

  • medium-sized bowl
  • oven-safe pan

Ingredients

Units Scale
  • 4 boneless chicken thighs
  • 1/4 cup greek yogurt
  • juice of 1 lemon
  • 1/2 tbsp dried oregano
  • 1/4 tsp salt
  • 1/4 tsp pepper
  • 1/81/4 tsp chili flakes
  • 2 tbsp olive oil
  • 1 tsp fresh thyme
  • 2 tsp butter

Instructions

PREPARATIONS

  • In a medium-sized bowl, mix the following ingredients into a marinade: yogurt, lemon juice, peeled and pressed garlic cloves, chili flakes, oregano, salt, and pepper.
  • Place the chicken thighs in the bowl and rub them thoroughly with the marinade. Let the thighs marinate in the refrigerator for at least 1 hour up to overnight.

INSTRUCTIONS

  1. Preheat the oven to 200°C / 392°F.
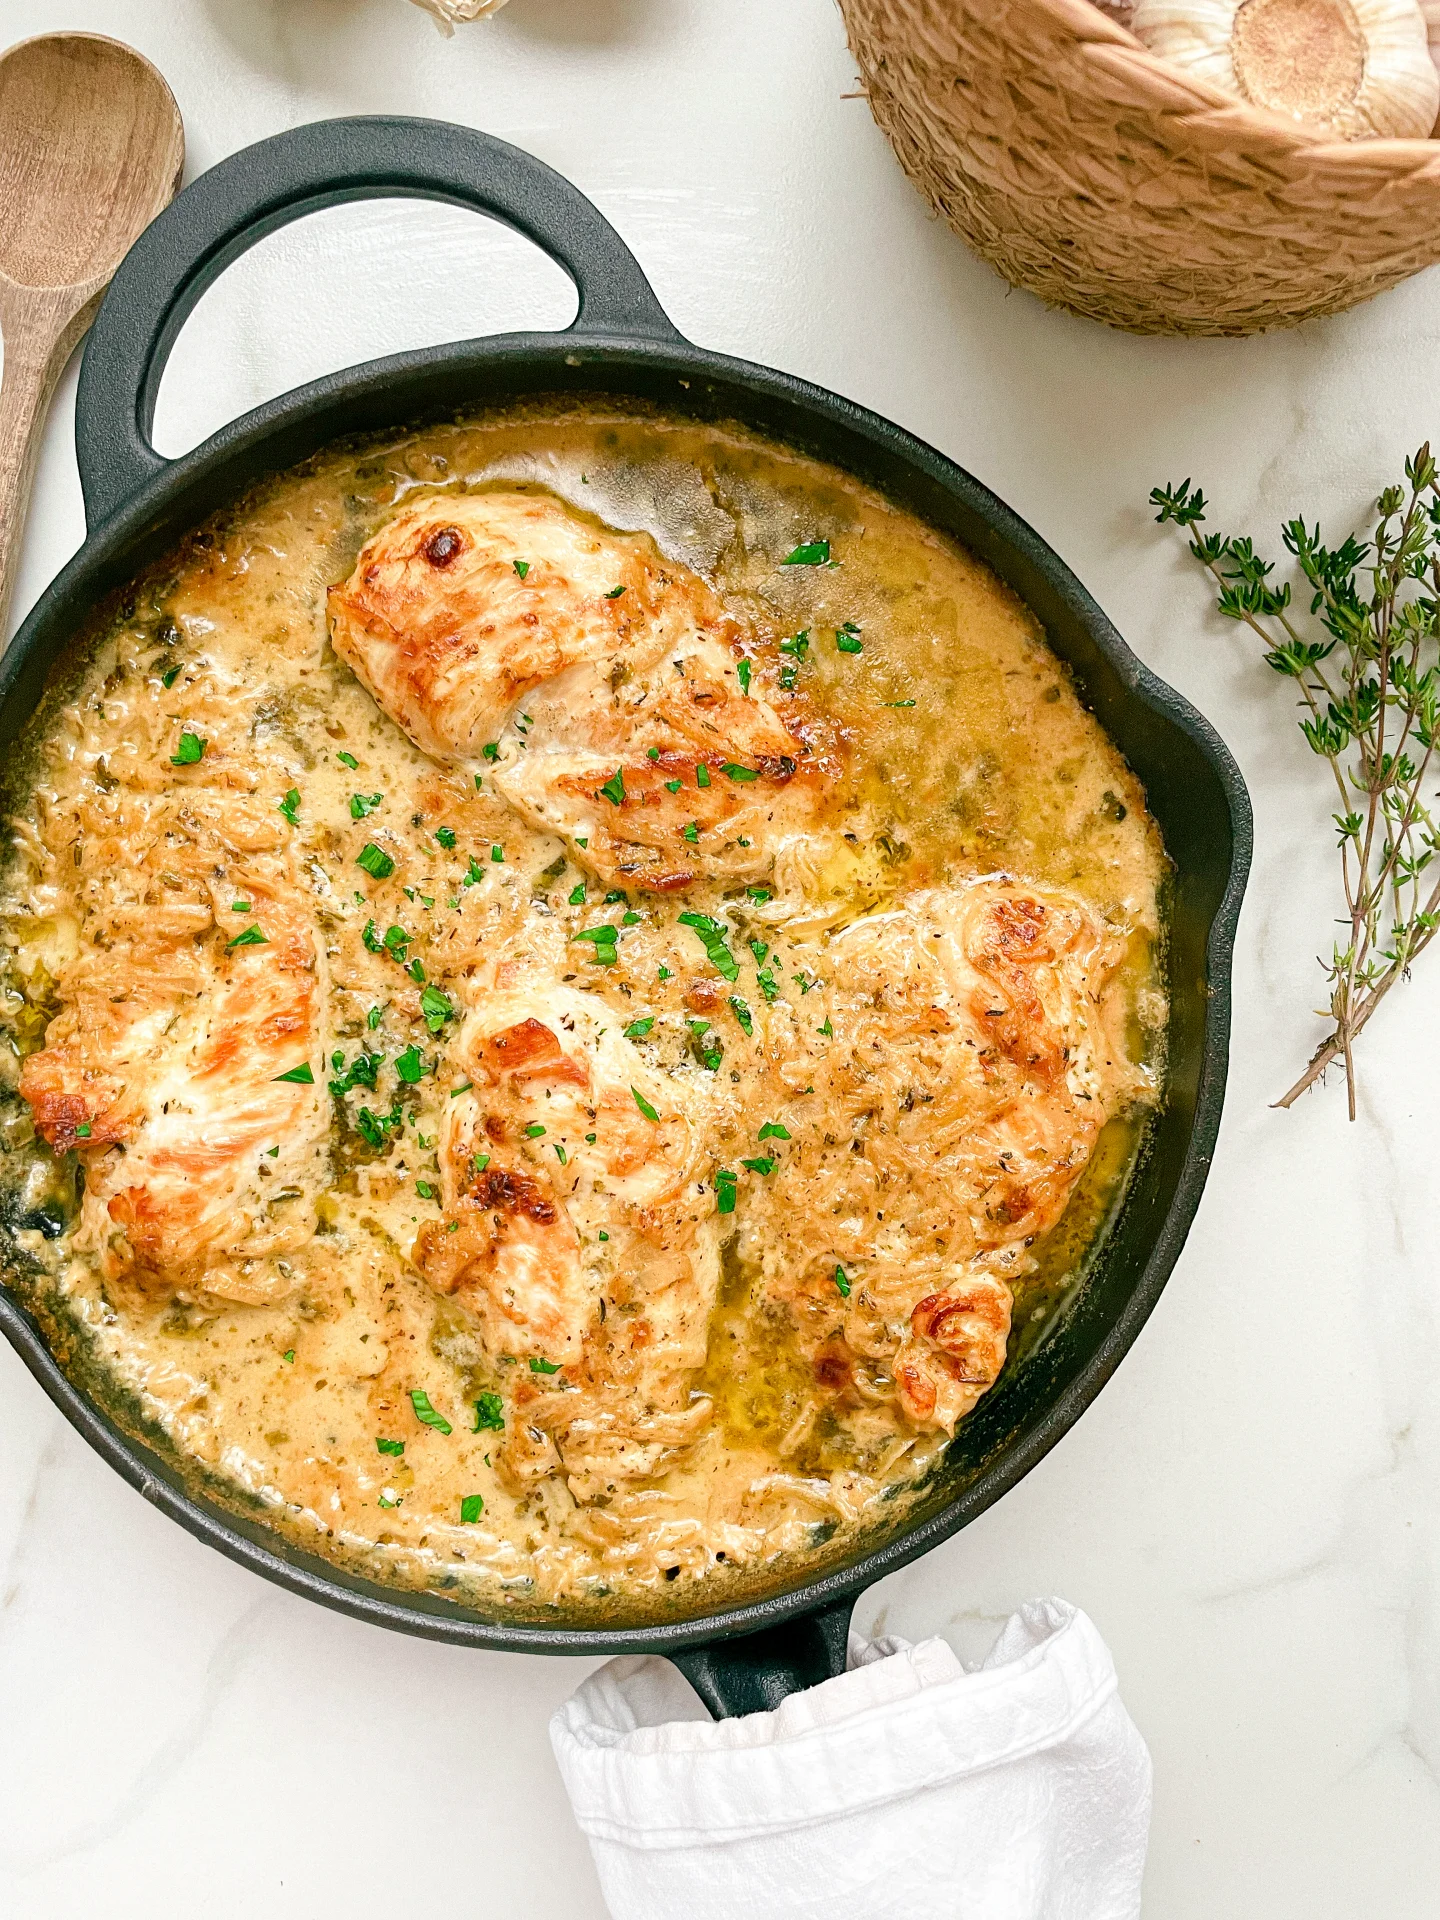
  2. Remove the chicken thighs from the refrigerator and place them skin-side up in an ovenproof pan. Slice a lemon and arrange the slices between the chicken thighs in the pan. Place about 1/2 teaspoon of butter on each thigh and drizzle 1-2 tablespoons of olive oil over everything.
  3. Bake the pan with the thighs in the oven for about 45 minutes uncovered. Depending on the size of the thighs, it might take a bit longer. Turn on the broiler 5-10 minutes before the end of cooking to get the chicken really crispy. A delicious sauce will naturally form in the pan while baking.
  4. Serve the hot thighs and the sauce immediately. They go best with salad, potatoes, or rice. Enjoy your piece of bliss!

Notes

The calorie information may vary depending on the product used, country and region.

  • Prep Time: 5 min
  • Passive Time: 1 hr 45 min
  • Cook Time: 5 min

Cilantro Oil

Cilantro Oil

Cilantro Oil

Cilantro Oil

June 4, 2024 by Kimberly

Get ready to transform your dishes with cilantro oil! This vibrant, zesty oil packs a punch, adding a burst of fresh flavor to any meal.

75 MINUTES

ADVANCED

VEGAN

INT.

40 PER TSP

REFRESHING
ZESTY

MICHELIN

OIL

ALL YEAR

INTRODUCTION

ABOUT THE RECIPE

Cilantro oil is a game-changer in the kitchen! This easy-to-make, vibrant oil infuses any dish with a fresh, zesty kick. Perfect for drizzling over salads, soups, or grilled veggies, it’s a must-have for any home cook. Plus, it’s a fantastic way to use up leftover cilantro, reducing waste while adding a flavor explosion to your meals.

How to serve
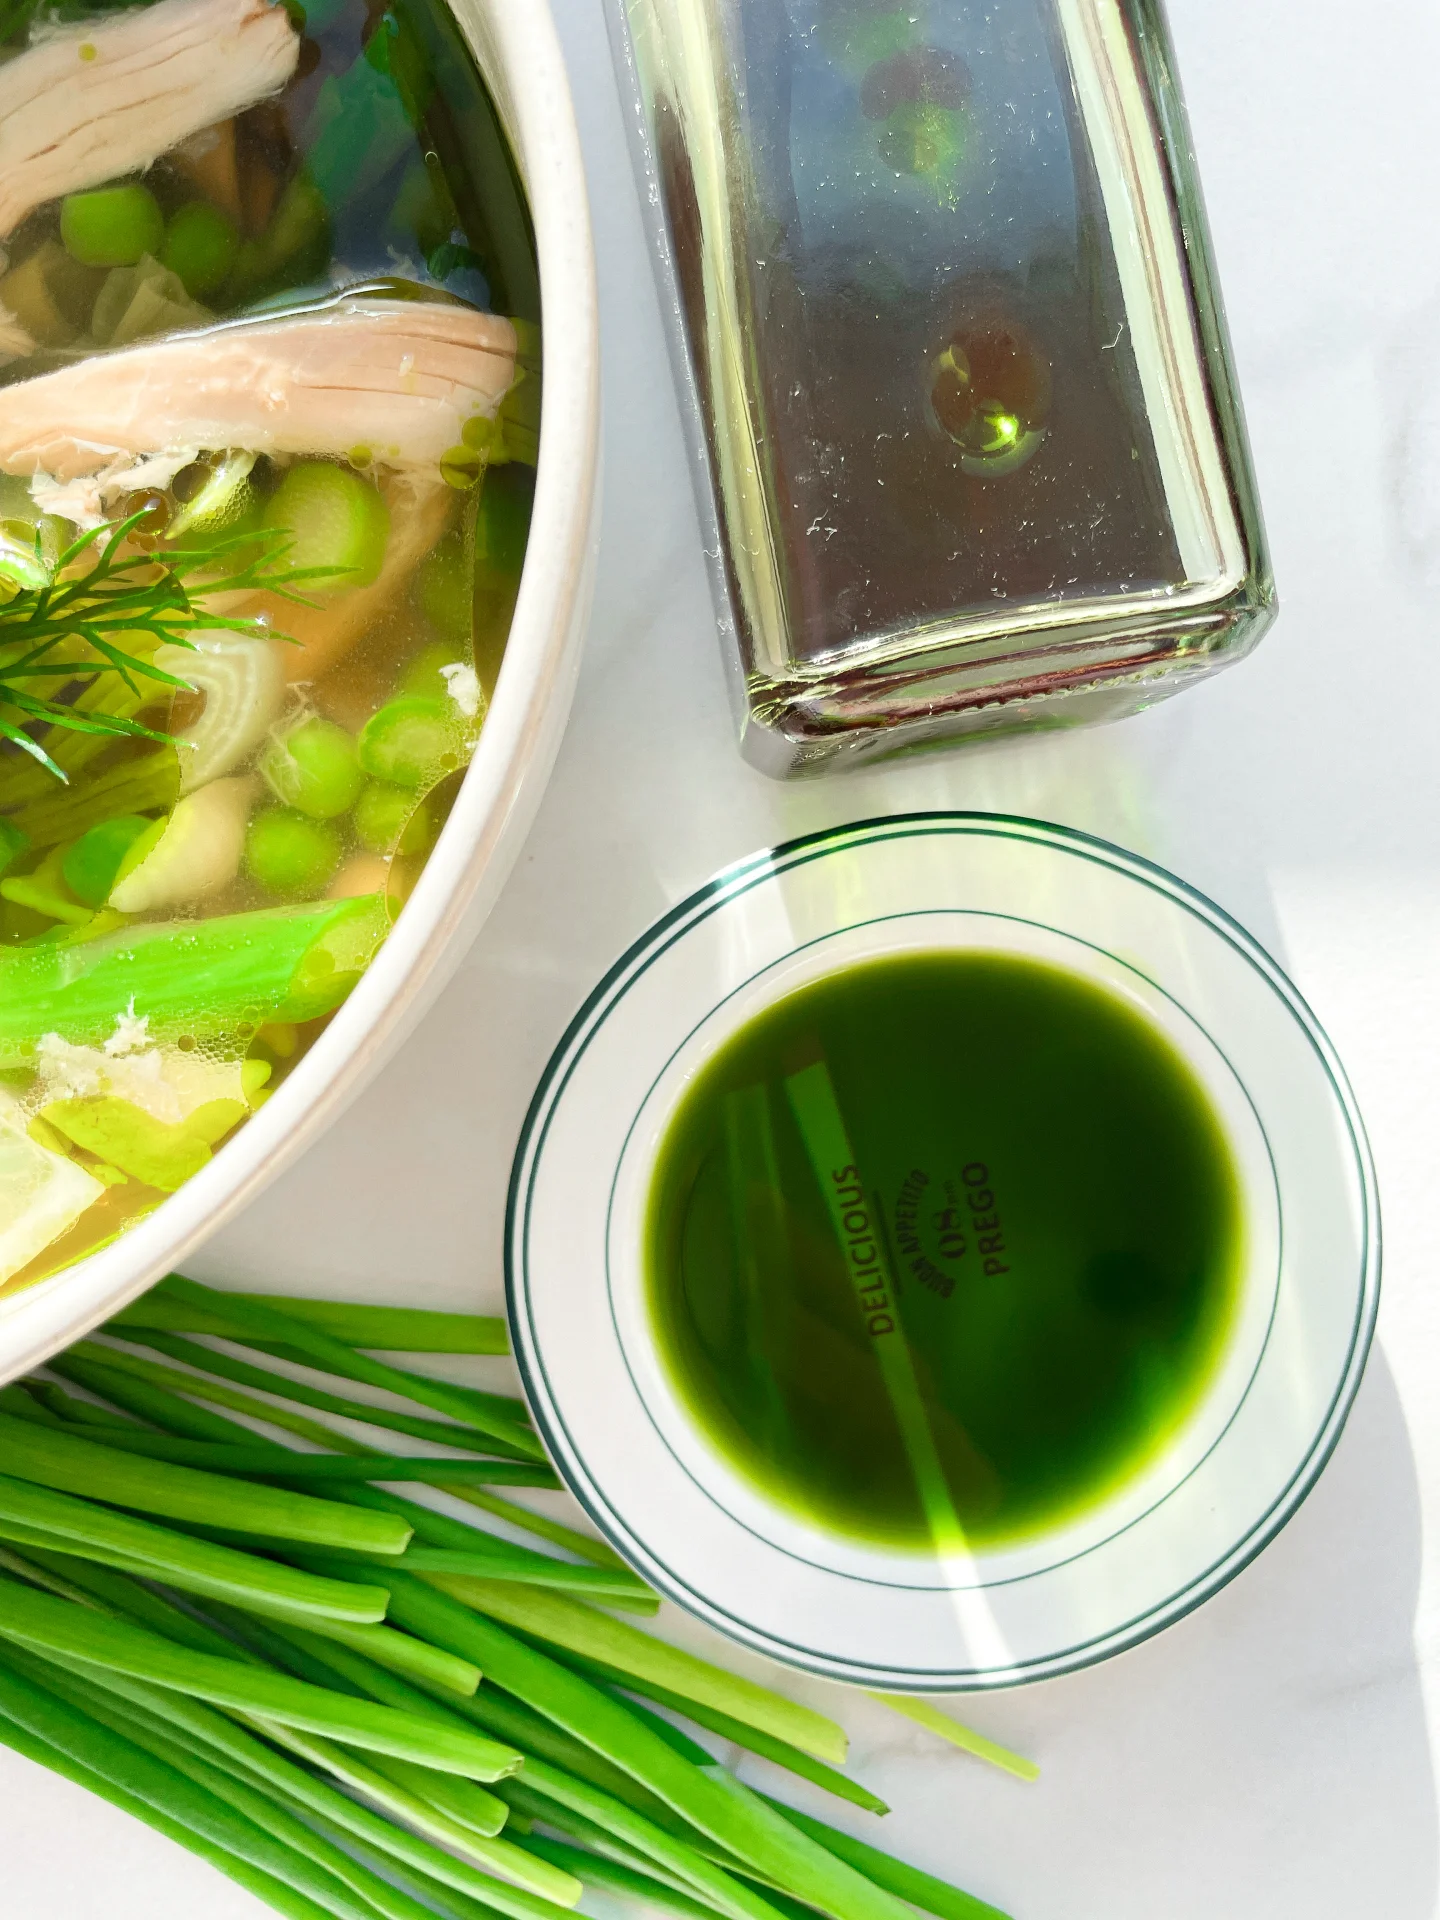
Serve cilantro oil as a finishing touch to elevate your dishes. Drizzle it over roasted vegetables, mix it into salad dressings, or use it as a marinade for your favorite proteins. It’s also amazing on top of soups or stirred into grains like rice and quinoa. The possibilities are endless, making it a versatile addition to your kitchen.

How to store
Store your cilantro oil in an airtight container in the refrigerator for up to a week. For longer storage, freeze it in ice cube trays and use as needed. This way, you’ll always have a burst of fresh, zesty flavor ready to enhance your meals.

Hi, I'm Kimberly!

Hi, I'm Kimberly.

A passionate food lover who believes in the magic of homemade deliciousness that spreads love and warmth. Join me on this culinary adventure as I prepare wonderful dishes and let’s spread some happiness together!

Kimberly the Zett Signature

If you want to get to know me better, click here!


Cilantro Oil
Cilantro Oil
Cilantro Oil
„Let’s make a piece of happiness“
Print
clock clock iconcutlery cutlery iconflag flag iconfolder folder iconinstagram instagram iconpinterest pinterest iconfacebook facebook iconprint print iconsquares squares iconheart heart iconheart solid heart solid icon
Cilantro Oil

Cilantro Oil


  • Author: Kimberly
  • Total Time: 75 min
  • Yield: 250 ml / 1 cup 1x

Description

RECOMMENDED EQUIPMENT
  • blender
  • medium-sized saucepan
  • whisk
  • a bowl into which the medium saucepan fits
  • 2 medium-sized bowls
  • fine sieve
  • sealable container
  • ice cubes
  • coffee filter

Ingredients

Units Scale
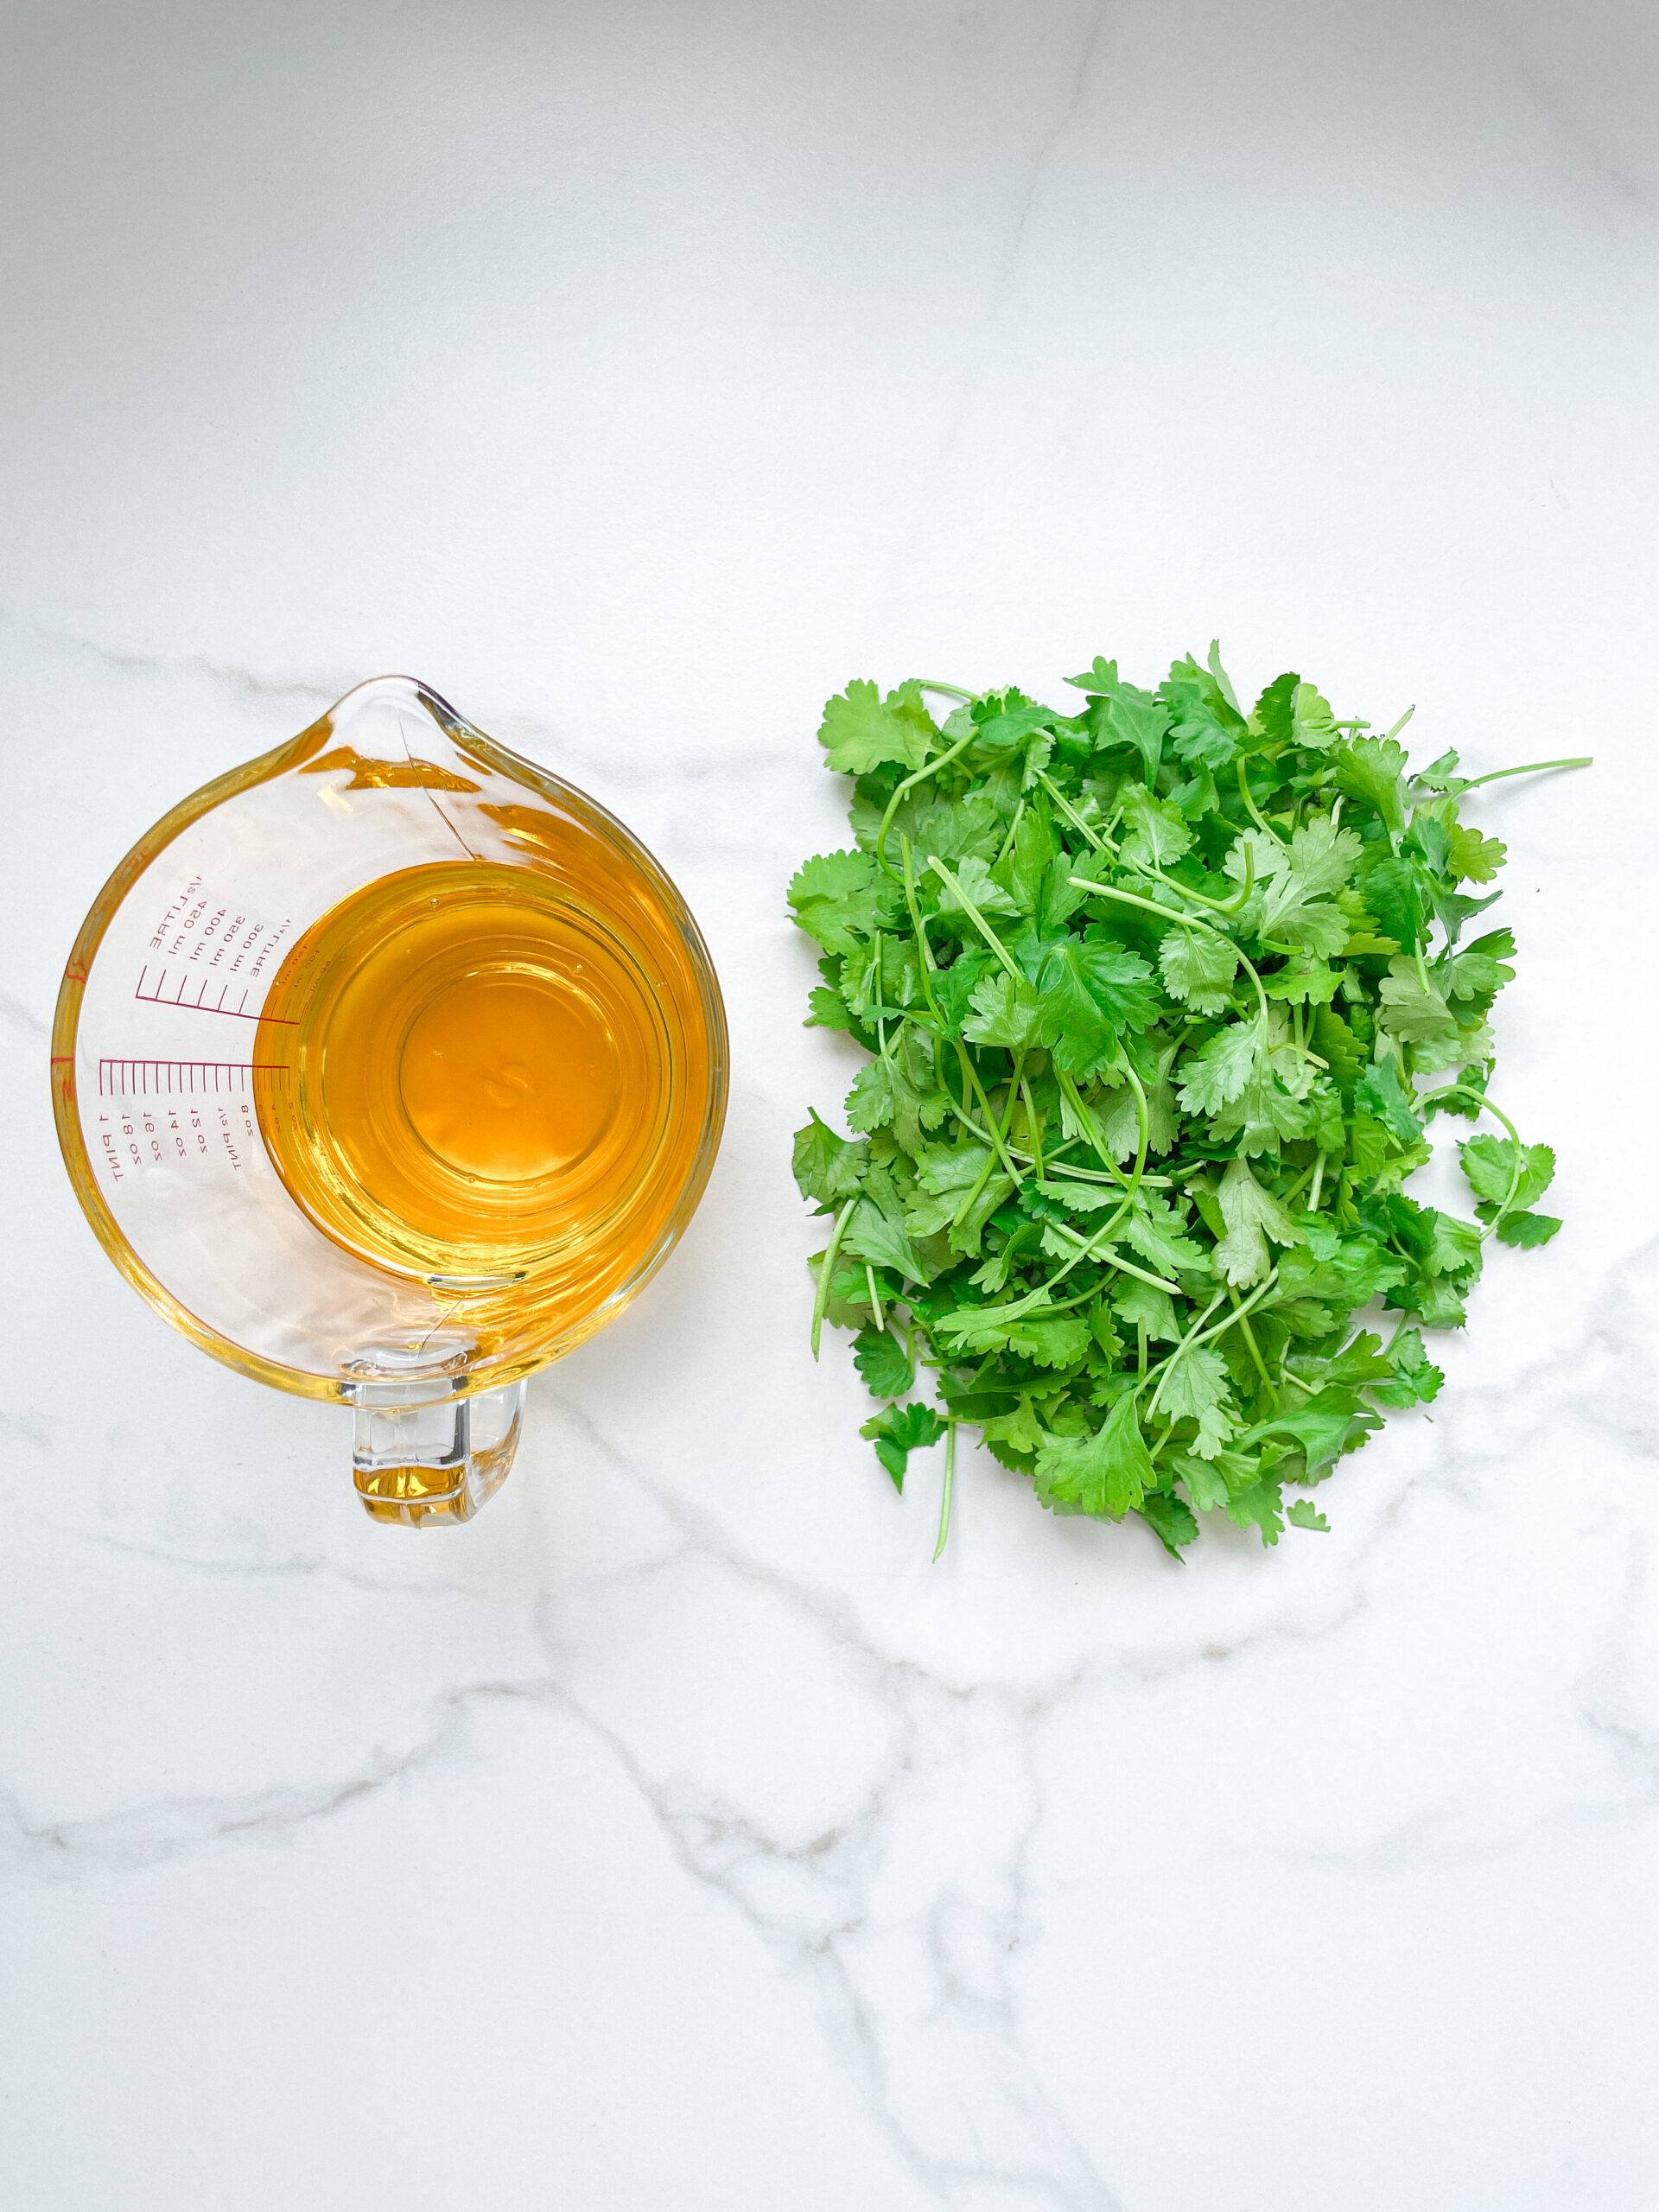
  • 30 grams cilantro
  • 250 milliliters unrefined / cold-pressed rapeseed oil

Instructions

  1. Separate the leaves from the stems and put the leaves into the blender. Pour in the oil. Blend on the highest setting until it becomes bright green and no pieces of cilantro are longer visible.
  2. Pour the mixture from the blender into a medium-sized pot and heat it over medium heat, constantly stirring, to a temperature of about 102°-103°C (215°-217°F). Then, let the oil simmer for the next 10 minutes. Stir only occasionally, making sure the temperature remains steady. This cooking time is essential for all the water to evaporate, allowing the perishable solids to settle at the bottom and the dark green oil to float on top. You’ll know all the water has evaporated when the oil in the pot barely bubbles anymore – so if it’s still bubbling vigorously, keep it simmering.
  3. Meanwhile, prepare a bowl large enough to fit the medium-sized pot, filled with cold water and a handful of ice cubes. Also, hang a fine sieve strainer over a medium-sized bowl.
  4. Now, place the pot in the ice water and stir to stop the cooking process. Once the oil is no longer boiling and is almost cold, remove the pot from the water and pour the oil into the fine sieve to catch the coarse particles.
  5. Then, rinse the strainer and hang it over the second medium-sized bowl. Press a coffee filter into the strainer and pour the captured oil into the coffee filter, so that the remaining perishable and coarser particles are caught.
  6. Allow the oil to drip through for about 1 hour or maybe more depending on how many remaining particles are in there. Once all the oil has passed through the coffee filter, transfer the collected amount into a sealable container or directly into an oil bottle. Store in the refrigerator for up to one week.

Notes

The calorie information may vary depending on the product used, country and region.

  • Passive Time: 60 min
  • Cook Time: 15 min

Mirepoix Oil

Mirepoix Oil

Mirepoix Oil

Mirepoix Oil

May 28, 2024 by Kimberly

Ever wished you could bottle the essence of savory goodness? Meet Mirepoix Oil, your new kitchen MVP. This oil will transform your meals!

105 MINUTES

ADVANCED

VEGAN

INT.

40 PER TSP

UMAMI

MICHELIN

OIL

ALL YEAR

INTRODUCTION

ABOUT THE RECIPE

If you haven’t tried Mirepoix Oil yet, you’re in for a treat. This incredible oil infusion combines the classic flavors of onions, carrots, and celery into a versatile ingredient that will transform your cooking. Whether you’re a kitchen newbie or a culinary pro, Mirepoix Oil is your secret weapon for adding depth and richness to any dish with minimal effort.

How to serve
Drizzle it over roasted vegetables, mix it into pasta, or use it as an extra flavor boost for soups and stews. It’s also perfect as a finishing touch to your favorite salads. The possibilities are endless, making it a must-have in your kitchen arsenal. Get creative and watch your dishes come to life!

How to store
Store your Mirepoix Oil in an airtight container in the refrigerator to keep it fresh. It can last up to one week, ensuring you always have this flavor booster ready to go.

Hi, I'm Kimberly!

Hi, I'm Kimberly.

A passionate food lover who believes in the magic of homemade deliciousness that spreads love and warmth. Join me on this culinary adventure as I prepare wonderful dishes and let’s spread some happiness together!

Kimberly the Zett Signature

If you want to get to know me better, click here!


Mirepoix Oil
Mirepoix Oil
Mirepoix Oil
„Let’s make a piece of happiness“
Print
clock clock iconcutlery cutlery iconflag flag iconfolder folder iconinstagram instagram iconpinterest pinterest iconfacebook facebook iconprint print iconsquares squares iconheart heart iconheart solid heart solid icon
Mirepoix Oil

Mirepoix Oil


  • Author: Kimberly
  • Total Time: 105 min
  • Yield: 250 ml / 1 cup 1x
  • Diet: Vegan

Description

RECOMMENDED EQUIPMENT

  • blender
  • medium-sized saucepan
  • whisk
  • a bowl which the medium saucepan fits into
  • 2 medium-sized bowls
  • 2 fine sieves
  • sealable container (oil bottle)
  • ice cubes
  • coffee filter

Ingredients

Units Scale
  • 50 grams carrot
  • 50 grams celery
  • 100 grams onion
  • 250 milliliters unrefined/cold-pressed rapeseed oil

Instructions

  1. Peel the carrot and onion and roughly chop them as well as the celery. Put the pieces into the blender. Pour in the oil. Blend on the highest setting until there are only tiny pieces of the vegetables left.
  2. Pour the mixture from the blender into a medium-sized pot and heat it over medium heat to a temperature of about 99°-102°C (210°-215°F), and maintain this temperature for the next 40 minutes. Stir occasionally, making sure the temperature remains steady and nothing gets burned.
  3. Prepare a bowl large enough to fit a medium-sized pot, and fill it with cold water and a handful of ice cubes. Also, hang a fine sieve strainer over one medium-sized bowl and another fine sieve strainer, with a coffee filter inside it, over another medium-sized bowl.
  4. Now, place the pot in the ice water and stir to cool the oil quickly. Once the oil is almost cold, remove the pot from the water and pour the oil into the prepared fine sieve to catch the coarse particles.
  5. Then, pour the oil into the second sieve, which is equipped with a coffee filter, to catch the remaining finer particles.
  6. Allow the oil to drip through for about 1 hour or maybe less depending on how many remaining particles are in the coffee filter. Once all the oil has passed through the coffee filter, transfer the collected amount of oil into a sealable container or directly into an oil bottle. Store in the refrigerator for up to one week.

Notes

The calorie information may vary depending on the product used, country and region.

  • Prep Time: 5 min
  • Passive Time: 60 min
  • Cook Time: 40 min
  • Category: OIL
  • Method: COOKING
  • Cuisine: INTERNATIONAL