


Description
GOOD TO HAVE ON HAND
- 20×20 cm baking dish (8×8 inch)
- large bowl
- electric mixer
- spatula
- 2 small pots (or microwave)
- sharp knife
- cutting board
- medium-sized bowl
Ingredients
Units Scale
SHORTBREAD LAYER
- 115 grams butter
- 65 grams white sugar
- 120 grams all-purpose flour
- 1/4 tsp salt
- 1/4 tsp vanilla extract
- 2 eggs
- 200 grams brown sugar
- 115 grams butter
- 50 grams baking cocoa powder
- 3/4 tsp vanilla extract
- 1/4 tsp salt
- 60 grams all-purpose flour
- 200 milliliters heavy cream
- 200 grams semi-sweet chocolate
Instructions
PREPARATIONS
- Prepare your baking dish by lining it with parchment paper or lightly greasing it. Set aside.
- Preheat the oven to 175°C (350°F).
INSTRUCTIONS
- For the shortbread layer: Whip butter and sugar on high until light and fluffy. Then add flour and salt and mix with a spatula to form a dough. Press the dough into your prepared baking dish and distribute evenly. Prick the dough with a fork to keep it flat while baking. Bake for about 12 minutes, until just lightly golden.
- Meanwhile, prepare the brownie batter. In the microwave or a small pot, melt the butter and set aside to cool. In a bowl, whip eggs and sugar until light and fluffy. Add the cooled butter, cocoa powder, and vanilla extract to the egg-sugar mixture. Mix everything into a creamy batter. Then add flour and salt, mixing only until no flour streaks are visible.
- Remove the shortbread base from the oven and spread the brownie batter over it. Bake for an additional 15 minutes.
- While that bakes, prepare the ganache. Finely chop the chocolate and place it in a medium-sized bowl. Then, in a small pot, heat the cream until it starts to steam or simmer lightly. Pour the hot cream over the chocolate and let it sit for a few minutes, then stir slowly until all the chocolate has melted. Place the ganache in the refrigerator.
- Remove the brownies from the oven and let them cool completely.
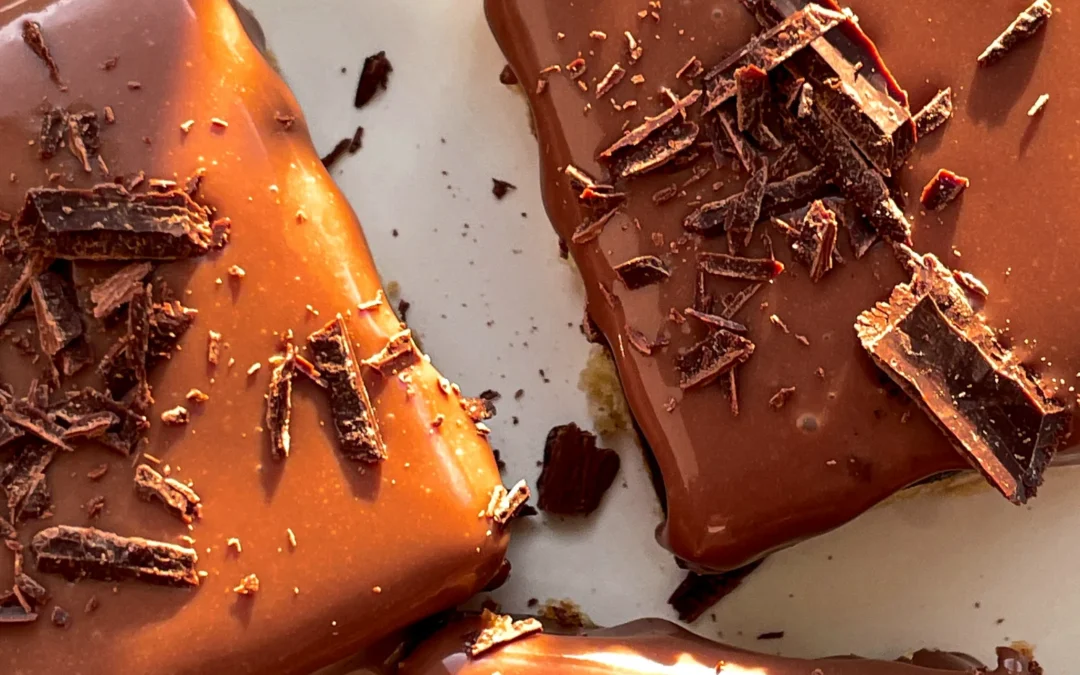
- Once the shortbread brownies are completely cool, pour all the ganache over them and refrigerate again until the ganache sets, about 4-5 hours. I used milk chocolate in equal parts with cream, so it takes a bit longer than usual. You can speed up the process by doubling the amount of milk chocolate or substituting milk chocolate with dark chocolate.
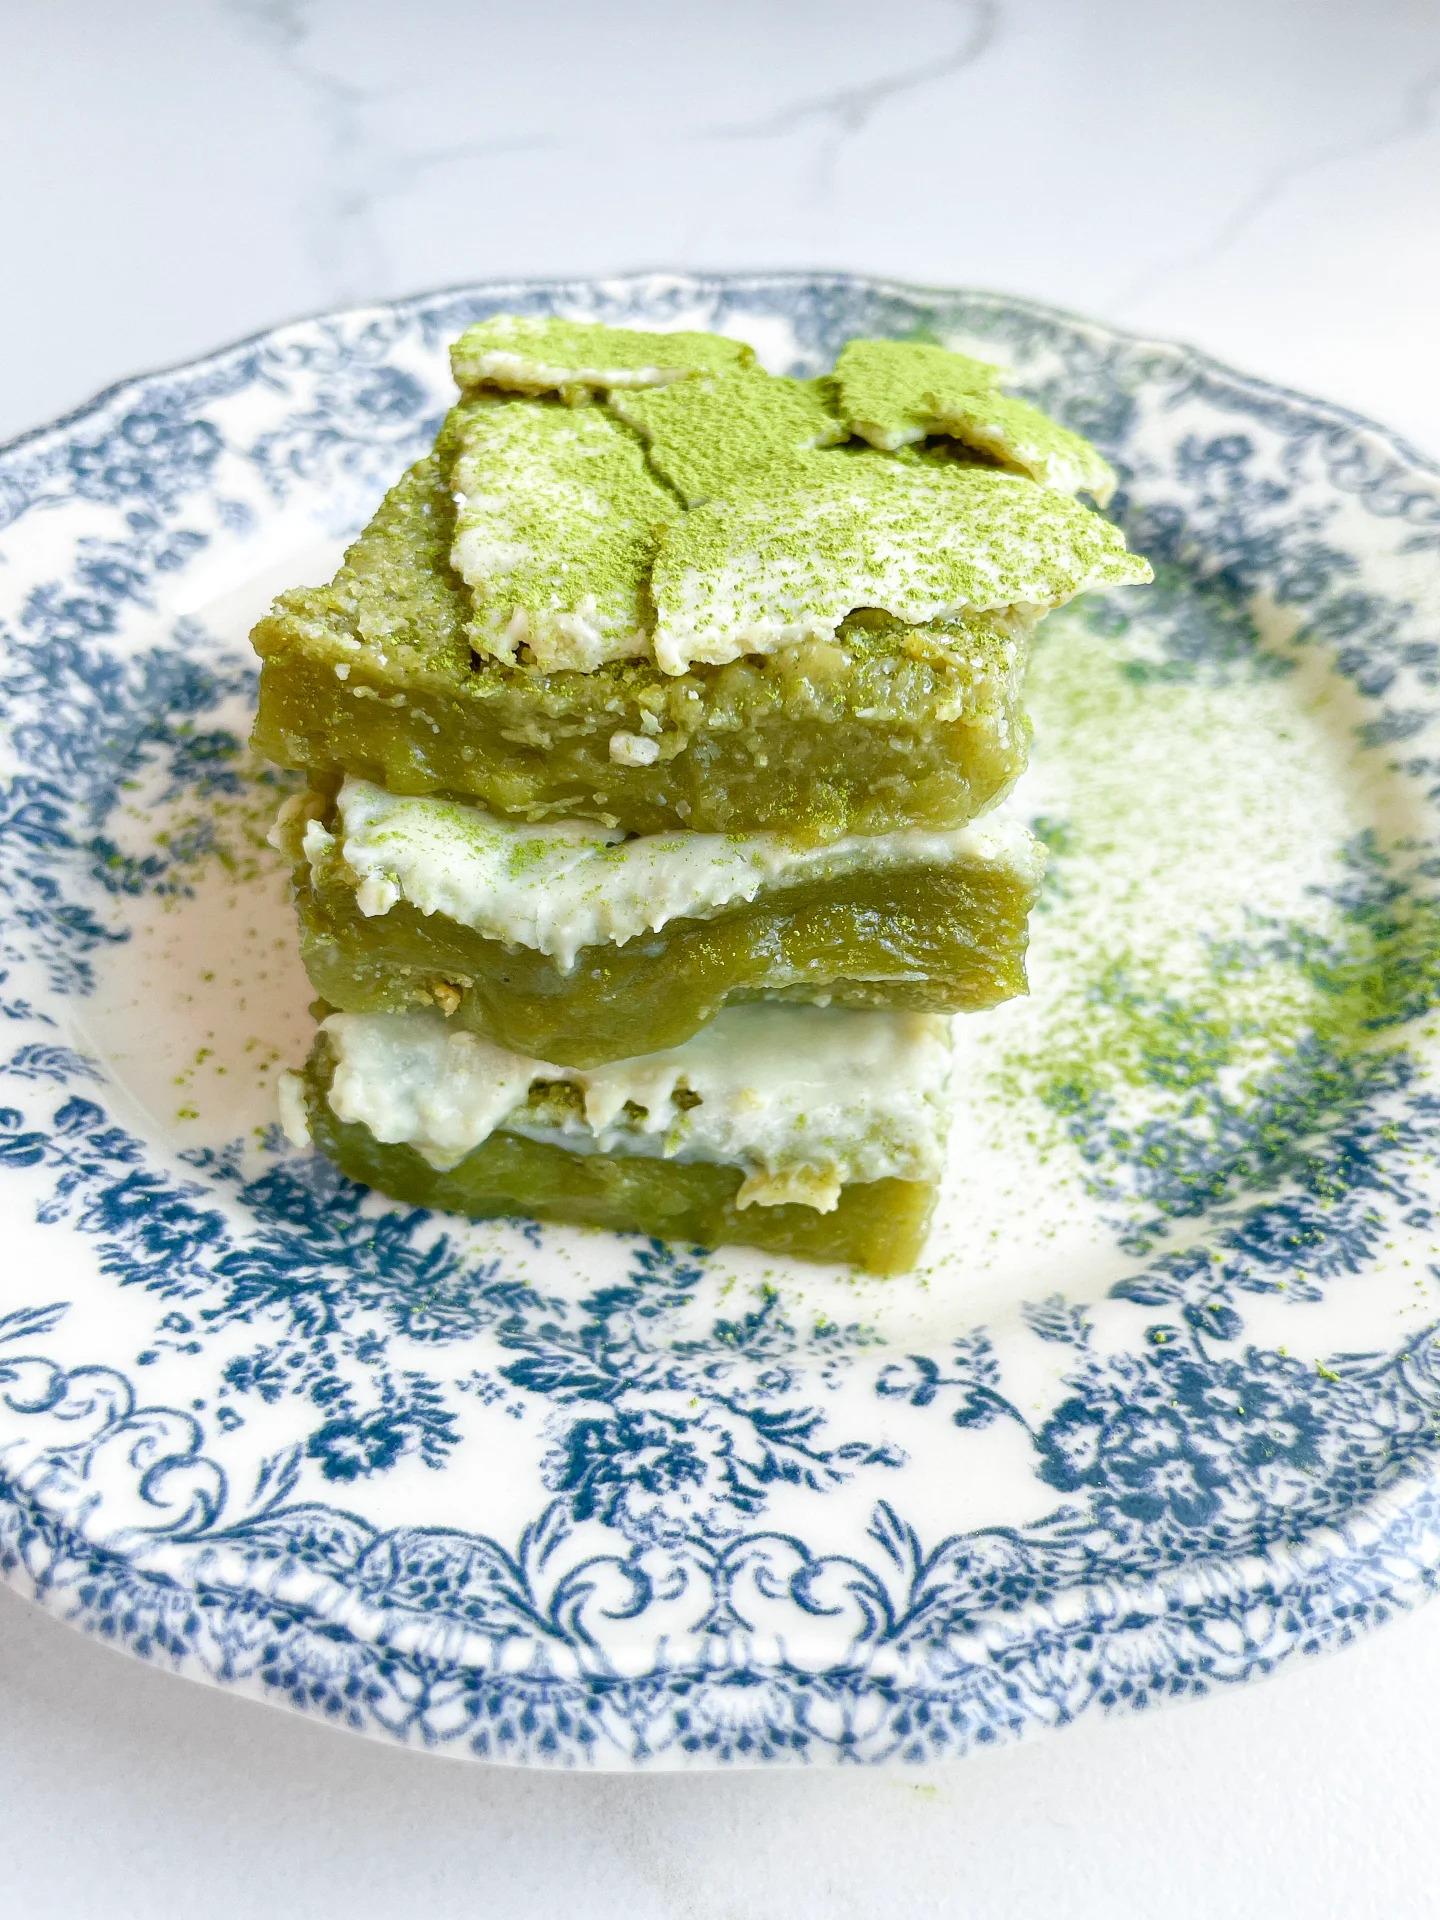
- Once the ganache is firm, cut the brownies into 9-12 equal pieces and optionally garnish with grated chocolate. Enjoy your piece of happiness.
Notes
The calorie information may vary depending on the product used, country and region.
- Prep Time: 2 min
- Passive Time: 4 hrs
- Cook Time: 30 min