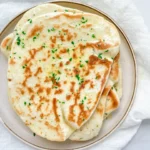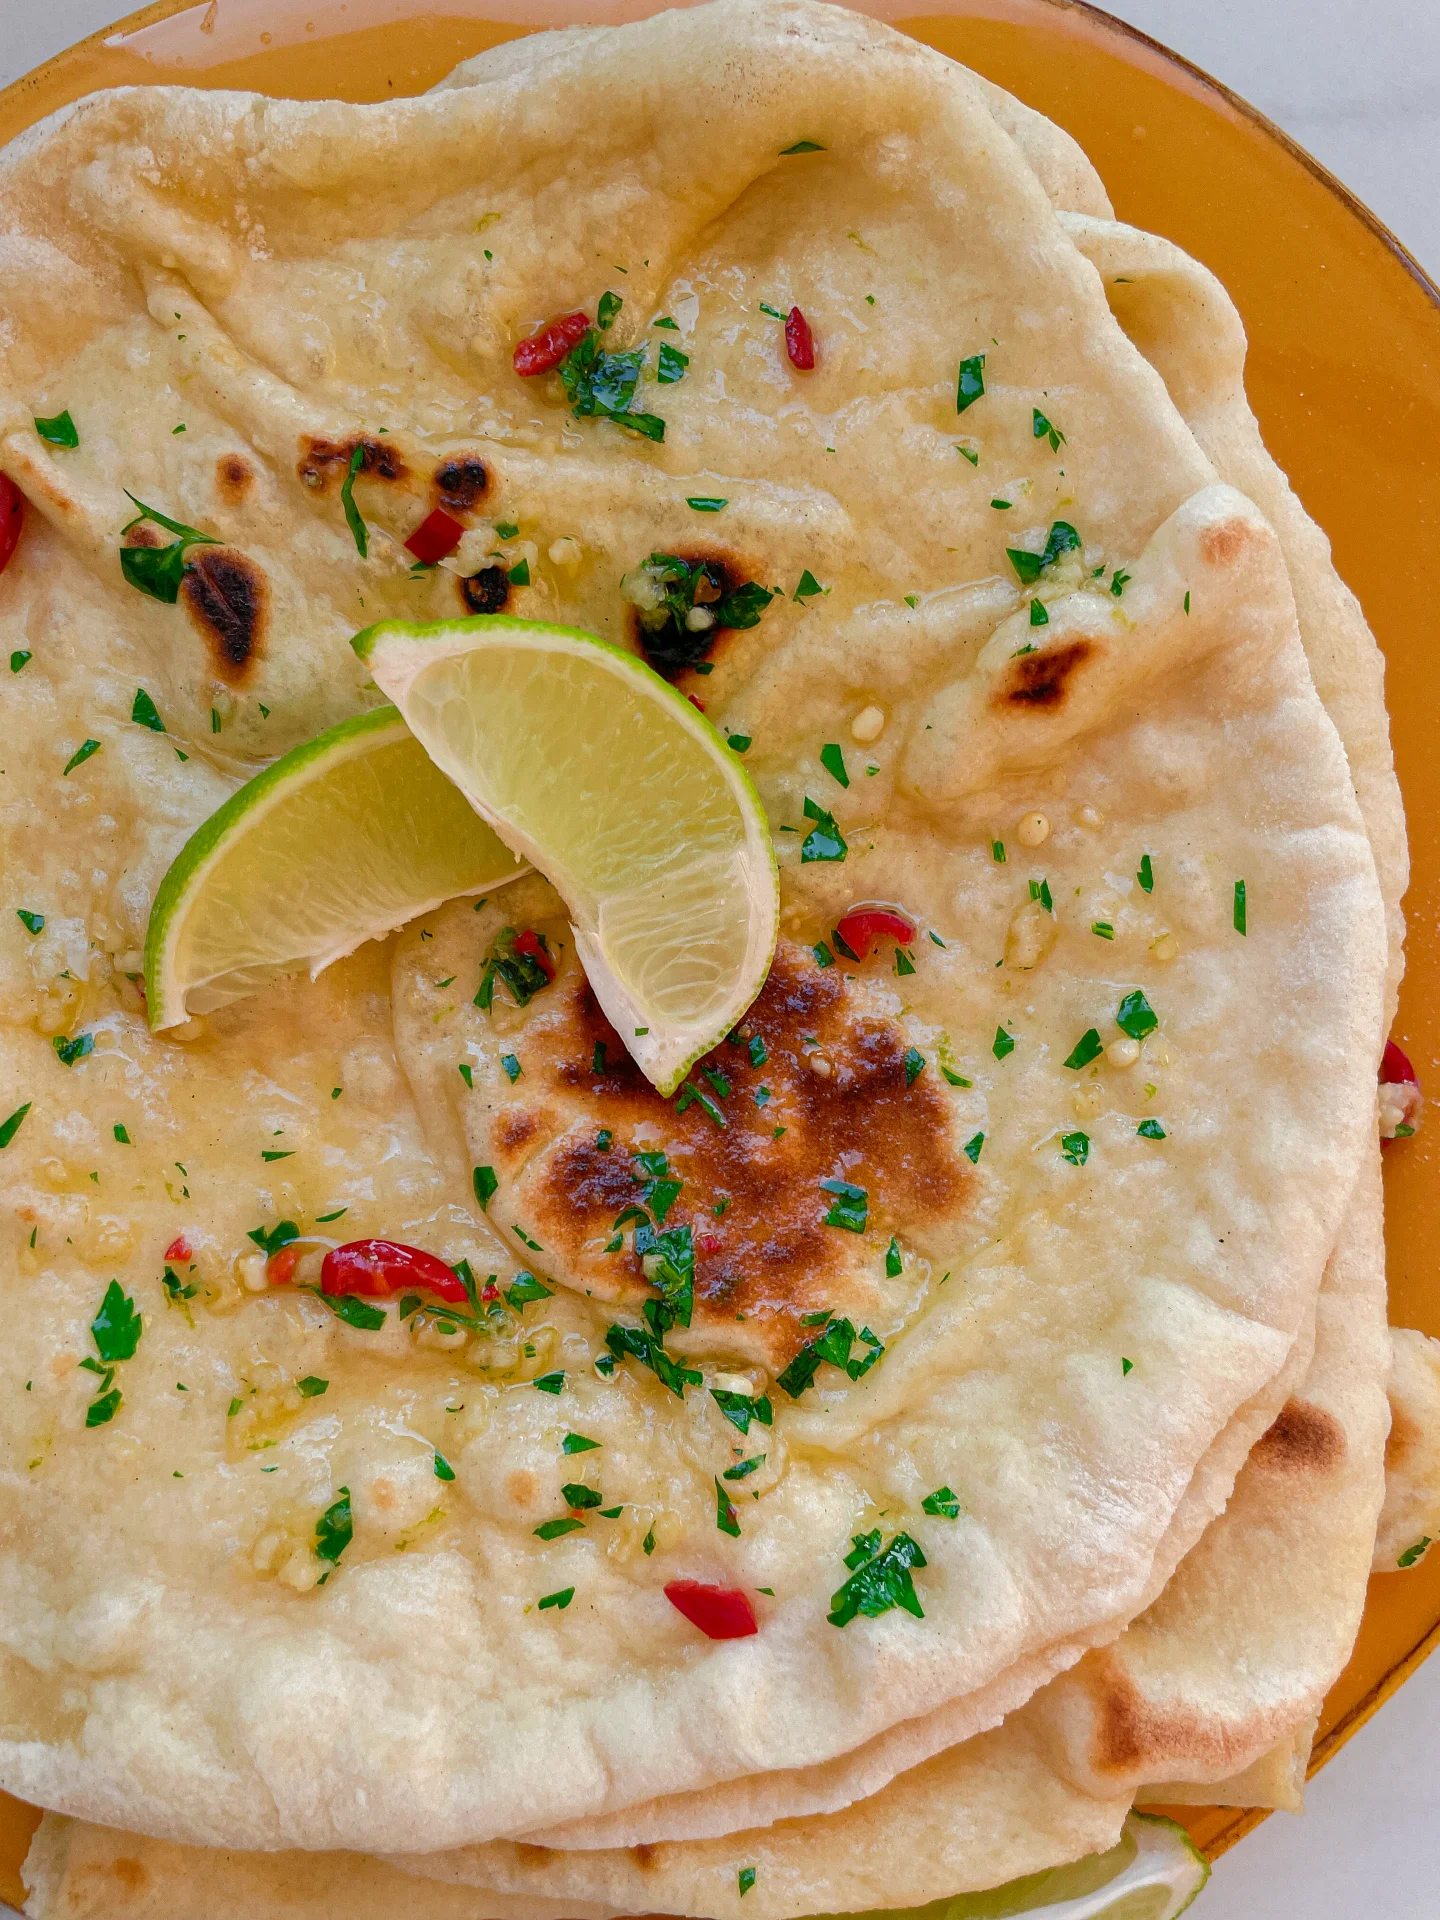


Description
Recommended Equipment
- large bowl
- spatula
- plastic wrap
- round cookie cutter
- parchment paper
- large pan
Ingredients
Units Scale
- 7 grams drive-active yeast
- 25 grams white sugar
- 200 milliliters full-fat cow milk
- 100 milliliters water
- 1 egg
- 40 grams butter
- 1.5 tsp salt
- 550 grams bread flour (in Germany Type 550)
- semolina
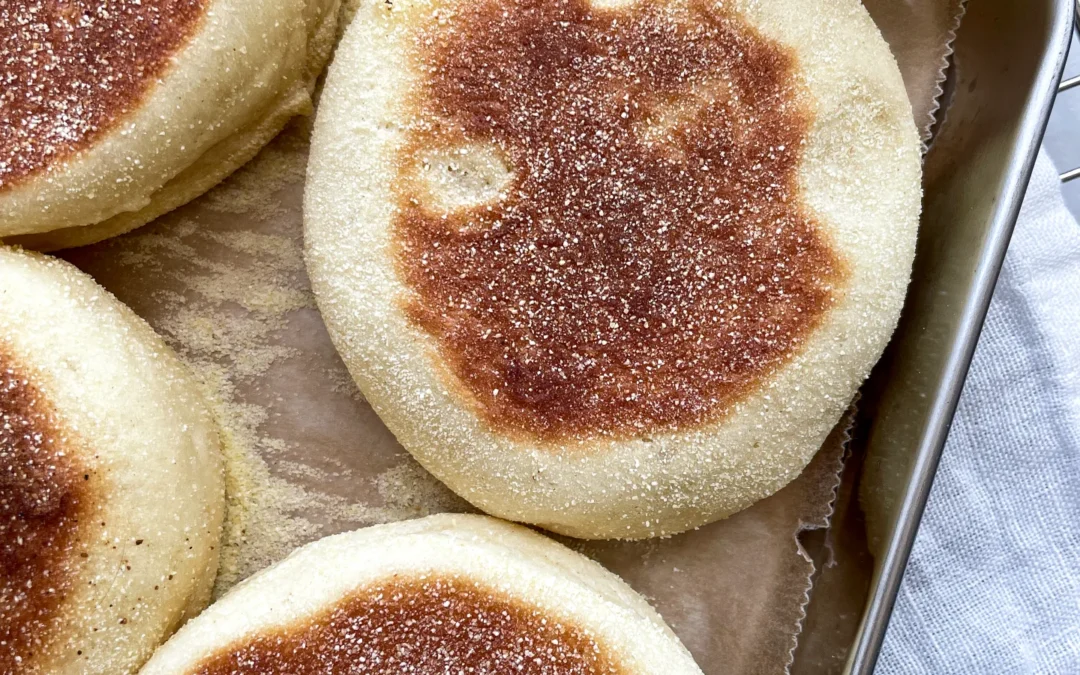
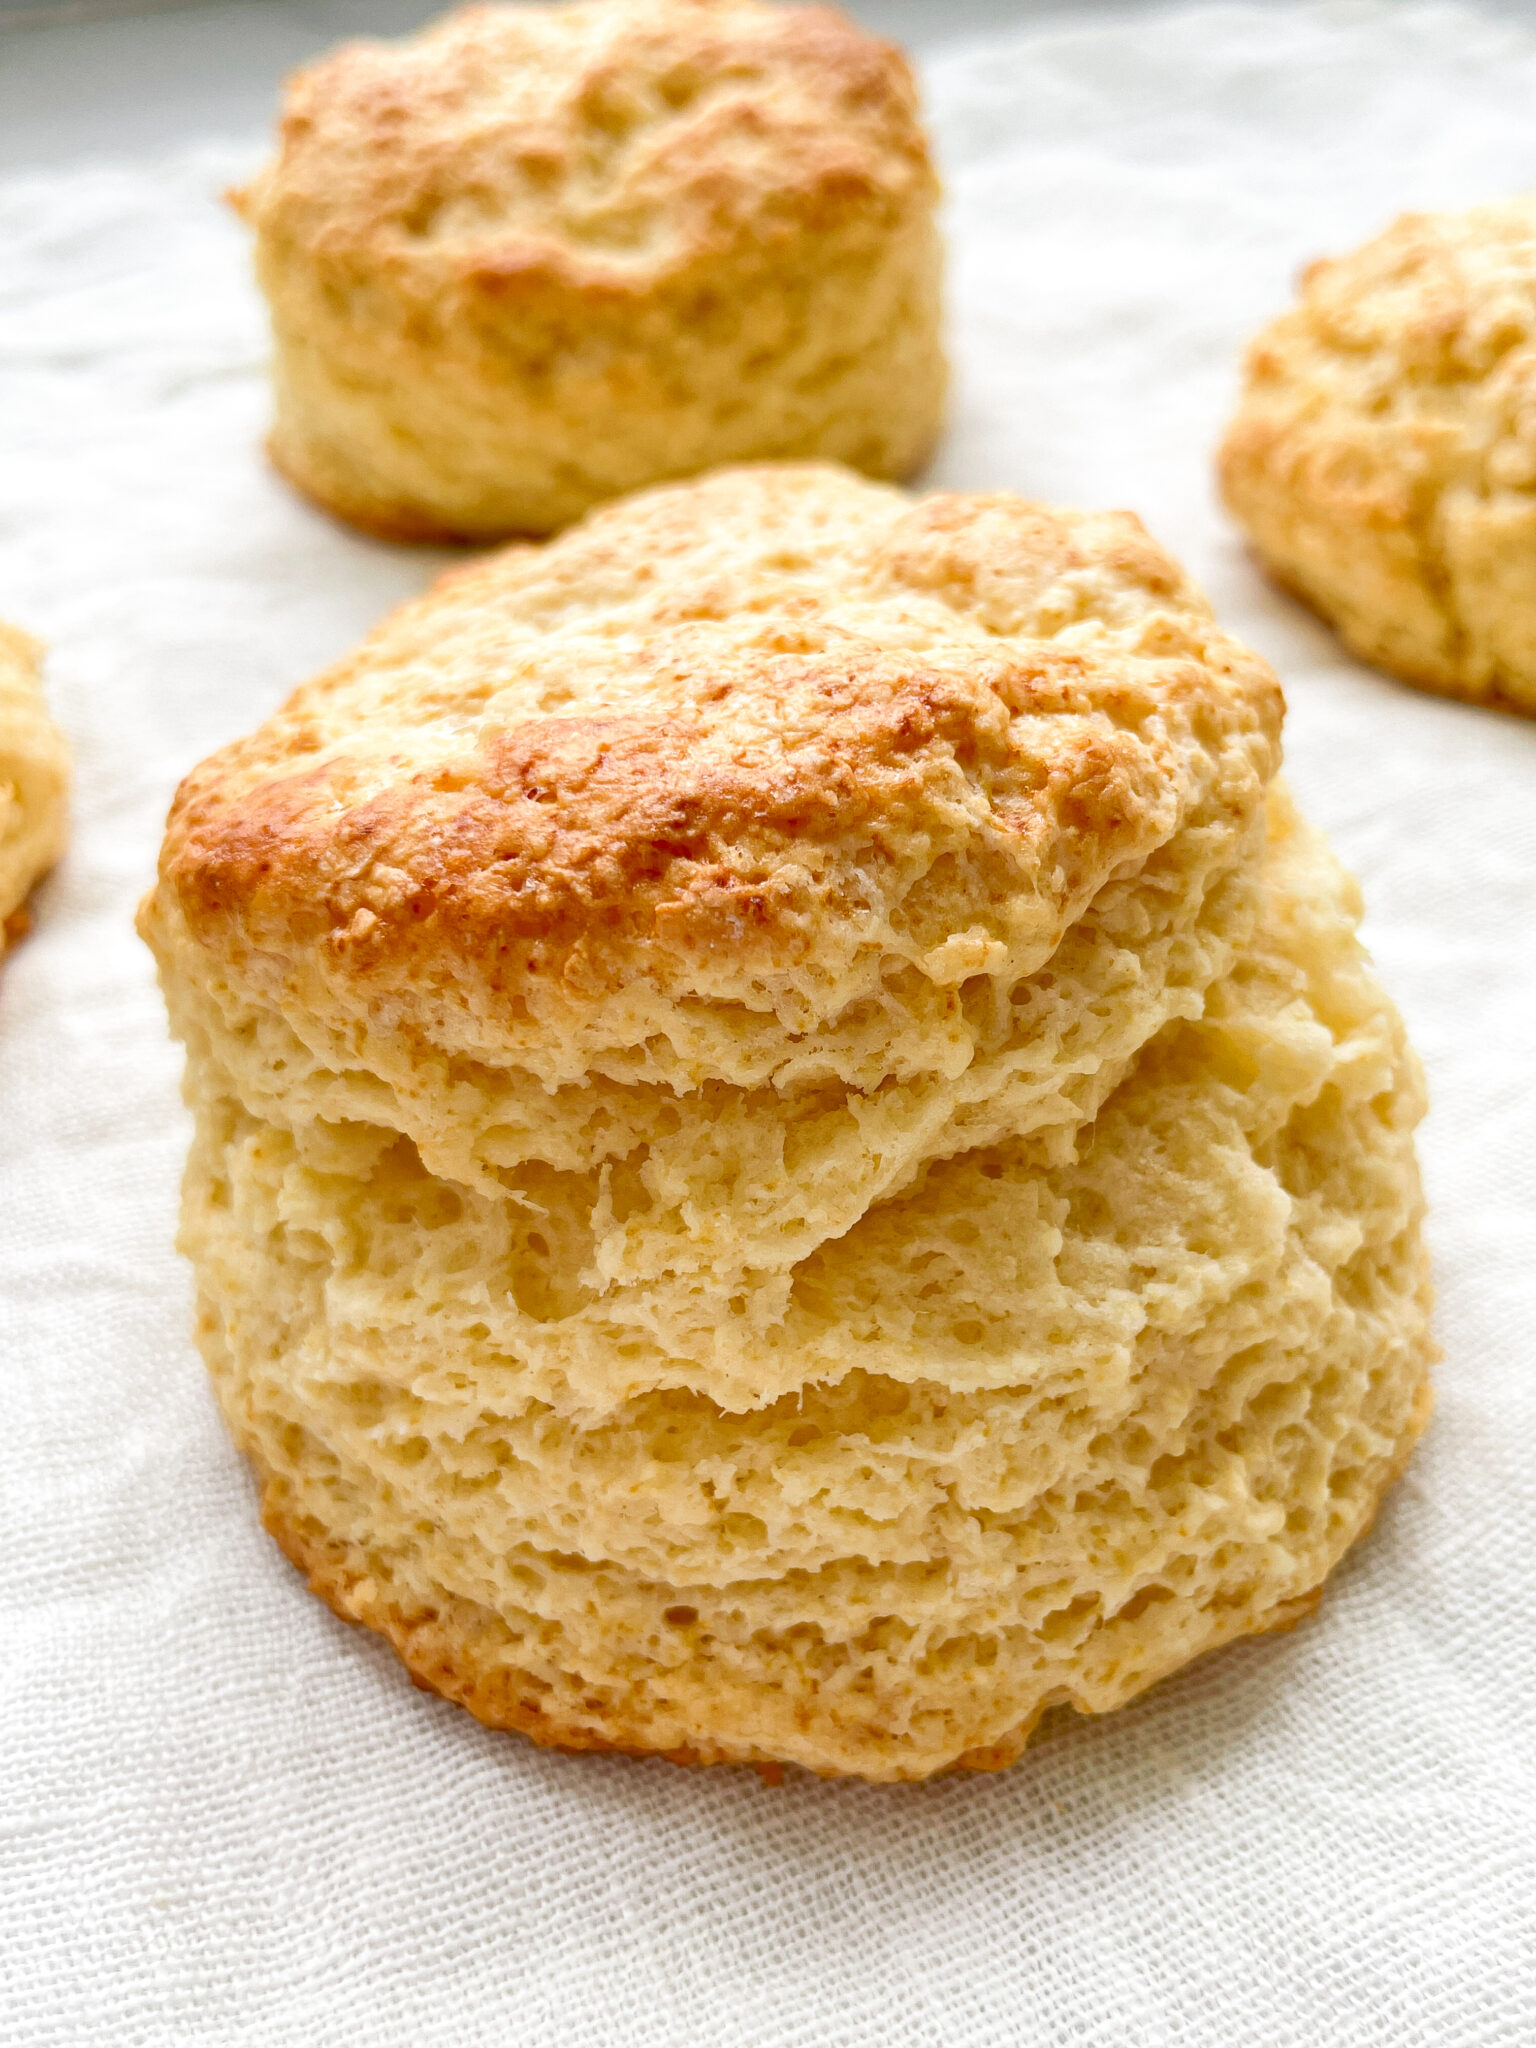
Instructions
- Stir together the yeast, warm milk, warm water, and sugar in a large bowl and let it sit for 10 minutes. The milk and water should be between 32°-36°C / 90°-97°F.
- Add the egg to the melted butter, mix well, and pour it into the bowl with the yeast mixture. Then add the flour and salt, and mix everything with a spatula until the dough is smooth and sticky. Keep kneading by hand until the dough no longer sticks to your fingers. This should take about 10 minutes. Put the dough back in the bowl and cover it with plastic wrap. Let it rest for about 45 minutes.
- Sprinkle some semolina on your work surface, place the dough on it, and flatten it to about 2-3 cm thick. Sprinkle a bit of semolina on top of the dough as well. Use a round cutter to cut out circles, place them on parchment paper, and cover them with a damp cloth to rest for 15 minutes.
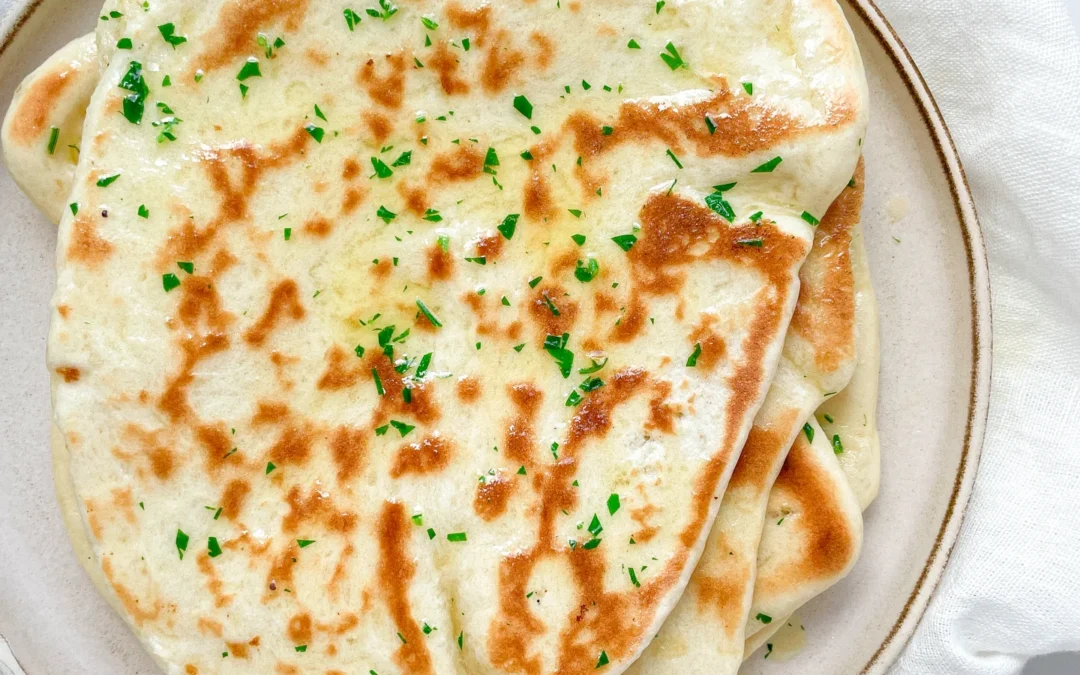
- Heat a pan and once it’s warm (you should feel the heat when your hand is close to it), place the dough circles in the pan. Cook them on low heat for 5-7 minutes on each side until they are crispy and golden brown on the outside, and soft and fluffy on the inside. Keep the finished English muffins warm in a bread basket with a towel, and enjoy! 🙂
- Passive Time: 70 min
- Cook Time: 40 min


")
")
")