


Description
RECOMMENDED EQUIPMENT
- blender
- medium-sized saucepan
- whisk
- a bowl into which the medium saucepan fits
- 2 medium-sized bowls
- fine sieve
- sealable container
- coffee filter
Ingredients
Units Scale
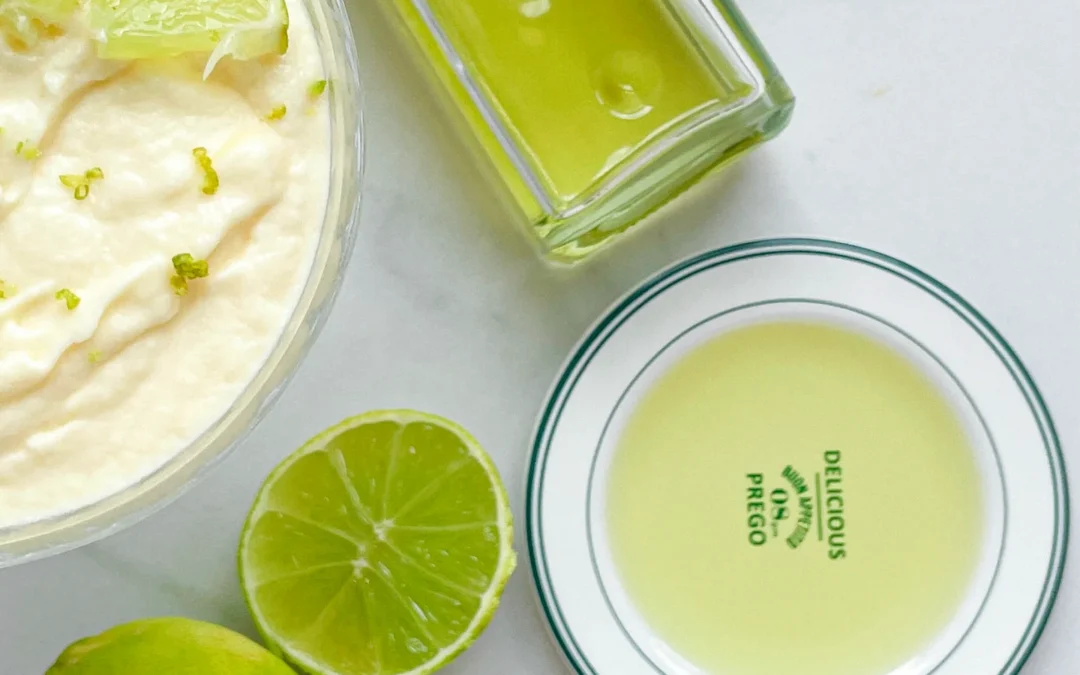
- 2 limes
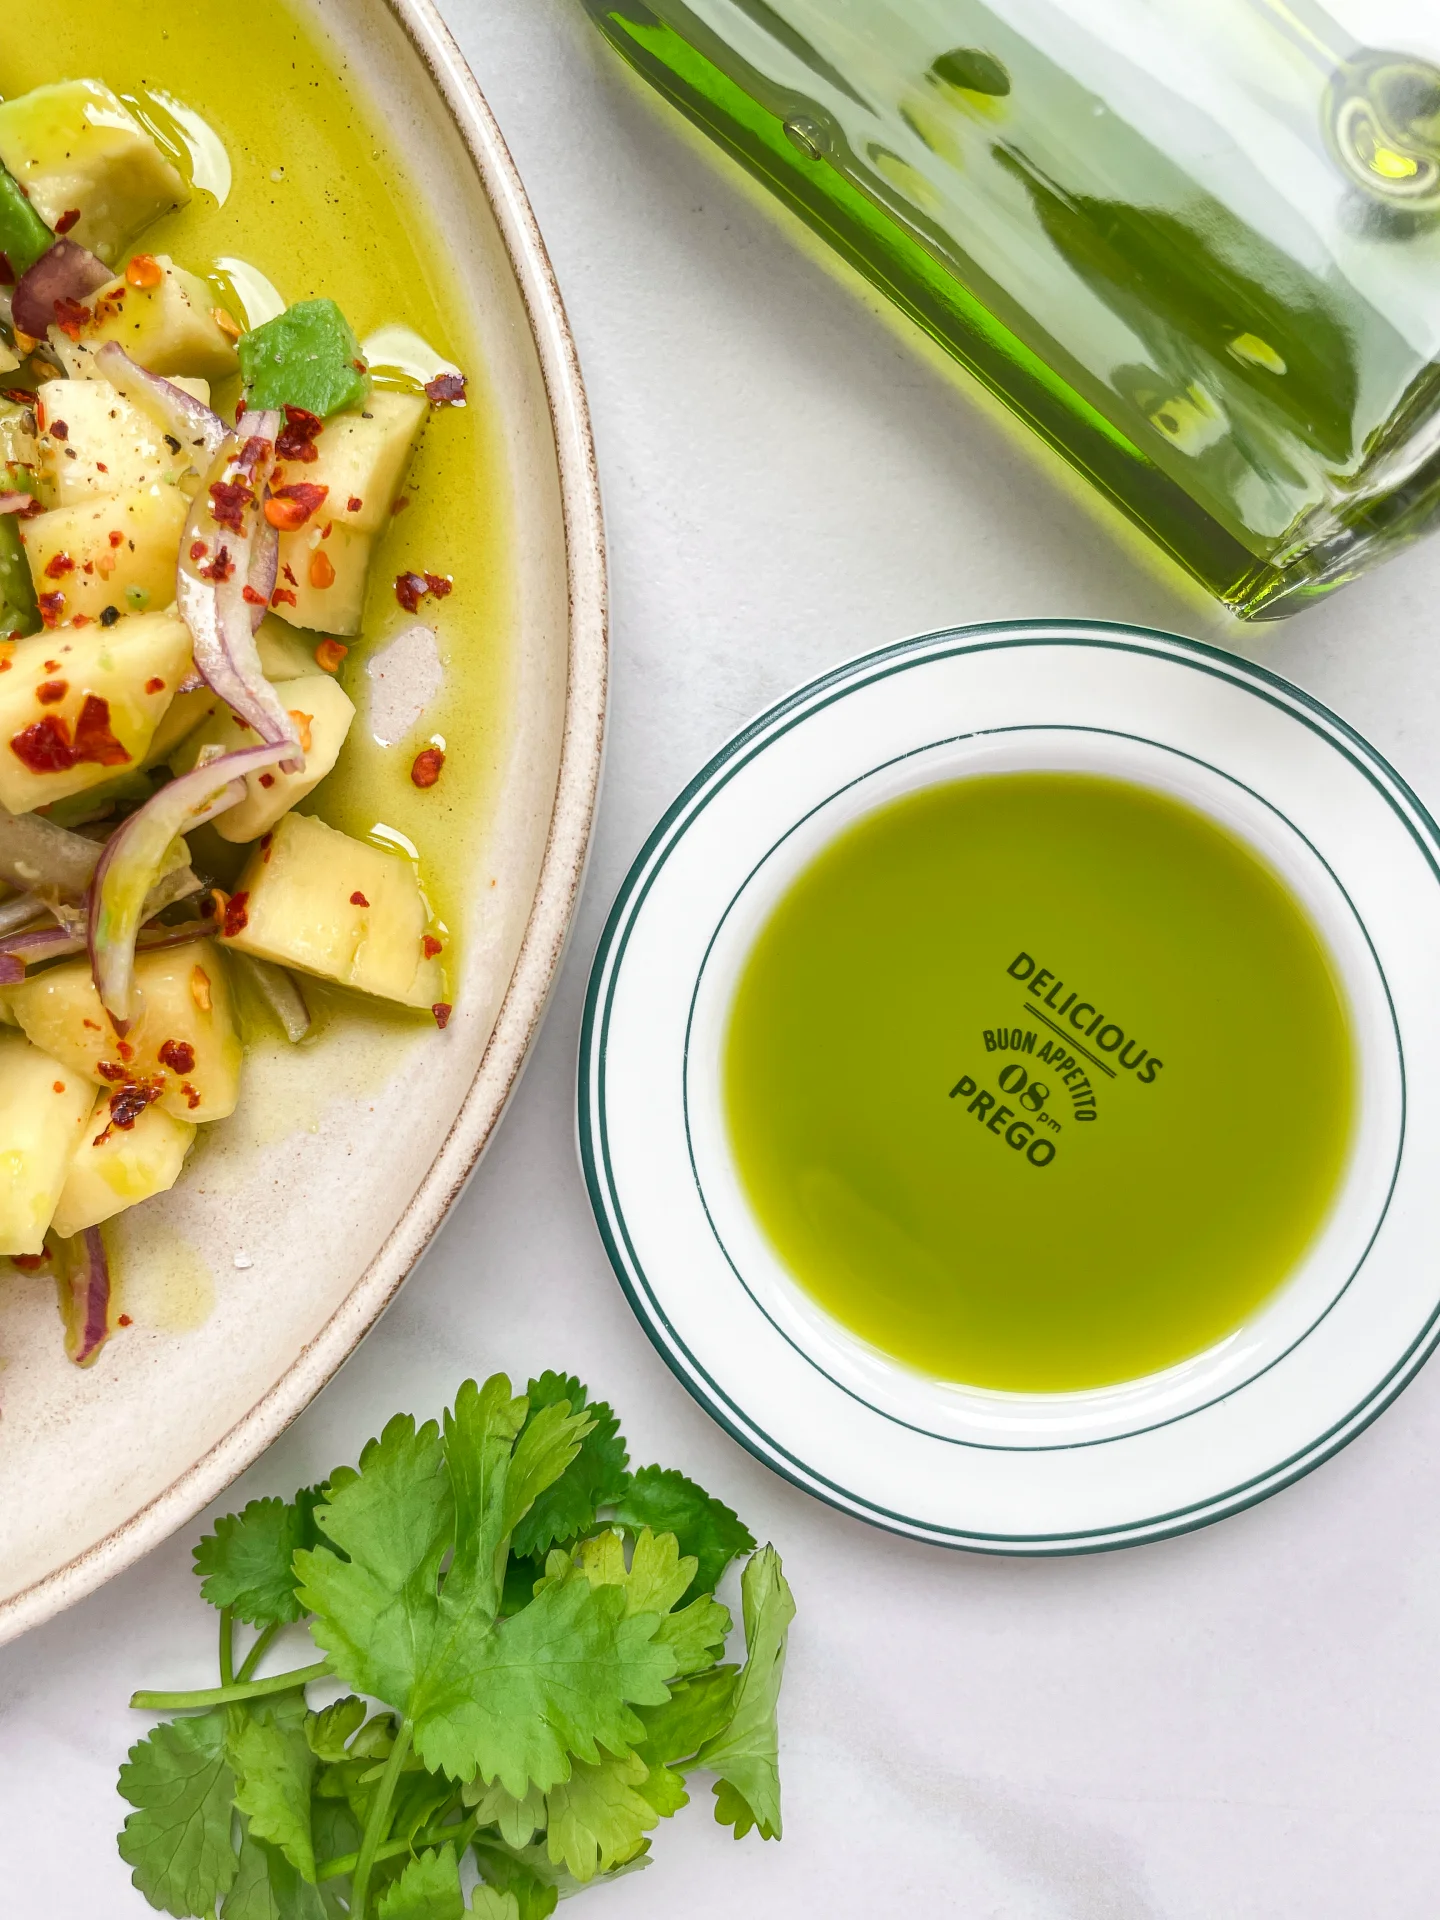
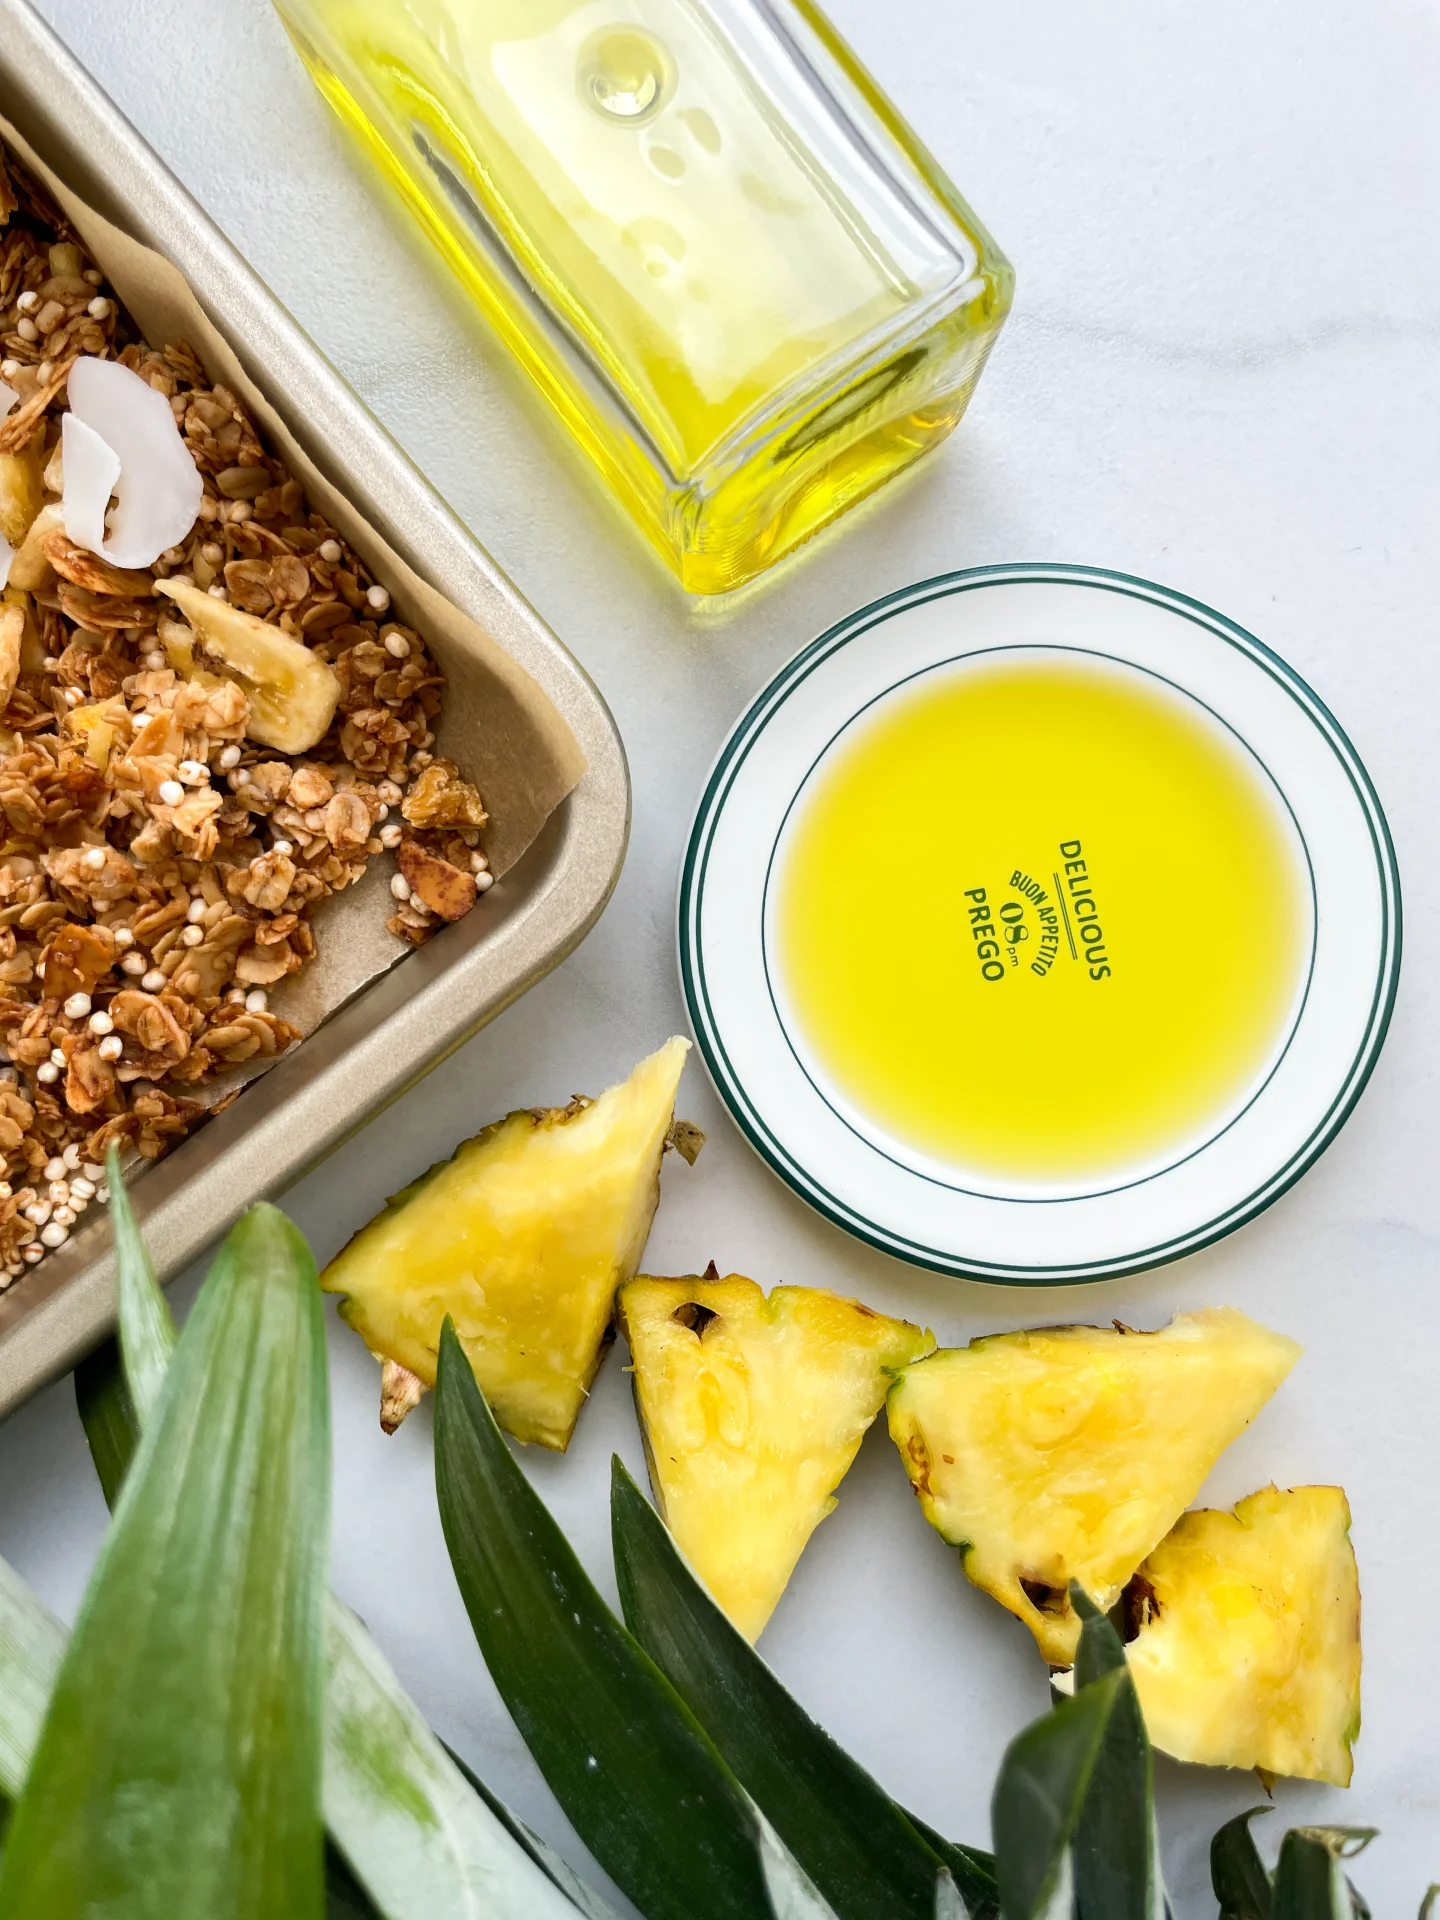
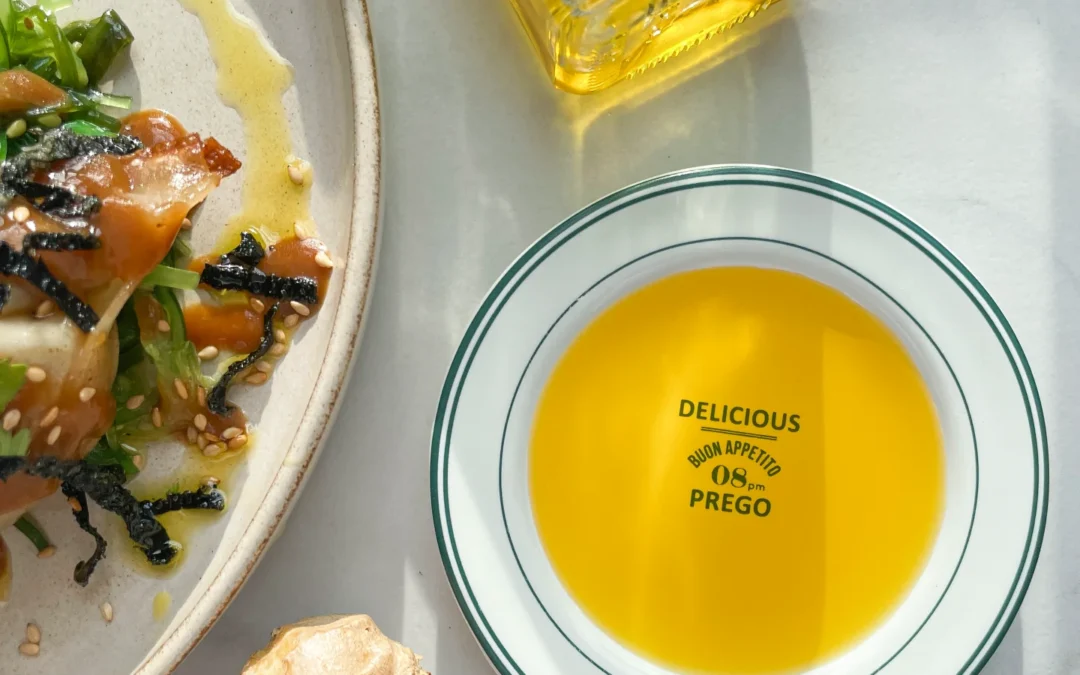
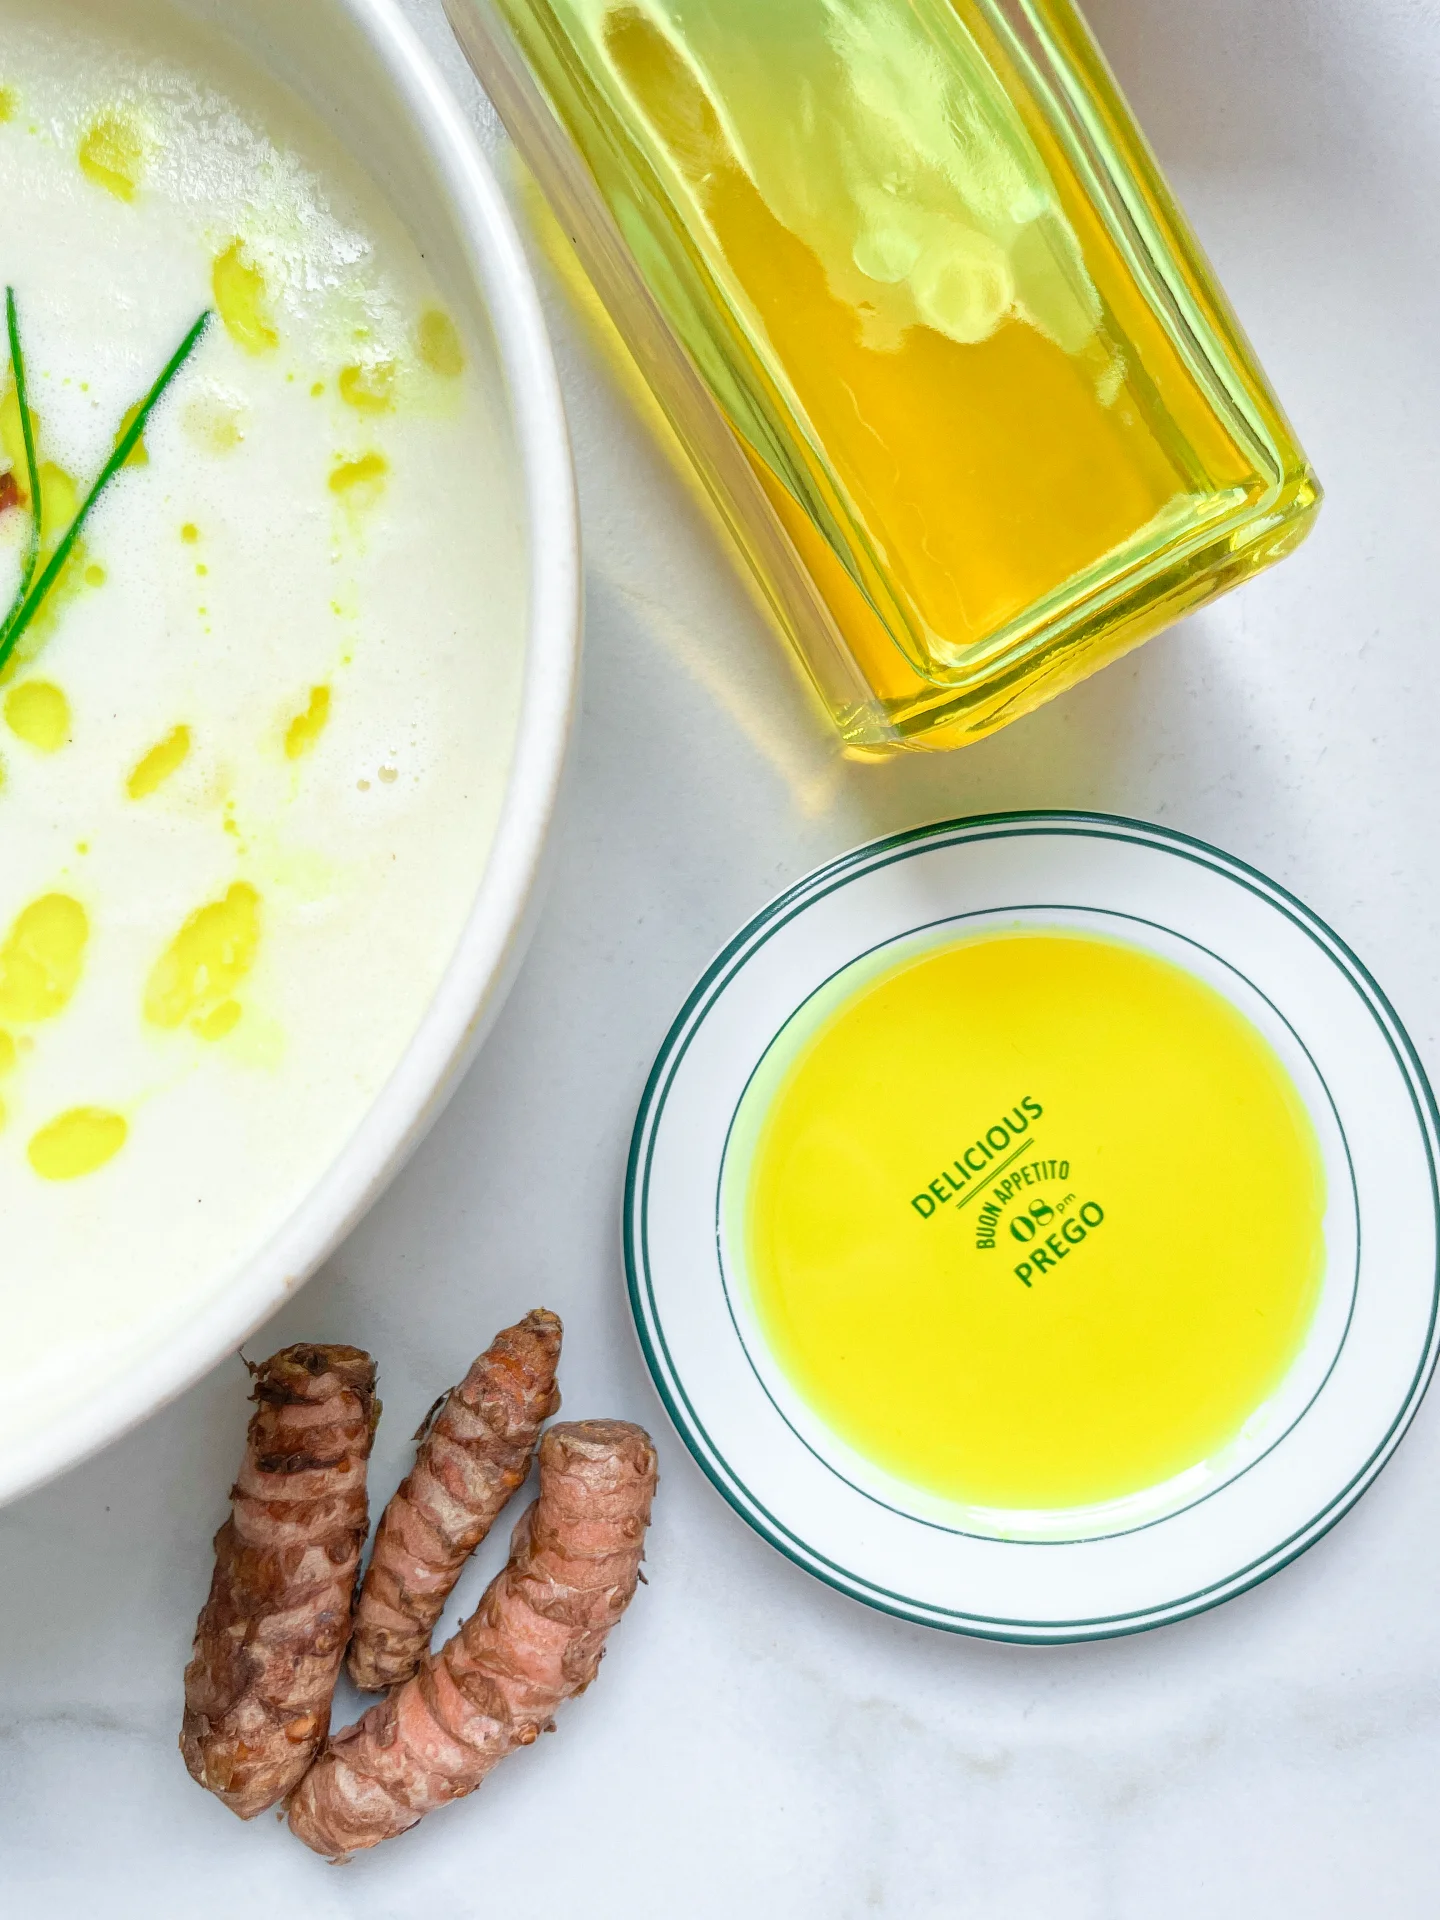
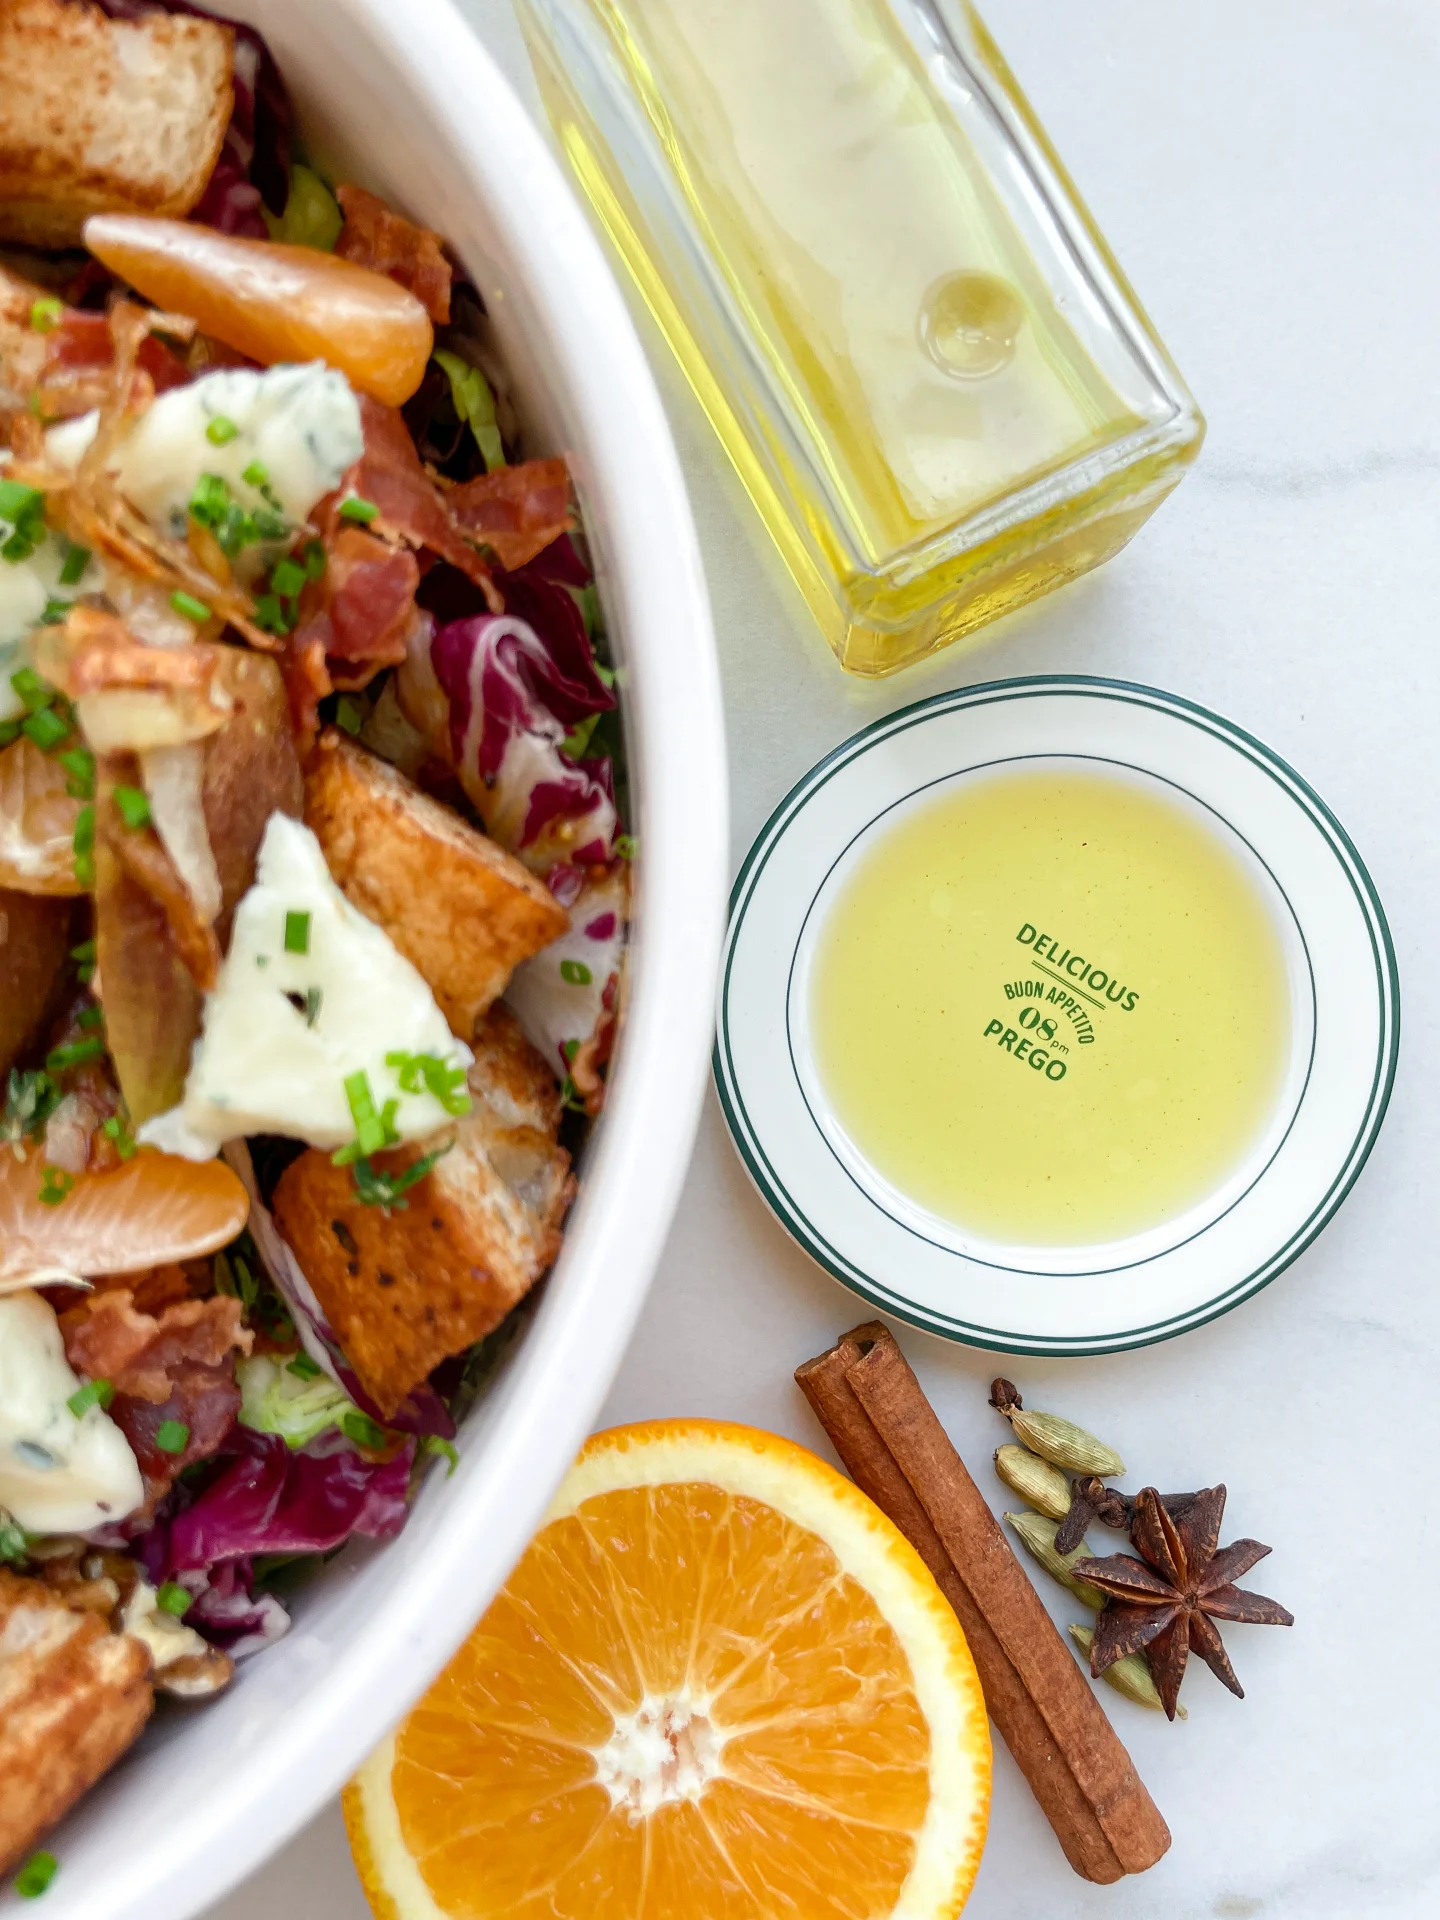
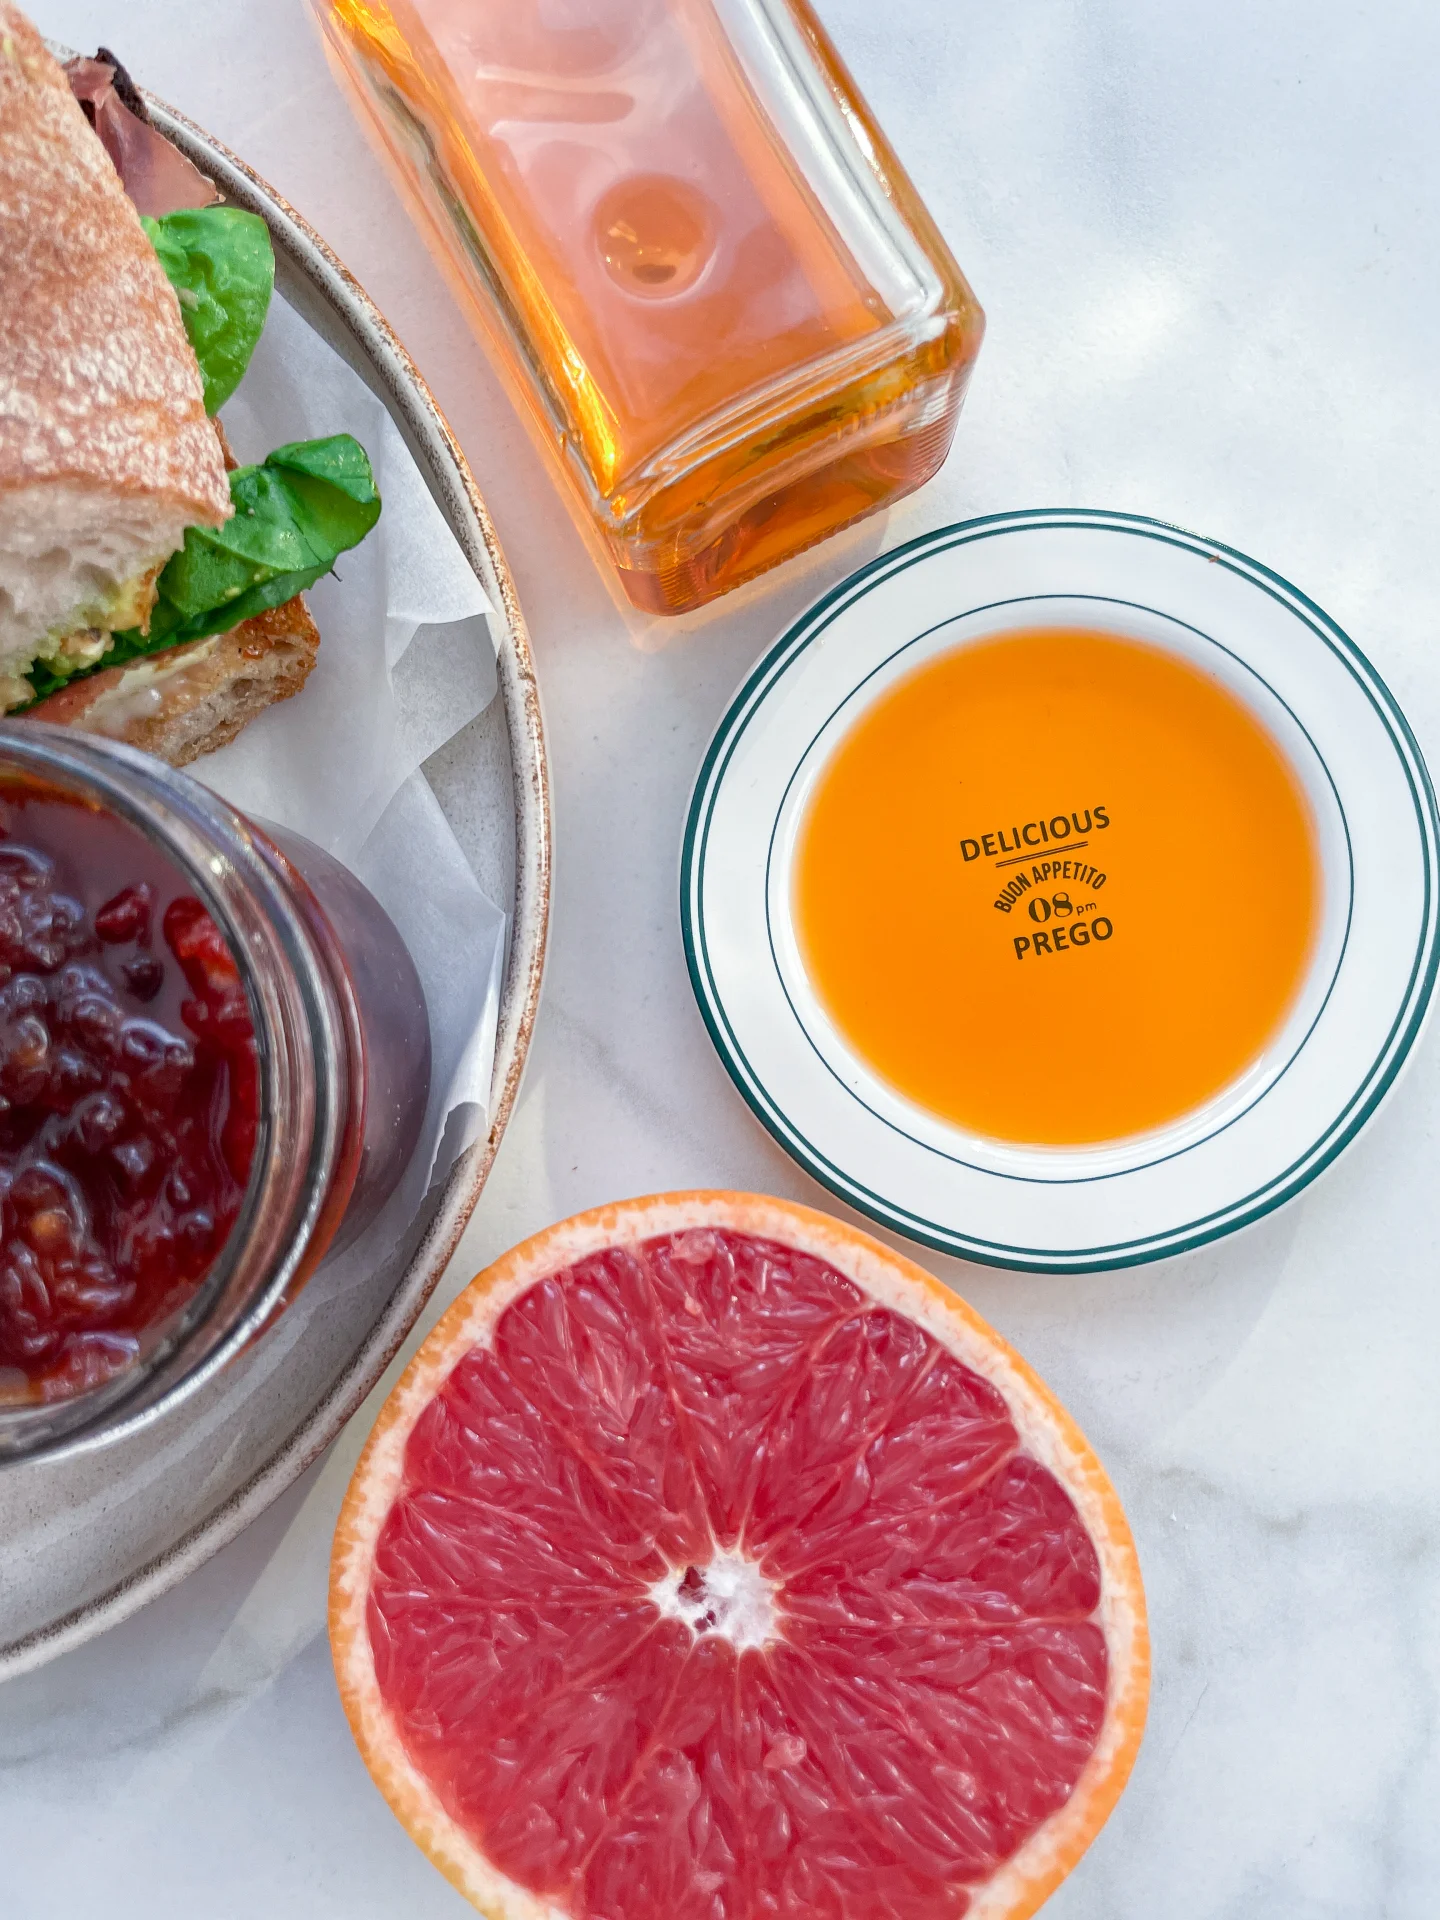
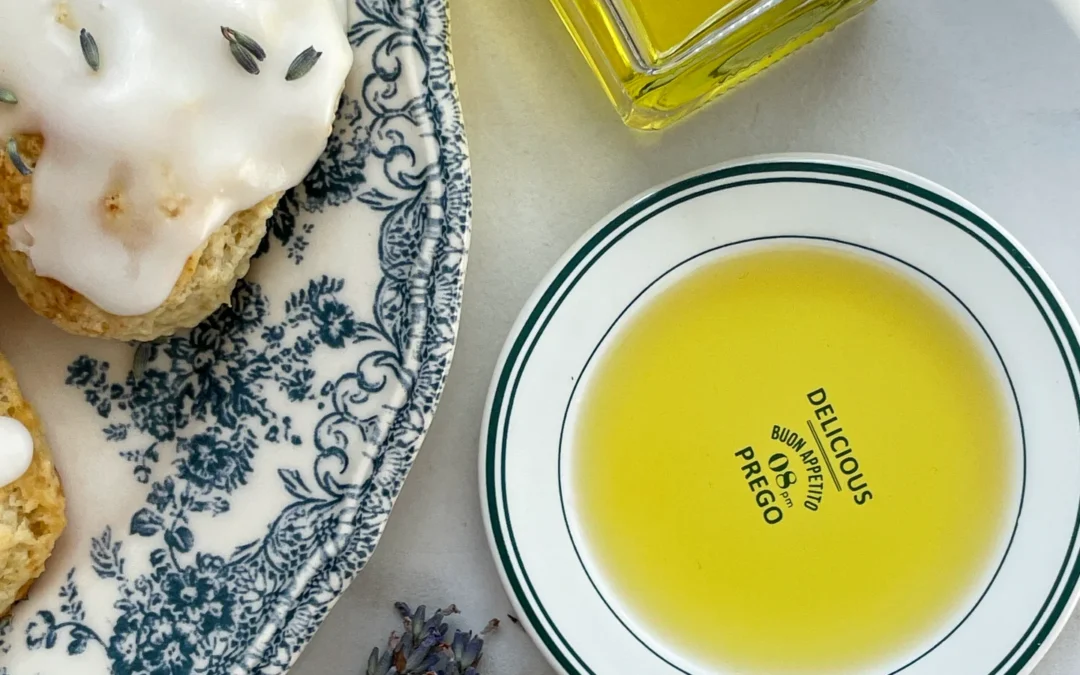
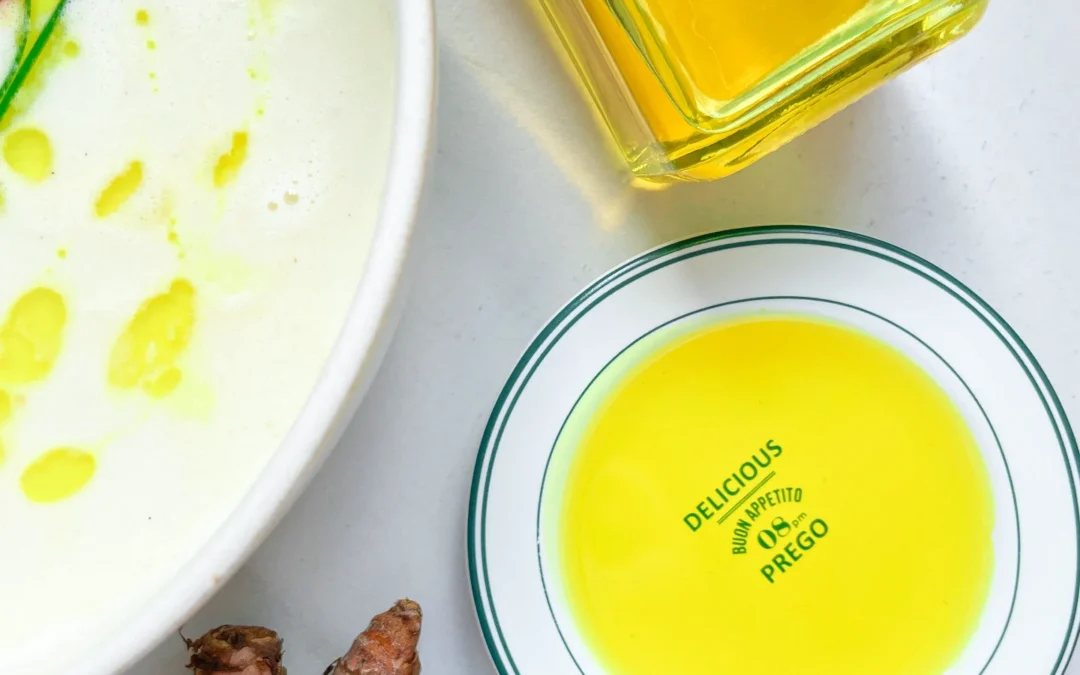
- 250 milliliters cold-pressed coconut oil
Instructions
- Wash and dry the limes thoroughly. Put them into the blender. Since coconut oil solidifies below 23°C (73°F), you need to warm it up briefly so it can be poured over the limes in liquid form. Pour the oil into the blender and blend everything on the highest setting until it becomes pastel green and only small pieces of the limes are longer visible.
- Pour the mixture from the blender into a medium-sized pot and heat it over medium heat, constantly stirring, to a temperature of about 102°-103°C (215°-217°F). Then, let the mixture cook for the next 20 minutes. Stir only occasionally, making sure the temperature remains steady. This cooking time is essential for all the water to evaporate, allowing the perishable solids to settle at the bottom and the oil to float on top. You’ll know all the water has evaporated when the oil in the pot barely bubbles anymore – so if it’s still bubbling vigorously, keep it simmering.
- Once the oil mixture is no longer bubbling, remove the pot from the heat and let it cool a bit. Pour the oil into the fine sieve to catch the coarse particles.
- Then, rinse the strainer and hang it over the second medium-sized bowl. Press a coffee filter into the strainer and pour the captured oil into the coffee filter, so that the remaining perishable and coarser particles are caught.
- Allow the oil to drip through for about 1 hour or maybe less depending on how many remaining particles are in there. Once all the oil has passed through the coffee filter, transfer the collected amount into a sealable container or directly into an oil bottle. Store in the refrigerator for up to one week. If you want to use it, fill a glass with hot water and place the oil bottle in it for a few minutes so it can liquefy again.
- Prep Time: 5 min
- Passive Time: 60 min
- Cook Time: 20 min