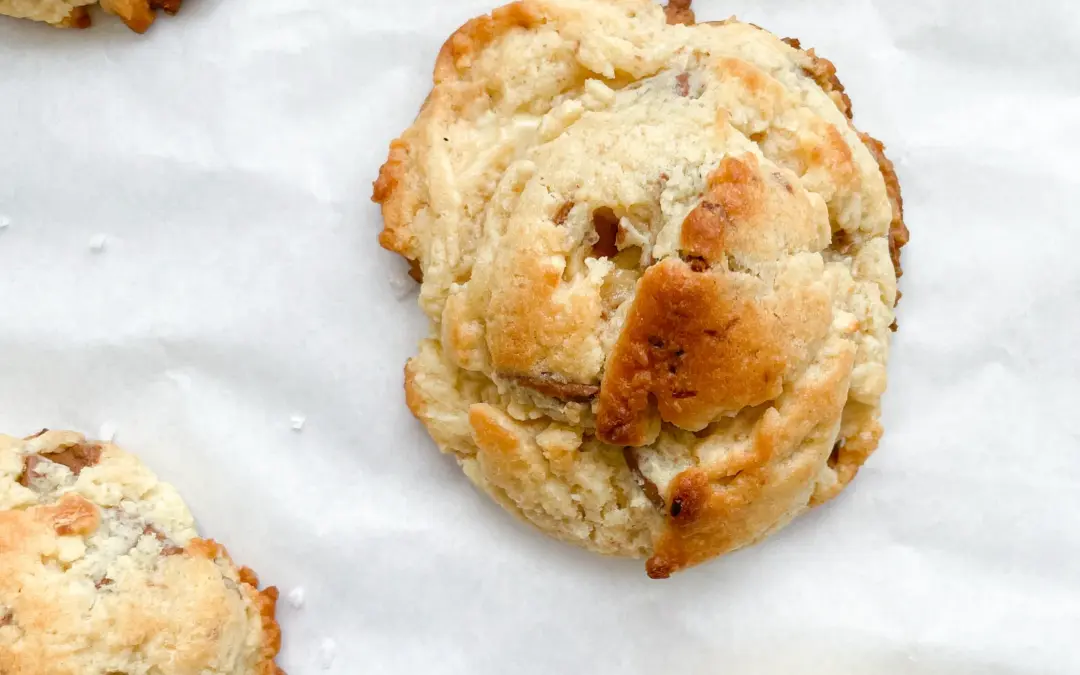
Honey Mustard Pretzel Bites

Honey Mustard Pretzel Bites
April 5, 2024 by Kimberly
Indulge in Honey Mustard Pretzel Bites – a sweet, tangy, and utterly addictive snack! Perfect for parties or snacking.
25 MINUTES
EASY
VEGETARIAN
US AMERICAN
151 PER PORTION
CRUNCHY
EVERYDAY
SNACK
ALL YEAR
ABOUT THE RECIPE
Welcome to the irresistible world of Honey Mustard Pretzel Bites, your new favorite snack. These bite-sized delights are the perfect combination of crunchy pretzel goodness and the sweet tang of honey mustard. They’re so easy to make and even easier to devour!
How to serve:
Serve them in a big bowl for a casual gathering. They’re the perfect companion to your favorite craft beer or a crisp, refreshing soda. Whether it’s game day, movie night, or just a regular Tuesday, these pretzel bites will be the star of the show.
How to store:
Keep any leftovers (if there are any!) in an airtight container at room temperature. They’ll stay fresh and crunchy for up to a week, ready to satisfy those snack cravings anytime.

Hi, I'm Kimberly.

If you want to get to know me better, click here!


INGREDIENTS
FOR 4 PORTIONS
BITES
- 2 soft pretzels (9 oz)
- 1 tbsp butter
- 1 tbsp honey
- 1 onion
- 2 garlic cloves
- 1.5 tbsp dijon mustard
- 1 tbsp white wine vinegar
- 1/2 tsp turmeric
- 1 tsp salt

ACTIVE: 5 min
PASSIVE: –
PREPARATIONS
Recommended Equipment
- sharp knife
- cutting board
- medium-sized pot
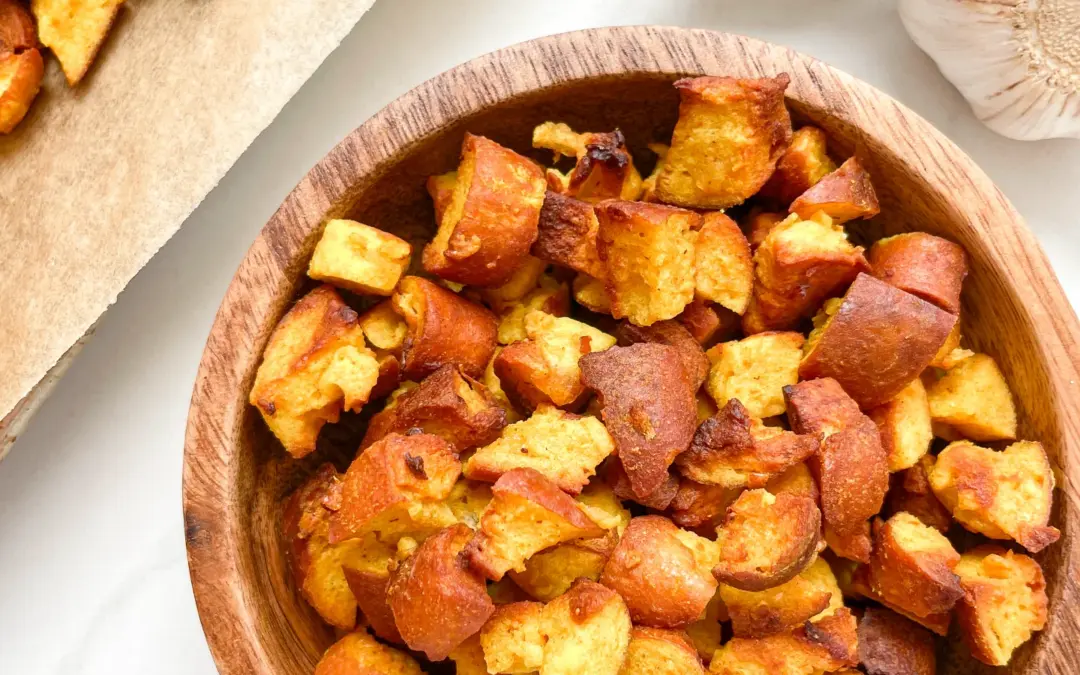
- Cut the pretzels into small pieces and set them aside.
- Peel the garlic cloves.
- Just cut off the „top“ of the onion and then peel it, so it stays whole.
ACTIVE: 5 min
PASSIVE: 15 min