Pineapple Coconut Oil

Pineapple Coconut Oil

Pineapple Coconut Oil

Pineapple Coconut Oil

September 8, 2024 by Kimberly

This pineapple-infused coconut oil is a tropical dream! It’s sweet, fresh, and perfect for cold dishes, bringing sunny, fruity vibes to every bite without overpowering your recipes.

80 MINUTES

ADVANCED

VEGAN

INT.

40 PER TSP

REFRESHING

MICHELIN

OIL

ALL YEAR

INTRODUCTION

ABOUT THE RECIPE

This fruity, pineapple-infused coconut oil will transport you to a sunny beach with every bite! It’s naturally sweet and tangy with a delicious coconut touch, perfect for adding a fun, fresh flavor to your dishes. The best part? It’s easy to make, and the vibrant yellow color from the pineapple infusion adds that visual pop. Trust me, once you’ve tried it, you’ll want to drizzle it on everything!

How to serve
Since this oil shines best when it’s not heated too high, it’s perfect for cold dishes. Drizzle it over fresh salads to give them a sweet, fruity twist. You can also mix it into smoothies or pour it over yogurt bowls for an instant tropical upgrade. If you’re feeling fancy, use it as a dipping oil with some fresh fruit on the side! Its fresh, summery taste will make even the simplest dish feel like a treat.

How to store
To keep this oil fresh and flavorful, store it in an airtight container in the fridge. Make sure to keep it away from direct sunlight. For the best flavor, try to use it within two weeks!

Hi, I'm Kimberly!

Hi, I'm Kimberly.

A passionate food lover who believes in the magic of homemade deliciousness that spreads love and warmth. Join me on this culinary adventure as I prepare wonderful dishes and let’s spread some happiness together!

Kimberly the Zett Signature

If you want to get to know me better, click here!


Pineapple Coconut Oil
„Let’s make a piece of happiness“
Print
clock clock iconcutlery cutlery iconflag flag iconfolder folder iconinstagram instagram iconpinterest pinterest iconfacebook facebook iconprint print iconsquares squares iconheart heart iconheart solid heart solid icon
Pineapple Coconut Oil

Pineapple Coconut Oil


5 Stars 4 Stars 3 Stars 2 Stars 1 Star

No reviews

  • Author: Kimberly
  • Total Time: 80 min
  • Yield: 1 cup / 250 ml 1x

Description

RECOMMENDED EQUIPMENT

  • blender
  • medium-sized saucepan
  • whisk
  • 2 medium-sized bowls
  • 2 fine sieves
  • coffee filter
  • oil bottle

Ingredients

Units Scale
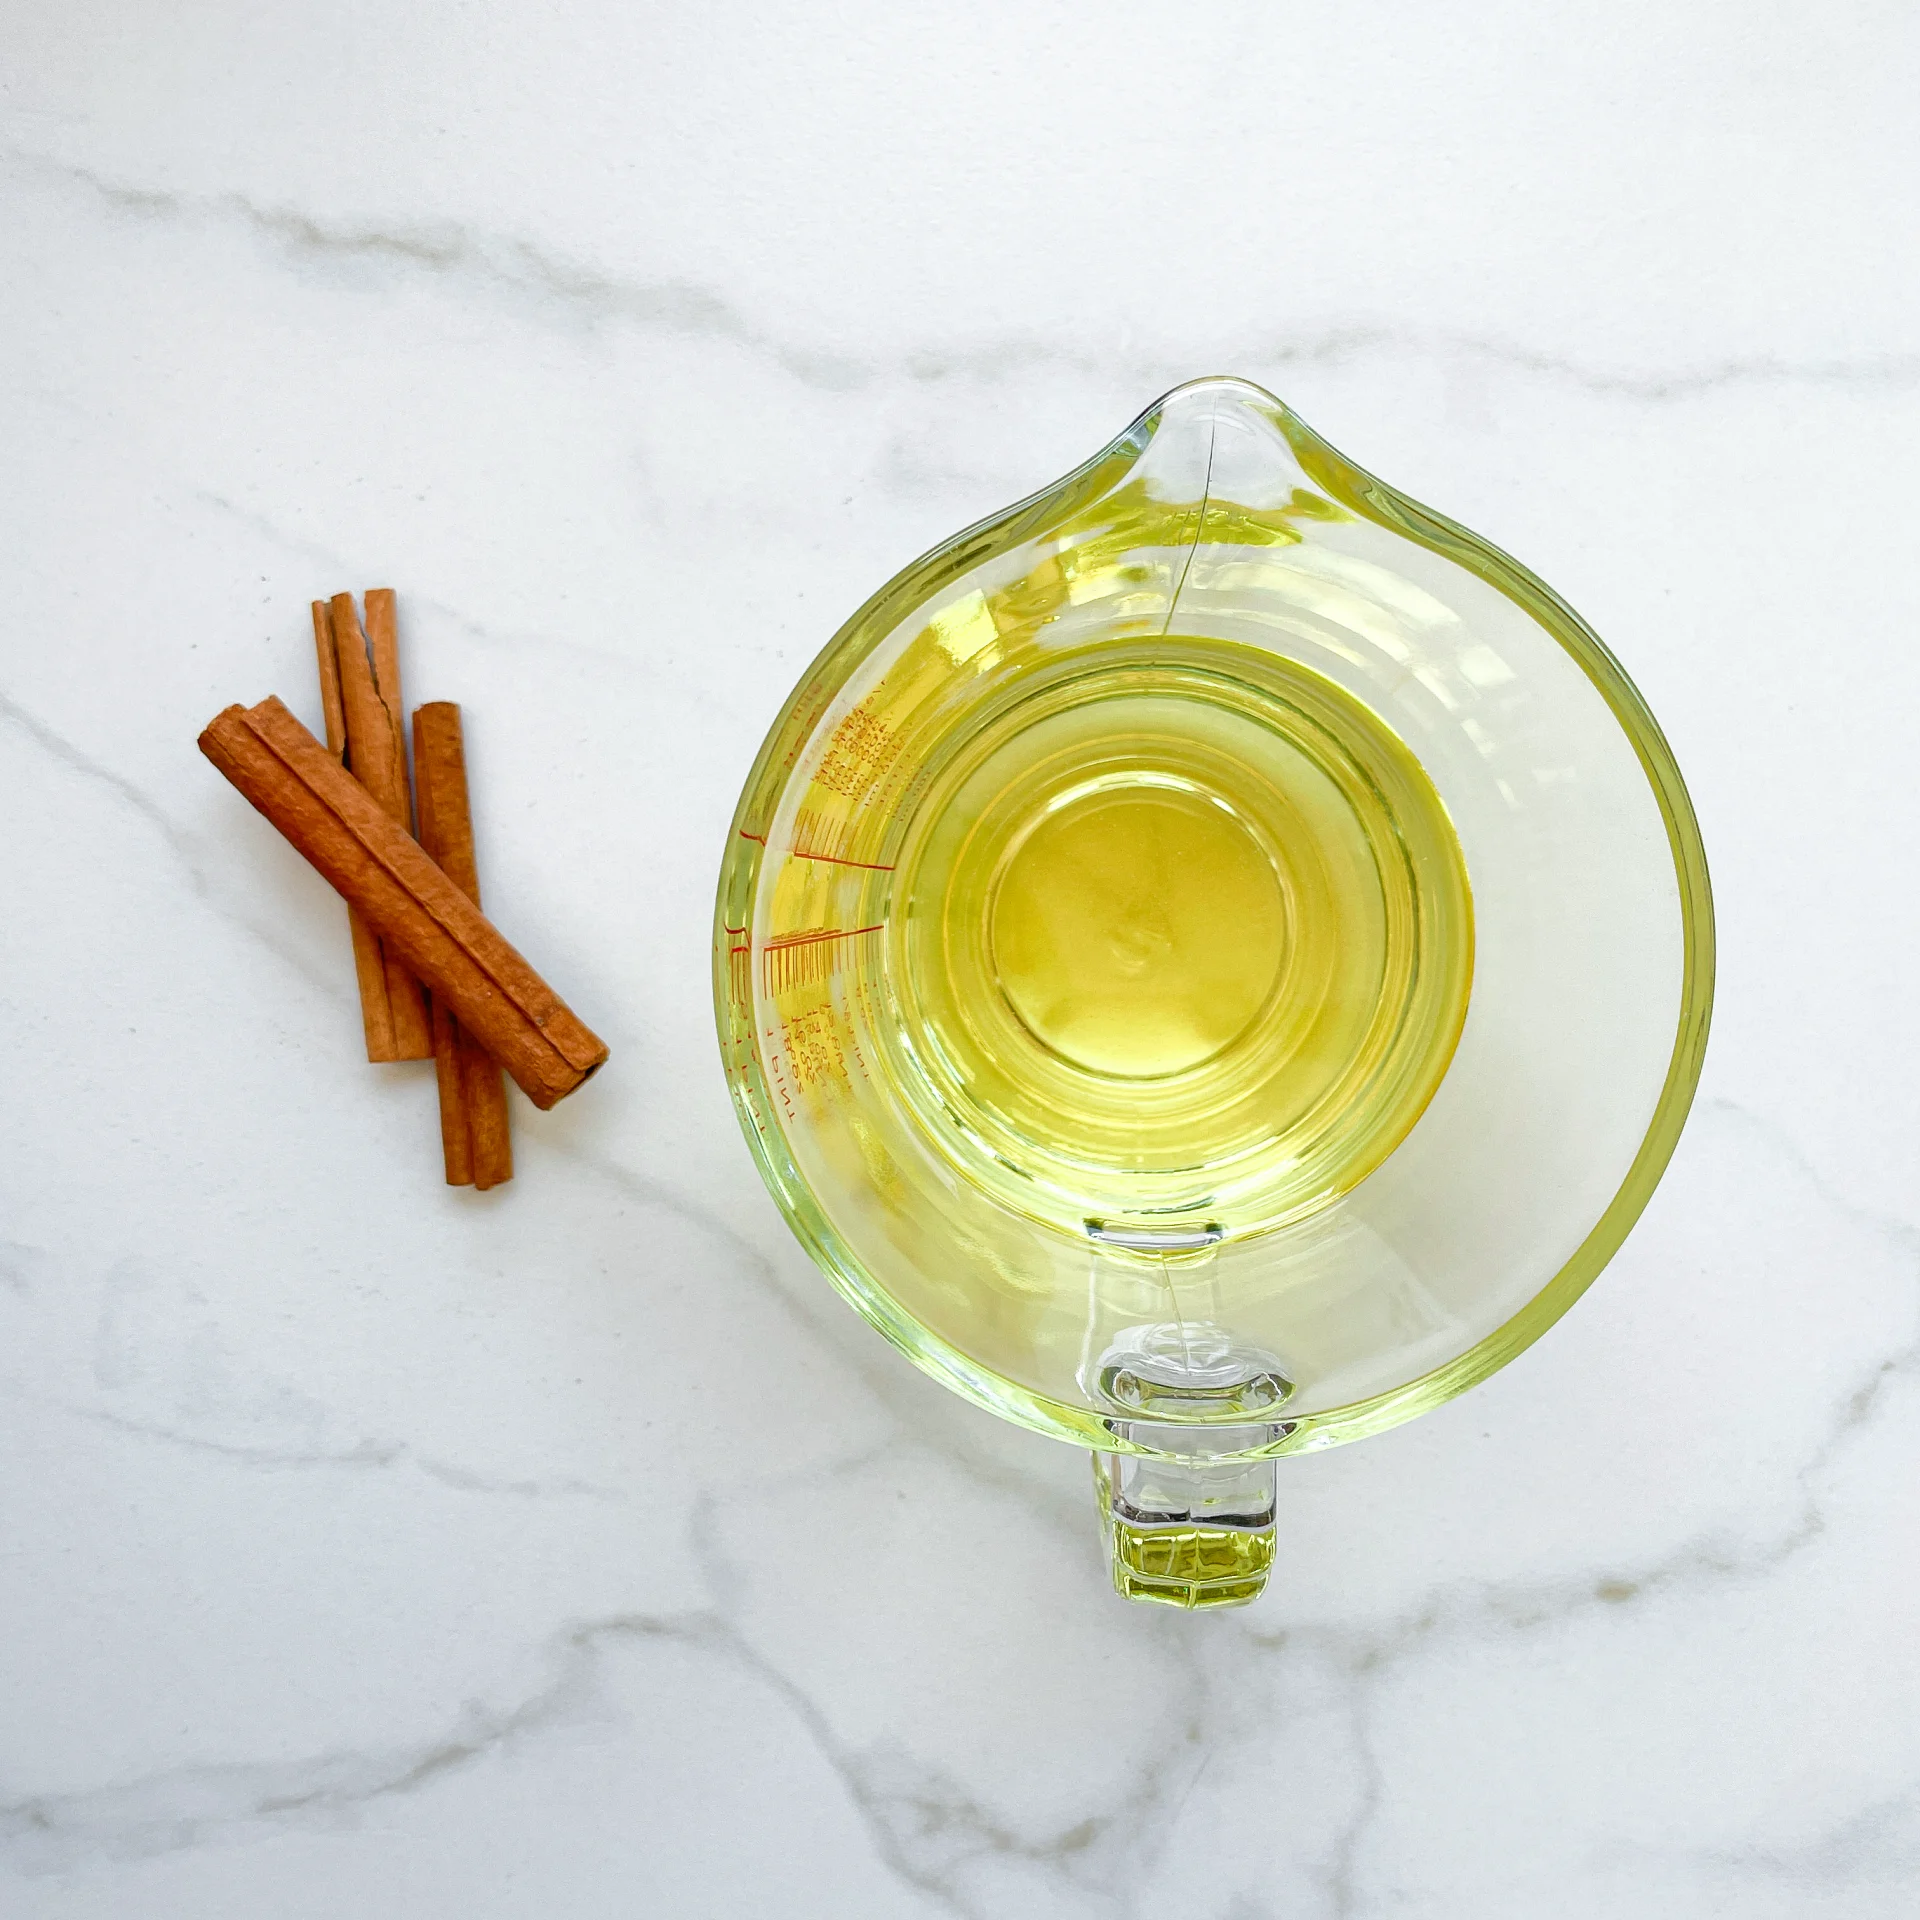
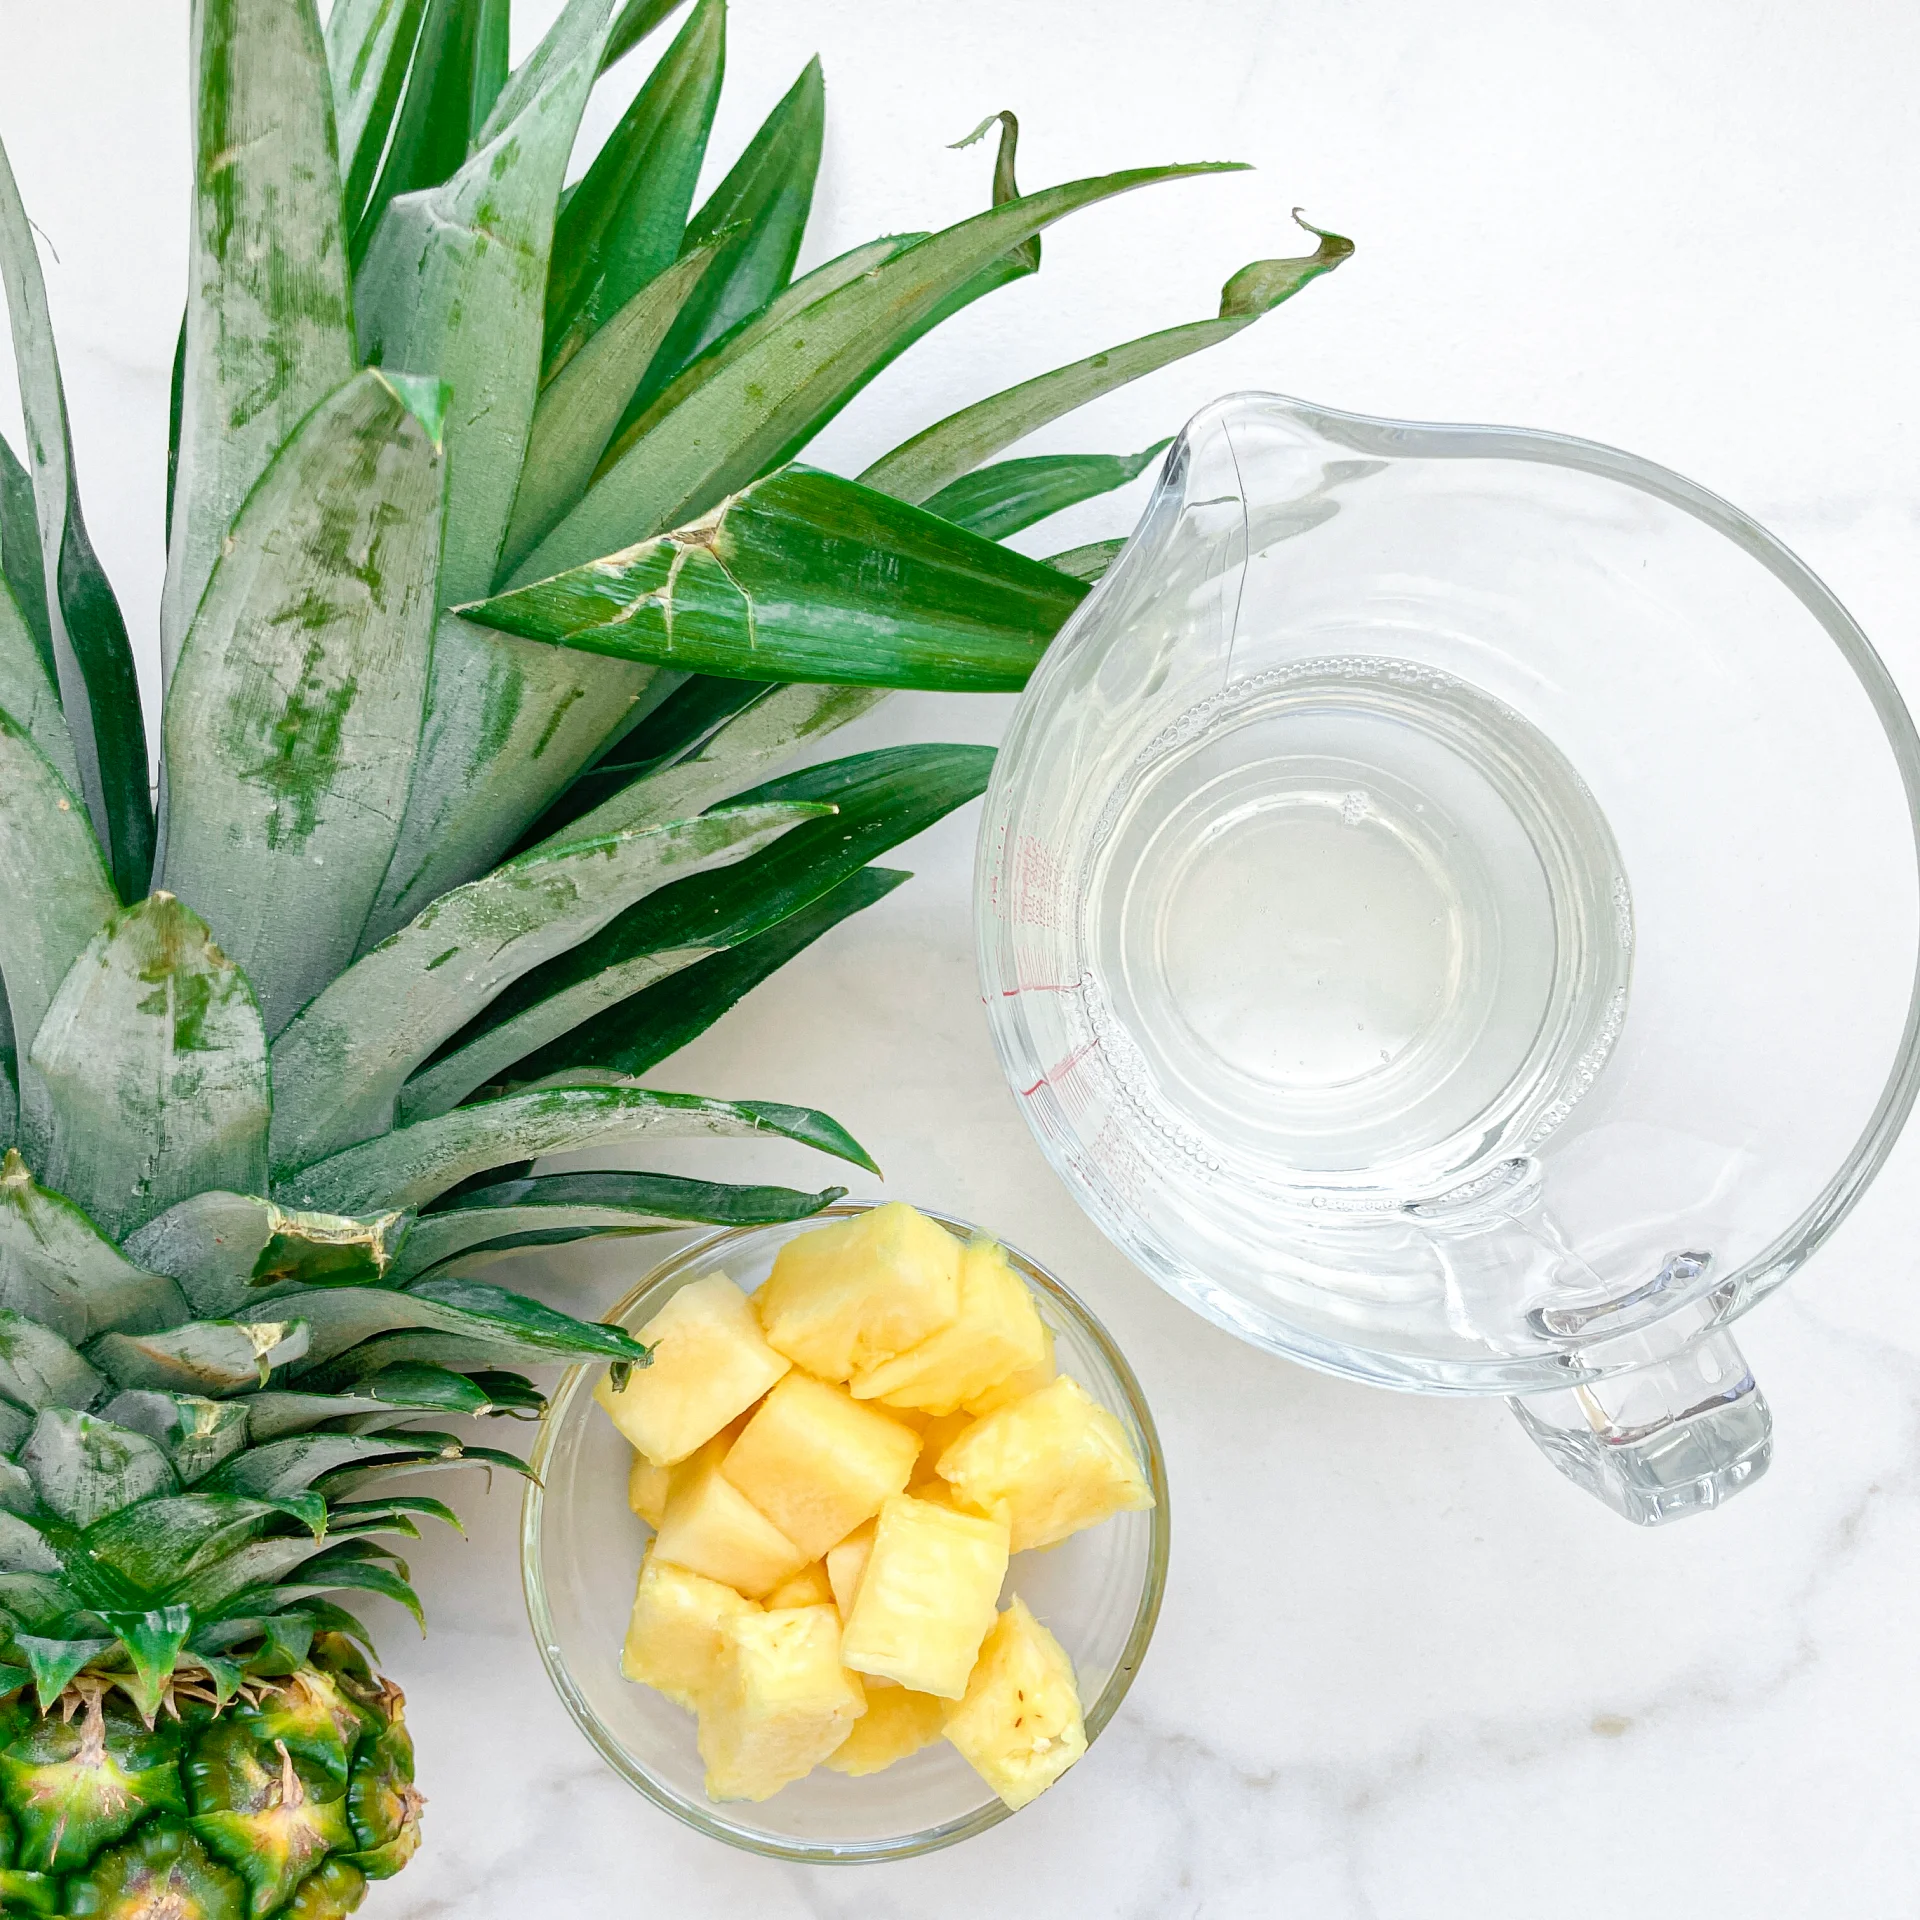
  • 200 grams pineapple
  • 250 milliliters cold-pressed coconut oil

Instructions

  1. Cut off the pineapple skin and cut the flesh into large chunks. Put them into the blender. Since coconut oil solidifies below 23°C (73°F), you might need to warm it up briefly so it can be poured over the pineapple chunks in liquid form. Pour the oil into the blender and blend everything on the highest setting until it becomes pastel yellow and only small pieces of the pineapples are longer visible.
  2. Pour the mixture from the blender into a medium-sized pot and heat it over medium heat, constantly stirring, to a temperature of about 102°-103°C (215°-217°F). Then, let the mixture cook for the next 45 minutes. Stir only occasionally, making sure the temperature remains steady. This cooking time is essential for all the water to evaporate, allowing the perishable solids to settle at the bottom and the oil to float on top. You’ll know all the water has evaporated when the oil in the pot barely bubbles anymore – so if it’s still bubbling vigorously, keep it simmering.
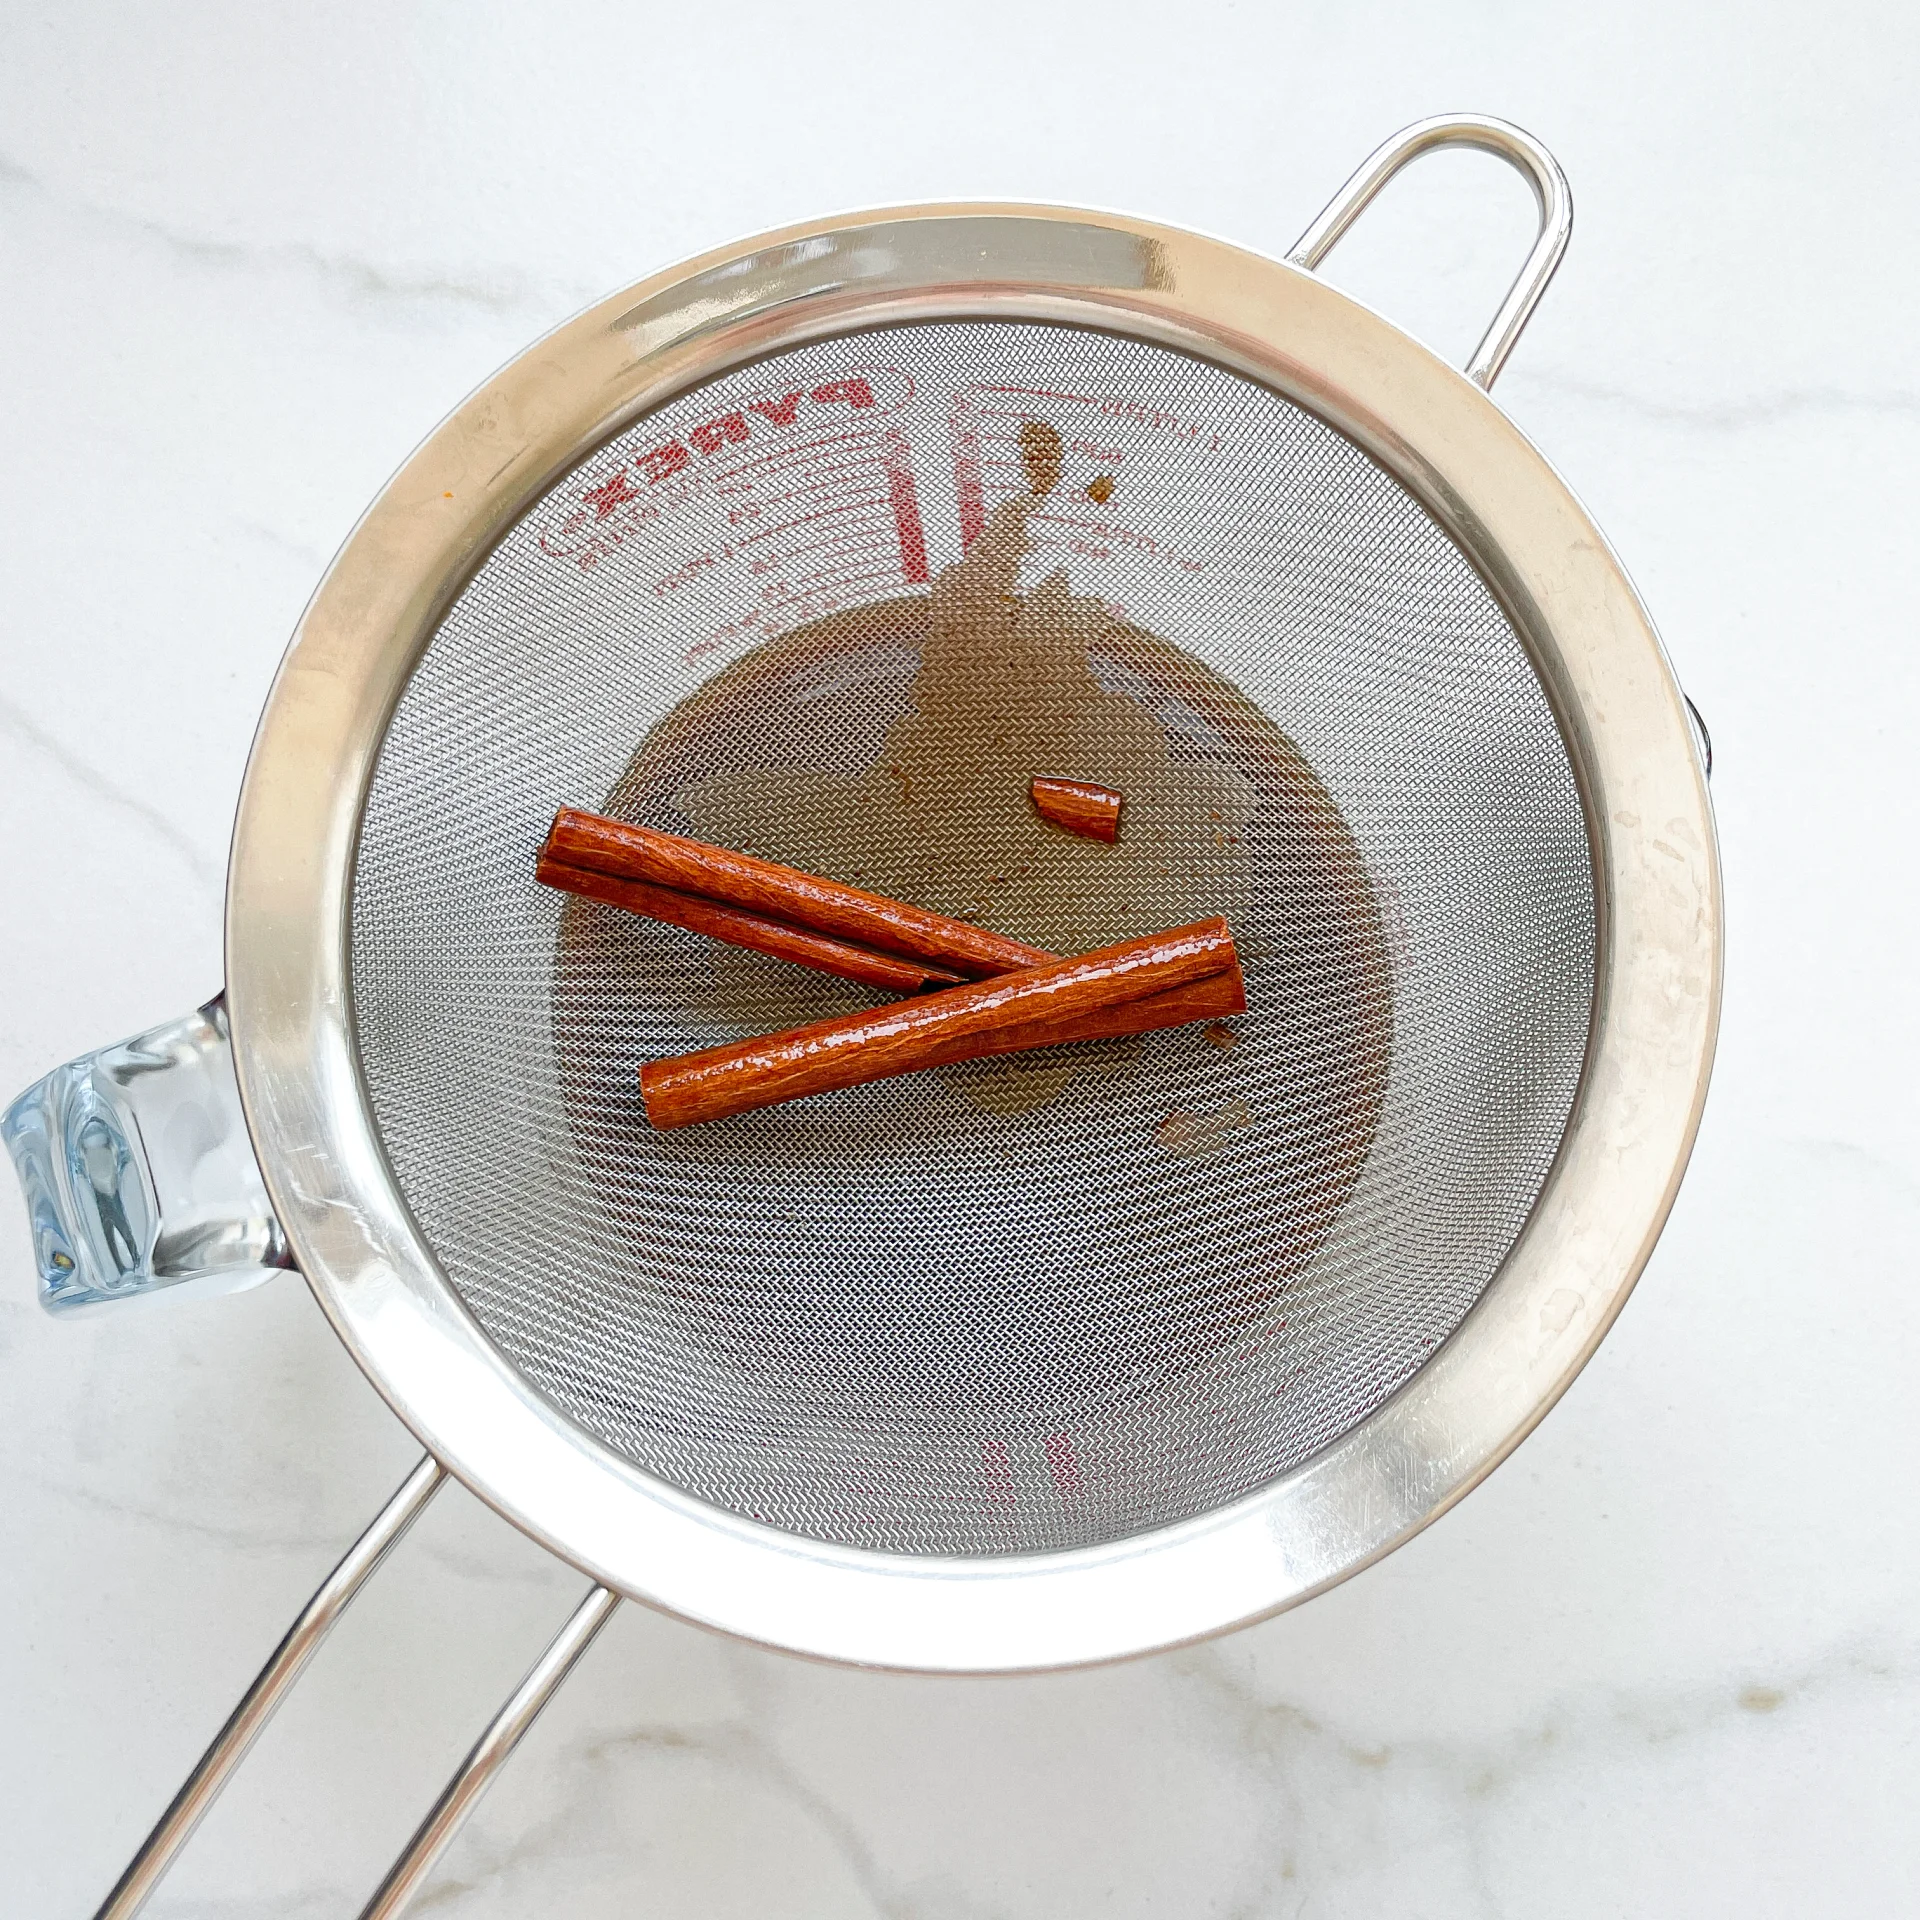
  3. Once the oil mixture is no longer bubbling, remove the pot from the heat and let it cool a bit. Pour the oil into the first fine sieve to catch the coarse particles.
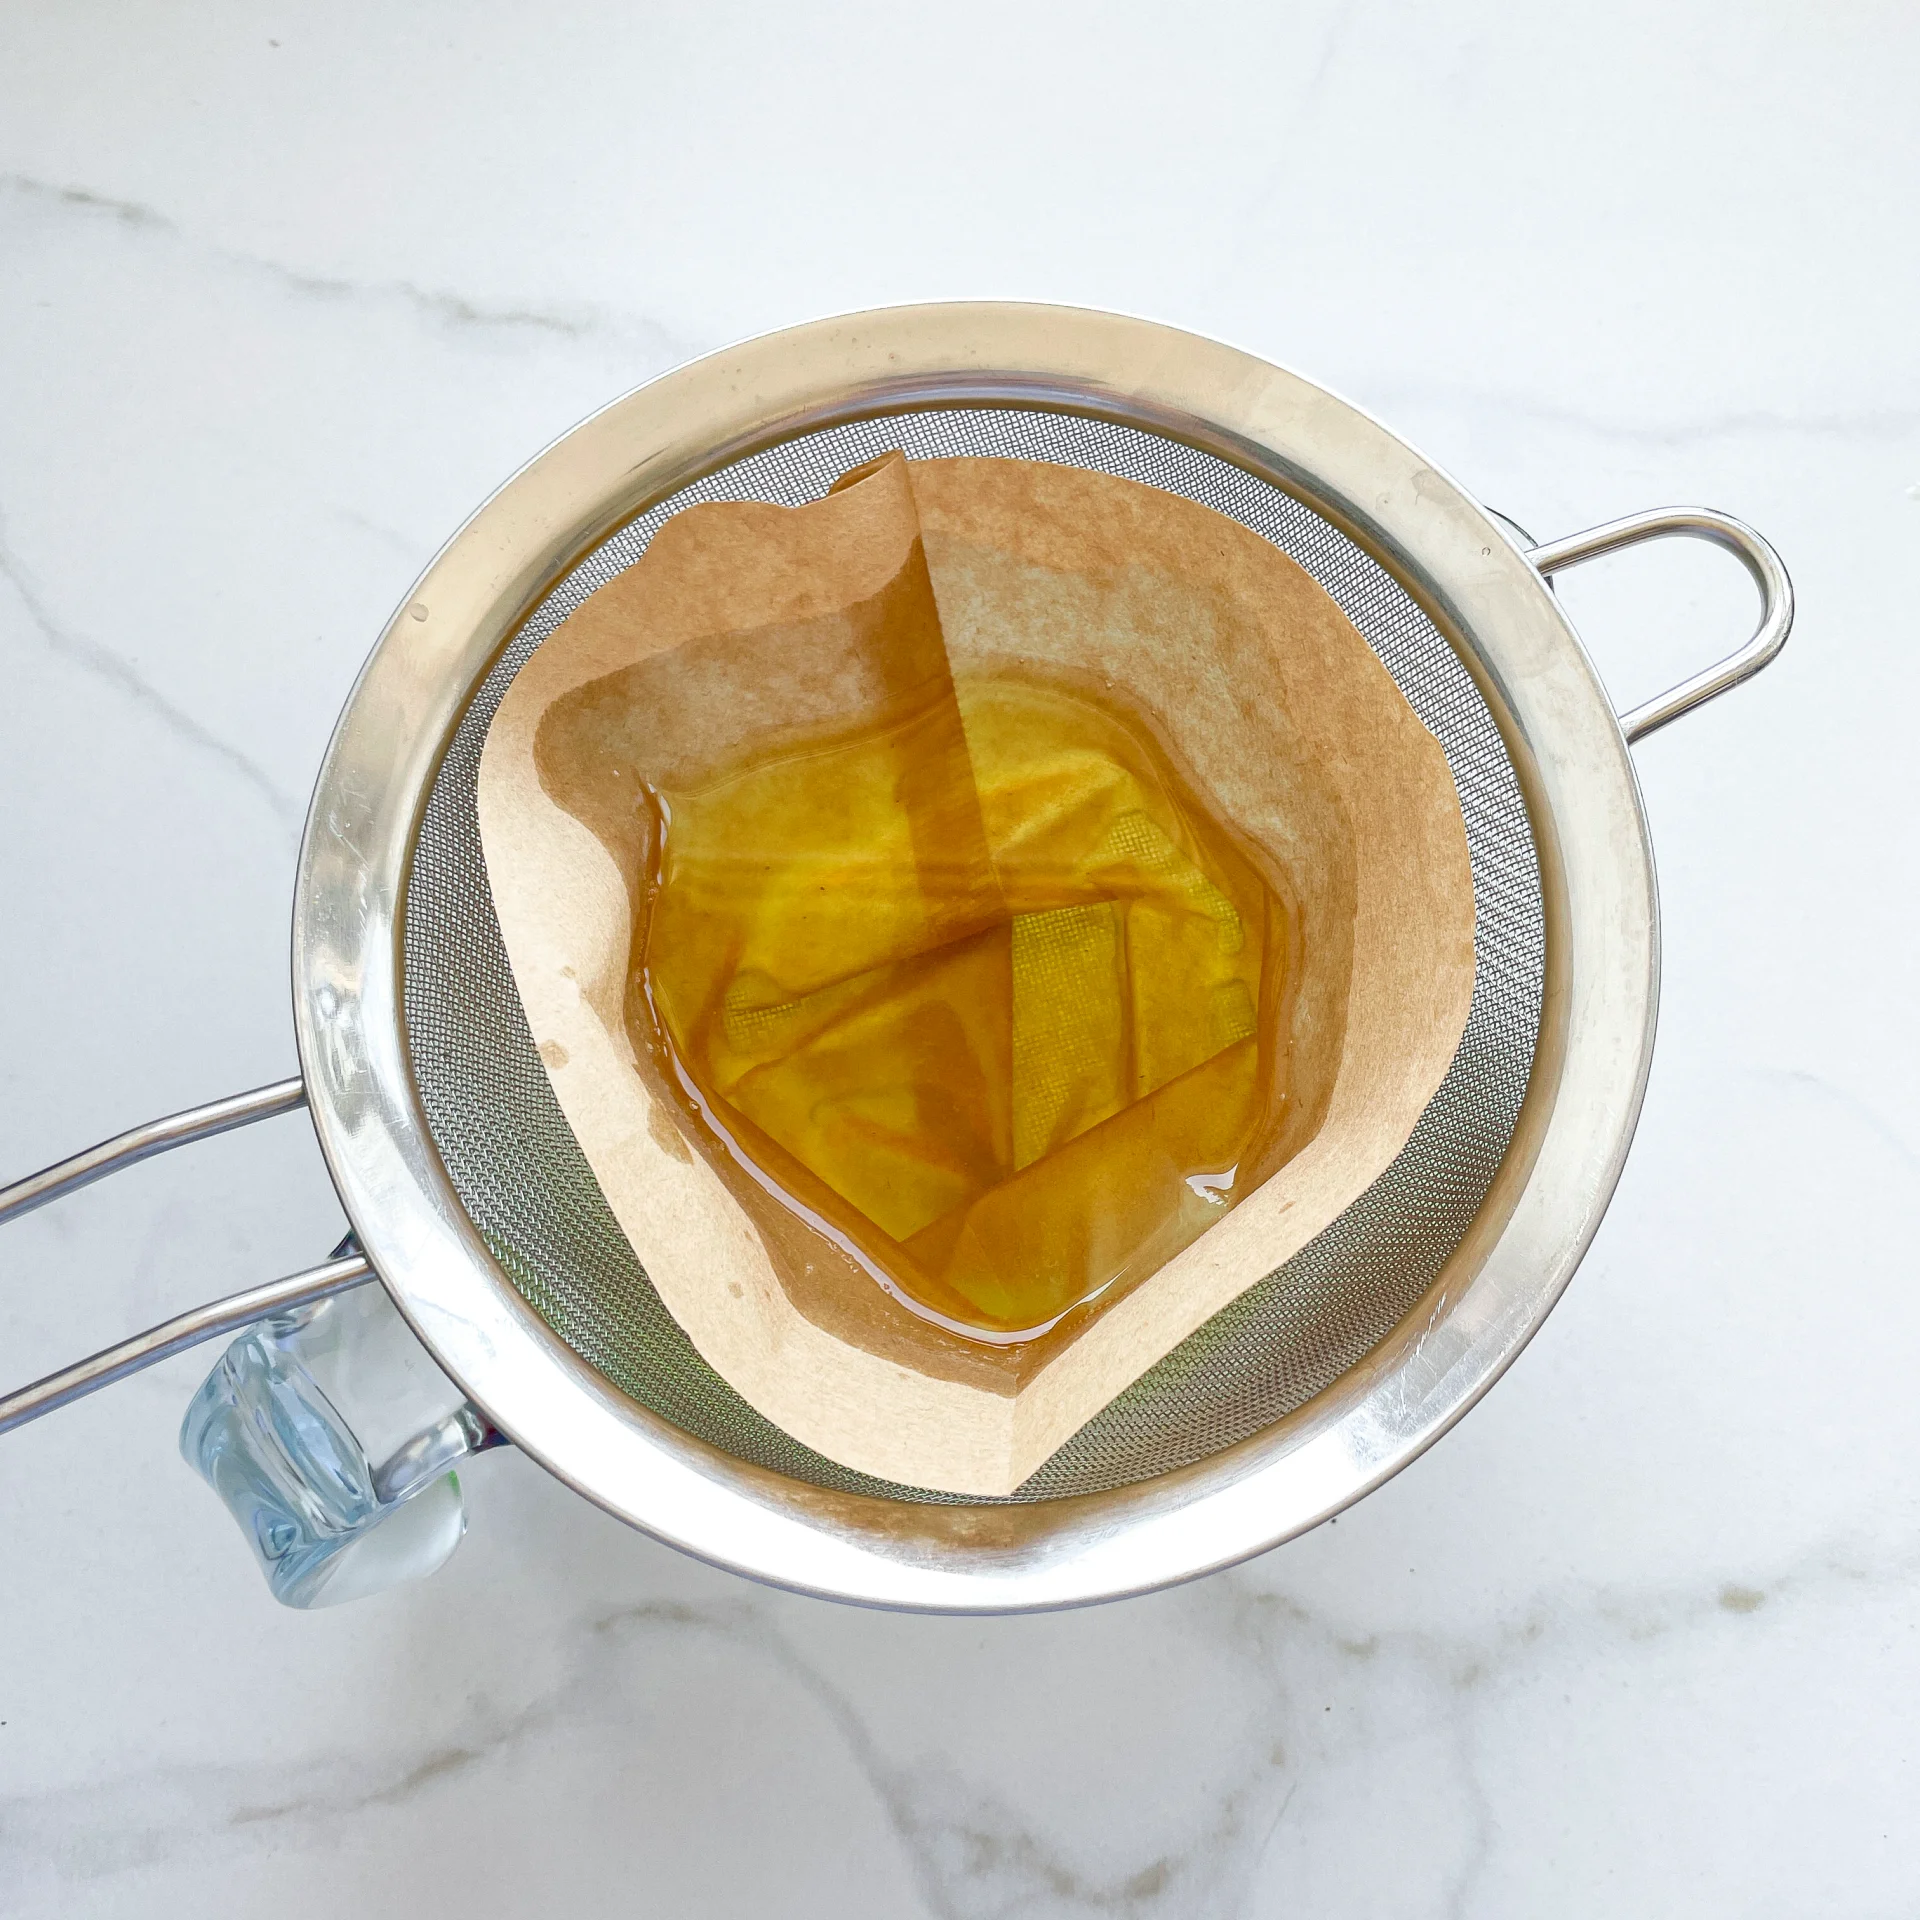
  4. Then, pour the oil into the second fine mesh sieve, which you before equipped with a coffee filter, to catch the remaining finer particles.
  5. Allow the oil to drip through for about 30 minutes or maybe less depending on how many remaining particles are in the coffee filter. Once all the oil has passed through the coffee filter, transfer the collected amount of oil into an oil bottle. Store in the refrigerator for up to 1-2 weeks.
  • Prep Time: 5 min
  • Passive Time: 30 min
  • Cook Time: 45 min
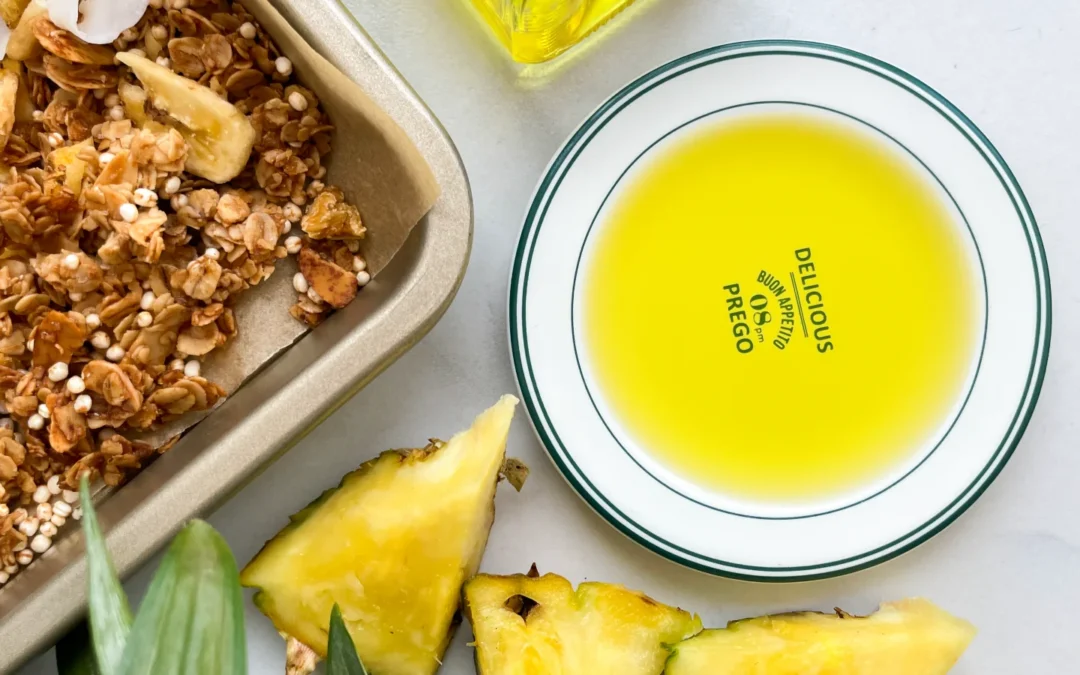
Tropical Granola – Coconut Mango Pineapple & Banana

Tropical Granola – Coconut Mango Pineapple & Banana

Tropical Granola - Coconut Mango Pineapple & Banana

Tropical Granola – Coconut Mango Pineapple & Banana

September 8, 2024 by Kimberly

Get a taste of paradise in every bite! This crunchy tropical mix is loaded with coconut, mango, banana, and pineapple instantly taking you to a beachside escape with every spoonful.

40 MINUTES

EASY

VEGAN

INT.

342 PER PORTION

CRUNCHY

EVERYDAY

BREAKFAST

ALL YEAR

INTRODUCTION

ABOUT THE RECIPE

If you’re craving something that transports you straight to a sunny beach, this tropical-inspired granola is just what you need. Packed with crunchy coconut chips, sweet dried mango, freeze-dried banana, and tangy pineapple, it’s the ultimate blend of tropical goodness. Whether you sprinkle it over yogurt, enjoy it with milk, or just munch it by the handful, each bite brings a little sunshine to your day. Plus, it’s super easy to make and perfect for anyone looking for a healthier snack option!

How to serve
There are so many ways to enjoy this tropical mix! Serve it over some creamy Greek yogurt with a drizzle of honey, or go for a classic bowl with your favorite milk. If you’re feeling fancy, use it to top smoothie bowls for that perfect Instagram-worthy breakfast. It’s also an amazing snack to pack on-the-go, giving you a burst of tropical flavors any time of day.

How to store
Store this tropical blend in an airtight container to keep it fresh and crunchy. It’ll stay delicious for up to 3-4 weeks if stored in a cool, dry place – although, let’s be real, it probably won’t last that long because it’s too good!

Hi, I'm Kimberly!

Hi, I'm Kimberly.

A passionate food lover who believes in the magic of homemade deliciousness that spreads love and warmth. Join me on this culinary adventure as I prepare wonderful dishes and let’s spread some happiness together!

Kimberly the Zett Signature

If you want to get to know me better, click here!


Tropical Granola - Coconut Mango Pineapple & Banana
„Let’s make a piece of happiness“
Print
clock clock iconcutlery cutlery iconflag flag iconfolder folder iconinstagram instagram iconpinterest pinterest iconfacebook facebook iconprint print iconsquares squares iconheart heart iconheart solid heart solid icon
Tropical Granola - Coconut Mango Pineapple & Banana

Tropical Granola – Coconut Mango Pineapple & Banana


  • Author: Kimberly
  • Total Time: 40 min
  • Yield: 300 g / 4 cups 1x

Description

Recommended Equipment

  • oven
  • parchment paper
  • medium-sized bowl
  • small saucepan
  • sharp knife
  • cutting board
  • airtight container

Ingredients

Units Scale
  • 100 grams rolled oats
  • 15 grams almonds
  • 30 grams dried mango
  • 30 grams freeze-dried banana
  • 30 grams dried pineapple
  • 20 grams coconut chips
  • 15 grams puffed quinoa
  • 30 grams cold-pressed coconut oil
  • 10 grams brown sugar
  • 25 grams agave syrup
  • 1/2 tsp vanilla extract
  • 1/8 tsp salt

Instructions

PREPARATIONS

  • Here’s the recipe for the Pineapple Coconut Oil. You’ll need about 30g of it.

INSTRUCTIONS

  1. Preheat the oven to 160°C / 320°F. Line a baking sheet with parchment paper and set it aside.
  2. In a medium-sized bowl, mix together the oats and almonds. Set aside.
  3. In a small saucepan, stir together sugar, agave syrup, vanilla extract, and coconut oil. Heat on low until the sugar melts. Pour this mixture over the oat-almond mix and stir well.
  4. Spread the mixture evenly onto the baking sheet. Bake for about 20 minutes.
  5. While the granola is baking, chop the freeze-dried bananas, pineapple, mango, and coconut chips to your desired size, and measure out the quinoa. Set everything aside.
  6. Once the granola is done baking, take it out of the oven and add the other ingredients. Mix everything well and let it cool.
  7. Once it’s completely cooled, crumble the granola and store it in an airtight container.
  • Passive Time: 20 min
  • Cook Time: 20 min

White Chocolate Blueberry Cookies & Blueberry Icing

White Chocolate Blueberry Cookies & Blueberry Icing

White Chocolate Blueberry Cookies & Blueberry Icing

White Chocolate Blueberry Cookies & Blueberry Icing

September 4, 2024 by Kimberly

Indulge in soft, melt-in-your-mouth cookies bursting with juicy blueberries and creamy sweetness of white chocolate, topped with a vibrant blueberry drizzle – perfect for cozy afternoons and sweet tooth cravings.

2 HOURS
25 MINUTES

EASY

VEGETARIAN

INT.

289 PER COOKIE

COMFORT FOOD
SWEET

TEA TIME

DESSERT
COOKIES

SUMMER

INTRODUCTION

ABOUT THE RECIPE

Get ready to treat yourself to a batch of cookies that’s the perfect blend of creamy and fruity goodness. These soft-baked cookies are packed with juicy berries and creamy sweetness, offering a delightful twist on your classic cookie. The vibrant, tangy drizzle on top adds just the right amount of zing, making these cookies a perfect choice for cozy afternoons or when you’re just craving something sweet and satisfying. Whether you’re a seasoned baker or just starting out, this recipe is a must-try for anyone who loves experimenting in the kitchen.

How to serve
These cookies are best enjoyed fresh out of the oven, with the soft, warm centers giving way to pockets of melted sweetness and bursts of berry flavor. For an extra touch, drizzle the tangy icing over the top while the cookies are still slightly warm, letting it melt into the crevices for a truly indulgent experience. Pair them with a hot cup of tea or coffee, or even a cold glass of milk, and you’ve got the perfect treat for any time of day.

How to store
To keep these cookies fresh and delicious, store them in an airtight container at room temperature. They’ll stay soft and flavorful for up to four days. If you need to keep them longer, you can freeze them in a sealed bag or container for up to two months. Just thaw at room temperature and enjoy as if they were freshly baked!

Hi, I'm Kimberly!

Hi, I'm Kimberly.

A passionate food lover who believes in the magic of homemade deliciousness that spreads love and warmth. Join me on this culinary adventure as I prepare wonderful dishes and let’s spread some happiness together!

Kimberly the Zett Signature

If you want to get to know me better, click here!


White Chocolate Blueberry Cookies & Blueberry Icing
„Let’s make a piece of happiness“
Print
clock clock iconcutlery cutlery iconflag flag iconfolder folder iconinstagram instagram iconpinterest pinterest iconfacebook facebook iconprint print iconsquares squares iconheart heart iconheart solid heart solid icon
White Chocolate Blueberry Cookies & Blueberry Icing

White Chocolate Blueberry Cookies & Blueberry Icing


  • Author: Kimberly
  • Total Time: 2 hrs + 25 min
  • Yield: 12 cookies 1x

Description

Recommended Equipment

  • two medium-sized bowls
  • whisk
  • sharp knife
  • cutting board
  • spatula
  • cookie scoop
  • small bowl
  • mortar and pestle

Ingredients

Units Scale

COOKIE DOUGH

  • 120 grams butter
  • 100 grams brown sugar
  • 100 grams white sugar
  • 2 tsp vanilla extract
  • 1 egg
  • 220 grams all-purpose flour
  • 1/2 tsp salt
  • 1/2 tsp baking soda
  • 150 grams white chocolate
  • 200 grams fresh blueberries

ICING

  • 1 tbsp freeze-dried blueberries
  • 75 grams powdered sugar
  • 2 tbsp milk

Instructions

  1. Melt the butter in the microwave or in a small pot. In a medium-sized bowl, combine the melted butter, brown sugar, white sugar, and vanilla extract until the mixture is smooth and the sugar is almost dissolved. Next, add the egg and mix everything together. Set aside.
  2. In another medium-sized bowl, mix together the flour, baking soda, and salt, then set it aside.
  3. On a cutting board, chop the chocolate into pieces. Weigh the blueberries.
  4. Now, add the flour mixture to the butter-sugar mixture, along with the chocolate and blueberries. Mix until just combined, with no streaks of flour visible. Don’t overmix. Use a cookie scoop to form 12 equally sized dough balls and place them on a sheet of parchment paper. Chill the dough balls in the refrigerator for at least 2 hours. If you’re very patient, you can leave them in the fridge for 24 hours—they’ll taste even better!
  5. When you’re ready to bake the cookies, preheat the oven to 150°C (300°F). Once the oven is hot, place the cookie dough balls on a parchment-lined baking sheet with enough space between them, and bake for 13 minutes. If you prefer thicker cookies, you can use a bowl that’s wider than the cookie to circle around it, shaping the cookie and making it thicker. Let the cookies cool slightly.
  6. Meanwhile, you can prepare the icing. For this, crush the freeze-dried blueberries into a powder using a mortar and pestle. Then, mix 1 tablespoon of this powder with powdered sugar and milk. Drizzle the icing over the cookies in a zigzag pattern, let it set for a few minutes, and then enjoy the cookies.
  • Passive Time: 180 min
  • Cook Time: 25 min

Garlic Parmesan Butter Knots & Grated Tomato Dip

Garlic Parmesan Butter Knots & Grated Tomato Dip

Garlic Parmesan Butter Knots & Grated Tomato Dip

Garlic Parmesan Butter Knots & Grated Tomato Dip

September 2, 2024 by Kimberly

Indulge in warm, buttery knots with a savory garlic kick, paired perfectly with a fresh and tangy tomato dip. This treat feels like a cozy hug for your taste buds.

2x OVERNIGHT
7 HOURS
45 MINUTES

EASY

VEGETARIAN

INT.

150 PER KNOT

COMFORT FOOD

PICNIC

APPETIZER

ALL YEAR

INTRODUCTION

ABOUT THE RECIPE

Get ready to cozy up with these irresistible, buttery garlic knots that are as delicious as they are easy to make. Packed with savory garlic and parmesan, these warm, soft knots are the ultimate comfort food snack. Paired with a fresh, tangy tomato dip, they’re perfect for sharing with friends or enjoying on your own. Whether you’re hosting a party or just craving something deliciously savory, these knots are sure to become a favorite in your recipe collection.

How to serve
These garlic parmesan knots are best served warm, straight out of the oven. Serve alongside a bowl of the grated tomato dip for a refreshing contrast to the rich, buttery flavor. This dish makes a great appetizer or a tasty side for soups and salads.

How to store
To keep these knots fresh, store them in an airtight container at room temperature for up to two days. If you need to keep them longer, freeze them in a sealed bag for up to a month. Reheat in the oven at a low temperature to bring back that fresh-from-the-oven warmth. The tomato dip can be stored in the fridge for up to three days, and it’s best served slightly chilled.

Hi, I'm Kimberly!

Hi, I'm Kimberly.

A passionate food lover who believes in the magic of homemade deliciousness that spreads love and warmth. Join me on this culinary adventure as I prepare wonderful dishes and let’s spread some happiness together!

Kimberly the Zett Signature

If you want to get to know me better, click here!


Garlic Parmesan Butter Knots & Grated Tomato Dip
„Let’s make a piece of happiness“
Print
clock clock iconcutlery cutlery iconflag flag iconfolder folder iconinstagram instagram iconpinterest pinterest iconfacebook facebook iconprint print iconsquares squares iconheart heart iconheart solid heart solid icon
Garlic Parmesan Butter Knots & Grated Tomato Dip

Garlic Parmesan Butter Knots & Grated Tomato Dip


  • Author: Kimberly
  • Total Time: 2x over night + 7 hrs + 45 min
  • Yield: 11 knots 1x

Description

Recommended Equipment

  • tall glass with a lid
  • two large bowls
  • spatula
  • two medium-sized bowls
  • grater
  • sharp knife
  • cutting board

Ingredients

Units Scale

PRE-DOUGH

  • 50 grams pizza flour (in Germany Typ 00)
  • 50 grams water, luke warm
  • 1/8 tsp dry active yeast

DOUGH

  • 250 grams pizza flour (in Germany Typ 00)
  • 150 grams water, room temperature
  • 1/8 tsp dry active yeast
  • 1 tsp salt

BUTTE PARMESAN GARLIC SAUCE

  • 50 grams butter
  • 20 grams parmesan
  • 8 garlic cloves
  • 2 tbsp fresh parsley
  • pinch of salt

GRATED TOMATO DIP

  • 3 mid-sized tomatoes
  • 1 tbsp olive oil
  • pinch of salt

Instructions

PREPARATIONS

  • Evening before Day 1: Prepare the pre-dough. Mix flour, dry active yeast, and water in a tall glass until no lumps remain and the consistency is sticky. Cover loosely with a lid and let it sit at room temperature overnight.
  • Day 1: Combine the pre-dough from the first evening with the dough ingredients in a medium-sized bowl. Stir with a wooden spoon until everything just comes together. Use a dough scraper or spatula to clean the sides of the bowl. Cover the bowl tightly with plastic wrap and let it rest for 30 minutes. After this time, grab the dough with a wet hand on one side, gently lift it, and fold it over onto the other side. Continue this process until the dough has been lifted and folded all the way around. Repeat this step 3 more times, every 30 minutes. After the 4th stretch and fold, shape the dough into a round ball with a taut surface and place it back in the bowl. Cover the bowl tightly with a lid or plastic wrap and refrigerate overnight.
  • Day 2: Take the dough out of the fridge and divide it into 11-12 equal portions with 50g / 1.8o each on a lightly floured surface. Roll each portion into a long dough rope, then form a knot and press the ends together on the back of the knot. Place the knots on a baking sheet lined with parchment paper, leaving enough space between them. Cover them with a damp kitchen towel and let them rise at room temperature for the next 3 hours. Preheat the oven to 190°C / 375°F towards the end of the rising time.

INSTRUCTIONS

  1. Once the oven is hot, place the baking sheet with the dough knots in the oven and bake for about 15 minutes. Then, brown them for an additional 5 minutes using the grill function at 250°C / 480°F.
  2. Meanwhile, prepare the butter-parmesan sauce. Melt butter in a medium-sized bowl, then finely grate the parmesan into it. Peel the garlic and either grate or press it into the bowl. Finely chop the parsley and add it to the bowl as well. Mix everything together and season with a pinch of salt. Set aside.
  3. For the dip, finely grate the tomatoes, leaving the skin behind (it won’t be used in the dip). Transfer the grated tomatoes to a bowl, mix with a bit of olive oil and salt, and pour into a small serving dish.
  4. Take the knots out of the oven and immediately place them in a large bowl. Pour the butter-parmesan sauce over them and toss well to coat each knot. Transfer the knots to a basket and serve with the dip. They taste best warm and fresh from the oven.
  • Prep Time: 25 min
  • Passive Time: 2x over night + 7 hrs
  • Cook Time: 20 min
Olive Olive Oil

Olive Olive Oil

Olive Olive Oil

Olive Olive Oil

September 2, 2024 by Kimberly

Get ready to level up your olive oil game with this zesty twist! Infusing it with green olives makes the flavor pop, creating a bold, savory experience that’s unforgettable.

55 MINUTES

ADVANCED

VEGAN

INT.

40 PER TSP

FRUITY
SALTY

MICHELIN

OIL

ALL YEAR

INTRODUCTION

ABOUT THE RECIPE

If you’re obsessed with olives (like me) and love playing around in the kitchen, then this little hack is just what you need. While high-quality olive oil is already a superstar on its own, adding a handful of green olives takes it to the next level. It’s like giving your olive oil a little attitude boost – think bolder, more vibrant flavors that really make your taste buds dance. It’s a fun, simple experiment that’s perfect for anyone who loves to tinker with their food.

How to serve
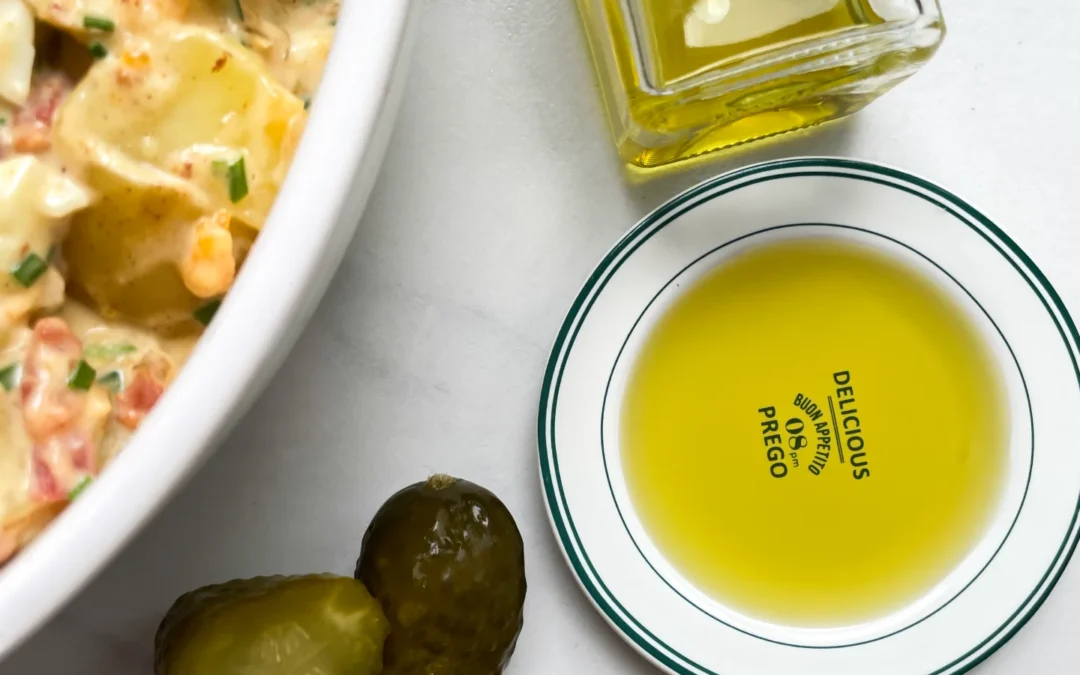
This boosted olive oil is a total game-changer when drizzled over fresh salads, used as a dip for crusty bread, or even dribbled over pasta. It’s got that punchy, savory vibe that can really elevate a simple dish into something that feels a bit more gourmet. Try it as a finishing touch on grilled veggies or mix it into homemade vinaigrettes. The deep, rich flavor makes everything taste just a little bit more special – perfect for when you want to impress without too much effort. I love incorporating it into these Garlic Parmesan Butter Knots with Grated Tomato Dip.

How to store
Keep this infused olive oil in a cool, dark place like your fridge. It’ll last for about 1-2 weeks, but trust me, you’ll probably use it up way before then.

Hi, I'm Kimberly!

Hi, I'm Kimberly.

A passionate food lover who believes in the magic of homemade deliciousness that spreads love and warmth. Join me on this culinary adventure as I prepare wonderful dishes and let’s spread some happiness together!

Kimberly the Zett Signature

If you want to get to know me better, click here!


Olive Olive Oil
Olive Olive Oil
Olive Olive Oil
„Let’s make a piece of happiness“
Print
clock clock iconcutlery cutlery iconflag flag iconfolder folder iconinstagram instagram iconpinterest pinterest iconfacebook facebook iconprint print iconsquares squares iconheart heart iconheart solid heart solid icon
Olive Olive Oil

Olive Olive Oil


  • Author: Kimberly
  • Total Time: 55 min
  • Yield: 1 cup / 250 ml 1x

Description

RECOMMENDED EQUIPMENT

  • blender
  • medium-sized saucepan
  • whisk
  • a bowl which the medium saucepan fits into
  • 2 medium-sized bowls
  • 2 fine mesh strainers
  • oil bottle
  • ice cubes
  • coffee filter

Ingredients

Units Scale
  • 100 grams green olives
  • 250 milliliters olive oil

Instructions

  1. Put the green olives into the blender. Pour in the oil. Blend on the highest setting until there only small pieces are longer visible.
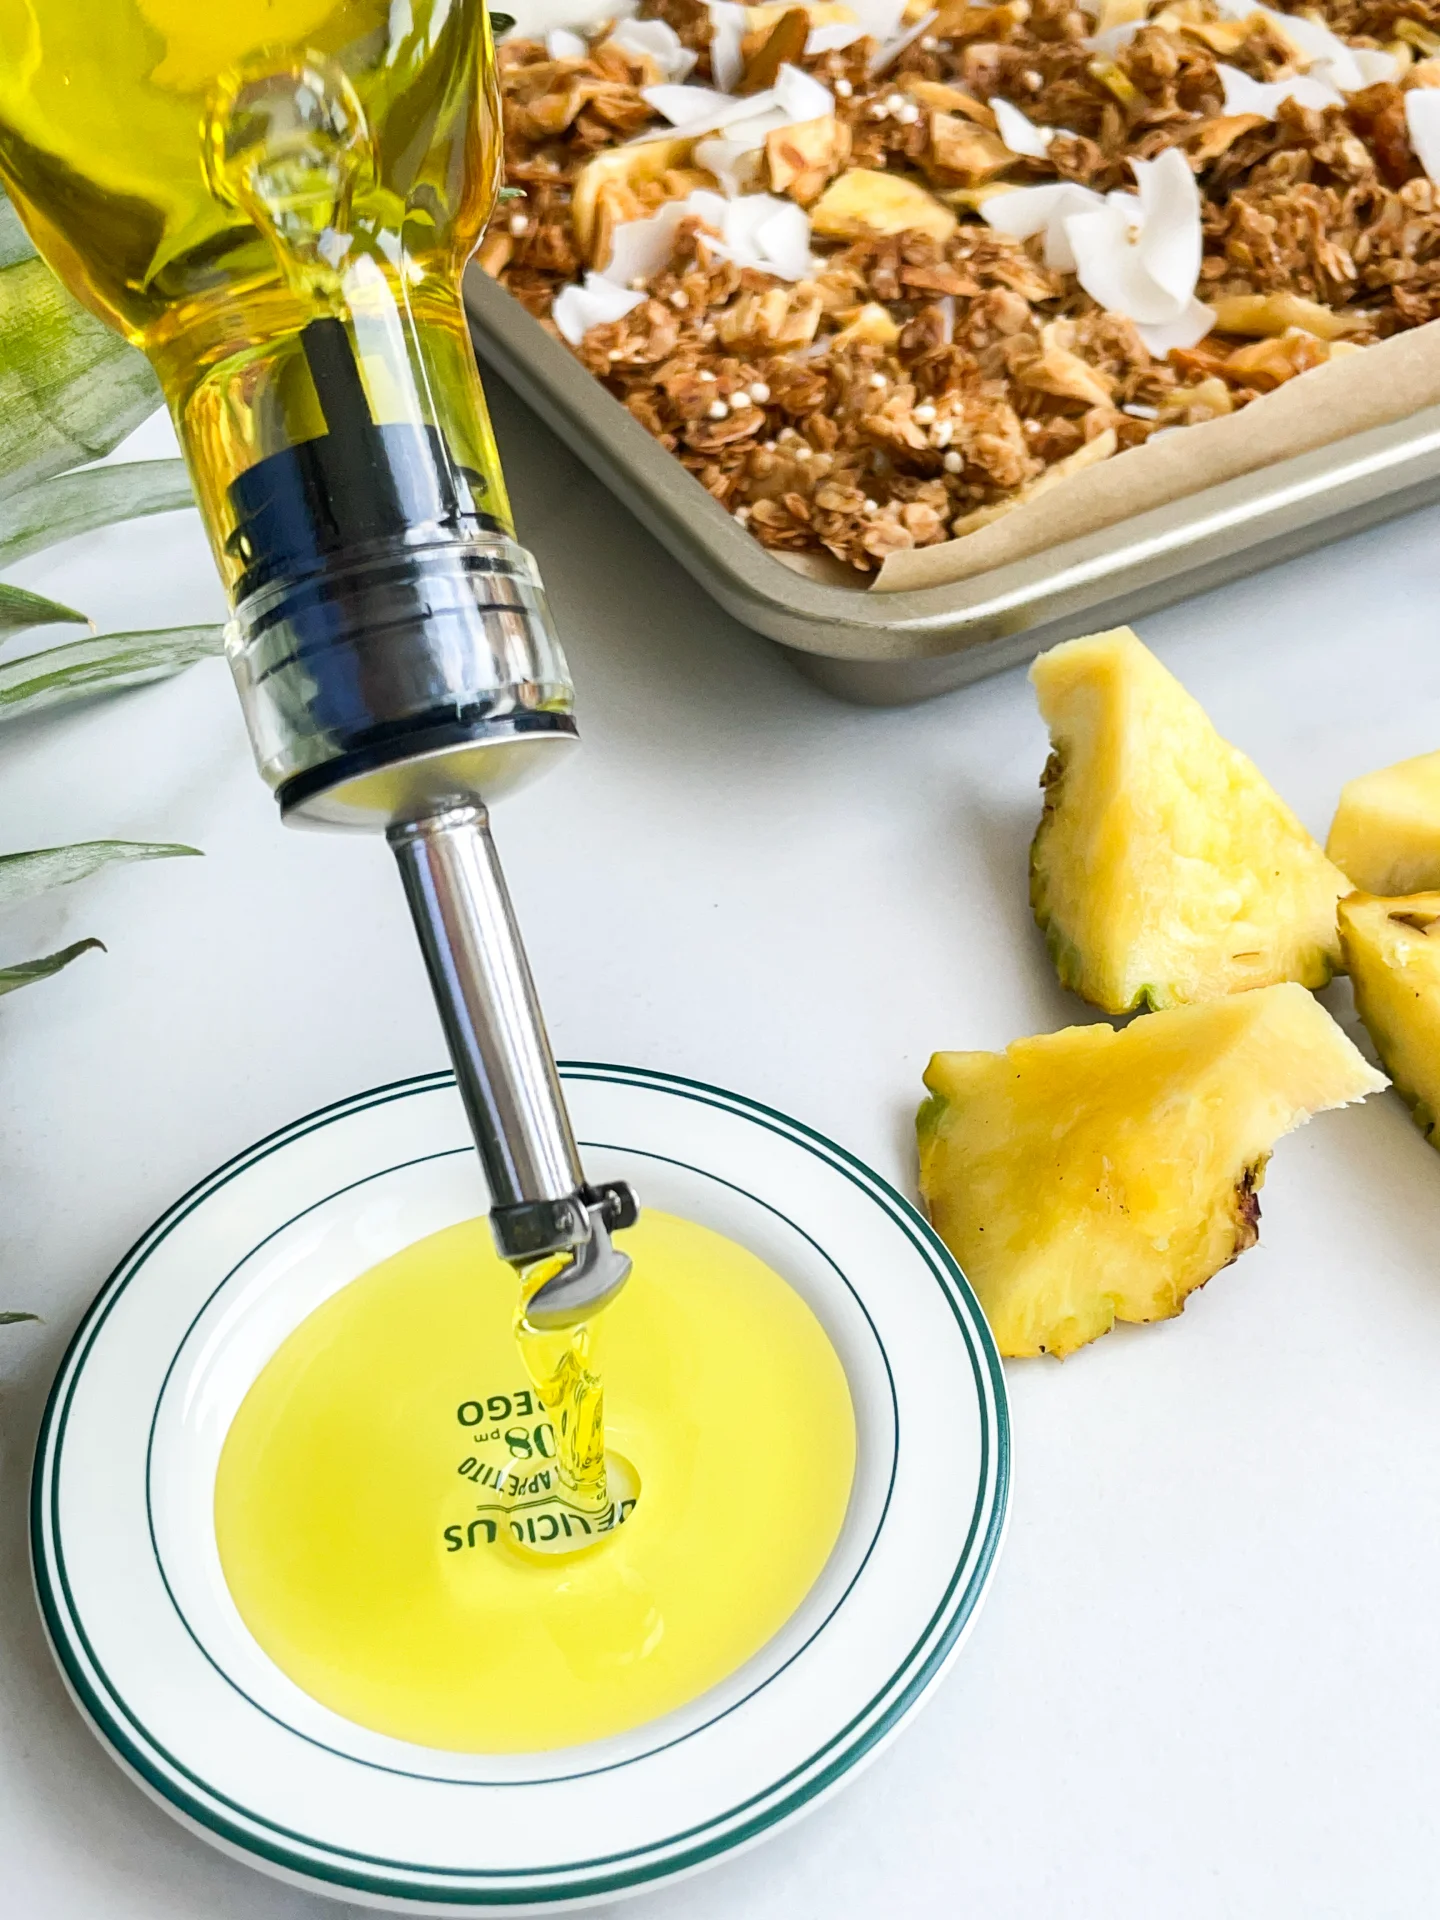
  2. Pour the mixture from the blender into a medium-sized pot and heat it over medium heat, constantly stirring, to a temperature of about 102°-103°C (215°-217°F). Then, let the oil simmer with the lid partially on for the next 20 minutes. Stir only occasionally, making sure the temperature remains steady and nothing gets burned. The cooking time is essential for all the water to evaporate. You’ll know all the water has evaporated when the oil in the pot barely bubbles anymore – so if it’s still bubbling vigorously, keep it simmering.
  3. At the end of the cooking process, prepare a bowl large enough to fit the medium-sized pot, filled with cold water and a handful of ice cubes. Also, hang a fine mesh sieve strainer over a medium-sized bowl.
  4. Now, place the pot in the ice water and stir to stop the cooking process. Once the oil is almost cold, remove the pot from the water and pour the oil into the first fine mesh sieve to catch the coarse particle.
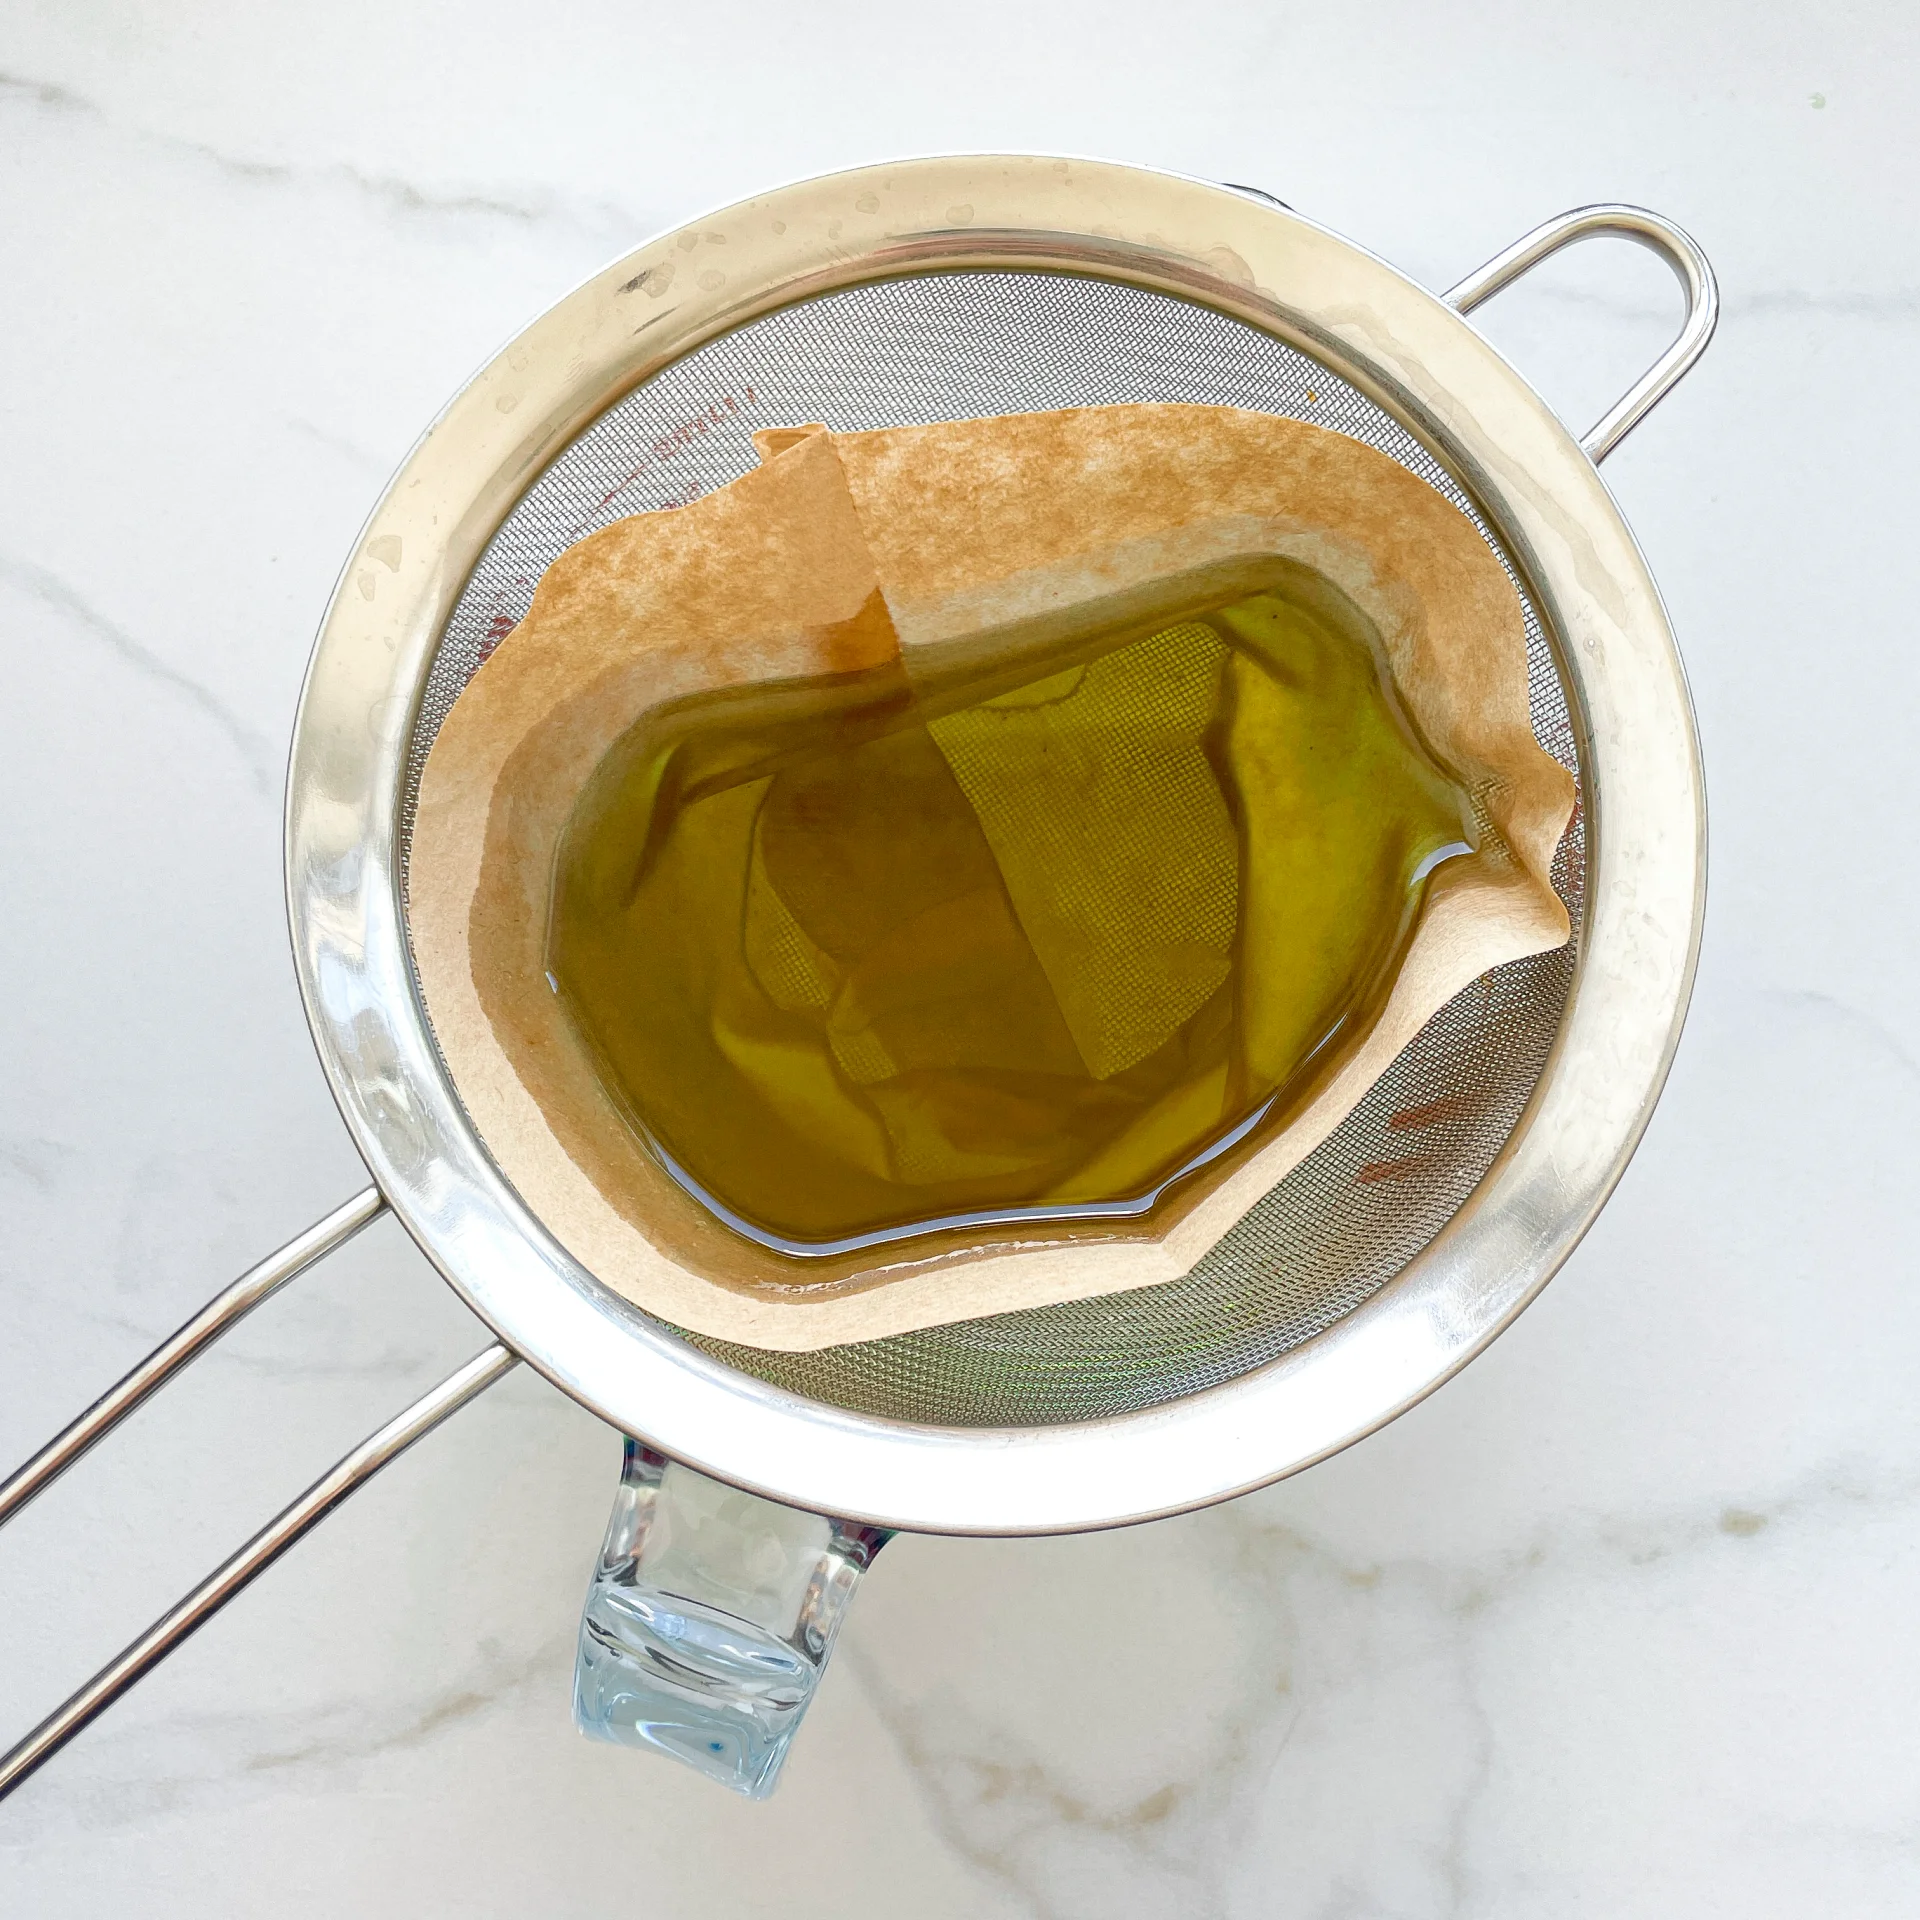
  5. Then, pour the oil into the second fine mesh sieve, which you before equipped with a coffee filter, to catch the remaining finer particles.
  6. Allow the oil to drip through for about 30 minutes or maybe more depending on how many remaining particles are in the coffee filter. Once all the oil has passed through the coffee filter, transfer the collected amount of oil into an oil bottle. Store in the refrigerator for up to 1-2 weeks.
  • Prep Time: 5 min
  • Passive Time: 30 min
  • Cook Time: 20 min

Milk Chocolate Pudding with Chantilly Cream & Hazelnut Brittle

Milk Chocolate Pudding with Chantilly Cream & Hazelnut Brittle

Milk Chocolate Pudding with Chantilly Cream & Hazelnut Brittle

Milk Chocolate Pudding with Chantilly Cream & Hazelnut Brittle

August 29, 2024 by Kimberly

Indulge in a silky, luscious delight that melts in your mouth, combining rich chocolate bliss with fluffy cream and a satisfying crunchy surprise. Pure dessert heaven!

35 MINUTES

EASY

VEGETARIAN

INT.

424 PER PORTION

CREAMY

DATE NIGHT

DESSERT

ALL YEAR

INTRODUCTION

ABOUT THE RECIPE

Get ready to dive into a world of creamy chocolate bliss with this decadent sweet treat that’s sure to satisfy your sweet tooth. This velvety chocolate delight is the perfect combination of smooth indulgence and a delightful crunch, making it an elegant dessert that’s unbelievably easy to whip up at home. Whether you’re hosting a festive gathering or simply craving some classic comfort food, this homemade pudding will surely become your new favorite dessert inspiration.

How to serve
To elevate this gourmet treat, serve it chilled in elegant glassware topped with a dollop of fluffy whipped cream (chantilly) and a sprinkle of crunchy goodness for that extra touch of texture. You can also get creative by adding fresh berries or a drizzle of caramel sauce to enhance the rich chocolate flavor. This crowd-pleasing treat pairs wonderfully with a hot cup of coffee or a glass of dessert wine, making every bite a true sweet culinary adventure.

How to store
Keep any leftovers of this indulgent dessert refrigerated in an airtight container to maintain its creamy texture and fresh taste. It stays delicious for up to three days, ensuring you can enjoy this simple homemade sweet whenever the craving strikes. Just remember to add the crunchy topping right before serving to keep it perfectly crisp!

Hi, I'm Kimberly!

Hi, I'm Kimberly.

A passionate food lover who believes in the magic of homemade deliciousness that spreads love and warmth. Join me on this culinary adventure as I prepare wonderful dishes and let’s spread some happiness together!

Kimberly the Zett Signature

If you want to get to know me better, click here!


Milk Chocolate Pudding with Chantilly Cream & Hazelnut Brittle
„Let’s make a piece of happiness“
Print
clock clock iconcutlery cutlery iconflag flag iconfolder folder iconinstagram instagram iconpinterest pinterest iconfacebook facebook iconprint print iconsquares squares iconheart heart iconheart solid heart solid icon
Milk Chocolate Pudding with Chantilly Cream & Hazelnut Brittle

Milk Chocolate Pudding with Chantilly Cream & Hazelnut Brittle


  • Author: Kimberly
  • Total Time: 35 min
  • Yield: 6 1x

Description

Recommended Equipment

  • sharp knife
  • cutting board
  • small pan
  • parchment paper
  • rolling pin
  • tall container
  • electric mixer
  • small pot
  • small glass
  • medium-sized bowl

Ingredients

Units Scale

HAZELNUT BRITTLE

  • 75 grams hazelnuts
  • 50 grams white sugar
  • 1 tbsp butter
  • pinch of salt

CHANTILLY CREAM

  • 100 milliliters heavy cream, cold
  • 25 grams powdered sugar

CHOCOLADE PUDDING

  • 300 milliliters whole-fat milk
  • 200 grams milk chocolate
  • 100 milliliters heavy cream
  • 30 grams white sugar
  • 15 grams cornstarch
  • 1 tsp vanilla extract

Instructions

  1. Hazelnut Brittle: First, finely chop the hazelnuts and set them aside. Next, prepare two sheets of parchment paper. Then, add the sugar and a pinch of salt to a small pan and heat it over medium heat until the sugar starts to become transparent. Once most of the sugar has melted, slowly stir with a spoon until the sugar turns amber. Quickly add 1 tablespoon of butter and stir well. Then, mix in the chopped hazelnuts and pour the entire mixture onto one of the sheets of parchment paper. Place the other sheet of parchment paper on top and roll it flat with a rolling pin. Set it aside to cool. Once the brittle has cooled, you can chop it into small crumbs with a knife or break it down in a food processor. Store it in a bag until ready to use.
  2. Chantilly Cream: In a tall container, whip the cold cream at low speed while gradually adding the powdered sugar. Once the cream starts to thicken, increase the speed to medium and continue whipping until the cream is creamy and stiff. Keep it in the fridge until ready to use.
  3. Chocolate Pudding: In a small pot, combine 2/3 of the milk, cream, sugar (you can skip the sugar if you don’t like it too sweet), and vanilla extract, and heat over medium heat. Meanwhile, finely grate the chocolate. Remove the pot from the heat and stir in the chocolate until it melts. In a small glass, mix the remaining 1/3 of the milk with the cornstarch until smooth, then pour it into the chocolate pudding and bring it to a boil while stirring. The pudding will thicken as it cooks. You can either serve the pudding warm or pour it into a bowl and cover the surface with plastic wrap to prevent a skin from forming. Let the bowl cool to room temperature, then refrigerate until ready to serve.
  4. To serve, spoon the pudding into glasses or bowls, top with 1-1.5 tablespoons of the Chantilly cream, and finish with a tablespoon of the hazelnut brittle.
  • Cook Time: 35 min