Homemade Bagels

Homemade Bagels

Homemade Bagels

Homemade Bagels

August 15, 2024 by Kimberly

Indulge in these cozy, chewy homemade bagels with irresistible toppings! Perfect for breakfast or brunch, they bring a warm, homemade touch to your mornings. Once you try these, you’ll never buy bagels again!

2 HOURS

INTERMEDIATE

VEGETARIAN

US AMERICAN

274 PER BAGEL

CHEWY

BRUNCH

BREAKFAST

ALL YEAR

INTRODUCTION

ABOUT THE RECIPE

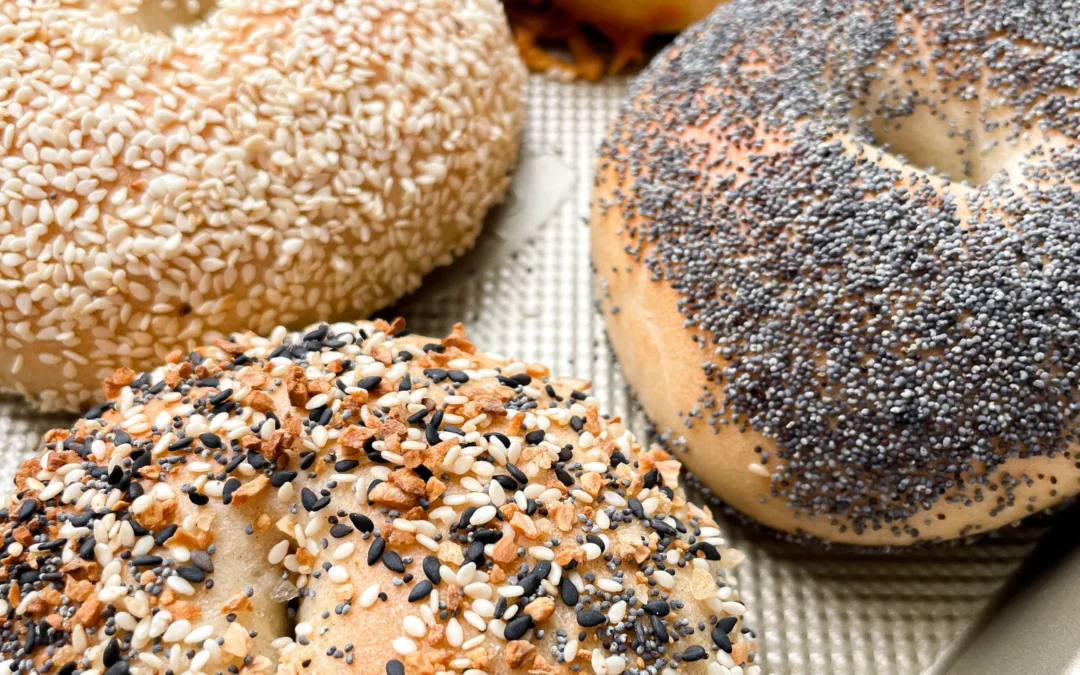
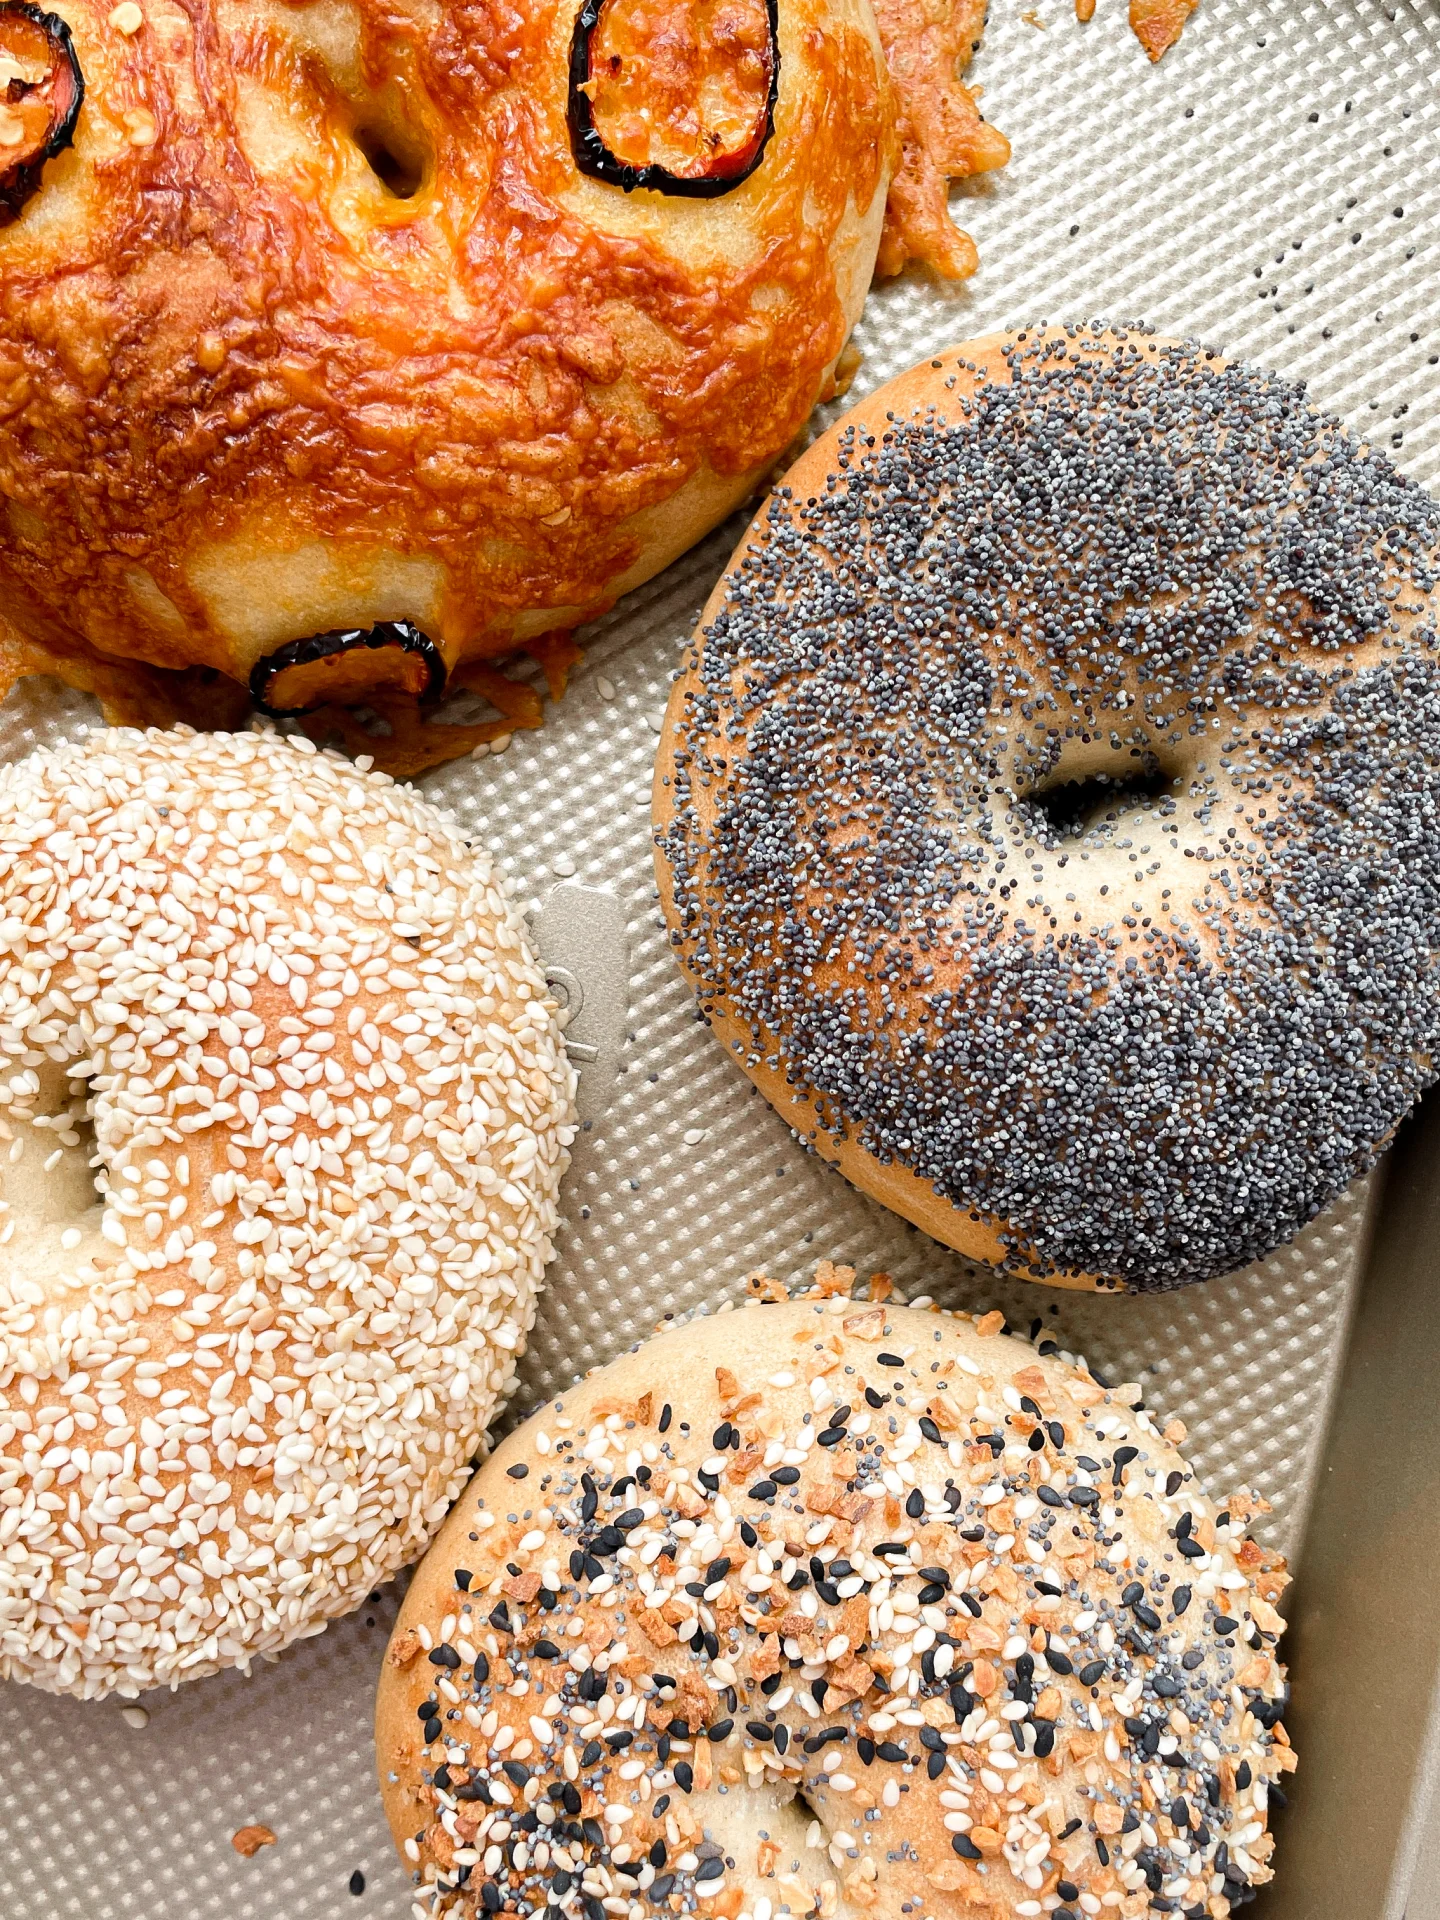
Imagine starting your day with the warm, comforting aroma of freshly baked bagels wafting through your kitchen. These delightful homemade bagels are not only easy to make but also offer a chewy, satisfying bite that pairs perfectly with your favorite toppings. Whether you prefer the nutty flavor of sesame seeds, the subtle crunch of poppyseeds, the spicy kick of cheddar and jalapeno, or the classic mix of everything bagel seasoning, there’s a bagel for everyone to love.

How to serve
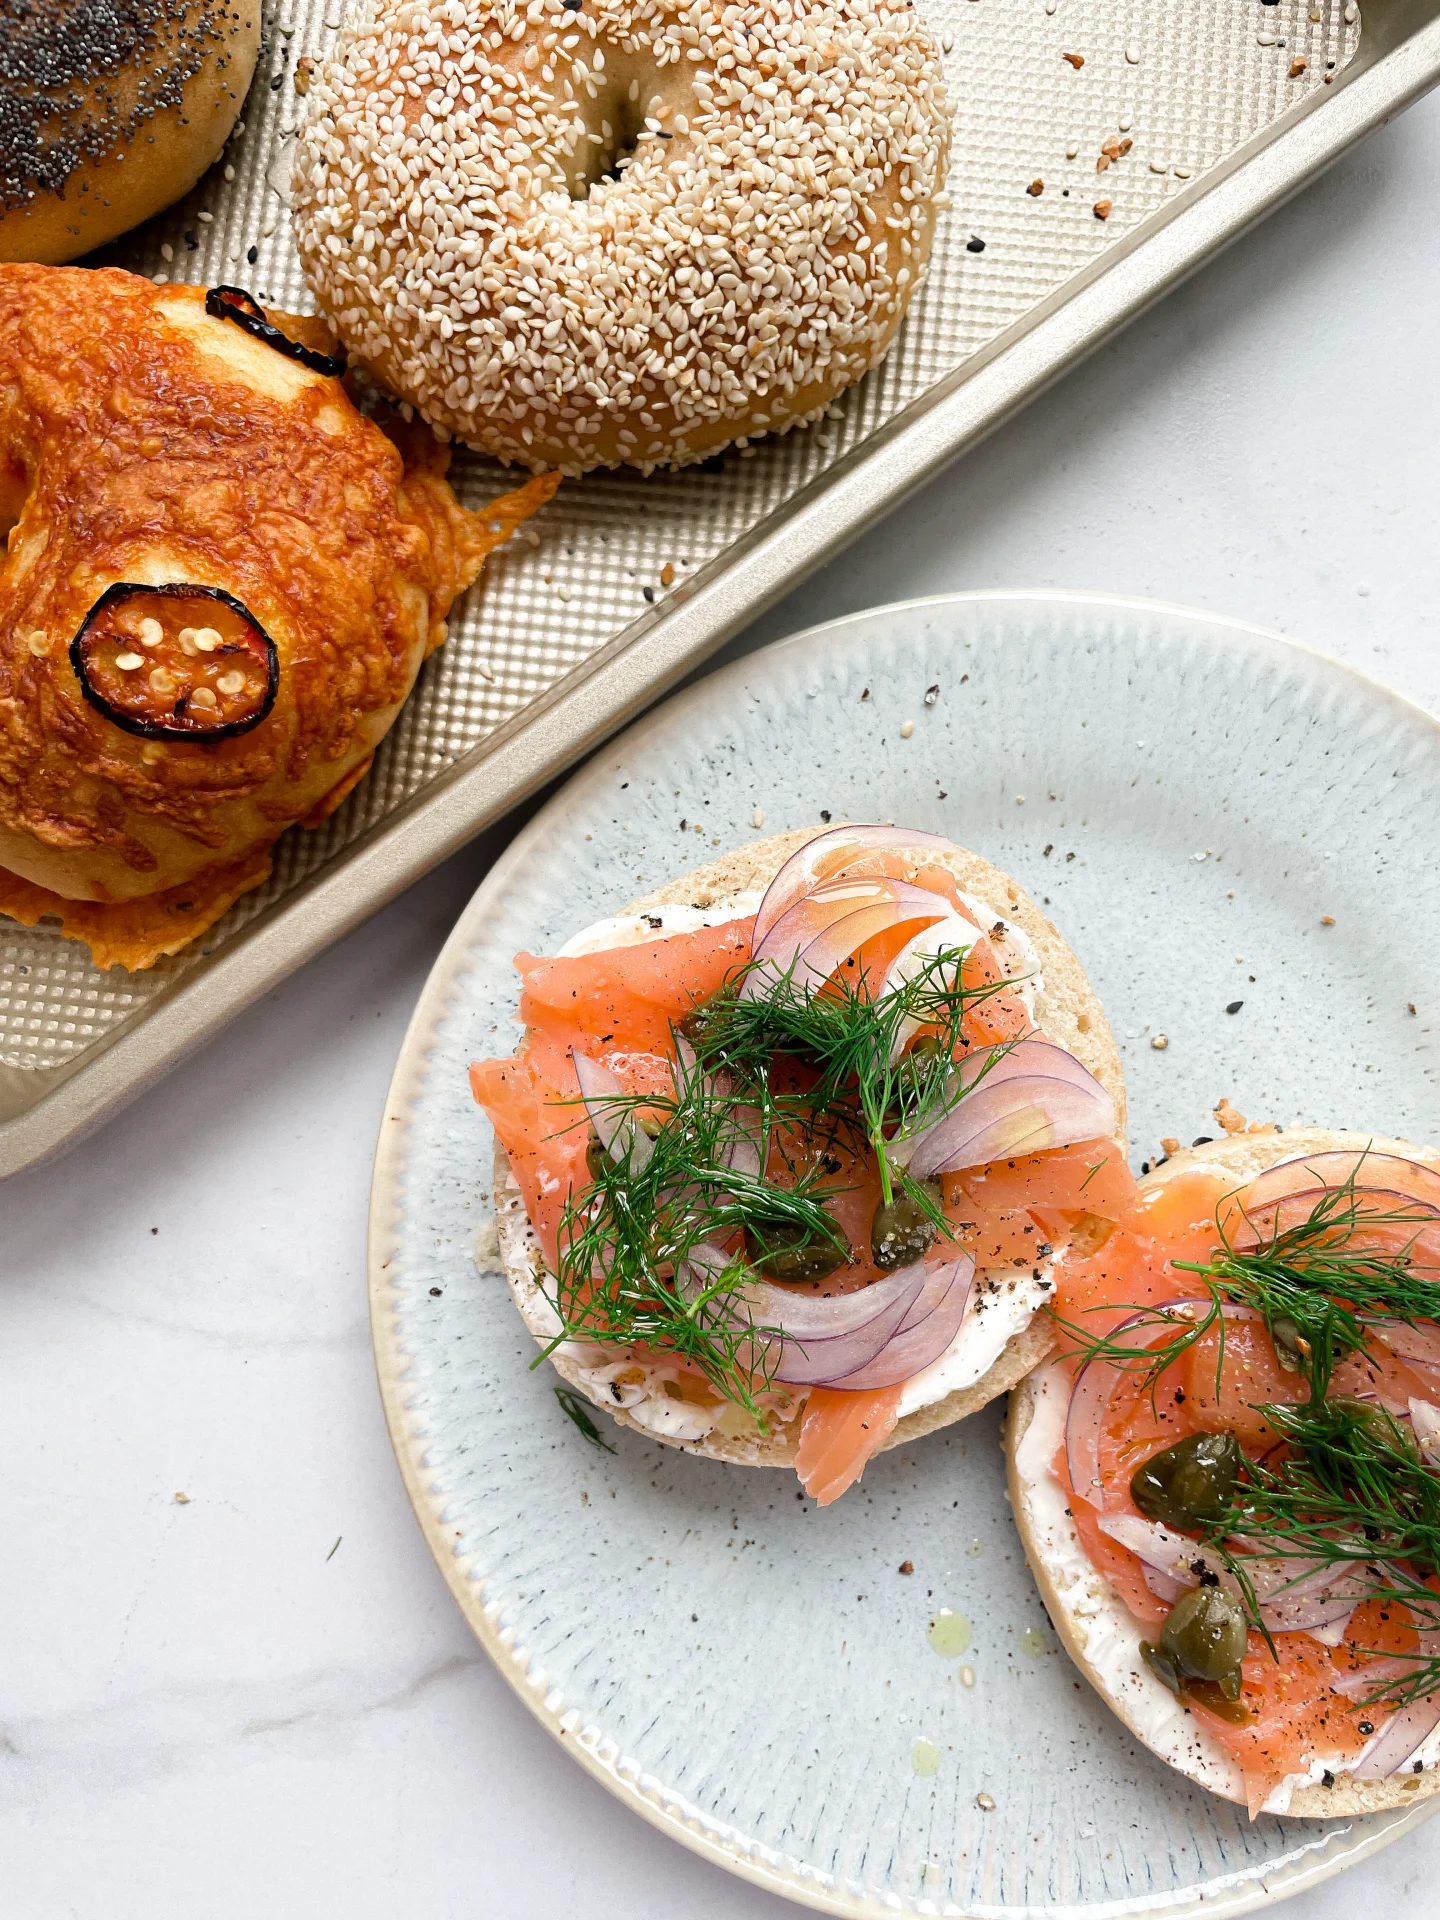
Slice them in half and spread on some creamy butter, tangy cream cheese, or your favorite jam. They also make fantastic bases for sandwiches – think smoked salmon with capers and red onion on a sesame bagel, or a turkey and avocado combo on a poppyseed bagel. For a real treat, try a cheddar and jalapeno bagel with a smear of guacamole. These bagels are versatile enough to be enjoyed any time of day, making them a must-have in your kitchen.

How to store
To keep your bagels fresh, store them in an airtight container at room temperature for up to two days. For longer storage, slice them in half and freeze them. When you’re ready to enjoy, simply pop them in the toaster straight from the freezer. This way, you’ll always have a delicious bagel ready whenever the craving strikes.

Hi, I'm Kimberly!

Hi, I'm Kimberly.

A passionate food lover who believes in the magic of homemade deliciousness that spreads love and warmth. Join me on this culinary adventure as I prepare wonderful dishes and let’s spread some happiness together!

Kimberly the Zett Signature

If you want to get to know me better, click here!


Homemade Bagels
Homemade Bagels
Homemade Bagels
„Let’s make a piece of happiness“
Print
clock clock iconcutlery cutlery iconflag flag iconfolder folder iconinstagram instagram iconpinterest pinterest iconfacebook facebook iconprint print iconsquares squares iconheart heart iconheart solid heart solid icon
Homemade Bagels

Homemade Bagels


5 Stars 4 Stars 3 Stars 2 Stars 1 Star

No reviews

  • Author: Kimberly
  • Total Time: 2 hrs
  • Yield: 8-12 1x

Description

Recommended Equipment

  • tall container
  • large bowl
  • damp cloth
  • oven
  • large pot

Ingredients

Units Scale

DOUGH – YEAST MIXTURE

  • 500 milliliters lukewarm water
  • 7 grams active dry yeast
  • 1 tbsp sugar

DOUGH – DRY INGREDIENTS

  • 900 grams bread flour (in Germany flour type 550)
  • 2 tsp salt
  • 30 grams white sugar

WATER BATH

  • 2 liters simmering water
  • 1/4 cup brown sugar

TOPPINGS

  • white sesame seeds
  • poppy seeds
  • everything but the bagel seasoning
  • cheddar & jalapeño

Instructions

  1. In a tall container, briefly stir together the yeast mixture ingredients: lukewarm water, yeast, and sugar, then let it sit for 10 minutes.
  2. Meanwhile, in a large bowl, mix the dry ingredients: flour, salt, and sugar. Add the yeast-water-sugar mixture and stir until just combined.
  3. Transfer the dough to a clean work surface and knead by hand until it barely sticks anymore.
  4. Shape the dough into 8 balls of 180g / 6oz each for large bagels or 12 balls of 120g / 4oz each for smaller bagels. Let them rest under a damp cloth for about 20 minutes.
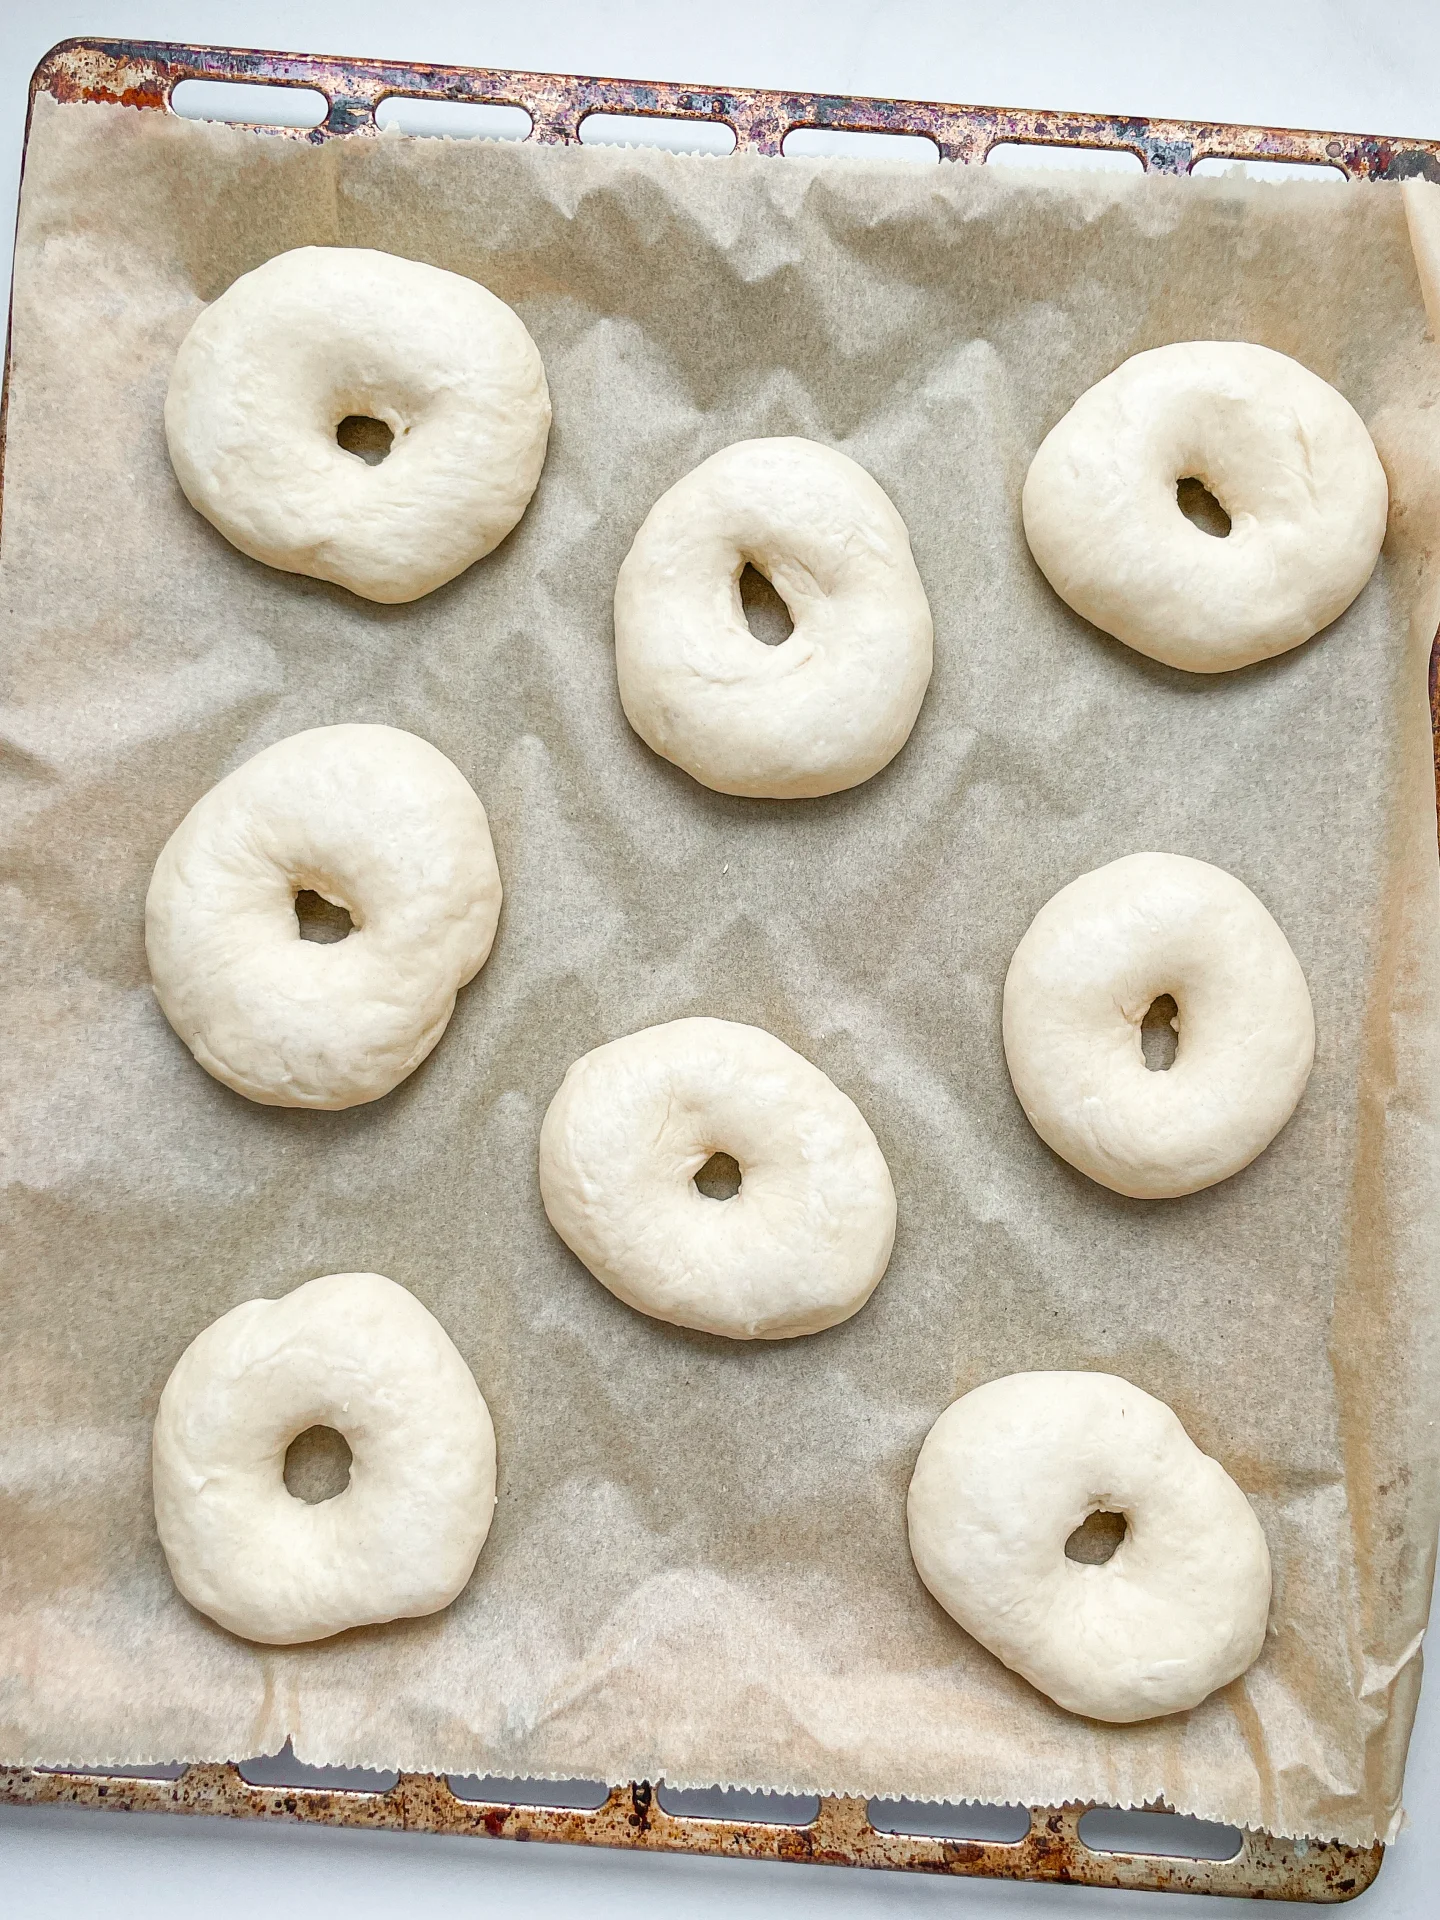
  5. Poke a hole in the center of each dough ball with your finger and form a bagel by stretching the dough evenly.
  6. Place the bagels on parchment paper and let them rise for another 30 minutes.
  7. Preheat the oven to 175°C / 350°F. Bring water to a simmer in a large pot and dissolve the brown sugar in it. Simmer each bagel for 1 minute on each side.
  8. Remove the bagels from the water and dip them in your favorite toppings or leave them plain. I like using poppy seeds, sesame seeds, everything but the bagel seasoning, or jalapenos and cheddar cheese.
  9. Once all bagels are topped, place them on a parchment-lined baking sheet and bake in the oven for about 25-30 minutes depending on their size.
  10. Remove the baking sheet and enjoy the bagels 🙂
  • Passive Time: 1 hr 30 min
  • Cook Time: 30 min

Apricot Cashew Honey Bliss Balls

Apricot Cashew Honey Bliss Balls

Apricot Cashew Honey Bliss Balls

Apricot Cashew Honey Bliss Balls

April 13, 2024 by Kimberly

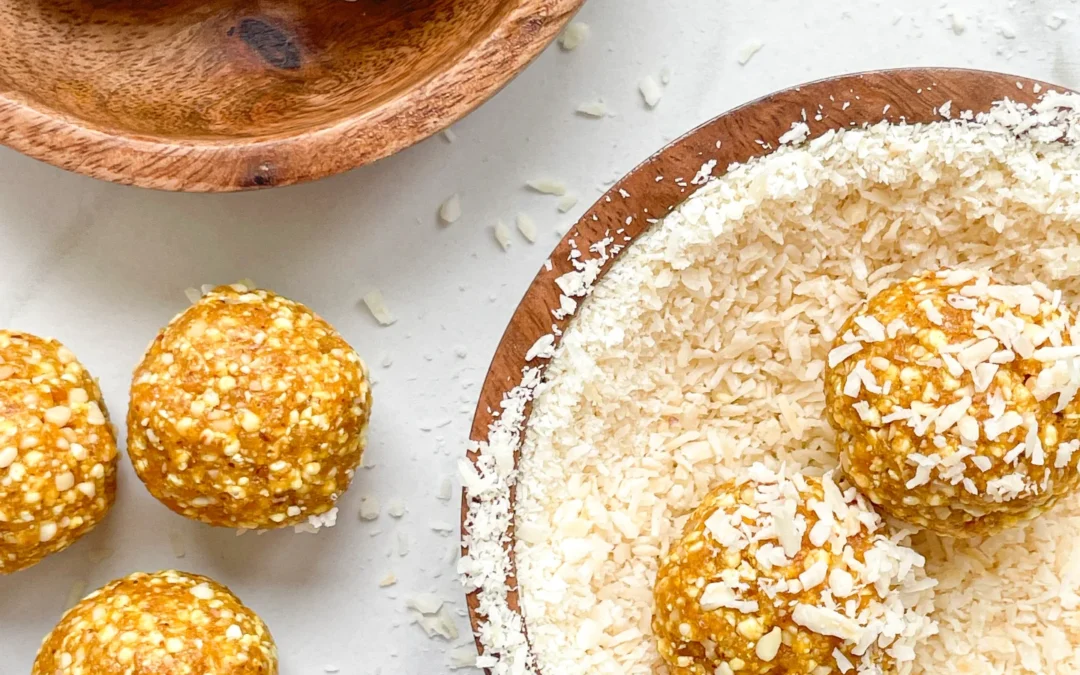
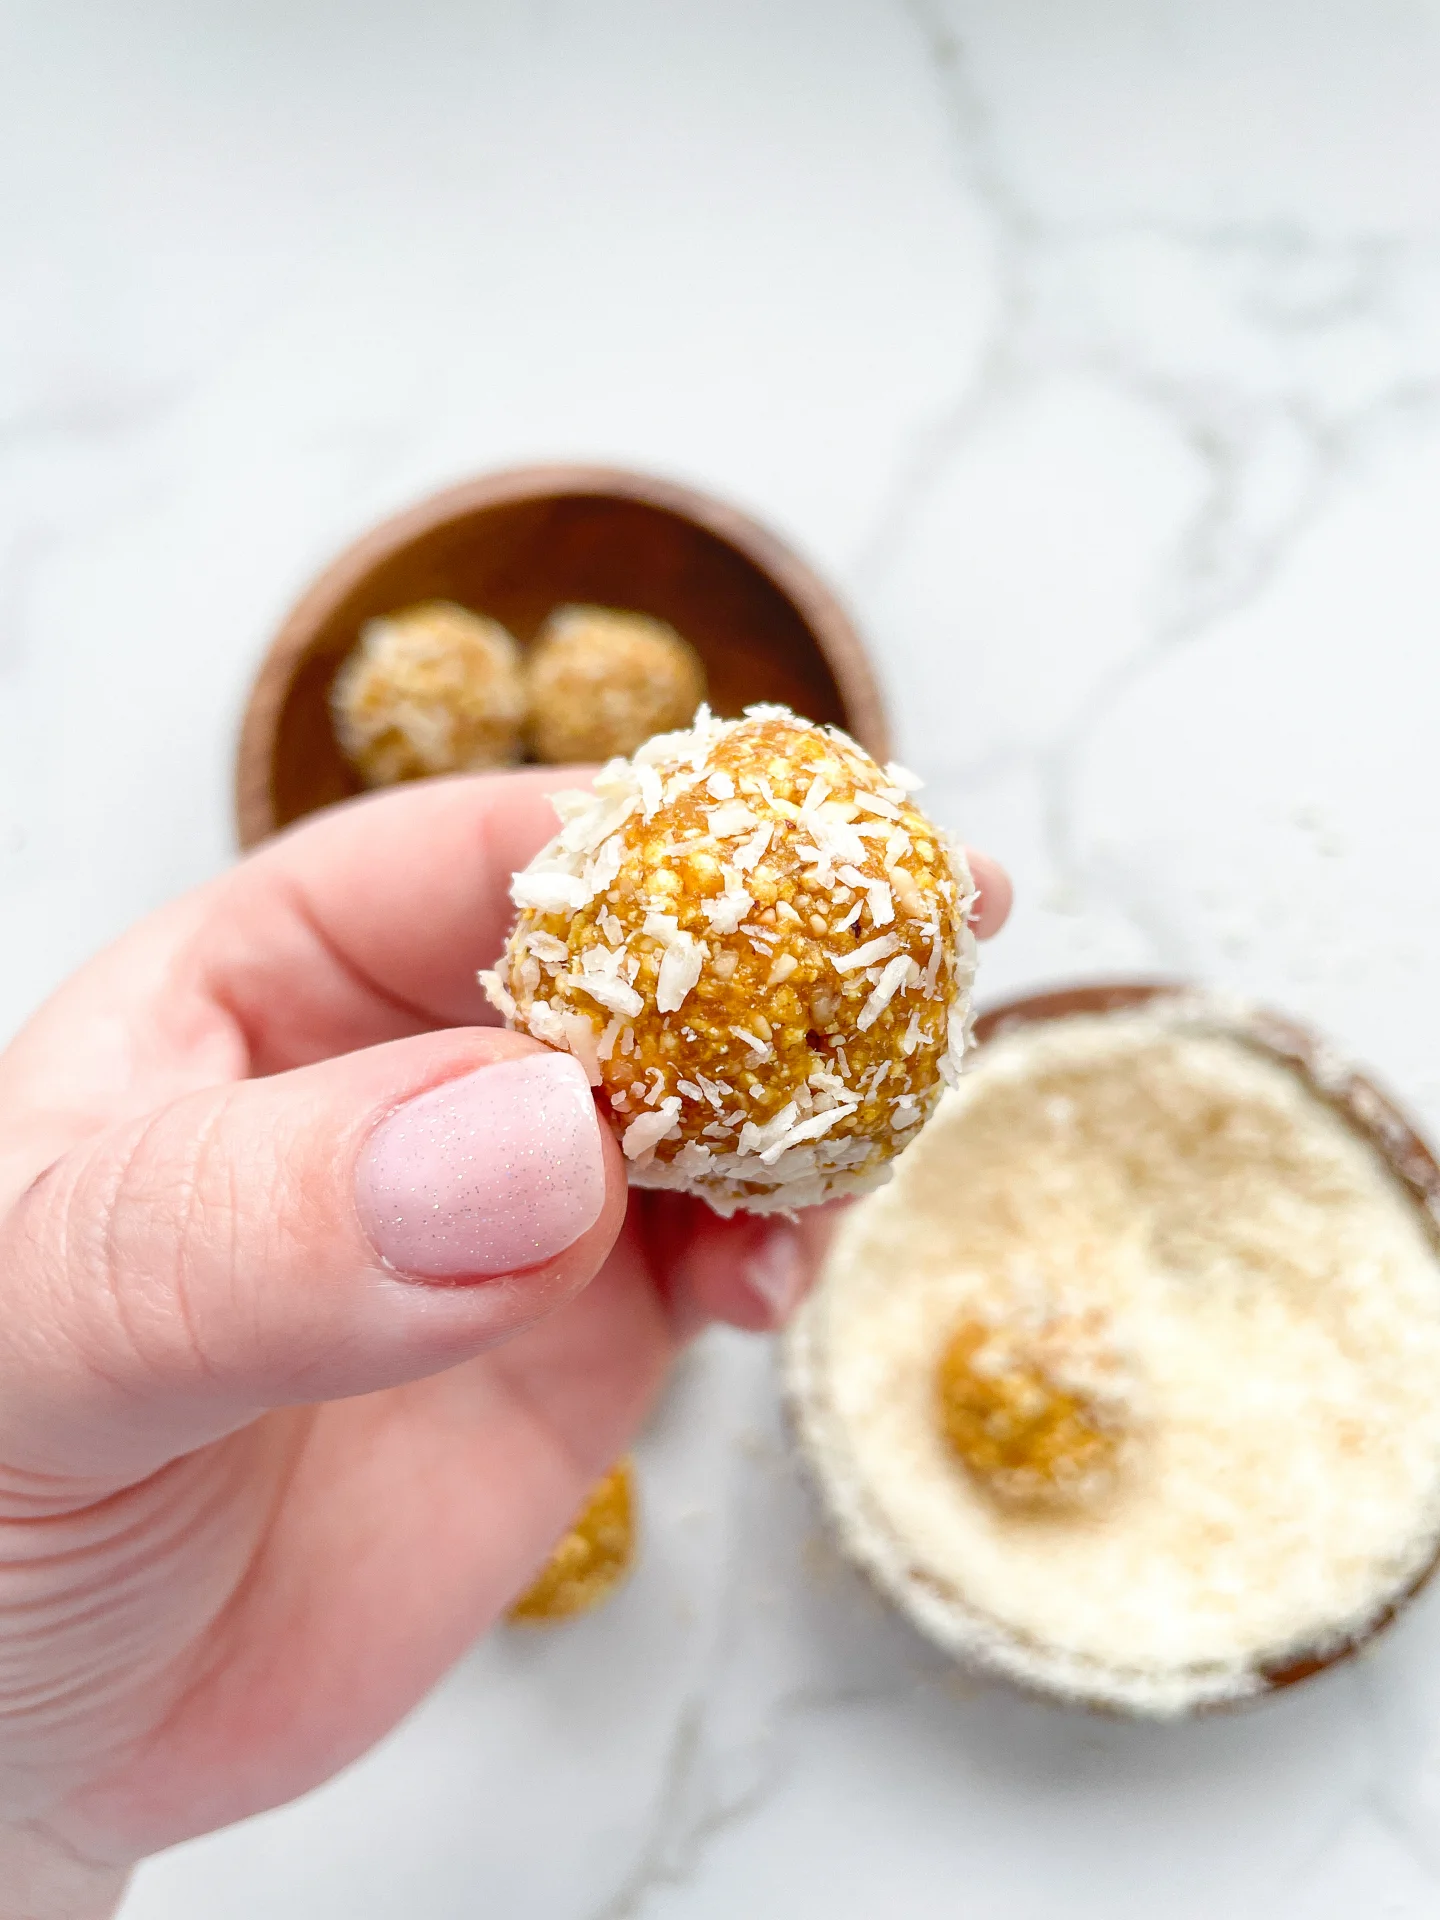
Dive into the world of deliciousness with these Apricot Cashew Honey Bliss Balls! Perfectly sweet, nutty, and chewy, they’re the ultimate healthy snack for any time of day.

10 MINUTES

EASY

VEGETARIAN

INT.

67 kcal

NUTTY
CHEWY

EVERYDAY

SNACK

ALL YEAR

INTRODUCTION

ABOUT THE RECIPE

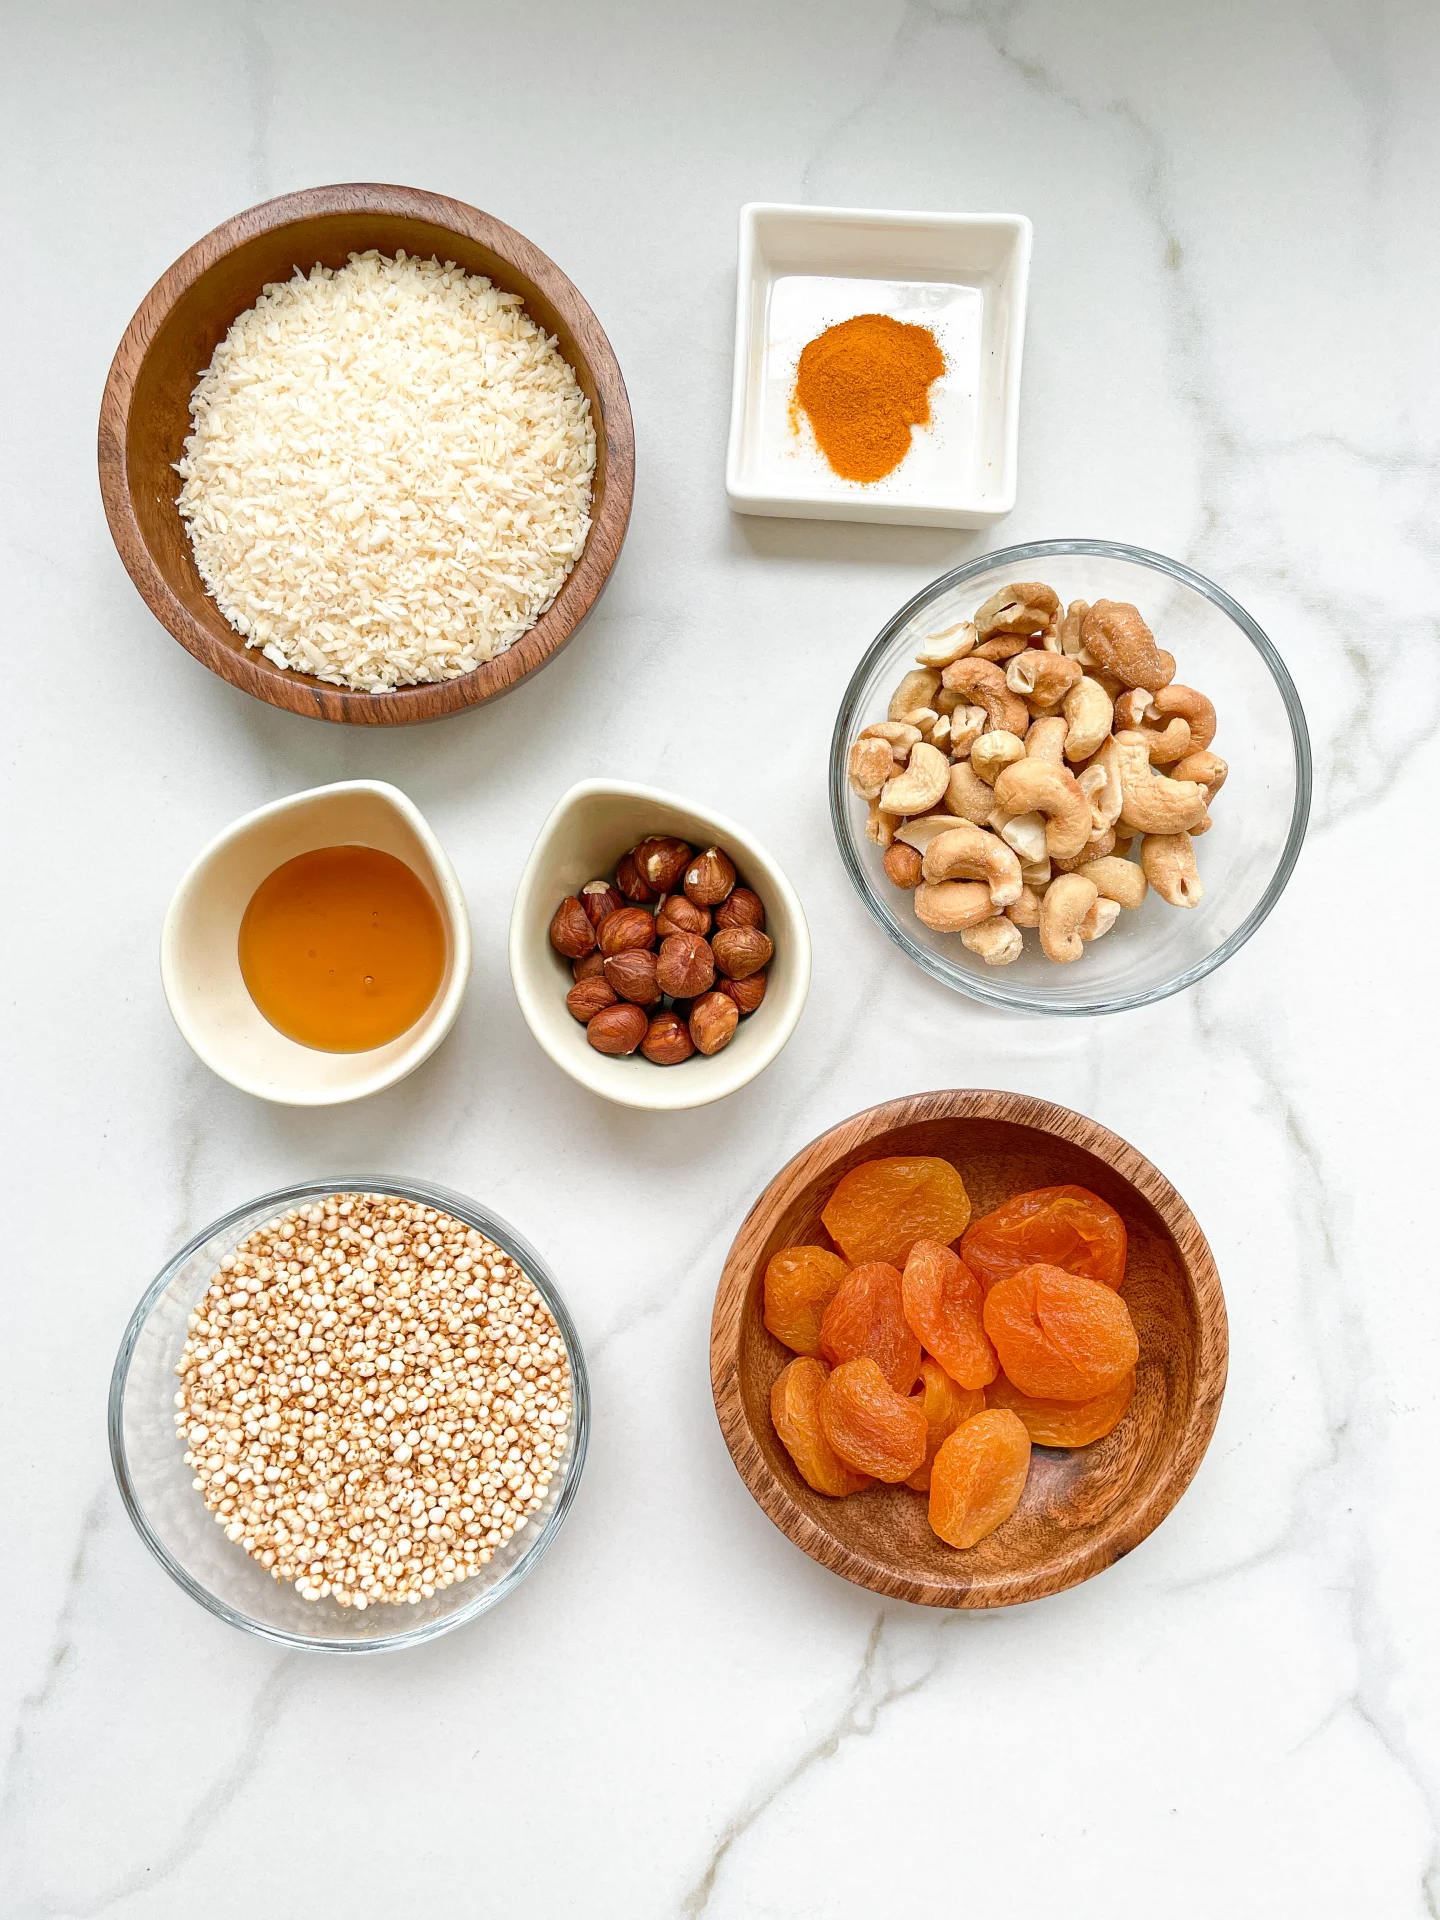
Welcome to your new favorite snack: Apricot Cashew Honey Bliss Balls! These no-bake energy balls are a blissful blend of sweet apricots, creamy cashews, and natural honey. Perfect for those seeking a quick, healthy dessert idea or a nutritious energy boost, these bliss balls are sure to delight with their chewy texture and nutty flavor.

How to serve:
Serve these delightful Apricot Cashew Honey Bliss Balls as a mid-morning snack, a post-workout energy boost, or a sweet after-dinner treat. Pair them with a cup of your favorite tea or a cold glass of almond milk for a refreshing snack. These bliss balls are also perfect for sharing at gatherings or gifting to friends and family who appreciate healthy, homemade treats.

How to store:
Store your Bliss Balls in an airtight container in the refrigerator for up to two weeks. For longer storage, freeze them on a baking sheet before transferring to a freezer-safe bag, keeping them fresh and delicious for up to three months.

Hi, I'm Kimberly!

Hi, I'm Kimberly.

A passionate food lover who believes in the magic of homemade deliciousness that spreads love and warmth. Join me on this culinary adventure as I prepare wonderful dishes and let’s spread some happiness together!

Kimberly the Zett Signature

If you want to get to know me better, click here!


Apricot Cashew Honey Bliss Balls
„Let’s make a piece of happiness“

INGREDIENTS

FOR 12 BALLS

BLISS BALLS

  • 60g salted cashew nuts (2.1 oz)
  • 40g hazelnuts (1.4 oz)
  • 80g dried apricots (2.8 oz)
  • 20g puffed quinoa (0.7 oz)
  • 2 tbsp honey
  • 20g coconut flakes (0.7 oz)
  • 1/4 tsp turmeric
Apricot Cashew Honey Bliss Balls
}

ACTIVE: –

PASSIVE: –

PREPARATIONS

Recommended Equipment
  • food processor
  • small bowl
}

ACTIVE: 10 min

PASSIVE: –

COOKING

1. Place the coconut flakes in a small bowl and set aside.

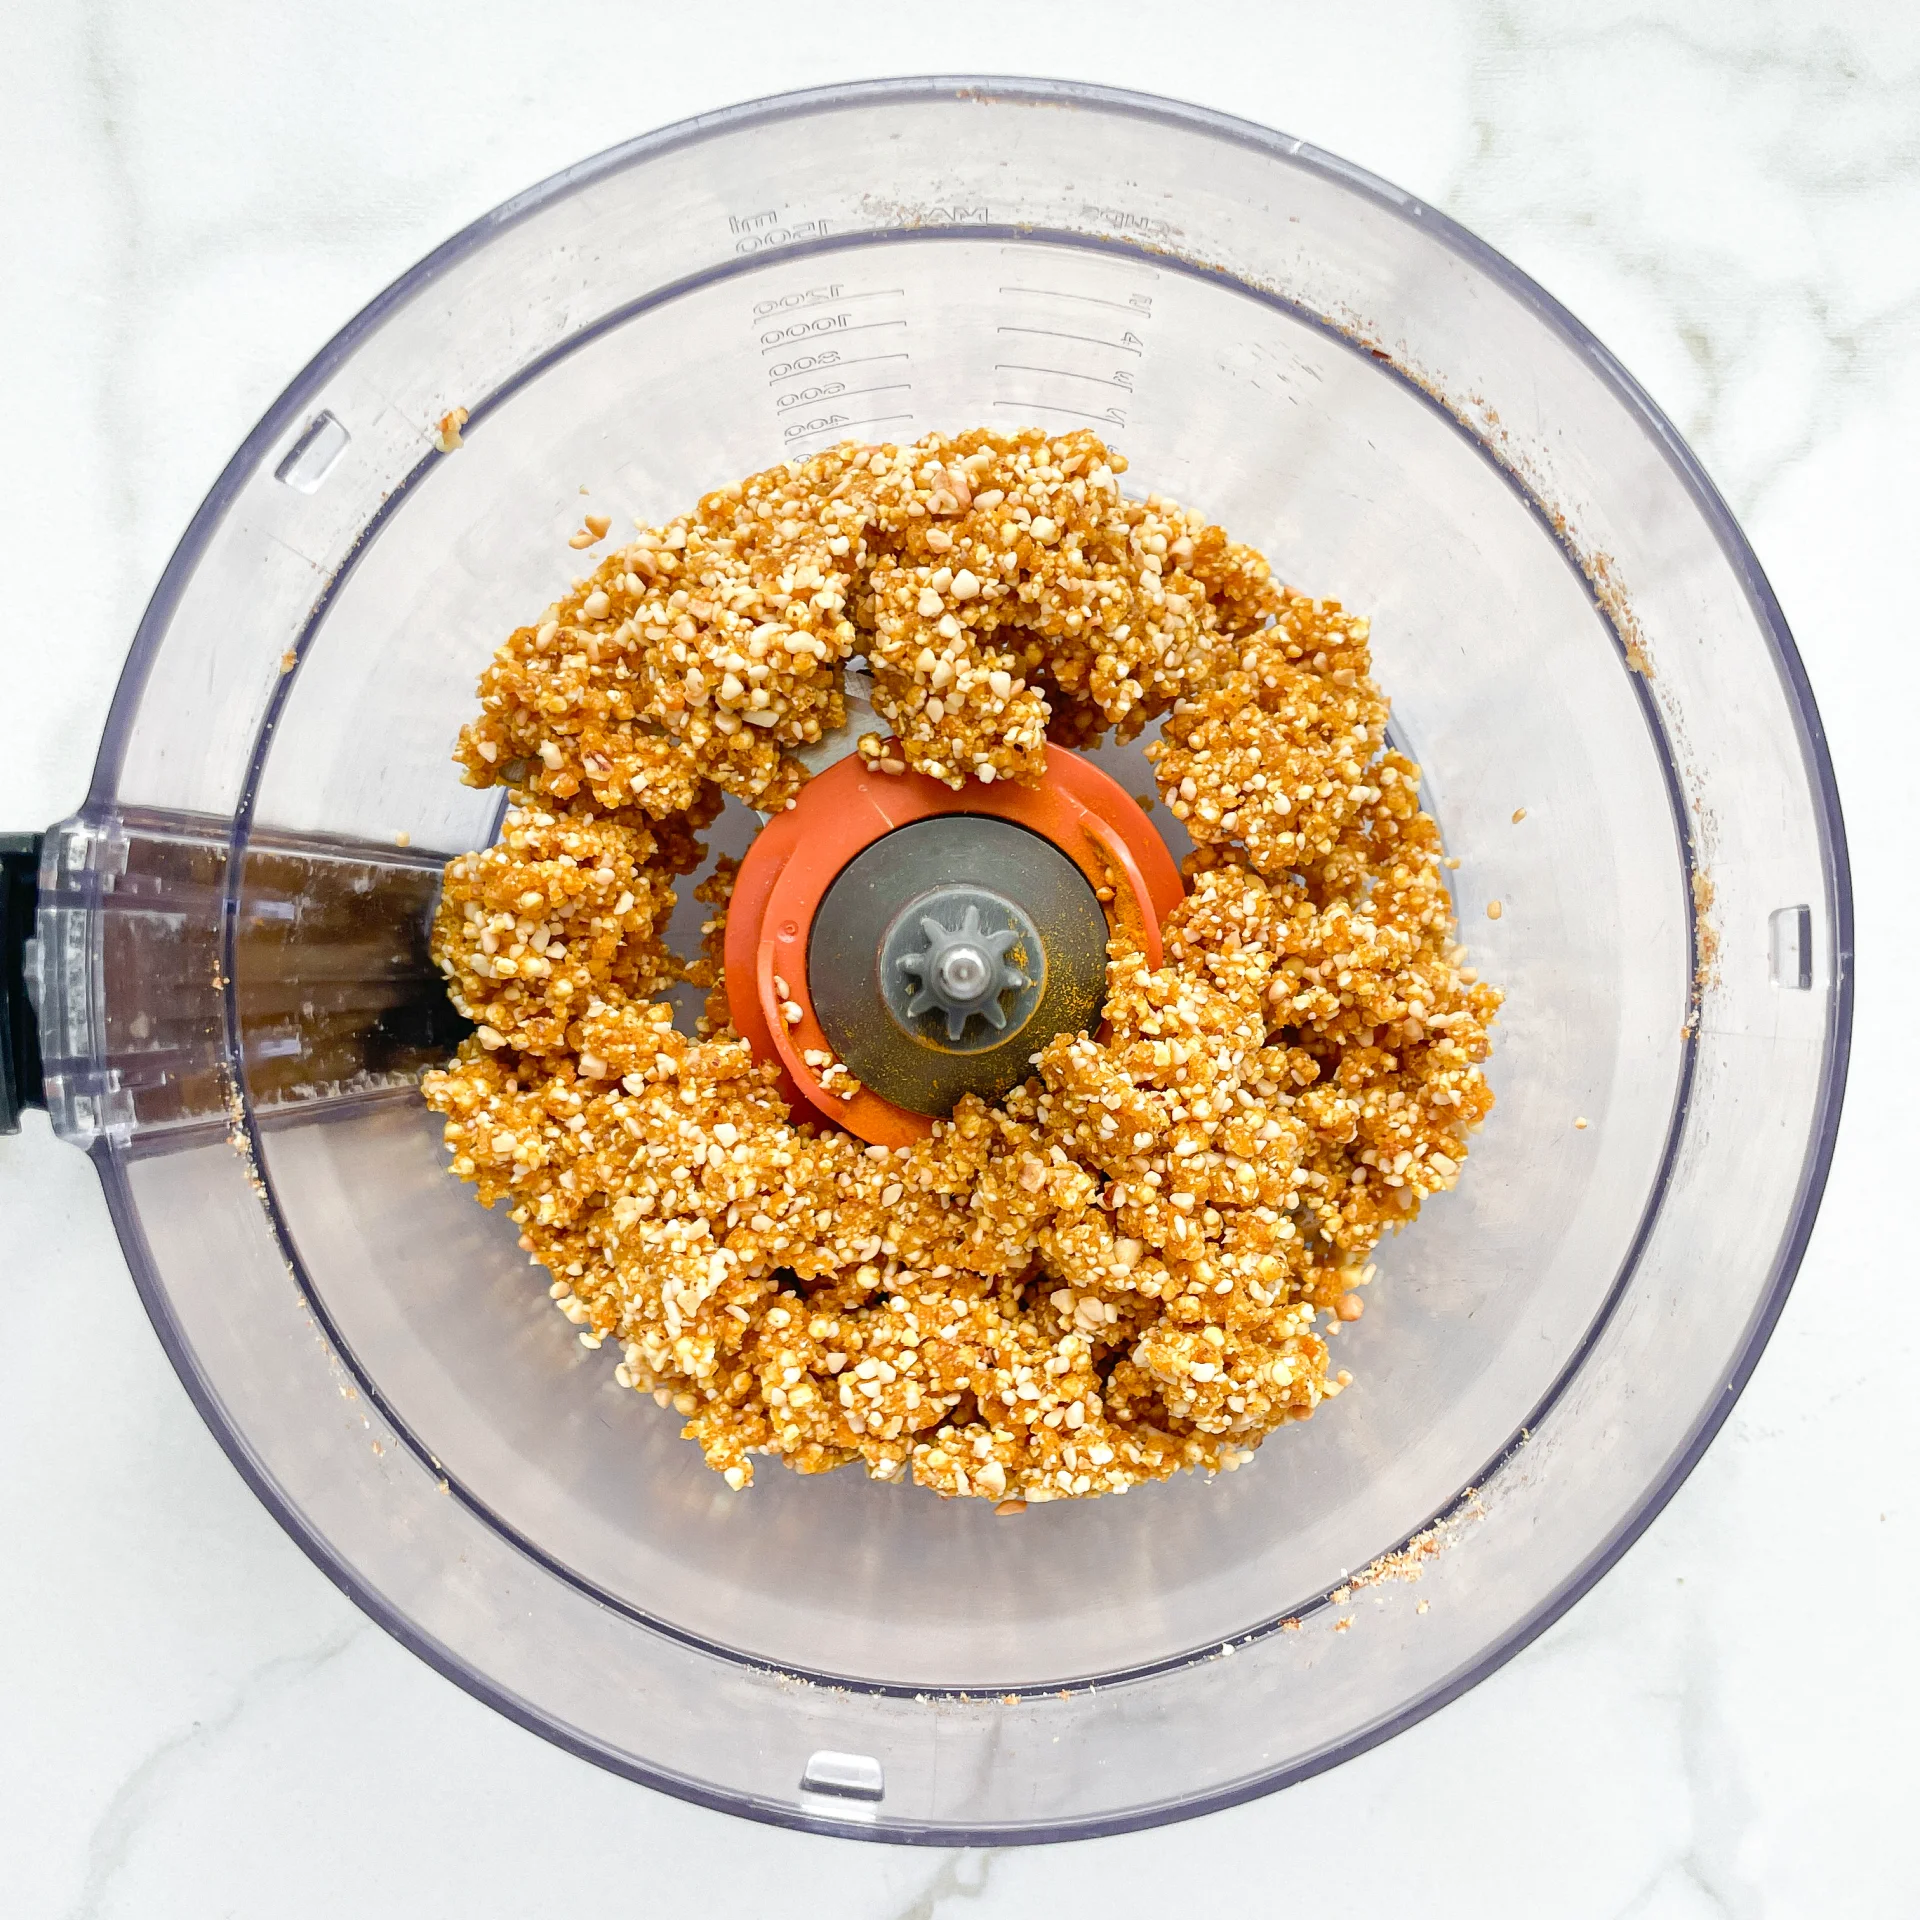
2. Put the following ingredients into the food processor and blend on high for 1 minute: 60g cashew nuts, 20g hazelnuts, 80g dried apricots, and 20g puffed quinoa.

3. Then add 1/4 tsp turmeric and 2 tbsp honey to the mixture in the food processor and blend again on high for another minute.

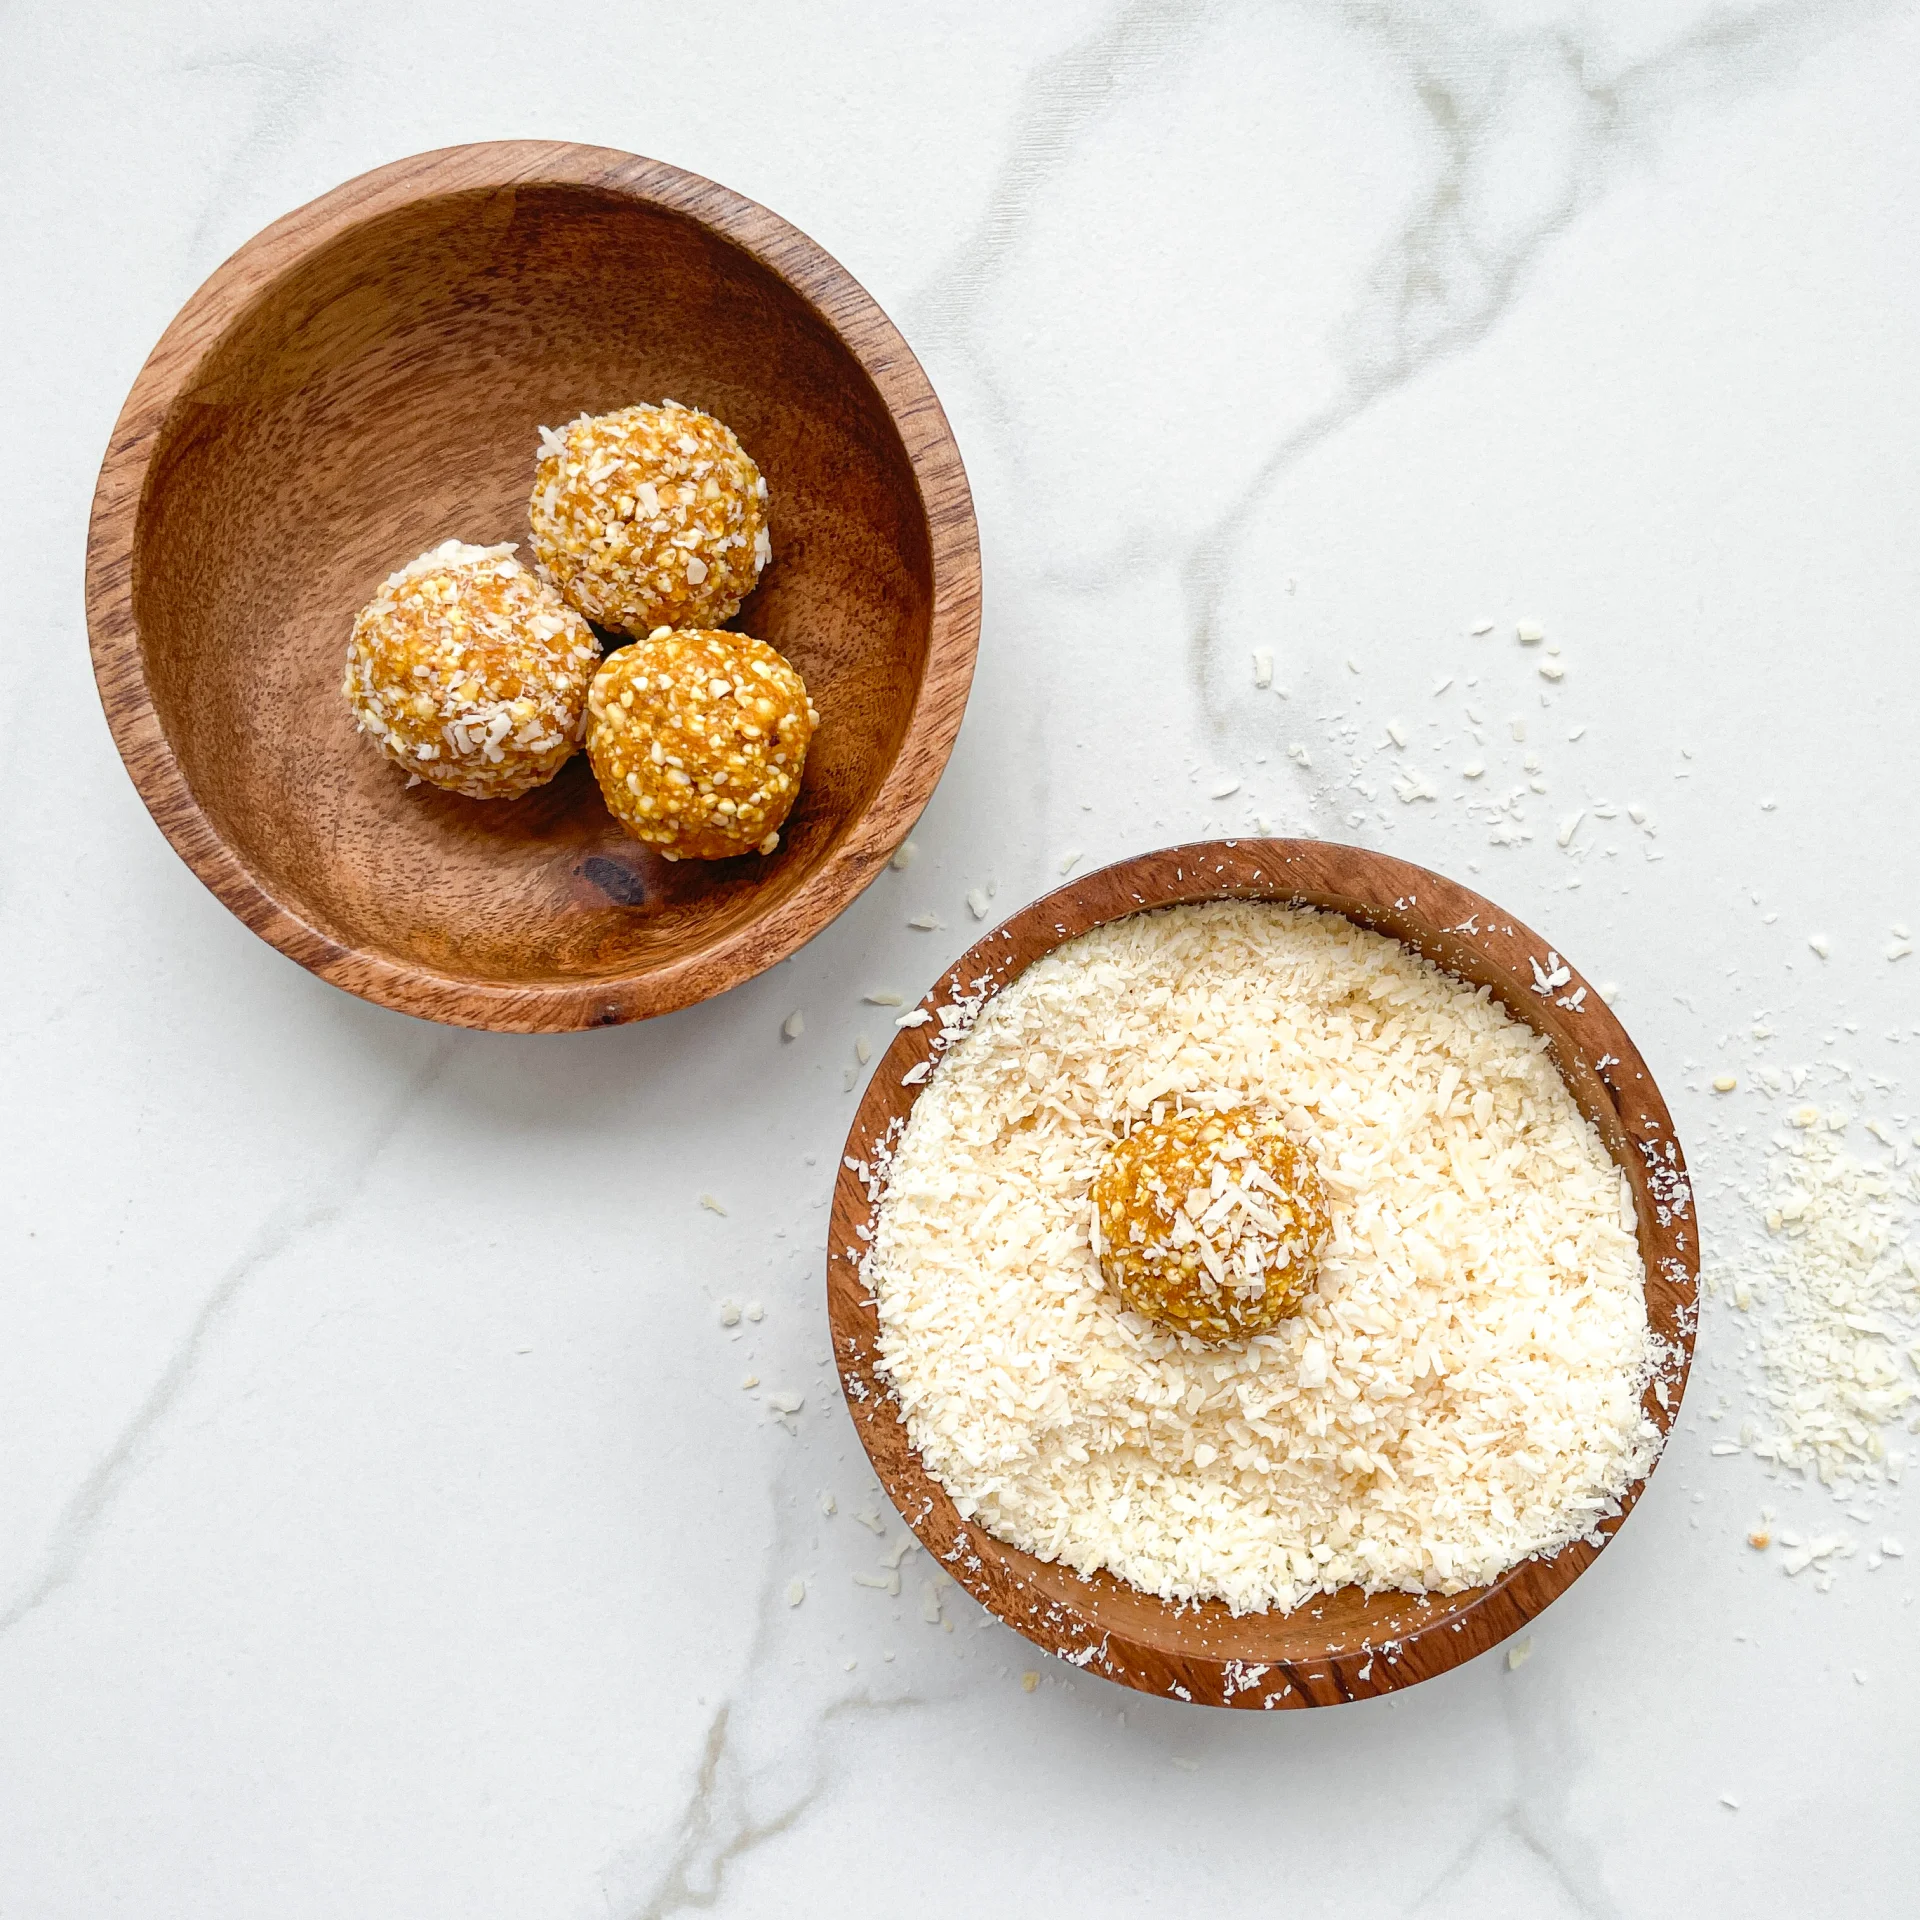
4. Divide the mixture into 12 equal portions and roll them into balls and then in the coconut flakes, press lightly, and enjoy 🙂

NOTE: The calorie information may vary depending on the product used, country and region.