Pumpkin Coconut Soup

Pumpkin Coconut Soup

Pumpkin Coconut Soup

Pumpkin Coconut Soup

Janaury 8, 2024 by Kimberly

Pumpkin coconut soup is a delightful and nourishing treat! Its rich, creamy texture and the perfect blend of sweet pumpkin and exotic coconut milk is absolutely irresistible.

This website uses affiliate links which may earn commission for purchases made at no additional cost to you.

TOTAL TIME

55 min

SERVES

4 bowls

DIET

vegan

EVERY RECIPE DESERVES

A Little Love Letter

Welcome to the world of flavors with my Pumpkin Coconut Soup! This dish is a perfect blend of the sweetness of pumpkin and the creamy richness of coconut milk, creating a comfort food that is both nutritious and delicious. Ideal for chilly days or when you’re in the mood for something soothing, this soup promises to warm your heart.

Serve this Pumpkin Coconut Soup hot, garnished with a sprinkle of fresh herbs like cilantro or parsley for an added burst of flavor. A swirl of cream or a few pumpkin seeds on top can add a delightful texture and look. Pair it with crusty bread or a light salad for a complete meal. Its vibrant color and enticing aroma make it a great starter for dinners or a stand-alone dish for a cozy night in.

To store the leftover soup, let it cool to room temperature and then transfer it into an airtight container. It can be kept in the refrigerator for up to 3 days. For longer storage, freeze the soup in suitable portions. When ready to enjoy again, simply thaw and reheat, adjusting the consistency with a little water or broth if necessary. This soup retains its flavor well, making it a great make-ahead dish for busy days.

Hi, I'm Kimberly!

Hi, I'm Kimberly.

A hopeless romantic when it comes to food. Every recipe I share is a love letter to food itself. I’m so glad you’re here. Make yourself at home and stay a while.

Love,
Kimberly

Kimberly the Zett Signature

If you want to get to know me better,
click here!


Pumpkin Coconut Soup

LET’S MAKE A PIECE OF HAPPINESS

Print
clock clock iconcutlery cutlery iconflag flag iconfolder folder iconinstagram instagram iconpinterest pinterest iconfacebook facebook iconprint print iconsquares squares iconheart heart iconheart solid heart solid icon
Pumpkin Coconut Soup

Pumpkin Coconut Soup


5 Stars 4 Stars 3 Stars 2 Stars 1 Star

No reviews

  • Author: Kimberly
  • Total Time: 55 min
  • Yield: 4

Description

GOOD TO HAVE ON HAND

  • sharp knife
  • cutting board
  • large pot
  • hand blender (or blender)


Ingredients

Units Scale
SOUP BASE
  • 1 kilogramm hokkaido pumpkin
  • 2 carrots
  • 2 potatoes
  • a small thumb-sized piece of ginger
  • 1 onion
  • 2 garlic cloves
  • 1 tbsp clarified butter
  • 400 milliliters coconut milk
  • 700 milliliters vegetable broth
SPICES
  • 1/2 tsp salt
  • 1/2 tsp pepper
  • 1/2 grated nutmeg
  • 5 tbsp soy sauce
  • juice of half a lemon
TOPPINGS
  • parsley
  • a splash of coconut milk
  • a splash of soy sauce
  • freshly cracked black pepper
  • pumpkinseeds

Instructions

  1. Remove the seeds from the pumpkin and cut it into large pieces. If you use a Hokkaido pumpkin, you don’t need to peel it.
  2. Peel and roughly chop the carrots, potatoes, onions, ginger and garlic. Cut the lemon in half.
  3. Heat the clarified butter in a large pot and sauté the onions until translucent. Then add the pumpkin, carrot, potatoes, ginger and garlic. Sauté everything for about 5 minutes until the vegetables have taken on a little color and smell aromatic.
  4. Pour in the vegetable broth and cook for about 30 minutes until soft. Then finely puree the mixture as desired.
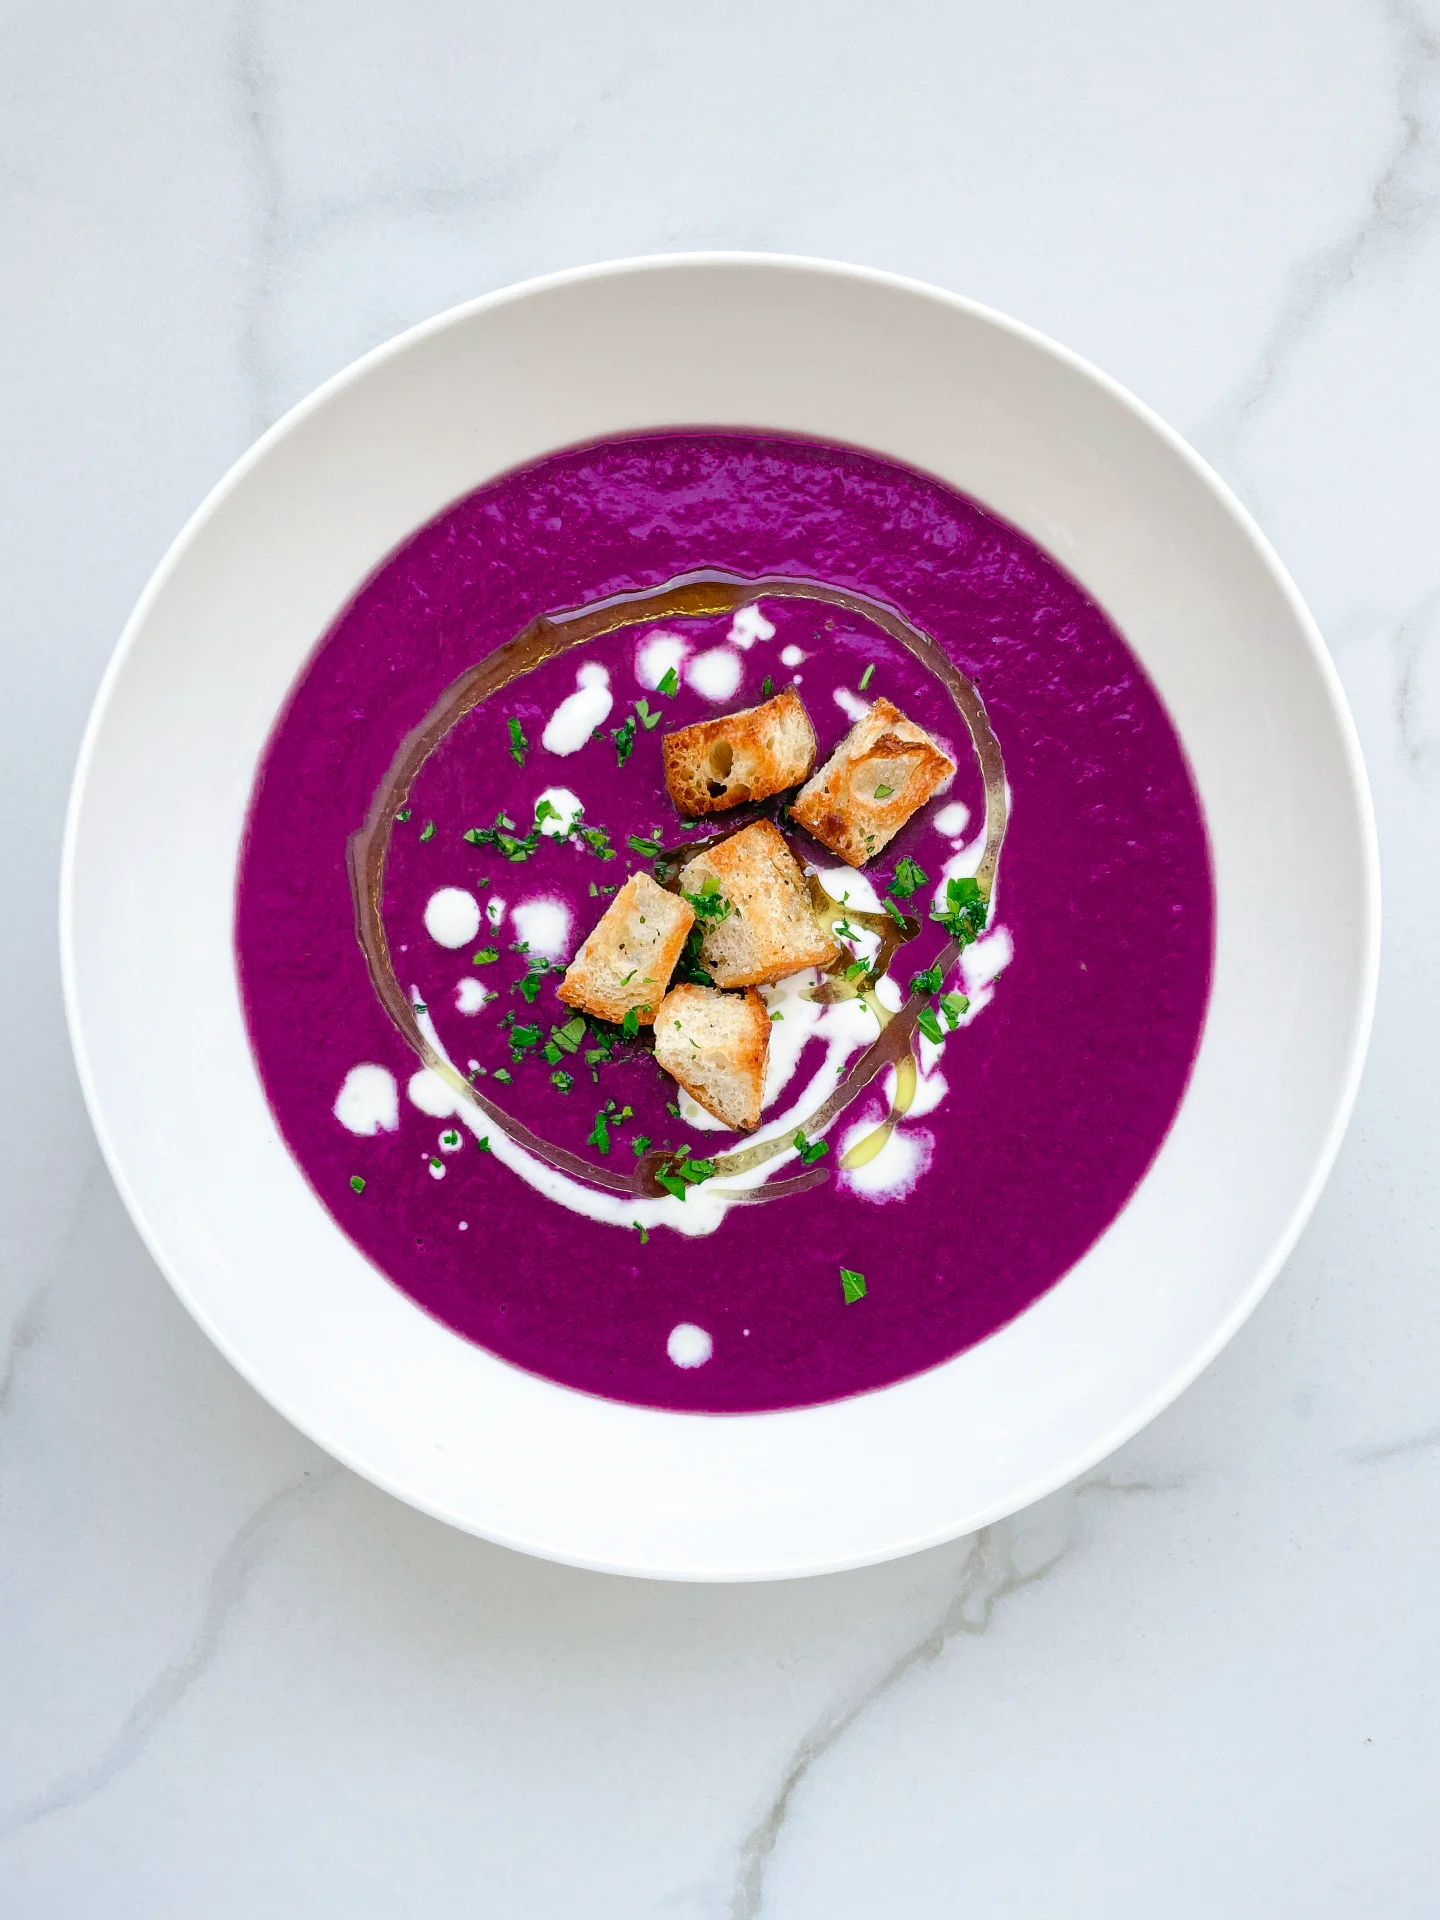
  5. Then stir in the coconut milk and season to taste with salt, pepper, soy sauce, lemon juice and nutmeg. Garnish with parsley, coconut milk, soy sauce and pumpkin seeds.
  • Passive Time: 30 min
  • Cook Time: 25 min

CRAVING MORE?

Follow along here & don’t forget to subscribe to my substack!

Basic Vegetable Broth

Basic Vegetable Broth

Basic Vegetable Broth

Basic Vegetable Broth

January 5, 2024 by Kimberly

Vegetable broth is a delicious, nourishing base for soups and stews, made by simmering fresh veggies and aromatic herbs. It’s easy, versatile, and full of flavor!

This website uses affiliate links which may earn commission for purchases made at no additional cost to you.

TOTAL TIME

3 hrs + 30 min

SERVES

3 liters

DIET

vegan

EVERY RECIPE DESERVES

A Little Love Letter

Discover the magic of homemade vegetable broth! This simple, yet flavorful liquid gold is crafted by gently simmering a medley of fresh vegetables and aromatic herbs. Not only is it a healthier and most clean alternative to store-bought ones, but it also infuses your dishes with a depth of flavor that can only come from fresh, natural ingredients.

Vegetable broth is incredibly versatile. Use it as a rich base for soups and stews, adding layers of flavor to each spoonful. It’s perfect for deglazing pans, lending a savory note to sautéed dishes. Alternatively, enjoy it as a warm, comforting drink on its own, especially during chilly evenings. Mix in a dash of your favorite herbs or a squeeze of lemon for an extra zing!

Vegetable broth keeps well in the refrigerator for up to a week in a sealed container. For longer storage, the broth can be preserved in boiled jars. This way, you’ll always have handy, homemade broth ready for your next culinary adventure!

Hi, I'm Kimberly!

Hi, I'm Kimberly.

A hopeless romantic when it comes to food. Every recipe I share is a love letter to food itself. I’m so glad you’re here. Make yourself at home and stay a while.

Love,
Kimberly

Kimberly the Zett Signature

If you want to get to know me better,
click here!


Basic Vegetable Broth

LET’S MAKE A PIECE OF HAPPINESS

Print
.tasty-recipe-responsive-iframe-container-a7e52625 { position: relative; overflow: hidden; padding-top: 177.62%; } .tasty-recipe-responsive-iframe-container-a7e52625 iframe { position: absolute; top: 0; left: 0; width: 100%; height: 100%; border: 0; } clock clock iconcutlery cutlery iconflag flag iconfolder folder iconinstagram instagram iconpinterest pinterest iconfacebook facebook iconprint print iconsquares squares iconheart heart iconheart solid heart solid icon
Basic Vegetable Broth

Basic Vegetable Broth


  • Author: Kimberly
  • Total Time: 3 hrs + 30 min
  • Yield: 3 liters

Description

GOOD TO HAVE ON HAND

  • sharp knife
  • cutting board
  • large pot with lid
  • large bowl (or a medium-sized pot)
  • fine sieve (or a kitchen towel)


Ingredients

Units Scale
VEGETABLES
  • 400 grams carrots
  • 2 onions
  • 200 grams celery root
  • 100 grams leek
  • 2 garlic cloves
HERBS & SPICES
  • 1 bay leaf
  • 1 stem thyme
  • 1 large bunch of parsley
  • 5 cloves
  • 1/4 tsp coriander seeds
  • 1 tsp black peppercorns
  • 22 grams salt (approx. 2 1/2 tsp)
  • 1 tsp clarified butter

Instructions

  1. Wash the carrots, celery root, leek and parsley thoroughly and chop everything roughly.
  2. Halve the onions and leave the skin on.
  3. Heat 1 tsp clarified butter in a large pan and fry the onions, carrots, celery root, leek and garlic cloves until they are browned.
  4. Fill the pot up with 3 liters of cold water and add the bay leaf, 5 cloves, 1 teaspoon of black peppercorns and 1 bunch of parsley.
  5. Now put the lid on and bring to the boil once at a high temperature. As soon as it boils, turn the flame down to the lowest setting and leave the liquid to simmer in the pan with the lid on for 2 hours.
  6. After the 2 hours, remove the pot from the heat. Now remove the overcooked vegetables, herbs and spices from the broth.
  7. Strain the liquid through a fine sieve or kitchen towel into a medium-sized pot. Then season with salt. Add between 5g and 7g of salt per liter of broth, depending on taste. Allow the broth to cool completely.
  • Passive Time: 3 hrs
  • Cook Time: 30 min

CRAVING MORE?

Follow along here & don’t forget to subscribe to my substack!

Chicken Schnitzel with Caramalized Onions & Sauce Hollandaise

Chicken Schnitzel with Caramalized Onions & Sauce Hollandaise

Chicken Schnitzel with Caramalized Onions & Sauce Hollandaise

Chicken Schnitzel with Caramalized Onions & Sauce Hollandaise

December 29, 2023 by Kimberly

Delicious Chicken Schnitzel topped with caramelized onions and drizzled with creamy Hollandaise sauce. A mouthwatering combination of flavors for a satisfying and comforting meal.

This website uses affiliate links which may earn commission for purchases made at no additional cost to you.

TOTAL TIME

55 min

SERVES

4 portions

DIET

omnivore

EVERY RECIPE DESERVES

A Little Love Letter

Treat yourself to some real comfort food with my chicken schnitzel topped with sweet caramelized onions and drizzled with a delicious hollandaise sauce. This recipe promises a symphony of flavors that will enhance your dining experience.

Serve this delectable Chicken Schnitzel on its own or alongside your favorite sides, such as my potato salad with eggs, bacon and pickles or a crisp cucumber salad. The crispy texture of the schnitzel, the sweetness of caramelized onions, and the richness of the Hollandaise sauce create a harmonious combination.

For optimal freshness, store any leftover Chicken Schnitzel in an airtight container in the refrigerator for up to two days. To reheat, use an oven or toaster oven to maintain its crispy texture. Avoid microwaving to preserve the schnitzel’s delightful crunch.

Hi, I'm Kimberly!

Hi, I'm Kimberly.

A hopeless romantic when it comes to food. Every recipe I share is a love letter to food itself. I’m so glad you’re here. Make yourself at home and stay a while.

Love,
Kimberly

Kimberly the Zett Signature

If you want to get to know me better,
click here!


Chicken Schnitzel with Caramalized Onions & Sauce Hollandaise

LET’S MAKE A PIECE OF HAPPINESS

Print
.tasty-recipe-responsive-iframe-container-cc3d7de1 { position: relative; overflow: hidden; padding-top: 177.62%; } .tasty-recipe-responsive-iframe-container-cc3d7de1 iframe { position: absolute; top: 0; left: 0; width: 100%; height: 100%; border: 0; } clock clock iconcutlery cutlery iconflag flag iconfolder folder iconinstagram instagram iconpinterest pinterest iconfacebook facebook iconprint print iconsquares squares iconheart heart iconheart solid heart solid icon
Chicken Schnitzel with Caramalized Onions & Sauce Hollandaise

Chicken Schnitzel with Caramalized Onions & Sauce Hollandaise


  • Author: Kimberly
  • Total Time: 55 min
  • Yield: 4

Description

RECOMMENDED EQUIPMENT

  • sharp knife
  • cutting board
  • two large pans
  • small pot

Ingredients

Units Scale
CHICKEN SCHNITZEL
  • 160 grams bread crumbs
  • 120 grams all-purpose flour
  • 2 eggs
  • 600 grams chicken breasts
  • 1 tbsp clarified butter
  • 1/4 tsp salt
  • 1/4 tsp pepper
CARAMELIZED ONIONS
  • 600 grams onions
  • 1/2 tsp salt
  • 1 tsp clarified butter
TOPPINGS
  • 1 lemon
  • parsley

Instructions

  1. Peel the onions and cut into thin stripes. Prepare three shallow plates of the same size. Pour flour into the first plate, break 2 eggs into the second plate and whisk with a fork. Season the egg with salt and pepper. Pour breadcrumbs into the third plate.
  2. Melt 1 teaspoon of clarified butter in a large frying pan. Add the onions and sprinkle with 1/2 teaspoon of salt. Now caramelize slowly over a medium heat until they are almost dark brown. This can take a good 30-40 minutes.
  3. Meanwhile, bread the chicken breast. To do this, cut the meat in a butterfly cut. Place the chicken breast fillets between two layers of cling film and pound with a little force and a meat mallet to a thickness of about 5-8 mm.
  4. Now dredge each piece of meat in the flour first and press down well on all sides. Next, pull through the egg so that the piece of meat is well coated on all sides and finally pull through the breadcrumbs and press down well.
  5. Heat 1 tbsp clarified butter in a large frying pan over a medium heat and allow to melt. Now fry the breaded chicken breast fillets in the fat until golden brown. Fry for about 4 minutes on each side, depending on how thick the meat is.
  6. While the meat is cooking, slowly heat the hollandaise sauce in a small pan over a low heat.
  7. Arrange the meat on plates, pour over the hollandaise sauce and top with the caramelized onions and freshly chopped parsley.
  • Cook Time: 55 min

CRAVING MORE?

Follow along here & don’t forget to subscribe to my substack!

Creamy Salsiccia & Caramalized Onion Pasta

Creamy Salsiccia & Caramalized Onion Pasta

Creamy Sausage & Caramalized Onion Pasta with Salsiccia

Creamy Salsiccia & Caramalized Onion Pasta

December 28, 2023 by Kimberly

Get ready for a cozy, indulgent meal! This pasta brings together rich, creamy flavors with a hint of spice and deep caramelized sweetness, perfect for a relaxing night in.

This website uses affiliate links which may earn commission for purchases made at no additional cost to you.

TOTAL TIME

40 min

SERVES

2-3 portions

DIET

omnivore

EVERY RECIPE DESERVES

A Little Love Letter

If you’re craving a comforting meal that’s both rich and full of flavor, this creamy pasta with sausage and caramelized onions will be your new favorite! Each bite is a perfect blend of deep, slow-cooked sweetness from the onions, paired with the bold, savory flavors of Italian sausage, all wrapped up in a smooth, creamy sauce. It’s an easy recipe that feels like a cozy hug on a plate, ideal for any night when you just want to treat yourself.

Serve this pasta piping hot, topped with freshly grated Parmesan and a sprinkle of parsley for extra color and flavor. Pair it with a light side salad or some crusty bread to soak up every bit of that creamy sauce. This dish shines with a glass of white wine, which complements the richness beautifully. It’s perfect for a weeknight dinner that feels like a restaurant treat or even a cozy date night at home.

Store any leftovers in an airtight container in the fridge for up to three days. To reheat, add a splash of stock in a pan over low heat, stirring occasionally until warmed through. It’s almost as good as fresh!

Hi, I'm Kimberly!

Hi, I'm Kimberly.

A hopeless romantic when it comes to food. Every recipe I share is a love letter to food itself. I’m so glad you’re here. Make yourself at home and stay a while.

Love,
Kimberly

Kimberly the Zett Signature

If you want to get to know me better,
click here!


Creamy Sausage & Caramalized Onion Pasta with Salsiccia

LET’S MAKE A PIECE OF HAPPINESS

Print
.tasty-recipe-responsive-iframe-container-99f09687 { position: relative; overflow: hidden; padding-top: 56.3%; } .tasty-recipe-responsive-iframe-container-99f09687 iframe { position: absolute; top: 0; left: 0; width: 100%; height: 100%; border: 0; } clock clock iconcutlery cutlery iconflag flag iconfolder folder iconinstagram instagram iconpinterest pinterest iconfacebook facebook iconprint print iconsquares squares iconheart heart iconheart solid heart solid icon
Creamy Sausage & Caramalized Onion Pasta with Salsiccia

Creamy Salsiccia & Caramalized Onion Pasta


  • Author: Kimberly
  • Total Time: 40 min
  • Yield: 2

Description

GOOD TO HAVE ON HAND

  • large pan
  • sharp knife
  • cutting board
  • large pot


Ingredients

Units Scale
  • 160 grams pasta of your choice (I used Tagliatelle)
  • 4 mid-sized white onions
  • 1 tsp butter
  • 1 tbsp olive oil
  • 150 grams fennel salsiccia
  • 2 garlic cloves
  • 1 tbsp tomato paste
  • 1 tsp dried oregano
  • 1 tsp smoked paprika powder
  • 1 tbsp balsamic vinegar
  • 1 tsp Dijon mustard
  • 50 milliliter dry white wine
  • 100 milliliter heavy cream
  • salt & pepper to taste
  • parmesan, for topping
  • fresh parsley, for topping

Instructions

PREPARATIONS

  • Peel the onions and cut them into thin half-rings. Set aside.
  • Remove the casing from the Salsiccia (or keep it on if it’s edible). Cut the sausage into small pieces and set aside.
  • Peel the garlic cloves. Set aside.

INSTRUCTIONS

  1. Place a large pan over medium heat and add butter. Toss in the onions and season with a pinch of salt. Lower the heat and let the onions cook down for about 15 minutes, until they’re soft and golden. Then, remove the onions from the pan.
  2. Put the pan back on the stove, add some olive oil, and heat it up. Add the Salsiccia, breaking it up with a wooden spoon so it resembles coarse ground meat. Turn the heat up to medium and cook until the pieces are golden brown.
  3. Mix in smoked paprika, tomato paste, and oregano, and let it cook briefly until it smells fragrant. Add the garlic to the pan – either finely grate it or press it through a garlic press. Put the onions back in the pan and mix everything well. Now, deglaze with white wine, scraping up the browned bits from the bottom. Add balsamic vinegar and mustard. Pour in the cream and let it simmer on low heat. Season generously with salt and pepper to taste.
  4. Meanwhile, cook the pasta al dente according to package instructions. Save a bit of the pasta water when draining. Add the pasta and some of the pasta water to the pan, tossing it all together until the creamy sauce coats the pasta. Serve on plates, topped with freshly grated Parmesan and parsley.
  • Prep Time: 10 min
  • Passive Time: 15 min
  • Cook Time: 15 min

CRAVING MORE?

Follow along here & don’t forget to subscribe to my substack!

Boeuf Bourguignon with Mashed Potatoes & Pearl Onions

Boeuf Bourguignon with Mashed Potatoes & Pearl Onions

Boeuf Bourguignon with Mashed Potatoes & Pearl Onions

Boeuf Bourguignon with Mashed Potatoes & Pearl Onions

December 22, 2023 by Kimberly

A classic French dish, features tender beef slow-cooked in red wine, complemented by flavorful veggies. Served alongside velvety mashed potatoes and caramelized pearl onions for a truly indulgent dining experience.

This website uses affiliate links which may earn commission for purchases made at no additional cost to you.

TOTAL TIME

3 hrs + 30 min

SERVES

6 portions

DIET

omnivore

EVERY RECIPE DESERVES

A Little Love Letter

You know those meals that taste like love in a bowl? This one’s it. Rich, slow-cooked beef in a bold red wine sauce paired with creamy mashed potatoes and sweet, soft pearl onions – it’s the ultimate cozy dinner for when you’re feeling fancy but also need that comforting omg-this-is-so-good moment. Whether it’s for a holiday dinner or just a random Tuesday when you’re feeling yourself, this dish is about to be your new fave.

Serve this beauty hot, right out of the pot. Pour that glossy, rich sauce over the creamiest mashed potatoes for a plate that’s basically edible therapy. Add a sprinkle of fresh parsley for a pop of color, and don’t forget a slice of crusty bread to scoop up all the saucy goodness. Pair it with a bold glass of red wine because it’s a whole vibe. Perfect for cozy nights or impressing dinner guests.

Store leftovers in an airtight container in the fridge for up to 3 days. Reheat gently on the stovetop, adding a splash of broth or wine to keep it saucy and delish. Pro tip: it tastes even better the next day because flavors get all cozy overnight.

Hi, I'm Kimberly!

Hi, I'm Kimberly.

A hopeless romantic when it comes to food. Every recipe I share is a love letter to food itself. I’m so glad you’re here. Make yourself at home and stay a while.

Love,
Kimberly

Kimberly the Zett Signature

If you want to get to know me better,
click here!


Boeuf Bourguignon with Mashed Potatoes & Pearl Onions
LET’S MAKE A PIECE OF HAPPINESS
Print
.tasty-recipe-responsive-iframe-container-1efa3bd5 { position: relative; overflow: hidden; padding-top: 56.3%; } .tasty-recipe-responsive-iframe-container-1efa3bd5 iframe { position: absolute; top: 0; left: 0; width: 100%; height: 100%; border: 0; } clock clock iconcutlery cutlery iconflag flag iconfolder folder iconinstagram instagram iconpinterest pinterest iconfacebook facebook iconprint print iconsquares squares iconheart heart iconheart solid heart solid icon
Boeuf Bourguignon with Mashed Potatoes & Pearl Onions

Boeuf Bourguignon with Mashed Potatoes & Pearl Onions


  • Author: Kimberly
  • Total Time: 3 hrs (1 hr passive)
  • Yield: 6

Description

RECOMMENDED EQUIPMENT

  • dutch oven
  • sharp knife
  • cutting board
  • large pot
  • small pan with a lid
  • large pan
  • potato masher

Ingredients

Units Scale
BOEUF BOURGUIGNON
  • 1.5 kilograms beef brisket or beef shoulder
  • 3 white onions
  • 3 carrots
  • 2 tbsp tomato paste
  • 750 milliliter red wine
  • 2 bay leaves
  • 400 milliliter beef stock
  • 150 grams pancetta
  • 250 grams mushrooms
  • 1 tsp clarified butter
  • 1 tbsp all-purpose flour
  • 3 garlic cloves
  • 2 fresh thyme sprigs
  • 25 grams dark chocolate
  • 50 milliliter espresso
  • salt & pepper to taste
MASHED POTATOES
  • 2 kilograms potatoes
  • 500 milliliter full-fat milk
  • 150 grams butter
  • 150 grams creme fraiche
  • salt, pepper & nutmeg to taste
PEARL ONIONS
  • 400 grams pearl onions
  • 1 tsp clarified butter
  • 1 bay leaf
  • 1 fresh thyme sprig
  • 10 grams fresh parsley
  • 150 milliliter white wine
  • salt & pepper
BEURRE MANIÉ
  • 2 tbsp butter, room temperature
  • 2 tbsp all-purpose flour

Instructions

  1. Peel the carrots and cut them into bite-sized pieces. Peel the onions and chop them into small pieces. Pat the beef dry, remove any silver skin if necessary, and cut it into roughly 4×4 cm pieces. Beef brisket or shoulder (also known as “falsches Filet” in Germany) works best. Cut the pancetta into strips. Peel the garlic cloves. They’ll be pressed into the pot later. Open the bottle of wine. Pick a Pinot Noir, Merlot, or Cabernet Sauvignon all work great. A bold, fruity red wine is ideal.
  2. Place the pancetta in a cold Dutch oven. Slowly heat it over medium heat and fry until crispy, allowing the fat to render out. Remove the pancetta and set it aside, leaving the bacon fat in the Dutch oven. If the bacon fat isn’t enough, add 1 tbsp of clarified butter and let it melt. Sear the beef in batches on both sides over high heat to create a nice crust. Remove the beef from the pot. Add the carrots, onions, and tomato paste to the Dutch oven. Press the garlic through a garlic press into the pot and stir everything well. Sauté for about 5 minutes, then sprinkle 1 tbsp of flour over the vegetables and mix well.
  3. Pour in about 1/4 of the red wine, stir, and let it reduce over medium heat without a lid until almost no liquid remains (about 5 minutes). The wine and flour should form a creamy texture with the veggies. Return the seared beef to the pot, pour in the remaining wine and the beef stock, and stir well. Place thyme sprigs and bay leaves on top, cover, and bring to a boil. Then reduce to low heat and simmer with the lid on for 2.5-3 hours.
  4. Meanwhile, peel the pearl onions carefully without cutting through them. Set them aside in a bowl. Next brush the mushrooms clean with a pastry brush or peel them directly, then quarter them. Set them aside as well. Next to prepare the mashed potatoes peel and quarter them. Fill a large pot with water, add the potatoes and 1 tsp salt and boil until soft. Drain the water and keep the potatoes covered. Heat a small pan over medium heat, melt 1 tsp of clarified butter, and sauté the pearl onions for about 5 minutes, stirring frequently, until they turn golden brown. Deglaze with white wine, add thyme, parsley, and a bay leaf on top, cover, and simmer for about 25 minutes until the wine has mostly evaporated and the onions are soft. Remove the herbs before serving and keep the onions warm on the stove. Season with salt & pepper.
  5. To thicken the Boeuf Bourguignon sauce, prepare a beurre manié. Mix 2 tbsp of softened butter with 2 tbsp of flour into a creamy paste. Add it gradually to the stew about 30 minutes before the end of the cooking time to thicken the sauce. Stir the beurre manié into the Dutch oven in portions and bring everything to a quick boil.
  6. After about 1.5 hours of simmering, sauté the quartered mushrooms in a large pan with 1 tsp of clarified butter until golden brown. While they’re cooking, prepare an espresso. Add the mushrooms, pancetta, dark chocolate, and espresso to the Dutch oven. Stir well and let it simmer for at least another 30 minutes.
  7. For the mashed potatoes, warm milk and butter in a small pot until the butter has melted. Add the mixture to the potatoes, grate in some nutmeg, and mash everything into a chunky texture. For a smoother mash, pass the potatoes through a sieve or food mill. Season with salt and pepper, then stir in crème fraîche. To serve, spoon the mashed potatoes onto plates, top with Boeuf Bourguignon, and add some pearl onions. Garnish with fresh chives.
  • Passive Time:
CRAVING MORE?
Follow along here & don’t forget to subscribe to my substack!

Steamed Buns Filled With Melted Nougat

Steamed Buns Filled With Melted Nougat

Steamed Buns Filled With Melted Nougat

Steamed Buns Filled With Melted Nougat

December 16, 2023 by Kimberly

Picture this: fluffy steamed buns hugging a luscious center of melted nougat. A sweet symphony in every bite. Simply delicious and impossible to resist!

This website uses affiliate links which may earn commission for purchases made at no additional cost to you.

TOTAL TIME

2 hrs + 5 min

SERVES

4 buns

DIET

vegetarian

EVERY RECIPE DESERVES

A Little Love Letter

Indulge in a symphony of flavors with this delightful creation – Steamed Buns filled with Melted Nougat. This fusion of soft, pillowy buns and gooey nougat is a treat for the senses.

Steam the buns until warm, revealing a divine fusion of softness and gooey nougat. Elevate the indulgence by serving with warm vanilla sauce, roasted breadcrumbs, and hazelnuts. Each bite is a symphony of textures and flavors, creating a dessert sensation that will leave you craving more.

To keep the magic alive for later indulgence, store any leftovers in an airtight container in the refrigerator. The buns will stay fresh for up to three days. When ready to enjoy again, simply reheat them by steaming for a few minutes until they regain their warm, fluffy perfection.

Hi, I'm Kimberly!

Hi, I'm Kimberly.

A hopeless romantic when it comes to food. Every recipe I share is a love letter to food itself. I’m so glad you’re here. Make yourself at home and stay a while.

Love,
Kimberly

Kimberly the Zett Signature

If you want to get to know me better,
click here!


Steamed Buns Filled With Melted Nougat

LET’S MAKE A PIECE OF HAPPINESS

Print
.tasty-recipe-responsive-iframe-container-20fac647 { position: relative; overflow: hidden; padding-top: 177.62%; } .tasty-recipe-responsive-iframe-container-20fac647 iframe { position: absolute; top: 0; left: 0; width: 100%; height: 100%; border: 0; } clock clock iconcutlery cutlery iconflag flag iconfolder folder iconinstagram instagram iconpinterest pinterest iconfacebook facebook iconprint print iconsquares squares iconheart heart iconheart solid heart solid icon
Steamed Buns Filled With Melted Nougat

Steamed Buns Filled With Melted Nougat


  • Author: Kimberly
  • Total Time: 2 hrs

Description

RECOMMENDED EQUIPMENT

  • Kitchen paper (or a fine towel)
  • sharp knife
  • chopping board
  • hand mixer (or whisk)
  • cling film
  • medium-sized saucepan
  • small saucepan
  • small pan

Ingredients

Units Scale
BUNS
  • 200 grams quark
  • 100 grams all-purpose flour
  • 1 egg
  • 25 grams butter
  • pinch of salt
  • pinch of lemon zest
  • 120 grams nougat
TOPPINGS
  • 35 grams breadcrumbs
  • 35 grams ground hazelnuts
  • 1 tsp sugar
  • 1.5 tbsp butter
  • 200 milliliters vanilla sauce

Instructions

  1. Squeeze the quark between kitchen paper so that it loses any liquid. Cut the nougat into 4 equal pieces. If you are using whole hazelnuts, finely grind them. If you are using hazelnuts that have already been ground, you can skip this step.
  2. For the buns, beat butter with a pinch of salt (approx. 3 minutes) and then add the egg and mix. Now add flour and the quark. Knead everything into a smooth dough. Wrap the dough in cling film and place in the fridge for at least 90 minutes.
  3. After 90 minutes, bring a medium-sized pot of water to the boil. Meanwhile, transfer the dough from the fridge to a floured work surface and roll out. Divide into 4 equal pieces. Place a piece of nougat in the middle of each piece of dough, wrap evenly with dough and shape into a ball.
  4. As soon as the water boils, reduce the heat and place the nougat balls in the boiling water. Cook the nougat balls for around 10 minutes. Meanwhile, heat the vanilla sauce in a small pan.
  • Passive Time: 90 min
  • Cook Time: 30 min

CRAVING MORE?

Follow along here & don’t forget to subscribe to my substack!