


Description
GOOD TO HAVE ON HAND
- sharp knife
- cutting board
- frying pan
Ingredients
Units Scale
COD
- 300 grams cod filet
- 2 tbsp all-purpose flour
- 2 tbsp olive oil
- 1 tbsp butter
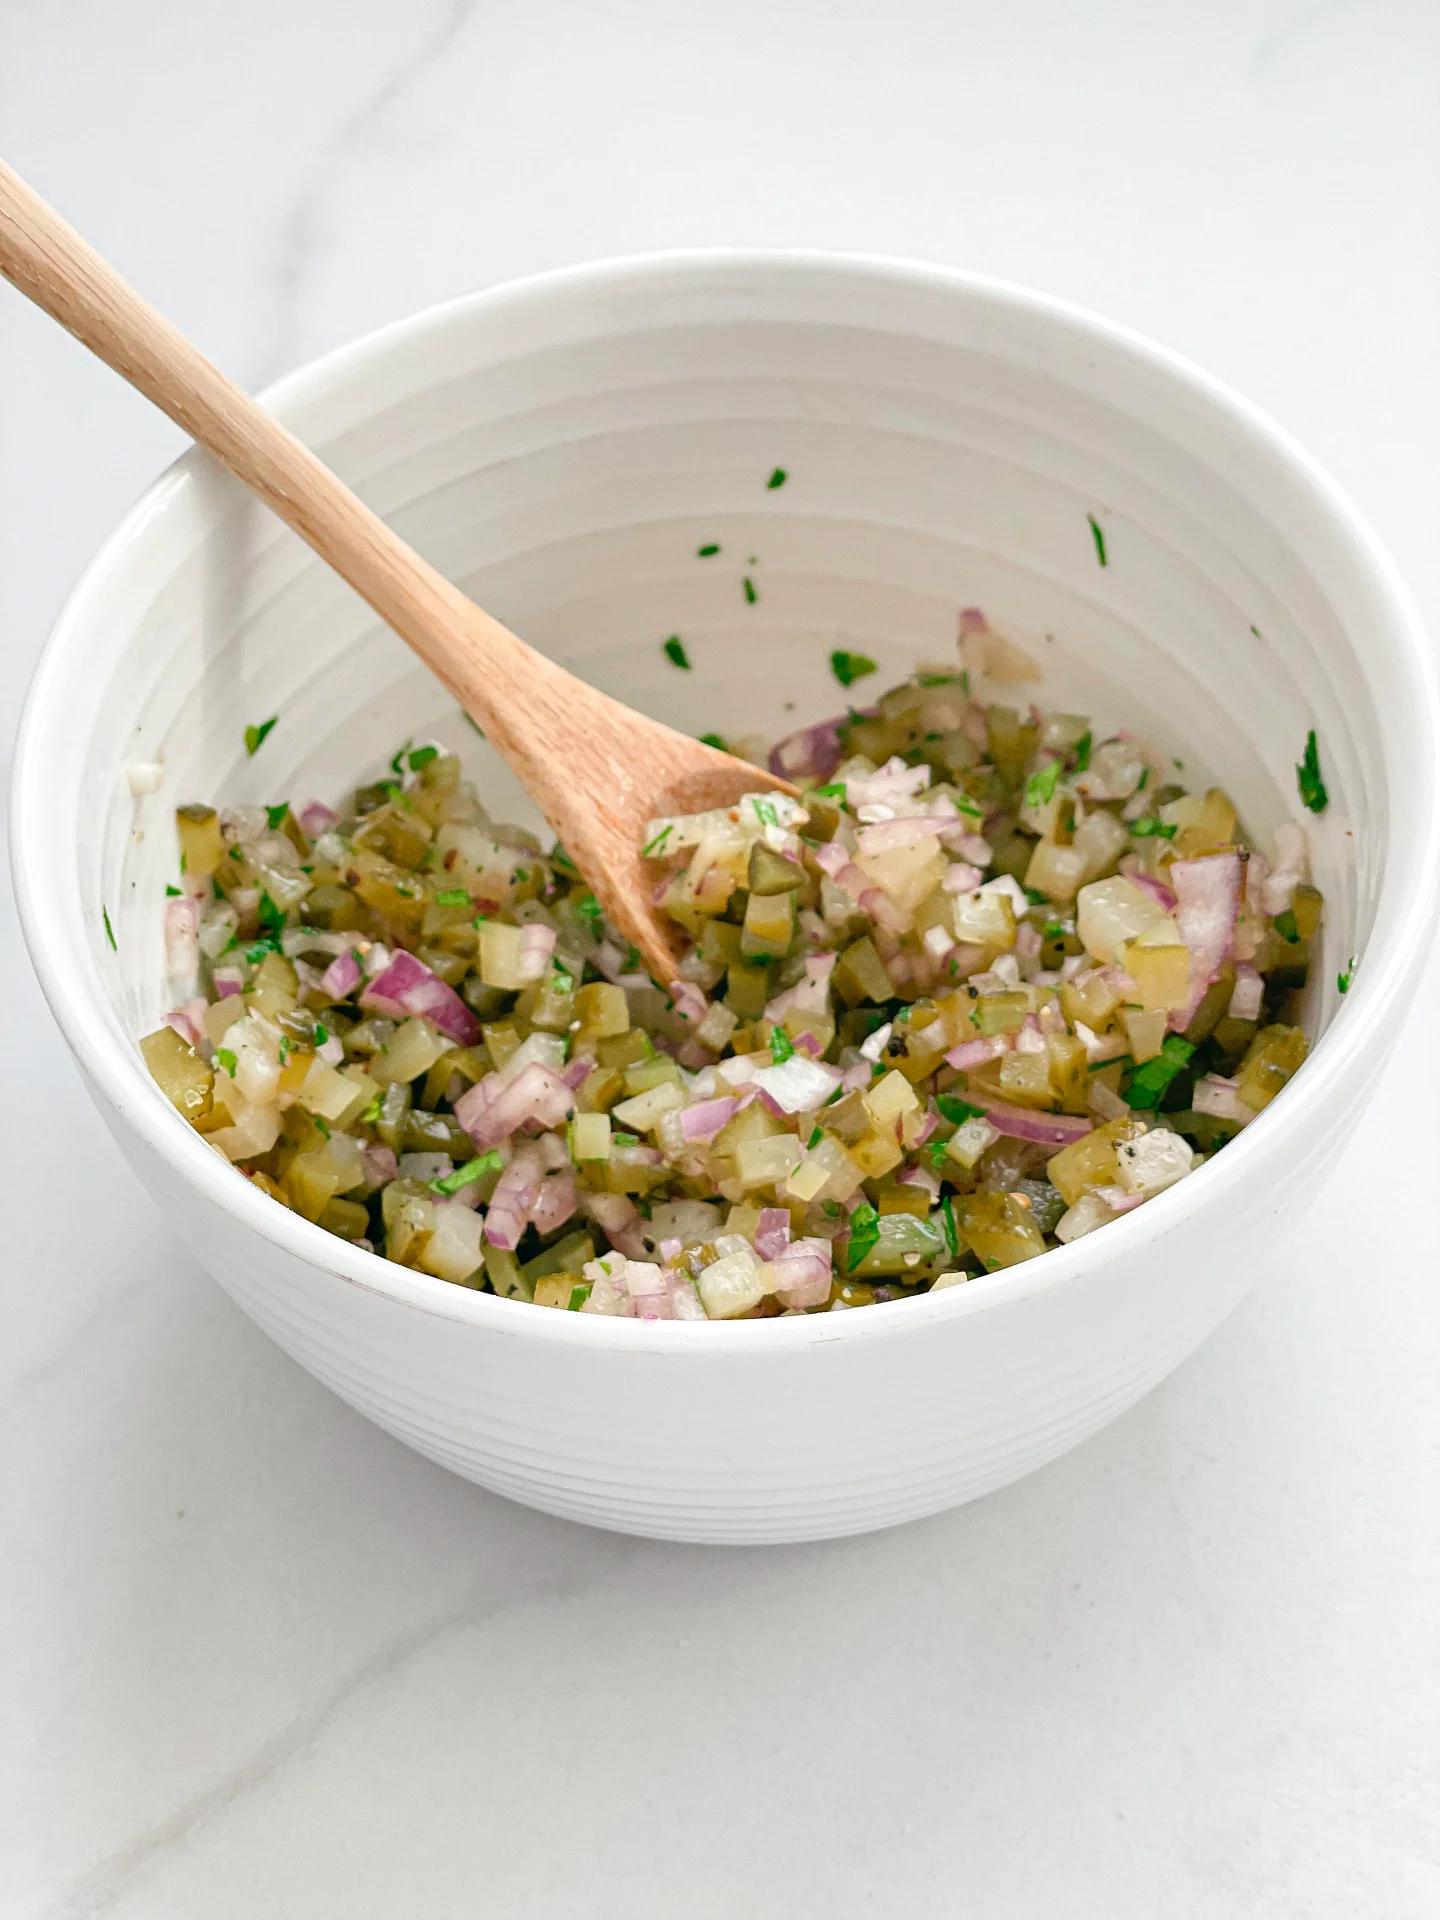
- 1 tbsp capers
- 1 tsp butter
- juice of half a lemon
- 250 grams vine tomatoes
- 250 grams green asparagus (fresh or frozen)
- 2 tbsp olive oil
- salt
- pepper
- parsley
- the other half of the lemon
Instructions
- Preheat the oven to 200°C (400°F).
- Pluck the parsley leaves from the stalks and chop finely.
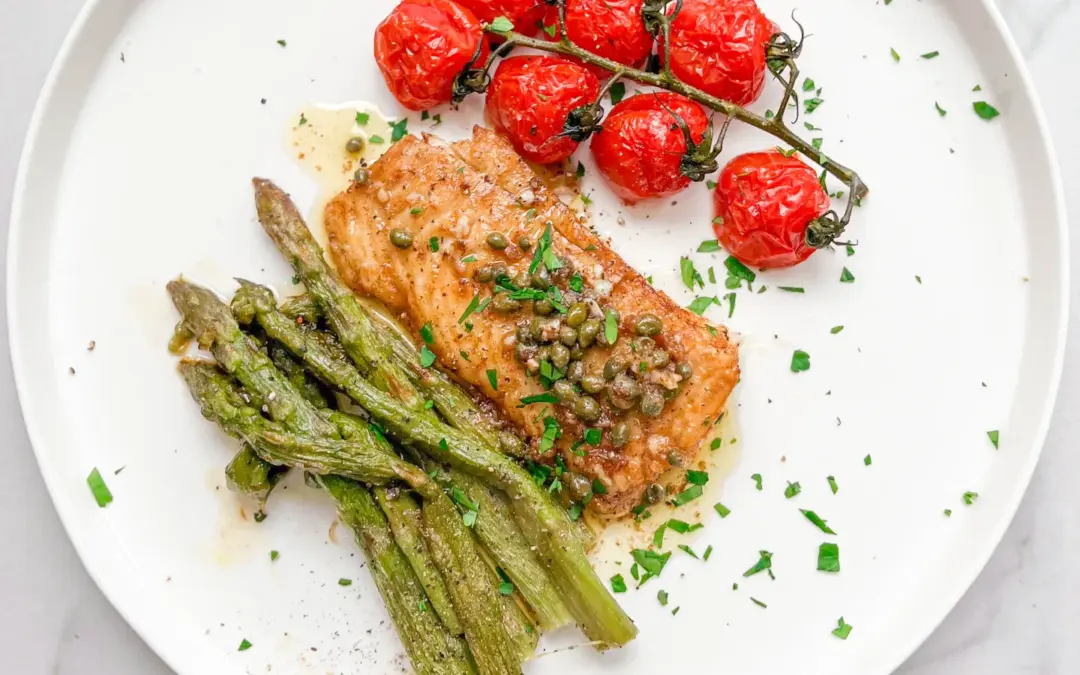
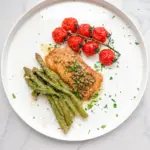
- Place the frozen asparagus and tomatoes on a baking tray lined with baking paper, drizzle with olive oil and season with salt and pepper. Roast the asparagus and tomatoes in the oven on the middle shelf for approx. 15 minutes until golden brown.
- Pat the cod dry and then roll in flour. Set aside.
- Heat 2 tbsp olive oil and 1 tbsp butter in a frying pan over a medium heat. Add the cod and fry on one side for approx. 5 minutes. Carefully flip the fish and fry for a further 1-3 minutes (depending on the thickness of the fish). At this point, the fat in the pan can be poured over the fish with a spoon so that the side that is facing up does not dry out.
- Remove the pan from the heat and arrange the fish on plates. Warm the plates in advance if you like. Put the pan back on the heat.
- Now pour the juice of half a lemon over the remaining oil and butter in the pan. Stir briefly and allow to warm. Now add the capers, toss well and deglaze whats on the bottom of the pan. Remove the pan from the heat and stir in 1 teaspoon of butter. The sauce can now be poured over the fish.
- Remove the vegetables from the oven and place on the plates next to the fish. Garnish with parsley and lemon slices.
- Cook Time: 25 min