


Description
GOOD TO HAVE ON HAND
- large pot
- large salad bowl
- whisk
- sharp knife
- cutting board
- small pan
- colander
Ingredients
Units Scale
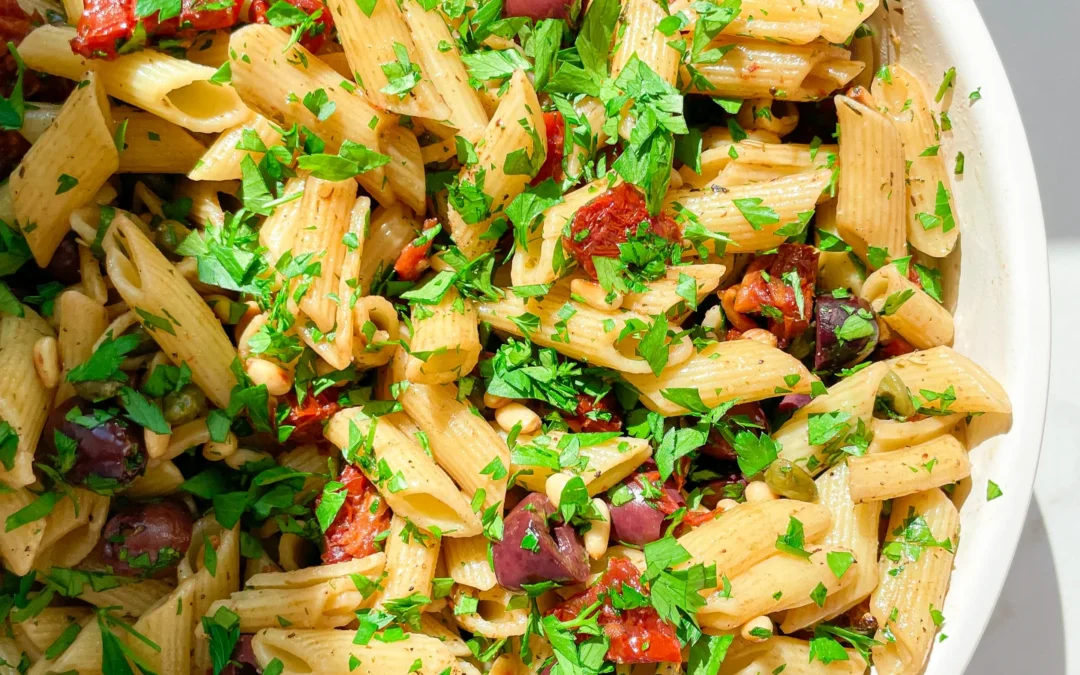
- 500 grams penne pasta
- 150 grams Kalamata olives
- 180 gram dried tomatoes in oil
- 60 grams capers
- 2 tbsp pine nuts
- 15 grams fresh parsley or basil
- 4 tbsp olive oil (you can use the oil from the dried tomatoes)
- 3 tbsp balsamic vinegar
- 2 tsp Dijon mustard
- 1 tbsp honey
- 1/4 tsp oregano
- 1/4 tsp thyme
- 1/4 tsp rosemary
- 1/4 tsp salt
Instructions
- Fill a large pot with water and bring it to a boil.
- Meanwhile, prepare the dressing in the salad bowl. Mix olive oil, balsamic vinegar, Dijon mustard, honey, oregano, thyme, rosemary, and salt with a whisk until smooth. Set the bowl aside.
- Add the pasta and 1 tablespoon of salt to the boiling water and cook according to the package instructions until al dente.
- While the pasta cooks, halve the olives and chop the tomatoes into small pieces. Pluck the parsley leaves from the stems and finely chop them. Drain and rinse the capers.
- Toast the pine nuts in a small pan without adding oil until golden brown.
- Drain the pasta and add it directly to the bowl with the dressing, mixing well.
- Add the tomatoes, olives, capers, pine nuts, and parsley and combine thoroughly. Season with salt and pepper to taste, then let it cool and marinate for about 1 hour or overnight.
- Passive Time: 1 hour
- Cook Time: 15 min