Chocolate Chip Cookies

Chocolate Chip Cookies

Chocolate Chip Cookies

Chocolate Chip Cookies

March 13, 2024 by Kimberly

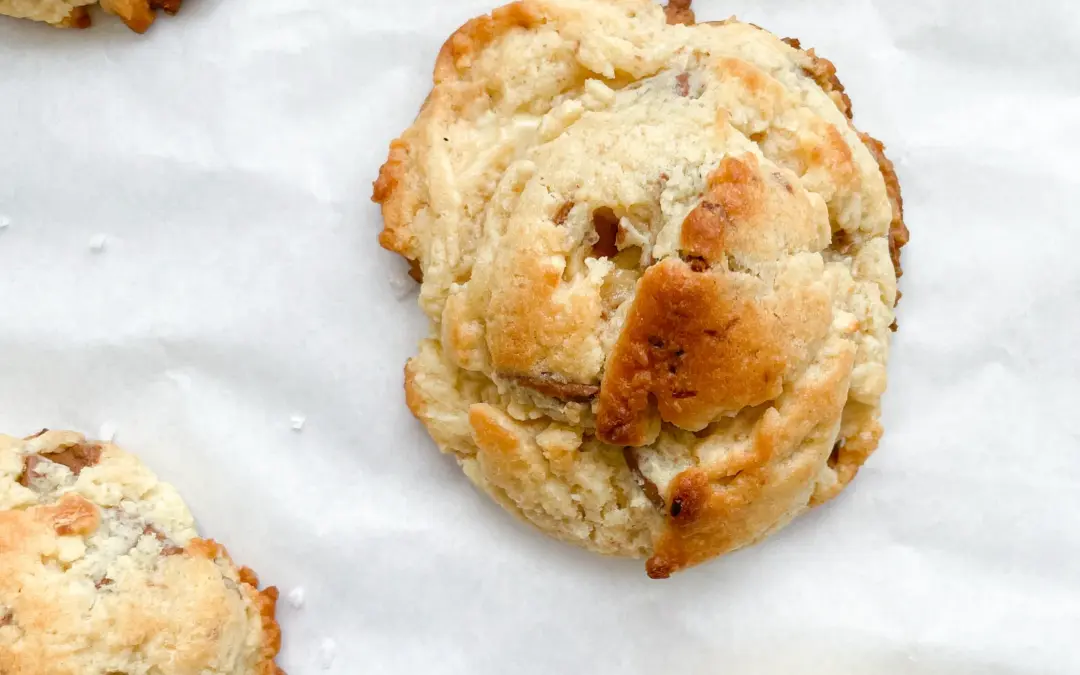
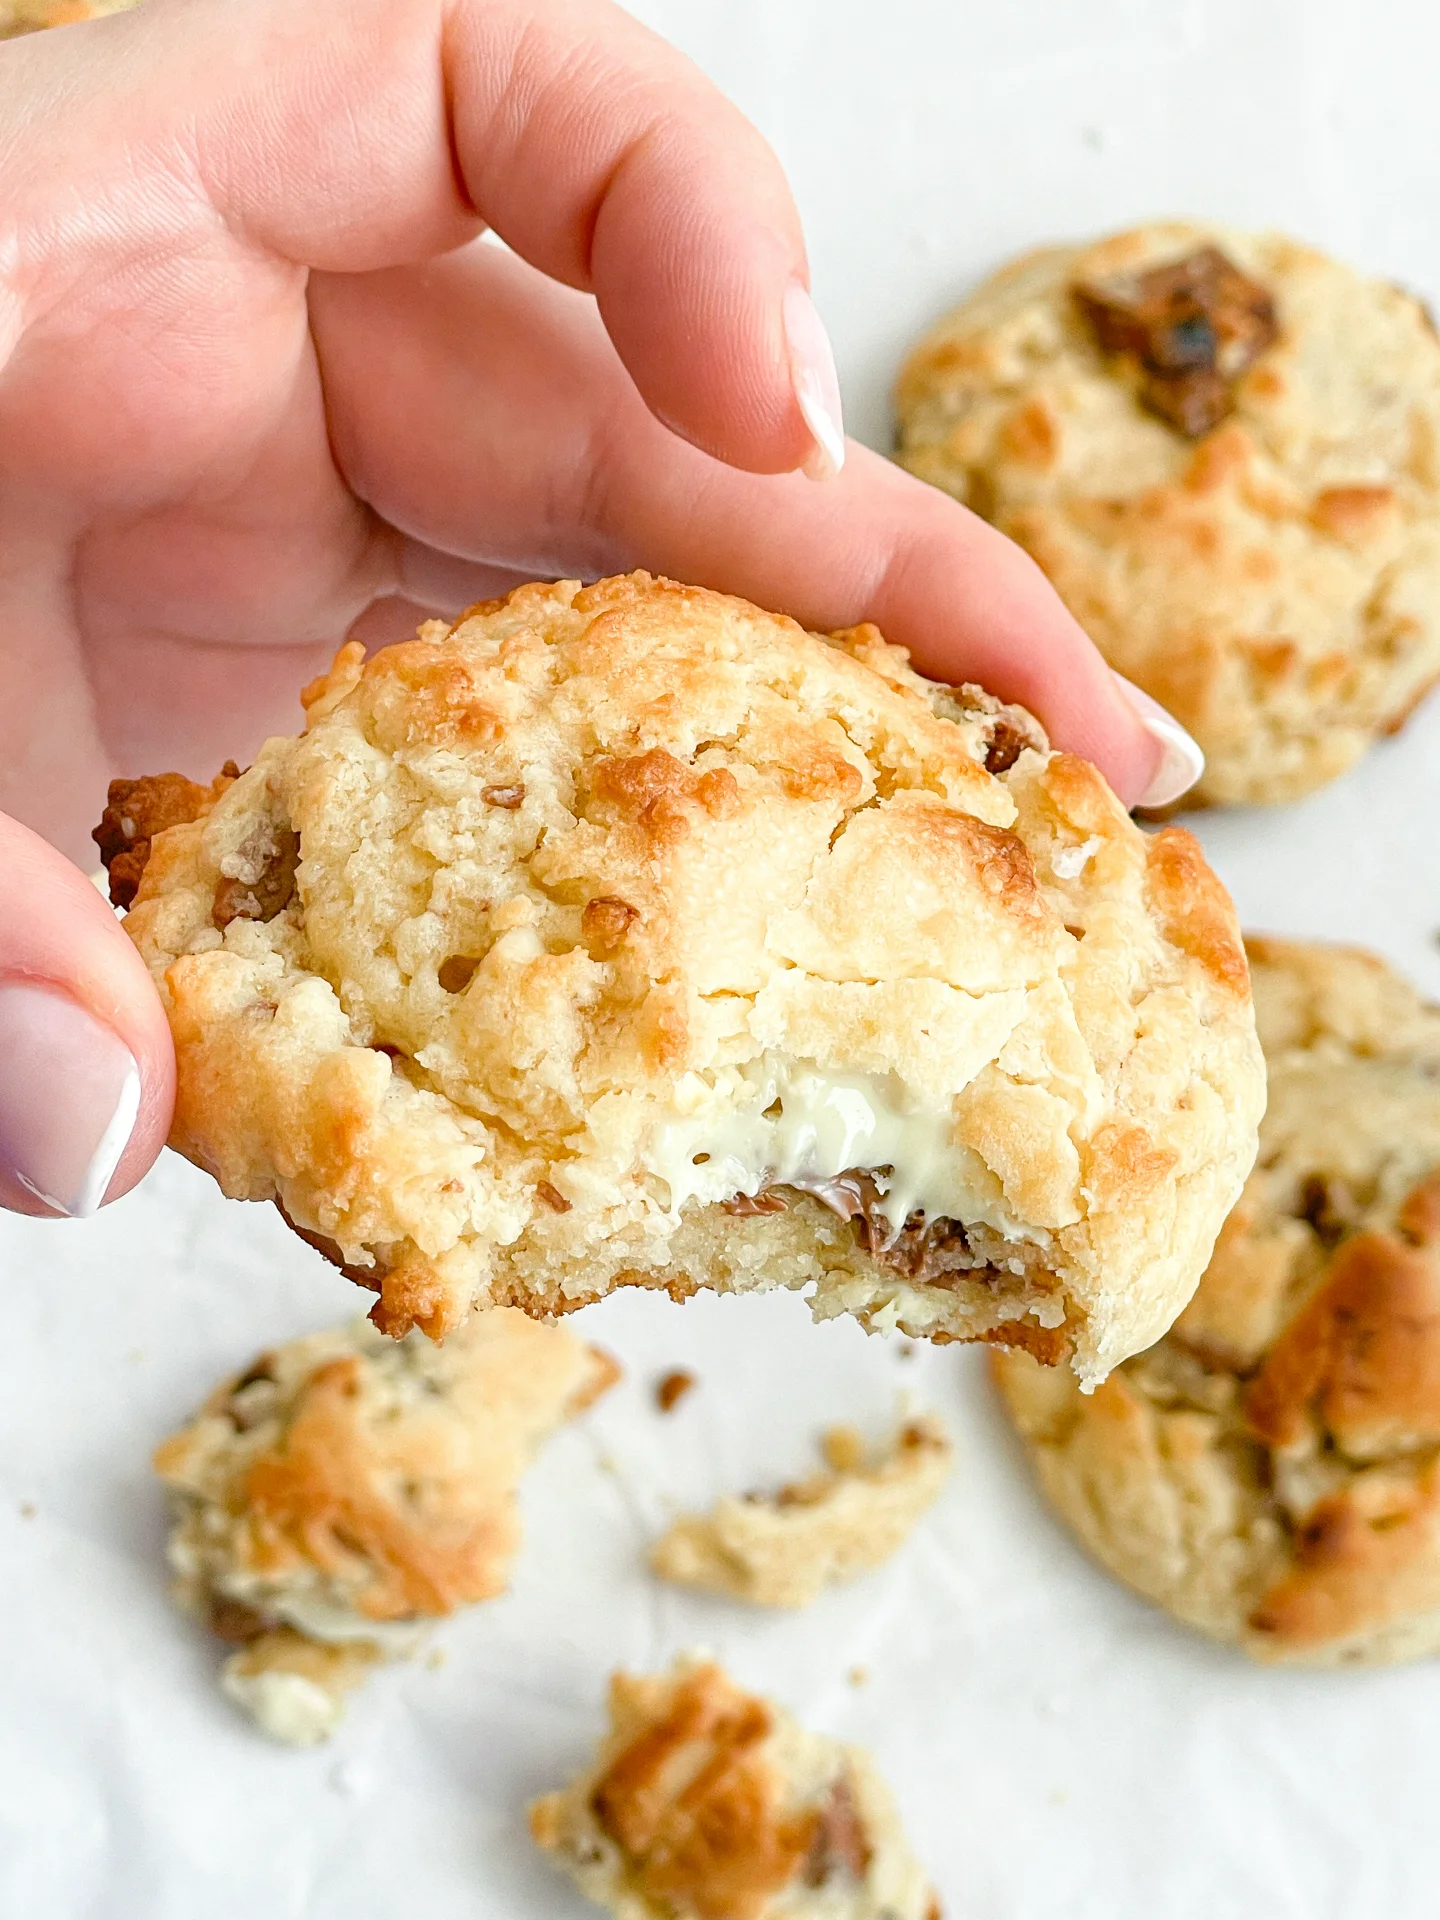
Look no further for the ultimate chocolate chip cookies. Dive into this rich, double chocolate chip cookie recipe, featuring a generous amount of dough and massive chocolate chunks!

2 HRS &
50 MINUTES

EASY

VEGETARIAN

US AMERICAN

434 PER COOKIE

CRUNCHY / GOOEY / SWEET

EVERYDAY

DESSERT / SNACK

ALL YEAR

INTRODUCTION

ABOUT THE RECIPE

Get ready to fill your kitchen with the mouthwatering aroma of freshly baked Chocolate Chip Cookies! This recipe combines the perfect blend of sweet, gooey, and chocolaty in every bite. Ideal for any occasion, from family gatherings to a personal treat, these homemade cookies promise to be your new favorite. Let’s dive into the simple steps to create these delightful treats that everyone loves!

How to serve:
Serve these delicious Chocolate Chip Cookies fresh out of the oven for the ultimate gooey experience, or let them cool to achieve a delightful crunch. Pair with a glass of cold milk or your favorite coffee for a classic combo. They’re perfect for parties, as a sweet snack, or as a thoughtful homemade gift. Remember, warm cookies and cold milk are a match made in heaven for any cookie lover!

How to store:
Store your Chocolate Chip Cookies in an airtight container to keep them fresh and chewy. They’ll last for up to a week at room temperature or can be frozen for longer enjoyment. Perfect for having a sweet treat on hand anytime!

Hi, I'm Kimberly!

Hi, I'm Kimberly.

A passionate food lover who believes in the magic of homemade deliciousness that spreads love and warmth. Join me on this culinary adventure as I prepare wonderful dishes and let’s spread some happiness together!

Kimberly the Zett Signature

If you want to get to know me better, click here!


Chocolate Chip Cookies
„Let’s make a piece of happiness“

INGREDIENTS

FOR 9 COOKIES

COOKIES

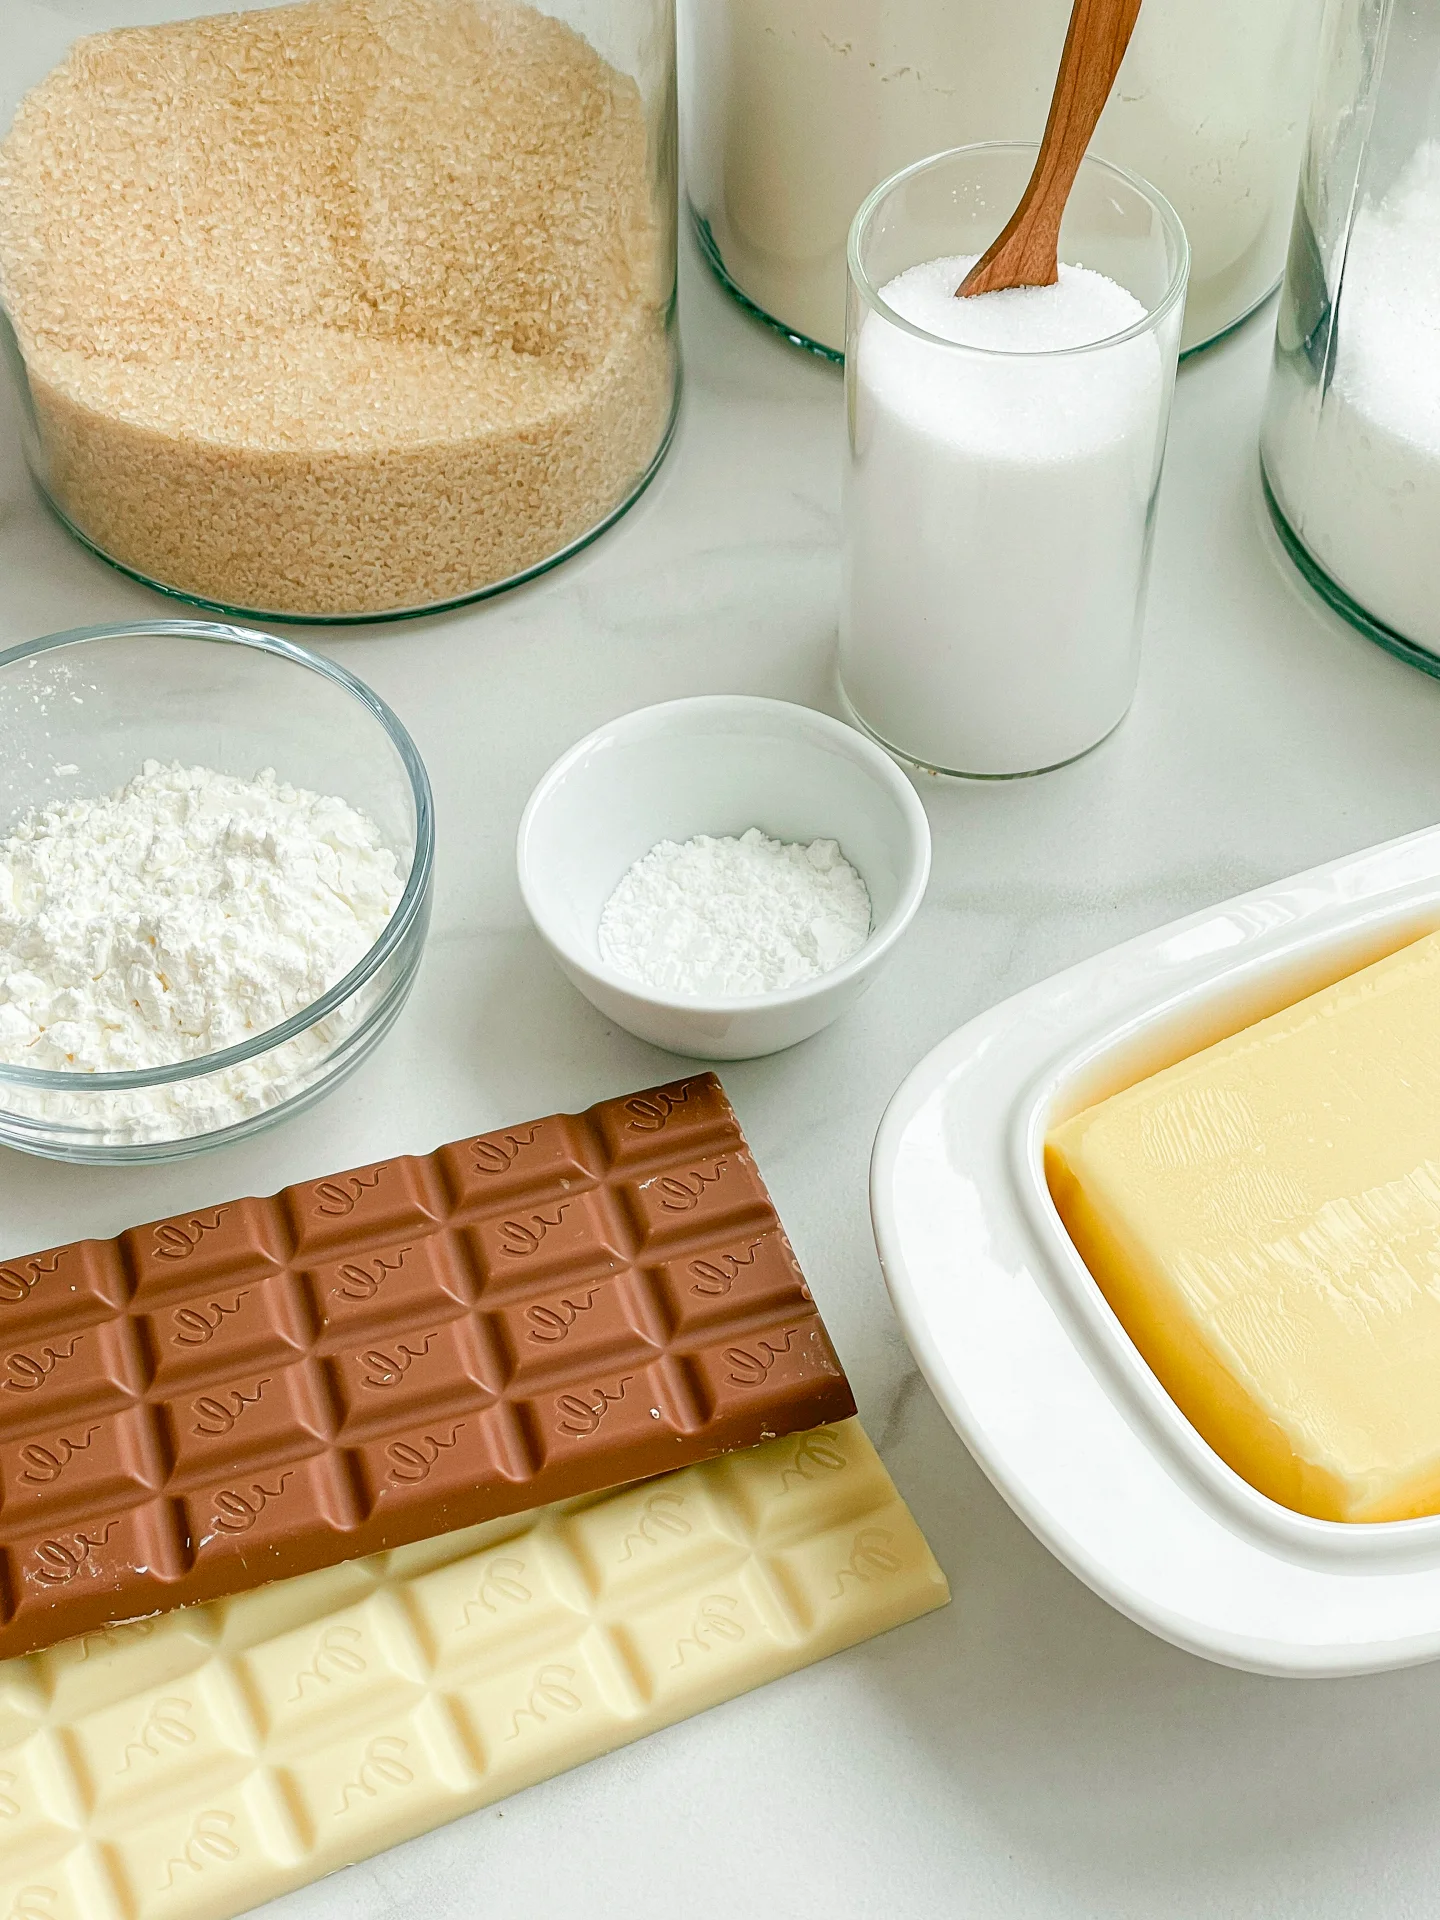
  • 200g all-purpose flour (1.5 cups)
  • 35g cornstarch (1/4 cup)
  • 140g butter (2/3 cup)
  • 150g brown sugar (2/3 cup)
  • 50g white sugar (1/4 cup)
  • 100g semi-sweet chocolate (1/2 cup)
  • 100g white chocolate (1/2 cup)
  • 1 egg
  • 1 egg yolk
  • 1 tsp baking powder
  • 3/4 tsp salt
Chocolate Chip Cookies
}

ACTIVE: 5 min

PASSIVE: –

PREPARATIONS

Recommended Equipment
  • sharp knife
  • cutting board
  • small bowl
  • small pot (or microwave)
  • two medium-sized bowls
  • whisk
  • spatula
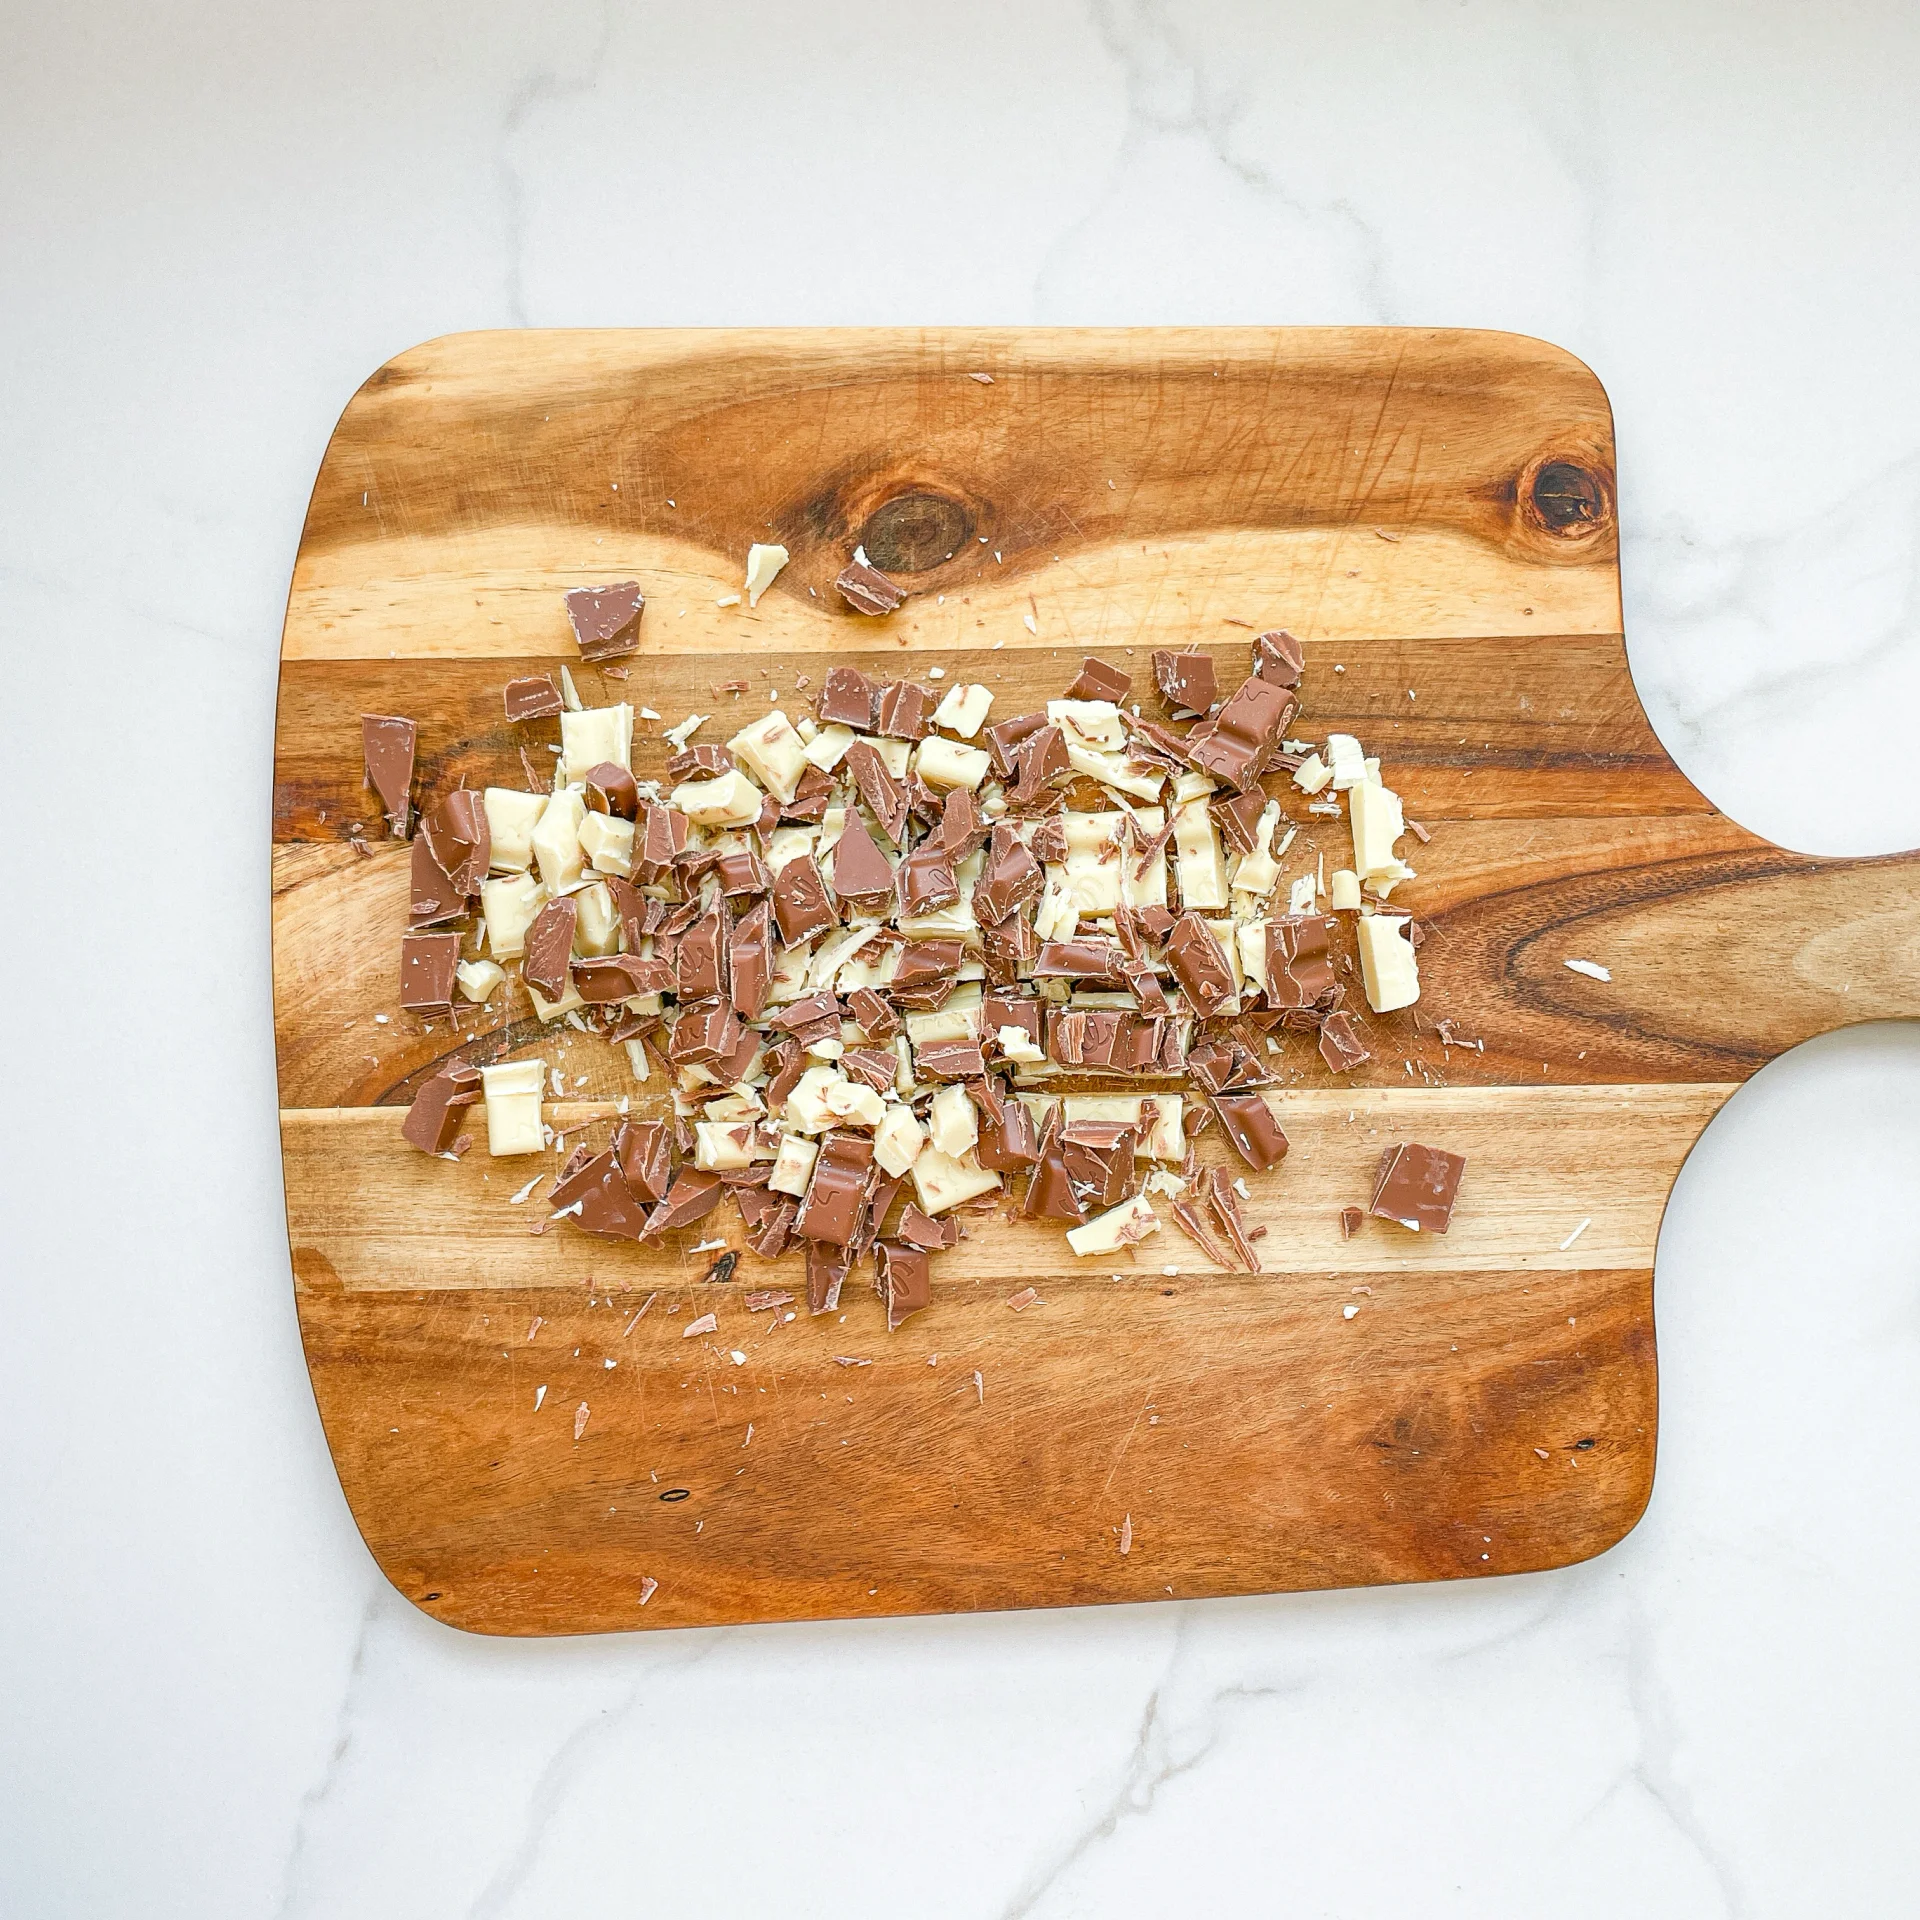
  • Chop the chocolate into big chunks.
  • Melt the butter in a pot or in the microwave.
}

ACTIVE: 20 min

PASSIVE: 2 hrs + 25 min

COOKING

1. In a medium-sized bowl, mix the flour, starch, and salt. Set aside.

2. In another medium-sized bowl, mix the brown and white sugar. Add the melted butter with a whisk and beat the mixture until it becomes kind of creamy.

3. Now add one whole egg and one egg yolk and beat until the mixture becomes thicker.

4. Next, add the dry ingredients from the other bowl and stir a little, then add the chocolate and mix everything until no more flour is visible and stop stirring to avoid overmixing the dough.

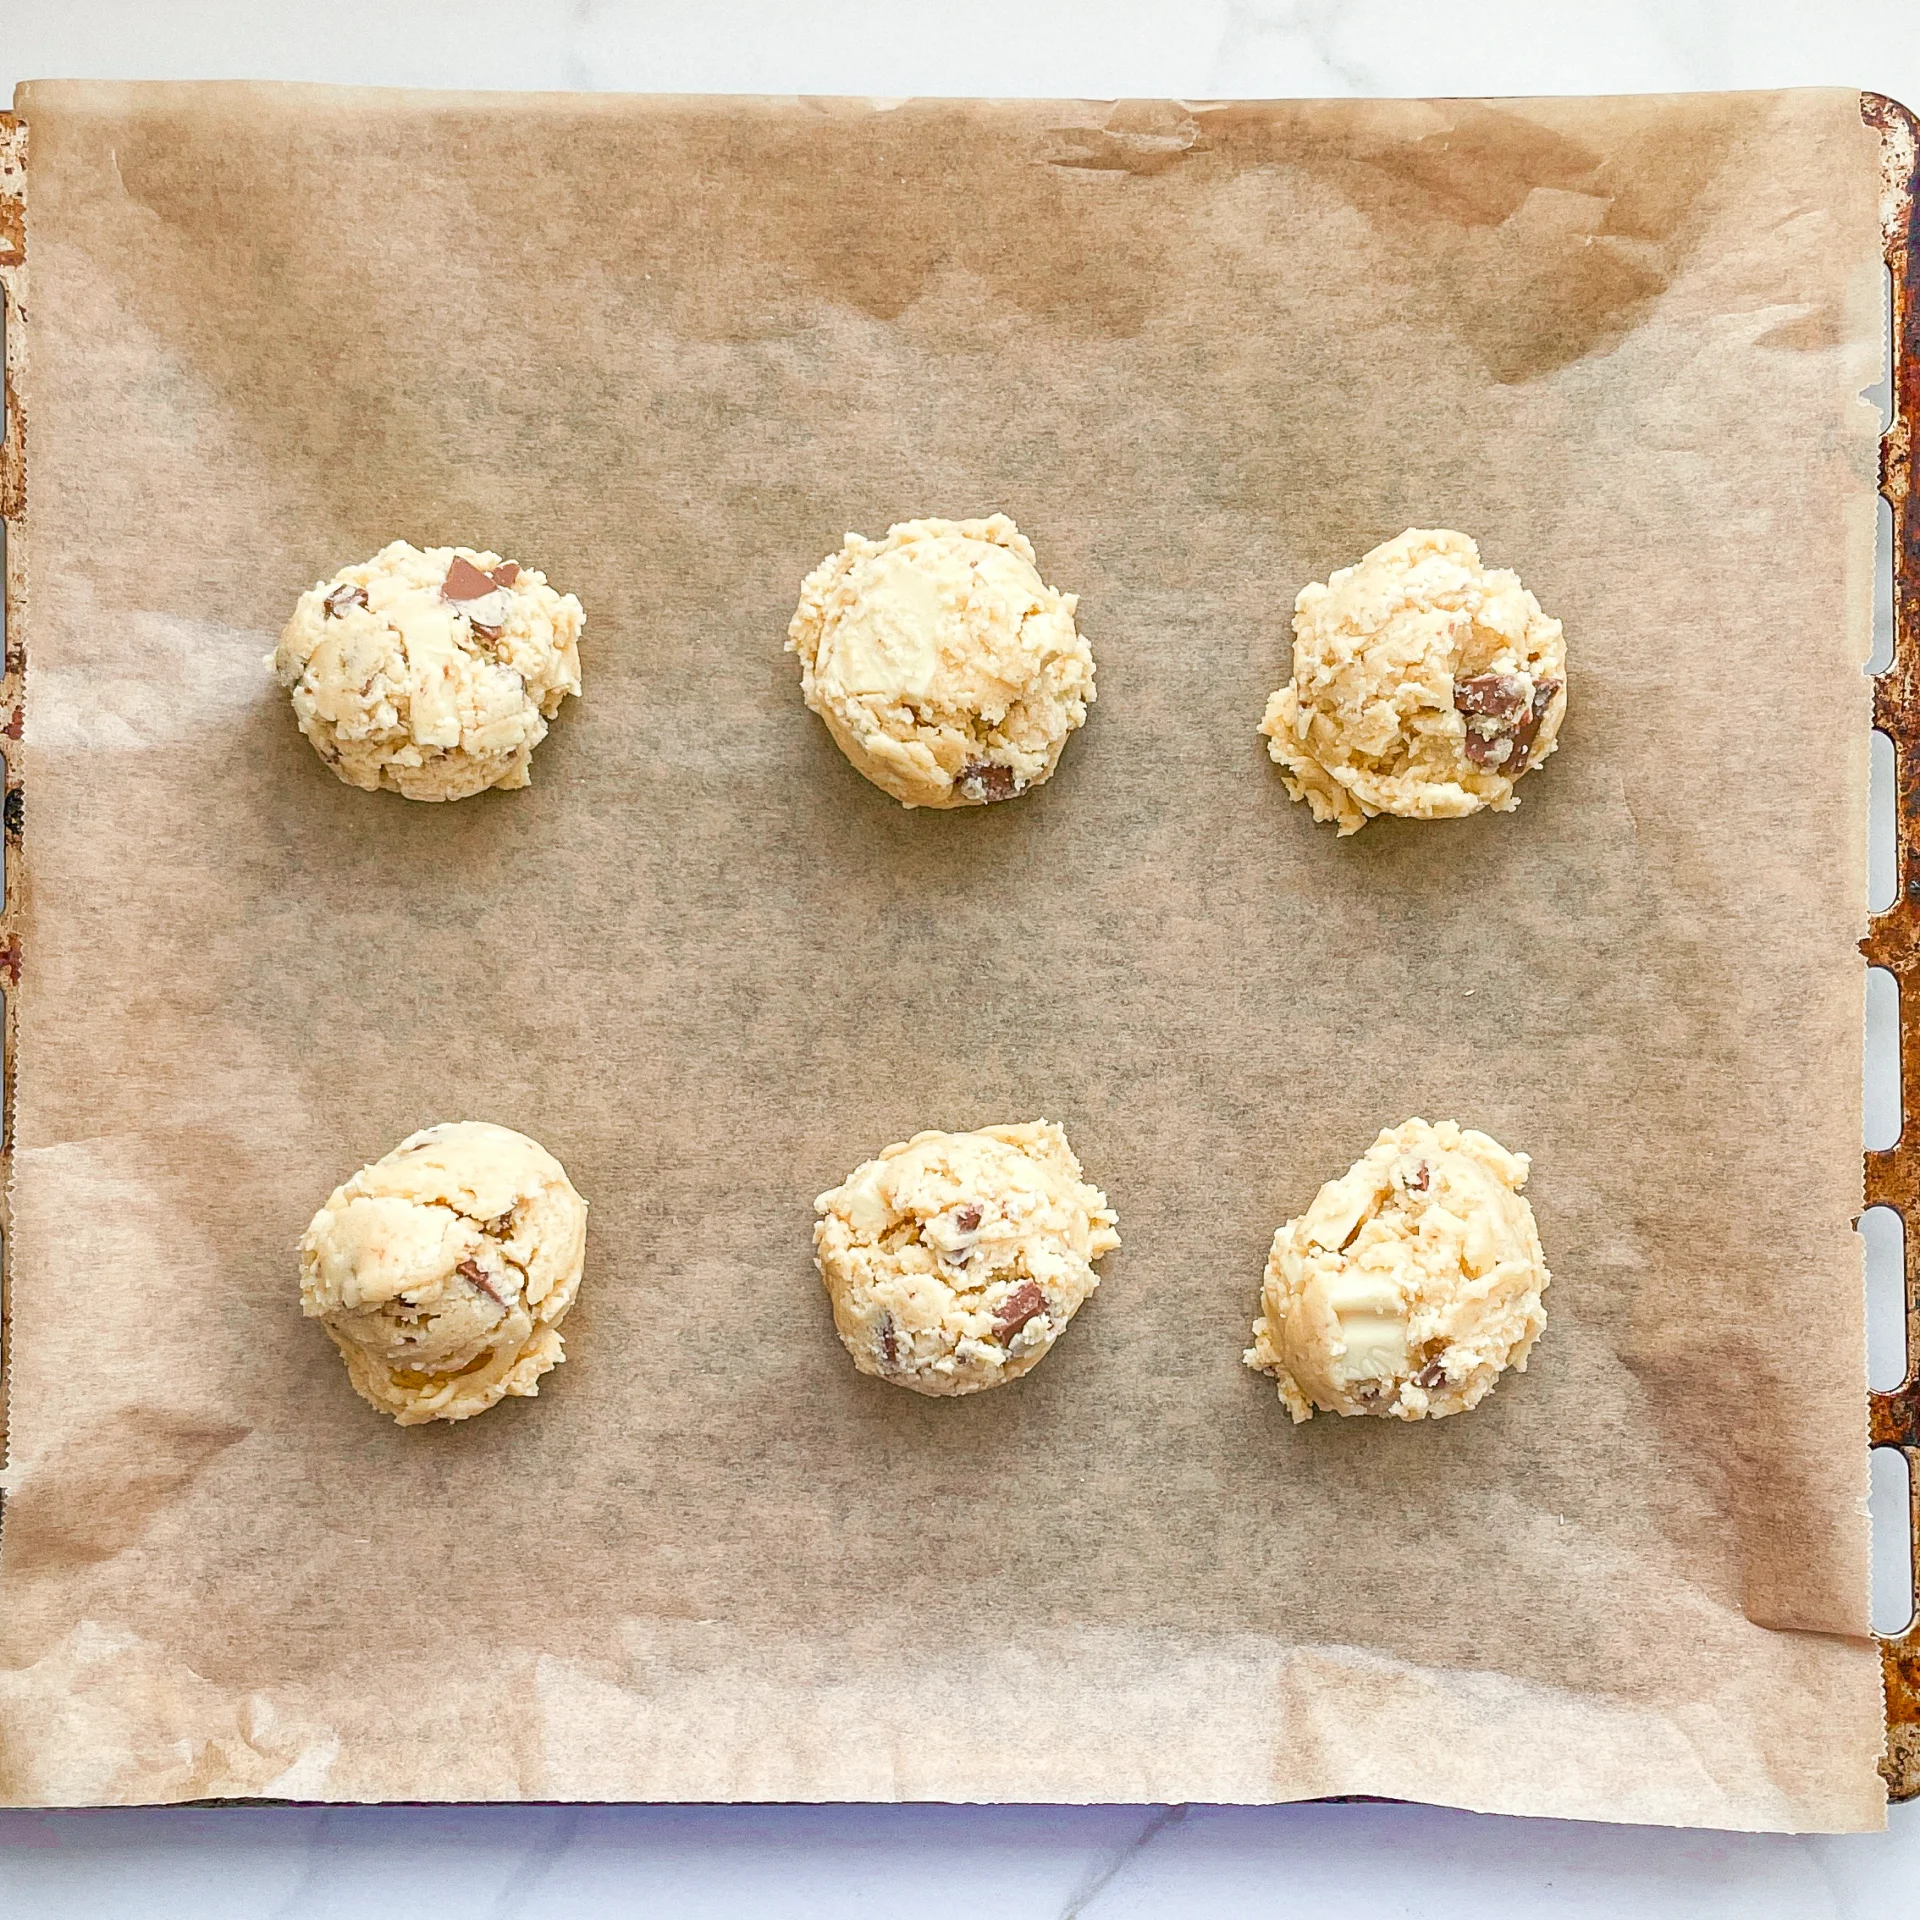
5. Form the dough into 9 equal-sized balls and place them in a container that fits in the fridge. Place the cookie balls in the refrigerator for at least 2 hours – if you want to prepare the dough in advance, you can leave it in the fridge for up to 48 hours.

6. Preheat the oven to 220°C (425°F). Once the oven is hot, place the cookies on a baking sheet lined with parchment paper and bake for 8-10 minutes.

7. Remove the tray with the cookies from the oven and let them cool for 15 minutes. I know it’s hard, but it’s worth the wait 😉

NOTE: The calorie information may vary depending on the product used, country and region.

Basic Beef Broth

Basic Beef Broth

Basic Beef Broth

Basic Beef Broth

February 22, 2024 by Kimberly

Discover the rich, savory goodness of homemade Beef Broth, a nourishing and flavorful base for soups and stews.

7 HOURS

EASY

OMNIVORE

INT.

200 PER LITER

COMFORT FOOD

CLASSICS

SOUP

ALL YEAR

INTRODUCTION

ABOUT THE RECIPE

Embrace the art of cooking with my homemade Beef Broth recipe. This nutritious and flavorful broth forms a versatile foundation for countless dishes. A perfect blend of simplicity and taste, this beef broth recipe guarantees a delightful culinary experience. It’s not just a recipe – it’s a journey to explore the depths of natural flavors, making it ideal for those who love to infuse health and taste in their cooking.

How to serve:
It’s perfect as a base for hearty soups and stews. Elevate your risottos, gravies, and sauces with its rich flavor. For a personalized touch, garnish with fresh herbs or a sprinkle of sea salt. Its versatility makes it a staple in any kitchen, promising a gourmet experience with every dish.

How to store:
Cool it down and refrigerate for up to 4-5 days. For longer storage, freeze it in portions. Use ice cube trays for easy, recipe-ready portions, ensuring freshness and convenience whenever you need it.

Hi, I'm Kimberly!

Hi, I'm Kimberly.

A passionate food lover who believes in the magic of homemade deliciousness that spreads love and warmth. Join me on this culinary adventure as I prepare wonderful dishes and let’s spread some happiness together!

Kimberly the Zett Signature

If you want to get to know me better, click here!


Basic Beef Broth
Basic Beef Broth
Basic Beef Broth

„Let’s make a piece of happiness“

INGREDIENTS

FOR 2.5 LITERS (APPROX. 5 FL. PT.)

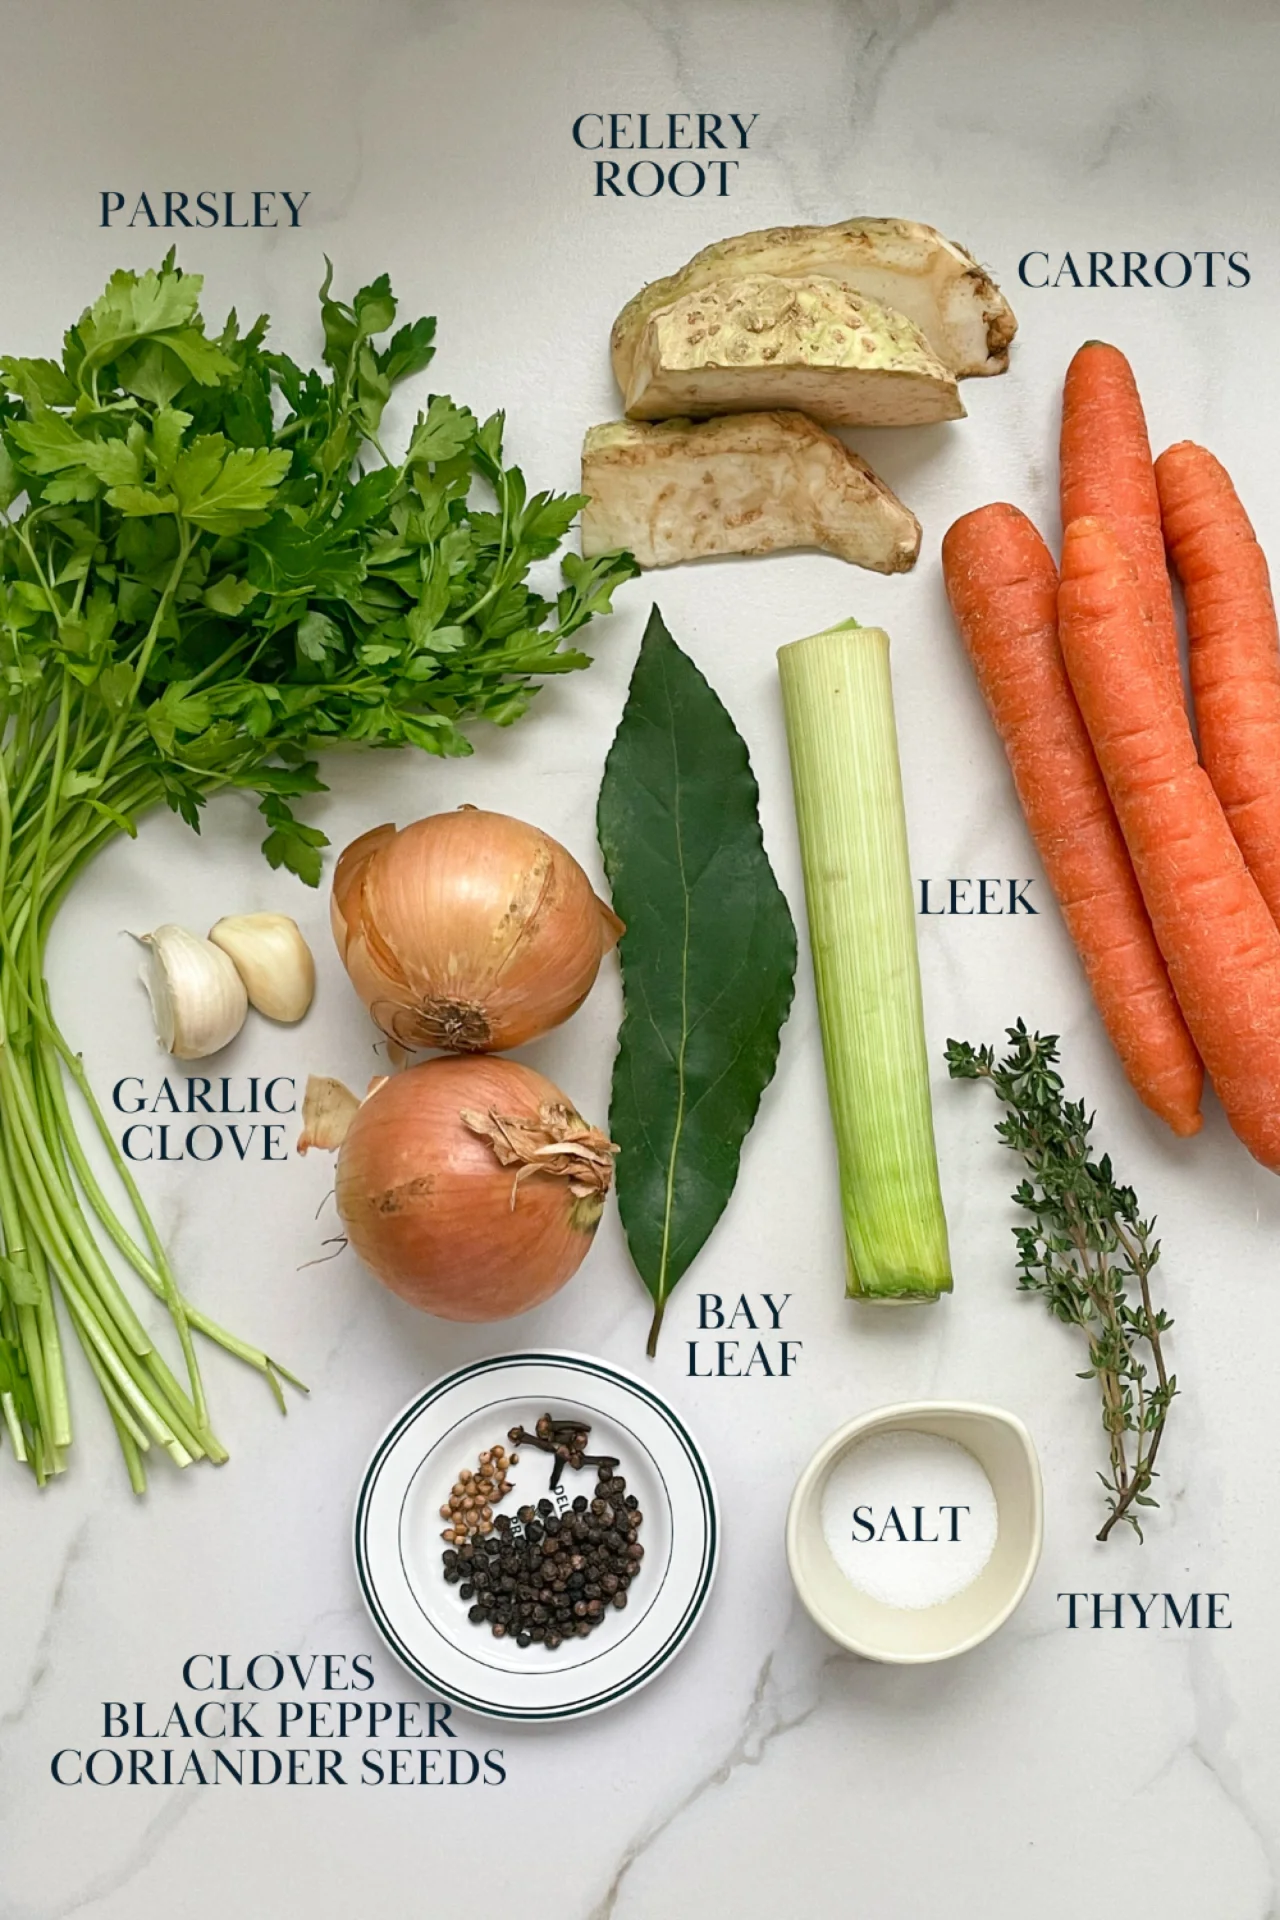
VEGETABLES & BEEF

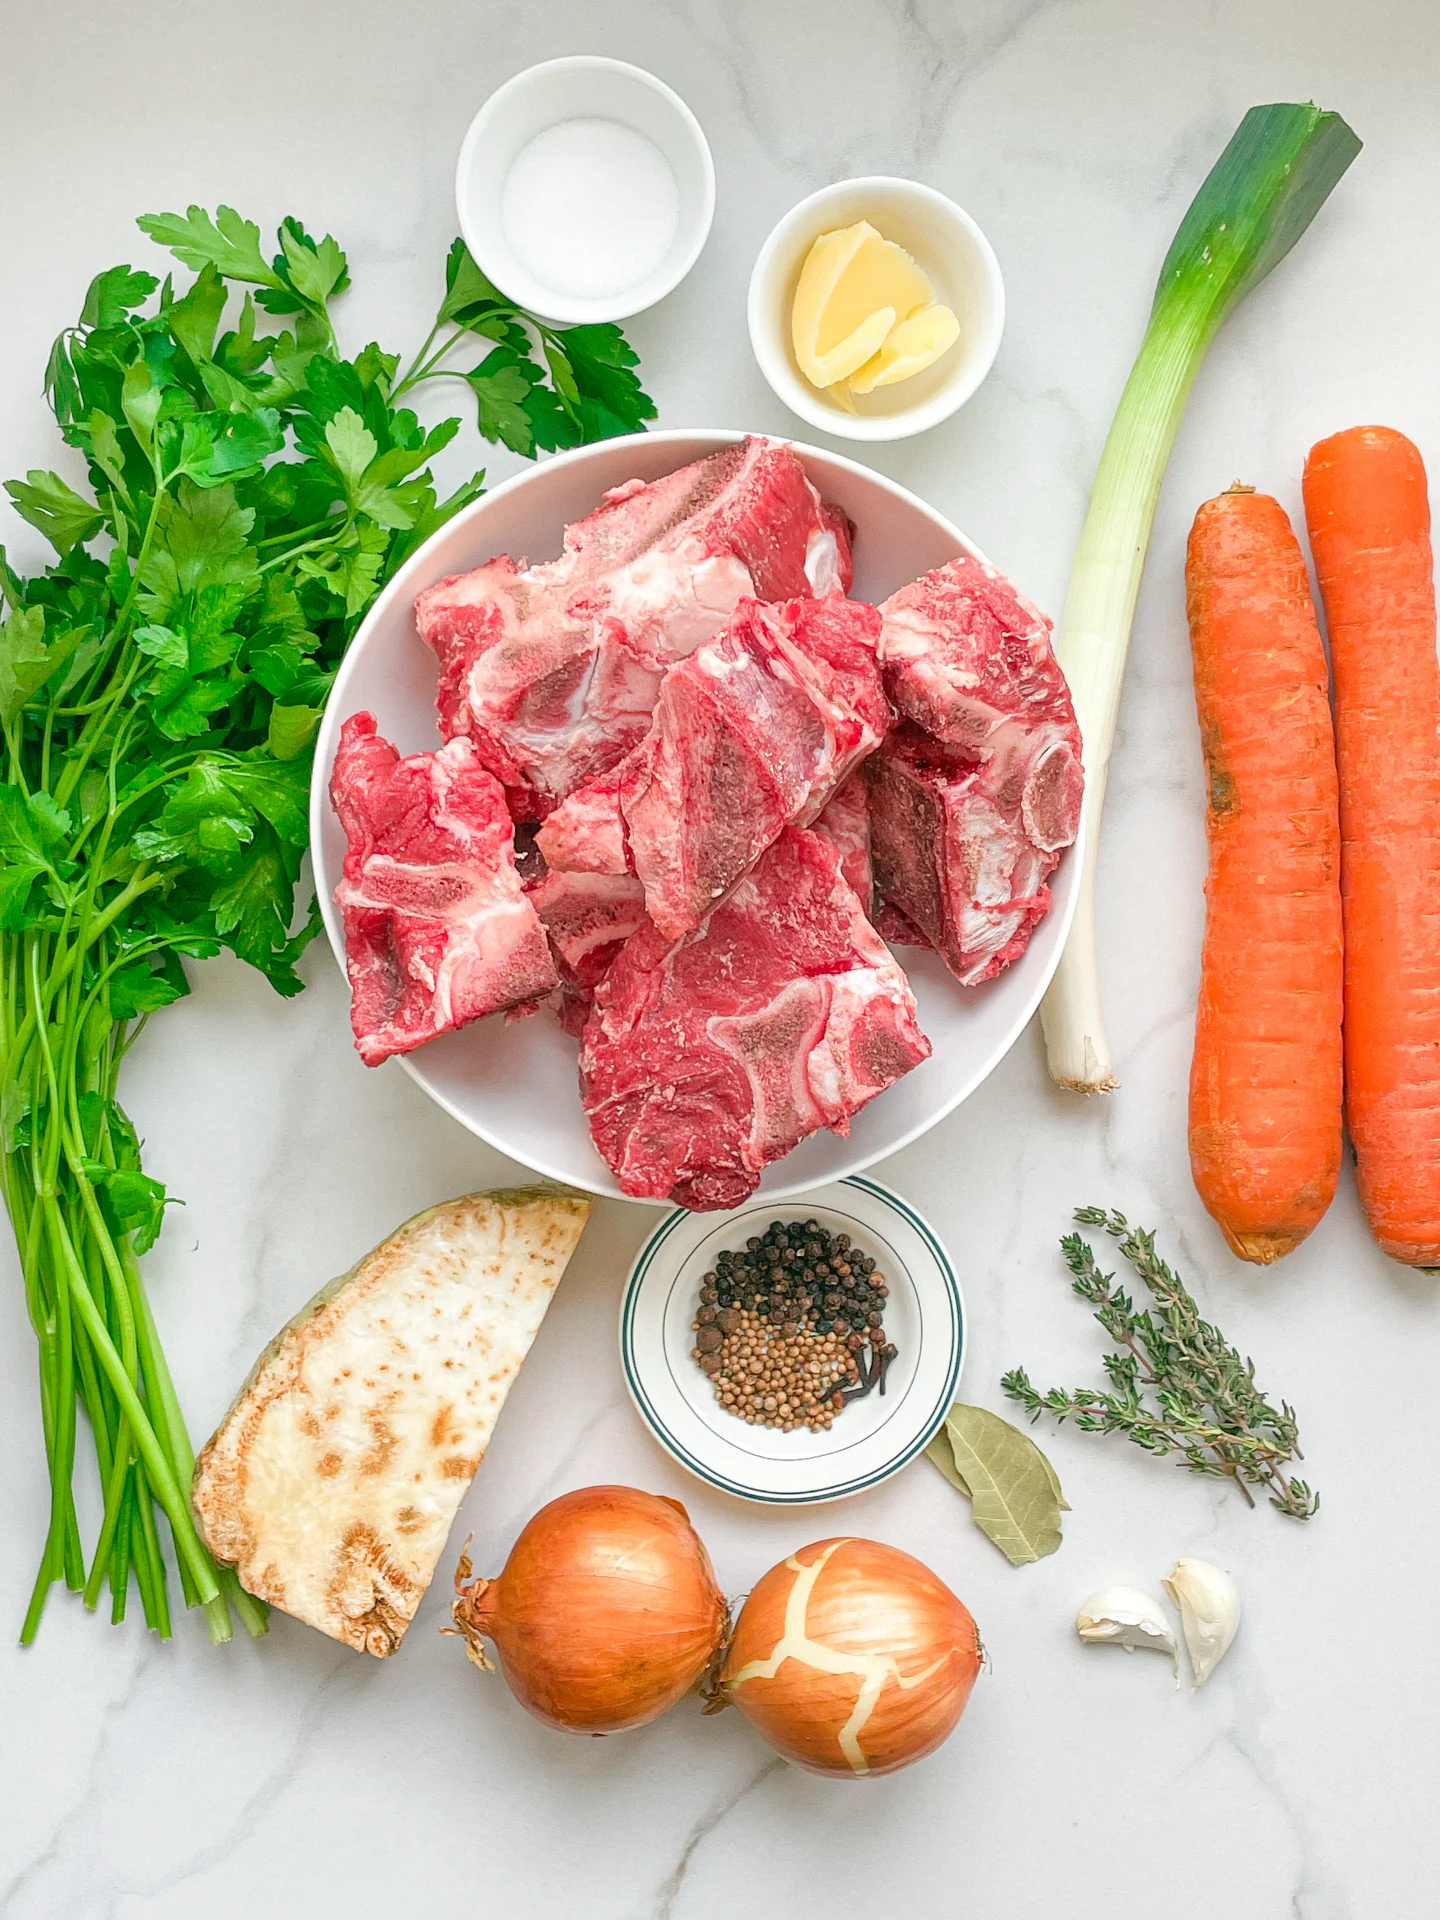
  • 2 kg beef bones (4.5 lbs)
  • 1 tsp clarified butter
  • 400g carrots (14 oz)
  • 2 onions
  • 200g celery root (7 oz)
  • 100g leek (3.5 oz)
  • 2 garlic cloves
  • 1 lemon

HERBS & SPICES

  • 2 bay leaves
  • 1 stem thyme
  • 1 large bunch of parsley
  • 5 cloves
  • 1/2 tsp coriander seeds
  • 1 tsp black peppercorns
  • 22g salt (approx. 2 1/2 tsp)
Basic Beef Broth
}

ACTIVE: 10 min

PASSIVE: 30 min

PREPARATIONS

Recommended Equipment
  • sharp knife
  • cutting board
  • large pot with lid
  • large bowl (or a medium-sized pot)
  • fine sieve (or a kitchen towel)
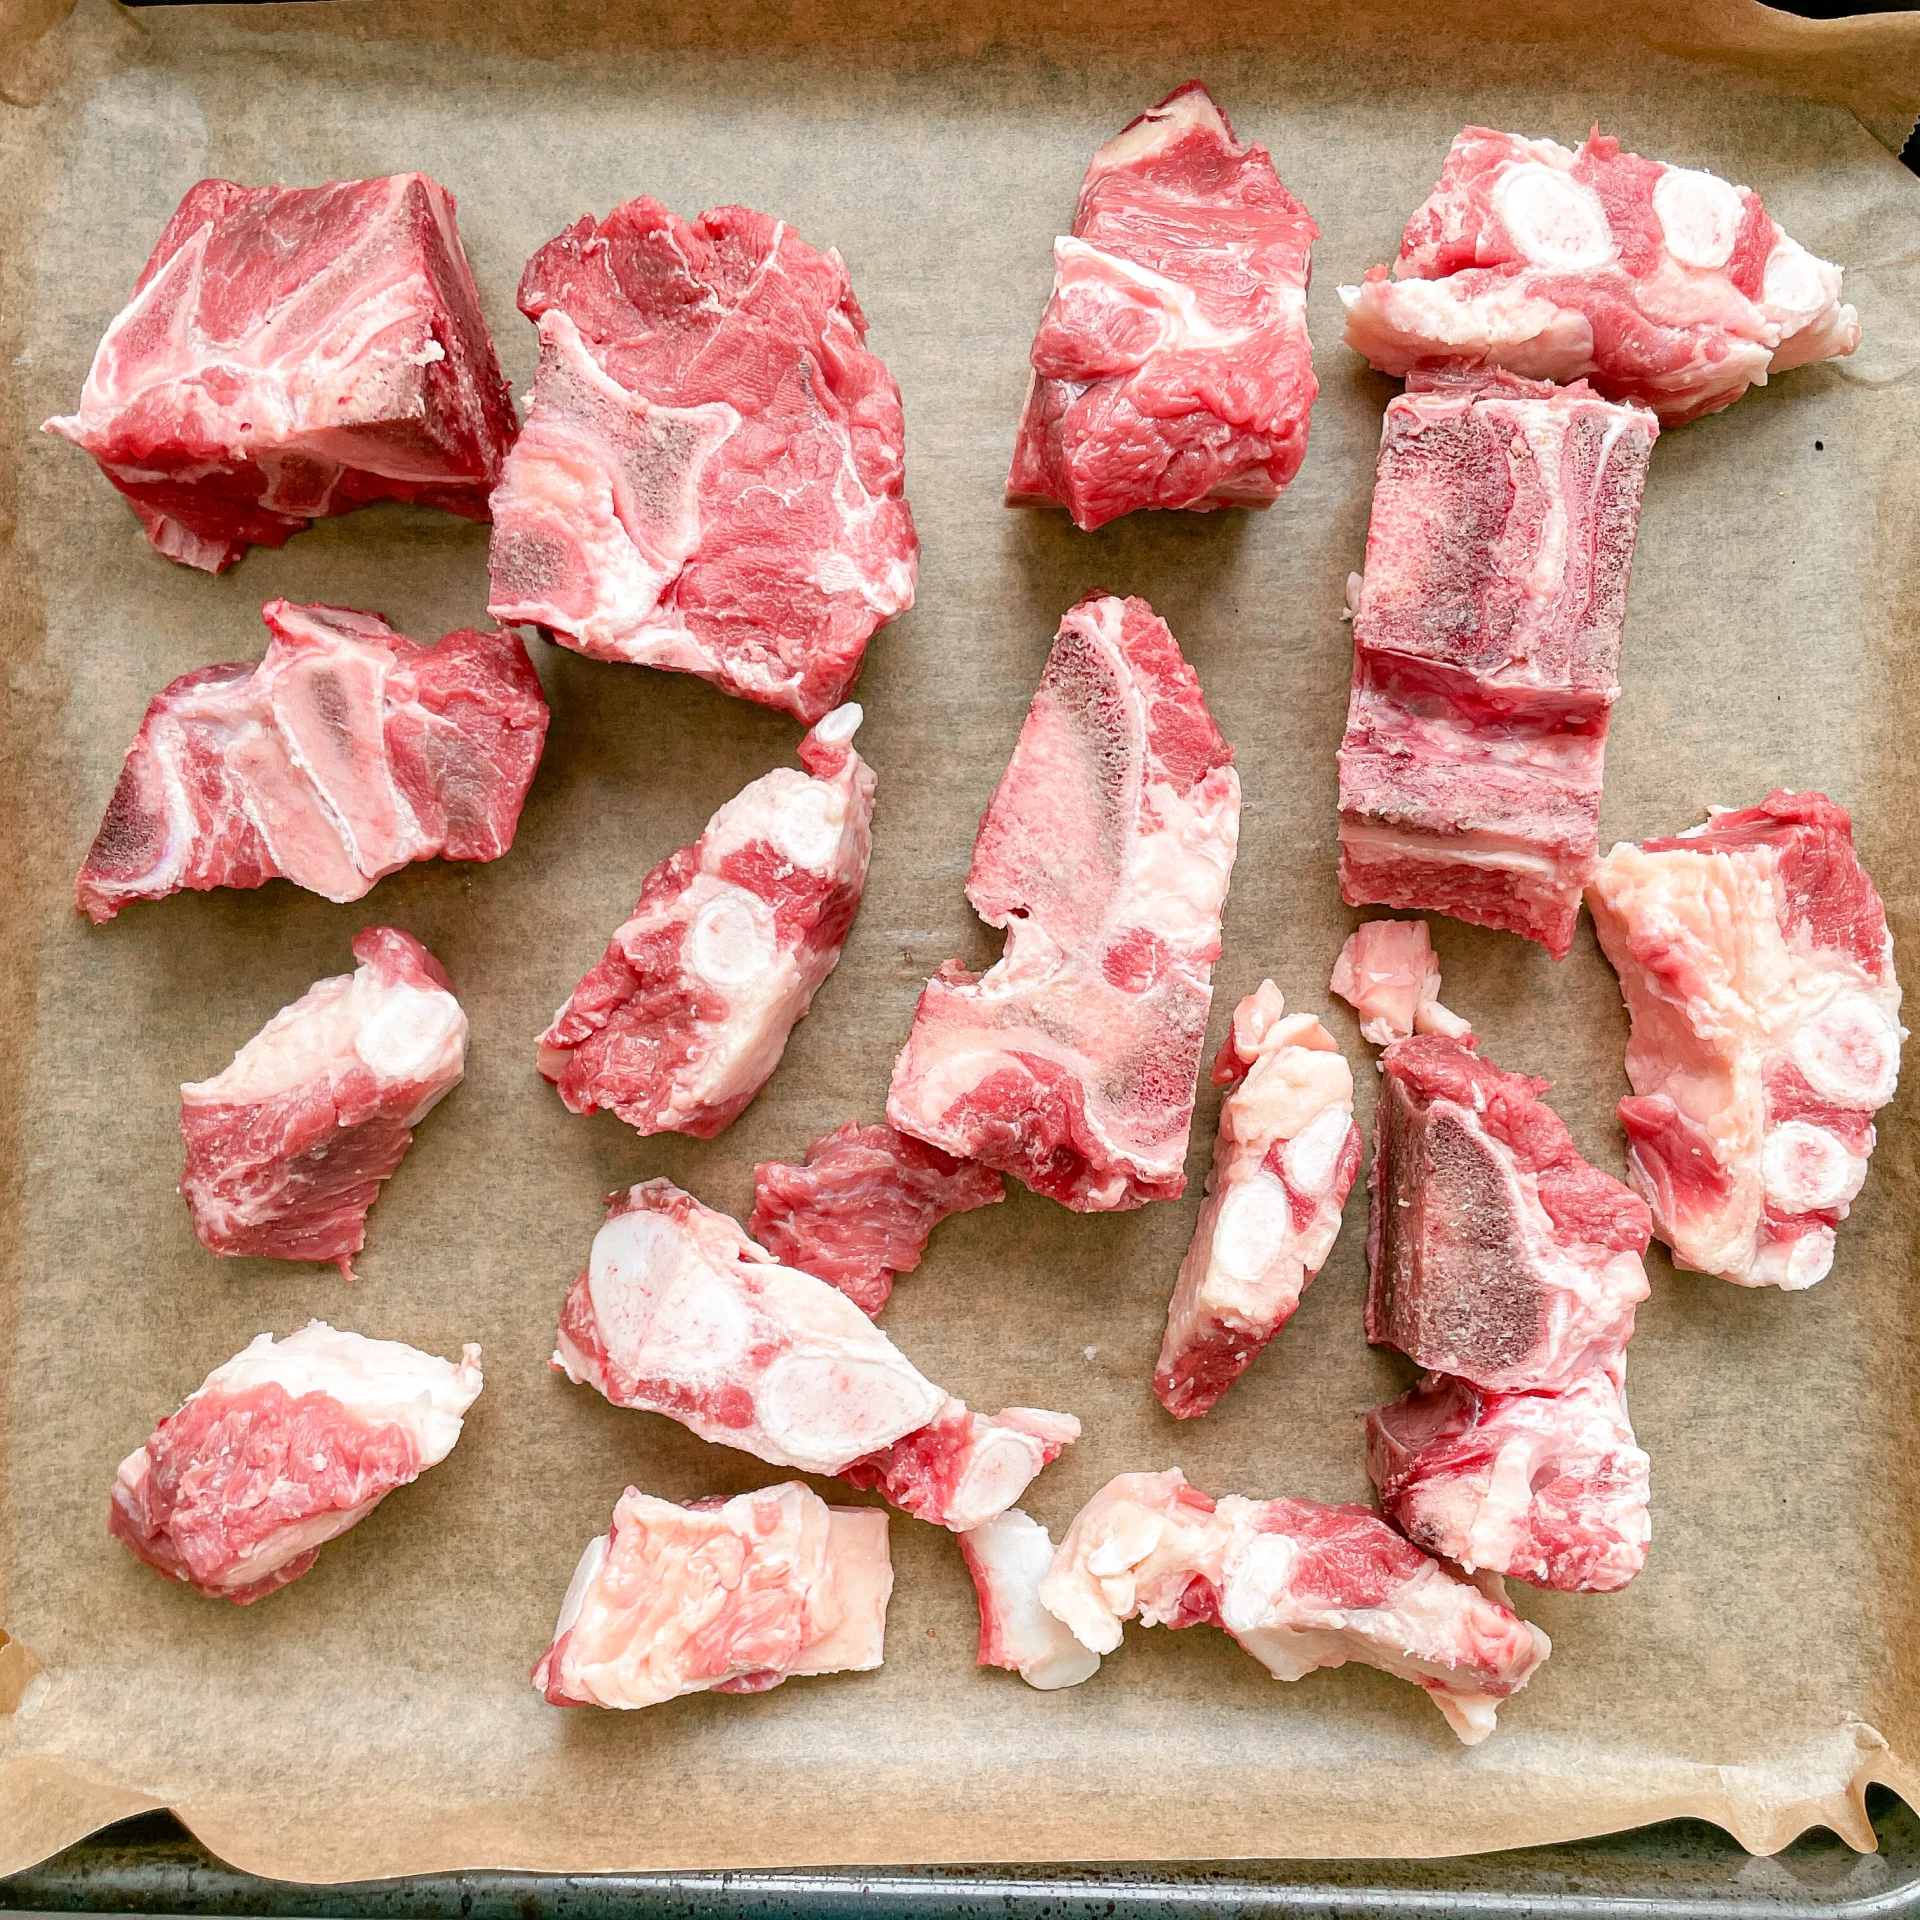
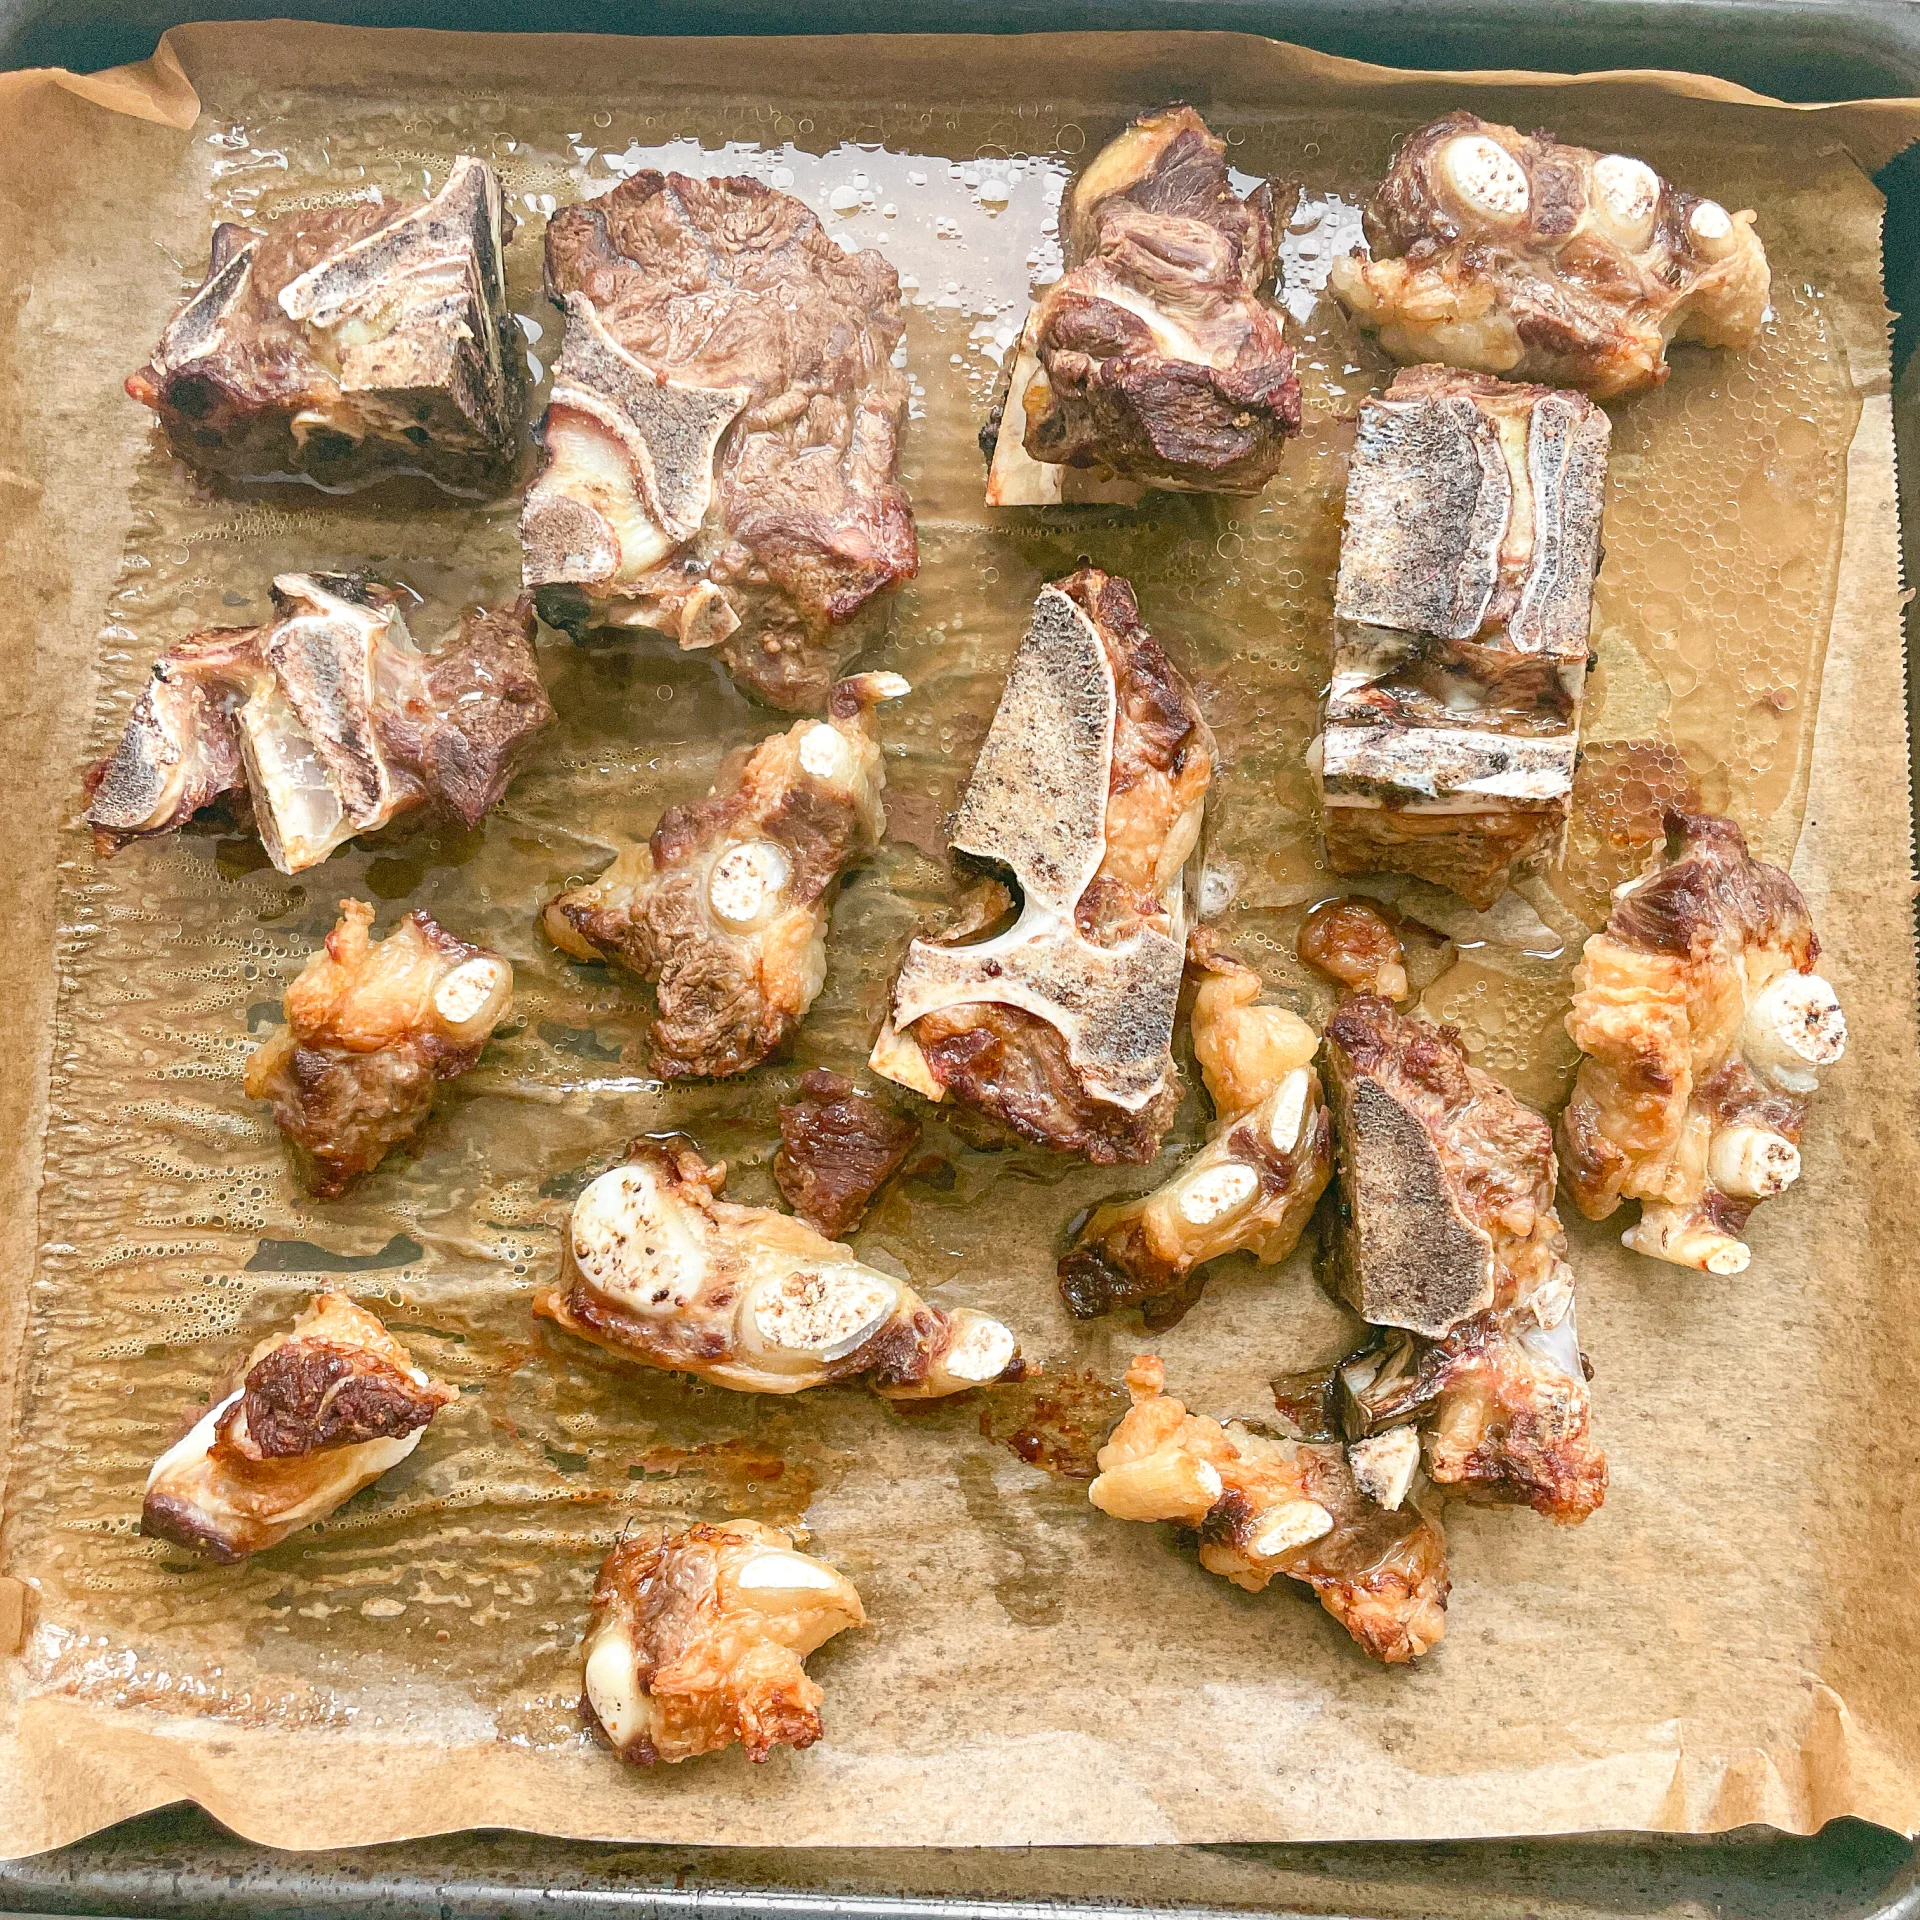
  • Wash the beef bones well and roast in the oven at 250°C (480°F) for approx. 30 minutes.
  • Wash the carrots, celery and leek and cut everything into large pieces.
  • Wash the lemon and herbs too. Put the herbs aside.
  • Halve the onions and lemon.
  • Peel the garlic.
    }

    ACTIVE: 20 min

    PASSIVE: 6 hrs

    COOKING

    1. Heat 1 tsp clarified butter in a large pot and fry onions, lemon, carrots, celery, leek and garlic cloves until they leave a residue.

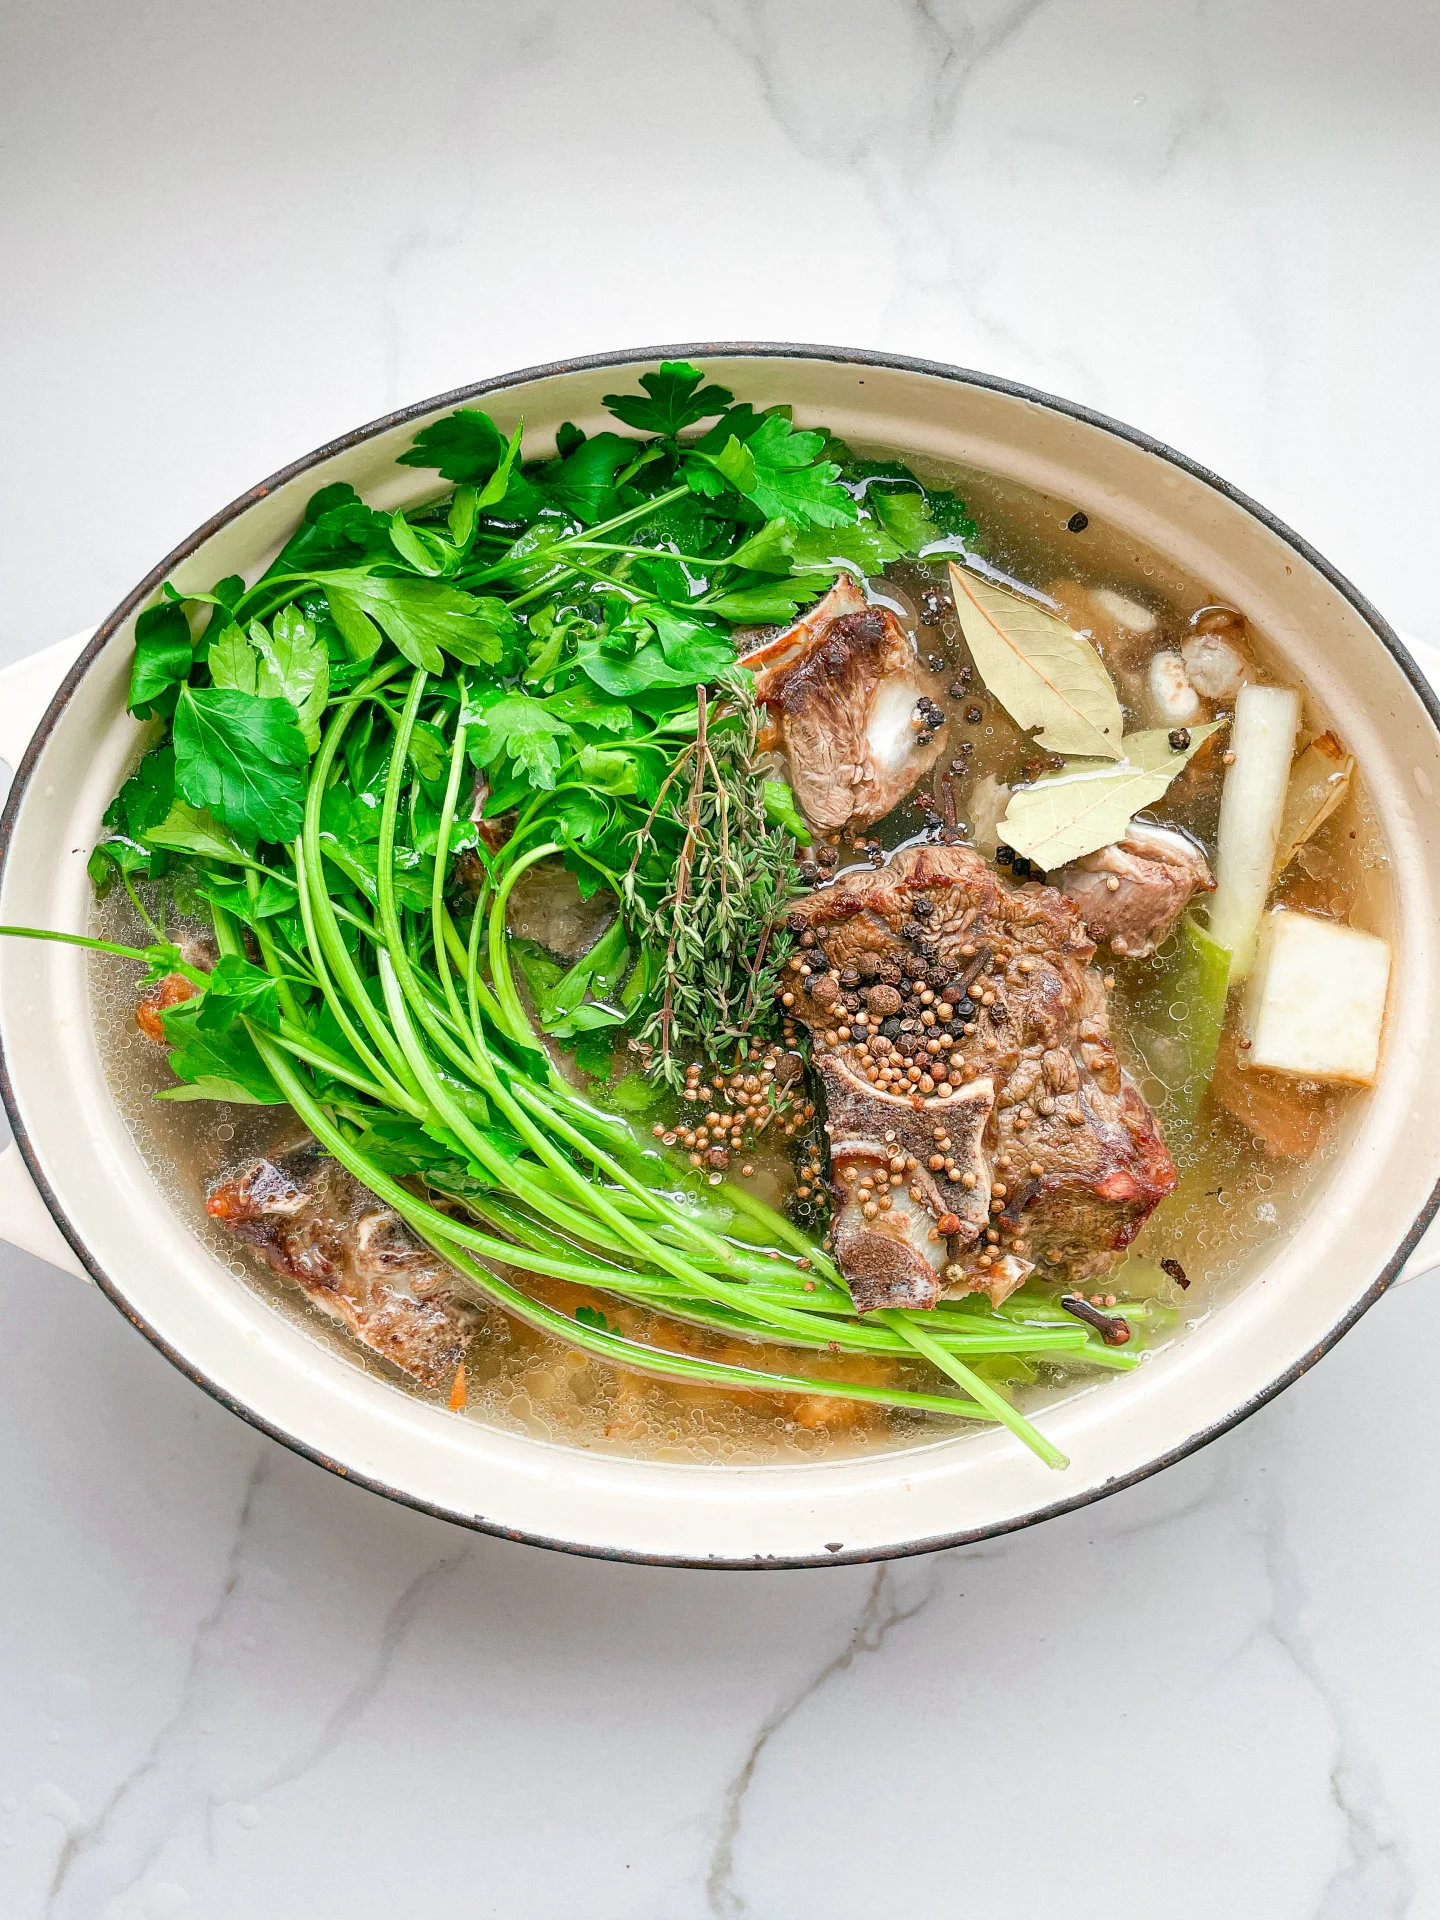
    2. Remove the bones from the oven and place on top of the vegetables. Fill up with 2.5-3 liters of cold water.

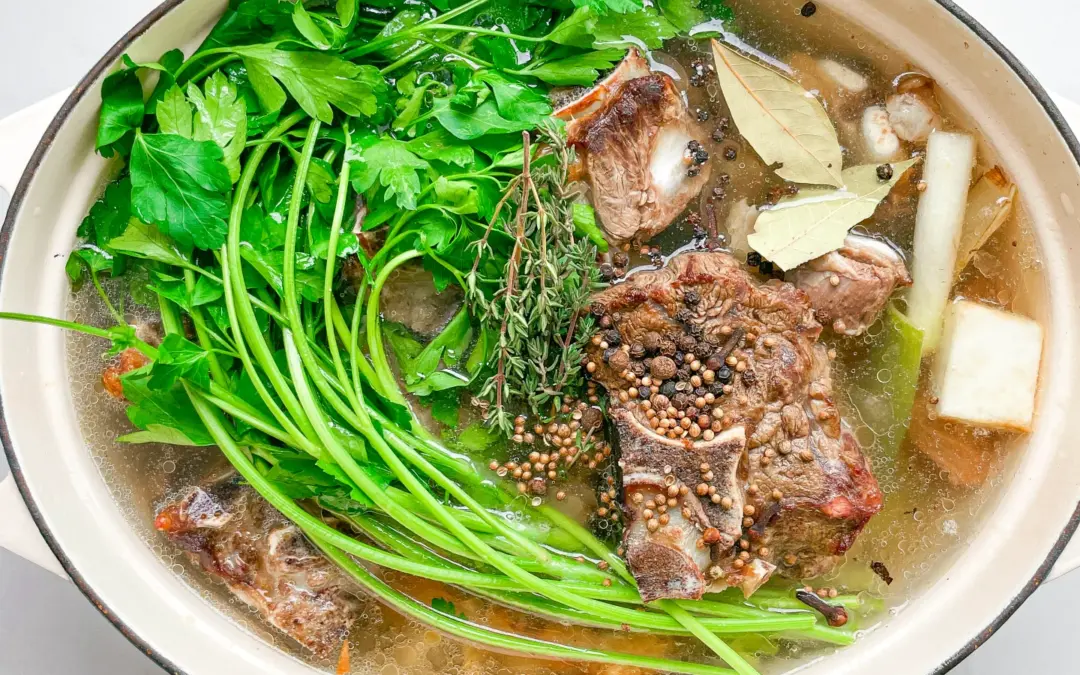
    3. Now add 2 dried bay leaves, 5 allspice seeds, 5 cloves, 1 teaspoon of black peppercorns, 1/2 teaspoon of coriander seeds and 1 bunch of parsley.

    4. Put the lid on and bring to the boil over a high heat. As soon as it boils, turn the heat down to the lowest setting and leave the liquid to simmer in the pot with the lid on for 6 hours.

    5. After 6 hours, remove the pot from the heat and leave to cool briefly. Remove the beef bones and any other coarse pieces of vegetables, as well as the herbs and spices.

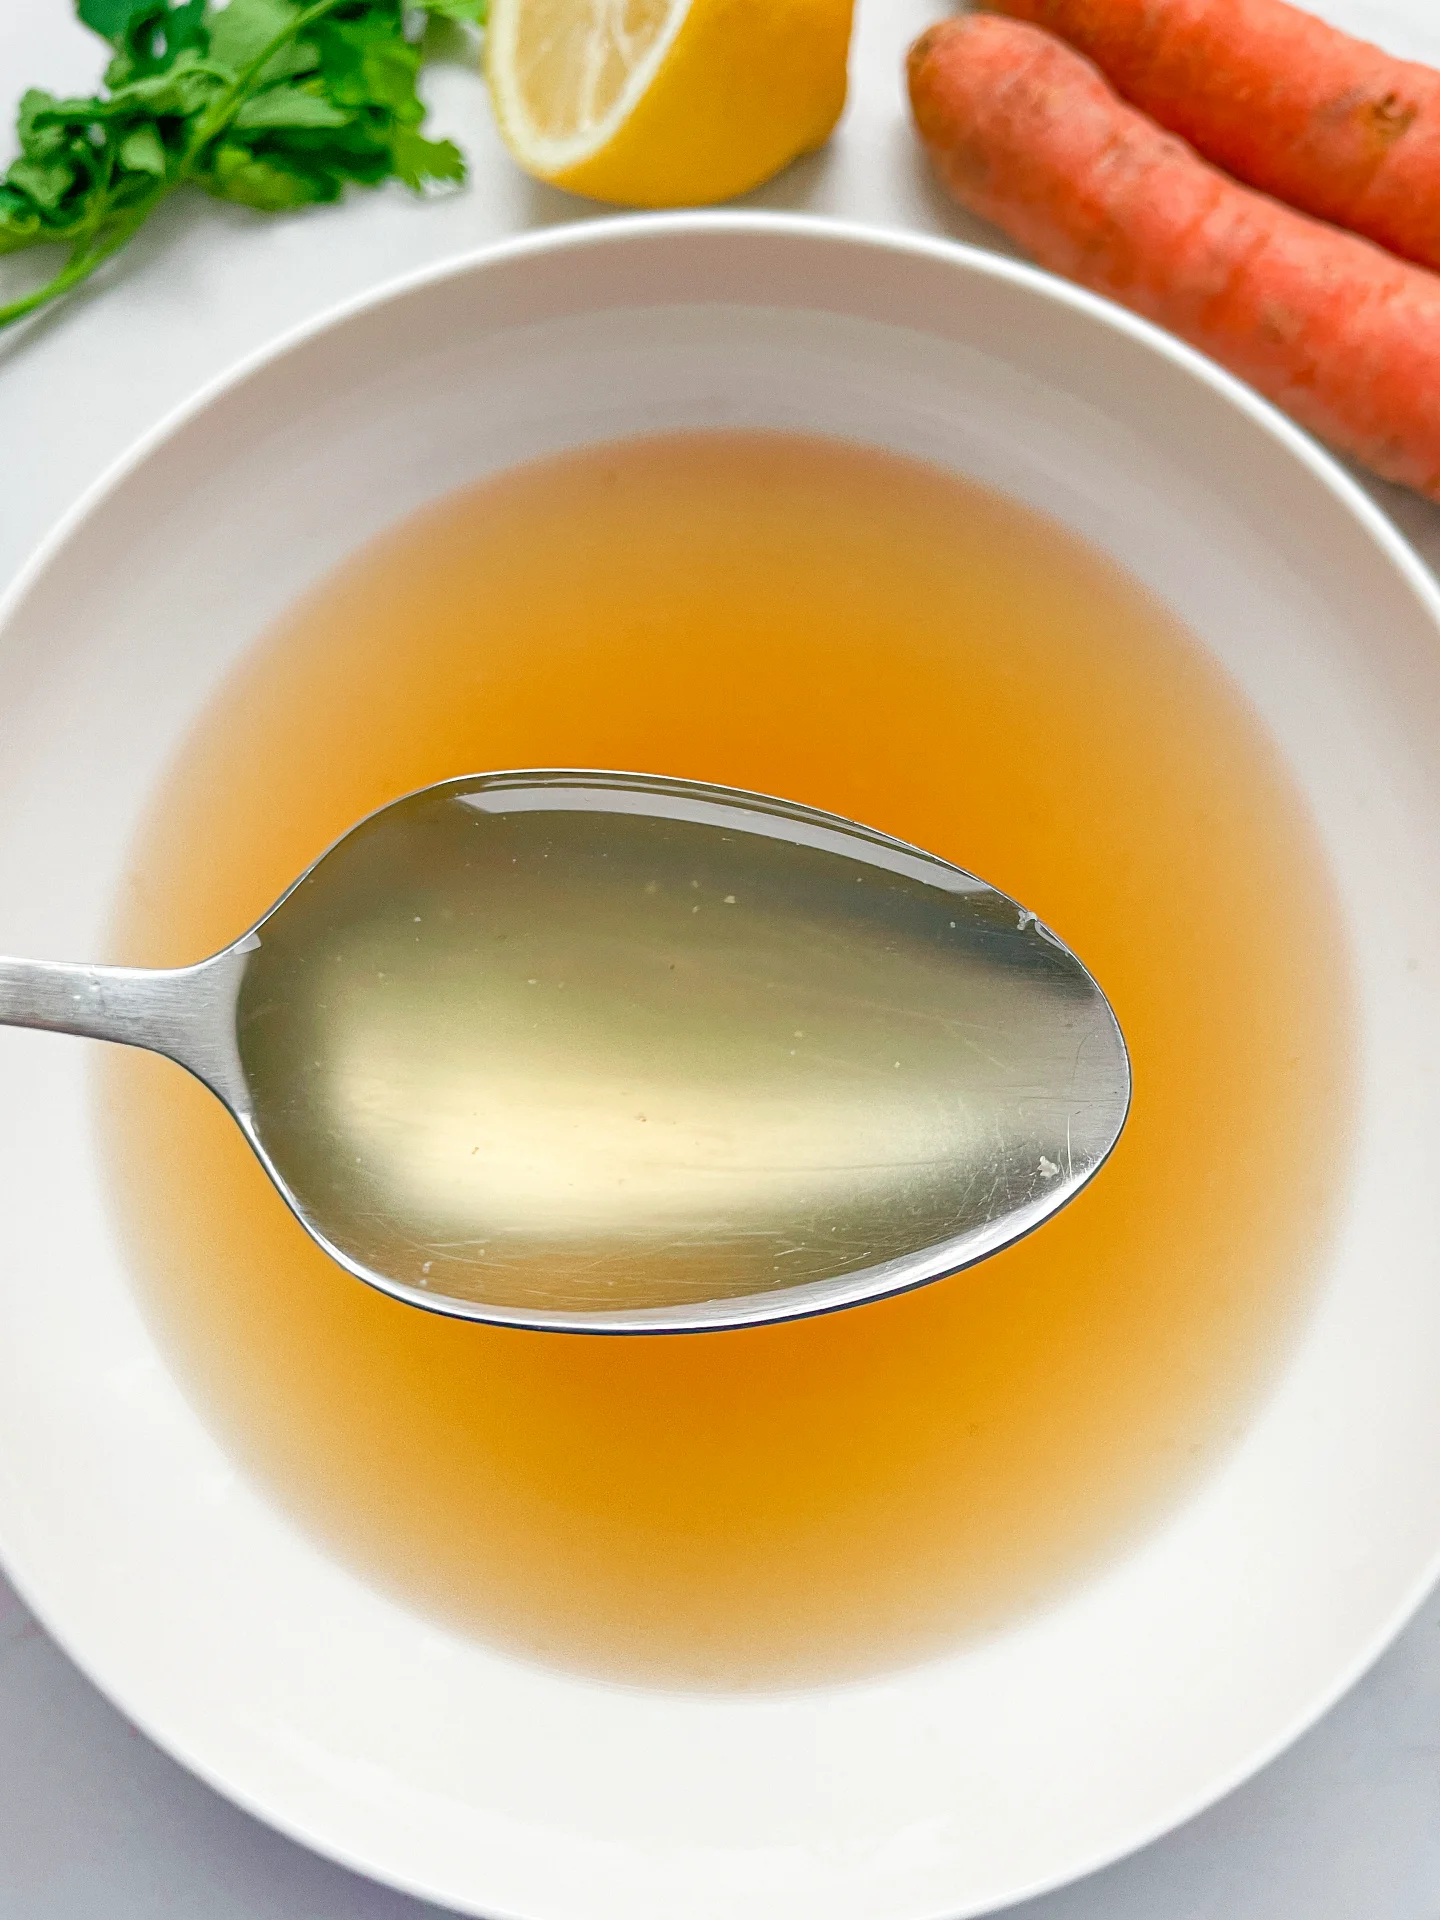
    6. Strain the liquid through a fine sieve into a medium-sized pan. Allow the broth to cool completely and then skim off any fat floating on top. I put my pot in the fridge overnight. If there is still too much fat floating on top, the broth can be strained again through kitchen towels or a fine kitchen towel. The fat residue will then stick to it. Season the broth with salt. I season with 6-8g (approx. 1 teaspoon) per liter, depending on taste.

    7. The broth can now be processed directly or filled into jars.

    NOTE: The calorie information may vary depending on the product used, country and region.

    Peanut Caramel Chocolate Protein Bars

    Peanut Caramel Chocolate Protein Bars

    Peanut Caramel Chocolate Protein Bars

    Peanut Caramel Chocolate Protein Bars

    February 17, 2024 by Kimberly

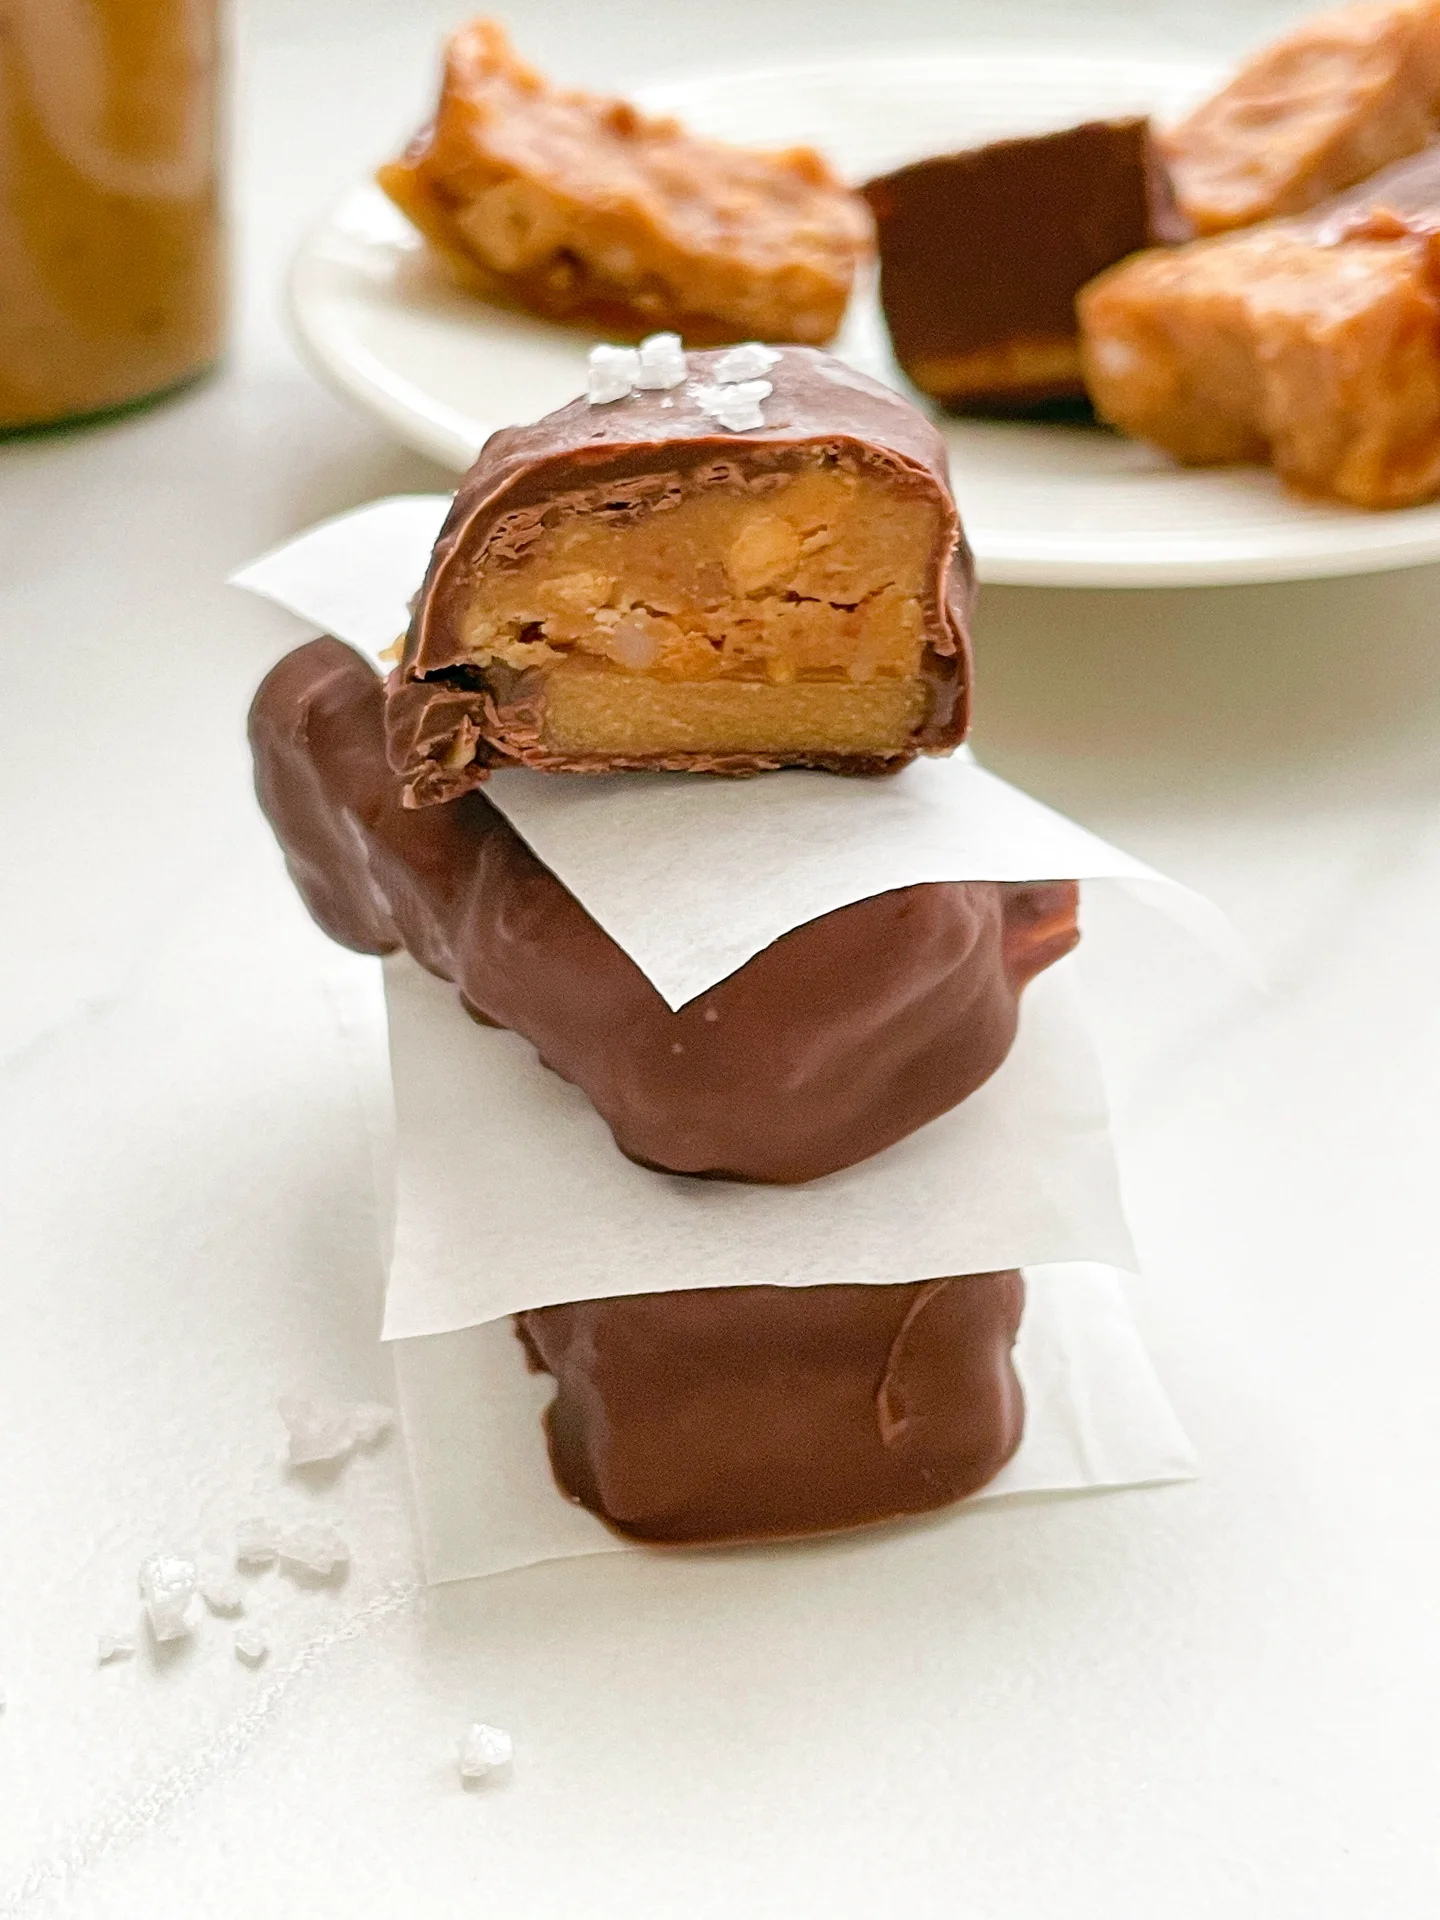
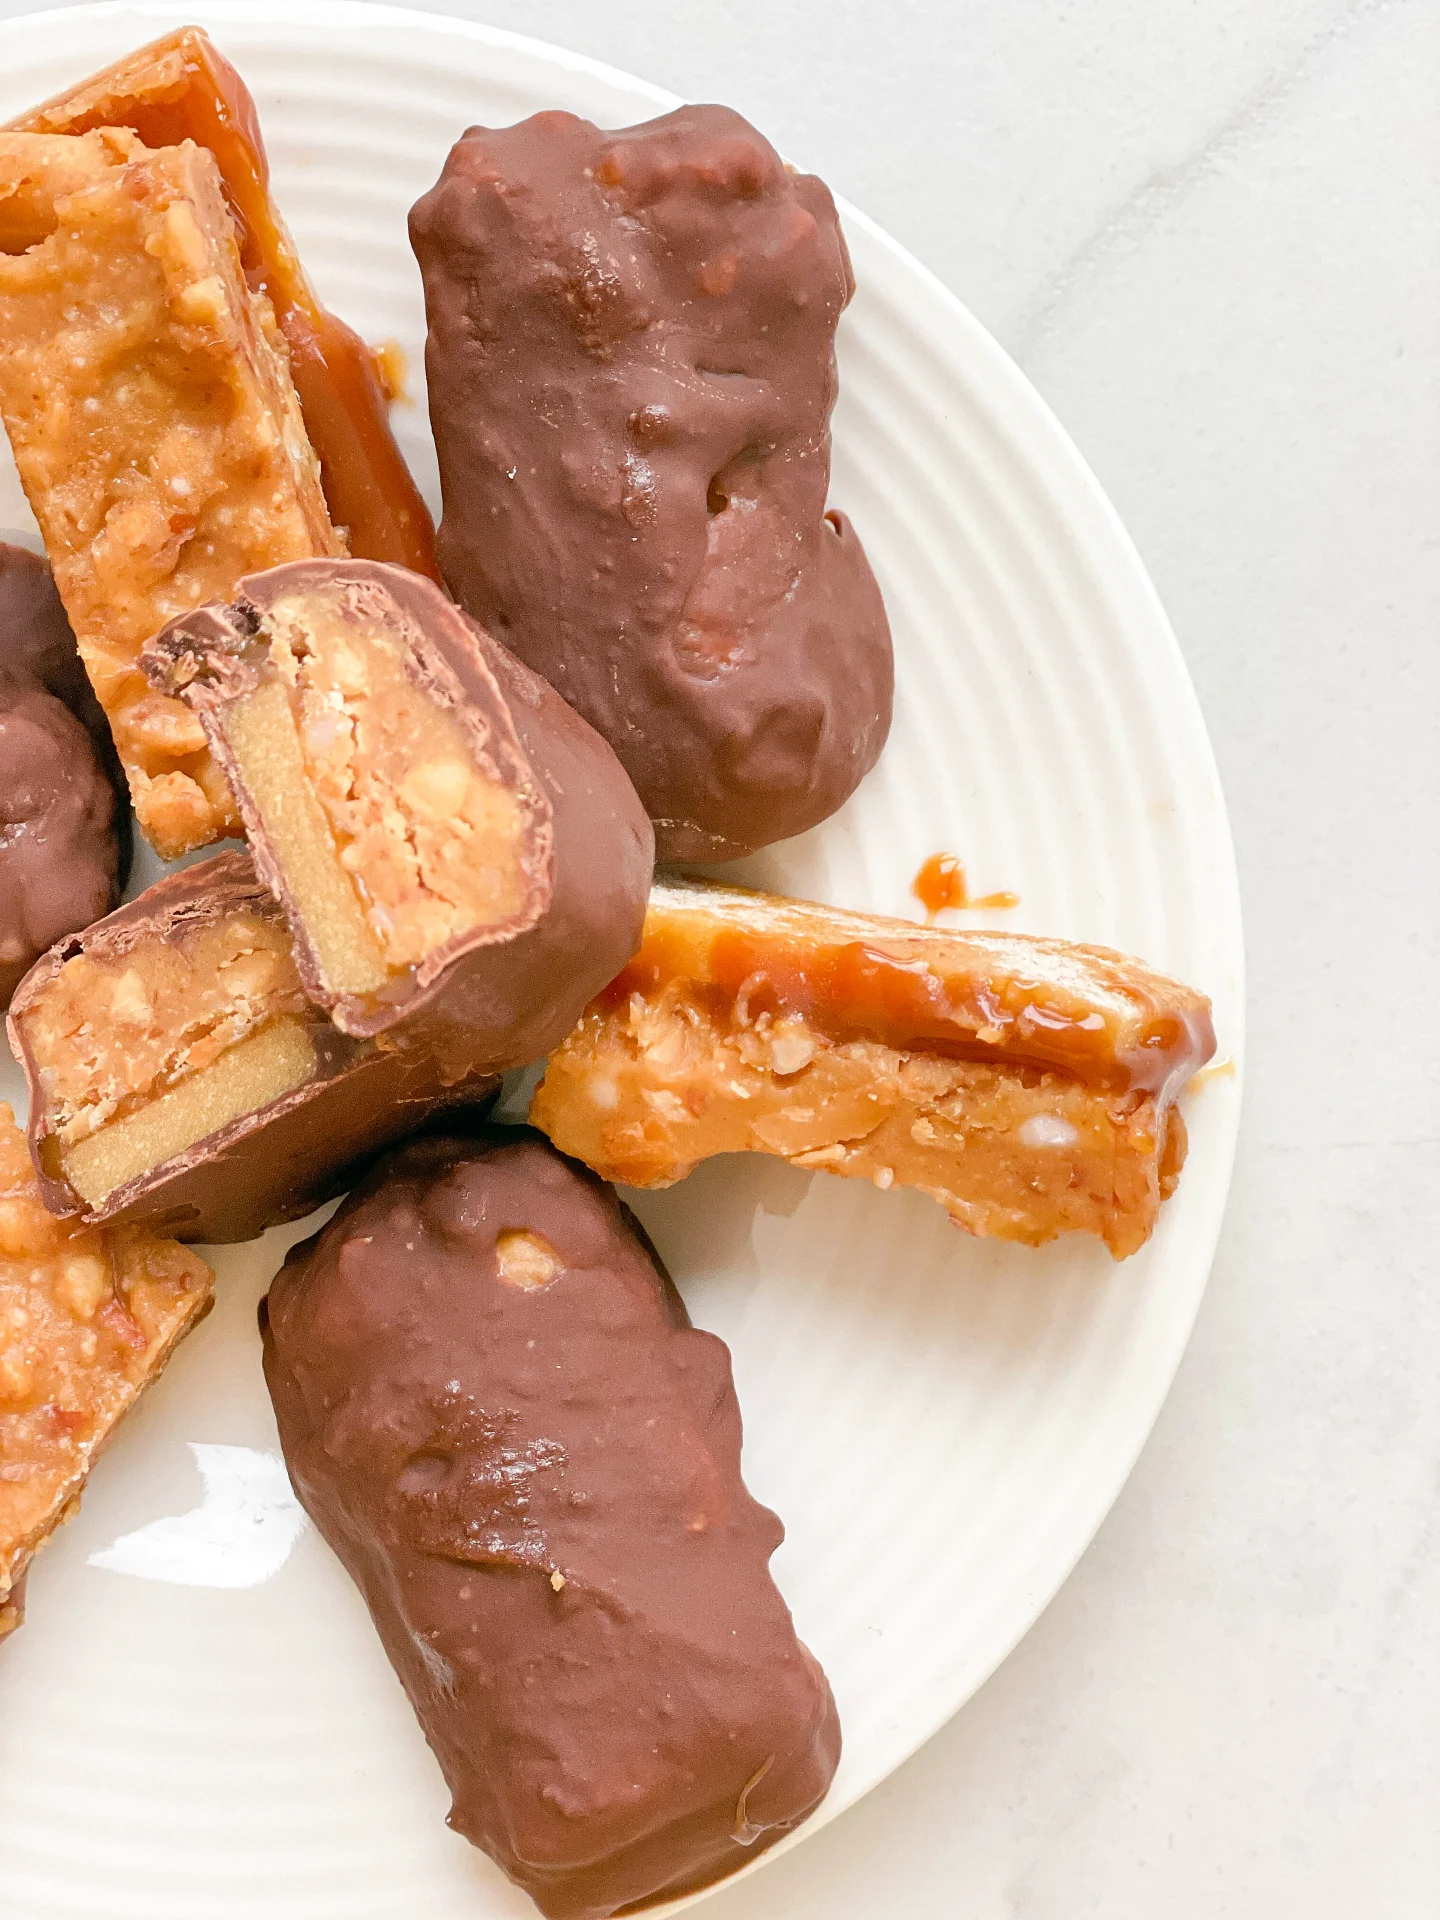
    Energize your day with Protein-Rich Peanut Caramel Chocolate Bars! Perfect for fitness enthusiasts, these bars are a delicious, nutritious twist on your favorite Snickers bar.

    2 HRS 30 MIN

    EASY

    VEGETARIAN

    INT.

    168 PER BAR

    GOOEY
    NUTTY

    EVERYDAY

    SNACK / DESSERT

    ALL YEAR

    INTRODUCTION

    ABOUT THE RECIPE

    These homemade protein-rich Peanut Caramel Chocolate Bars delights are your alternative to a regular peanut bar, packed with protein and full of flavor. They’re crafted for those who love to indulge without compromising their protein goals. Perfect as a post-workout snack or a midday energy booster, these bars are sure to satisfy your sweet tooth and your nutritional needs.

    How to serve:
    They’re an excellent snack after a workout, a sweet companion with your coffee break, or a healthy dessert option. Cut them into smaller pieces for a quick snack or enjoy a full bar for a more substantial energy boost. They’re not just a treat – they’re a satisfying choice to support your active lifestyle.

    How to store:
    Store your bars in an airtight container to keep them fresh. Place them in the refrigerator for a firmer texture or at room temperature for a softer bite. Enjoy them within one week for optimal freshness.

    Hi, I'm Kimberly!

    Hi, I'm Kimberly.

    A passionate food lover who believes in the magic of homemade deliciousness that spreads love and warmth. Join me on this culinary adventure as I prepare wonderful dishes and let’s spread some happiness together!

    Kimberly the Zett Signature

    If you want to get to know me better, click here!


    Peanut Caramel Chocolate Protein Bars
    Peanut Caramel Chocolate Protein Bars
    Peanut Caramel Chocolate Protein Bars

    „Let’s make a piece of happiness“

    INGREDIENTS

    FOR 15 BARS

    LAYER 1

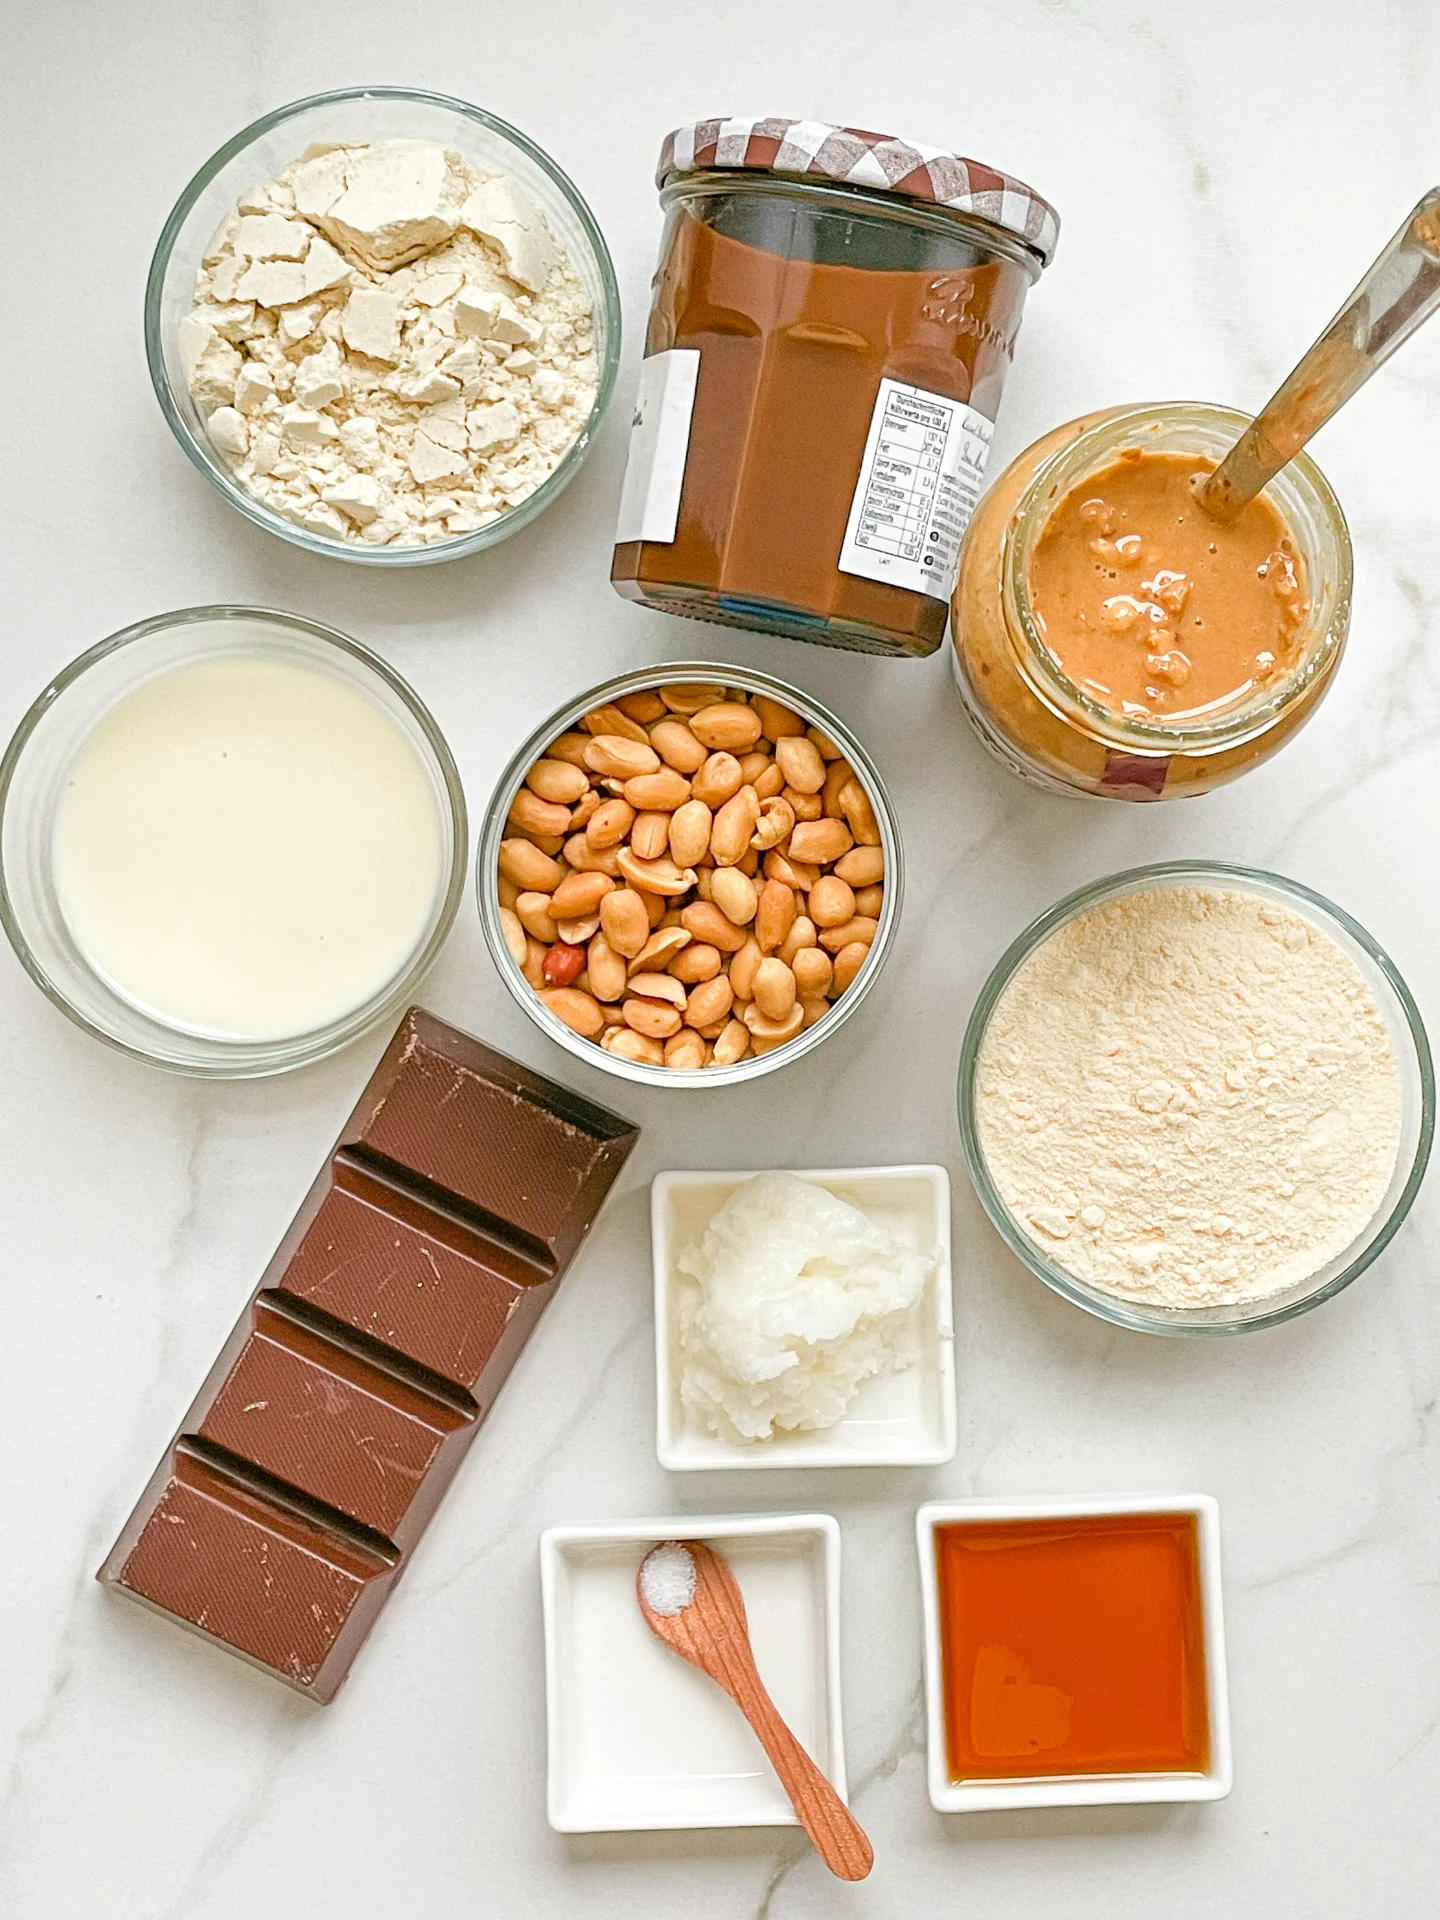
    • 85g protein powder vanilla (2/3 cups)
    • 50g almond flour (1/2 cup)
    • 2 tbsp maple syrup
    • 60ml soy milk (1/4 cup)

    LAYER 2

    • 2 tbsp caramel spread

    LAYER 3

    • 120g crunchy peanut butter (1/2 cup)
    • 2 tbsp coconut oil
    • 2 tbsp maple syrup
    • 1/8 salt

    LAYER 4

    • 150g semi sweet chocolate
    • 1/2 tsp coconut oil
    Peanut Caramel Chocolate Protein Bars
    }

    ACTIVE: 1 min

    PASSIVE: –

    PREPARATIONS

    Recommended Equipment
    • 2 medium sized bowls
    • medium-sized aluminum or glass bowl
    • rectangular flat container
    • baking paper
    • small pot
    • Line a rectangular flat container with baking paper.
      }

      ACTIVE: 30 min

      PASSIVE: 120 min

      COOKING

      1. In a medium bowl, prepare the first layer by mixing the protein powder, almond flour, maple syrup and soy milk into a dense, malleable dough. My recommendation is to place the dough between two layers of baking paper, roll it out and then place it in the container. Because the dough is really sticky. 

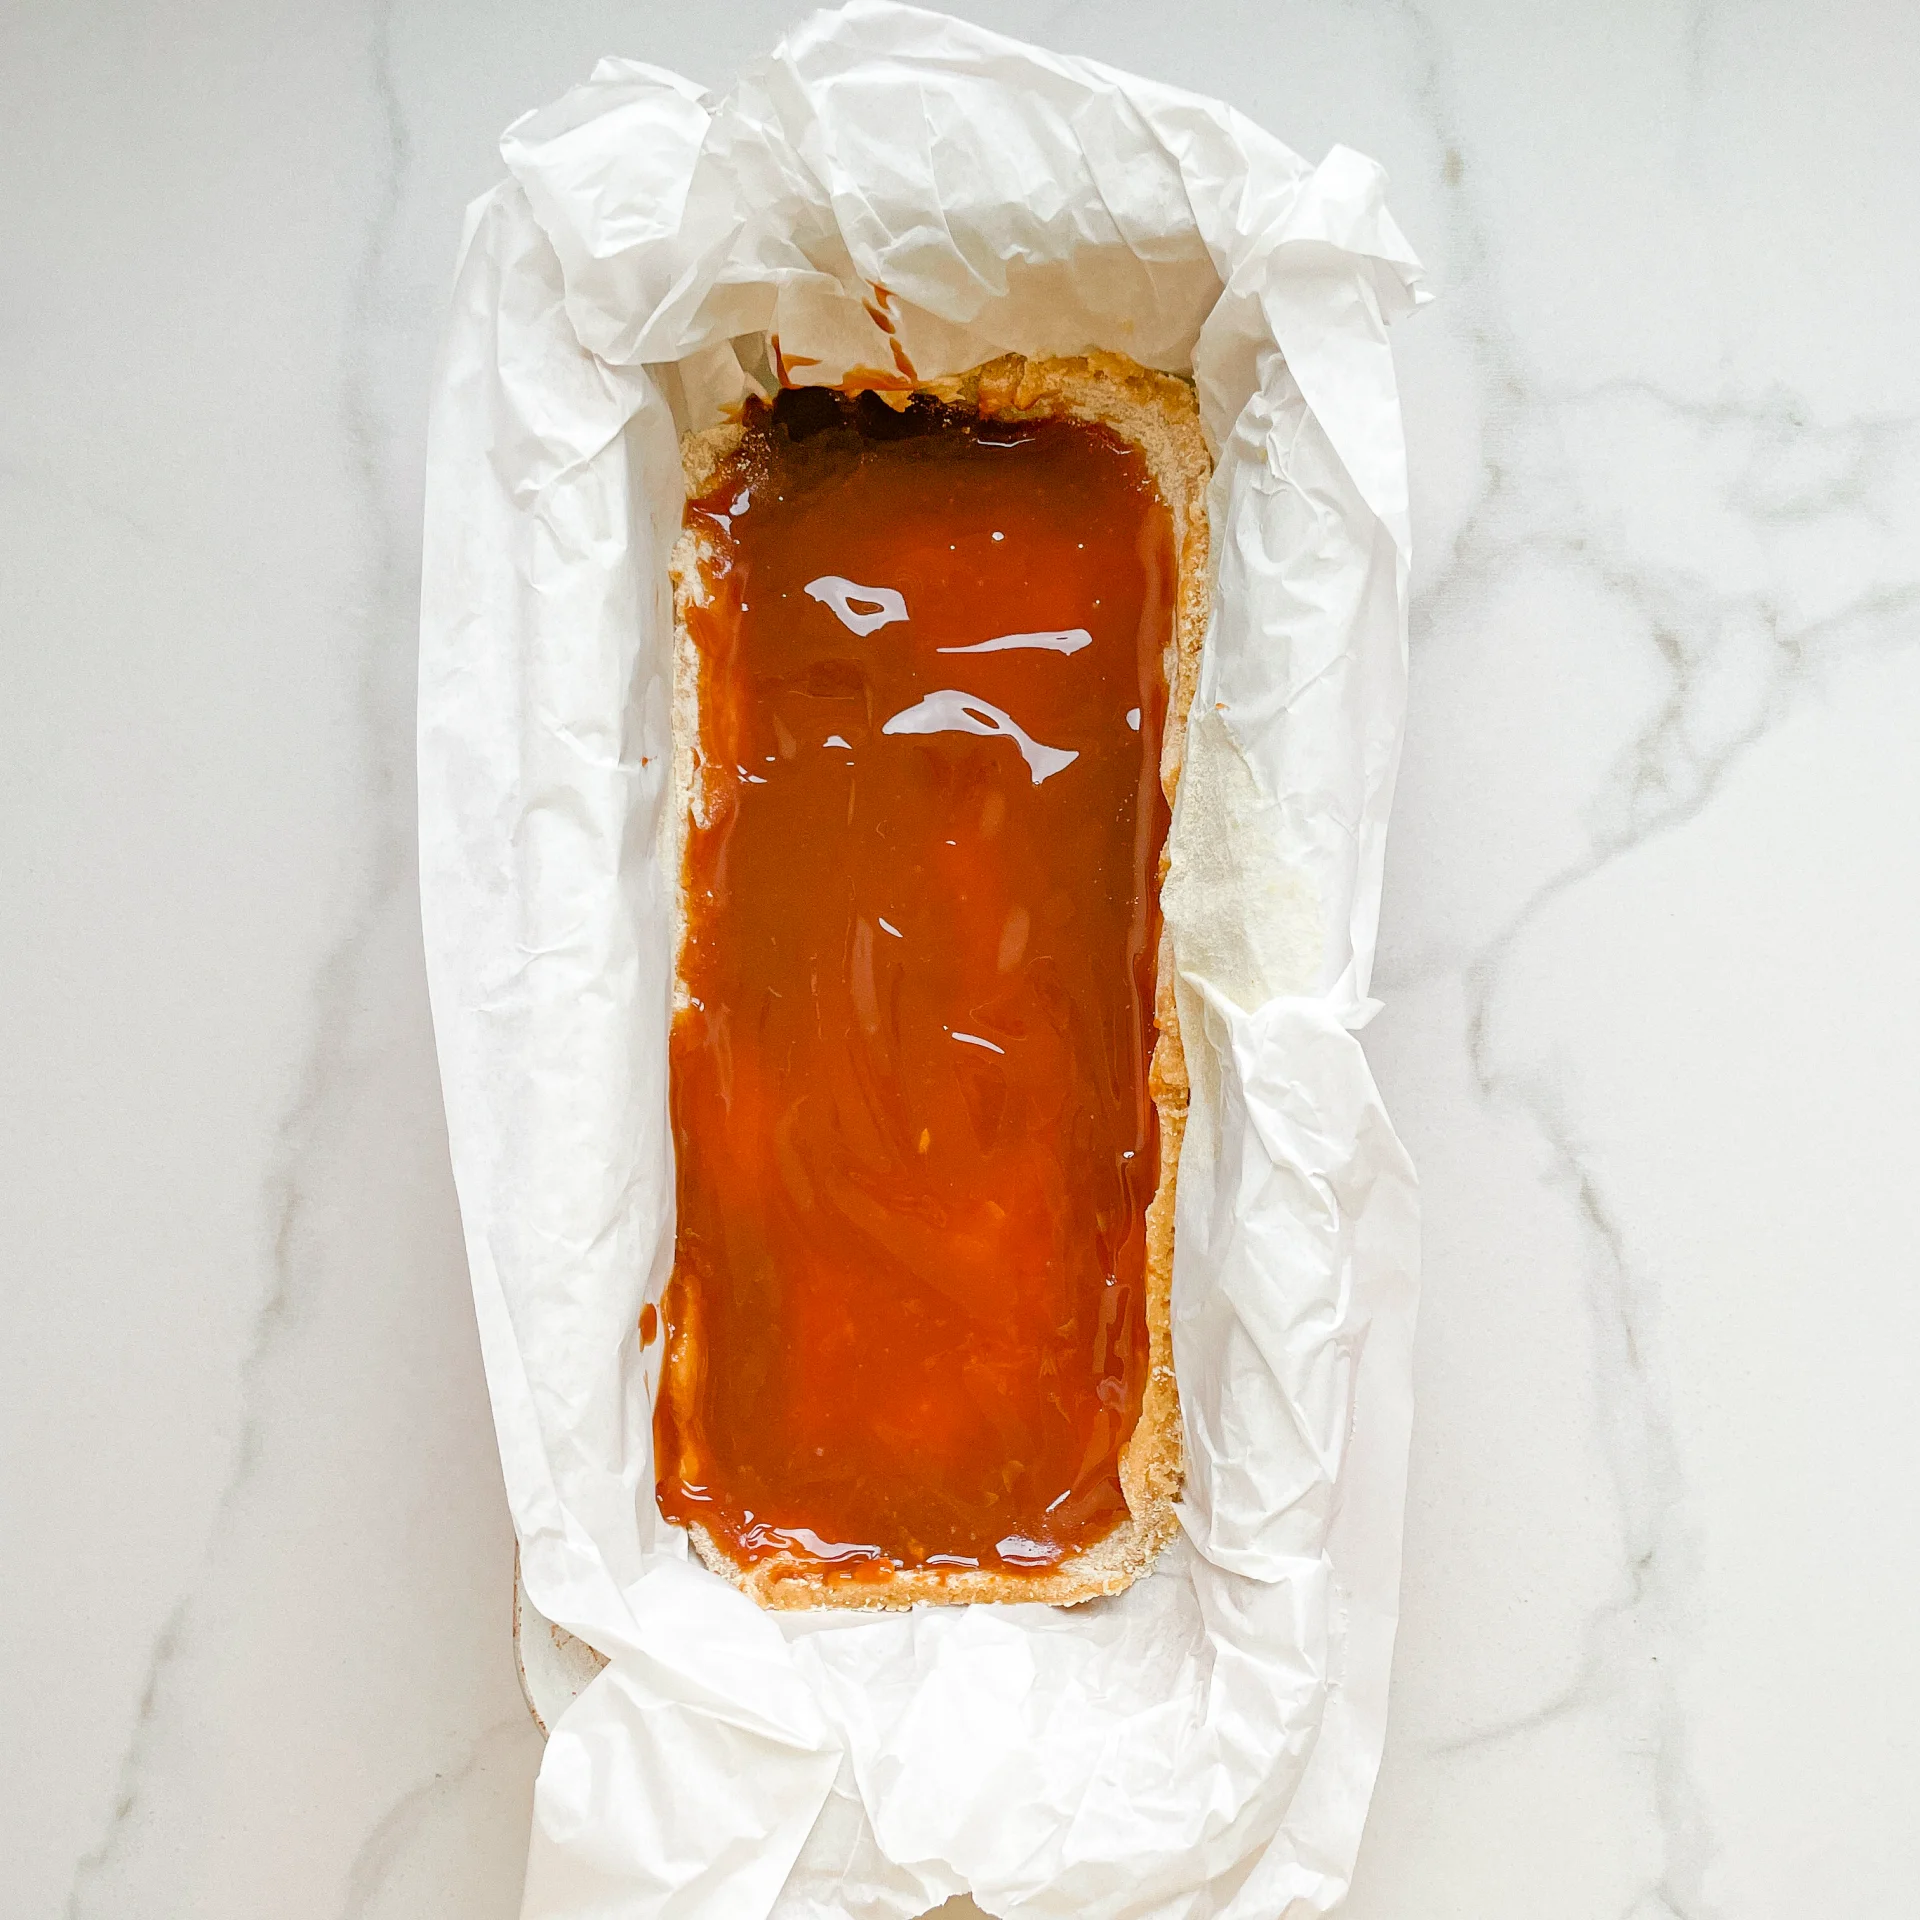
      2. Next, spread 2 tablespoons of caramel over the dough layer as a second layer. Then place the container in the freezer for about an hour.

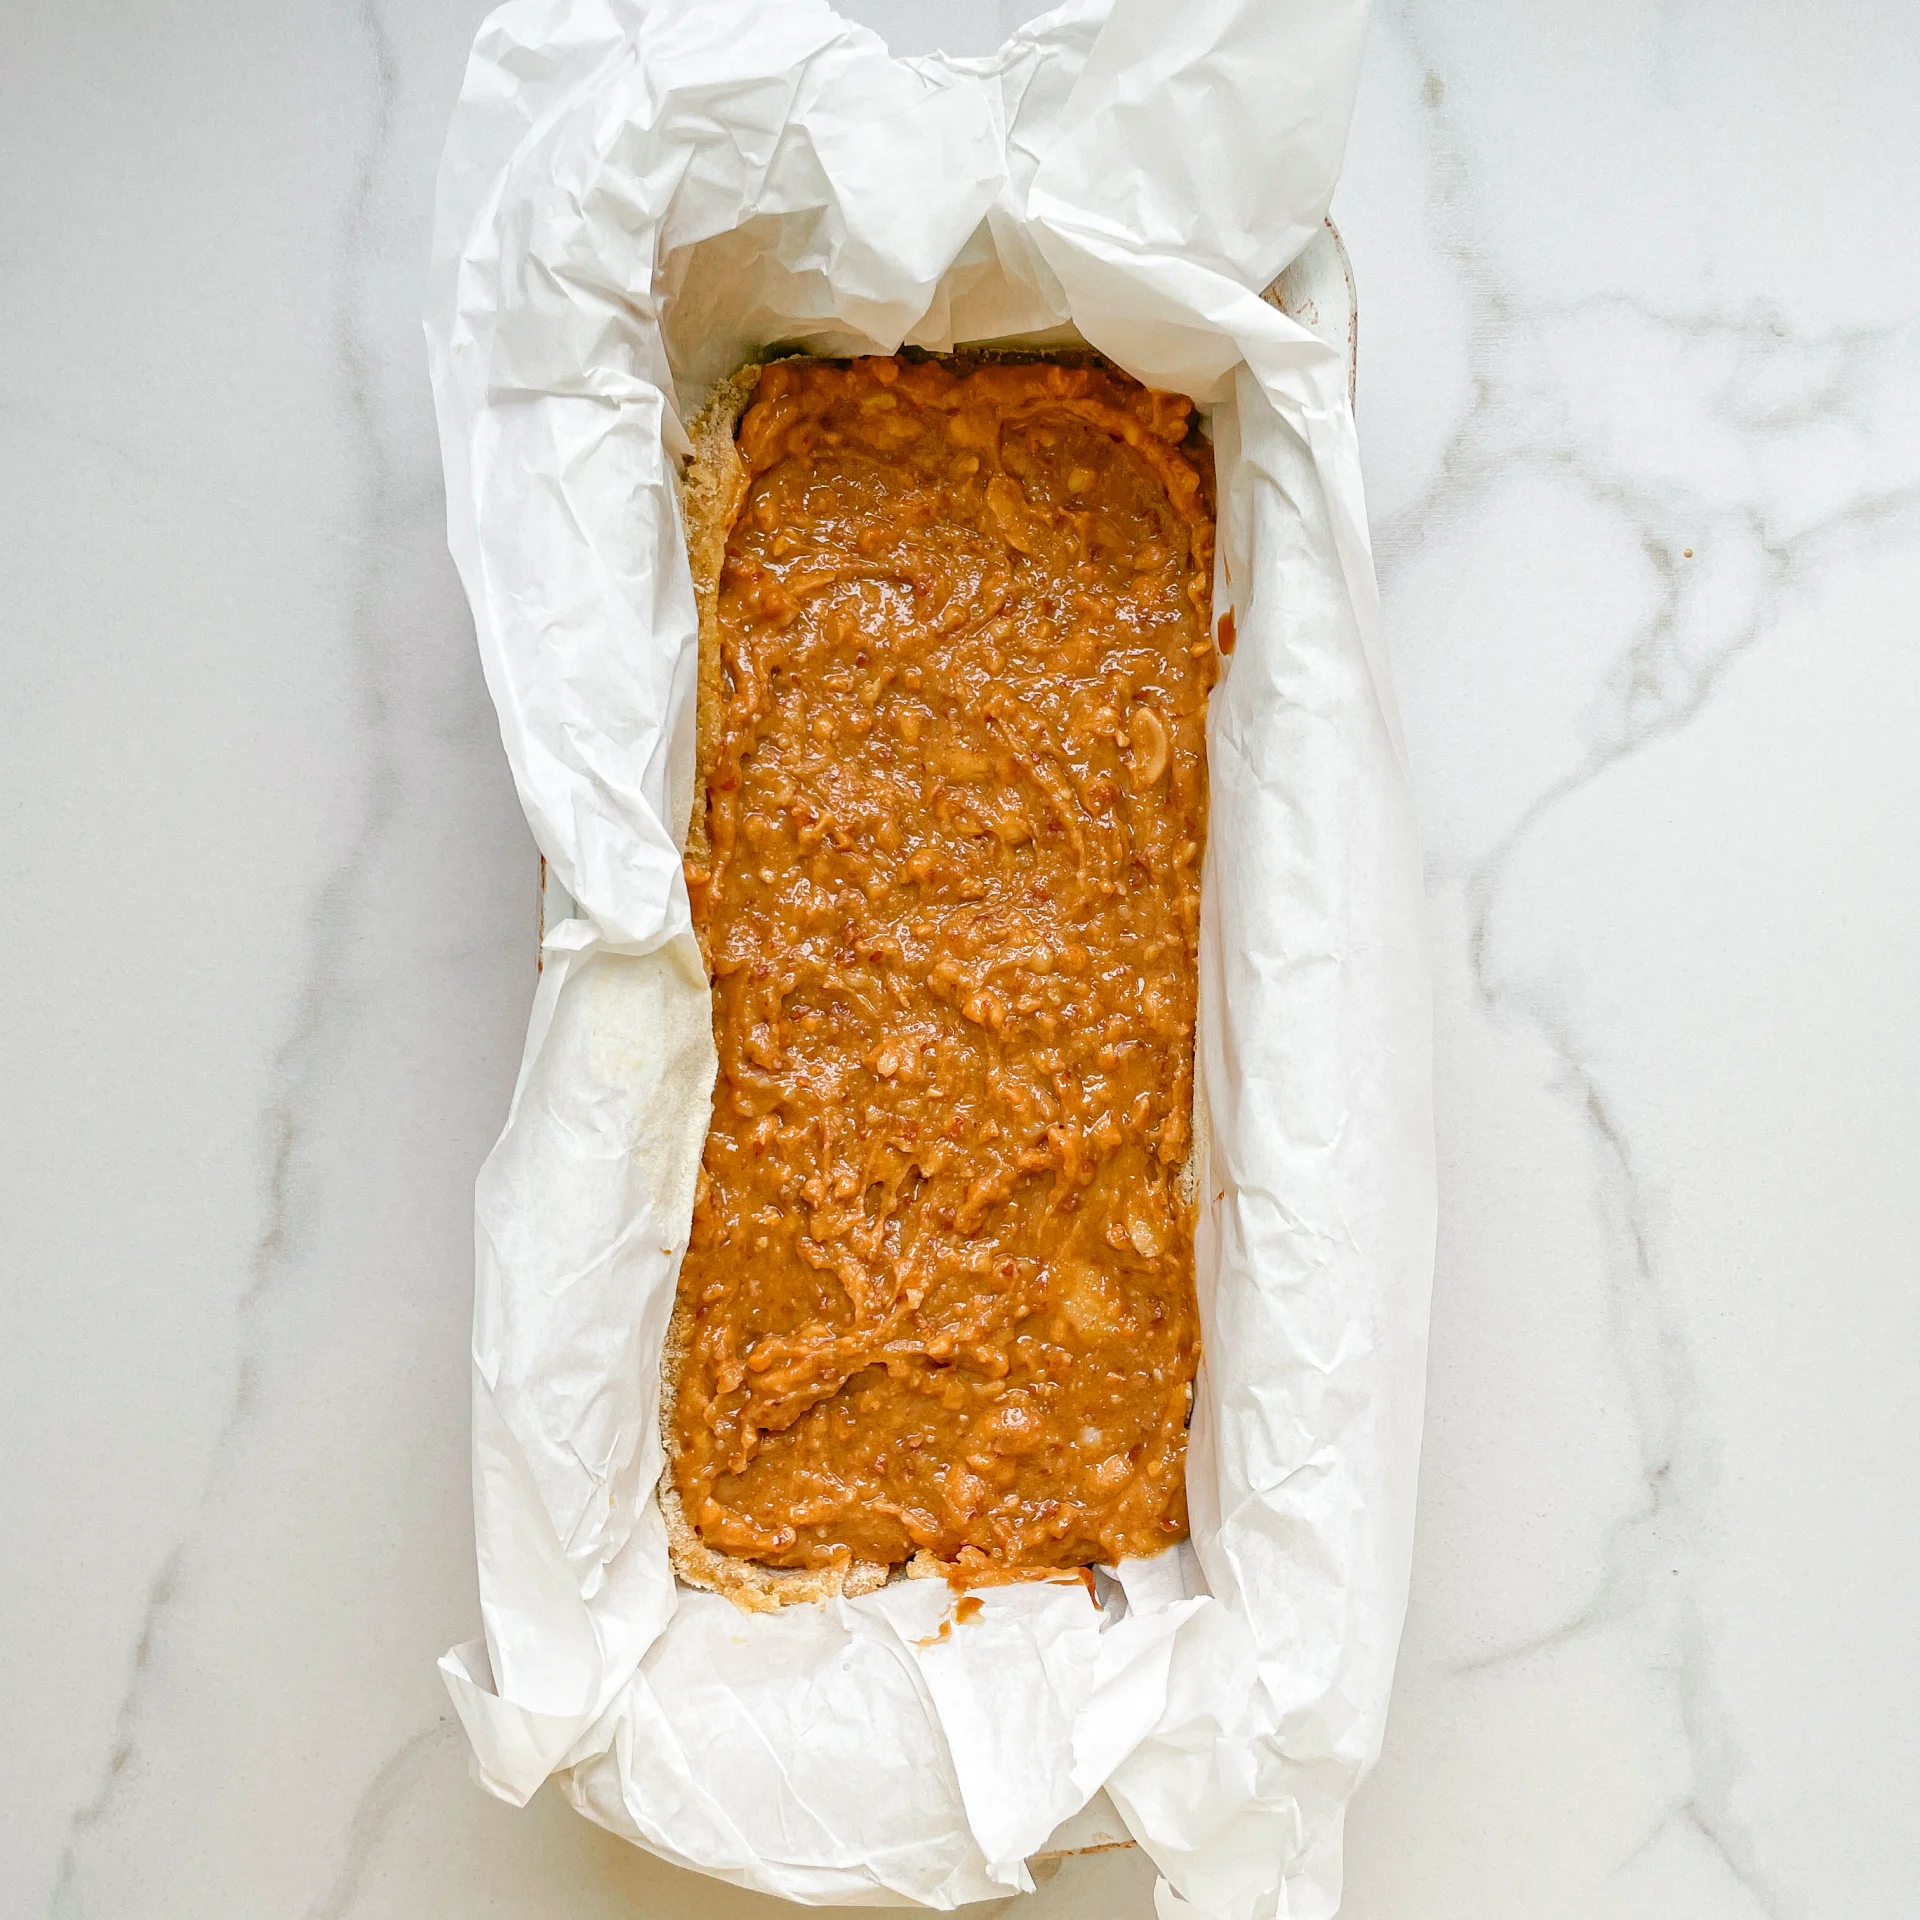
      3. For the third layer, mix the crunchy peanut butter, coconut oil, maple syrup and a pinch of salt together in a medium bowl. After taking the container from the freezer, spread the mixture over the caramel layer evenly. Place the mold back in the freezer for 60 minutes.

      4. Fill a small pot with water, bring to the boil and then remove from the heat. Place a heatproof aluminum or glass bowl over the pot. Melt the chocolate in it together with half a teaspoon of coconut oil, stirring regularly.

      5. Once the chocolate has melted completely, remove the frozen bar mixture from the freezer and cut into 15 bars. Pull each bar individually through the melted chocolate with two forks, drain and place on baking paper or a rack to harden. If the room temperature is too warm, leave the bars to set in the fridge.

      NOTE: The calorie information may vary depending on the product used, country and region.

      Basic Chicken Broth

      Basic Chicken Broth

      Basic Chicken Broth

      Basic Chicken Broth

      January 11, 2024 by Kimberly

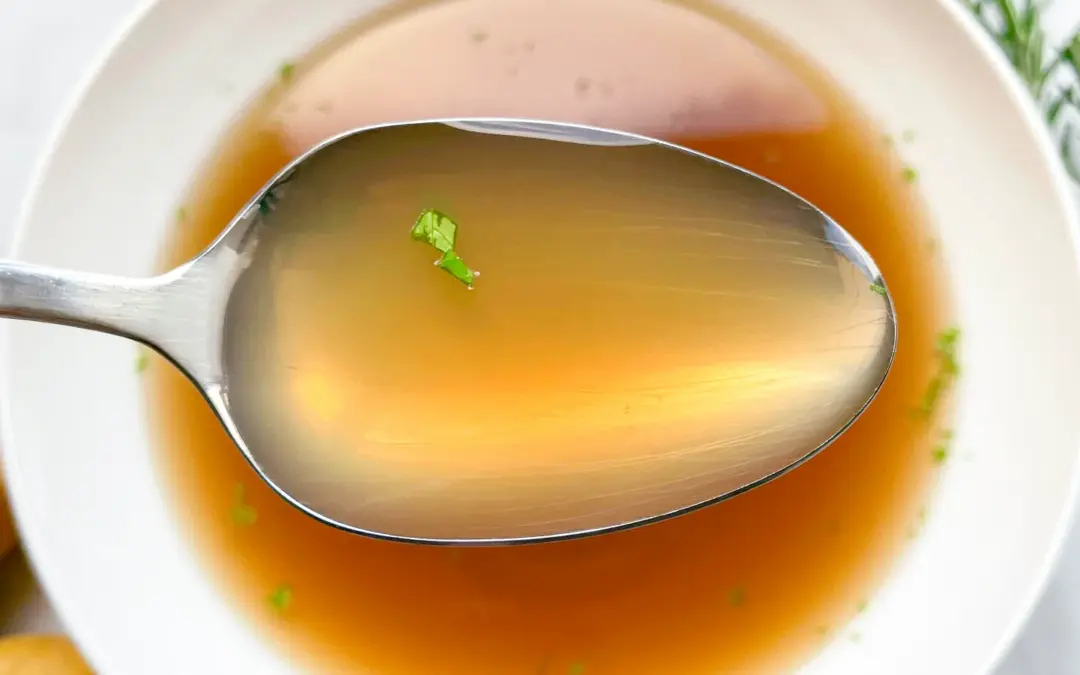
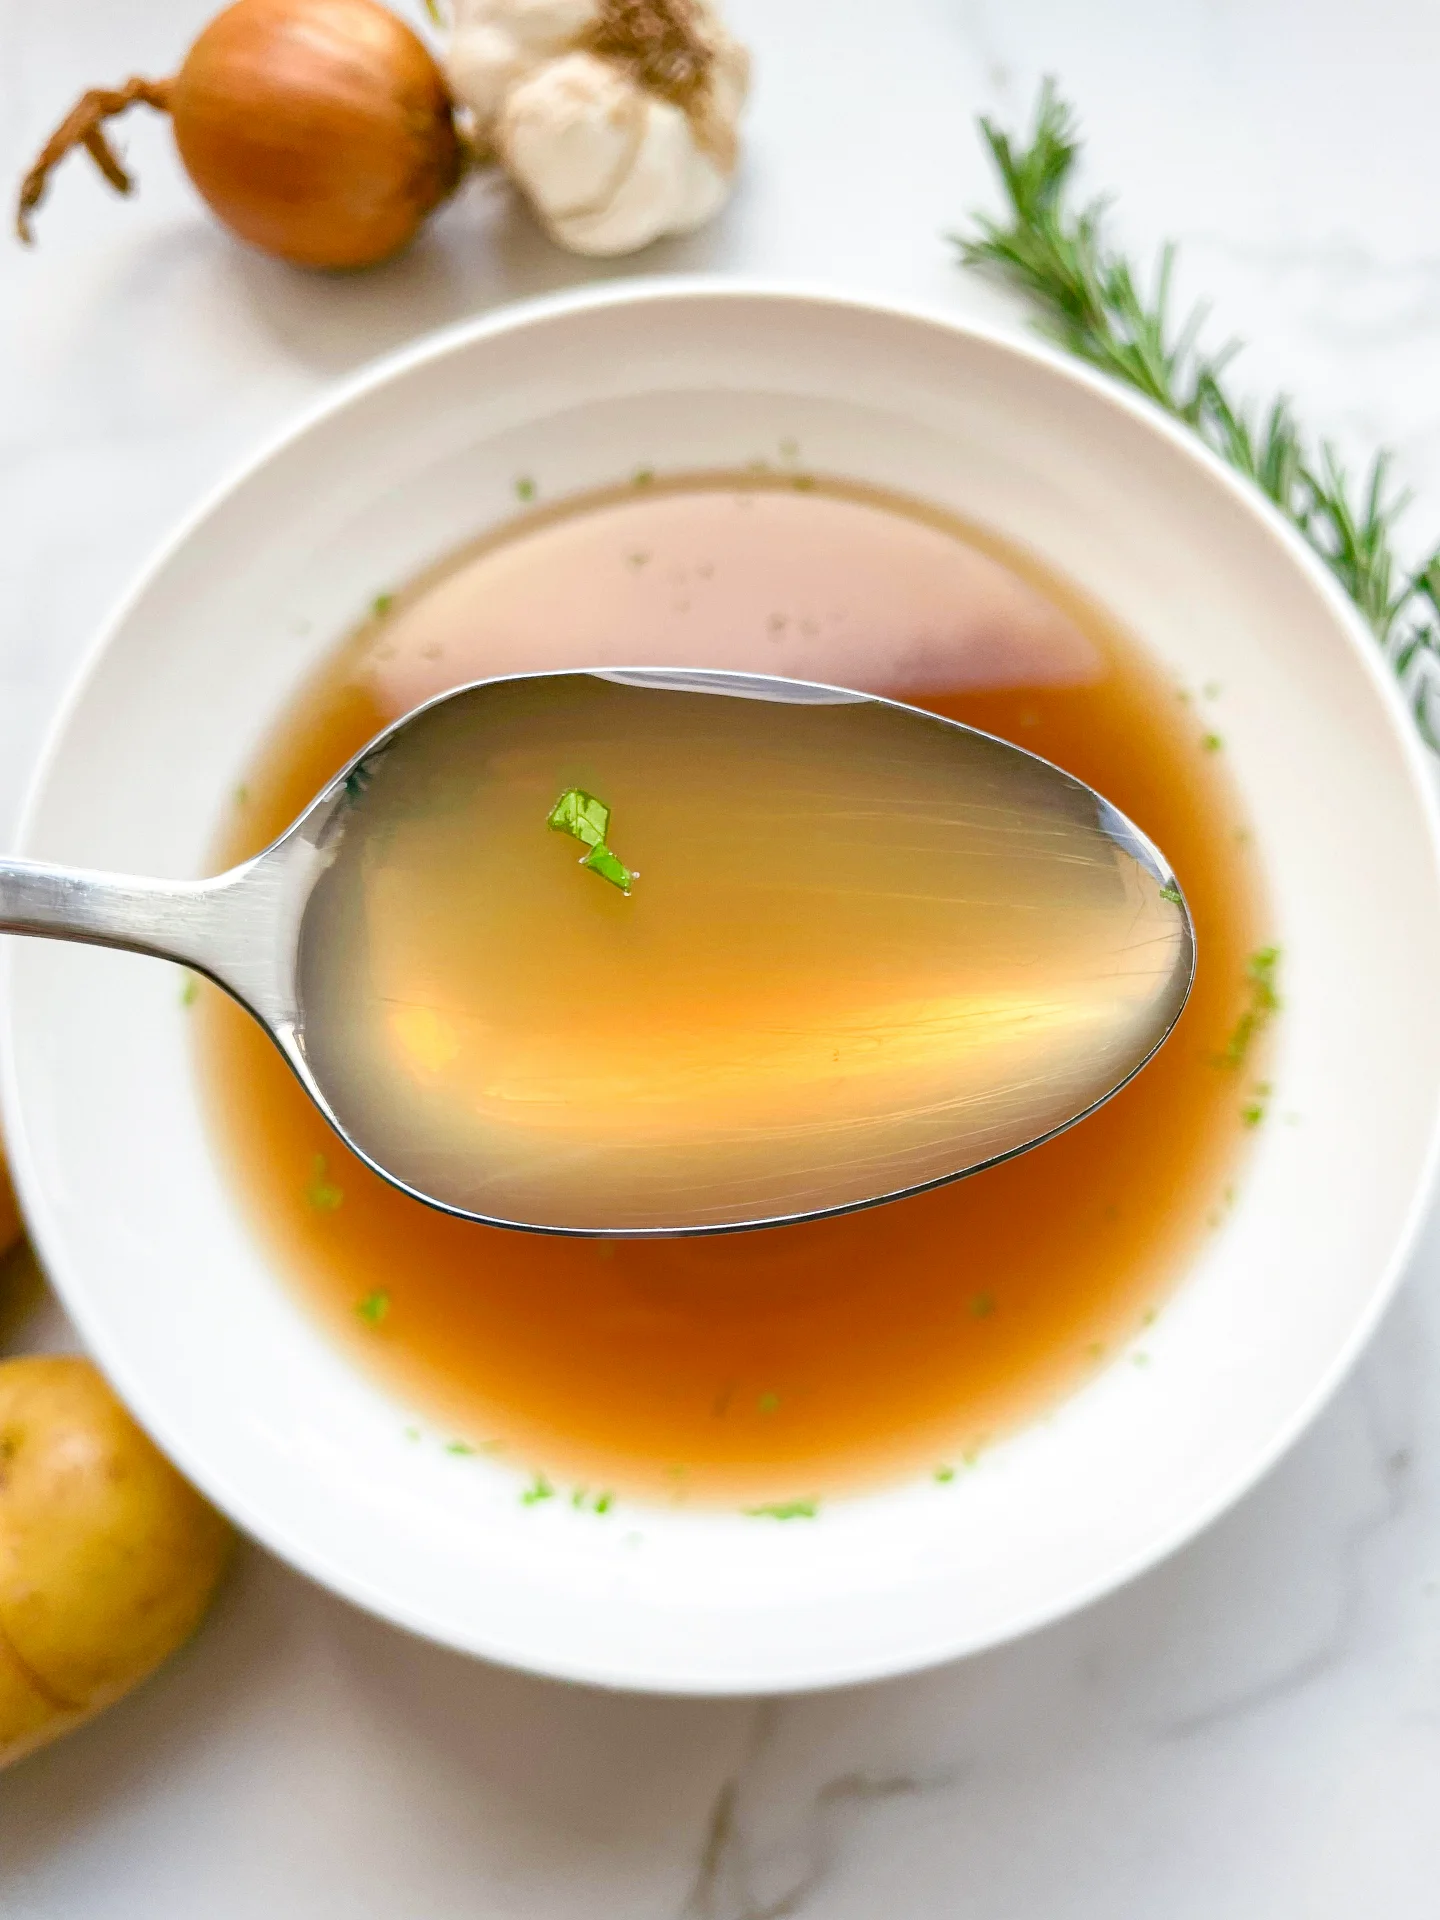
      Discover the warm, comforting embrace of Chicken Broth. It’s simple, nourishing, and versatile, perfect for soups, stews, or just sipping. A timeless kitchen staple!

      2.5 HOURS

      EASY

      VEGETARIAN

      INT.

      80 PER LITER OR
      4 CUPS

      COMFORT FOOD

      CLASSICS

      SOUP

      ALL YEAR

      INTRODUCTION

      ABOUT THE RECIPE

      Embark on a culinary journey with the timeless classic, Chicken Broth. This simple yet profound staple is the heart of countless recipes, offering a warm, soothing base that’s both nourishing and flavorful. Ideal for both novice cooks and seasoned chefs, it’s a testament to the beauty of simplicity in cooking, transforming basic ingredients into a versatile foundation for a myriad of dishes.

      How to serve
      Serve this comforting Basic Chicken Broth as a warming start to your meal, or use it as a versatile base for soups, stews, and sauces. Its delicate flavors complement a variety of ingredients, making it perfect for enhancing your favorite recipes. For a simple yet satisfying experience, enjoy it hot with a sprinkle of herbs, a dash of salt, and a slice of crusty bread for dipping.

      How to store
      To store, cool the broth and then transfer it into airtight containers or deli container. It can be refrigerated for up to 6 days or frozen for up to 6 months. The broth can also be preserved using canning methods for long-term storage. When ready to use, thaw or reheat as needed.

      Hi, I'm Kimberly!

      Hi, I'm Kimberly.

      A passionate food lover who believes in the magic of homemade deliciousness that spreads love and warmth. Join me on this culinary adventure as I prepare wonderful dishes and let’s spread some happiness together!

      Kimberly the Zett Signature

      If you want to get to know me better, click here!


      Basic Chicken Broth
      Basic Chicken Broth
      Basic Chicken Broth

      „Let’s make a piece of happiness“

      Print
      clock clock iconcutlery cutlery iconflag flag iconfolder folder iconinstagram instagram iconpinterest pinterest iconfacebook facebook iconprint print iconsquares squares iconheart heart iconheart solid heart solid icon
      Basic Chicken Broth

      Basic Chicken Broth


      • Author: Kimberly
      • Total Time: 2-4 hrs
      • Yield: 3 liters / 3.17 quarts 1x

      Description

      RECOMMENDED EQUIPMENT

      • sharp knife
      • cutting board
      • large pot with lid
      • large bowl
      • fine sieve

      Ingredients

      Units Scale
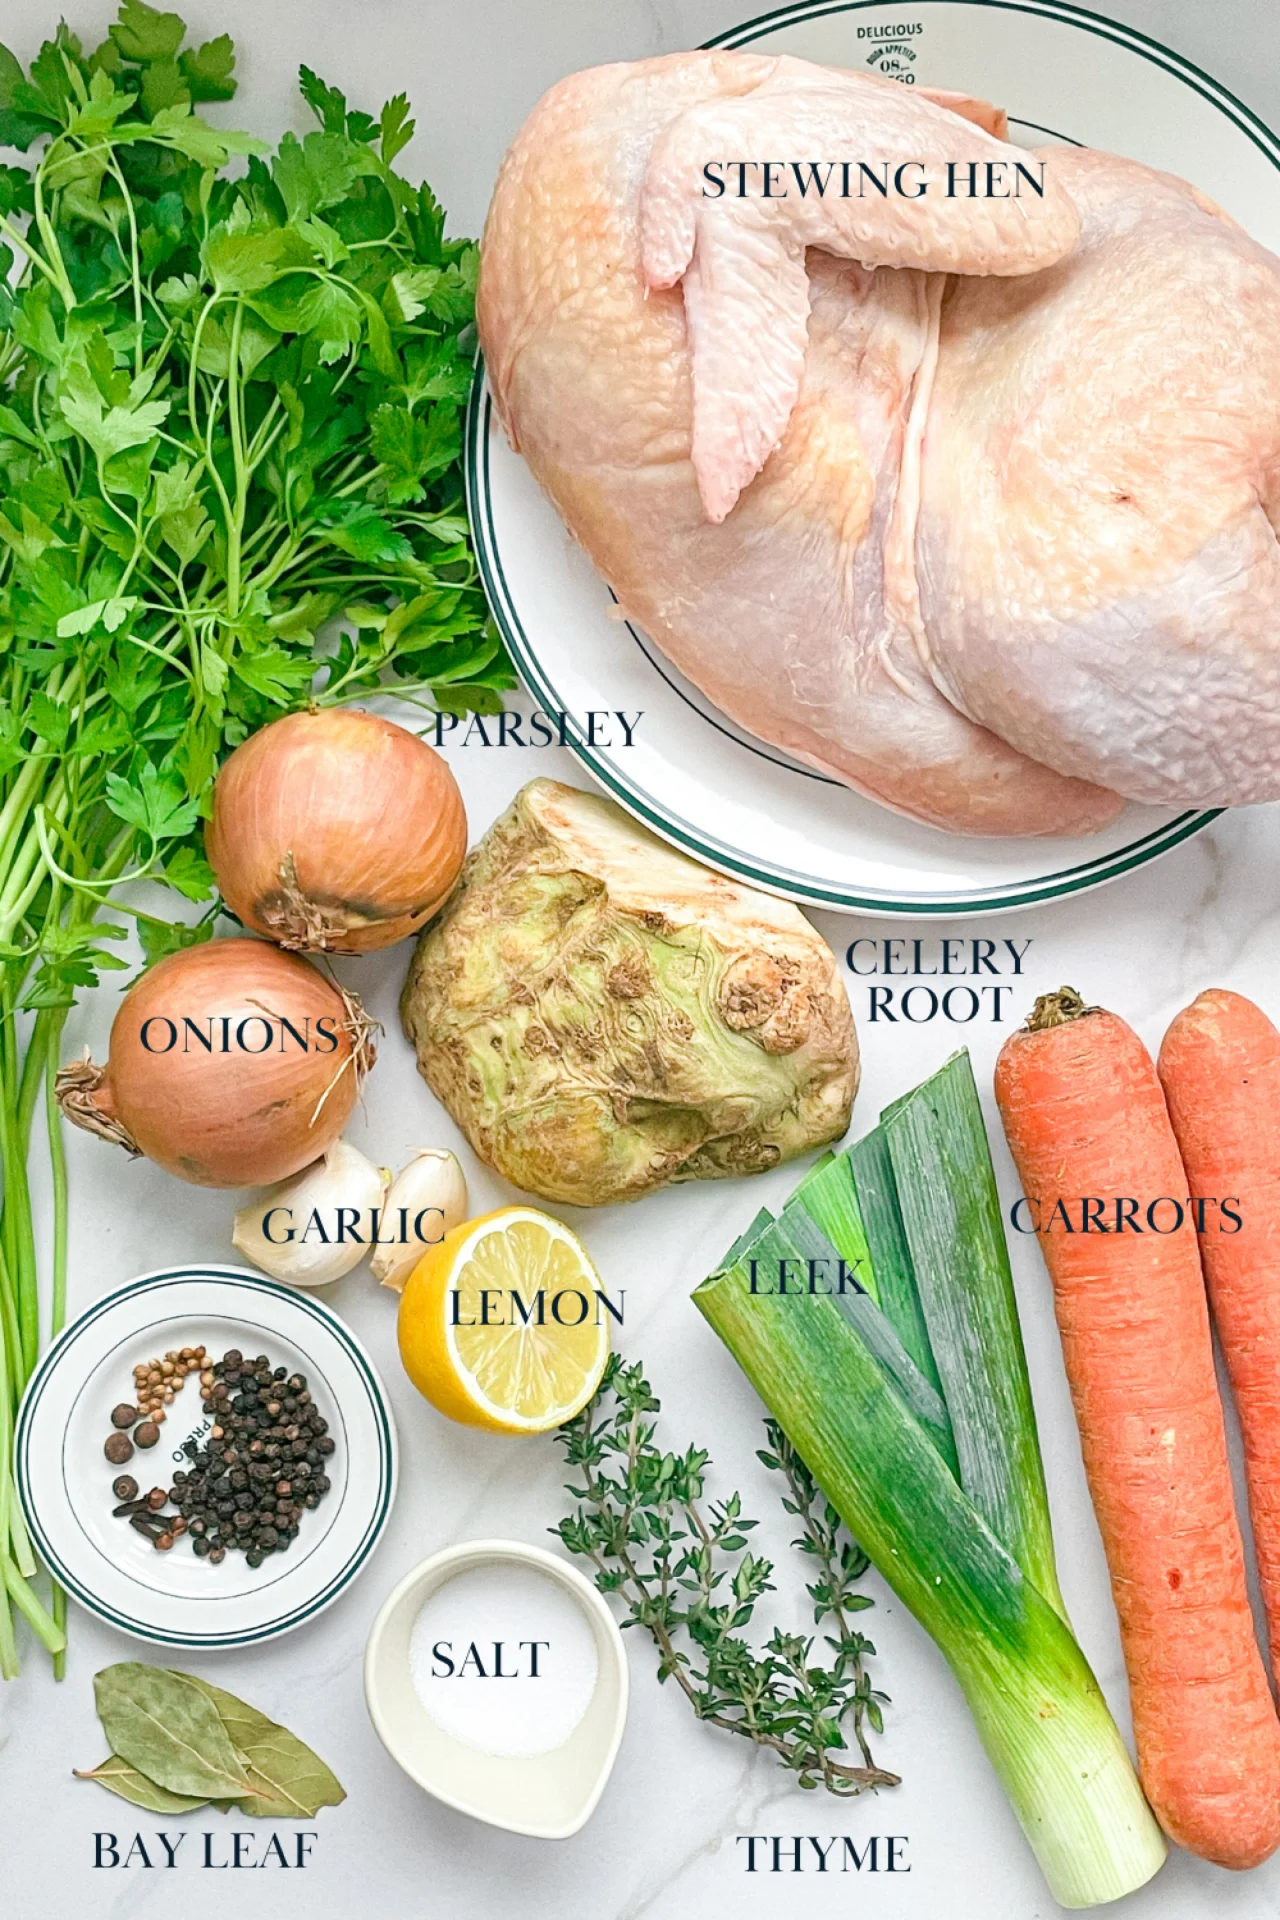
      • 3 liters water
      • 1.5 kilograms of any kind of chicken parts with bones and a bit of fat (e.g. stewing hen)
      • 800 grams mixed vegetables of your choice (e.g. carrots, onions, celery root, parsley, leeks)
      • 1 bundle of fresh herbs of your choice (e.g. thyme, parsley, cilantro, chives)
      • 2 bay leaves
      • 5 cloves
      • 1/4 tsp coriander seeds
      • 5 allspice
      • 1 tsp black peppercorns
      • 1 tsp avocado oil or clarified butter
      • 22 grams salt, optional

      Instructions

      1. Wash your vegetables, leave their skins on, and chop everything into large pieces. Also, wash the herbs because we’ll use them whole, including their stems.
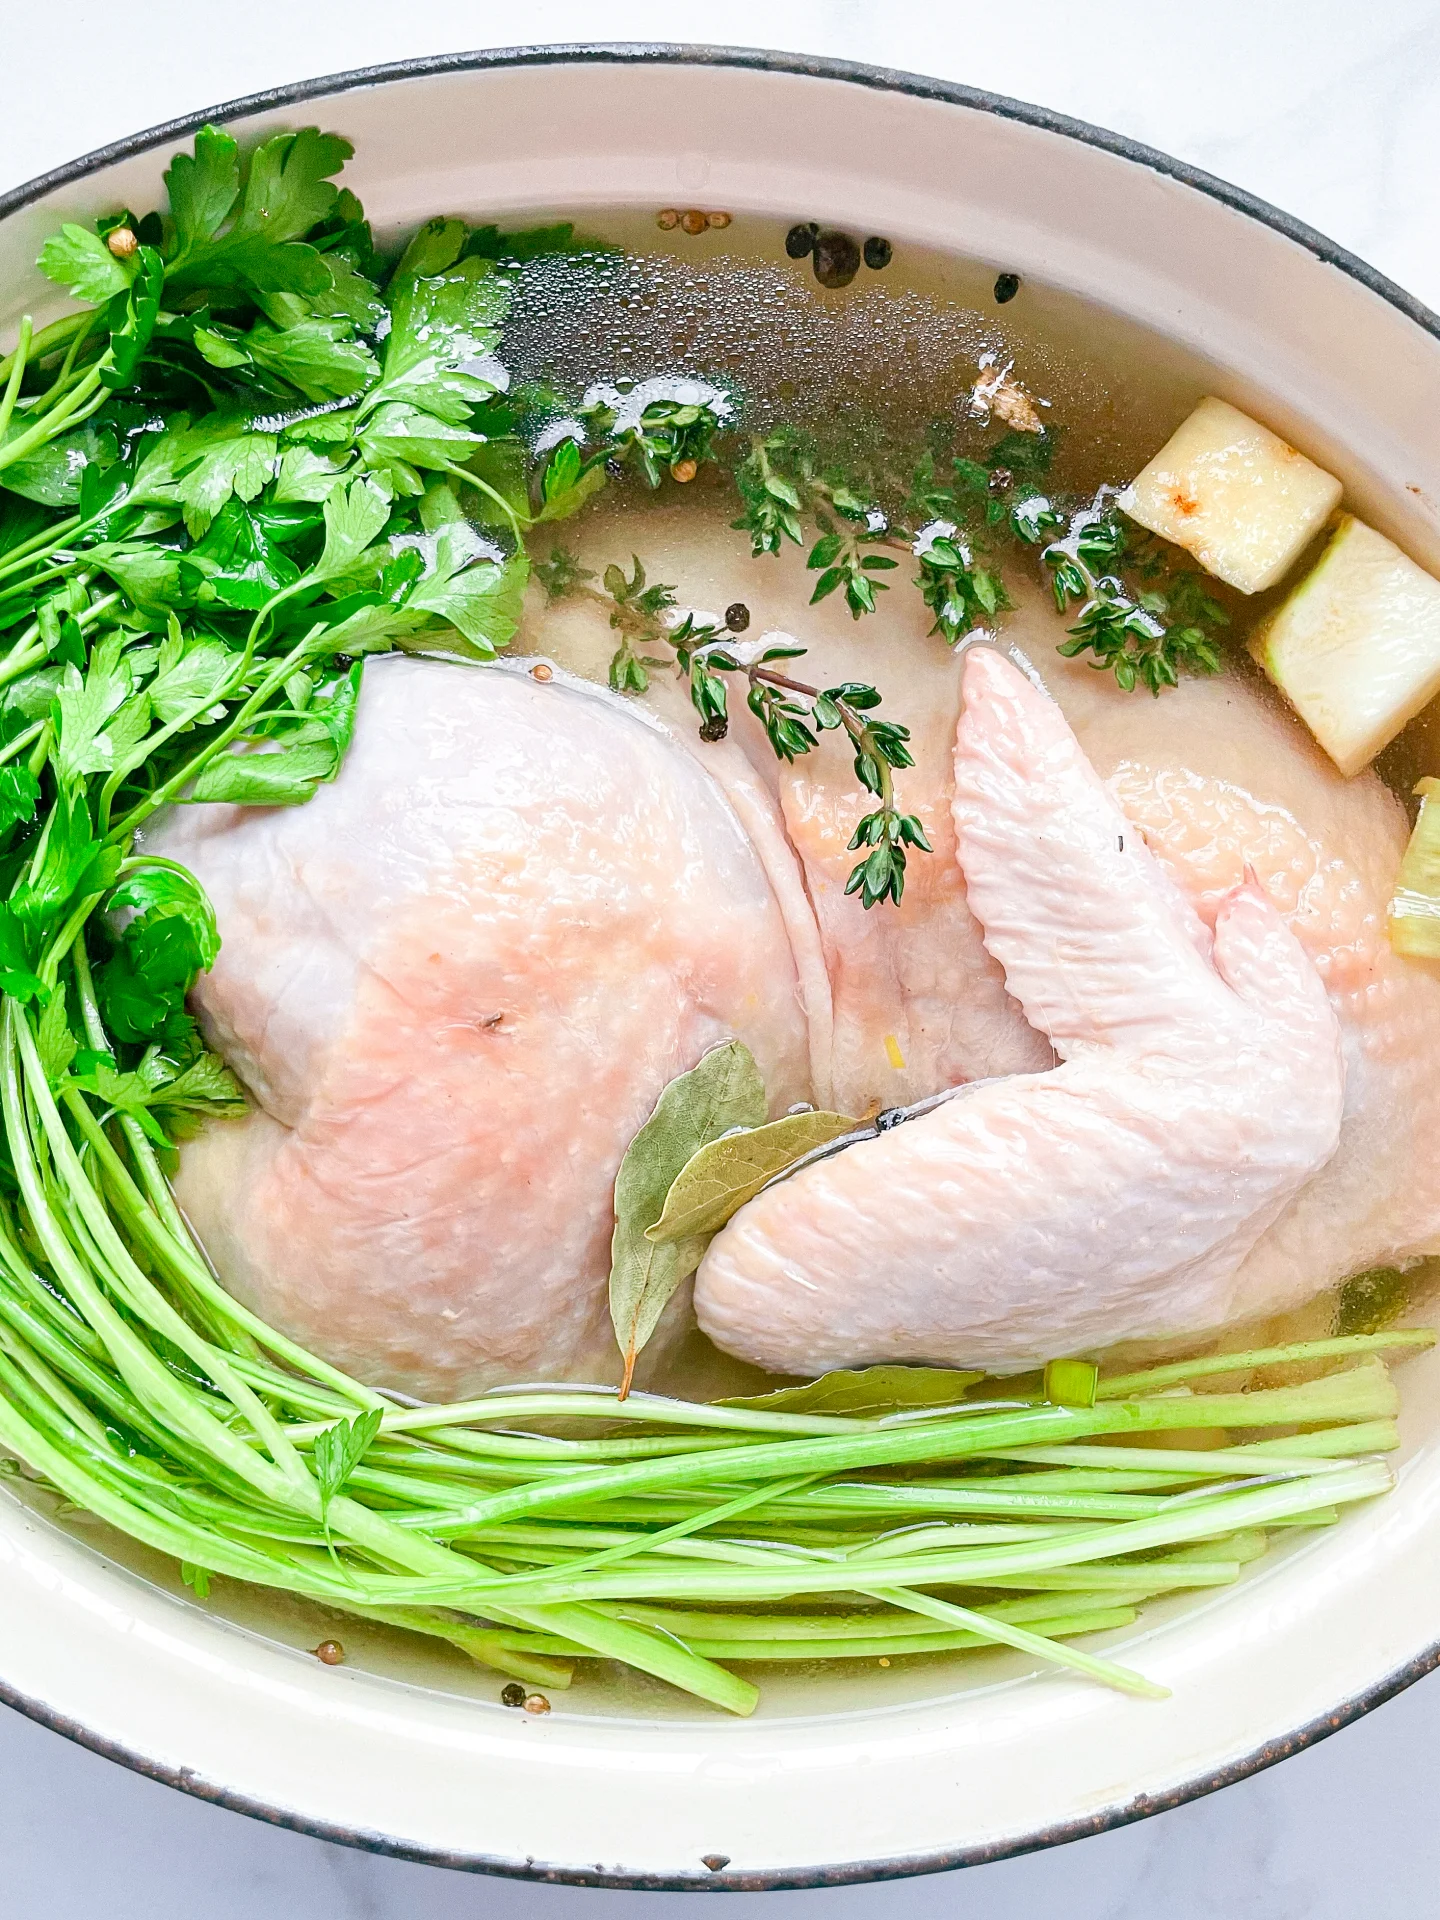
      2. Pat the chicken pieces dry with kitchen paper. Then heat a tablespoon of oil in a large pot and fry the vegetables until they get a little nice browning. Place the chicken on top of the vegetables and add 3 liters of cold water.
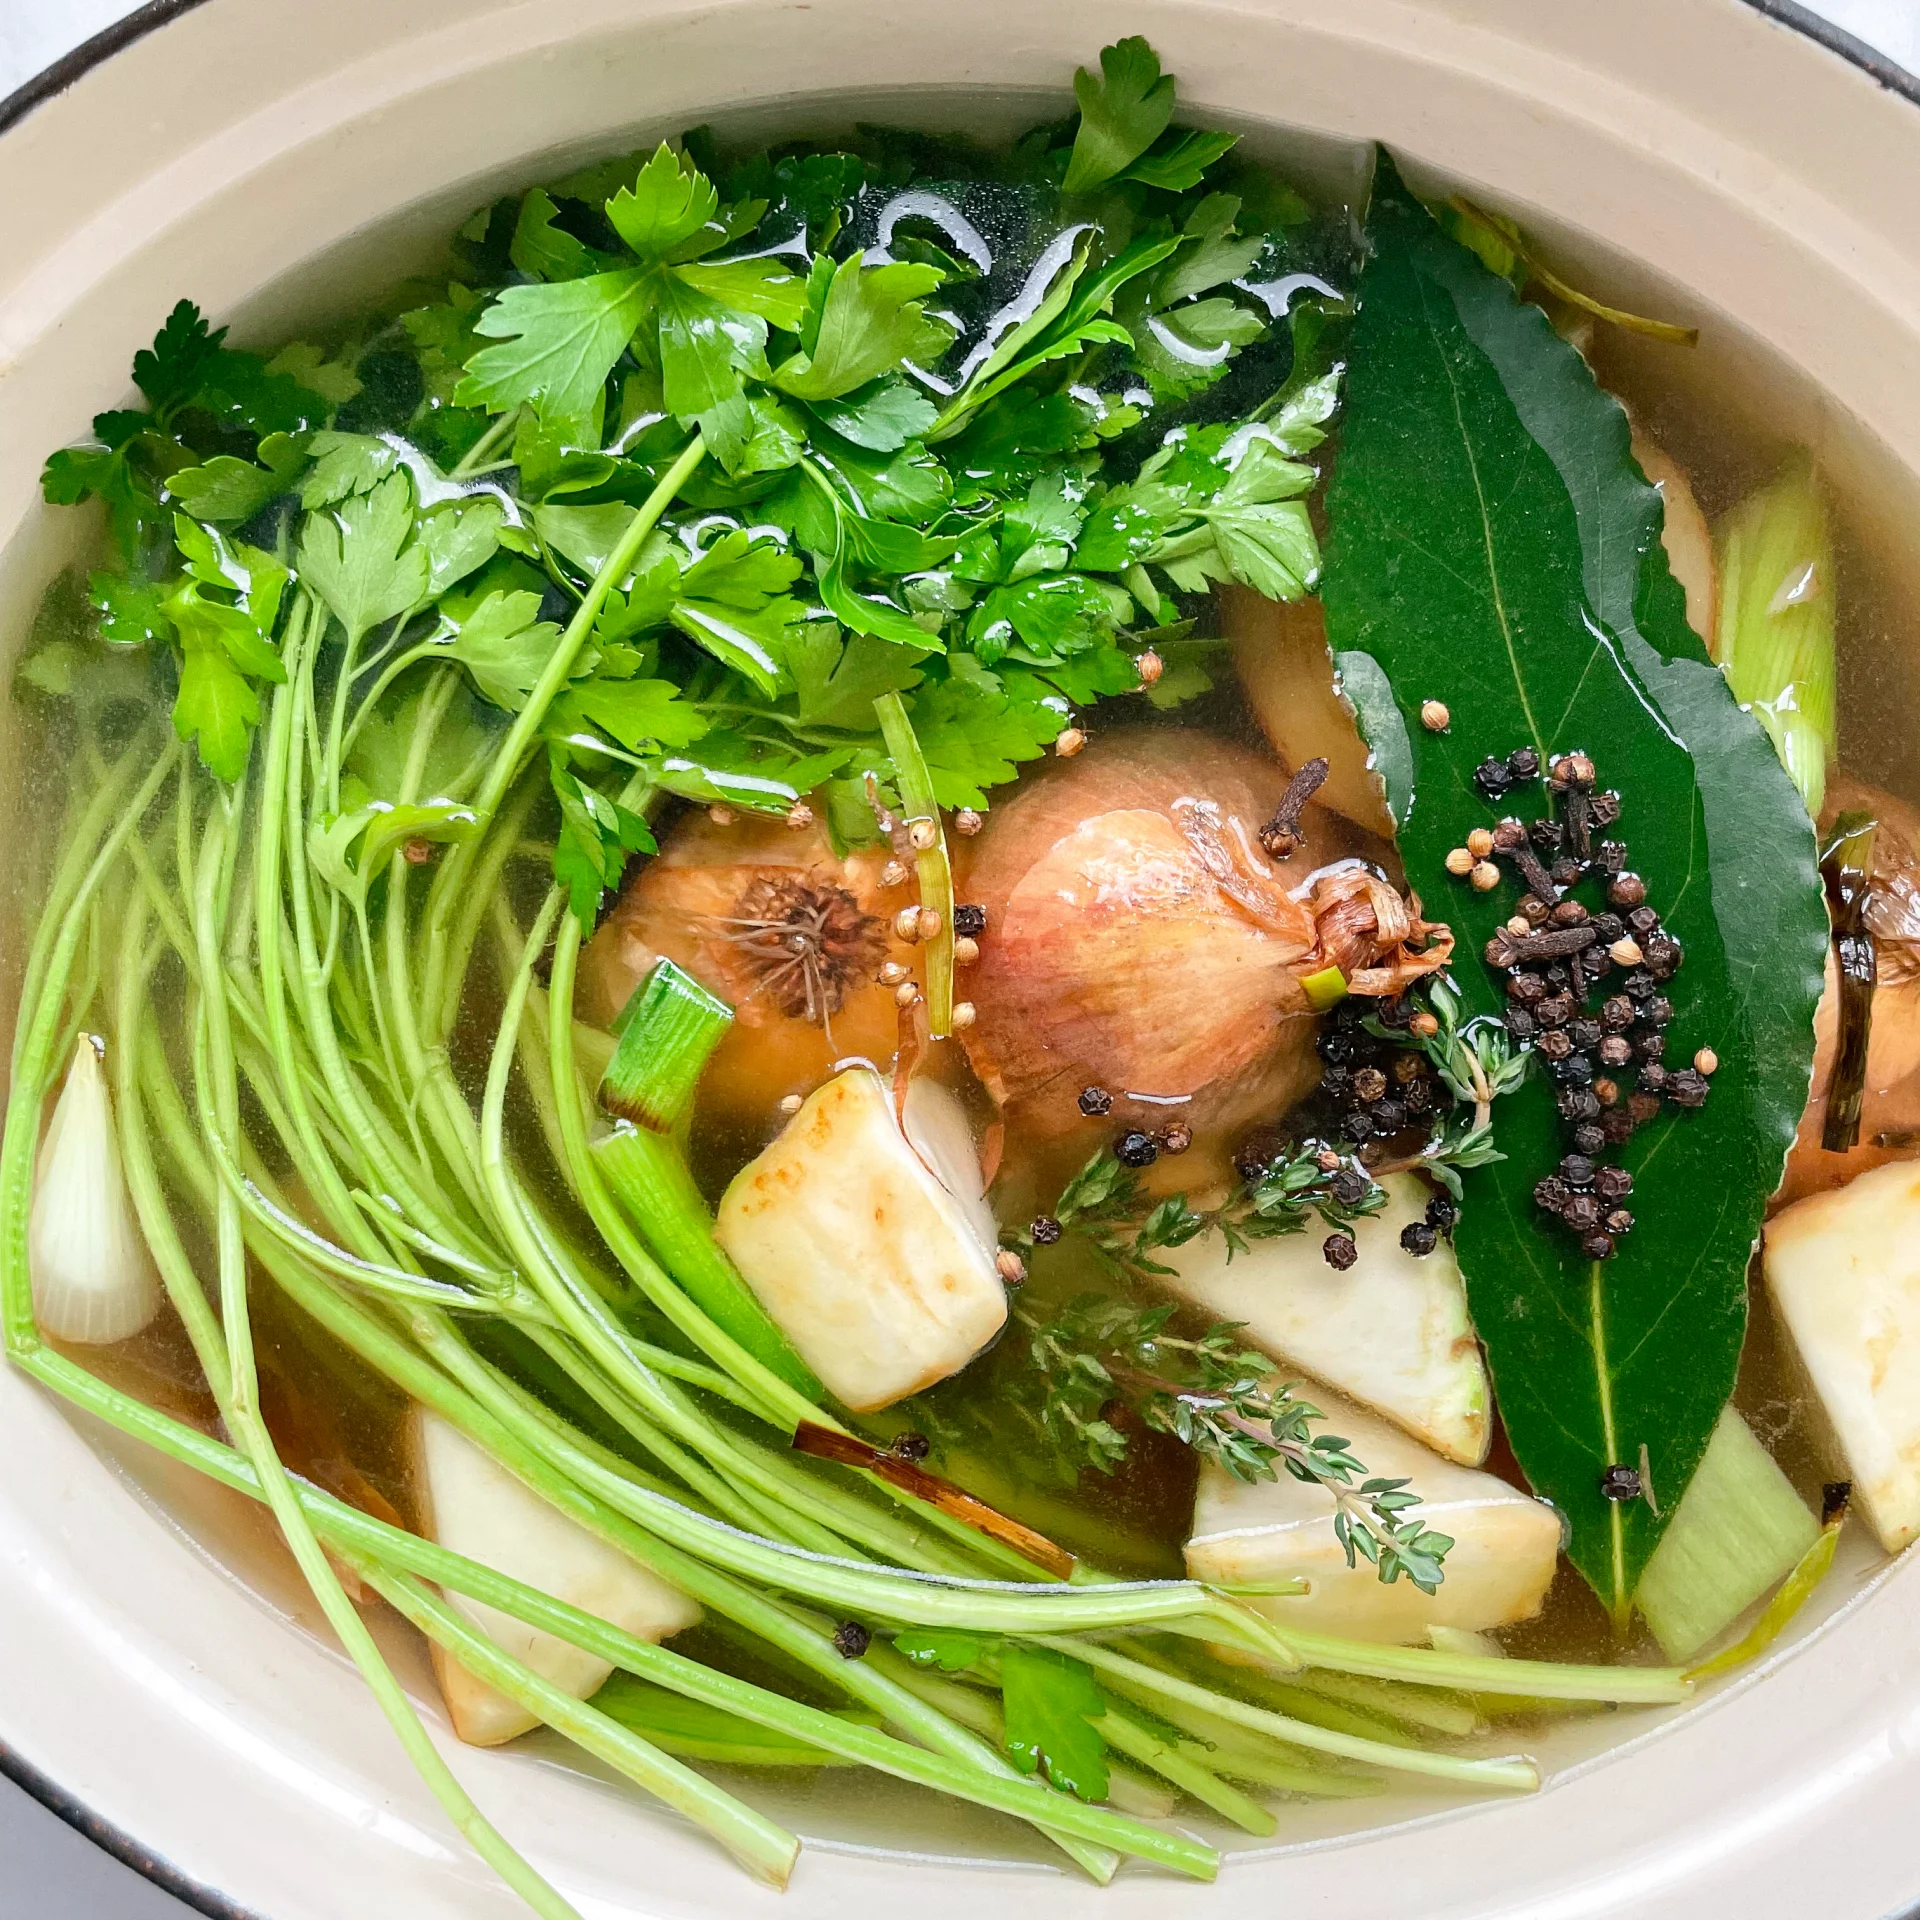
      3. Add 2 dried bay leaves, 5 allspice berries, 3 cloves, 1 teaspoon of black peppercorns, 1/2 teaspoon of coriander seeds, and the herbs to the pot.
      4. Cover the pot with a lid and bring it to a boil over high heat. Once it boils, reduce the heat to the lowest setting and let it simmer with the lid on for at least 2 hours. For the best results, I recommend letting it cook for 4 hours.
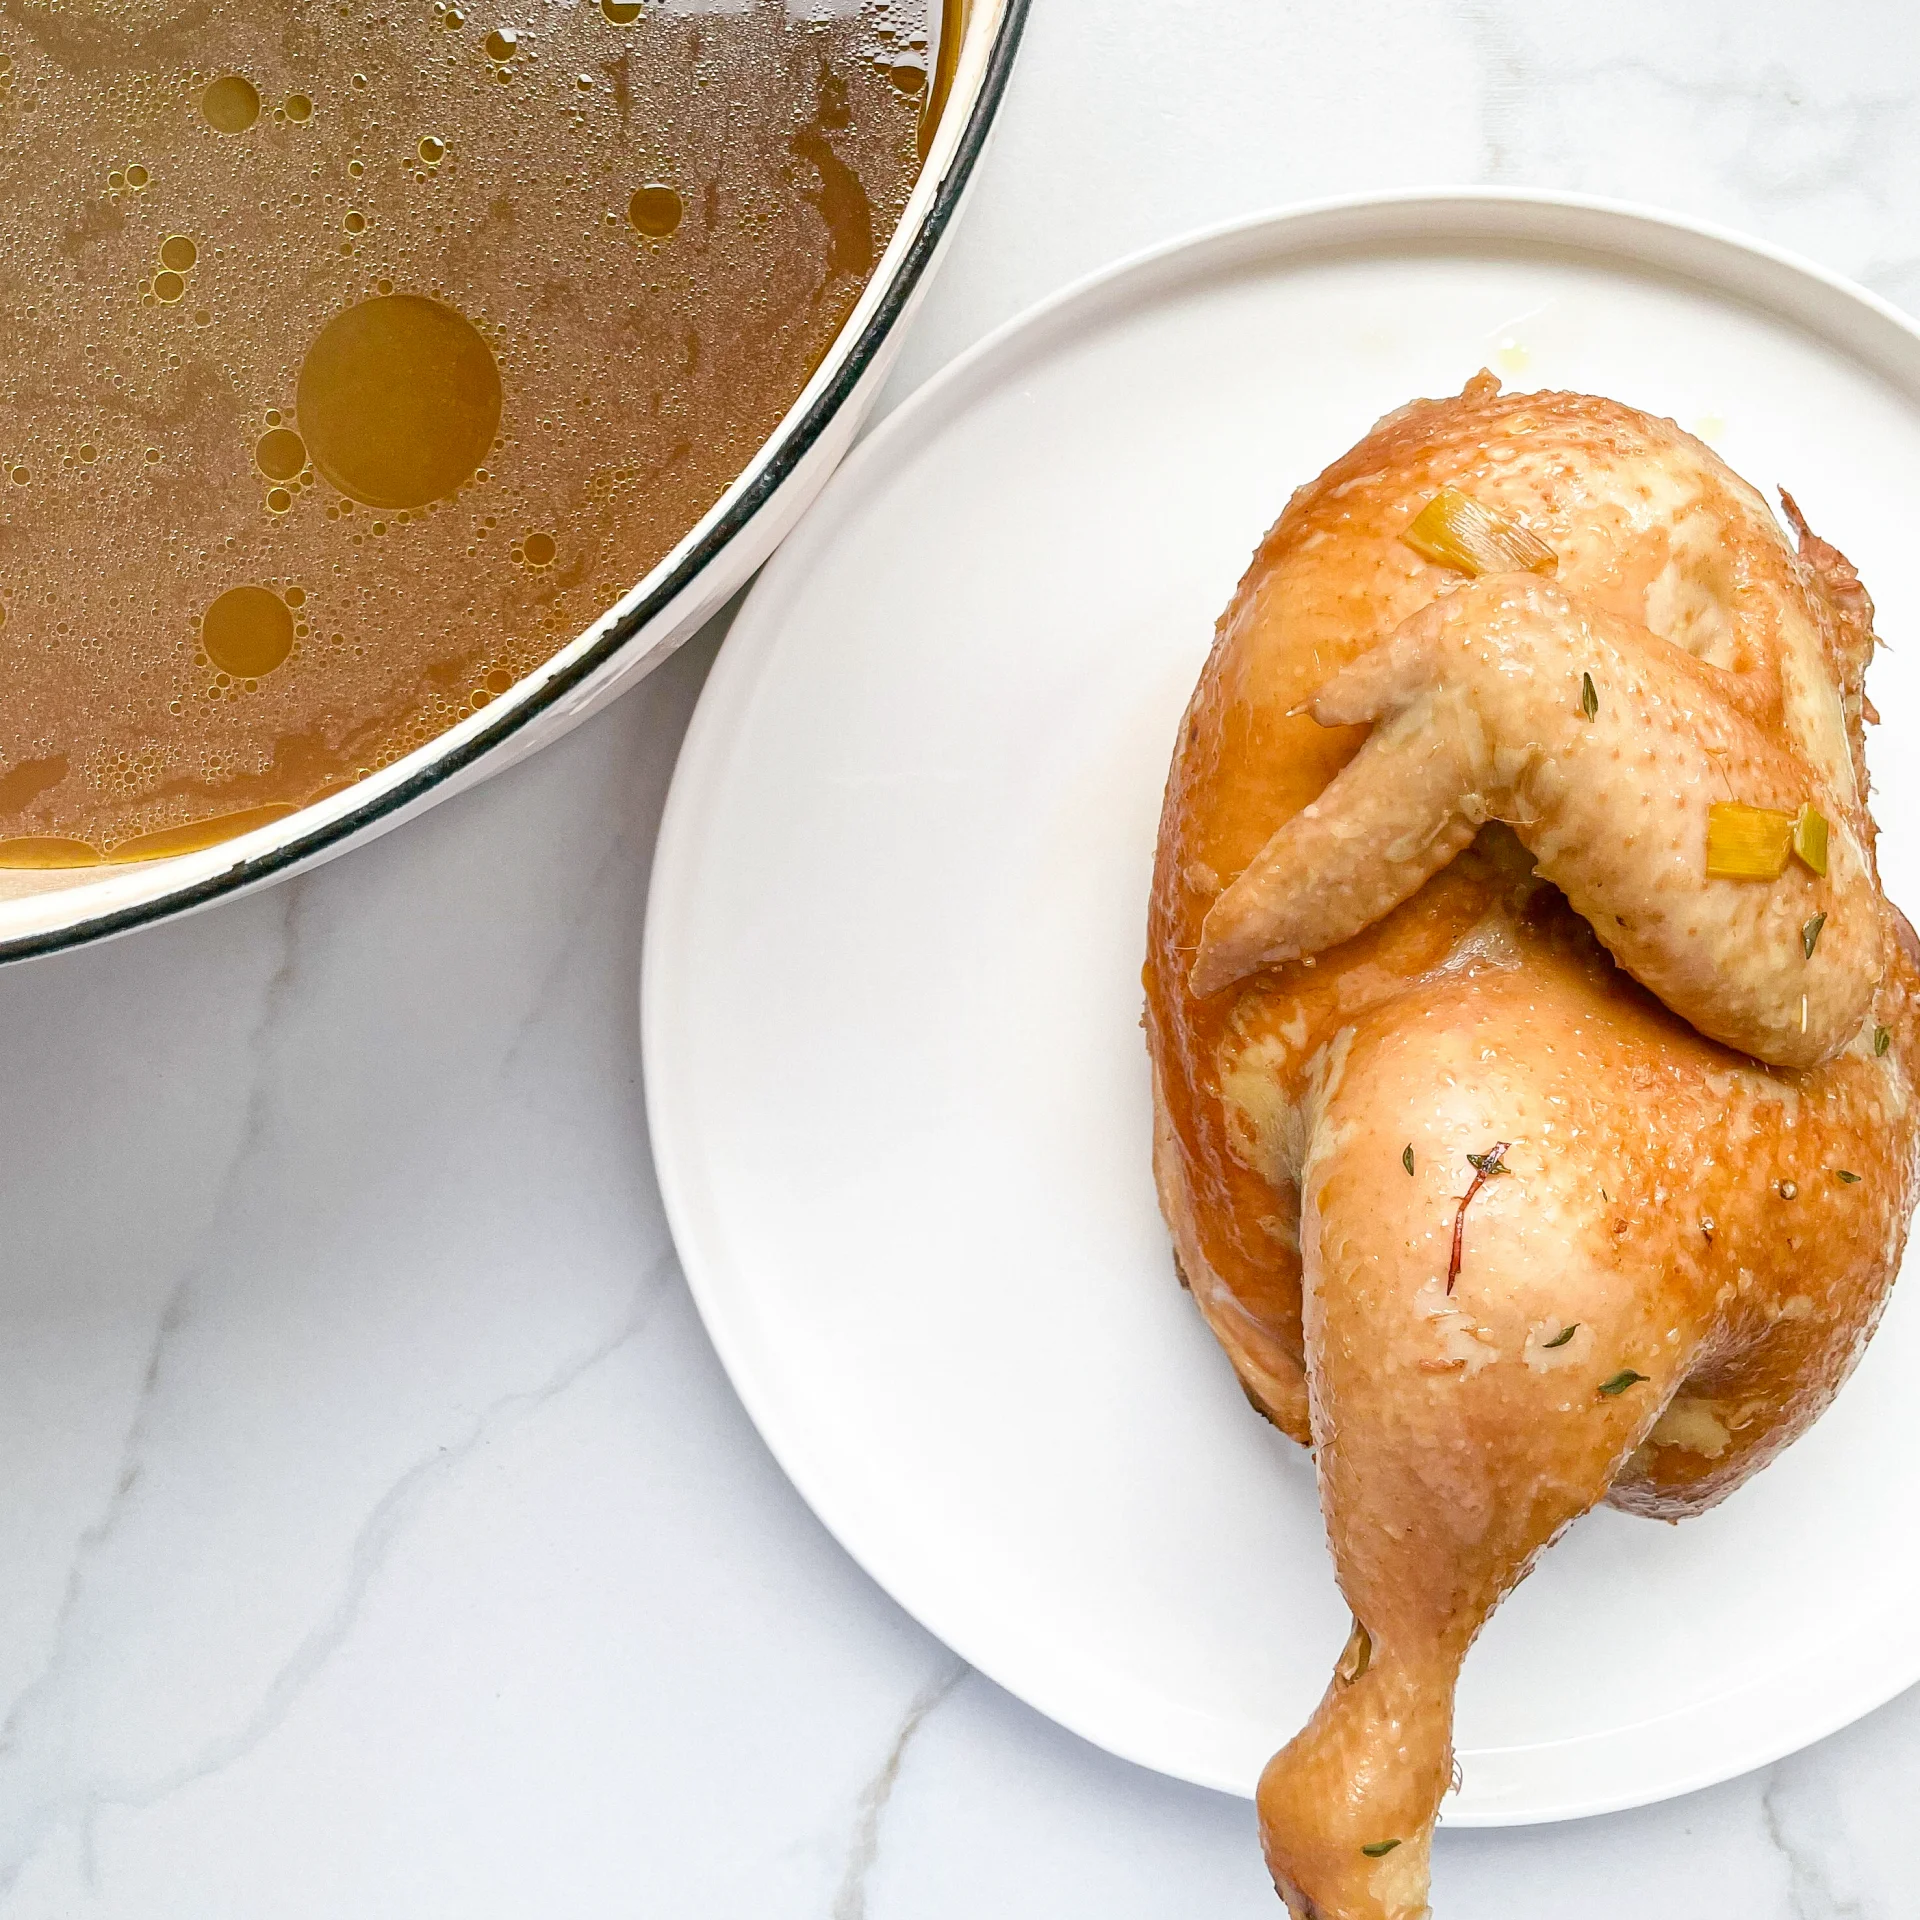
      5. After cooking, remove the pot from the heat and allow it to cool slightly. Take out the chicken, vegetables, herbs, and spices. If you’ve used chicken parts with meat on, don’t forget to save the meat for other recipes.
        Strain the liquid through a fine sieve into another pot. Season the broth with salt if desired. I usually add 6–8 g (approximately 1 teaspoon) of salt per liter (4 cups) of broth.
      6. Let the broth cool completely. Skim off any fat floating on top, or if your pot fits in the fridge, let it rest overnight. The fat will solidify on the surface, making it easy to remove.
      7. The broth is now ready to use. Alternatively, pour it into sealable jars or deli containers. You can store it in the fridge for up to 6 days or freeze it for up to 6 months.

      Notes

      If you cook on a regular basis, you’ve probably noticed how many vegetable scraps end up in the trash, e.g. onion skins, carrot peels, leek ends, herb stems, and more. Instead of tossing them, grab a large ziplock bag and store all your scraps in the freezer. Over time, you’ll collect a substantial amount of veggie and herb scraps, which are perfect for making your next broth at home. No need to defrost them, simply toss the frozen scraps directly into a pot, cover them with water and go for it. Use them alone for a flavorful vegetable stock or pair them with chicken or beef bones for a rich, meaty broth. It’s an easy, eco-friendly way to ensure you always have homemade stock for literally no cost!

      • Prep Time: 10 min
      • Passive Time: 2-4 hrs
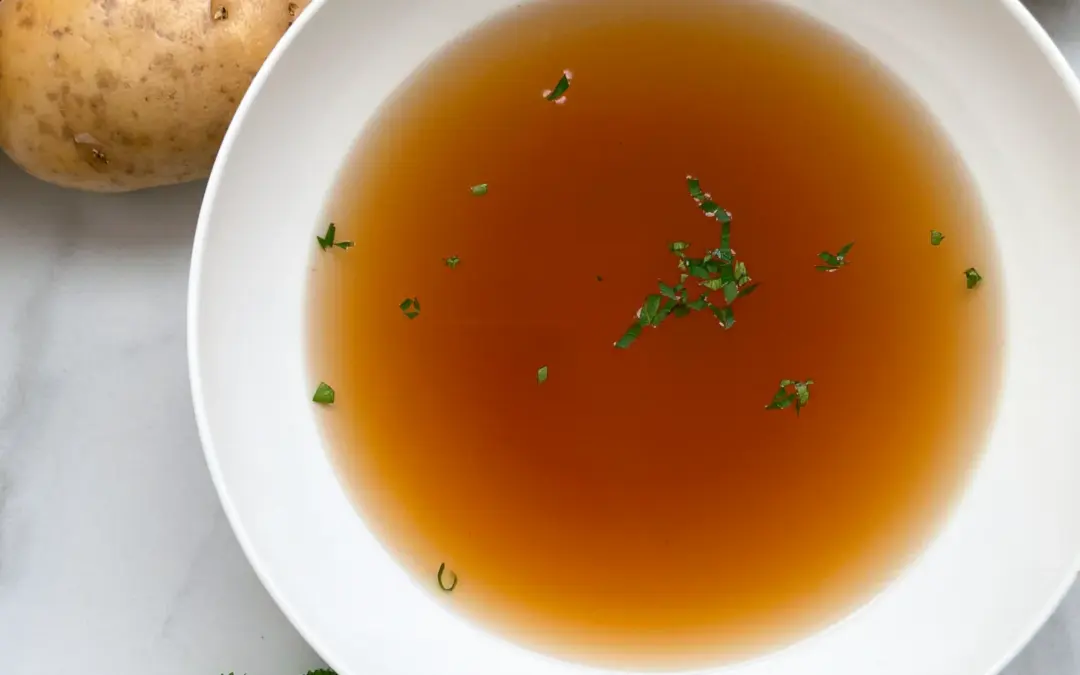
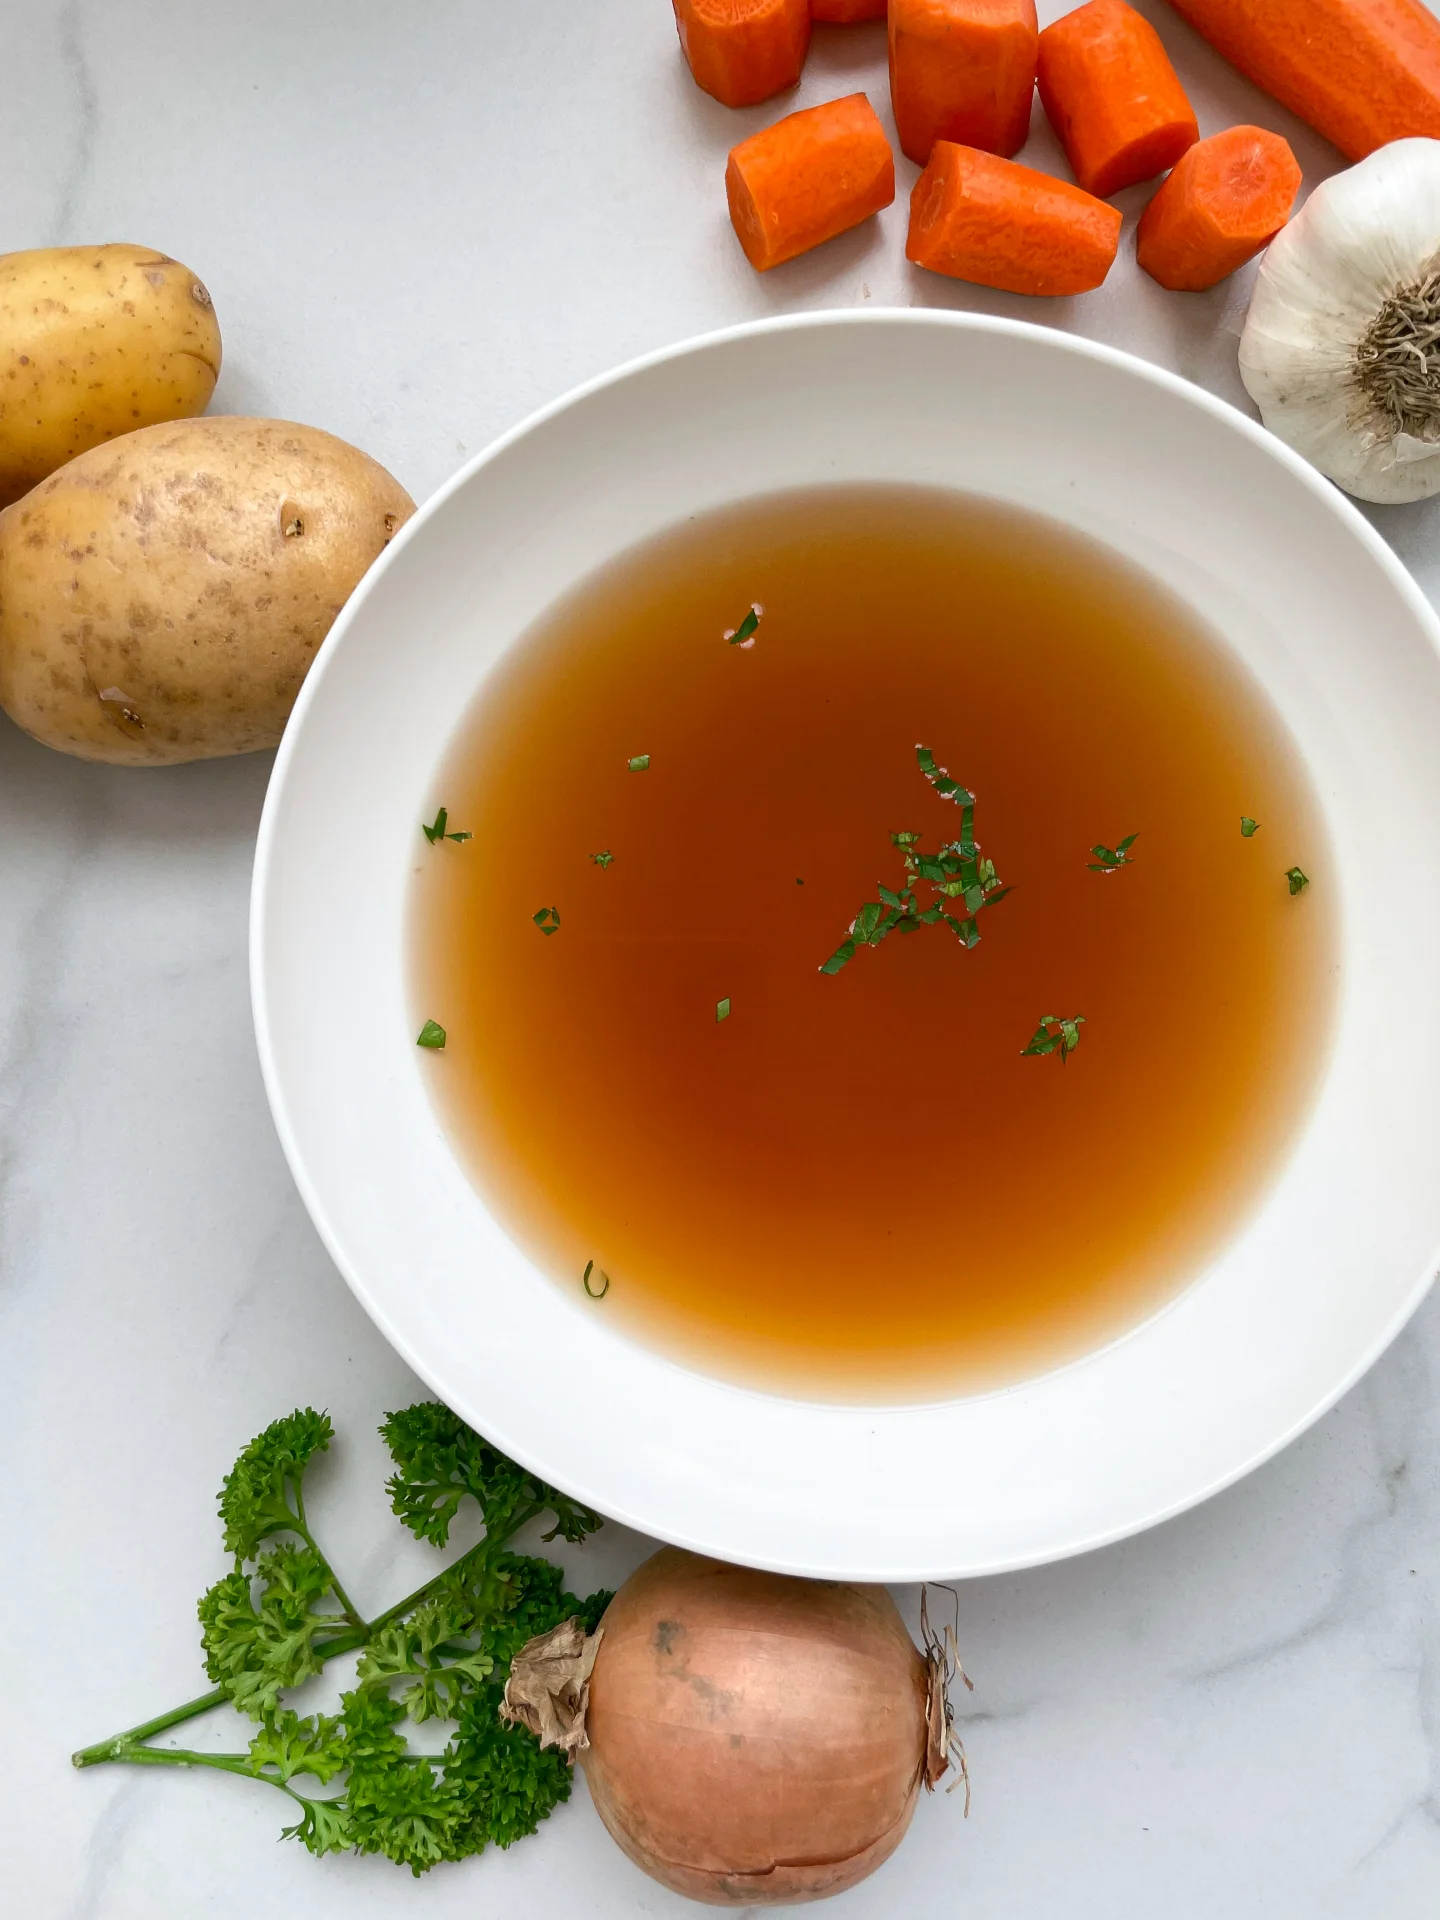
      Basic Vegetable Broth

      Basic Vegetable Broth

      Basic Vegetable Broth

      Basic Vegetable Broth

      January 5, 2024 by Kimberly

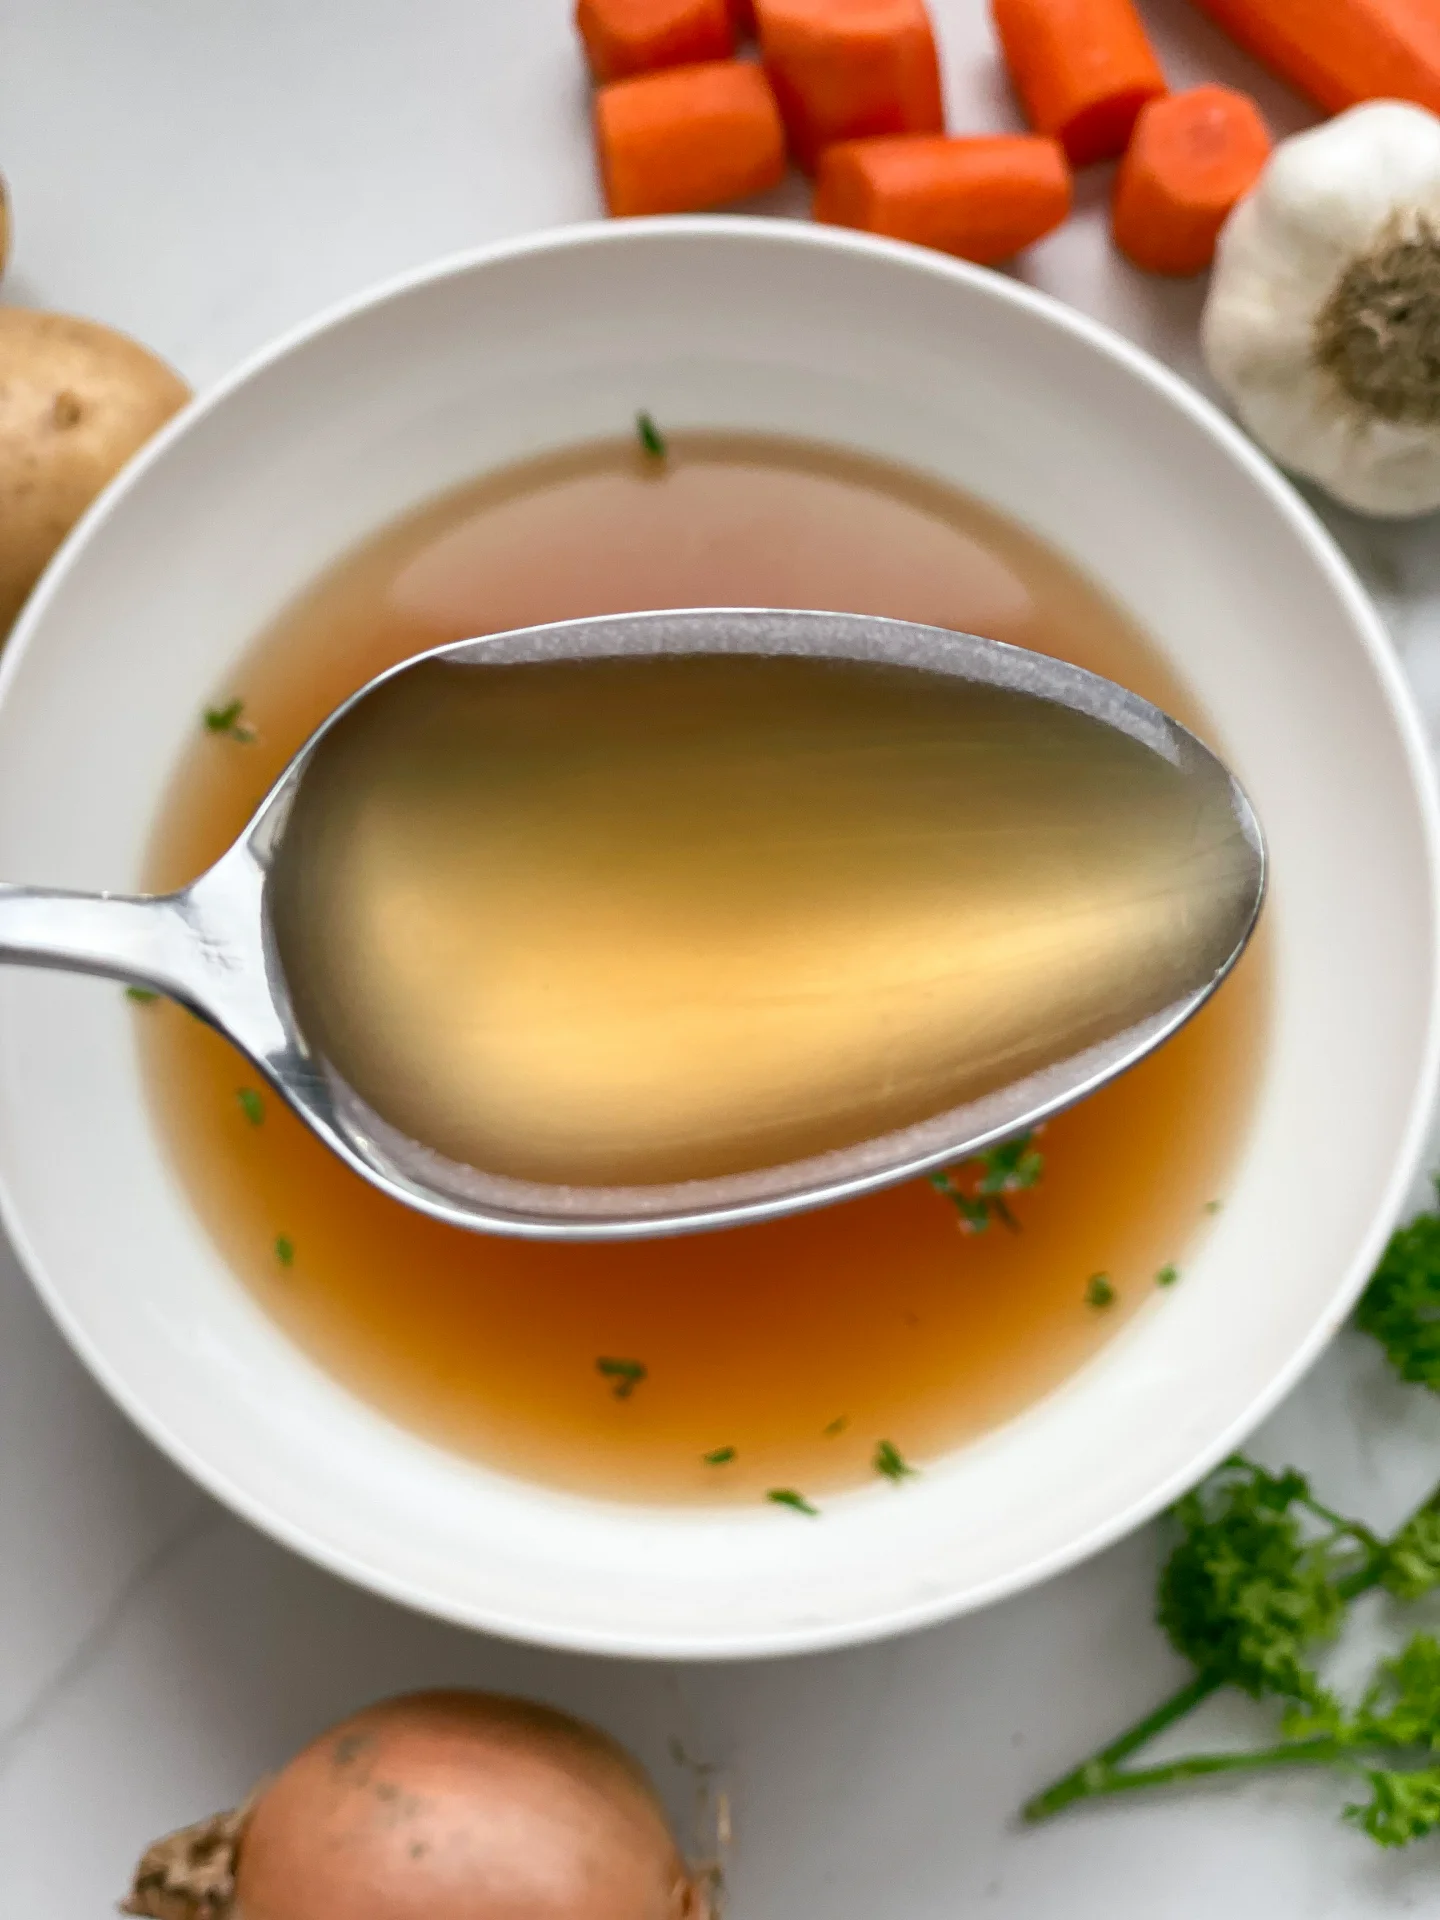
      Vegetable broth is a delicious, nourishing base for soups and stews, made by simmering fresh veggies and aromatic herbs. It’s easy, versatile, and full of flavor!

      3.5 HOURS

      EASY

      VEGAN

      INT.

      126 PER LITER
      (4 CUPS)

      COMFORT FOOD

      CLASSICS

      SOUP

      ALL YEAR

      INTRODUCTION

      ABOUT THE RECIPE

      Discover the magic of homemade vegetable broth! This simple, yet flavorful liquid gold is crafted by gently simmering a medley of fresh vegetables and aromatic herbs. Not only is it a healthier and most clean alternative to store-bought ones, but it also infuses your dishes with a depth of flavor that can only come from fresh, natural ingredients.

      How to serve:
      Vegetable broth is incredibly versatile. Use it as a rich base for soups and stews, adding layers of flavor to each spoonful. It’s perfect for deglazing pans, lending a savory note to sautéed dishes. Alternatively, enjoy it as a warm, comforting drink on its own, especially during chilly evenings. Mix in a dash of your favorite herbs or a squeeze of lemon for an extra zing!

      How to store:
      Vegetable broth keeps well in the refrigerator for up to a week in a sealed container. For longer storage, the broth can be preserved in boiled jars. This way, you’ll always have handy, homemade broth ready for your next culinary adventure!

      Hi, I'm Kimberly!

      Hi, I'm Kimberly.

      A passionate food lover who believes in the magic of homemade deliciousness that spreads love and warmth. Join me on this culinary adventure as I prepare wonderful dishes and let’s spread some happiness together!

      Kimberly the Zett Signature

      If you want to get to know me better, click here!


      Basic Vegetable Broth
      Basic Vegetable Broth
      Basic Vegetable Broth

      „Let’s make a piece of happiness“

      INGREDIENTS

      FOR 3 LITERS (3.2 qt)

      VEGETABLES

      • 400g carrots (14 oz.)
      • 2 onions
      • 200g celery root (7 oz.)
      • 100g leek (3.5 oz.)
      • 2 garlic cloves

      HERBS & SPICES

      • 1 bay leaf
      • 1 stem thyme
      • 1 large bunch of parsley
      • 5 cloves
      • 1/4 tsp coriander seeds
      • 1 tsp black peppercorns
      • 22g salt (approx. 2 1/2 tsp)
      • 1 tsp clarified butter
      Basic Vegetable Broth
      }

      ACTIVE: 10 min

      PASSIVE: 0 min

      PREPARATIONS

      Recommended Equipment
      • sharp knife
      • cutting board
      • large pot with lid
      • large bowl (or a medium-sized pot)
      • fine sieve (or a kitchen towel)
      • Wash the carrots, celery root, leek and parsley thoroughly and chop everything roughly.
      • Halve the onions and leave the skin on.
        }

        ACTIVE: 20 min

        PASSIVE: 3 hrs

        COOKING

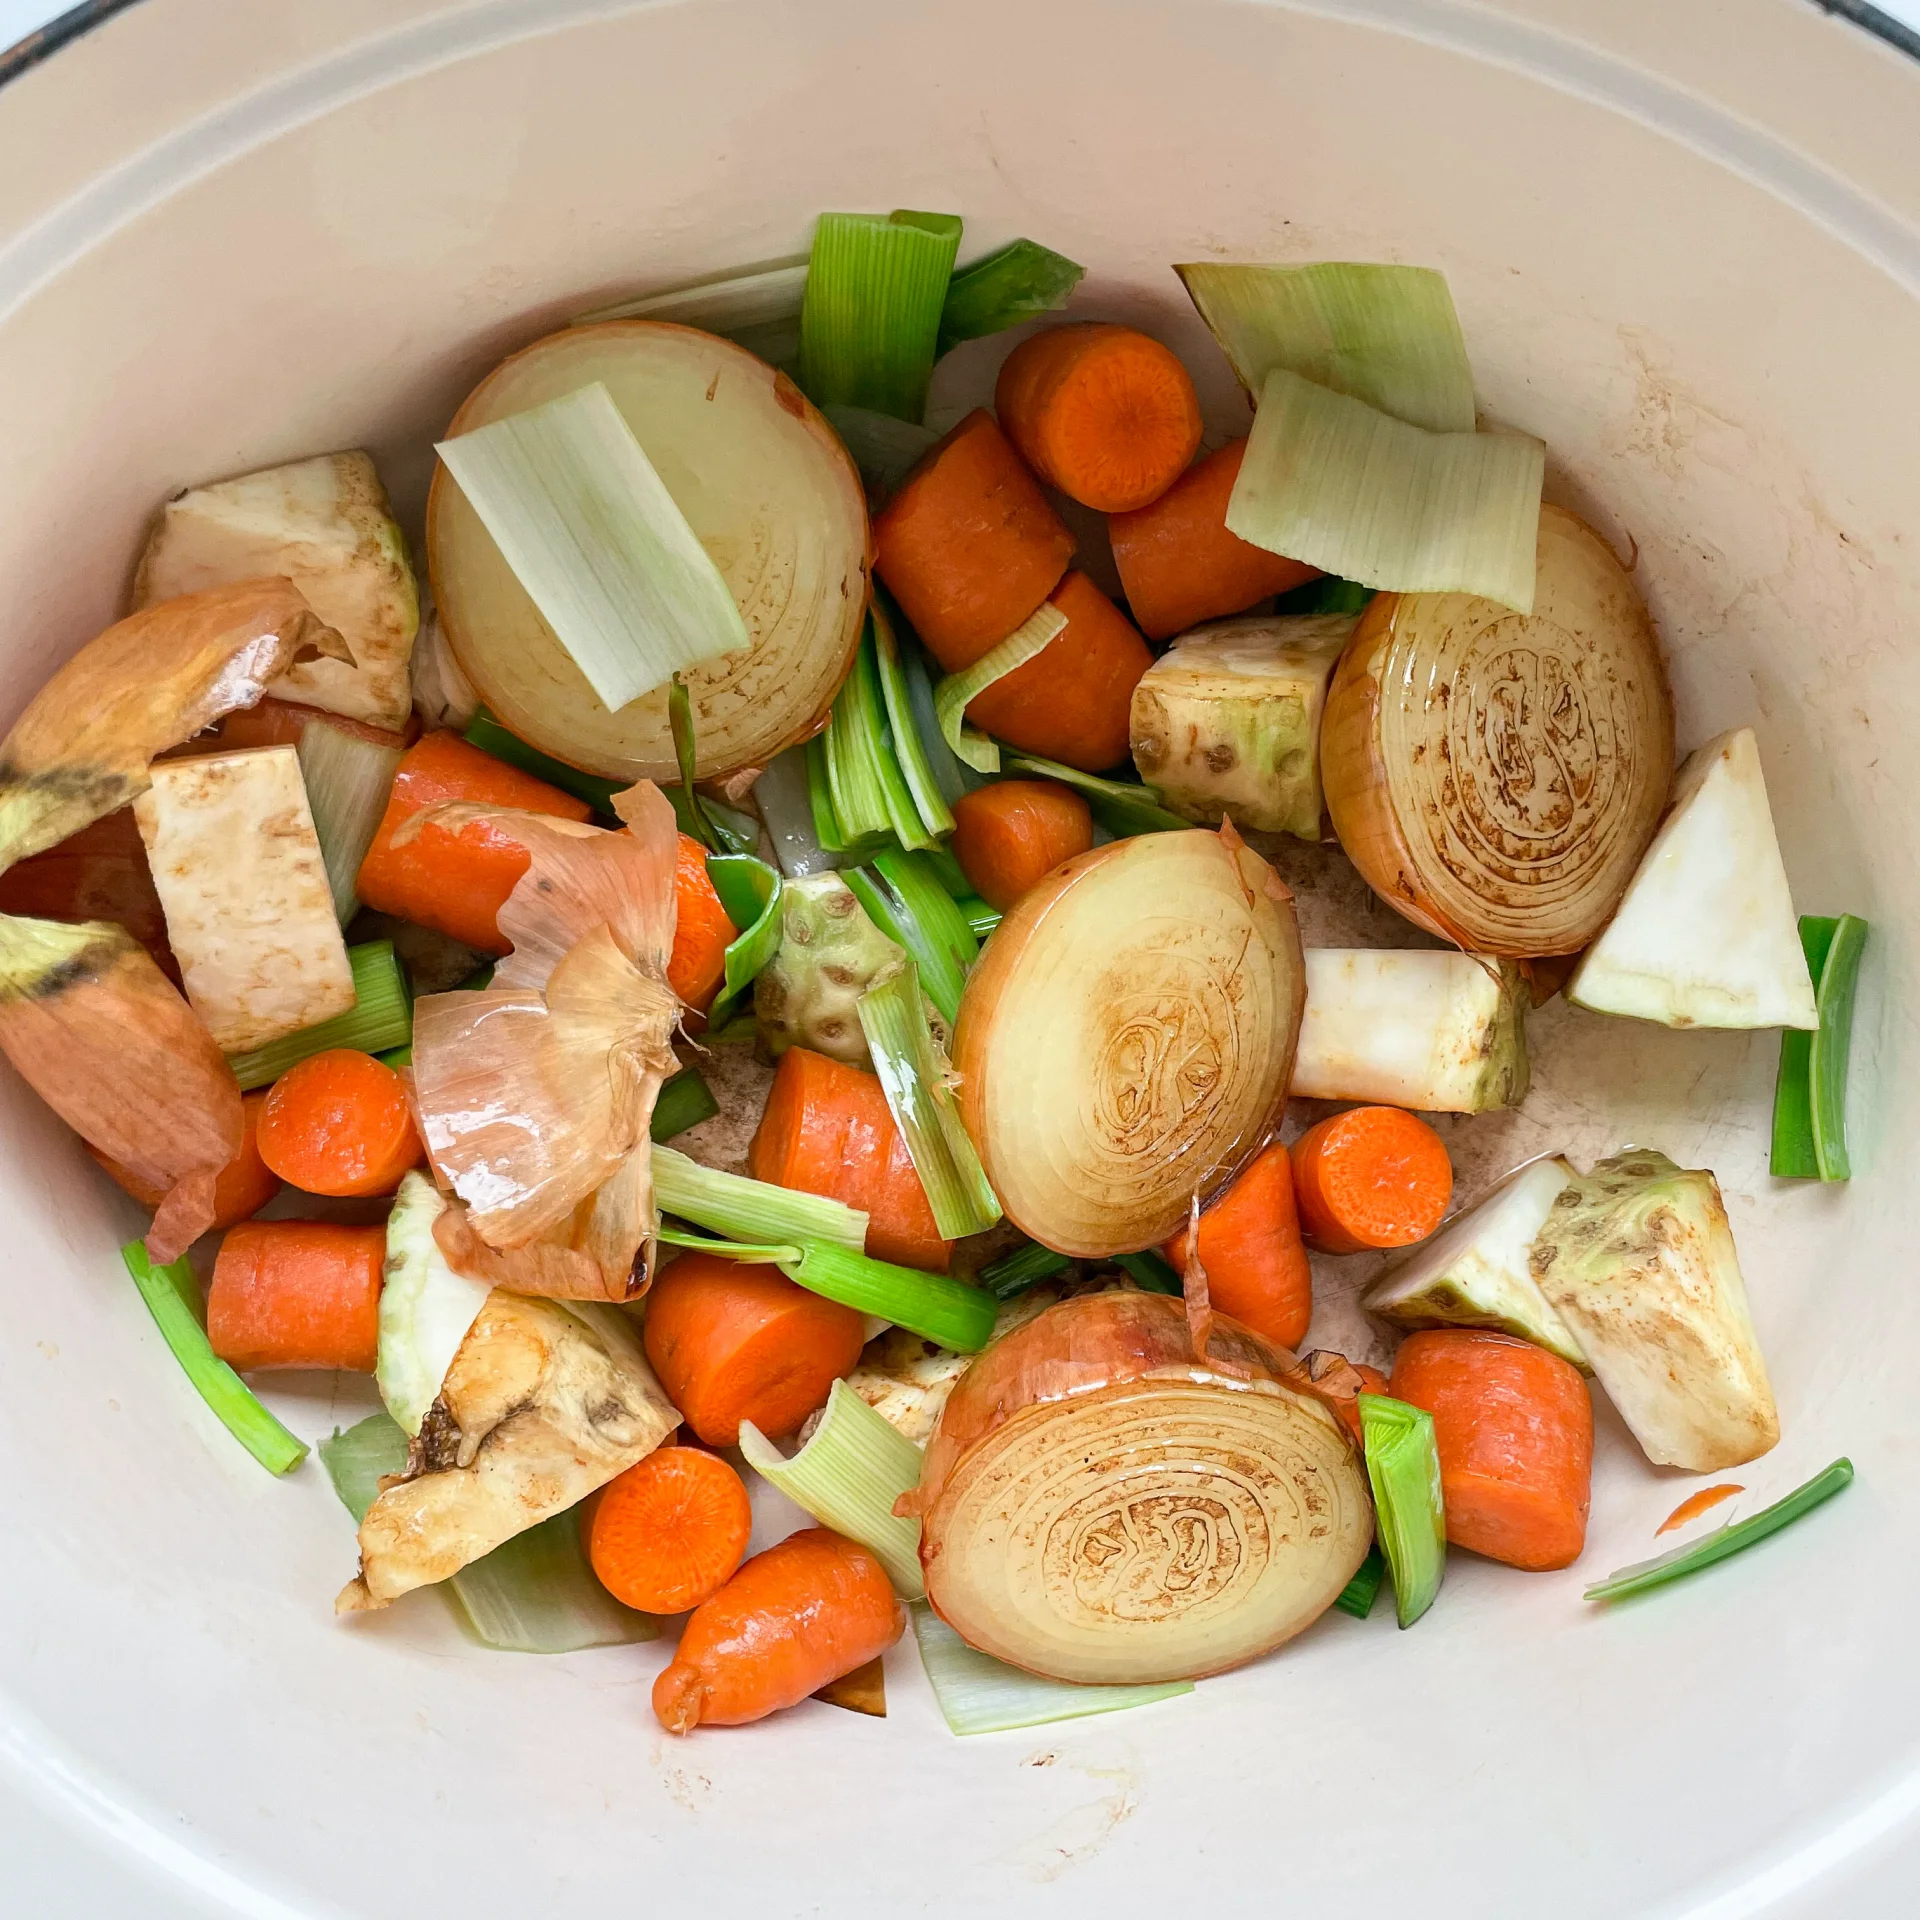
        1. Heat 1 tsp clarified butter in a large pan and fry the onions, carrots, celery root, leek and garlic cloves until they are browned.

        2. Fill the pot up with 3 liters of cold water and add the bay leaf, 5 cloves, 1 teaspoon of black peppercorns and 1 bunch of parsley.

        3. Now put the lid on and bring to the boil once at a high temperature. As soon as it boils, turn the flame down to the lowest setting and leave the liquid to simmer in the pan with the lid on for 2 hours.

        4. After the 2 hours, remove the pot from the heat. Now remove the overcooked vegetables, herbs and spices from the broth.

        5. Strain the liquid through a fine sieve or kitchen towel into a medium-sized pot. Then season with salt. Add between 5g and 7g of salt per liter of broth, depending on taste.

        6. Allow the broth to cool completely.

        NOTE: The calorie information may vary depending on the product used, country and region.

        Easy Ciabatta Buns

        Easy Ciabatta Buns

        Easy Ciabatta Buns

        Easy Ciabatta Buns

        November 30, 2023 by Kimberly

        Soft and airy, easy ciabatta buns are perfect for sandwiches. Their golden crust and light texture make them a delightful choice for any meal or snack.

        4 HOURS

        INTERMEDIATE

        VEGAN

        ITALIAN

        234 PER BUN

        FLUFFY

        EVERYDAY

        BREAD

        ALL YEAR

        INTRODUCTION

        ABOUT THE RECIPE

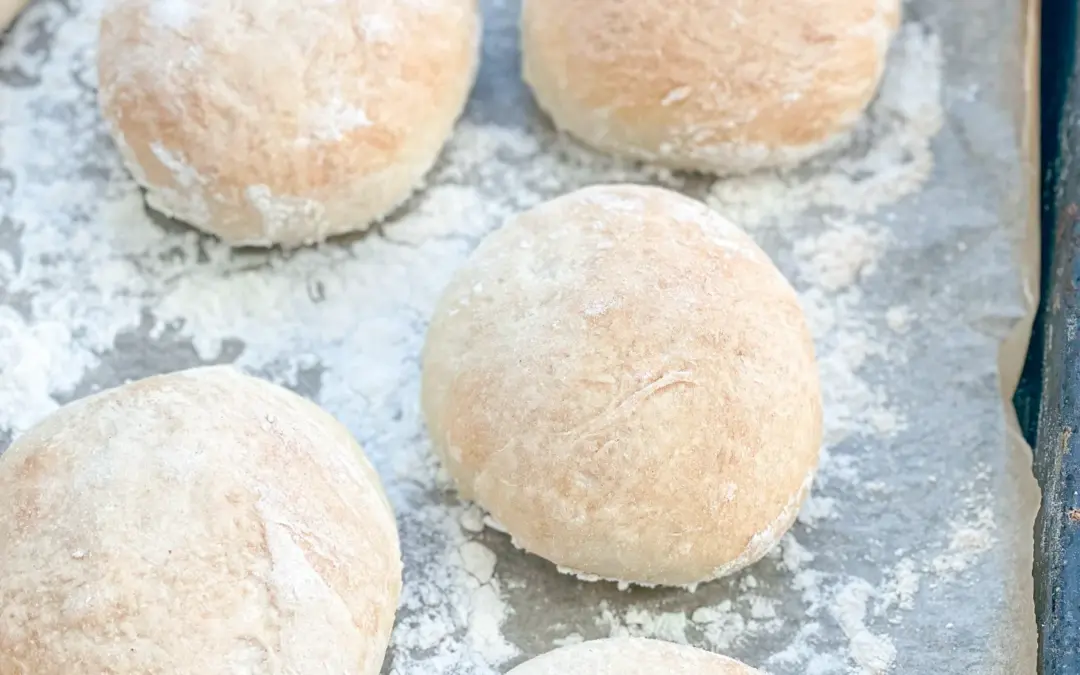
        Savor the simplicity of our easy ciabatta buns—a homemade delight with a golden crust and a soft, airy interior. Perfect for sandwiches or alongside a hearty meal, these buns require minimal effort for maximum flavor.

        How to serve:
        Serve these ciabatta buns fresh out of the oven for the ultimate experience. Ideal for crafting gourmet sandwiches or simply slathering with butter, their versatile nature complements any culinary creation. Embrace the warm, fluffy texture and revel in the homemade goodness.

        How to store:
        To keep your ciabatta buns at their best, store them in a paper bag or bread box at room temperature. Avoid airtight containers to maintain the crisp crust. For longer freshness, freeze individually wrapped buns. Reheat in the oven for a few minutes to recapture that just-baked perfection.

        Hi, I'm Kimberly!

        Hi, I'm Kimberly.

        A passionate food lover who believes in the magic of homemade deliciousness that spreads love and warmth. Join me on this culinary adventure as I prepare wonderful dishes and let’s spread some happiness together!

        Kimberly the Zett Signature

        If you want to get to know me better, click here!


        Easy Ciabatta Buns
        Easy Ciabatta Buns
        Easy Ciabatta Buns

        „Let’s make a piece of happiness“

        INGREDIENTS

        For 8 BUNS

        DOUGH

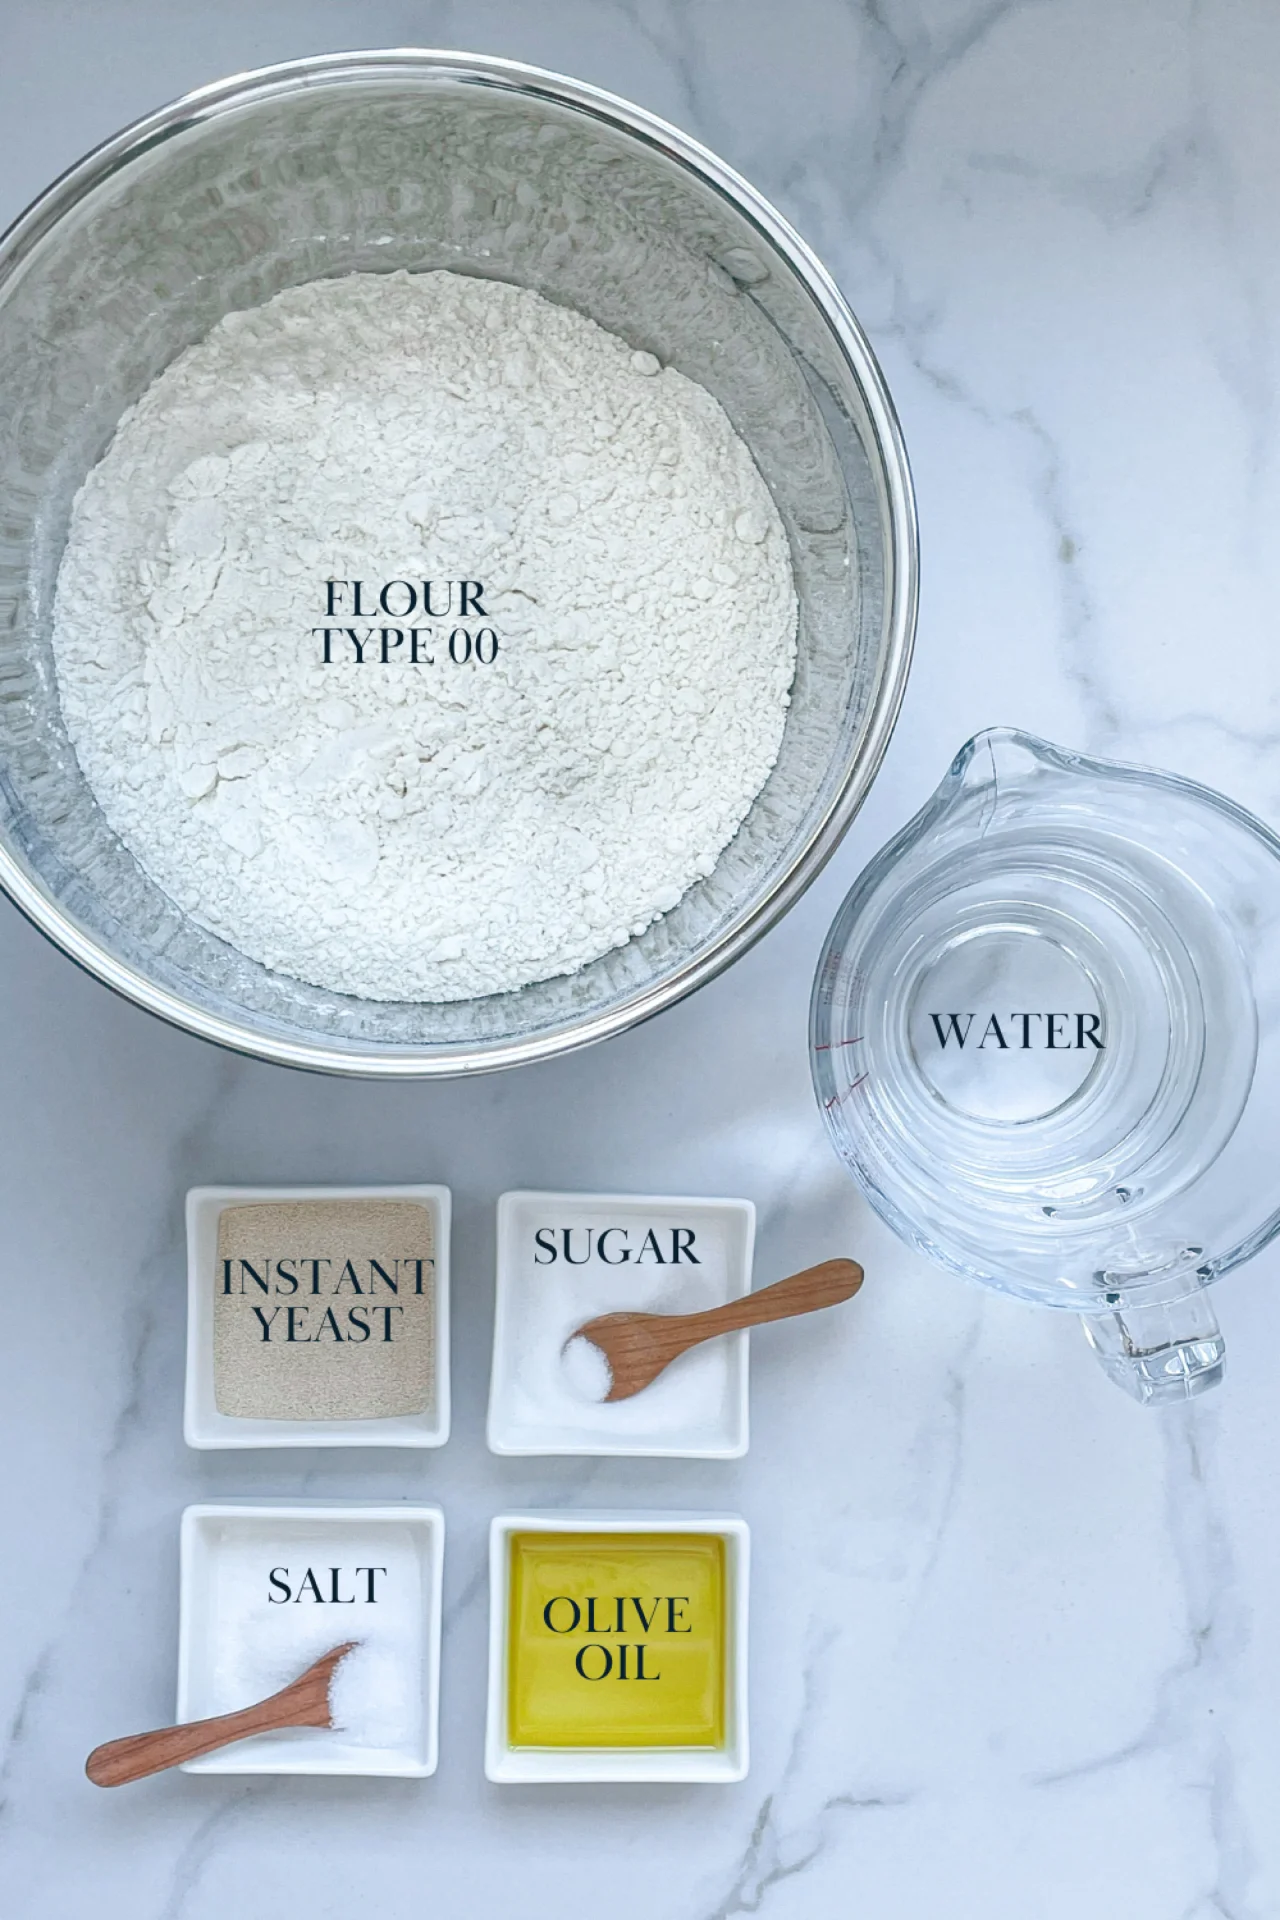
        • 350ml lukewarm water (12 fl. oz.)
        • 1 tsp sugar
        • 1 tbsp oil
        • 7g instant yeast (2 tsp)
        • 500g flour type 00 (4 cups + 1 heaped tbsp)
        • 1 tsp salt
        Easy Ciabatta Buns
        }

        ACTIVE: 0 min

        PASSIVE: 0 min

        PREPARATIONS

        Recommended Equipment
        • large bowl
        • whisk
        • spatula
        • dough scraper (or blunt knife)
        • casserole dish (or ovenproof dish)
        • None
          }

          ACTIVE: 5 min

          PASSIVE: 4 hrs
          COOKING

          1. Place the ingredients in a large bowl in the following order: 350ml (12 fl. oz.) warm water, 1 tsp sugar, 1 tbsp olive oil, 7g (2 tsp) dry yeast. Mix everything well with a whisk.
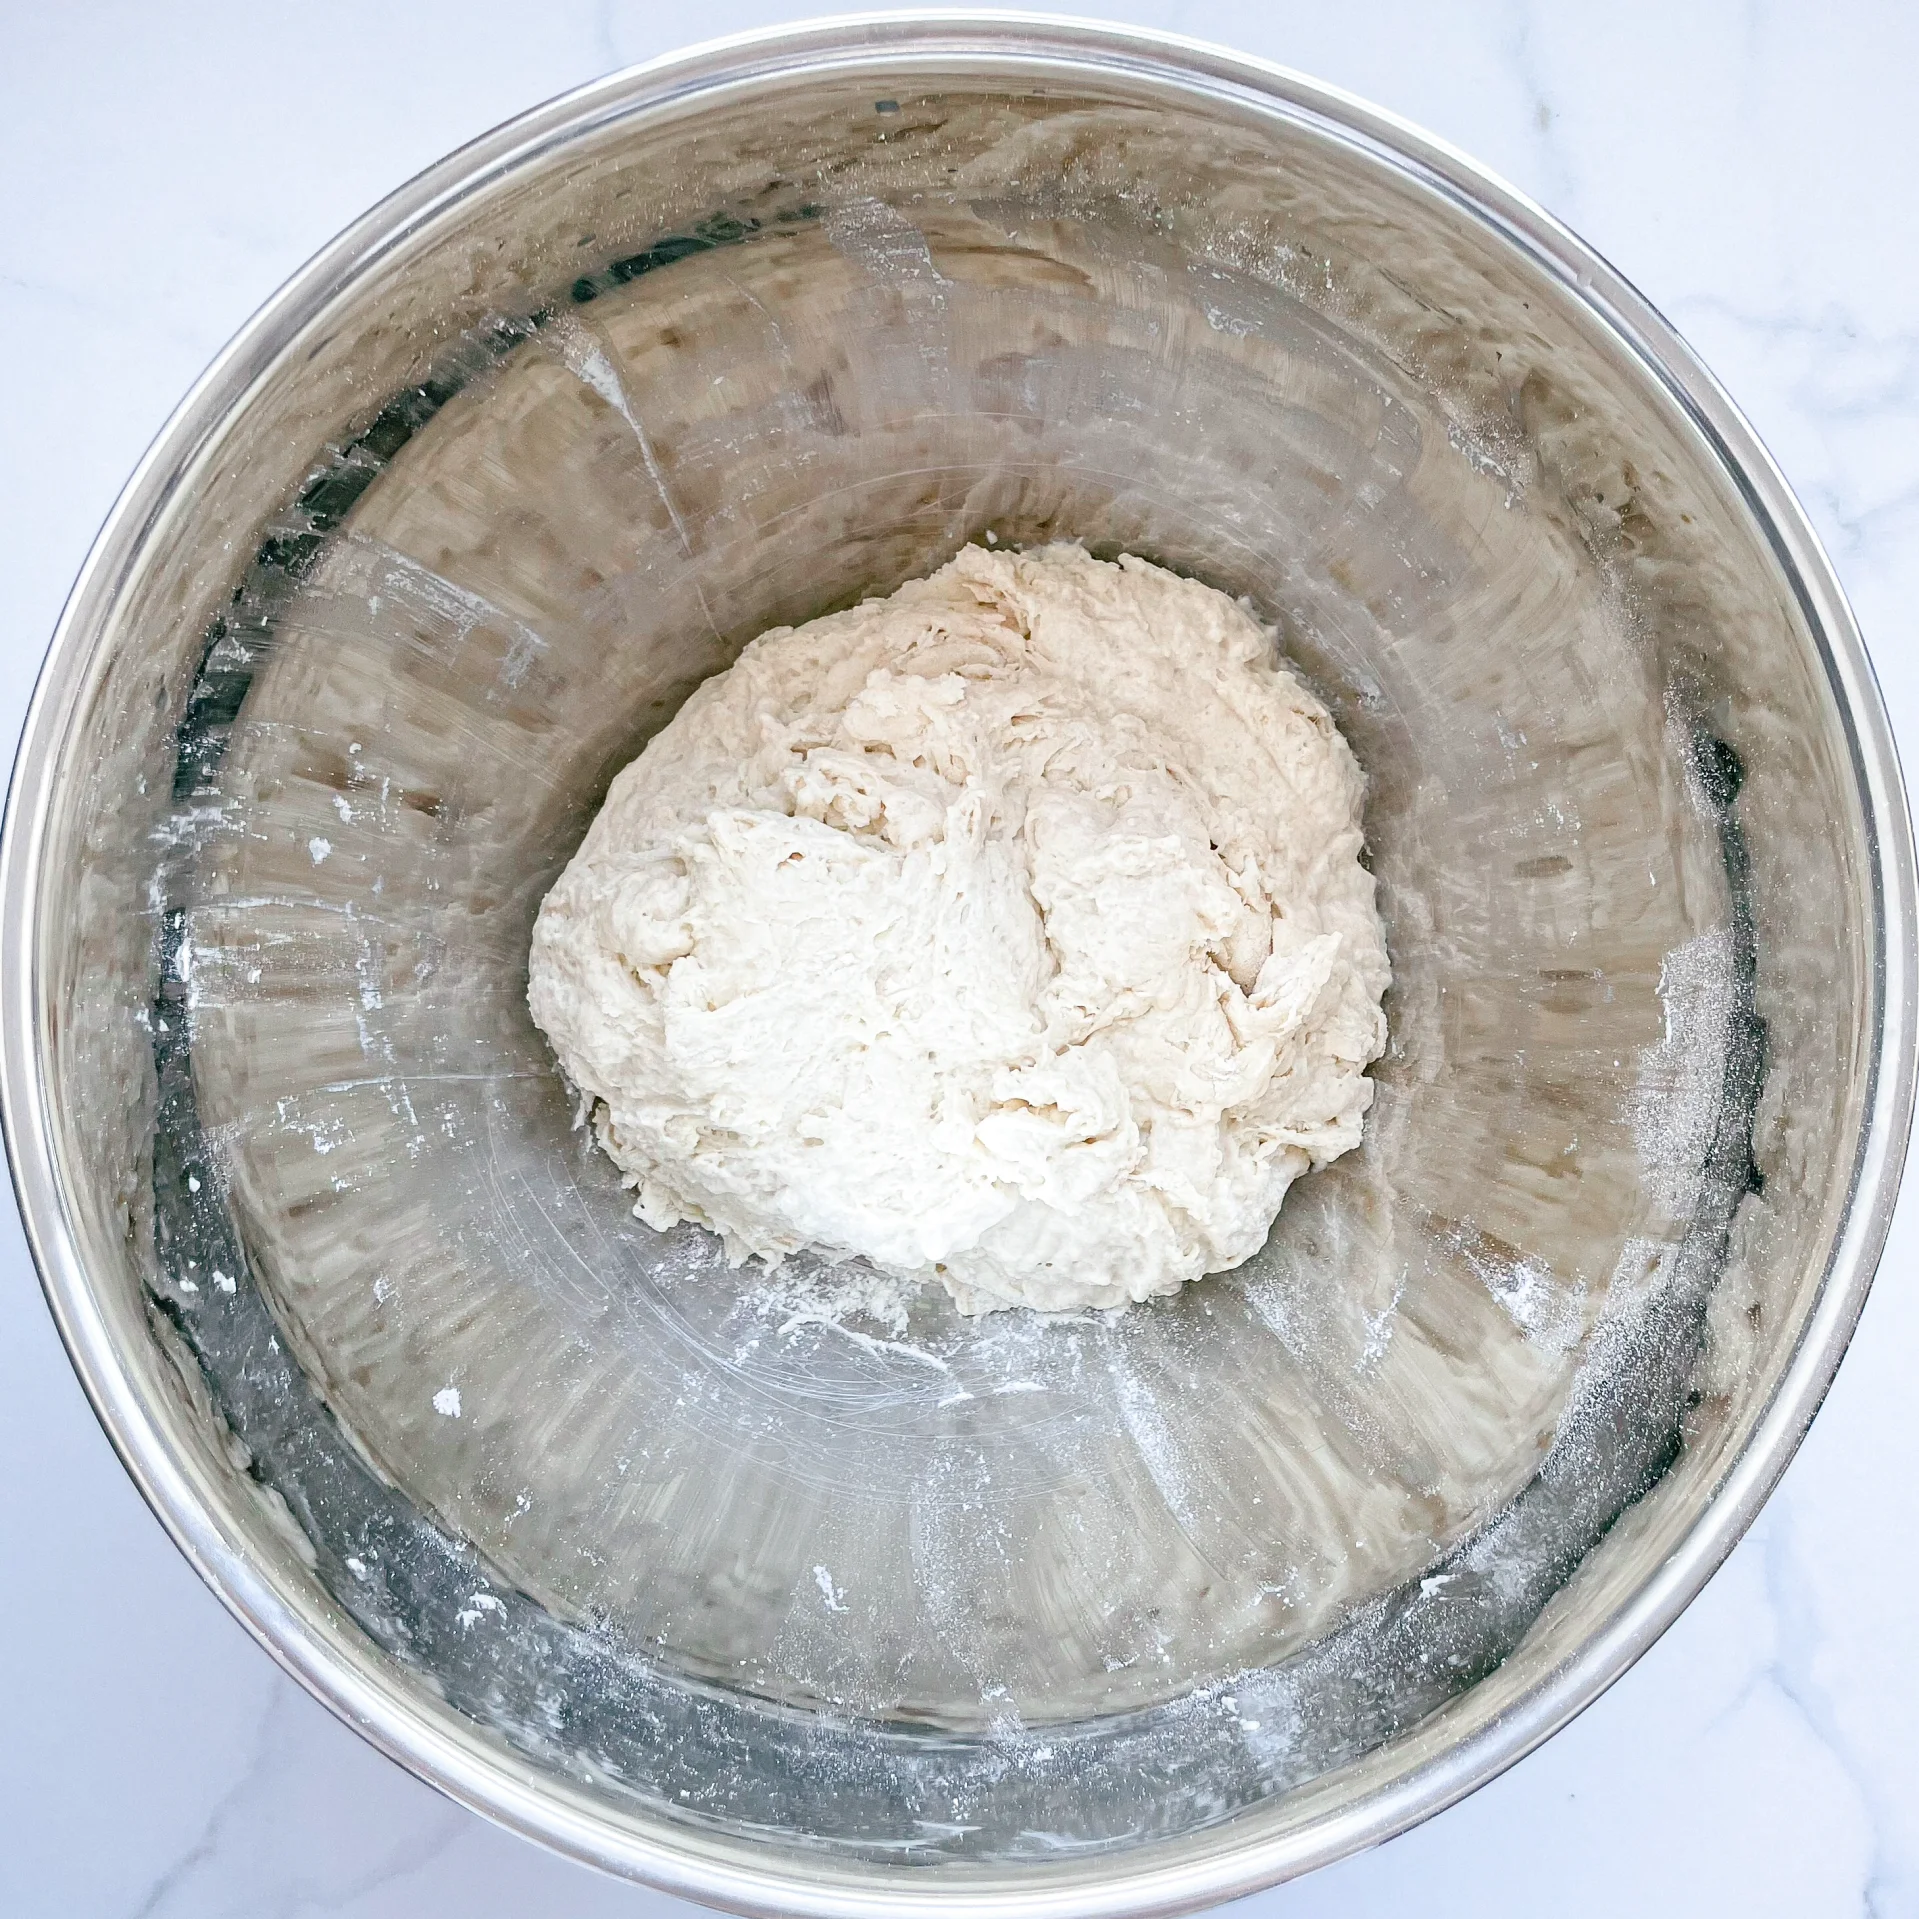
          2. Now add 500g (4 cups + 1 heaped tbsp) type 00 flour and 1 tsp salt. Mix everything well with a spatula so that the flour is incorporated and the edges can be scraped off. Now cover the bowl with a towel for 20 minutes and leave to rest.

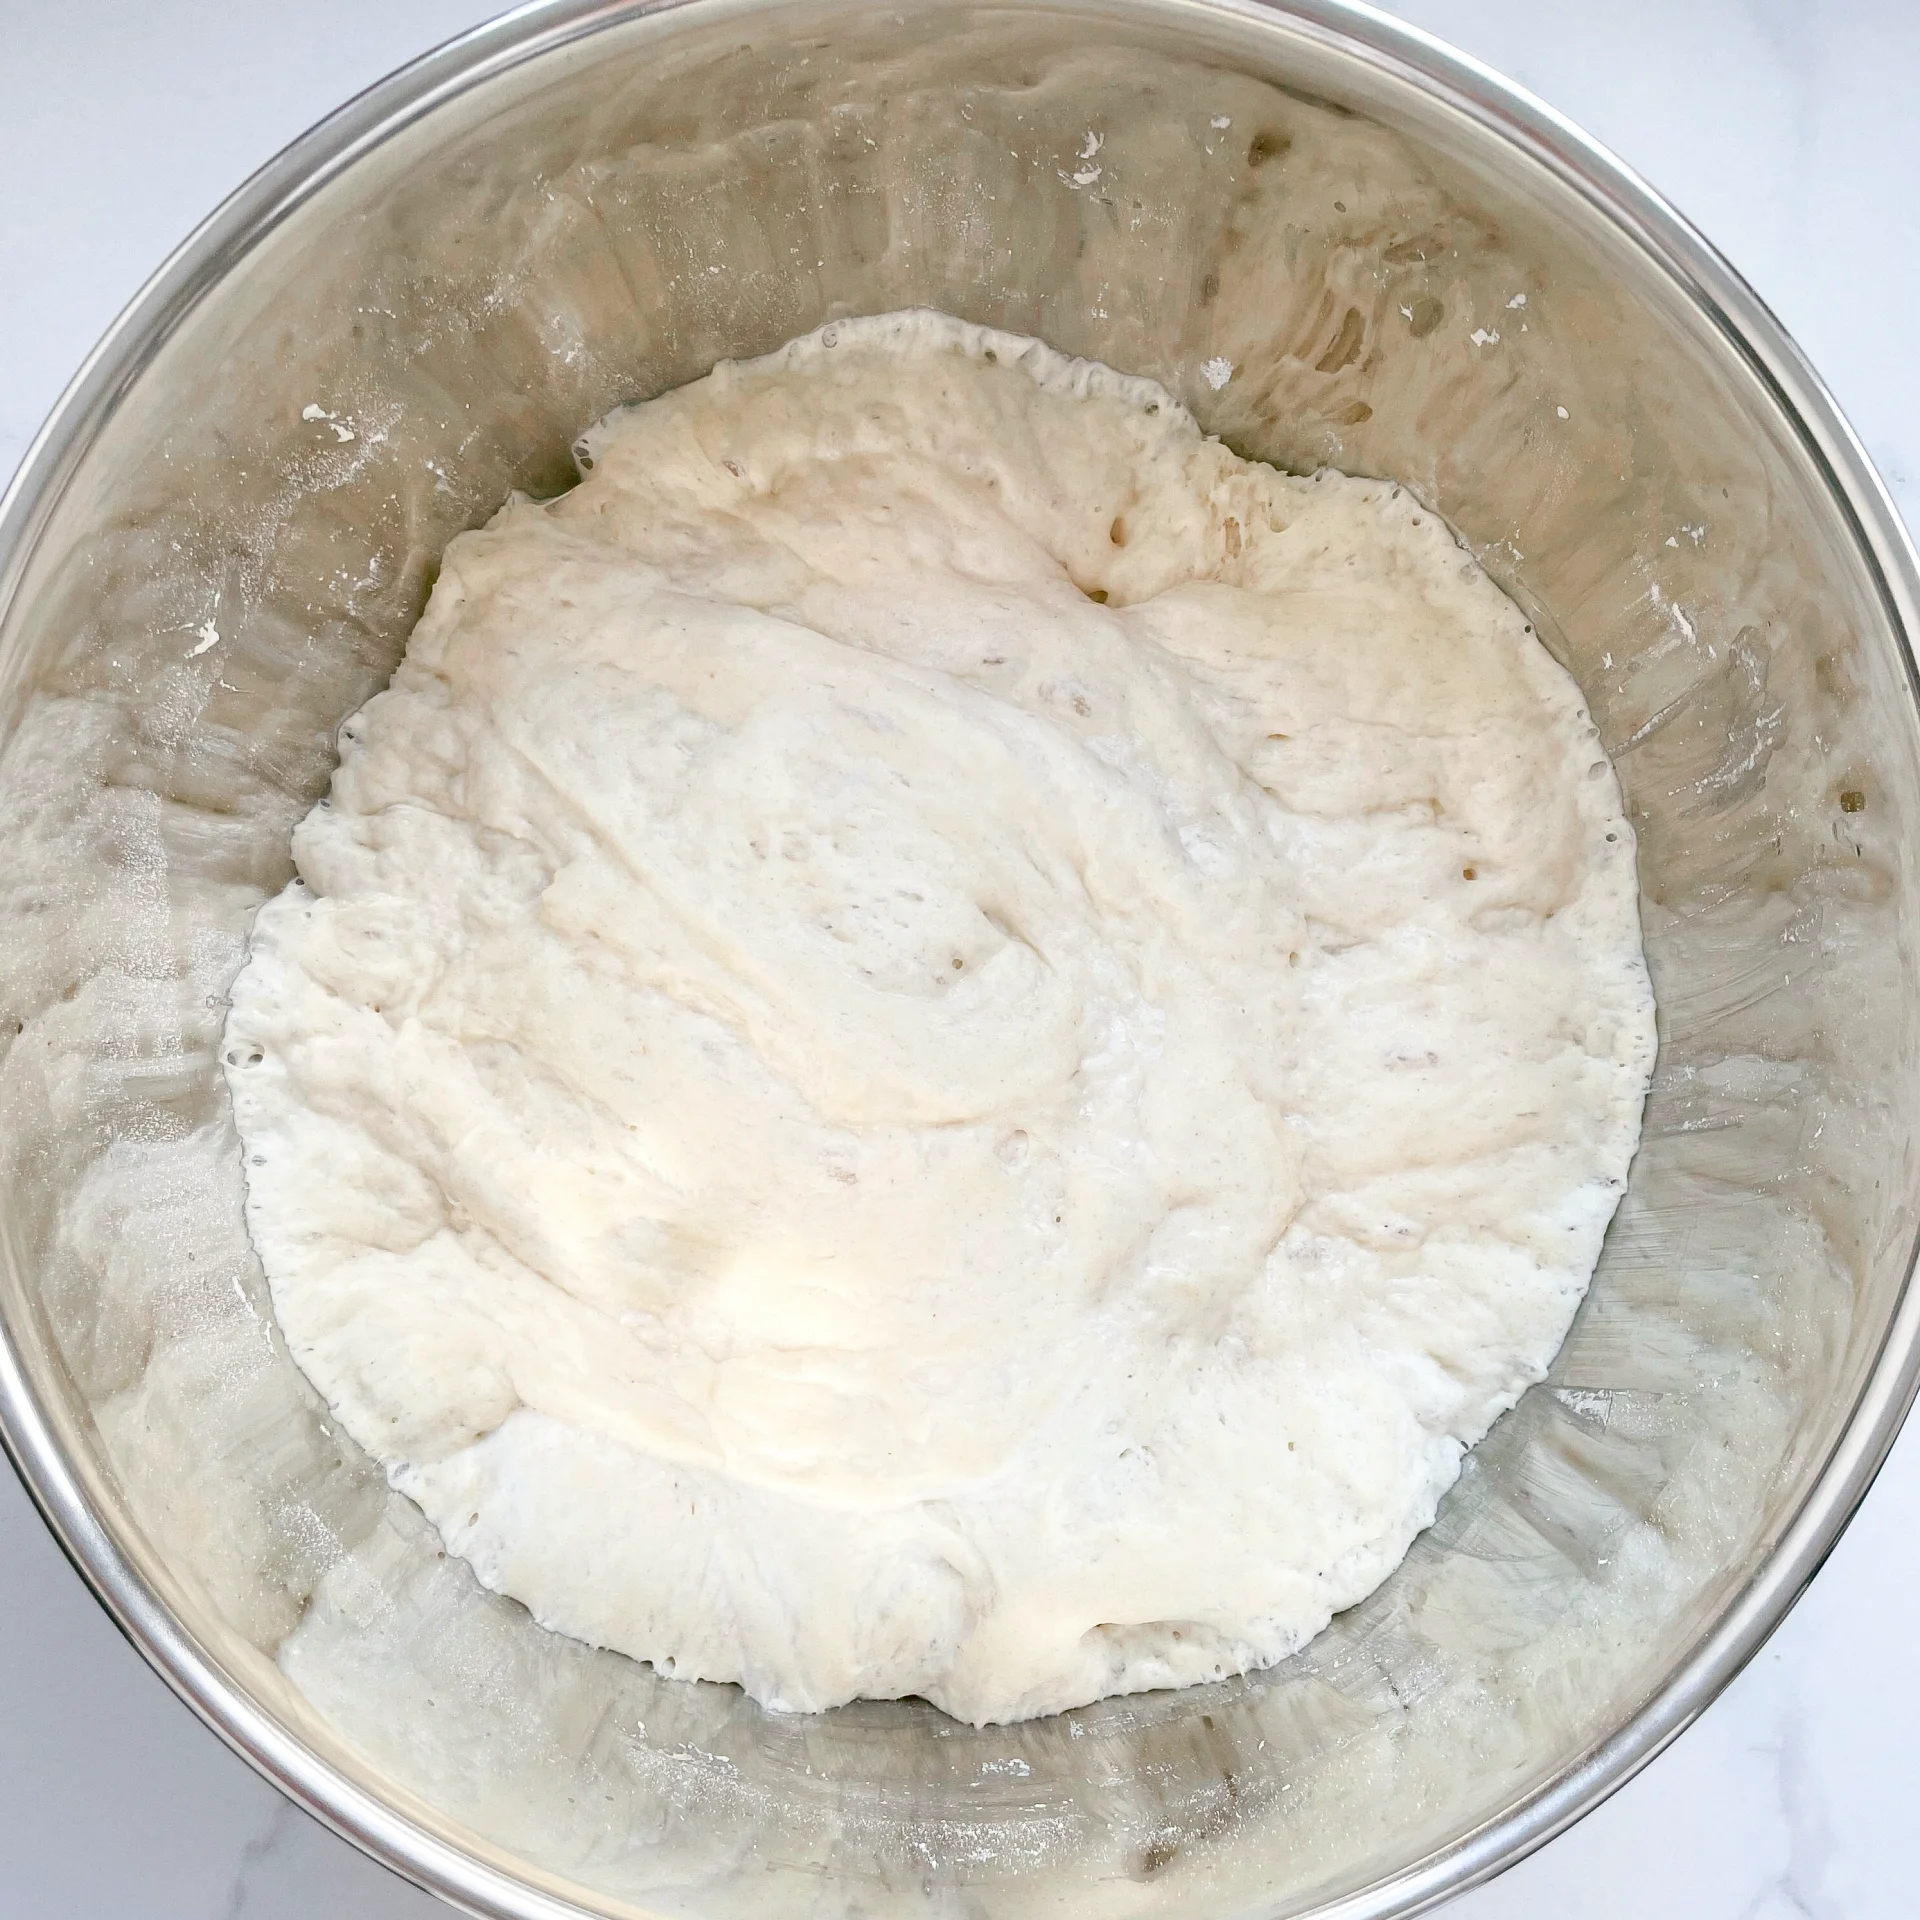
          3. Wet your hands with a little water and grab the dough from four sides one after the other, pull it up and fold it in the middle so that the dough becomes rounder and has tension. Cover the bowl with a towel again and leave to rest for another 20 minutes.

          4. Repeat step 3 and cover the bowl with a towel again, but this time leave the dough to rest for approx. 2 hours.

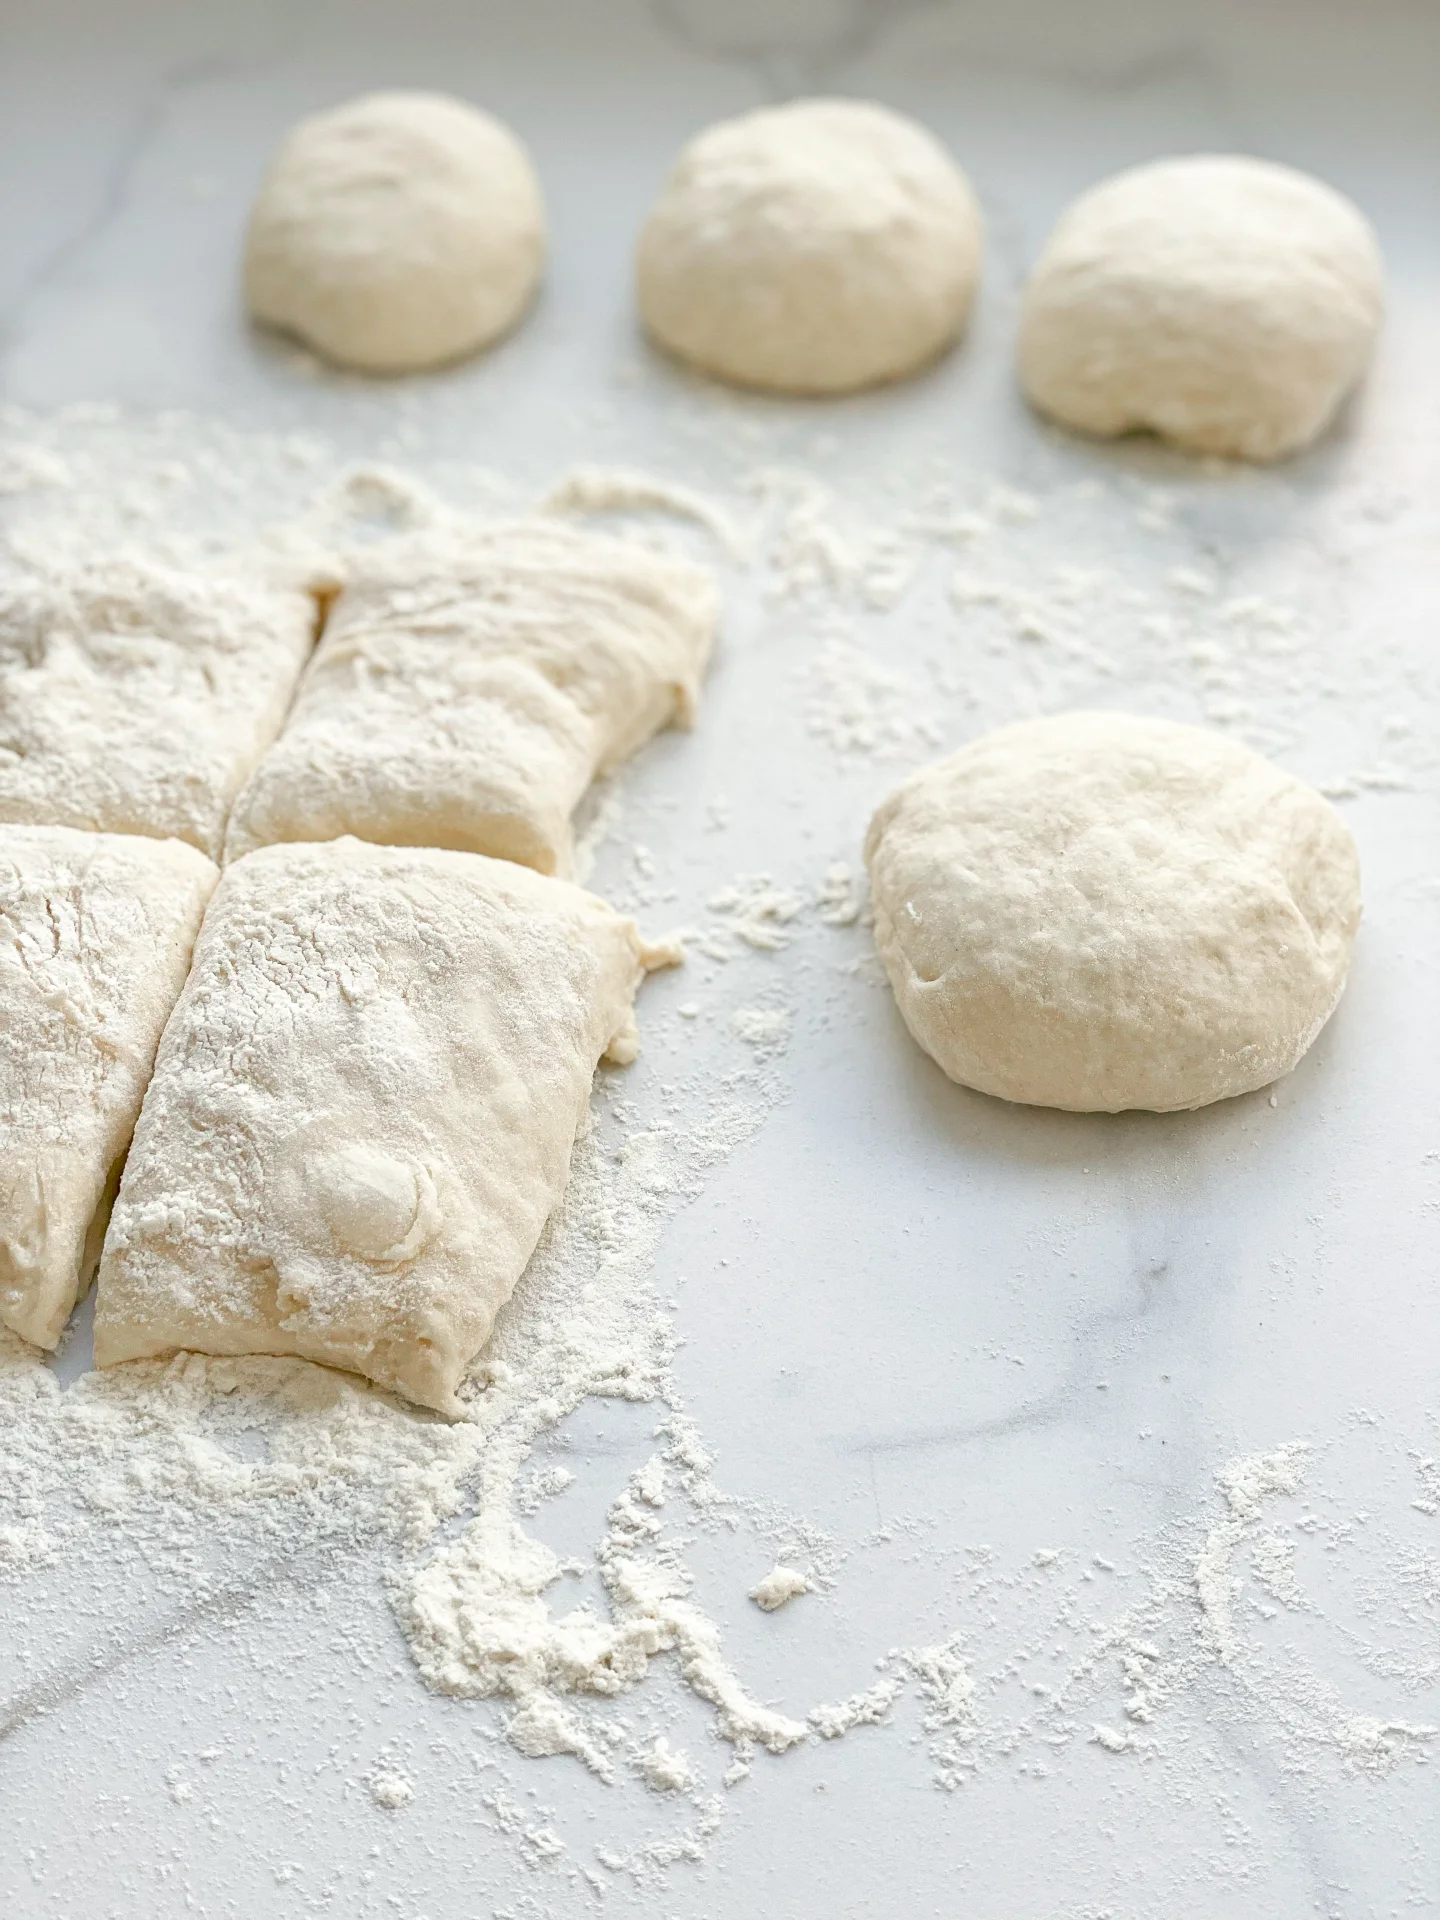
          5. Sprinkle a little flour on a work surface and place the dough on top and also sprinkle with a little flour. Spread the dough out a little and divide into 8 equal portions. Pull the dough pieces in a semicircle on the worktop so that there is tension on the surface.

          6. Place baking paper on a baking tray and sprinkle with a little flour. Place the dough pieces on top, cover again with a towel and leave to rise for another hour.

          7. Now heat the oven to 230°C (446°F). Place a baking dish or ovenproof dish with water on the bottom of the oven. Instead of the bowl of water, you can also simply pour water into the oven with a spray bottle as soon as the tray is in the oven and then quickly close the door.

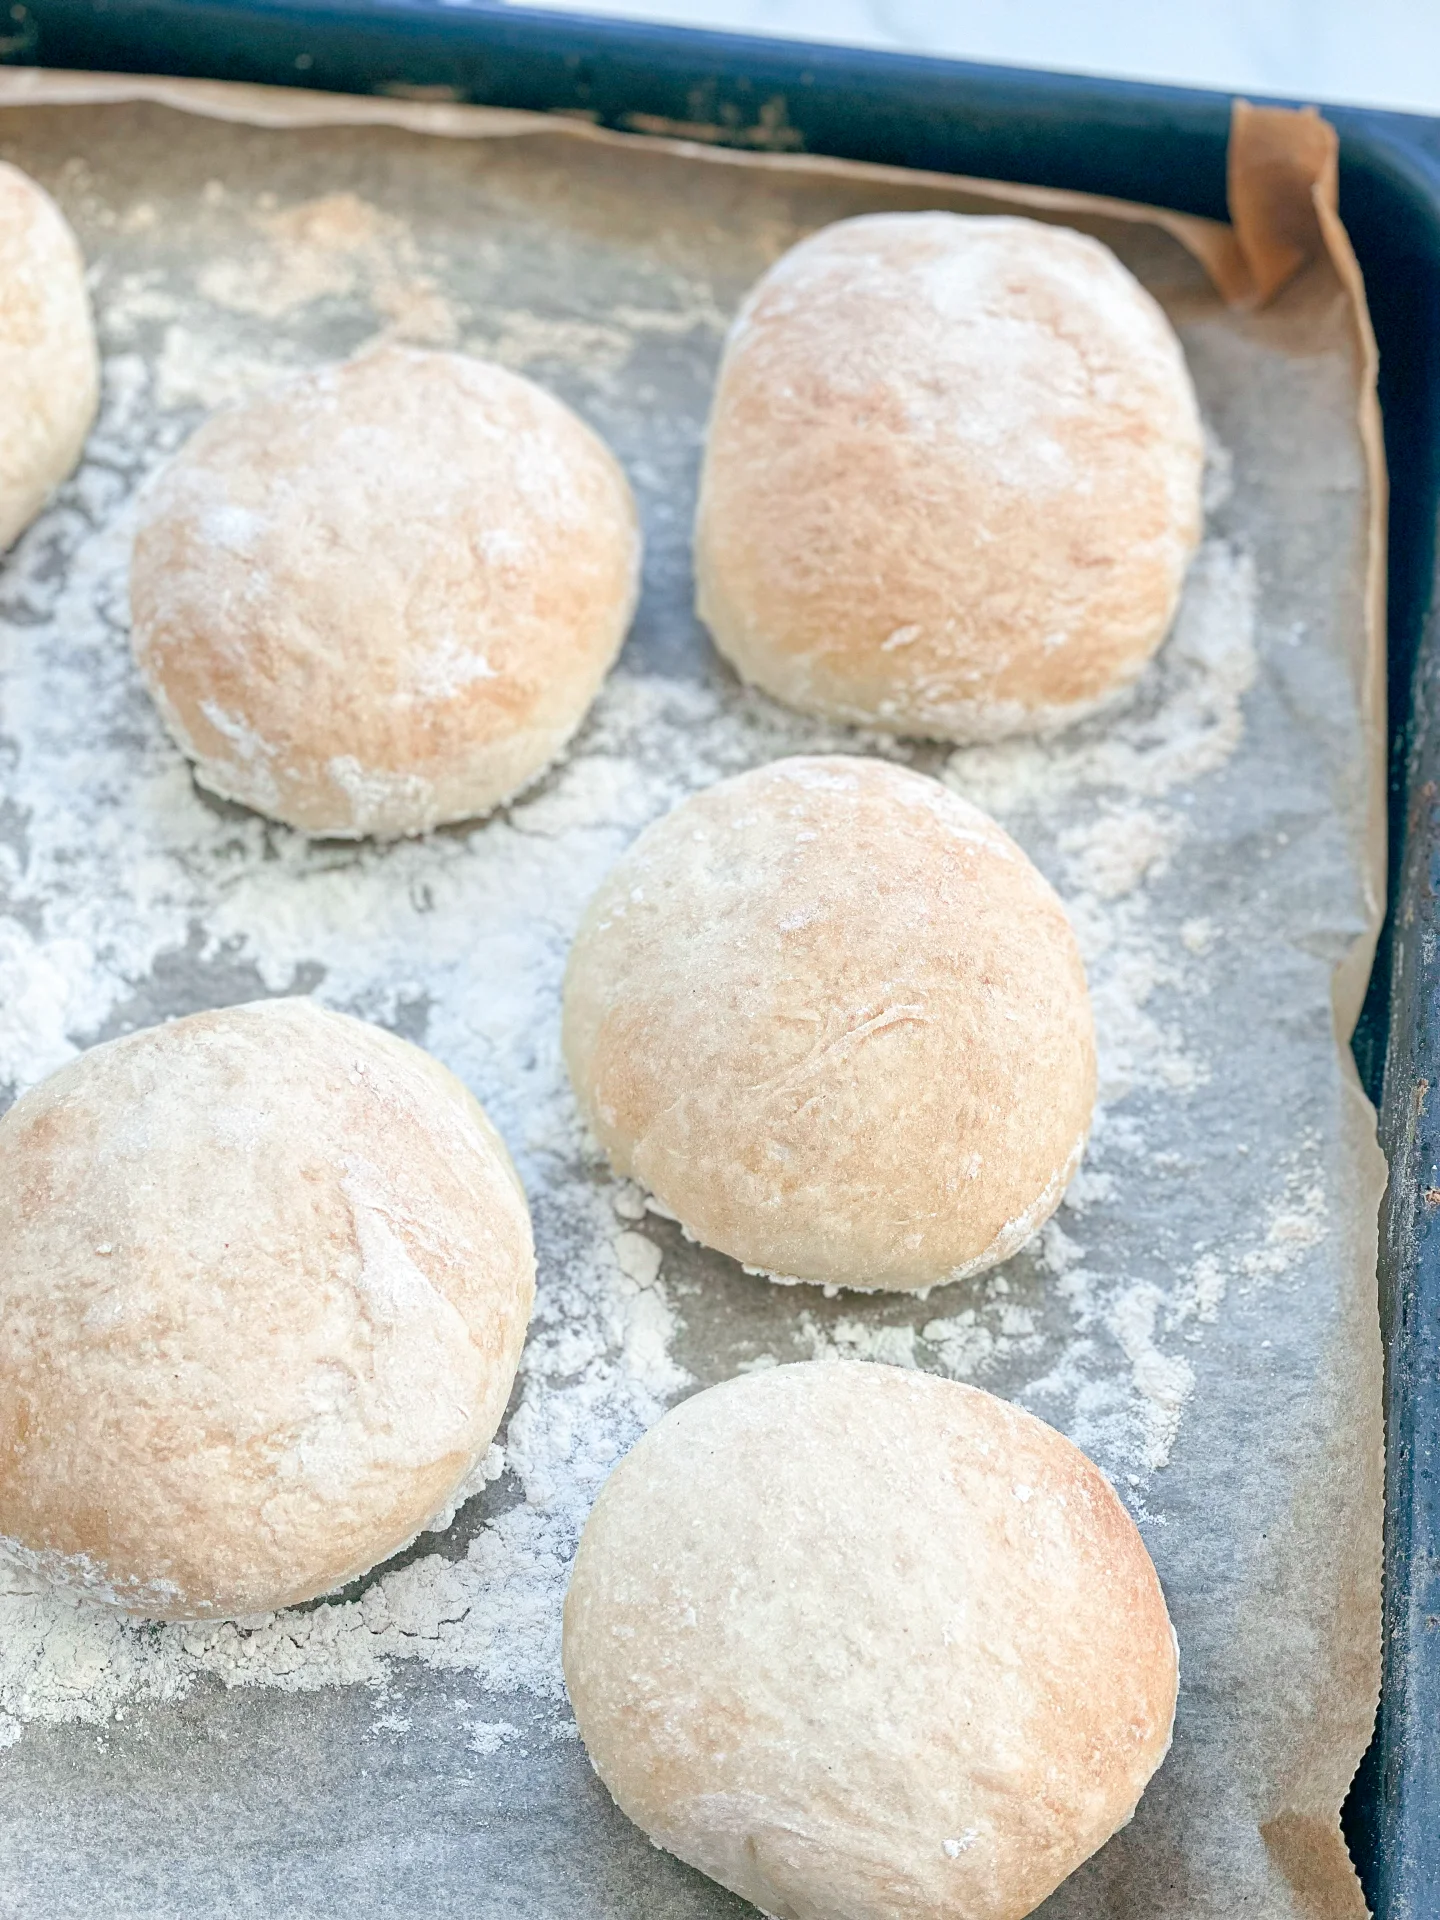
          8. Once the oven has heated up, place the baking tray with the rolls in the oven and bake for 10 minutes. Then remove the baking dish with water from the oven and bake for a further 10-15 minutes until the buns are golden brown.

          NOTE: The calorie information may vary depending on the product used, country and region.