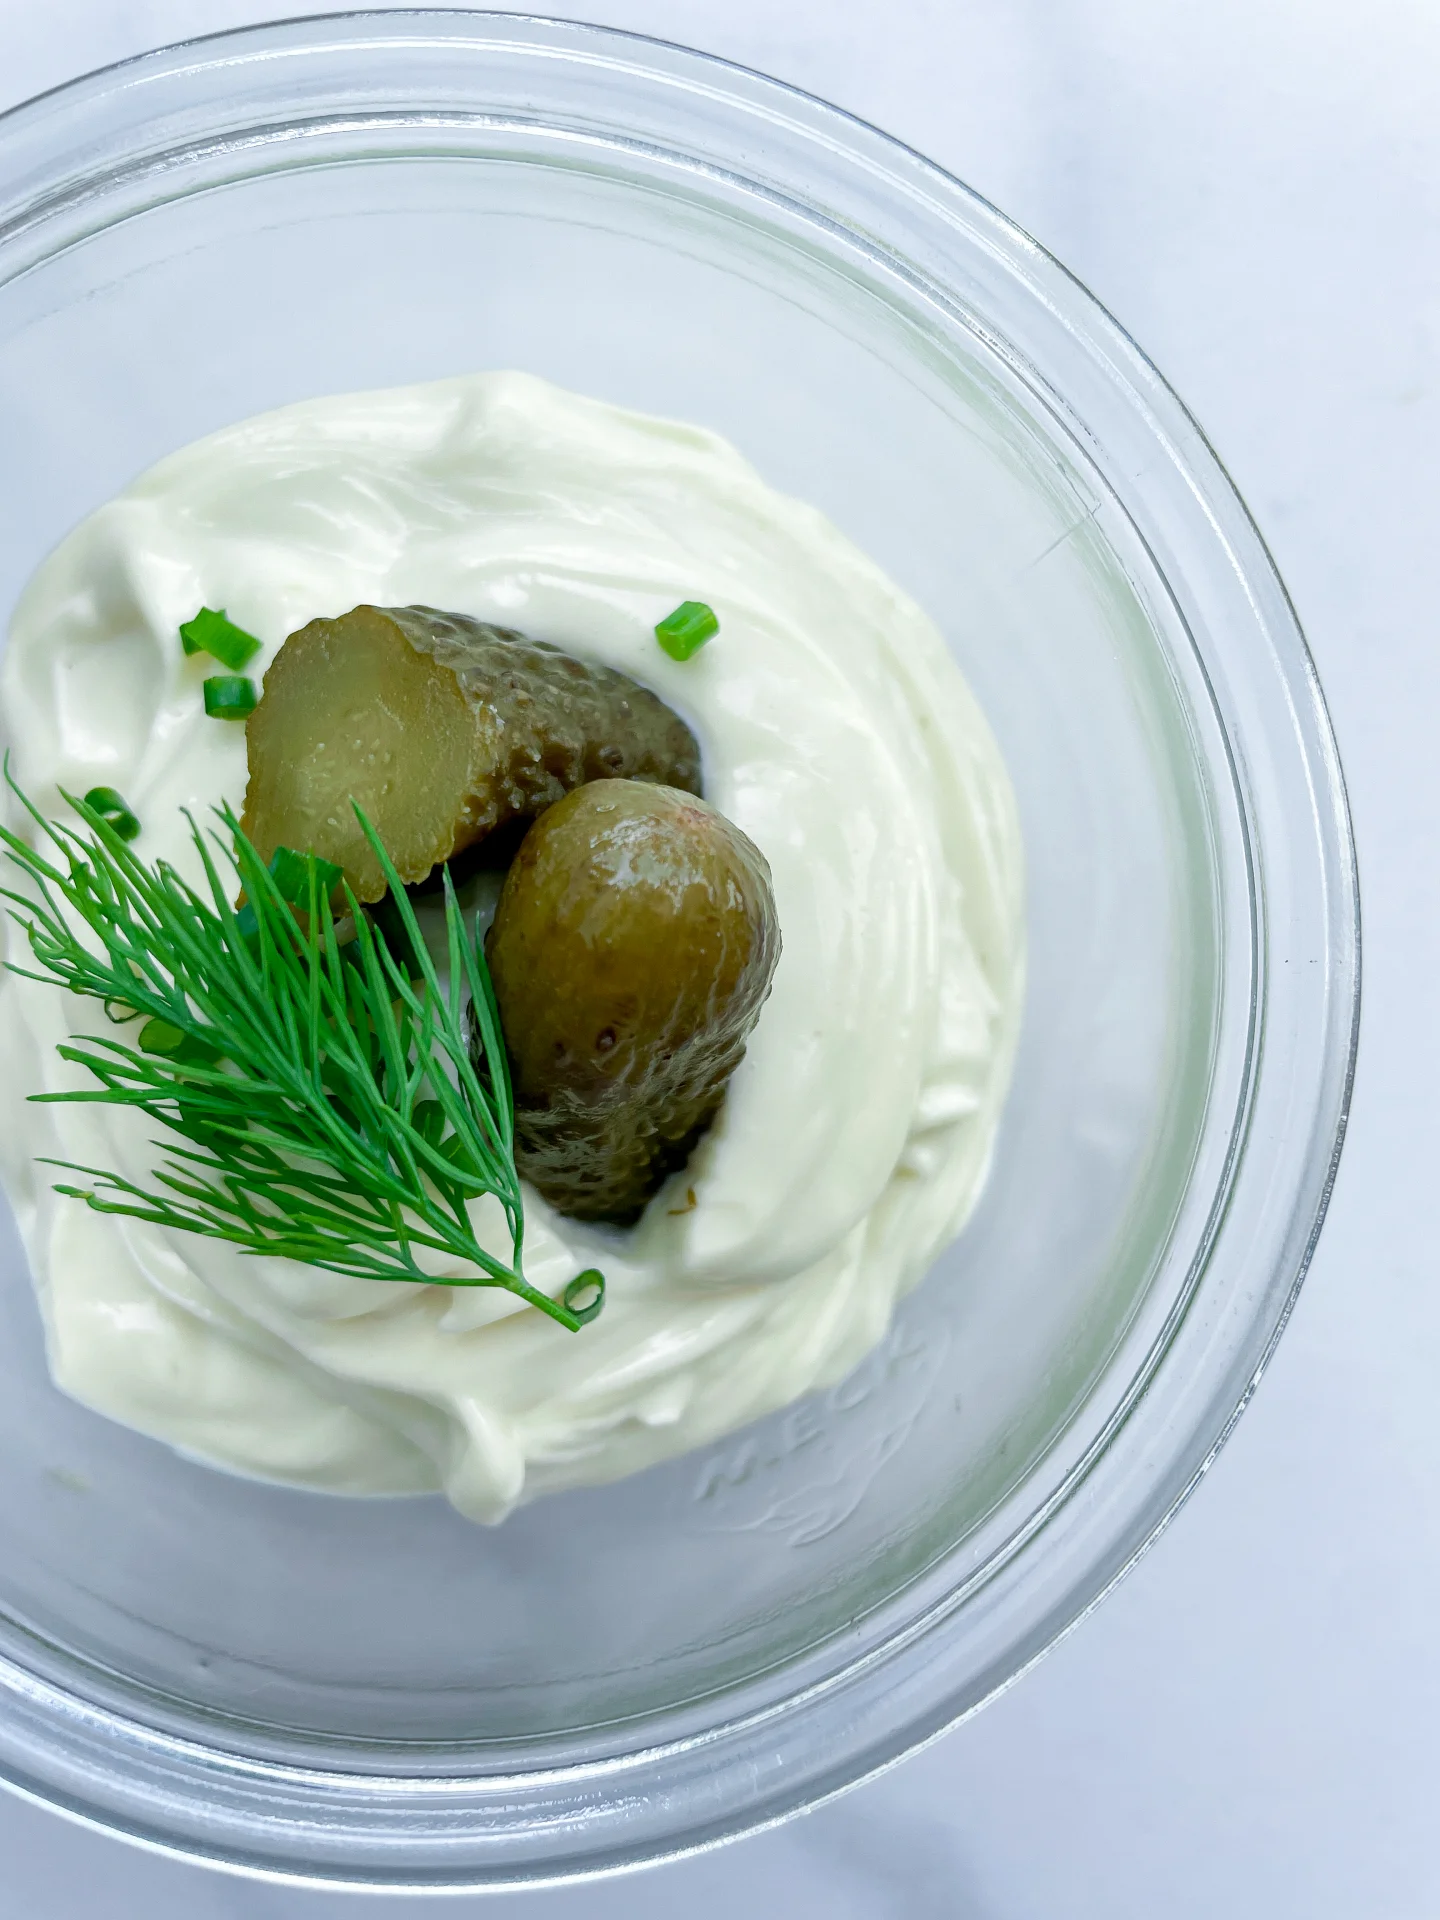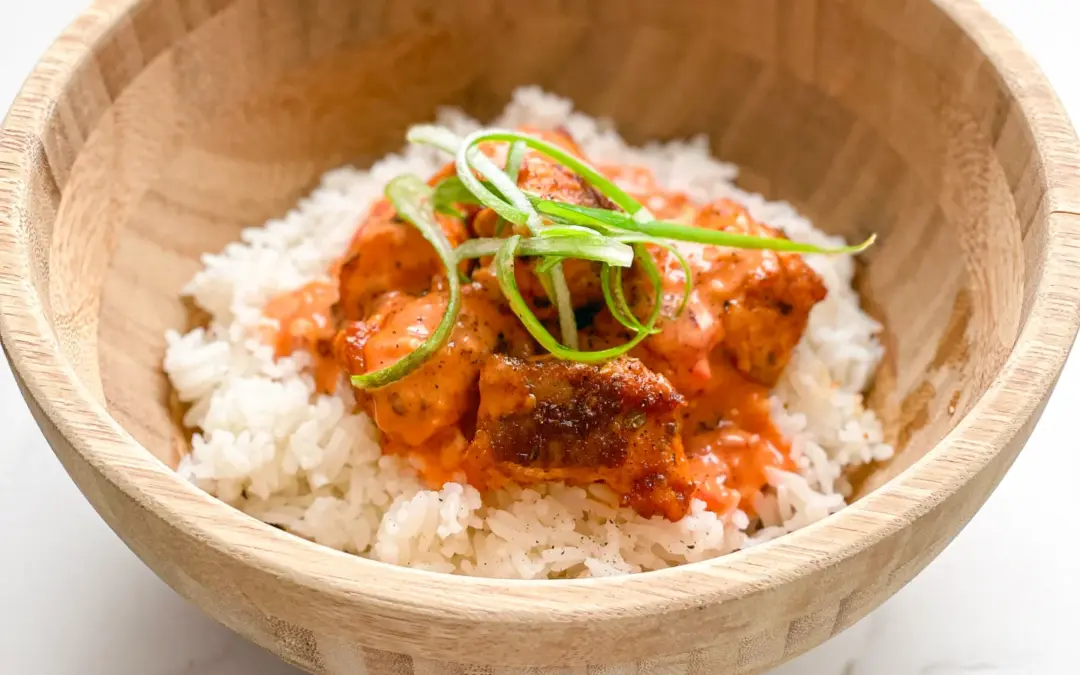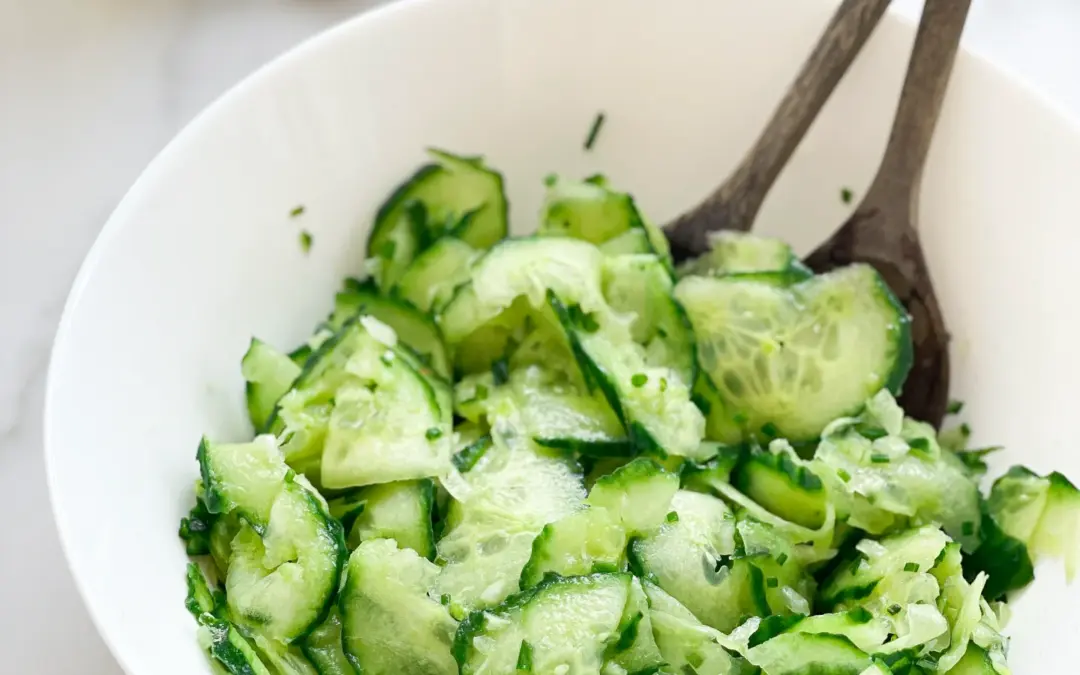


Description
GOOD TO HAVE ON HAND
- small pan
- mortar & pestle
- airtight container
Ingredients
WHOLE SPICES
- 2 tbsp cumin seeds
- 1 tbsp coriander seeds
- 1 tbsp cardamom seeds
- 1/2 cinnamon stick
- 1 tsp black peppercorns
- 6 cloves
- 2 bay leaves
- 1 tbsp cumin powder
- 1 tsp coriander powder
- 1/2 tsp cardamom powder
- 1/2 tsp cinnamon powder
- 1/4 tsp ground black pepper
- 1/4 tsp clove powder
- 1/4 tsp ground bay leaves
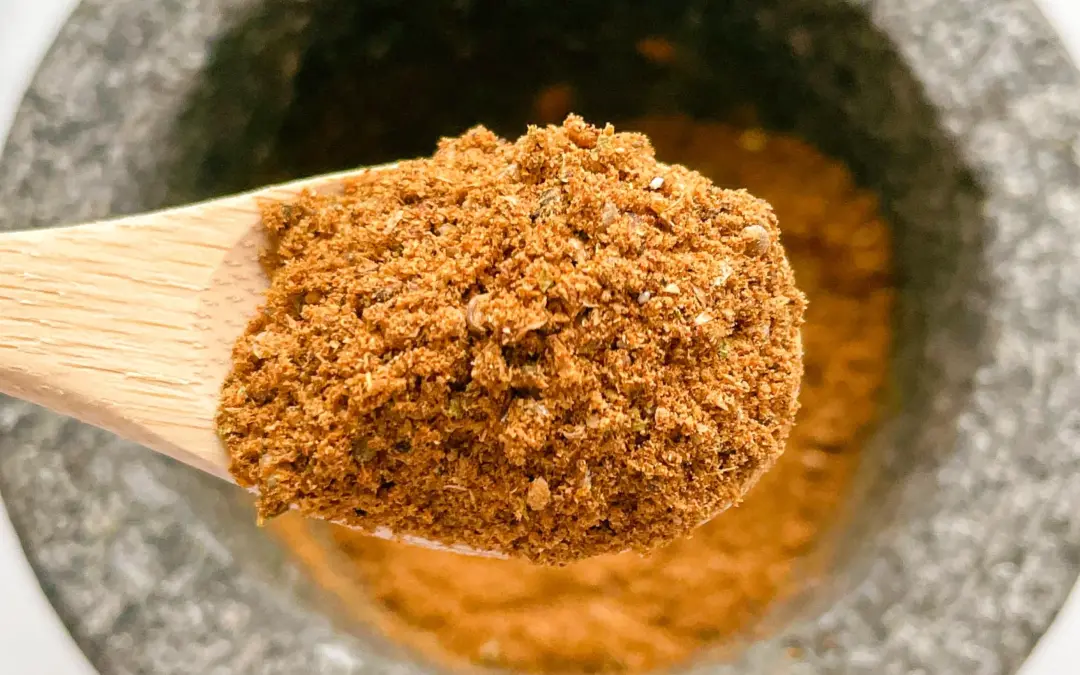
Instructions
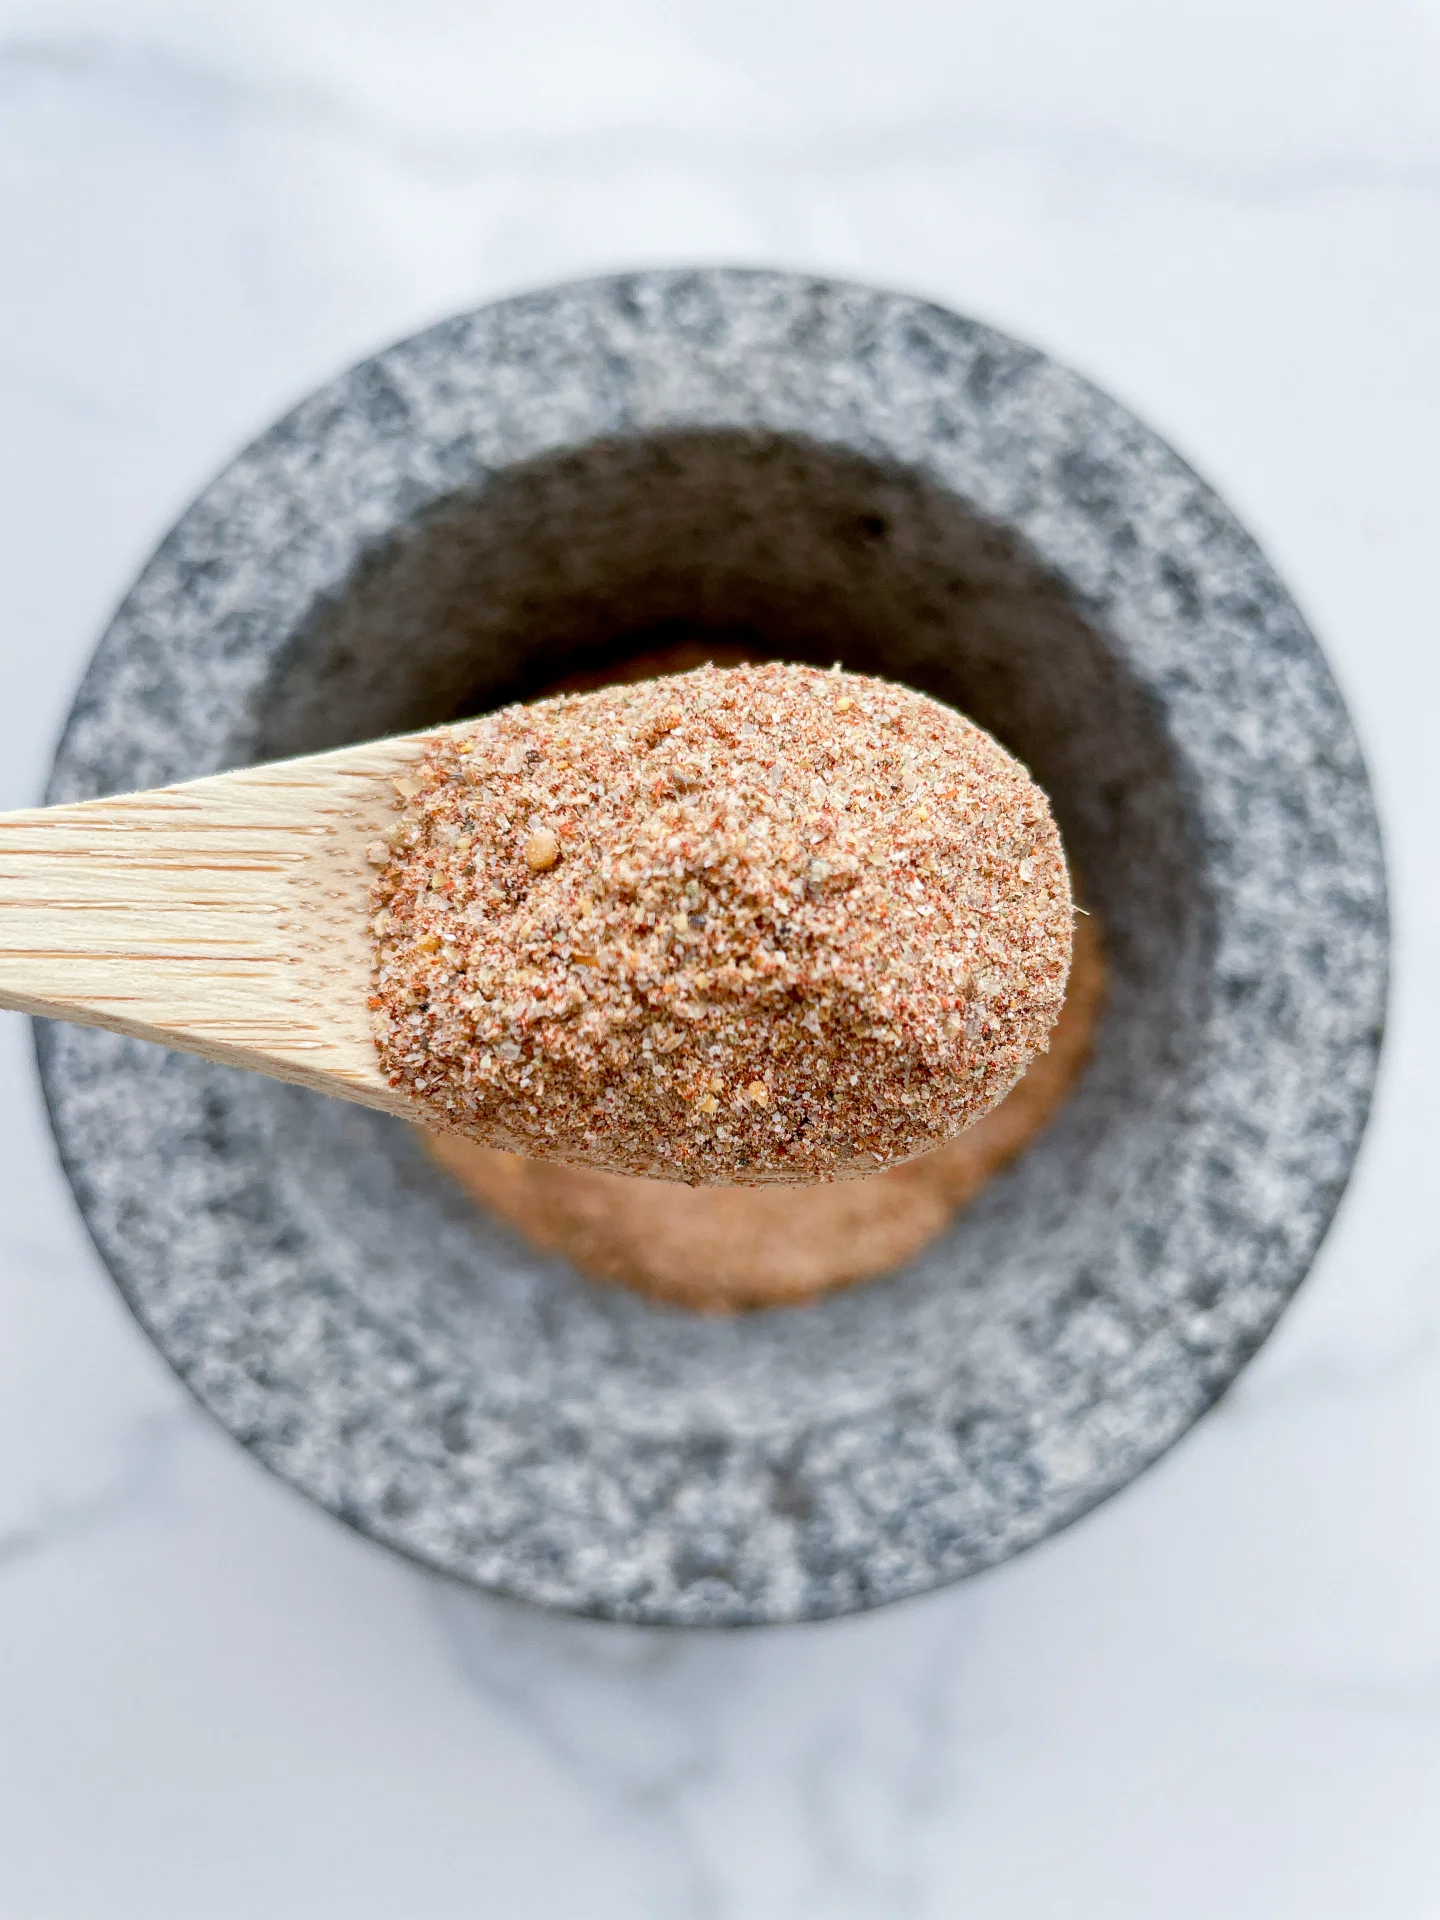
- IF USING WHOLE SPICES:
- Toast the whole spices in a dry pan over medium heat for 2–3 minutes until fragrant.
- Let the spices cool, then grind them into a fine powder using a spice grinder or mortar and pestle.
- Transfer your spice blend into an airtight container or jar. Store in a cool, dry place for up to 6 months.
- IF USING GROUND SPICES:
- Skip the toasting step. Simply combine all the ground spices in a bowl and mix well.
- Transfer your spice blend into an airtight container or jar. Store in a cool, dry place for up to 6 months.
- Prep Time: 10 min