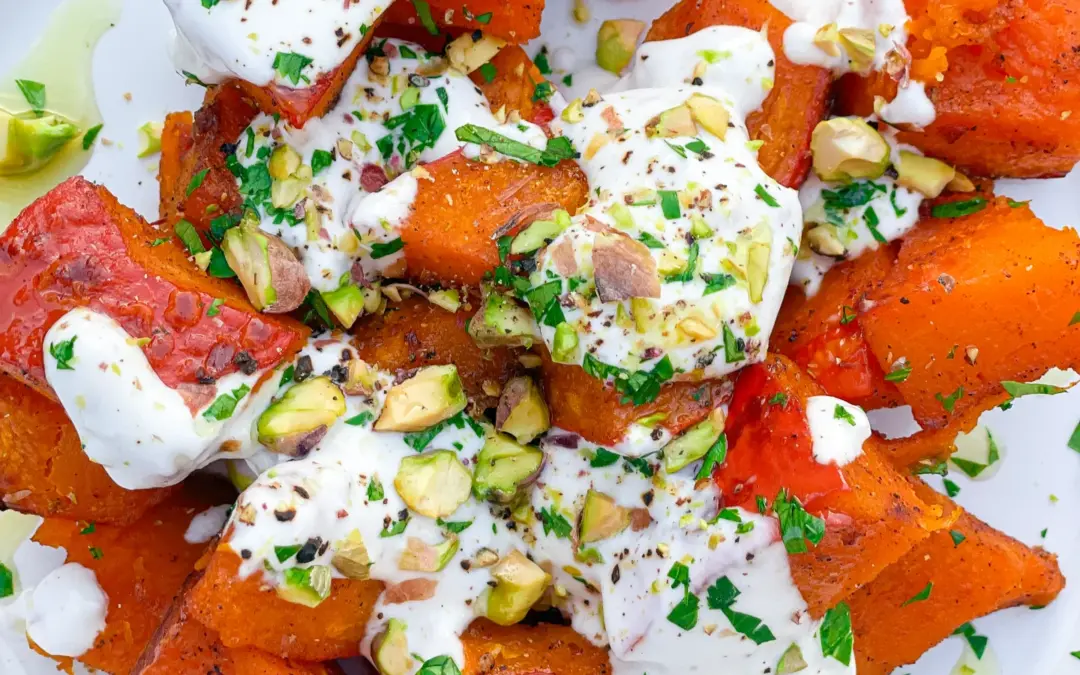
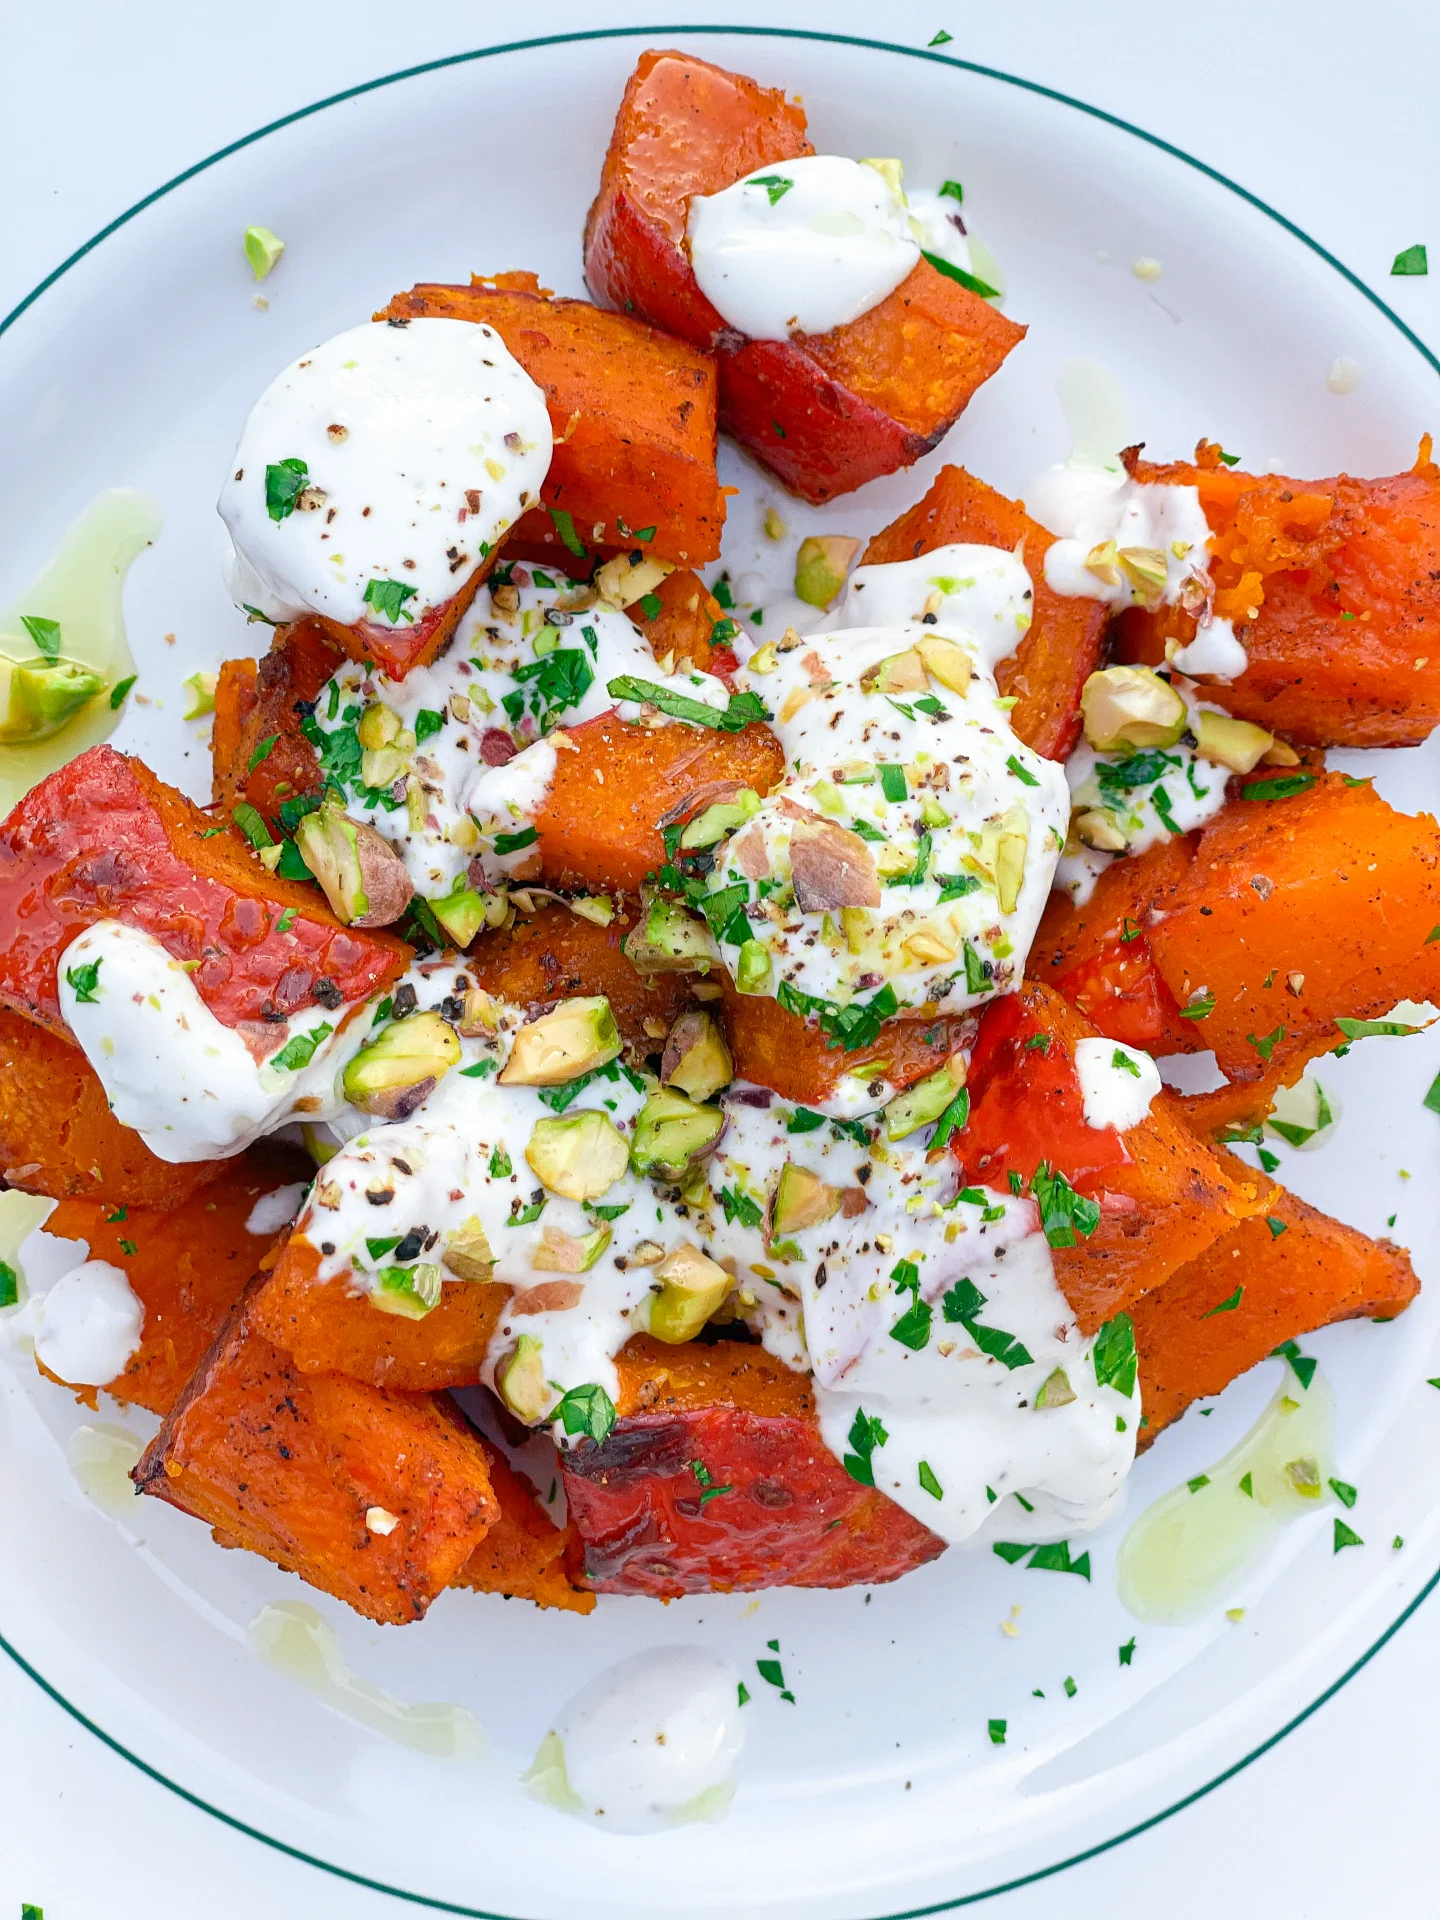


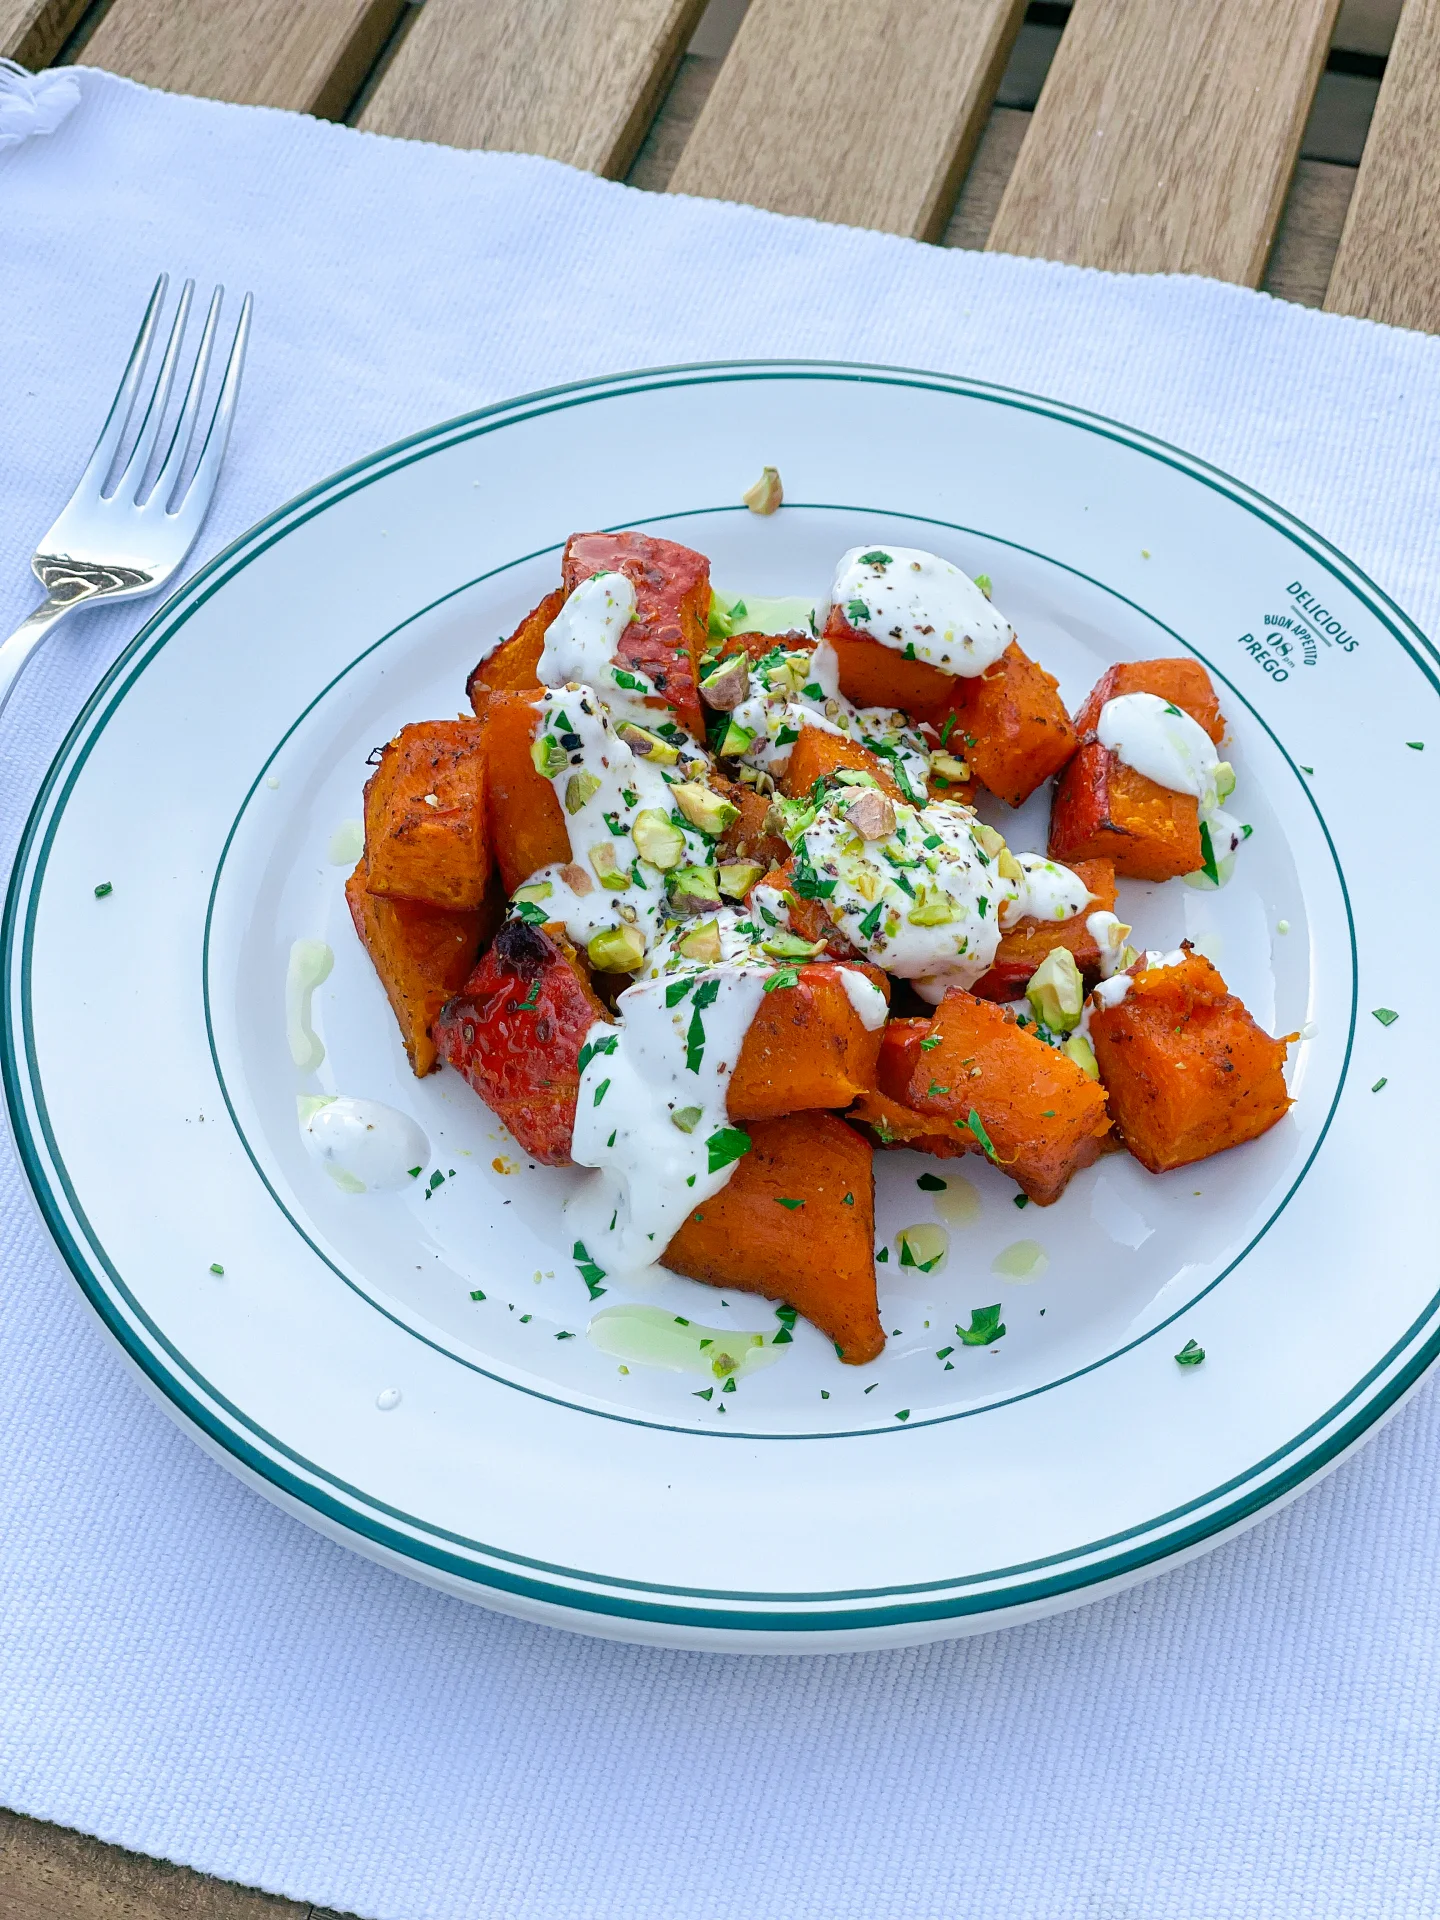

Roasted Pumpkin with Garlic Yogurt Sauce and Pistachios

Roasted Pumpkin with Garlic Yogurt Sauce and Pistachios

Roasted Pumpkin with Garlic Yogurt Sauce & Pistachios

Roasted Pumpkin with Garlic Yogurt Sauce & Pistachios

January 3, 2024 by Kimberly

Indulge in this delectable Roasted Pumpkin, adorned with creamy Garlic Yogurt Sauce and crunchy Pistachios, offering a wholesome, flavorful, and aromatic delight with every savory, nutritious bite.

This website uses affiliate links which may earn commission for purchases made at no additional cost to you.

TOTAL TIME

30 min

SERVES

4 portions

DIET

vegetarian

EVERY RECIPE DESERVES

A Little Love Letter

Welcome to the delightful world of Roasted Pumpkin with Garlic Yogurt Sauce and Pistachios. This dish is a perfect amalgamation of sweet, earthy pumpkin, enriched with a tangy and creamy garlic yogurt sauce, and finished with a sprinkle of crunchy pistachios. It’s an ideal recipe for those seeking a nutritious yet indulgent addition to their meal, blending the warmth of winter flavors with a touch of elegance.

Serve this exquisite dish as a stunning side or a main course. It pairs beautifully with grilled meats or can stand alone for a satisfying vegetarian option. The creamy garlic yogurt sauce complements the soft, caramelized pumpkin, while the pistachios add a delightful crunch. Garnish with fresh parsley for a pop of color and flavor. It’s best enjoyed warm, making it a comforting choice for chilly evenings or festive gatherings.

Leftovers can be stored in an airtight container in the refrigerator for up to 3 days. Reheat in the oven or microwave until warm. It’s recommended to store the pumpkin and garlic yogurt sauce separately to maintain the best texture and flavor when enjoying it later.

Hi, I'm Kimberly!

Hi, I'm Kimberly.

A hopeless romantic when it comes to food. Every recipe I share is a love letter to food itself. I’m so glad you’re here. Make yourself at home and stay a while.

Love,
Kimberly

Kimberly the Zett Signature

If you want to get to know me better,
click here!


Roasted Pumpkin with Garlic Yogurt Sauce & Pistachios

LET’S MAKE A PIECE OF HAPPINESS

Print
clock clock iconcutlery cutlery iconflag flag iconfolder folder iconinstagram instagram iconpinterest pinterest iconfacebook facebook iconprint print iconsquares squares iconheart heart iconheart solid heart solid icon
Roasted Pumpkin with Garlic Yogurt Sauce & Pistachios

Roasted Pumpkin with Garlic Yogurt Sauce and Pistachios


5 Stars 4 Stars 3 Stars 2 Stars 1 Star

No reviews

  • Author: Kimberly
  • Total Time: 25 min
  • Yield: 4 1x

Description

GOOD TO HAVE ON HAND

  • sharp knife
  • cutting board
  • medium bowl
  • small bowl


Ingredients

Units Scale
PUMPKIN
  • 750 grams pumpkin (I used Hokkaido)
  • 2 tbsp olive oil
  • 1/4 tsp salt
  • 1/4 tsp black pepper
  • 1/4 tsp onion powder
  • 1/4 tsp garlic powder
  • 1/4 tsp cilantro powder
  • 1/4 tsp smoked paprika powder
GARLIC YOGURT SAUCE
  • 250 grams yogurt
  • 1 garlic clove
  • 1/8 tsp salt
  • 1/8 tsp black pepper
TOPPINGS
  • pistachios
  • parsley
  • olive oil

Instructions

  1. Preheat the oven to 230°C (450°F).
  2. Remove the seeds from the pumpkin and cut into bite-sized pieces. You do not need to peel the Hokkaido.
  3. Place the pumpkin pieces in a medium-sized bowl. Now pour the olive oil and 1/4 tsp each of salt, pepper, dried coriander, smoked paprika, garlic and onion over the pumpkin pieces and mix so that the pieces are evenly coated with everything. Place the pumpkin pieces on a baking tray lined with baking paper.
  4. Place the baking tray in the preheated oven and roast for 20 minutes.
  5. While the pumpkin is in the oven, mix the yoghurt, fresh garlic, salt and pepper together in a small bowl and season to taste.
  6. Remove the shells from the pistachios and chop them into small pieces. Pluck the parsley from the stalks and chop finely too.
  7. Now remove the tray from the oven. Pour the yoghurt sauce over the pumpkin and then top with olive oil, parsley and pistachios.
  • Cook Time: 25 min
CRAVING MORE?

Follow along here & don’t forget to subscribe to my substack!

White Chocolate Macadamia Peanut Caramel Bites

White Chocolate Macadamia Peanut Caramel Bites

White Chocolate Macadamia Peanut Caramel Bites

White Chocolate Macadamia Peanut Caramel Bites

December 13, 2023 by Kimberly

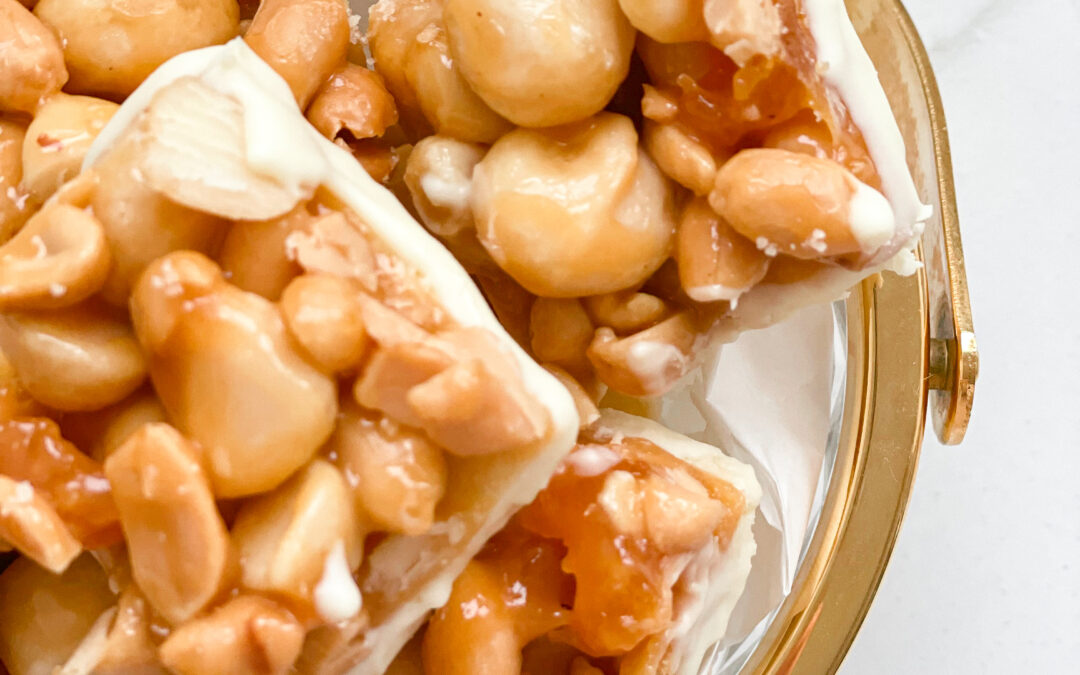
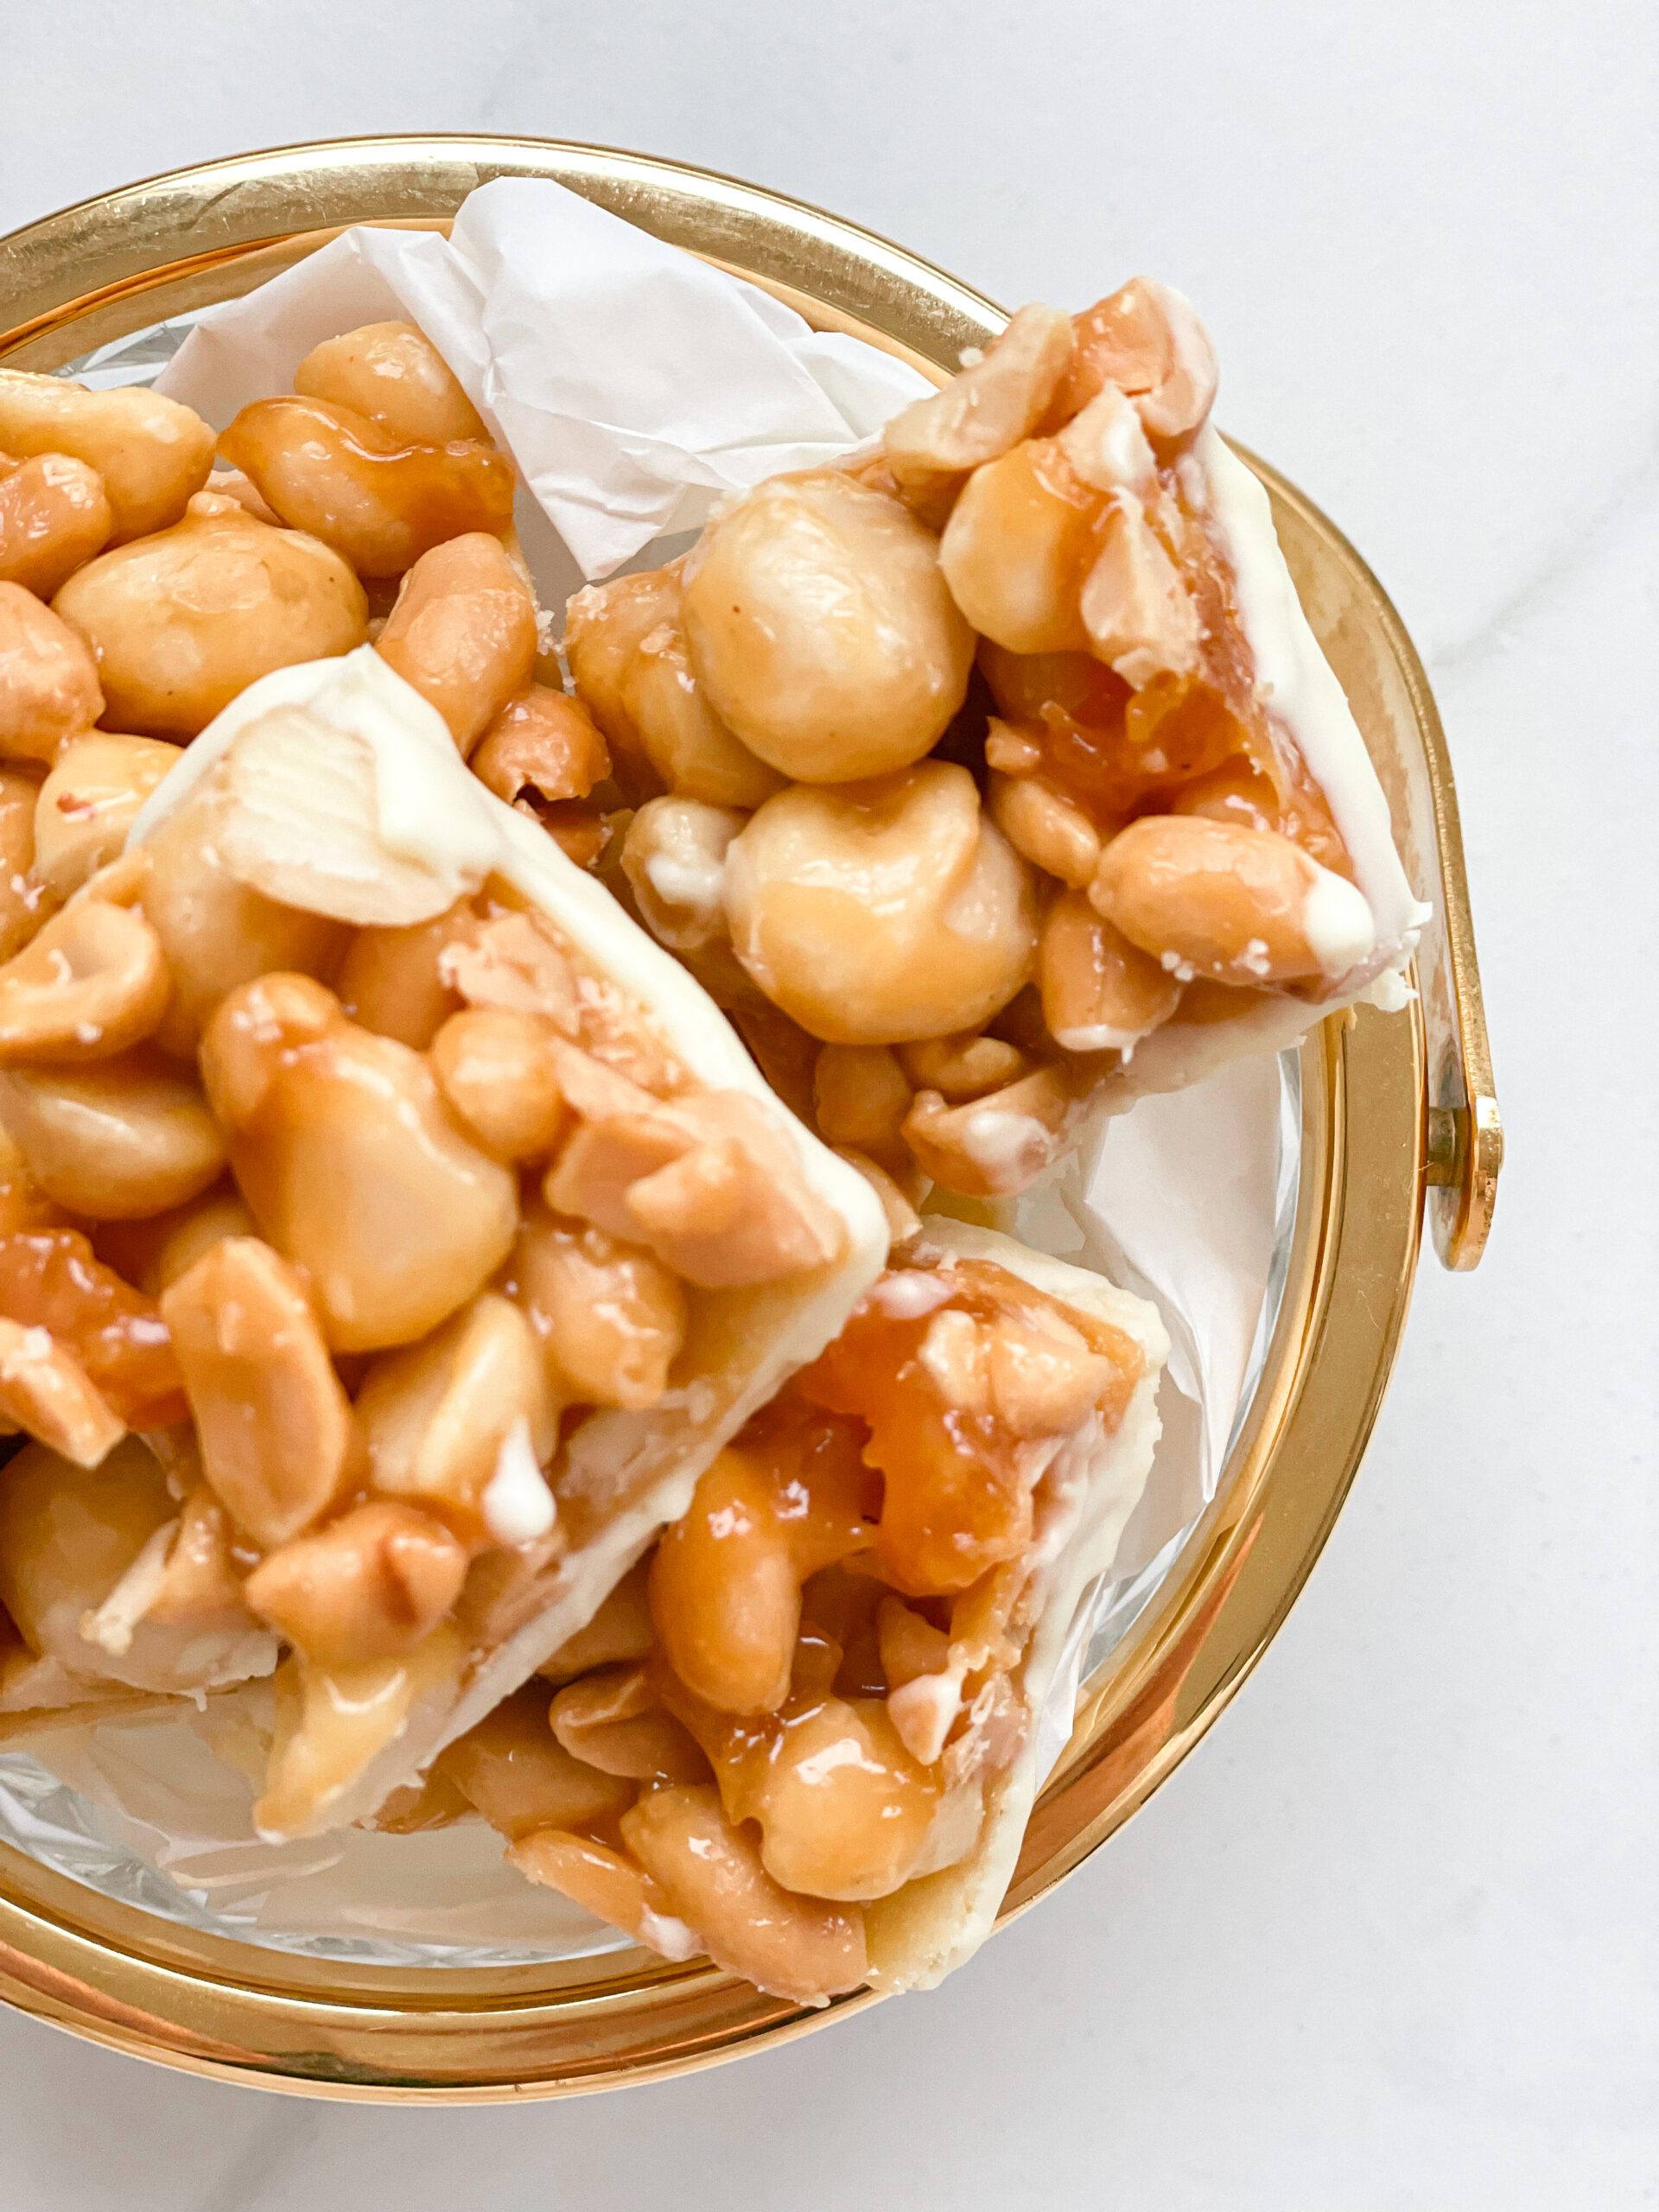
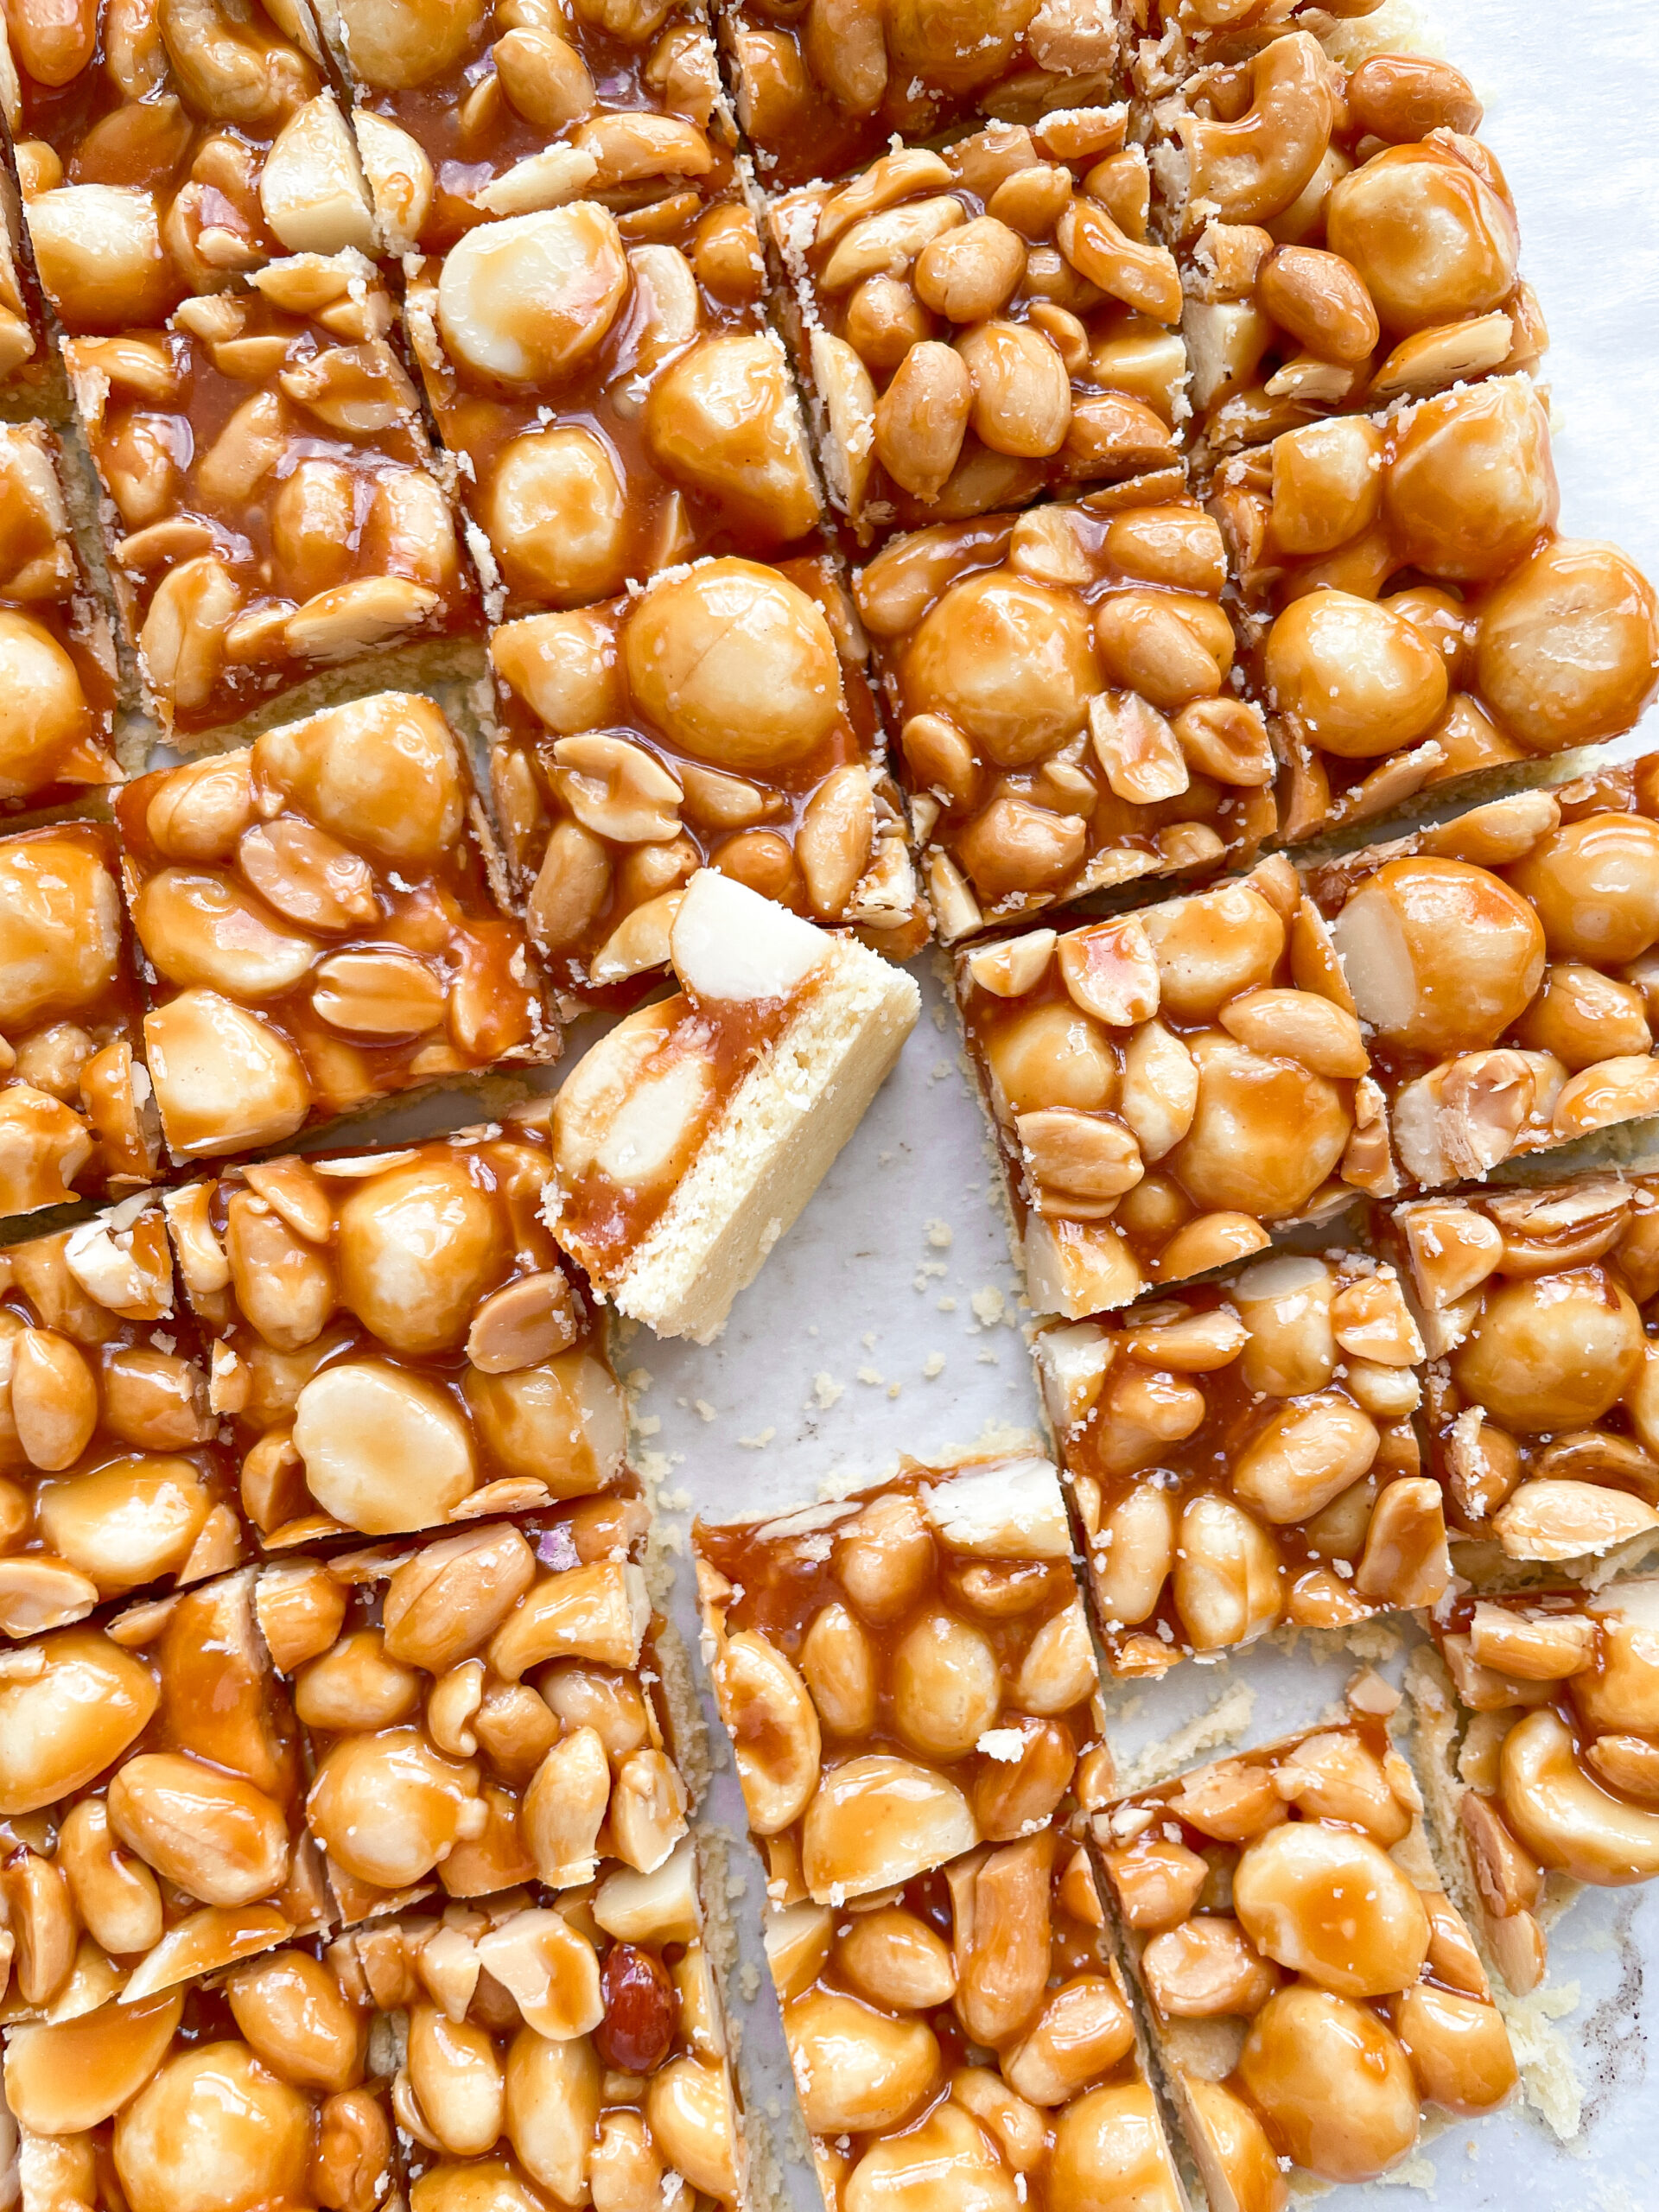
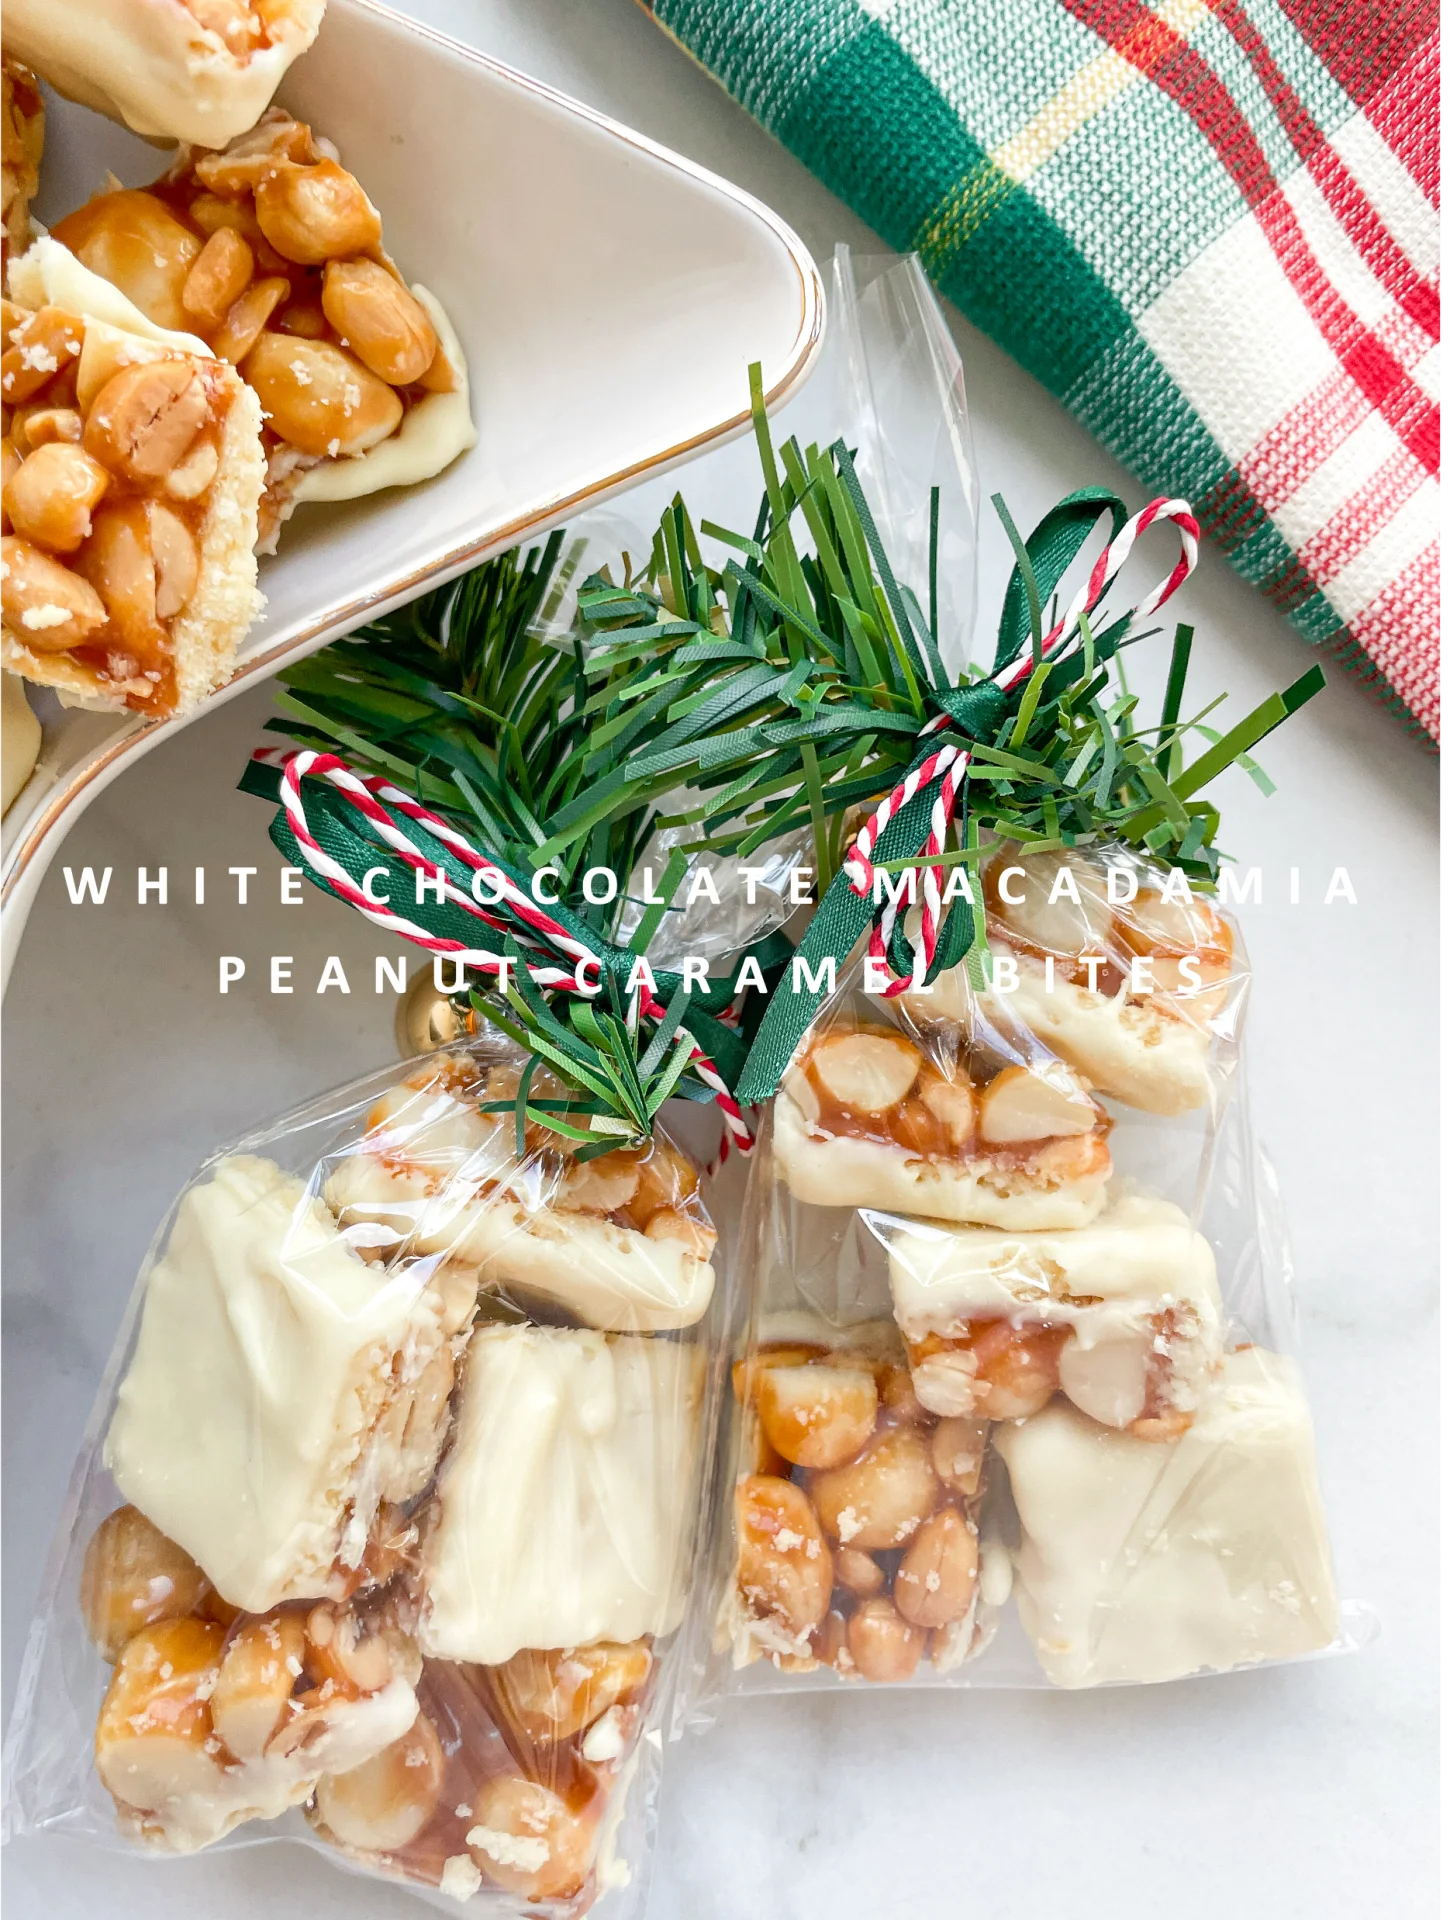
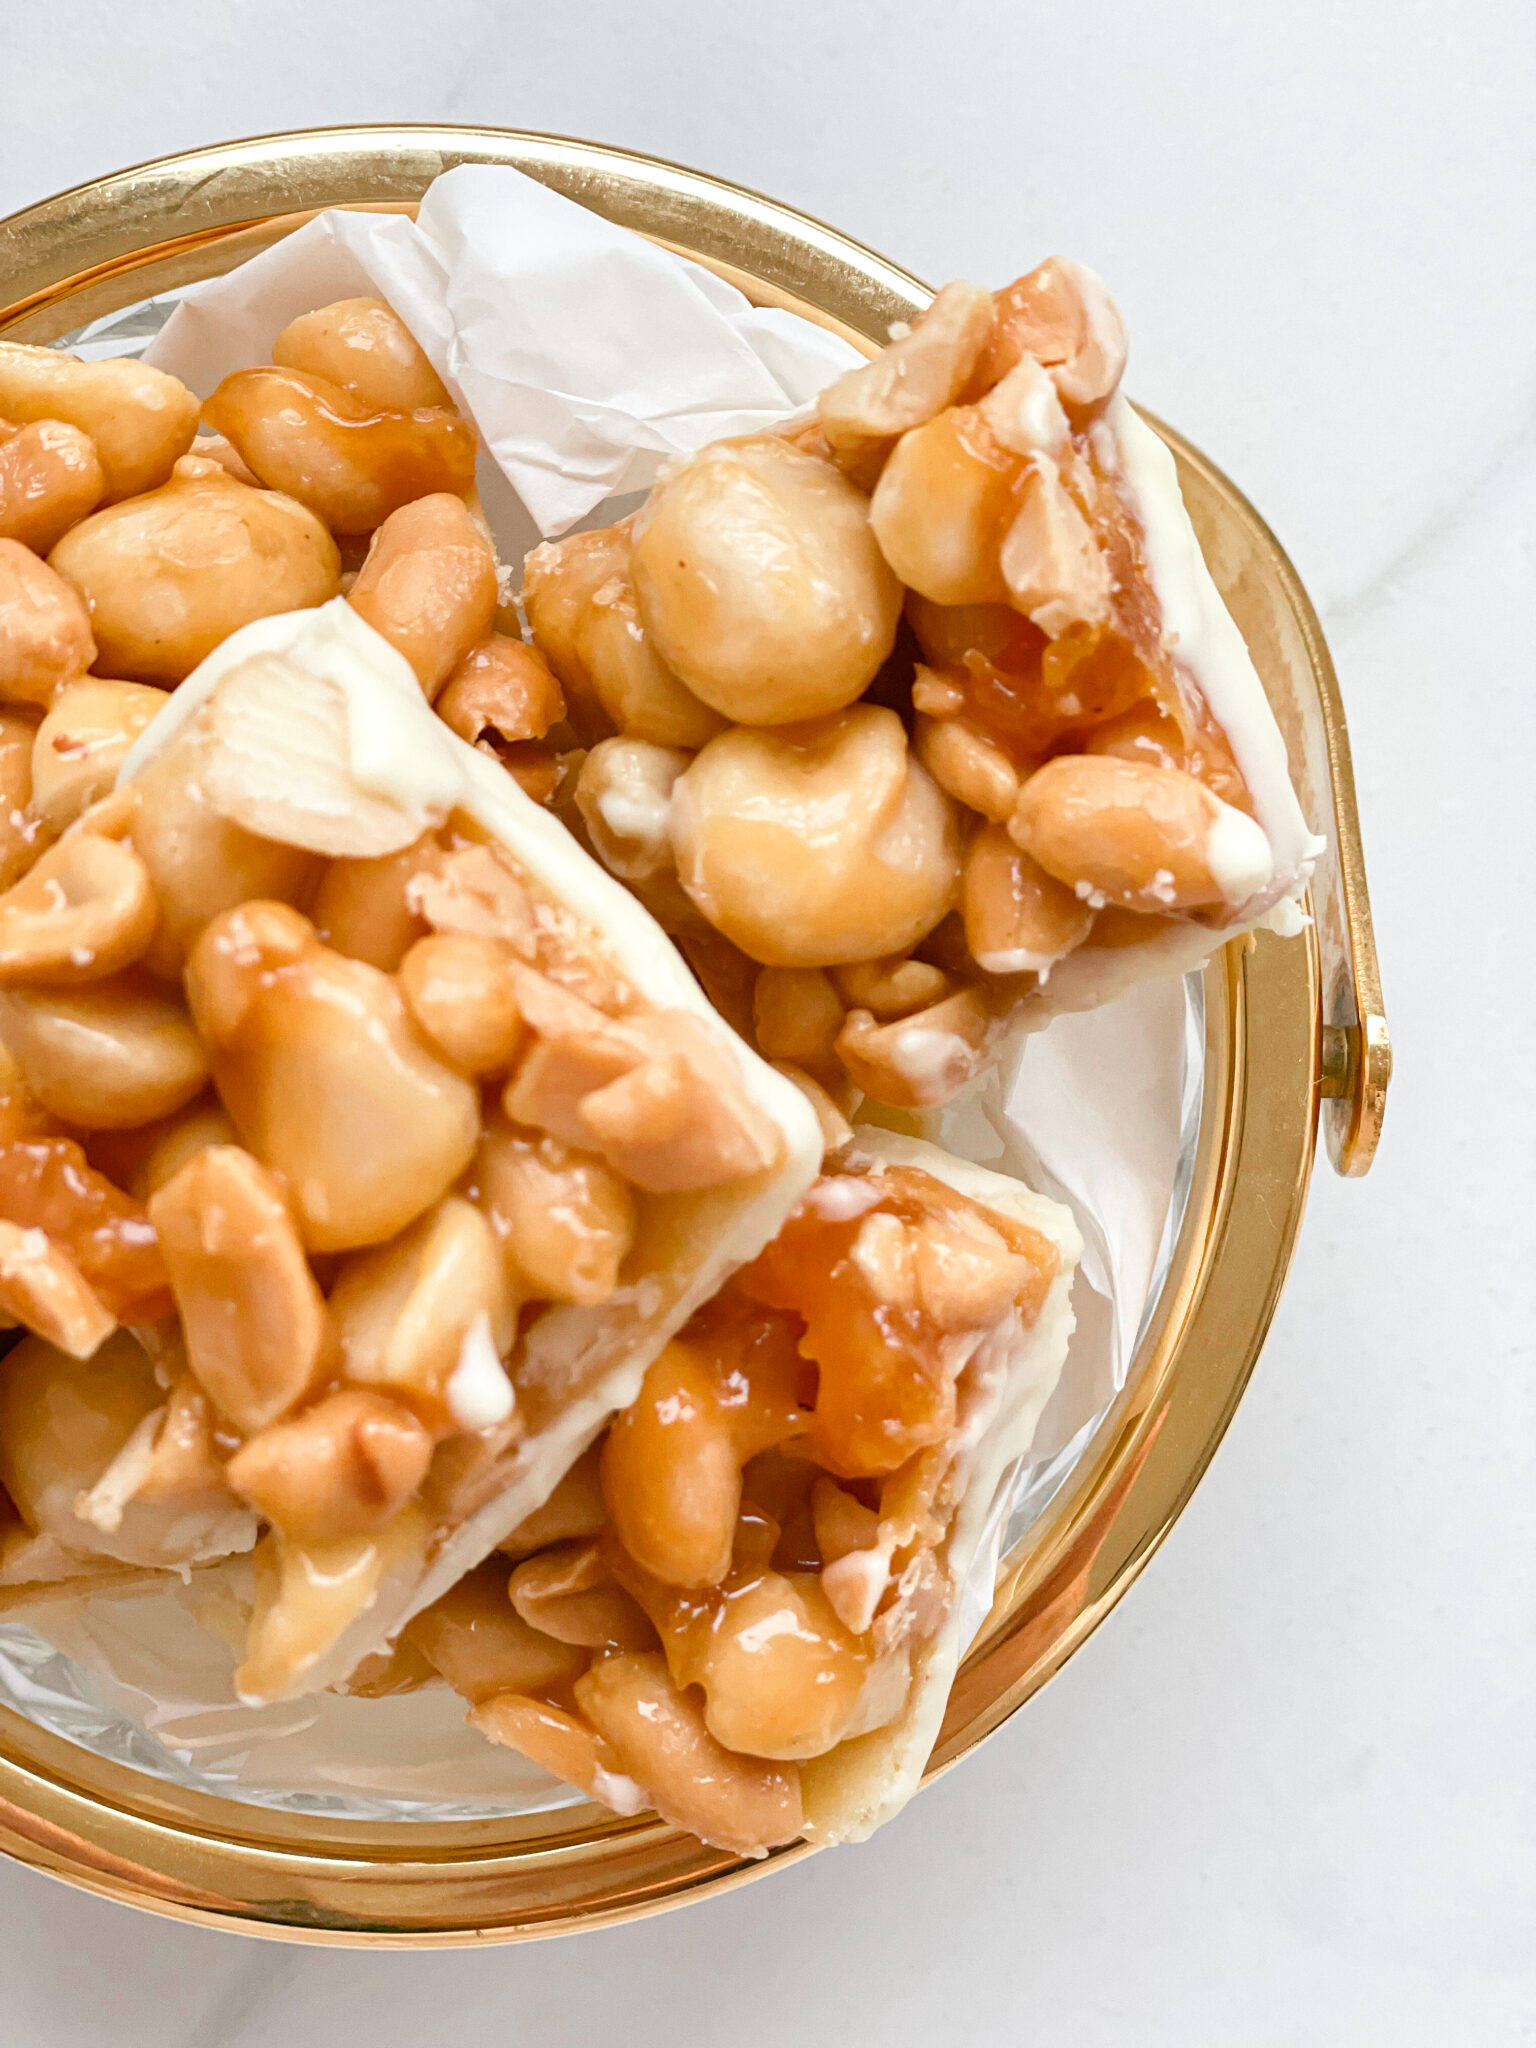
Savor the festive season with these dreamy, creamy bites loaded with smooth caramel and crunchy nutty goodness. Christmas bliss in every delightful bite.

This website uses affiliate links which may earn commission for purchases made at no additional cost to you.

TOTAL TIME

1 hr + 40 min

SERVES

50 bites

DIET

vegetarian

EVERY RECIPE DESERVES

A Little Love Letter

Imagine that moment when you want a treat that’s just the right mix of creamy, crunchy, and rich in flavor—these caramel and nutty bites deliver exactly that! Each little piece is packed with macadamias, peanuts, caramel and smooth white chocolate, making it the ultimate indulgence without the hassle of a big dessert. They’re perfect for holiday spreads, cozy evenings, or anytime you want something sweet and satisfying in your life. Whether you’re a caramel lover, a white chocolate fan, or just need a no-fuss recipe, these bites will steal your heart.

Arrange them on a dessert platter for holiday gatherings or family movie nights. If you want to keep things casual, just pop them in a bowl and let everyone grab a few. They’re also perfect for gift-giving: pack them up in a cute box or jar for friends and family.

Store any leftovers in an airtight container at room temperature for up to 10 days. If you prefer a firmer texture, keep them in the fridge – they’ll stay fresh and delicious!

Hi, I'm Kimberly!

Hi, I'm Kimberly.

A hopeless romantic when it comes to food. Every recipe I share is a love letter to food itself. I’m so glad you’re here. Make yourself at home and stay a while.

Love,
Kimberly

Kimberly the Zett Signature

If you want to get to know me better,
click here!


White Chocolate Macadamia Peanut Caramel Bites

LET’S MAKE A PIECE OF HAPPINESS

Print
clock clock iconcutlery cutlery iconflag flag iconfolder folder iconinstagram instagram iconpinterest pinterest iconfacebook facebook iconprint print iconsquares squares iconheart heart iconheart solid heart solid icon
White Chocolate Macadamia Peanut Caramel Bites

White Chocolate Macadamia Peanut Caramel Bites


  • Author: Kimberly
  • Total Time: 105 min
  • Yield: 50 squares 1x

Description

RECOMMENDED EQUIPMENT
  • medium bowl
  • cling film
  • small pot
  • sharp knife
  • cutting board
  • small bowl that fits the small pot

Ingredients

Units Scale
DOUGH
  • 125 grams butter, room-temperature
  • 75 grams white sugar
  • 250 grams all-purpose flour
  • 8g vanilla sugar
  • pinch of salt
  • 1 egg
CARAMEL
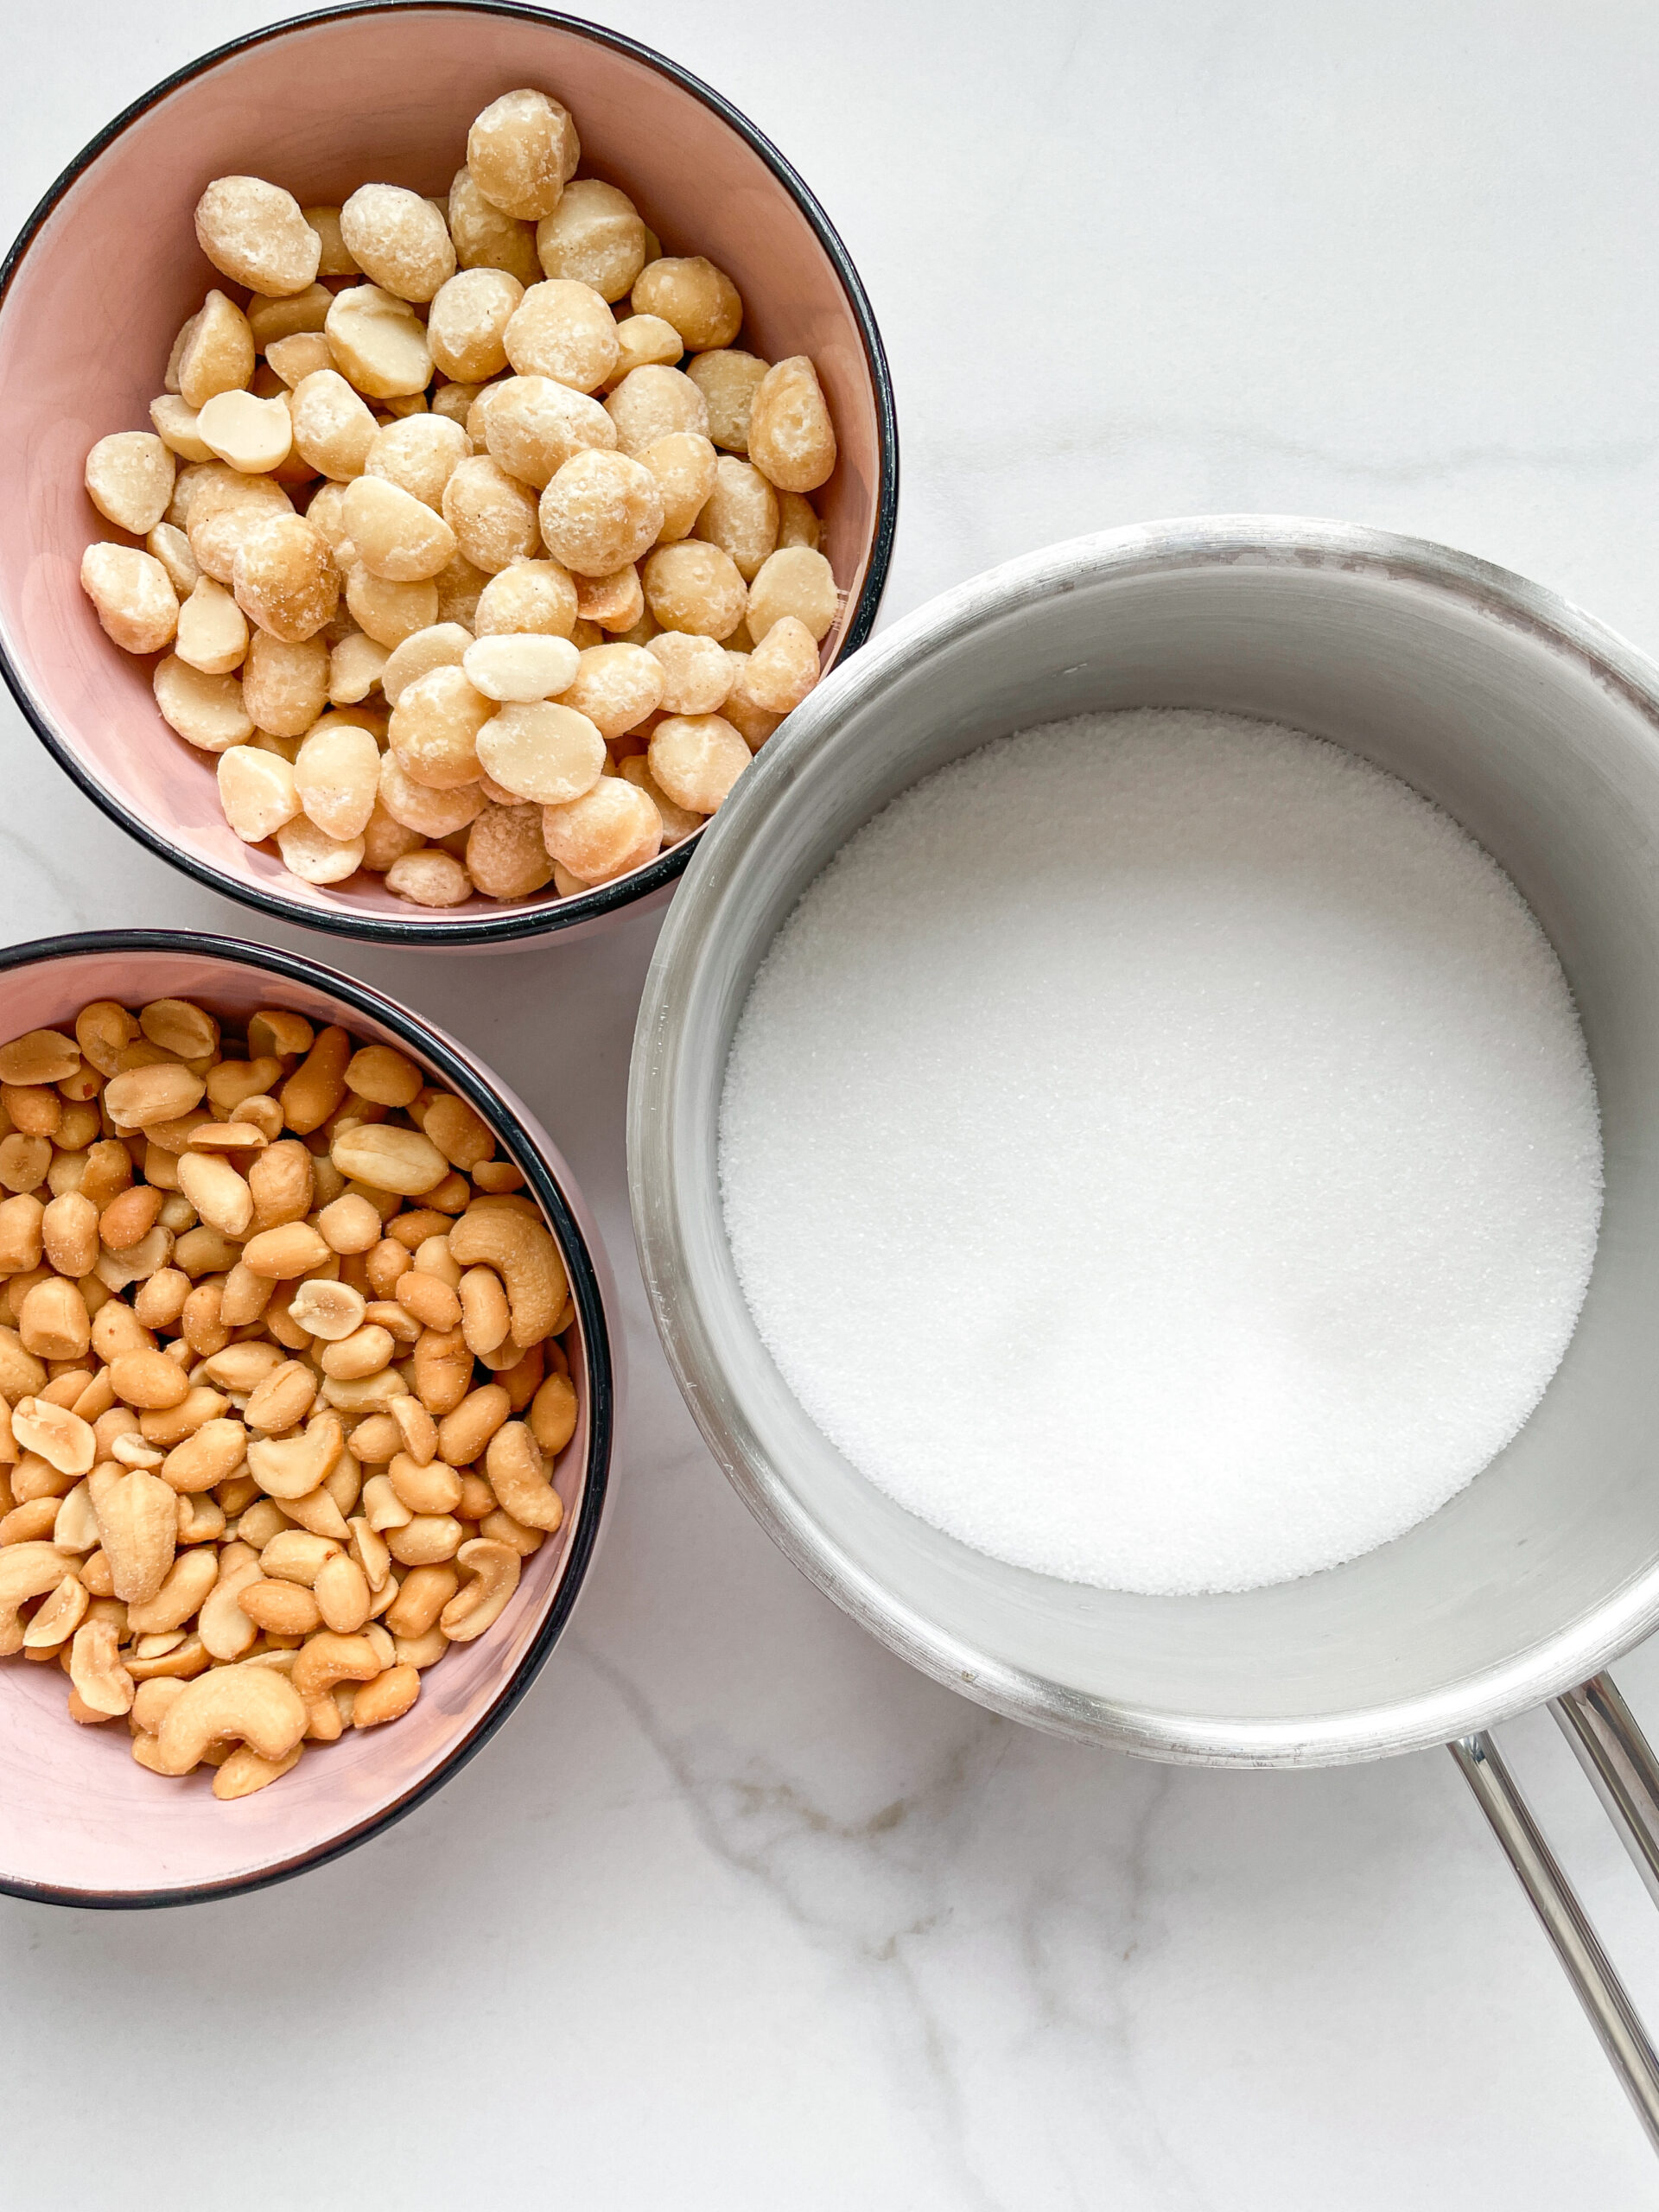
  • 225 grams white sugar
  • 250 grams macadamia nuts
  • 200 grams peanuts
  • 2 tbsp butter
  • 50 grams heavy cream
TOPPING
  • 300 grams white chocolate
  • 1.5 tsp coconut oil

Instructions

PREPARATIONS

  • Weigh out all the ingredients beforehand and have them ready. Make sure you have the right amount of nuts to hand, as you need to prepare the caramel quickly.

INSTRUCTIONS

  1. Place butter, sugar, all-purpose flour, vanilla sugar, a pinch of salt and an egg in a medium-sized bowl. Knead into a shortcrust pastry. Wrap the ball of dough in cling film and place in the fridge for 30 minutes.
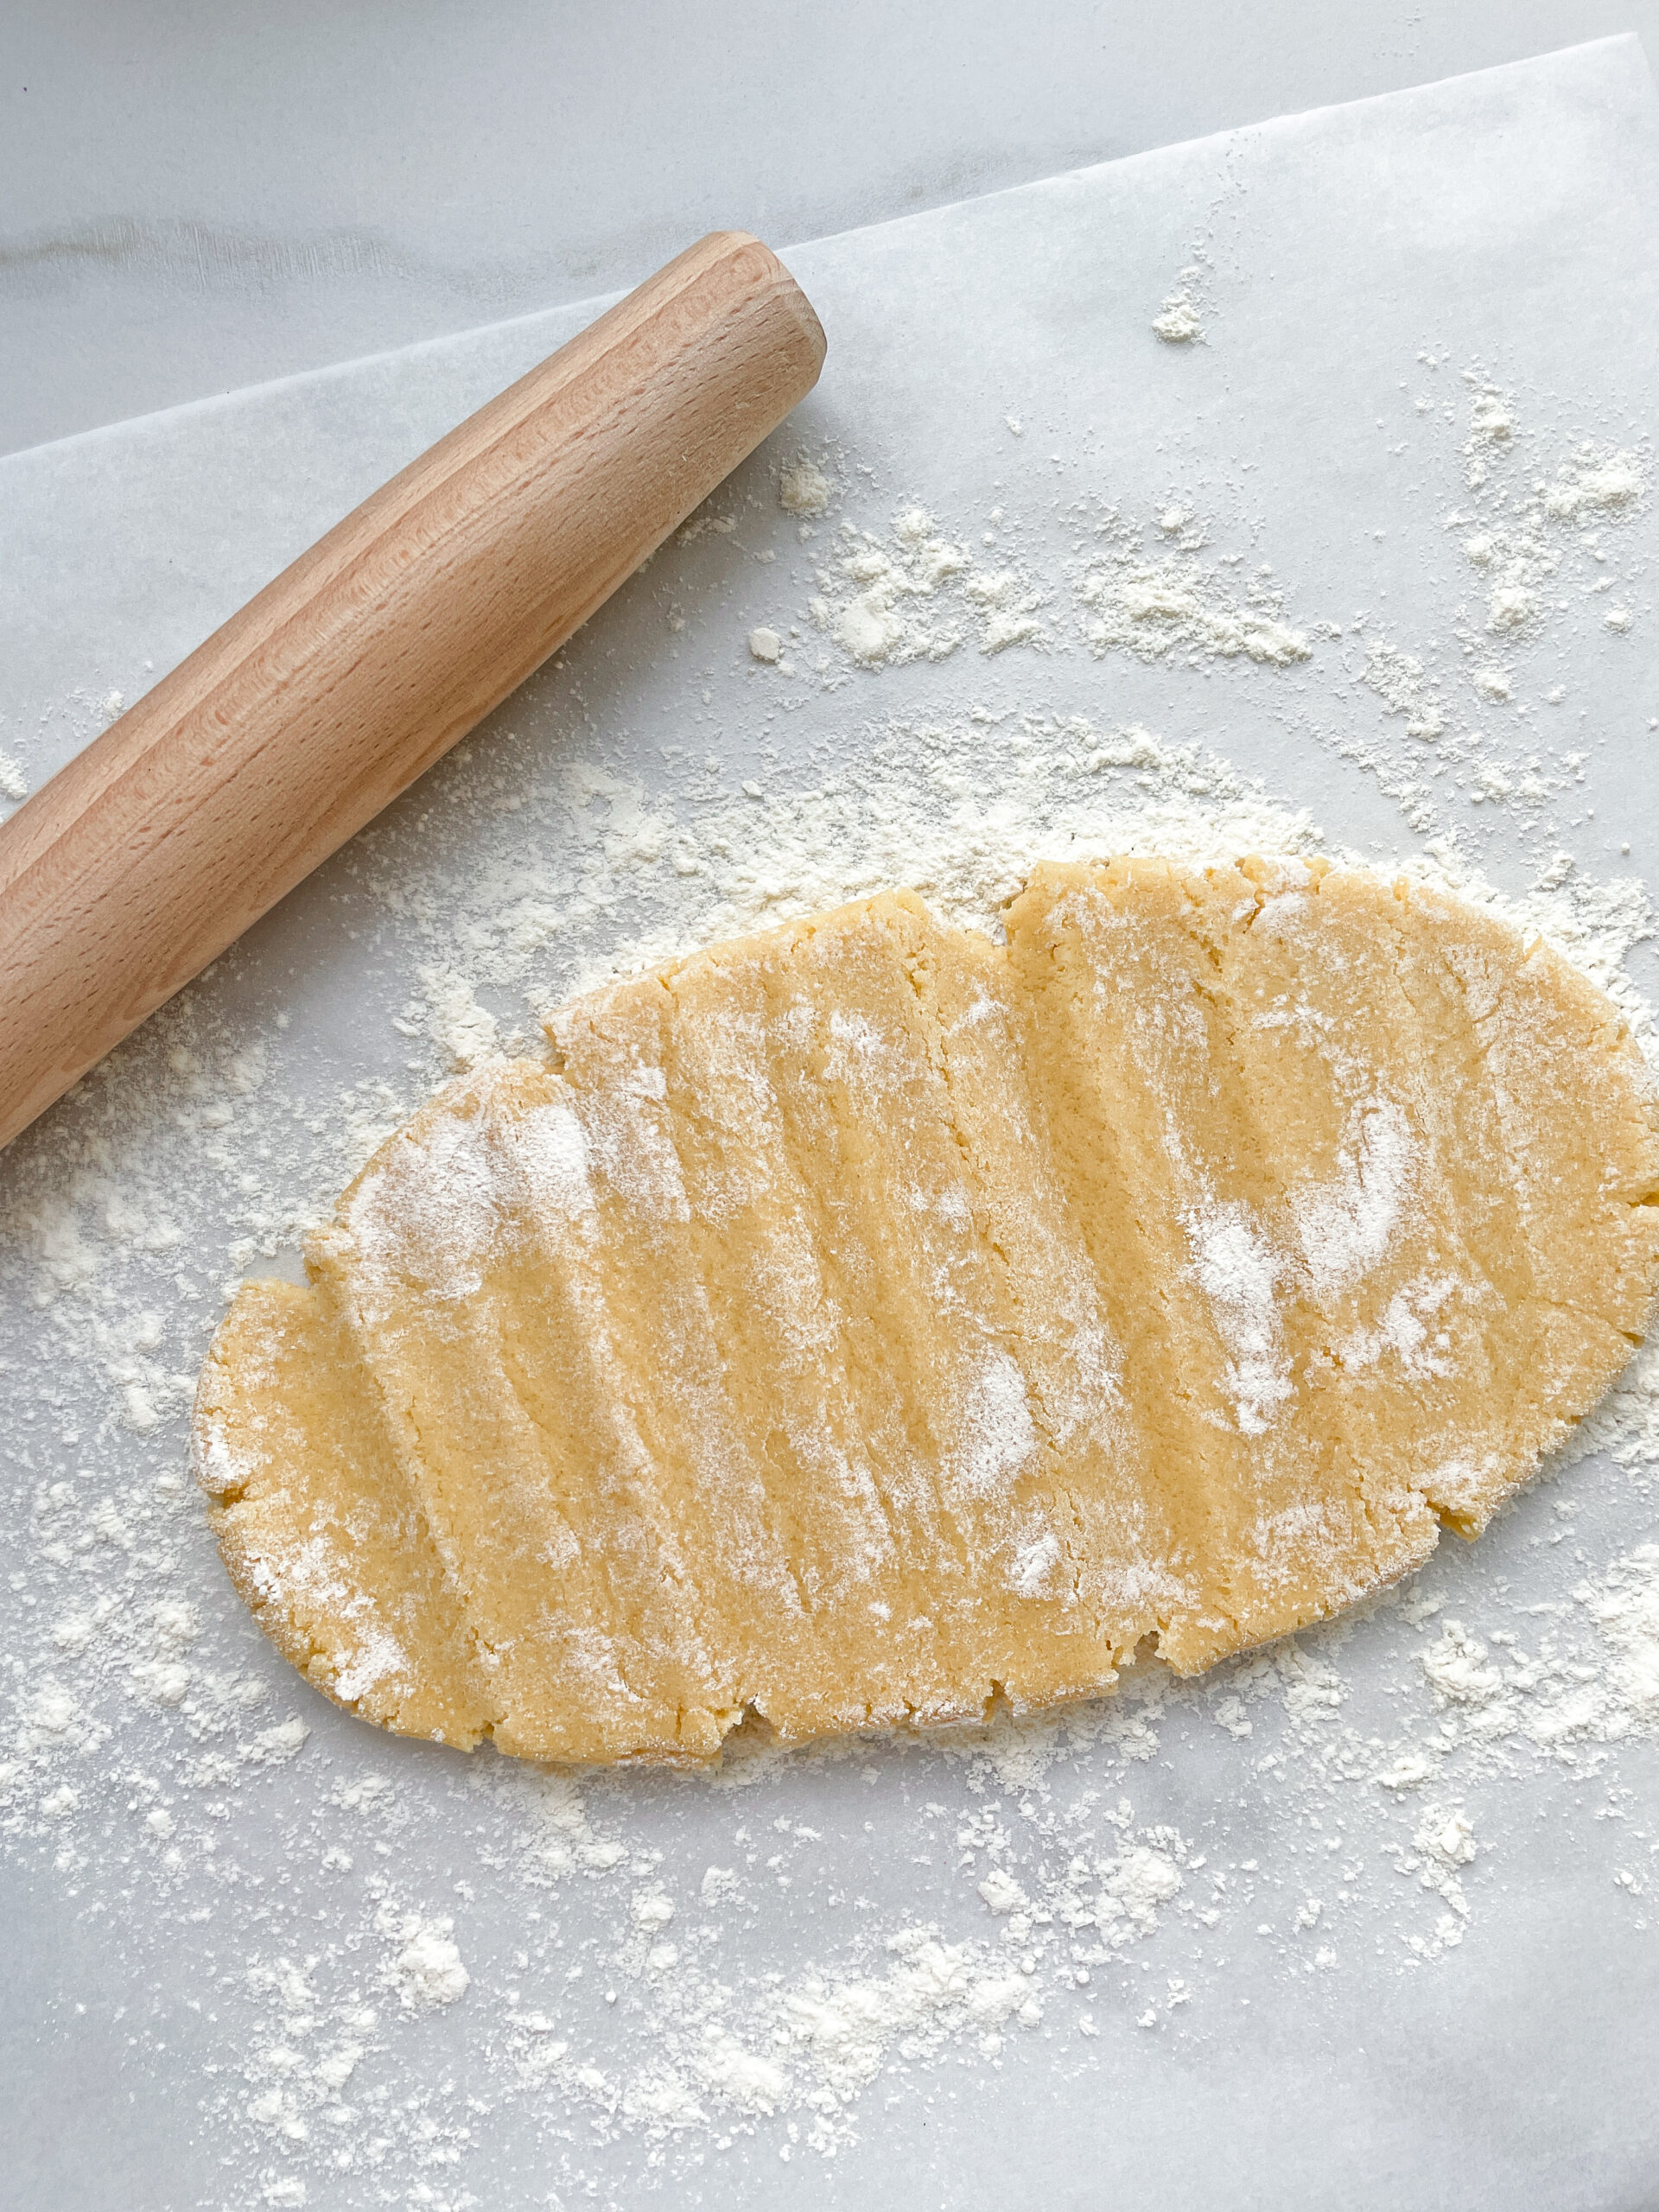
  2. After 30 minutes, preheat the oven to 200°C / 390°F and spread a layer of baking paper on a work surface. Sprinkle with a little flour and roll out the dough ball from the fridge to a size of about 31×24 cm (approximately 12×9 inches). Now place the baking paper with the dough on a baking tray and bake in the oven for around 12-13 minutes. The dough should be light in color when it comes out of the oven and at most slightly brown at the edges. Then remove the dough from the oven and leave to cool.
  3. Meanwhile make the caramel in a small pot. To do this, melt sugar over a low to medium heat, stirring constantly. As soon as the sugar has completely melted and turned amber, remove from the heat and stir in butter and heavy cream, one at a time. Don’t panic it’s normal that it gets bubbly just keep stirring, but be careful not to burn yourself. While stirring let it simmer for a minute or so on a low heat.
  4. Once the mixture has become a smooth caramel, stir in whole macadamia nuts and peanuts. Now quickly spread the nut-caramel mixture evenly over the cooled dough and press lightly onto the dough so that the caramel and the dough can combine, and leave to stand for around 45-60 minutes so that the caramel can harden.
  5. In the meantime, place the chocolate and coconut oil in a small heatproof glass or stainless steel bowl and fill the pot in which you prepared the caramel with water and bring to the boil over a medium heat on the stove. This not only makes it very easy to remove the caramel residue but also melts the chocolate for the next step. Do not pour the water away, but hang the bowl with the chocolate in the pot. But it shouldn’t touch the water. White chocolate is a little diva and only needs the steam to melt. Leave it to stand for approx. 10-15 minutes. Stir the chocolate from time to time and make sure no water gets in the bowl.
  6. As soon as the caramel hardened, use a sharp knife to cut the nut caramel sheet as desired. I opted for squares. Now hold the squares by the nut-caramel layer and dip them with the dough layer into the melted chocolate and allow to drip off well. Leave the squares to dry on the nut-caramel layer. For quicker drying, place the squares in the fridge.
  7. Enjoy 🙂
  • Prep Time: 5 min
  • Passive Time: 40 min
  • Cook Time: 60 min

CRAVING MORE?

Follow along here & don’t forget to subscribe to my substack!

Gluten-Free Bread From Nuts & Seeds

Gluten-Free Bread From Nuts & Seeds

Gluten-Free Bread From Nuts & Seeds

Gluten-Free Bread From Nuts & Seeds

December 7, 2023 by Kimberly

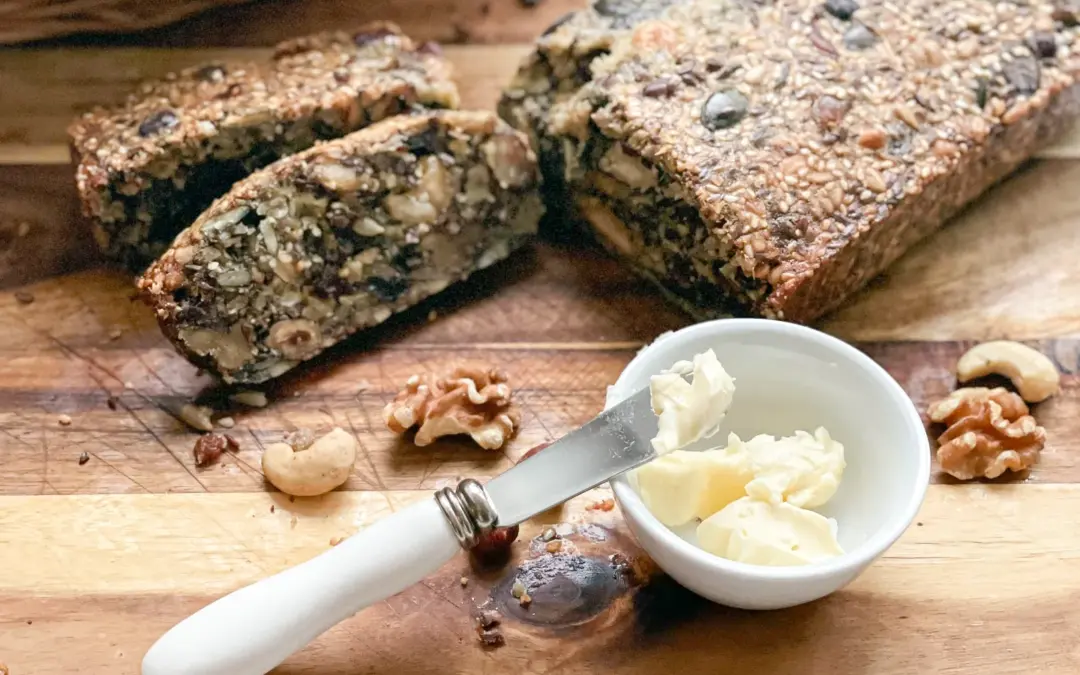
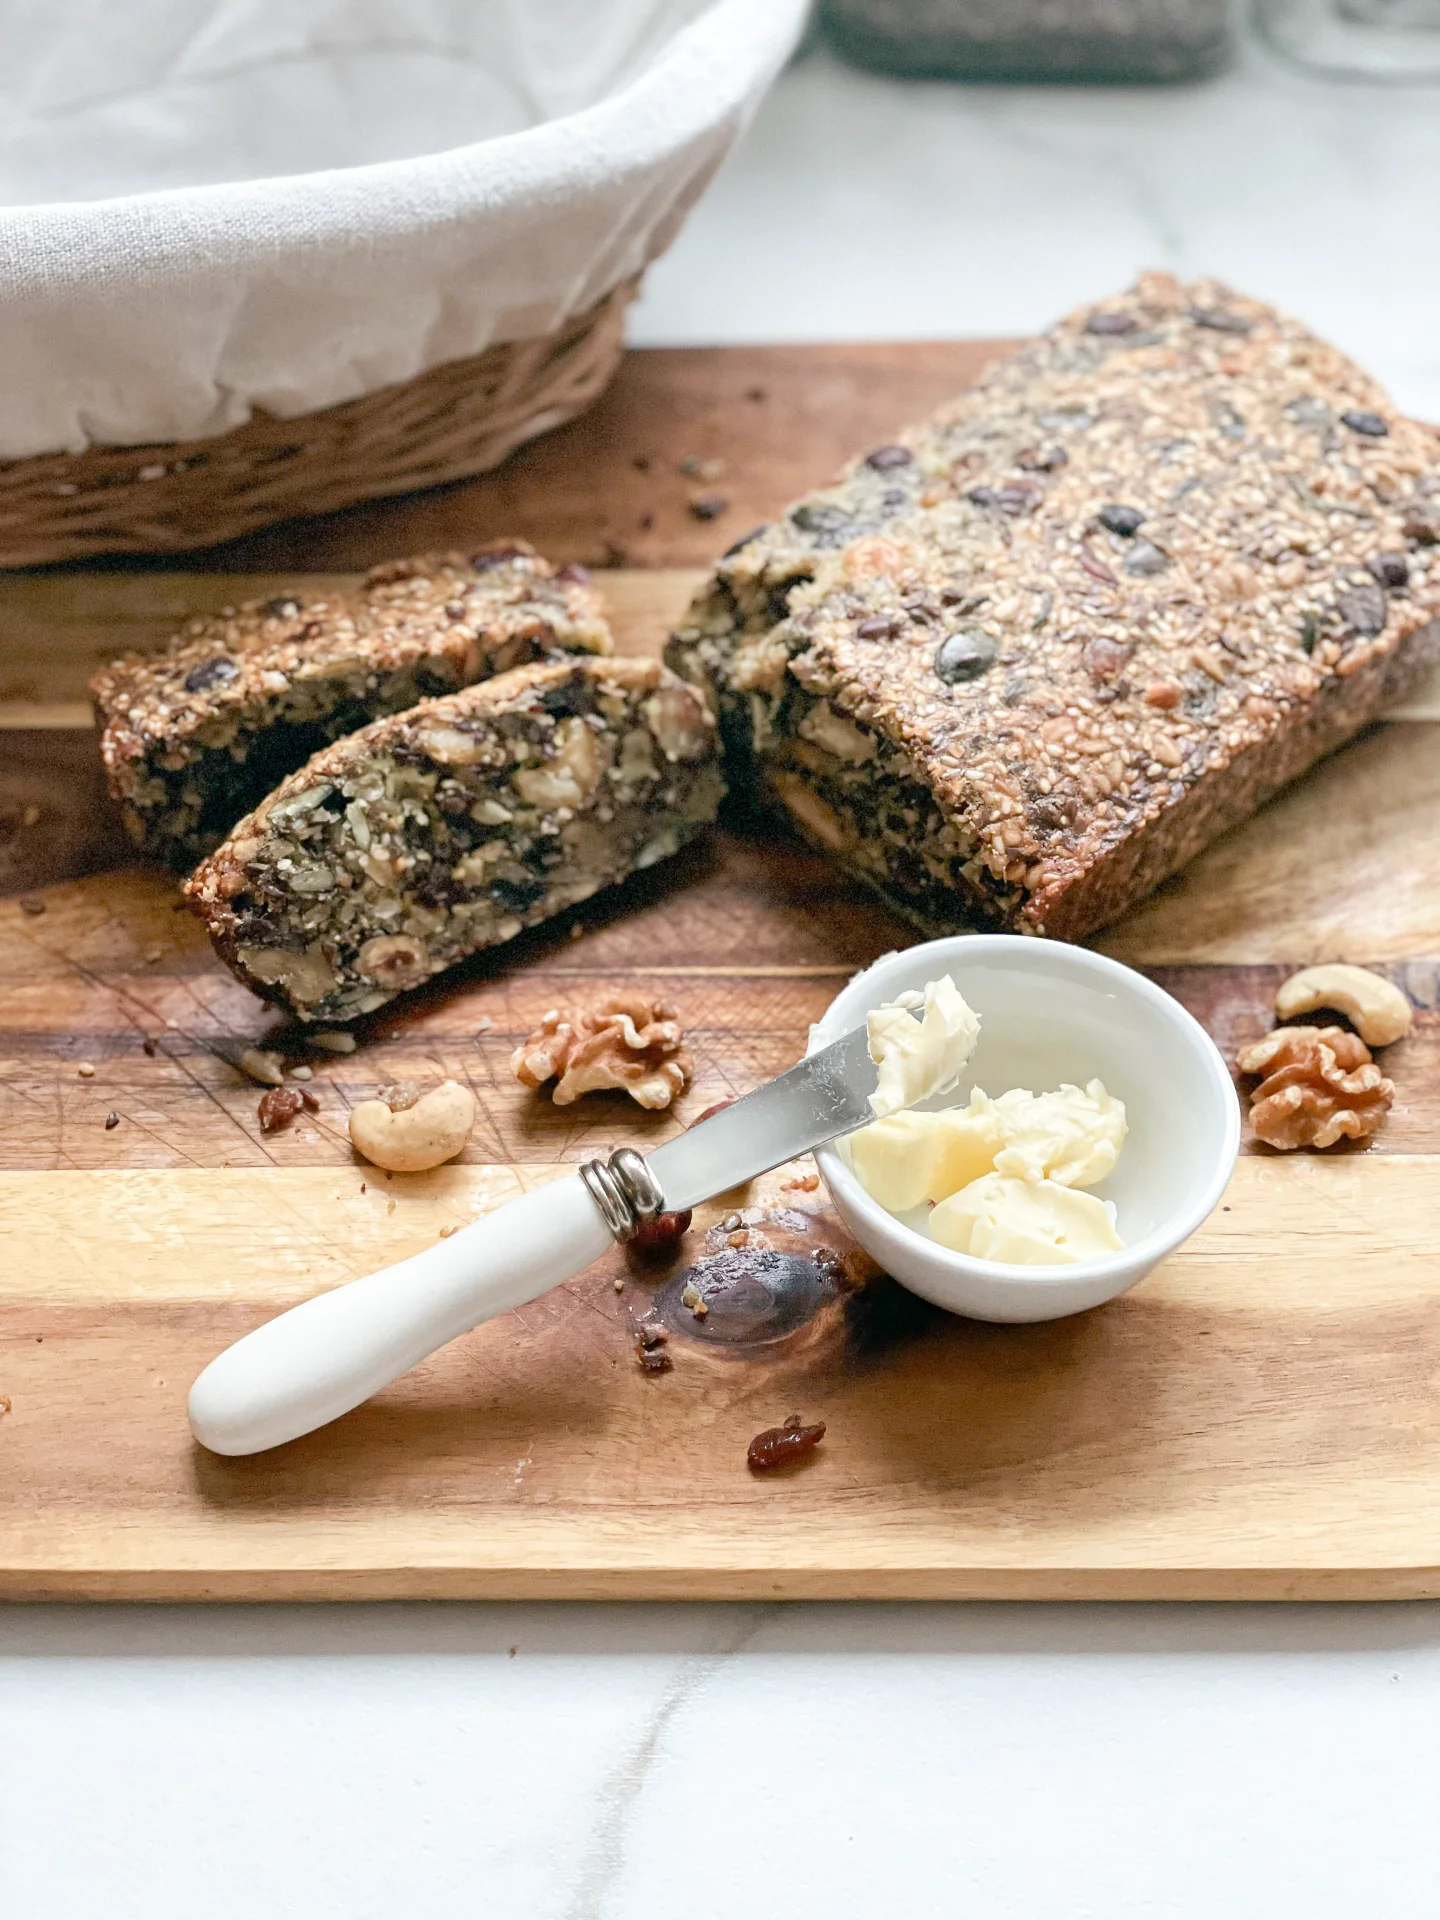
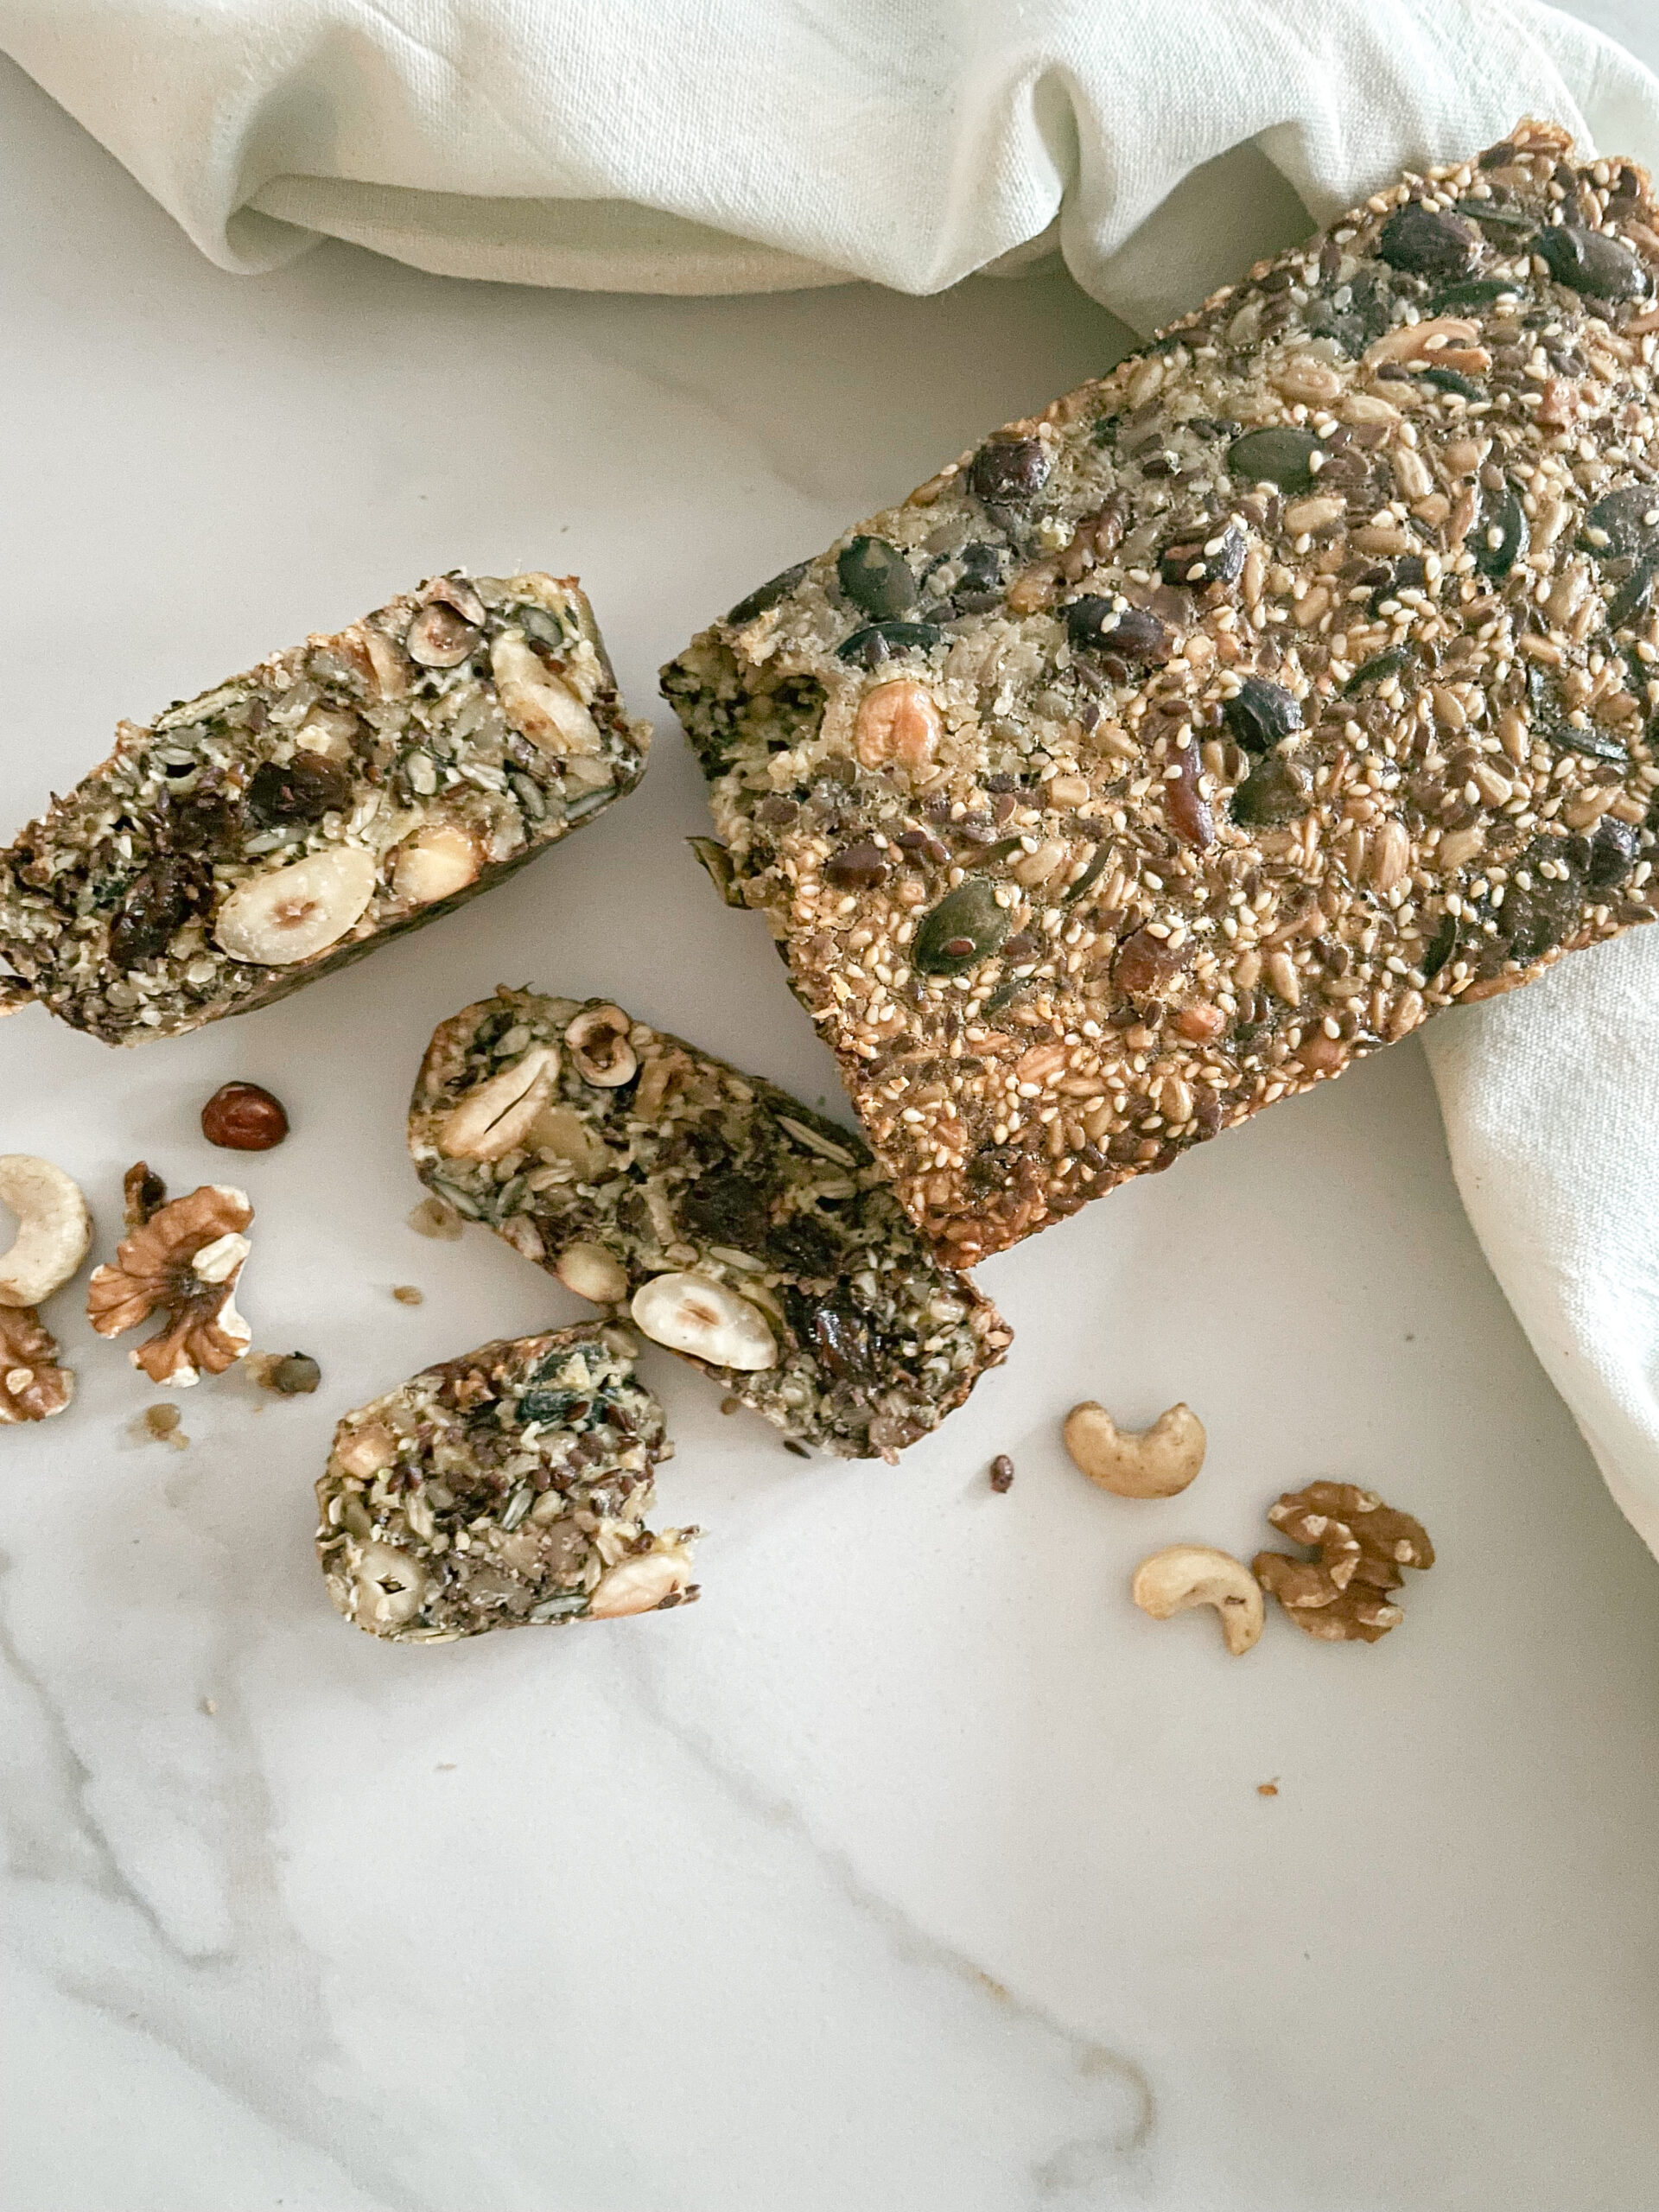
Enjoy a nutty, seedy bread made with just nuts, seeds, salt, oil, and eggs. Each bite is rich and hearty, providing a delicious and wholesome flavor experience. And I promise: you can’t taste the egg at all!

This website uses affiliate links which may earn commission for purchases made at no additional cost to you.

TOTAL TIME

1 hr + 10 min

SERVES

18 slices

DIET

vegetarian

EVERY RECIPE DESERVES

A Little Love Letter

Experience a nutritious bread crafted solely from nuts, seeds, salt, oil, and eggs. This wholesome blend delivers a rich and hearty flavor, providing a satisfying, protein-packed option for those seeking a gluten-free and flavorful bread. Simple yet nutritious, it ensures a fulfilling treat without compromising on taste. And the best is: you can’t taste the egg at all!

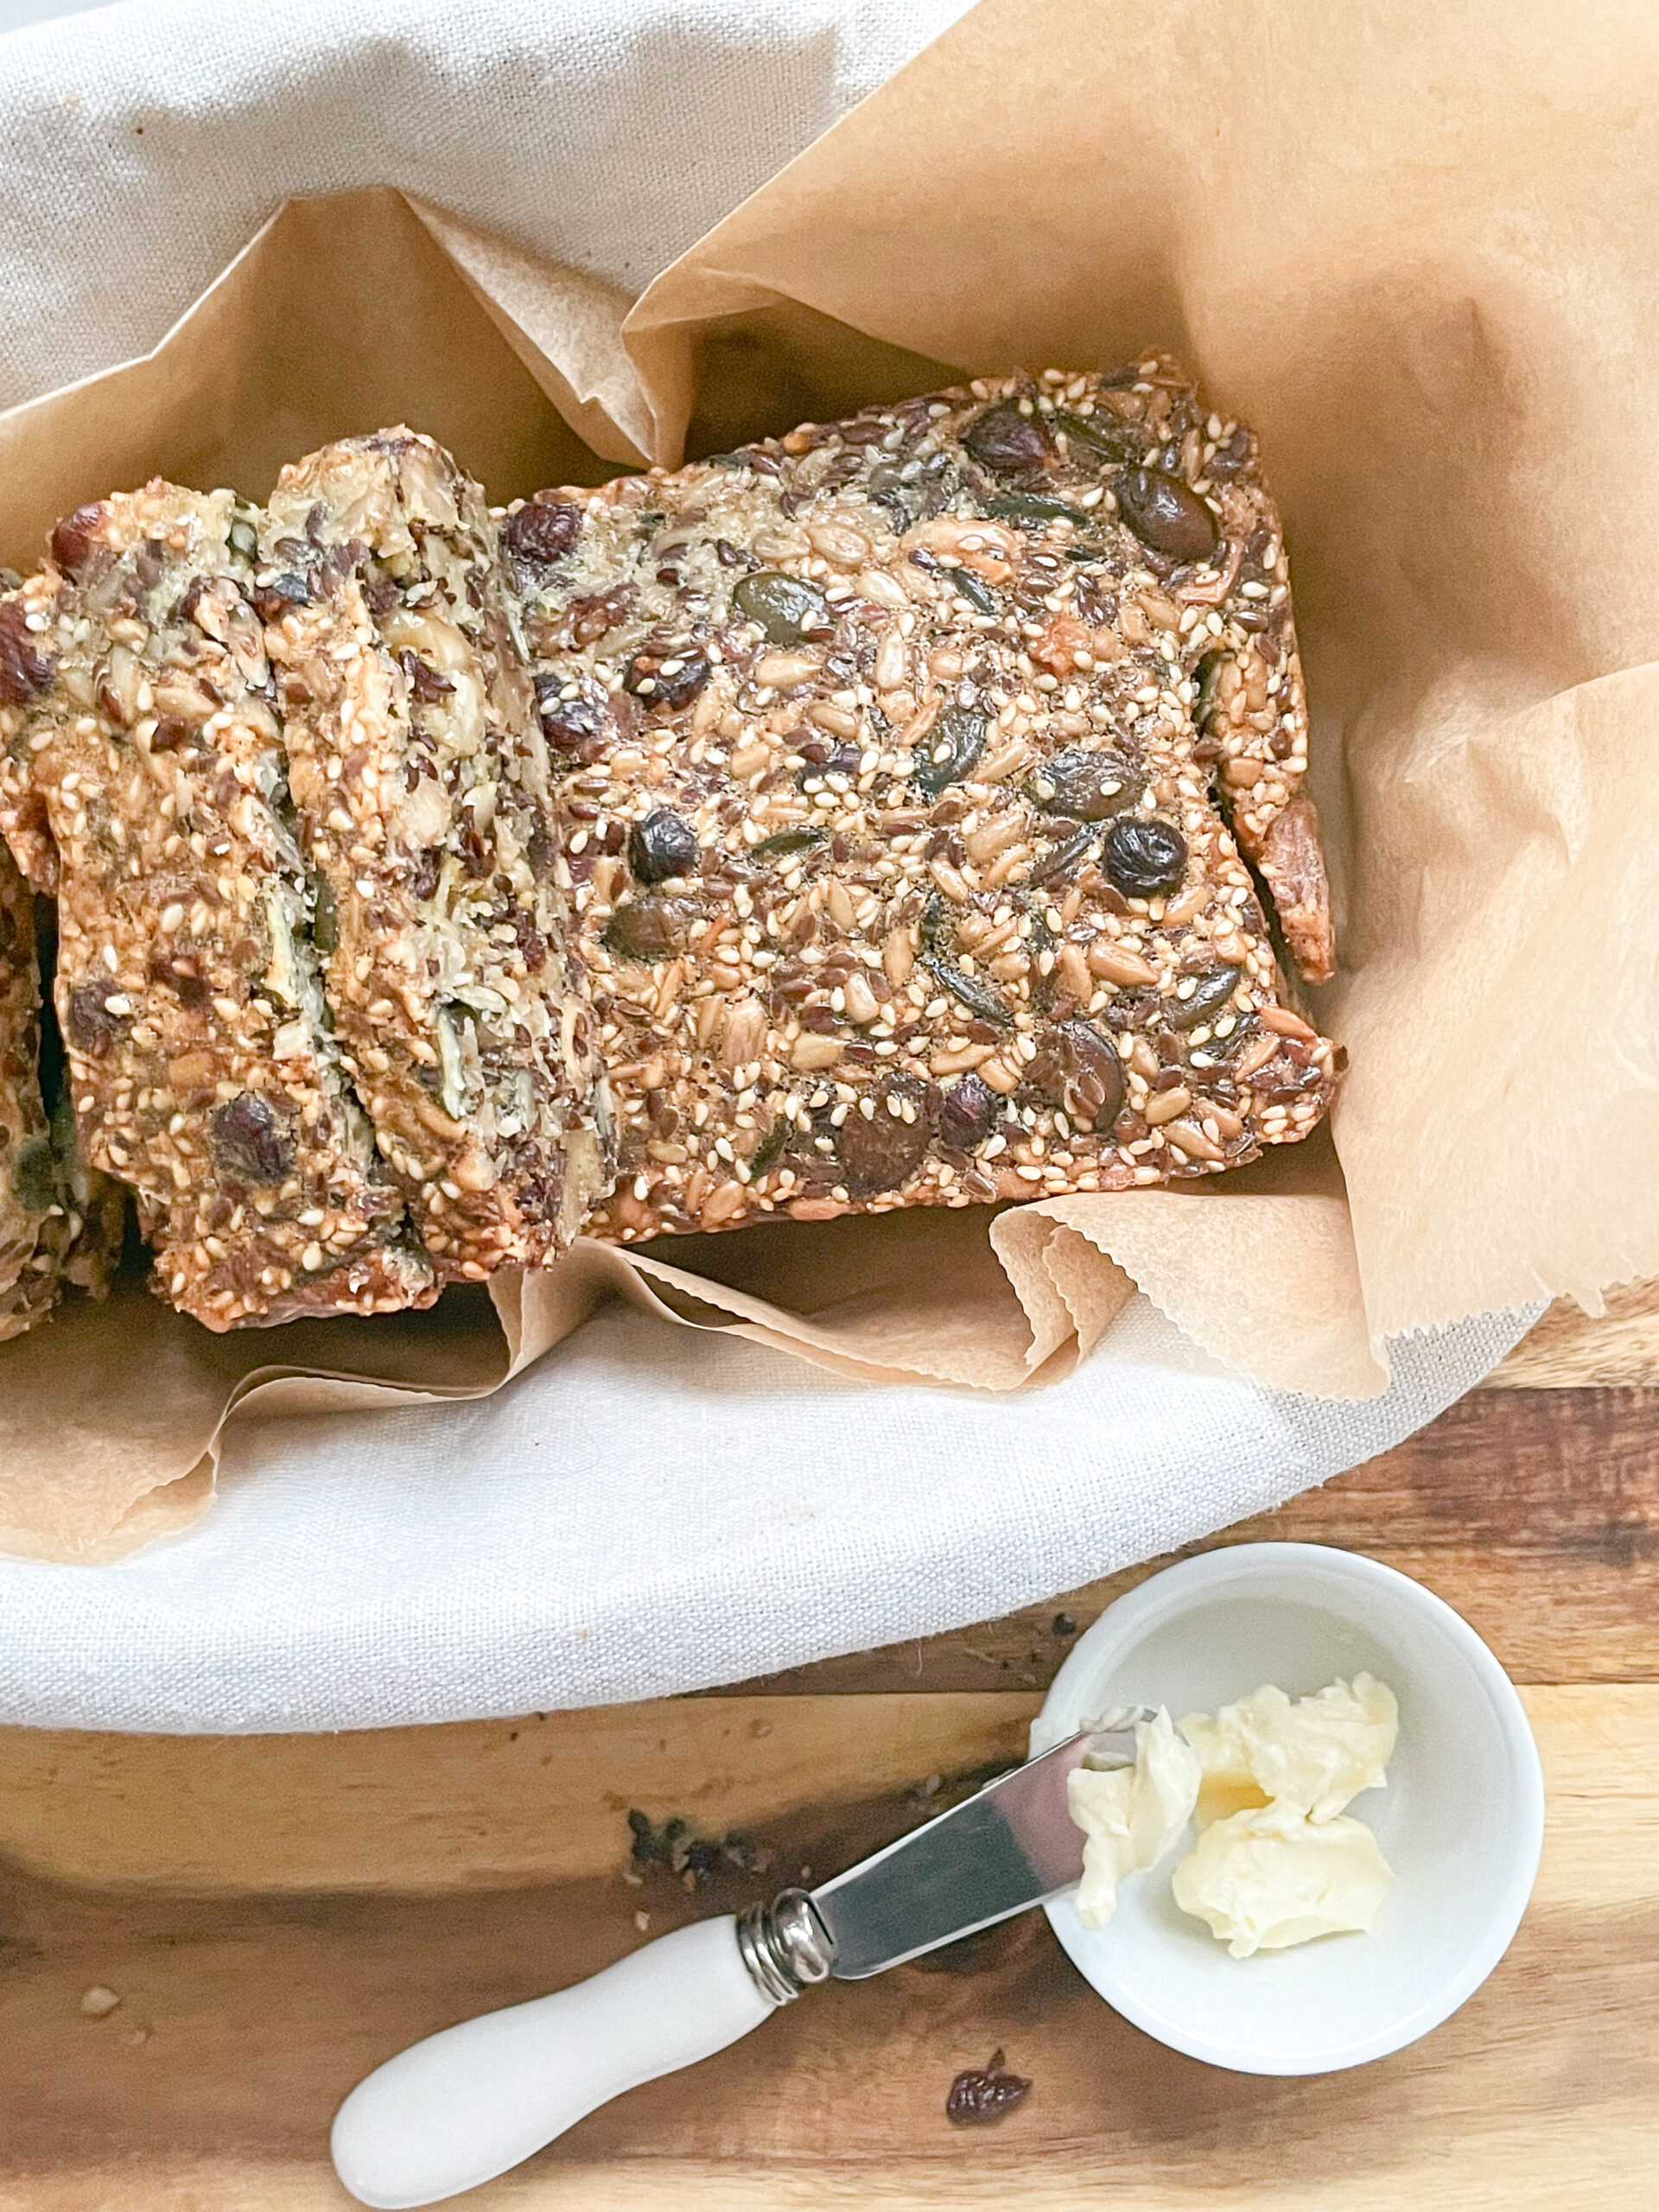
Enjoy this nutritious bread in different ways! Toast it with simple butter for breakfast or pair it with cheese and fruits for a tasty snack. The rich, nutty flavor also goes well with soups and salads, adding a satisfying crunch. Whether on its own or part of a snack spread, this bread suits everyone’s taste, making it a yummy addition to any meal.

Store this nutritious bread in a bread box, preferably wrapped in parchment paper to prevent moisture buildup. For extended freshness, freeze it in slices with parchment paper between layers. Thaw in the refrigerator and toast for a delicious experience whenever you’re ready to enjoy.

Hi, I'm Kimberly!

Hi, I'm Kimberly.

A hopeless romantic when it comes to food. Every recipe I share is a love letter to food itself. I’m so glad you’re here. Make yourself at home and stay a while.

Love,
Kimberly

Kimberly the Zett Signature

If you want to get to know me better,
click here!


Gluten-Free Bread From Nuts & Seeds

LET’S MAKE A PIECE OF HAPPINESS

Print
clock clock iconcutlery cutlery iconflag flag iconfolder folder iconinstagram instagram iconpinterest pinterest iconfacebook facebook iconprint print iconsquares squares iconheart heart iconheart solid heart solid icon
Gluten-Free Bread From Nuts & Seeds

Gluten-Free Bread From Nuts & Seeds


  • Author: Kimberly
  • Total Time: 70 min
  • Yield: 18 slices 1x

Description

RECOMMENDED EQUIPMENT

  • medium sized bowl
  • ovenproof dish (I used a loaf pan 25x10cm (10×4 inch))

Ingredients

Units Scale
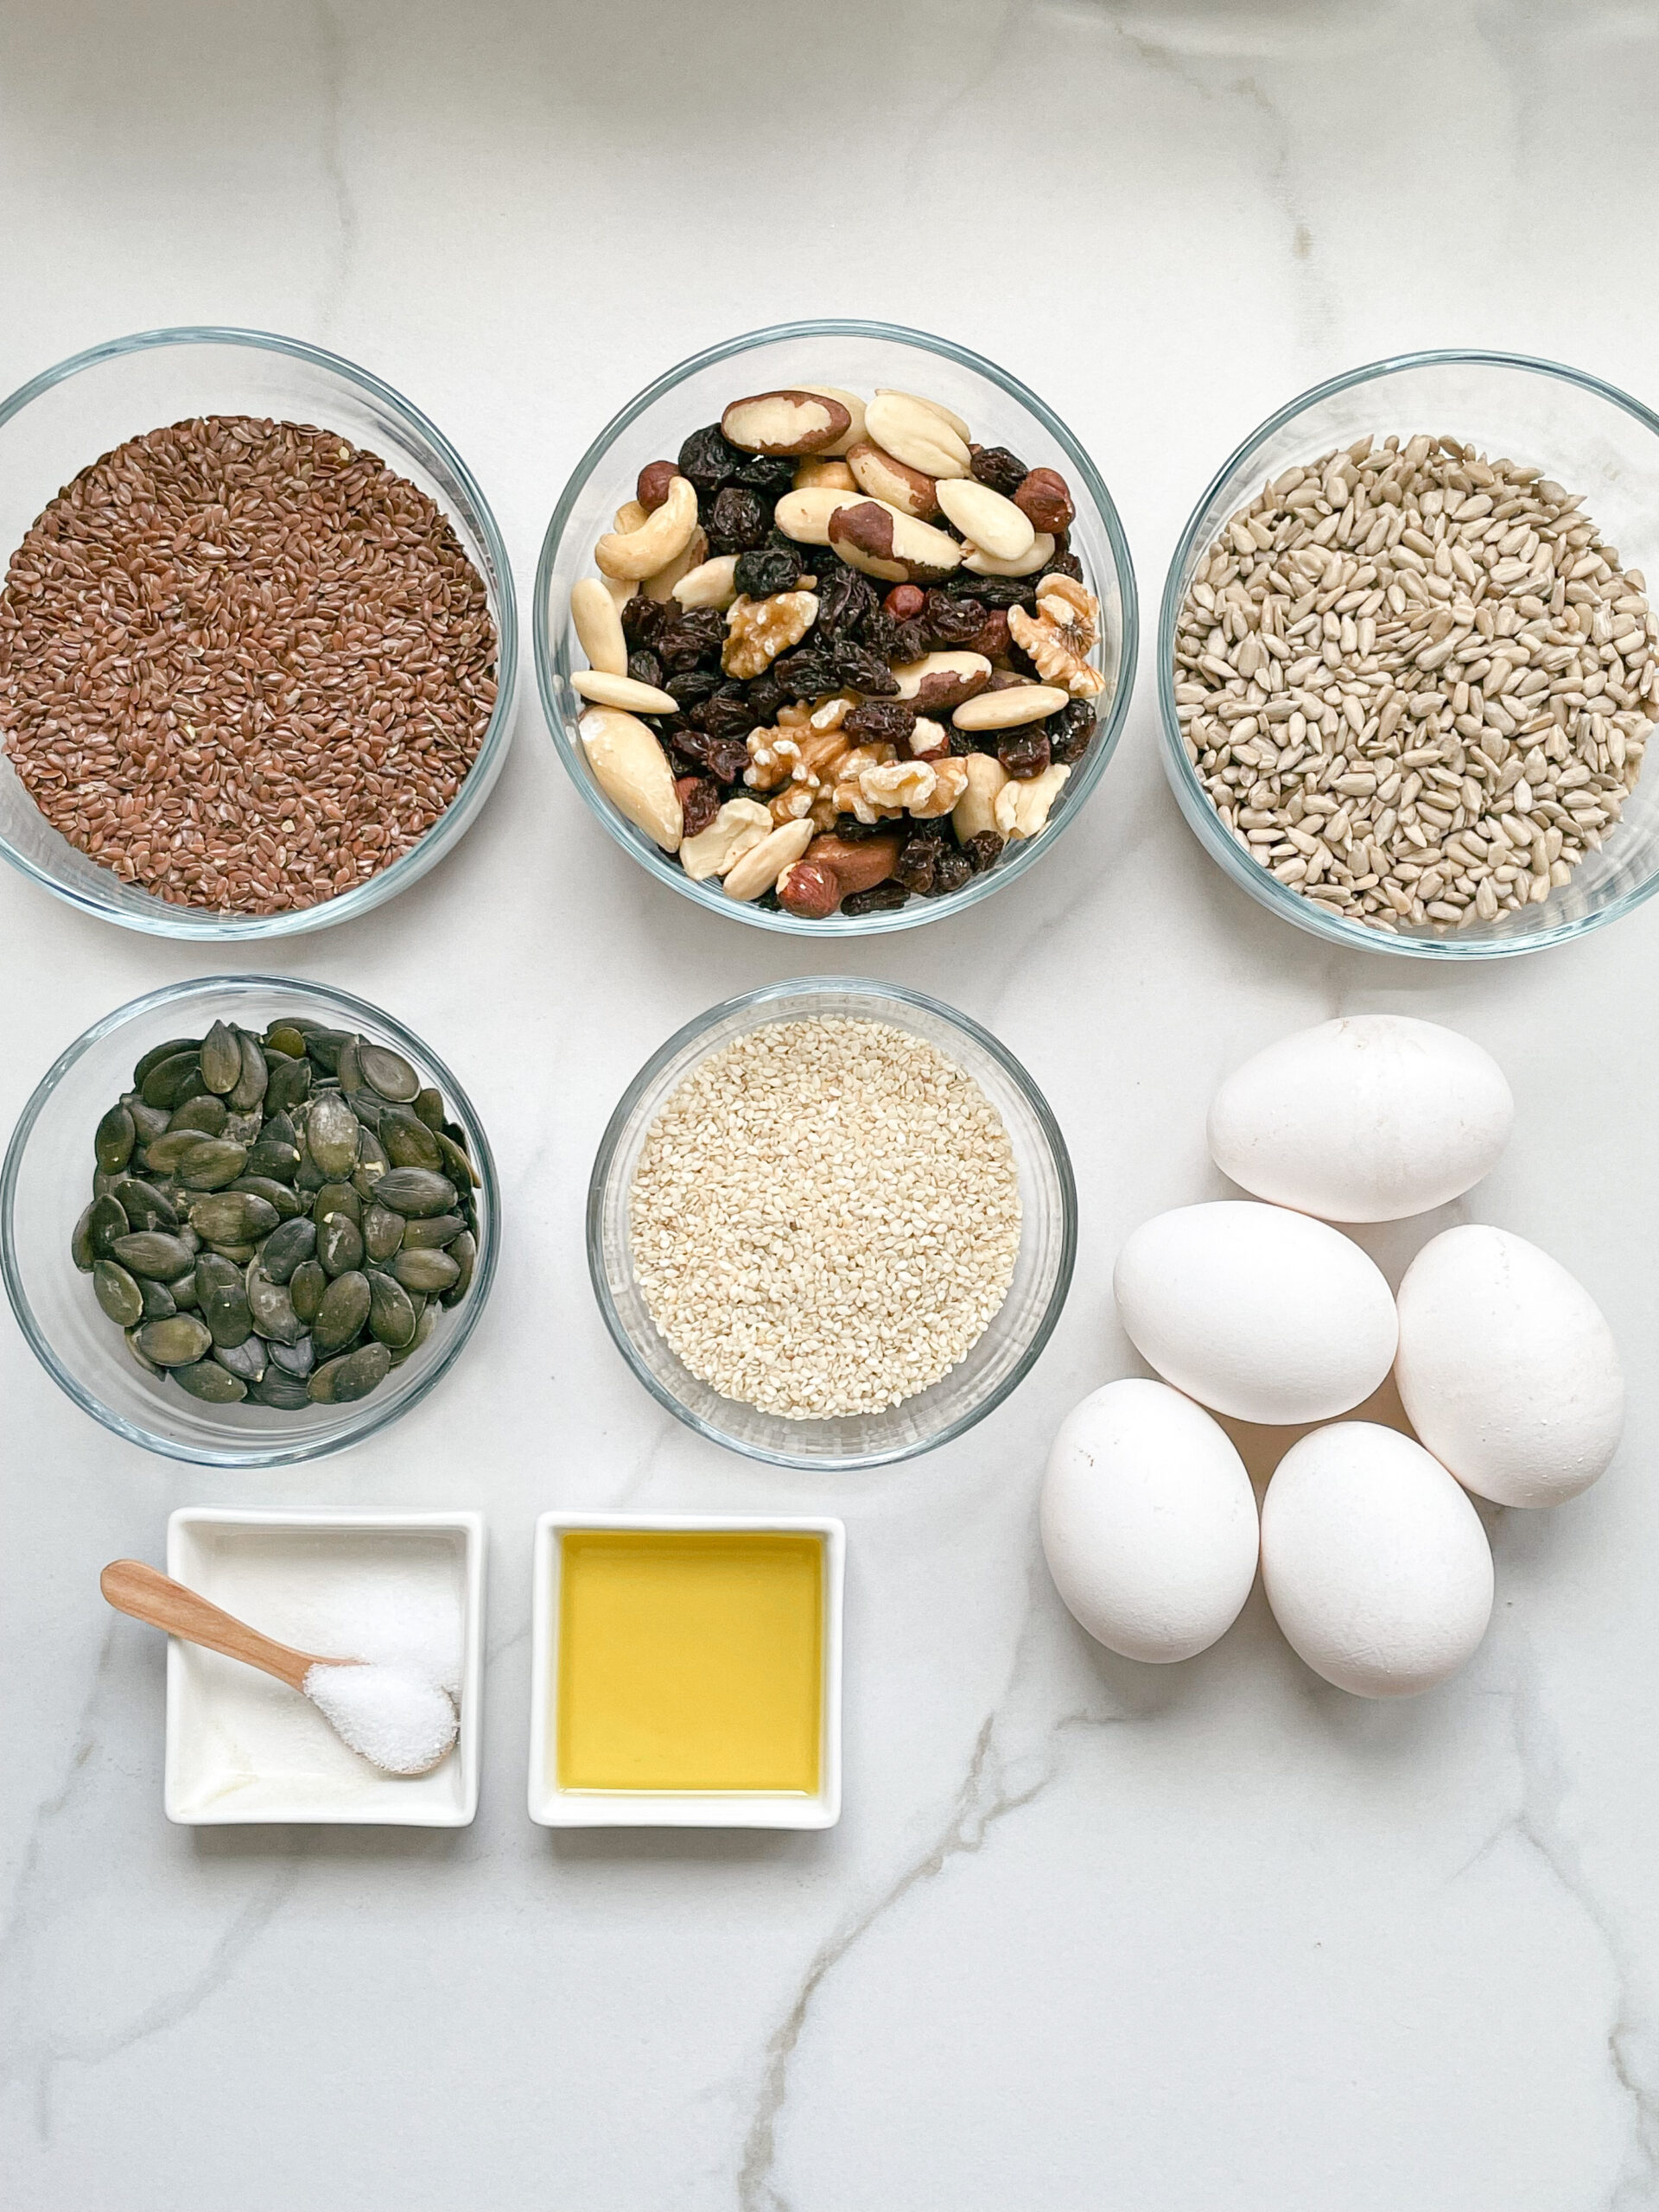
  • 5 eggs
  • 1/2 tsp salt
  • 50 milliliters olive oil
  • 100 grams flaxseeds
  • 200 grams mixes nuts
  • 100 grams sunflower seeds
  • 50 grams pumpkin seeds
  • 50 grams white sesame

Instructions

  1. Preheat the oven to 160°C (320°F).
  2. Line the loaf tin with baking paper.
  3. Whisk the 5 eggs with 1/2 tsp salt in a bowl. Meanwhile, add the 50ml (10 tsp) olive oil and mix well.
  4. Pour 100g (1/2 cup + 2 tbsp) flaxseeds , 200g (1 cup + 1/3 cup) mixed nuts, 100g (1/2 cup + 1/4 cup) sunflower seeds, 50g (1/4 cup) pumpkin seeds and 50g (1/3 cup + 2 tsp) white sesame seeds into the bowl with the egg mixture and mix everything together.
  5. Pour the entire mixture onto the baking paper in the loaf tin and spread evenly.
  6. Bake in the oven on the middle shelf for 60 minutes. The bread can be eaten warm, but make sure that the slices are not cut too thinly. Once the bread has cooled, thin slices can also be cut.
  • Passive Time: 60 min
  • Cook Time: 10 min

CRAVING MORE?

Follow along here & don’t forget to subscribe to my substack!

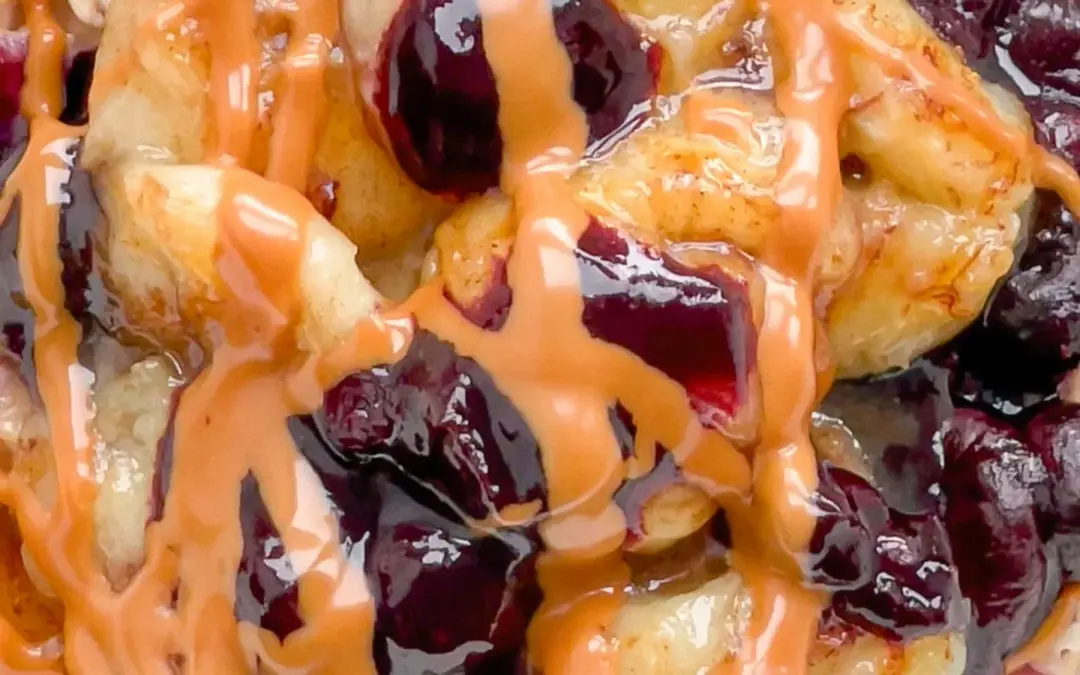
Warm Banana Blueberry Oats With Nutbutter

Warm Banana Blueberry Oats With Nutbutter

Warm Banana Blueberry Oats with Creamy Nutbutter

Warm Banana Blueberry Oats with Creamy Nutbutter

January 2, 2024 by Kimberly

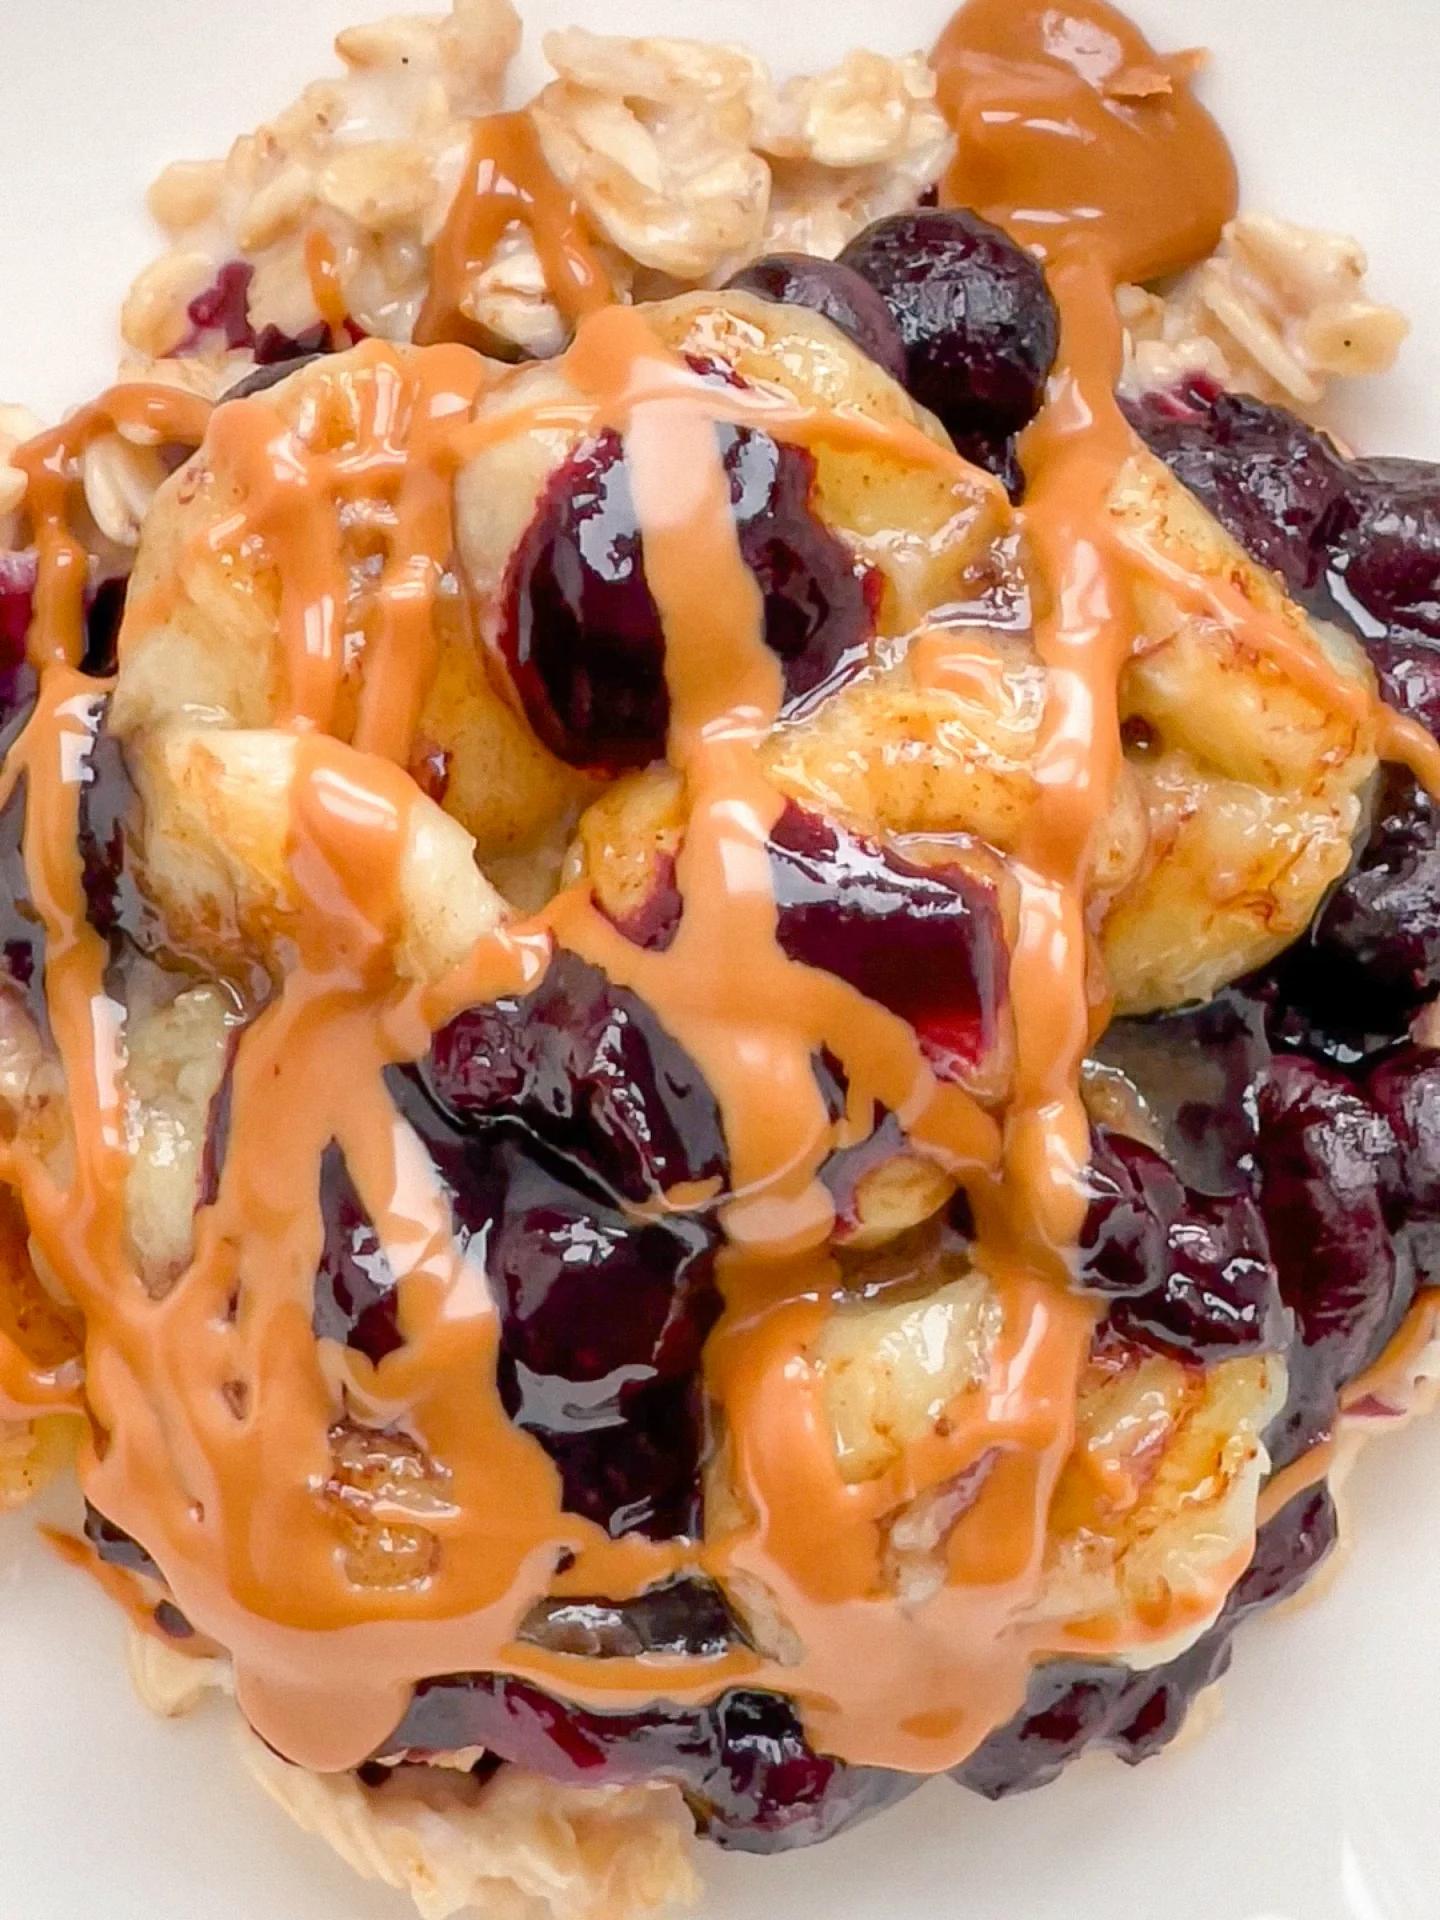
Enjoy the comforting goodness of warm banana blueberry oatmeal topped with creamy nut butter. This delightful combination provides a wholesome and satisfying breakfast experience.

This website uses affiliate links which may earn commission for purchases made at no additional cost to you.

TOTAL TIME

20 min

SERVES

1 portion

DIET

vegan

EVERY RECIPE DESERVES

A Little Love Letter

I honestly used to think making almond milk at home was some sort of witchcraft, like you’d need a shiny high-speed blender, nut milk bags, and basically a degree in food science. And what can I say? You really don’t. Haha. All it actually takes is almonds, water, and a little bit of patience. That’s it. And at the end, you’re rewarded with this fresh, creamy, silky-smooth plant-based milk that feels so much more real than anything you’ll find in a carton at the store. No additives, no gums, no ingredients you can’t even pronounce.

The fun part? You can make it your own in about a million ways. Cinnamon almond milk for cozy fall vibes? Absolutely. Vanilla almond milk that tastes like dessert in a glass? Always yes. A drizzle of maple syrup for that subtle sweetness? Yessss, please. Once you try customizing it, you’ll realize how versatile it really is. I use homemade almond milk especially in smoothies. One of my favorites is this Banana Bliss Smoothie with Poppy Seeds, Marzipan & Almond Butter. It makes everything so creamy without feeling heavy. But it’s also amazing poured over granola or blended into iced coffee.

And yes, I’ll admit, I’m also in it for the aesthetic. I always pour my almond milk into a classic glass bottle before popping it into the fridge. There’s just something about opening the door and seeing that little bottle waiting there. But it’s practical as well: in a clean bottle with a lid, it keeps fresh for three to four days. Just give it a good shake before using, since it tends to separate naturally.

So yeah, homemade almond milk might sound fancy, but really it’s one of the simplest little kitchen habits you can build. And once you’ve tried it, I promise you’ll wonder why you ever thought it was complicated.

Hi, I'm Kimberly!

Hi, I'm Kimberly.

A hopeless romantic when it comes to food. Every recipe I share is a love letter to food itself. I’m so glad you’re here. Make yourself at home and stay a while.

Love,
Kimberly

Kimberly the Zett Signature

If you want to get to know me better,
click here!


Warm Banana Blueberry Oats with Creamy Nutbutter

LET’S MAKE A PIECE OF HAPPINESS

Print
clock clock iconcutlery cutlery iconflag flag iconfolder folder iconinstagram instagram iconpinterest pinterest iconfacebook facebook iconprint print iconsquares squares iconheart heart iconheart solid heart solid icon
Warm Banana Blueberry Oats with Creamy Nutbutter

Warm Banana Blueberry Oats With Nutbutter


  • Author: Kimberly
  • Total Time: 15 min
  • Yield: 1 1x

Description

RECOMMENDED EQUIPMENT
  • sharp knife
  • cutting board
  • small pan
  • small pot
  • small bowl

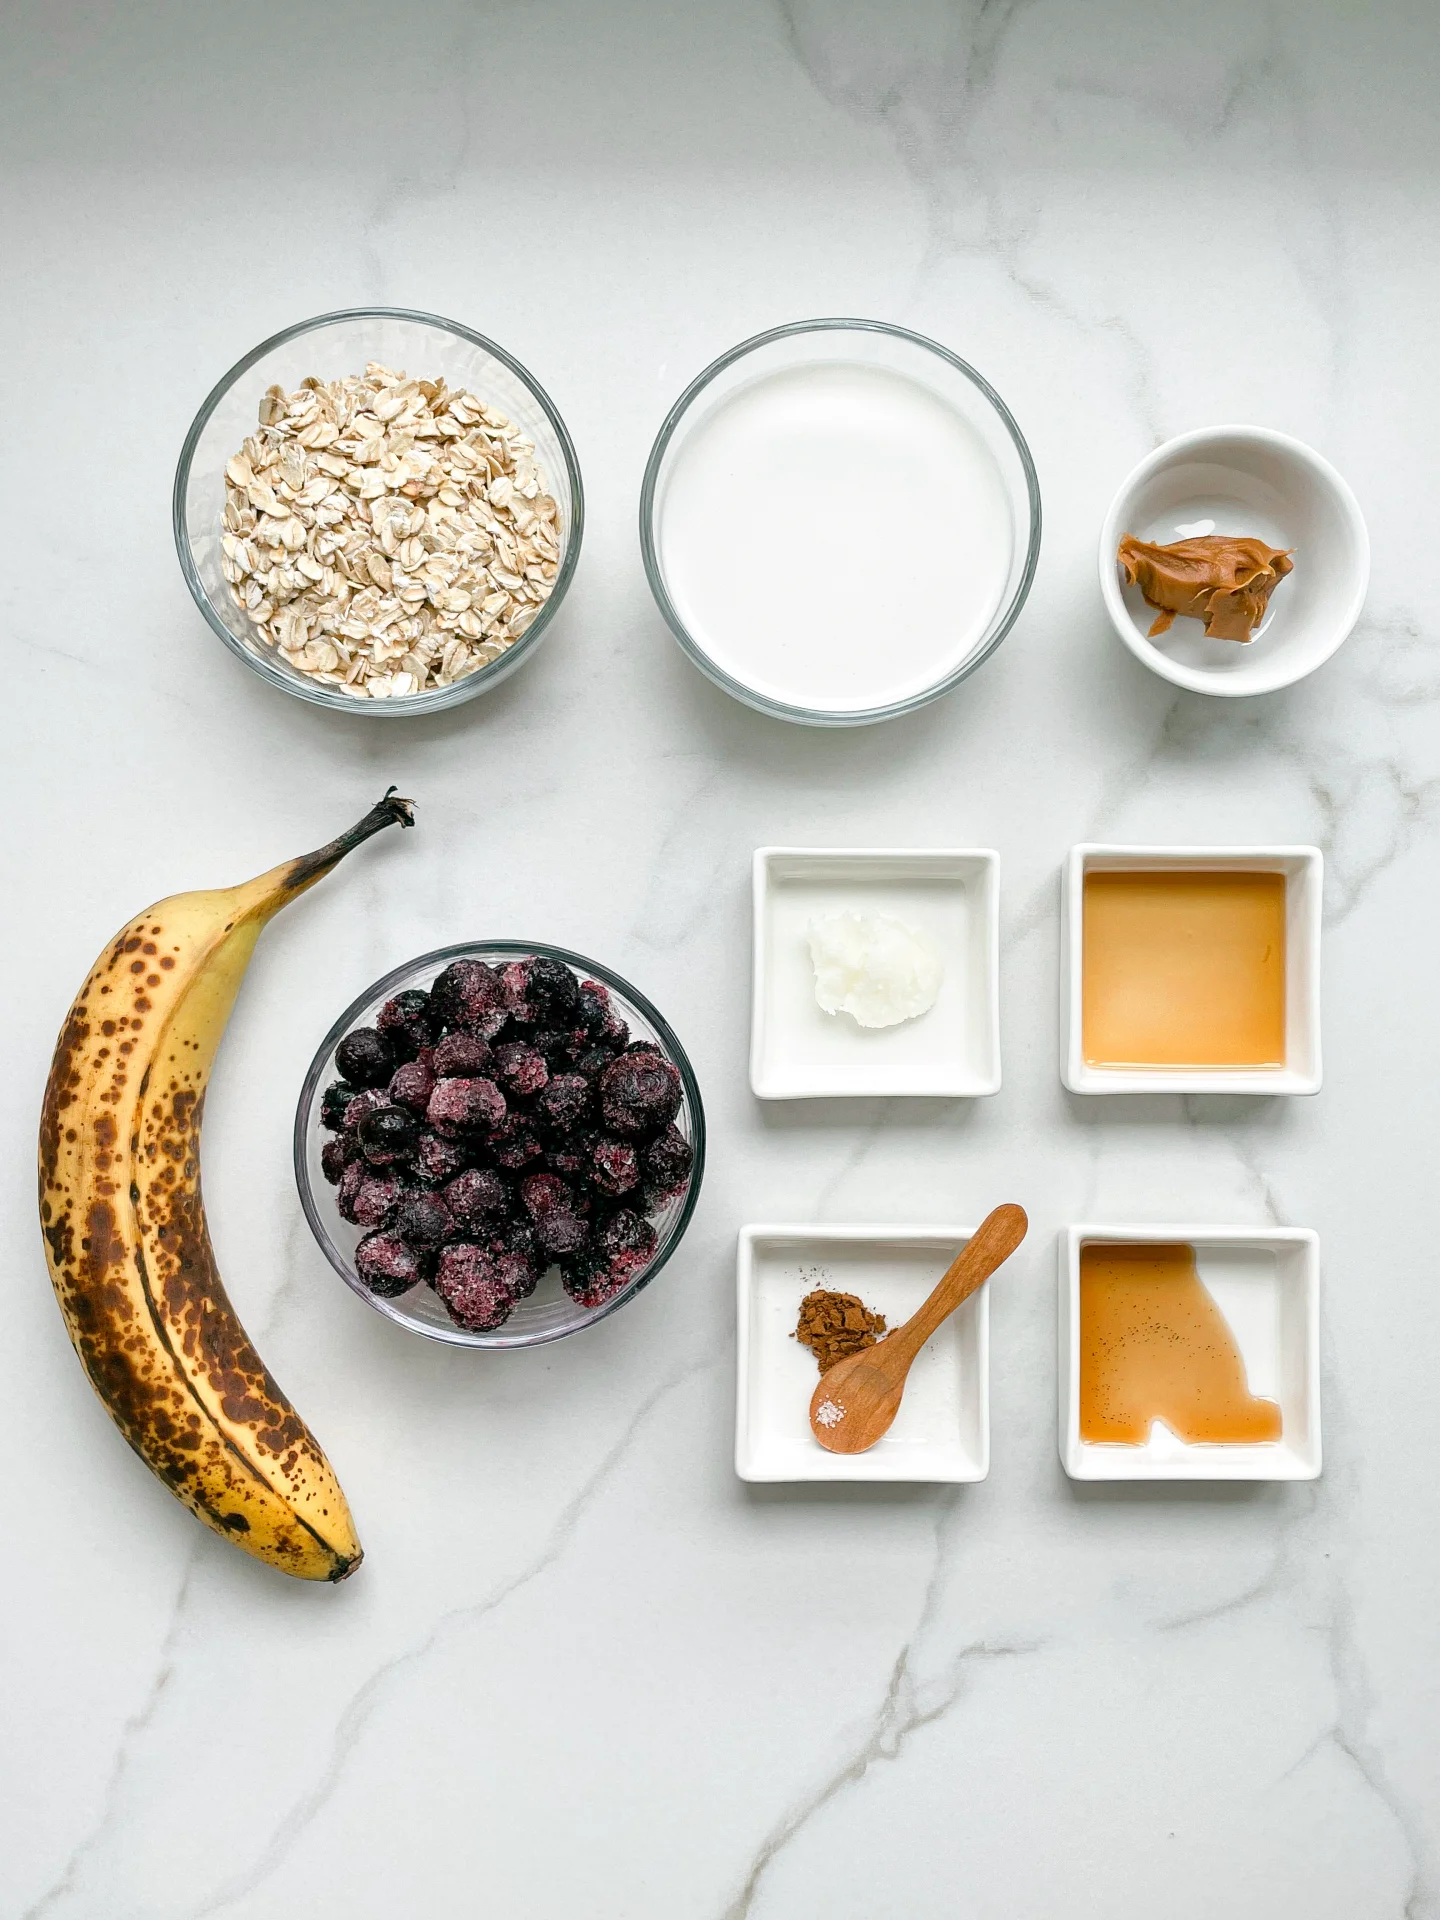
Ingredients

Units Scale
OATS BASE
  • 100 milliliters milk of choice (I used soy milk)
  • 43 grams rolled oats
  • 1/4 tsp vanilla extract
  • pinch of salt
FRIED BANANA
  • 1 banana
  • 1 tsp coconut oil
  • 1 tsp maple syrup
  • 1/8 tsp cinnamon
TOPPINGS
  • 50 grams frozen blueberries (1/4 cup)
  • 1 tsp nutbutter of choice (I used peanut butter)

Instructions

  1. Cut the banana into finger-thick slices.
  2. Cook the rolled oats with milk, vanilla extract and a pinch of salt in a small saucepan to a creamy consistency for approx. 10 minutes. Transfer to a small bowl.
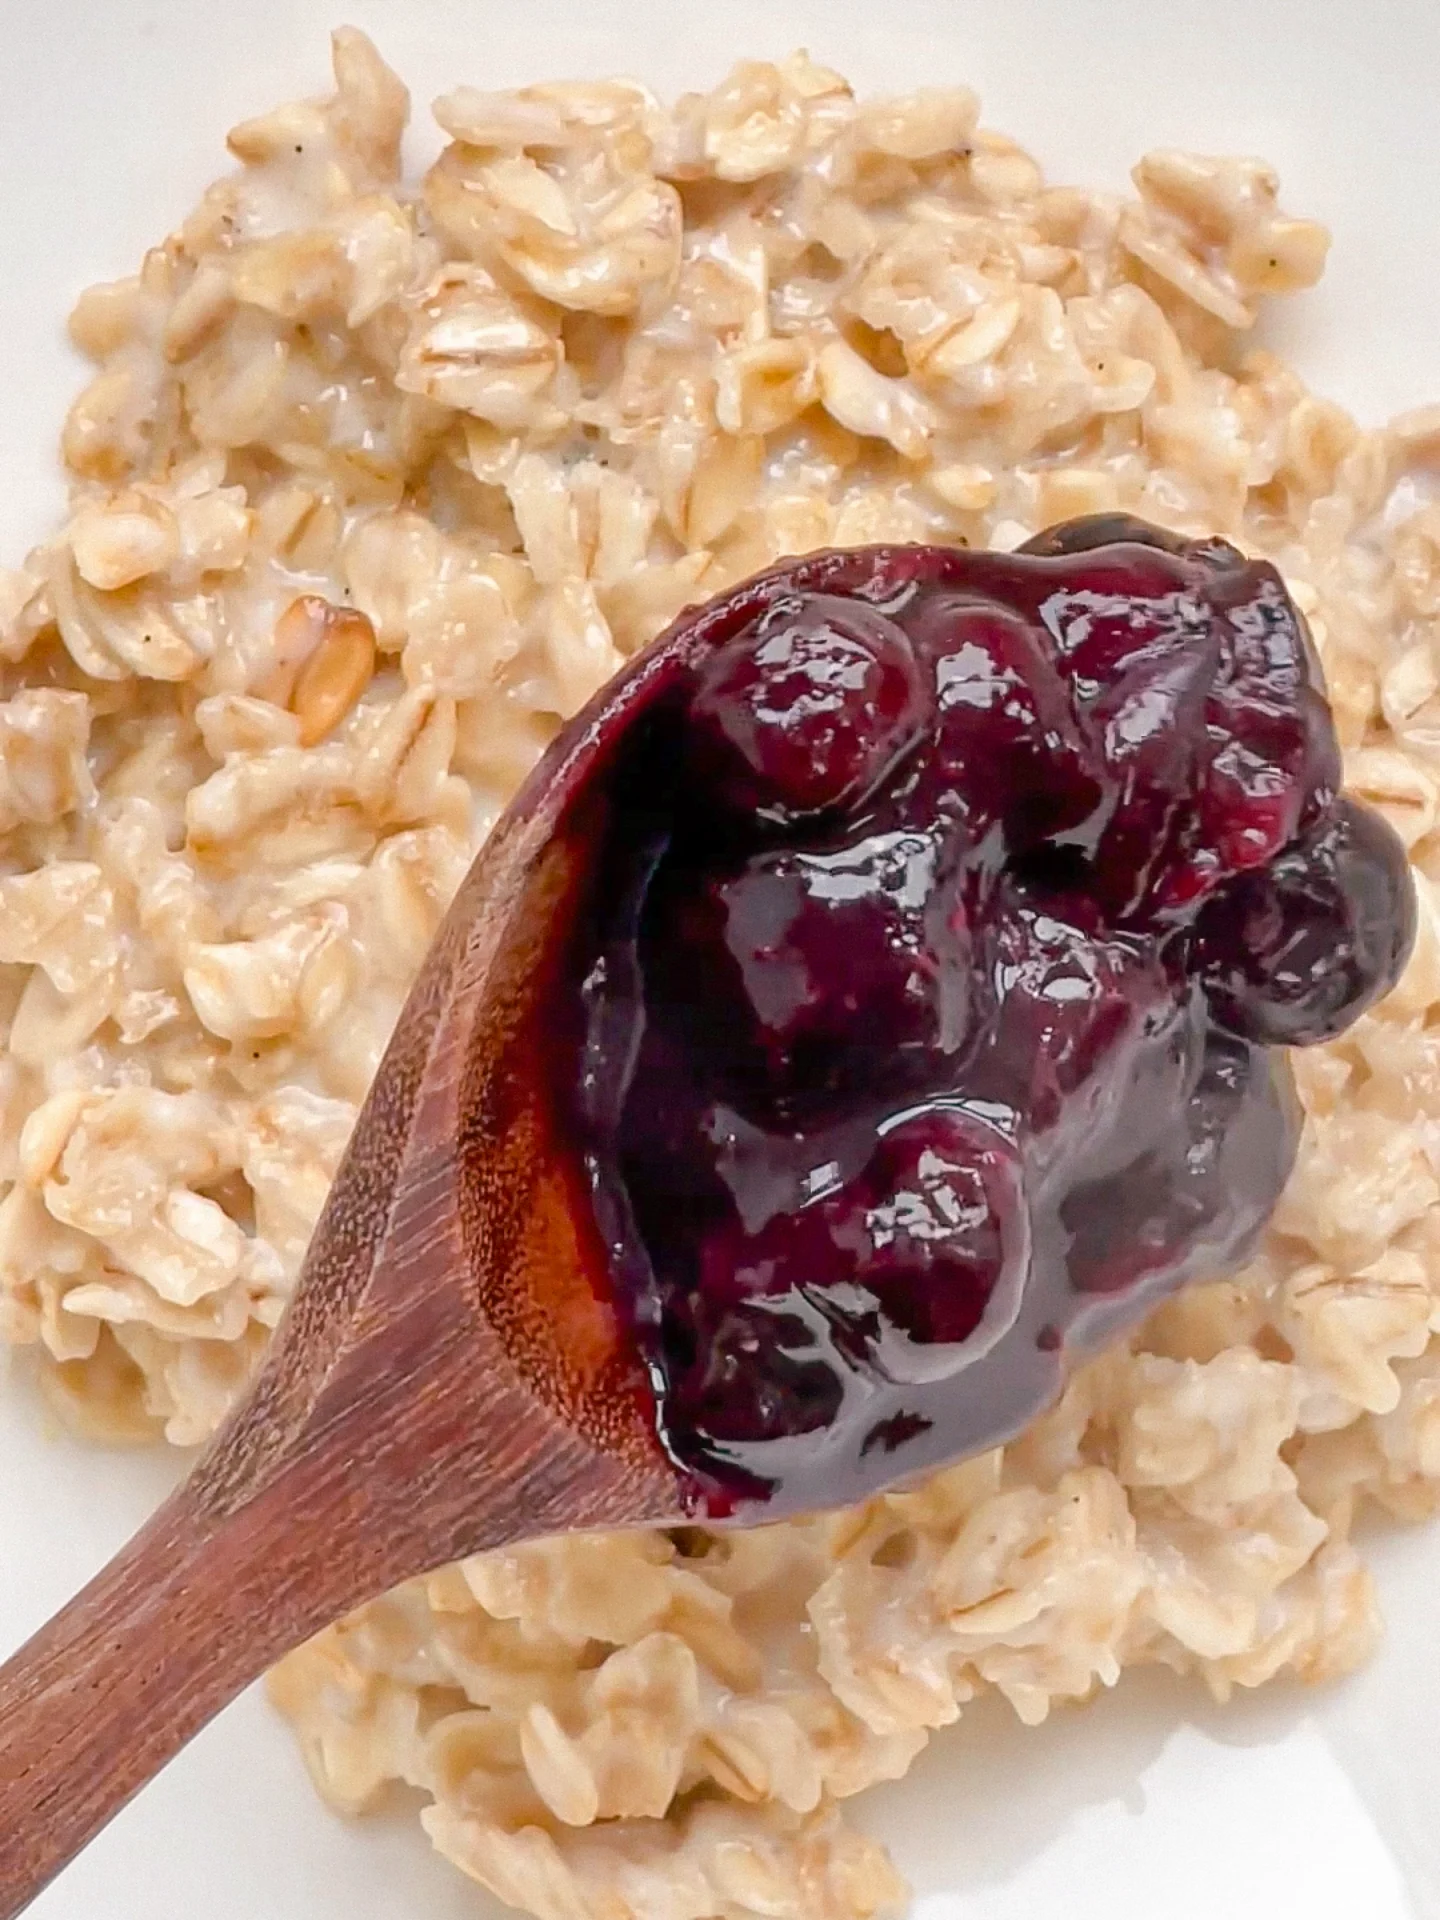
  3. In the same saucepan, cook the blueberries over a medium heat until soft and juices run clear.
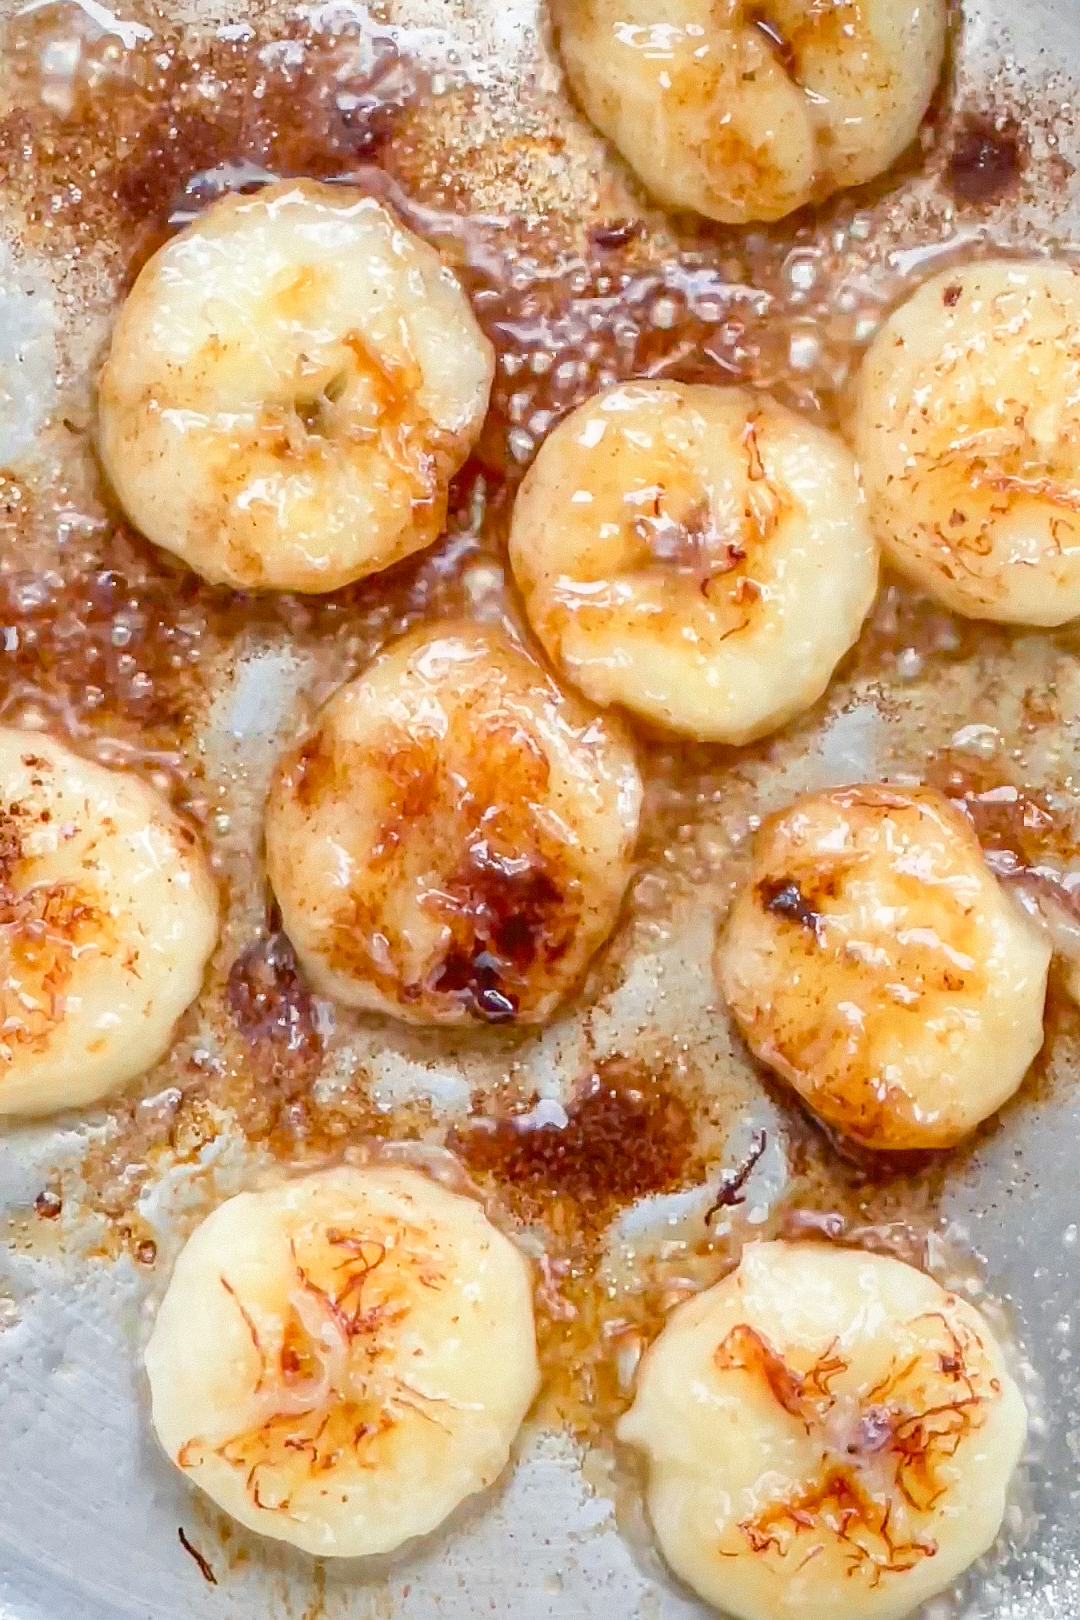
  4. Meanwhile, add 1 tsp coconut oil to a small frying pan. Once hot, add the banana slices to the pan. Fry on both sides until the bananas are golden brown. Finally, add 1 tsp maple syrup and 1/8 tsp cinnamon and allow the bananas to caramelize.
  5. Put the 1 tsp nut butter for a few seconds in the microwave so that it softens.
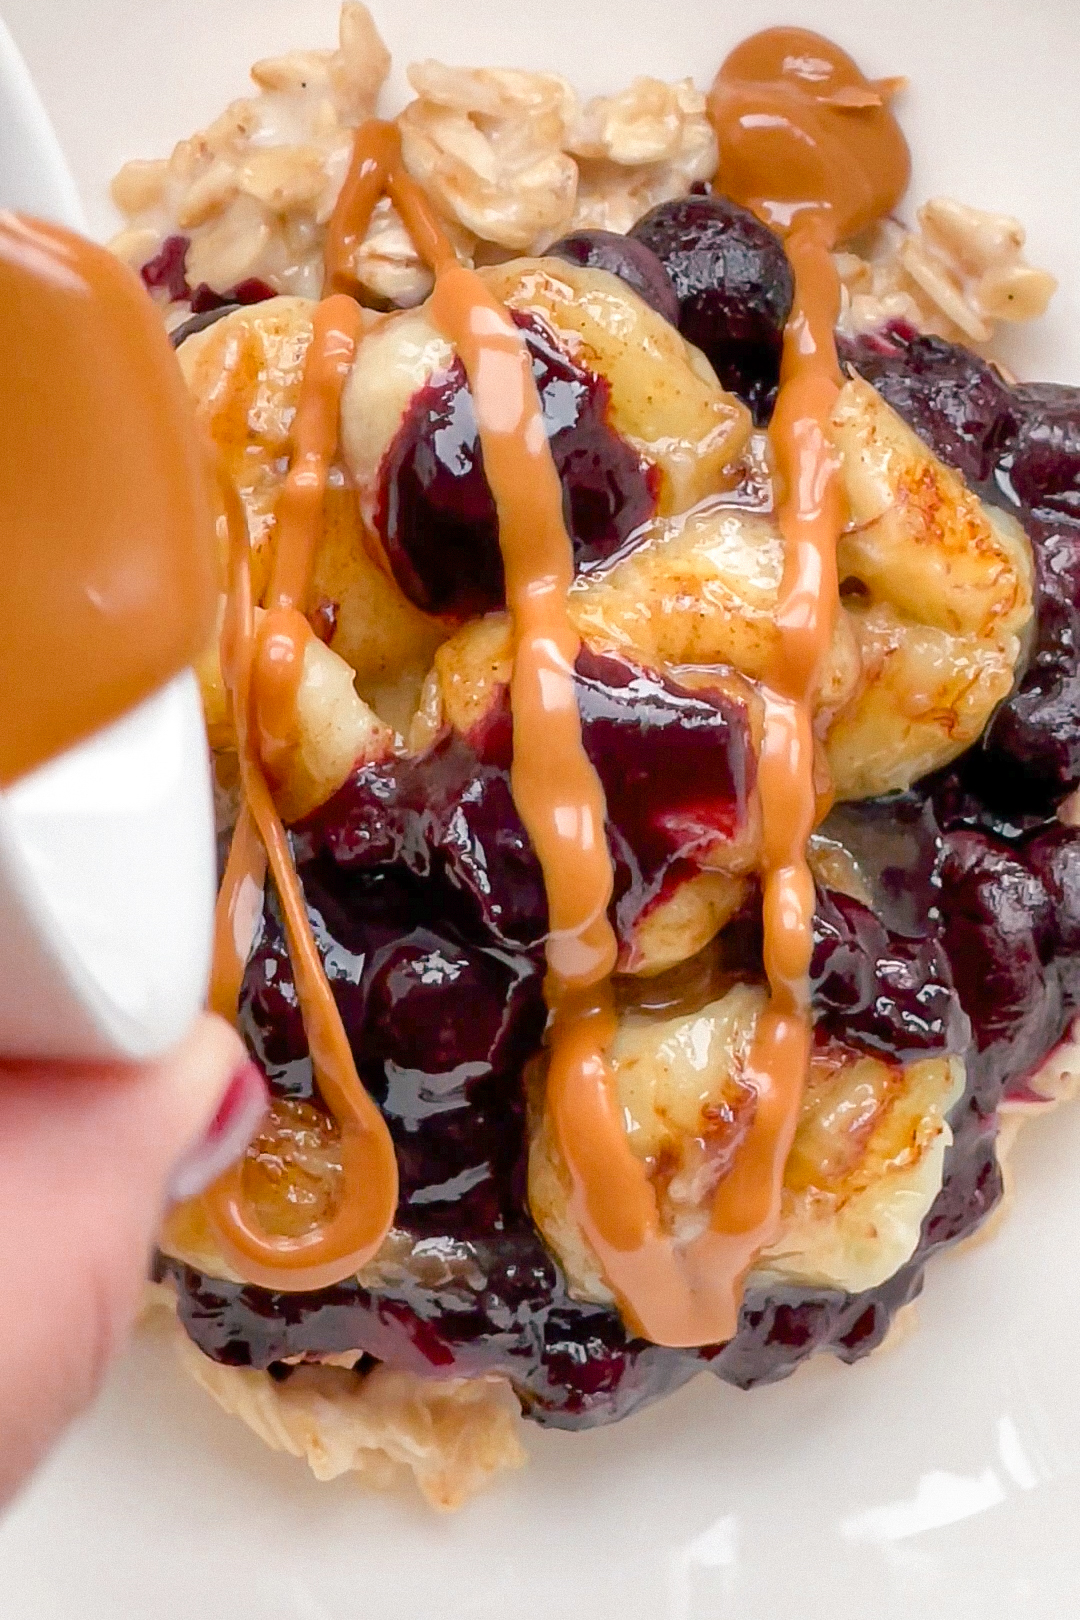
  6. Pour the blueberries with their sauce over the oatmeal in the bowl. Spread the bananas on top and finish with the nut butter.
  • Cook Time: 15 min

CRAVING MORE?

Follow along here & don’t forget to subscribe to my substack!