Scallion Oil

Scallion Oil

Scallion Oil

Scallion Oil

June 18, 2024 by Kimberly

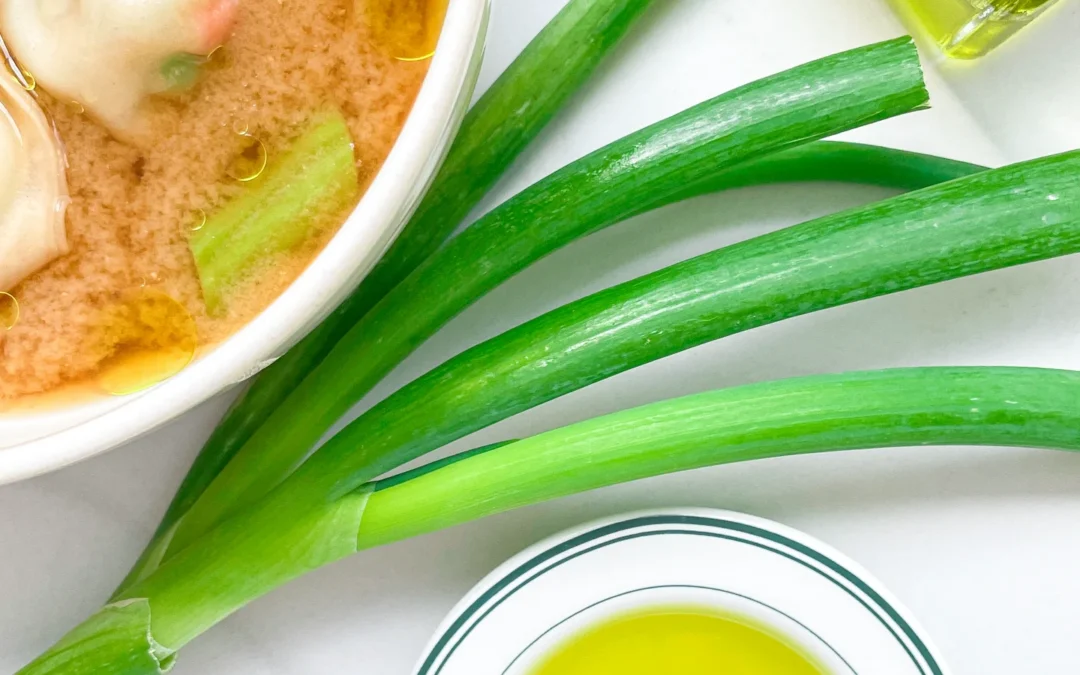
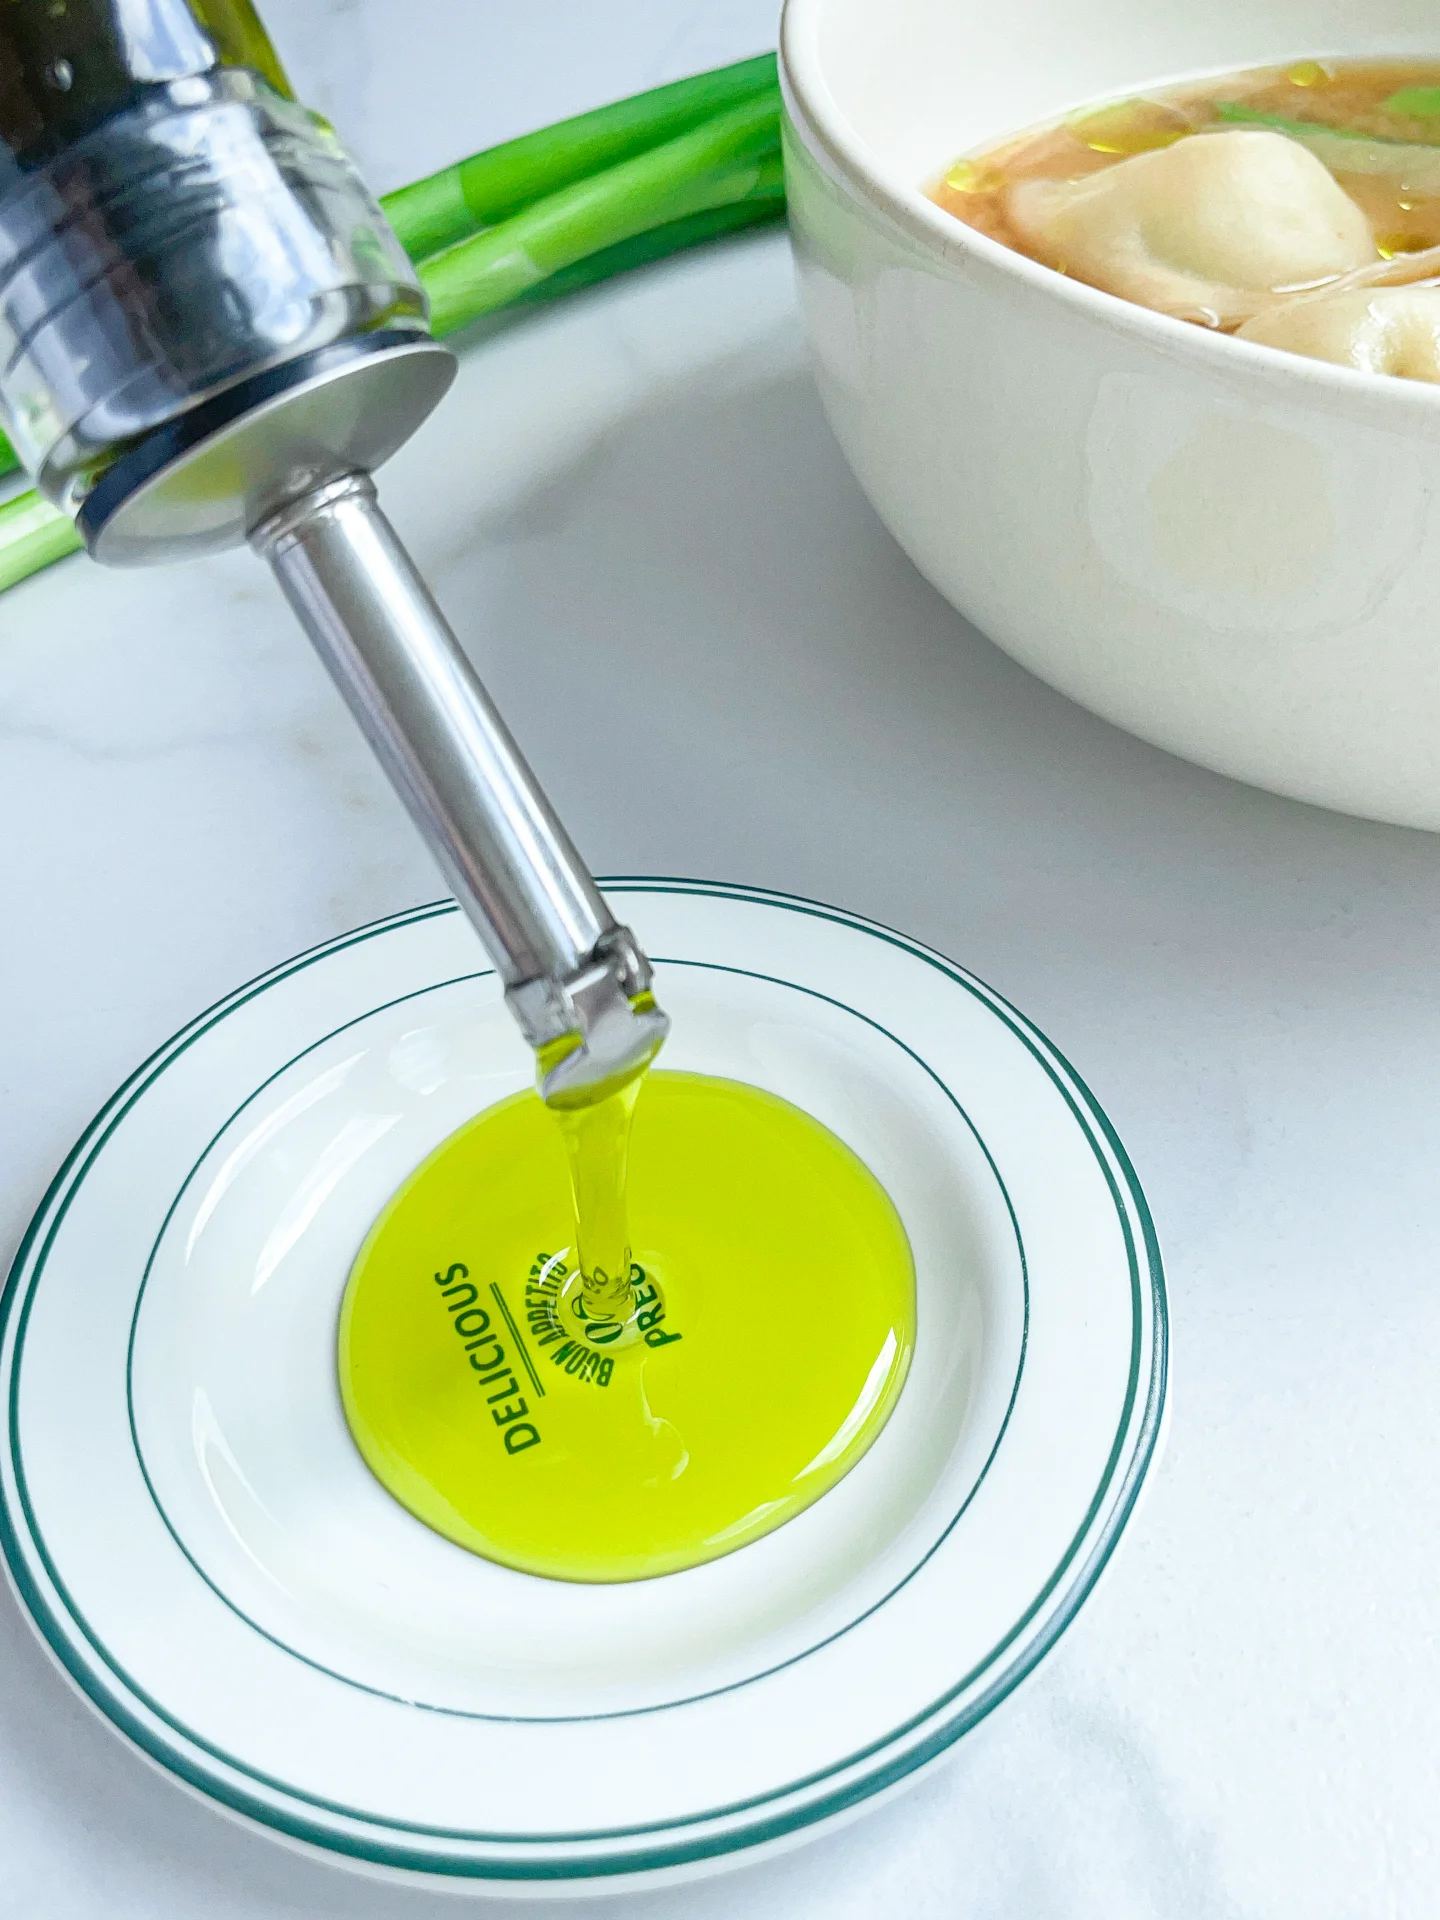
Dive into the vibrant, aromatic world of scallion oil! Perfect for drizzling over dishes, it adds a fresh, zesty kick that’ll elevate your home cooking.

This website uses affiliate links which may earn commission for purchases made at no additional cost to you.

TOTAL TIME

40 min

SERVES

1 cup / 250 ml

DIET

vegan

EVERY RECIPE DESERVES

A Little Love Letter

Discover the simple joy of homemade scallion oil, a must-have kitchen staple that transforms any ordinary meal into something extraordinary. With just a few minutes and minimal ingredients, you can whip up this versatile, flavorful condiment that’s perfect for enhancing a variety of dishes with a burst of freshness and aroma.

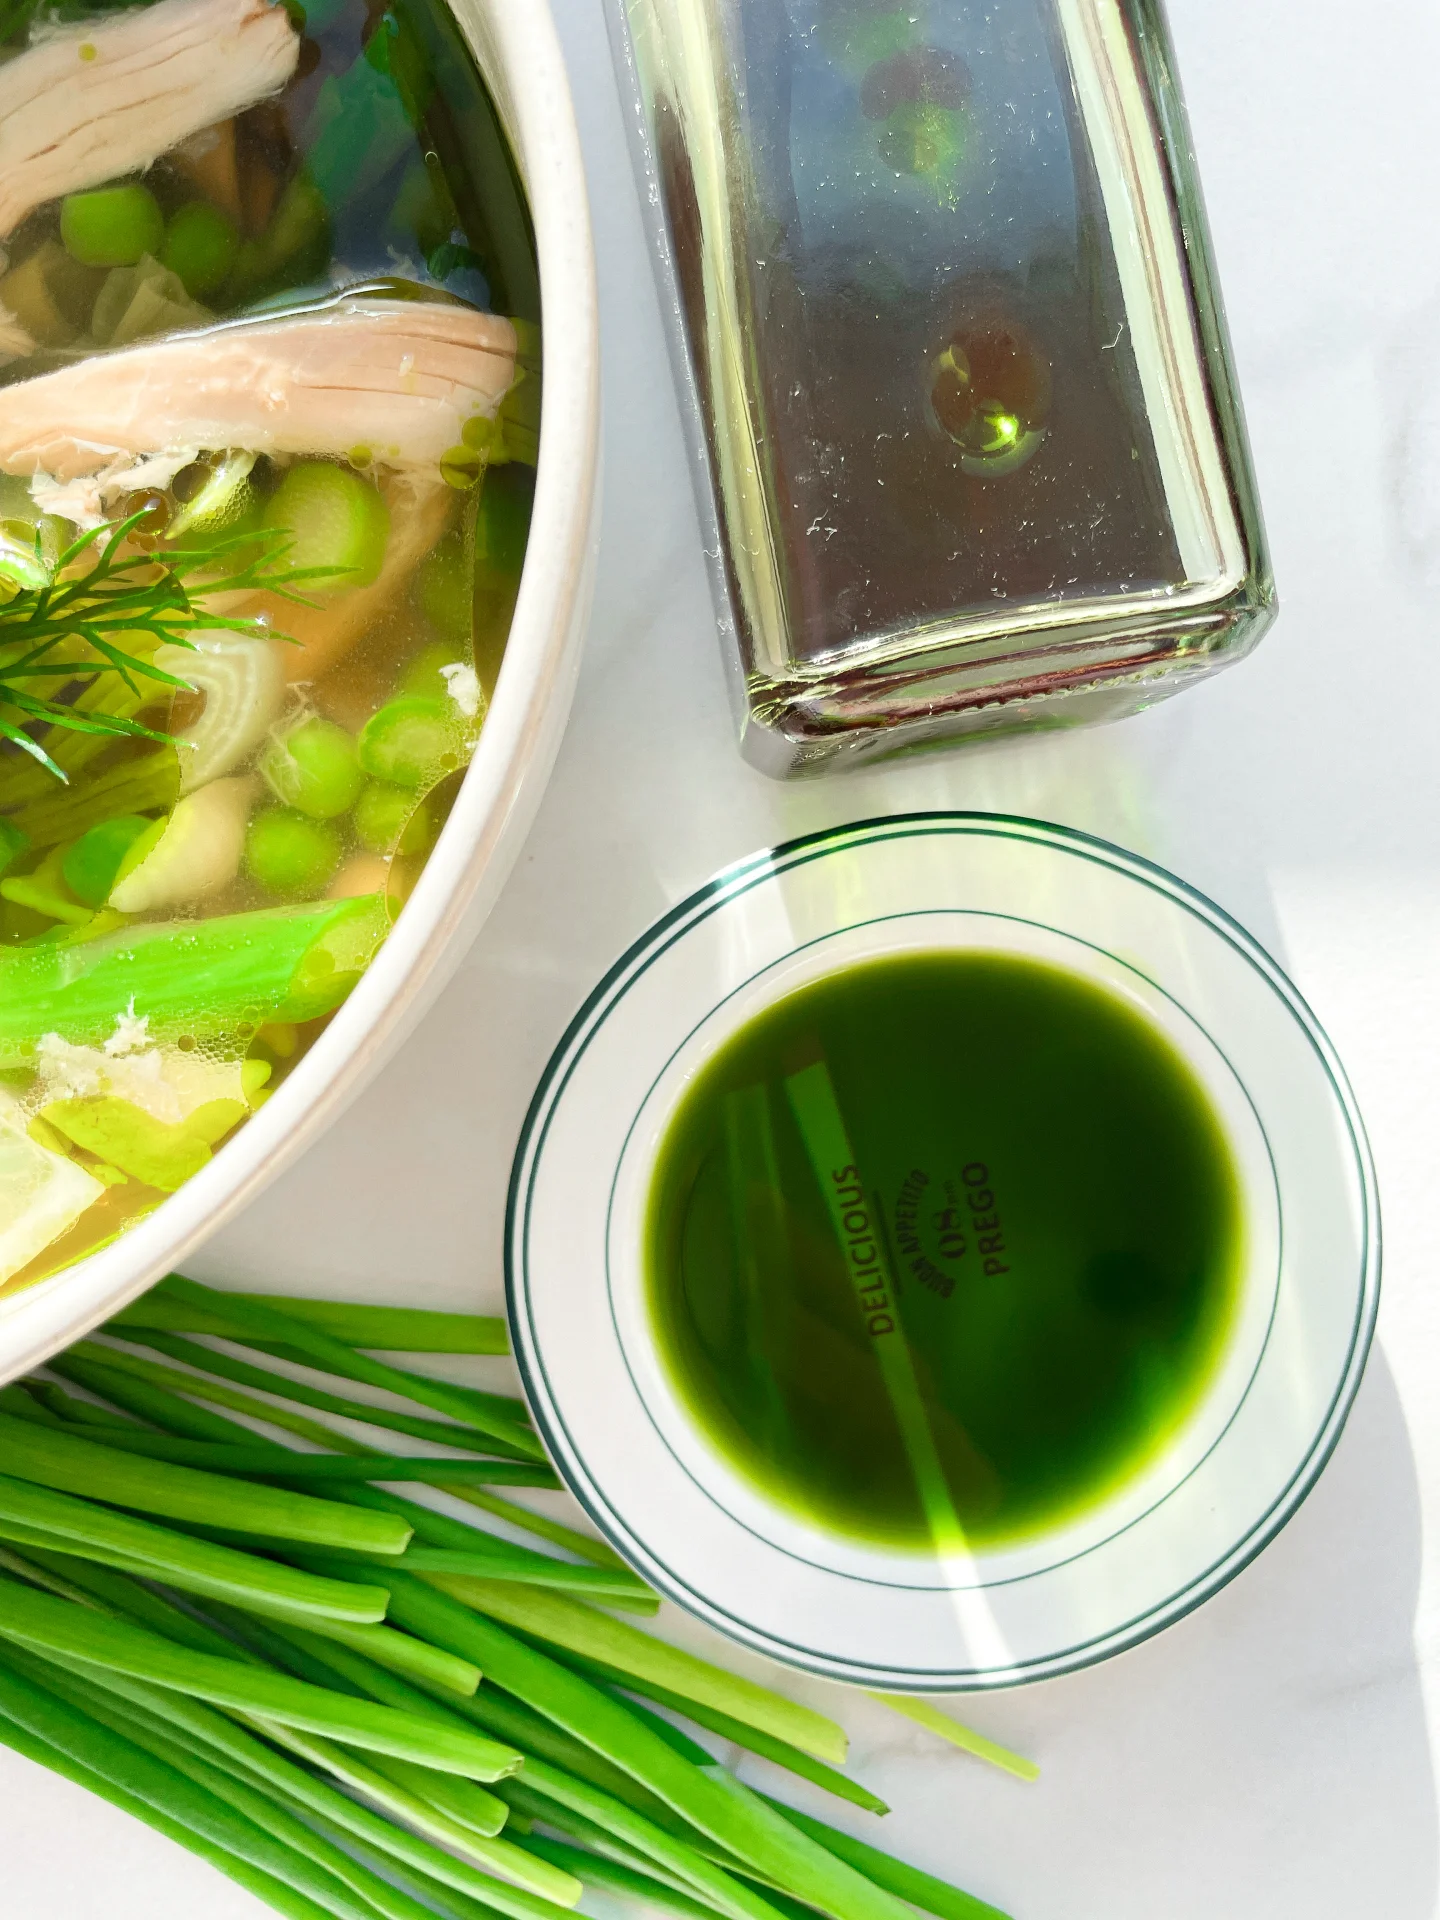
Drizzle it over steamed vegetables, mix it into rice, or use it as a topping for meats and soups. Its bright, oniony flavor makes it an excellent finisher for soups and stews. Whether you’re looking to add a touch of gourmet to everyday meals or impress guests at your next dinner party, scallion oil is your go-to condiment.

Keep your scallion oil fresh by storing it in an airtight container in the refrigerator. It typically stays fresh for up to a week, ensuring you have delicious, zesty oil ready whenever you need it.

Hi, I'm Kimberly!

Hi, I'm Kimberly.

A hopeless romantic when it comes to food. Every recipe I share is a love letter to food itself. I’m so glad you’re here. Make yourself at home and stay a while.

Love,
Kimberly

Kimberly the Zett Signature

If you want to get to know me better,
click here!


Scallion Oil
Scallion Oil
Scallion Oil
Scallion Oil
LET’S MAKE A PIECE OF HAPPINESS
Print
clock clock iconcutlery cutlery iconflag flag iconfolder folder iconinstagram instagram iconpinterest pinterest iconfacebook facebook iconprint print iconsquares squares iconheart heart iconheart solid heart solid icon
Scallion Oil

Scallion Oil


5 Stars 4 Stars 3 Stars 2 Stars 1 Star

No reviews

  • Author: Kimberly
  • Total Time: 40 min
  • Yield: 250 ml / 1 cup

Description

RECOMMENDED EQUIPMENT

  • blender
  • medium-sized saucepan
  • whisk
  • a bowl which the medium saucepan fits into
  • 2 medium-sized bowls
  • 2 fine sieves
  • sealable container (oil bottle)
  • ice cubes
  • coffee filter

Ingredients

Units Scale
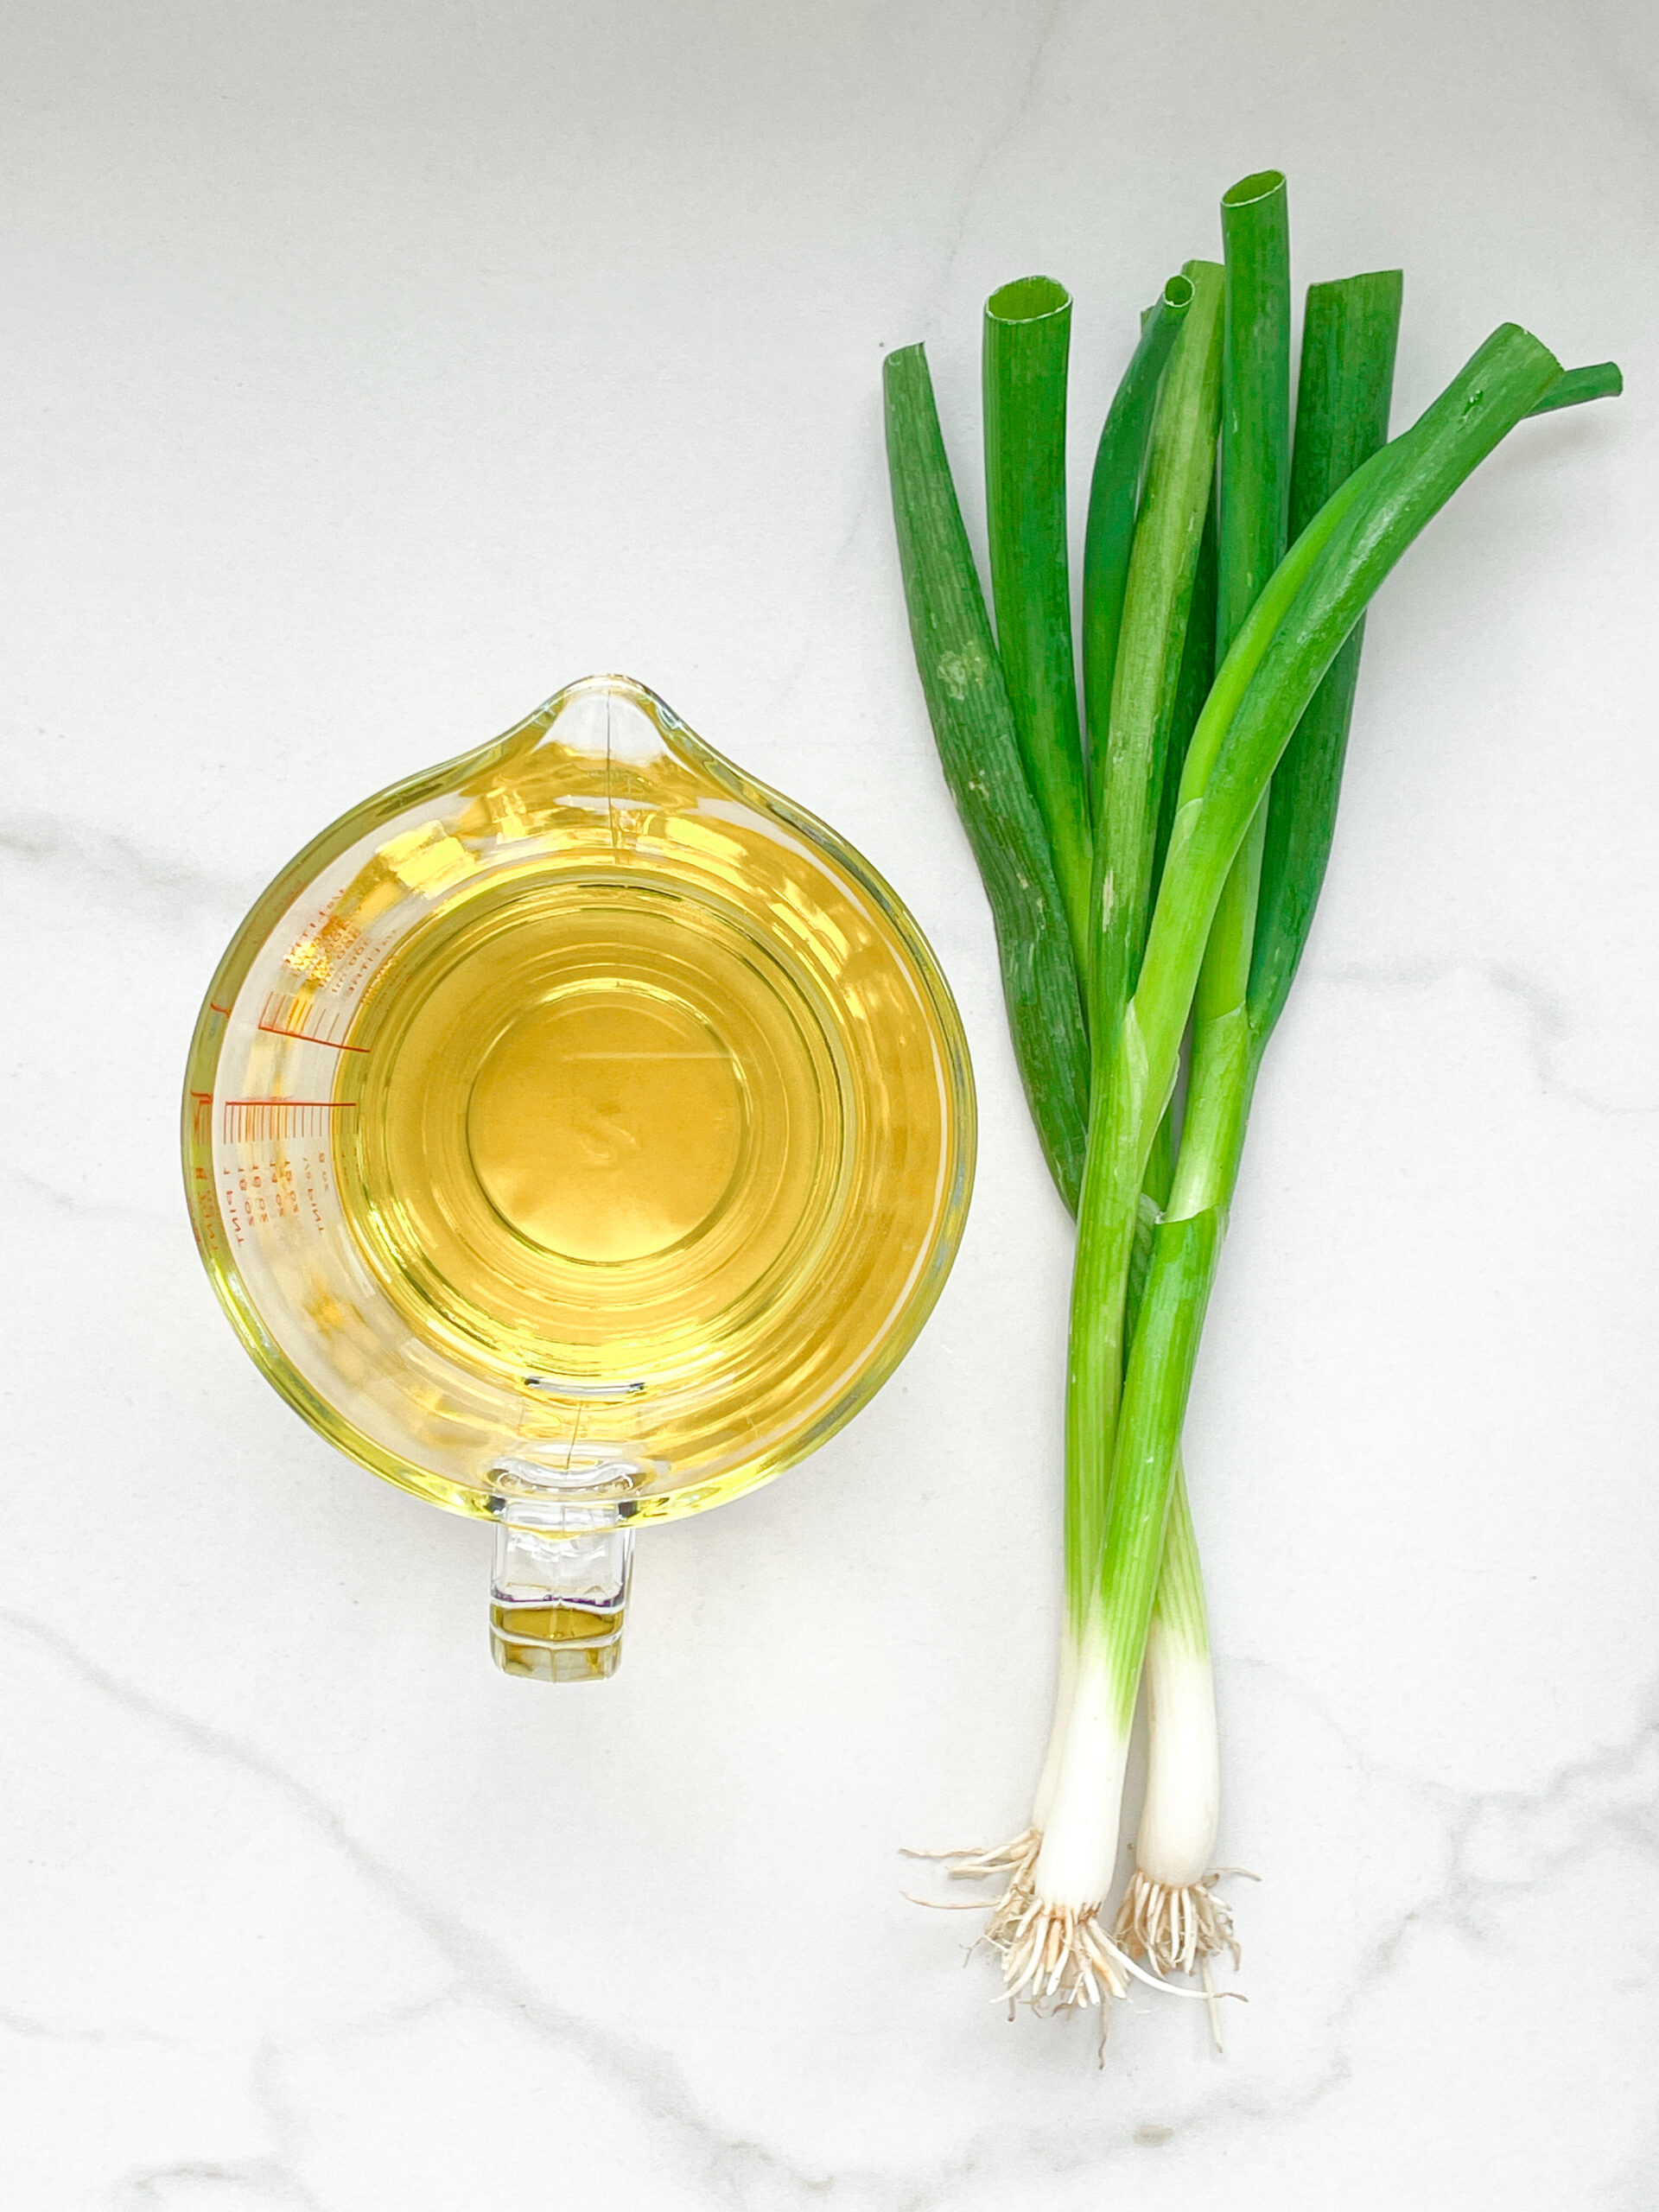
  • 85 grams scallions
  • 250 milliliters unrefined / cold-pressed sunflower oil

Instructions

  1. Wash the scallions, roughly chop them and put them into the blender. Pour in the oil. Blend on the highest setting until there are only tiny pieces of the scallions left.
  2. Pour the mixture from the blender into a medium-sized pot and heat it over medium heat to a temperature of about 101°-104°C (213°-219°F), and maintain this temperature for the next 15 minutes. Stir occasionally, making sure the temperature remains steady and nothing gets burned.
  3. Prepare a bowl large enough to fit a medium-sized pot, and fill it with cold water and a handful of ice cubes. Also, hang a fine sieve strainer over one medium-sized bowl and another fine sieve strainer, with a coffee filter inside it, over another medium-sized bowl.
  4. Now, place the pot in the ice water and stir to cool the oil quickly. Once the oil is almost cold, remove the pot from the water and pour the oil into the prepared fine sieve to catch the coarse particles.
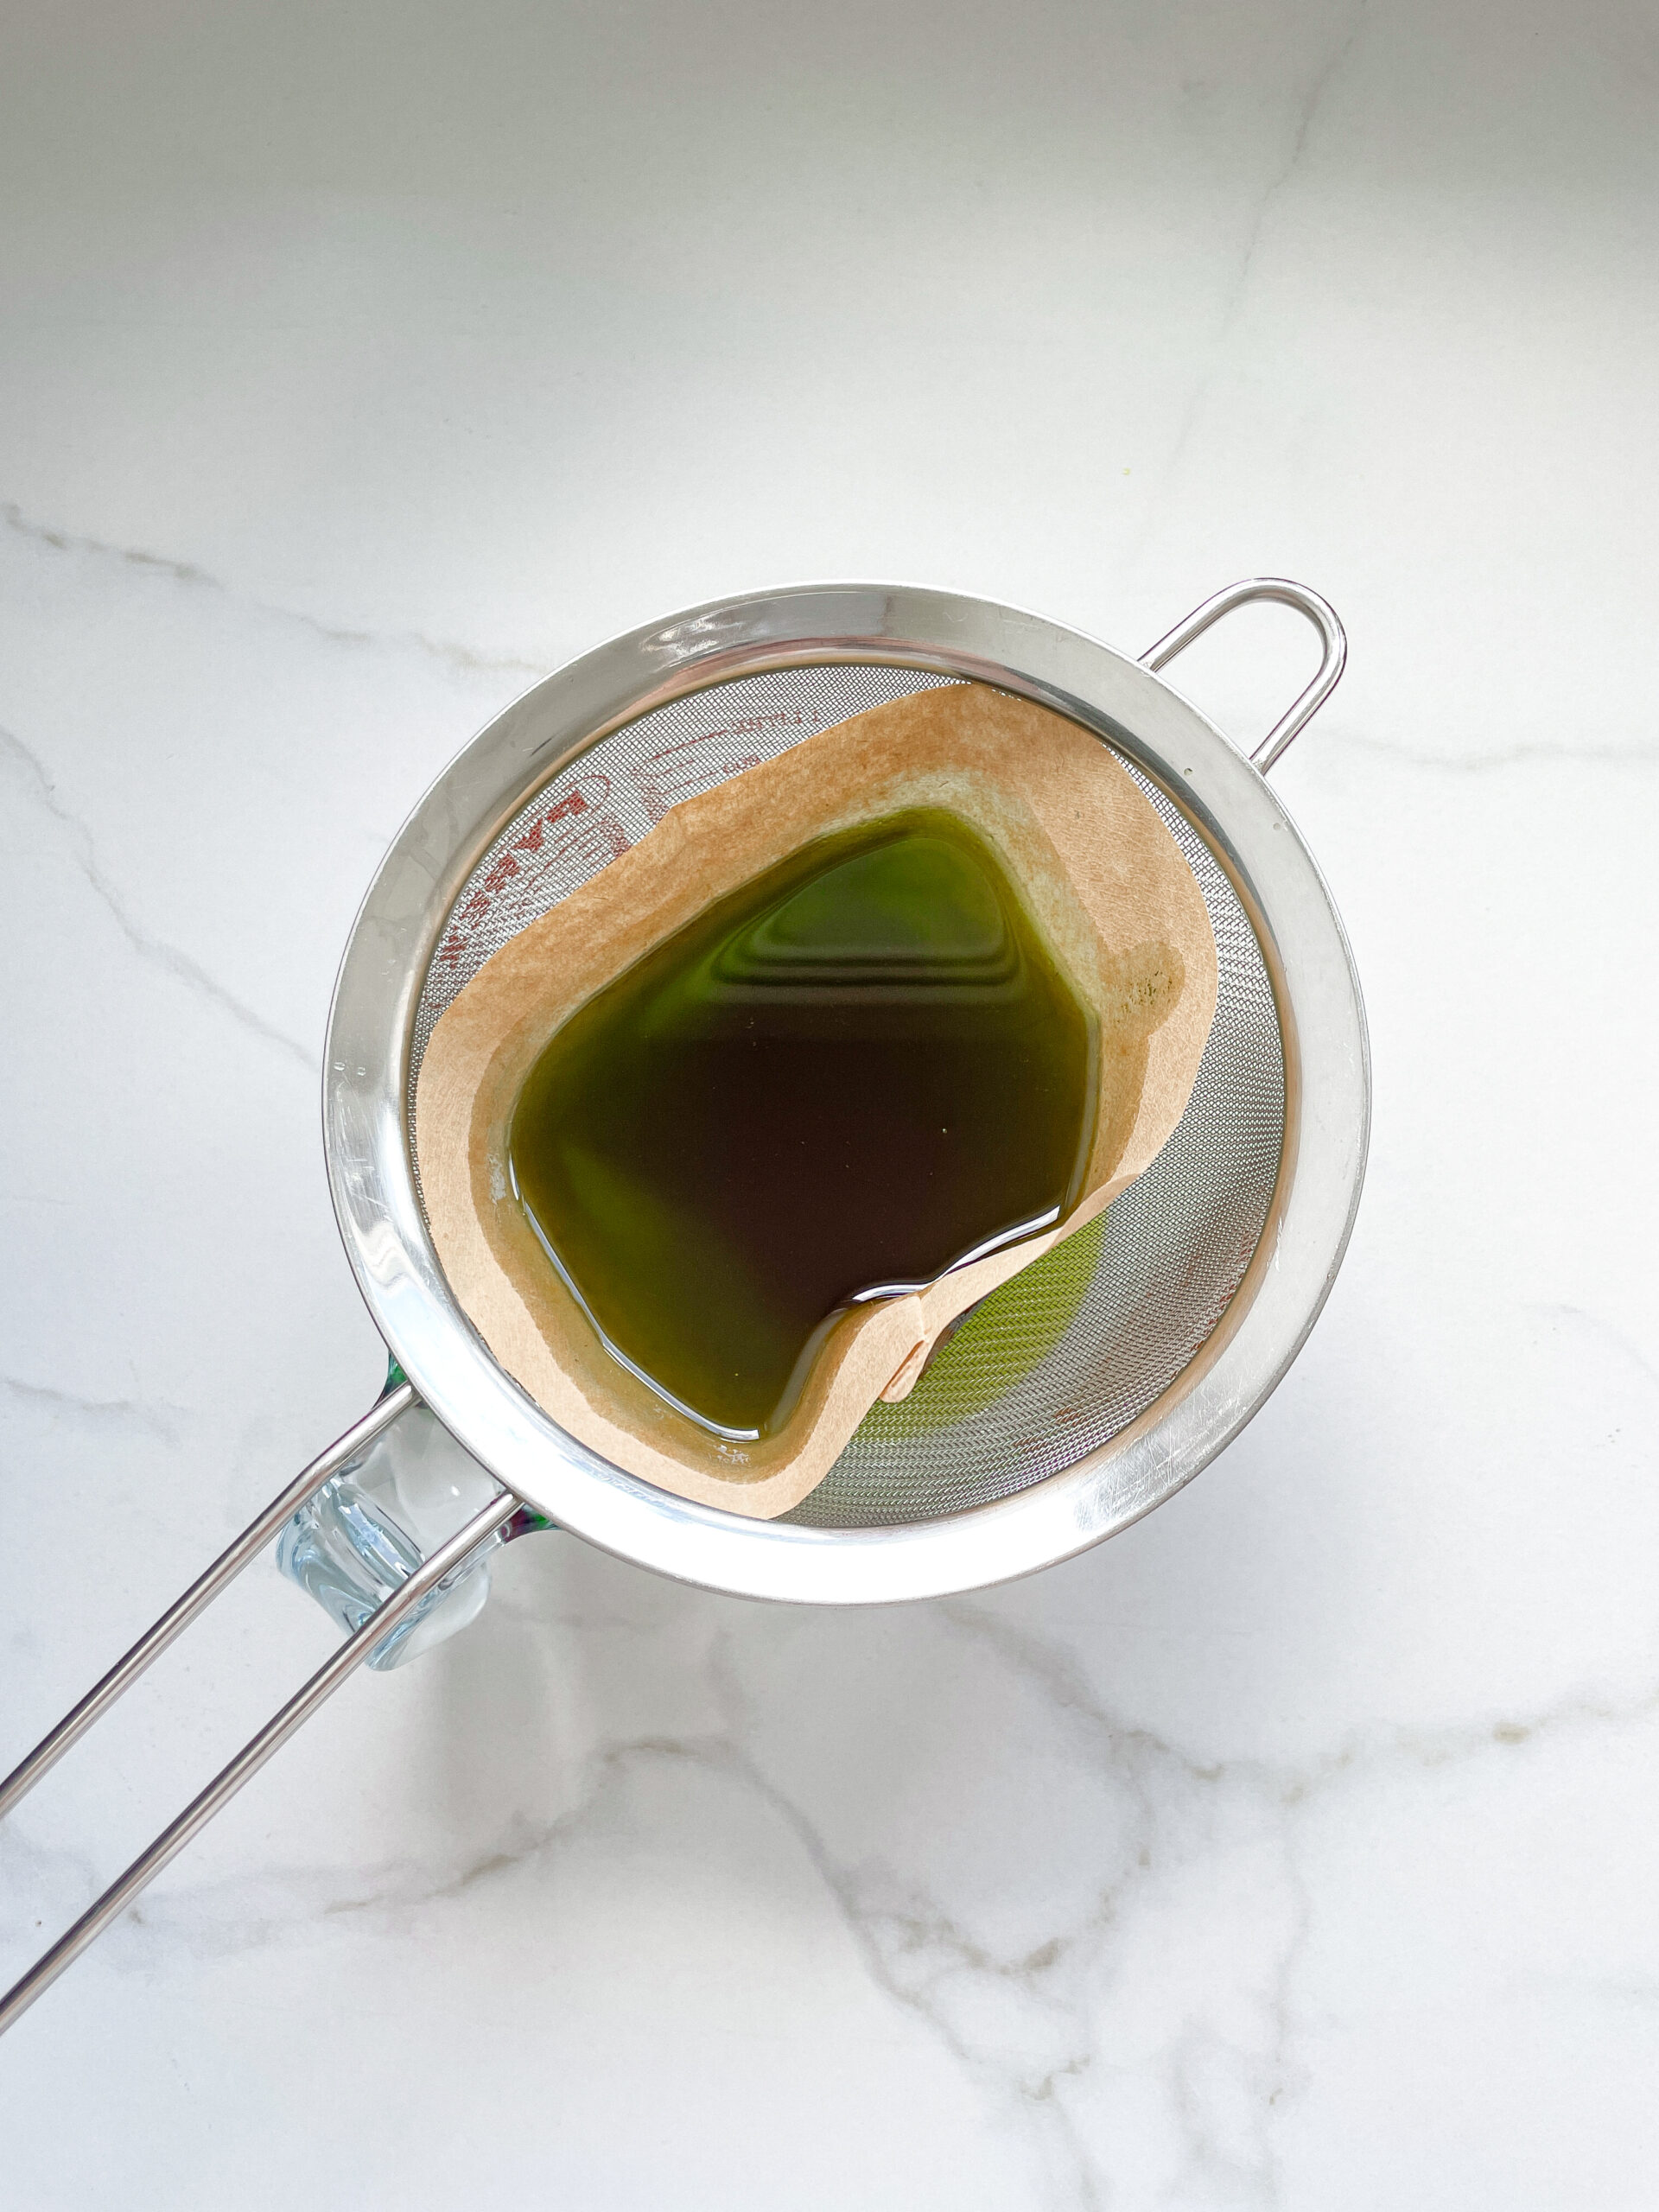
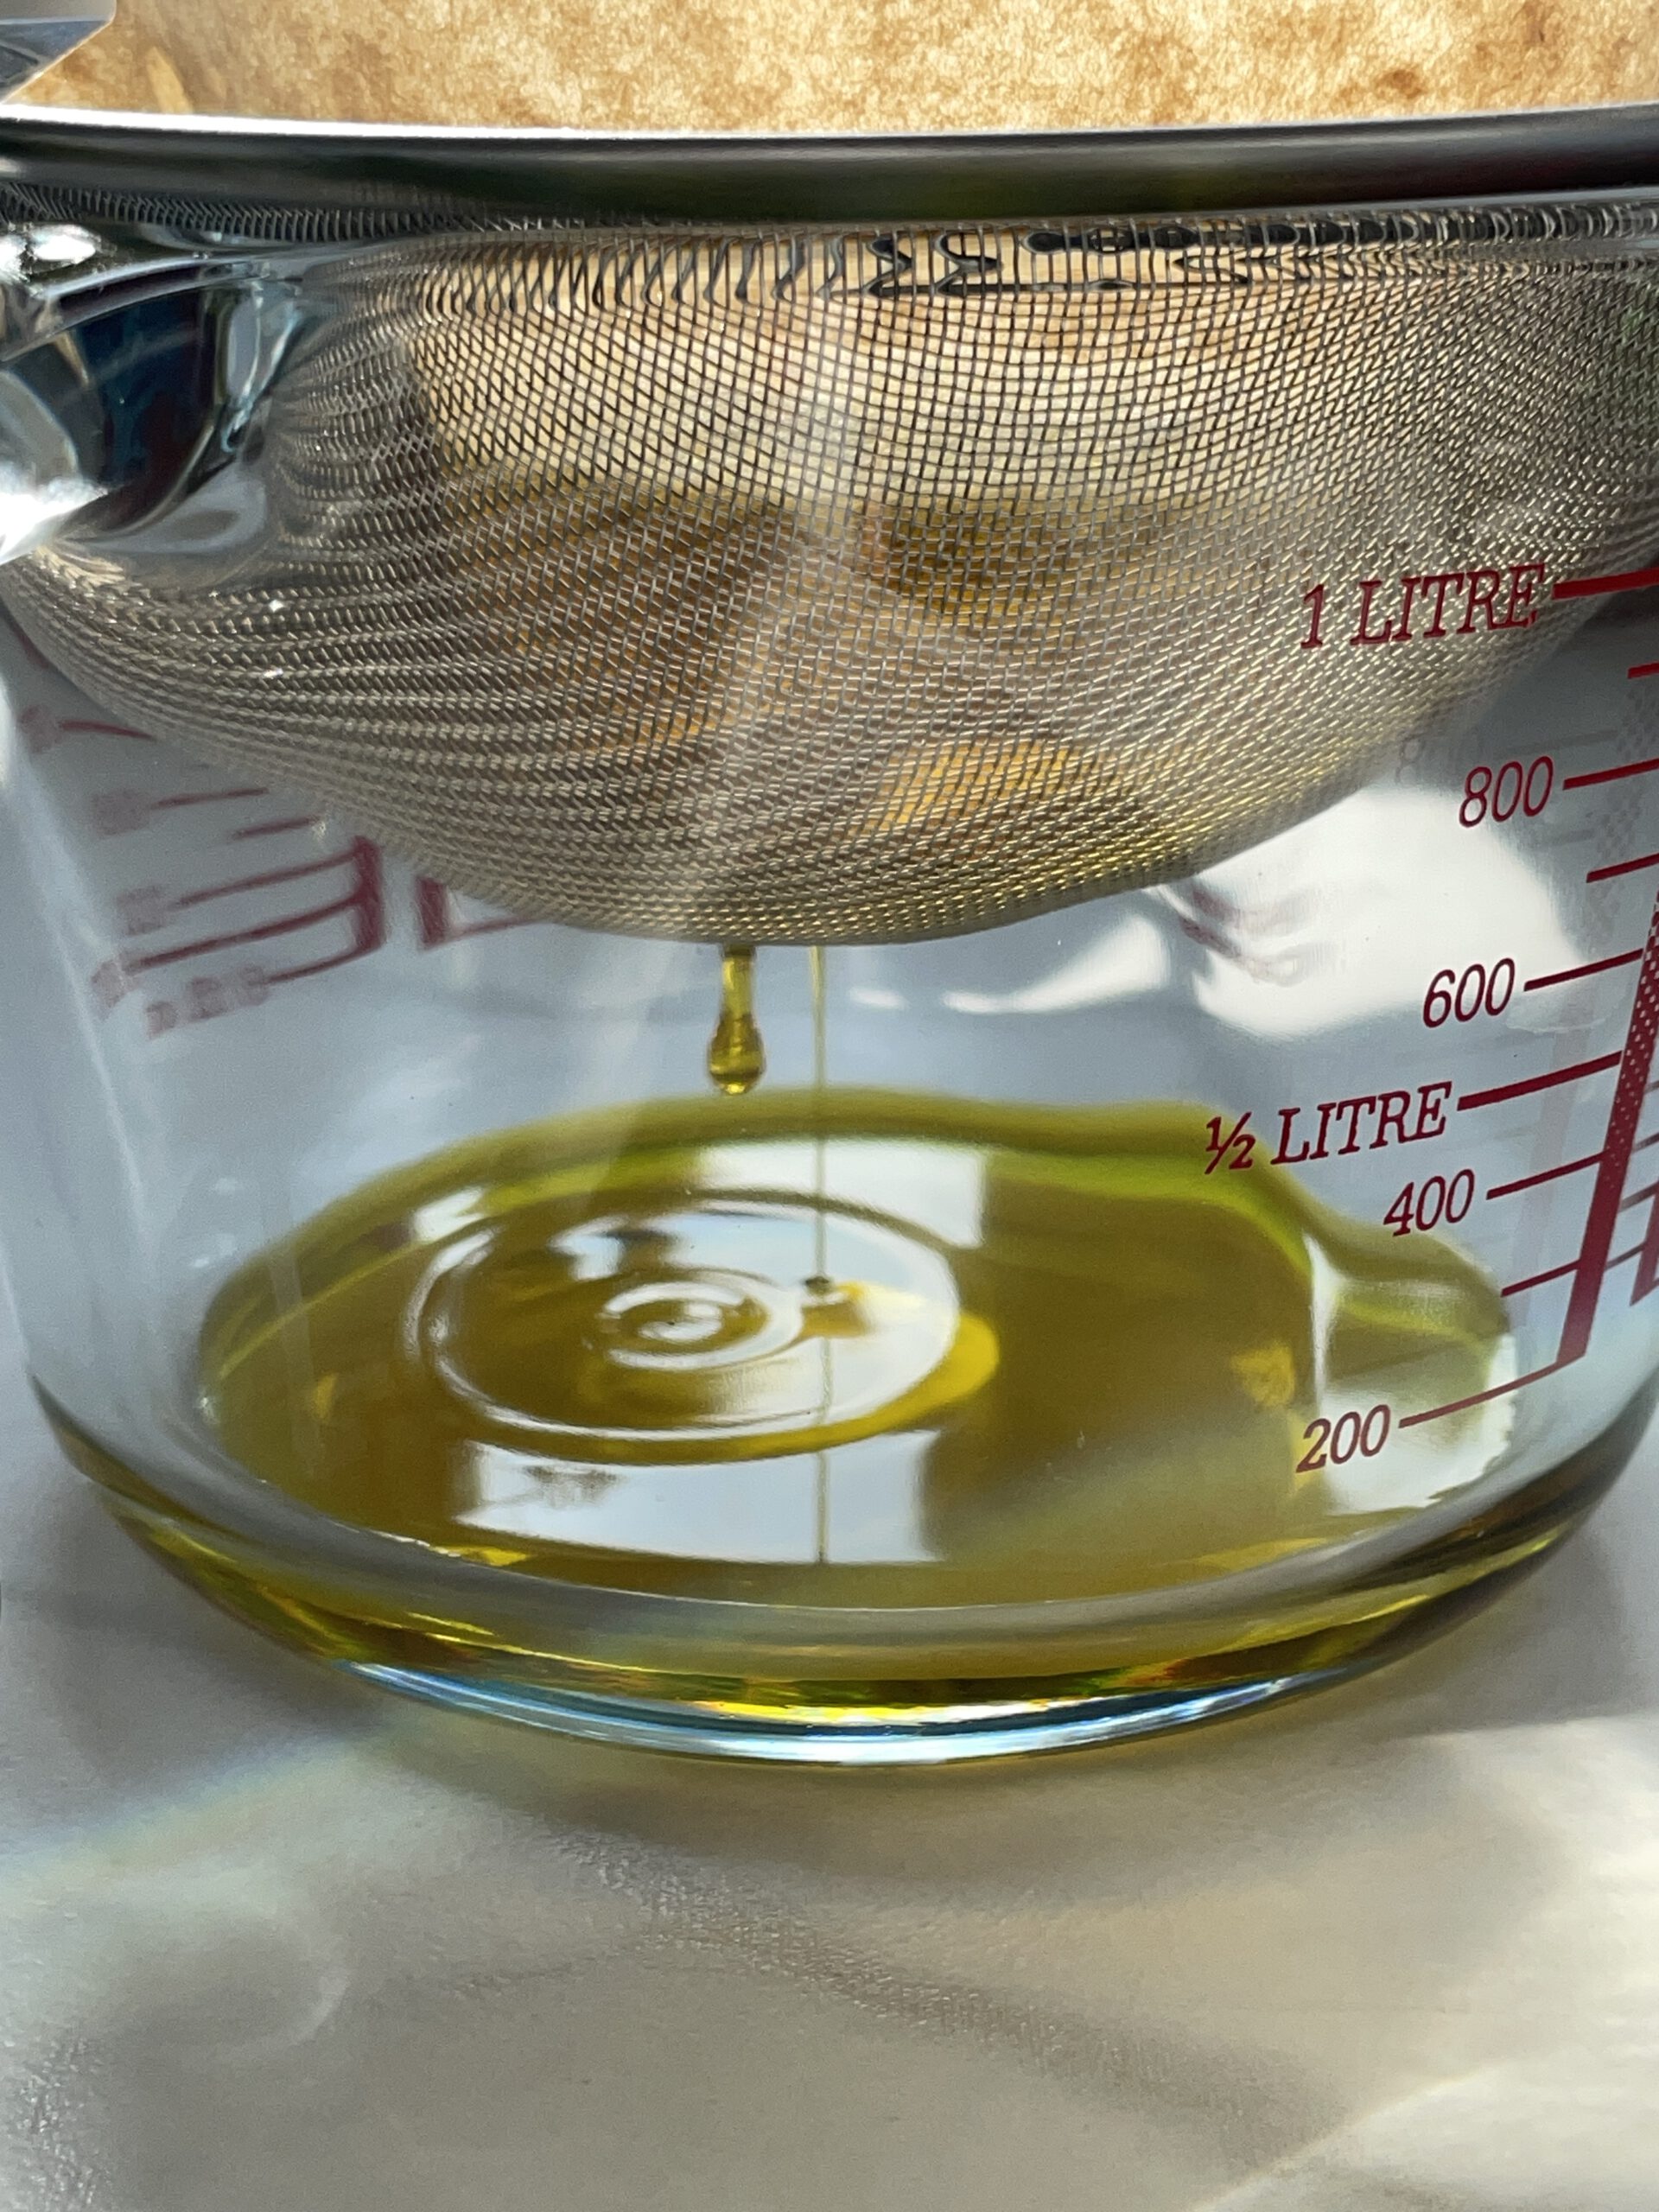
  5. Then, pour the oil into the second sieve, which is equipped with a coffee filter, to catch the remaining finer particles.
  6. Allow the oil to drip through for about 20 minutes or maybe less depending on how many remaining particles are in the coffee filter. Once all the oil has passed through the coffee filter, transfer the collected amount of oil into a sealable container or directly into an oil bottle. Store in the refrigerator for up to one week.

Notes

The calorie information may vary depending on the product used, country and region.

  • Prep Time: 5 min
  • Passive Time: 20 min
  • Cook Time: 15 min
CRAVING MORE?
Follow along here & don’t forget to subscribe to my substack!

Cilantro Oil

Cilantro Oil

Cilantro Oil

Cilantro Oil

June 4, 2024 by Kimberly

Get ready to transform your dishes with cilantro oil! This vibrant, zesty oil packs a punch, adding a burst of fresh flavor to any meal.

This website uses affiliate links which may earn commission for purchases made at no additional cost to you.

TOTAL TIME

1 hr + 15 min

SERVES

1 cup / 250 ml

DIET

vegan

EVERY RECIPE DESERVES

A Little Love Letter

Cilantro oil is a game-changer in the kitchen! This easy-to-make, vibrant oil infuses any dish with a fresh, zesty kick. Perfect for drizzling over salads, soups, or grilled veggies, it’s a must-have for any home cook. Plus, it’s a fantastic way to use up leftover cilantro, reducing waste while adding a flavor explosion to your meals.

Serve cilantro oil as a finishing touch to elevate your dishes. Drizzle it over roasted vegetables, mix it into salad dressings, or use it as a marinade for your favorite proteins. It’s also amazing on top of soups or stirred into grains like rice and quinoa. The possibilities are endless, making it a versatile addition to your kitchen.

Store your cilantro oil in an airtight container in the refrigerator for up to a week. For longer storage, freeze it in ice cube trays and use as needed. This way, you’ll always have a burst of fresh, zesty flavor ready to enhance your meals.

Hi, I'm Kimberly!

Hi, I'm Kimberly.

A hopeless romantic when it comes to food. Every recipe I share is a love letter to food itself. I’m so glad you’re here. Make yourself at home and stay a while.

Love,
Kimberly

Kimberly the Zett Signature

If you want to get to know me better,
click here!


Cilantro Oil
Cilantro Oil
Cilantro Oil
Cilantro Oil

LET’S MAKE A PIECE OF HAPPINESS

Print
.tasty-recipe-responsive-iframe-container-7d550947 { position: relative; overflow: hidden; padding-top: 56.3%; } .tasty-recipe-responsive-iframe-container-7d550947 iframe { position: absolute; top: 0; left: 0; width: 100%; height: 100%; border: 0; } clock clock iconcutlery cutlery iconflag flag iconfolder folder iconinstagram instagram iconpinterest pinterest iconfacebook facebook iconprint print iconsquares squares iconheart heart iconheart solid heart solid icon
Cilantro Oil

Cilantro Oil


  • Author: Kimberly
  • Total Time: 75 min
  • Yield: 250 ml / 1 cup

Description

RECOMMENDED EQUIPMENT
  • blender
  • medium-sized saucepan
  • whisk
  • a bowl into which the medium saucepan fits
  • 2 medium-sized bowls
  • fine sieve
  • sealable container
  • ice cubes
  • coffee filter

Ingredients

Units Scale
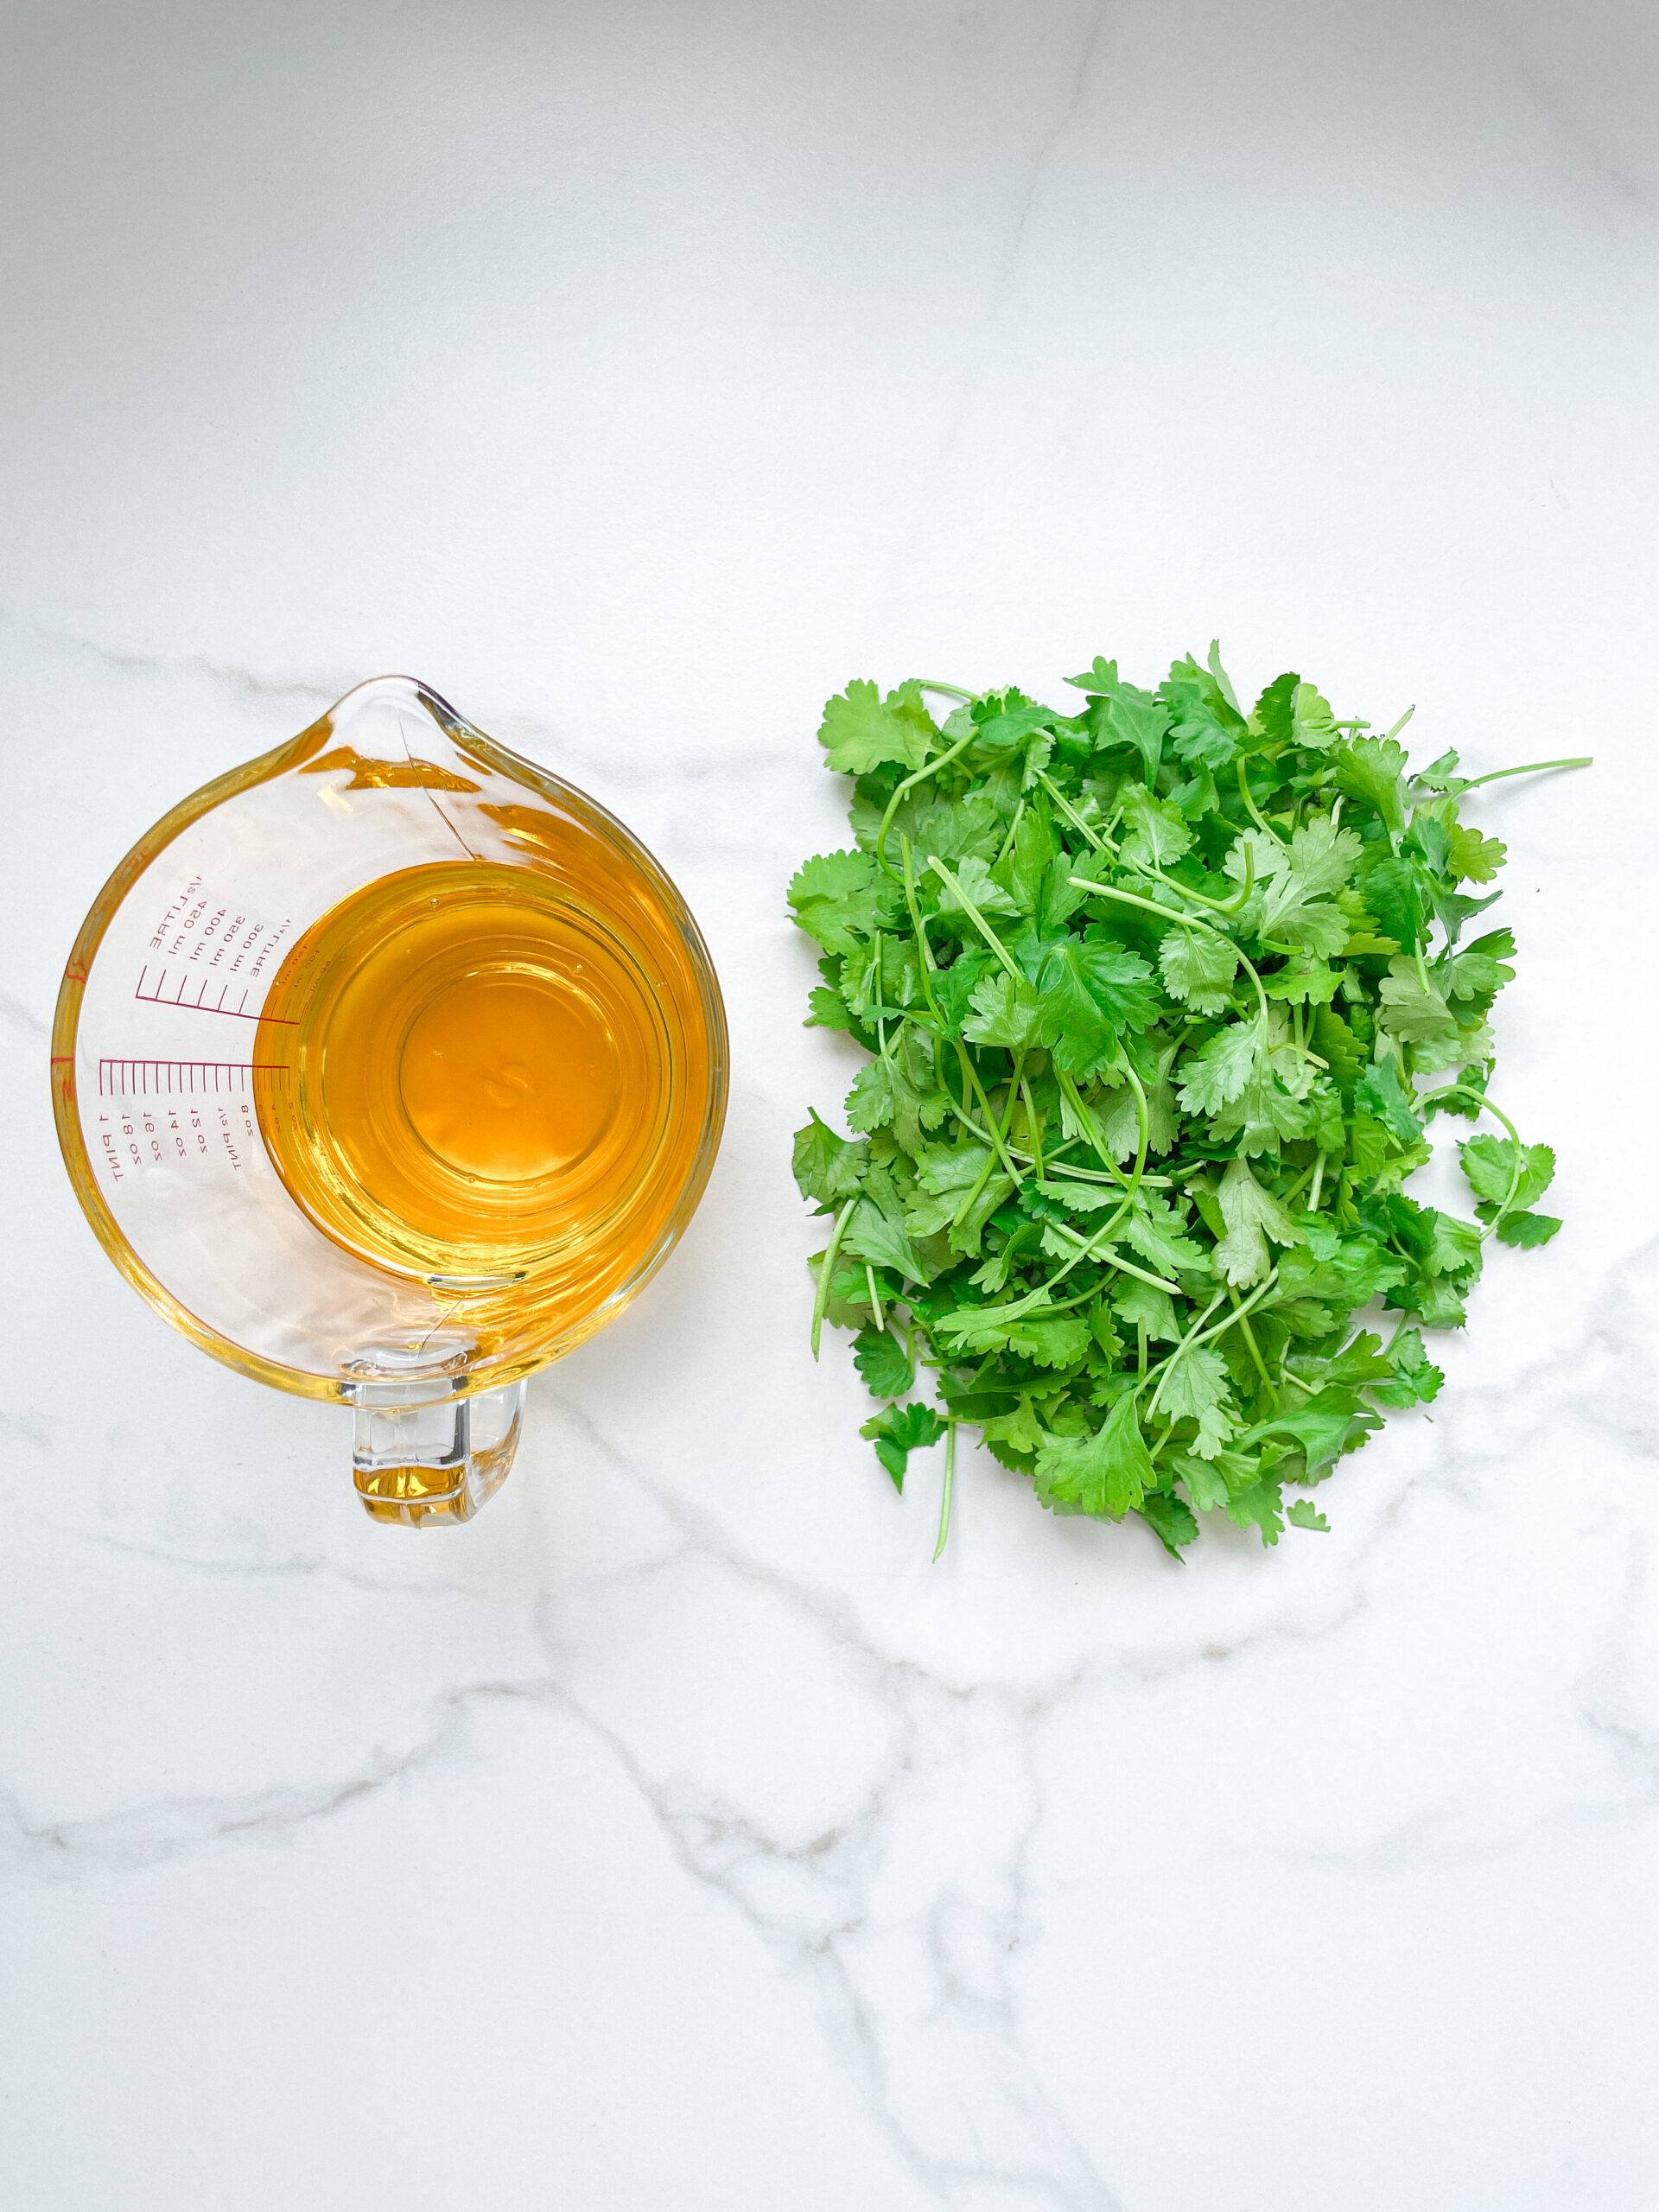
  • 30 grams cilantro
  • 250 milliliters unrefined / cold-pressed rapeseed oil

Instructions

  1. Separate the leaves from the stems and put the leaves into the blender. Pour in the oil. Blend on the highest setting until it becomes bright green and no pieces of cilantro are longer visible.
  2. Pour the mixture from the blender into a medium-sized pot and heat it over medium heat, constantly stirring, to a temperature of about 102°-103°C (215°-217°F). Then, let the oil simmer for the next 10 minutes. Stir only occasionally, making sure the temperature remains steady. This cooking time is essential for all the water to evaporate, allowing the perishable solids to settle at the bottom and the dark green oil to float on top. You’ll know all the water has evaporated when the oil in the pot barely bubbles anymore – so if it’s still bubbling vigorously, keep it simmering.
  3. Meanwhile, prepare a bowl large enough to fit the medium-sized pot, filled with cold water and a handful of ice cubes. Also, hang a fine sieve strainer over a medium-sized bowl.
  4. Now, place the pot in the ice water and stir to stop the cooking process. Once the oil is no longer boiling and is almost cold, remove the pot from the water and pour the oil into the fine sieve to catch the coarse particles.
  5. Then, rinse the strainer and hang it over the second medium-sized bowl. Press a coffee filter into the strainer and pour the captured oil into the coffee filter, so that the remaining perishable and coarser particles are caught.
  6. Allow the oil to drip through for about 1 hour or maybe more depending on how many remaining particles are in there. Once all the oil has passed through the coffee filter, transfer the collected amount into a sealable container or directly into an oil bottle. Store in the refrigerator for up to one week.

Notes

The calorie information may vary depending on the product used, country and region.

  • Passive Time: 60 min
  • Cook Time: 15 min
CRAVING MORE?

Follow along here & don’t forget to subscribe to my substack!

Mirepoix Oil

Mirepoix Oil

Mirepoix Oil

Mirepoix Oil

May 28, 2024 by Kimberly

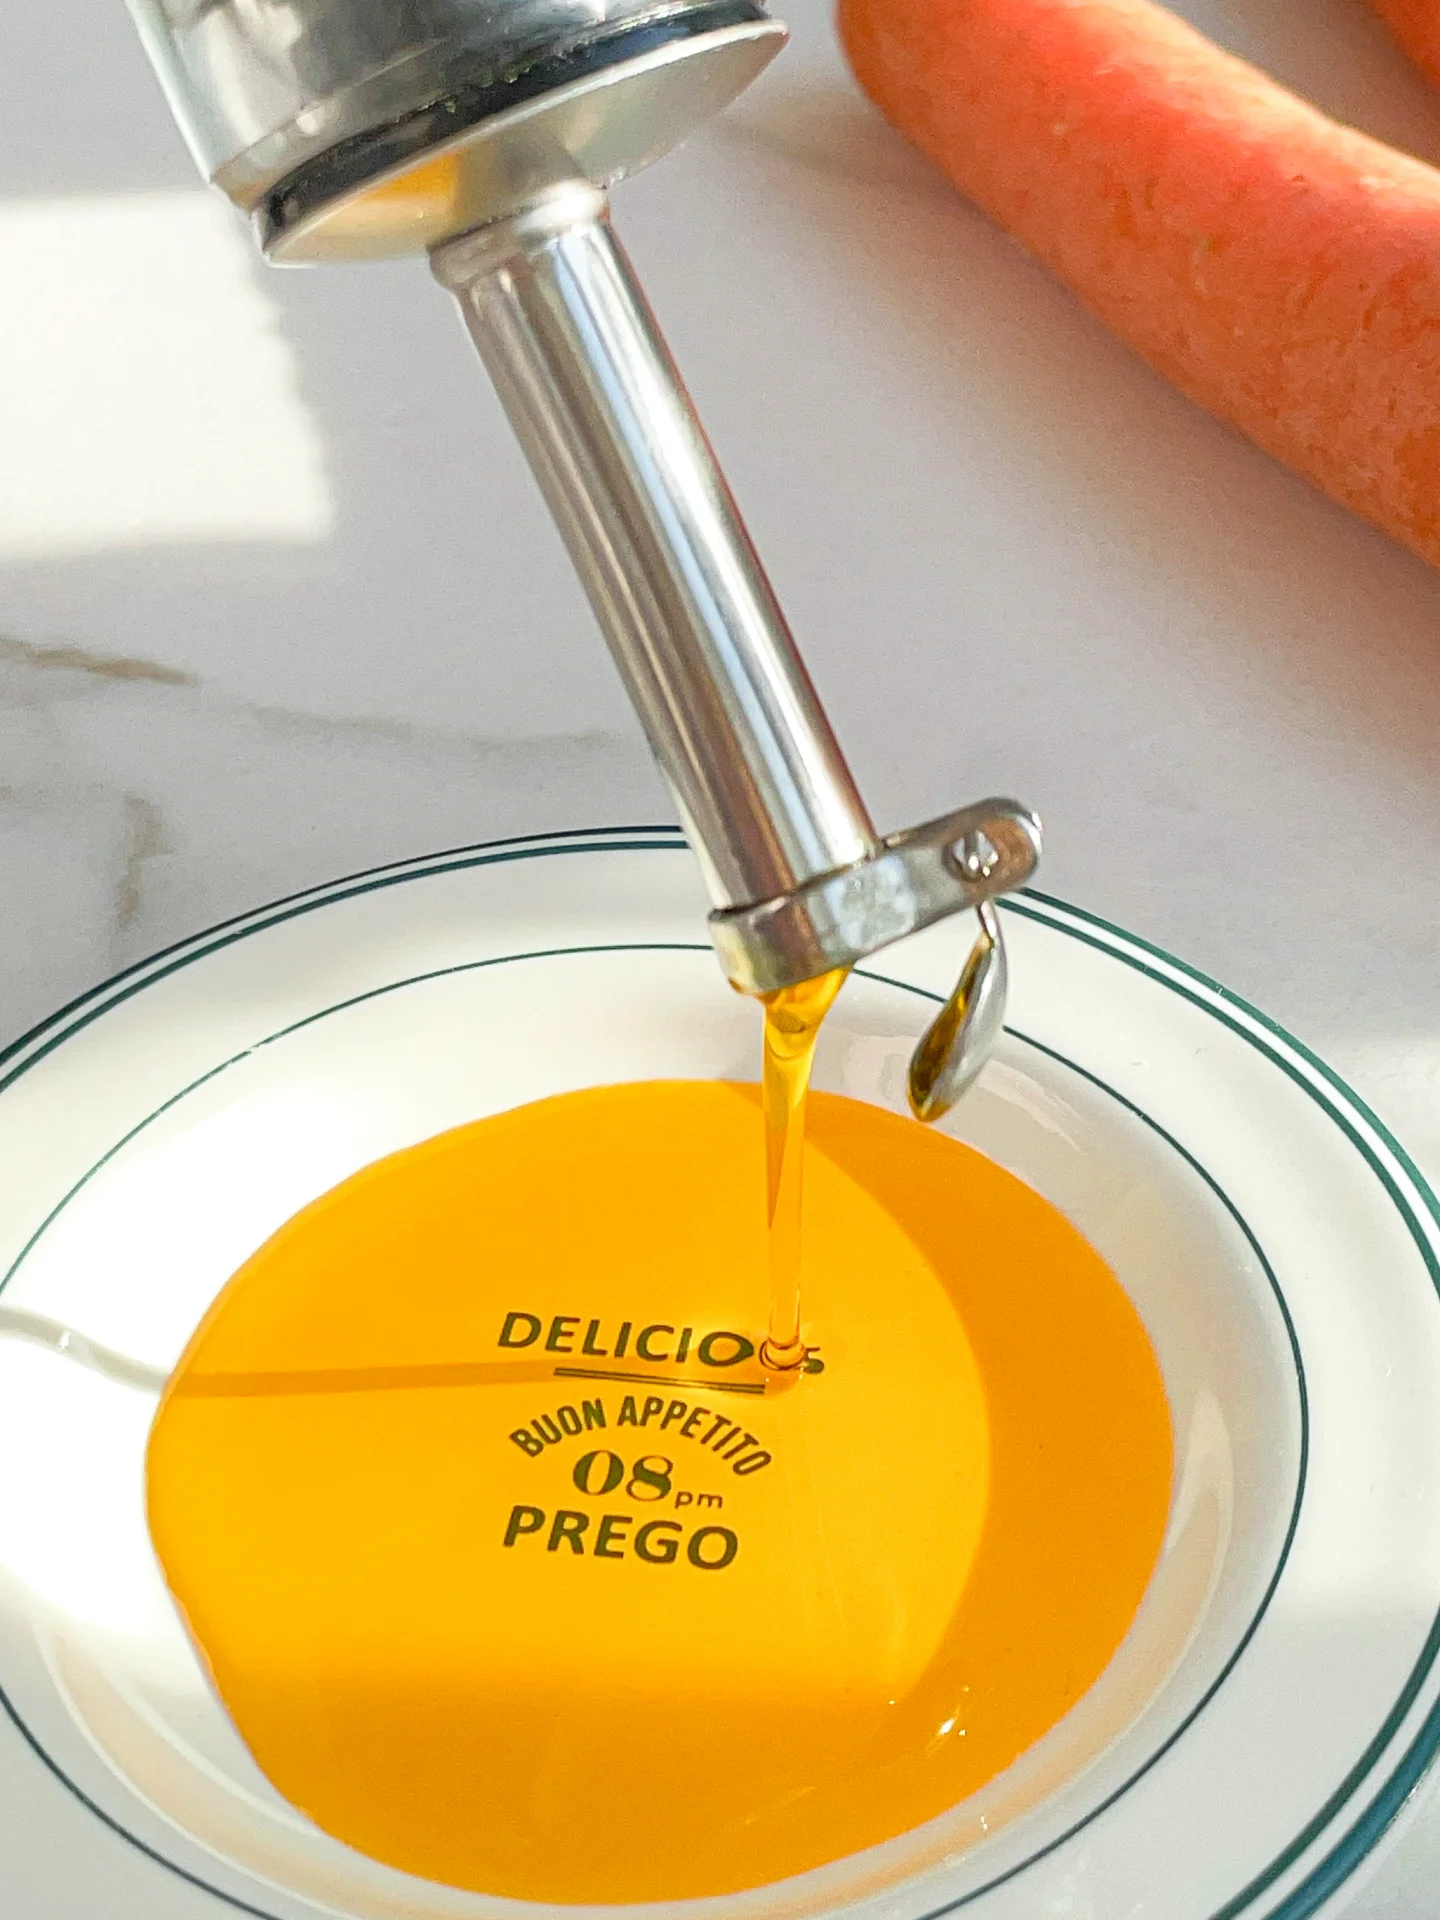
Ever wished you could bottle the essence of savory goodness? Meet Mirepoix Oil, your new kitchen MVP. This oil will transform your meals!

This website uses affiliate links which may earn commission for purchases made at no additional cost to you.

TOTAL TIME

1 hr + 35 min
SERVES

1 cup / 250 ml

DIET

vegan

EVERY RECIPE DESERVES

A Little Love Letter

If you haven’t tried Mirepoix Oil yet, you’re in for a treat. This incredible oil infusion combines the classic flavors of onions, carrots, and celery into a versatile ingredient that will transform your cooking. Whether you’re a kitchen newbie or a culinary pro, Mirepoix Oil is your secret weapon for adding depth and richness to any dish with minimal effort.

Drizzle it over roasted vegetables, mix it into pasta, or use it as an extra flavor boost for soups and stews. It’s also perfect as a finishing touch to your favorite salads. The possibilities are endless, making it a must-have in your kitchen arsenal. Get creative and watch your dishes come to life!

Store your Mirepoix Oil in an airtight container in the refrigerator to keep it fresh. It can last up to one week, ensuring you always have this flavor booster ready to go.

Hi, I'm Kimberly!

Hi, I'm Kimberly.

A hopeless romantic when it comes to food. Every recipe I share is a love letter to food itself. I’m so glad you’re here. Make yourself at home and stay a while.

Love,
Kimberly

Kimberly the Zett Signature

If you want to get to know me better,
click here!


Mirepoix Oil
Mirepoix Oil
Mirepoix Oil
Mirepoix Oil
LET’S MAKE A PIECE OF HAPPINESS
Print
.tasty-recipe-responsive-iframe-container-fafdbf15 { position: relative; overflow: hidden; padding-top: 56.3%; } .tasty-recipe-responsive-iframe-container-fafdbf15 iframe { position: absolute; top: 0; left: 0; width: 100%; height: 100%; border: 0; } clock clock iconcutlery cutlery iconflag flag iconfolder folder iconinstagram instagram iconpinterest pinterest iconfacebook facebook iconprint print iconsquares squares iconheart heart iconheart solid heart solid icon
Mirepoix Oil

Mirepoix Oil


  • Author: Kimberly
  • Total Time: 105 min
  • Yield: 250 ml / 1 cup
  • Diet: Vegan

Description

RECOMMENDED EQUIPMENT

  • blender
  • medium-sized saucepan
  • whisk
  • a bowl which the medium saucepan fits into
  • 2 medium-sized bowls
  • 2 fine sieves
  • sealable container (oil bottle)
  • ice cubes
  • coffee filter

Ingredients

Units Scale
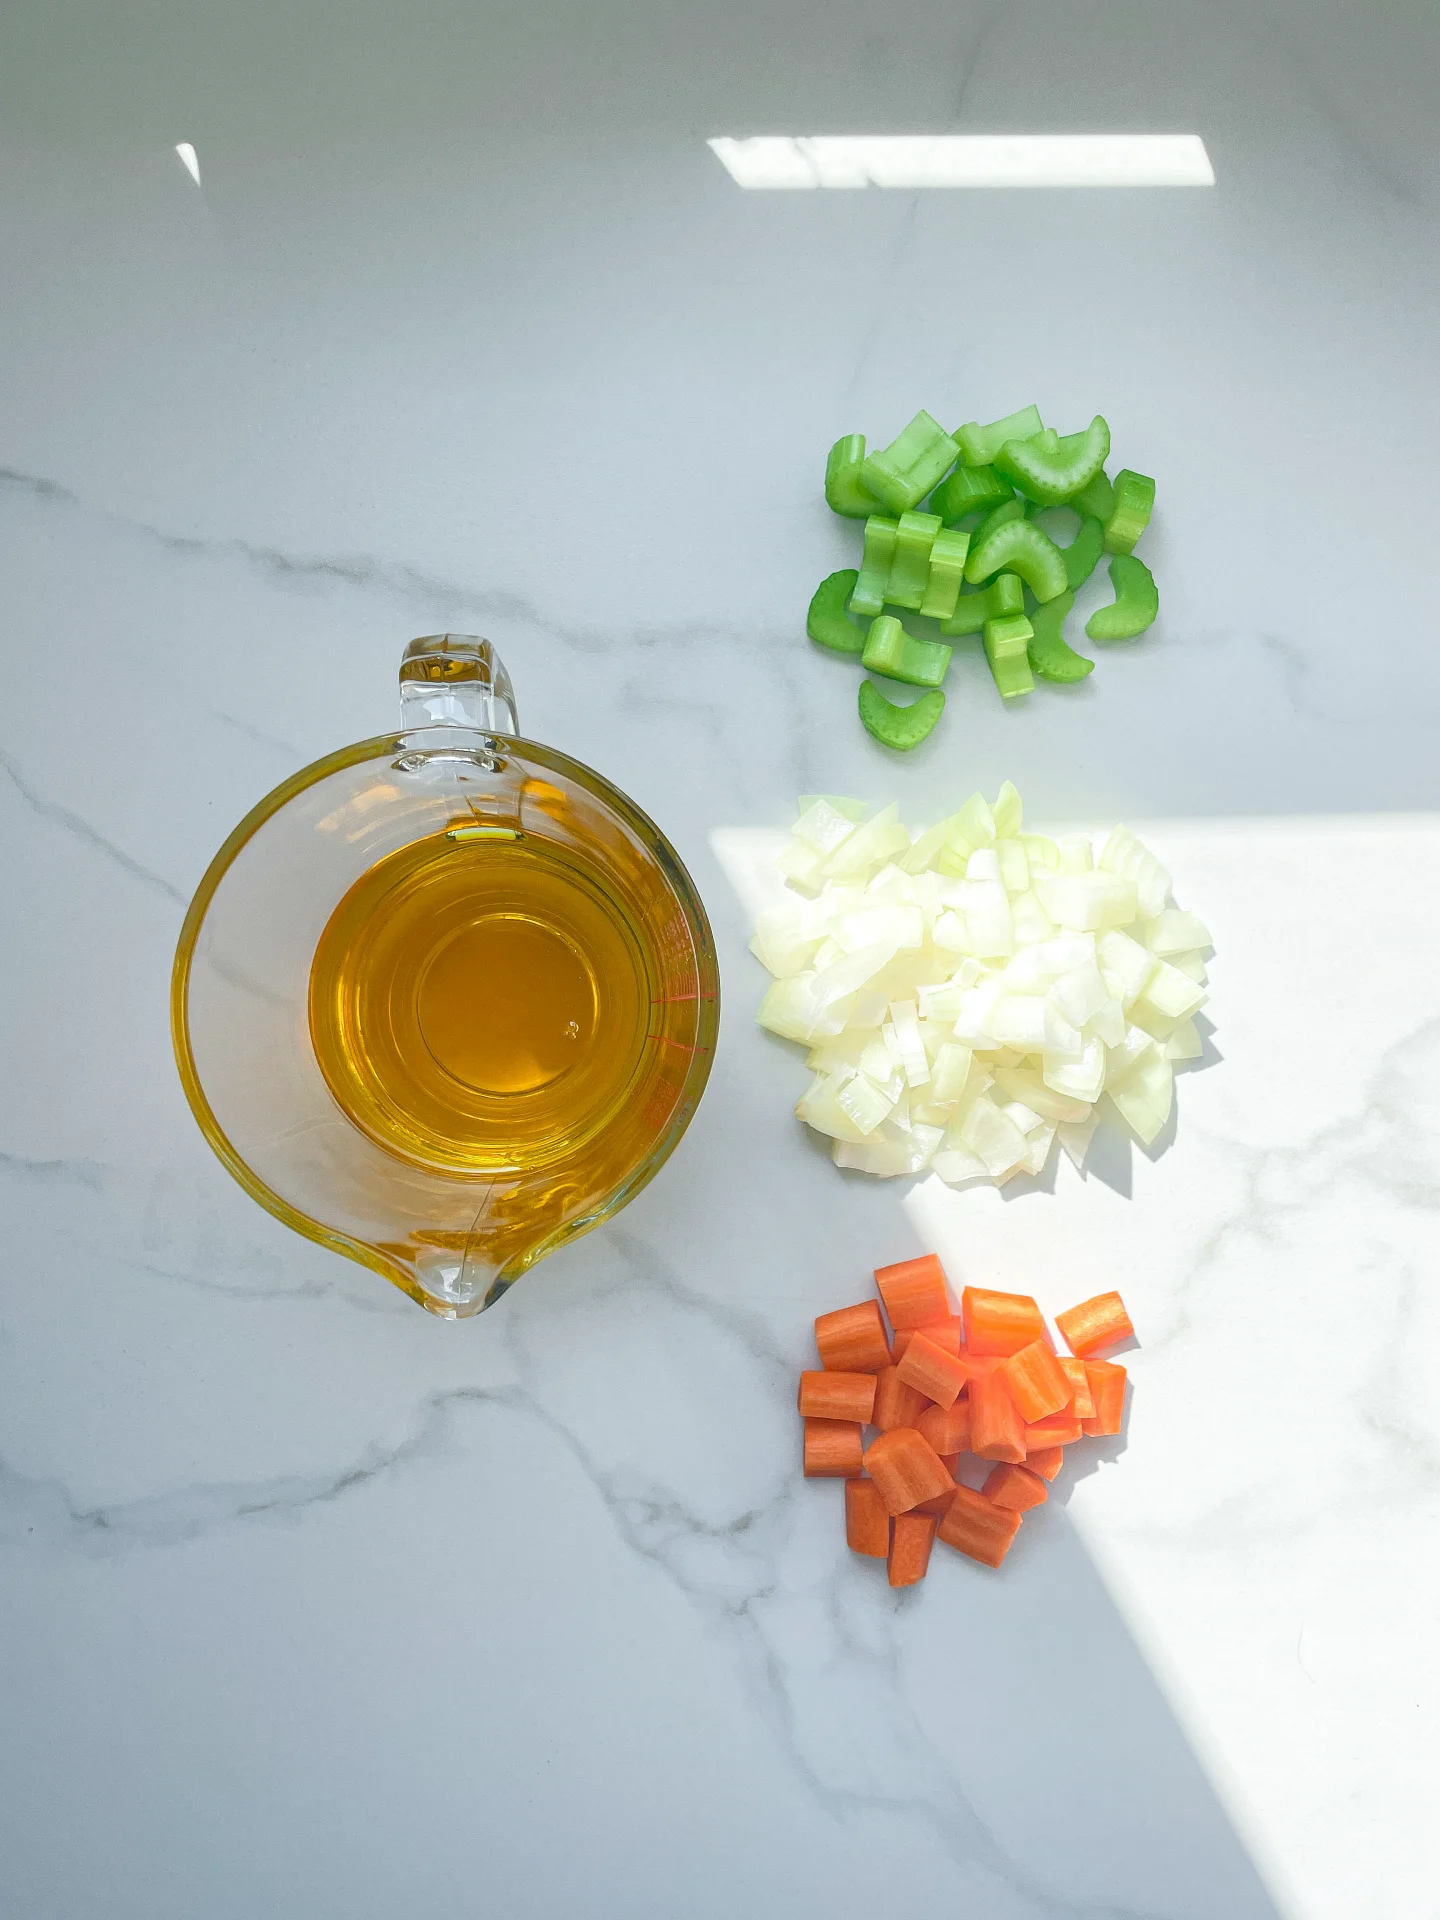
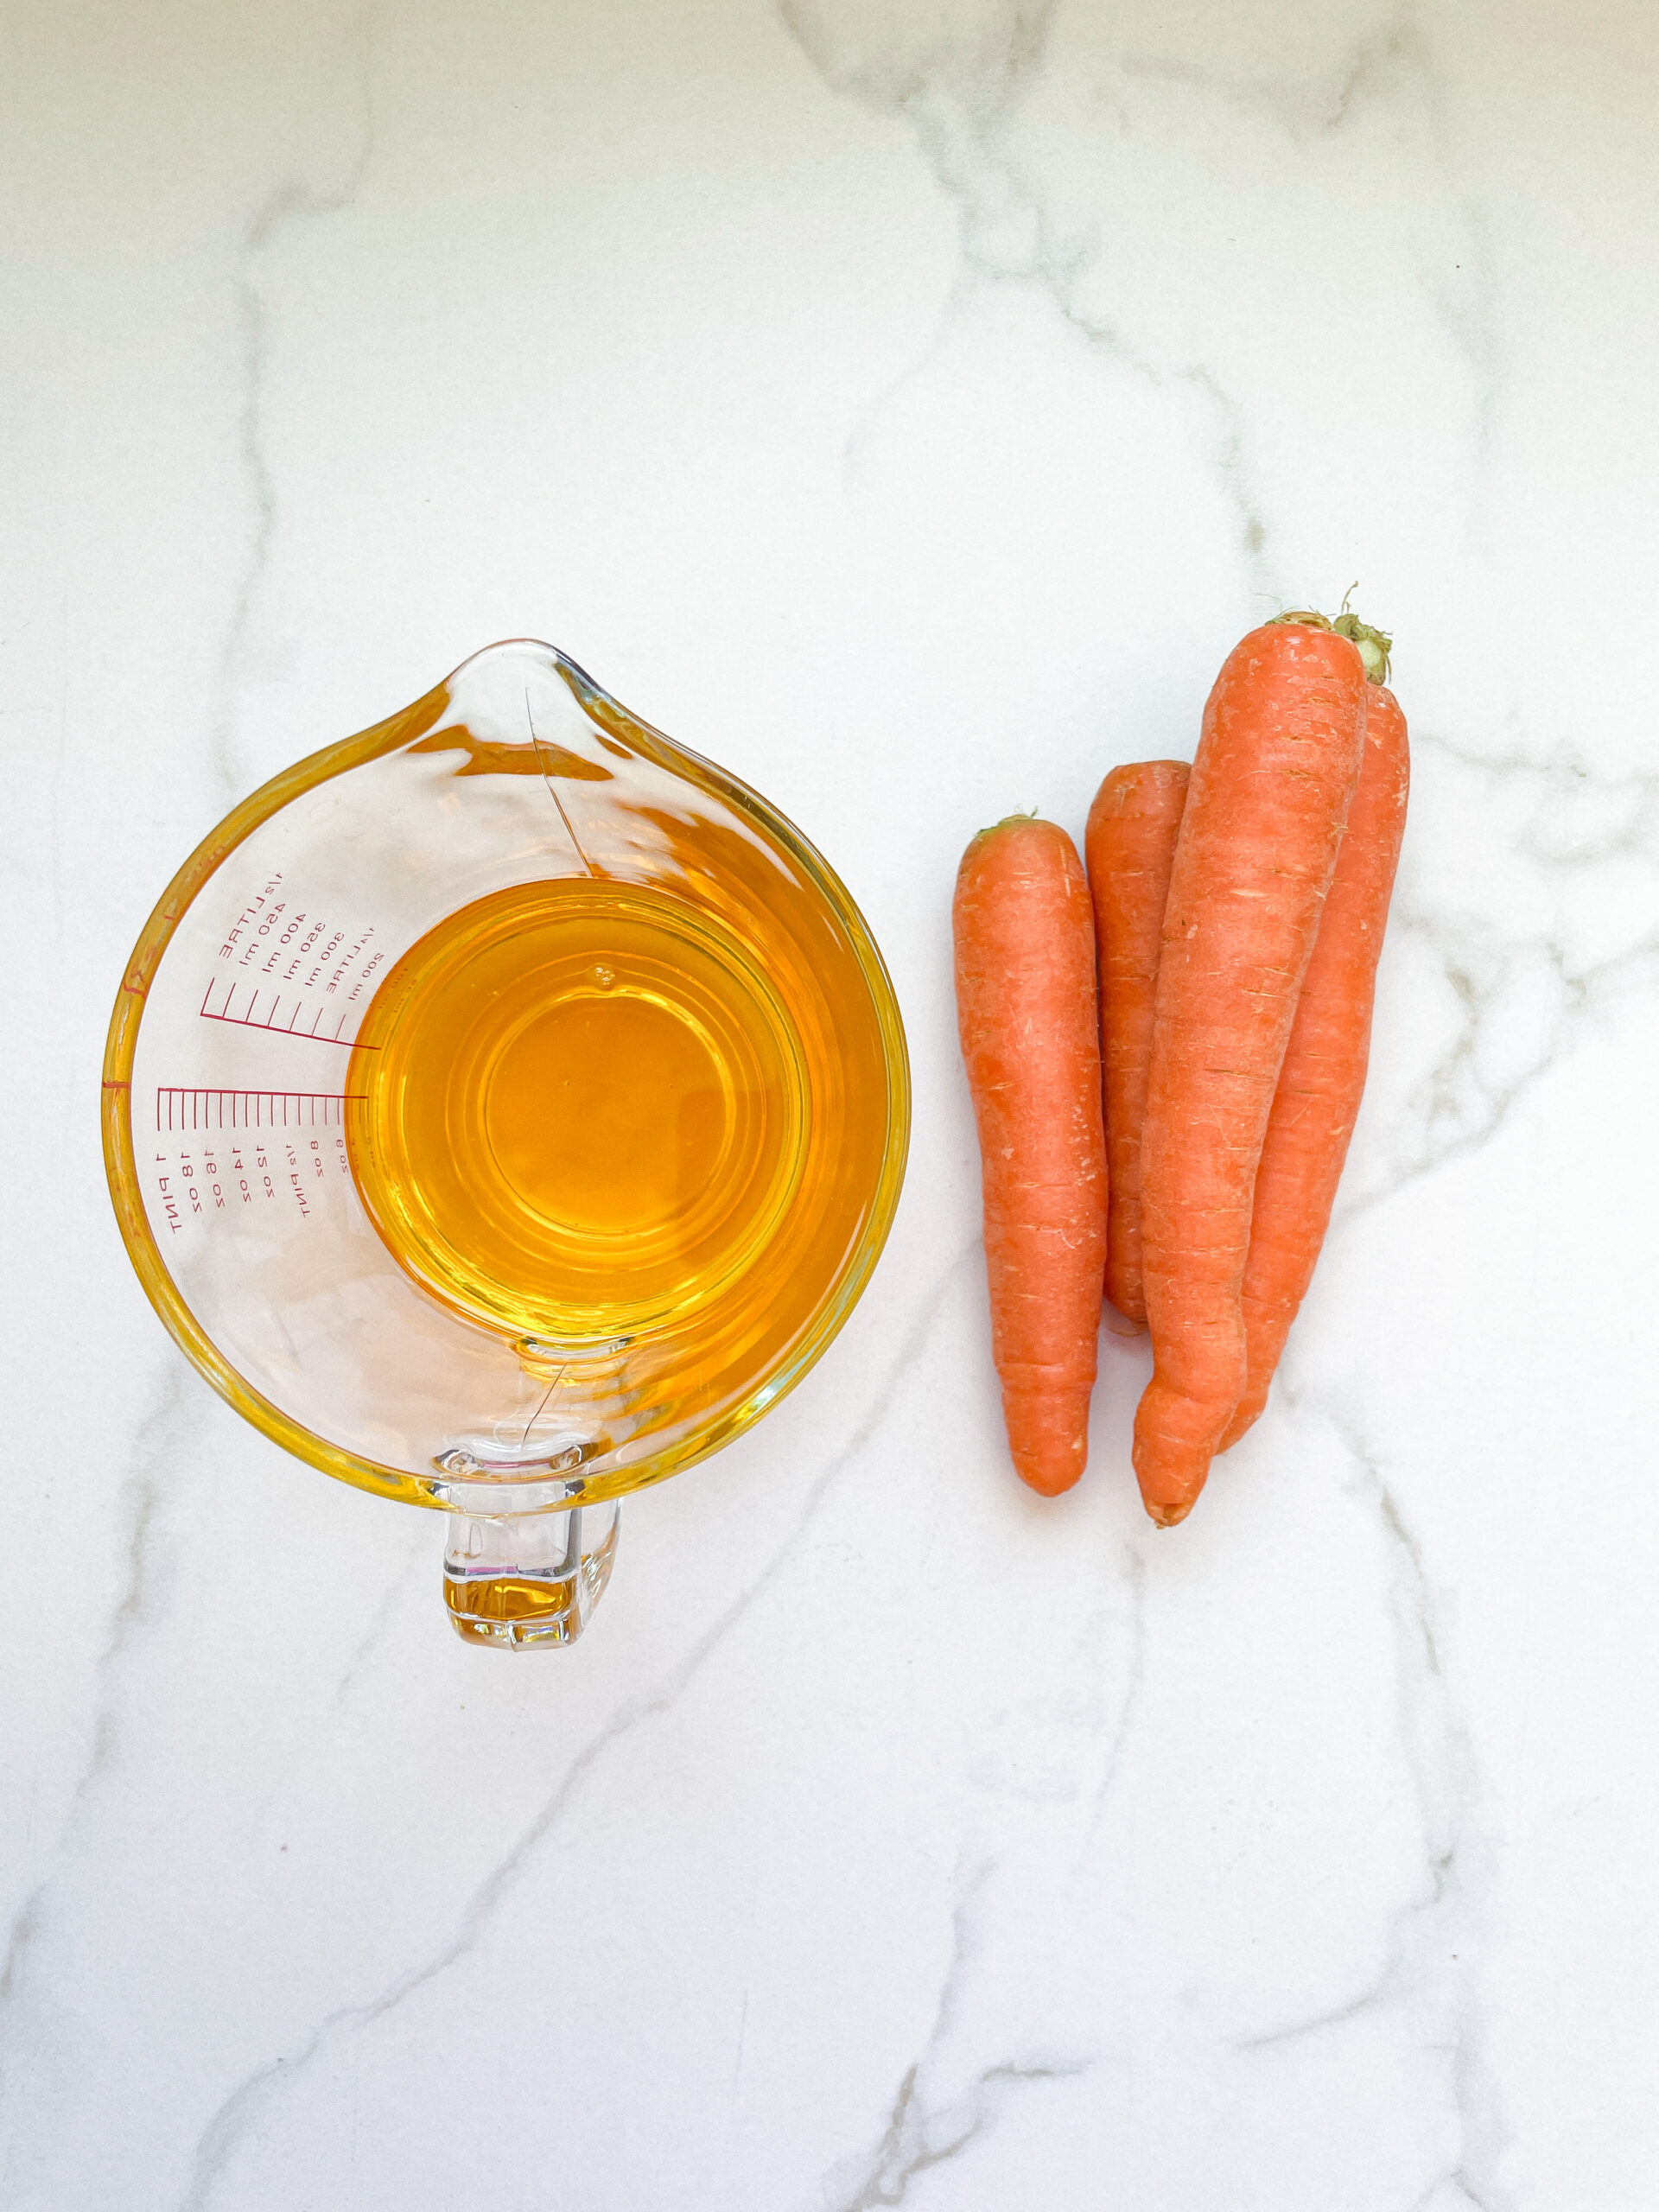
  • 50 grams carrot
  • 50 grams celery
  • 100 grams onion
  • 250 milliliters unrefined/cold-pressed rapeseed oil

Instructions

  1. Peel the carrot and onion and roughly chop them as well as the celery. Put the pieces into the blender. Pour in the oil. Blend on the highest setting until there are only tiny pieces of the vegetables left.
  2. Pour the mixture from the blender into a medium-sized pot and heat it over medium heat to a temperature of about 99°-102°C (210°-215°F), and maintain this temperature for the next 40 minutes. Stir occasionally, making sure the temperature remains steady and nothing gets burned.
  3. Prepare a bowl large enough to fit a medium-sized pot, and fill it with cold water and a handful of ice cubes. Also, hang a fine sieve strainer over one medium-sized bowl and another fine sieve strainer, with a coffee filter inside it, over another medium-sized bowl.
  4. Now, place the pot in the ice water and stir to cool the oil quickly. Once the oil is almost cold, remove the pot from the water and pour the oil into the prepared fine sieve to catch the coarse particles.
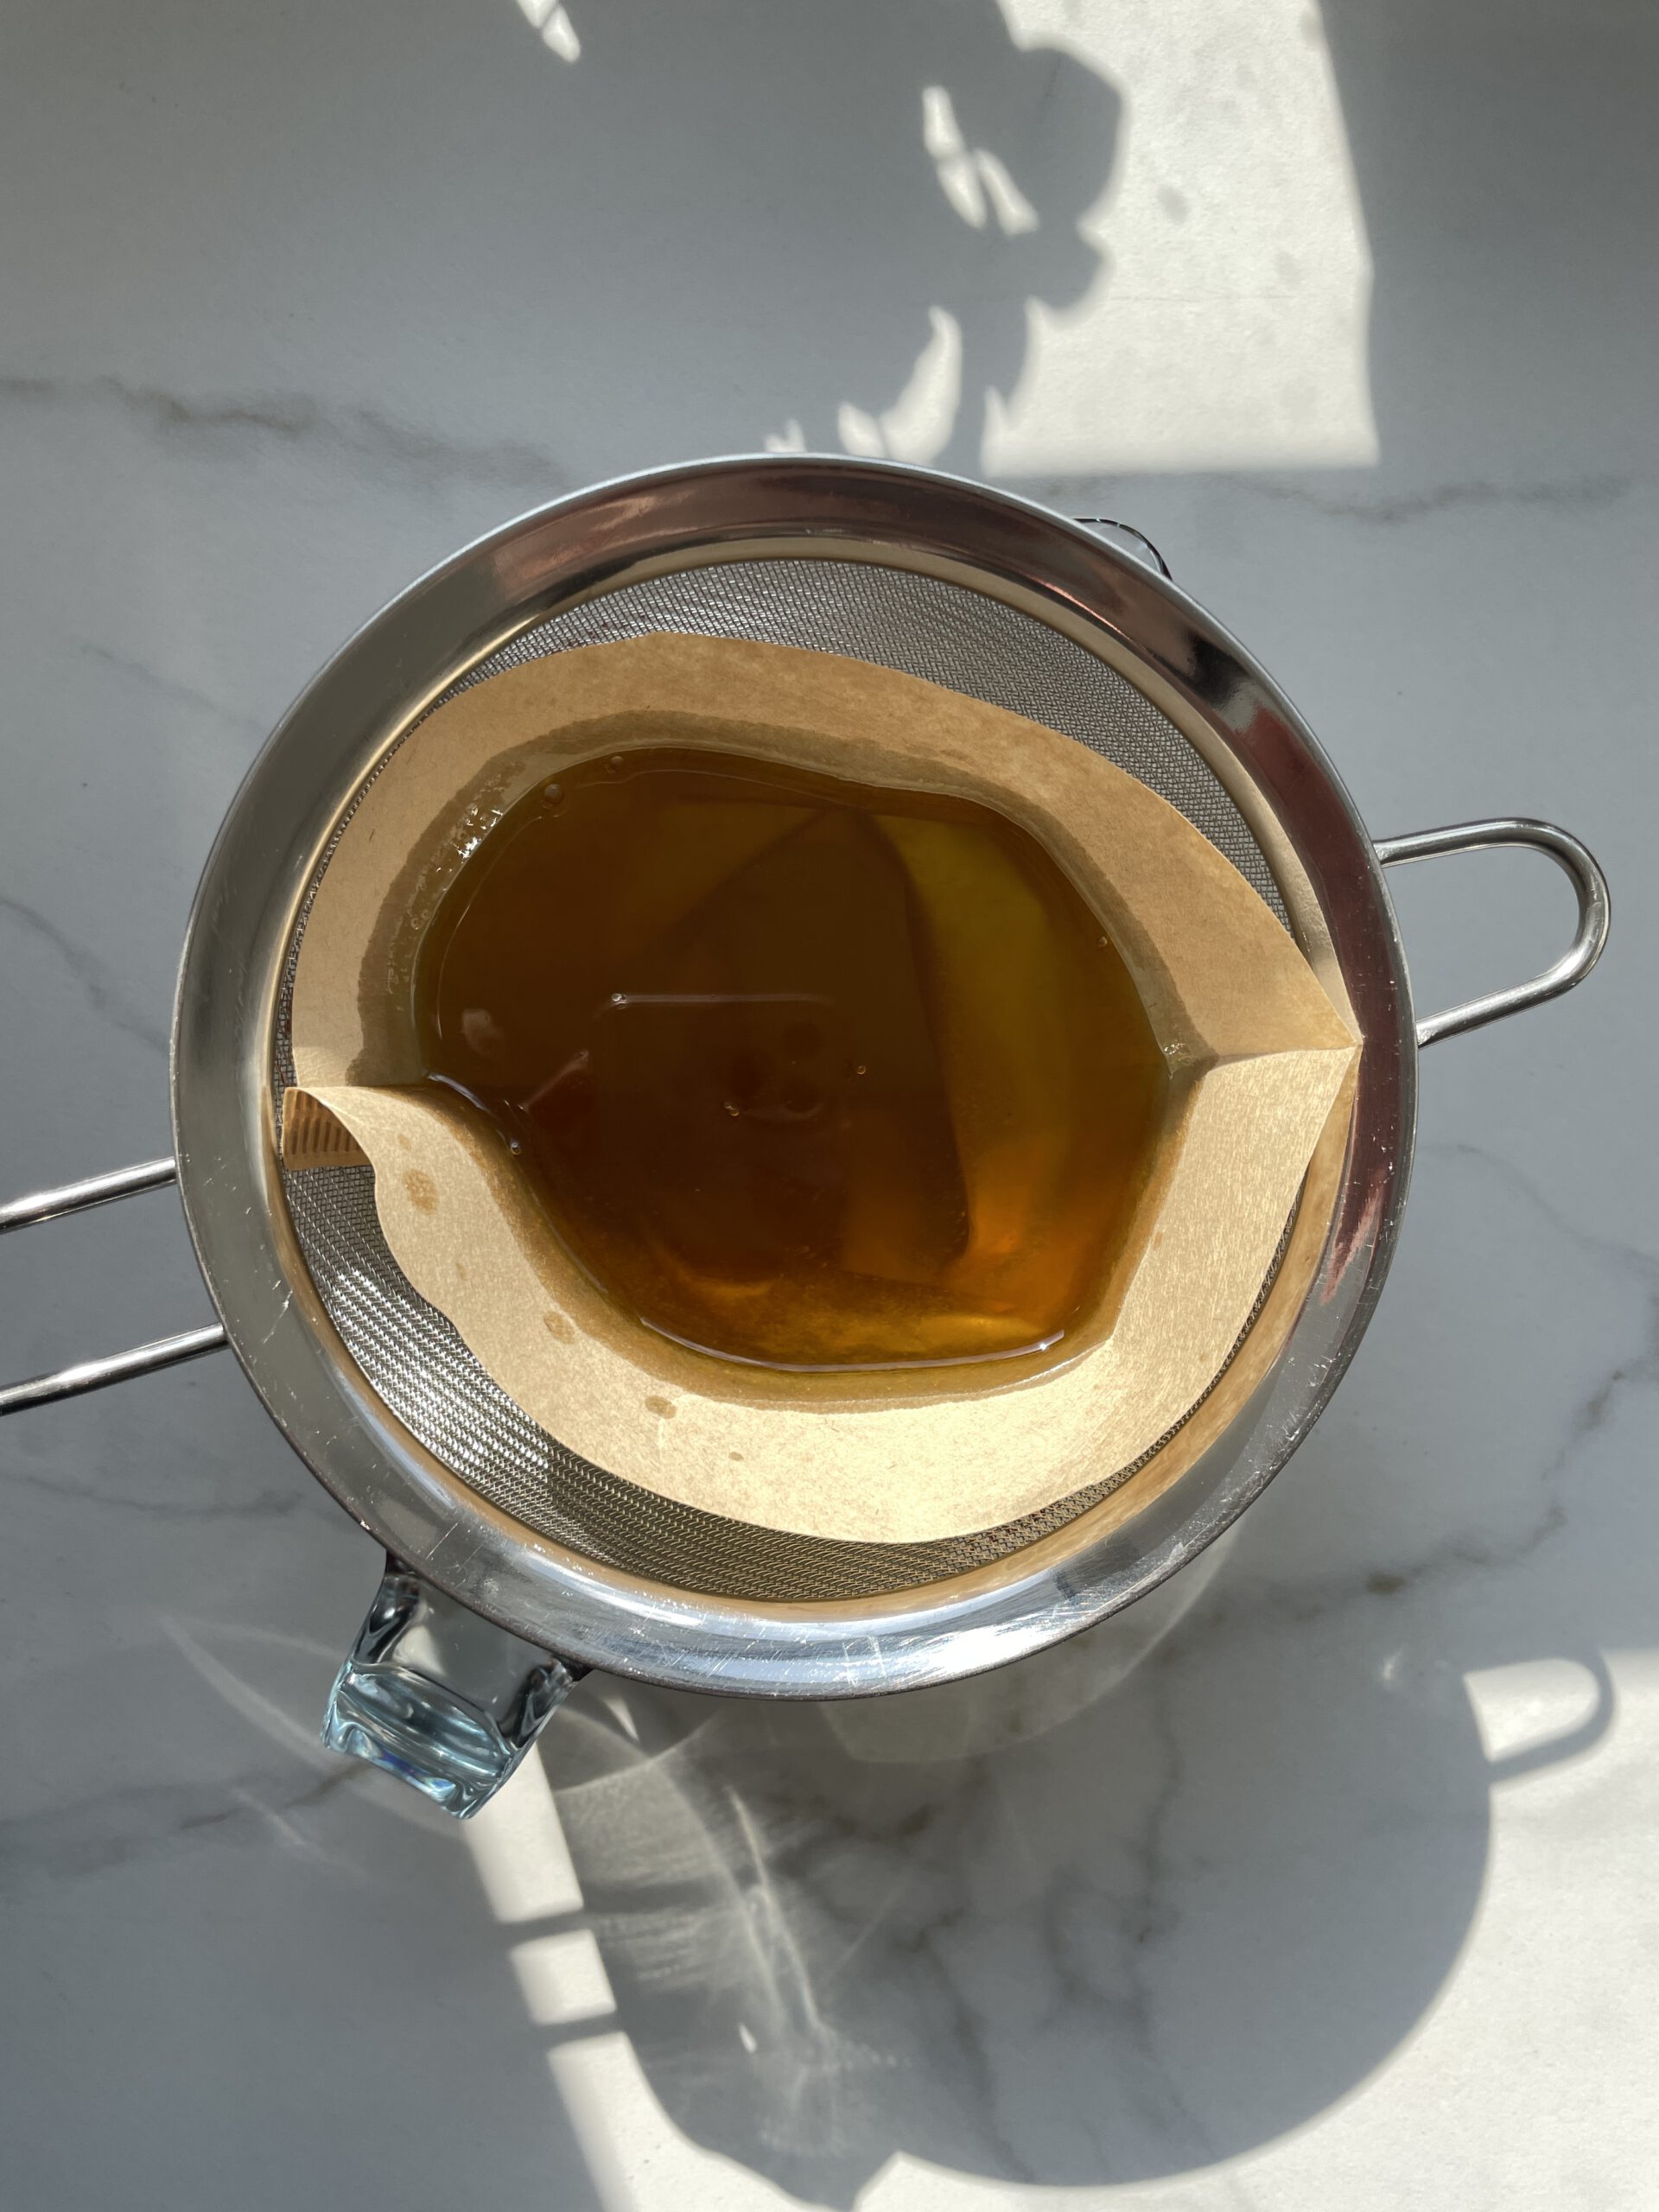
  5. Then, pour the oil into the second sieve, which is equipped with a coffee filter, to catch the remaining finer particles.
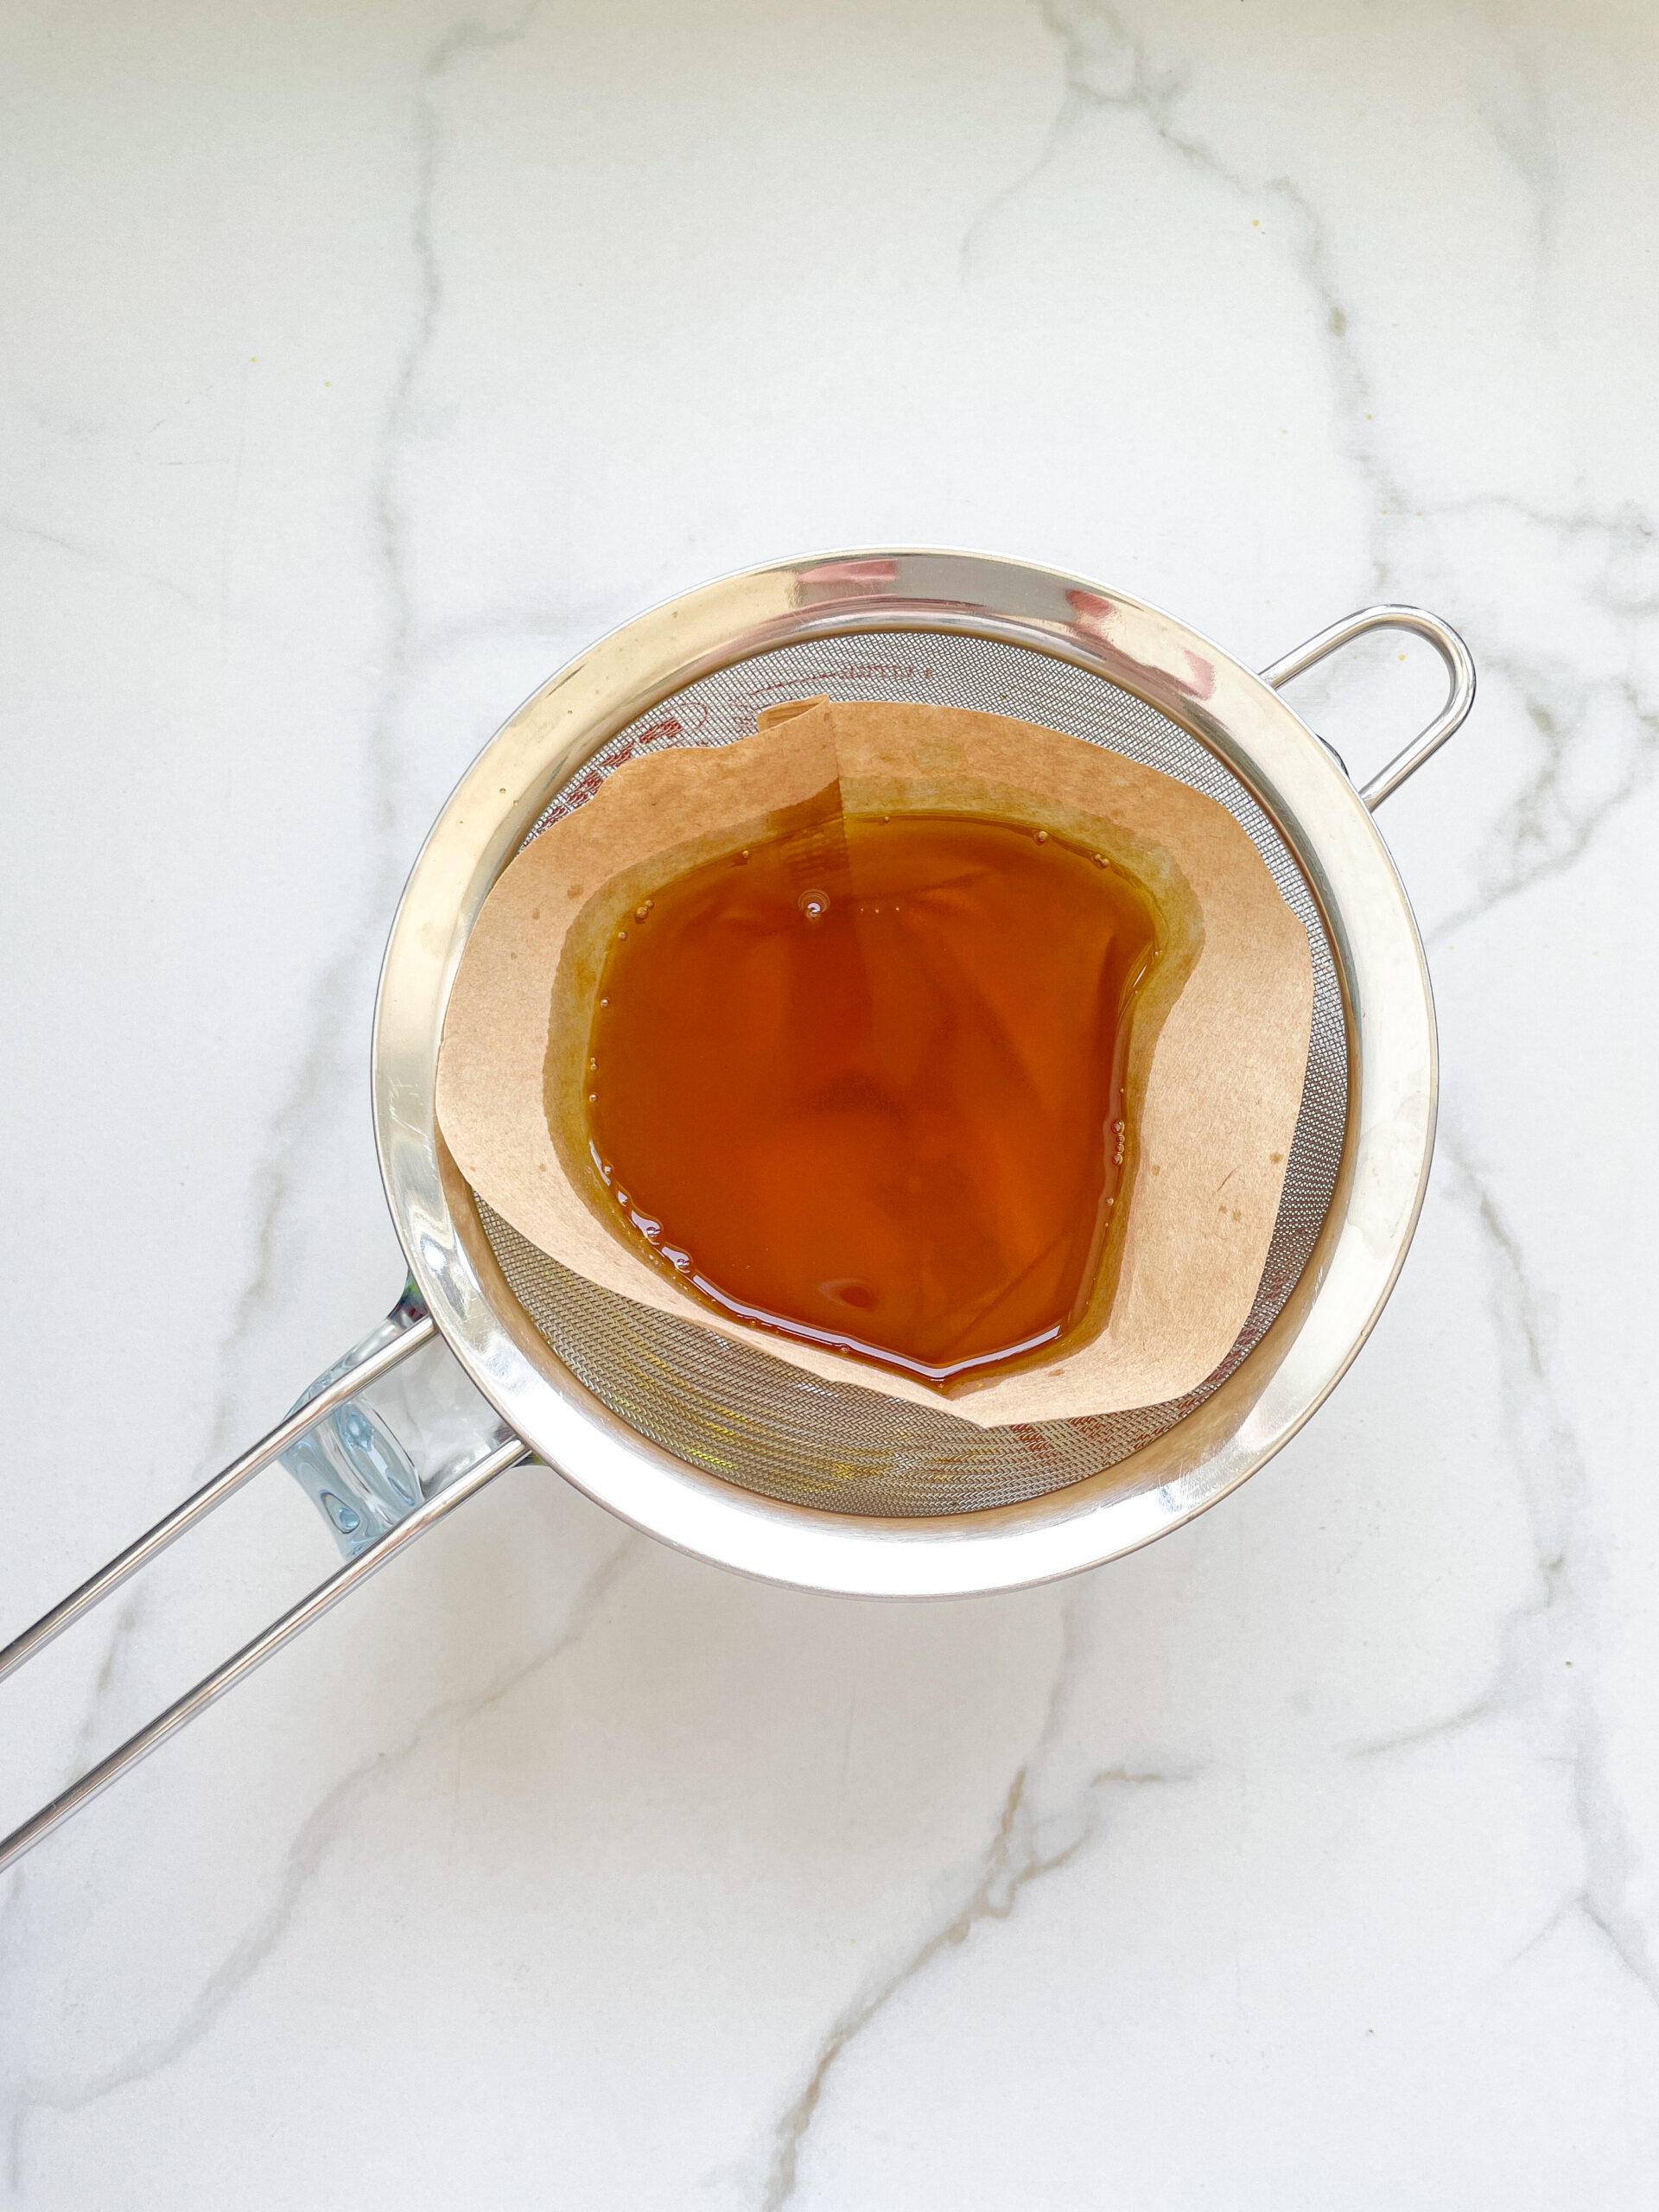
  6. Allow the oil to drip through for about 1 hour or maybe less depending on how many remaining particles are in the coffee filter. Once all the oil has passed through the coffee filter, transfer the collected amount of oil into a sealable container or directly into an oil bottle. Store in the refrigerator for up to one week.

Notes

The calorie information may vary depending on the product used, country and region.

  • Prep Time: 5 min
  • Passive Time: 60 min
  • Cook Time: 40 min
  • Category: OIL
  • Method: COOKING
  • Cuisine: INTERNATIONAL
CRAVING MORE?
Follow along here & don’t forget to subscribe to my substack!

Carrot Oil

Carrot Oil

Carrot Oil

Carrot Oil

May 21, 2024 by Kimberly

You’ve got to try this Carrot Oil! Made with rapeseed oil and fresh carrots, it adds an amazing burst of flavor to salads and cheese.

This website uses affiliate links which may earn commission for purchases made at no additional cost to you.

TOTAL TIME

1 hr + 35 min

SERVES

1 cup / 250 ml

DIET

vegan

EVERY RECIPE DESERVES

A Little Love Letter

Take your culinary creations to the next level with homemade Carrot Oil! This easy recipe blends the sweet earthiness of carrots with the light, nutty flavor of rapeseed oil. Perfect for drizzling over salads or adding a gourmet touch to your favorite cheeses, this carrot oil is a must-try for any foodie.

Drizzle this vibrant carrot oil over fresh salads for an extra burst of flavor. It’s also fantastic for adding a gourmet touch to cheese platters. Just a few drops can transform simple dishes into something truly special. Experiment by using it as a finishing oil on roasted vegetables or as a dip for artisan bread.

Store your carrot oil in a dark, airtight bottle to maintain its freshness. Keep it in a cool, dry place away from direct sunlight. Properly stored, your carrot oil will stay delicious and vibrant for up to a few weeks.

Hi, I'm Kimberly!

Hi, I'm Kimberly.

A hopeless romantic when it comes to food. Every recipe I share is a love letter to food itself. I’m so glad you’re here. Make yourself at home and stay a while.

Love,
Kimberly

Kimberly the Zett Signature

If you want to get to know me better,
click here!


Carrot Oil
Carrot Oil
Carrot Oil
Carrot Oil

LET’S MAKE A PIECE OF HAPPINESS

Print
.tasty-recipe-responsive-iframe-container-302c8df2 { position: relative; overflow: hidden; padding-top: 56.3%; } .tasty-recipe-responsive-iframe-container-302c8df2 iframe { position: absolute; top: 0; left: 0; width: 100%; height: 100%; border: 0; } clock clock iconcutlery cutlery iconflag flag iconfolder folder iconinstagram instagram iconpinterest pinterest iconfacebook facebook iconprint print iconsquares squares iconheart heart iconheart solid heart solid icon
Carrot Oil

Carrot Oil


  • Author: Kimberly
  • Total Time: 105 min
  • Yield: 250 ml / 1 cup
  • Diet: Vegan

Description

RECOMMENDED EQUIPMENT

  • blender
  • medium-sized saucepan
  • whisk
  • a bowl which the medium saucepan fits into
  • 2 medium-sized bowls
  • 2 fine sieves
  • sealable container (oil bottle)
  • ice cubes
  • coffee filter

Ingredients

Units Scale
  • 150 grams carrot
  • 250 milliliters unrefined/cold-pressed rapeseed oil

Instructions

  1. Peel the carrots, roughly chop them and put them into the blender. Pour in the oil. Blend on the highest setting until there are only tiny pieces of the carrots left.
  2. Pour the mixture from the blender into a medium-sized pot and heat it over medium heat to a temperature of about 104°-106°C (219°-222°F), and maintain this temperature for the next 40 minutes. Stir occasionally, making sure the temperature remains steady and nothing gets burned.
  3. Prepare a bowl large enough to fit a medium-sized pot, and fill it with cold water and a handful of ice cubes. Also, hang a fine sieve strainer over one medium-sized bowl and another fine sieve strainer, with a coffee filter inside it, over another medium-sized bowl.
  4. Now, place the pot in the ice water and stir to cool the oil quickly. Once the oil is almost cold, remove the pot from the water and pour the oil into the prepared fine sieve to catch the coarse particles.
  5. Then, pour the oil into the second sieve, which is equipped with a coffee filter, to catch the remaining finer particles.
  6. Allow the oil to drip through for about 1 hour or maybe less depending on how many remaining particles are in the coffee filter. Once all the oil has passed through the coffee filter, transfer the collected amount of oil into a sealable container or directly into an oil bottle. Store in the refrigerator for up to one week.

Notes

The calorie information may vary depending on the product used, country and region.

  • Prep Time: 5 min
  • Passive Time: 60 min
  • Cook Time: 40 min
  • Category: OILS
  • Method: COOKING
  • Cuisine: INTERNATIONAL

CRAVING MORE?

Follow along here & don’t forget to subscribe to my substack!

Garlic Oil

Garlic Oil

Garlic Oil

Garlic Oil

May 14, 2024 by Kimberly

Unleash the aromatic power of homemade Garlic Oil! Perfect for drizzling over dishes to add a burst of flavor. Simple, versatile, and absolutely irresistible.

This website uses affiliate links which may earn commission for purchases made at no additional cost to you.

TOTAL TIME

1 hour

SERVES

1 cup / 250 ml

DIET

vegan

EVERY RECIPE DESERVES

A Little Love Letter

Discover the magic of homemade Garlic Oil, an easy addition to your culinary arsenal that brings a robust flavor to any dish. It’s simple to make and wonderfully versatile.

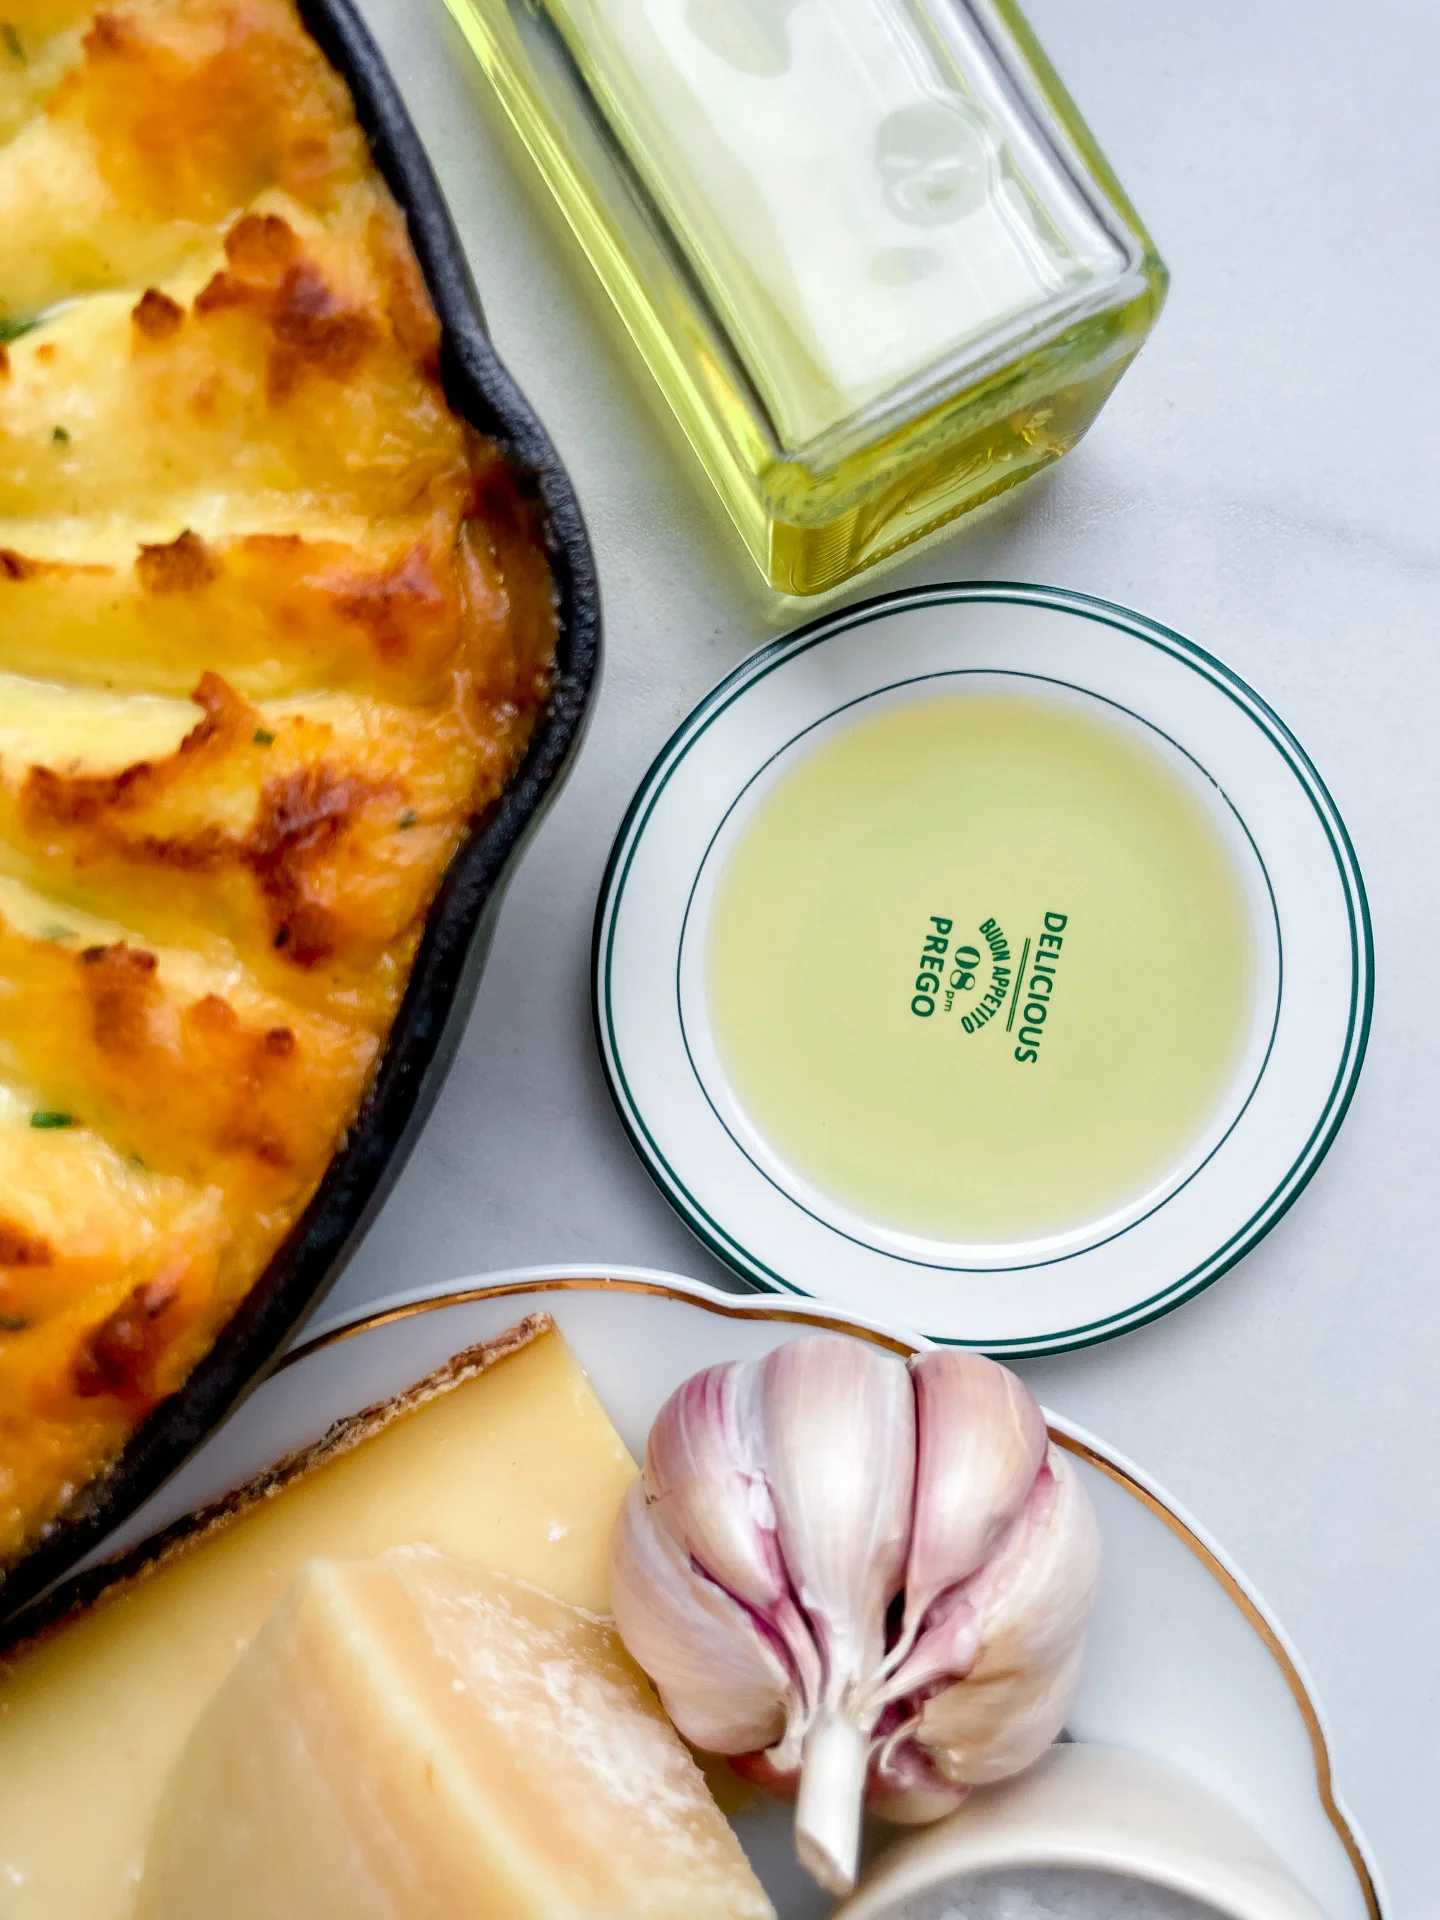
Garlic Oil is a fantastic way to elevate your cooking. Drizzle it over pizza, stir into pasta, or use it as a flavorful dressing for salads. It adds a delicious garlic punch to bread, steaks, and even roasted vegetables, making it a must-have in your kitchen for an instant flavor upgrade.

Store your Garlic Oil in an oil bottle in the fridge. It keeps well for up to two to three weeks, ensuring you have this flavorful enhancer ready whenever needed.

Hi, I'm Kimberly!

Hi, I'm Kimberly.

A hopeless romantic when it comes to food. Every recipe I share is a love letter to food itself. I’m so glad you’re here. Make yourself at home and stay a while.

Love,
Kimberly

Kimberly the Zett Signature

If you want to get to know me better,
click here!


Garlic Oil
Garlic Oil
Garlic Oil
Garlic Oil

LET’S MAKE A PIECE OF HAPPINESS

Print
.tasty-recipe-responsive-iframe-container-c6af5d04 { position: relative; overflow: hidden; padding-top: 56.3%; } .tasty-recipe-responsive-iframe-container-c6af5d04 iframe { position: absolute; top: 0; left: 0; width: 100%; height: 100%; border: 0; } clock clock iconcutlery cutlery iconflag flag iconfolder folder iconinstagram instagram iconpinterest pinterest iconfacebook facebook iconprint print iconsquares squares iconheart heart iconheart solid heart solid icon
Garlic Oil

Garlic Oil


  • Author: Kimberly
  • Total Time: 2 hrs
  • Yield: 250 ml / 1 cup

Description

RECOMMENDED EQUIPMENT

  • blender
  • medium-sized saucepan
  • whisk
  • a bowl which the medium saucepan fits into
  • 2 medium-sized bowls
  • 2 fine sieves
  • sealable container (oil bottle)
  • ice cubes
  • coffee filter

Ingredients

Units Scale
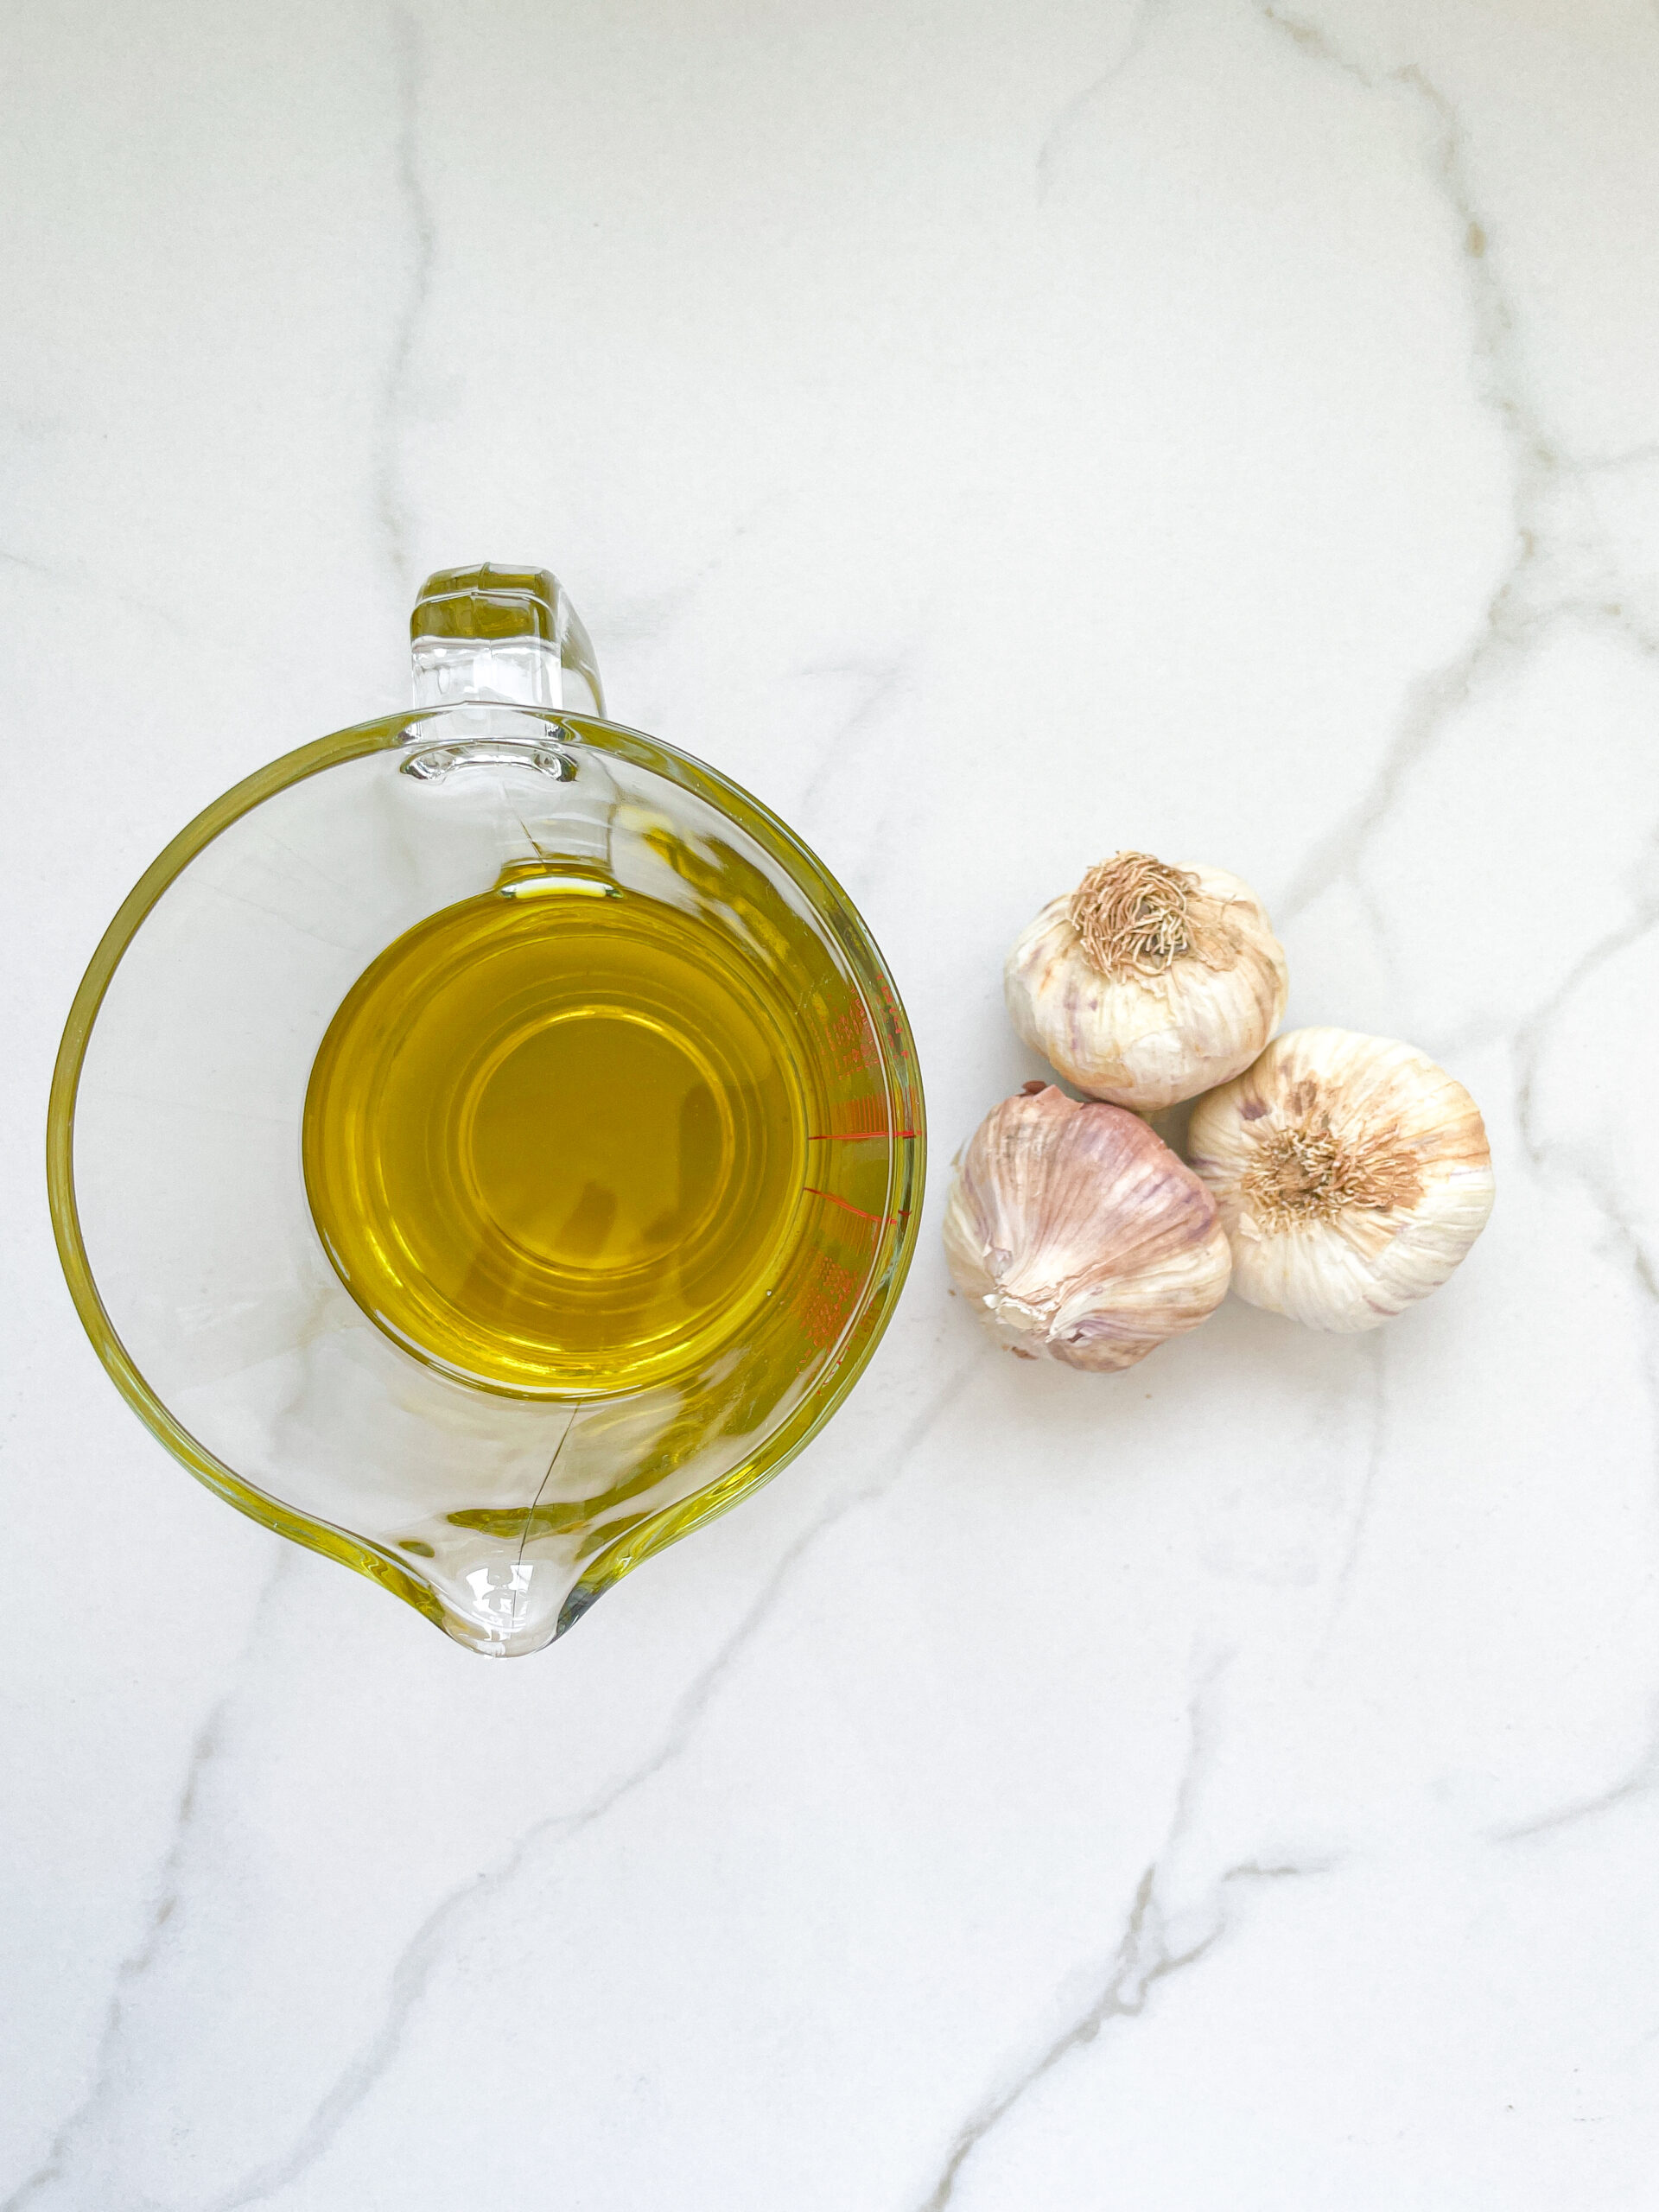
  • 3 garlic bulbs
  • 250 milliliters extra virgin olive oil

Instructions

  1. Peel all garlic cloves and put them into the blender. Pour in the oil. Blend on the highest setting until there are only tiny pieces of the garlic left.
  2. Pour the mixture from the blender into a medium-sized pot and heat it over medium heat to a temperature of about 108°-110°C (226°-230°F), and maintain this temperature for the next 15 minutes. Stir occasionally, making sure the temperature remains steady and nothing gets burned.
  3. Prepare a bowl large enough to fit a medium-sized pot, and fill it with cold water and a handful of ice cubes. Also, hang a fine sieve strainer over one medium-sized bowl and another fine sieve strainer, with a coffee filter inside it, over another medium-sized bowl.
  4. Now, place the pot in the ice water and stir to cool the oil quickly. Once the oil is almost cold, remove the pot from the water and let it sit for about 20 minutes so that the oil gets more infused.
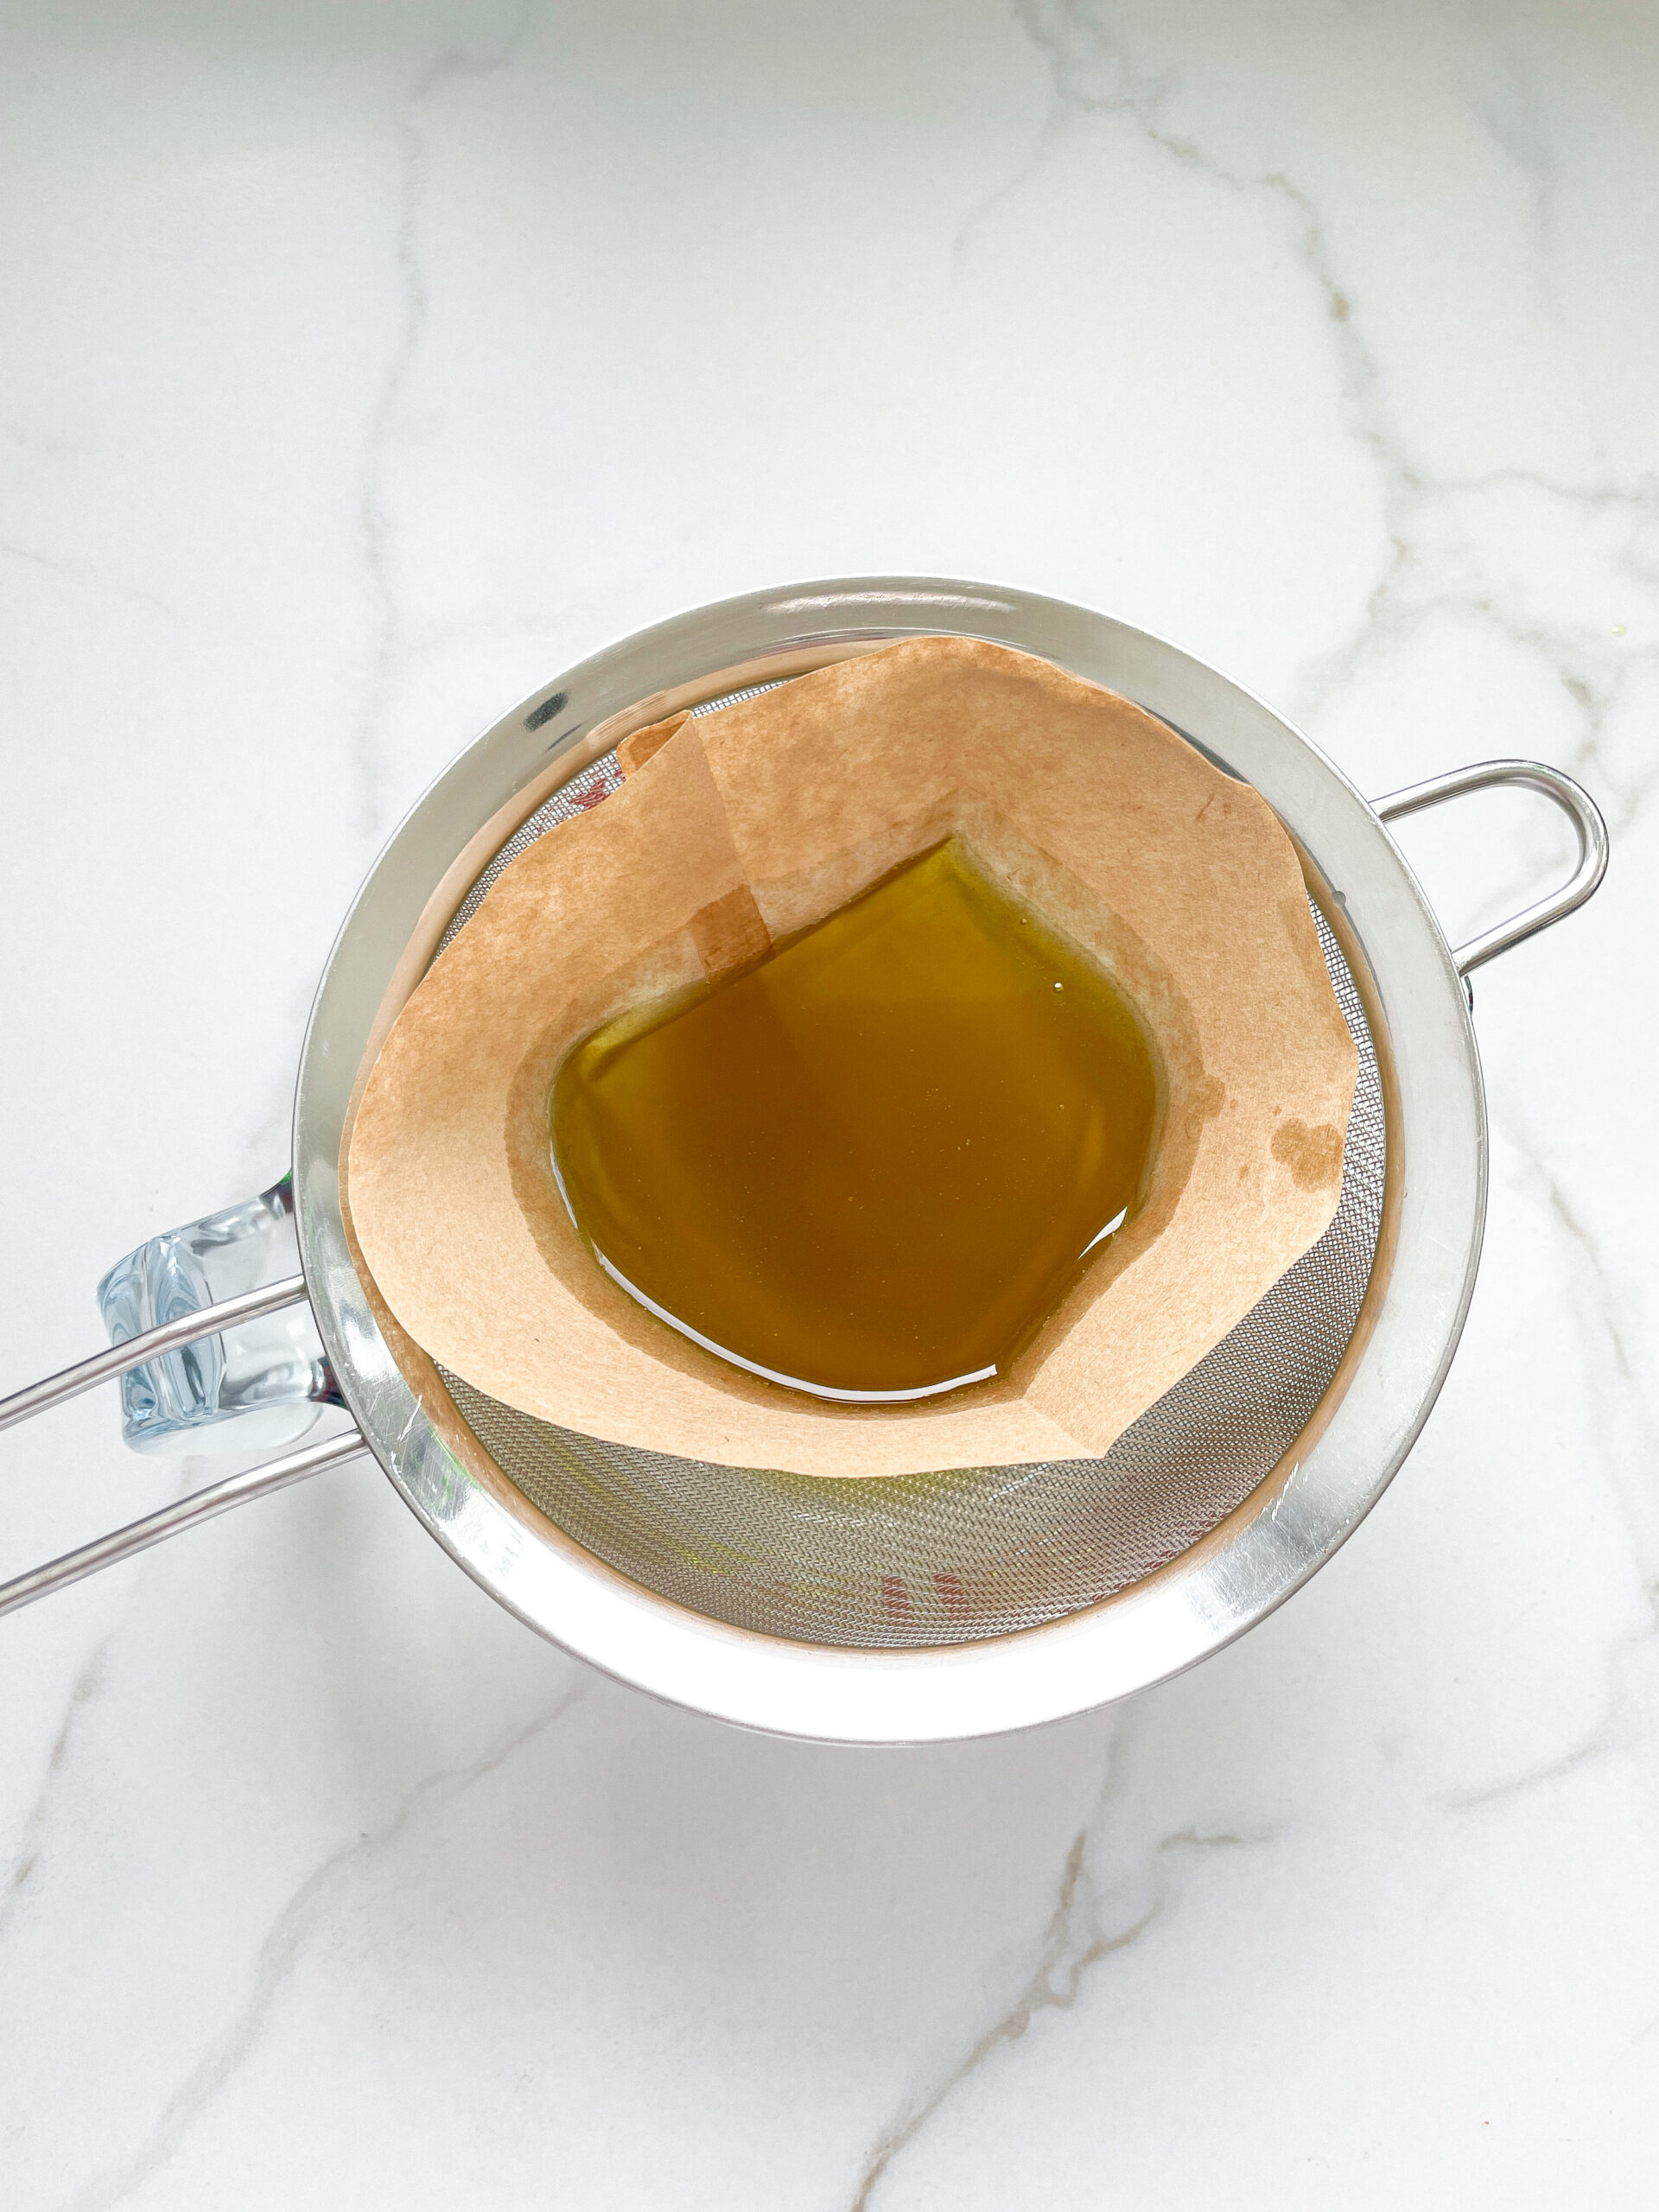
  5. After the 20 minutes, pour the oil into the prepared fine sieve to catch the coarse particles.
  6. Then, pour the oil into the second sieve, which is equipped with a coffee filter, to catch the remaining finer particles.
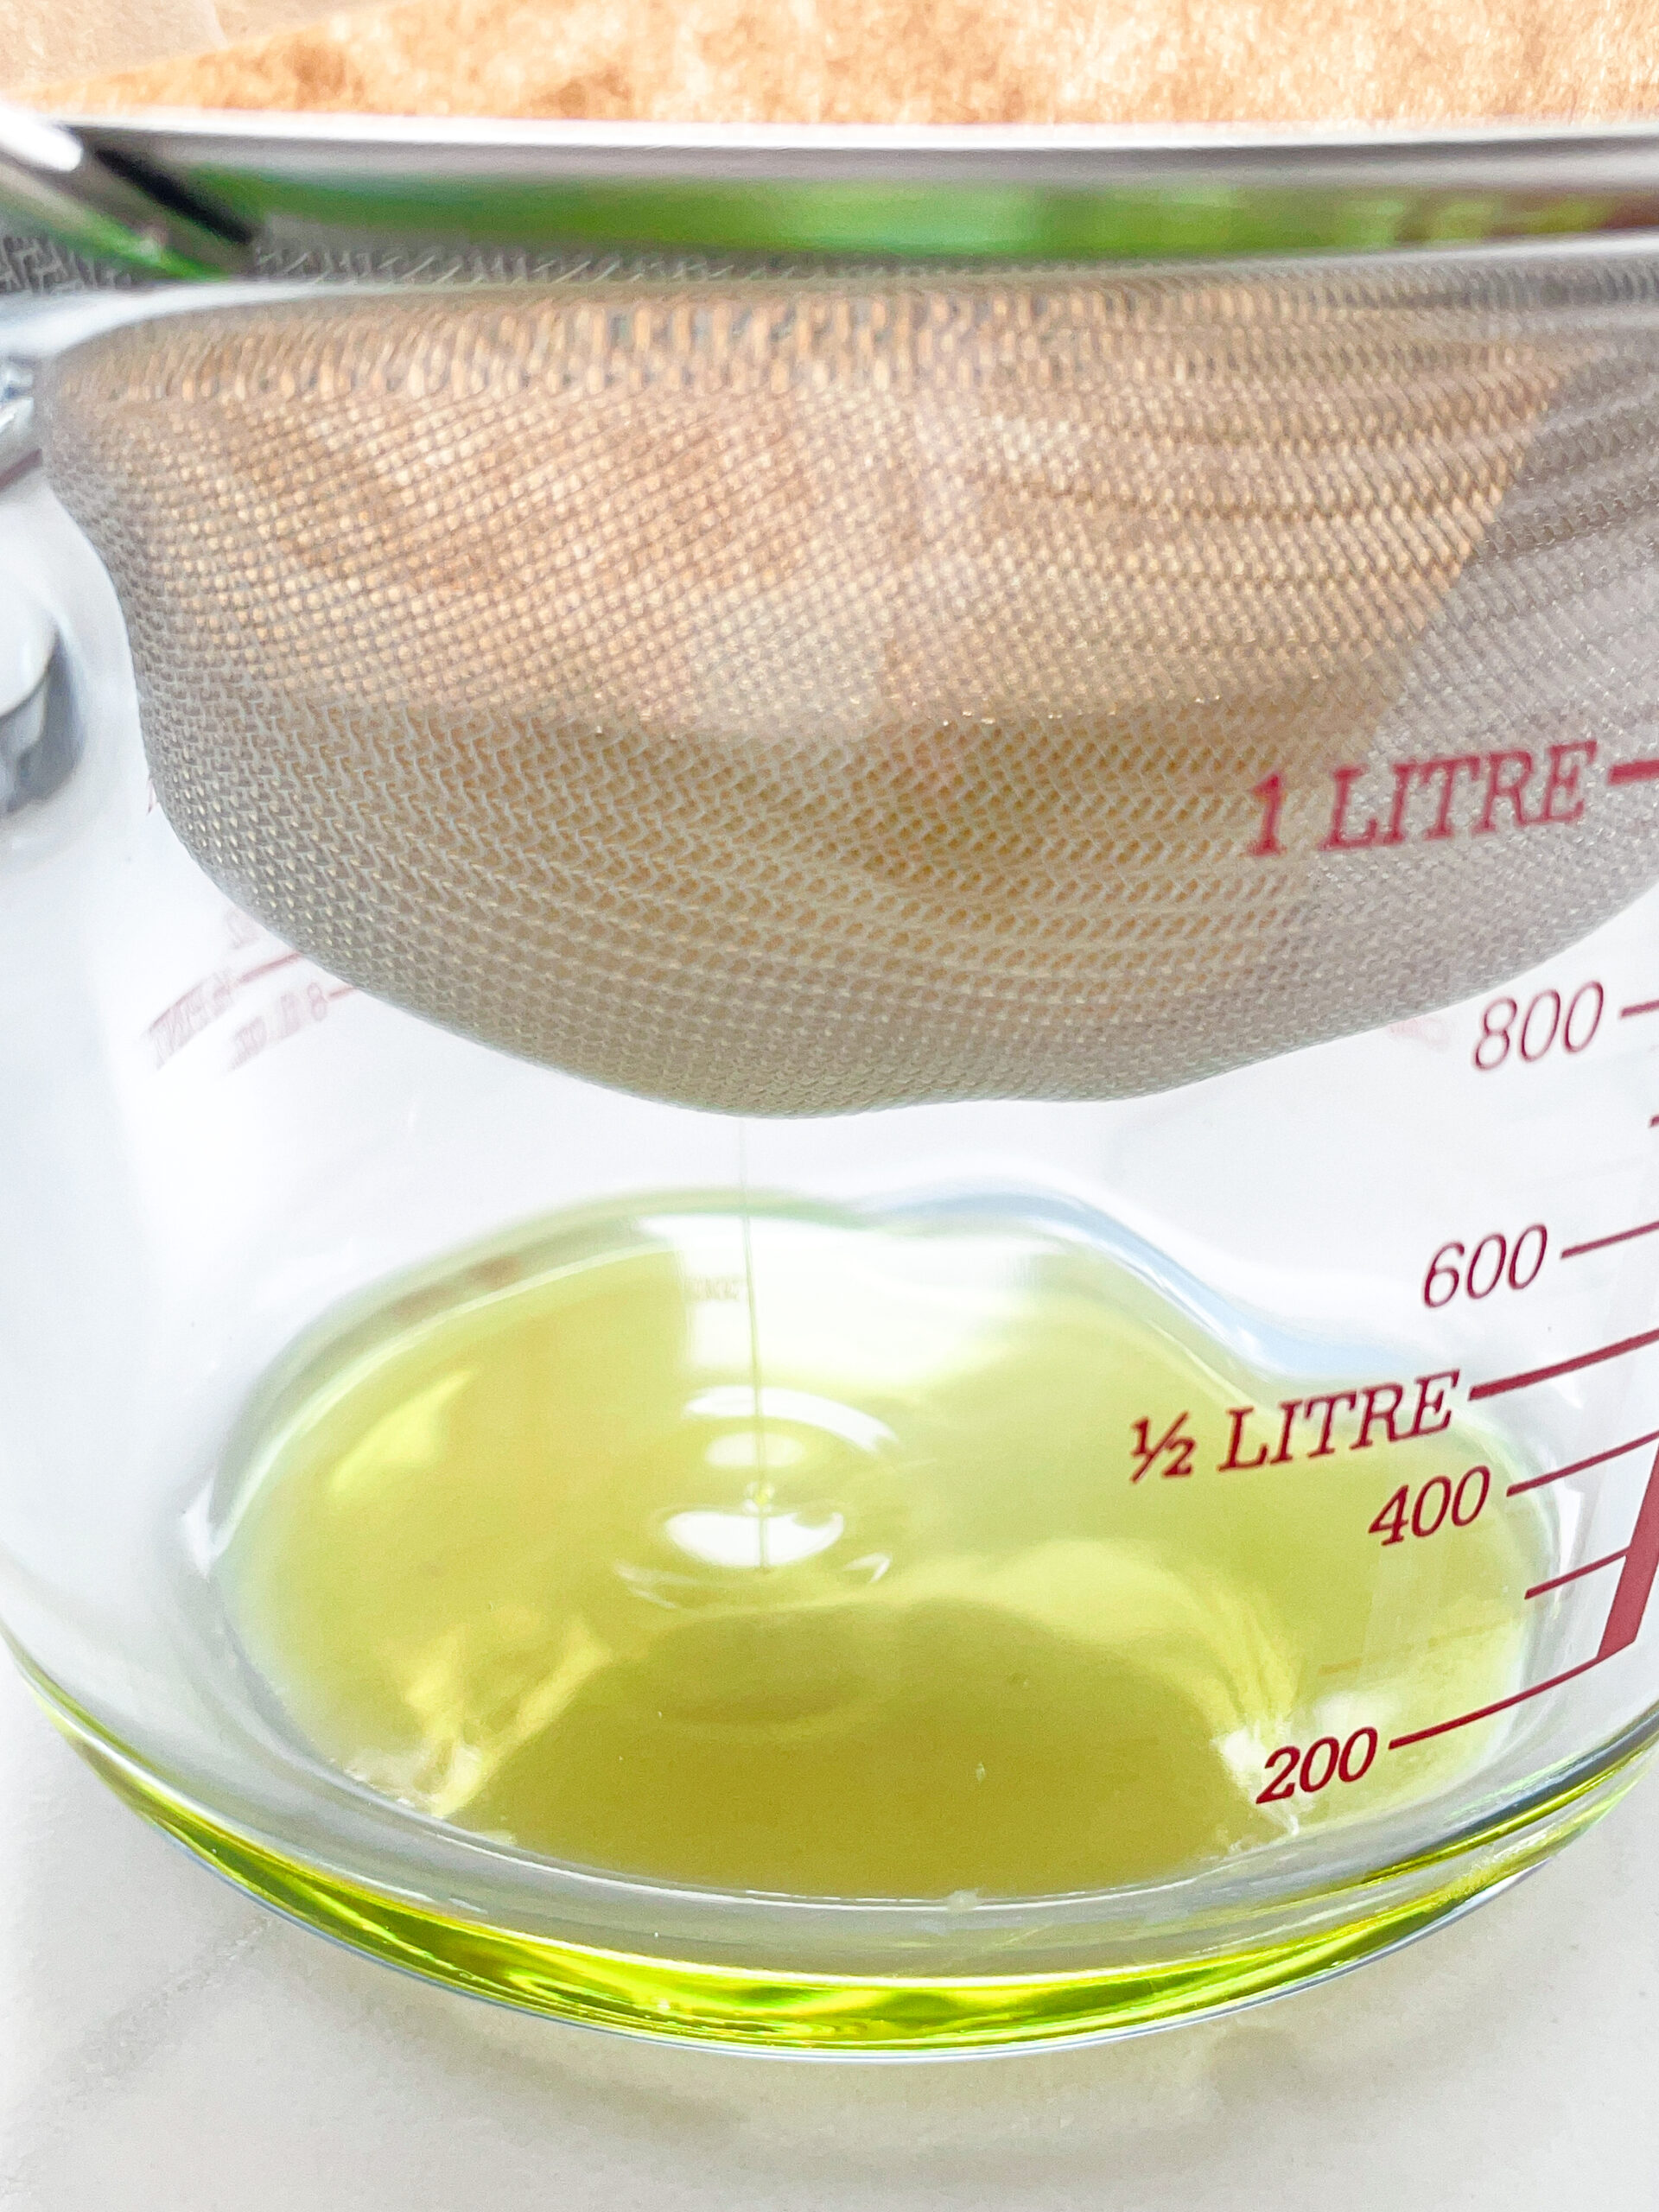
  7. Allow the oil to drip through for about 1 hour or maybe more depending on how many remaining particles are in the coffee filter. Once all the oil has passed through the coffee filter, transfer the collected amount of oil into a sealable container or directly into an oil bottle. Store in the refrigerator for up to a few days.

Notes

The calorie information may vary depending on the product used, country and region.

  • Passive Time: 90 min
  • Cook Time: 25 min

CRAVING MORE?

Follow along here & don’t forget to subscribe to my substack!

Sun-Dried Tomato Oil

Sun-Dried Tomato Oil

Sun-Dried Tomatoes Oil

Sun-Dried Tomato Oil

May 7, 2024 by Kimberly

Unleash bold flavors with homemade sun-dried tomatoes oil, perfect for enhancing any dish! Vibrant, aromatic, and incredibly versatile—your kitchen’s new secret weapon!

This website uses affiliate links which may earn commission for purchases made at no additional cost to you.

TOTAL TIME

55 min


SERVES

1 cup / 250 ml

DIET

vegan

EVERY RECIPE DESERVES

A Little Love Letter

Elevate your culinary creations with sun-dried tomatoes oil, an exquisite infusion that brings a touch of Mediterranean flair to any dish. This special oil is a fantastic way to add depth and richness to your cooking.

Sun-dried tomatoes oil is exceptionally versatile. Drizzle it over salads for an instant flavor boost, mix into pasta for a luxurious touch, or brush it on grilled meats and vegetables. It also makes a fantastic dipping oil for bread at your next dinner party. Let this rich, flavorful oil transform your meals into gourmet creations!

Store your sun-dried tomatoes oil in an oil bottle in a cool, dark place. It can be kept for up to 2-3 weeks, ensuring you have this delicious condiment on hand to enhance your meals whenever needed.

Hi, I'm Kimberly!

Hi, I'm Kimberly.

A hopeless romantic when it comes to food. Every recipe I share is a love letter to food itself. I’m so glad you’re here. Make yourself at home and stay a while.

Love,
Kimberly

Kimberly the Zett Signature

If you want to get to know me better,
click here!


Sun-Dried Tomato Oil
Sun-Dried Tomatoes Oil

LET’S MAKE A PIECE OF HAPPINESS

Print
.tasty-recipe-responsive-iframe-container-0c28d062 { position: relative; overflow: hidden; padding-top: 56.3%; } .tasty-recipe-responsive-iframe-container-0c28d062 iframe { position: absolute; top: 0; left: 0; width: 100%; height: 100%; border: 0; } clock clock iconcutlery cutlery iconflag flag iconfolder folder iconinstagram instagram iconpinterest pinterest iconfacebook facebook iconprint print iconsquares squares iconheart heart iconheart solid heart solid icon
Sun-Dried Tomatoes Oil

Sun-Dried Tomatoes Oil


  • Author: Kimberly
  • Total Time: 55 min
  • Yield: 250 ml / 1 cup

Description

RECOMMENDED EQUIPMENT

  • blender
  • medium-sized saucepan
  • whisk
  • a bowl which the medium saucepan fits into
  • 2 medium-sized bowls
  • 2 fine sieves
  • oil bottle
  • ice cubes
  • coffee filter

Ingredients

Units Scale
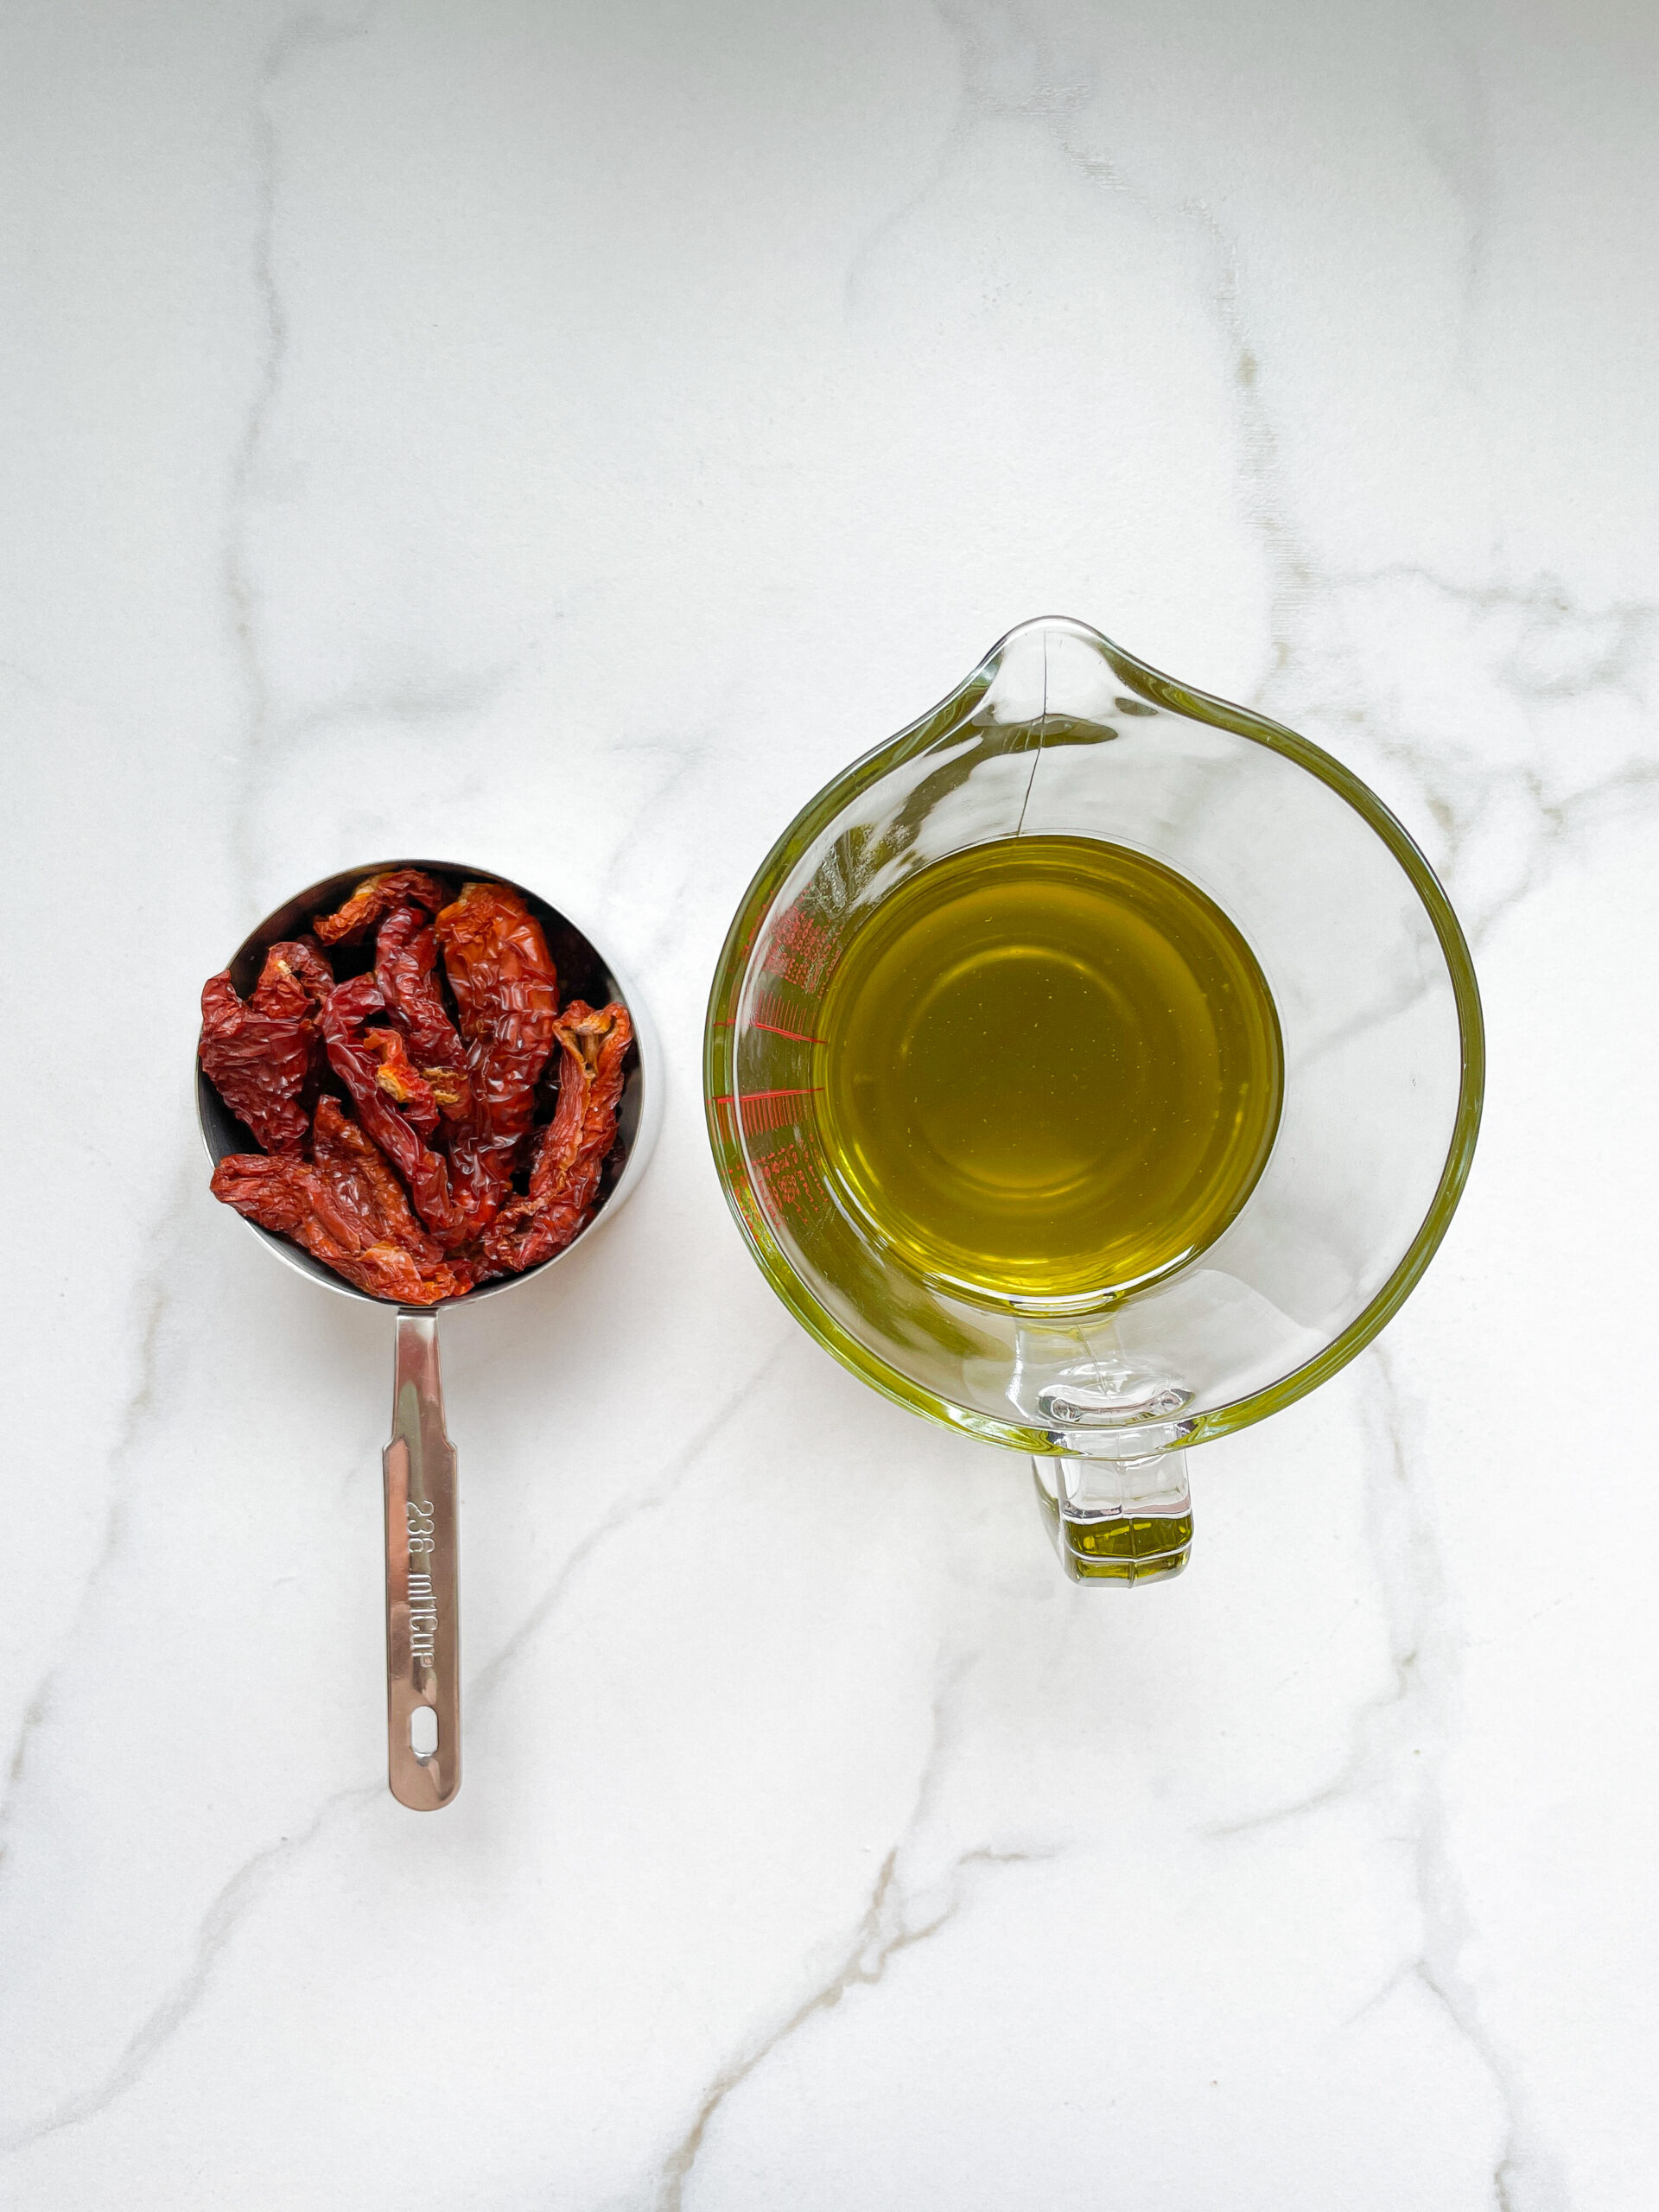
  • 85 grams sun-dried tomatoes
  • 250 milliliters extra virgin olive oil

Instructions

  1. Chop the tomatoes into coarse pieces, and put them into the blender. Pour in the oil. Blend on the highest setting until the mixture becomes dark orange/red and only tiny pieces of the dried tomatoes are visible.
  2. Pour the mixture from the blender into a medium-sized pot and heat it over medium heat to a temperature of about 102°-103°C (215°-217°F), and maintain this temperature for the next 10 minutes. Stir occasionally, making sure the temperature remains steady and nothing gets burned.
  3. Prepare a bowl large enough to fit a medium-sized pot, and fill it with cold water and a handful of ice cubes. Also, hang a fine sieve strainer over one medium-sized bowl and another fine sieve strainer, with a coffee filter inside it, over another medium-sized bowl.
  4. Now, place the pot in the ice water and stir to cool the oil quickly. Once the oil is almost cold, remove the pot from the water and let it sit for about 20 minutes so that the oil gets more infused.
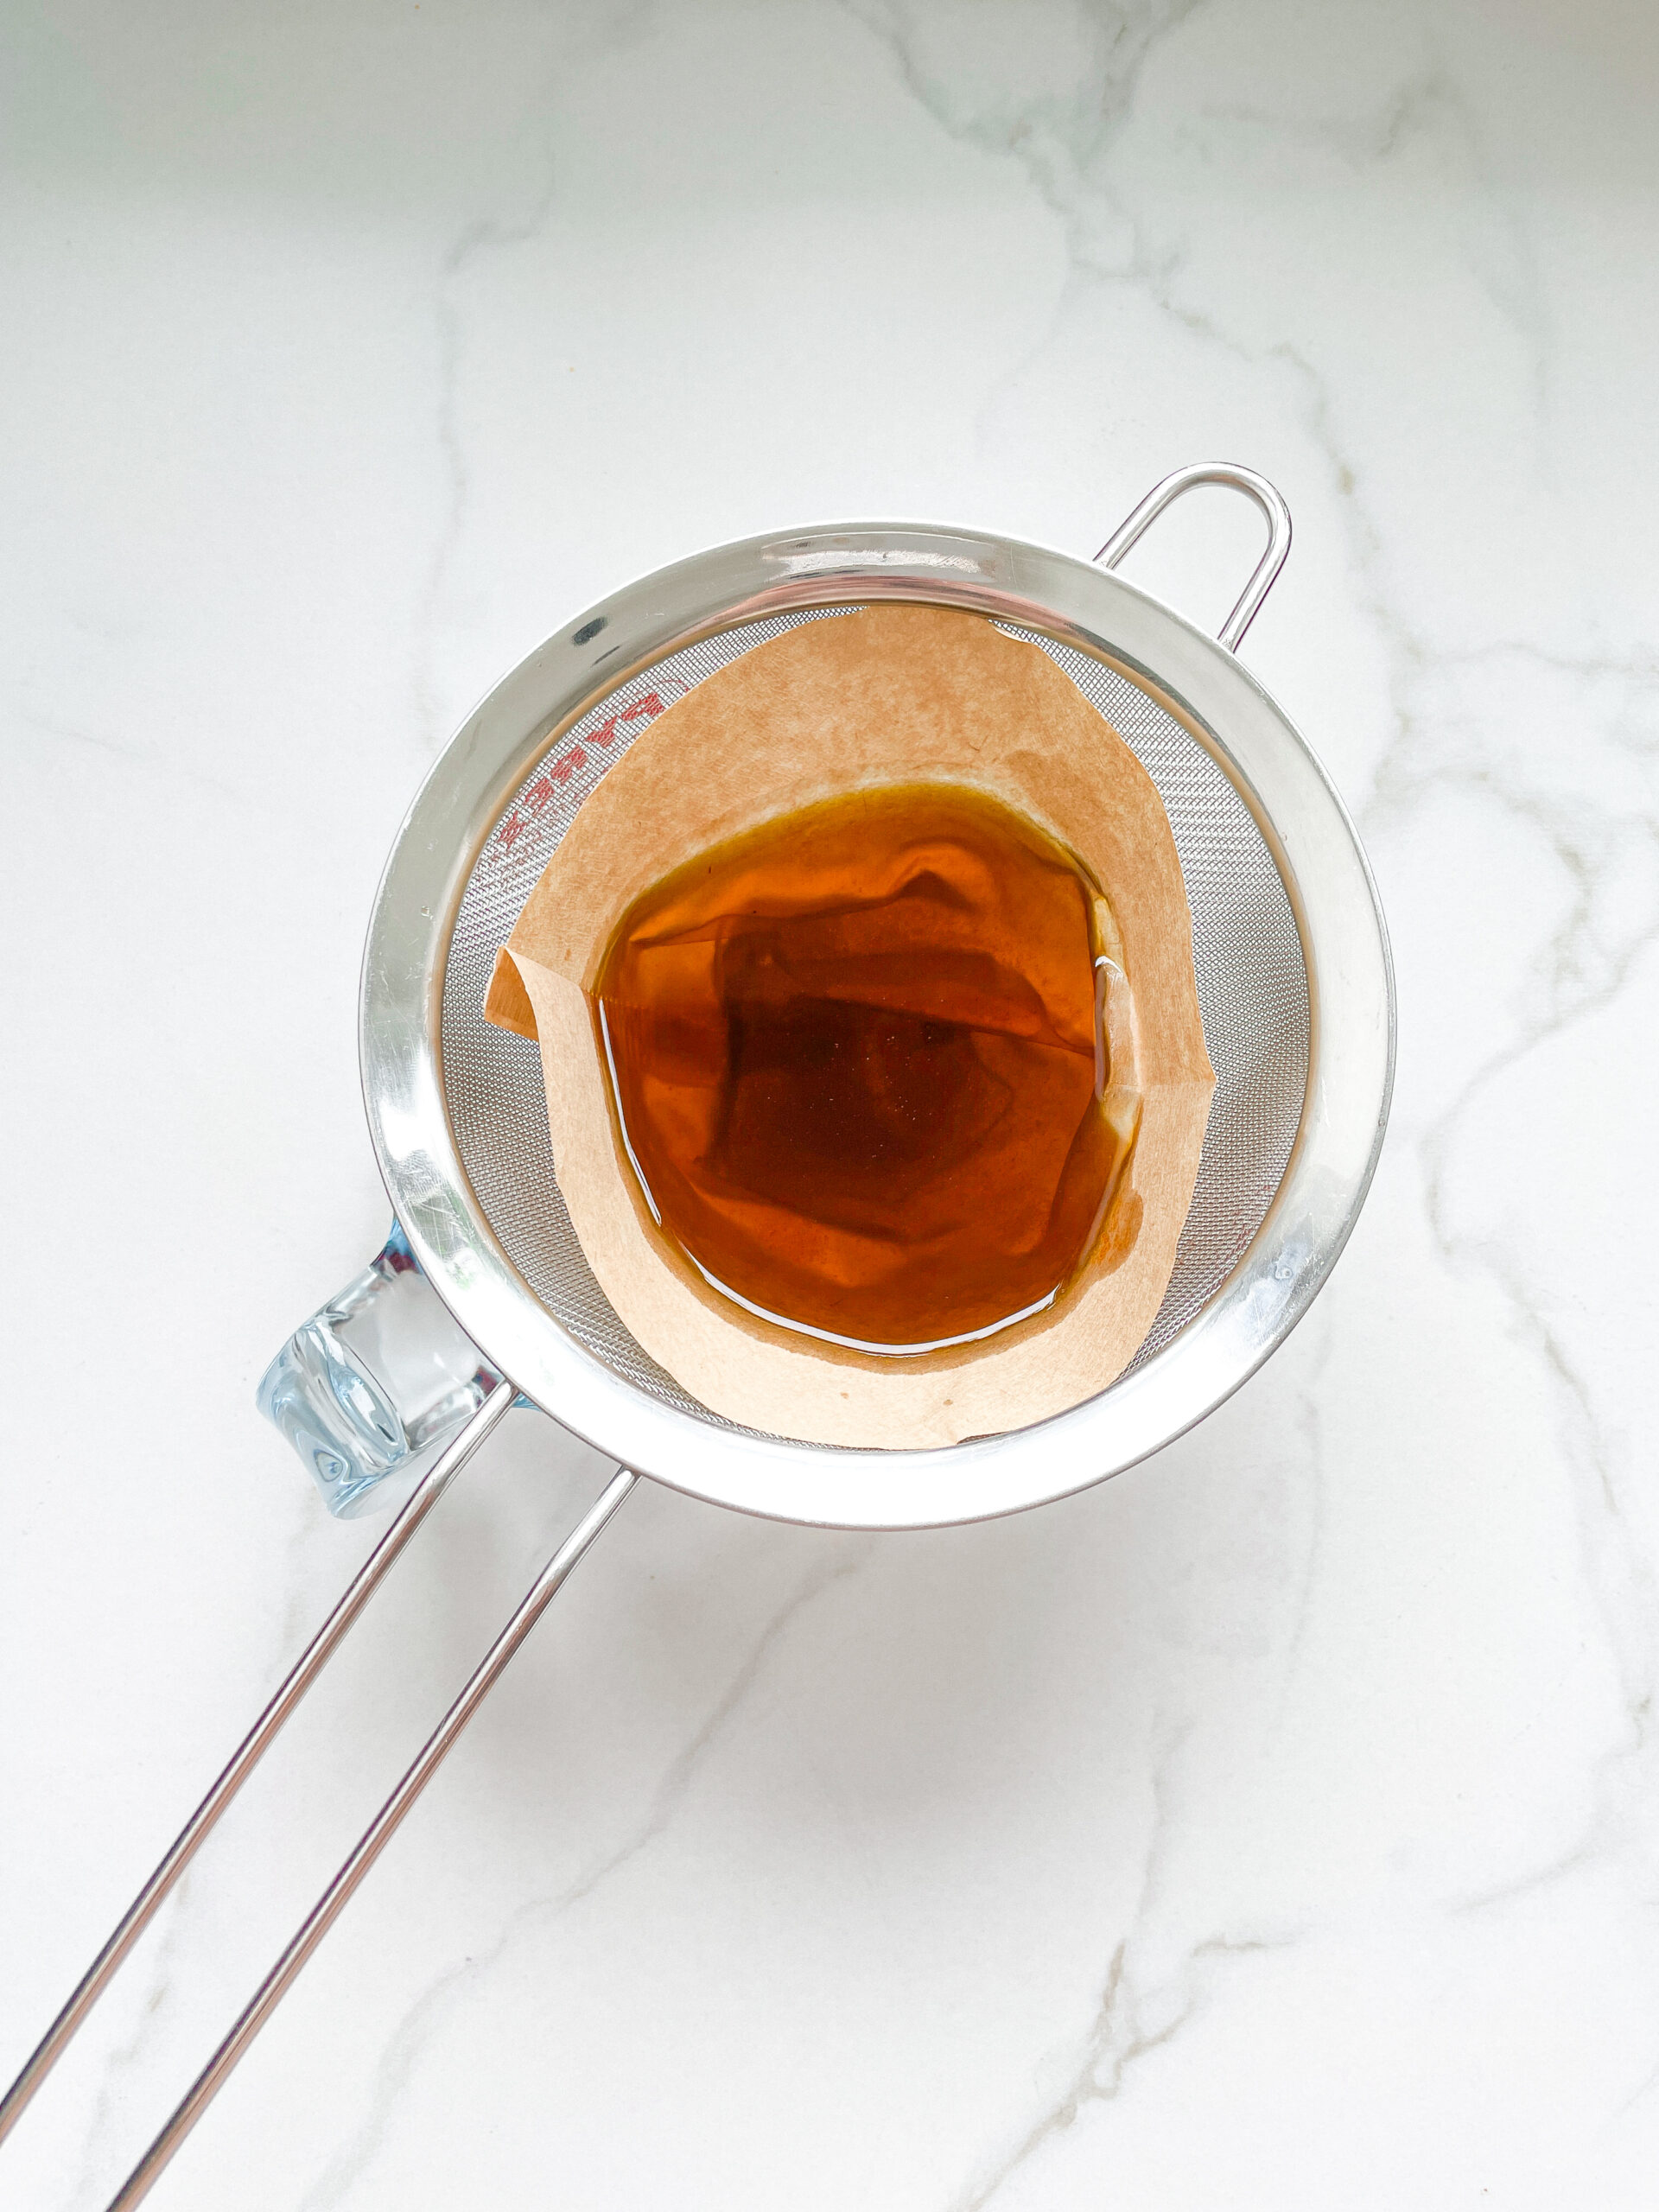
  5. After the 20 minutes, pour the oil into the prepared fine sieve to catch the coarse particles.
  6. Then, pour the oil into the second sieve, which is equipped with a coffee filter, to catch the remaining finer particles.
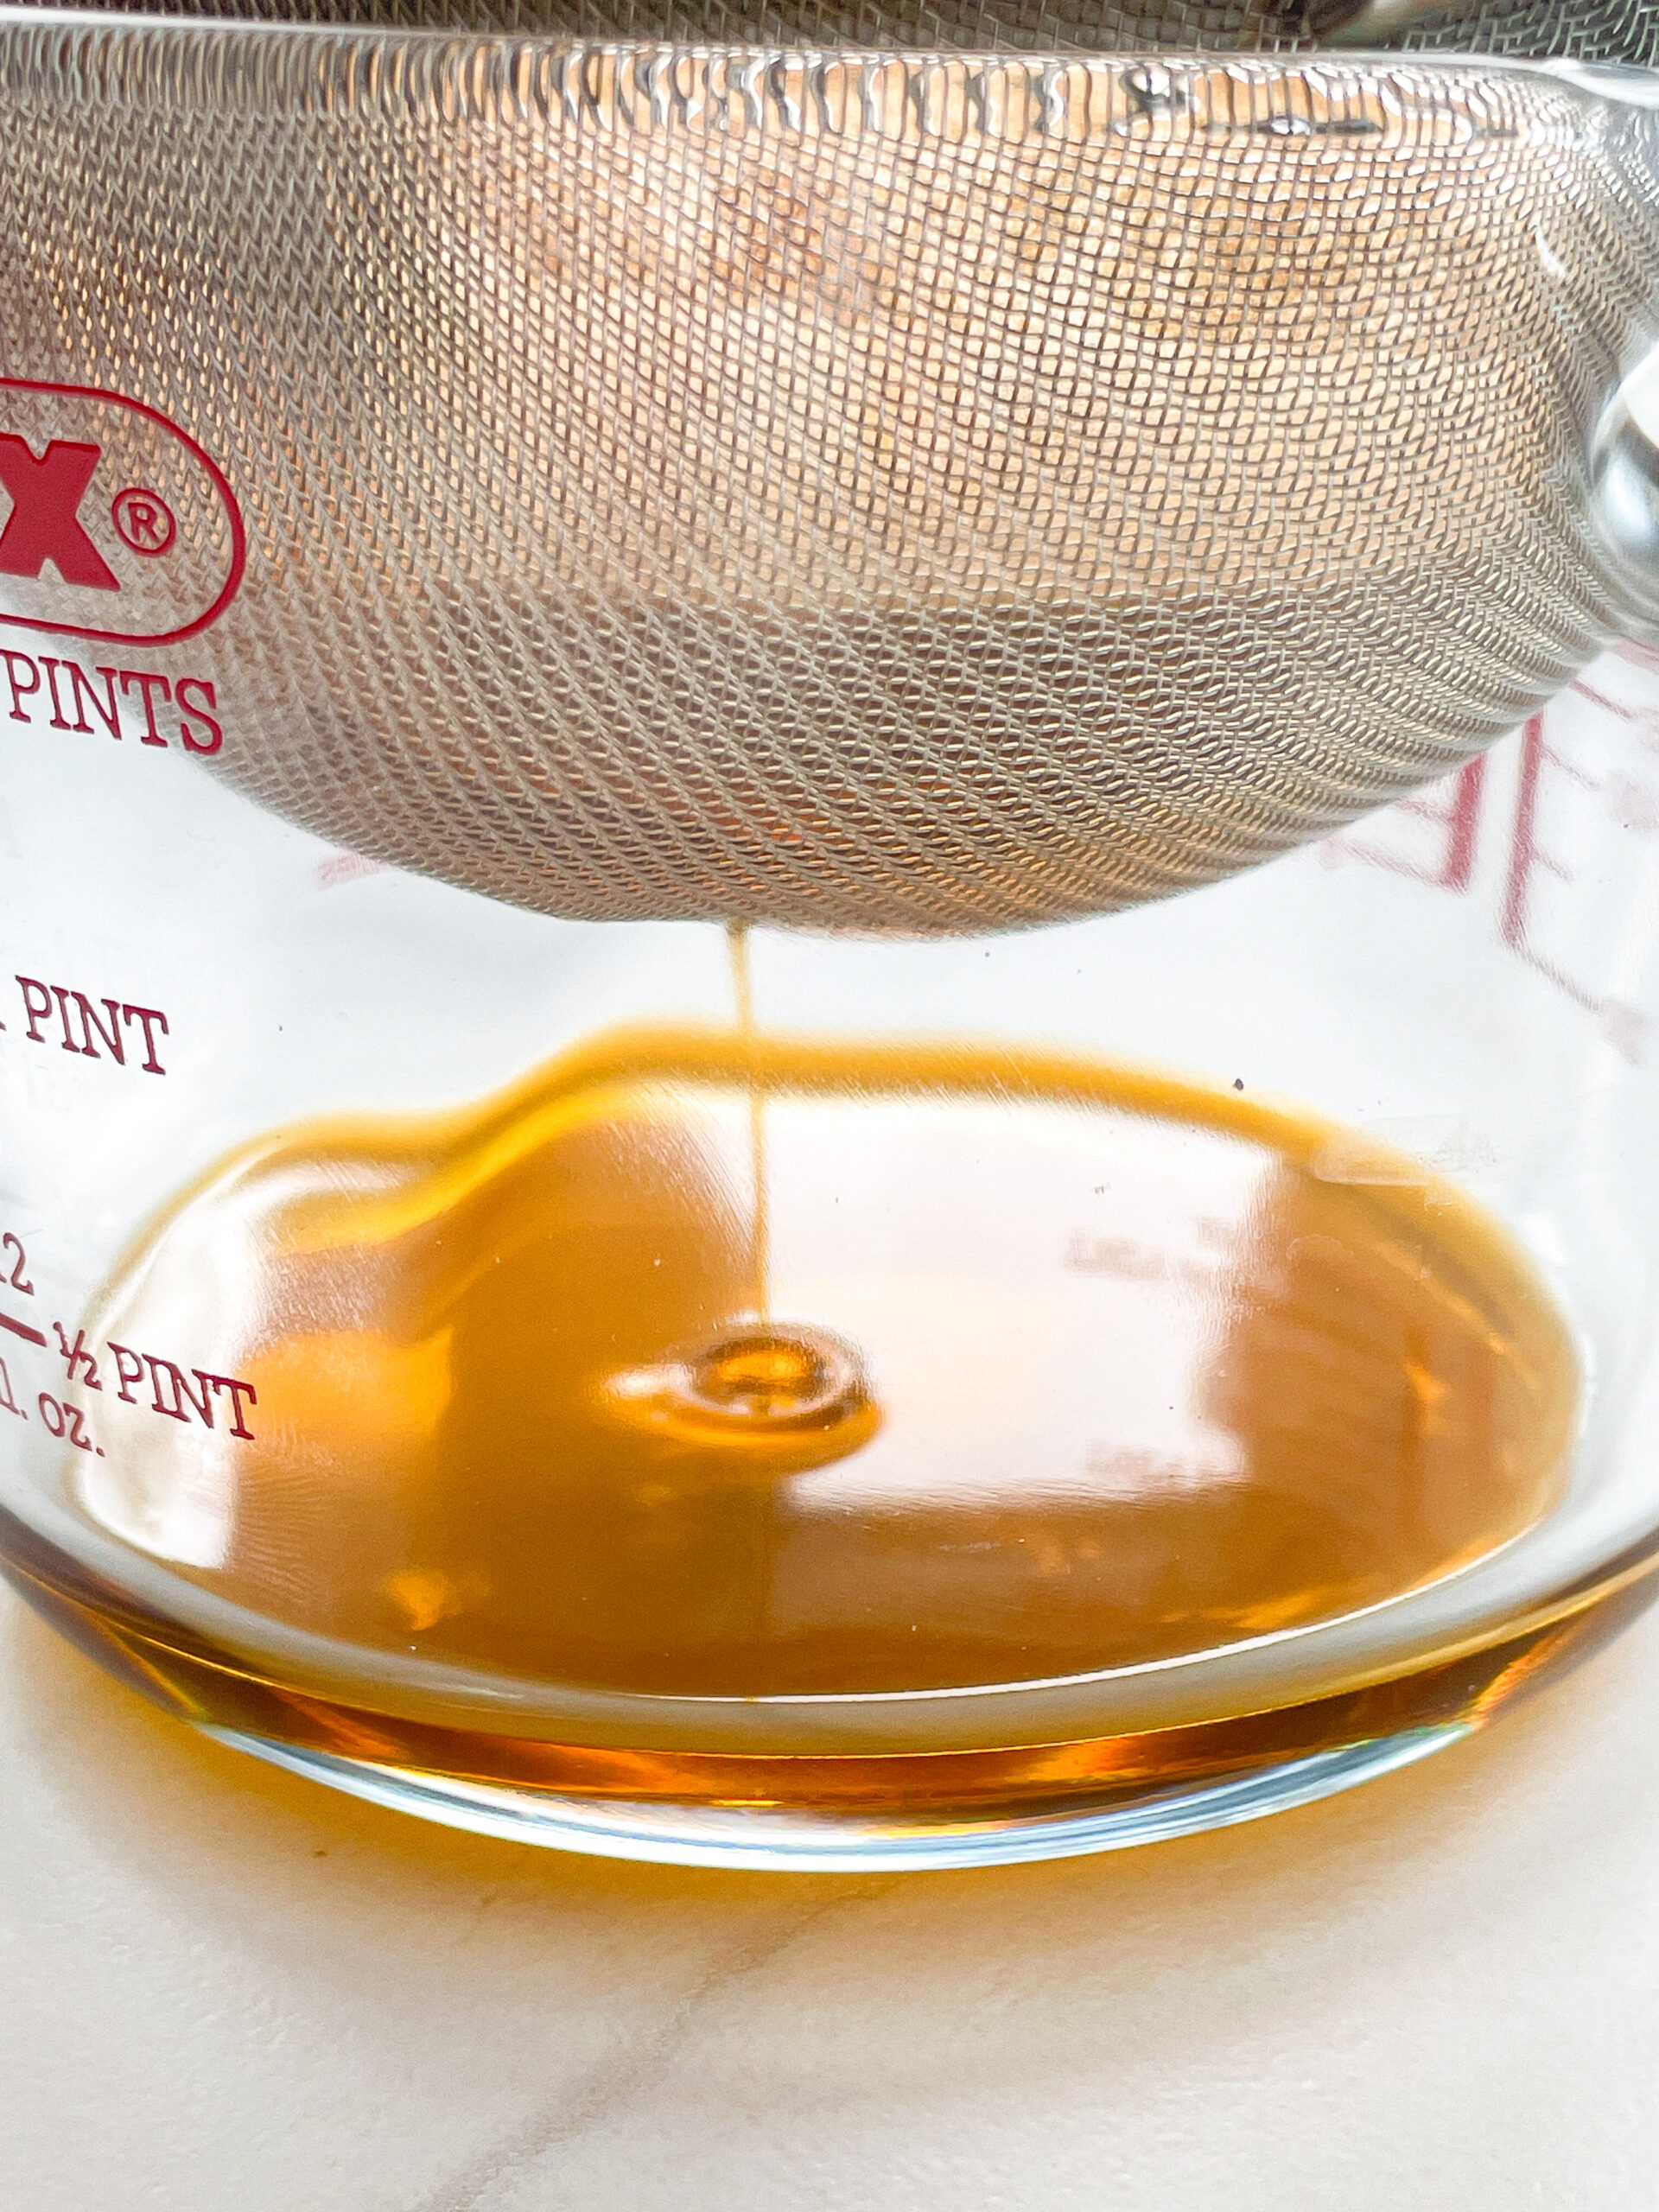
  7. Allow the oil to drip through for about 1 hour or maybe more depending on how many remaining particles are in the coffee filter. Once all the oil has passed through the coffee filter, transfer the collected amount of oil into an oil bottle. Store in the refrigerator for up to 2-3 weeks.

Notes

The calorie information may vary depending on the product used, country and region.

  • Passive Time: 30 min
  • Cook Time: 25 min

CRAVING MORE?

Follow along here & don’t forget to subscribe to my substack!