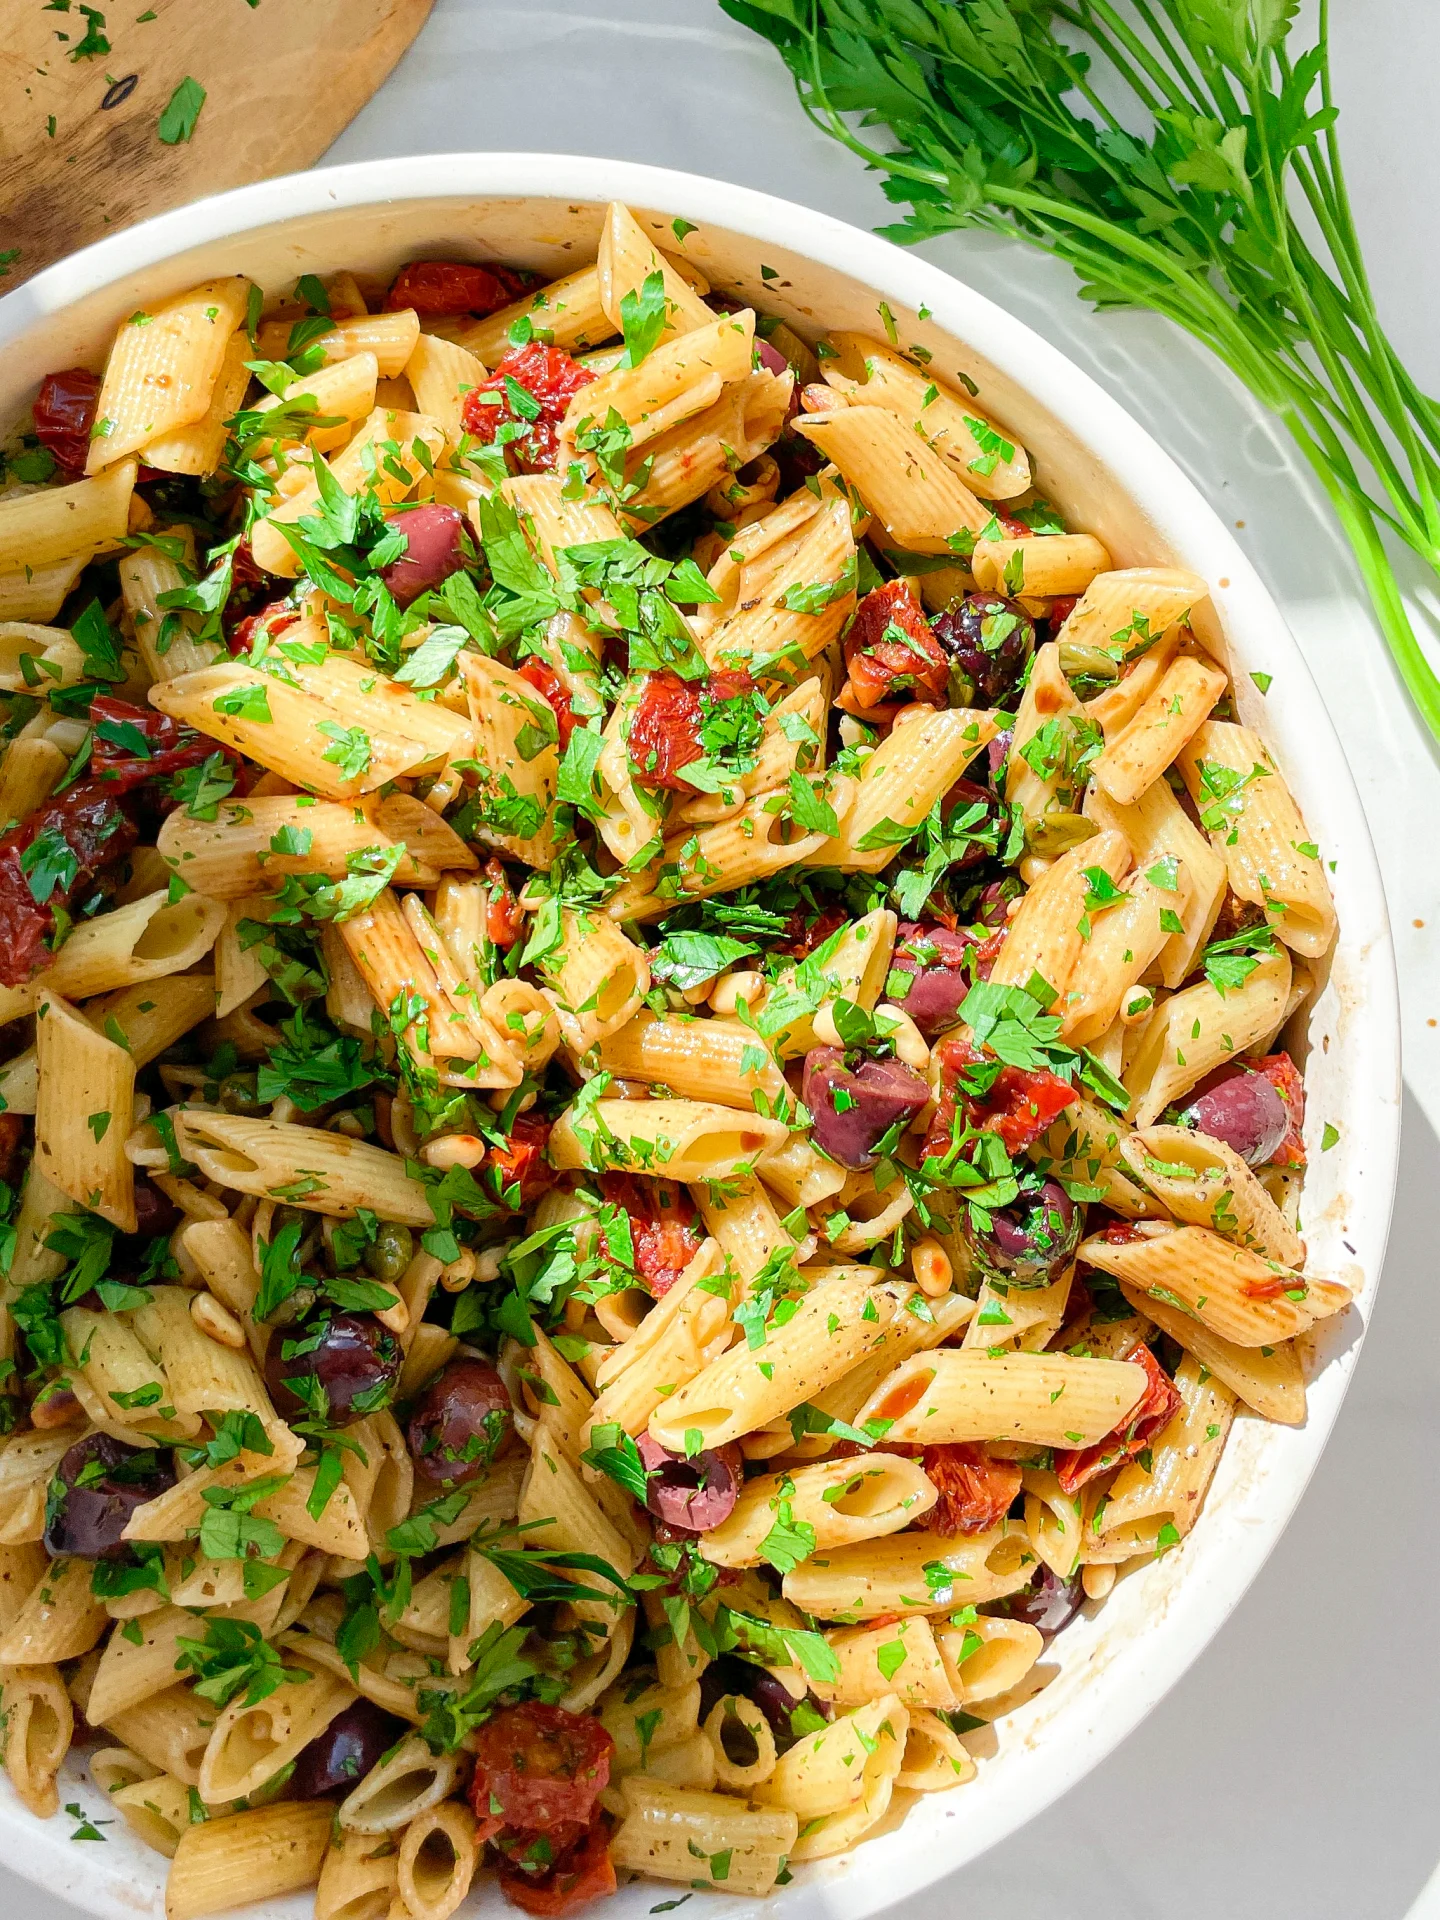
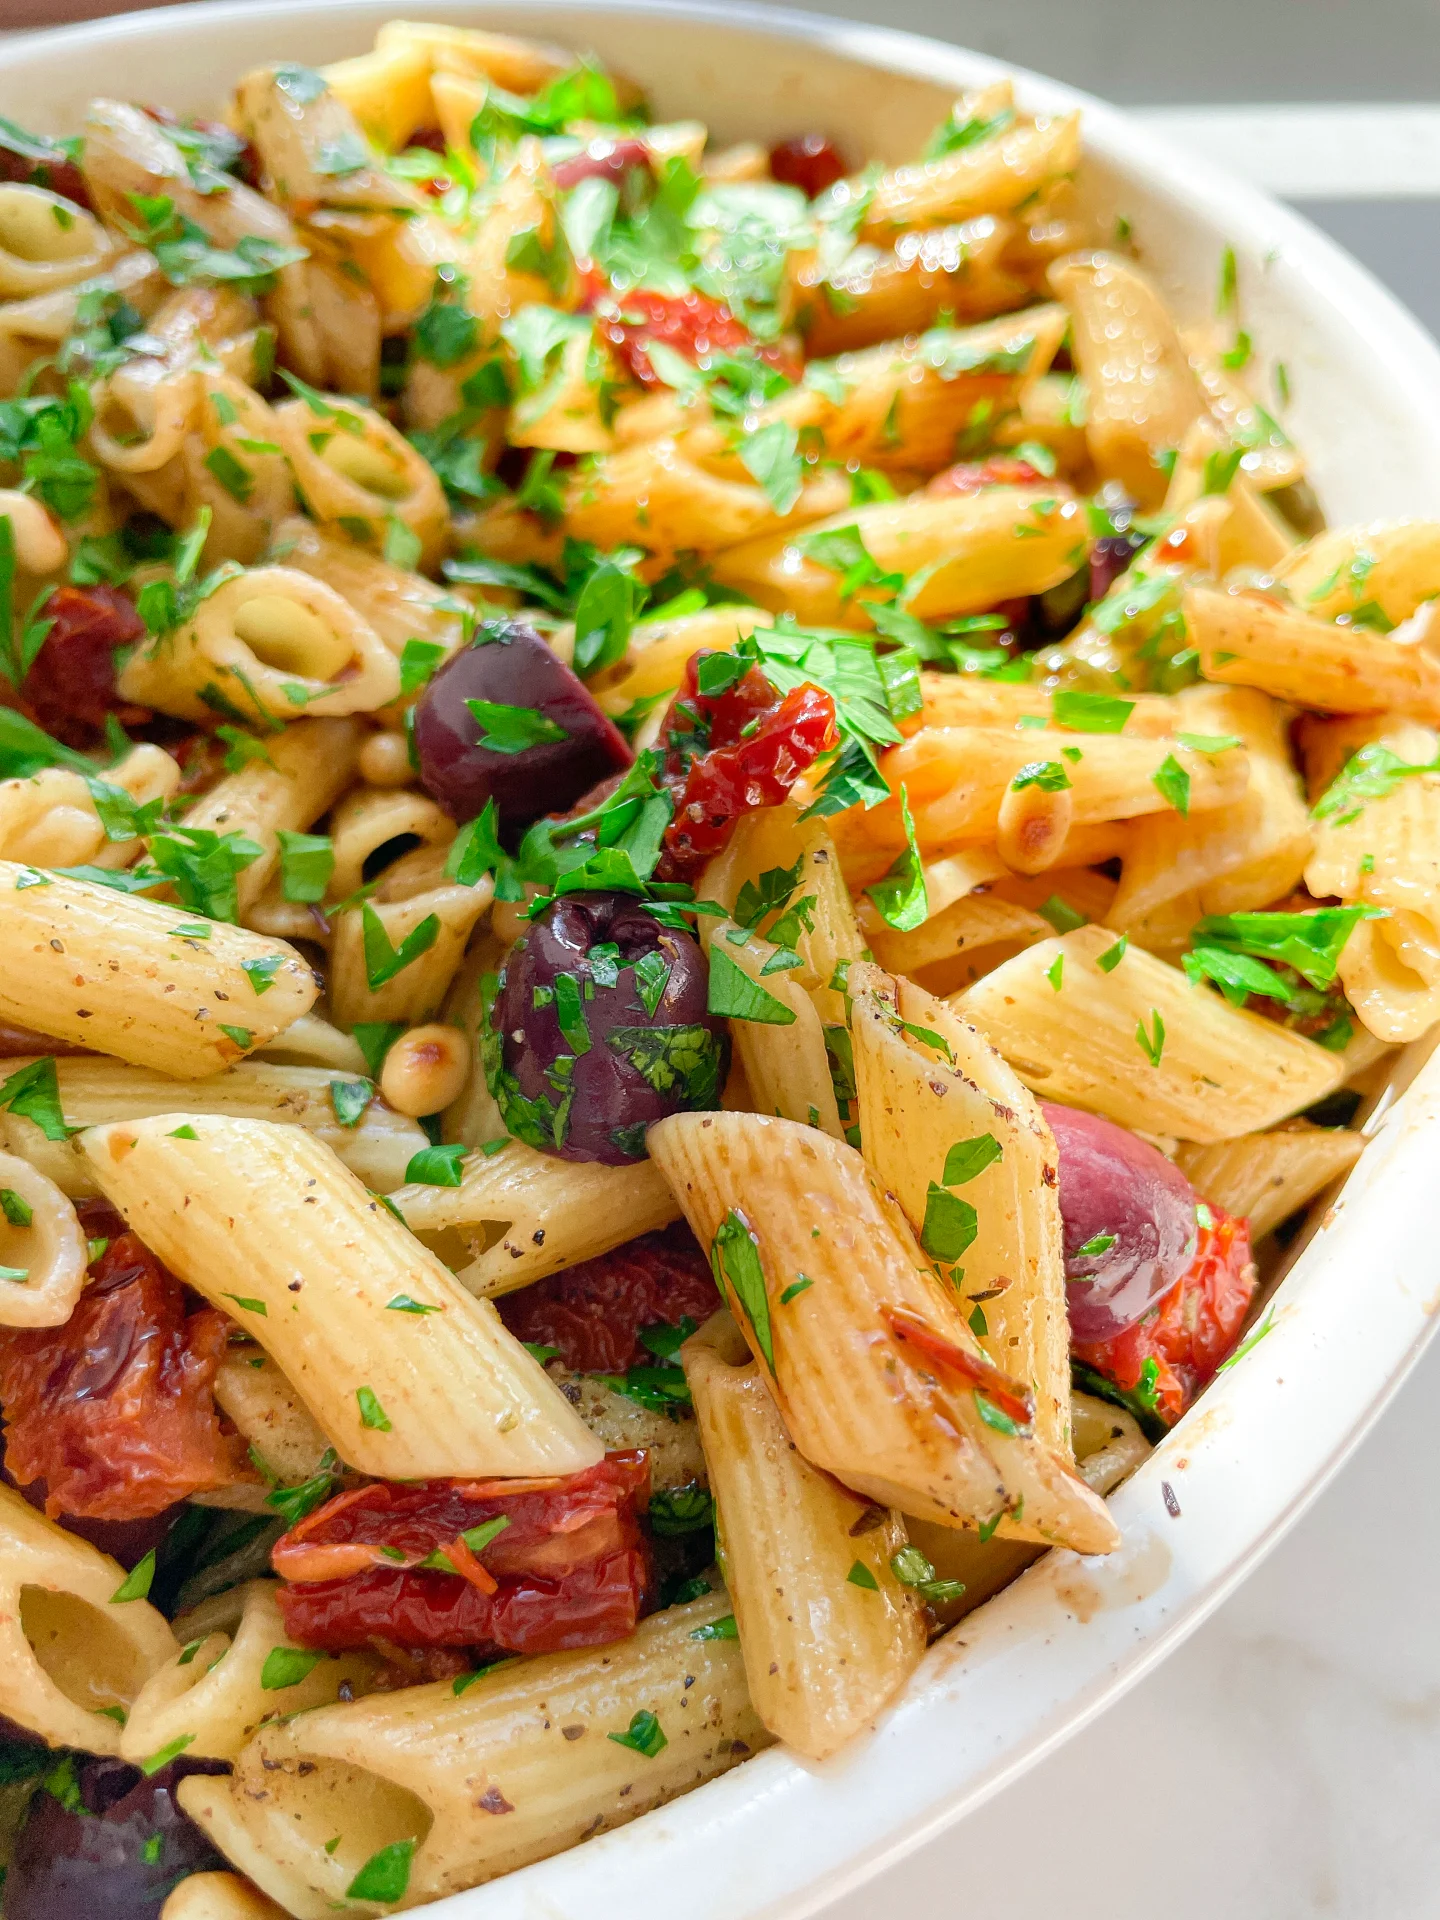
Mediterranean Pasta Salad

Mediterranean Pasta Salad

Mediterranean Pasta Salad

Mediterranean Pasta Salad

July 18, 2024 by Kimberly

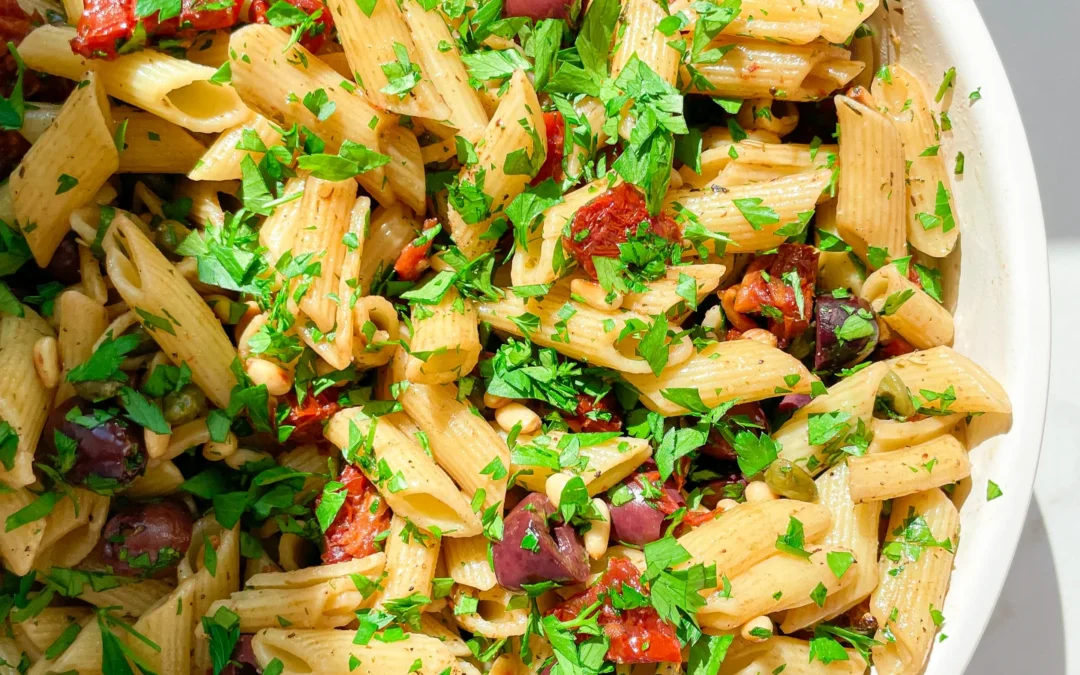
Dive into summer with this zesty Mediterranean pasta salad! Packed with bold flavors, it’s a refreshing twist that’s perfect for any picnic or potluck.

1 HOUR
15 MINUTES

EASY

VEGETARIAN

ITALIAN

349 PER PORTION

UMAMI

PICNIC

SALAD

SUMMER

INTRODUCTION

ABOUT THE RECIPE

Whisk your taste buds away to the sunny Mediterranean with this vibrant pasta salad! It’s bursting with bold flavors and is the perfect quick and healthy dish for any occasion. Ideal for those looking for a delicious, fuss-free meal!

How to serve
This pasta salad shines at room temperature, making it ideal for picnics and outdoor gatherings. Serve it as a hearty side with grilled meats or enjoy it as a light main course with crusty bread. It’s also great as a next-day lunch, so consider doubling the recipe!

How to store
Keep the pasta salad in a sealed container in the refrigerator. It beautifully holds its flavor and texture for up to three days, making it a fantastic choice for meal prep or leftovers.

Hi, I'm Kimberly!

Hi, I'm Kimberly.

A passionate food lover who believes in the magic of homemade deliciousness that spreads love and warmth. Join me on this culinary adventure as I prepare wonderful dishes and let’s spread some happiness together!

Kimberly the Zett Signature

If you want to get to know me better, click here!


Mediterranean Pasta Salad
„Let’s make a piece of happiness“
Print
clock clock iconcutlery cutlery iconflag flag iconfolder folder iconinstagram instagram iconpinterest pinterest iconfacebook facebook iconprint print iconsquares squares iconheart heart iconheart solid heart solid icon
Mediterranean Pasta Salad

Mediterranean Pasta Salad


5 Stars 4 Stars 3 Stars 2 Stars 1 Star

No reviews

  • Author: Kimberly
  • Total Time: 1 hour + 15 min
  • Yield: 8 1x

Description

Recommended Equipment

  • large pot
  • large salad bowl
  • whisk
  • sharp knife
  • cutting board
  • small pan
  • colander

Ingredients

Units Scale
  • 500 grams penne pasta
  • 150 grams Kalamata olives
  • 180 gram dried tomatoes in oil
  • 60 grams capers
  • 2 tbsp pine nuts
  • 15 grams fresh parsley or basil

DRESSING

  • 4 tbsp olive oil (you can use the oil from the dried tomatoes)
  • 3 tbsp balsamic vinegar
  • 2 tsp Dijon mustard
  • 1 tbsp honey
  • 1/4 tsp oregano
  • 1/4 tsp thyme
  • 1/4 tsp rosemary
  • 1/4 tsp salt

Instructions

  1. Fill a large pot with water and bring it to a boil.
  2. Meanwhile, prepare the dressing in the salad bowl. Mix olive oil, balsamic vinegar, Dijon mustard, honey, oregano, thyme, rosemary, and salt with a whisk until smooth. Set the bowl aside.
  3. Add the pasta and 1 tablespoon of salt to the boiling water and cook according to the package instructions until al dente.
  4. While the pasta cooks, halve the olives and chop the tomatoes into small pieces. Pluck the parsley leaves from the stems and finely chop them. Drain and rinse the capers.
  5. Toast the pine nuts in a small pan without adding oil until golden brown.
  6. Drain the pasta and add it directly to the bowl with the dressing, mixing well.
  7. Add the tomatoes, olives, capers, pine nuts, and parsley and combine thoroughly. Season with salt and pepper to taste, then let it cool and marinate for about 1 hour or overnight.
  • Passive Time: 1 hour
  • Cook Time: 15 min

Whipped Ricotta & Tomato Confit

Whipped Ricotta & Tomato Confit

Whipped Ricotta & Tomato Confit

Whipped Ricotta & Tomato Confit

July 15, 2024 by Kimberly

Discover the creamy magic of whipped ricotta paired with sweet tomato confit. An easy, delightful dish that brings a touch of gourmet to your everyday meals!

45 MINUTES

EASY

VEGETARIAN

ITALIAN

387 PER PORTION

CREAMY
UMAMI

EVERYDAY

DIPS & SPREADS

SUMMER

INTRODUCTION

ABOUT THE RECIPE

Bring a little gourmet to your table with this simple whipped ricotta and sweet tomato confit. It’s the perfect combination of creamy and rich flavors to elevate any meal!

How to serve
Serve this creamy ricotta on a rustic slice of toasted bread or as a dip with crispy crackers. It’s perfect for impressing guests during a summer evening or adding a fancy touch to your family dinner. The sweet tomato confit complements the smooth ricotta beautifully, making each bite a delightful experience.

How to store
Keep leftover whipped ricotta and tomato confit in separate airtight containers in the fridge. They’ll stay fresh and tasty for up to two days.

Hi, I'm Kimberly!

Hi, I'm Kimberly.

A passionate food lover who believes in the magic of homemade deliciousness that spreads love and warmth. Join me on this culinary adventure as I prepare wonderful dishes and let’s spread some happiness together!

Kimberly the Zett Signature

If you want to get to know me better, click here!


Whipped Ricotta & Tomato Confit
„Let’s make a piece of happiness“
Print
clock clock iconcutlery cutlery iconflag flag iconfolder folder iconinstagram instagram iconpinterest pinterest iconfacebook facebook iconprint print iconsquares squares iconheart heart iconheart solid heart solid icon
Whipped Ricotta & Tomato Confit

Whipped Ricotta & Tomato Confit


  • Author: Kimberly
  • Total Time: 45 min
  • Yield: 4 1x

Description

Recommended Equipment

  • sharp knife
  • cutting board
  • baking dish
  • food processor
  • frying pan

Ingredients

Units Scale
  • a few slices of your favorite baguette or ciabatta

WHIPPED RICOTTA

  • 250 grams ricotta
  • 1 tbsp olive oil
  • zest of half a lemon
  • 1 tbsp lemon juice

TOMATO CONFIT

  • 500 grams cocktail tomatoes
  • 50 milliliters olive oil
  • 8 garlic cloves
  • 1 tbsp balsamic vinegar
  • 1/4 tsp oregano
  • 1/4 tsp chili flakes
  • a few basil leaves
  • salt & pepper to taste


Instructions

  1. Preheat the oven to 175°C / 347°F.
  2. Wash the tomatoes, quarter them, and place them in an oven-safe dish. Peel and slice the garlic, and add it to the tomatoes. Cut the basil into fine strips and add it to the tomatoes as well. Next, add olive oil, balsamic vinegar, oregano, chili, salt, and pepper, stir well, and bake in the oven for 45 minutes.
  3. Meanwhile, prepare the ricotta cream. For this, blend the ricotta with lemon zest, lemon juice, 1 tablespoon of olive oil, salt, and pepper in a food processor until smooth. Spread the mixture on a flat plate and store in the refrigerator until further use.
  4. Slice the baguette and lightly butter each piece. Toast the slices in a pan on both sides until crispy. Tip: I also like to use the liquid that forms in the dish with the tomatoes. Dip one side of the bread into it and then toast it in the pan. Set the baguette aside until further use.
  5. Take the tomatoes out of the oven, let them cool slightly, and get the ricotta from the refrigerator. Place the tomatoes and their juice on the ricotta, and optionally drizzle with some honey. Serve with the baguette and enjoy 🙂
  • Passive Time: 20 min
  • Cook Time: 25 min

Green Herb Salad with Peas & Pickled Onions

Green Herb Salad with Peas & Pickled Onions

Green Herb Salad with Peas & Pickled Onions

Green Herb Salad with Peas & Pickled Onions

July 1, 2024 by Kimberly

Freshen up your meal with a vibrant green herb salad! Crunchy, zesty, and bursting with flavor, it’s a refreshing twist that’ll make your tastebuds dance.

20 MINUTES

EASY

VEGETARIAN

INT.

62 PER PORTION

REFRESHING

EVERDAY

SALAD

SPRING
SUMMER

INTRODUCTION

ABOUT THE RECIPE

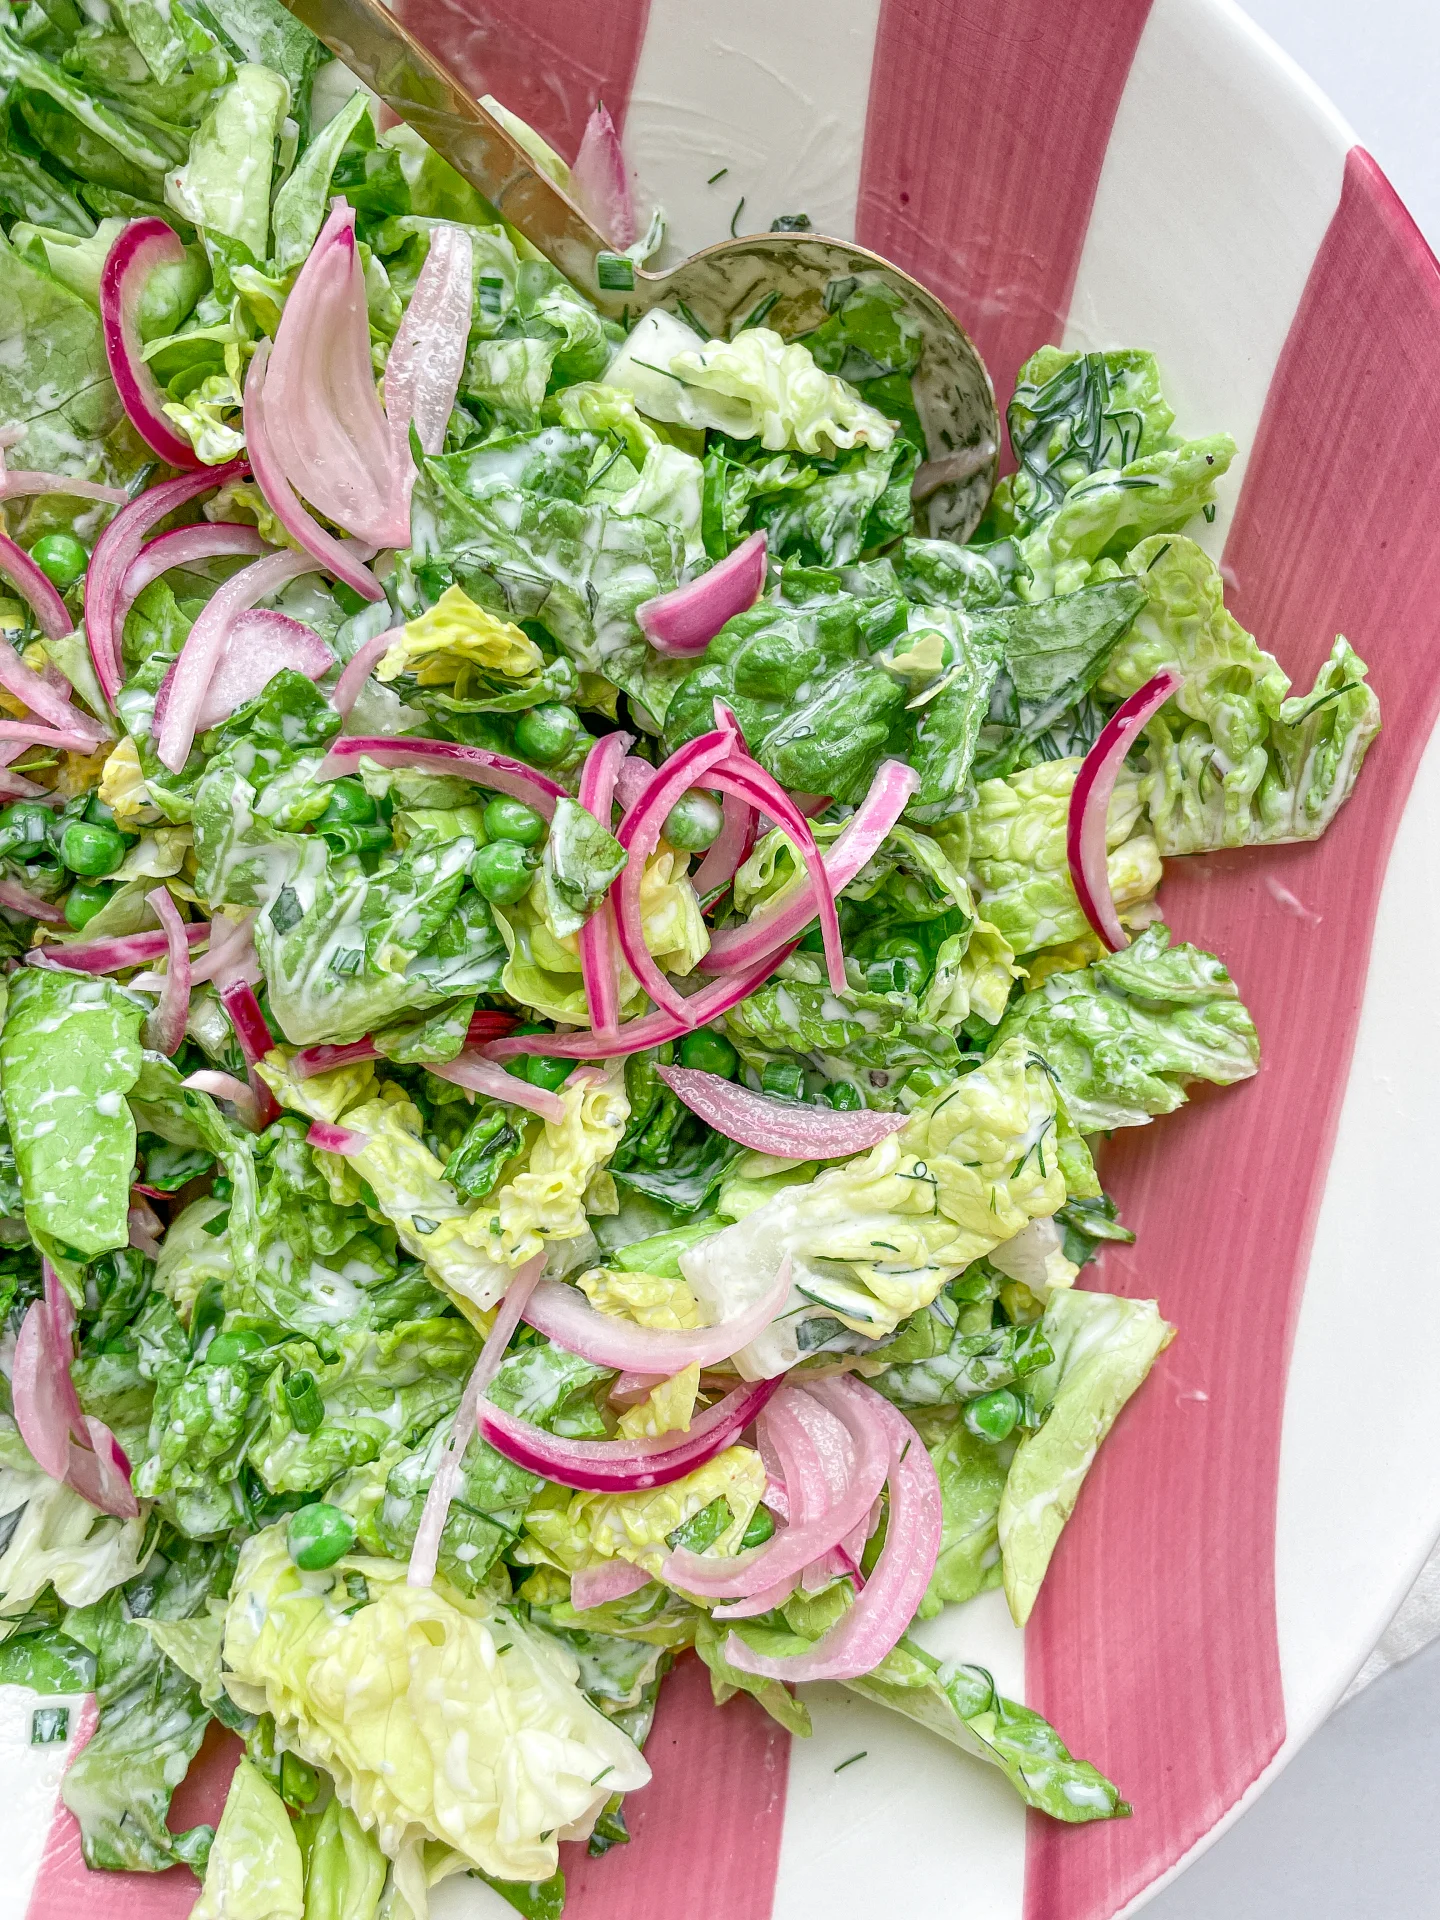
Elevate your salad game with this green herb salad, a lush blend of romaine and butter lettuce mixed with sweet peas and tangy pickled onions, all dressed in a light, herb-infused yogurt dressing. It’s a garden-fresh delight that captures the essence of spring in every bite.

How to serve
This salad shines brightest when served fresh. Toss the crisp lettuces with the peas and pickled onions just before serving and sprinkle generously with dill, chives, and tarragon for that extra burst of freshness. It’s perfect alongside a grilled fish or as a standalone dish that’s both fulfilling and light.

How to store
Best enjoyed immediately, however, if you have leftovers, keep them separate in an airtight container in the fridge. The salad stays fresh for about two days, but it’s ideal to add the dressing just before serving to maintain crispness.

Hi, I'm Kimberly!

Hi, I'm Kimberly.

A passionate food lover who believes in the magic of homemade deliciousness that spreads love and warmth. Join me on this culinary adventure as I prepare wonderful dishes and let’s spread some happiness together!

Kimberly the Zett Signature

If you want to get to know me better, click here!


Green Herb Salad with Peas & Pickled Onions
„Let’s make a piece of happiness“
Print
clock clock iconcutlery cutlery iconflag flag iconfolder folder iconinstagram instagram iconpinterest pinterest iconfacebook facebook iconprint print iconsquares squares iconheart heart iconheart solid heart solid icon
Green Herb Salad with Peas & Pickled Onions

Green Herb Salad with Peas & Pickled Onions


  • Author: Kimberly
  • Total Time: 20 minutes
  • Yield: 4 1x

Description

Recommended Equipment

  • sharp knife
  • cutting board
  • large salad bowl
  • medium-sized bowl
  • small bowl
  • measuring spoons

Ingredients

Units Scale

SALAD

  • 1 butter lettuce
  • 1 romaine lettuce
  • 100 grams frozen peas
  • 1 red onion
  • 1.5 tbsp fresh dill
  • 1.5 tbsp fresh chives
  • 1.5 tbsp fresh tarragon

DRESSING

  • 150 grams yogurt
  • 2 tbsp lemon juice
  • 2 garlic cloves
  • 1/2 tsp dijon mustard
  • salt & pepper to taste

Instructions

  1. Cut romaine and butter lettuce into bite-sized pieces, wash thoroughly, and spin dry. Place in a large salad bowl.
  2. Also wash chives, dill, and tarragon, dry, and finely chop. Add to the salad in the bowl.
  3. Fill a small bowl with frozen peas and pour hot water over them to cover and then set aside.
  4. In the meantime, in a separate bowl, prepare the dressing. Mix yogurt, lemon juice, peeled and pressed garlic cloves, and Dijon mustard together. Season with salt and pepper to taste.
  5. Drain the peas in a sieve and rinse with cold water. Let them drain and then add them to the salad bowl. Peel the red onion and slice it into very fine strips.
  6. Pour the dressing over the salad and top with the sliced red onions. Enjoy the salad immediately.

Notes

The calorie information may vary depending on the product used, country and region.

  • Cook Time: 20 min
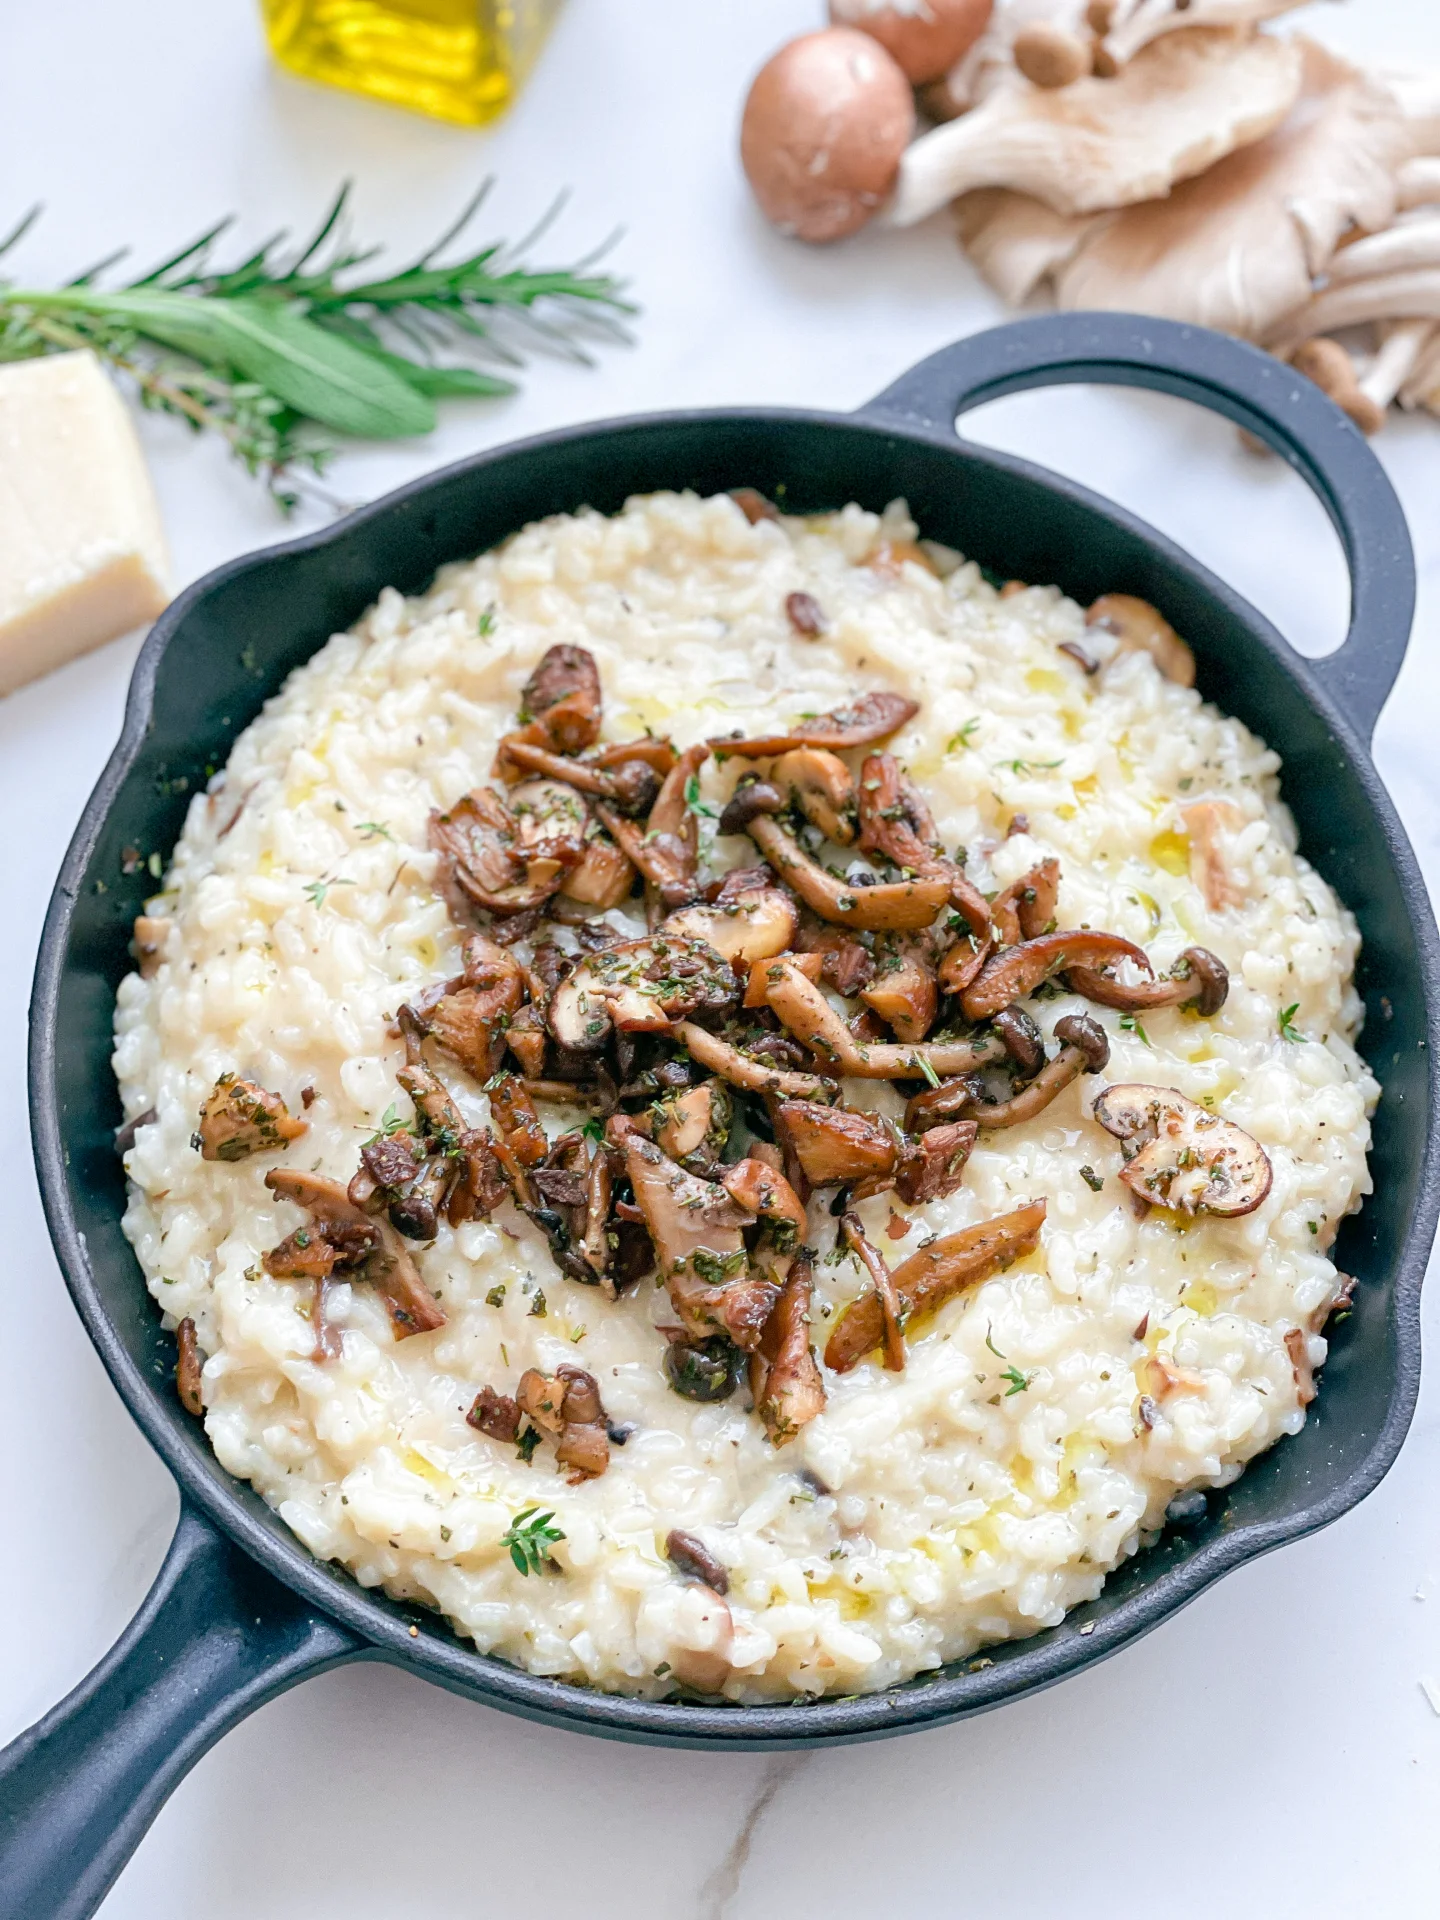
Katsu Sando

Katsu Sando

Katsu Sando

Katsu Sando

June 29, 2024 by Kimberly

Sink your teeth into the ultimate Katsu Sando – the most popular Japanese sandwich! Crispy chicken, tangy red cabbage, and creamy kewpie mayo nestled between soft bread – every bite is a flavor explosion!

40 MINUTES

EASY

OMNIVORE

JAPANESE

582 PER PORTION

CRISPY
UMAMI

EVERDAY

LUNCH

ALL YEAR

INTRODUCTION

ABOUT THE RECIPE

Brace yourself for the crunch and savor of the Katsu Sando, a Japanese-inspired sandwich that’s taking the culinary world by storm. Featuring crispy panko-crusted chicken, this sandwich packs a punch with every layer of flavor.

How to serve
Perfectly crispy and deliciously juicy, the Katsu Sando is best served immediately after assembly to maintain its textural contrast. Slice it in half to show off the beautiful layers of red cabbage slaw, green butter lettuce, creamy kewpie mayo and tonkatsu sauce.
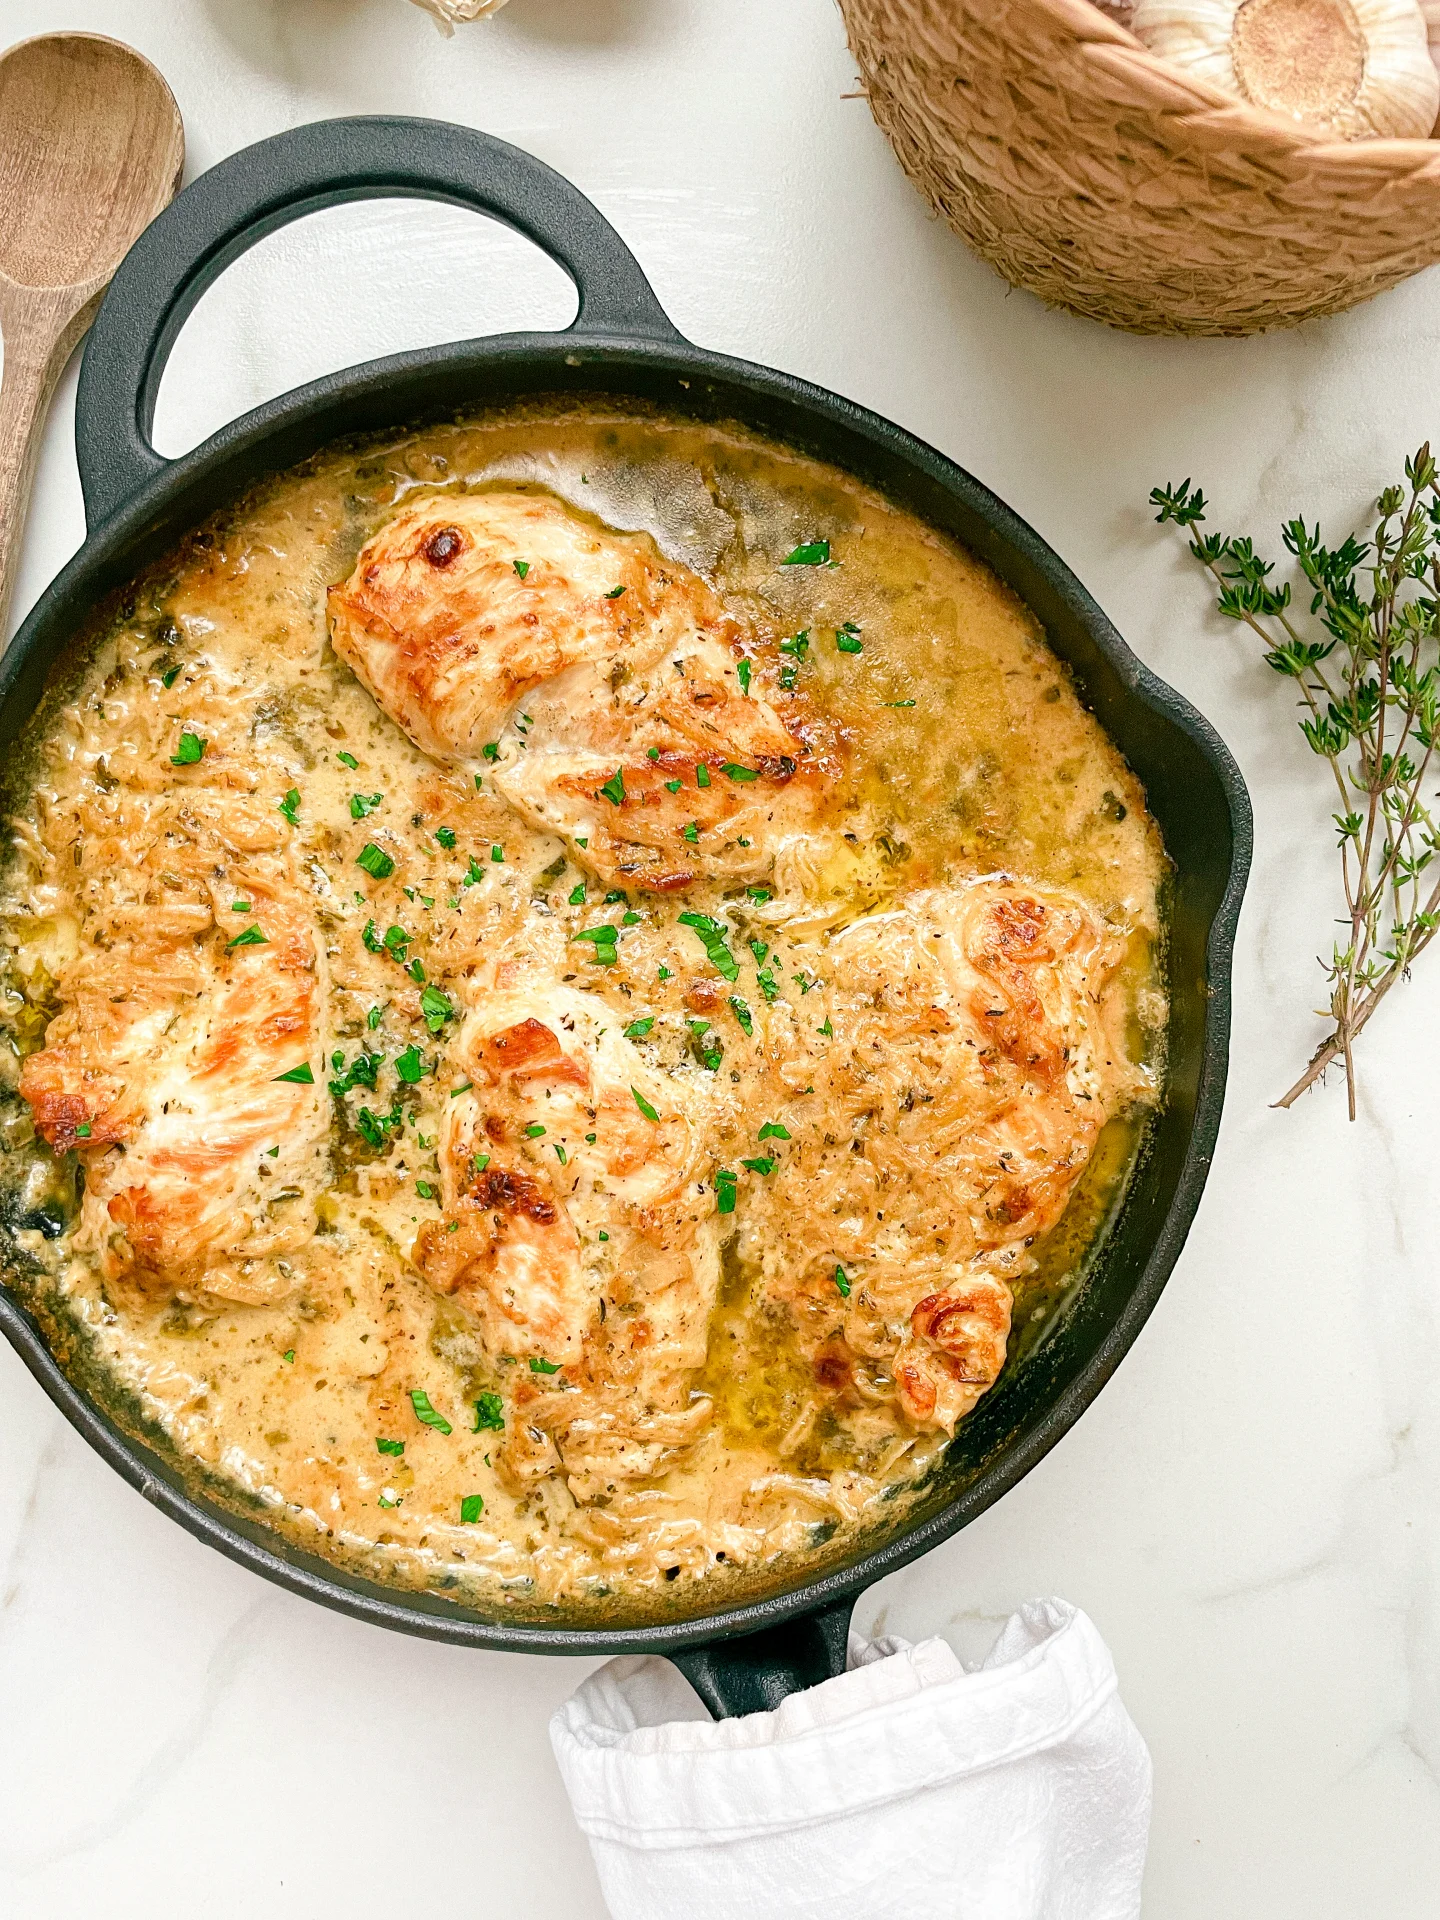
How to store
While best enjoyed fresh, you can store the prepped ingredients separately in the fridge. The panko chicken can be kept for up to two days.

Hi, I'm Kimberly!

Hi, I'm Kimberly.

A passionate food lover who believes in the magic of homemade deliciousness that spreads love and warmth. Join me on this culinary adventure as I prepare wonderful dishes and let’s spread some happiness together!

Kimberly the Zett Signature

If you want to get to know me better, click here!


Katsu Sando
Katsu Sando
Katsu Sando
„Let’s make a piece of happiness“
Print
clock clock iconcutlery cutlery iconflag flag iconfolder folder iconinstagram instagram iconpinterest pinterest iconfacebook facebook iconprint print iconsquares squares iconheart heart iconheart solid heart solid icon
Katsu Sando

Katsu Sando


  • Author: Kimberly
  • Total Time: 40 minutes
  • Yield: 4 1x

Description

Recommended Equipment

  • sharp knife
  • cutting board
  • medium-sized bowl
  • plastic wrap
  • meat mallet
  • two plates
  • three shallow dishes for breading
  • large frying pan
  • measuring spoons

Ingredients

Units Scale
  • 8 slices white toast
  • 40 grams kewpie mayo
  • 40 grams tonkatsu sauce
  • 250 grams chicken breast
  • 1.5 tbsp all-purpose flour
  • 1 egg
  • 3 tbsp panko bread crumbs
  • 3 tbsp regular bread crumbs
  • 50 grams clarified butter
  • 150 grams red cabbage
  • 1 tsp rice vinegar
  • 1/2 tsp sesame oil
  • 1/4 tsp salt
  • 4 butter lettuce leaves

Instructions

  • Cut the red cabbage into eighths and finely shred or slice one eighth. Place it in a medium-sized bowl and marinate with rice vinegar, sesame oil, and salt. Set aside.
  • Detach 4 leaves from the head of lettuce and wash thoroughly. Pat dry and set aside.
  • Halve the chicken breast lengthwise, then cut each half again crosswise. Place each piece between two layers of plastic wrap and pound to about 0.5 cm / 0.2″ thickness using a meat mallet. Lay the flattened meat on a plate.
  • Set up a breading station with three shallow dishes or bowls. Fill the first dish with 1.5 heaped tablespoons of wheat flour, crack an egg into the second dish and whisk it. In the third dish, mix together 3 heaped tablespoons each of panko and breadcrumbs. Coat each piece of chicken first in flour, shaking off excess, then dip in the egg, and finally, press into the breadcrumb mixture, ensuring it’s well coated on all sides. Place the breaded pieces side by side on a plate.
  • Heat clarified butter in a large frying pan and fry the breaded chicken pieces on both sides until crispy, about 3 minutes per side or until cooked through. Let the meat drain on kitchen paper.
  • Place half of the slices of bread flat on a clean work surface, then place a lettuce leaf on each. Top each with a piece of cooked chicken, followed by a zigzag pattern of Kewpie mayo and Tonkatsu sauce. Add about 2 tablespoons of red cabbage salad on top of the sauces. Finally, top the sandwiches with another slice of bread. If desired, trim the edges all around and cut the sandwiches in half in the middle with a sharp knife.

Notes

The calorie information may vary depending on the product used, country and region.

  • Cook Time: 40 min

Radish Cucumber Butter

Radish Cucumber Butter

Radish Cucumber Butter

Radish Cucumber Butter

June 24, 2024 by Kimberly

Whip up magic in your kitchen with this fresh, zesty butter blend! Perfect for giving a crunchy, creamy twist to any snack or sandwich.

10 MINUTES

EASY

VEGETARIAN

FRENCH

96 PER PORTION

BUTTERY

EVERDAY

DIPS & SPREADS

SPRING
SUMMER

INTRODUCTION

ABOUT THE RECIPE

Radish cucumber butter combines the crisp freshness of radishes and cucumbers with creamy butter to create a spread that’s both light and invigorating. It’s a delightful way to add a burst of spring flavor to any dish.

How to serve
This versatile butter is perfect slathered on warm bread, used as a savory topping for steamed vegetables, or as a refreshing twist in sandwiches. Its light, creamy texture and vibrant flavor profile make it an excellent complement to both casual and sophisticated culinary creations.

How to store
Keep the butter refrigerated in an airtight container. It maintains its best quality for up to 3 days, ensuring you can enjoy its fresh taste over several days.

Hi, I'm Kimberly!

Hi, I'm Kimberly.

A passionate food lover who believes in the magic of homemade deliciousness that spreads love and warmth. Join me on this culinary adventure as I prepare wonderful dishes and let’s spread some happiness together!

Kimberly the Zett Signature

If you want to get to know me better, click here!


Radish Cucumber Butter
„Let’s make a piece of happiness“
Print
clock clock iconcutlery cutlery iconflag flag iconfolder folder iconinstagram instagram iconpinterest pinterest iconfacebook facebook iconprint print iconsquares squares iconheart heart iconheart solid heart solid icon
Radish Cucumber Butter

Radish Cucumber Butter


  • Author: Kimberly
  • Total Time: 10 minutes
  • Yield: 10 1x

Description

Recommended Equipment

  • sharp knife
  • cutting board
  • deep plate
  • paper towels
  • grater

Ingredients

Units Scale
  • 4 radishes
  • 1/4 cucumber
  • 125 grams butter
  • chives
  • salt to taste

Instructions

  1. Thoroughly wash the radishes, cucumber, and chives. Set up a deep plate and finely grate the radishes into it. Squeeze out the excess moisture from the grated radishes using paper towels. Repeat the process with the cucumber.
  2. Finely slice the chives and set them aside.
  3. Dry the plate, then add the softened butter to it. Incorporate the grated radishes and cucumber, mixing well. Season with salt and sprinkle the sliced chives on top.

Notes

The calorie information may vary depending on the product used, country and region.

  • Cook Time: 10 min

Whipped Feta & Rainbow Veggies

Whipped Feta & Rainbow Veggies

Whipped Feta & Rainbow Veggies

Whipped Feta & Rainbow Veggies

June 20, 2024 by Kimberly

Dive into this vibrant dish of whipped feta topped with colorful rainbow veggies. It’s fresh, it’s flavorful, and it’s sure to brighten your day!

15 MINUTES

EASY

VEGETARIAN

INT.

244 PER PORTION

CREAMYEVERDAY

DIPS & SPREADS

SUMMER

INTRODUCTION

ABOUT THE RECIPE

Who says healthy can’t be fun and delicious? This whipped feta with marinated rainbow veggies is a testament to just that. Bursting with colors and flavors, it’s the perfect pick-me-up any day!

How to serve
Serve this whipped feta as a delightful dip or spread over toasted bread. Pair it with the veggies for a mouth-watering appetizer or a light, satisfying lunch. It’s a versatile dish that plays well at your brunch table or as a snack during a busy workday.

How to store
Keep the whipped feta and marinated veggies in separate airtight containers in the fridge. They’ll stay fresh and tasty for up to five days, making them perfect for meal prep.

Hi, I'm Kimberly!

Hi, I'm Kimberly.

A passionate food lover who believes in the magic of homemade deliciousness that spreads love and warmth. Join me on this culinary adventure as I prepare wonderful dishes and let’s spread some happiness together!

Kimberly the Zett Signature

If you want to get to know me better, click here!


Whipped Feta & Rainbow Veggies
„Let’s make a piece of happiness“
Print
clock clock iconcutlery cutlery iconflag flag iconfolder folder iconinstagram instagram iconpinterest pinterest iconfacebook facebook iconprint print iconsquares squares iconheart heart iconheart solid heart solid icon
Whipped Feta & Rainbow Veggies

Whipped Feta & Rainbow Veggies


  • Author: Kimberly
  • Total Time: 15 minutes
  • Yield: 4 1x

Description

Recommended Equipment

  • sharp knife
  • cutting board
  • medium-sized bowl
  • food processor
  • measuring spoons
  • medium-sized plate

Ingredients

Units Scale

WHIPPED FETA

  • 200 grams feta cheese
  • 3 tbsp extra-virgin olive oil

RAINBOW VEGGIES

  • 1/4 cucumber
  • 46 cocktail tomatoes
  • 2 tbsp peas
  • 23 radishes
  • 1/2 carrot
  • 1 tbsp fresh dill
  • 1 tbsp fresh chives
  • 1 tbsp extra-virgin olive oil

Instructions

  • Thoroughly wash the cucumber, carrot, tomatoes, radishes, dill, and chives. Peel the cucumber and carrot and cut them into fine strips, halve the cherry tomatoes, slice the radishes thinly, finely chop the dill, and cut the chives into little rolls. Put everything into a medium-sized bowl and mix with 1 tablespoon of olive oil. If the feta cheese is very salty, I would not add any more salt to the vegetables.
  • Place the feta cheese in the food processor and turn it on. Gradually add 3 tablespoons of olive oil until the cheese is creamily blended.
  • Spread the feta on a flat plate and smooth it out. Distribute the vegetables over the cheese and serve. If you store the plate in the fridge, the cheese might harden a bit. I would recommend bringing it to room temperature before serving.

Notes

The calorie information may vary depending on the product used, country and region.

  • Cook Time: 15 min