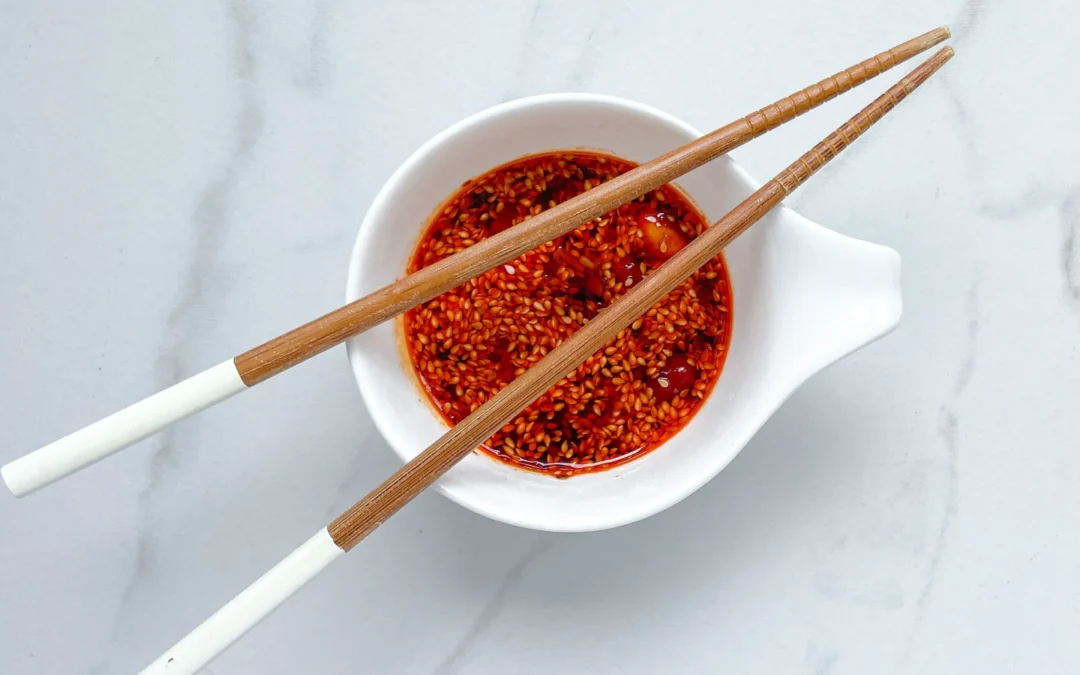
Sesame Chili Dumpling Dipping Sauce

Sesame Chili Dumpling Dipping Sauce
April 21, 2024 by Kimberly
Kick up your dumpling game with Sesame Chili Dumpling Dipping Sauce! Spicy, nutty, and bursting with flavor, it’s the perfect match for any dumpling.
5 MINUTES
EASY
VEGAN
ASIAN
65 PER PORTION
SPICY
UMAMI
EVERYDAY
DIPS & SPREADS
ALL YEAR
ABOUT THE RECIPE
Elevate your dumplings with this Sesame Chili Dumpling Dipping Sauce, a bold blend that combines the nutty depth of toasted sesame with the fiery kick of chili. This sauce is not just a side but a star, turning any dumpling, whether homemade or store-bought, into a gourmet treat. It’s perfect for those who love a little heat and a lot of flavor in their meals.
How to serve:
Serve this Sesame Chili Dumpling Dipping Sauce alongside your favorite dumplings. Its vibrant flavor complements everything from classic pork dumplings to vegetable gyoza. It’s also fantastic as a dressing for Asian salads or as a spicy drizzle over grilled meats. Whether you’re hosting a dinner party or enjoying a quiet meal at home, this sauce will add a delicious, zesty twist to your dishes.
How to store:
Keep this sauce fresh by storing it in an airtight container in the refrigerator. It stays vibrant and tasty for up to three days, making it a convenient and flavorful addition to quick meals and snacks.

Hi, I'm Kimberly.

If you want to get to know me better, click here!


INGREDIENTS
FOR 2 PORTIONS
DIPPING SAUCE
- 2 tbsp soy sauce
- 1 tbsp hot water
- 1 tsp crispy chili oil
- 1 tsp sugar
- 1/2 tsp sesame oil
- 1/2 tsp rice vinegar
- 1.5 tsp sesame seeds
- 2 garlic cloves

ACTIVE: –
PASSIVE: –
PREPARATIONS
Recommended Equipment
- sharp knife
- cutting board
- small bowl
- small frying pan
- none
ACTIVE: 5 min
PASSIVE: –