Vanilla Parfait with Chocolate Soil

Vanilla Parfait with Chocolate Soil

Vanilla Parfait with Chocolate Soil

Vanilla Parfait with Chocolate Soil

December 20, 2024 by Kimberly

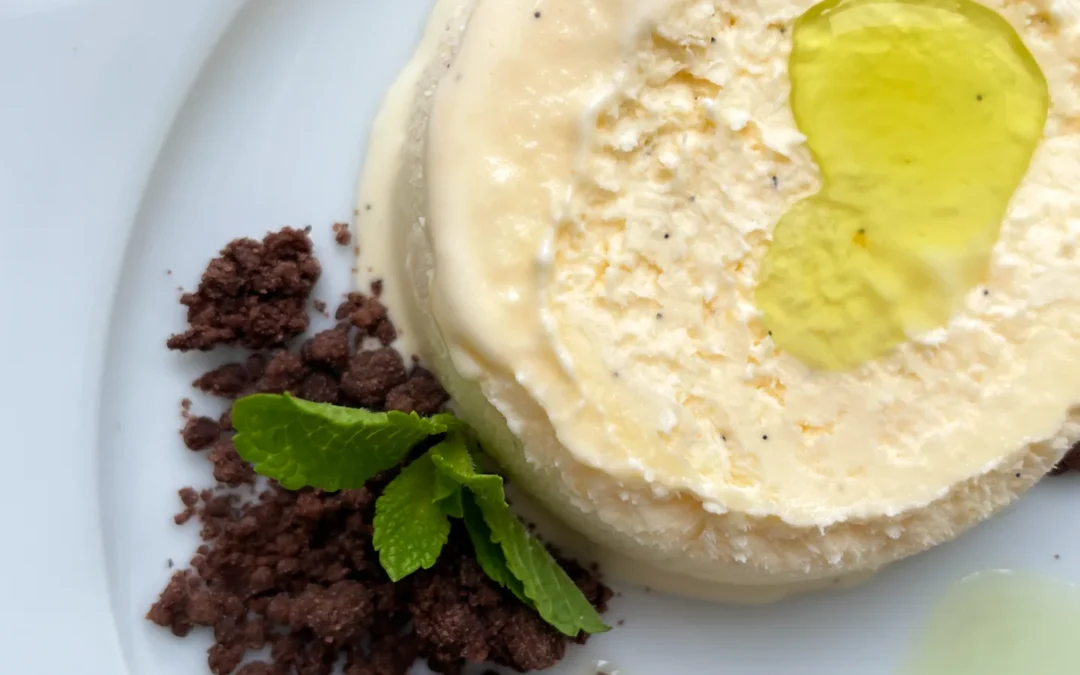
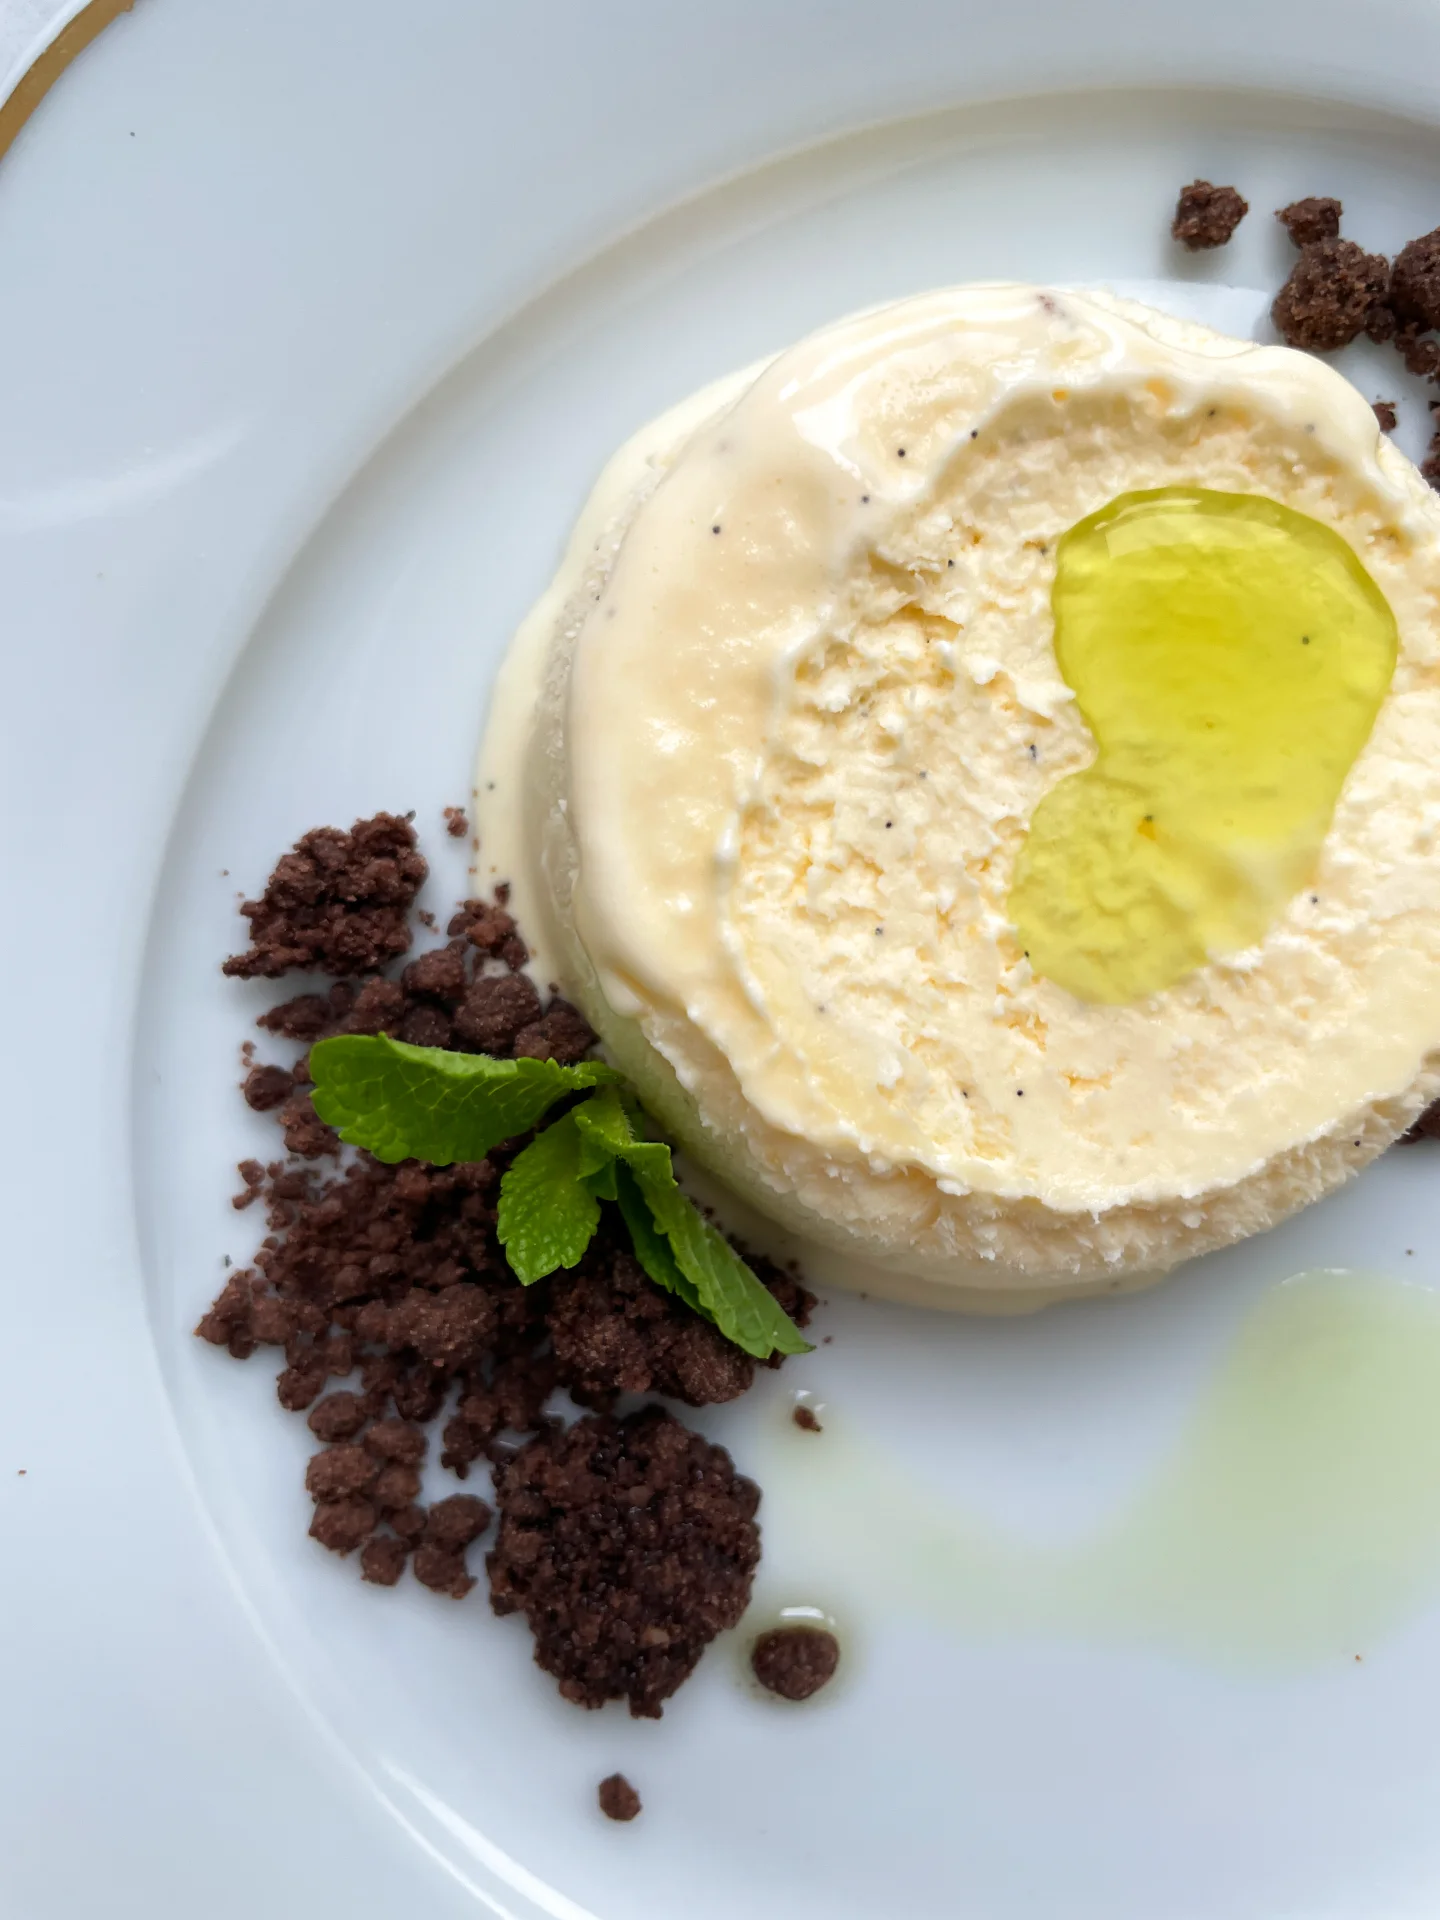
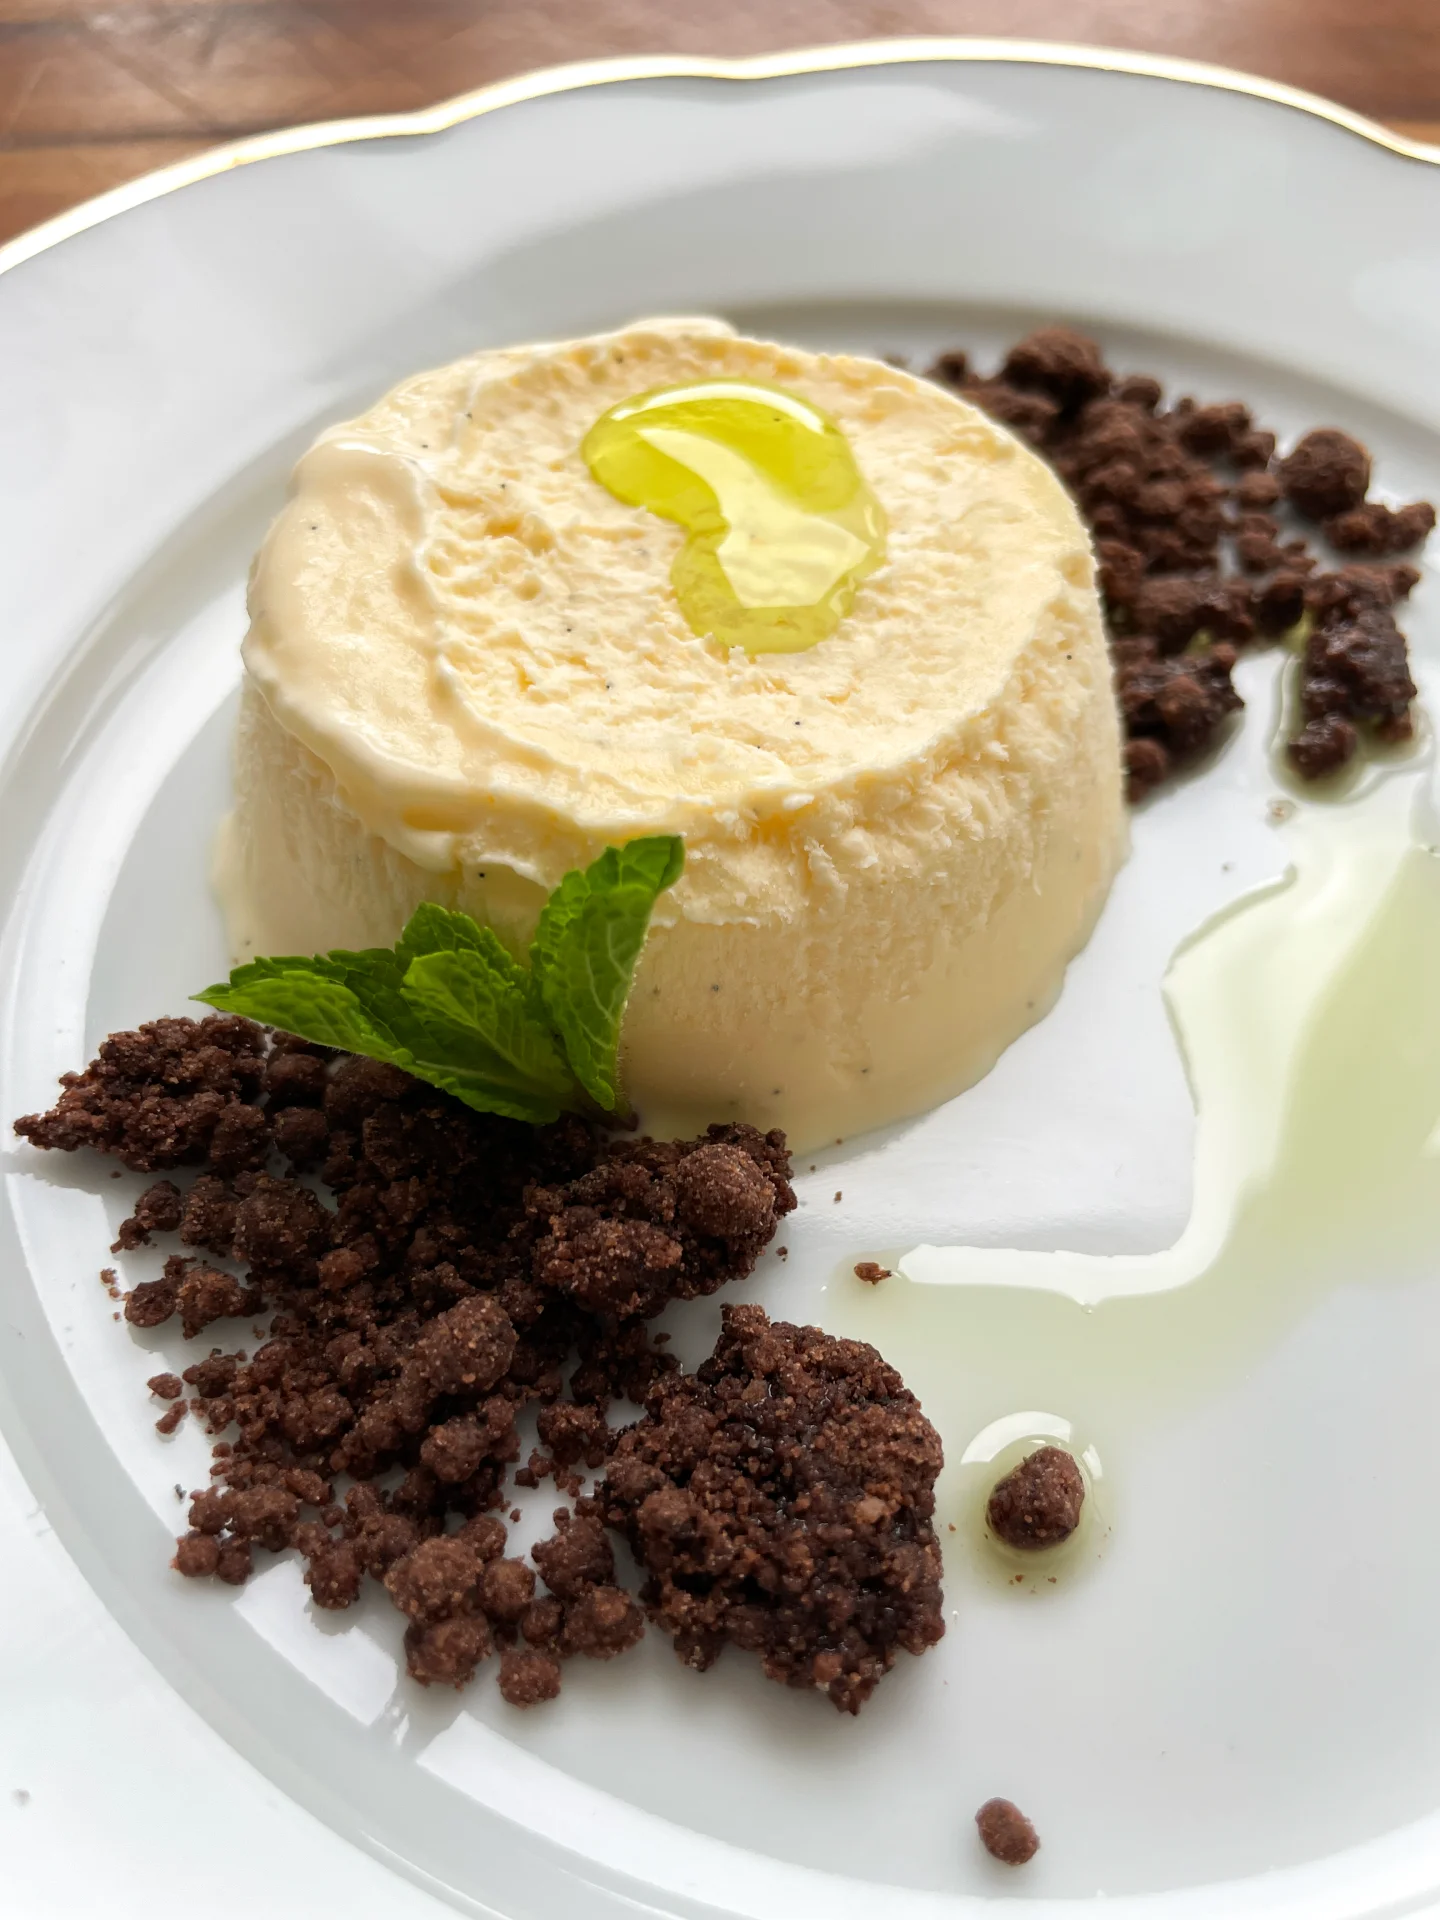
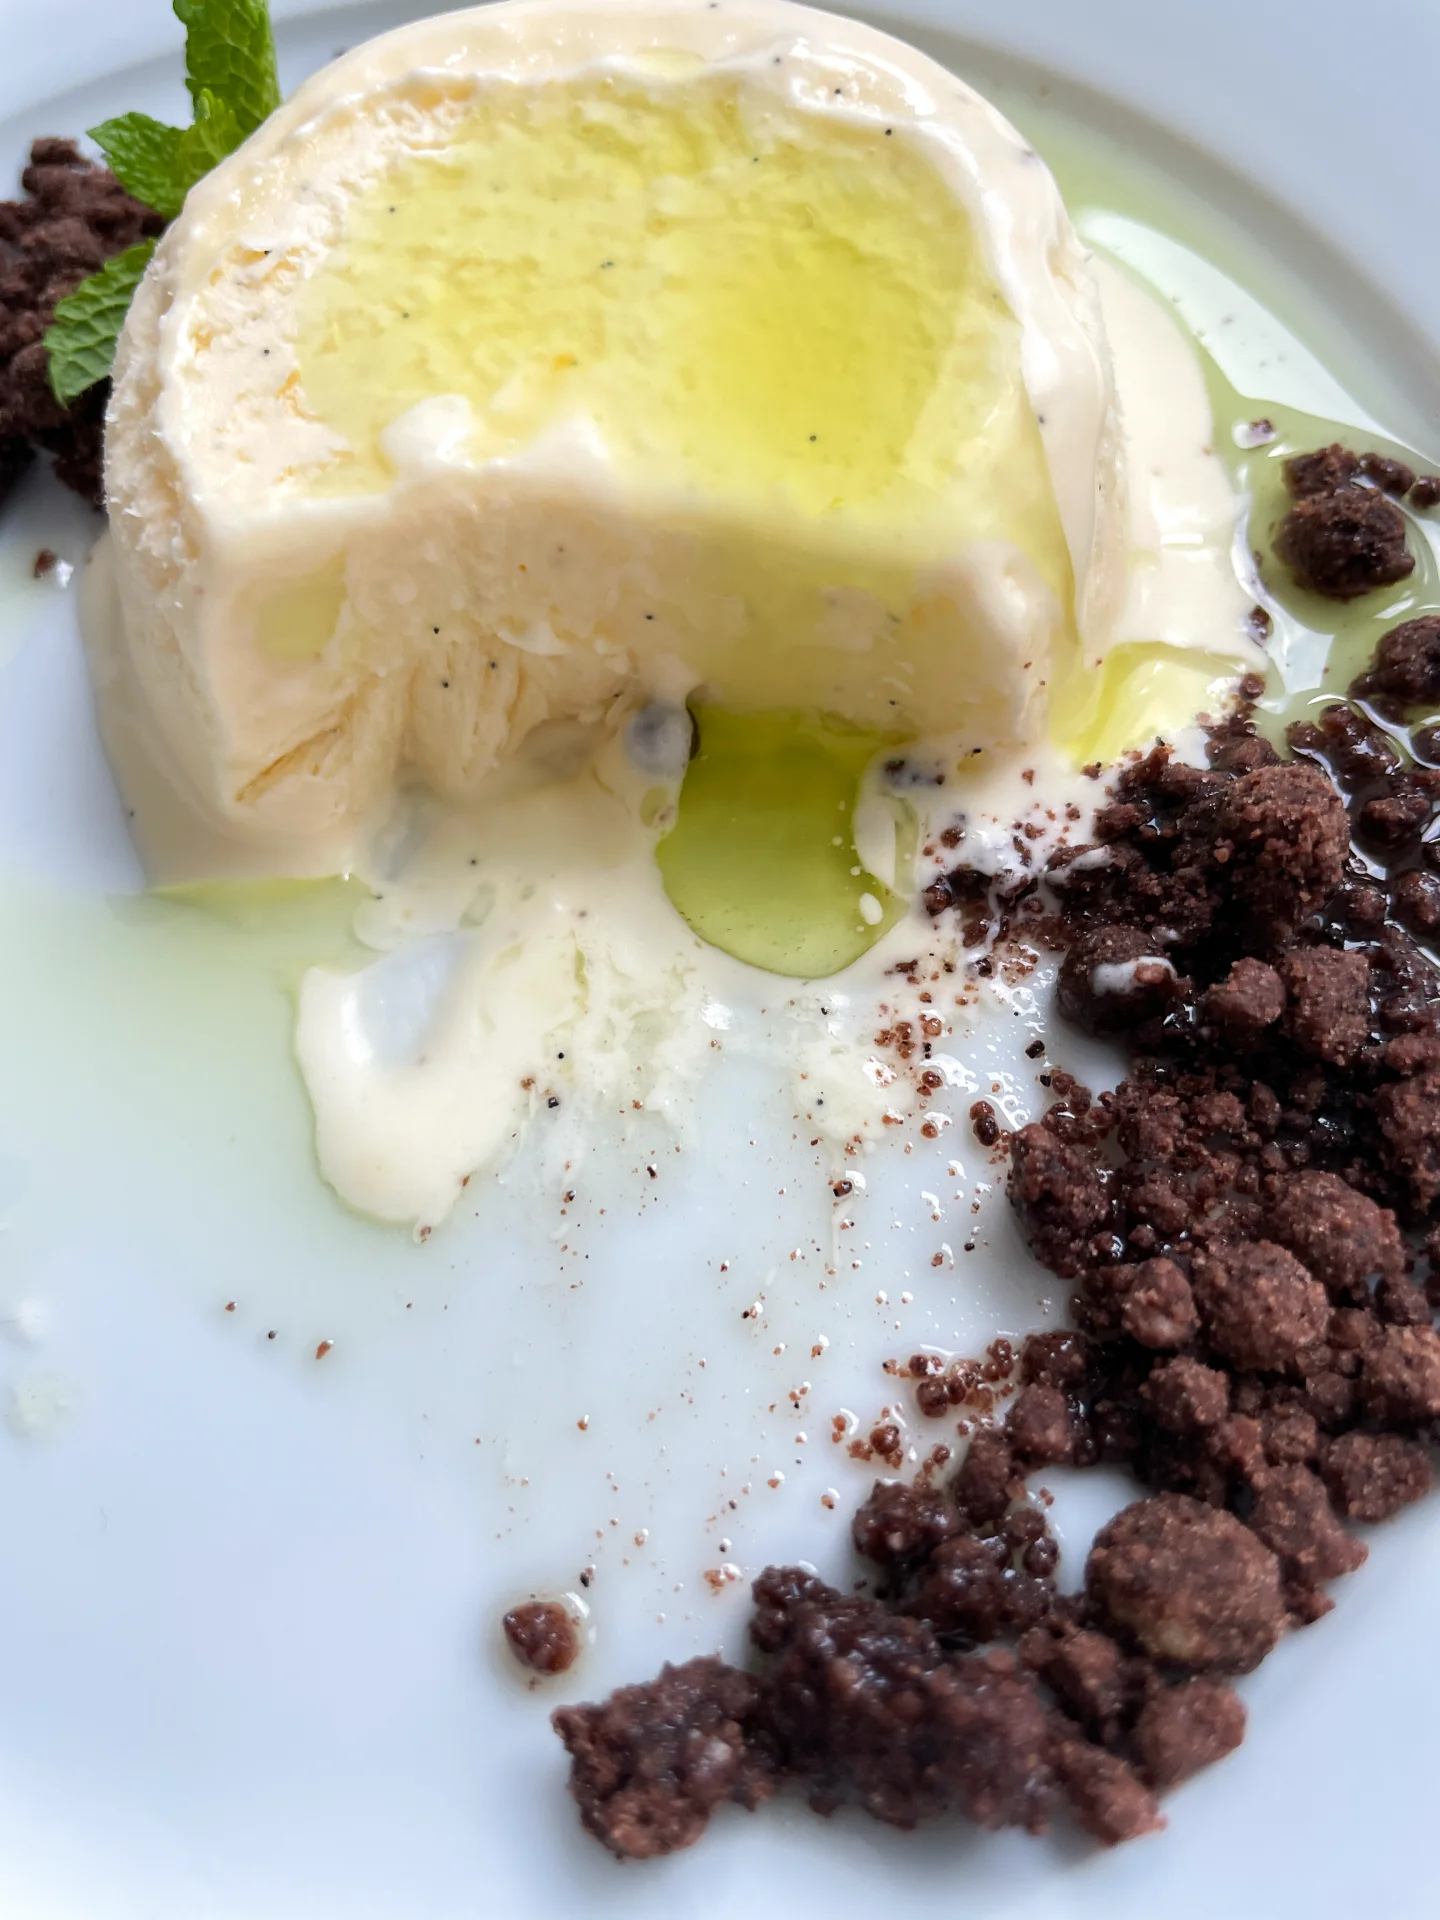
This creamy vanilla parfait melts like a dream, paired with crunchy, bittersweet chocolate soil for a texture and flavor explosion. Dessert vibes: fancy enough to impress, cozy enough to devour solo.

4 HOURS
40 MINUTES

INTERMEDIATE

VEGETARIAN

FRENCH

245 PER PORTION

CREAMY
CRUNCHY

CHRISTMAS

DESSERT

ALL YEAR

INTRODUCTION

ABOUT THE RECIPE

If you’re looking for a dessert that feels both luxurious and approachable, this vanilla parfait with chocolate soil is it. The creamy, rich vanilla base perfectly contrasts the crunchy, bittersweet chocolate soil, creating a balance of flavors and textures. It’s the kind of dessert that wows at a dinner party but is easy enough to whip up for yourself when you need a little indulgence. Bonus: it’s no-bake and totally make-ahead friendly!

How to serve
Serve your parfait chilled in elegant bowls or plates for the ultimate dessert presentation. Spoon the creamy vanilla layer first and top with a generous sprinkle of chocolate soil for that perfect crunch. Want to elevate it even more? Add fresh berries, a drizzle of caramel or even a few drops of this Mint Oil.

How to store
Keep the parfait in an airtight container in the freezer for up to one week. Store the chocolate soil separately in a dry container to maintain its crunch. Assemble right before serving.

Hi, I'm Kimberly!

Hi, I'm Kimberly.

A passionate food lover who believes in the magic of homemade deliciousness that spreads love and warmth. Join me on this culinary adventure as I prepare wonderful dishes and let’s spread some happiness together!

Kimberly the Zett Signature

If you want to get to know me better, click here!


Vanilla Parfait with Chocolate Soil
„Let’s make a piece of happiness“
Print
clock clock iconcutlery cutlery iconflag flag iconfolder folder iconinstagram instagram iconpinterest pinterest iconfacebook facebook iconprint print iconsquares squares iconheart heart iconheart solid heart solid icon
Vanilla Parfait with Chocolate Soil

Vanilla Parfait with Chocolate Soil


5 Stars 4 Stars 3 Stars 2 Stars 1 Star

No reviews

  • Author: Kimberly
  • Total Time: 4 hrs + 40 min
  • Yield: 10-12 1x

Description

Recommended Equipment

  • two glass or metal mixing bowls
  • two small bowls
  • baking tray
  • small pot
  • whisk
  • silicone spatula
  • fine mesh strainer
  • molds for the parfait

Ingredients

Units Scale

PARFAIT

  • 4 egg yolks
  • 100 grams powdered sugar
  • 400 grams heavy cream
  • 1 vanilla pod

CHOCOLATE SOIL

  • 60 grams powdered sugar
  • 100 grams all-purpose flour
  • 15 grams unsweetened cocoa powder
  • 1/4 tsp salt
  • 50 grams butter
  • 1 tsp ground coffee

Instructions

  1. Whip the cream until stiff peaks form, then place it in the fridge to keep cold.
  2. Separate the eggs, placing the yolks in a glass or metal bowl. Scrape the vanilla pod and add the seeds to the yolks.
  3. Sift the powdered sugar through a fine mesh strainer into the yolks. Mix well with the vanilla seeds.
  4. Place the bowl over a pot of simmering water (double boiler setup), ensuring only the steam touches the bowl. Whisk the mixture until it reaches 80 °C (176 °F).
  5. Prepare an ice bath (a bowl with cold water and ice cubes). Once the yolk mixture reaches 80 °C, place the bowl in the ice bath and whisk until the mixture cools and becomes thick, sticky, and creamy.
  6. Gently fold the chilled whipped cream into the cooled yolk mixture using a silicone spatula until fully combined.
  7. Pour the parfait mixture into molds and freeze for about 4 hours.
  8. For the chocolate soil, preheat the oven to 160 °C (320 °F).
  9. Combine sugar, flour, cocoa powder, salt, and ground coffee in a bowl.
  10. Melt the butter and add it to the dry ingredients. Mix with your hands until a crumbly texture forms.
  11. Spread the mixture evenly on a small baking tray and bake for about 10 minutes.
  12. Remove the tray from the oven, let the mixture cool, then crumble it into pieces. Store in an airtight container.
  13. To serve, unmold the parfaits, arrange them on plates, and decorate with the chocolate soil around them.
  14. Optional: Garnish with mint oil, berry compote, marzipan sauce, or chocolate sauce.
  • Passive Time: 4 hours
  • Cook Time: 40 min

Honeycomb Apricot Marshmallow Fluff Cookies

Honeycomb Apricot Marshmallow Fluff Cookies

Honeycomb Apricot Marshmallow Fluff Cookies

Honeycomb Apricot Marshmallow Fluff Cookies

December 19, 2024 by Kimberly

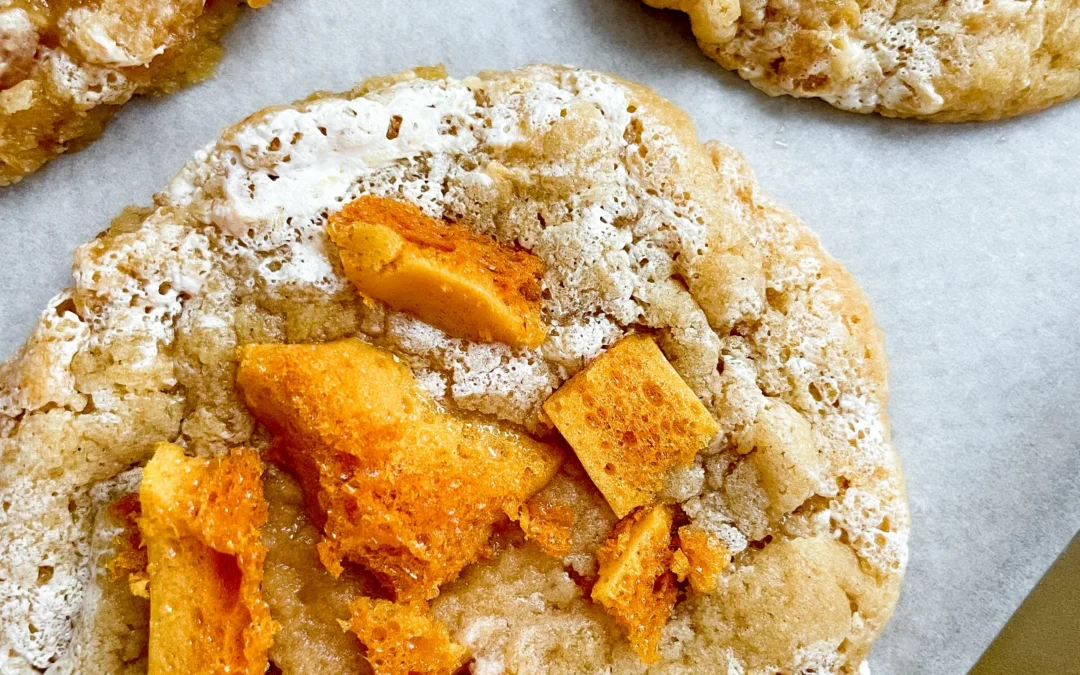
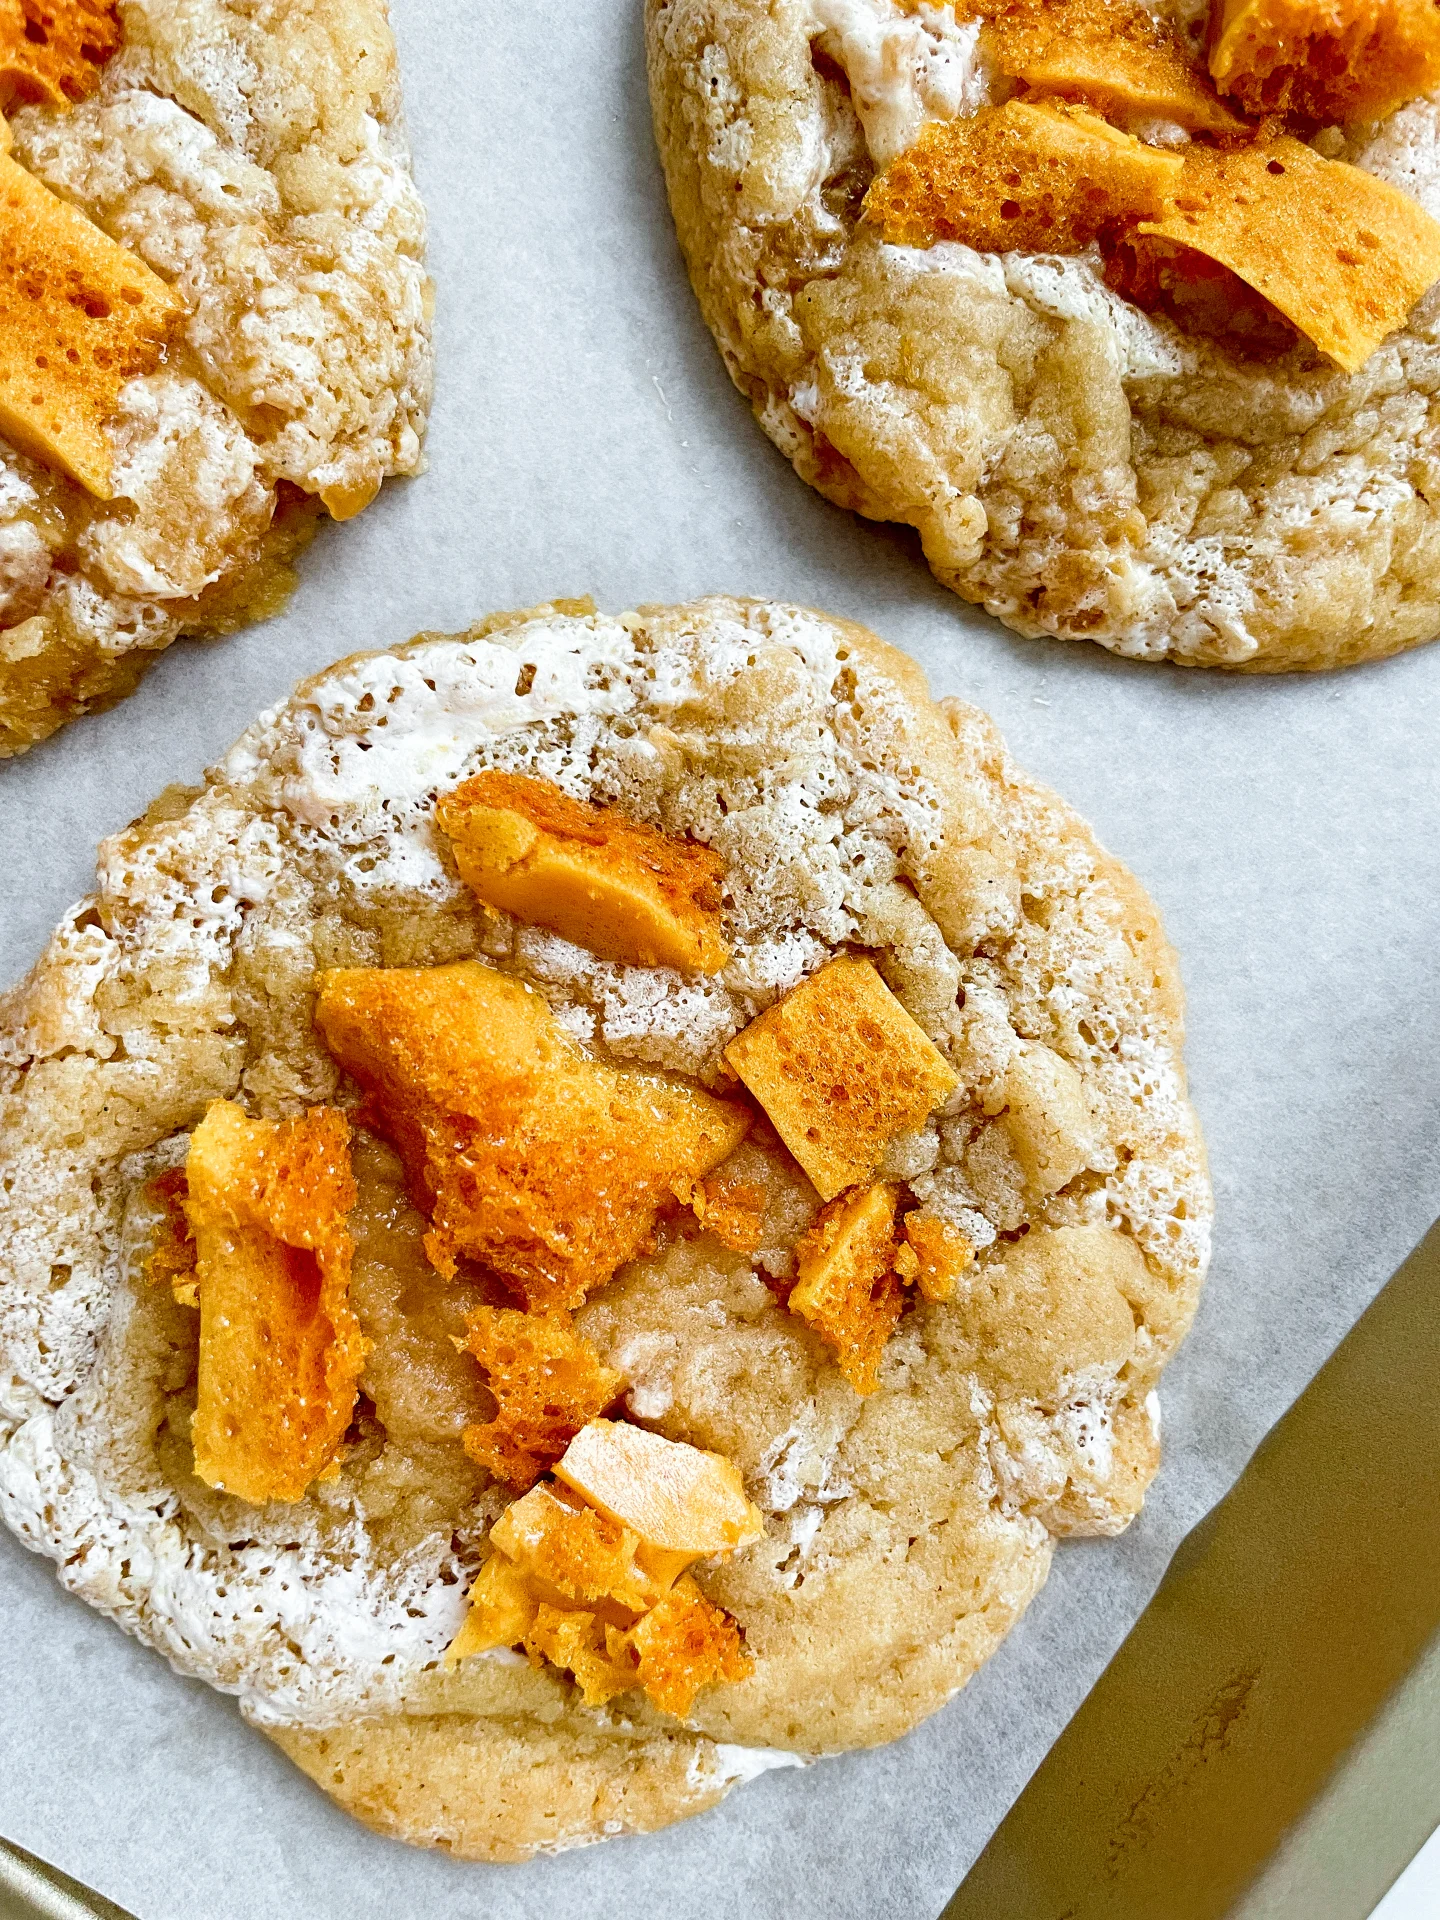
Soft, gooey cookie layers meet tangy apricot sauce, marshmallowy swirls, and honeycomb crunch. Every bite is an explosion of textures and flavors – sweet, sticky, and irresistibly cozy vibes in cookie form.

2 HOURS
25 MINUTES

ADVANCED

VEGETARIAN

US AMERICAN

308 PER COOKIE

SWEET

EVERYDAY

DESSERT

ALL YEAR

INTRODUCTION

ABOUT THE RECIPE

Imagine sinking your teeth into layers of soft cookie dough, creamy marshmallow fluff, tangy apricot sauce, and crunchy honeycomb pieces. It’s not just a dessert – it’s a flavor-packed adventure! These cookies are a mash-up of textures and tastes that scream fun and indulgence. Whether it’s for a cozy night in or to impress your friends, they’re bound to disappear fast.

How to serve
These cookies are best enjoyed slightly chilled for that perfect contrast of gooey and crunchy. Pair them with a cup of tea or coffee for a casual treat, or bring them out as the star of a dessert platter. Hosting a party? Stack them up on a pretty plate and watch them vanish in minutes.

How to store
Keep leftovers in an airtight container for up to 3 days. For extra freshness, separate layers with parchment paper to avoid sticking.

Hi, I'm Kimberly!

Hi, I'm Kimberly.

A passionate food lover who believes in the magic of homemade deliciousness that spreads love and warmth. Join me on this culinary adventure as I prepare wonderful dishes and let’s spread some happiness together!

Kimberly the Zett Signature

If you want to get to know me better, click here!


Honeycomb Apricot Marshmallow Fluff Cookies
„Let’s make a piece of happiness“
Print
clock clock iconcutlery cutlery iconflag flag iconfolder folder iconinstagram instagram iconpinterest pinterest iconfacebook facebook iconprint print iconsquares squares iconheart heart iconheart solid heart solid icon
Honeycomb Apricot Marshmallow Fluff Cookies

Honeycomb Apricot Marshmallow Fluff Cookies


  • Author: Kimberly
  • Total Time: 85 min
  • Yield: 12 cookies 1x

Description

Recommended Equipment

  • 2 small pots
  • 1 medium pot
  • baking dish (approx. 20×20 cm)
  • parchment paper
  • spatula
  • whisk
  • thermometer
  • electric mixer
  • sharp knife
  • cutting board
  • mixing bowl
  • cookie scoop

Ingredients

Units Scale

HONEYCOMB

  • 100 grams white sugar
  • 20 grams honey
  • 20 milliliter water
  • 1 tsp baking soda

MARSHMALLOW FLUFF

  • 60 grams white sugar
  • 60 grams water
  • 80 grams corn syrup
  • 1 egg white

APRICOT SAUCE

  • 100 grams dried apricots
  • 80 milliliter apricot juice
  • 10 grams powdered sugar
  • 1/2 tsp vanilla extract
  • 1 tsp lemon juice
  • 2 tsp cornstarch

COOKIE DOUGH

  • 120 grams butter, room temperature
  • 100 grams white sugar
  • 50 grams brown sugar
  • 1 egg
  • 1 tsp vanilla extract
  • 220 grams all-purpose flour
  • 1/2 tsp baking soda
  • 1/2 tsp salt

Instructions

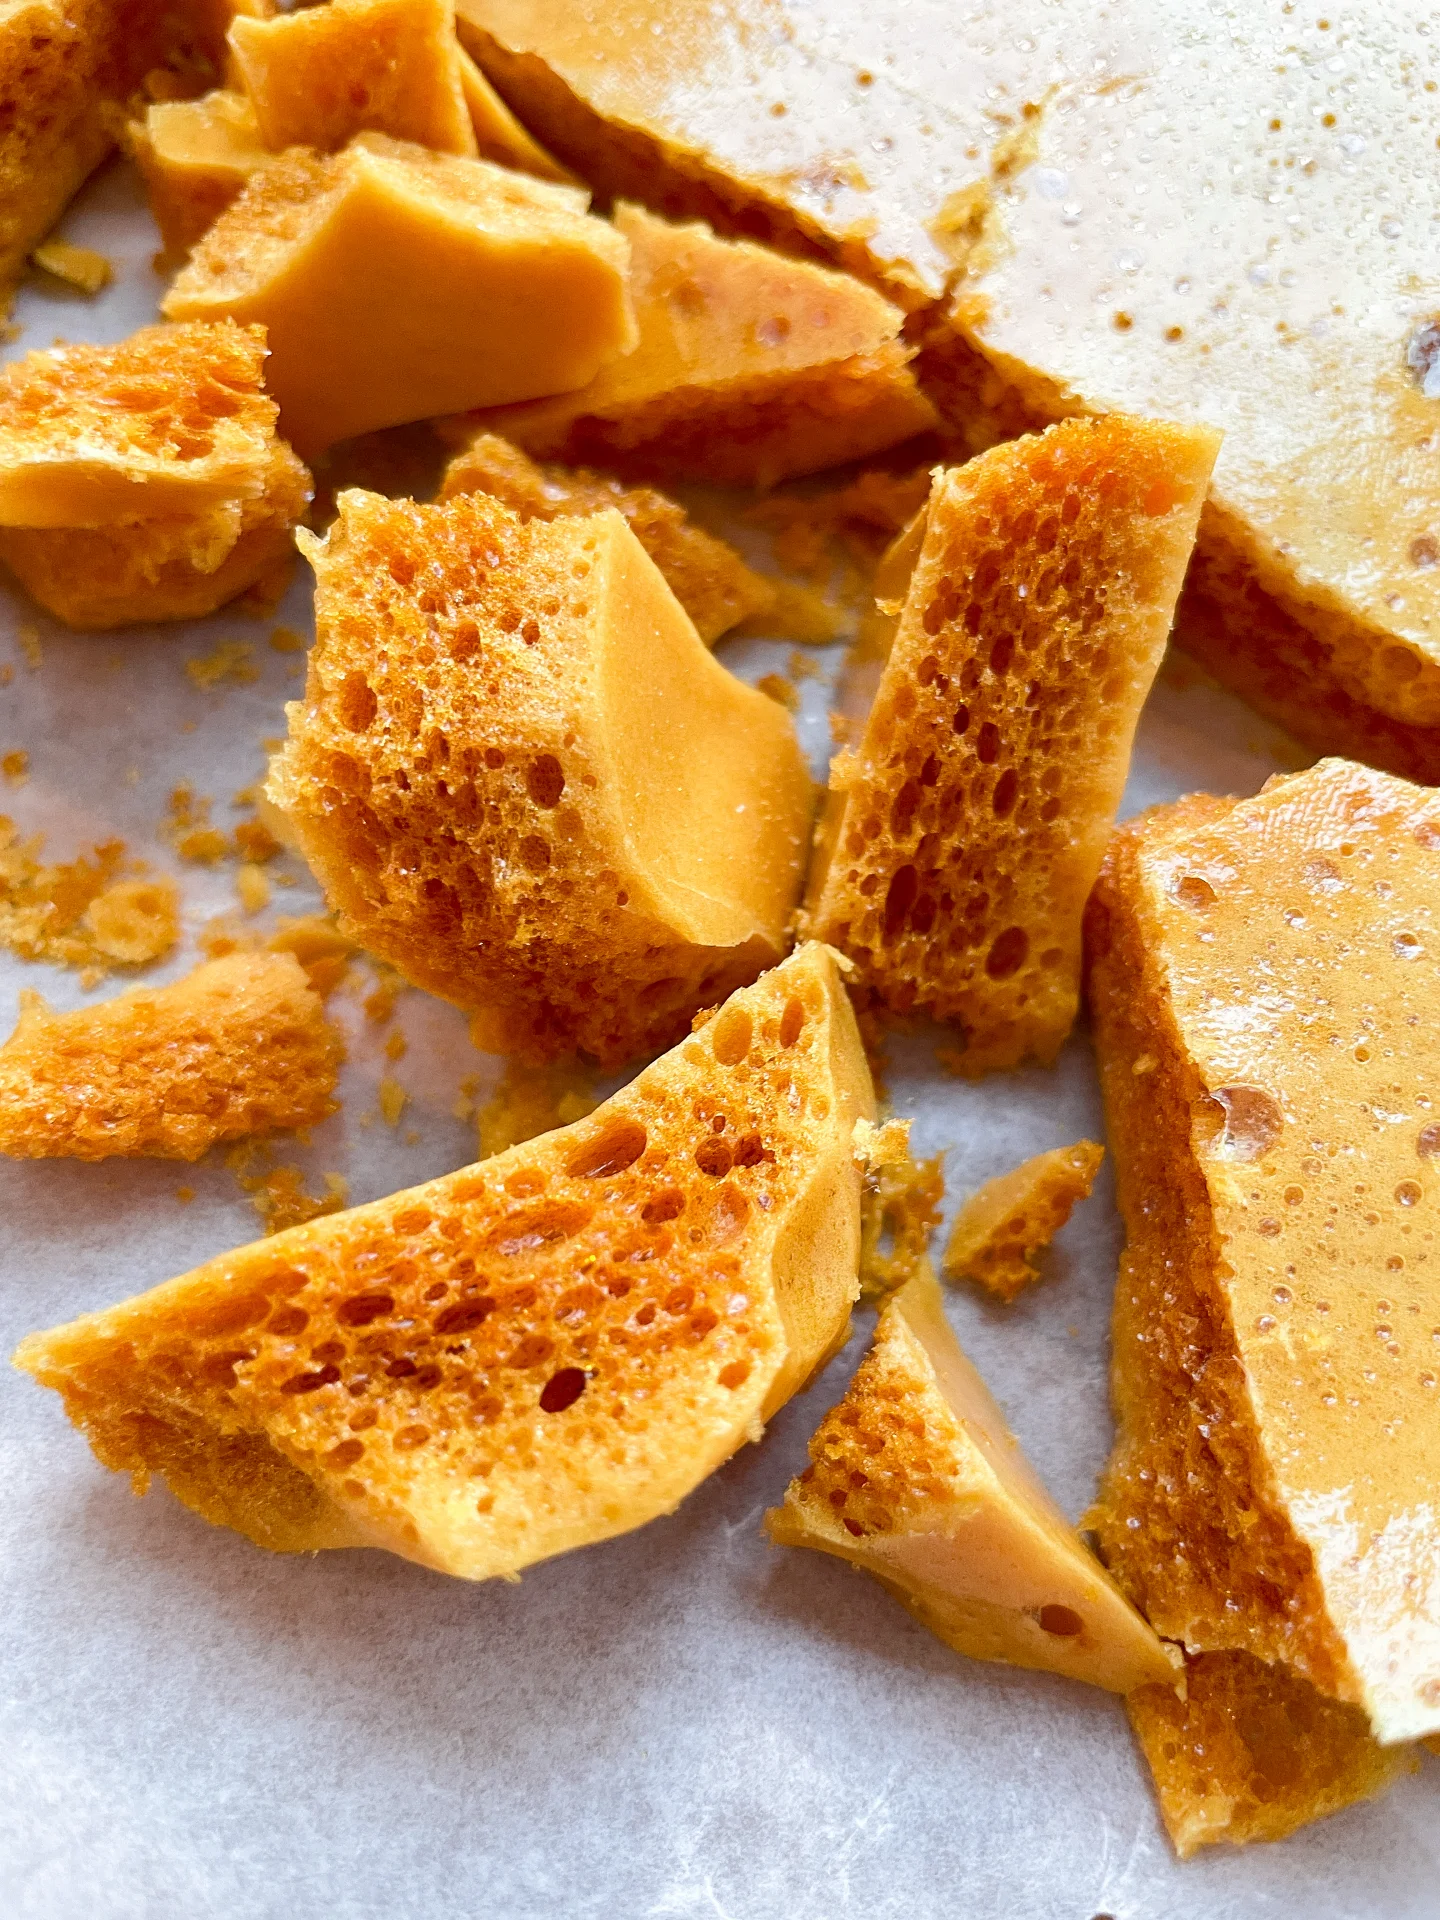
  1. Honeycomb: First, line a heatproof baking dish with parchment paper. Combine sugar, honey, and water in a medium pot. Heat over medium until it boils, monitoring the temperature with a thermometer until it reaches 149°C (300°F). Remove from heat and quickly stir in the baking soda just until combined. Be careful—it will foam up a lot! Immediately pour the mixture into the prepared dish without stirring or spreading it, as this would break the air bubbles. Scrape any remaining mixture from the pot and add it on top. Let it cool completely (about 1–2 hours).
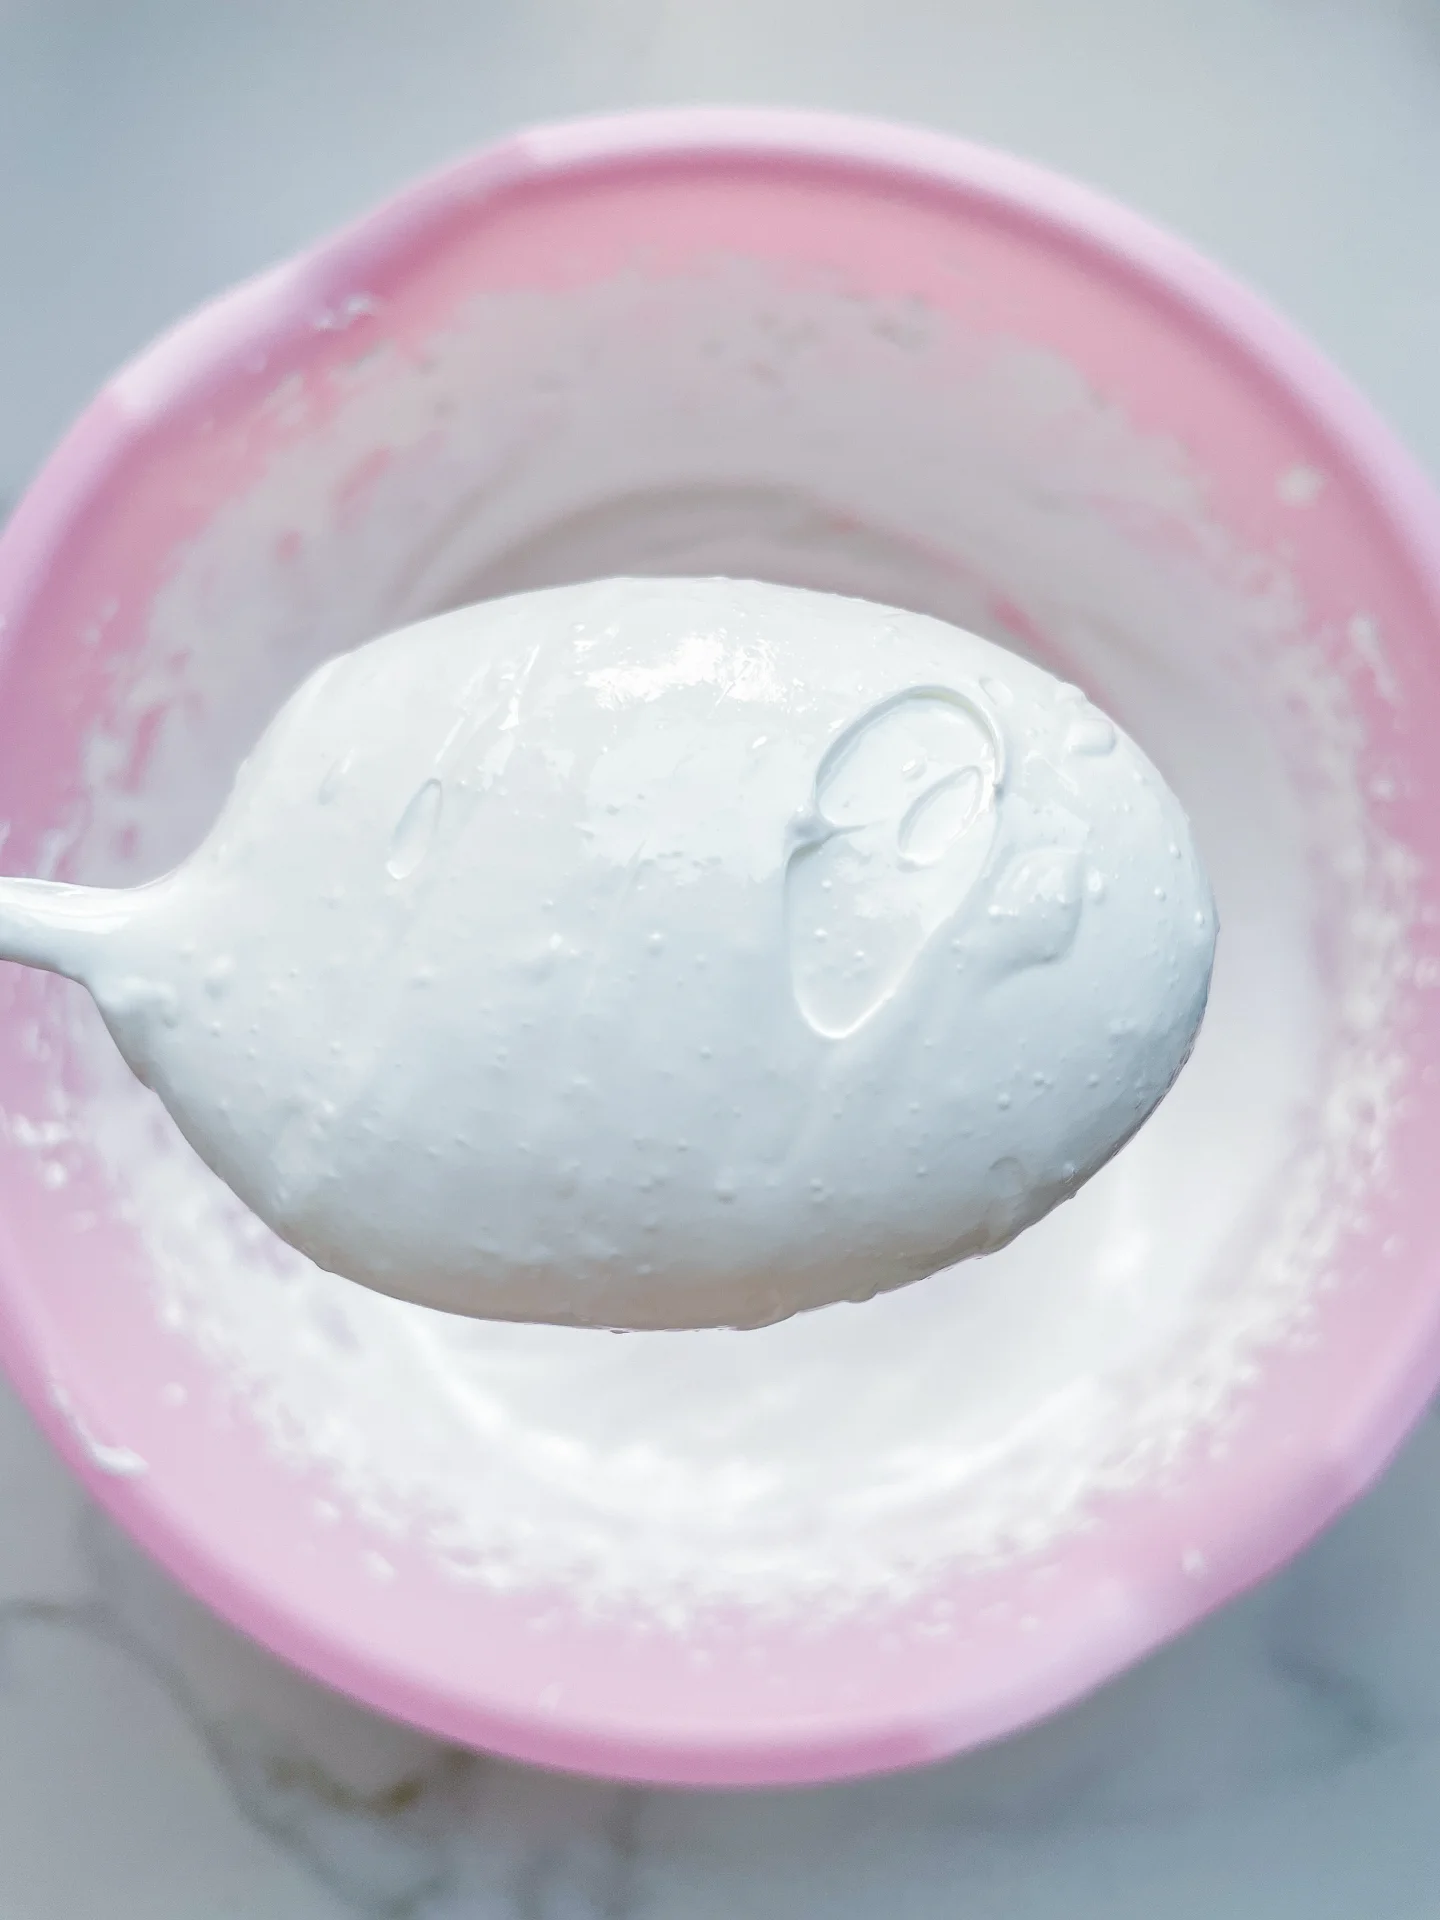
  2. Marshmallow Fluff: Heat water, sugar, and corn syrup in a small pot to 115°C (240°F). Meanwhile, beat egg whites in a clean bowl until stiff peaks form. Slowly pour the hot sugar syrup in a thin, steady stream into the egg whites, mixing continuously with an electric hand mixer. After adding all the syrup, beat on high for another 5 minutes until light and fluffy. Set aside.
  3. Apricot Sauce: Chop the dried apricots and combine them with apricot juice, powdered sugar, vanilla extract, and lemon juice in a small pot. Simmer for about 10 minutes until softened. Dissolve the cornstarch in a bit of cold water, stir it in, and bring everything to a boil until thickened. Set aside to cool.
  4. Cookie Dough: Cream butter with the white and brown sugar. Add the egg and vanilla extract, mixing well. Stir in the flour, baking soda, and salt until just combined—don’t overmix!
  5. In a deep dish, layer the components: a part of cookie dough, a tablespoon of marshmallow fluff, and a tablespoon of apricot sauce. Repeat until all ingredients are used. Tip: Store leftover fluff in a jar in the fridge for up to two weeks.
  6. Use a cookie scoop (or tablespoon) to form 12 evenly sized balls from the layered dough. Place them on the prepared baking tray. Chill the cookies in the fridge for 1 hour – don’t skip this step! Chilling ensures the cookies hold their shape and don’t spread too much when baked.
  7. Preheat the oven to 150°C (300°F) and bake the cookies for 13–15 minutes. While baking, carefully cut the honeycomb into small pieces. Remove the warm cookies from the oven, adjust their shape if necessary, and gently press the honeycomb pieces onto the tops. Let the cookies rest for about 10 minutes before enjoying.
  • Passive Time: 85 min
  • Cook Time: 60 min

Chicken Katsudon with Napa Cabbage

Chicken Katsudon with Napa Cabbage

Chicken Katsudon with Napa Cabbage

Chicken Katsudon with Napa Cabbage

August 27, 2024 by Kimberly

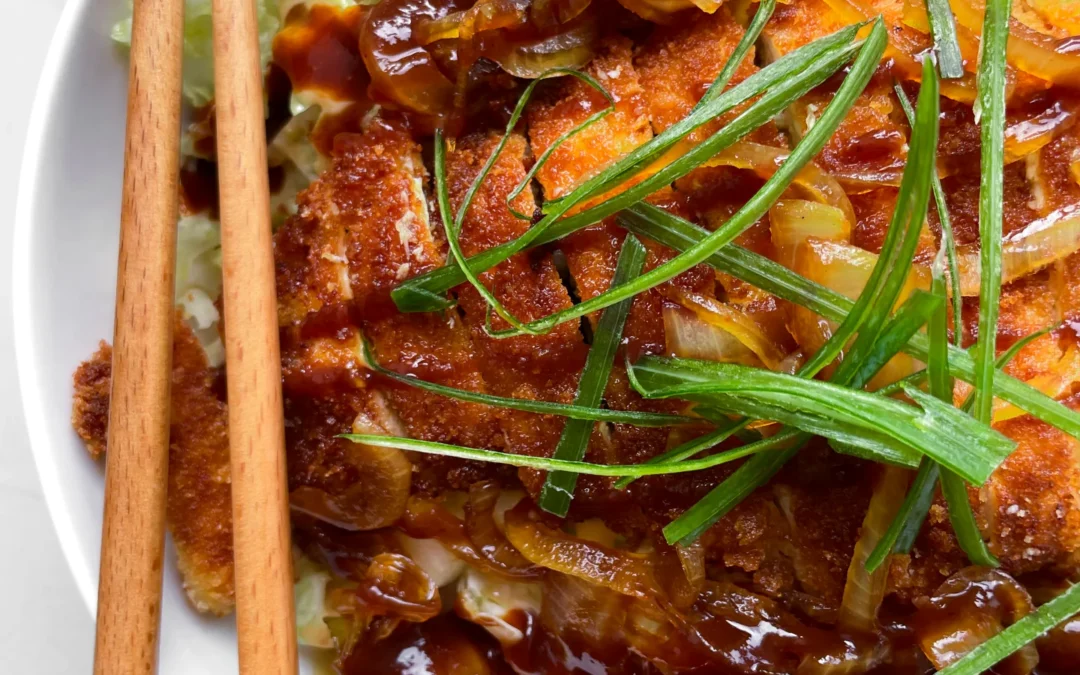
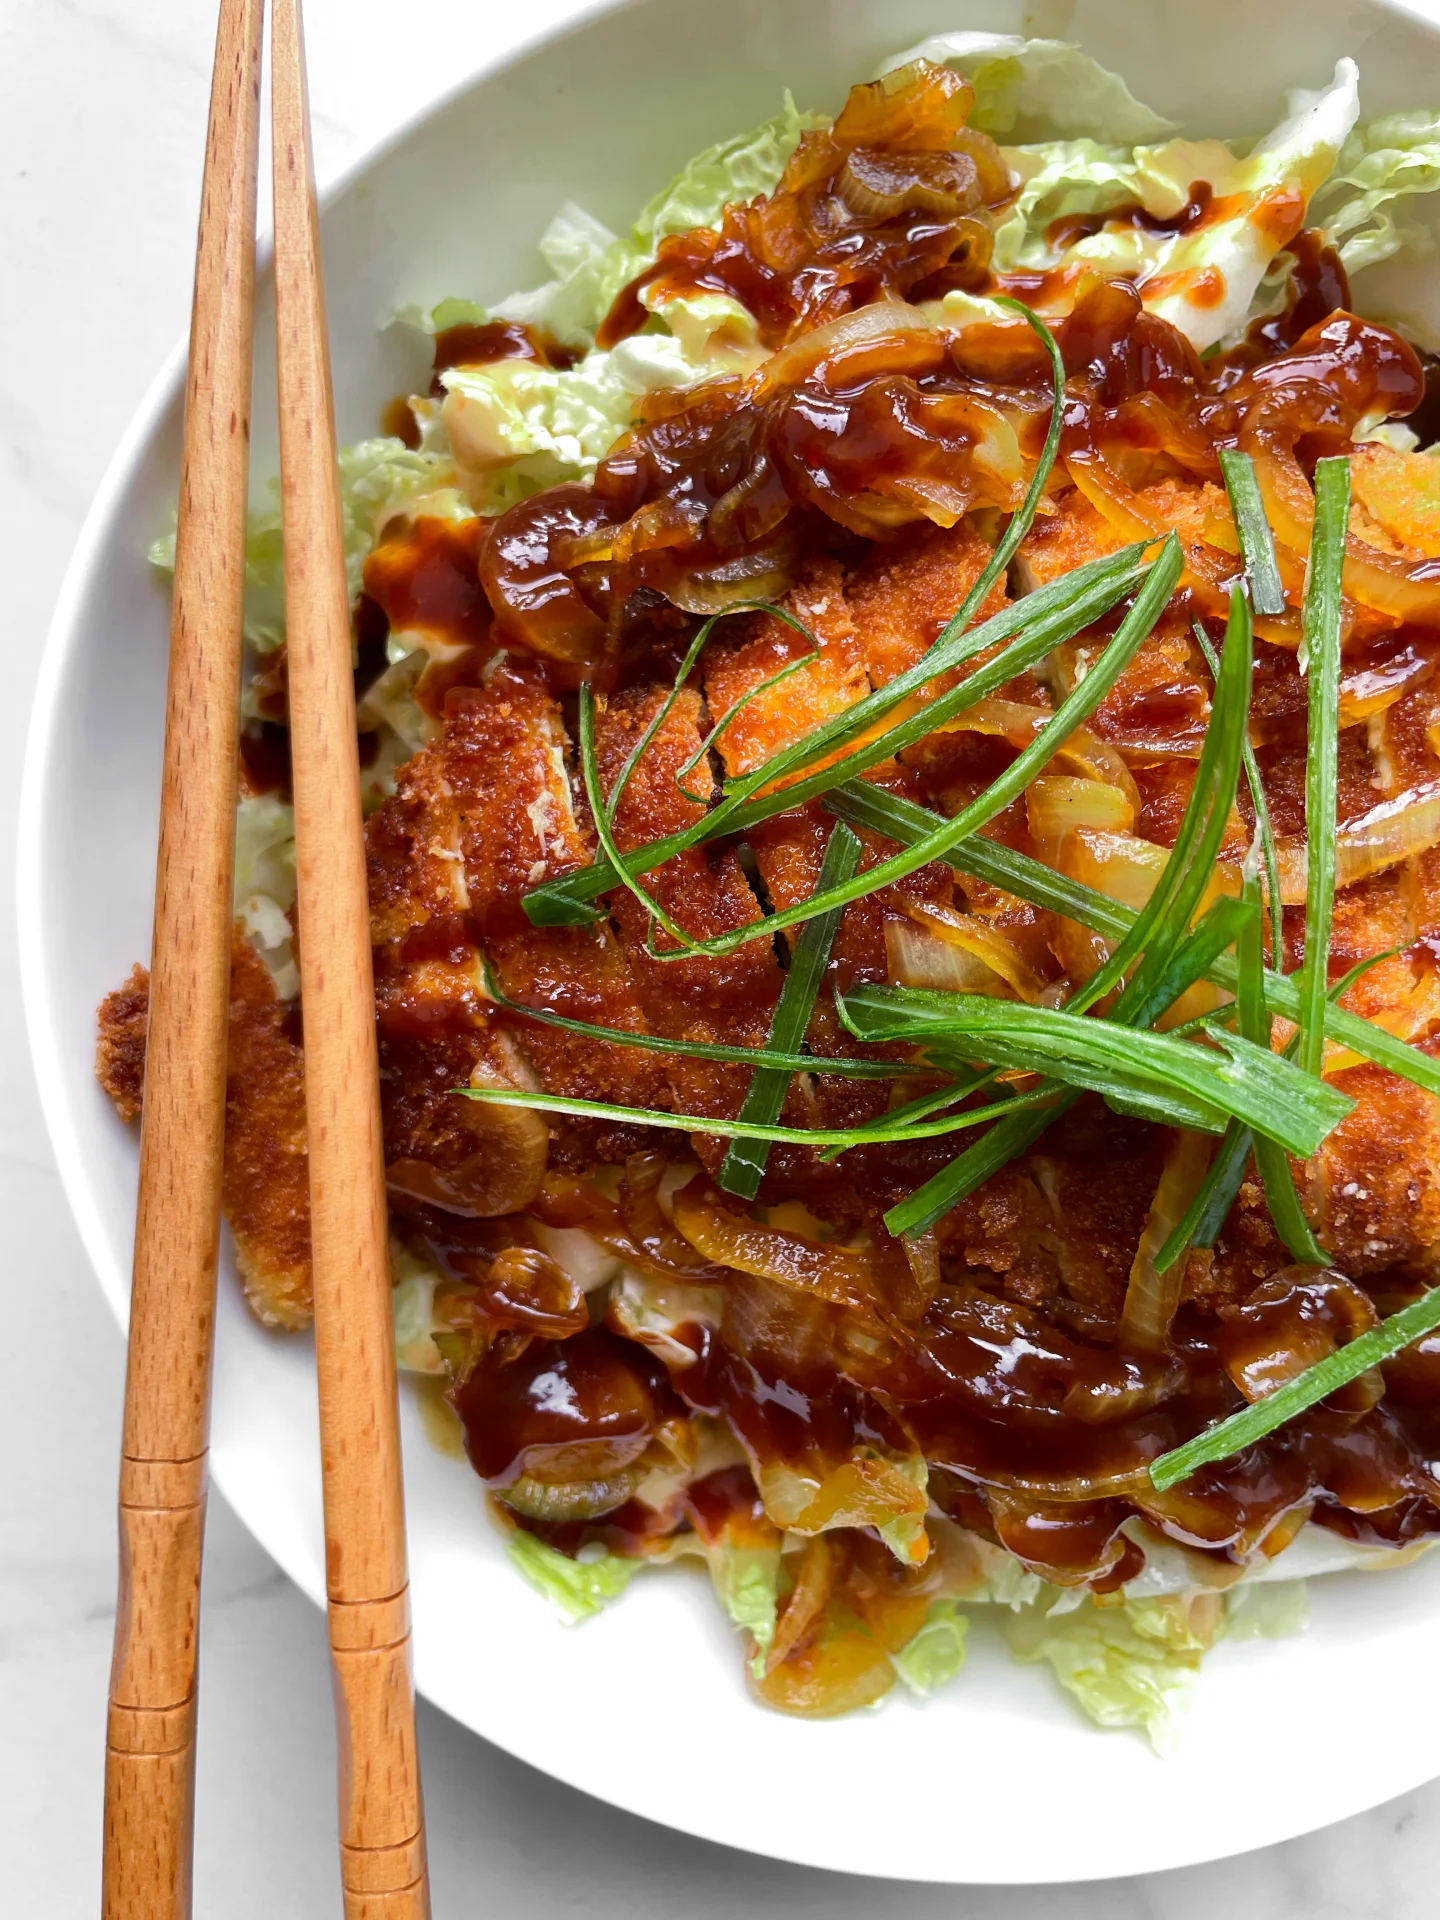
Savor a golden bite of crispy chicken wrapped in rich, savory sauces, fluffy rice and tender napa cabbage – this dish is a warm hug for your taste buds, perfect for a cozy night in and better than take out.

80 MINUTES

EASY

OMNIVORE

JAPANESE

928 PER PORTION

COMFORT FOOD

EVERYDAY

DINNER

ALL YEAR

INTRODUCTION

ABOUT THE RECIPE

Get ready to dive into a bowl of pure comfort with this deliciously crispy chicken paired with rich, savory sauces and tender cabbage. This dish is like a cozy night in a bowl, combining the crunch of perfectly fried chicken with the deep, satisfying flavors of homemade, roasted sesame, tonkatsu and tsuyu sauces. Whether you’re new to Japanese cooking or a seasoned pro, this recipe will quickly become your go-to for a quick and comforting dinner idea that never disappoints.

How to serve
Serve this flavorful chicken dish over a bed of steaming hot rice. Add a generous portion of tender cabbage on the side for a bit of freshness that perfectly balances the crispy, savory chicken. For an extra crunch, sprinkle some toasted sesame seeds and scallions on top. This dish is ideal for a cozy dinner at home, but it’s also a fantastic option for impressing guests with something both comforting and deliciously unique. For that extra fancy touch massage the napa cabbage with 1-2 tbsp of this Chinese Holy Trinity Oil.

How to store
If you have leftovers (which is rare because it’s so good!), store the chicken, cabbage and rice separately in airtight containers in the fridge. The chicken will stay crispy for up to two days, and you can reheat it in the oven to keep that satisfying crunch. The sauces can be stored in the fridge for up to a week, ready to drizzle over fresh rice or veggies whenever you crave a quick, tasty meal.

Hi, I'm Kimberly!

Hi, I'm Kimberly.

A passionate food lover who believes in the magic of homemade deliciousness that spreads love and warmth. Join me on this culinary adventure as I prepare wonderful dishes and let’s spread some happiness together!

Kimberly the Zett Signature

If you want to get to know me better, click here!


Chicken Katsudon with Napa Cabbage
„Let’s make a piece of happiness“
Print
clock clock iconcutlery cutlery iconflag flag iconfolder folder iconinstagram instagram iconpinterest pinterest iconfacebook facebook iconprint print iconsquares squares iconheart heart iconheart solid heart solid icon
Chicken Katsudon with Napa Cabbage

Chicken Katsudon with Napa Cabbage


  • Author: Kimberly
  • Total Time: 80 min
  • Yield: 4 1x

Description

Recommended Equipment

  • small pan
  • mortar & pestle
  • medium-sized bowl
  • two squeeze bottles
  • small pot
  • sharp knife
  • cutting board
  • hand blender
  • fine mesh strainer
  • plastic wrap
  • meat tenderizer
  • three shallow bowls for breading
  • medium-sized pot
  • large pan
  • paper towels
  • salad spinner

Ingredients

Units Scale

SESAME SAUCE

  • 2 tbsp tahini
  • 1 tbsp rice vinegar
  • 1.5 tbsp soy sauce
  • 1 tbsp mirin
  • 1/8 tsp salt
  • 1 tbsp white sesame seeds
  • 2 tbsp mayonnaise
  • 1 tsp sesame oil
  • 1 tbsp water
  • 1 garlic clove

TONKATSU SAUCE

  • 1 tbsp tomato paste
  • 1 tsp honey
  • 1 tsp white sugar
  • 1 tbsp apple cider vinegar
  • 100 milliliter cold water
  • pinch of salt
  • 2 tbsp soy sauce
  • 2 tbsp Worcestershire sauce
  • 2 tbsp Hoisin sauce
  • 1 tbsp brown sugar
  • 4 dried plums
  • 1/4 of 1 apple
  • 1 tbsp mirin
  • 1 centimeter fresh ginger
  • 1 garlic cloves

CHICKEN SCHNITZEL

  • 400 grams chicken breast
  • 12 eggs
  • 4 tbsp all-purpose flour
  • 8 tbsp bread crumbs
  • 8 tbsp panko
  • clarified butter for frying

RICE & CABBAGE

TSUYU SAUCE

  • 6 tbsp soy sauce
  • 6 tbsp mirin
  • 1 tbsp white sugar
  • 1/2 tsp dashi powder
  • 6 tbsp water
  • 4 small yellow onions

TOPPING

  • green part of 2 scallions

Instructions

  1. Sesame Sauce: First, toast the white sesame seeds in a small pan until they turn golden brown, without adding any oil. Transfer the toasted sesame seeds to a mortar and grind them to a semi-coarse consistency. Then, place the sesame in a medium-sized bowl and mix it with tahini, rice vinegar, soy sauce, mirin, salt, mayonnaise, sesame oil, water, and a grated clove of garlic to create a creamy sauce. Pour the sauce into a squeeze bottle and refrigerate.
  2. Tonkatsu Sauce: In a small pot, mix together tomato paste, honey, sugar, apple cider vinegar, water, and salt, and gently heat the mixture. Meanwhile, cut the dried plums into small pieces and add them to the pot. Peel the apple, cut a quarter of it into small pieces, and add it to the pot along with the other ingredients. Peel the ginger and garlic clove, grate them into the pot, and stir well. Finally, add soy sauce, Worcestershire sauce, hoisin sauce, brown sugar, and mirin. Heat the mixture for a few minutes and bring it to a brief boil until the sugar dissolves and the apple softens. If your sauce it still too thick, add gradually more water until it reaches your desired consistency. Use a hand blender to puree the sauce until smooth, and if needed, strain it through a fine mesh strainer. Pour the sauce into a squeeze bottle and refrigerate.
  3. Chicken Schnitzel: If you bought whole chicken breasts, cut them horizontally using a butterfly cut so that you end up with two teardrop-shaped pieces. Place each piece between two layers of plastic wrap and gently and evenly flatten them with a meat tenderizer. Repeat this process with each piece of chicken and set them aside on a plate. Prepare the breading station using three shallow bowls. In the first bowl, place the flour; in the second bowl, beat the eggs; and in the third bowl, mix the breadcrumbs with panko. Dredge each chicken piece in flour, making sure it’s fully coated, then shake off the excess and dip it in the beaten egg, coating both sides. Finally, press the chicken into the breadcrumb-panko mixture, ensuring it’s well-covered on all sides. Set the breaded chicken pieces aside on a plate.
  4. Rice: Cook the rice according to the package instructions. If you don’t have the instructions, rinse the rice in a medium-sized pot until the water runs clear. Drain the water, then add fresh water in a 1.5:1 ratio to the rice (so, for this recipe, use 420g of water for 280g of rice after rinsing). Place the pot on the stove over high heat and cover with a lid. Once the water comes to a boil, reduce the heat to the lowest setting. Let the rice cook with the lid on for about 15 minutes. The rice is done when you see small, even holes forming between the grains. Leave the pot on the turned-off stove with the lid on.
  5. While the rice is cooking, heat a large pan for the schnitzel. Add clarified butter or another high-heat oil to the pan and fry the chicken on both sides over medium heat until golden brown. Place the fried schnitzel on paper towels to drain.
  6. While the chicken is frying, slice the onions for the Tsuyu sauce. Halve the onions and then cut them into thin strips.
  7. Napa Cabbage: While the chicken is frying, quarter the napa cabbage and slice two quarters into thin strips. Wash them under cold water and spin them dry. Set the cabbage aside. If you’d like to add a special touch, you can drizzle 1-2 tablespoons of my Chinese Holy Trinity Oil over the cabbage and massage it in.
  8. Tsuyu Sauce: Once the chicken is done frying, remove the remaining fat from the pan and place it back on the stove. Add soy sauce, mirin, sugar, dashi powder, and water to the pan and bring it to a quick boil. Then, add the onions and let it simmer for 5-7 minutes until the onions are soft but still slightly firm.
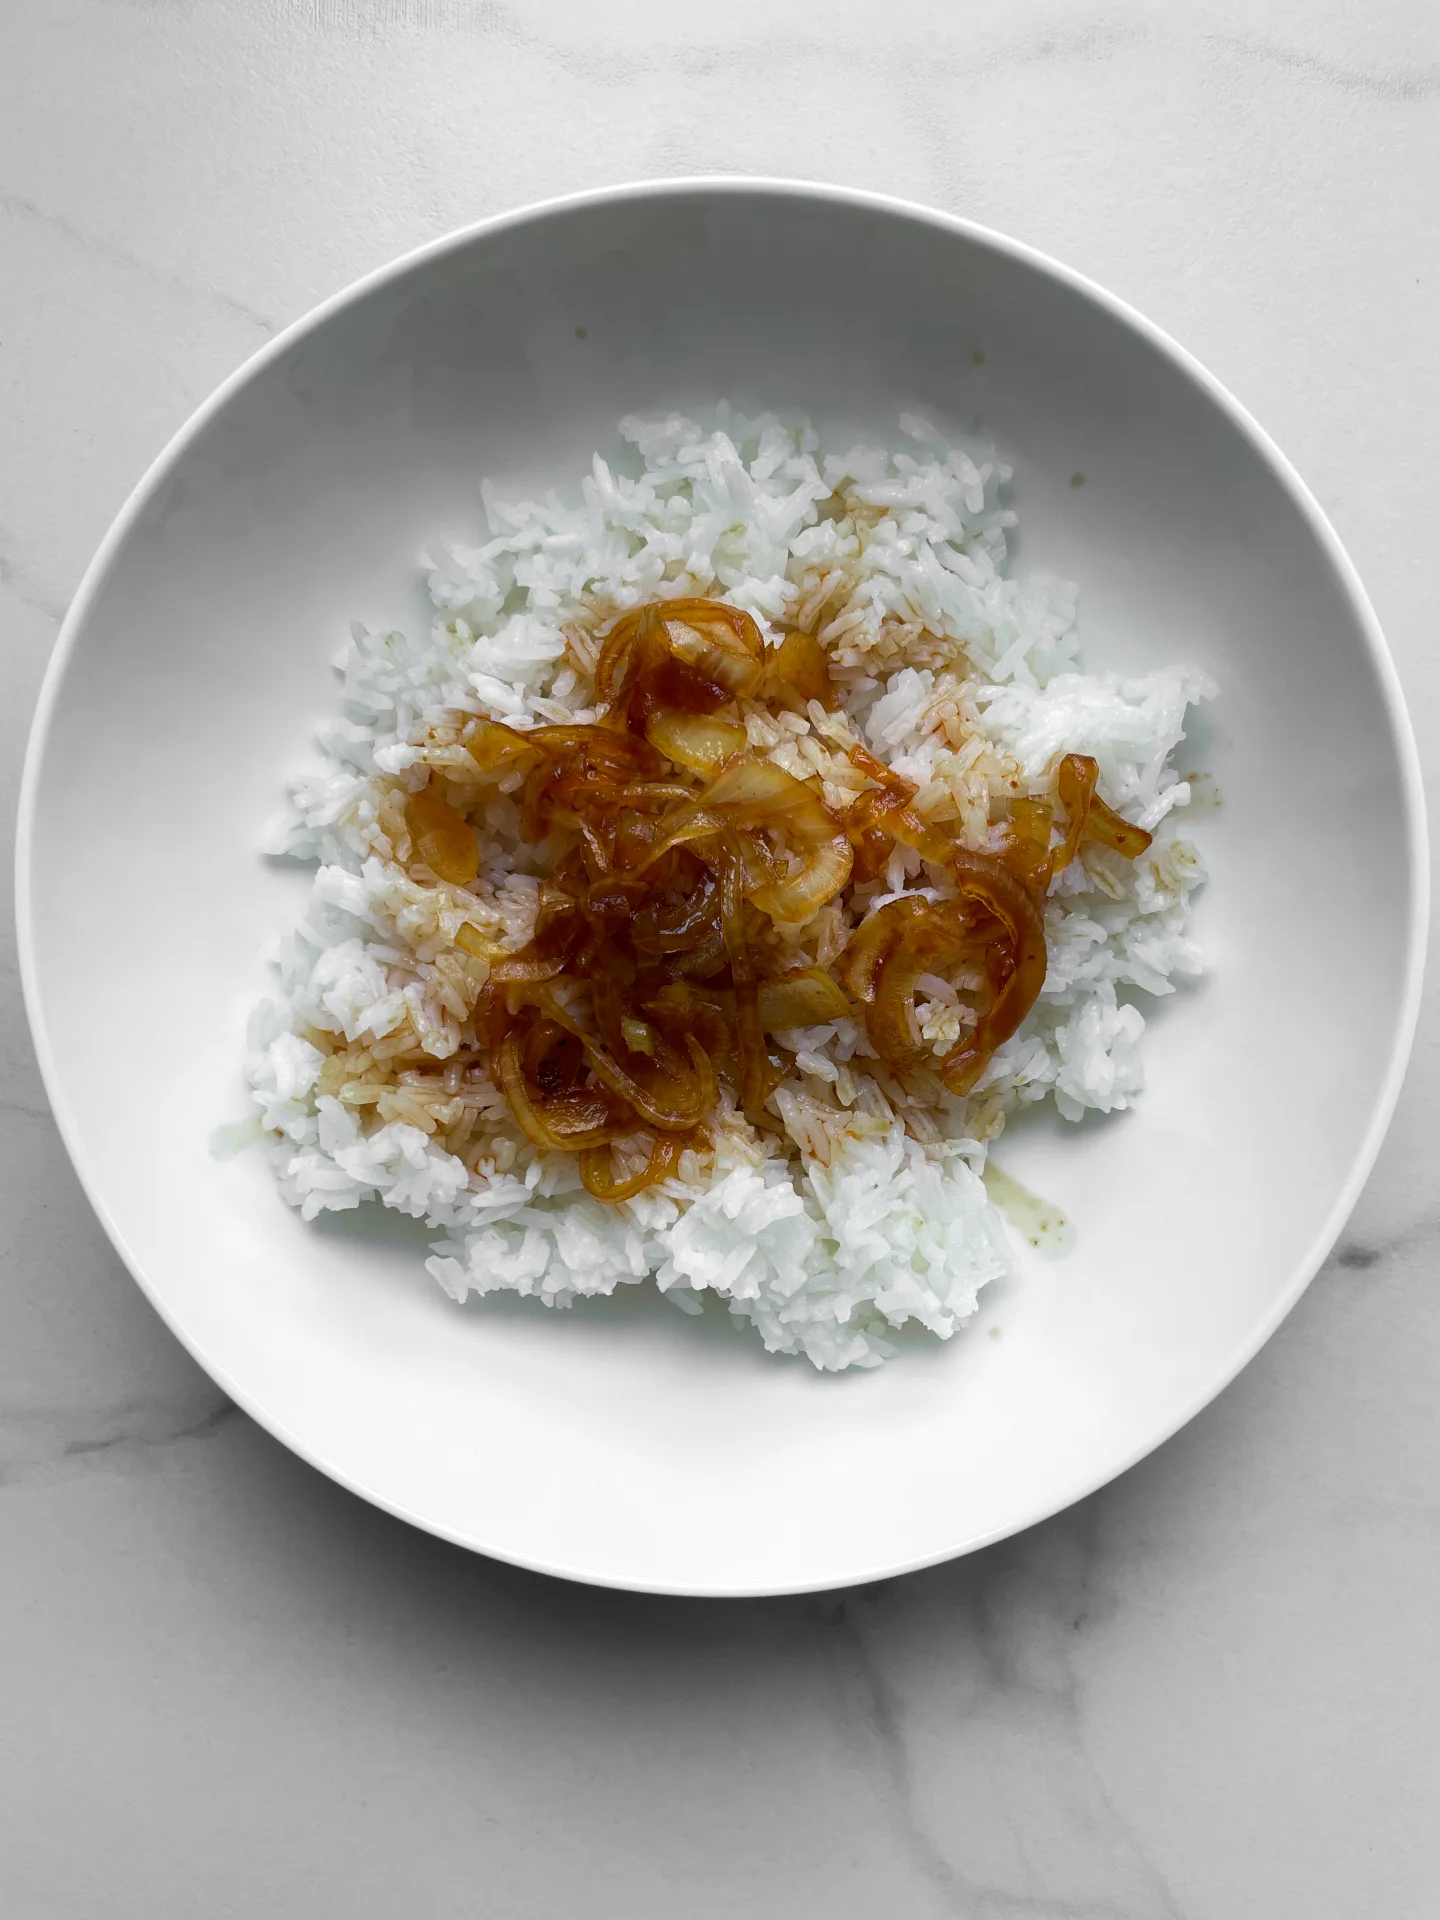
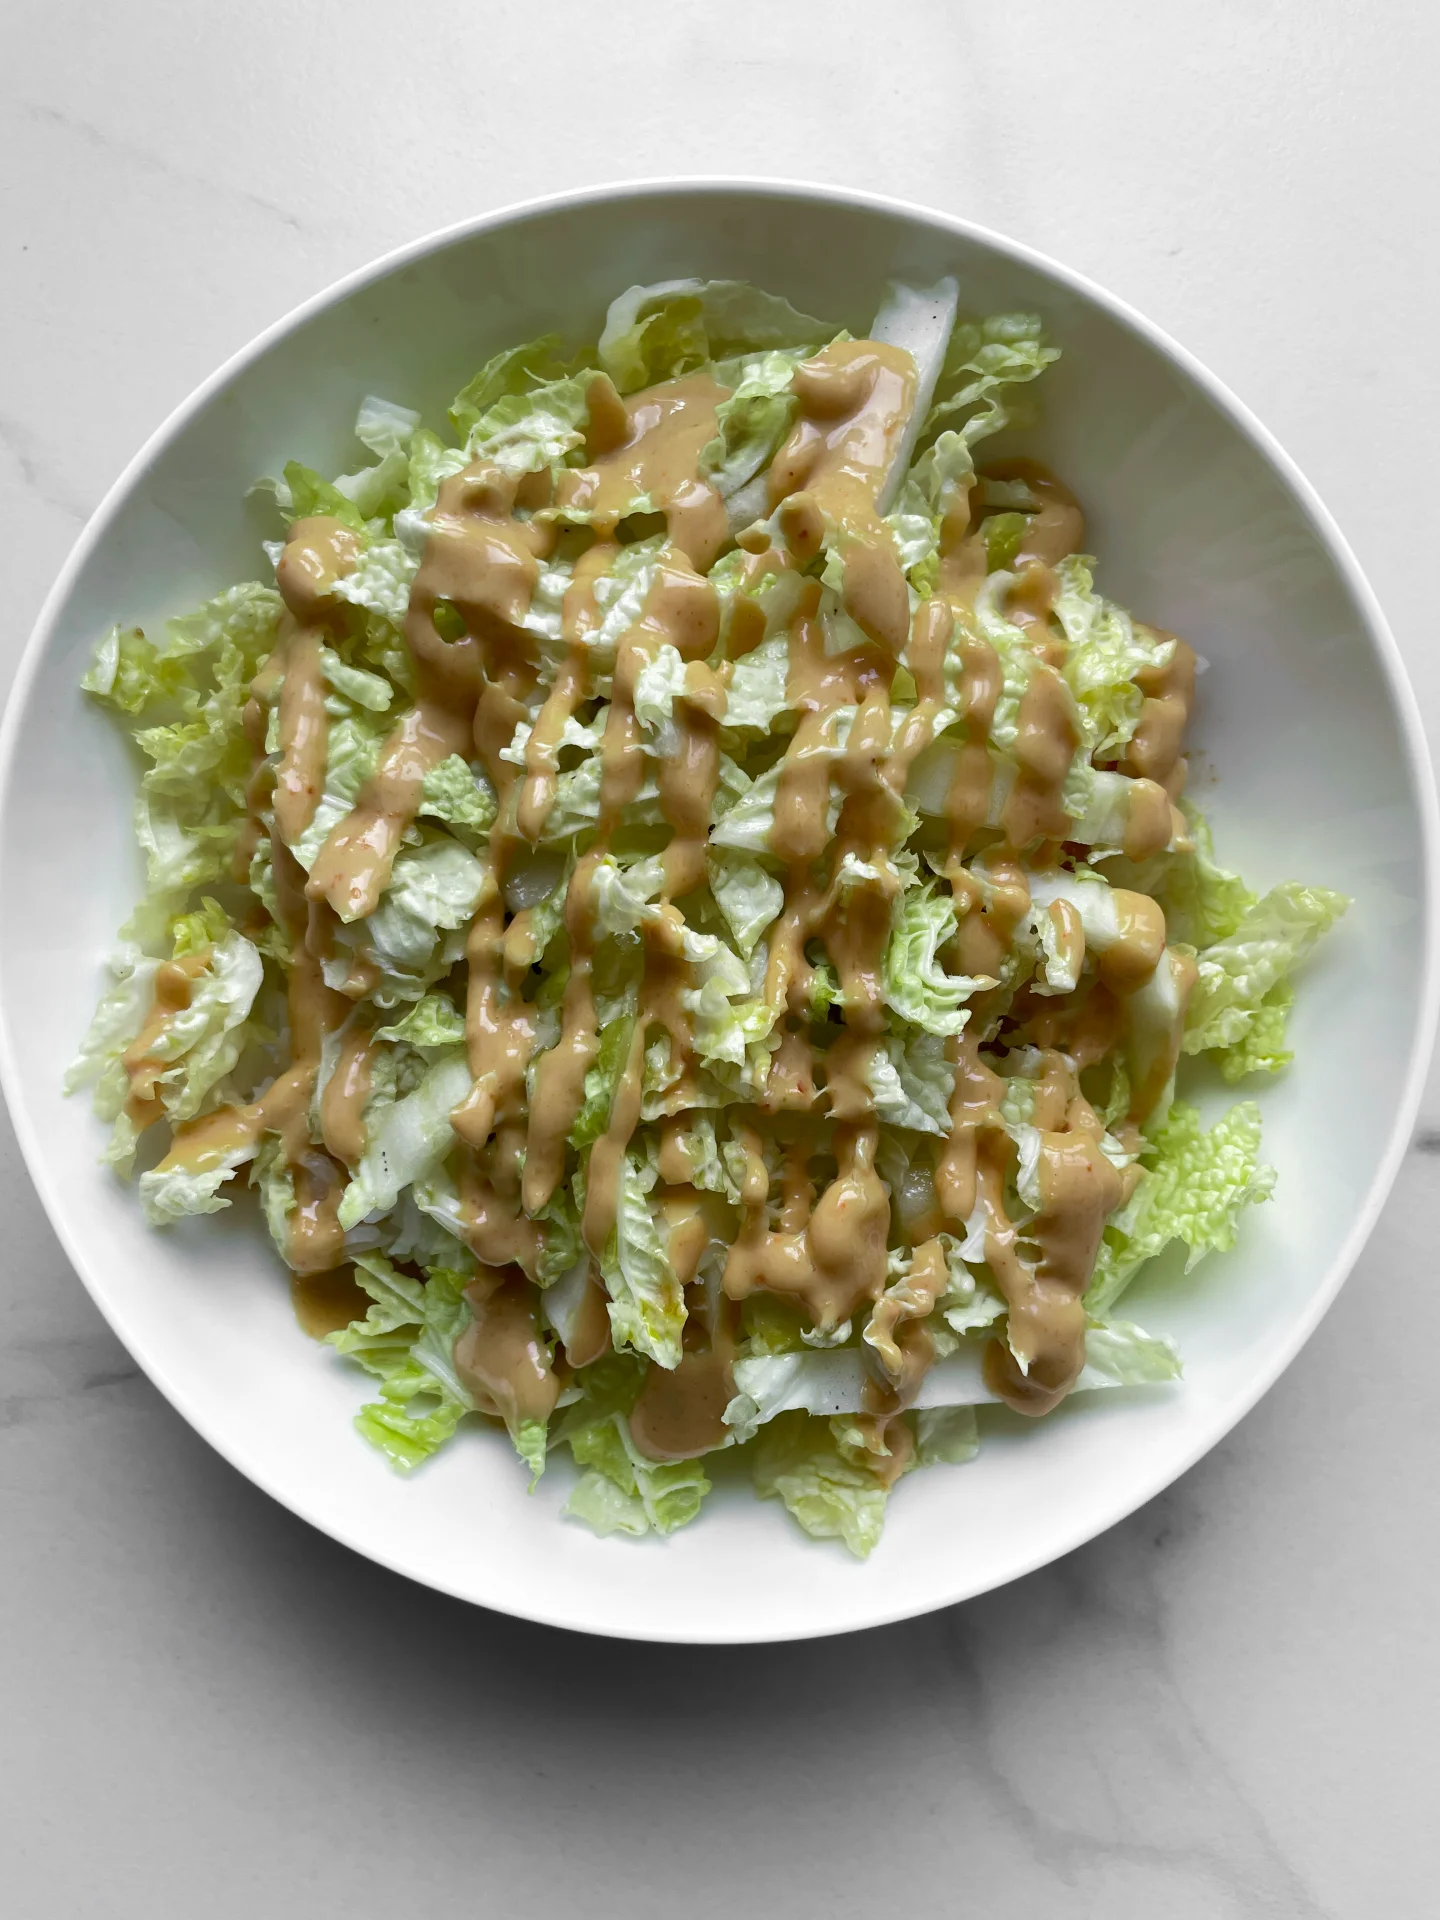
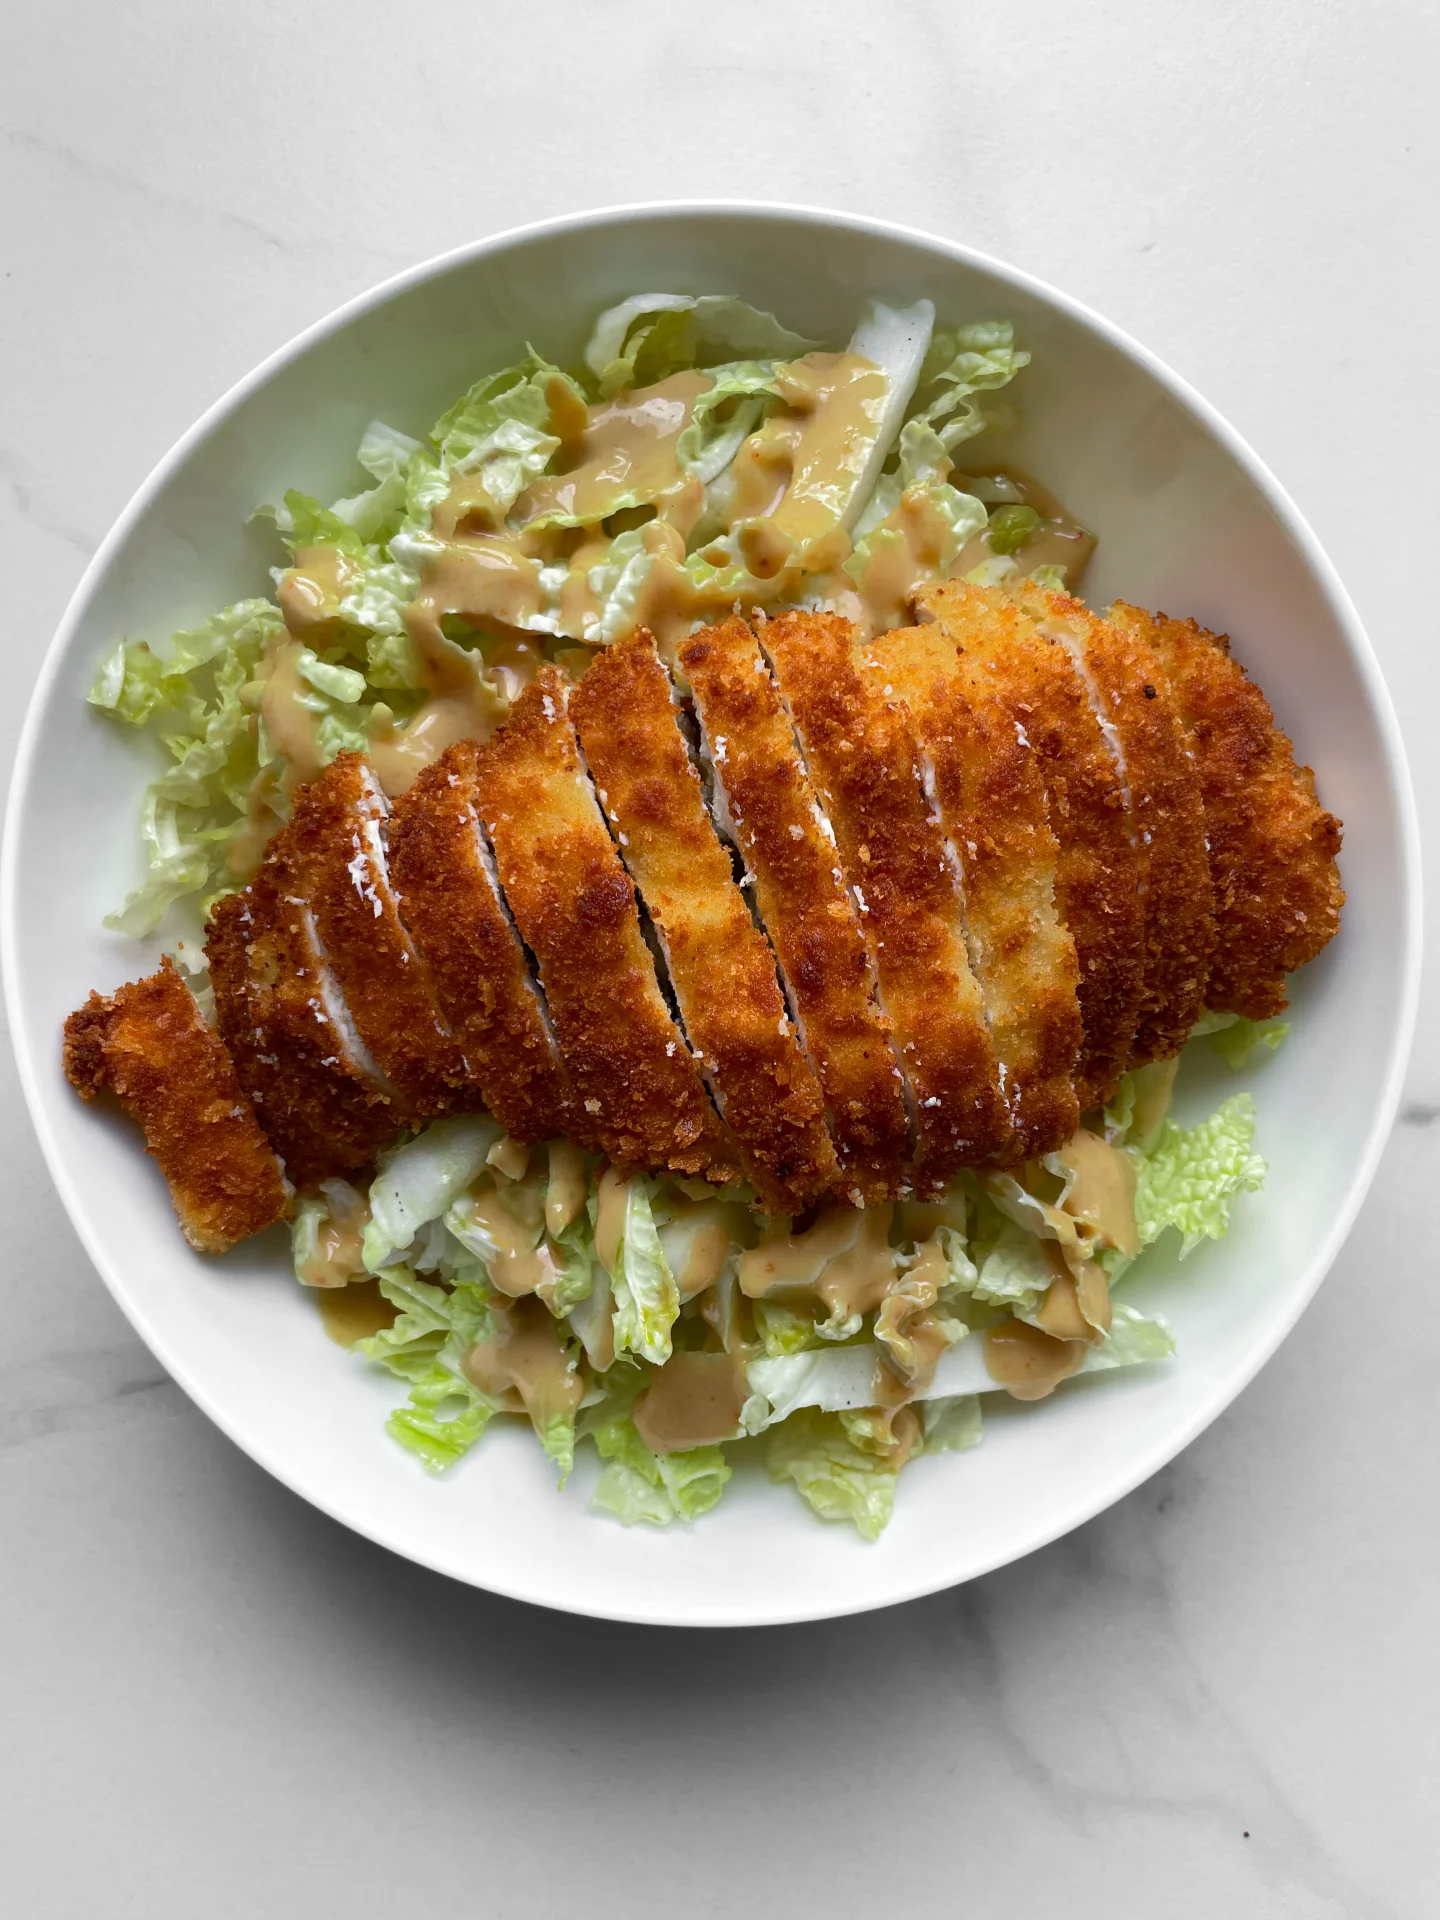
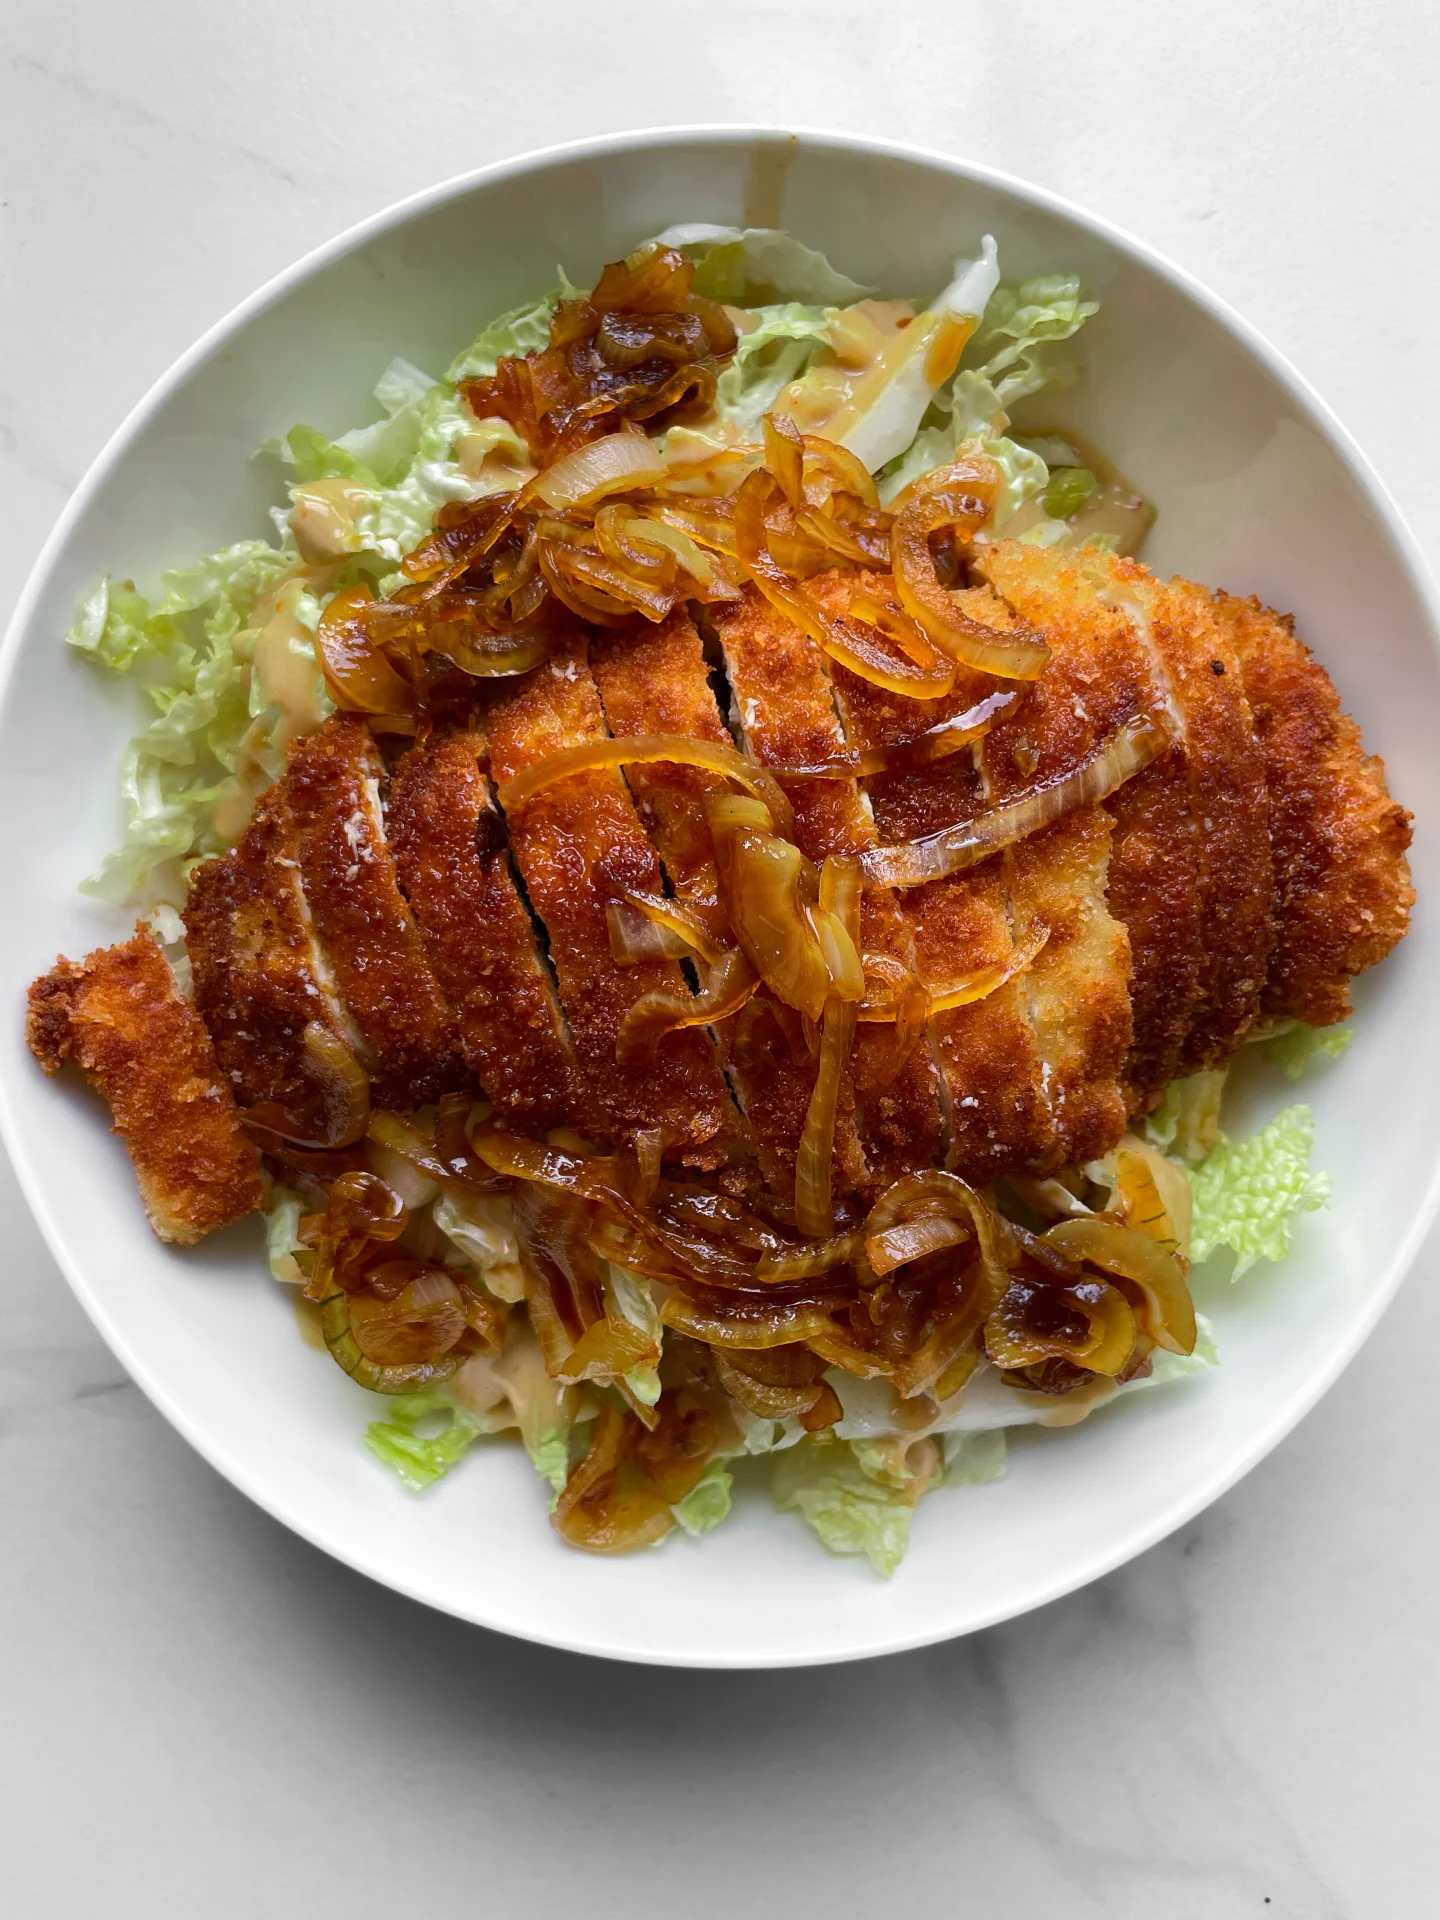
  9. Once the Tsuyu sauce is ready, you can start plating. Take four bowls. First, add the rice, then drizzle 1-2 tablespoons of Tsuyu sauce and some onions over the rice. Next, add a handful of napa cabbage on top, and drizzle the sesame sauce over it in a zigzag pattern. Slice the schnitzel into thin strips and place it on top of the cabbage. Finally, drizzle the remaining Tsuyu sauce and onions over the chicken, and finish with a zigzag of Tonkatsu sauce. Optional: garnish with fresh scallions.
  • Cook Time: 80 min

Crispy Pork Gyoza, Miso Ginger Oil Glaze & Fried Seaweed

Crispy Pork Gyoza, Miso Ginger Oil Glaze & Fried Seaweed

Crispy Pork Gyoza, Miso Ginger Oil Glaze & Fried Seaweed

Crispy Pork Gyoza, Miso Ginger Oil Glaze & Fried Seaweed

July 29, 2024 by Kimberly

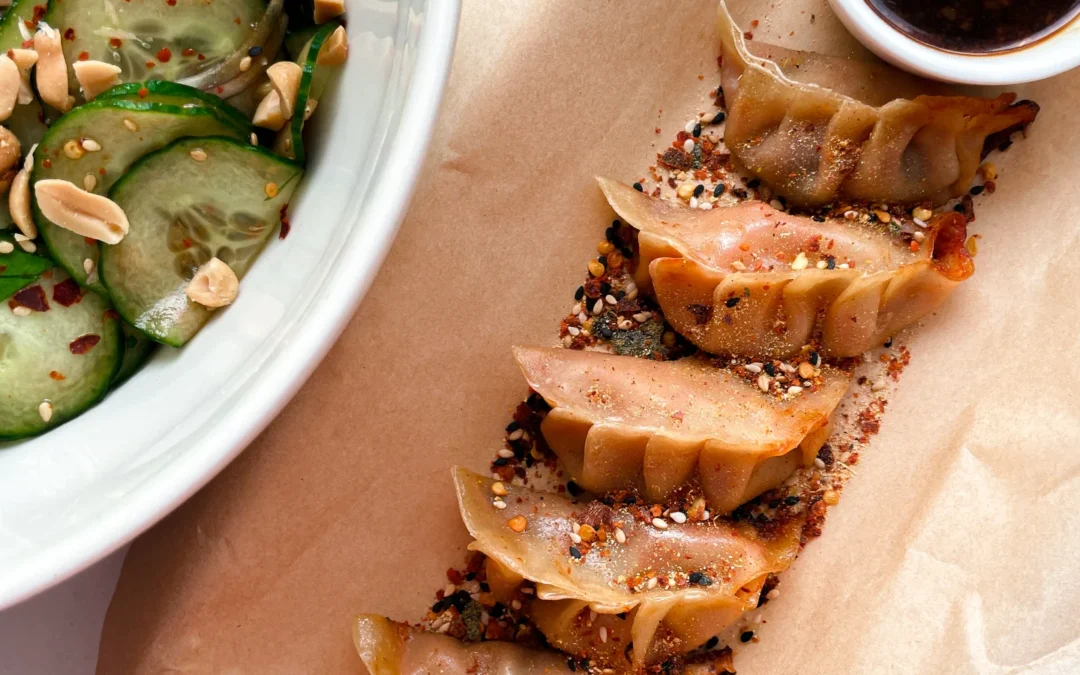
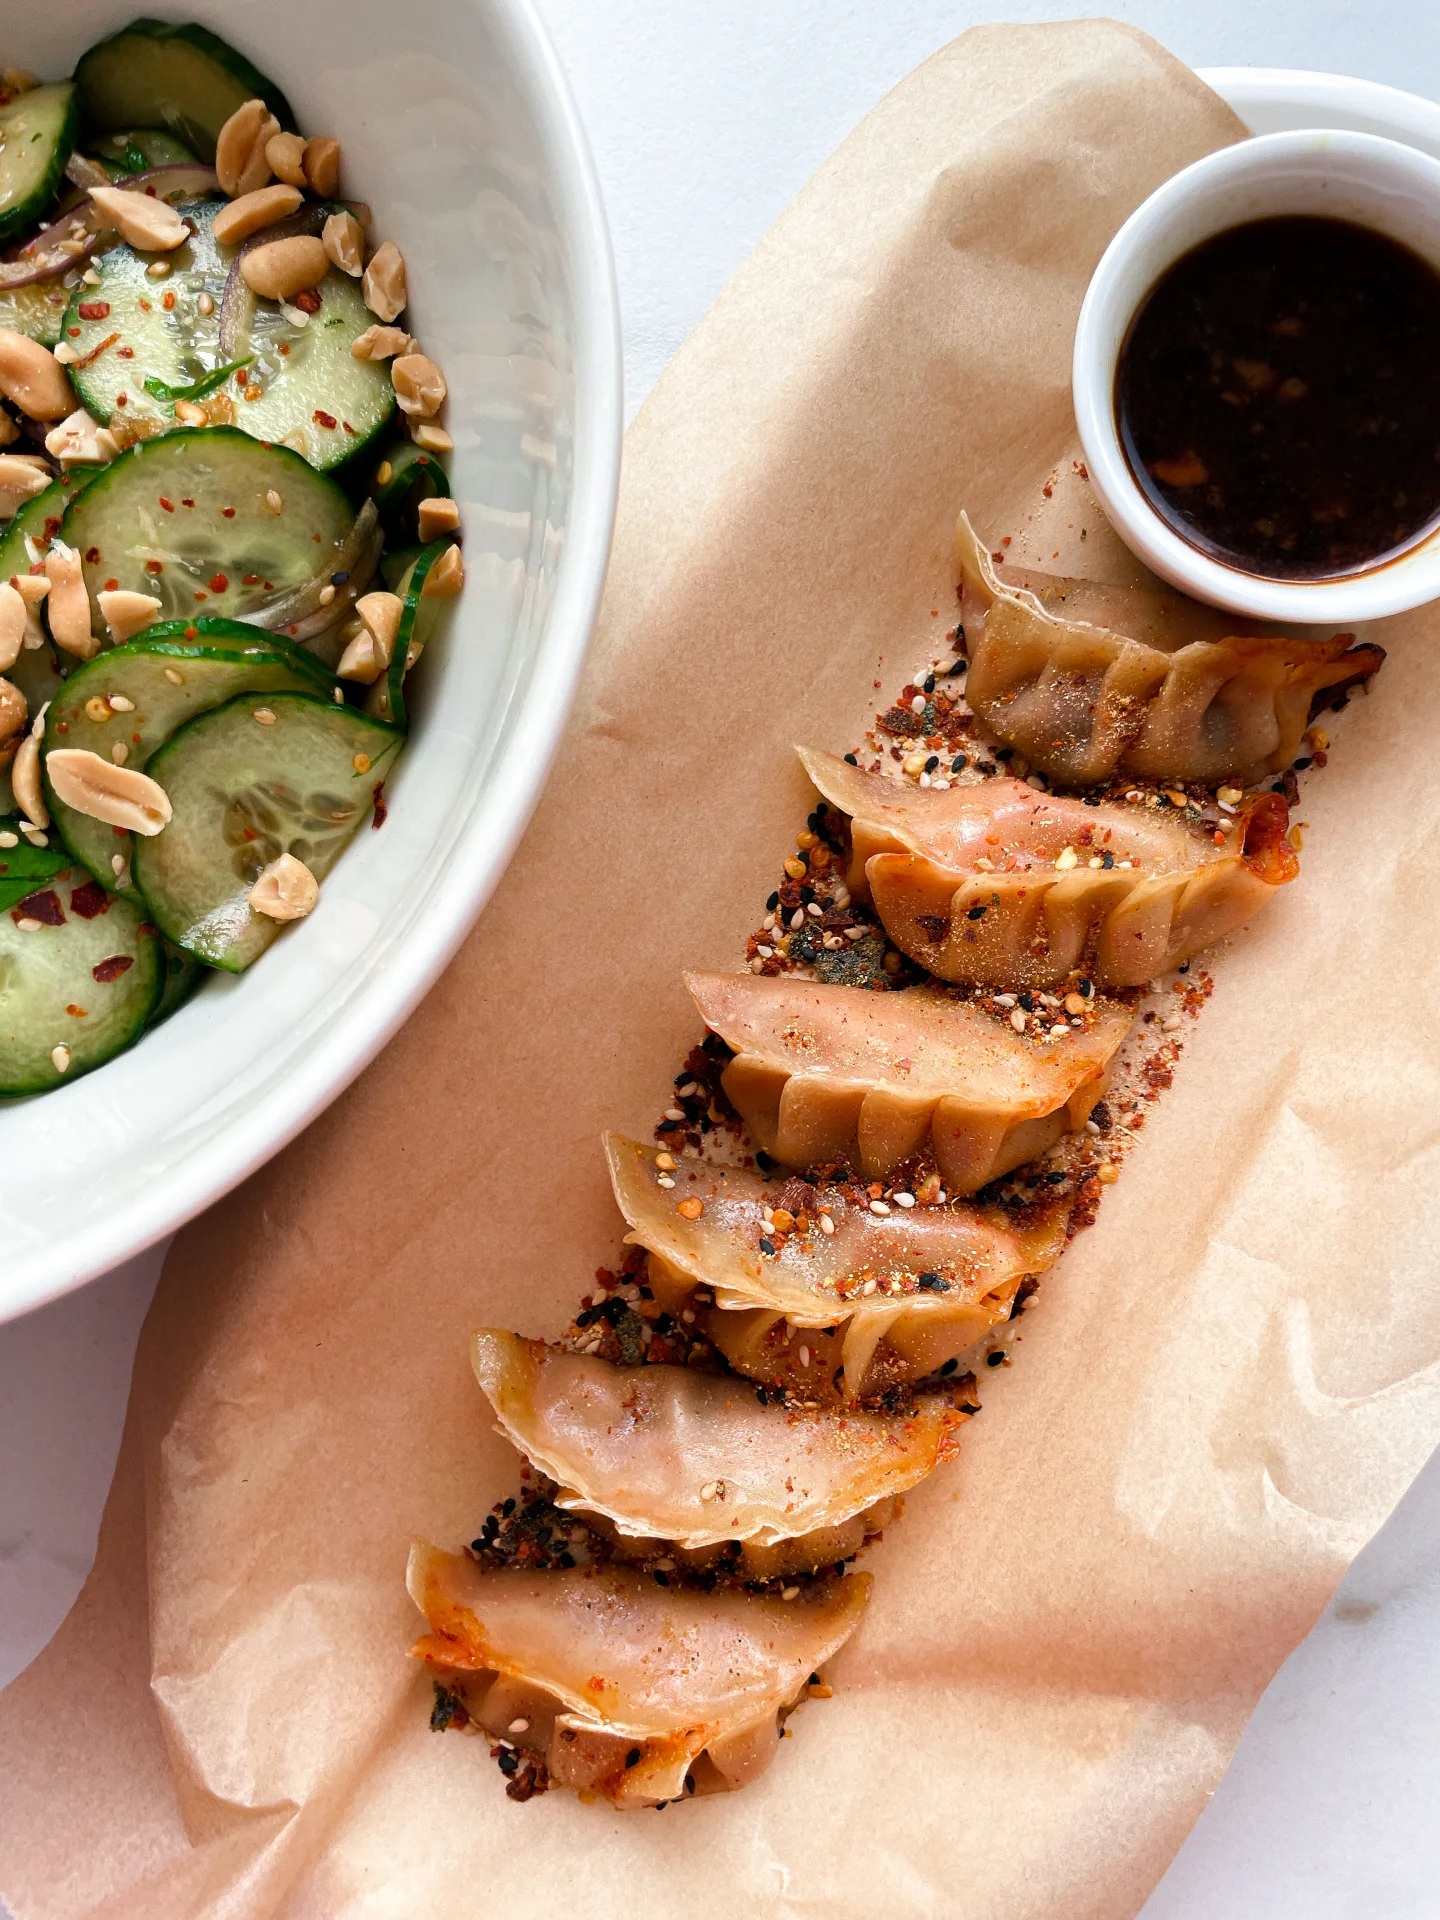
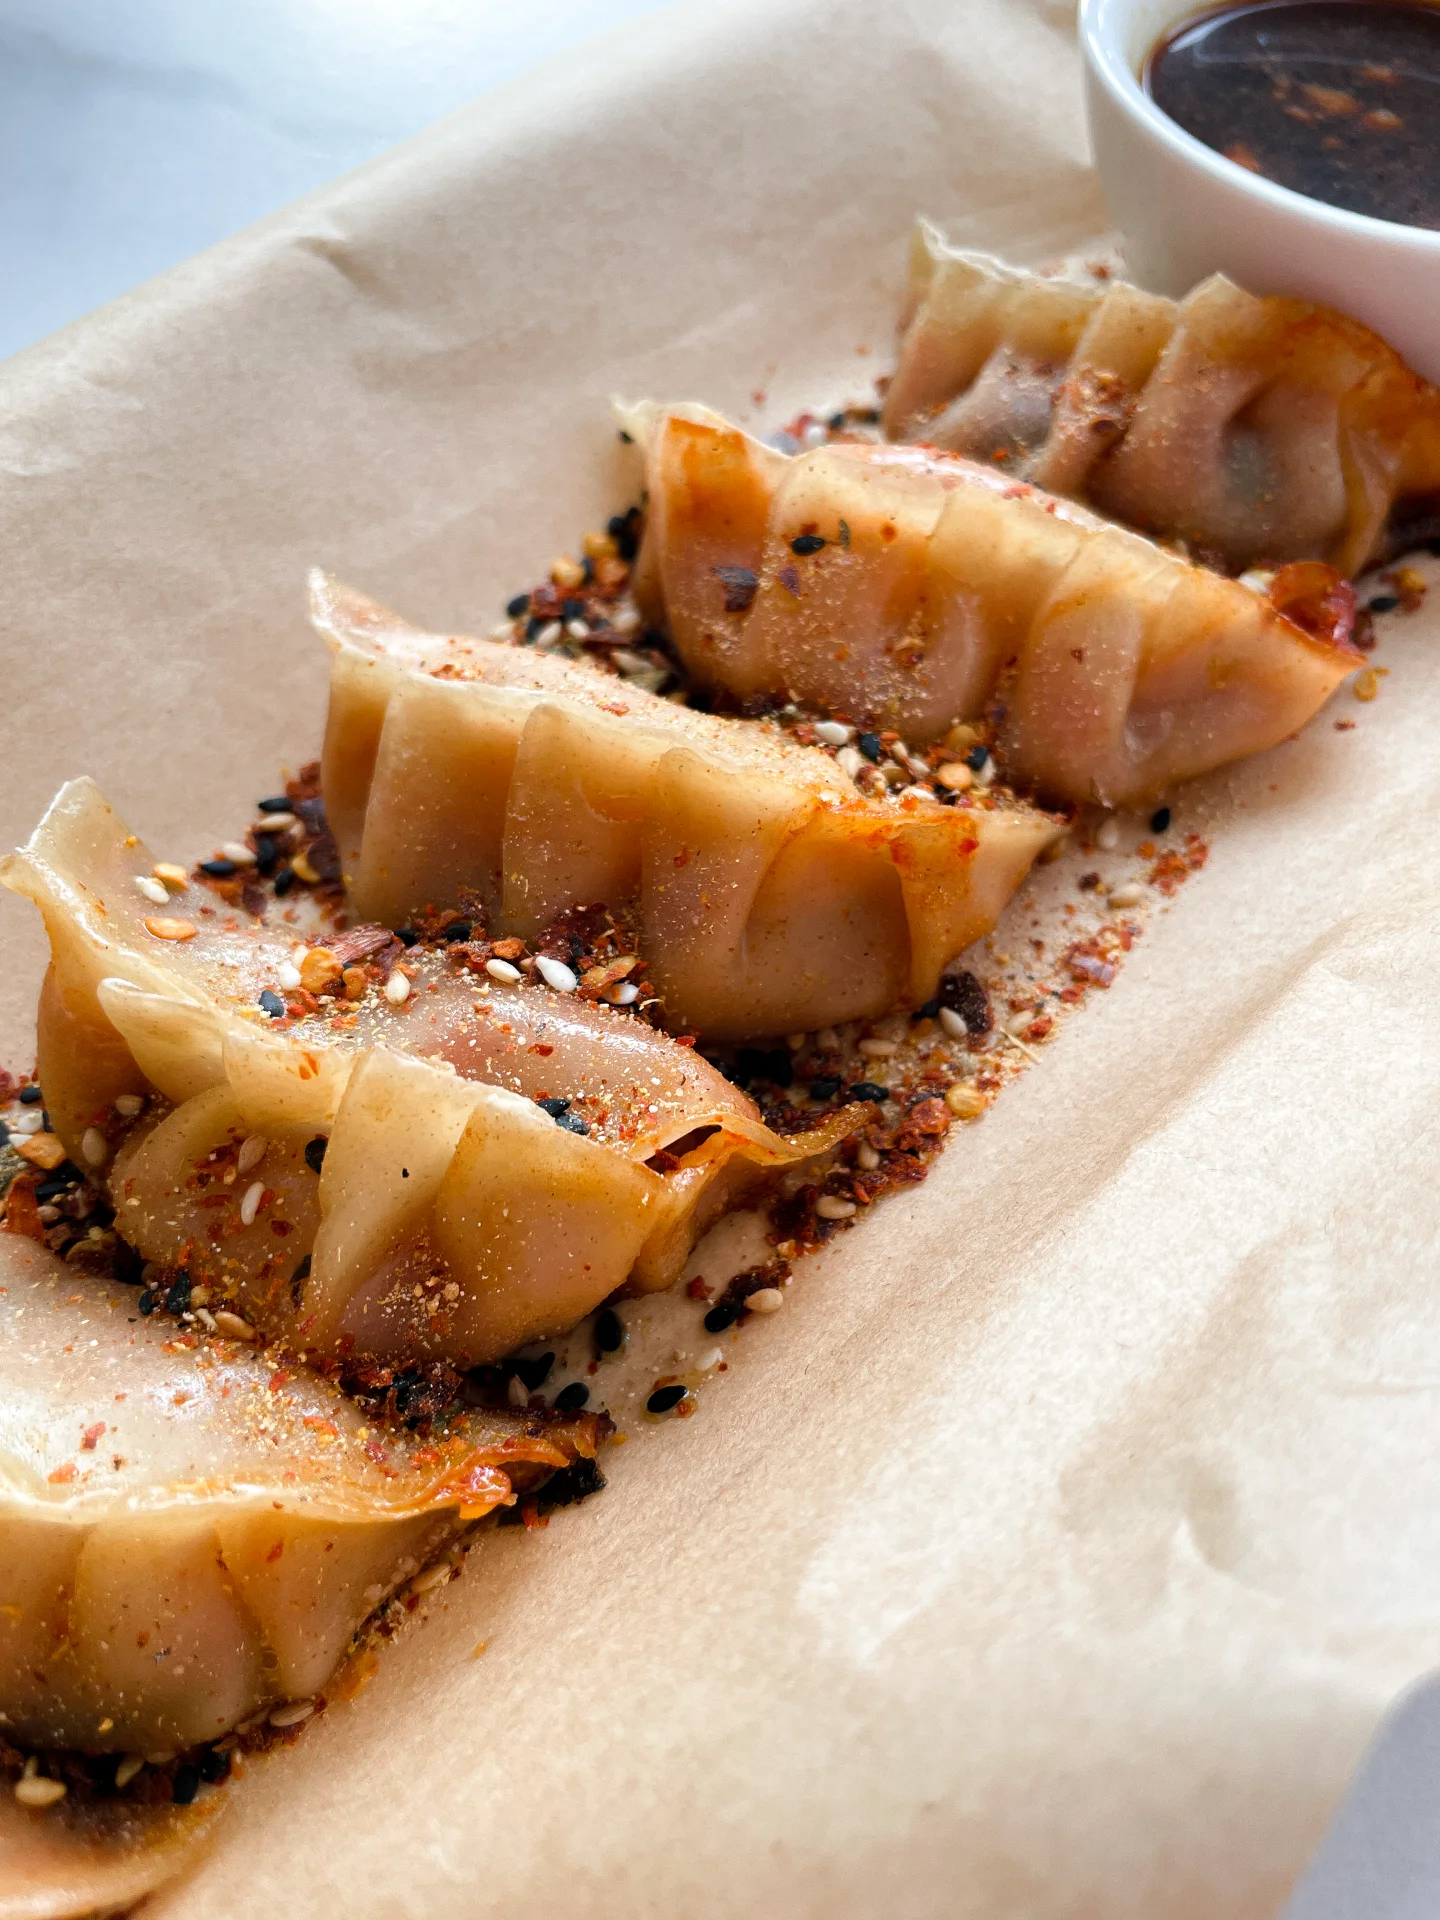
Dive into crispy pork gyoza with miso ginger oil glaze and fried seaweed – a flavor explosion that’s crunchy, savory, and totally irresistible. Perfect for any foodie adventure!

40 MINUTES

INTERMEDIATE

OMNIVORE

JAPANESE

334 PER PORTION

UMAMI

EVERYDAY

APPETIZER

ALL YEAR

INTRODUCTION

ABOUT THE RECIPE

Ready to elevate your appetizer game? Try these crispy pork gyoza drizzled with a mouth-watering miso ginger oil glaze, paired with crunchy fried seaweed. This dish is a fusion of amazing textures and flavors that will take your taste buds on an unforgettable journey. Perfect for impressing guests or enjoying a gourmet snack at home, these gyoza are a must-have for any cooking enthusiast.

How to serve
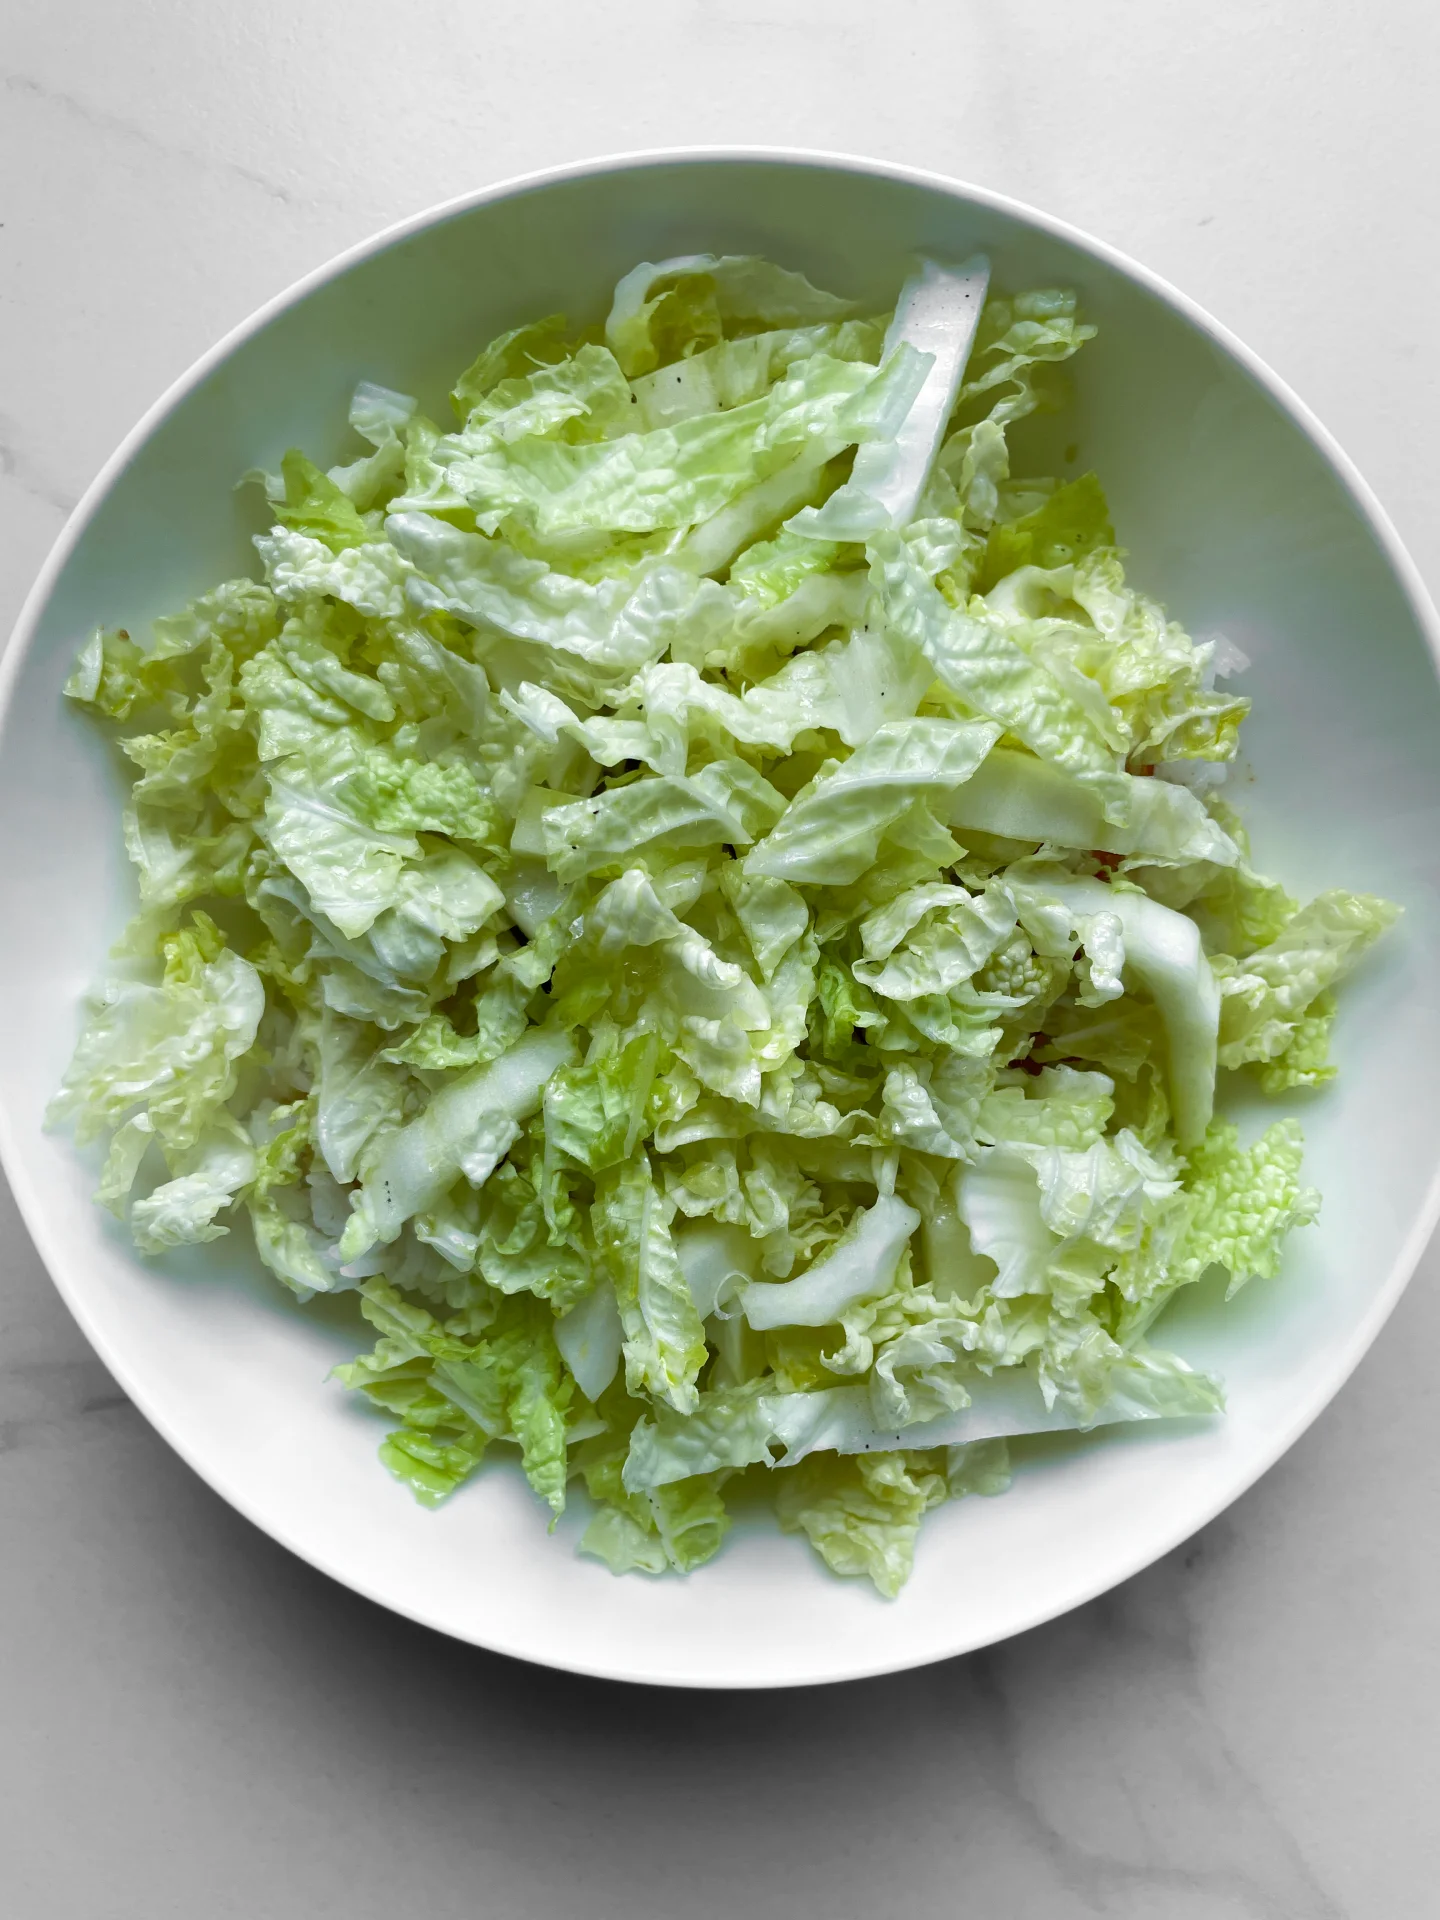
Serve these crispy pork gyoza hot from the pan, generously drizzled with the miso ginger oil glaze for a savory kick. Pair them with the fried seaweed for an added crunch that perfectly complements the soft, flavorful gyoza. Garnish with sesame seeds and green onions for extra flavor and visual appeal. These gyoza make a fantastic appetizer, party snack, or light meal.
How to store
Store leftover gyoza in an airtight container in the fridge for up to three days. Reheat them in a hot pan to keep their crispiness. The miso ginger oil glaze can be stored separately in a sealed jar.

Hi, I'm Kimberly!

Hi, I'm Kimberly.

A passionate food lover who believes in the magic of homemade deliciousness that spreads love and warmth. Join me on this culinary adventure as I prepare wonderful dishes and let’s spread some happiness together!

Kimberly the Zett Signature

If you want to get to know me better, click here!


Crispy Pork Gyoza, Miso Ginger Oil Glaze & Fried Seaweed
„Let’s make a piece of happiness“
Print
clock clock iconcutlery cutlery iconflag flag iconfolder folder iconinstagram instagram iconpinterest pinterest iconfacebook facebook iconprint print iconsquares squares iconheart heart iconheart solid heart solid icon
Crispy Pork Gyoza, Miso Ginger Oil Glaze & Fried Seaweed

Crispy Pork Gyoza, Miso Ginger Oil Glaze & Fried Seaweed


  • Author: Kimberly
  • Total Time: 40 min
  • Yield: 4 1x

Description

Recommended Equipment

  • sharp knife
  • cutting board
  • medium bowl
  • large plate
  • three small bowls
  • measuring spoons
  • large pan with lid
  • scissors
  • small pan or pot

Ingredients

Units Scale
  • 20 Gyoza wrapper, homemade or store-bought
  • 1 tbsp high heat oil
  • 80 milliliters cold water
  • 400 grams seaweed salad (optional)

FILLING

  • 250 grams ground pork
  • 4 garlic cloves
  • 1 tsp sesame oil
  • 1 tsp ginger oil
  • 1 spring onion
  • 1.5 tbsp Hoisin sauce
  • 1 tsp soy sauce
  • 1/4 tsp Chinese Five Spice
  • 1 small egg

MISO GLAZE

  • 2 tbsp miso paste
  • 1 tbsp mirin
  • 1 tsp honey
  • 2 tsp soy sauce
  • 2 tsp ginger oil
  • 3 tbsp warm water

TOPPINGS

  • 1 Nori sheet
  • 1 tsp cornstarch
  • 2 tsp cold water
  • fresh cilantro
  • ginger oil

Instructions

PREPARATIONS

  • Here’s the recipe for Gyoza dough. You’ll need about 20 sheets, cut them into squares rather than rounds. Or, just get ready-made Gyoza wrappers from the Asian market.
  • Here’s the recipe for ginger oil. You’ll need about 2-3 tablespoons.
  • Here’s the recipe for Chinese Five Spice. You’ll need 1/4 teaspoon.

INSTRUCTIONS

  1. First, prepare the Gyoza filling. Peel and finely grate the garlic cloves into a medium bowl. Then, slice the spring onion into thin rings and add to the garlic. Next, add the ground pork, ginger oil, sesame oil, hoisin sauce, Chinese Five Spice, and the egg. Mix everything well.
  2. Take a large plate and sprinkle some flour on it. This will be the resting place for the filled Gyoza so they don’t stick to the plate. Also, prepare a small bowl with some cold water and have your Gyoza dough ready.
  3. Fill each Gyoza wrapper with 1 teaspoon of the pork filling. Dab a little water around the edge of the wrapper, fold it diagonally to seal, and press out all the air so the filling is well enclosed. Wet one side of the long edge, fold it over, and press firmly. Place on the floured plate. Repeat until all the filling is used up.
  4. Heat 1 tbsp of high-heat oil in a large pan over medium heat and add the Gyoza. Fry for a few minutes until the bottoms are crispy. Lower the heat and add about 100ml / 1/3 cup of cold water to the pan (be careful, it may splatter if the oil is too hot). Cover the pan with a lid and let the Gyoza steam.
  5. Meanwhile, fold the Nori sheet three times in the middle and cut it into thin strips with scissors. Mix the Nori strips with cornstarch in a small bowl. Add a bit of water and stir well. Heat about 1 cm of high-heat oil in a small pan or pot to around 180°C / 356°F. Fry the Nori strips for 2-3 minutes, then remove and drain on paper towels.
  6. The Gyoza should now be a bit translucent and the filling cooked through. Remove the lid and turn the heat back to medium to crisp up the Gyoza again.
  7. Meanwhile, make the Miso Glaze. In a small bowl, mix Mirin, honey, soy sauce, and ginger oil. Heat for a few seconds in the microwave (or in a small pan) until it simmers. Stir in the Miso paste well, add 3 tbsp warm water to thin it a bit and set aside.
  8. Finely chop the fresh coriander and set aside.
  9. Optionally, place seaweed salad in the center of the plate, arrange 5 Gyoza on top. Drizzle with Miso Glaze and top with fried Nori strips, chopped coriander, and toasted sesame seeds. Finish with a splash of ginger oil and serve immediately.
  • Cook Time: 40 min

Mochi Matcha Brownies

Mochi Matcha Brownies

Mochi Matcha Brownies

Mochi Matcha Brownies

July 13, 2024 by Kimberly

Whip up these irresistibly gooey mochi matcha brownies topped with creamy white chocolate! Simple, decadent, and perfect for any sweet tooth.

3 HOURS
20 MINUTES

EASY

VEGAN

JAPANESE

203 PER PIECE

GOOEY
SWEET

EVERYDAY

DESSERT

SUMMER

INTRODUCTION

ABOUT THE RECIPE

Dive into the world of baking with these mochi matcha brownies! These delights blend the chewy texture of mochi with the rich taste of matcha, topped with luscious white chocolate.

How to serve
Serve these brownies chilled to fully enjoy their gooey texture. They pair beautifully with a cup of coffee or matcha latte, making them perfect for dessert or a special afternoon treat. Cut into small squares for an elegant presentation.

How to store
Keep leftover brownies in an airtight container at room temperature to maintain their moisture. They stay fresh and delicious for up to three days.

Hi, I'm Kimberly!

Hi, I'm Kimberly.

A passionate food lover who believes in the magic of homemade deliciousness that spreads love and warmth. Join me on this culinary adventure as I prepare wonderful dishes and let’s spread some happiness together!

Kimberly the Zett Signature

If you want to get to know me better, click here!


Mochi Matcha Brownies
„Let’s make a piece of happiness“
Print
clock clock iconcutlery cutlery iconflag flag iconfolder folder iconinstagram instagram iconpinterest pinterest iconfacebook facebook iconprint print iconsquares squares iconheart heart iconheart solid heart solid icon
Mochi Matcha Brownies

Mochi Matcha Brownies


  • Author: Kimberly
  • Total Time: 3 hrs + 20 min
  • Yield: 9 1x

Description

Recommended Equipment

  • oven
  • baking pan dish (20x20cm / 8×8″)
  • 2 medium-sized bowls
  • whisk
  • small pot
  • small metal (or glass) bowl
  • sharp knife

Ingredients

Units Scale

BATTER

  • 230 grams rice flour
  • 100 grams white sugar
  • 1/4 tsp backing powder
  • 1 tsp matcha powder
  • 120 milliliters oat milk (or any other milk you prefer)
  • 90 milliliters coconut milk
  • 1/4 tsp vanilla extract
  • 1 tsp butter, for greasing

TOPPING

  • 100 grams white chocolate
  • 1 tsp coconut oil

Instructions

  1. Preheat your oven to 135°C / 275°F.
  2. Grease your baking pan with a teaspoon of butter and set it aside.
  3. In a medium bowl, whisk together all the dry ingredients: rice flour, sugar, matcha powder, and baking powder.
  4. In another medium bowl, combine the wet ingredients: oat milk, coconut milk, and vanilla extract. Whisk these together well.
  5. Slowly add the wet ingredients to the dry, mixing until you have a smooth, creamy batter.
  6. Pour the batter into the greased pan, smoothing it out to an even layer, and bake for about 70 minutes.
  7. Once done, take the brownie out of the oven and let it cool completely. As it cools, it will sink slightly and the surface will dry out, but it will become deliciously gooey.
  8. For the topping, fill a small pot with water and bring it to a simmer, then take it off the heat. Break the white chocolate into small pieces and place them in a small metal bowl. Set this bowl over the simmering water pot to melt the chocolate, stirring until smooth. Add a teaspoon of coconut oil, mix well, then pour the melted chocolate over the cooled brownie. Let this cool down again.
  9. I got a bit impatient and cut into the brownies too soon while the chocolate was still soft – it was a bit messy, but I wasn’t mad about it! Once everything is fully set, cut the brownie into 9 even squares and enjoy.
  • Passive Time: 3 hrs
  • Cook Time: 20 min

Katsu Sando

Katsu Sando

Katsu Sando

Katsu Sando

June 29, 2024 by Kimberly

Sink your teeth into the ultimate Katsu Sando – the most popular Japanese sandwich! Crispy chicken, tangy red cabbage, and creamy kewpie mayo nestled between soft bread – every bite is a flavor explosion!

40 MINUTES

EASY

OMNIVORE

JAPANESE

582 PER PORTION

CRISPY
UMAMI

EVERDAY

LUNCH

ALL YEAR

INTRODUCTION

ABOUT THE RECIPE

Brace yourself for the crunch and savor of the Katsu Sando, a Japanese-inspired sandwich that’s taking the culinary world by storm. Featuring crispy panko-crusted chicken, this sandwich packs a punch with every layer of flavor.

How to serve
Perfectly crispy and deliciously juicy, the Katsu Sando is best served immediately after assembly to maintain its textural contrast. Slice it in half to show off the beautiful layers of red cabbage slaw, green butter lettuce, creamy kewpie mayo and tonkatsu sauce.

How to store
While best enjoyed fresh, you can store the prepped ingredients separately in the fridge. The panko chicken can be kept for up to two days.

Hi, I'm Kimberly!

Hi, I'm Kimberly.

A passionate food lover who believes in the magic of homemade deliciousness that spreads love and warmth. Join me on this culinary adventure as I prepare wonderful dishes and let’s spread some happiness together!

Kimberly the Zett Signature

If you want to get to know me better, click here!


Katsu Sando
Katsu Sando
Katsu Sando
„Let’s make a piece of happiness“
Print
clock clock iconcutlery cutlery iconflag flag iconfolder folder iconinstagram instagram iconpinterest pinterest iconfacebook facebook iconprint print iconsquares squares iconheart heart iconheart solid heart solid icon
Katsu Sando

Katsu Sando


  • Author: Kimberly
  • Total Time: 40 minutes
  • Yield: 4 1x

Description

Recommended Equipment

  • sharp knife
  • cutting board
  • medium-sized bowl
  • plastic wrap
  • meat mallet
  • two plates
  • three shallow dishes for breading
  • large frying pan
  • measuring spoons

Ingredients

Units Scale
  • 8 slices white toast
  • 40 grams kewpie mayo
  • 40 grams tonkatsu sauce
  • 250 grams chicken breast
  • 1.5 tbsp all-purpose flour
  • 1 egg
  • 3 tbsp panko bread crumbs
  • 3 tbsp regular bread crumbs
  • 50 grams clarified butter
  • 150 grams red cabbage
  • 1 tsp rice vinegar
  • 1/2 tsp sesame oil
  • 1/4 tsp salt
  • 4 butter lettuce leaves

Instructions

  • Cut the red cabbage into eighths and finely shred or slice one eighth. Place it in a medium-sized bowl and marinate with rice vinegar, sesame oil, and salt. Set aside.
  • Detach 4 leaves from the head of lettuce and wash thoroughly. Pat dry and set aside.
  • Halve the chicken breast lengthwise, then cut each half again crosswise. Place each piece between two layers of plastic wrap and pound to about 0.5 cm / 0.2″ thickness using a meat mallet. Lay the flattened meat on a plate.
  • Set up a breading station with three shallow dishes or bowls. Fill the first dish with 1.5 heaped tablespoons of wheat flour, crack an egg into the second dish and whisk it. In the third dish, mix together 3 heaped tablespoons each of panko and breadcrumbs. Coat each piece of chicken first in flour, shaking off excess, then dip in the egg, and finally, press into the breadcrumb mixture, ensuring it’s well coated on all sides. Place the breaded pieces side by side on a plate.
  • Heat clarified butter in a large frying pan and fry the breaded chicken pieces on both sides until crispy, about 3 minutes per side or until cooked through. Let the meat drain on kitchen paper.
  • Place half of the slices of bread flat on a clean work surface, then place a lettuce leaf on each. Top each with a piece of cooked chicken, followed by a zigzag pattern of Kewpie mayo and Tonkatsu sauce. Add about 2 tablespoons of red cabbage salad on top of the sauces. Finally, top the sandwiches with another slice of bread. If desired, trim the edges all around and cut the sandwiches in half in the middle with a sharp knife.

Notes

The calorie information may vary depending on the product used, country and region.

  • Cook Time: 40 min