


Description
RECOMMENDED EQUIPMENT
- Kitchen paper (or a fine towel)
- sharp knife
- chopping board
- hand mixer (or whisk)
- cling film
- medium-sized saucepan
- small saucepan
- small pan
Ingredients
Units Scale
BUNS
- 200 grams quark
- 100 grams all-purpose flour
- 1 egg
- 25 grams butter
- pinch of salt
- pinch of lemon zest
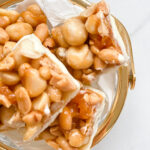
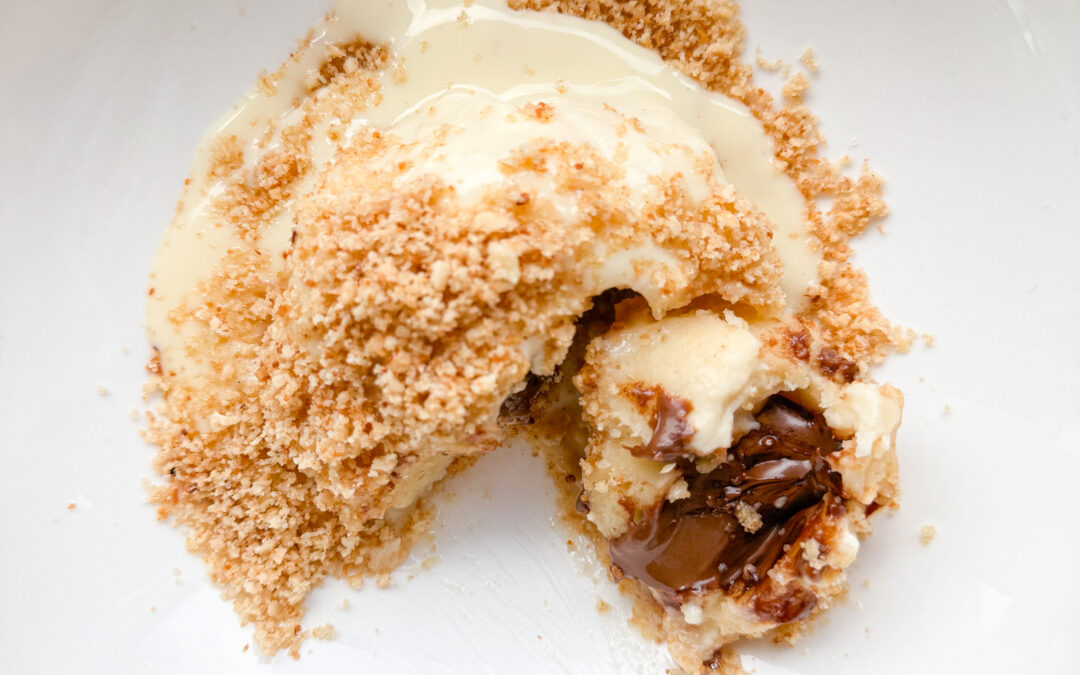
- 120 grams nougat
- 35 grams breadcrumbs
- 35 grams ground hazelnuts
- 1 tsp sugar
- 1.5 tbsp butter
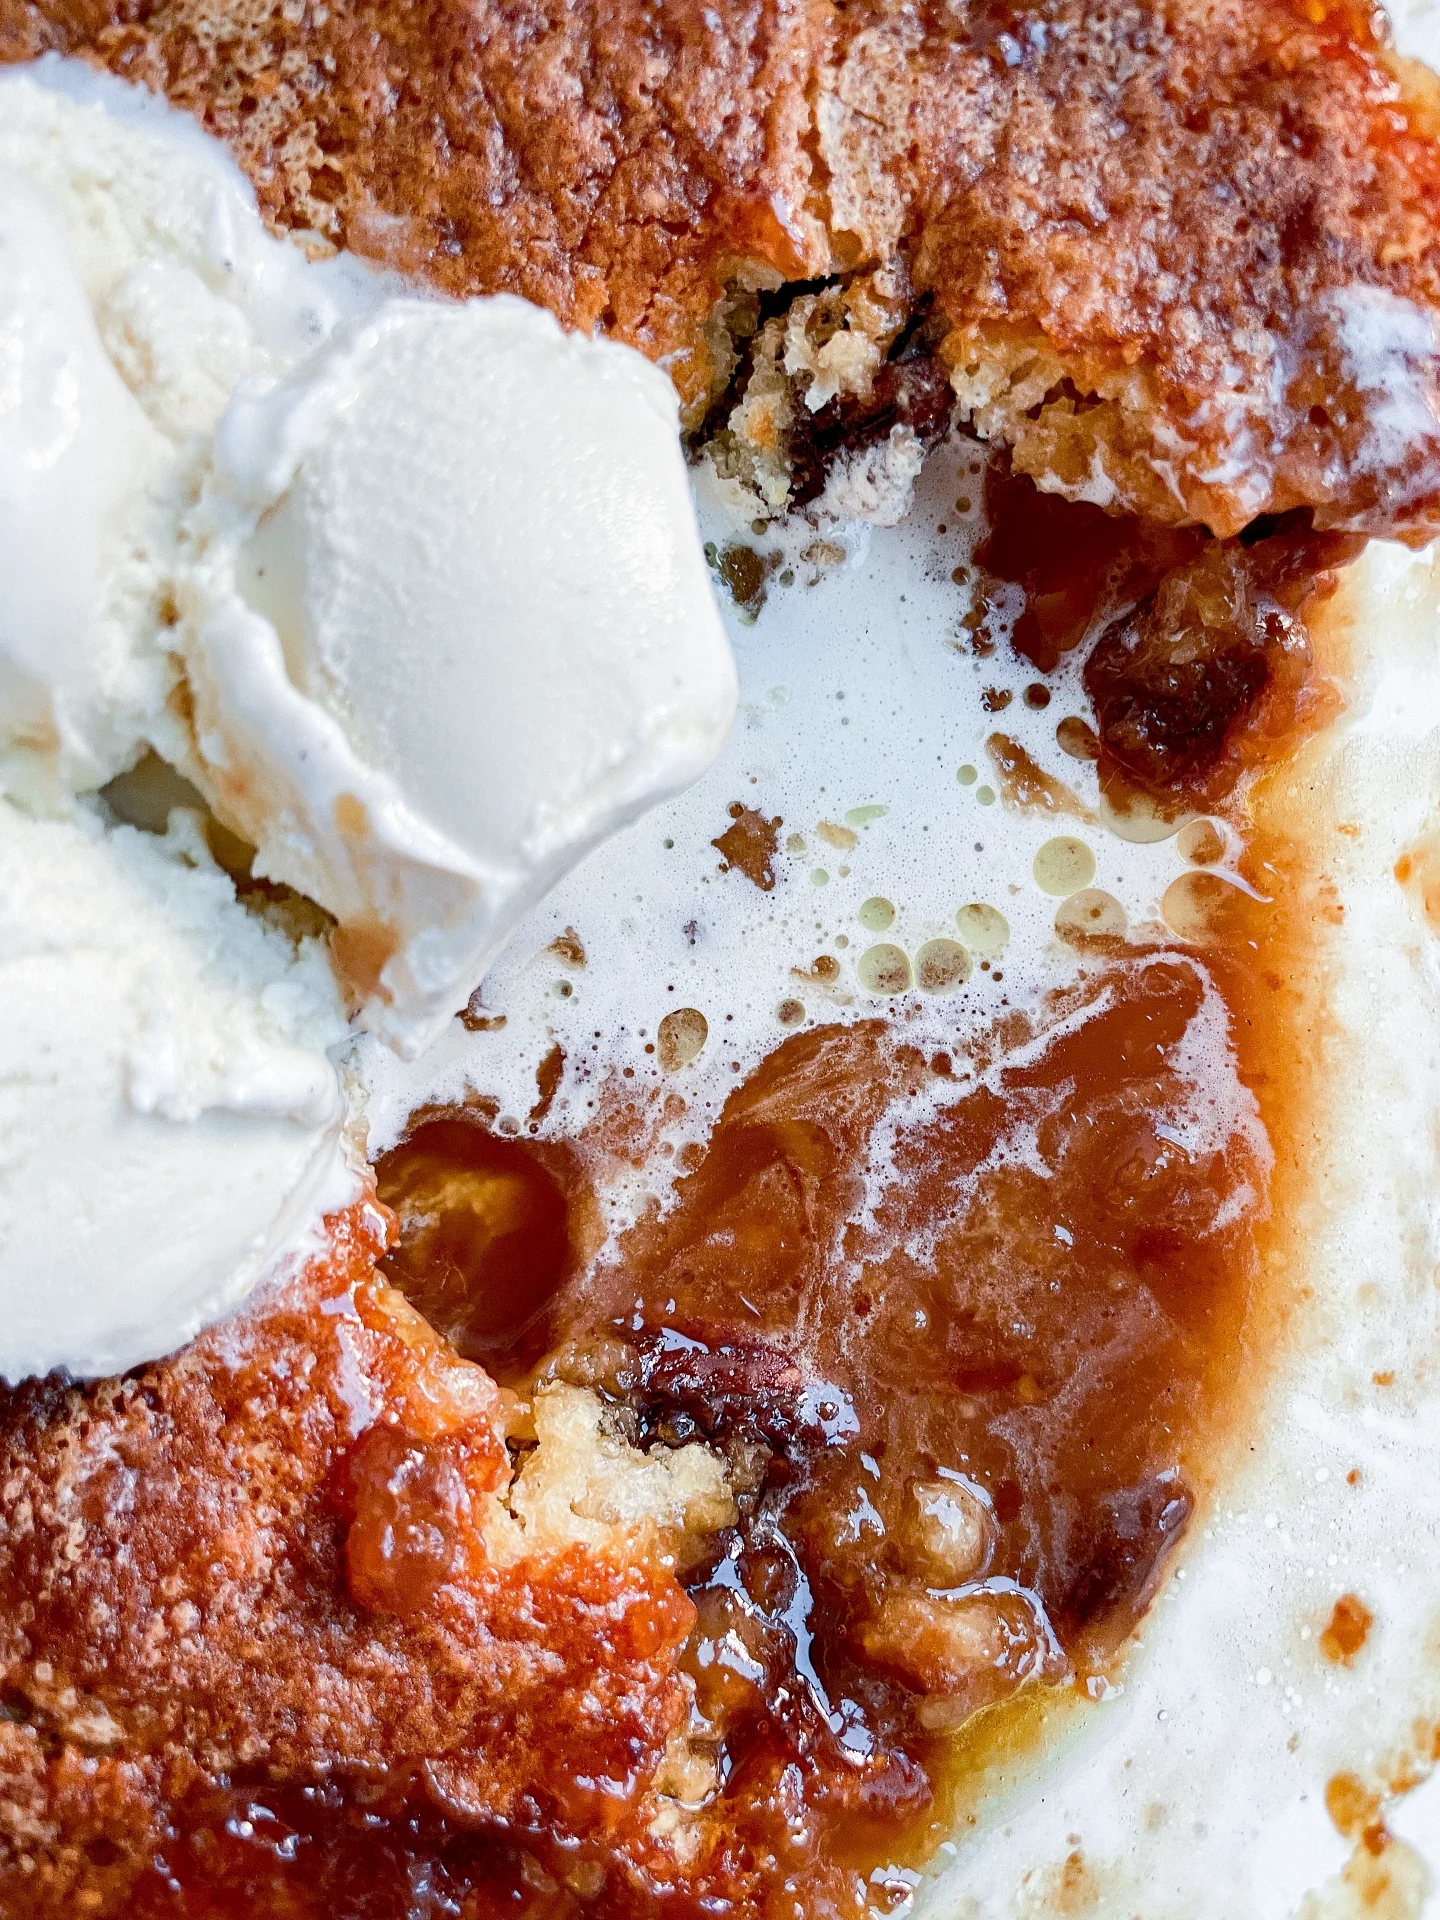
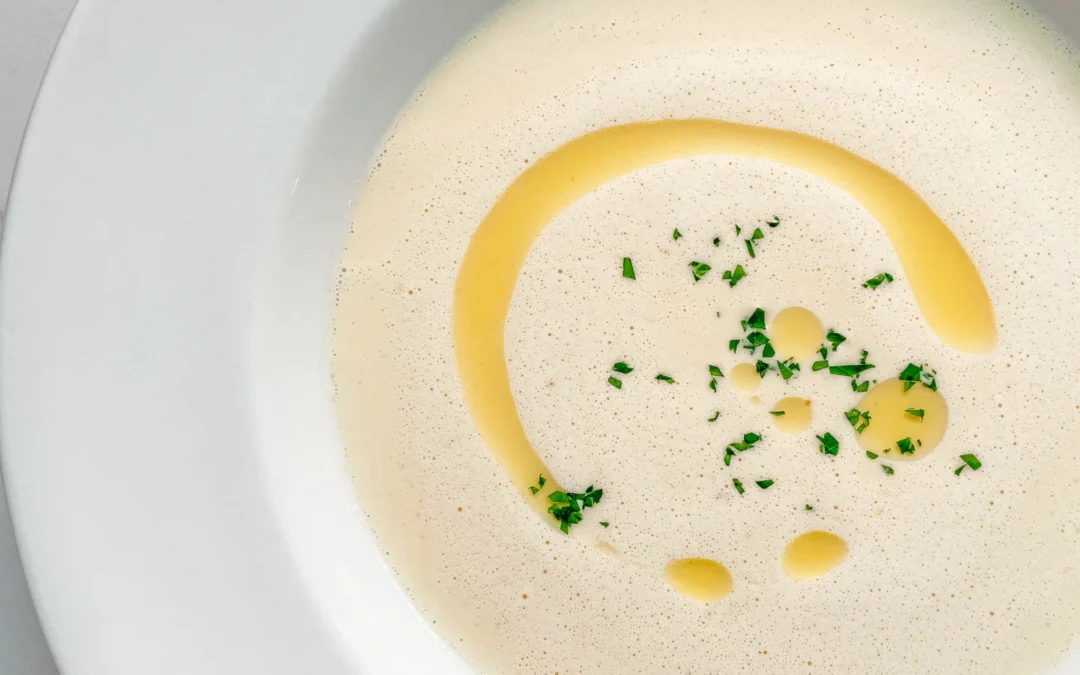
- 200 milliliters vanilla sauce
Instructions
- Squeeze the quark between kitchen paper so that it loses any liquid. Cut the nougat into 4 equal pieces. If you are using whole hazelnuts, finely grind them. If you are using hazelnuts that have already been ground, you can skip this step.
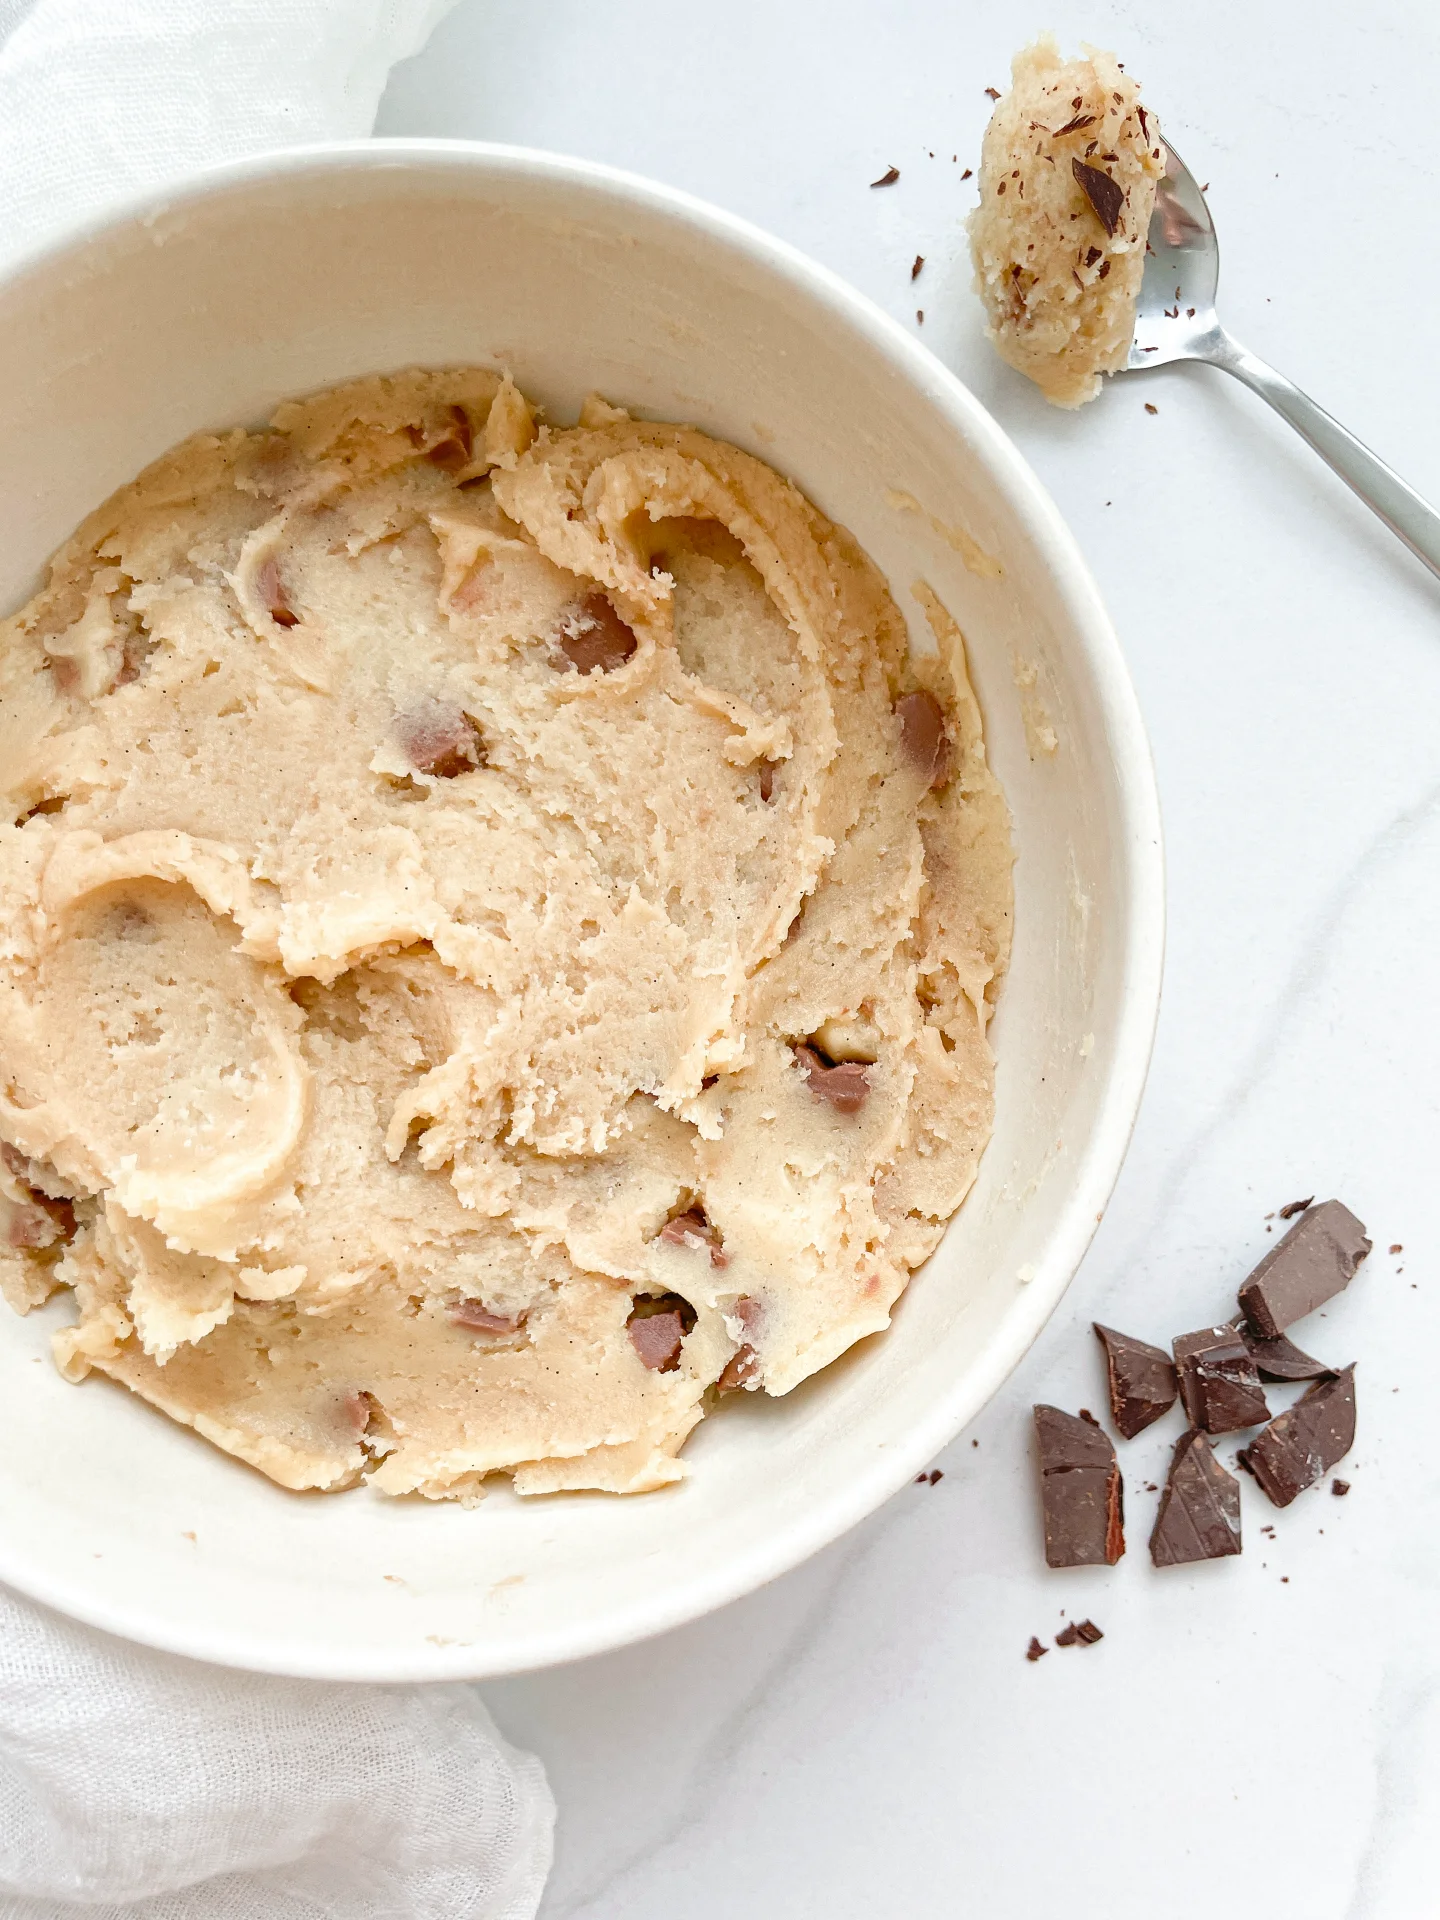
- For the buns, beat butter with a pinch of salt (approx. 3 minutes) and then add the egg and mix. Now add flour and the quark. Knead everything into a smooth dough. Wrap the dough in cling film and place in the fridge for at least 90 minutes.
- After 90 minutes, bring a medium-sized pot of water to the boil. Meanwhile, transfer the dough from the fridge to a floured work surface and roll out. Divide into 4 equal pieces. Place a piece of nougat in the middle of each piece of dough, wrap evenly with dough and shape into a ball.
- As soon as the water boils, reduce the heat and place the nougat balls in the boiling water. Cook the nougat balls for around 10 minutes. Meanwhile, heat the vanilla sauce in a small pan.
- Passive Time: 90 min
- Cook Time: 30 min