


Description
RECOMMENDED EQUIPMENT
- stand mixer
- small bowl
- large bowl
- plastic wrap
Ingredients
Units Scale
DOUGH
- 300 grams pizza flour (or any flour that contains at least 12g protein per 100g)
- 1 tsp dry active yeast
- 1/2 tsp white sugar
- 125 milliliters lukewarm water
- 1 tsp salt
- 2 tbsp yogurt
- 1 tbsp avocado oil
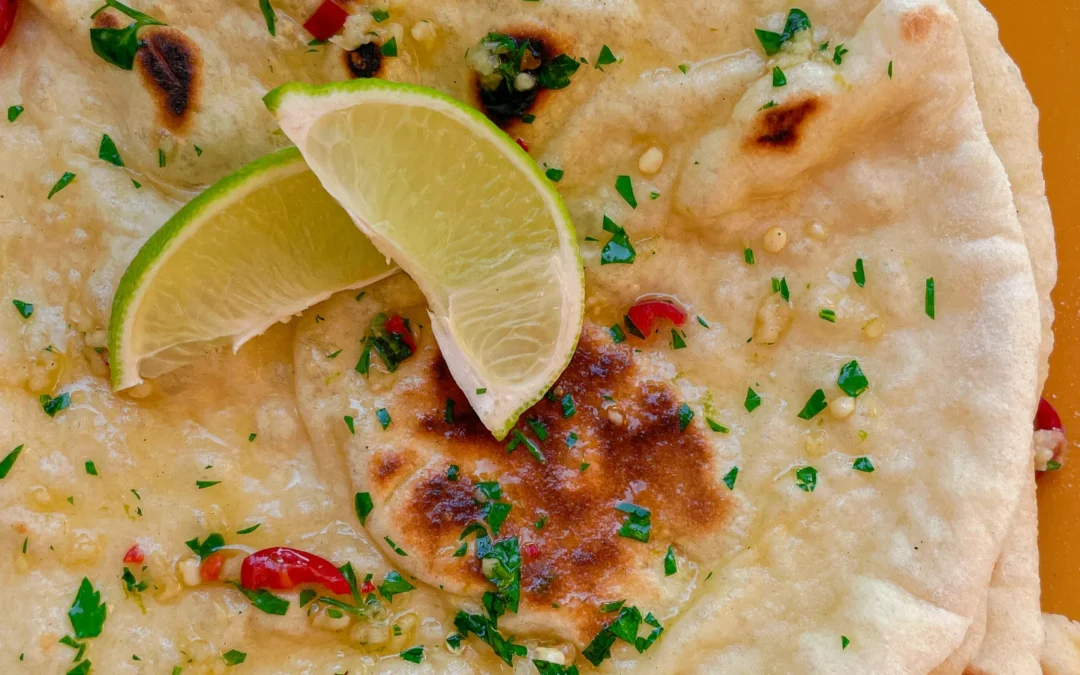
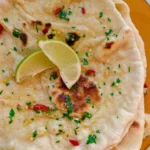
- 1-2 tbsp butter, melted
- fresh chili
- zest of 1 lime
- fresh parsley
- 2 garlic cloves
Instructions
- Passive Time: 60 min
- Cook Time: 30 min